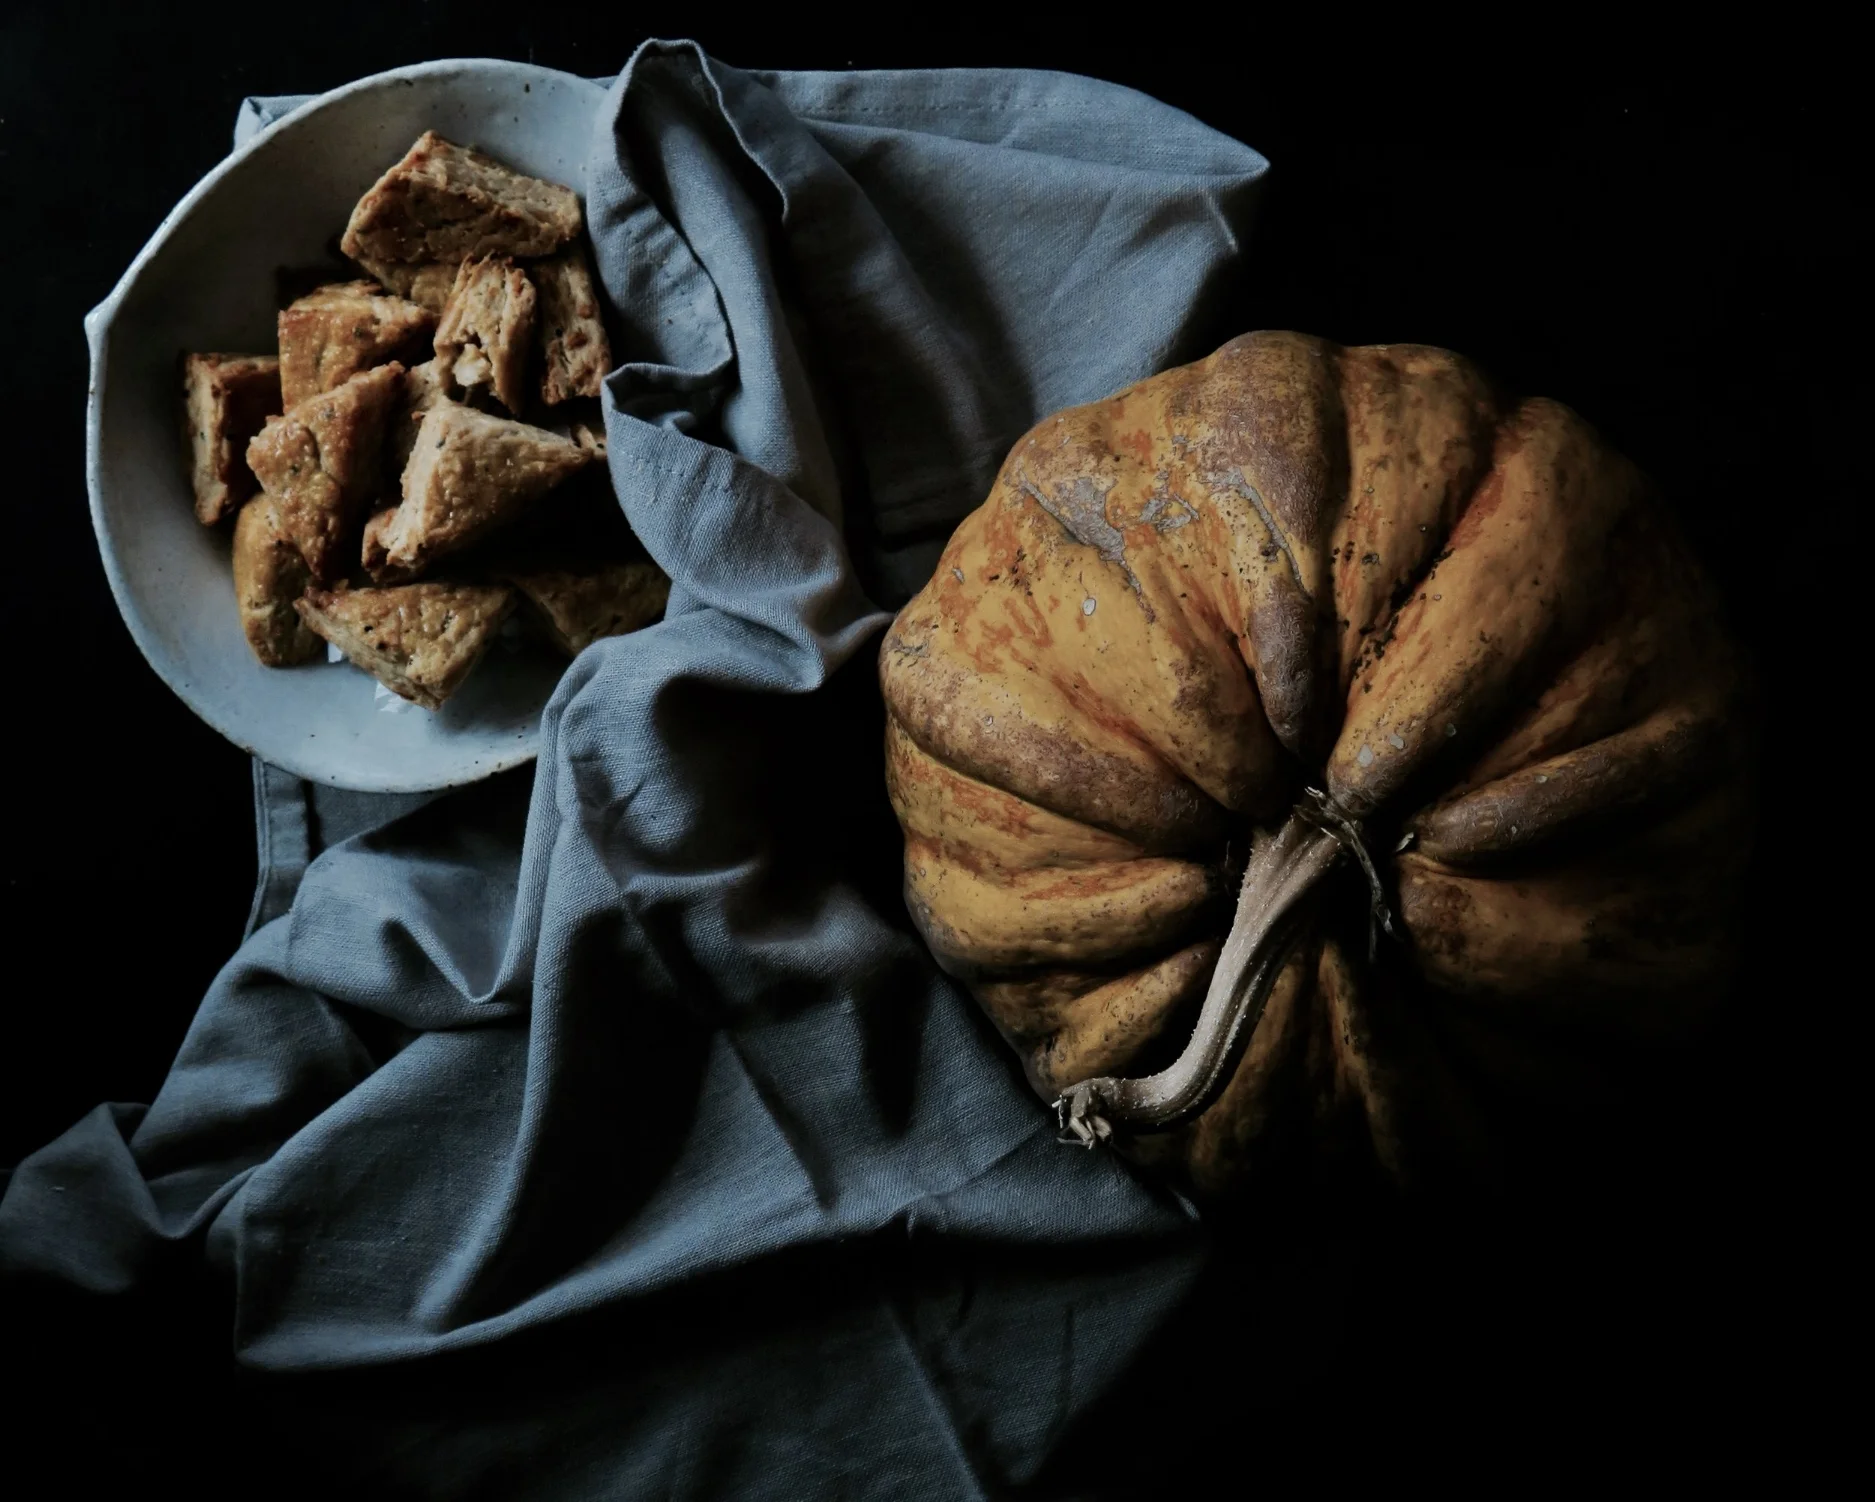
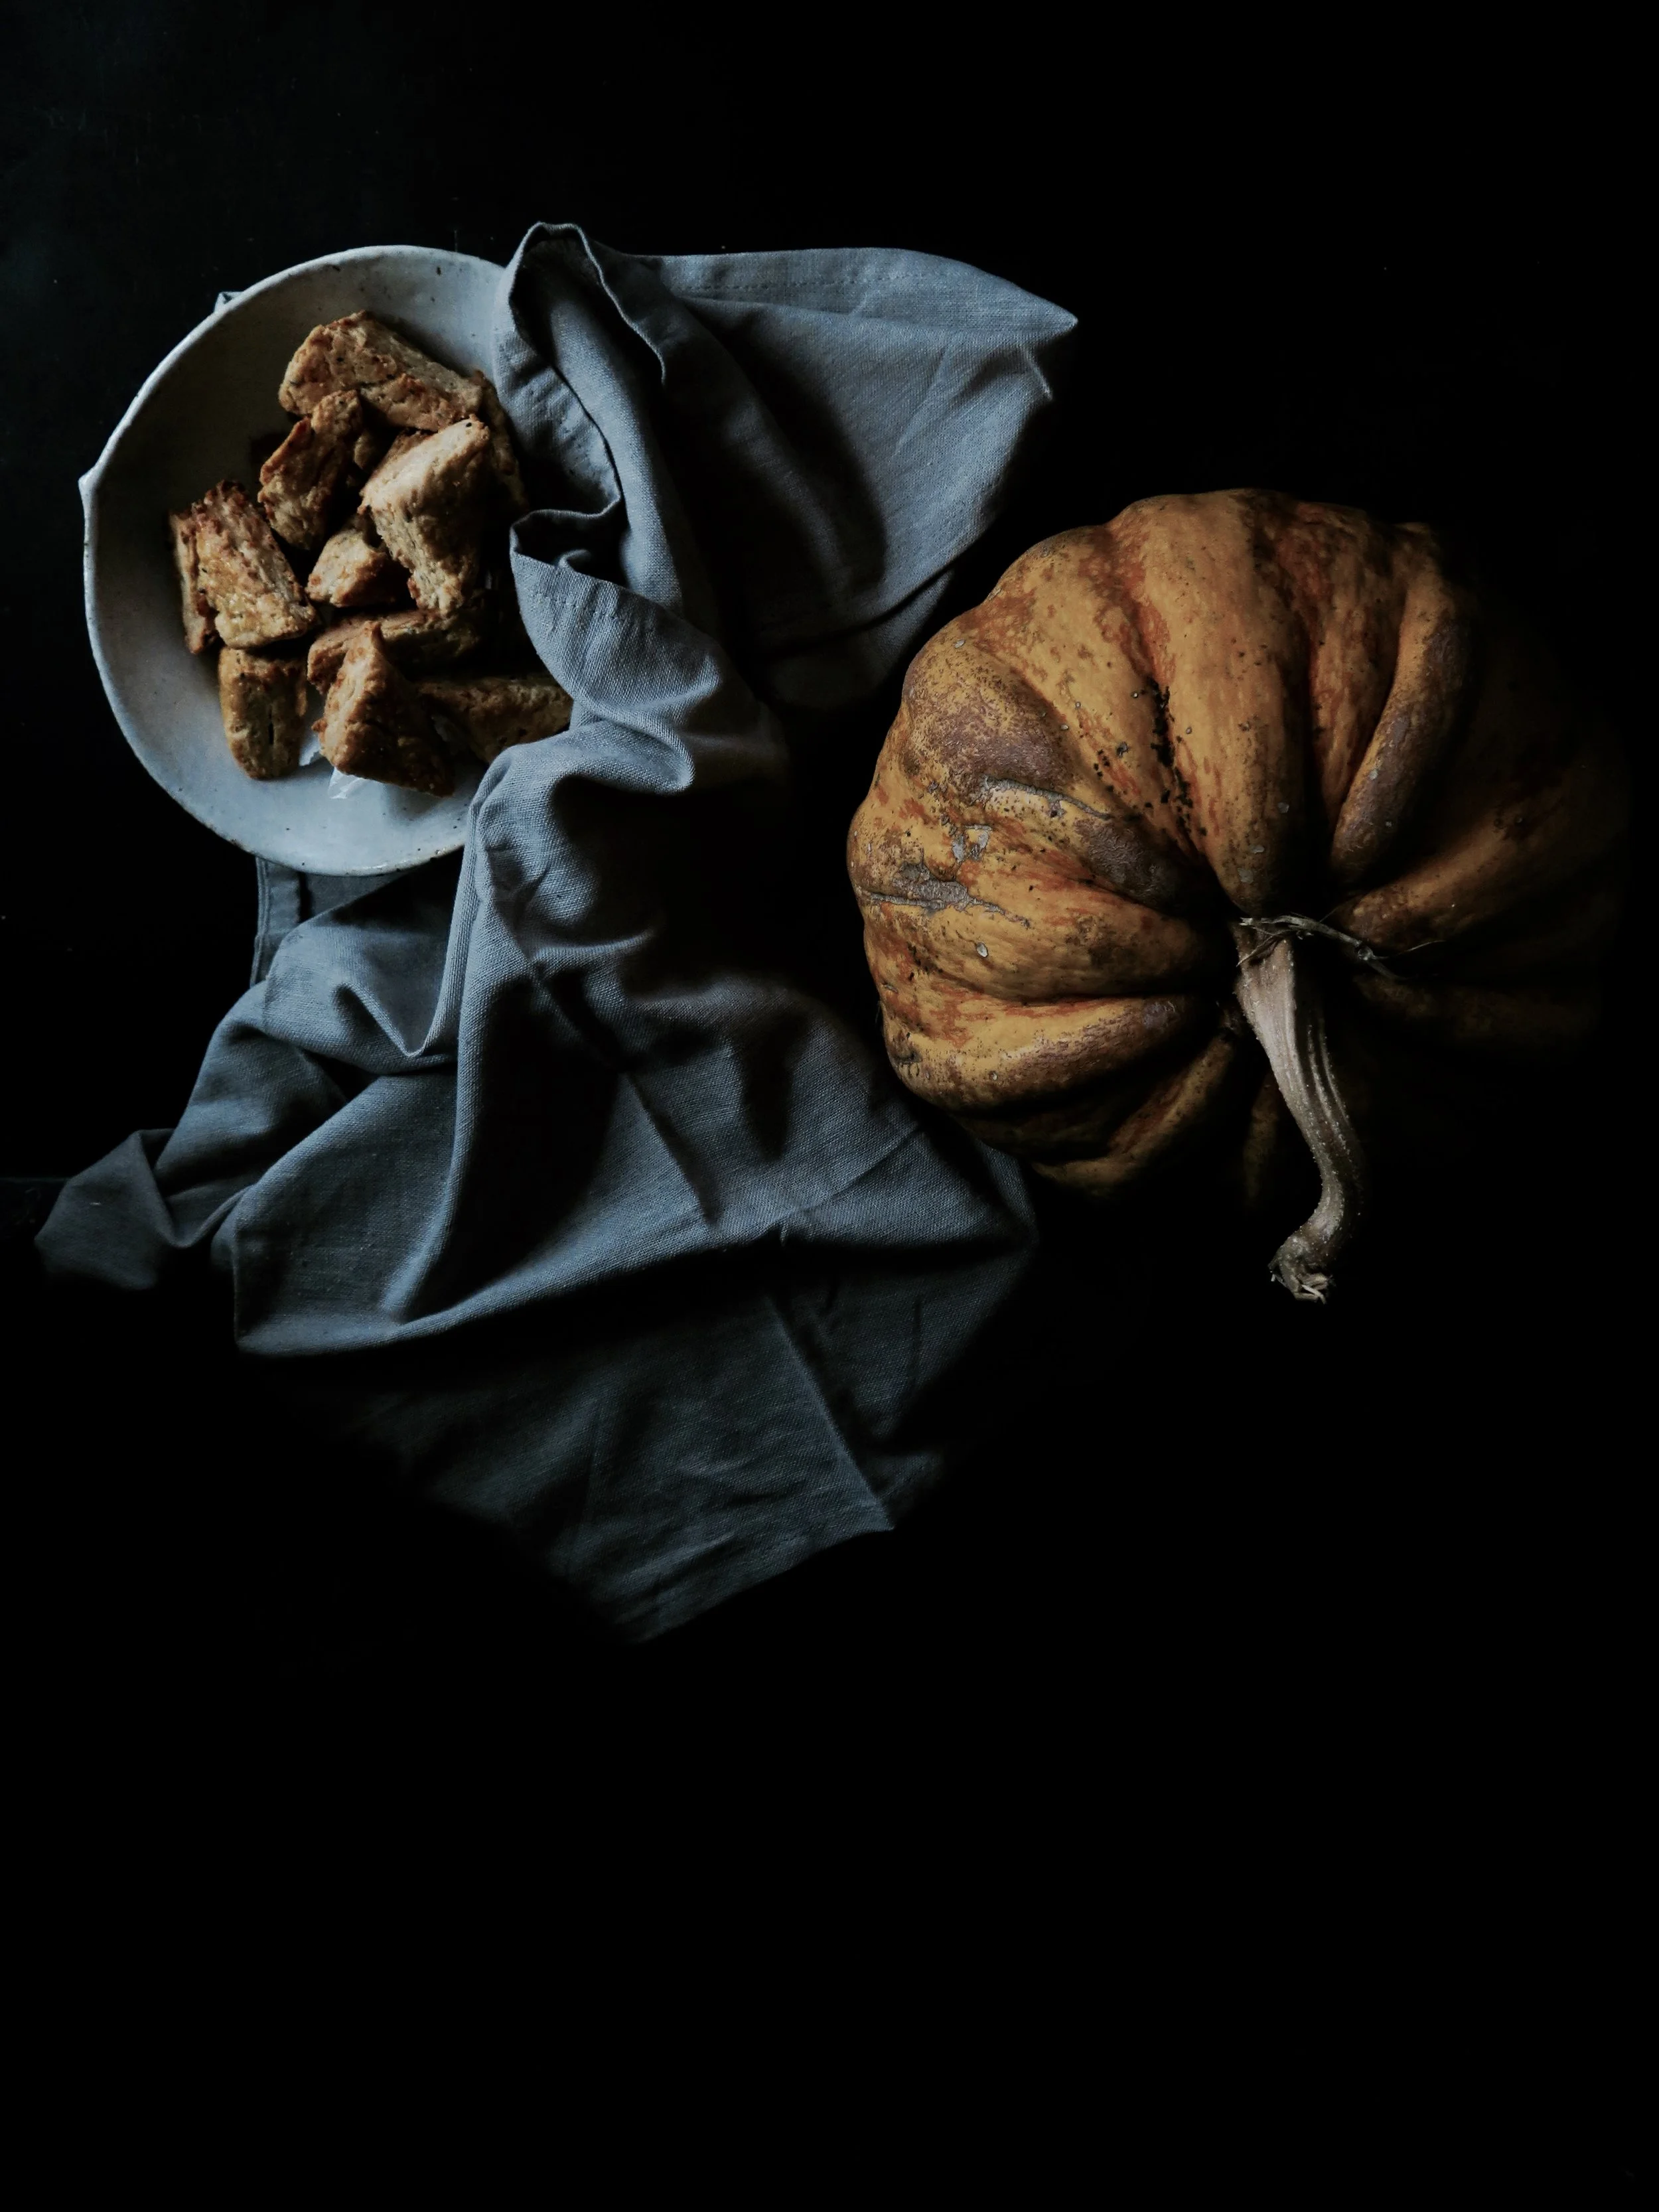
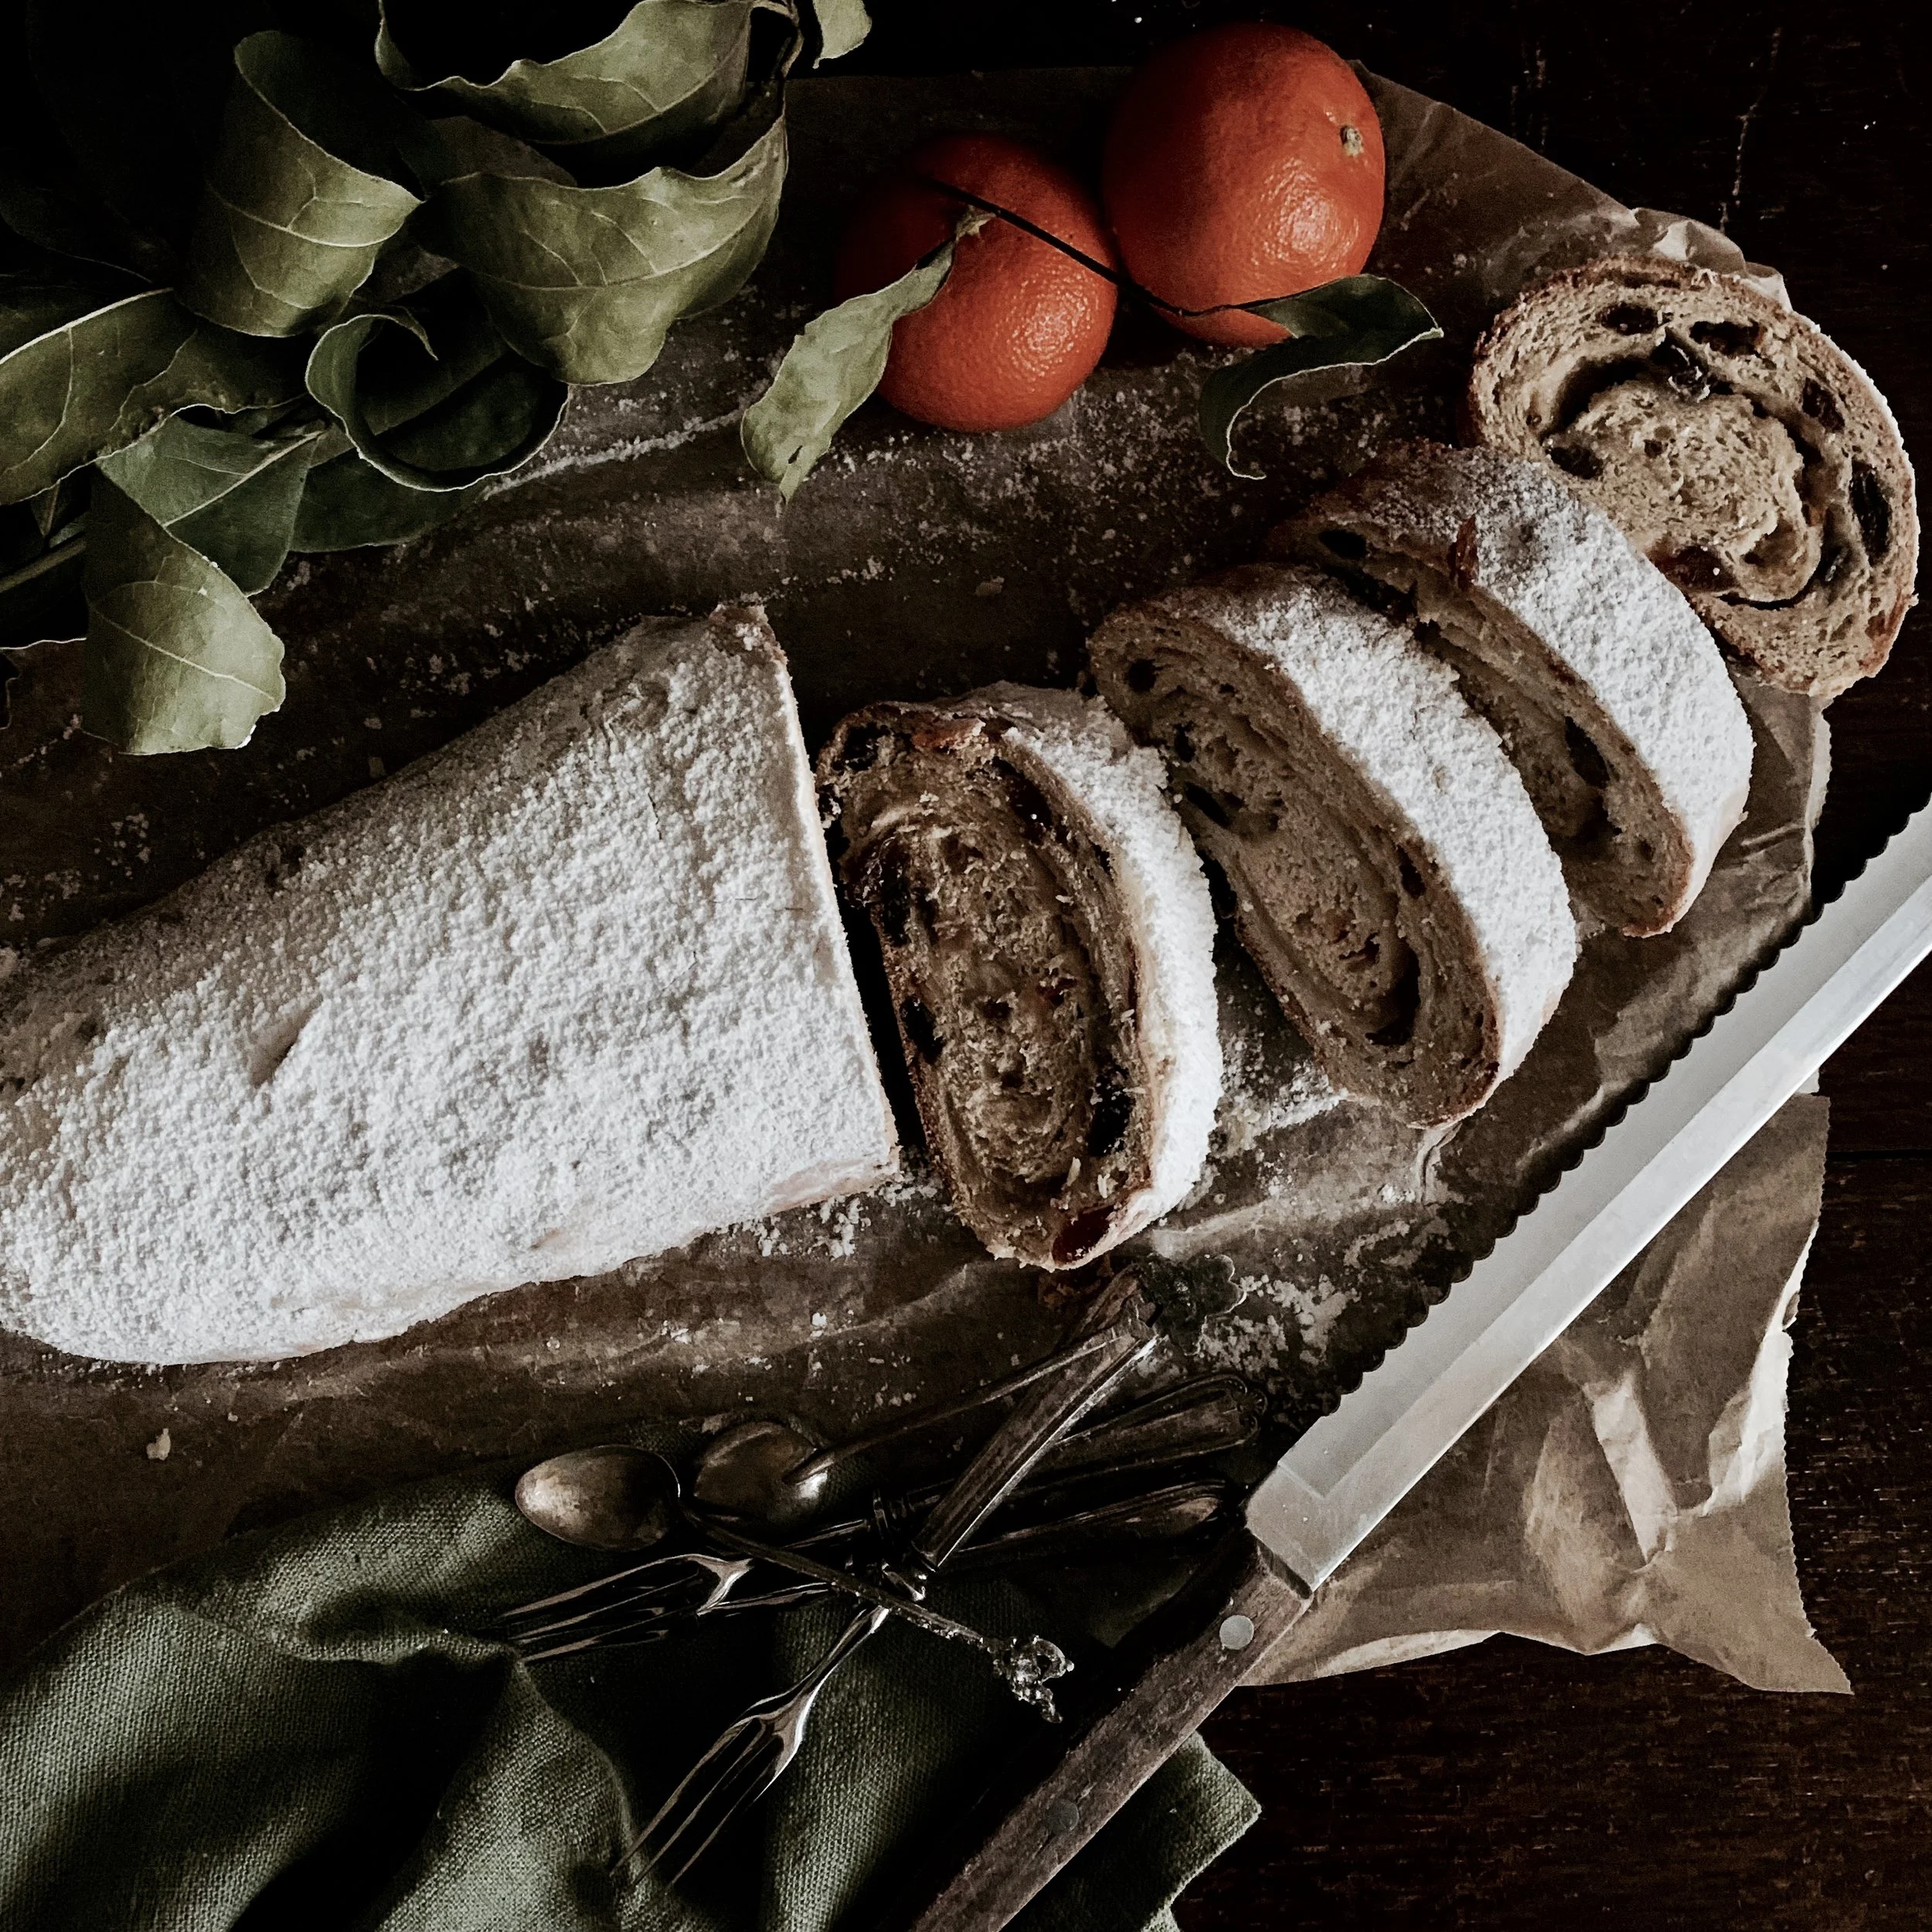
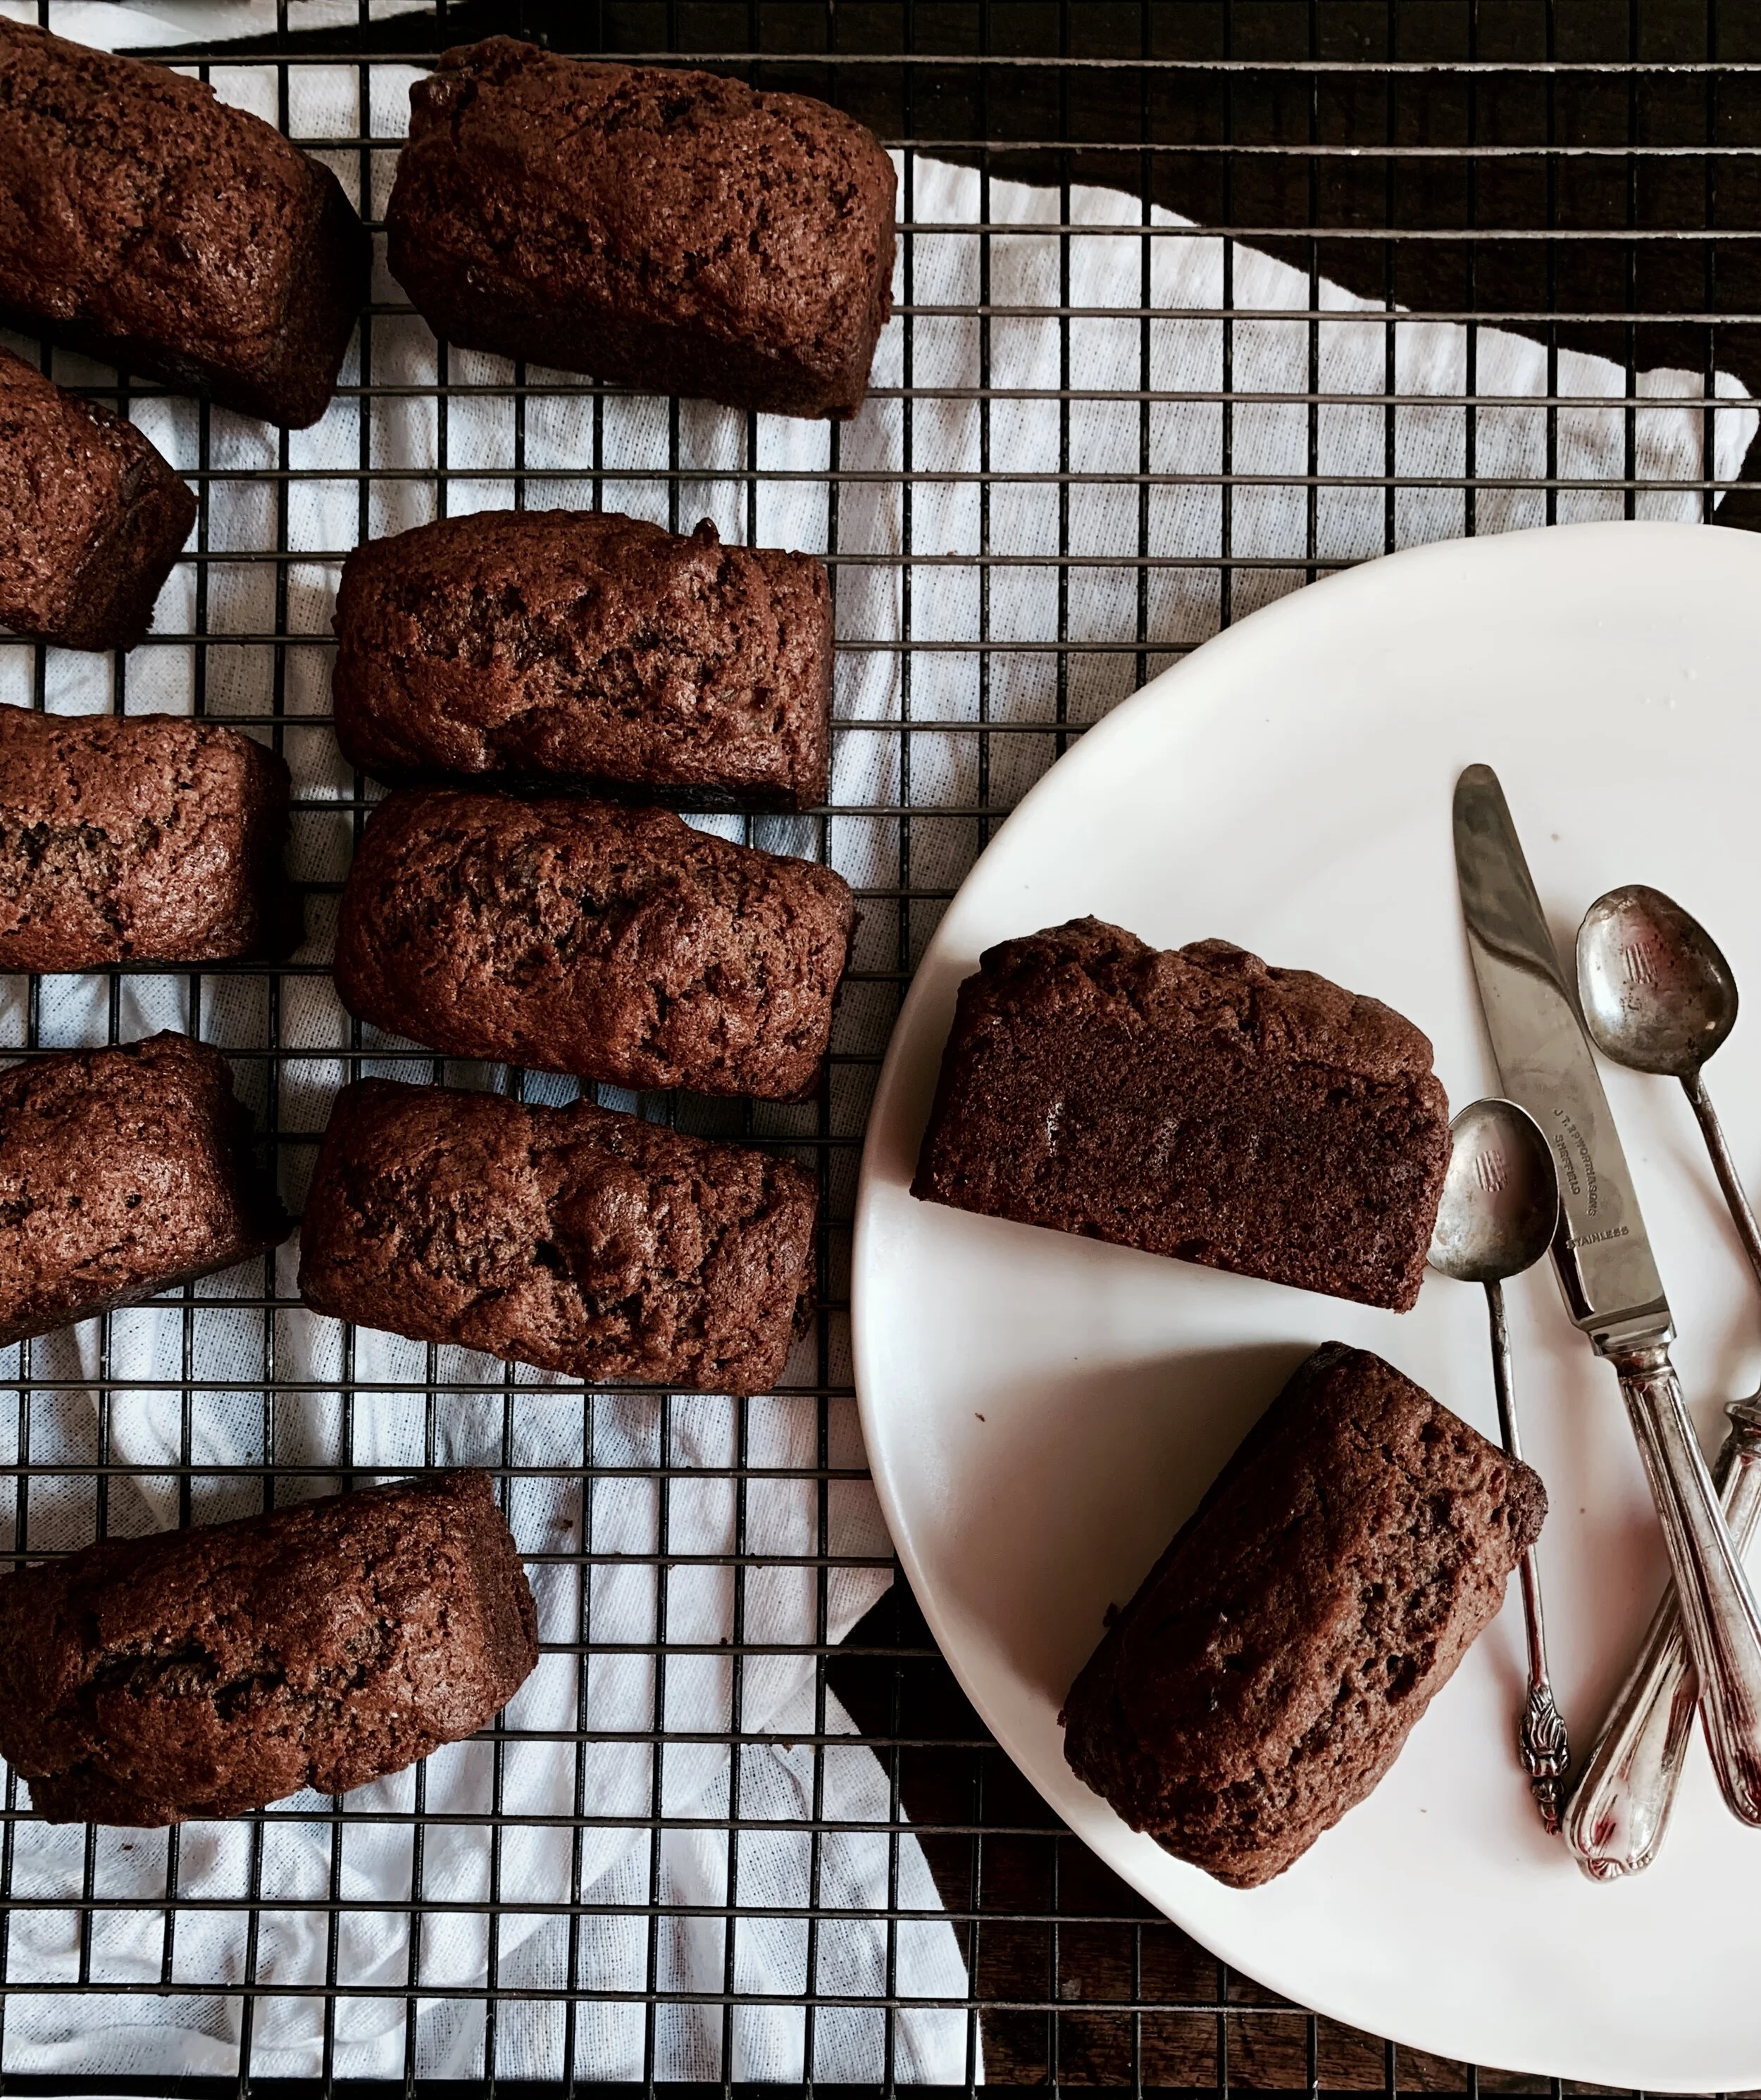
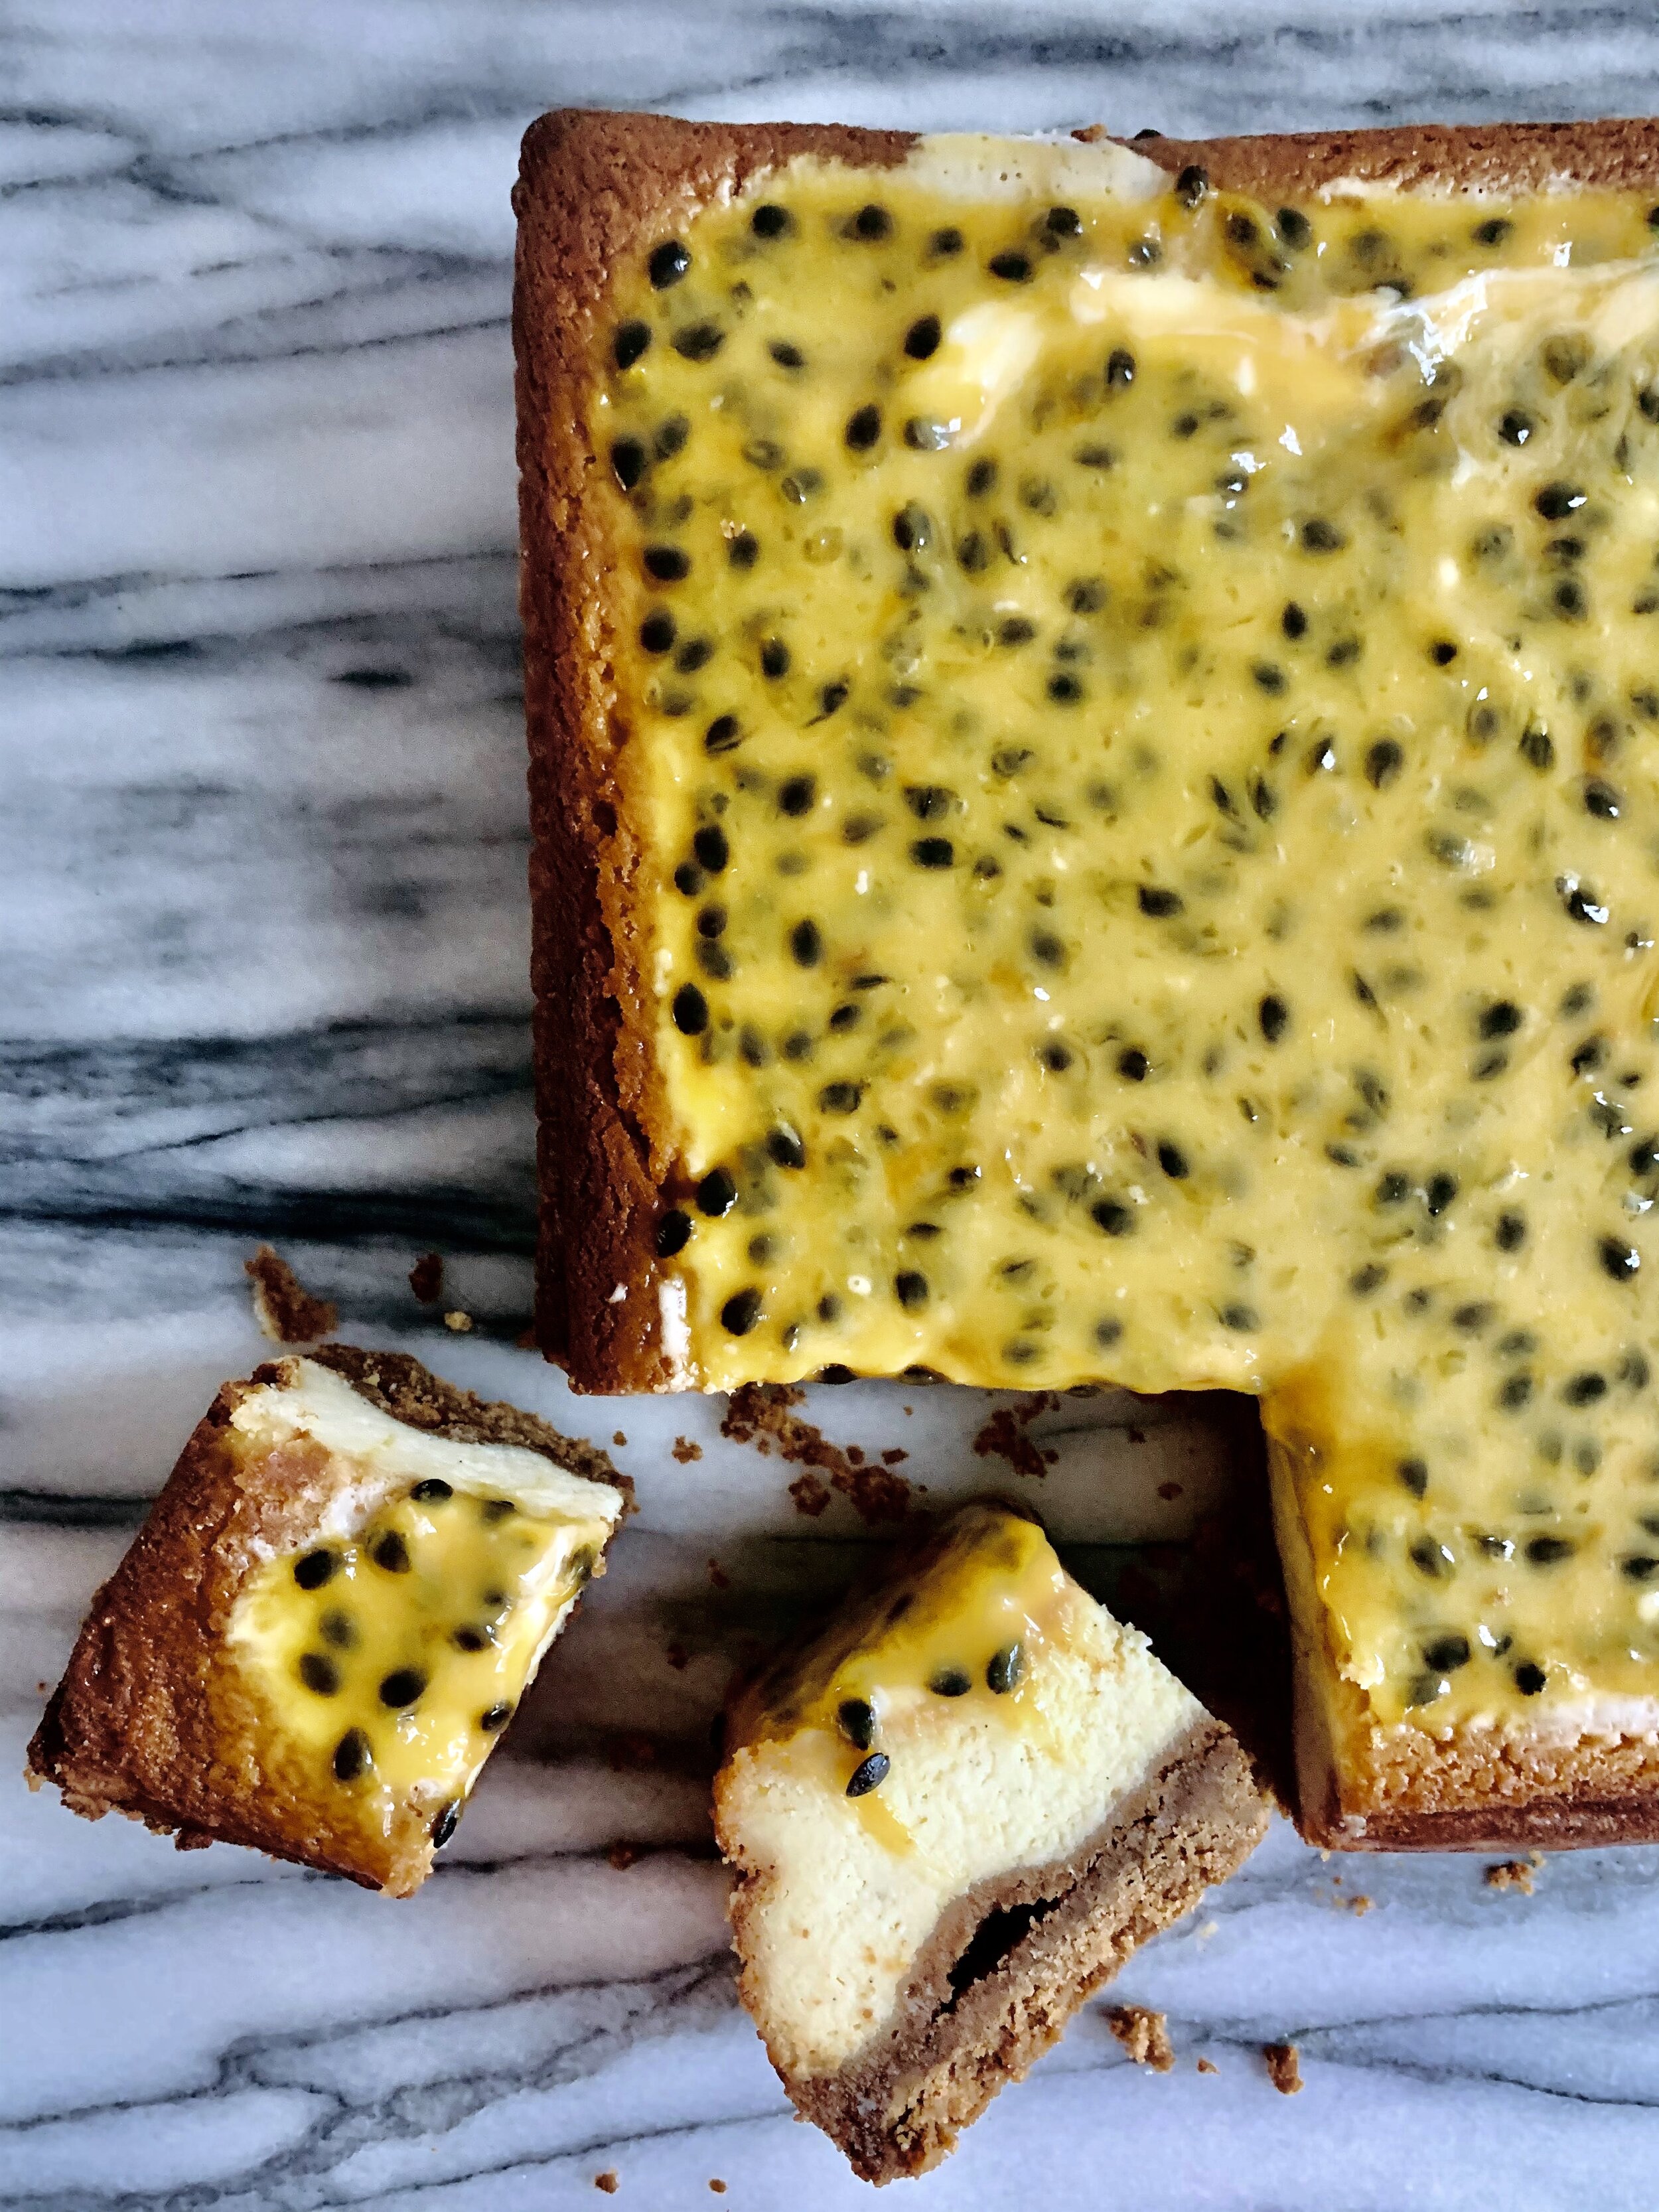
Cantucci (the Tuscan name for biscotti) are typically served with vin santo for dessert. I tend to chuck in whatever nut or dried fruit we have available, and this particular combo worked out exceptionally well: the tanginess and chew from the oranges, the toasty crunch of the hazelnuts, and the plump, wine-soaked sweetness from the figs. I try not to overcook them so as to retain some of that satisfying chewiness.
Viewing entries tagged
biscuit
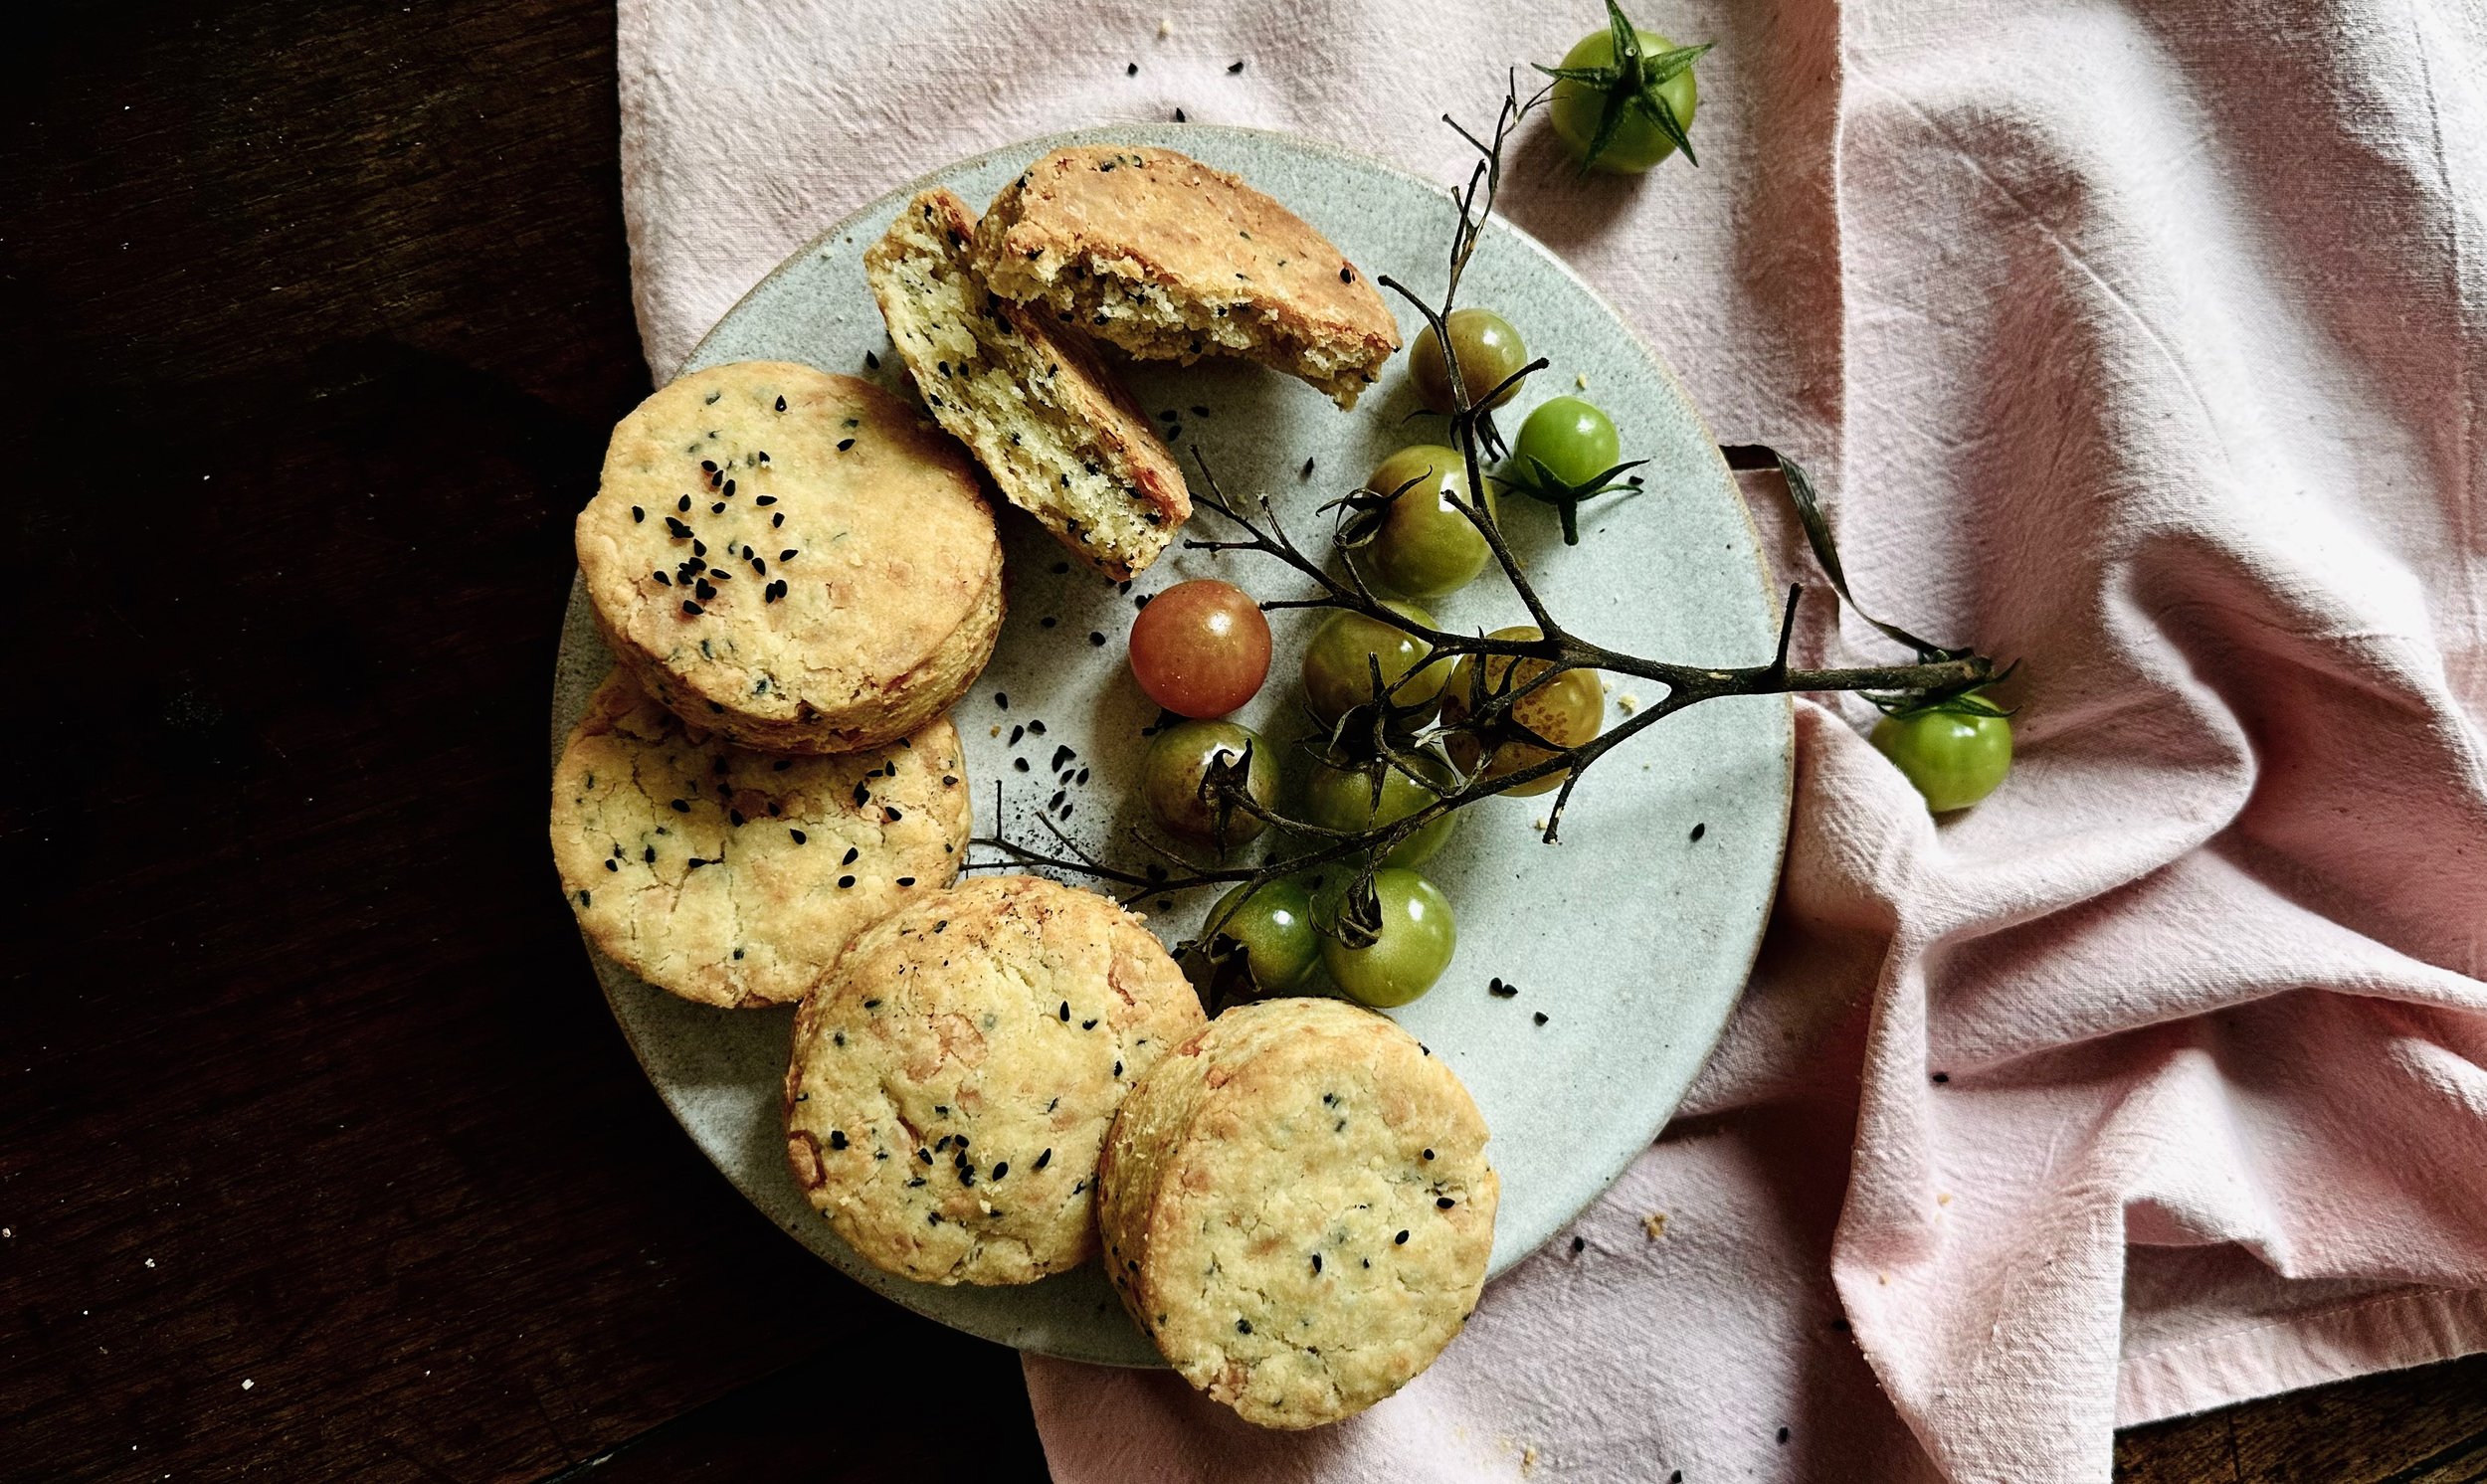
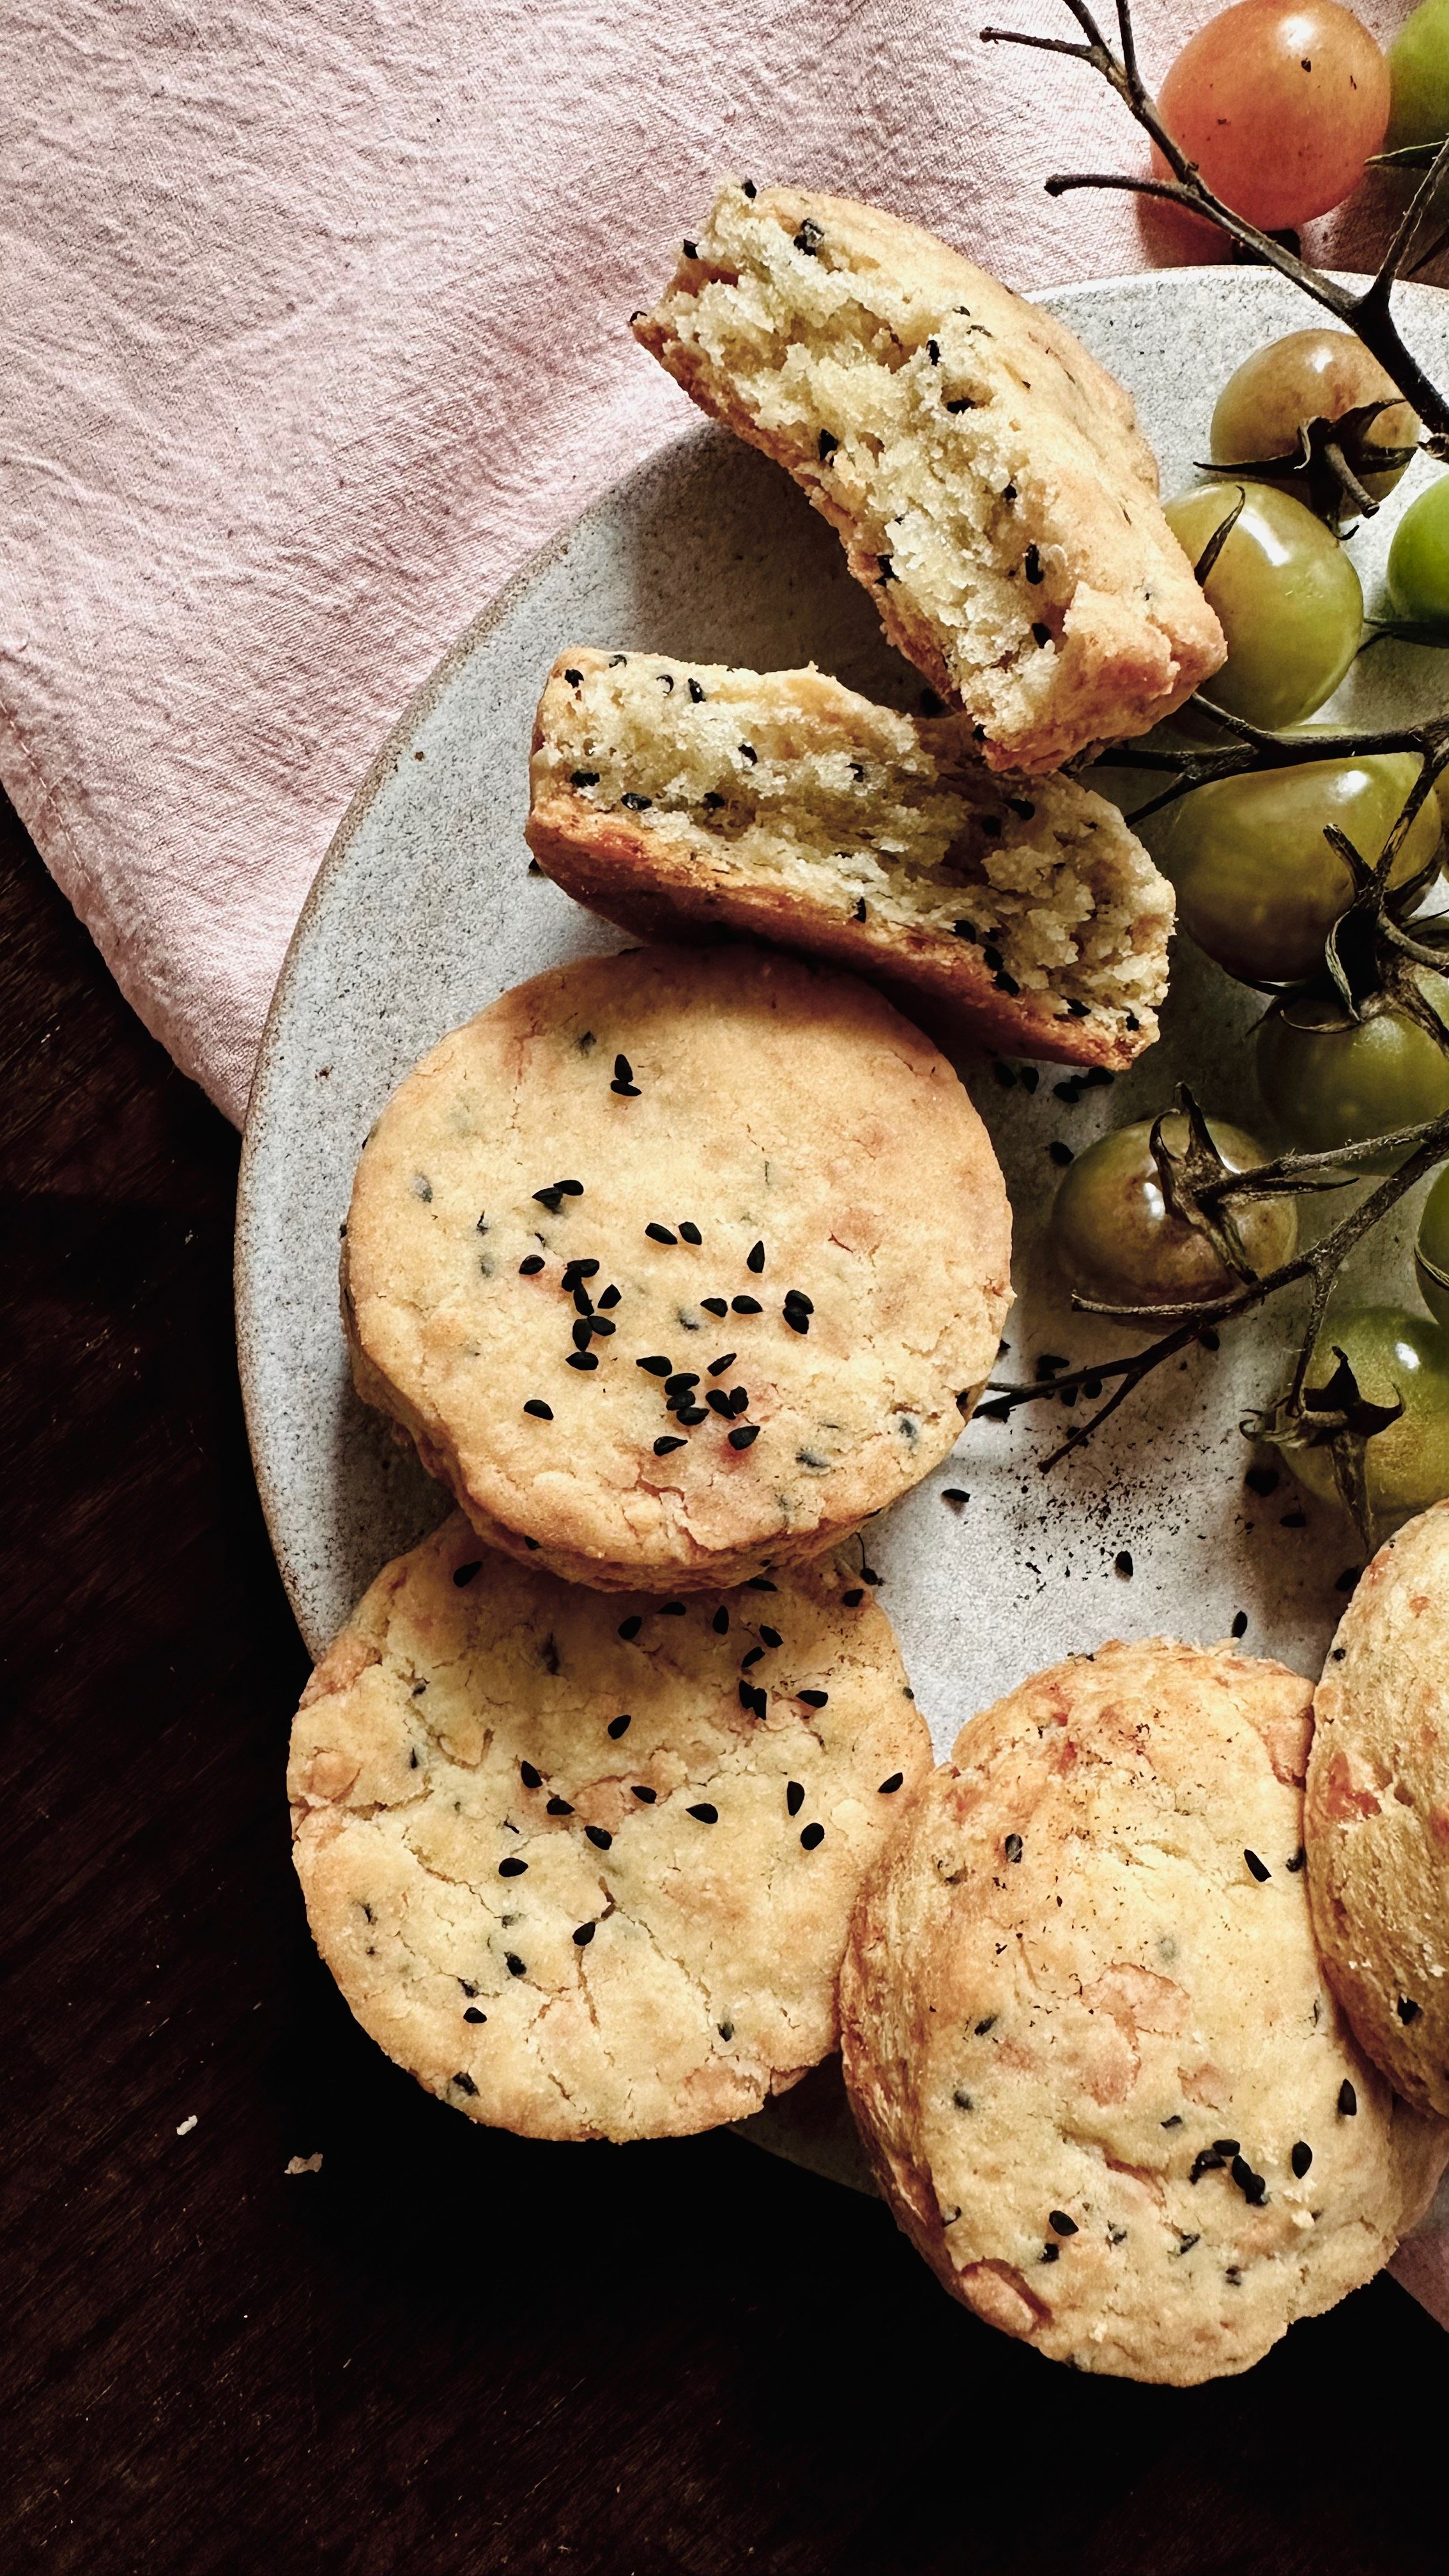
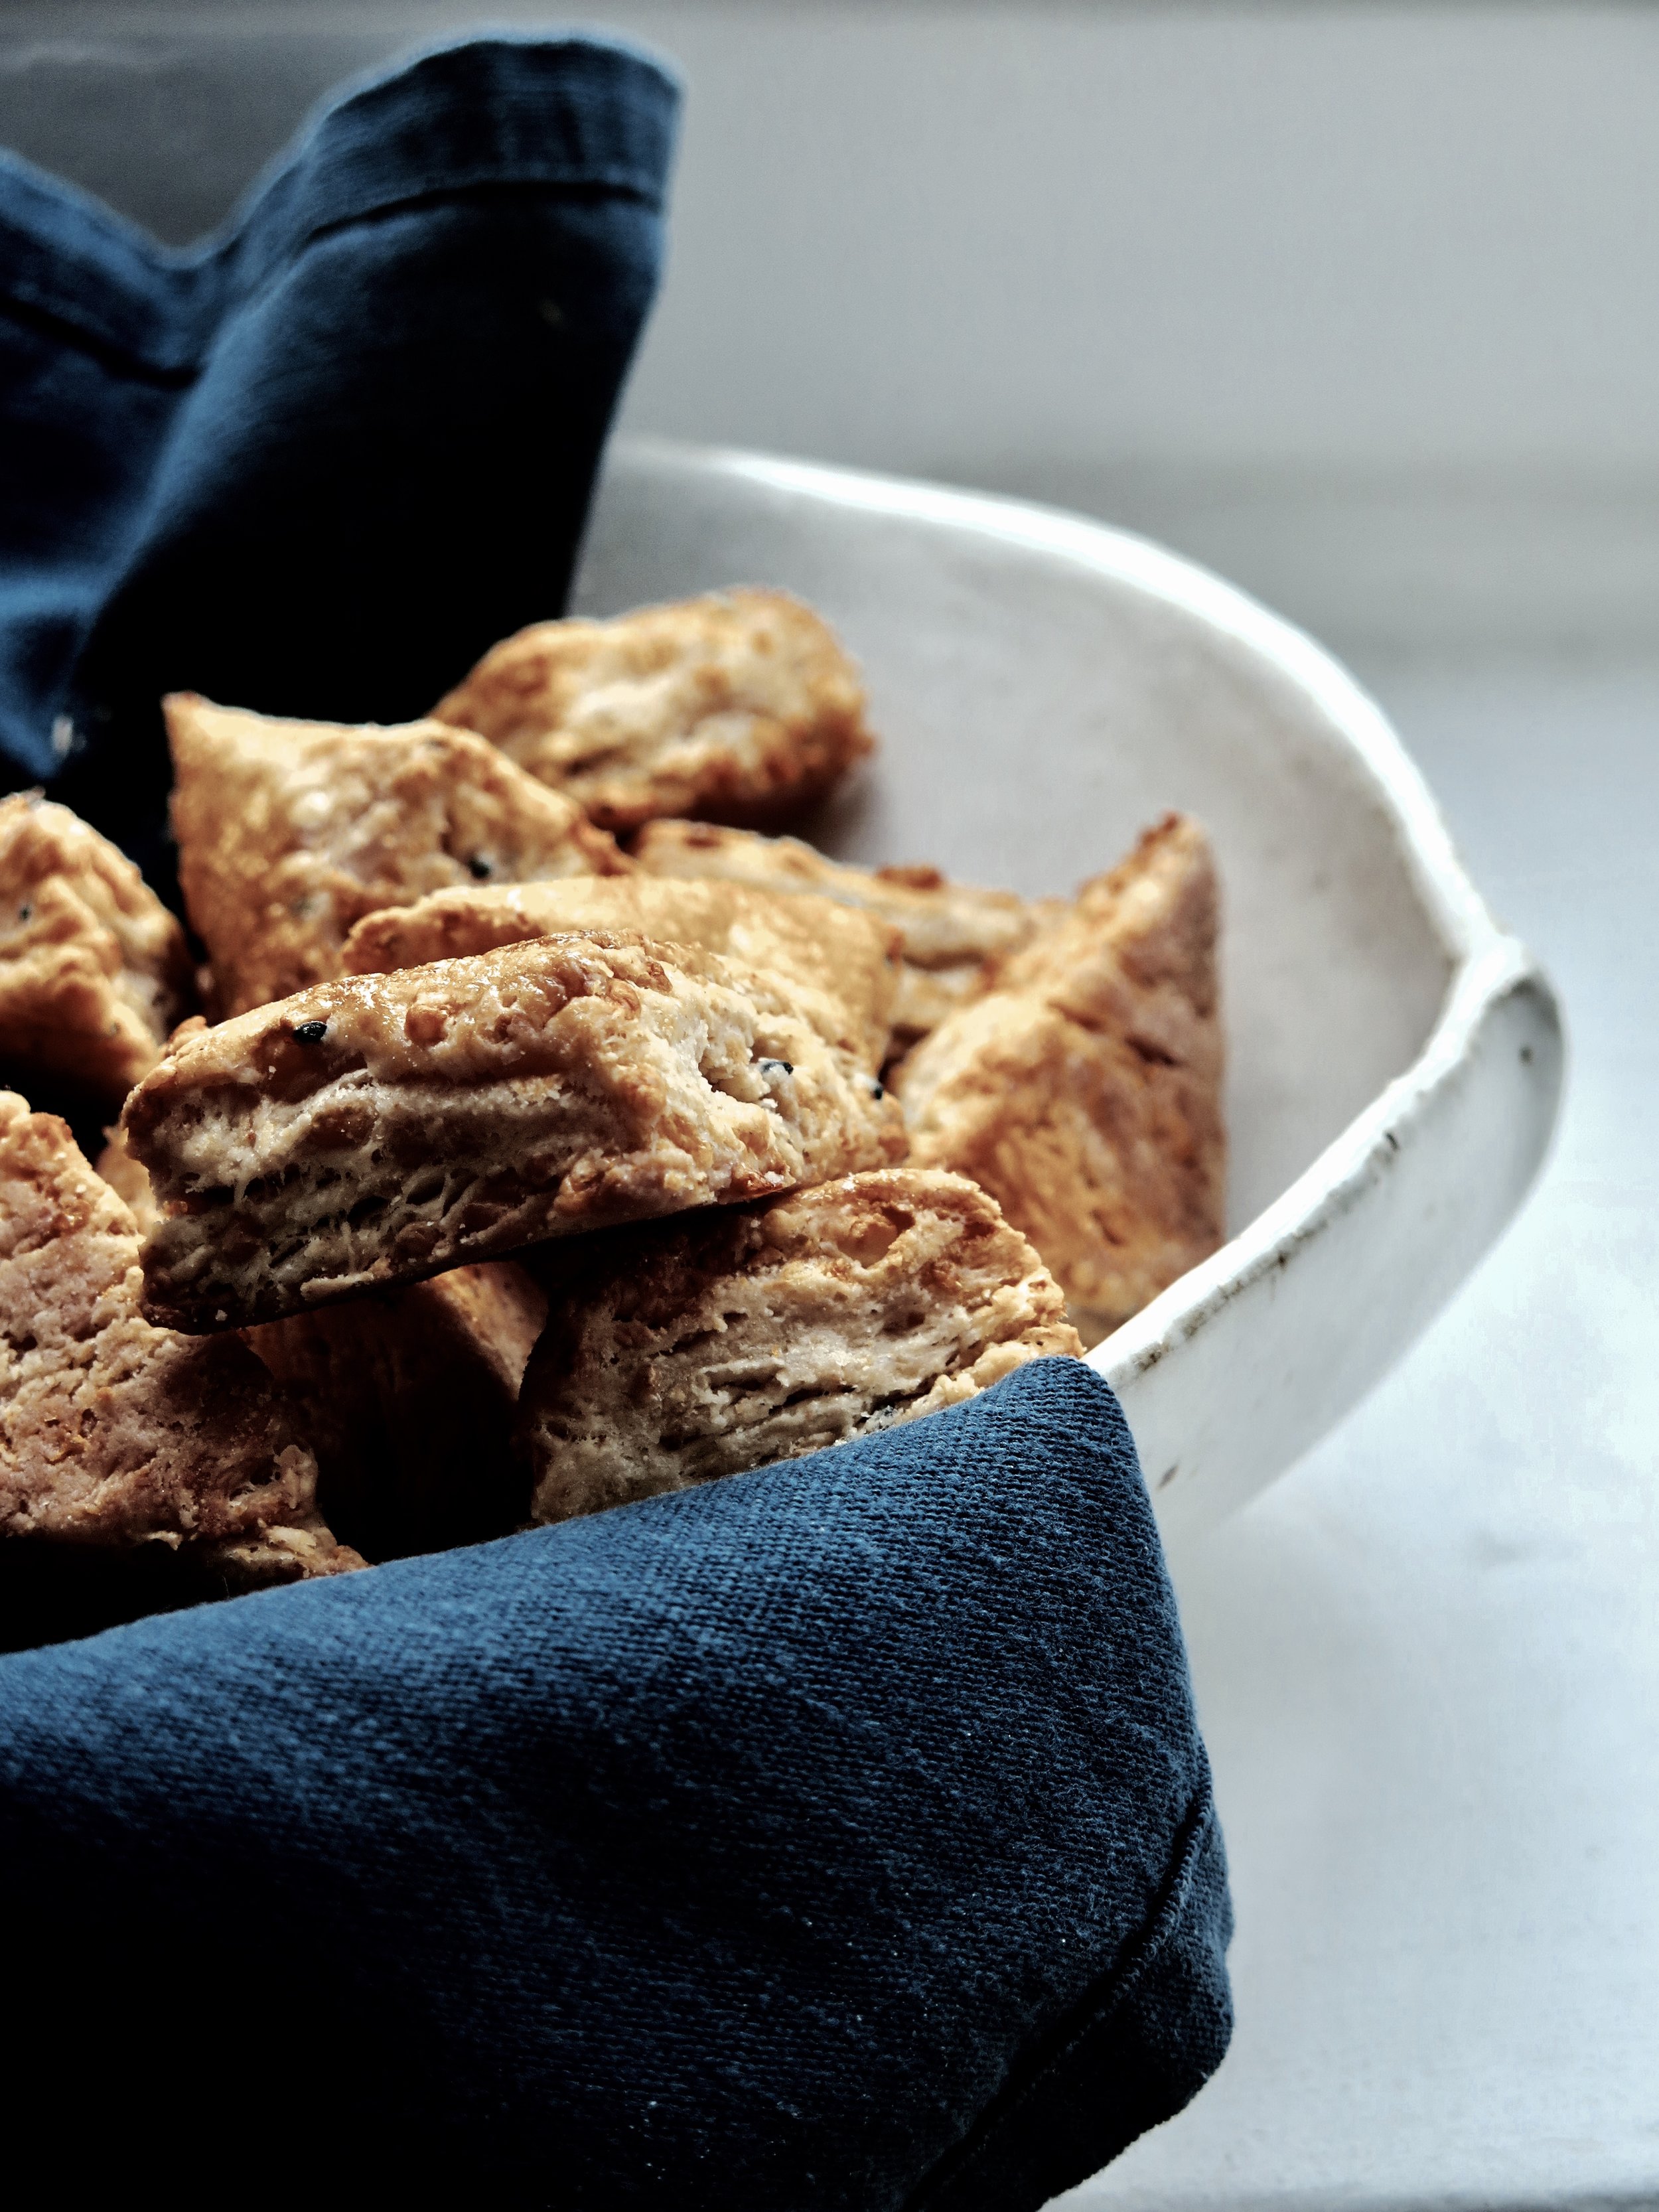
These exist in that tender interior, crunchy exterior, no-man’s-land between a scone, and a biscuit. I tried something similar at a hotel in Turkey, where at daily afternoon tea they produced thick, golden and extremely savoury kashar cheese cookies. As kashar cheese is a little harder to get here in the UK, I subbed in a mix of mozzarella, pecorino and feta, and they turned out beautifully. They’re umami, and slightly salty, and the cheese caramelises on the outside in a way that’s reminiscent of a toasted cheese sandwich.
They’re extremely easy to whip up, and work perfectly as a savoury treat at afternoon tea, accompanying a bowl of soup, or with cheeses, membrillo paste and a handful of fresh baby tomatoes.
TRIPLE CHEESE & NIGELLA SEED BISCUITS
RECIPE – MAKES 12
Ingredients
150g butter, very cold/frozen
75g fresh mozzarella
75g semi-stagionato pecorino (or parmesan, if you can’t get hold of pecorino)
60g feta
1 ½ tsp double cream (or milk if you don’t have any double cream to hand)
250g plain flour
10g nigella seeds
½ tsp salt
½ tsp baking powder
¼ tsp caster sugar
large baking tray, lined with baking parchment
6cm diameter cookie cutter (feel free to use a different size if you want larger/smaller cookies, but bear in mind the baking time will reduce for smaller cookies)
Method
1) Preheat oven to 200°C.
2) Take the mozzarella and press it between two pieces of paper towel to squeeze out as much liquid as possible.
3) Using the coarse side of a cheese grater, grate the cold/frozen butter, mozzarella, pecorino and feta into the bowl of an electric stand mixer or a large bowl if making by hand. The cheeses may crumble a little unevenly but don’t worry too much about striving for perfection, they just need to be broken down into small pieces. Add in the double cream and stir together.
4) In a separate medium sized bowl, whisk together the flour, nigella seeds, salt, baking powder and caster sugar until evenly mixed.
5) Pour the dry ingredients into the bowl containing the cheeses. If using an electric stand mixer, fit it with the paddle and mix on a low-medium speed until the mixture just comes together. If making it by hand, stir with a wooden spoon until a crumbly dough is formed. Take care not to over mix as this will stimulate the gluten in the flour, and break down the butter too much, making the cookie tougher and less tender. If the mixture is too dry (climate/room temperature can affect this), add in a tiny bit more double cream but be careful not to add too much – the dough should be slightly crumbly.
6) Lightly dust a clean surface/board with flour. Tip the cookie dough on to the surface and pat it together until it forms a disc. Roll it out to an even thickness of 1.5cm. Then use the cookie cutter to stamp out the circles. Place them on the baking tray at least 4cm apart (they won’t spread much).
7) Place in the oven and bake for 12-15 mins, until the top and base are golden and crunchy. You can serve these warm or cool. NB, they keep for up to 3 days stored in an airtight container at room temperature. Or you can freeze them for up to 6 months in an airtight container.
HUNGRY FOR MORE?
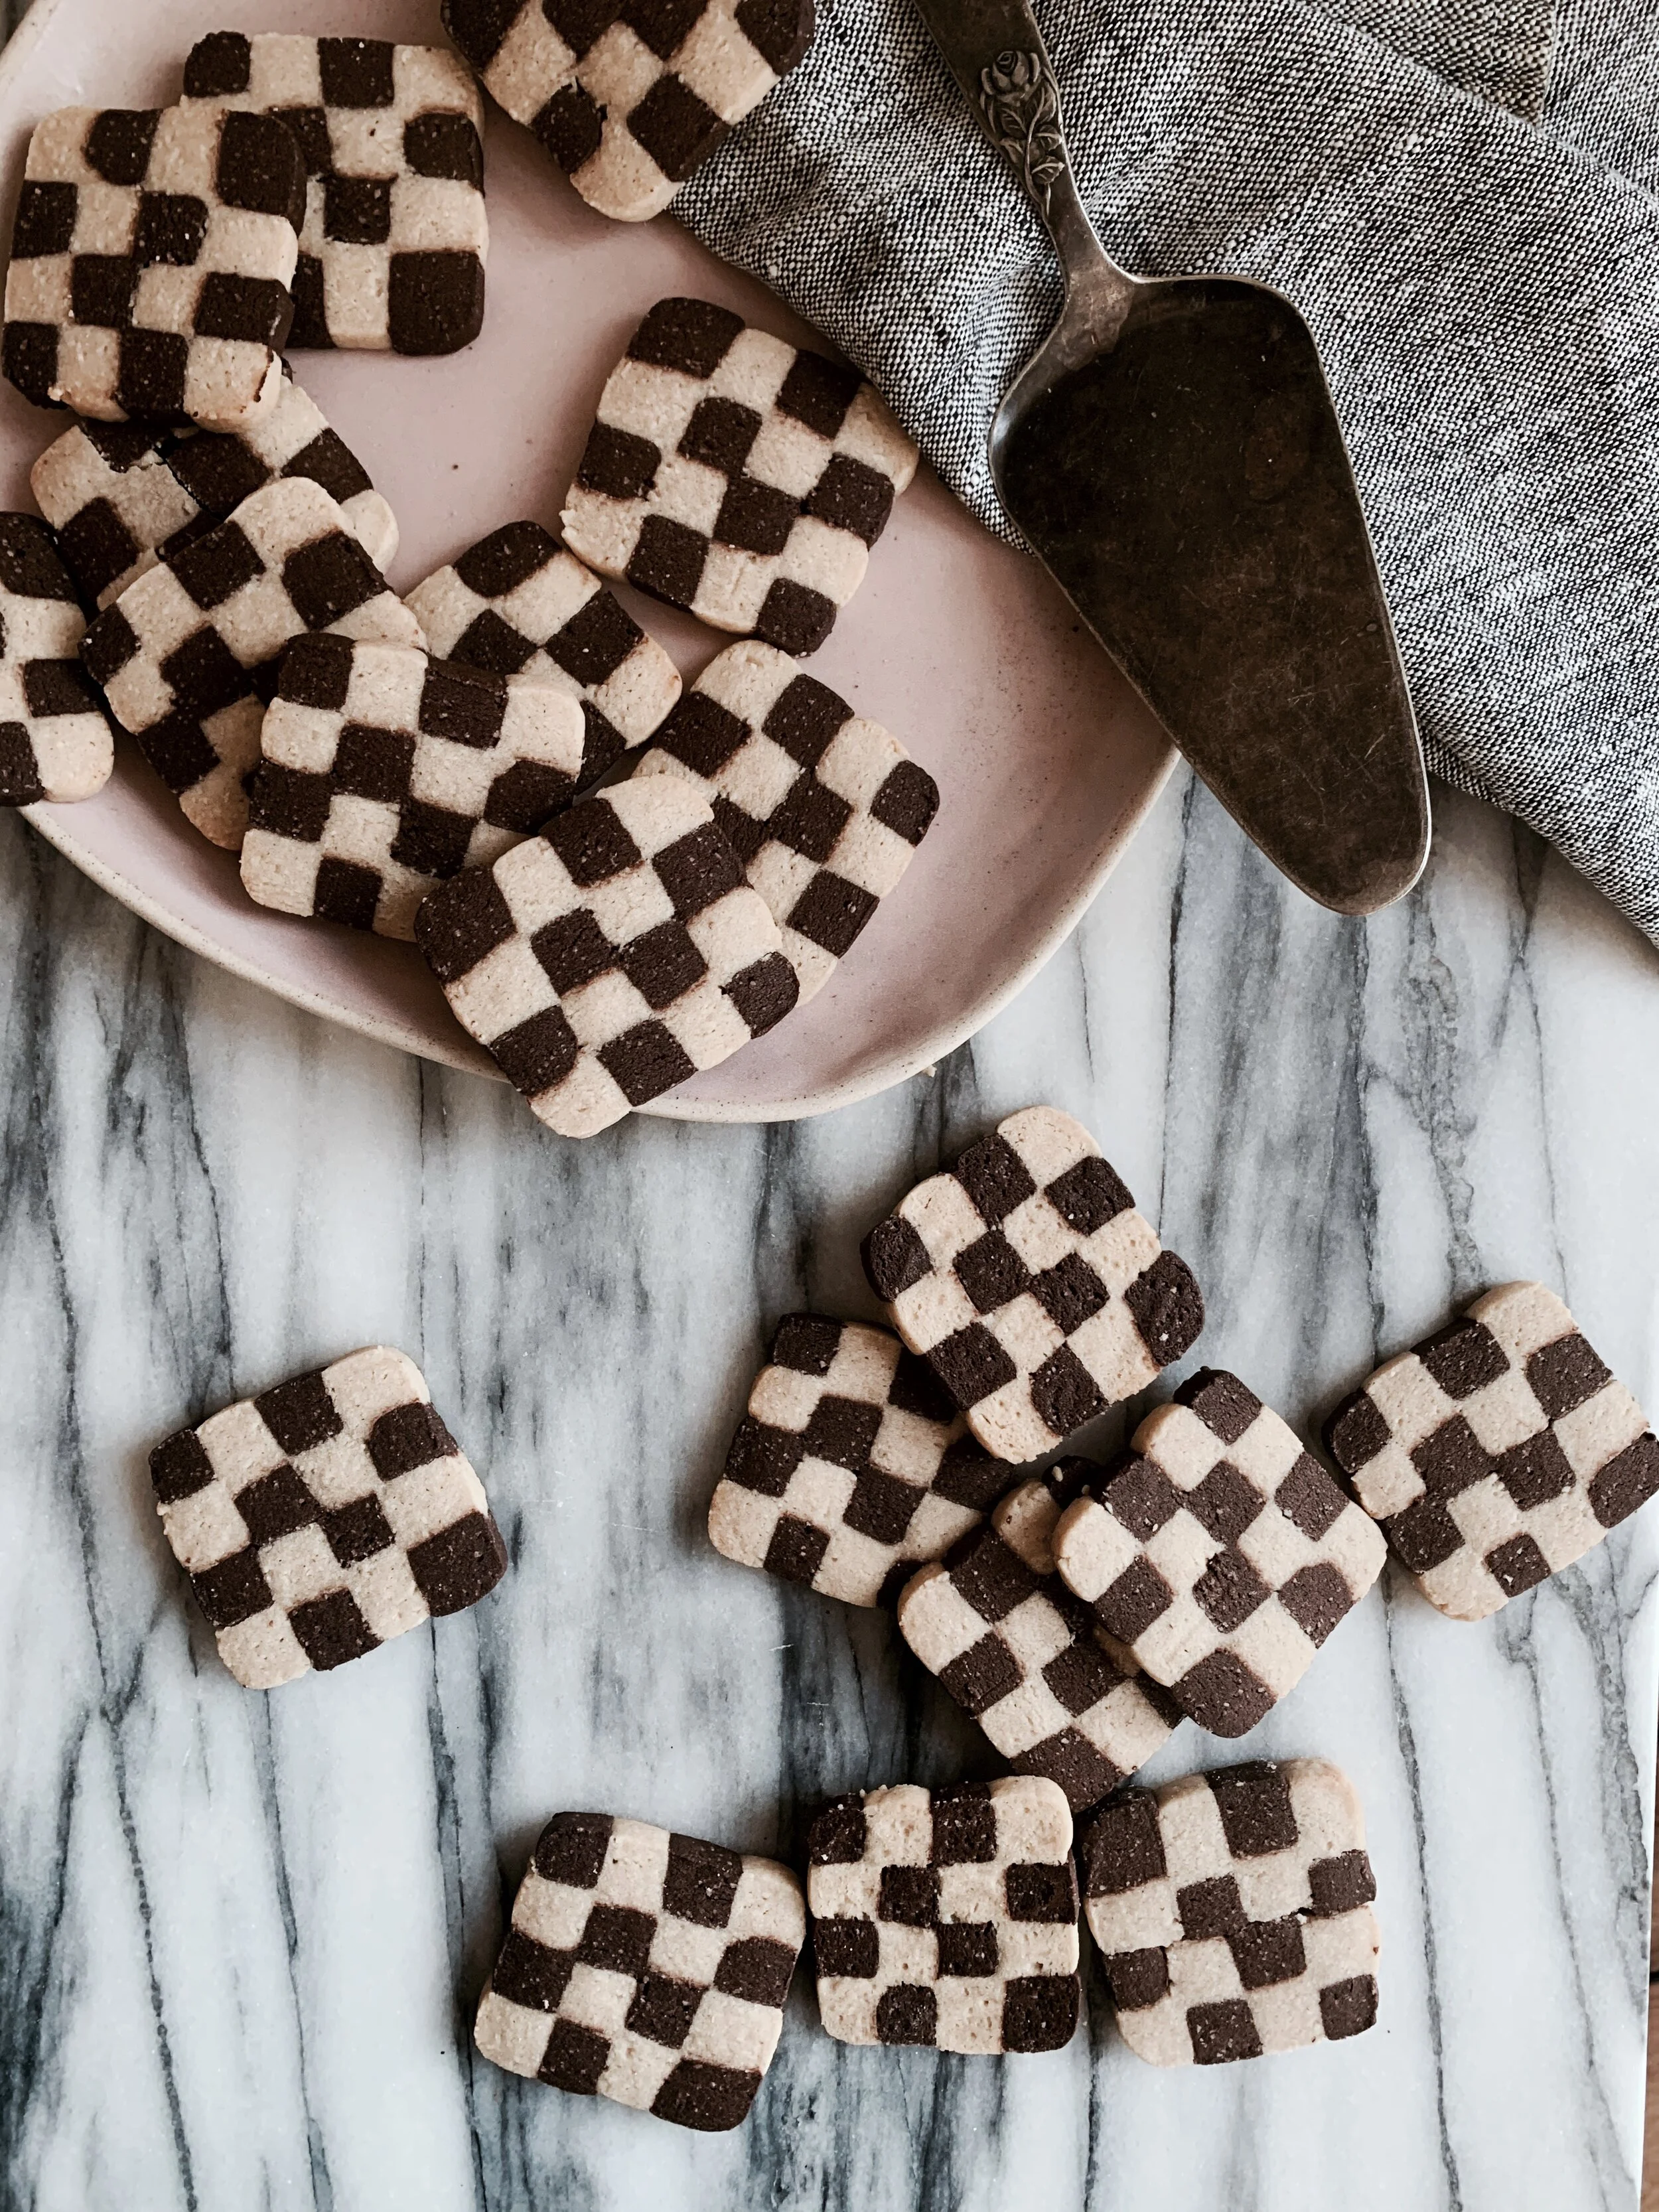
Checkerboard Cookies: This cookie is partially inspired my nostalgia for playdough, and partially by my extreme jubilation about the fact that Drag Race (both UK & US editions) has just started again (the cookies represent the Drag Race flags that Ru Paul holds, obviously). If you like either of those things, especially playdough, are feeling crafty, and/or are seeking some fun on day 323 of lockdown, then these cookies are for you.
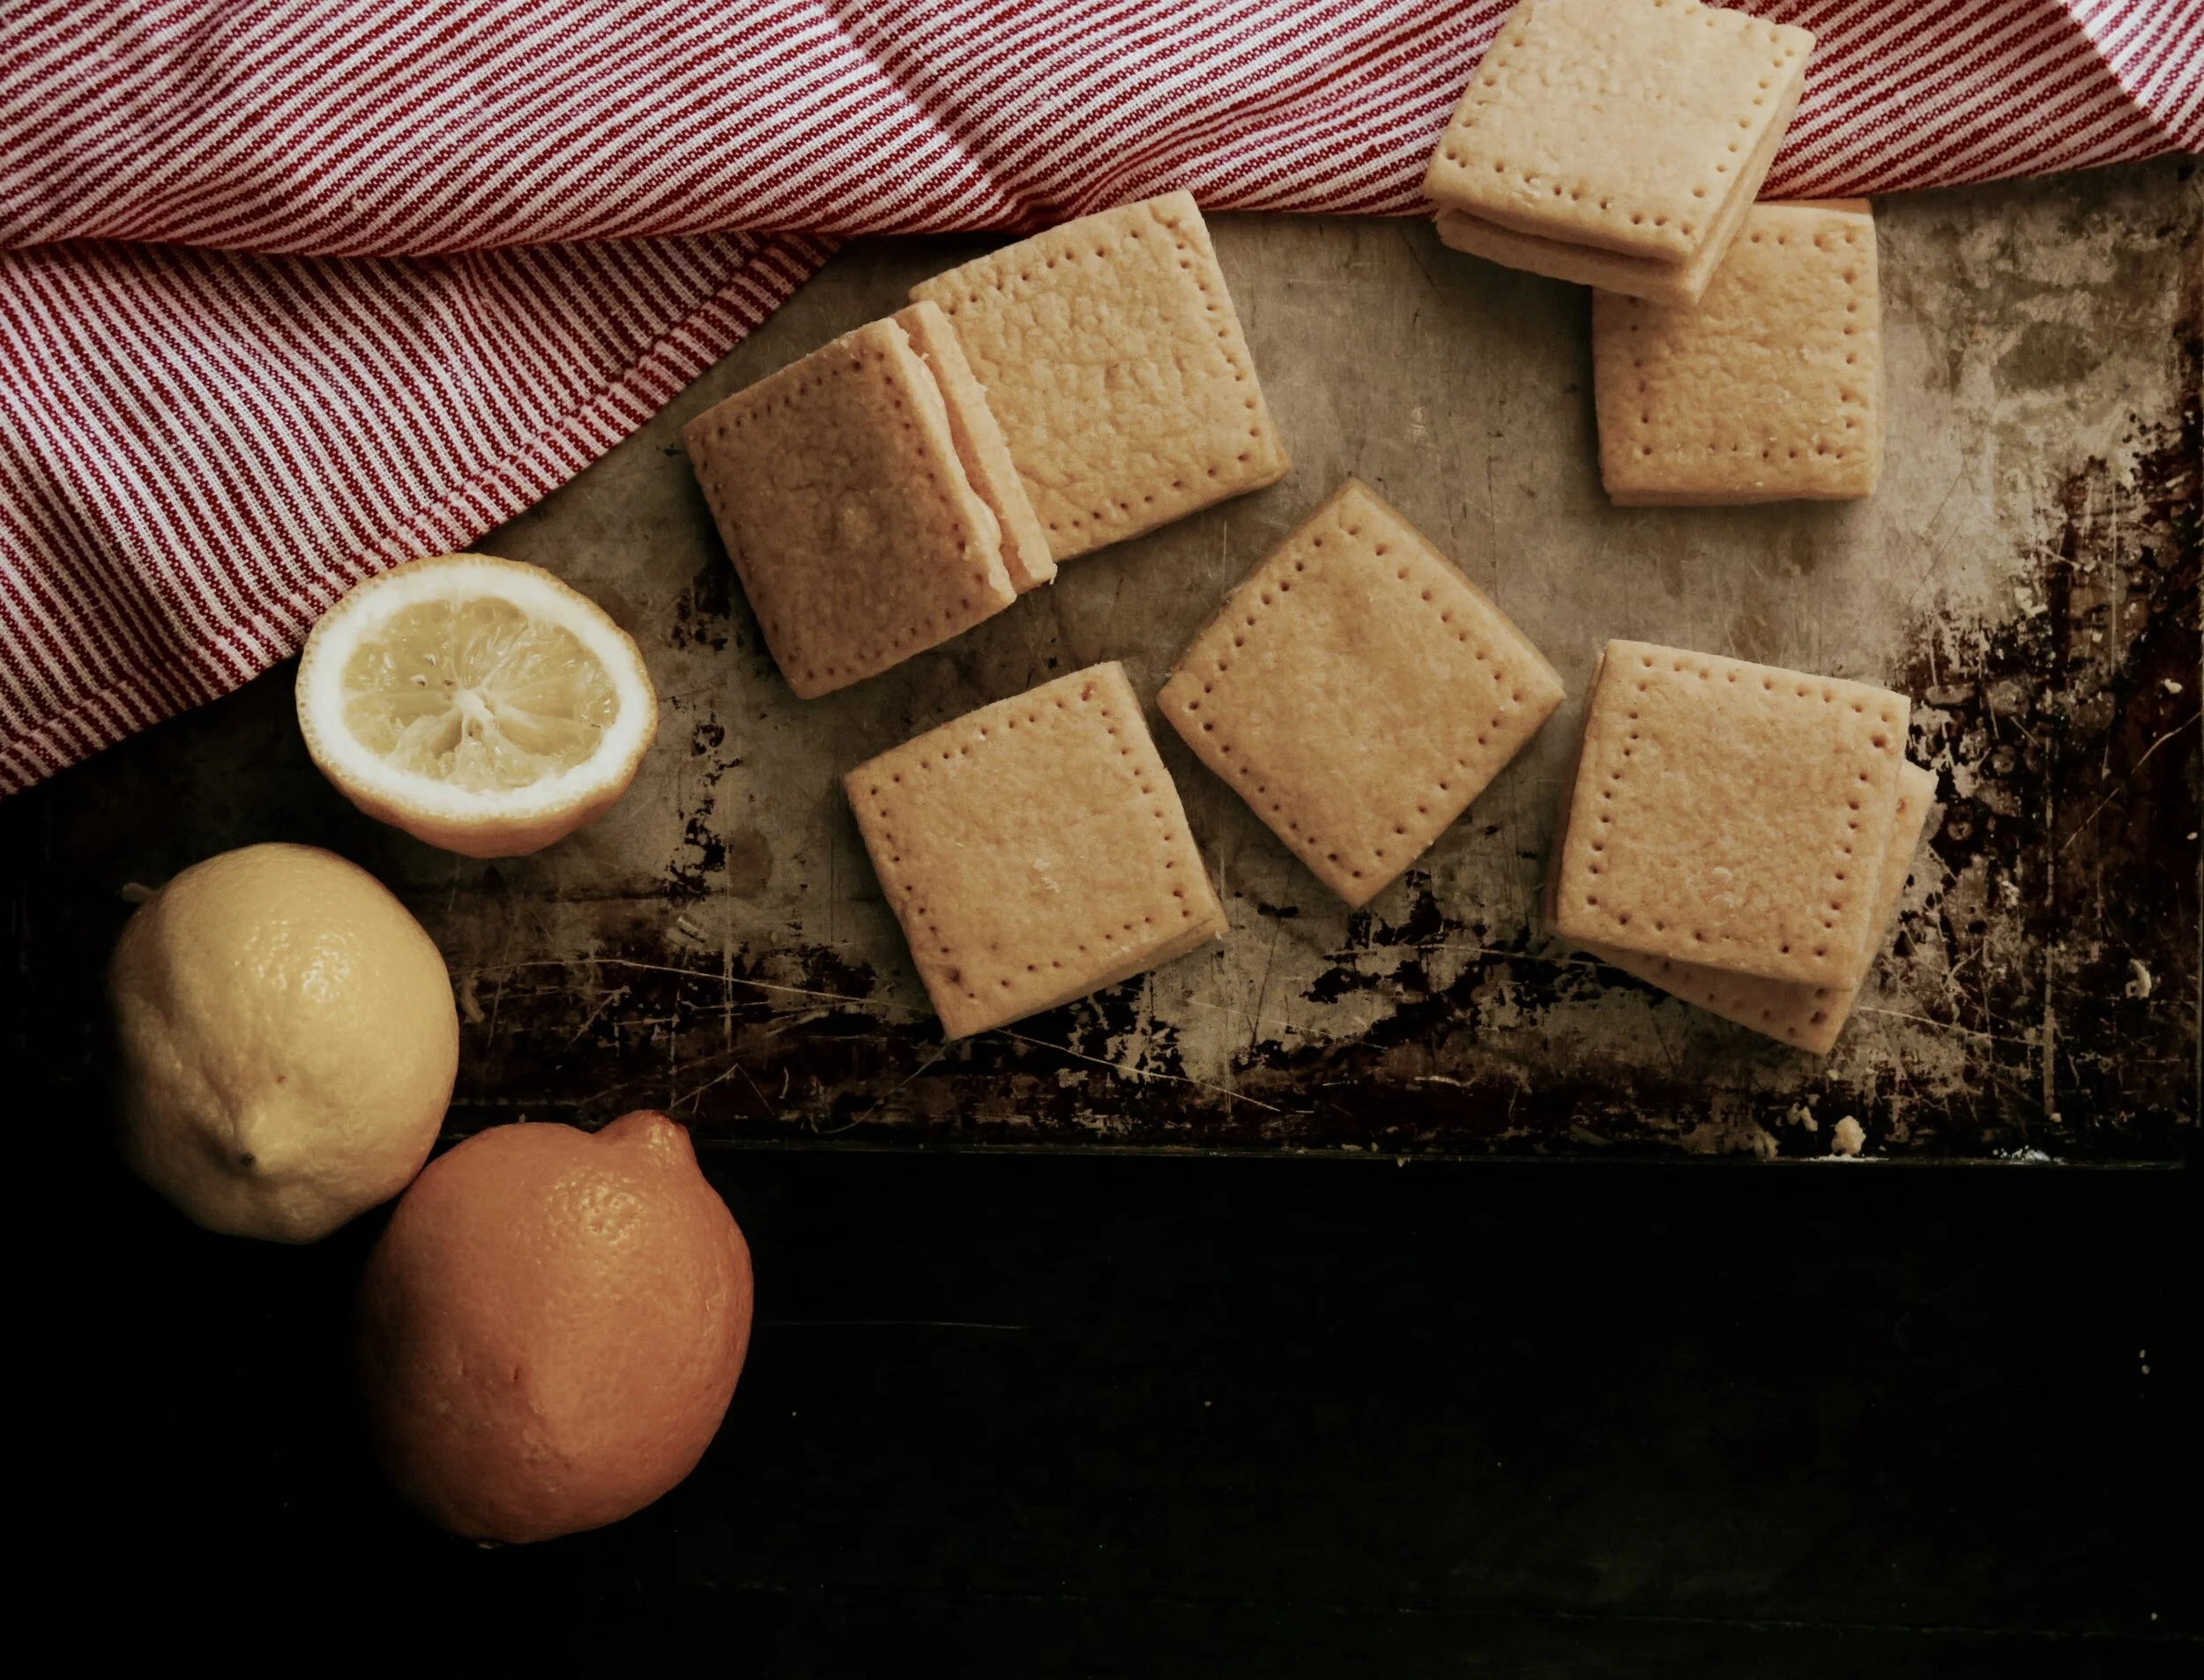
I am reluctant to call them custard creams as they are everything traditional ones are not. Instead of being brittle and flavourless, the biscuit is light, vanilla-scented, and so tender it almost dissolves on your tongue. And the filling is smooth, and generous, with a subtle lemon tang to add astringent relief.
I feel immense joy when I see canapés floating along the horizon of a wine-soaked room. Salty, crunchy, flavour-filled bites to pop into your mouth and stave off hunger. But in reality, the canapés path is far more obstacle- laden. Here are a few of the typical scenarios that I have endured, or have watched others enduring:
- The hidden two- biter: where you hesitate over whether to put the whole thing in your mouth, decide to go for it and then have to find a way to swivel the thing around inside your cheeks until it becomes vaguely chewable, all while trying to hold down a conversation
- The crumbler – this one disintegrates before it even reaches your mouth. This doesn’t necessarily result in interrupted conversation, but ends up being problematic when you shake hands with someone and end up leaving a stick, flaky deposit in their palm
- The burner – you were warned about the heat but went for it anyway. If you were alone you would probably spit it out, but in the interests of politeness and retaining friends, you endure a scorched oesophagus
- The stringer – this is reserved for molten- cheese filled croquetas. Delicious, yes, but they leave the unsuspecting devourer s with frills around their lips reminiscent of Futurama’s Zoiburg.
The following will help you steer clear of the above pitfalls: small, savoury and succulent, these are the perfect canapés. Indeed, they are suitable for consumption at any time. They are crisp on the outside and soft and light inside, flecked with molted feta and cheddar, and with a hint of the more exotic nigella seeds. This recipe makes 18 but I would urge you to double it as they are so addictive. They are also ridiculously easy and quick to conjure up.
NB. these can be made gluten-free by simply substituting spelt flour with gluten-free)
Mini Feta & Cheddar Spelt Scones (makes 18)
Ingredients
100g sour cream
2 tbsp milk
80g mature cheddar cheese, grated
80g feta, roughly diced into 0.5cm cubes
50g unsalted butter, cold and roughly diced into ¾ cm cubes
200g white spelt flour (can substitute with plain flour or gluten-free)
¼ tsp baking powder
¼ tsp salt
½ tsp nigella seeds
[optional: ½ tsp cayenne pepper]
1 egg, beaten, to glaze
1 large baking tray lined with greaseproof paper
Method
1) Preheat oven to 200°C. In a large bowl by hand, or in a food mixer fitted with a paddle, briefly mix together the sour cream, milk, cheddar, feta and butter. Pour in the flour, baking powder, salt and nigella seeds (and cayenne if using), and mix until just combined into a dough. You may need to knead the dough by hand very slightly for it to come together.
2) Place dough onto a floured surface, pat into a square and roll it out to roughly 2.5cm thickness. Slice the dough into nine squares, like a noughts and crosses board, and then slice the squares diagonally to form 18 triangles.
3) Arrange the triangles on the baking tray, leaving at least 3cm between them. Brush them lightly with the beaten egg and place in the oven to bake for 15-20 minutes until golden on the outside. They are best devoured immediately or on the day of baking.
Adapted from Honey & Co's "Food From the Middle East" recipe for Bouikos
HUNGRY FOR MORE?
Maybe they think that all the gluttony and swollen stomachs affect our ability to digest information, that all the turkey/mince/fruit/chocolate/stuffing becomes blinding and we are no longer able to read paragraphs of text. Instead, we have to have things numbered so as to reassure us that whatever we are reading won’t detract too long from the Christmas stasis.
Every newspaper or magazine clearly has some greedy journalist on its team who takes it upon him or herself to rate every mince pie out there to save us all the hard work. Then the subjective lists are compiled and played back to us year after year, despite the foods remaining the same, in the identical, consumable, numbered format.
In response to this, and inspired by an affront to my eyes when opening the newspaper magazine this weekend, I thought I would do a light review of the food adverts themselves:
WAITROSE
Apparently, it’s for fruit lovers: congealed, glistening and with blood/jam trickling through its rivulets. But what is it? Depends how you like your desserts, but I’ll pass.
1/5
SAINSBURY’S
I know Christmas is supposedly about family and coming together, but the picture of “grandma” with a prawn coming out of her head doesn’t conjure up any feelings of warmth for me
1/5
BOURSIN
I’ve caught members of my family spooning Boursin directly into their mouths. I was cynical at first about their Christmas rebrand with the addition of the “merry” epithet. But somehow, heady with garlicky creaminess, it has caught on in my household – we are now asking each other whether we’d like some “Merry Boursin” on our toast.
4/5
LIDL
Lidl has gone down the particularly salivating route in showing us the turkeys pre-slaughter. They are relaxing free range by a bale of hay with the sun shining to stained glass effect through the translucent wattles. Delicious.
0/5
Anyway, with all this Christmas “magic” abounding (and as a remedy for all this gaudiness), we might as well move on to an actual “magic” cake. Making a cake is magical enough, but there is a childlike joy when you put a homogeneous mix into the oven and it emerges, burnished, in perfectly ordered layers. This particular magic cake is like a perfectly formed French entremet, but without the effort. All it requires is eggs to be separated and whisked and somehow it all falls into place. When making the speculoos topping, I would advise making a bit extra to allow some innocent “sampling” during the process (it’s ambrosial).
Ingredients
Speculoos layer
300g Speculoos cookies + 100g for decoration
220ml unsweetened condensed milk
¼ tsp salt
Cake
3 eggs, separated
75g caster sugar
90g unsalted butter
50g plain flour
¼ tsp salt
300ml milk
4 small pears, peeled, cored and diced into 1cm cubes
21cm square cake tin (or round tin with similar area) fully lined with baking parchment. It doesn’t matter if the tin is marginally larger or smaller
Method
1) Preheat the oven to 150°C
2) Put all the ingredients for the speculoos layer into a blender and blitz until smooth, and set aside.
3) Melt the butter and set aside to cool. In a bowl (if doing by hand) or electric mixer beat the sugar with the egg yolks until thick and pale. Pour in the butter and 150g of the Speculoos layer and gently combine. Then sieve in the flour and salt and fold to combine. Pour in the milk and combine.
4) In the bone-dry bowl of an electric mixer or by hand, whisk the egg whites vigorously until they thicken and hold their shape in stiff peaks. Very gently fold them into the batter, taking care to preserve the aeration.
5) Scatter the diced pear evenly on the bottom of the cake tin, then gently pour the batter on top. Smooth the surface with a knife and place in the oven to cake for 35 minutes. The cake will still be soft when you remove it from the oven but this is how it is meant to be. Put it onto a rack to cool to room temperature, then place in the fridge for an hour to set.
6) To serve, lift the cake out of the tin on the serving plate using the baking parchment and remove baking parchment. I choose to slice off the cake edges in order to better expose the layers. Spread the remaining speculoos layer on top and over it crumble the decorative speculoos cookies.
Recipe adapted from "Magic Cakes" by Christelle Huet-Gomez
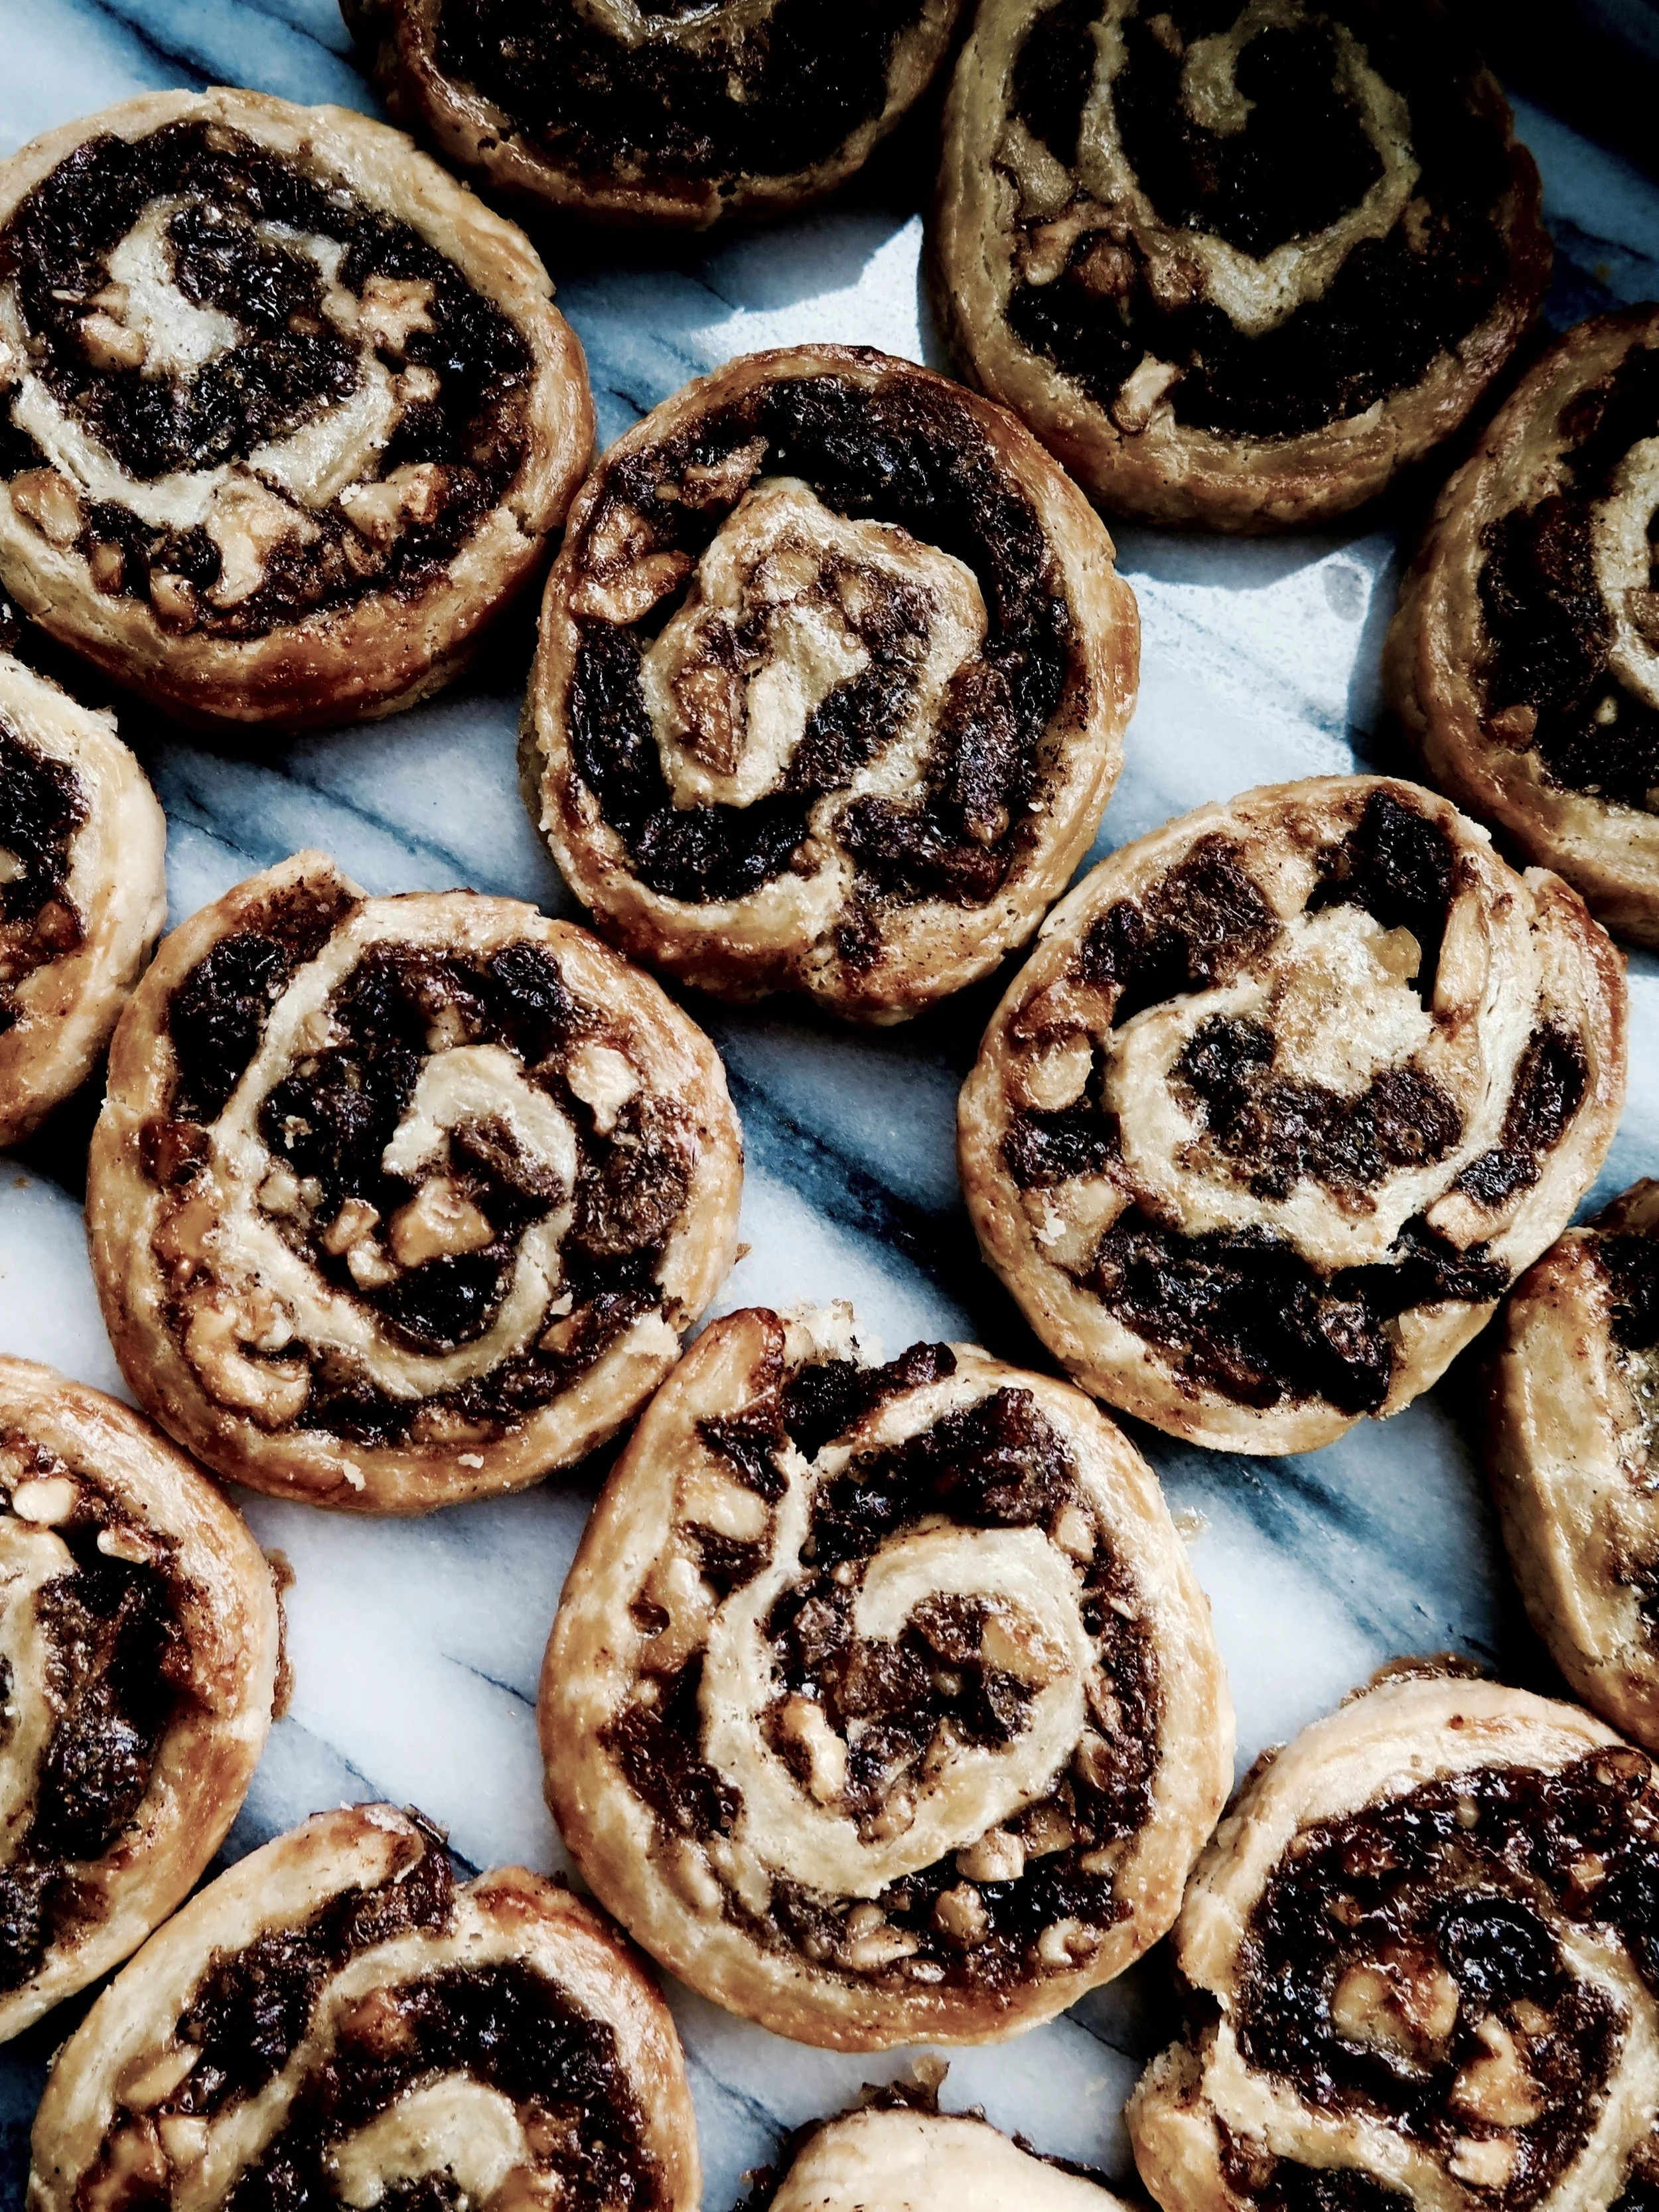
Moreishly light & flaky pastry swirled with chewy & caramelised cinnamon dusted apricots & sultanas
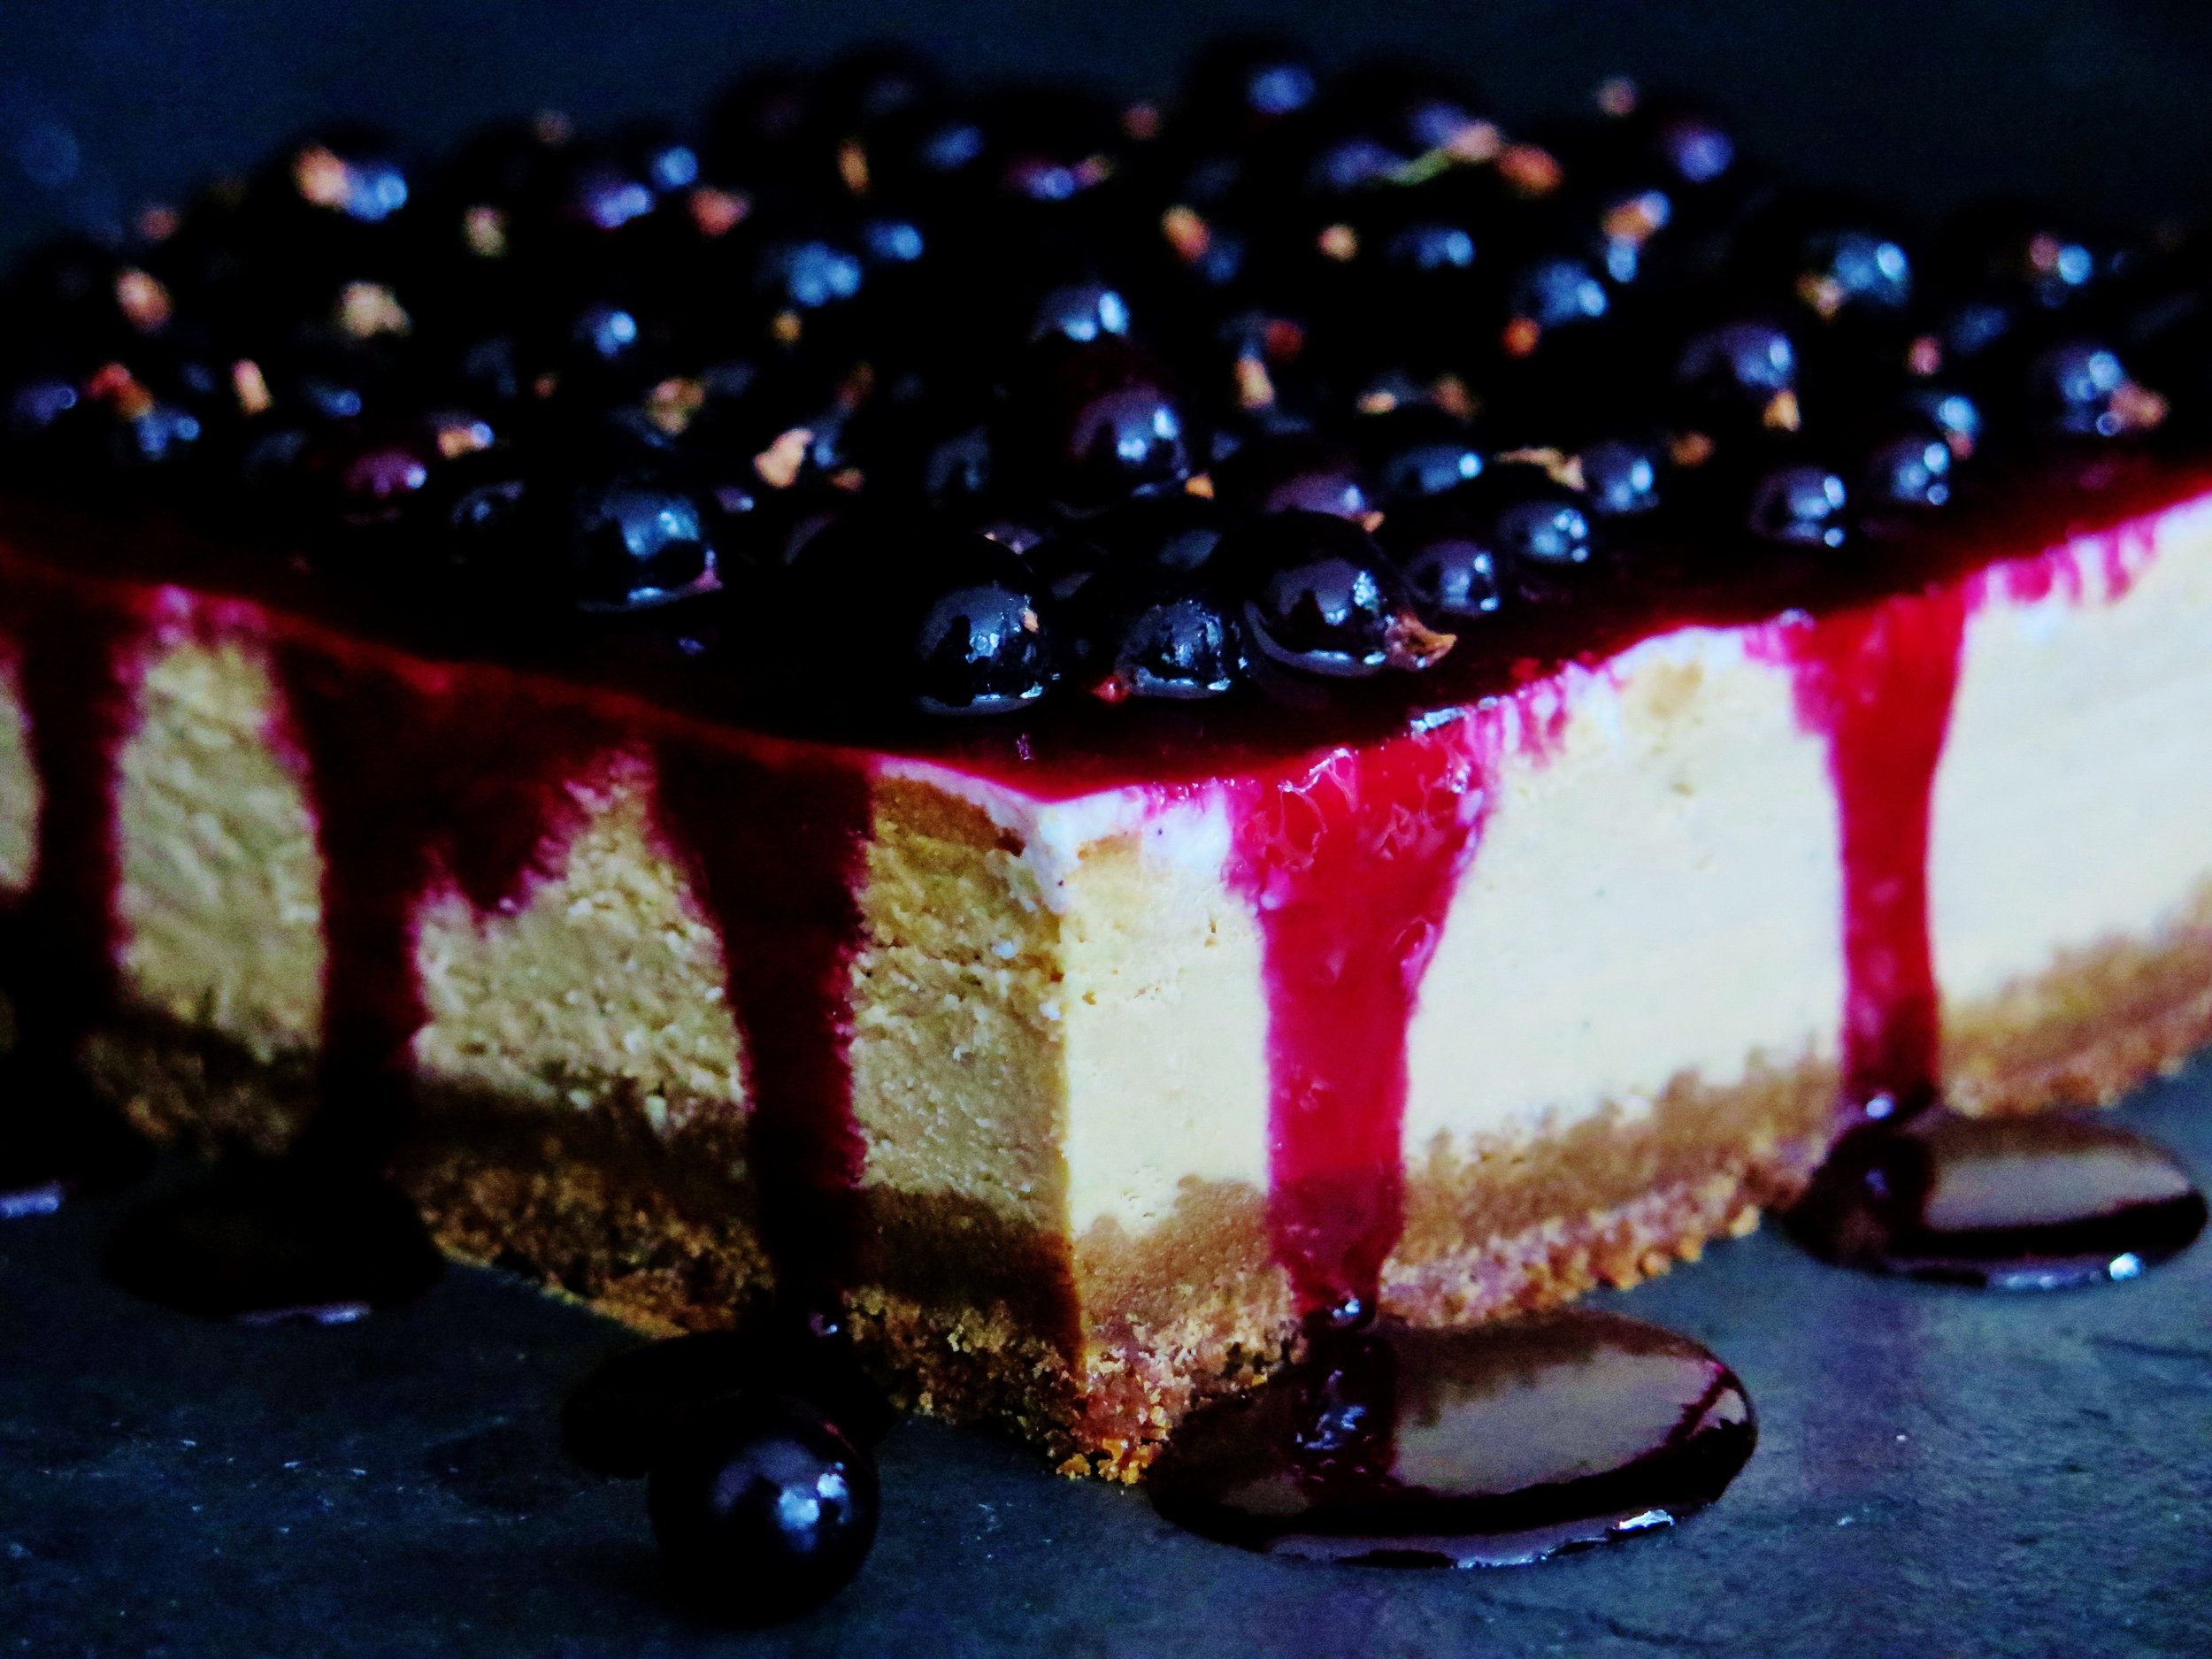
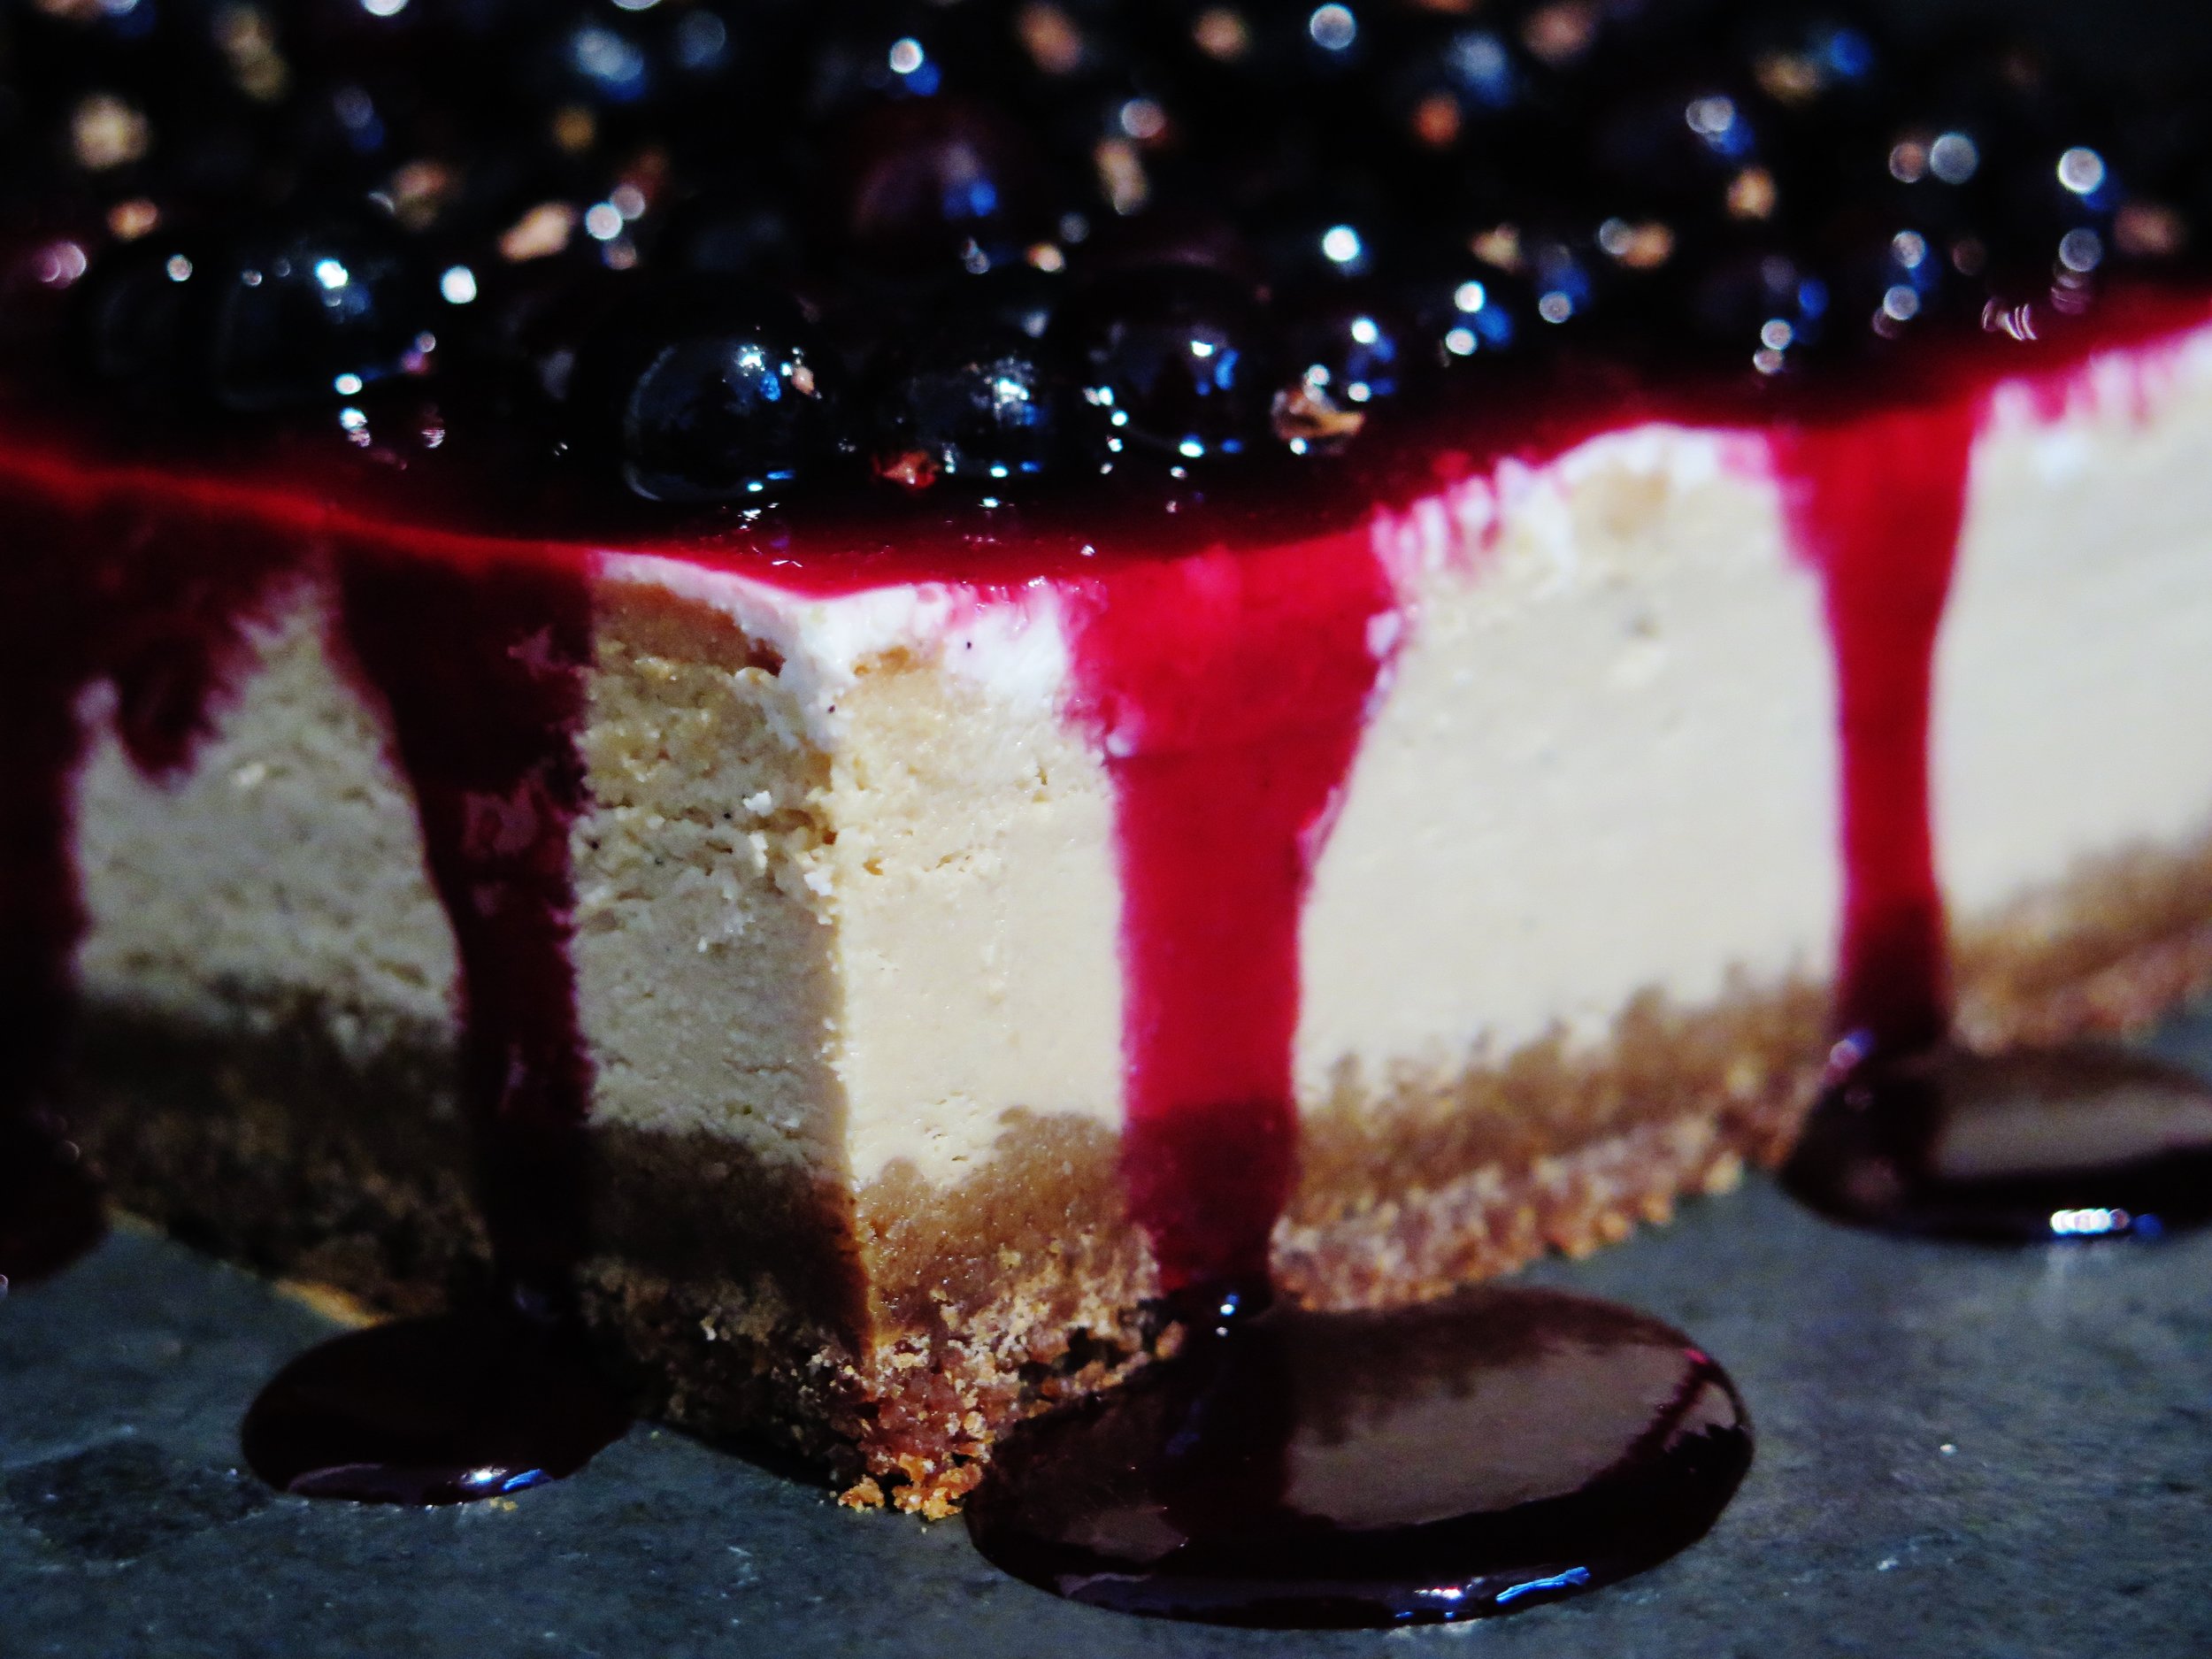
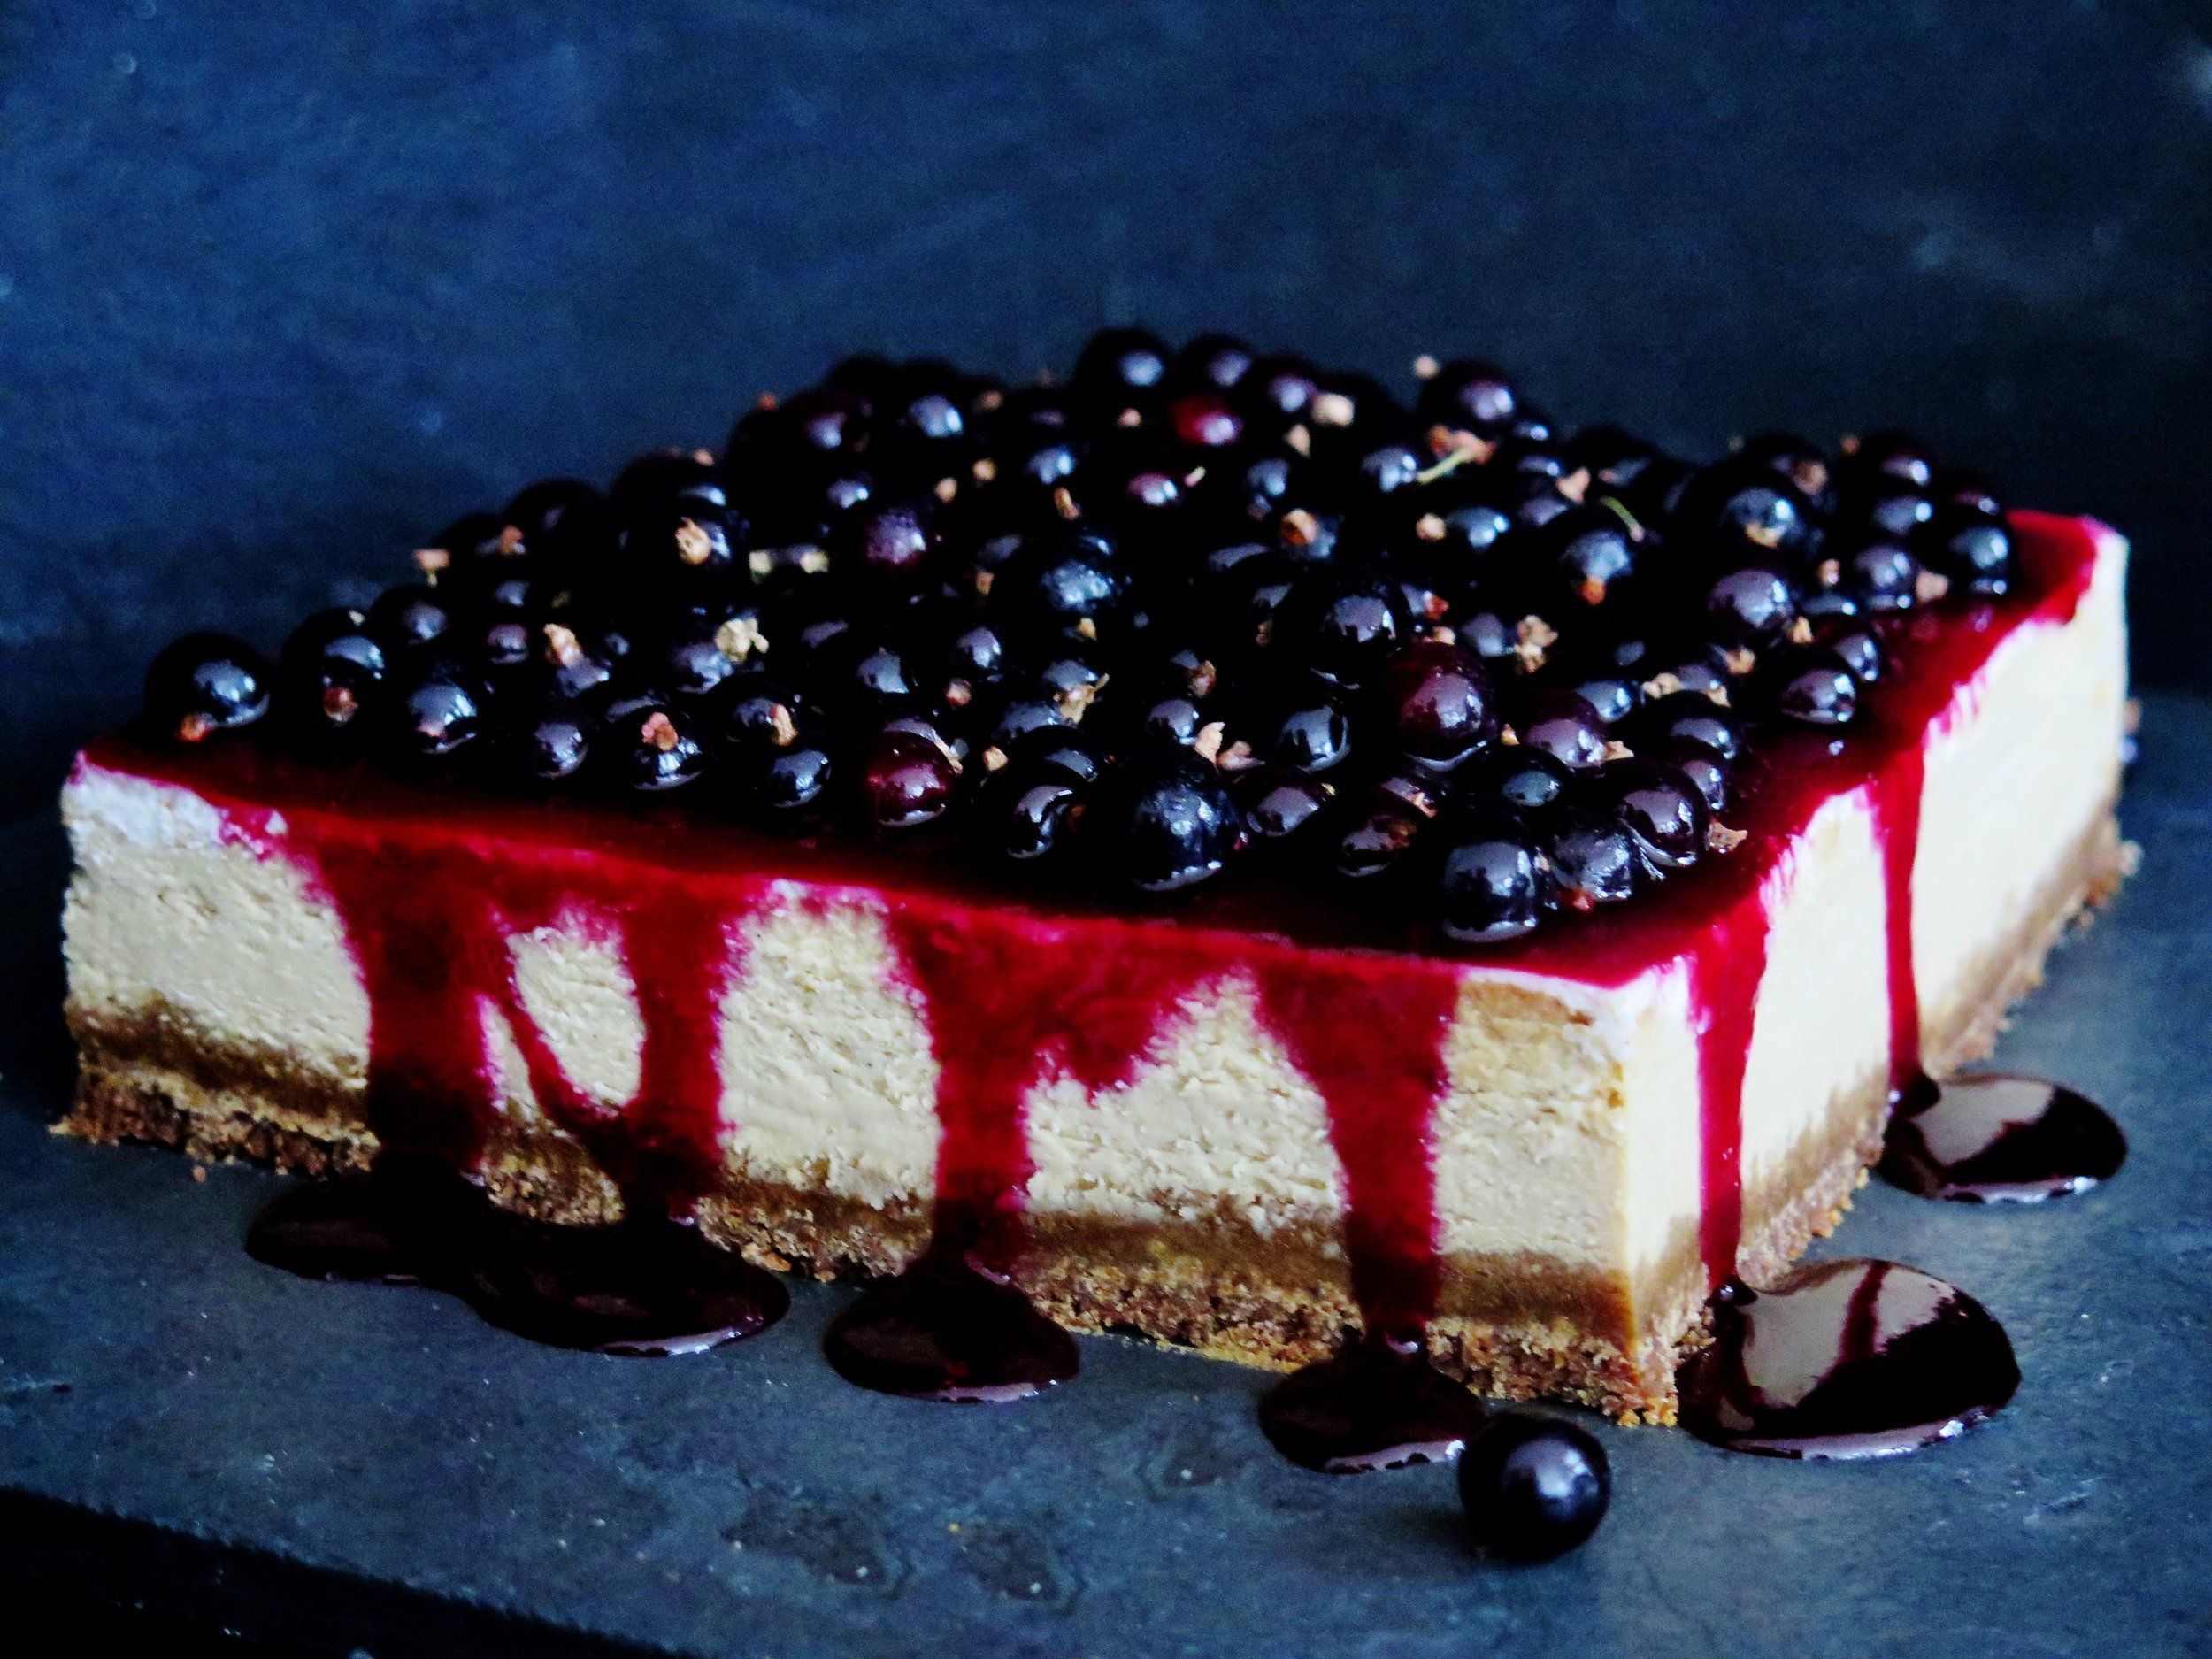
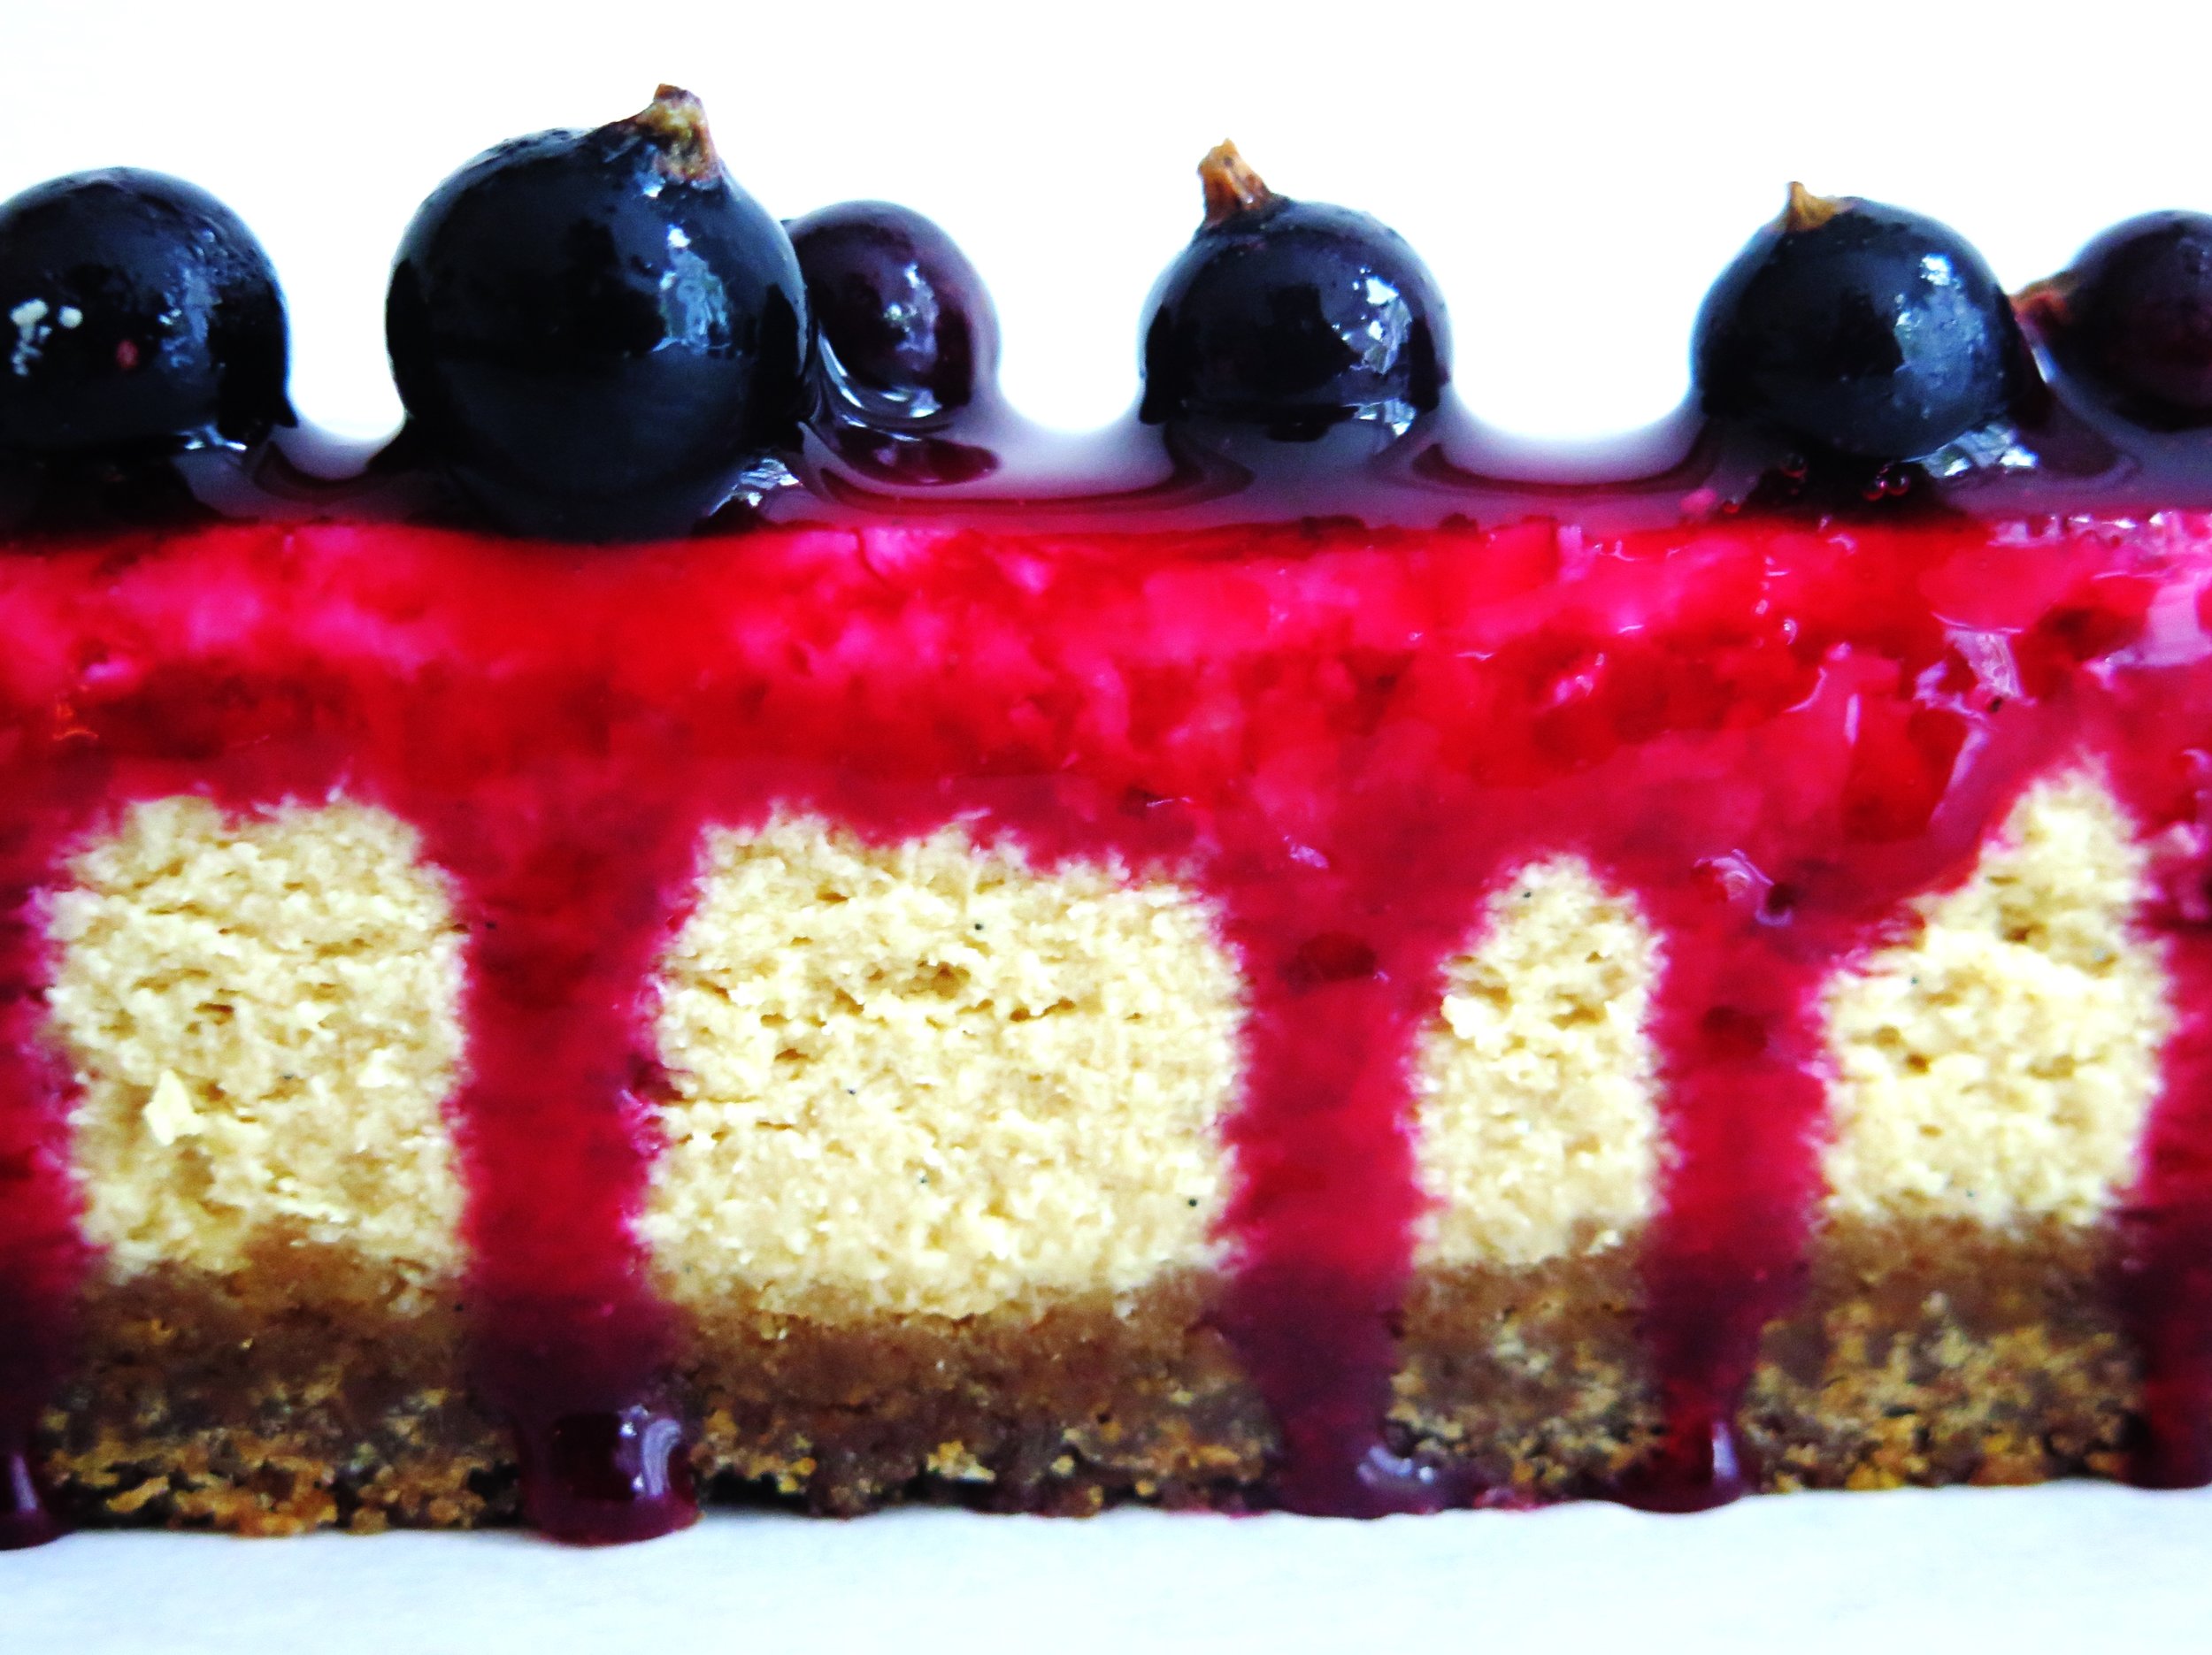
Caramelised White Chocolate Cheesecake with Salty-Sweet Fudgy Biscuit Base & Blackcurrant Glaze
I’m at risk of sounding like one of those mindless click-bait buzzfeed articles when I say this, but I mean ever word: you’ve been eating white chocolate incorrectly your whole life.
Would you believe me if I told you that the innocent Milky Bar Kid’s saccharine white cocoa butter chocolate has a deeper, darker, more seductive side?
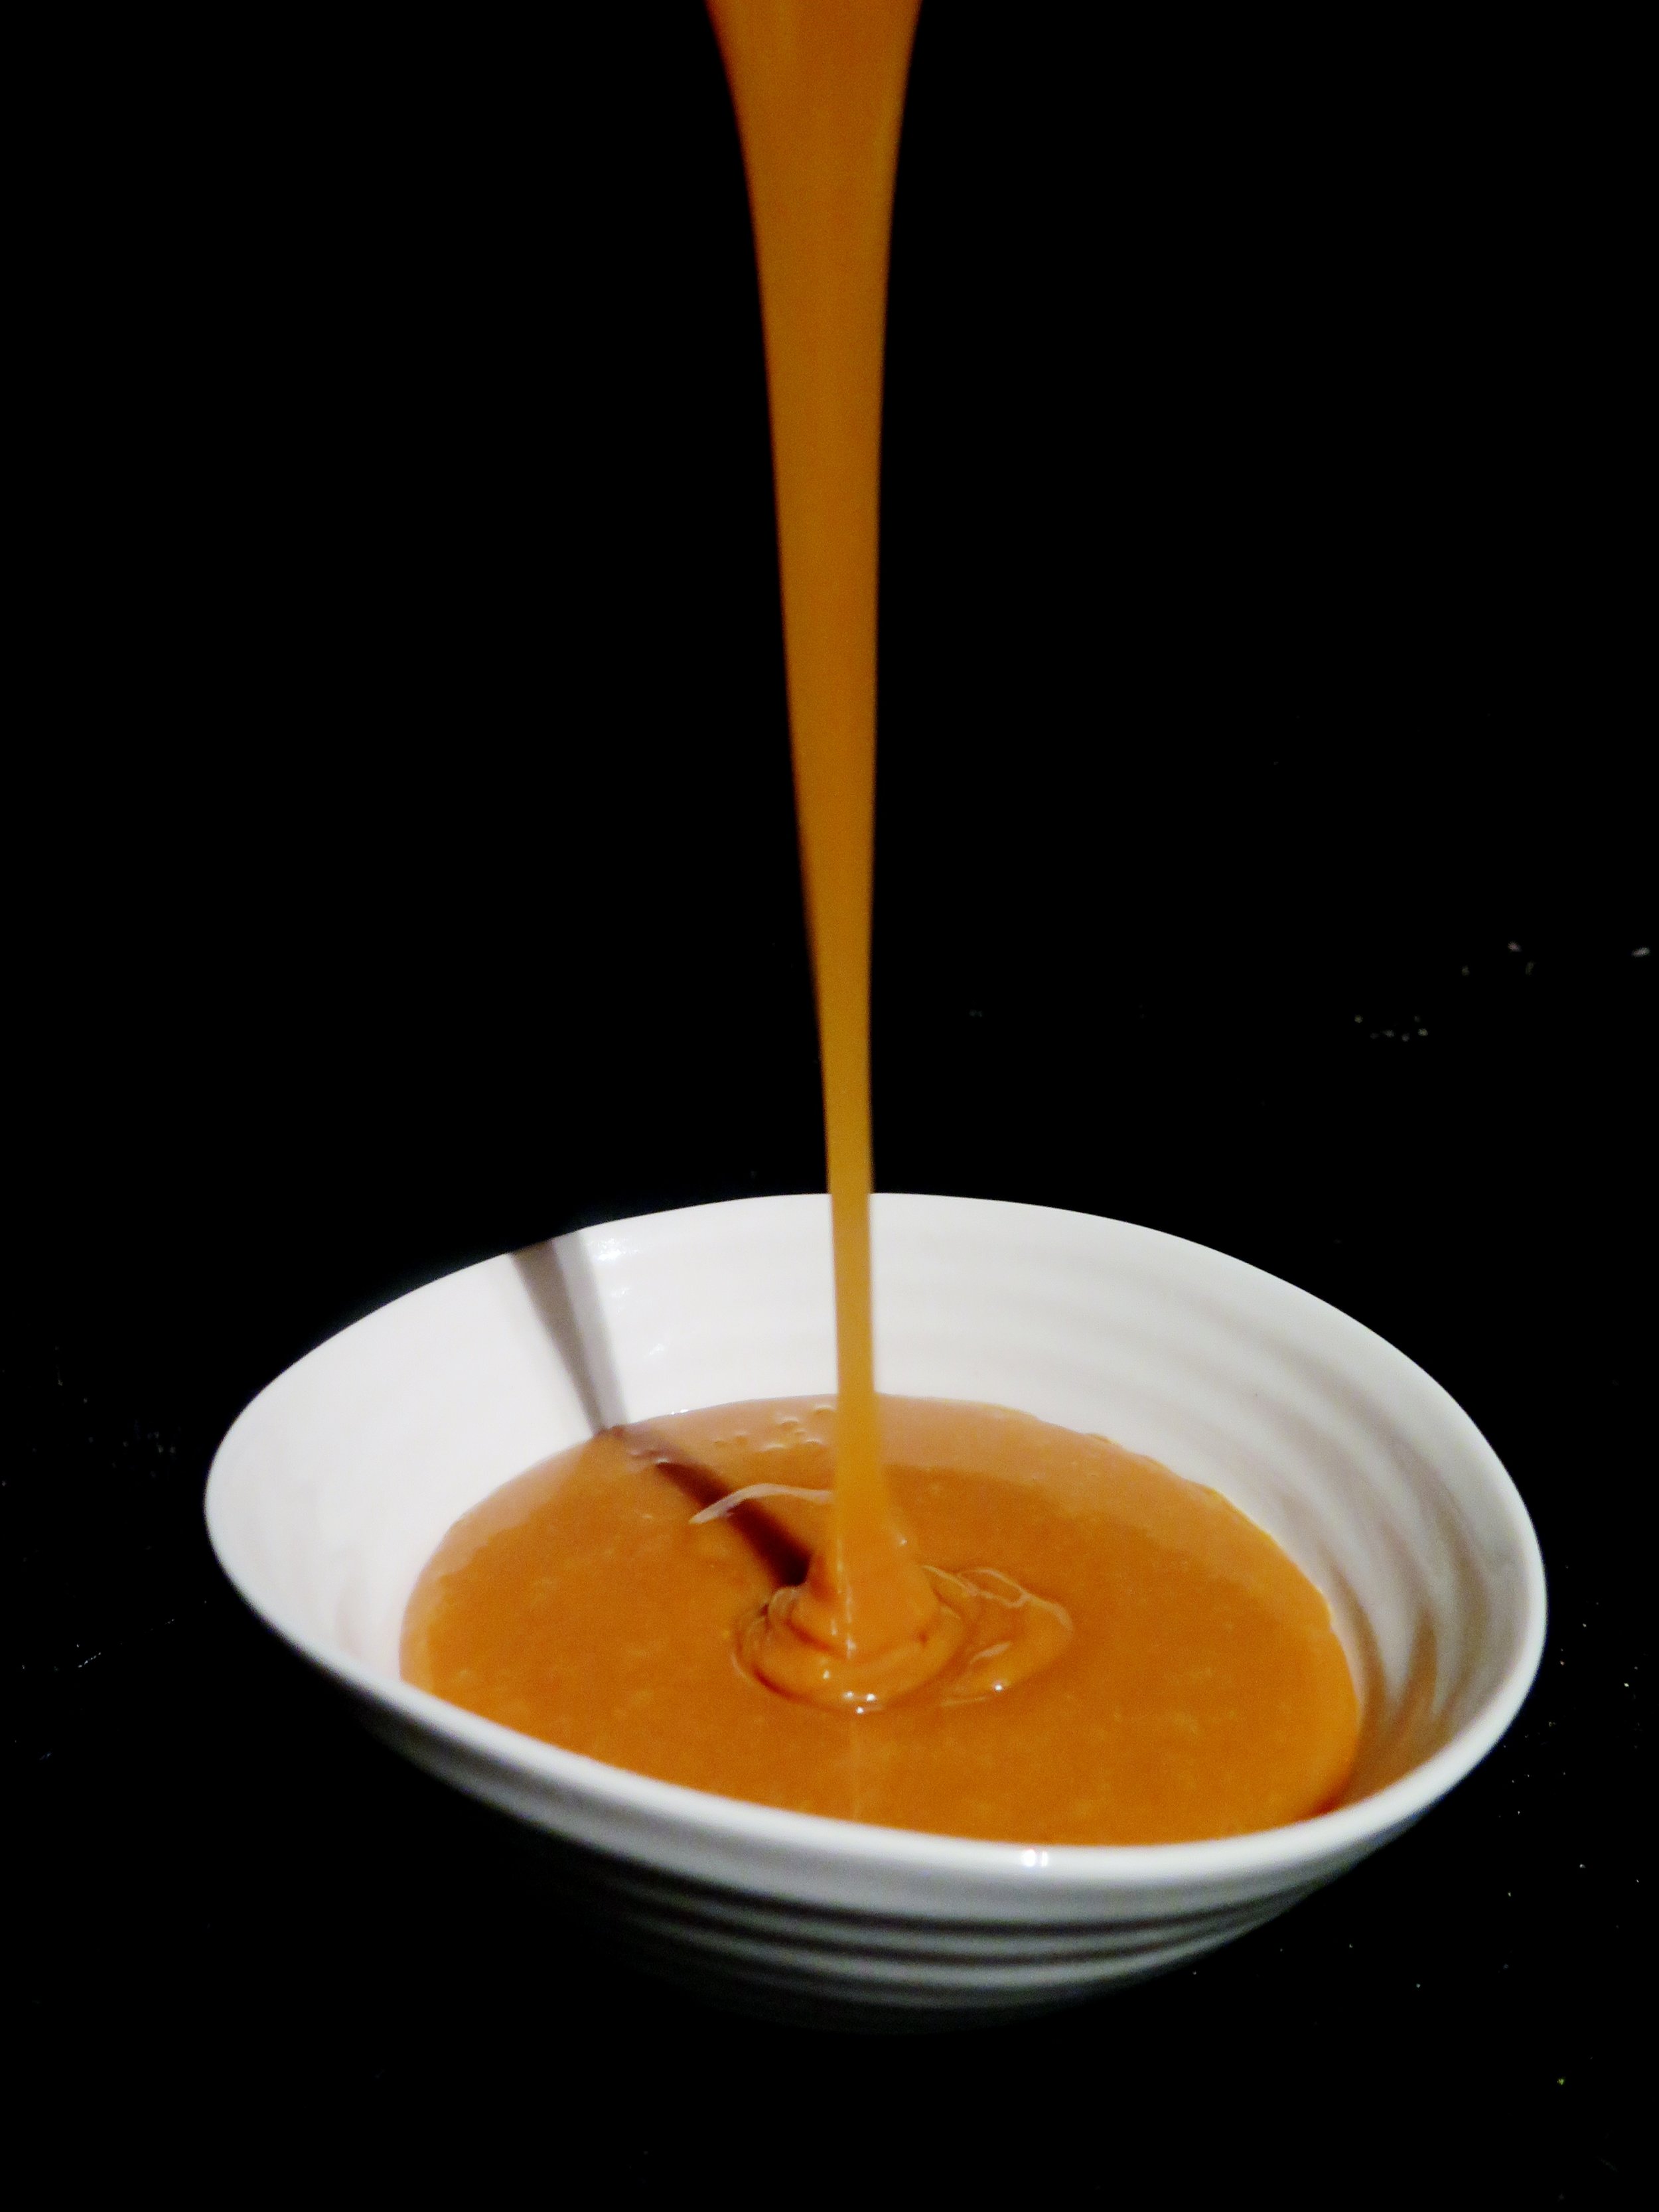
The corruption process is simple. All you need is:
- heat
- good quality white chocolate
-a tray
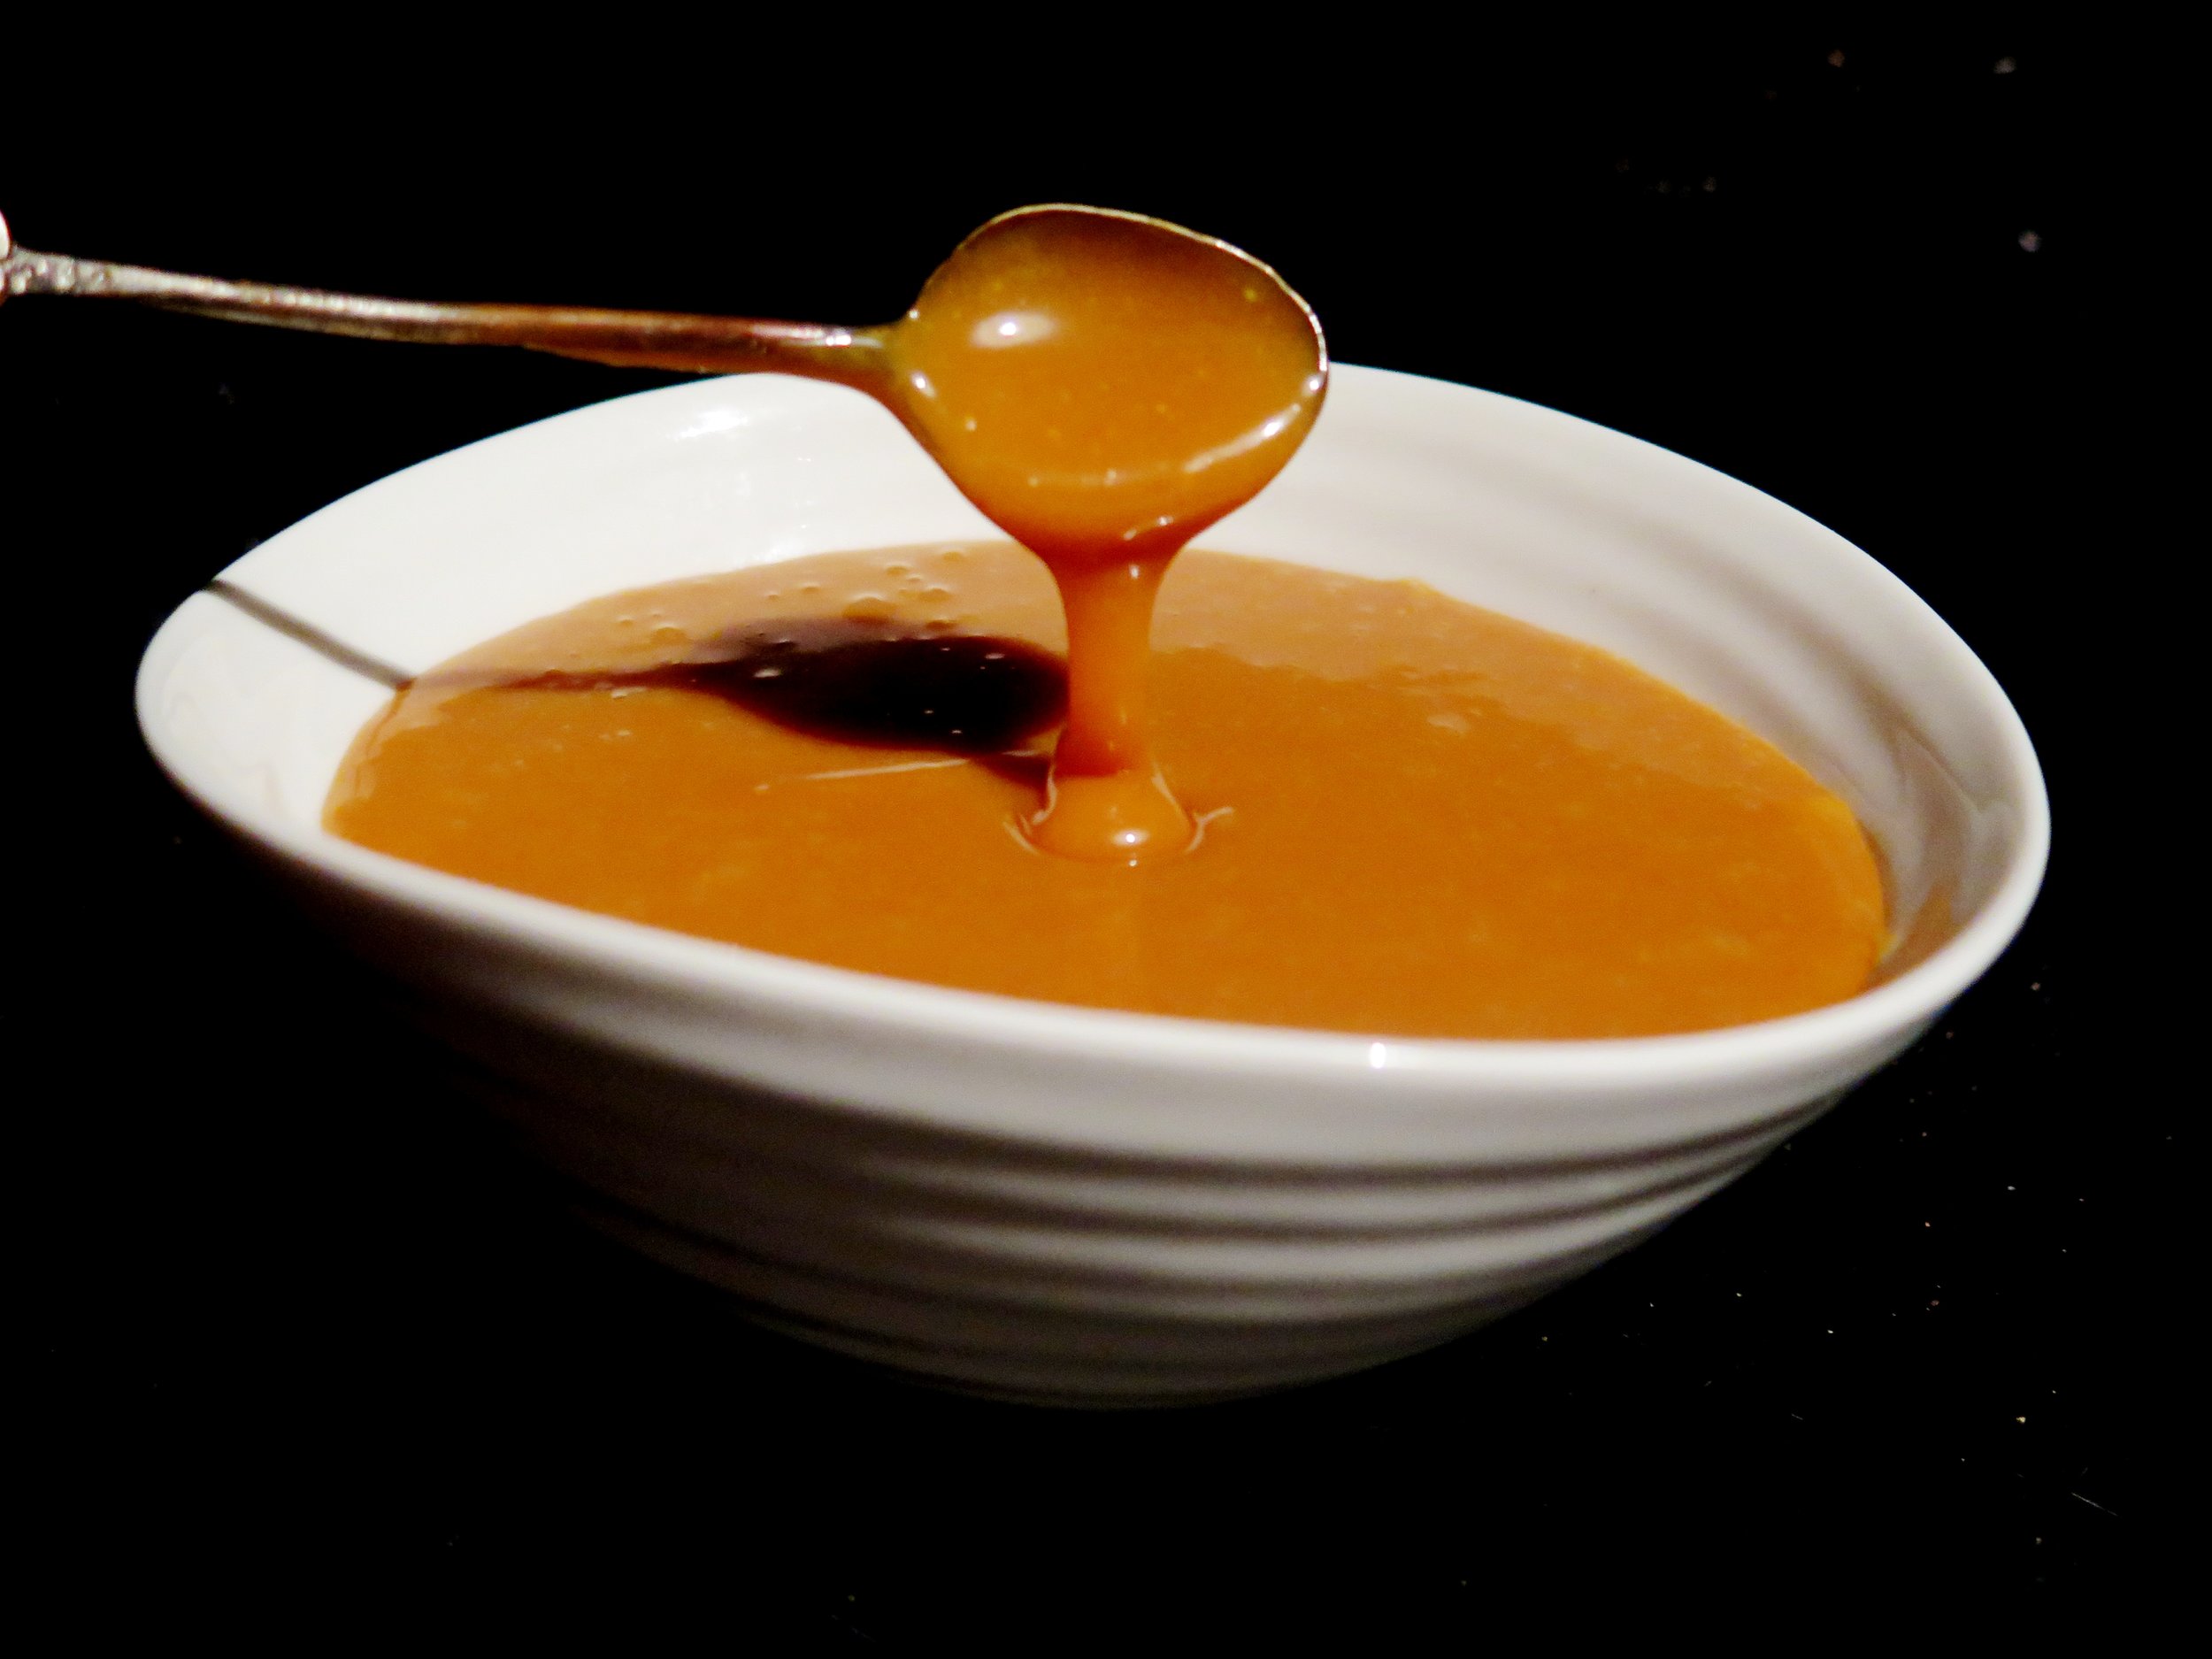
After about 20 minutes, the heat will begin to convert the pool of glossy molten cocoa butter into white chocolate’s luscious evil sister. I dare you to try it.
It’s pretty sublime on its own but, if you can resist eating it all, it works deliciously well in a cheesecake. I pair it with a fudgy, salted, graham cracker-style base and an astringent blackcurrant glaze to cut through the sweetness.
Often cheesecakes call for a base simply made out of crushed store-bought cookies. I’m no stranger to doing this myself, but I’m always left with a pang of guilt for cheating. Not only does homemade biscuit base taste better, it’s chemical-free and you have much more control over the flavour balance – this one’s especially fudgy.
However, if you’re feeling lazy you can make the base using 400g digestive biscuits blitzed into crumbs with the 120g browned melted butter. If you are a coeliac just use gluten-free digestive biscuits.
You can also use non-caramelised white-chocolate. It will still taste delicious, just not anywhere near as ambrosial.
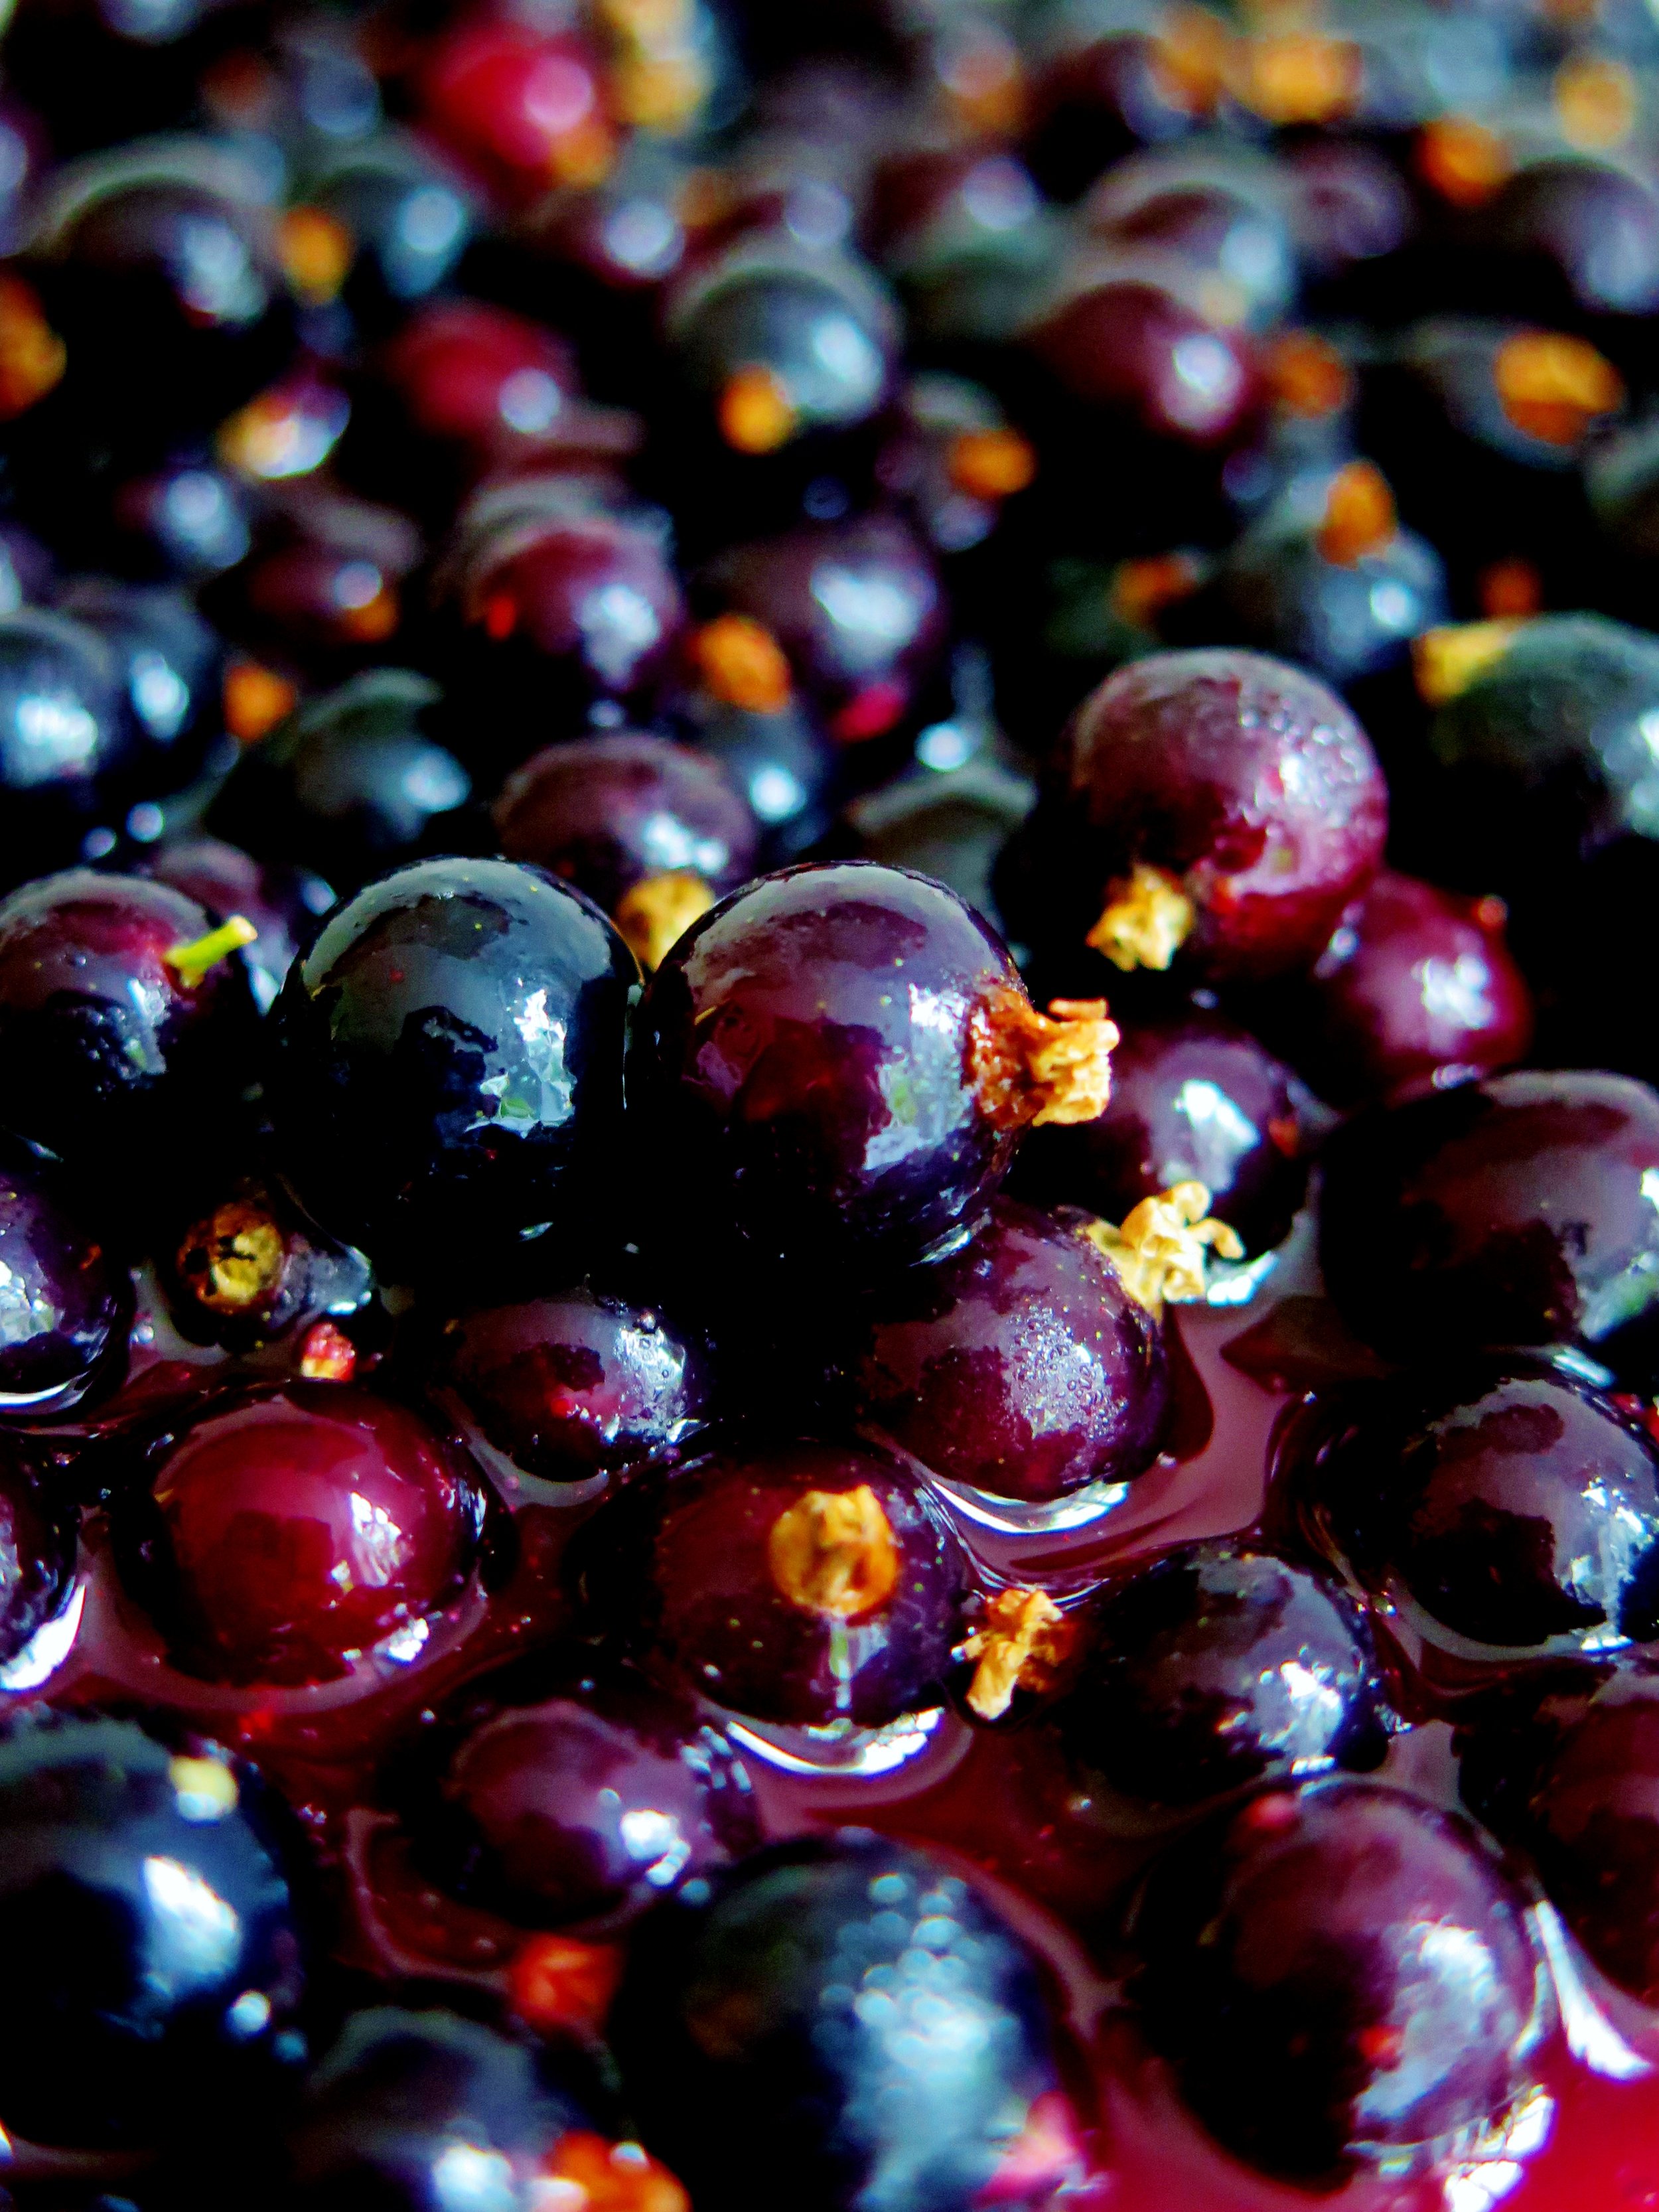
If you can’t get hold of any blackcurrants, feel free to use fresh or frozen raspberries or redcurrants instead.
This is best made the day before serving and kept in the fridge overnight. In fact, the fridge works wonders.
Ingredients
Salty-sweet, fudgy biscuit base
200g white spelt flour
60g light muscovado sugar
1 tsp bicarbonate of soda
1 tsp salt
60g unsalted butter, diced
70g clear honey
4 tsp vanilla extract
120g unsalted butter, for melting
Large baking tray, lined with baking parchment
20cm square tin (or round with similar capacity), lined with baking parchment
Caramelised white chocolate filling
300g good quality white chocolate, broken into pieces
180ml double cream
500g full fat cream cheese, at room temperature
100g caster sugar
4 eggs, at room temperature
1 tbsp vanilla bean paste (or the seeds of 1 vanilla pod)
Bone dry baking tray (preferably non-stick)
Sour cream topping
220ml sour cream
40g icing sugar, sifted
Blackcurrant glaze
200g blackcurrants
80g caster sugar
3 tbsp water
100g fresh blackcurrants to decorate (optional)
Method
Salty-sweet fudgy biscuit base
- Preheat the oven to 180˚C. Pour flour, sugar, bicarb, salt and diced butter into a blender and blitz until the mixture resembles damp sand. Alternatively, use your fingers to rub the butter into the other ingredients.
- Whisk together the honey, vanilla and milk. Stir this into the dry mixture to combine and form a paste-like dough.
- Spread the dough on to the baking tray in an even 0.5cm thick layer. Bake in the oven for 15-20 minutes until golden brown and cooked through. If it doesn’t become dry and brittle after cooling, bake for a further 5 minutes.
- Brown the 120g of butter for melting by placing it in a pan over medium heat and allowing it to turn a golden brown before setting it aside to cool. It should give off a wonderfully nutty aroma.
- Crumble the baked biscuit into a blender with the browned melted butter, and pulse until it turns to damp sand-like consistency. Tip this out into the lined cake tin and press down to form an even layer. Place in freezer to set.
Sour cream topping
- Whisk together sour cream and icing sugar until smooth. Store in the fridge until ready to use
Caramelised white chocolate filling
- Preheat the oven to 130˚C. Pour broken white chocolate on to the tray and place in the oven. Every 10 minutes remove the chocolate from the oven, stir with a bone dry utensil, and place back in the oven. After about 30-40 minutes it will have taken on a beautiful honeyed caramel tone. As ovens vary in character and different chocolate brands vary in ingredient quality, it may take longer. The chocolate may also seize. Don’t panic if this happens: just keep going until it turns golden (I’ll explain how to proceed with this in the next step).
- Increase the oven temperature to 160˚C. Place the double cream in a small pan over a high heat. Once it begins to boil, remove from the heat and pour into it the caramelised white chocolate. Stir to combine until smooth. If the chocolate did seize in the oven, it will be lumpy. If this is the case, pour the lumpy cream and chocolate mixture in a blender and blitz until completely smooth. If a few recalcitrant lumps remain, simple sieve them out.
- Either using a stand mixer fixed with the beater or a hand held whisk, beat the cream cheese together with the caster sugar until completely soft and smooth. Beat in the cream and white chocolate caramel. In a separate bowl, whisk together the eggs and vanilla. Pour this into the cream cheese mixture and beat until completely smooth and glossy.
- Remove the cake tin with the biscuit base from the freezer, and pour into it the filling mixture. Bake in the oven for 1 ½ hours, checking after 45 minutes. If it begins to go brown, cover with tin foil and continue to bake for the full time.
- Keeping the oven on, remove the cheesecake from the oven and allow it to cool for 10 minutes. Spread the sour cream topping in an even layer over the surface of the cake. Place the cheesecake back in the oven, switch off the oven and leave its door slightly ajar while the cheesecake sets inside for a further 1 ½ hours.
- When the cheesecake reaches room temperature, remove from the oven, cover the cake tin with cling film, and place it in the fridge to allow it to set over night, or place it in the freezer for a couple of hours.
Blackcurrant glaze
- Place 200g blackcurrants, caster sugar and water in a small pan over a high heat and stir until the sugar is dissolved. When it begins to boil, reduce heat slightly and allow it to simmer for 5-10 minutes or until it thickens to a viscosity like that of maple syrup. Strain the mixture through a sieve and place the liquid back in the pan to simmer for a further 3 minutes.
- Allow the syrup to cool slightly then carefully pour it over the chilled cheesecake. Scatter with fresh blackcurrants and serve.


