These cookies are thick; they’re chewy; and they have a a molten Nutella centre with oozy chocolate and crunchy toasted hazelnuts. I’m not even going to feign modesty: these cookies are the apotheoses of cookies. Make sure you have at least two reserved per person because eating one is never going to be enough – be warned.
Viewing entries tagged
brown butter
Entremets, soufflés, macarons, choux buns - even making ciabatta, a two day process, which culminates in a dough whose tenacious elasticity has been known to reduce some people to tears - I’ve generally met their challenges.
However, hubris met nemesis a couple of weeks ago. I came home to the nutty toasted perfume of a new recipe my mom had tried out: ridiculously simple, five ingredient coconut wafers so thin you could see the sunset through them, so tender that they crumbled in anticipation of hitting one’s tongue, and so light and moreish that a second batch was immediately required in order to satisfy my family’s greed.
I duly crumbed, clumped, chilled, and sliced. “Make them thinner,” my mom said. And I did, each slice crumbling into thousands of buttery coconut crumbs. I pressed them together and started again. And again. Unfortunately, it was only my patience that turned out thin, and the petulant three year old in me ended up scooping together the entire mixture and, from a height, throwing it down onto the tray.
Finally, I managed to get the fragments to coagulate by adding water. Things went more smoothly, but the biscuits, when baked, were slightly tougher, less flaky and less moreish than the original batch. Nevertheless, my brother took them to university. One of his friends, suffering from tonsillitis, reached into the box of biscuits, and in taking out one, touched many. The rest were binned, mostly due to the possibility of their having being infected with tonsillitis, but clearly not delicious enough to warrant risking it – a failure in my book.
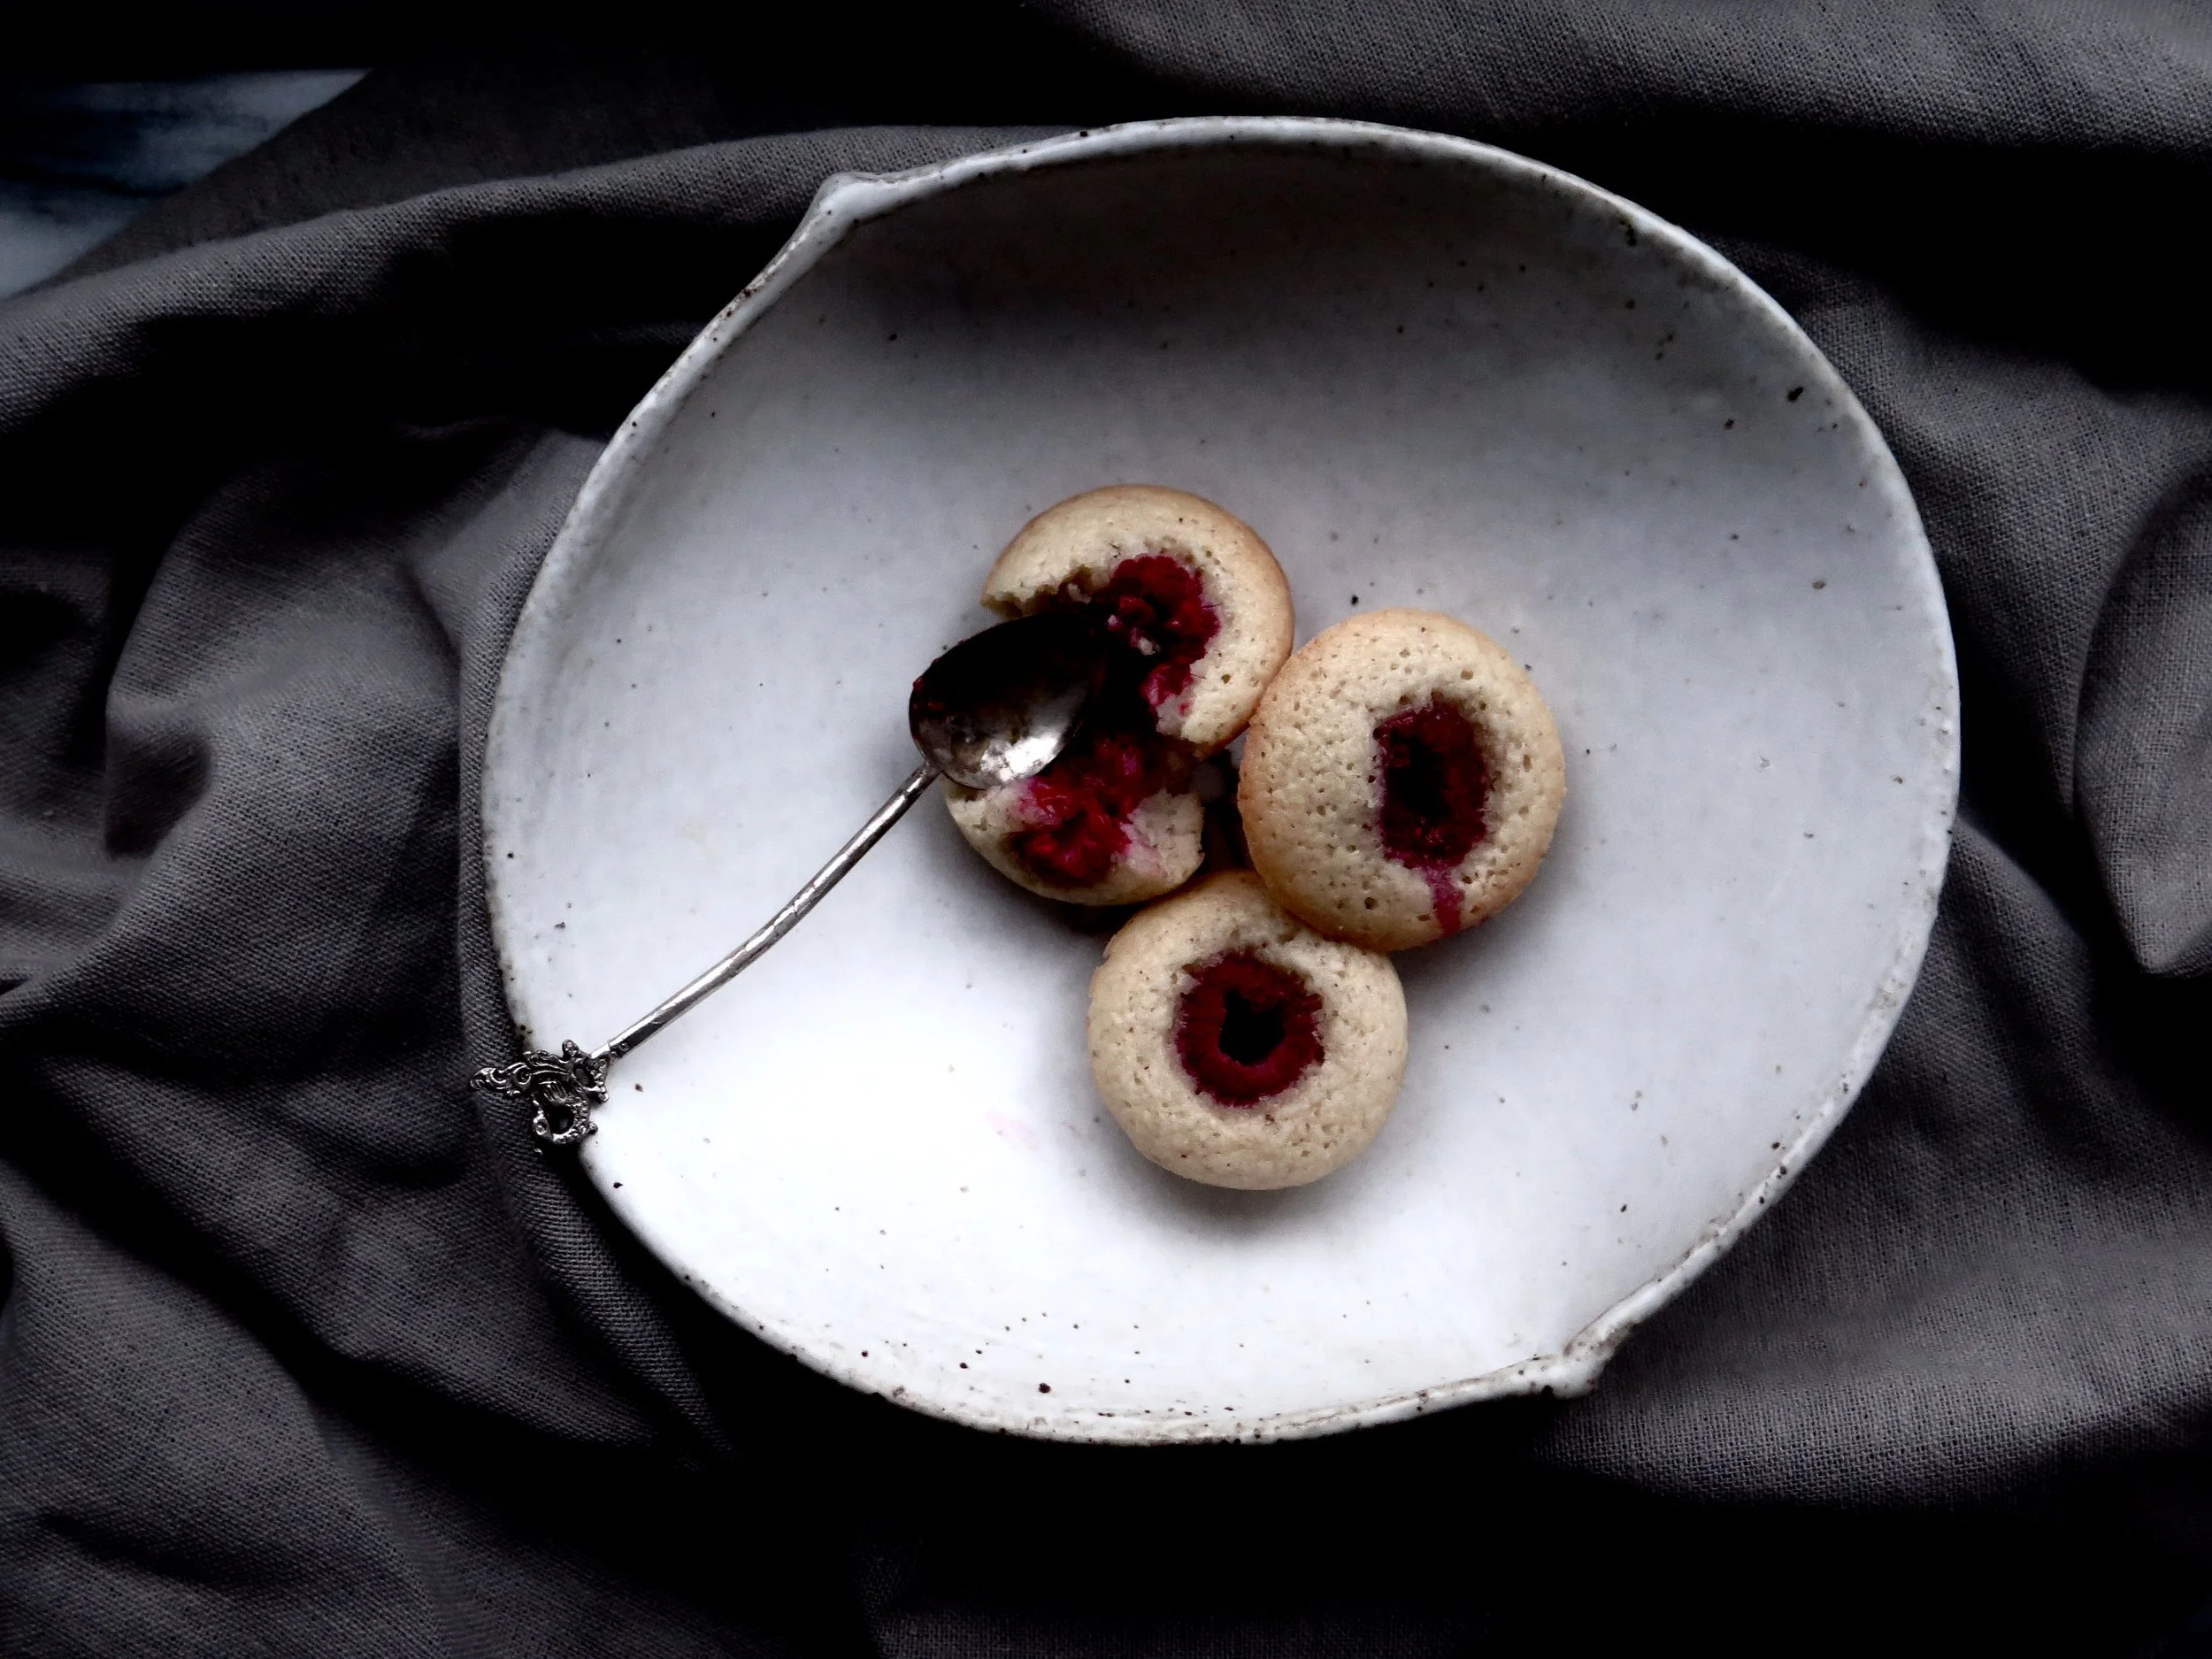
After nursing my crumbled confidence for several days I swerved off the rocky path of coconut wafers to try my hand at financiers. I have always admired them - perfectly bite sized and innocent- looking with the flush of raspberry in the centre. They are also simple to make, requiring few ingredients, and turning out both delicious and delicate.
The history is much debated, but some say they were create by nuns of the Order of the Visitation and then adapted by a French baker, Lasne, to sell in the Parisian financial district where their almond content allowed them to keep well in the pockets of bankers.
They are elegant and dainty, slightly crunchy on the outside, the tender blond crumb perfumed with a slight orange tang and moistened by the burst of raspberry. They do keep rather well and would bless a summer’s picnic.
Recipe:
Makes 30 (approx)
50g unsalted butter
50g plain flour
160g icing sugar
140g ground almonds
1/2 tsp salt
200g egg whites (6 large eggs)
1/4 tsp almond extract
zest of 1/4 orange
60g raspberries (minimum of 30 raspberries i.e. 1 per financier)
Very well-greased and flour- dusted 3 x 12 hole mini cupcake tins (with 2.5cm diameter circles) OR 1 to be used 3 times
Method:
- Melt the butter in a small pan over a medium heat. When completely melted, stir the bottom of the pan continuously until the butter turns a deep gold colour and nutty in aroma. Set aside to cool.
- Sieve the flour and icing sugar into large bowl. Stir in the ground almonds and salt. Once combined, pour in the egg whites, almond extract, zest and slightly cooled butter and stir to fully combine. Cover the bowl and allow the mixture to chill in the fridge for 2 hours.
- Preheat the oven to 180C.
- Spoon the batter into the holes until each is two thirds full. Press a raspberry into the centre of each - the batter should rise to all the way to the top.
- Place in the oven to bake for 10-12 minutes or until light gold in colour. Transfer to a wire rack to cool (to avoid them becoming soggy) or devour immediately.
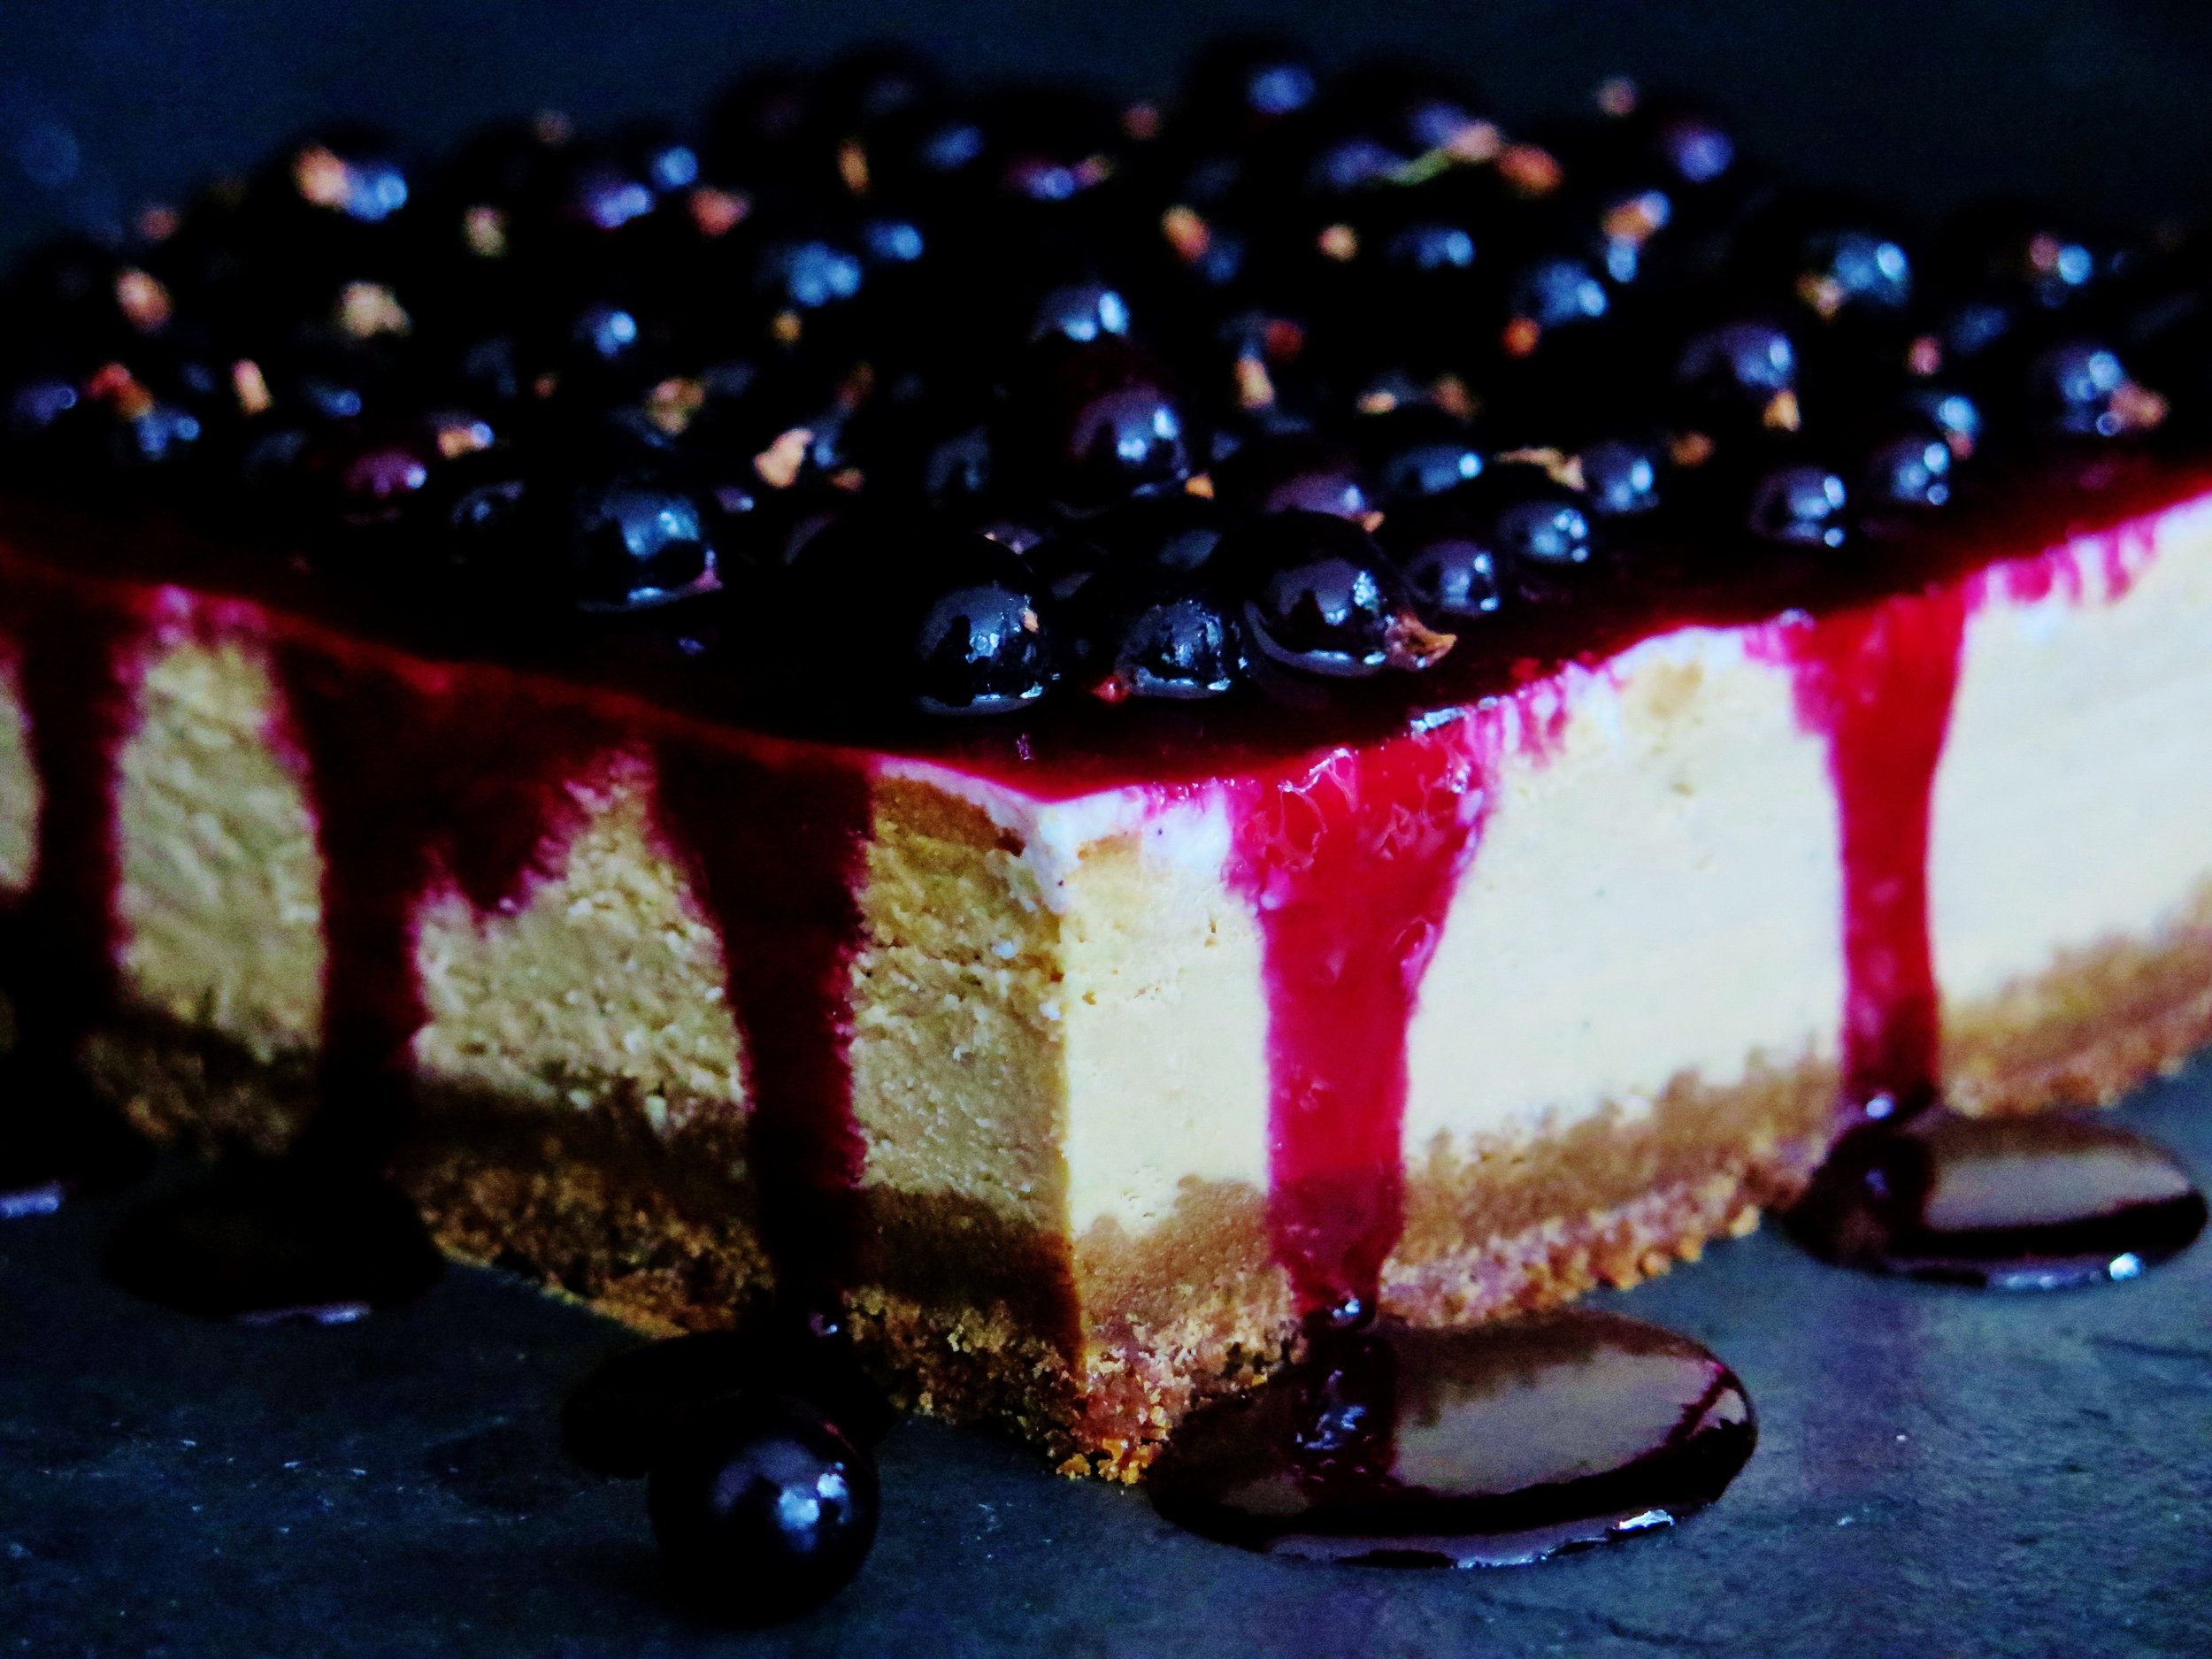
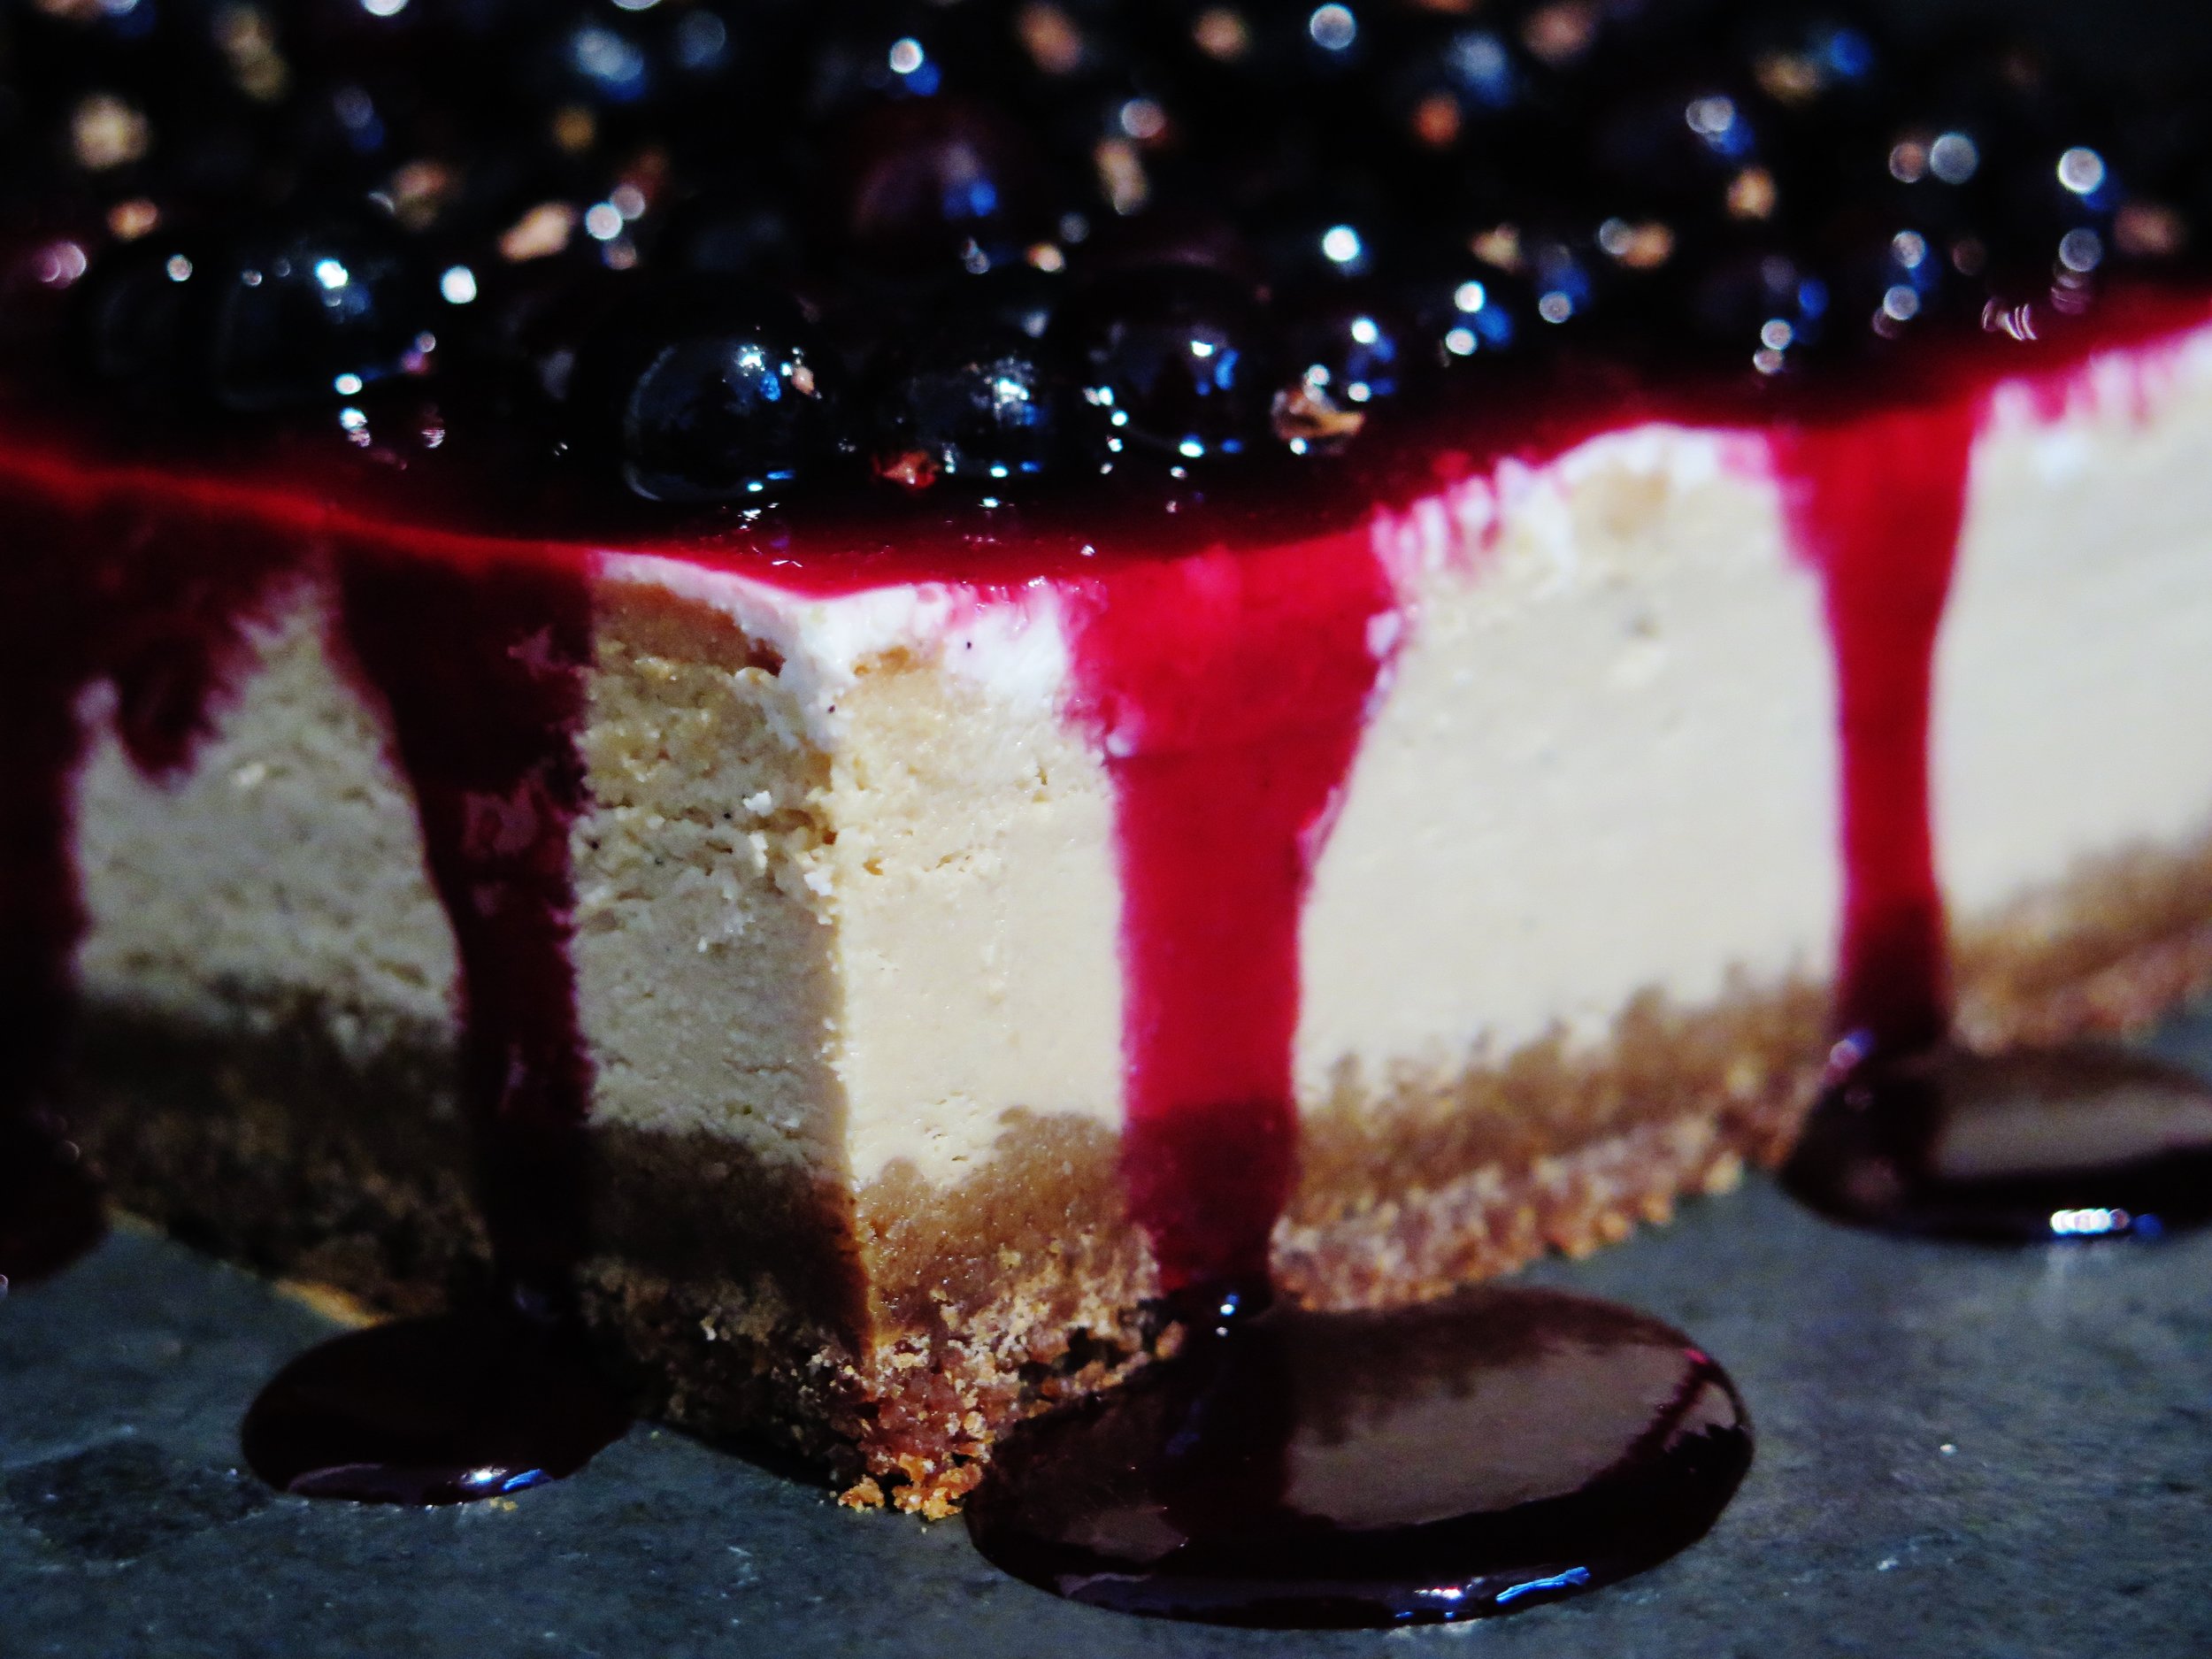
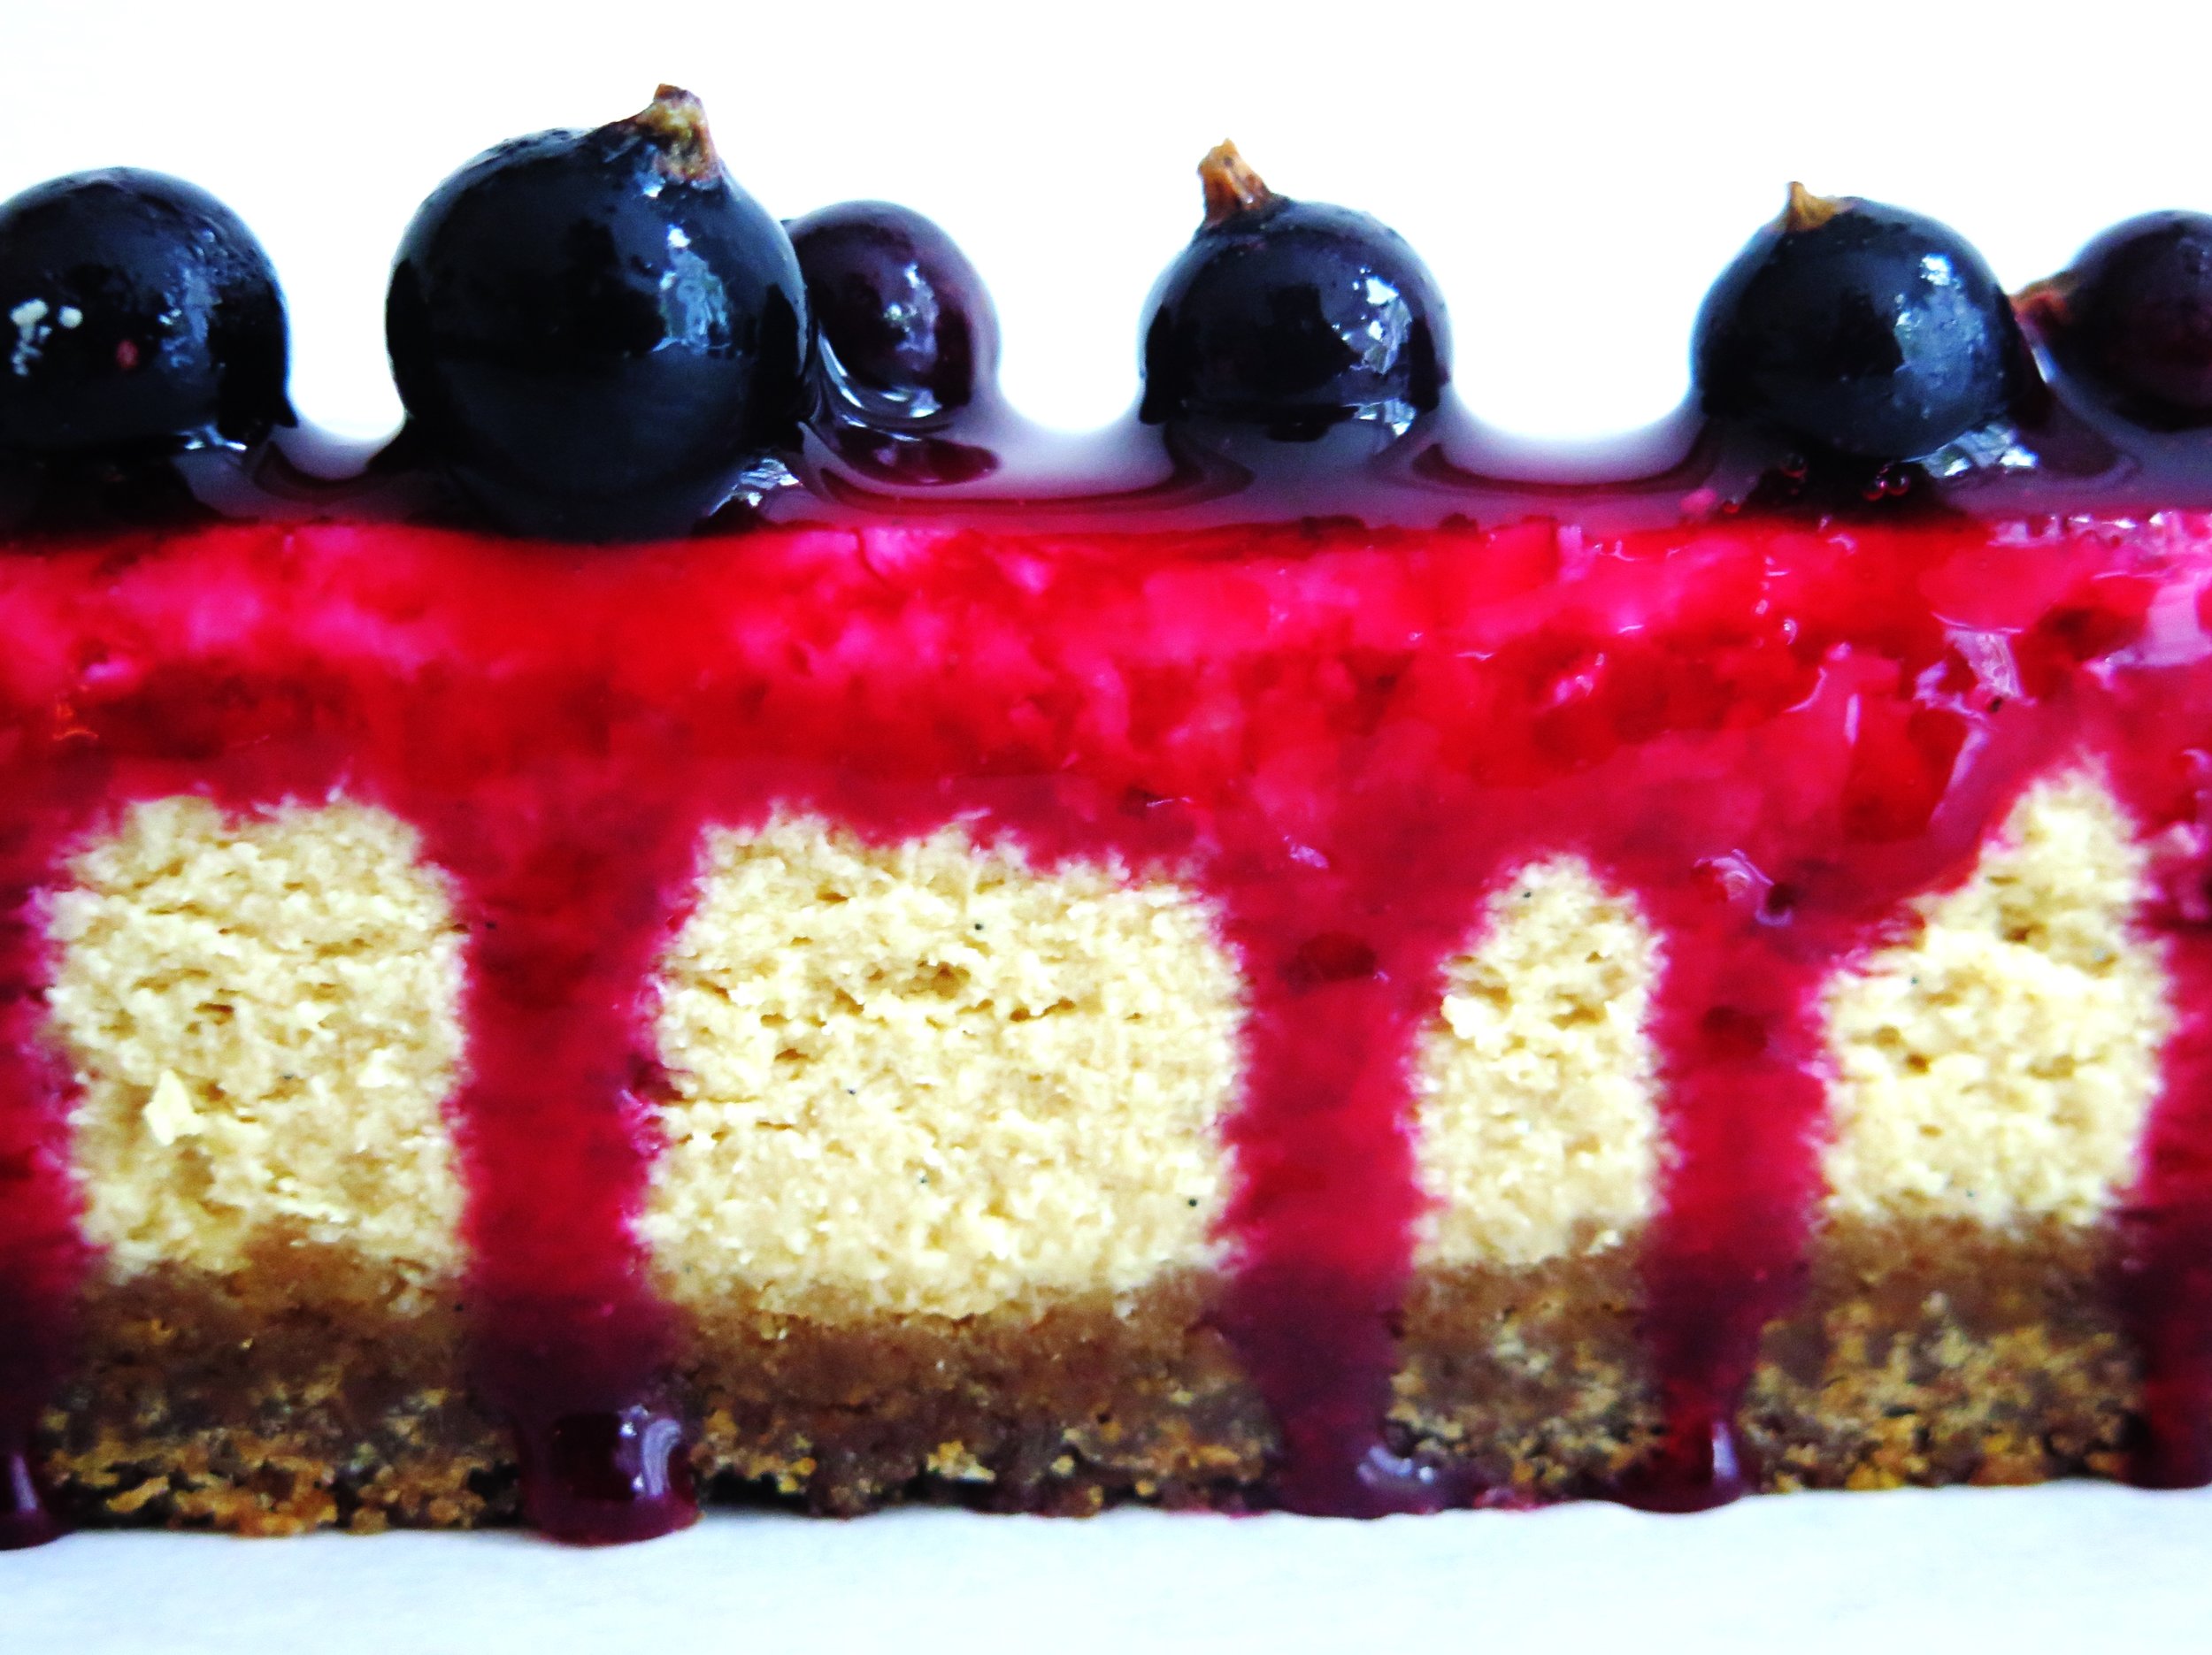
Caramelised White Chocolate Cheesecake with Salty-Sweet Fudgy Biscuit Base & Blackcurrant Glaze
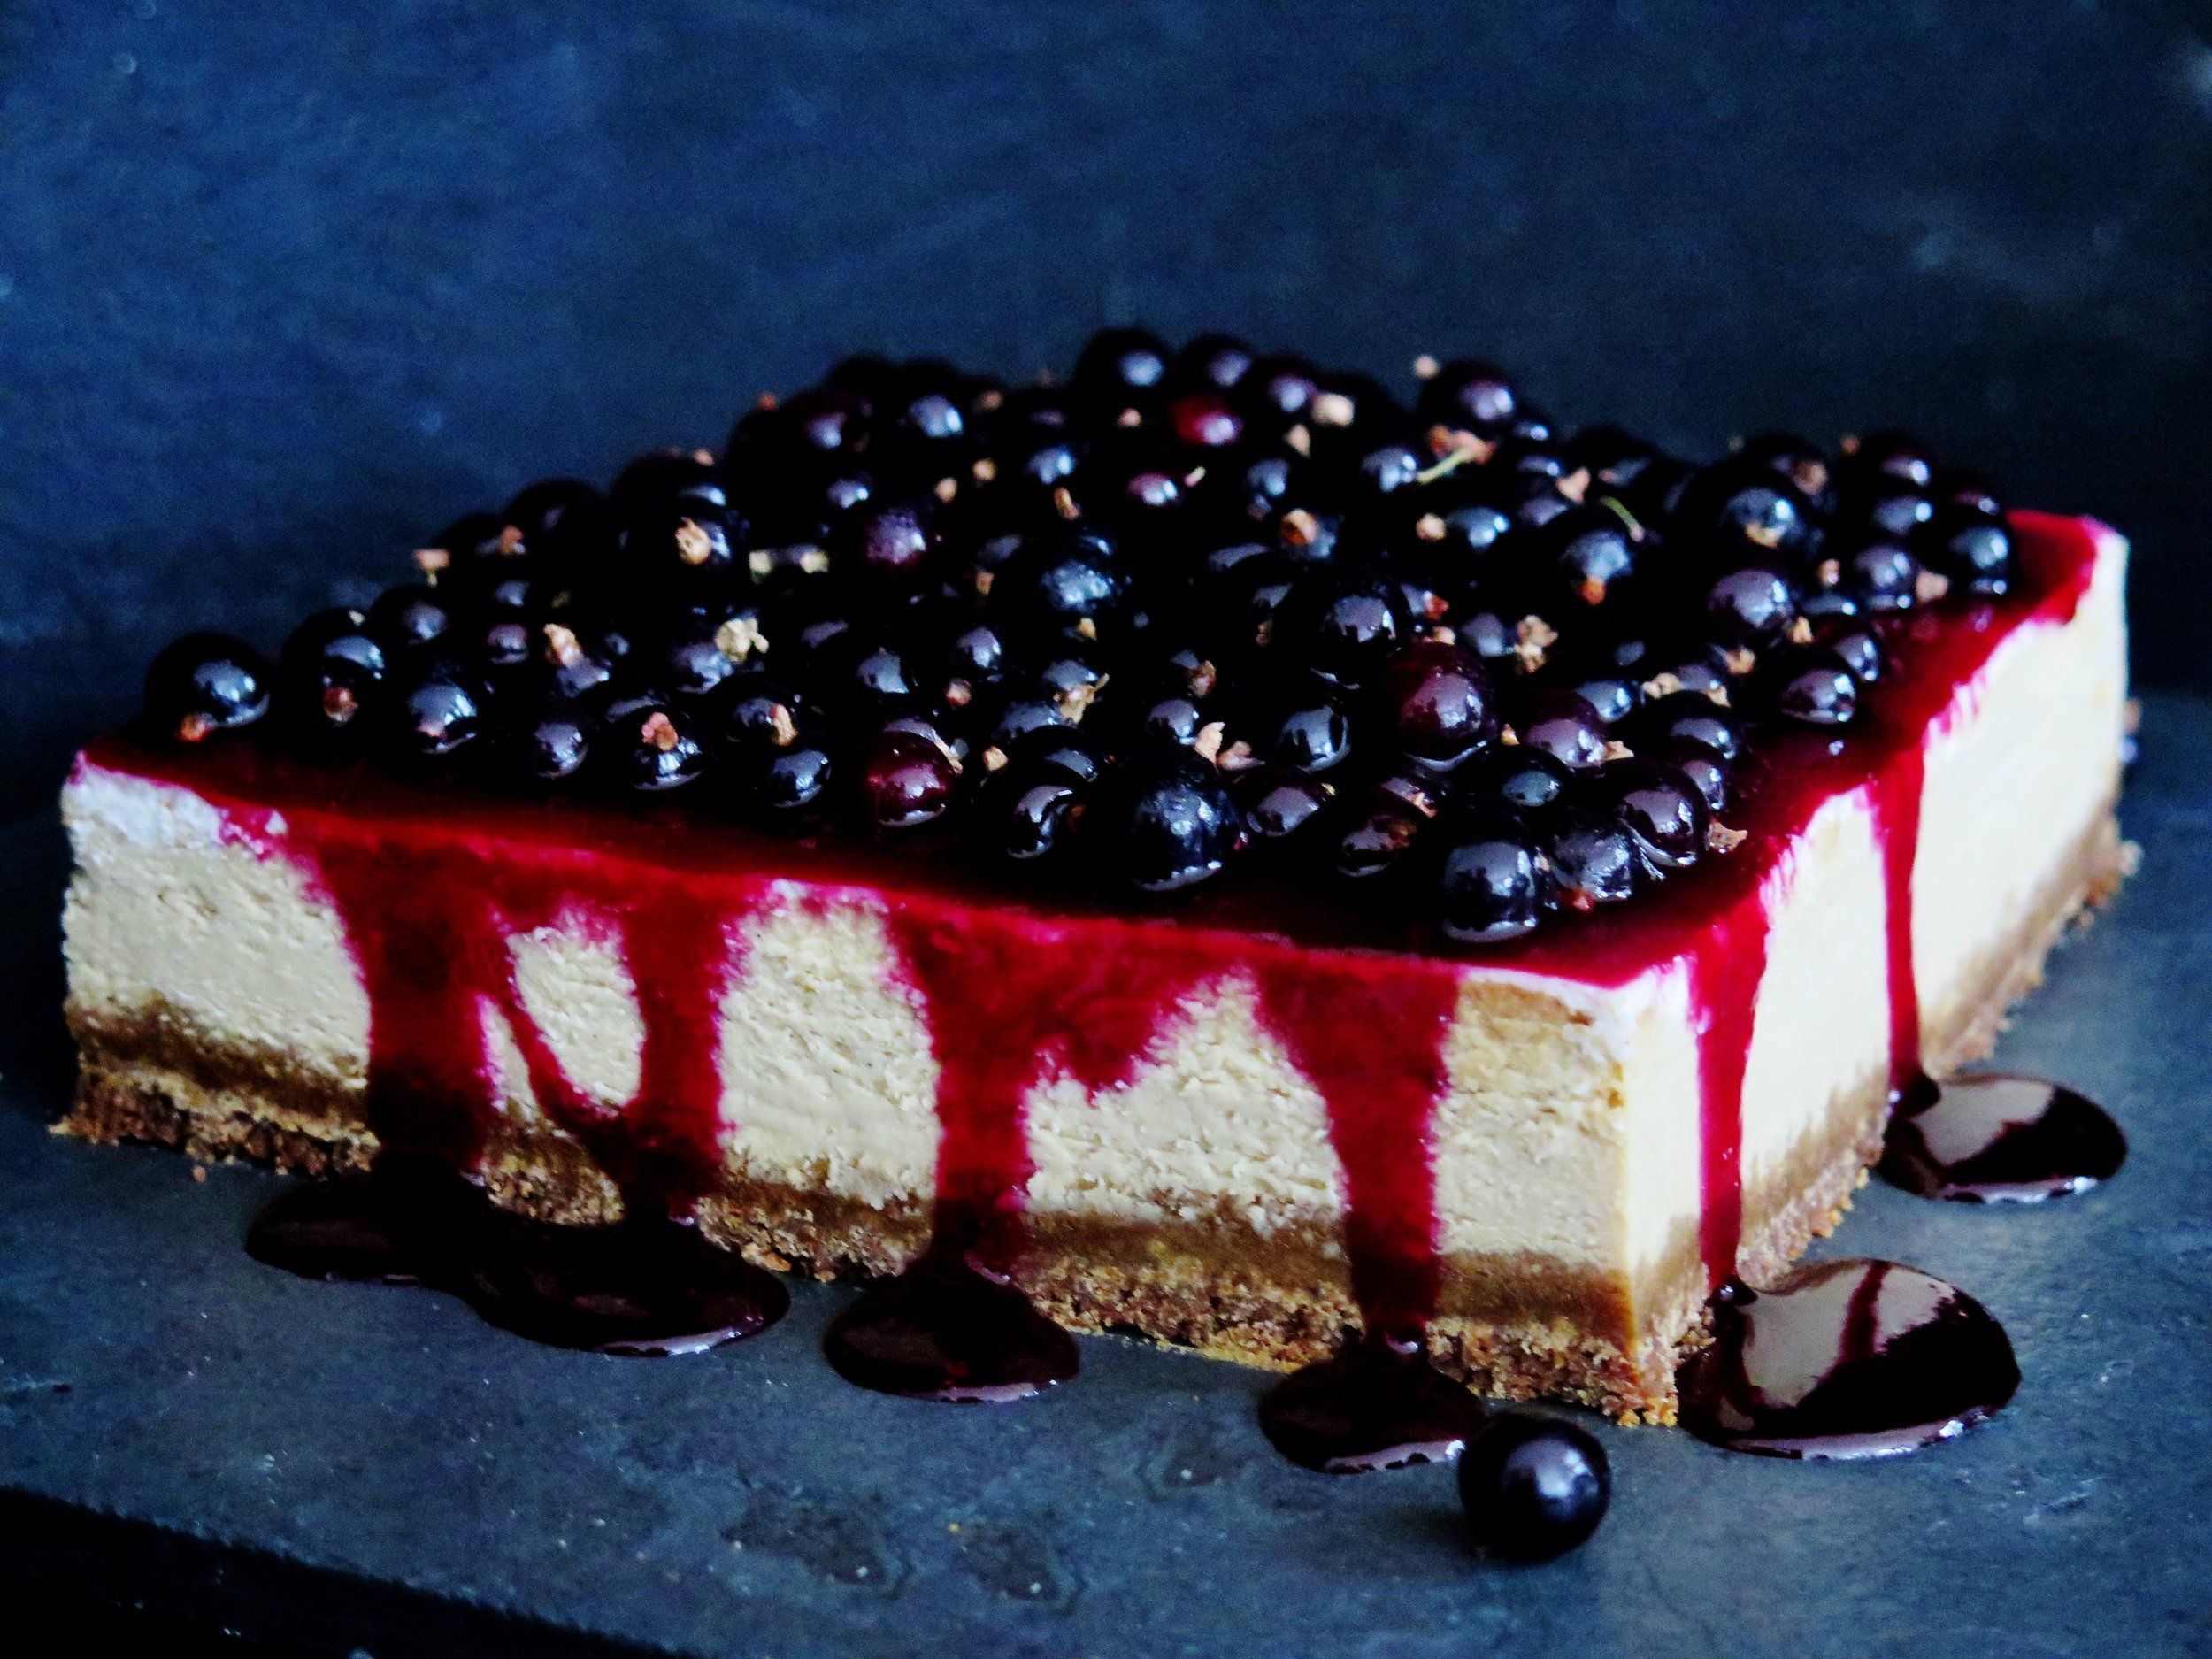
I’m at risk of sounding like one of those mindless click-bait buzzfeed articles when I say this, but I mean ever word: you’ve been eating white chocolate incorrectly your whole life.
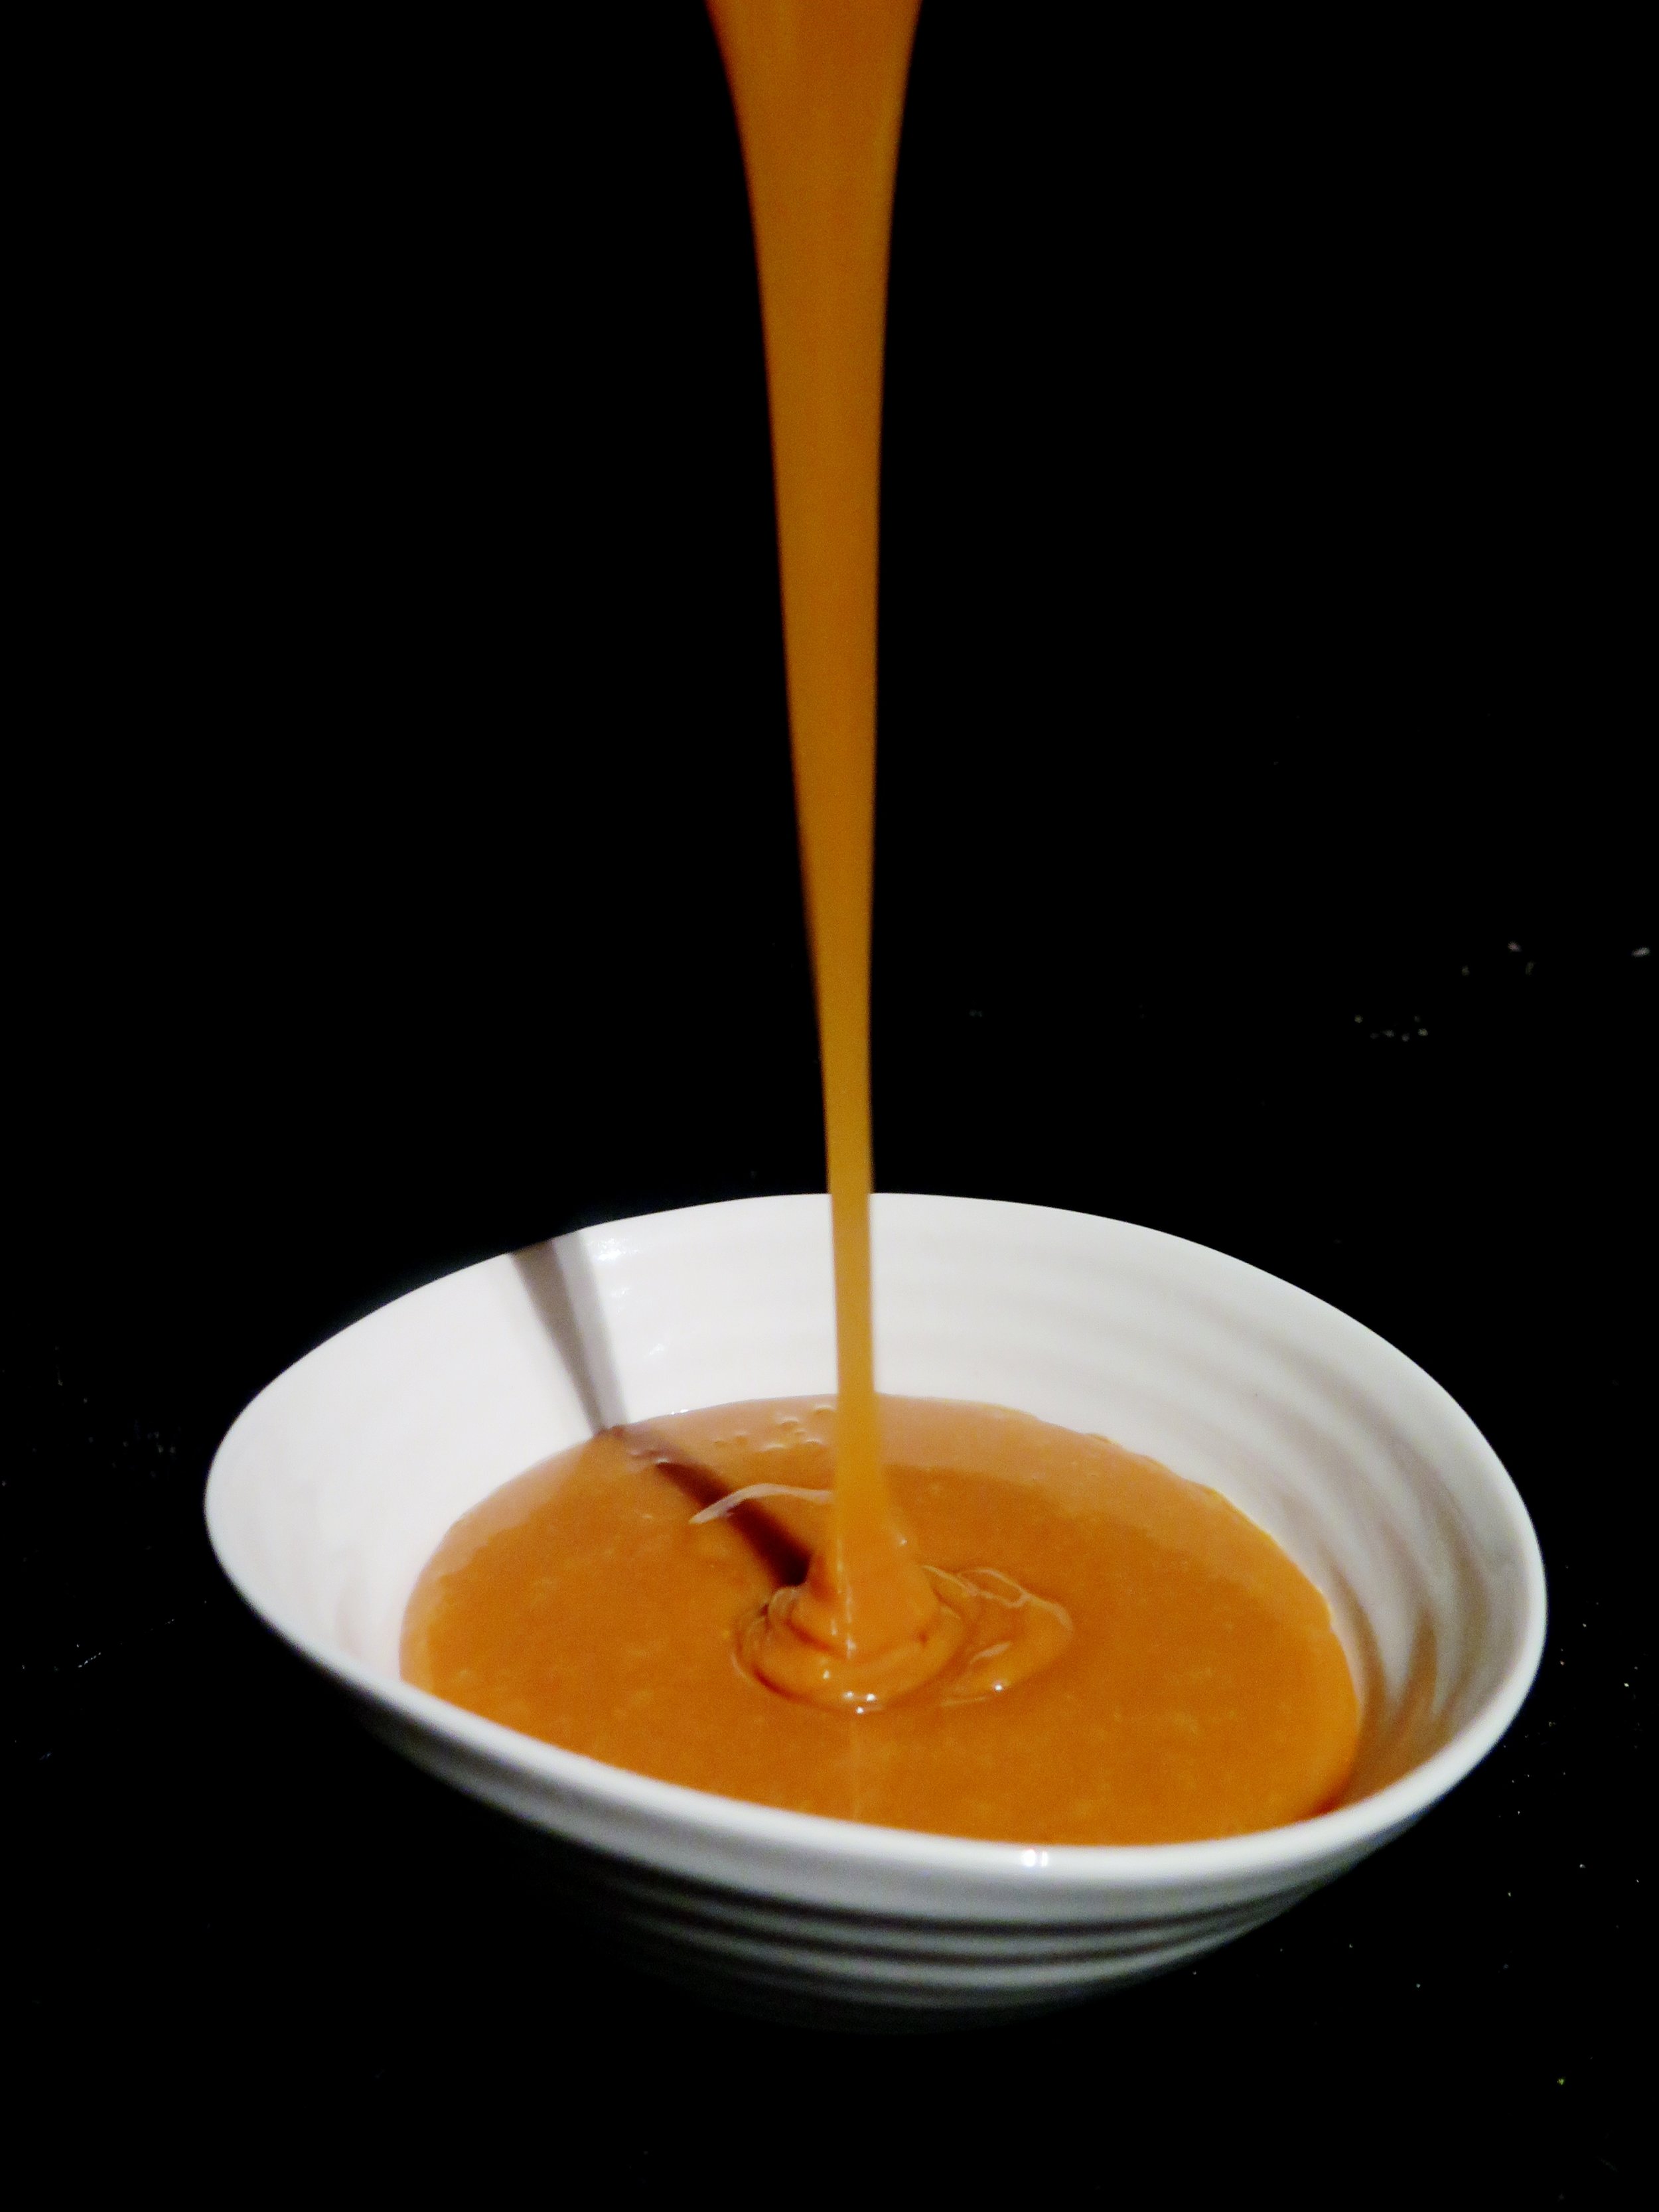
Would you believe me if I told you that the innocent Milky Bar Kid’s saccharine white cocoa butter chocolate has a deeper, darker, more seductive side?
The corruption process is simple. All you need is:
- heat
- good quality white chocolate
-a tray
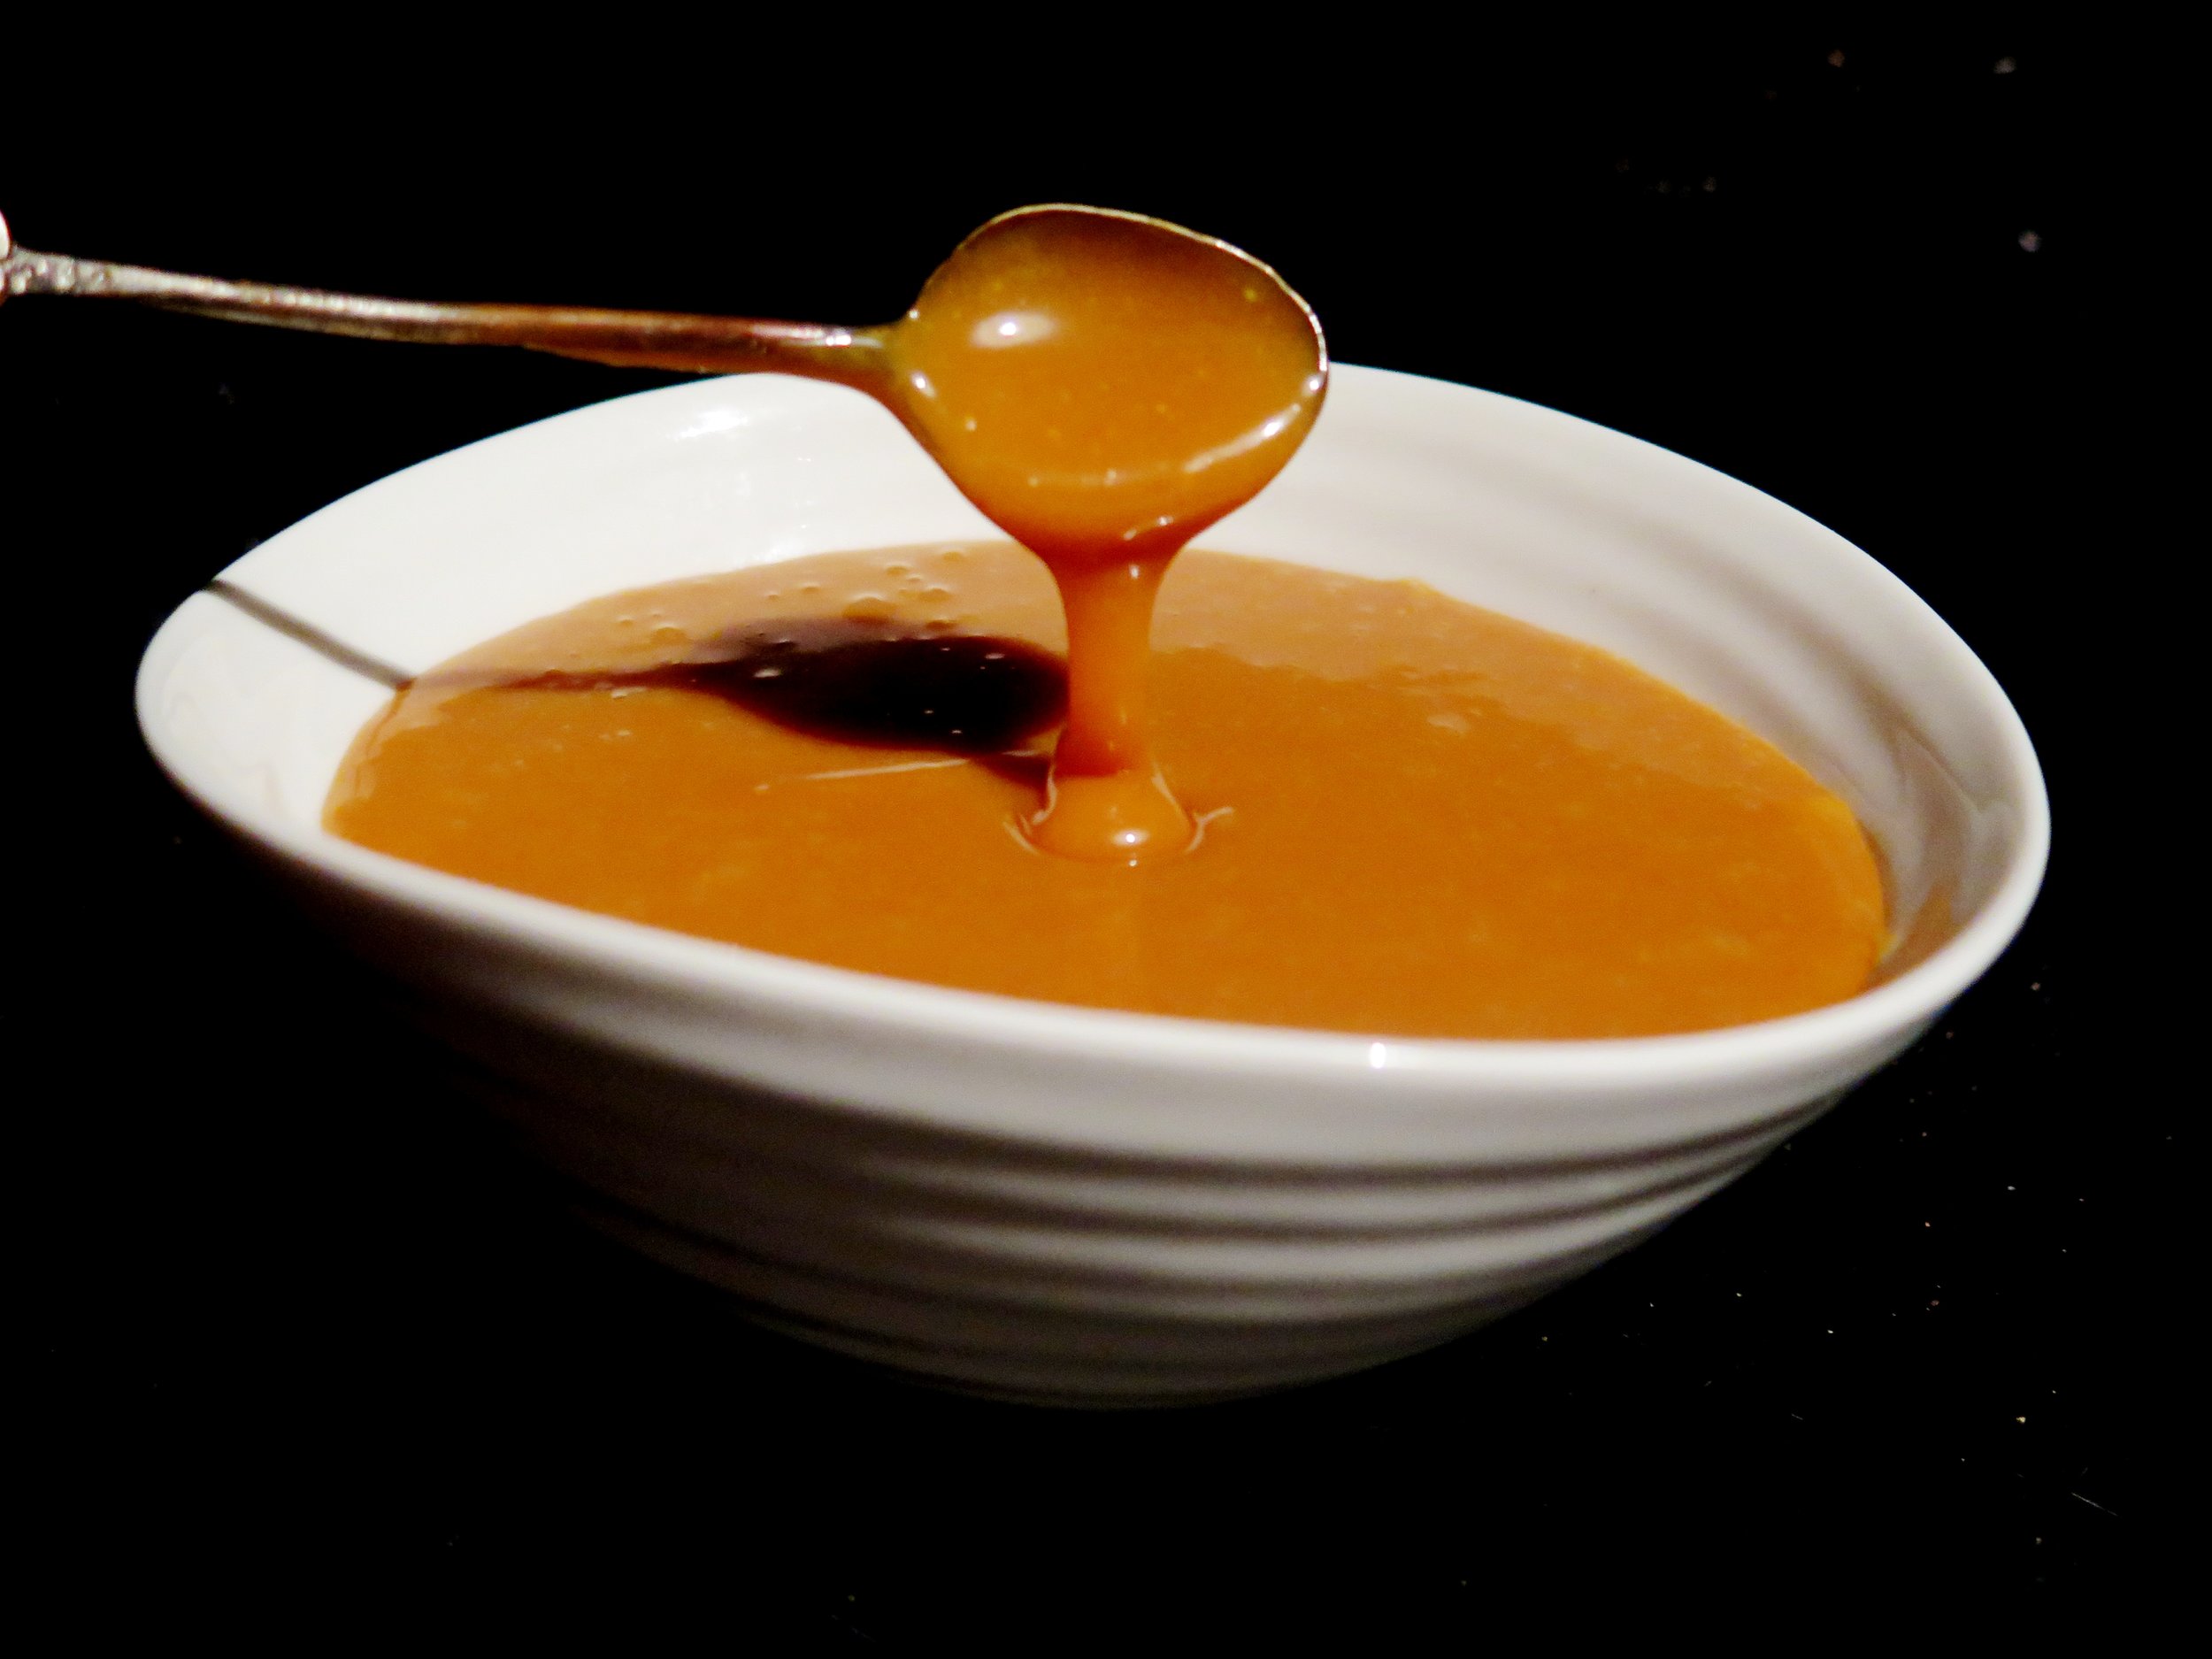
After about 20 minutes, the heat will begin to convert the pool of glossy molten cocoa butter into white chocolate’s luscious evil sister. I dare you to try it.
It’s pretty sublime on its own but, if you can resist eating it all, it works deliciously well in a cheesecake. I pair it with a fudgy, salted, graham cracker-style base and an astringent blackcurrant glaze to cut through the sweetness.
Often cheesecakes call for a base simply made out of crushed store-bought cookies. I’m no stranger to doing this myself, but I’m always left with a pang of guilt for cheating. Not only does homemade biscuit base taste better, it’s chemical-free and you have much more control over the flavour balance – this one’s especially fudgy.
However, if you’re feeling lazy you can make the base using 400g digestive biscuits blitzed into crumbs with the 120g browned melted butter. If you are a coeliac just use gluten-free digestive biscuits.
You can also use non-caramelised white-chocolate. It will still taste delicious, just not anywhere near as ambrosial.
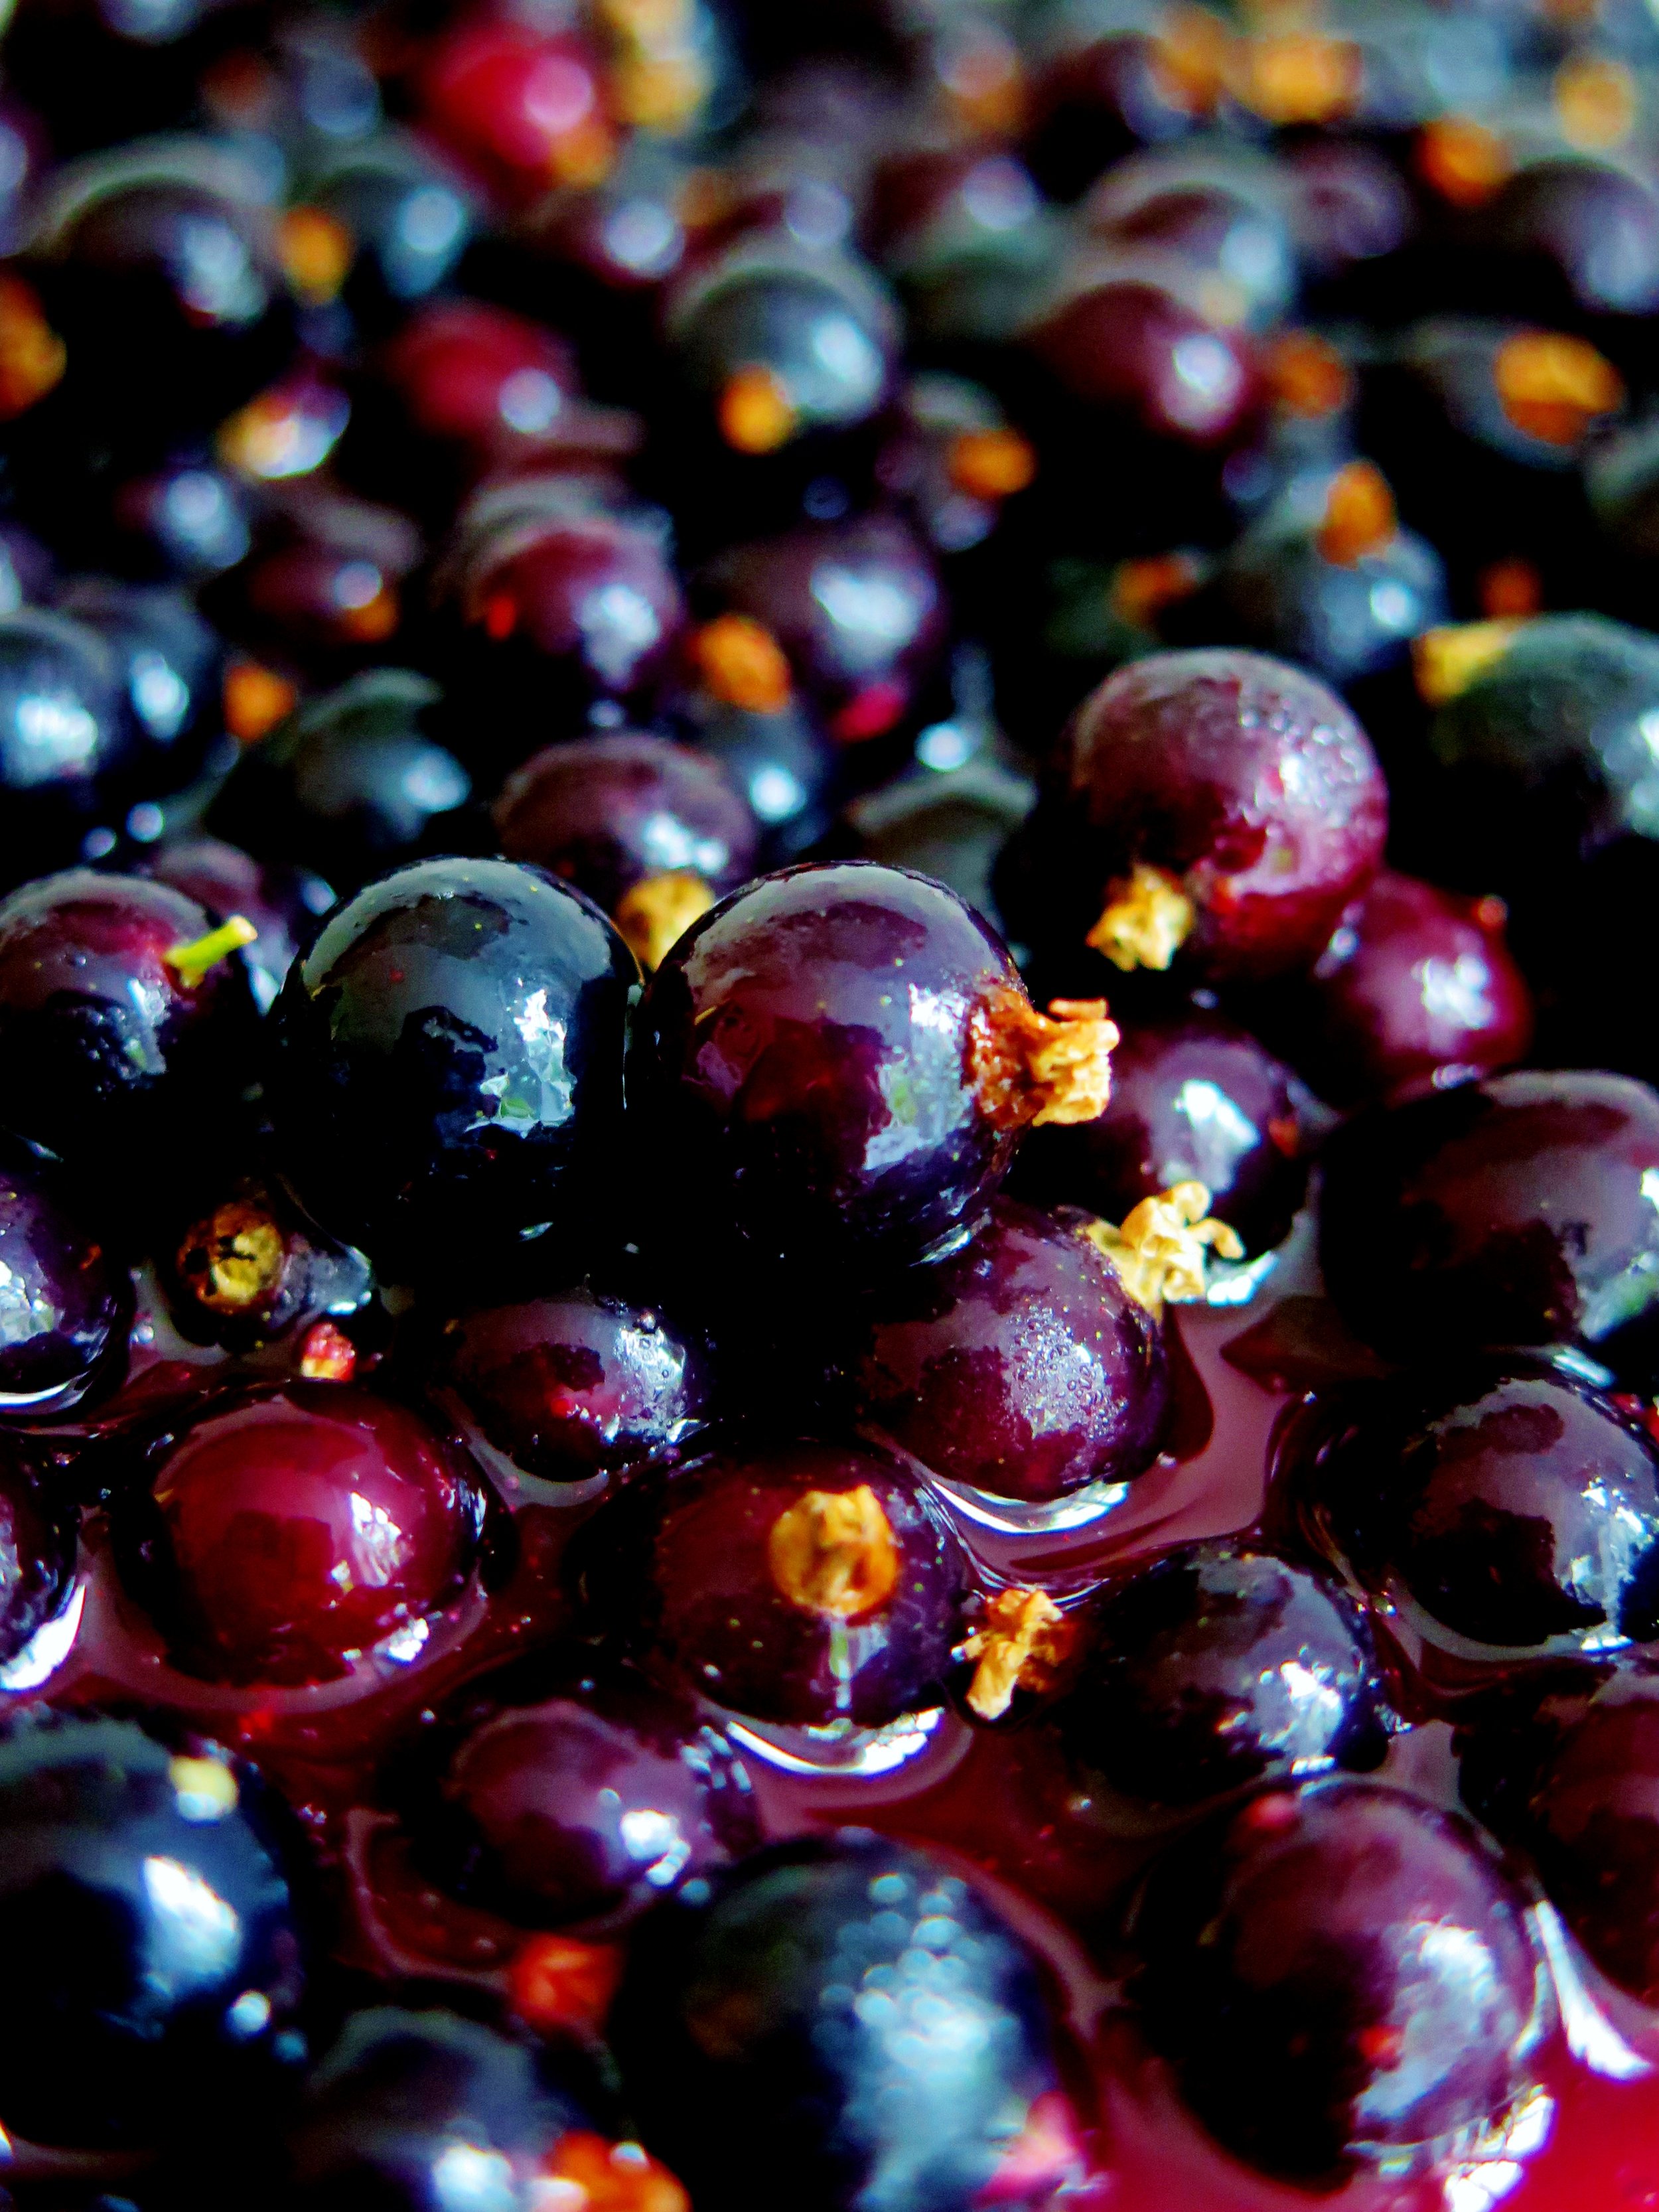
If you can’t get hold of any blackcurrants, feel free to use fresh or frozen raspberries or redcurrants instead.
This is best made the day before serving and kept in the fridge overnight. In fact, the fridge works wonders.
Ingredients
Salty-sweet, fudgy biscuit base
200g white spelt flour
60g light muscovado sugar
1 tsp bicarbonate of soda
1 tsp salt
60g unsalted butter, diced
70g clear honey
4 tsp vanilla extract
120g unsalted butter, for melting
Large baking tray, lined with baking parchment
20cm square tin (or round with similar capacity), lined with baking parchment
Caramelised white chocolate filling
300g good quality white chocolate, broken into pieces
180ml double cream
500g full fat cream cheese, at room temperature
100g caster sugar
4 eggs, at room temperature
1 tbsp vanilla bean paste (or the seeds of 1 vanilla pod)
Bone dry baking tray (preferably non-stick)
Sour cream topping
220ml sour cream
40g icing sugar, sifted
Blackcurrant glaze
200g blackcurrants
80g caster sugar
3 tbsp water
100g fresh blackcurrants to decorate (optional)
Method
Salty-sweet fudgy biscuit base
- Preheat the oven to 180˚C. Pour flour, sugar, bicarb, salt and diced butter into a blender and blitz until the mixture resembles damp sand. Alternatively, use your fingers to rub the butter into the other ingredients.
- Whisk together the honey, vanilla and milk. Stir this into the dry mixture to combine and form a paste-like dough.
- Spread the dough on to the baking tray in an even 0.5cm thick layer. Bake in the oven for 15-20 minutes until golden brown and cooked through. If it doesn’t become dry and brittle after cooling, bake for a further 5 minutes.
- Brown the 120g of butter for melting by placing it in a pan over medium heat and allowing it to turn a golden brown before setting it aside to cool. It should give off a wonderfully nutty aroma.
- Crumble the baked biscuit into a blender with the browned melted butter, and pulse until it turns to damp sand-like consistency. Tip this out into the lined cake tin and press down to form an even layer. Place in freezer to set.
Sour cream topping
- Whisk together sour cream and icing sugar until smooth. Store in the fridge until ready to use
Caramelised white chocolate filling
- Preheat the oven to 130˚C. Pour broken white chocolate on to the tray and place in the oven. Every 10 minutes remove the chocolate from the oven, stir with a bone dry utensil, and place back in the oven. After about 30-40 minutes it will have taken on a beautiful honeyed caramel tone. As ovens vary in character and different chocolate brands vary in ingredient quality, it may take longer. The chocolate may also seize. Don’t panic if this happens: just keep going until it turns golden (I’ll explain how to proceed with this in the next step).
- Increase the oven temperature to 160˚C. Place the double cream in a small pan over a high heat. Once it begins to boil, remove from the heat and pour into it the caramelised white chocolate. Stir to combine until smooth. If the chocolate did seize in the oven, it will be lumpy. If this is the case, pour the lumpy cream and chocolate mixture in a blender and blitz until completely smooth. If a few recalcitrant lumps remain, simple sieve them out.
- Either using a stand mixer fixed with the beater or a hand held whisk, beat the cream cheese together with the caster sugar until completely soft and smooth. Beat in the cream and white chocolate caramel. In a separate bowl, whisk together the eggs and vanilla. Pour this into the cream cheese mixture and beat until completely smooth and glossy.
- Remove the cake tin with the biscuit base from the freezer, and pour into it the filling mixture. Bake in the oven for 1 ½ hours, checking after 45 minutes. If it begins to go brown, cover with tin foil and continue to bake for the full time.
- Keeping the oven on, remove the cheesecake from the oven and allow it to cool for 10 minutes. Spread the sour cream topping in an even layer over the surface of the cake. Place the cheesecake back in the oven, switch off the oven and leave its door slightly ajar while the cheesecake sets inside for a further 1 ½ hours.
- When the cheesecake reaches room temperature, remove from the oven, cover the cake tin with cling film, and place it in the fridge to allow it to set over night, or place it in the freezer for a couple of hours.
Blackcurrant glaze
- Place 200g blackcurrants, caster sugar and water in a small pan over a high heat and stir until the sugar is dissolved. When it begins to boil, reduce heat slightly and allow it to simmer for 5-10 minutes or until it thickens to a viscosity like that of maple syrup. Strain the mixture through a sieve and place the liquid back in the pan to simmer for a further 3 minutes.
- Allow the syrup to cool slightly then carefully pour it over the chilled cheesecake. Scatter with fresh blackcurrants and serve.


