Viewing entries tagged
gluten free

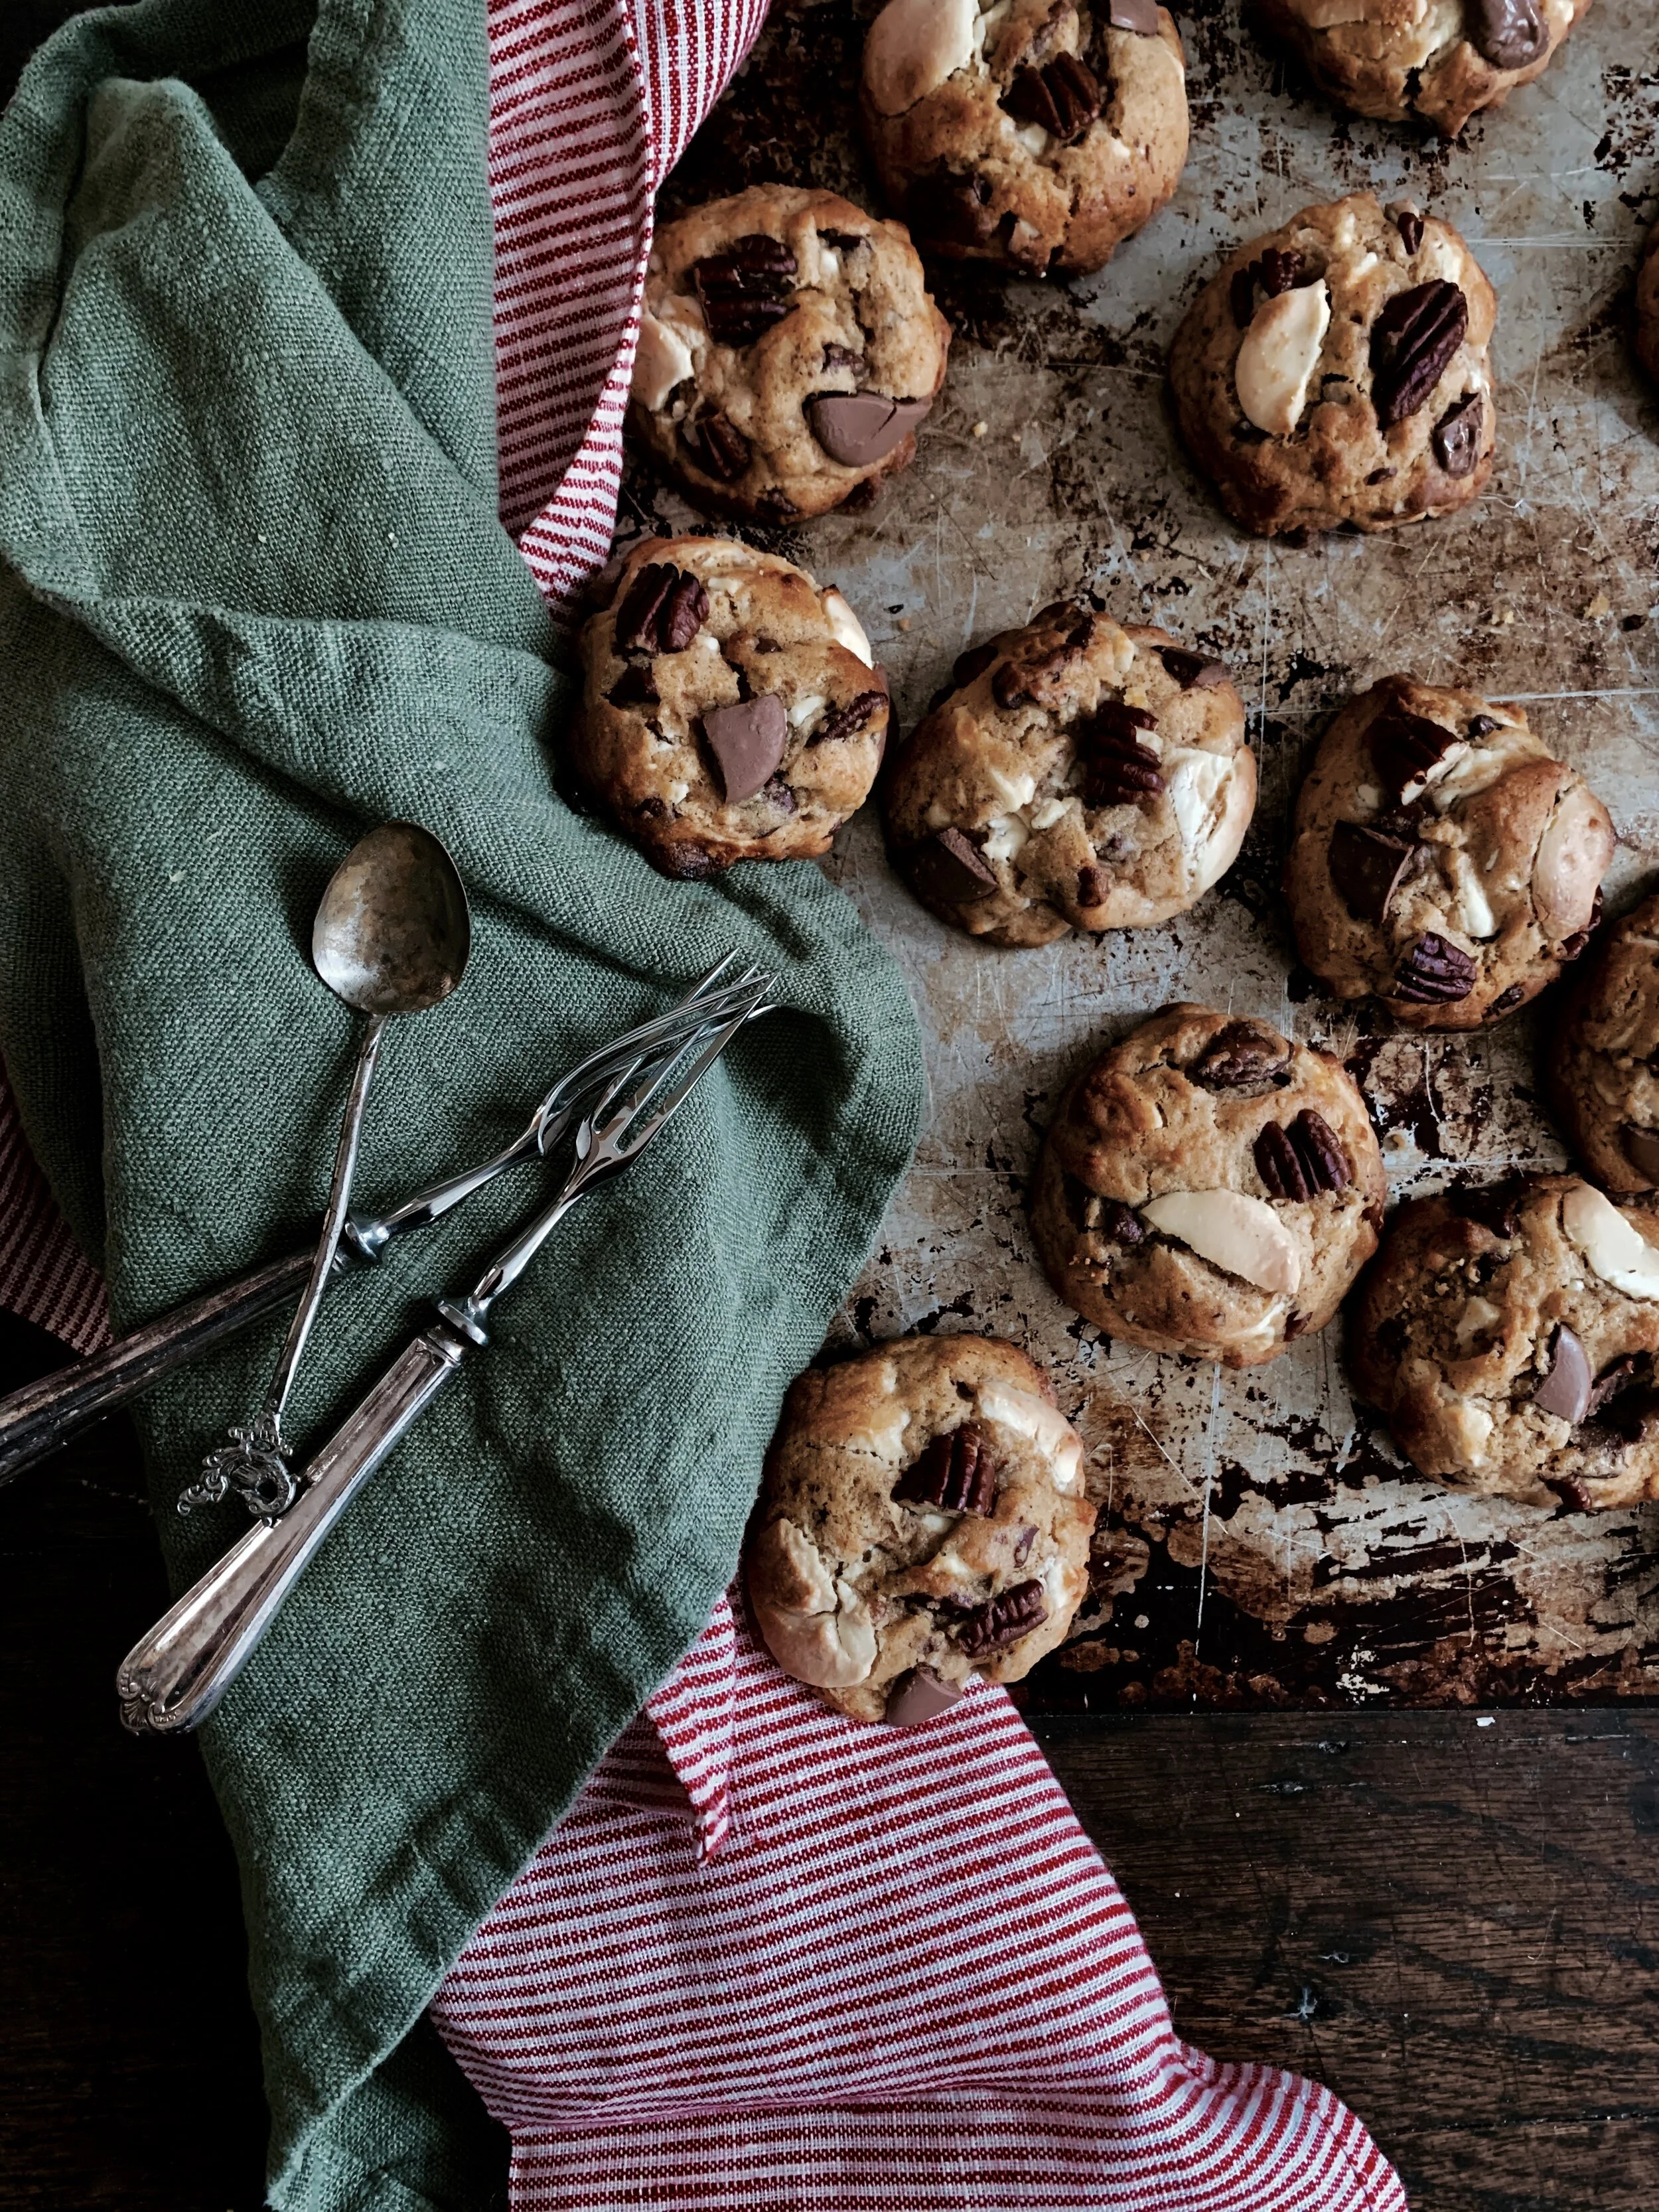
Virtuous Vegan Date & Peanut Butter Cookies

Comment

Virtuous Vegan Date & Peanut Butter Cookies

fullsizeoutput_d51.jpeg

If I told you that a vegan, refined sugar-free, protein-rich, wheat-free, ancient-grain (and if you so desire, gluten-free) cookie existed, you’d think it was the stuff of myth and legend or, alternatively, something so disgusting that it couldn’t be deemed edible.

Well, it does exist.

fullsizeoutput_d69.jpeg
fullsizeoutput_d50.jpeg

After an overindulgent stay in NYC, I made these for my birthday. They aren’t overpoweringly sweet, and they aren’t going to be equivalent to the 500 calories a pop thick, fudgy cookies you see in bakeries. However, they are delicious in their own right, soft and just sweet enough. Plus, being vaguely healthy automatically entitles one to devour 5x the quantity. In fact, for a snack to be officially deemed a source of protein, it needs to contain 6g protein. Well, 3 of these cookies contain just that.

fullsizeoutput_d54.jpeg
fullsizeoutput_d77.jpeg

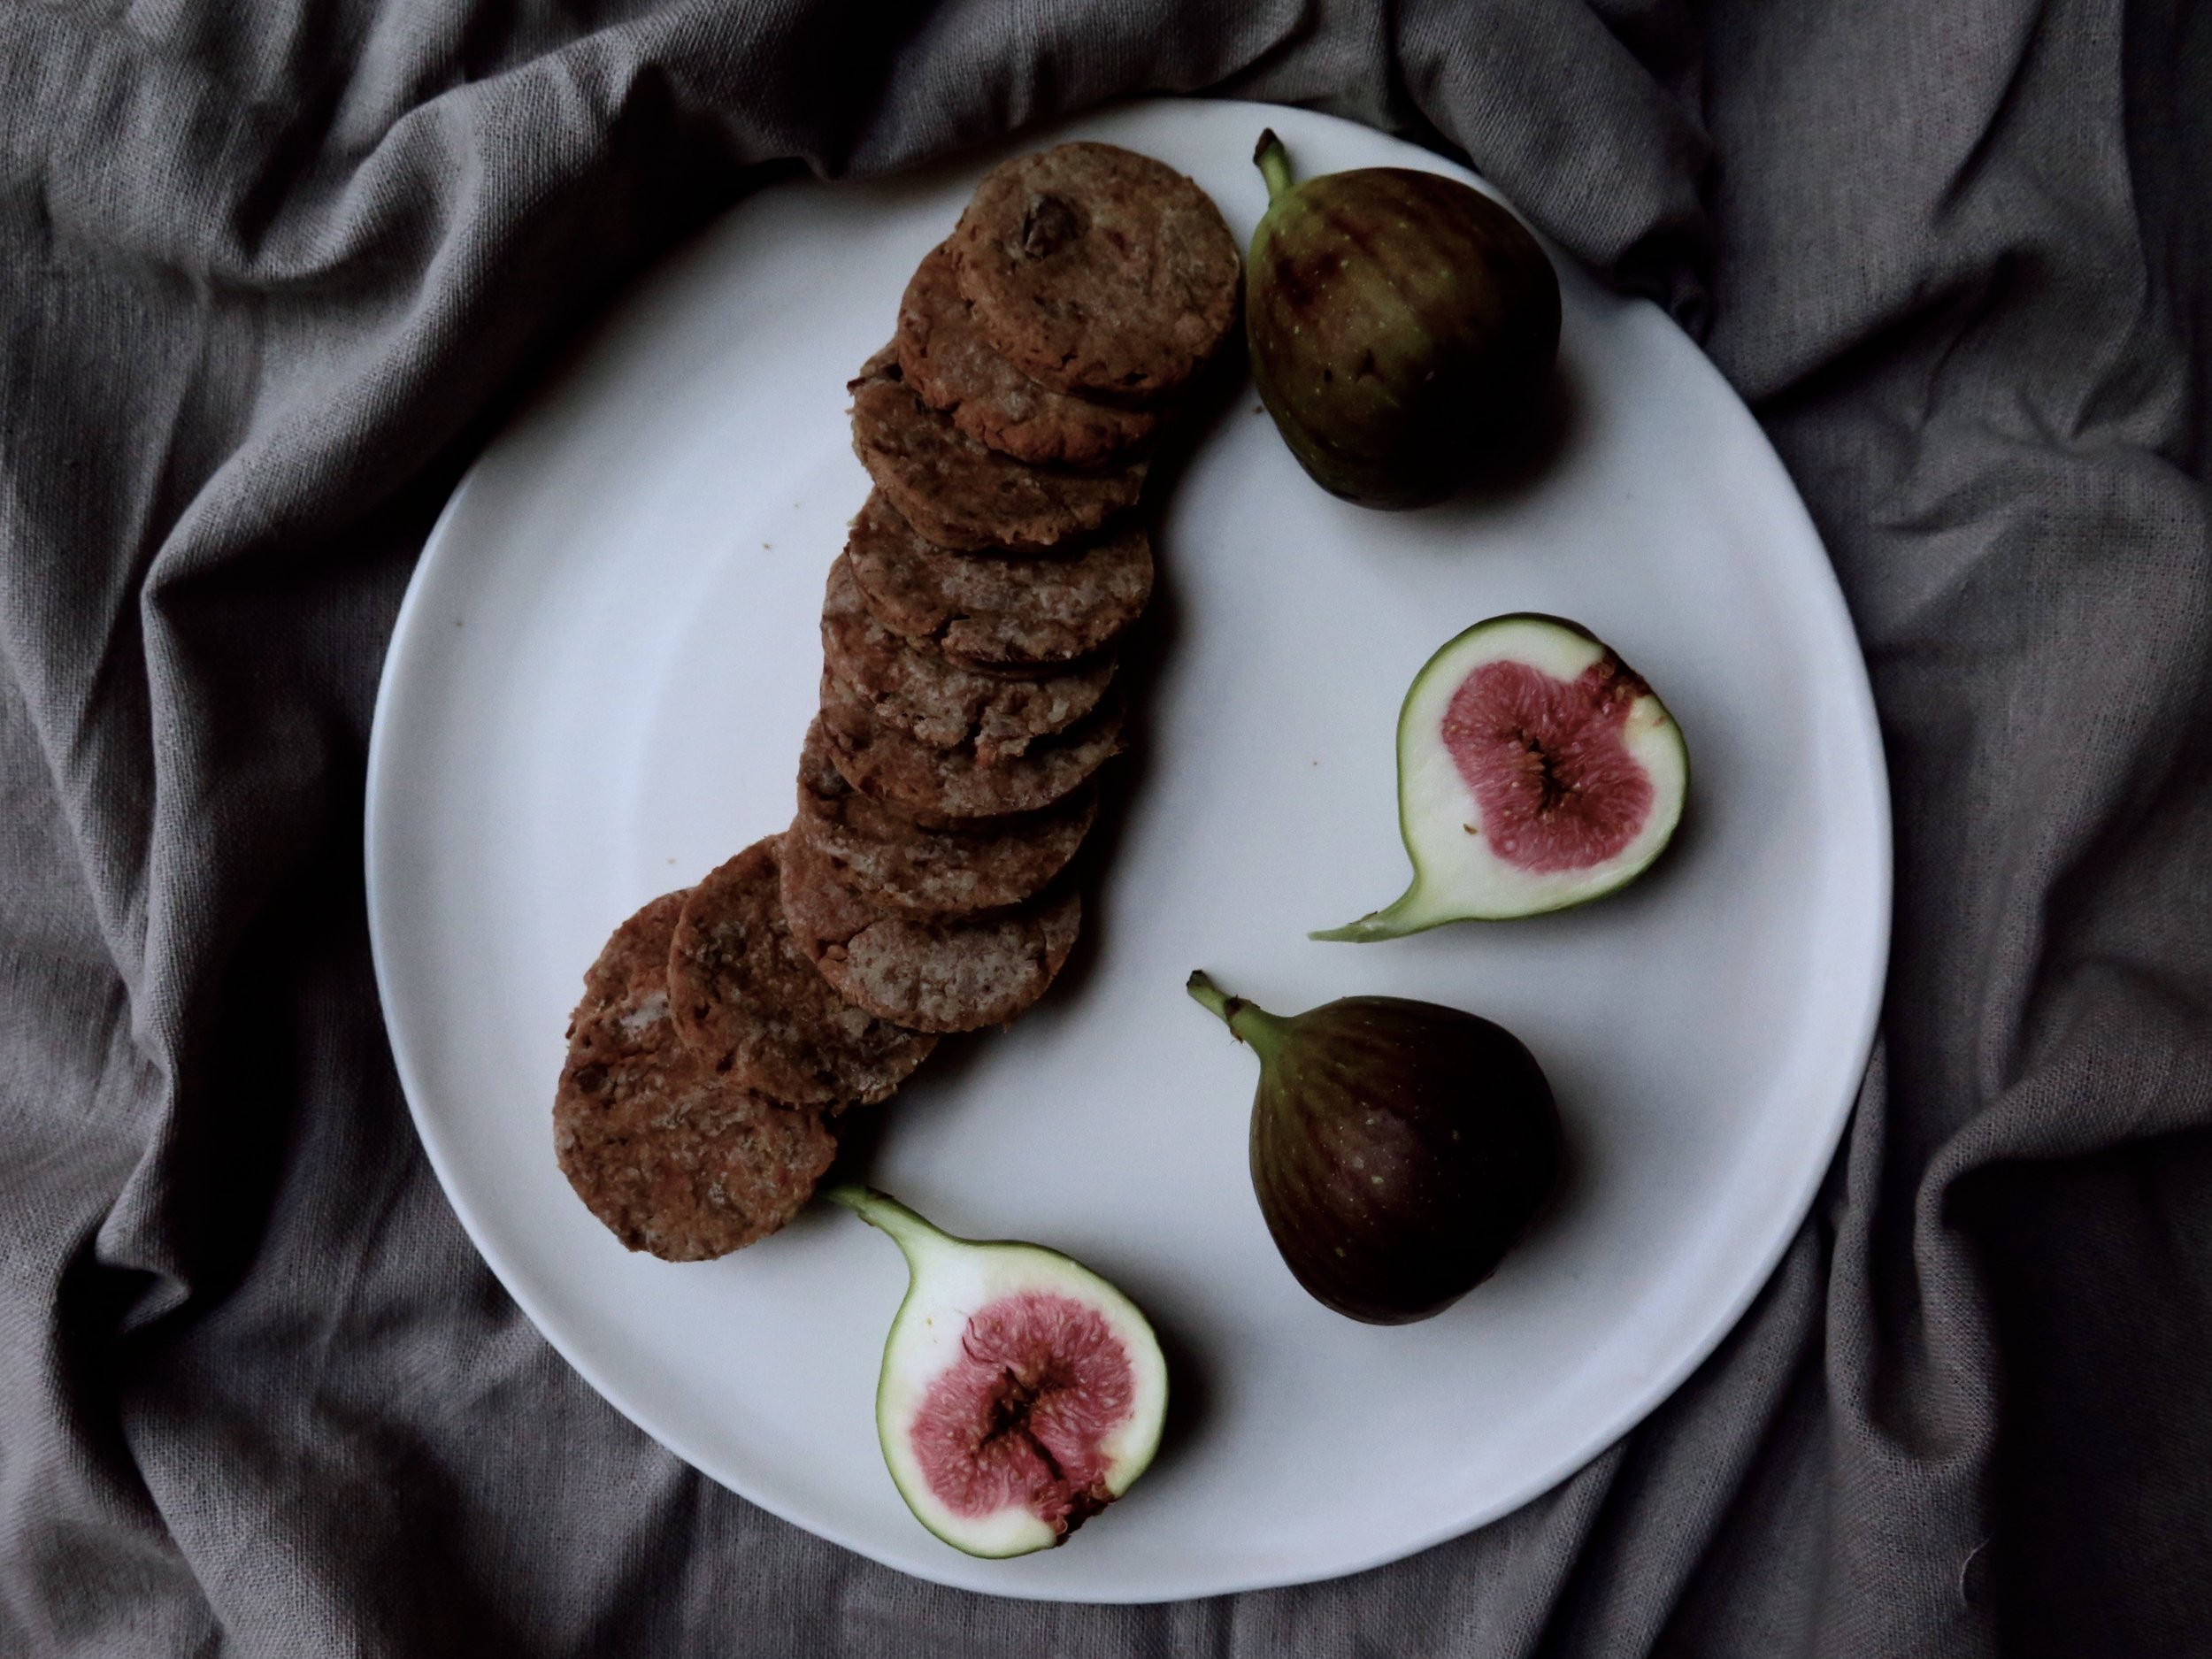
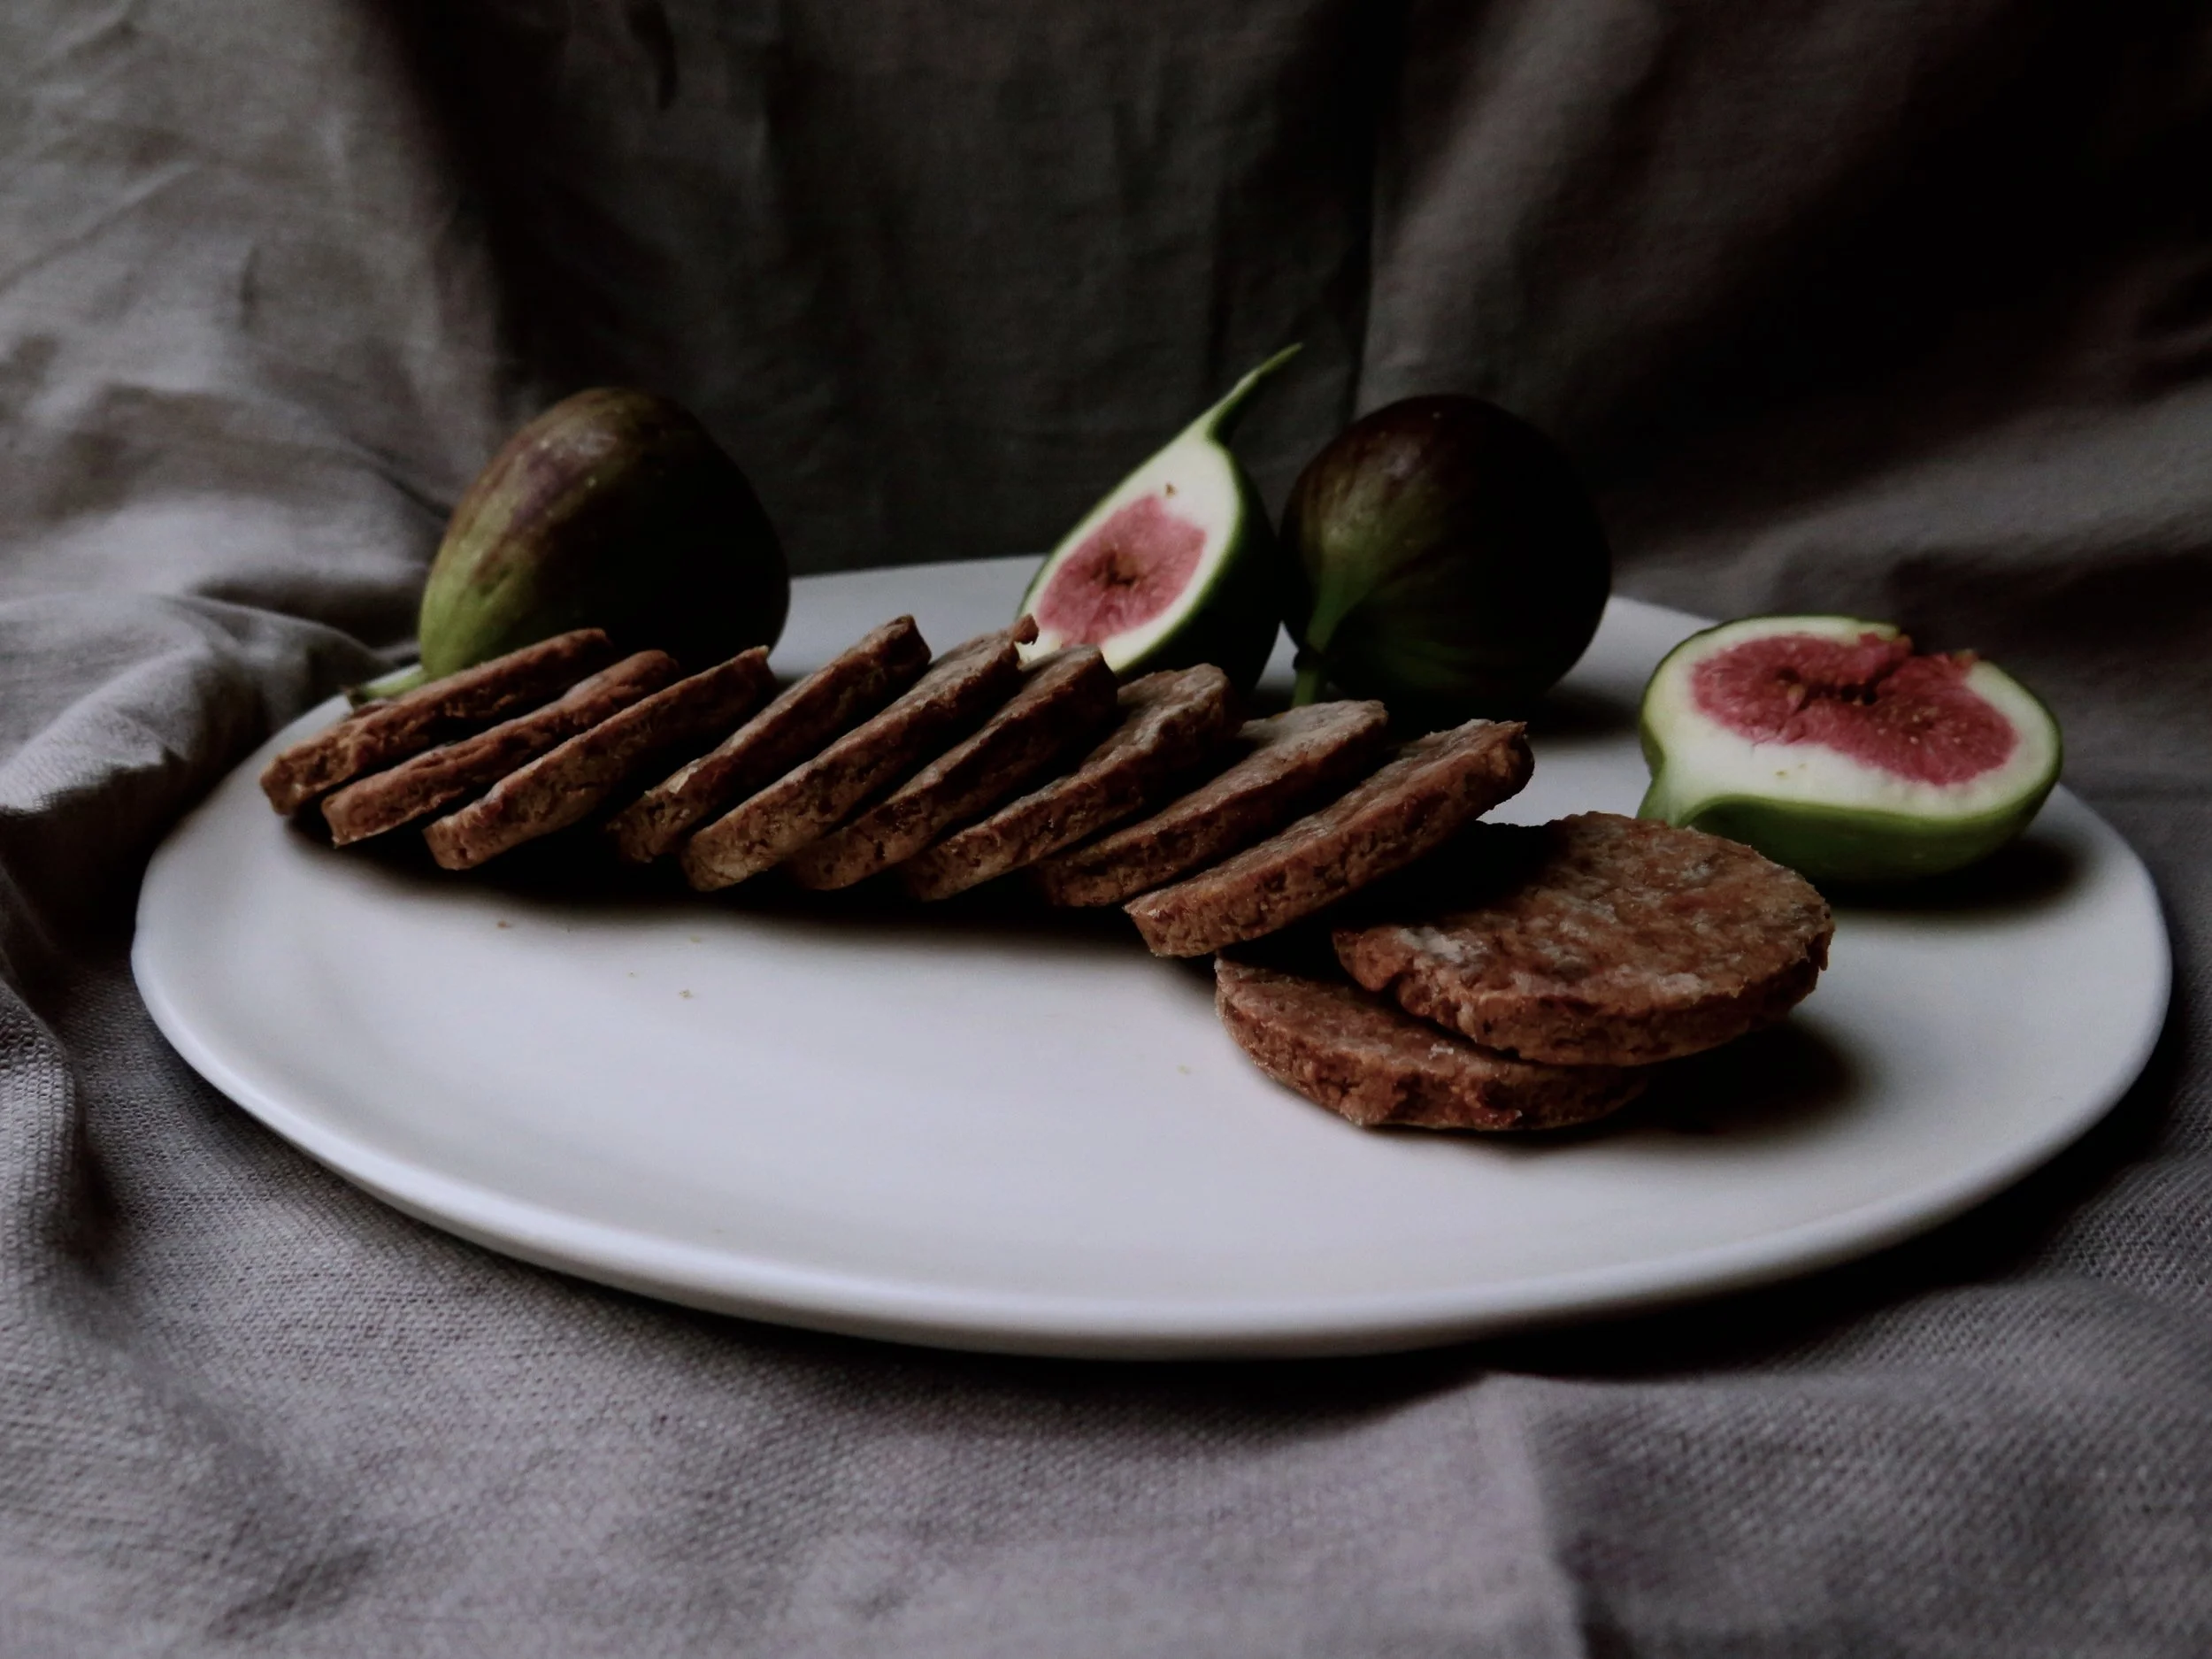
They are extremely quick to conjure up and would be good for that weak-point, late afternoon slump when you crave something sweet, and delicious, too, paired with a (vegan) ice cream for dessert, or even with a wedge of stilton and a dollop of pear compote if you’re going down the non-vegan route. If you want a slightly more savoury option, substitute the dates with figs as in the photos.

fullsizeoutput_d58.jpeg
fullsizeoutput_d7a.jpeg
fullsizeoutput_d82.jpeg

Ingredients (makes 20 medium cookies)

160g pitted medjool dates, roughly chopped (about 10) (if you want a more savoury cookie, substitute dates with figs, as per the photos)

4 tbsp orange juice

4 tbsp water

1 tsp vanilla

½ tsp finely grated orange zest

80g smooth peanut butter

200g spelt flour (or gluten free flour)

½ tsp mixed spice

¼ tsp salt

baking tray lined with baking parchment

4-5cm round cookie cutter


Method

1)    Pre-heat oven to 180°C

2)    Place the chopped dates, orange juice, water, vanilla extract and orange zest in a small pan over a medium/high heat and allow to come to a boil. Stir continuously for about 4/5 minutes until all the liquid has evaporated and the dates have turned into a thick, sticky pulp.

3)    Place the date mixture together with the peanut butter in a blender and pulse until smooth. Pour in the spelt flour, mixed spice, and salt and pulse until it comes together to form a slightly sticky dough.

4)    Lightly flour a board and roll out the dough to a 0.5cm thickness. Stamp out cookies with the cutter and place on the baking tray. Bake in the oven for 7-10 minutes until firm and slightly golden. Allow to cool, then devour.

fullsizeoutput_d6f.jpeg
fullsizeoutput_d89.jpeg

HUNGRY FOR MORE?

Comment

Roasted Strawberry & Vanilla Cake

Comment

Roasted Strawberry & Vanilla Cake

...& 14 Thoughts from the Kitchen Sink

From the moronic to the morbid, here’s an insight into what happens when I bake and let my mind wander:

fullsizeoutput_13fd.jpeg

-      Drowning in a vat of sticky bread dough would probably be the worst way to die.

-      When you sieve icing sugar and it puffs into the air in clouds, how many calories are there in one mouthful of air?

-      Why do so many obscure meats taste like chicken and not beef?

fullsizeoutput_13f8.jpeg

-      What is the significance of sometimes craving baby food - especially rusks, and pureed apple and banana?

-      Why do we delude ourselves that avocado on toast has been ‘smashed’?  I’ve never seen anyone smash an avocado.  I suppose ‘smeared’ doesn’t have the same ring to it.

-      If I could subsist on one food for the rest of my life it would most likely be oats.

fullsizeoutput_1332.jpeg

-      Nandos’ ‘hot’ sauce is anachronistic.  It was created about 20 years ago and people’s (i.e.my brother’s and my) tolerance for heat has gone up.  They should downgrade it to ‘medium’.

-      What was the exact moment when someone decided to put sugar, milk, butter and flour together to make the very first cake?

-      How do you know nigella seeds are nigella seeds and not mouse droppings?

fullsizeoutput_13b8.jpeg

-      If 2017 was the year of slime porn, why can’t 2018 be the year of dough porn? 

-      Earlier this year some pig farmers tried to halt the use of pig terminology as connotative of greed.  Imagine if other farmers were to do the same: we couldn’t exclaim something was cheesy, or call people ugly cows, or ask people with whom we’re angry if they want beef, or complain that bland people are vanilla, or exclaim that someone is mutton dressed up as lamb, or taunt cowards as being chicken…

fullsizeoutput_13e4.jpeg

-      How many times in my life has a waiter spat in my food on purpose?

-      Why do I have six jars of preserved lemons in my cupboard when I only use a small shaving of one once a year?

-      The smell of freshly baked bread should be a perfume.

fullsizeoutput_139a.jpeg
fullsizeoutput_1369.jpeg

That’s enough musing for one day.

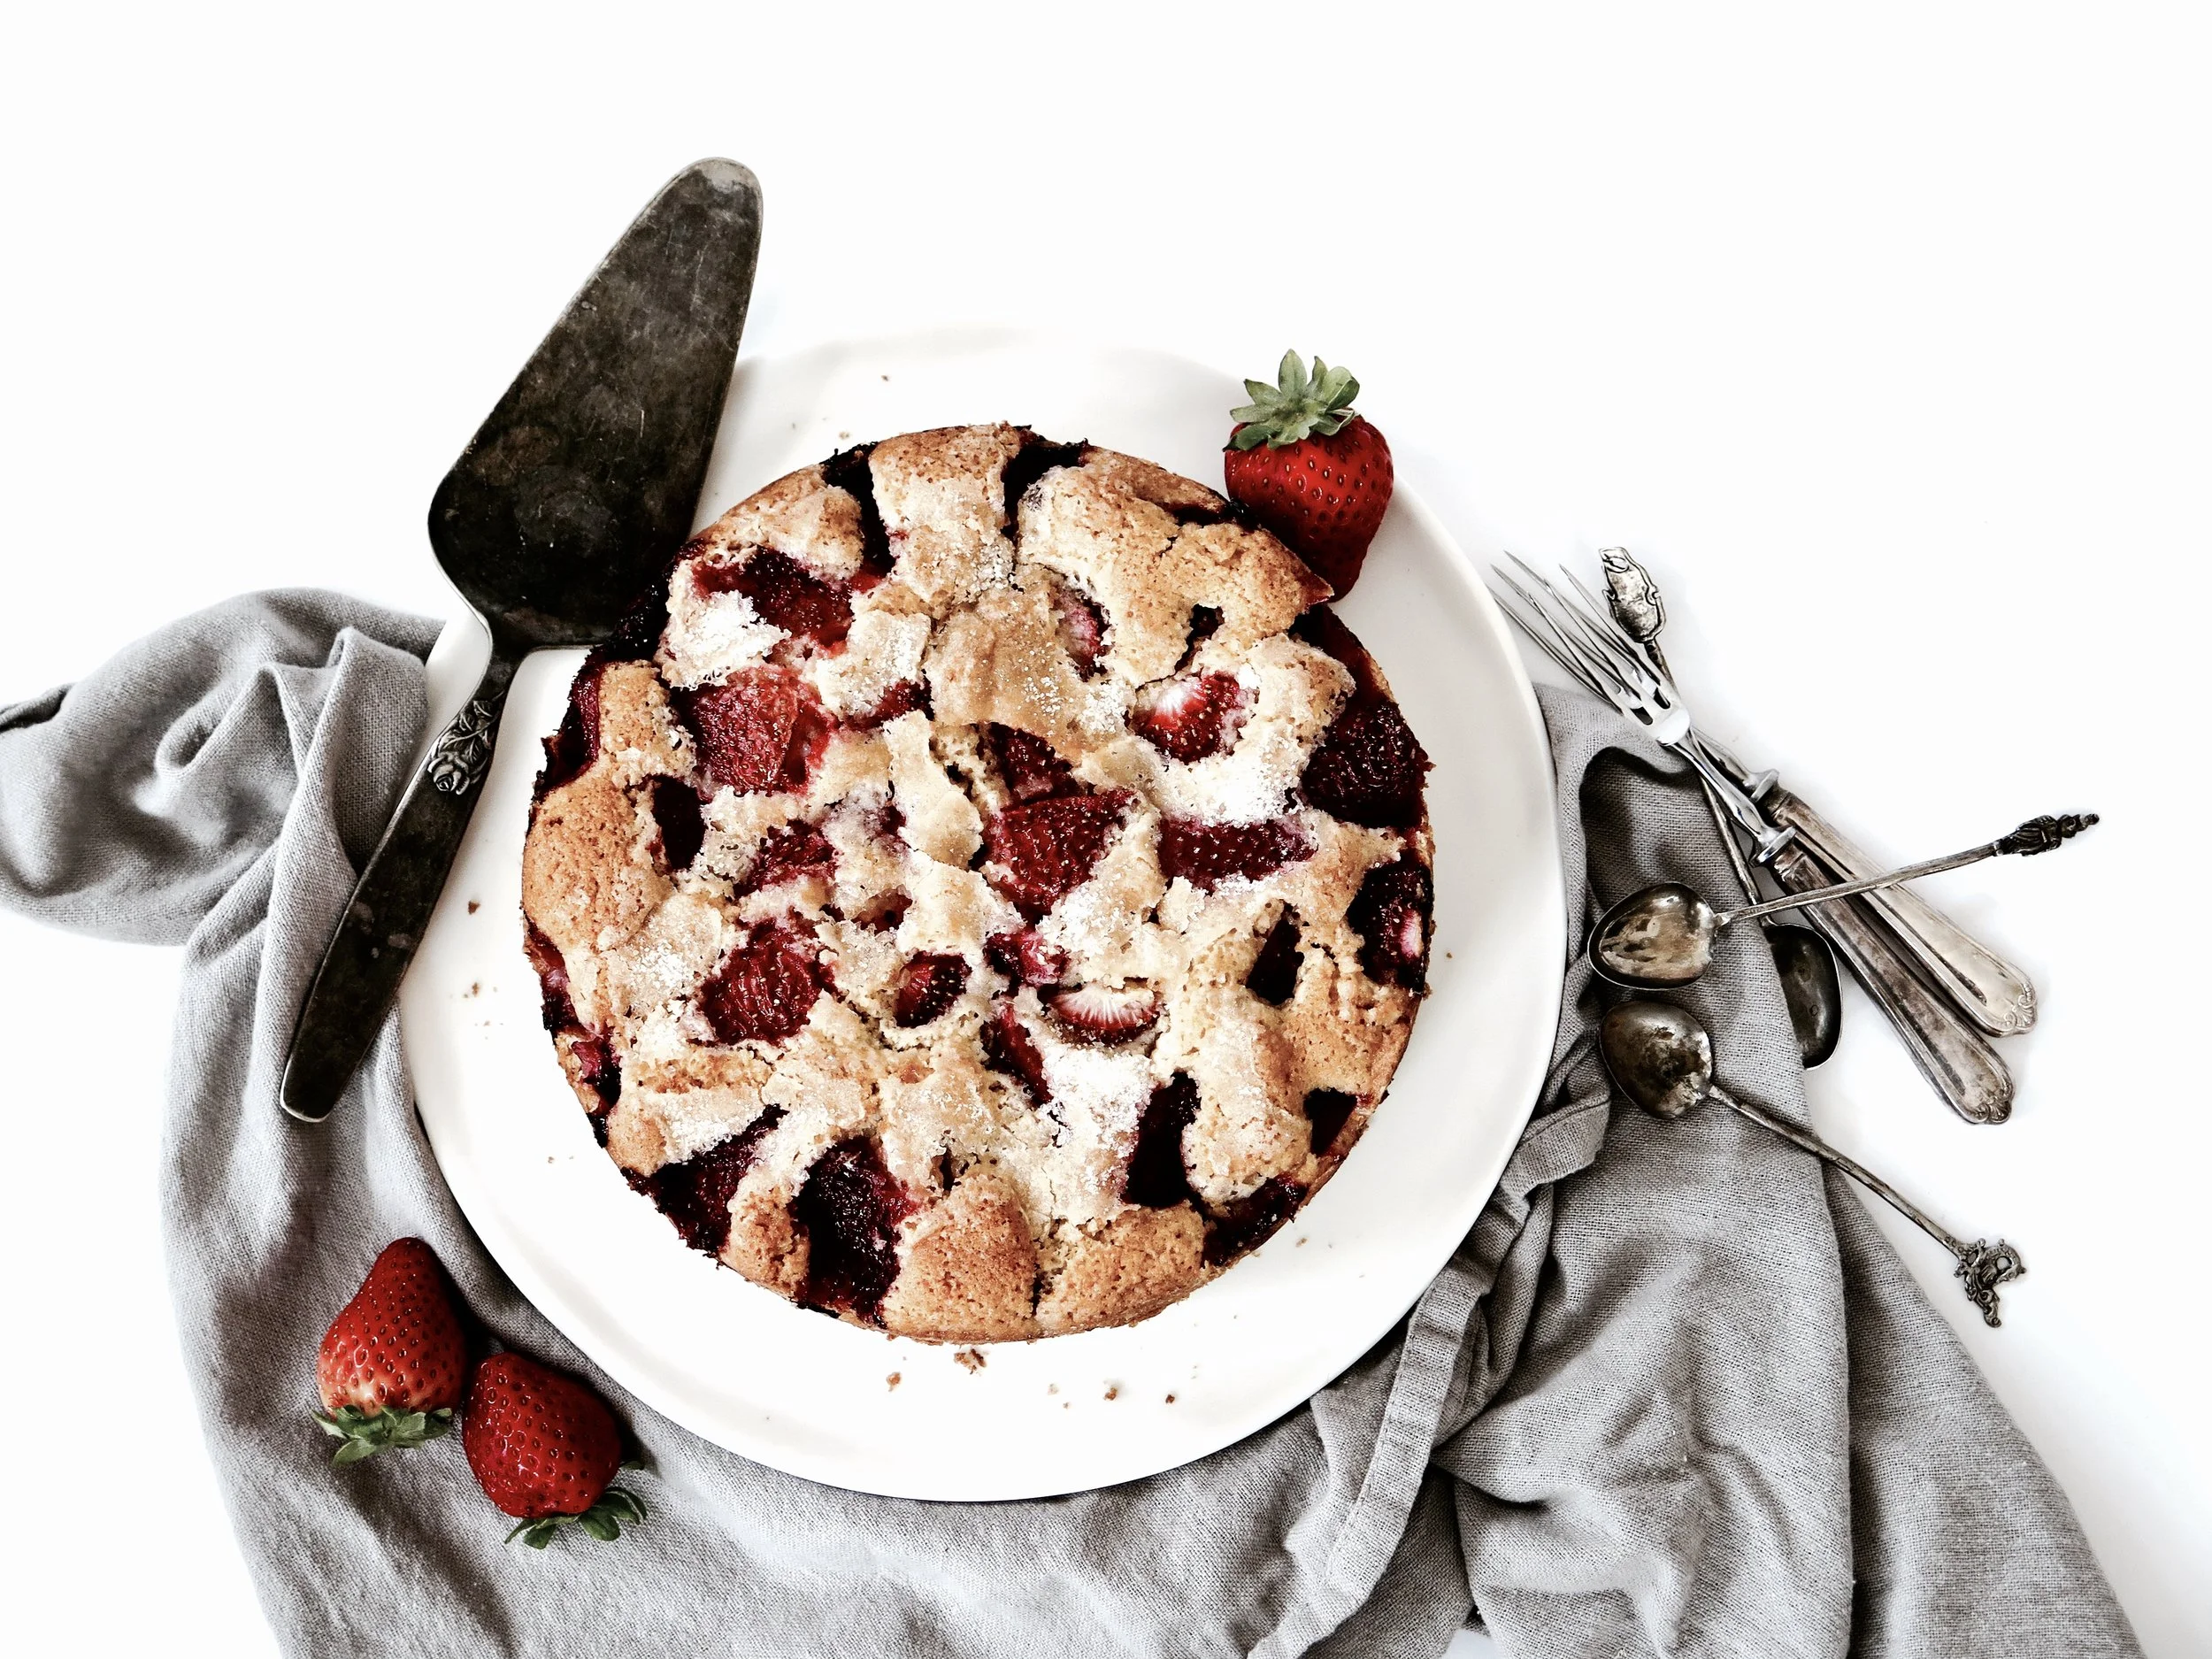
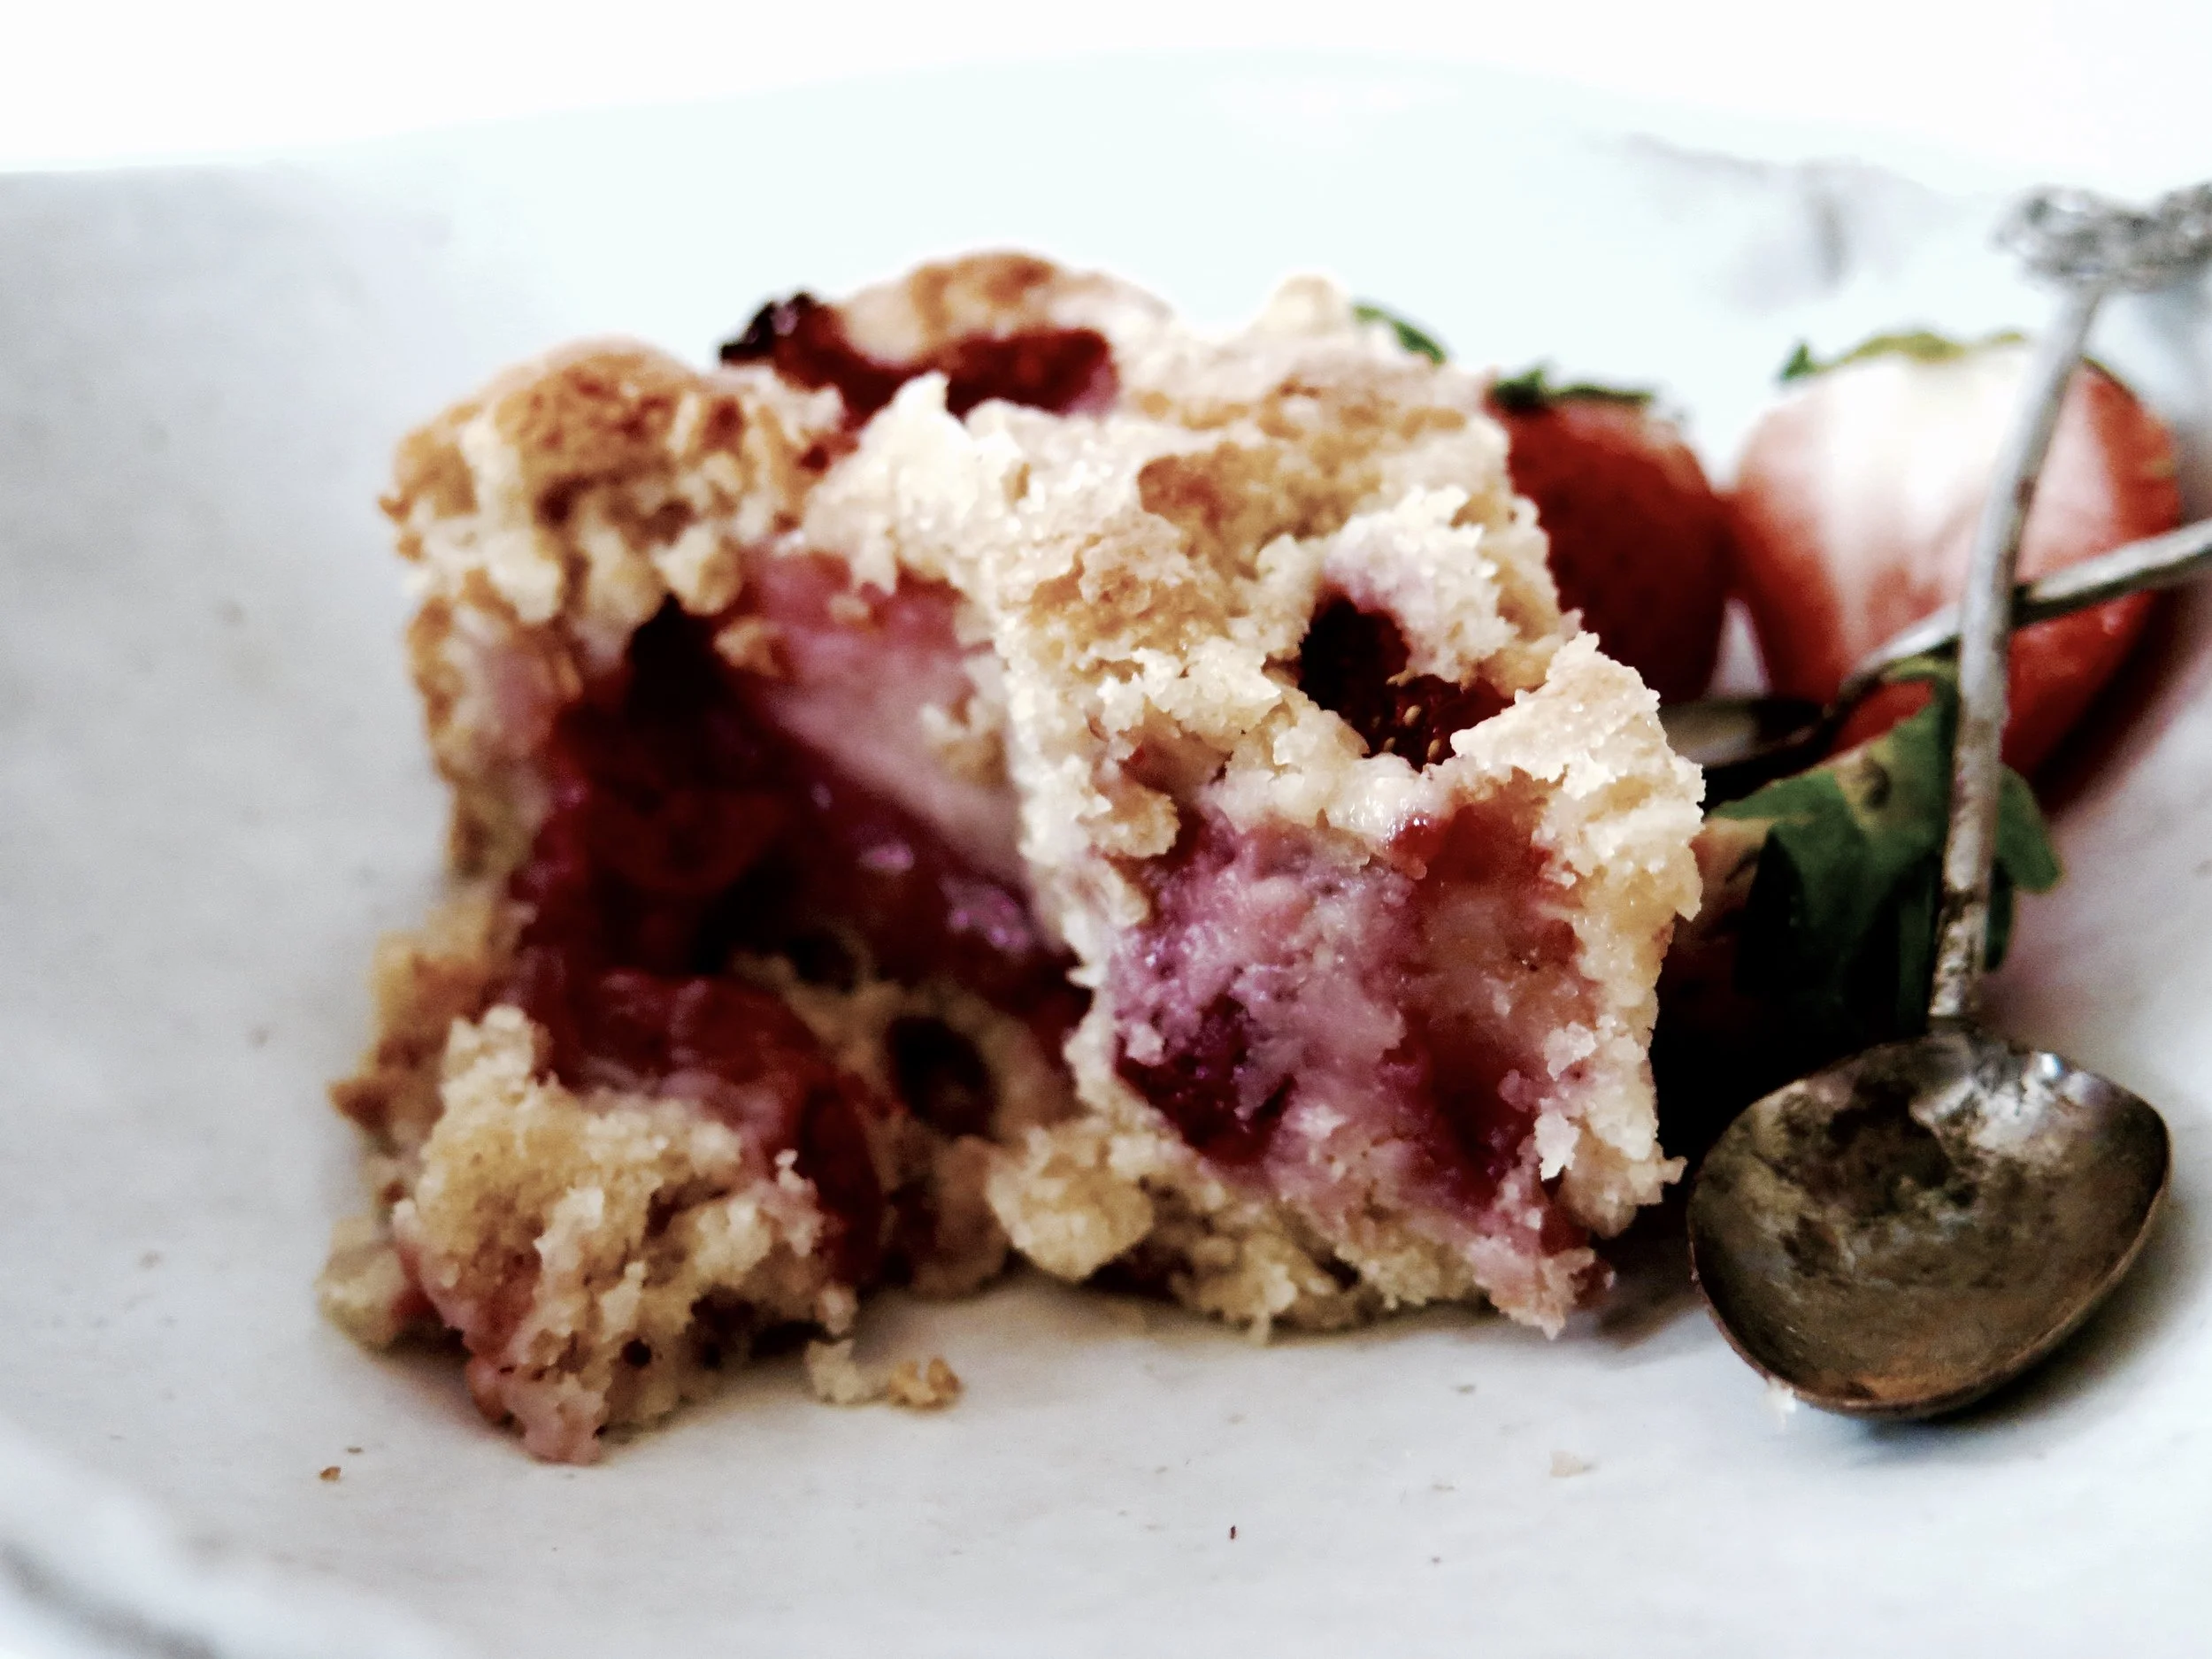
Here’s the recipe for an exceedingly luscious cake. It is succulent, and filled with roasted strawberries so that there is at least one deliquescing in every bite. The berries on the surface turn almost jam-like in the oven.  Absurdly quick and easy to make, it is totally moreish. 

NB. This cake can be made gluten-free by substituting the flour for gluten free. 

Luscious Strawberry cake  

Serves 6-8 (depending on level of greed)

Ingredients

85g unsalted butter, at room temperature

160g caster sugar + 2 tbsp for the topping

1 large egg

120ml milk

1 tsp vanilla extract

190g white spelt flour (or gluten-free equivalent)

1 1/2 tsp baking powder

1/2 tsp salt

400g strawberries, after having been hulled and halved

20cm diameter round springform cake tin, either totally lined with baking parchment (if you’re feeling lazy and you don’t mind crinkly cake sides), or thoroughly greased with butter and the base lined with a circle of baking parchment


Method

1)   Preheat the oven to 180°C. 

2)   Either by hand or in a stand mixer fitted with the paddle, beat the butter and sugar together until soft, light and fluffy (which should take about three minutes).  Then pour in the egg, milk and vanilla extract and beat to combine. It may look slightly curdled but that is not a problem.

3)   Into the wet ingredients sieve the flour, baking powder and salt. Gently fold the dry ingredients through until the batter is smooth and fully combined.  Pour into the prepared cake tin.

4)   Arrange the strawberries cut side down in the batter. You make need to overlap some or push some down to fit them all in. Sprinkle the 2 tbsp of caster sugar over the top and place in the oven. 

5)   Bake for 45-55 minutes (depending on oven), checking after 30 minutes. You may need to cover the top with aluminium foil if the surface looks at risk of becoming too dark. When ready, the top should be a deep gold and a cake tester should come out batterless (moisture from the strawberries will prevent it from coming out totally clean).

6)   Allow to cool on a wire rack and devour on the day, or within two days, of baking.

(Adapted from Smitten Kitchen)

fullsizeoutput_13c9.jpeg

HUNGRY FOR MORE?

Comment

Sticky Date & Amaretti Crumble Bars

Comment

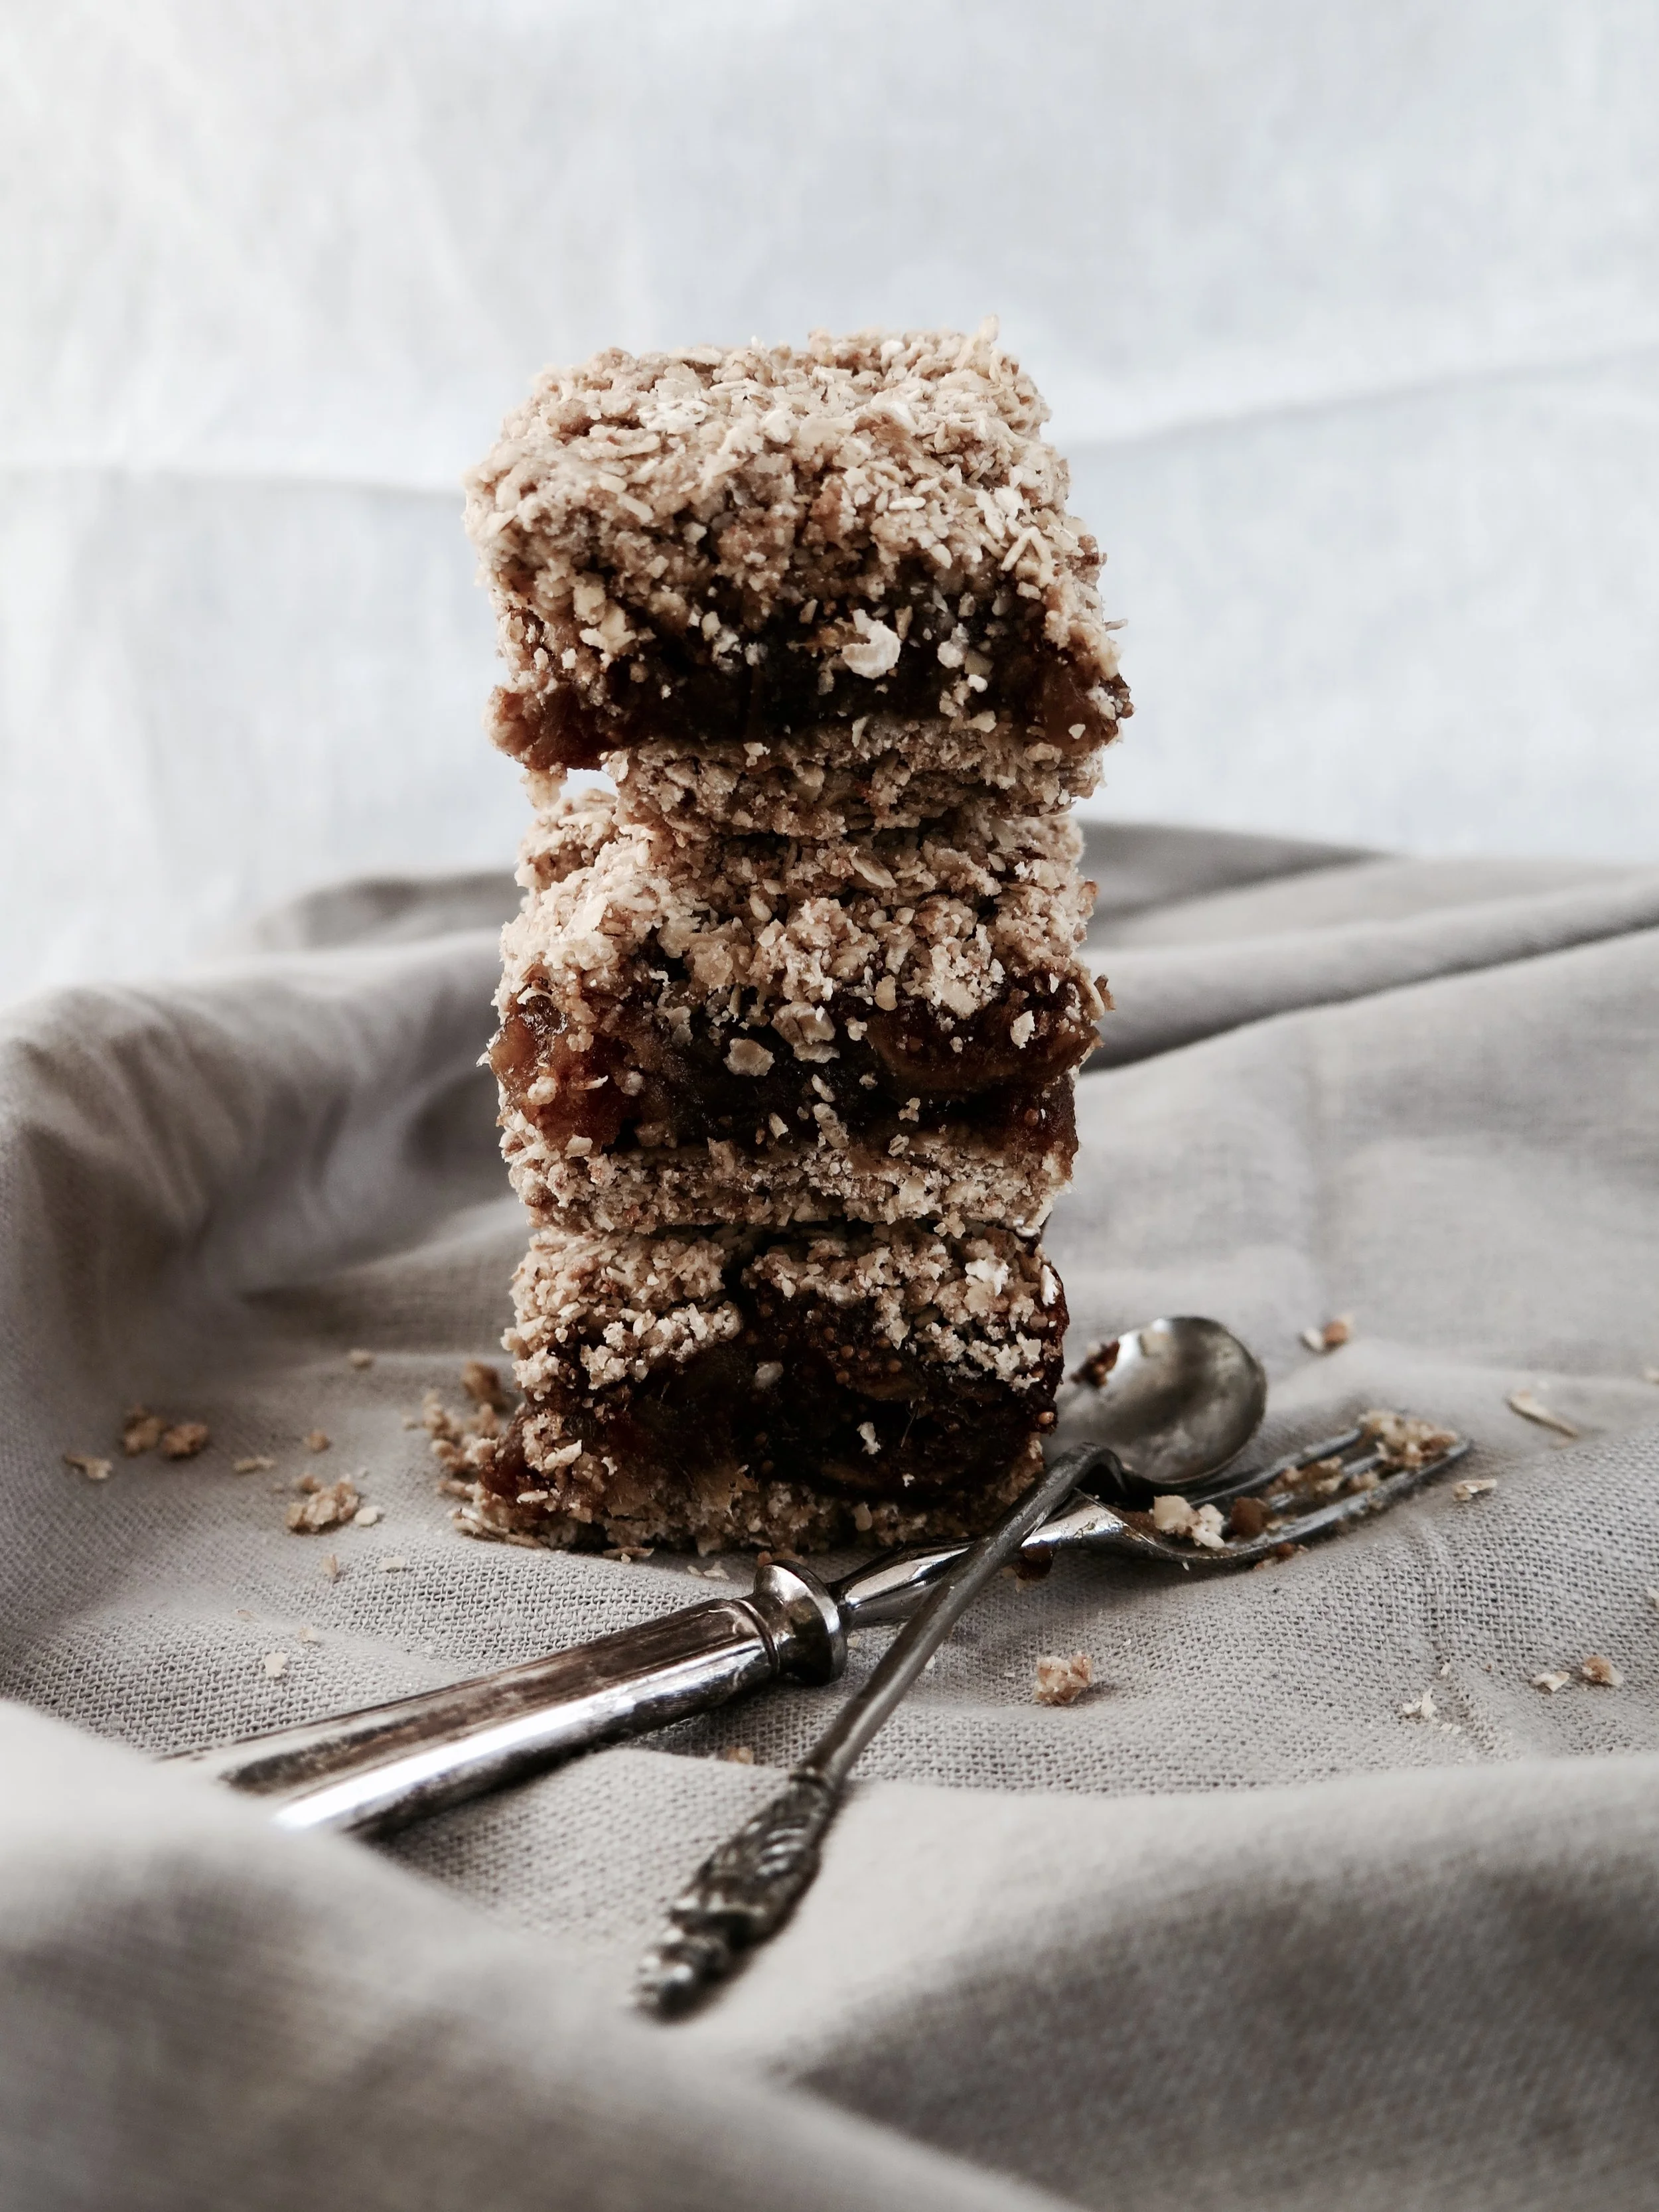
Sticky Date & Amaretti Crumble Bars

fullsizeoutput_db1.jpeg

A trip to Toronto when I was seven years’ old is anchored for me by one thing: not the CN tower, or Niagara Falls or my cousin’s wedding, but a visit to the farmers’ market, and in particular, a potentially life-changing stall.  A tall, russet-cheeked man was in command, his floured apron stretched taught over his protuberant belly. 

fullsizeoutput_db5.jpeg

And on his table lay not the garish, sprinkle- speckled swirls that would have drawn a normal child. Instead, tray after tray of rubbly slabs of oat and date crumble bars were arrayed. 

The date layer of the bars was jaw-clenchingly sticky, and thick – not like the mean, shop-bought equivalent. The oaty outer layers were both crunchy and then soft, golden and not overly sweet, allowing the natural date sweetness to shine through. 

fullsizeoutput_dc8.jpeg

. For the last seventeen years I’ve been raiding bakeries and markets, seeking to relive the experience, but the date and oat crumble bars always disappoint – too saccharine, too solid, too floury. In between raids, I’ve been working on my own: these are the closest I have come to Toronto’s best kept secret. I added the crushed amaretti to give them a little twist. Feel free to leave the sugar out of the crumble if your palate is adjusted to the less-sweet. 

It’s incredibly hard to resist them when they emerge from the oven golden and crisp, but I think they taste even better when they have cooled and the flavours are more distinct (or maybe try them both ways, just to be sure…).

NB. They can be made gluten-free by substituting gluten-free flour for spelt. 

fullsizeoutput_1223.jpeg

Ingredients

Date filling

400g medjool dates, pitted & roughly chopped (about 20)

3 tbsp fresh orange juice

120ml water

2 tsp vanilla extract

½ tsp mixed spice

½ tsp finely grated orange zest


Crumble

250g oats

120g butter

100g wholemeal spelt flour

50g dry amaretti biscuits

40g light brown muscovado sugar

¼ tsp mixed spice

½ tsp vanilla extract

¼ tsp salt

A square 20cm baking tin (or tin of equivalent area), lined with baking parchment, with sides and base fully covered.

Method 

1)    Preheat oven to 180°C

2)    Place all ingredients for the date filling in a pot and place on a medium heat. Stir as the mixture begins to simmer. After about 5 minutes, when the dates have broken down into more of a paste and all the water has evaporated, remove from the heat and set aside.

3)    Pour all the crumble ingredients into a blender and pulse until the mixture still has some texture  and is slightly coarser than sand.

4)    Pour 2/3 of the crumble mixture into the base of the tin, and, with your fingers or the back of a spoon, press the mixture down evenly across the base of the tin until firm and compact. Pour the date filling over and spread evenly across the base. Then pour over the remaining crumble mixture and press down until even and as compact as possible.

5)    Place in oven to bake for 15-20 minutes until golden and firm to the touch.

6)    Slice and allow to cool before devouring. Keeps well in an air tight container in fridge for up to 5 days, or in freezer for 2 months (also tastes delicious when frozen).

fullsizeoutput_1229.jpeg

HUNGRY FOR MORE?

Comment

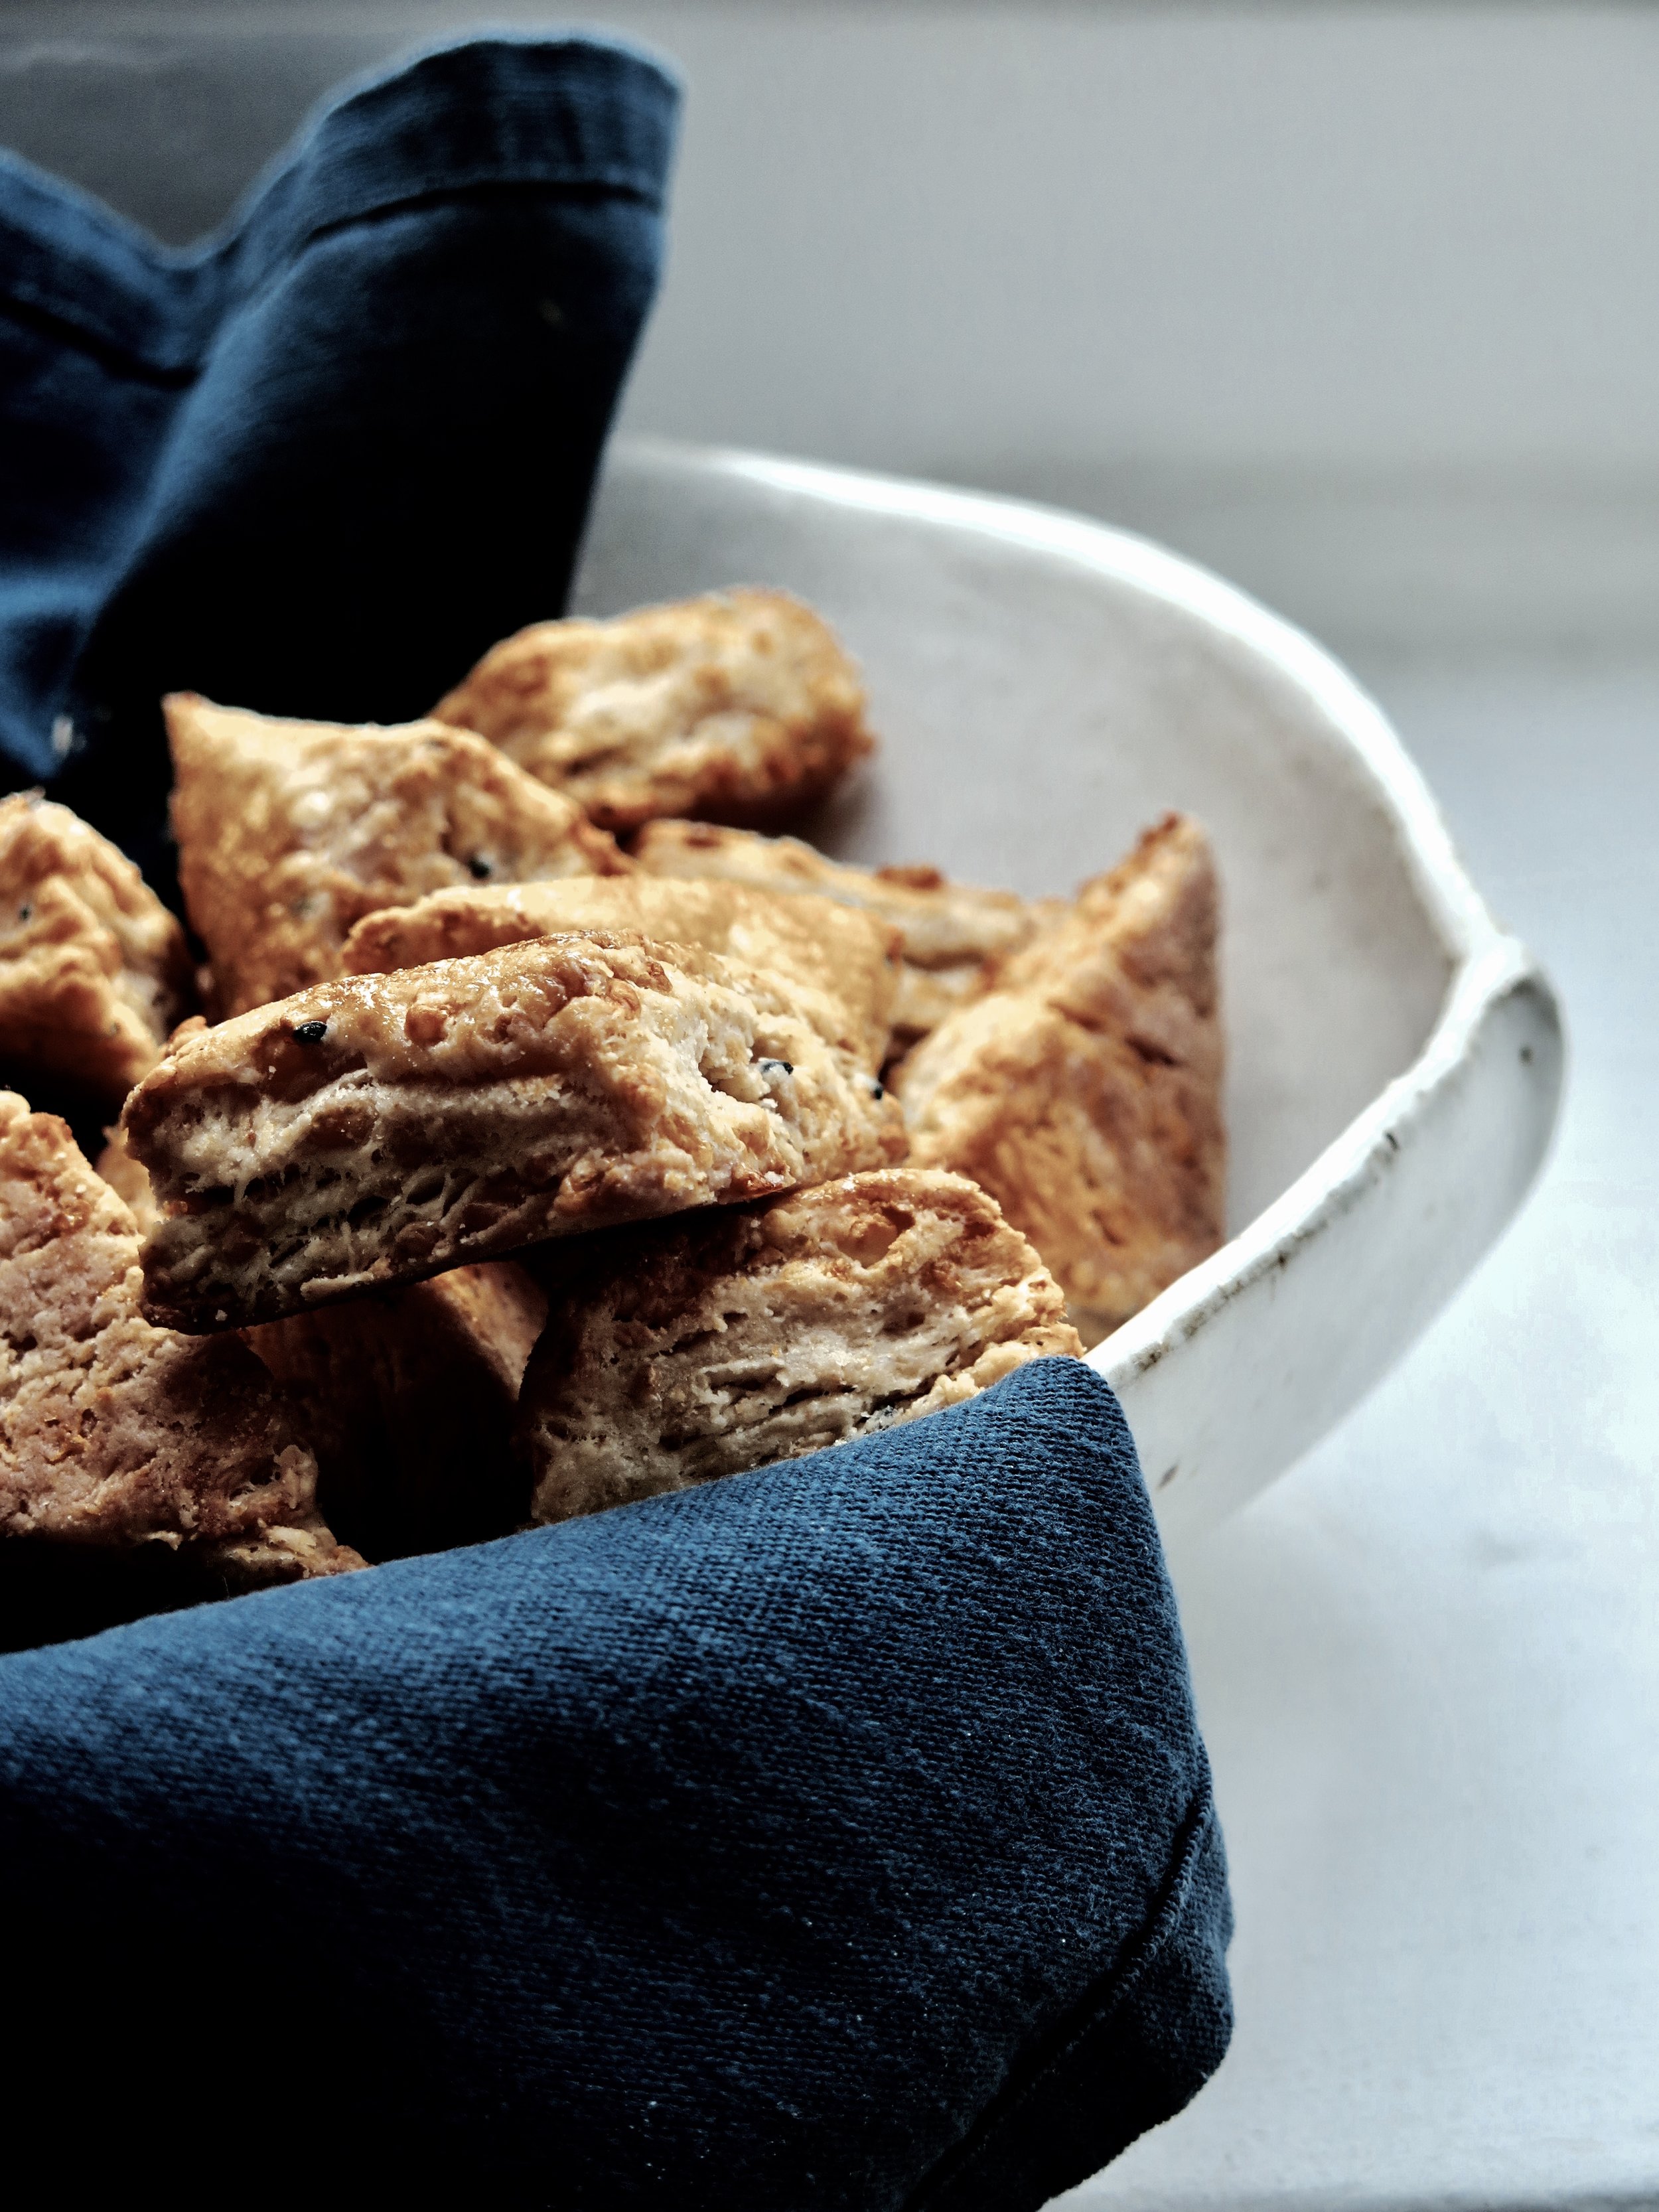
Mini Feta & Cheddar Spelt Scones

Comment

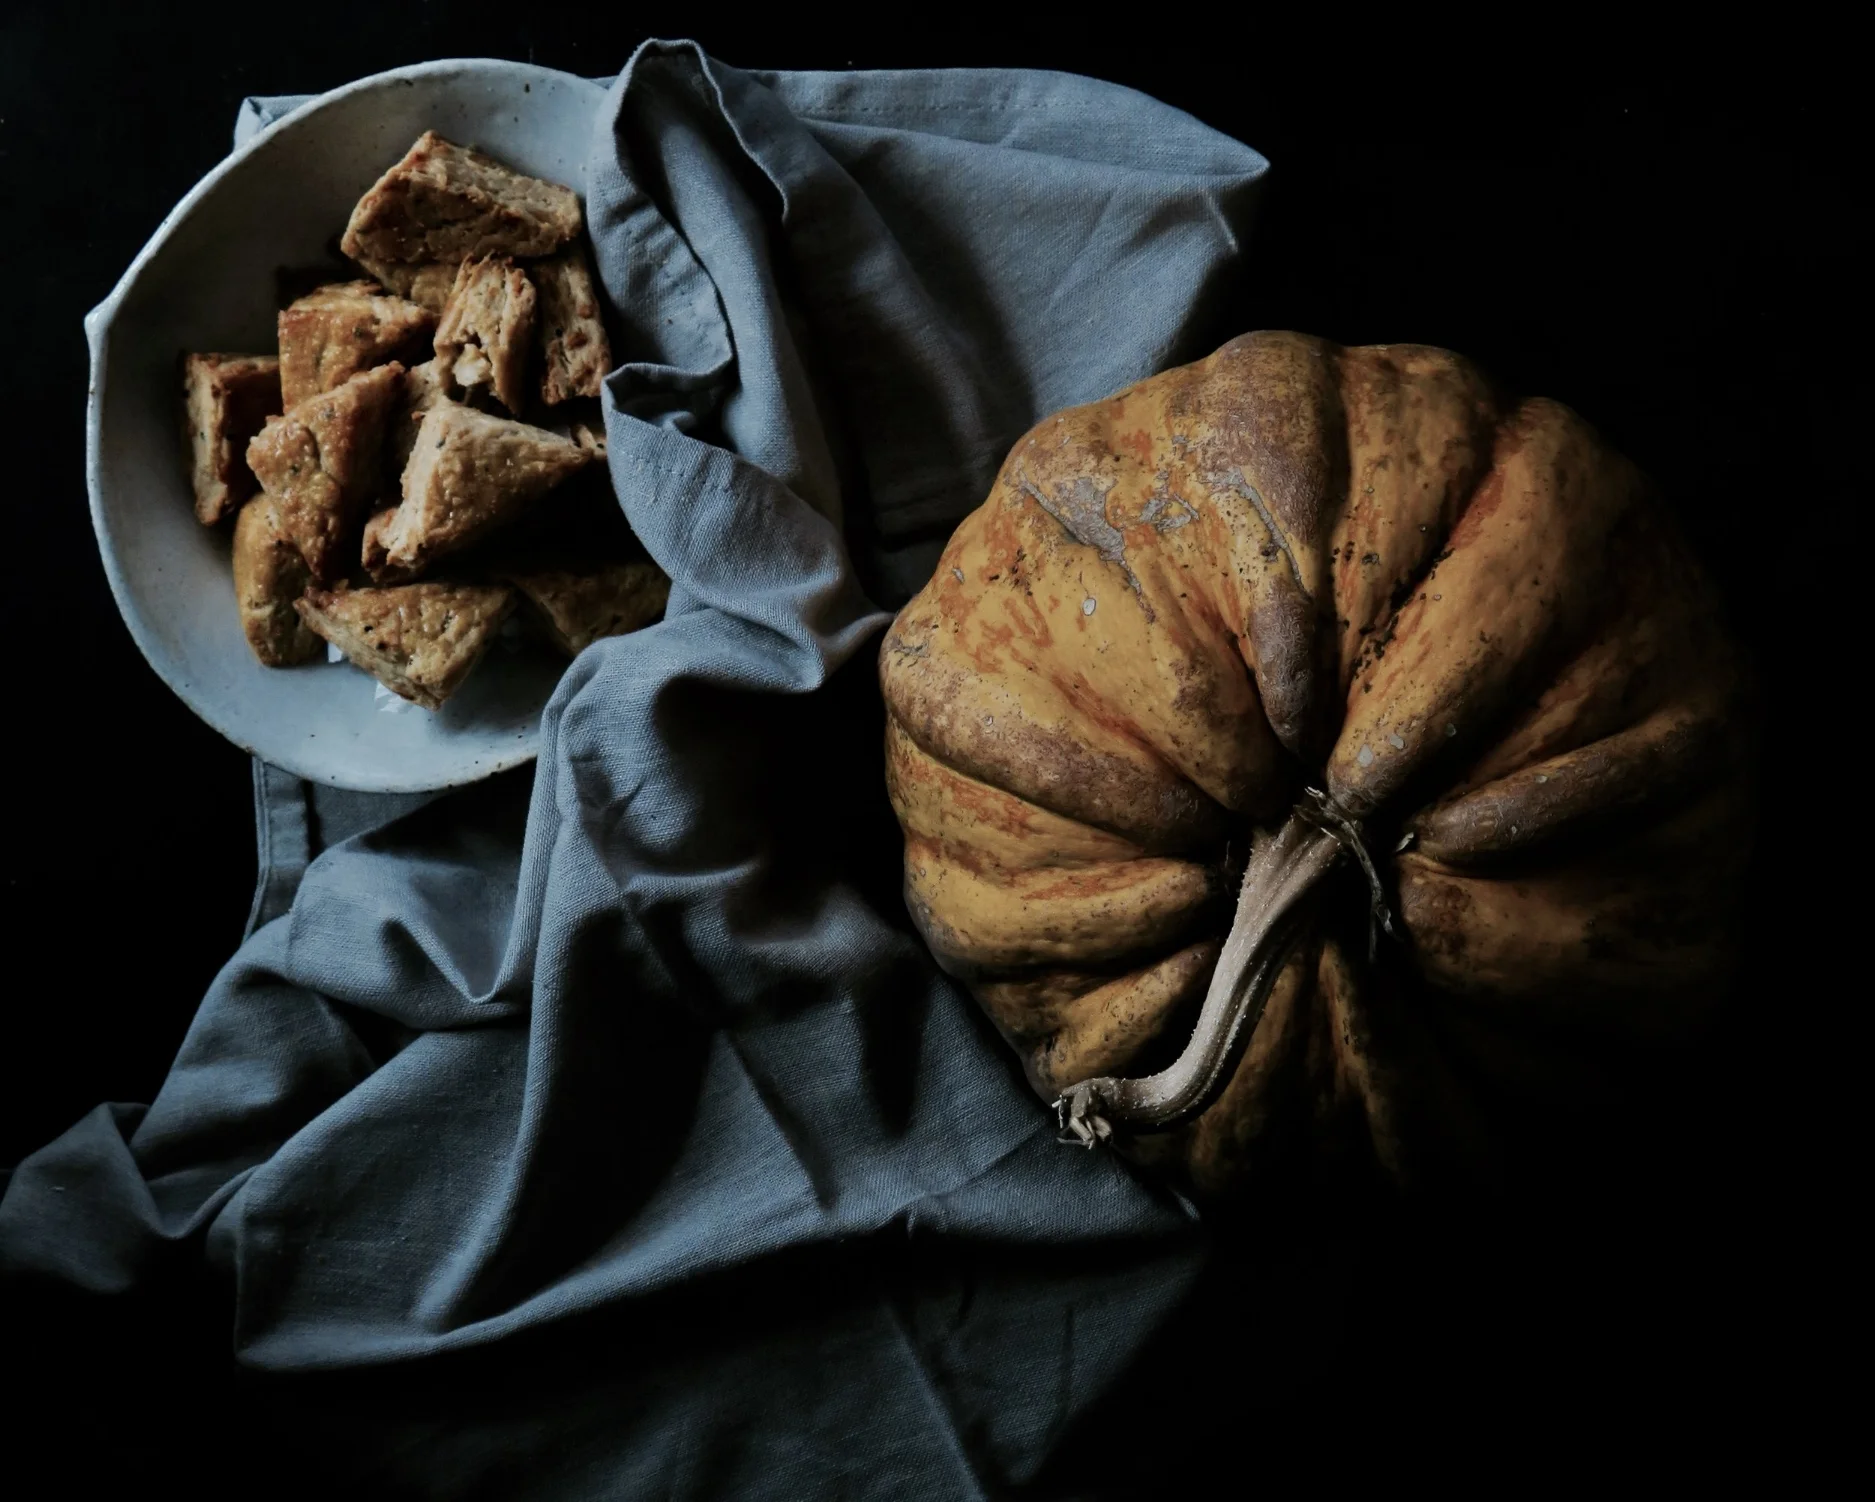
Mini Feta & Cheddar Spelt Scones

fullsizeoutput_9c0.jpeg

I feel immense joy when I see canapés floating along the horizon of a wine-soaked room. Salty, crunchy, flavour-filled bites to pop into your mouth and stave off hunger. But in reality, the canapés path is far more obstacle- laden. Here are a few of the typical scenarios that I have endured, or have watched others enduring:

fullsizeoutput_9cf.jpeg
  • The hidden two- biter: where you hesitate over whether to put the whole thing in your mouth, decide to go for it and then have to find a way to swivel the thing around inside your cheeks until it becomes vaguely chewable, all while trying to hold down a conversation
fullsizeoutput_9c4.jpeg

  • The crumbler – this one disintegrates before it even reaches your mouth. This doesn’t necessarily result in interrupted conversation, but ends up being problematic when you shake hands with someone and end up leaving a stick, flaky deposit in their palm
fullsizeoutput_9bb.jpeg

  • The burner – you were warned about the heat but went for it anyway. If you were alone you would probably spit it out, but in the interests of politeness and retaining friends, you endure a scorched oesophagus 
fullsizeoutput_9ed.jpeg

  • The stringer – this is reserved for molten- cheese filled croquetas.  Delicious, yes, but they leave the unsuspecting devourer s with frills around their lips reminiscent of Futurama’s Zoiburg.
fullsizeoutput_9b6.jpeg

The following will help you steer clear of the above pitfalls: small, savoury and succulent, these are the perfect canapés.  Indeed, they are suitable for consumption at any time. They are crisp on the outside and soft and light inside, flecked with molted feta and cheddar, and with a hint of the more exotic nigella seeds. This recipe makes 18 but I would urge you to double it as they are so addictive.  They are also ridiculously easy and quick to conjure up.

NB. these can be made gluten-free by simply substituting spelt flour with gluten-free)

Mini Feta & Cheddar Spelt Scones (makes 18)


Ingredients

100g sour cream

2 tbsp milk

80g mature cheddar cheese, grated

80g feta, roughly diced into 0.5cm cubes

50g unsalted butter, cold and roughly diced into ¾ cm cubes

200g white spelt flour (can substitute with plain flour or gluten-free)

¼ tsp baking powder

¼ tsp salt

½ tsp nigella seeds

[optional: ½ tsp cayenne pepper]

1 egg, beaten, to glaze

1 large baking tray lined with greaseproof paper


Method

1)    Preheat oven to 200°C. In a large bowl by hand, or in a food mixer fitted with a paddle, briefly mix together the sour cream, milk, cheddar, feta and butter. Pour in the flour, baking powder, salt and nigella seeds (and cayenne if using), and mix until just combined into a dough. You may need to knead the dough by hand very slightly for it to come together.

2)    Place dough onto a floured surface, pat into a square and roll it out to roughly 2.5cm thickness. Slice the dough into nine squares, like a noughts and crosses board, and then slice the squares diagonally to form 18 triangles.

3)    Arrange the triangles on the baking tray, leaving at least 3cm between them. Brush them lightly with the beaten egg and place in the oven to bake for 15-20 minutes until golden on the outside. They are best devoured immediately or on the day of baking. 

Adapted from Honey & Co's "Food From the Middle East" recipe for Bouikos


fullsizeoutput_9b8.jpeg

HUNGRY FOR MORE?

Comment

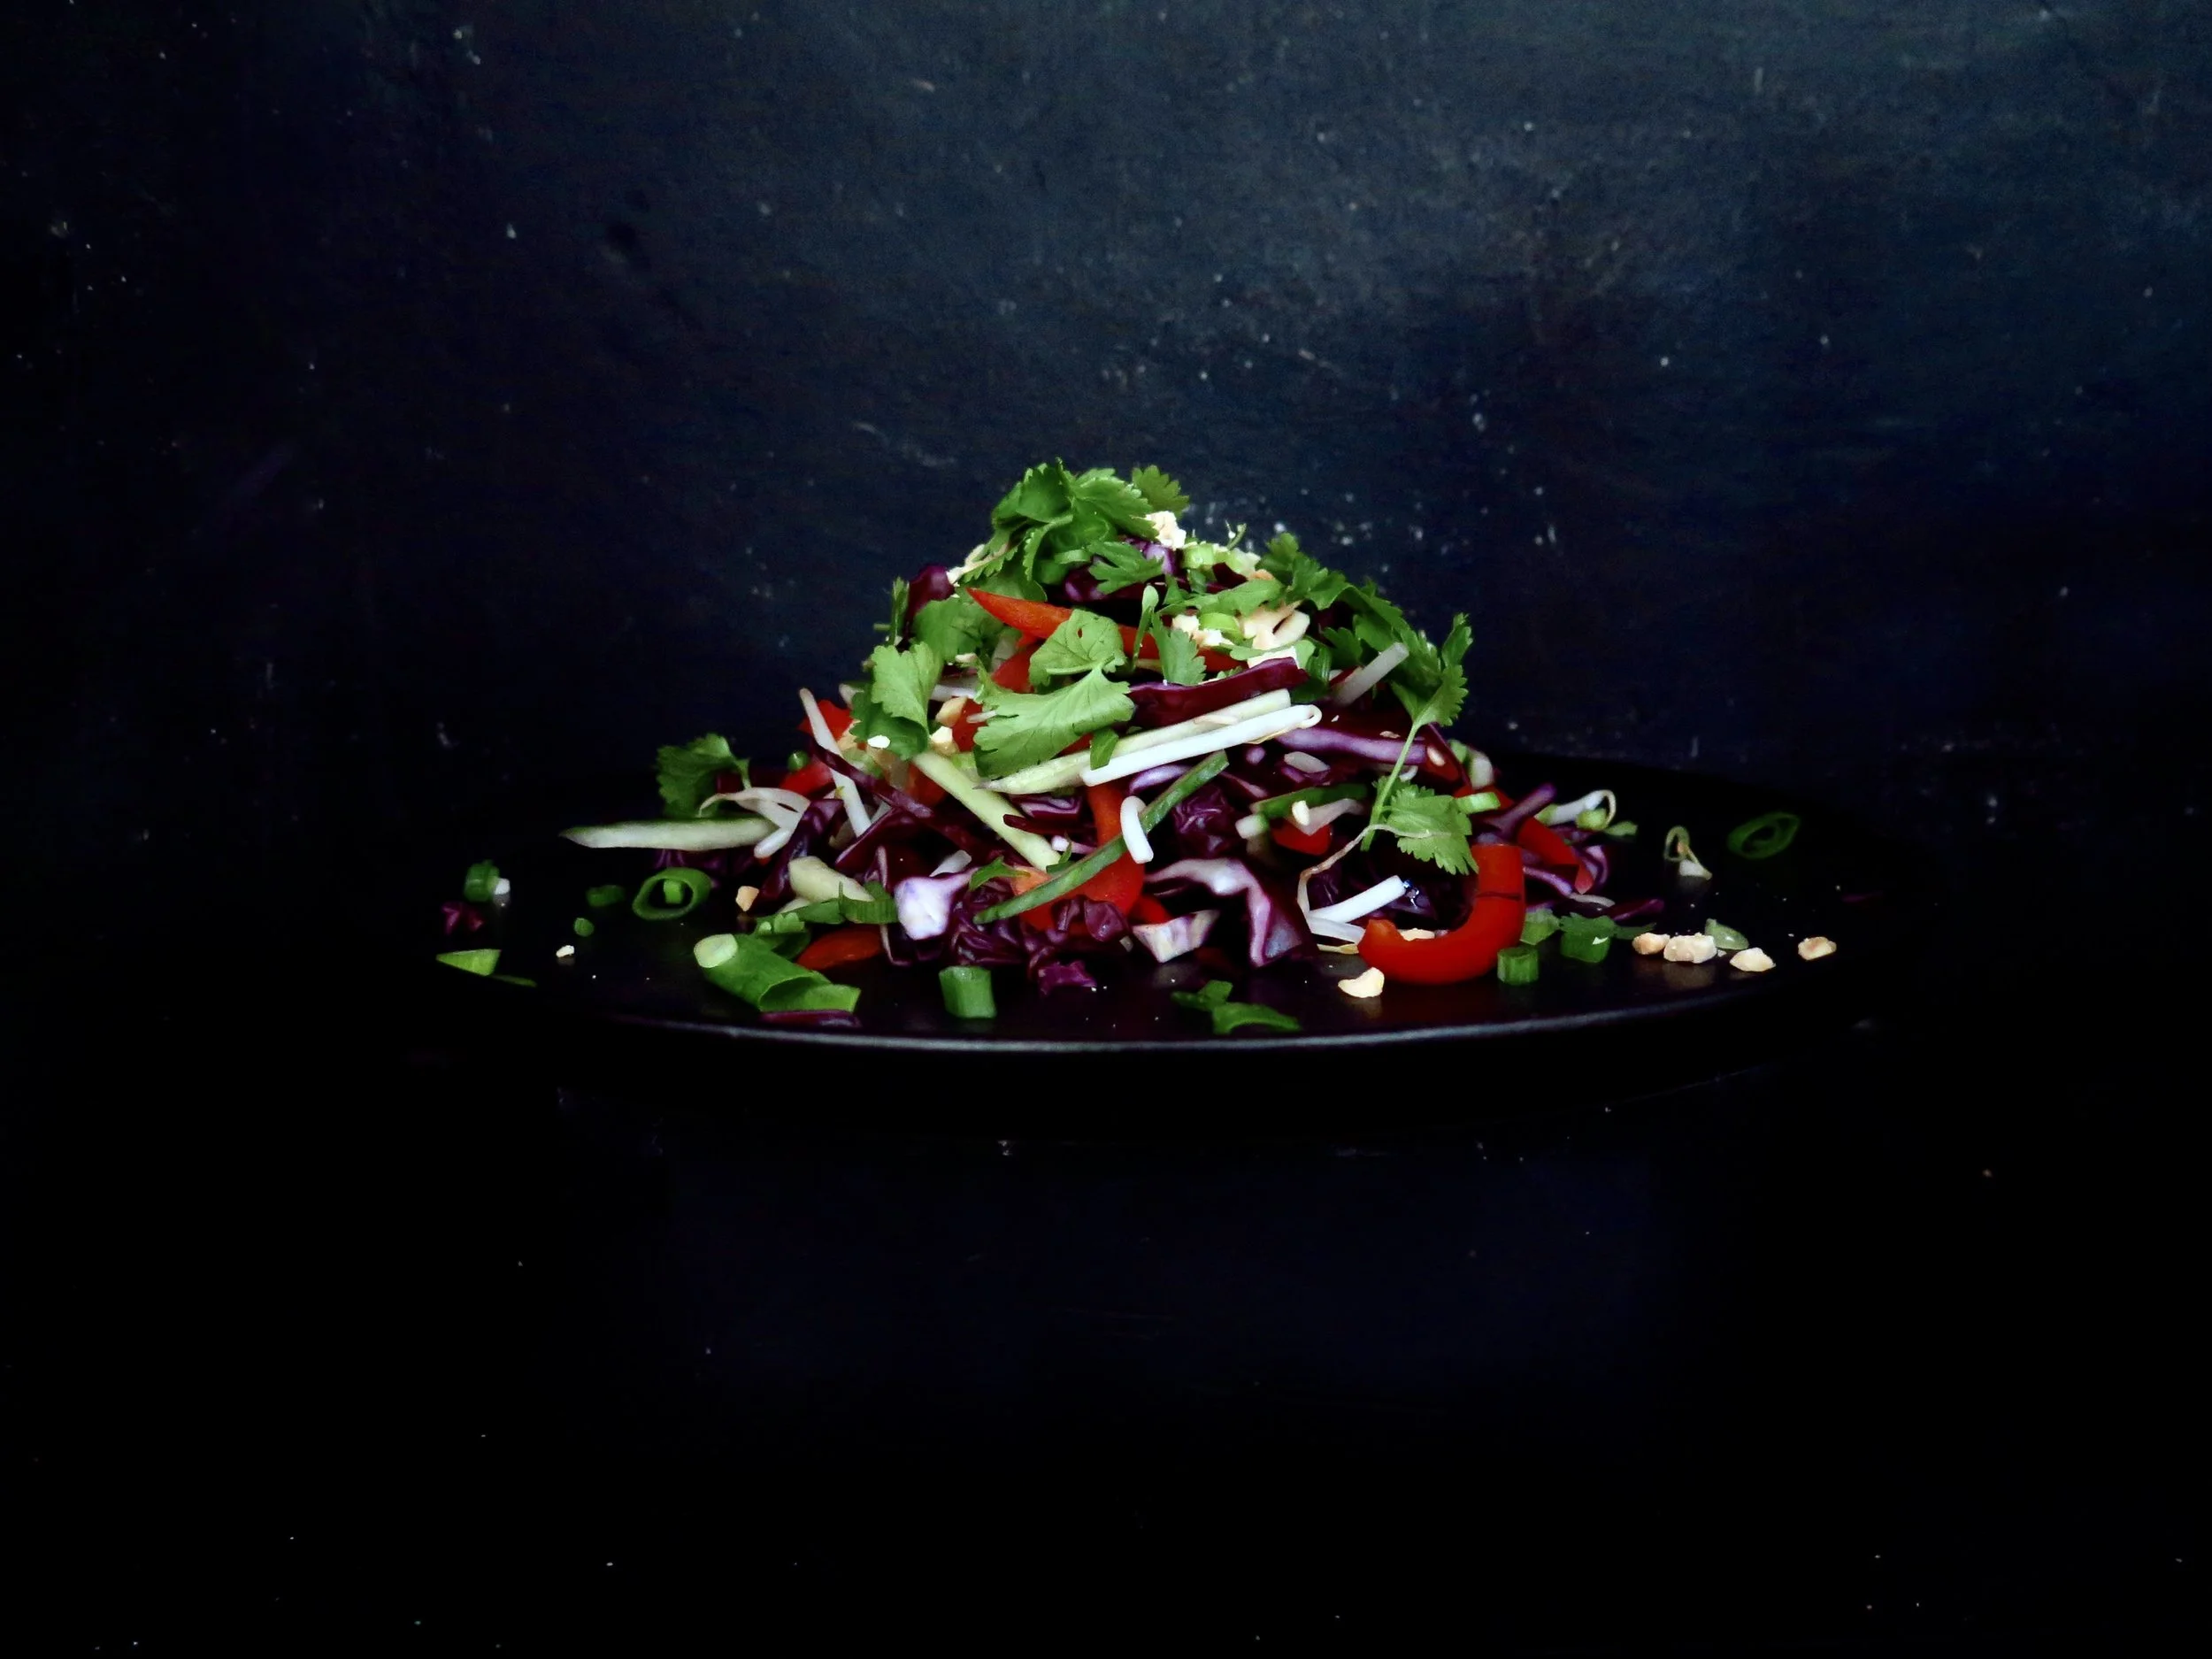
Crunchy Spicy Tangy Thai Salad

Comment

Crunchy Spicy Tangy Thai Salad

At the centre of a party you have the brash, garishly dressed harpy in a spandex and lurex flesh-popping, bum-skirting bodycon dress. She’s swishing her long, over-straightened blonde hair in the hope that people, like magpies, will be drawn in by its glinting sheen. But she’s telling the story you’ve heard a hundred times.

The punchlines are obvious and overdone. It’s an opaque boast to show off her intellect and attractiveness. She’s hyperbolising, and the decibels are mounting, in order to suck more people in.

You draw near, but after a few superficial bites, you hit the bone. What appeared to be a sumptuous, resplendent, sticky chicken wing feast was just a scraggly bit of overhyped flesh, and you’re left with a sickly sweet taste, desperate for something more refreshing and with more interest.

That’s when you leave the centre of the room and go over to the quiet person in the corner: modestly dressed, elegant but not overstated, and initially slightly shy. But once you start talking, there’s no stopping - tantalising wit, layers of texture and depth, sweet enough but with refreshing zestiness that intrigues and keeps you going back for more. Guard this salad closely because when others' attention rapidly wanes they’ll be coming over here too. Food envy is not something to be treated lightly, so here’s the recipe:


Recipe

Ingredients (serves 4)

3 tbsp (60g) smooth peanut butter (unsalted preferably)

4 1/2 tsp (45g) honey

4 1/2 tsp sesame oil

4 1/2 tsp soy sauce 

3 tbsp lime juice

15g finely grated fresh ginger 

1 medium sized garlic clove, crushed

(optional) 1 small Thai red chilli, very finely chopped


230g red cabbage (approx 1 quarter of a cabbage)

1 red pepper

130g cucumber

3 spring onions

100g beansprouts

60g roasted and salted peanuts, crushed + 10g extra for serving

25g coriander, roughly chopped + 5g extra for serving


Method

  1. In a medium bowl, whisk together all the dressing ingredients until smooth and emulsified.
  2. Finely slice the cabbage horizontally (so the average piece is about 4cm long). Remove the stalk and deseed the red pepper, then slice finely horizontally.
  3. Slice the cucumber in half lengthways and, with a teaspoon, scoop out the seeds. Then slice finely lengthways and then in half horizontally to create matchsticks.  Finely chop the spring onions.  Then in a large bowl mix together the cabbage, pepper, cucumber, spring onions, crushed peanuts & roughly chopped coriander.
  4. Pour the dressing over, and mix through. Scatter with extra crushed peanuts and then the chopped coriander, and serve.  If you are making in advance, prepare the salad ingredients and dressing separately, and pour the dressing on just before serving.

HUNGRY FOR MORE?

Comment

MINI CHOCOLATE & RASPBERRY MERINGUES

Comment

MINI CHOCOLATE & RASPBERRY MERINGUES

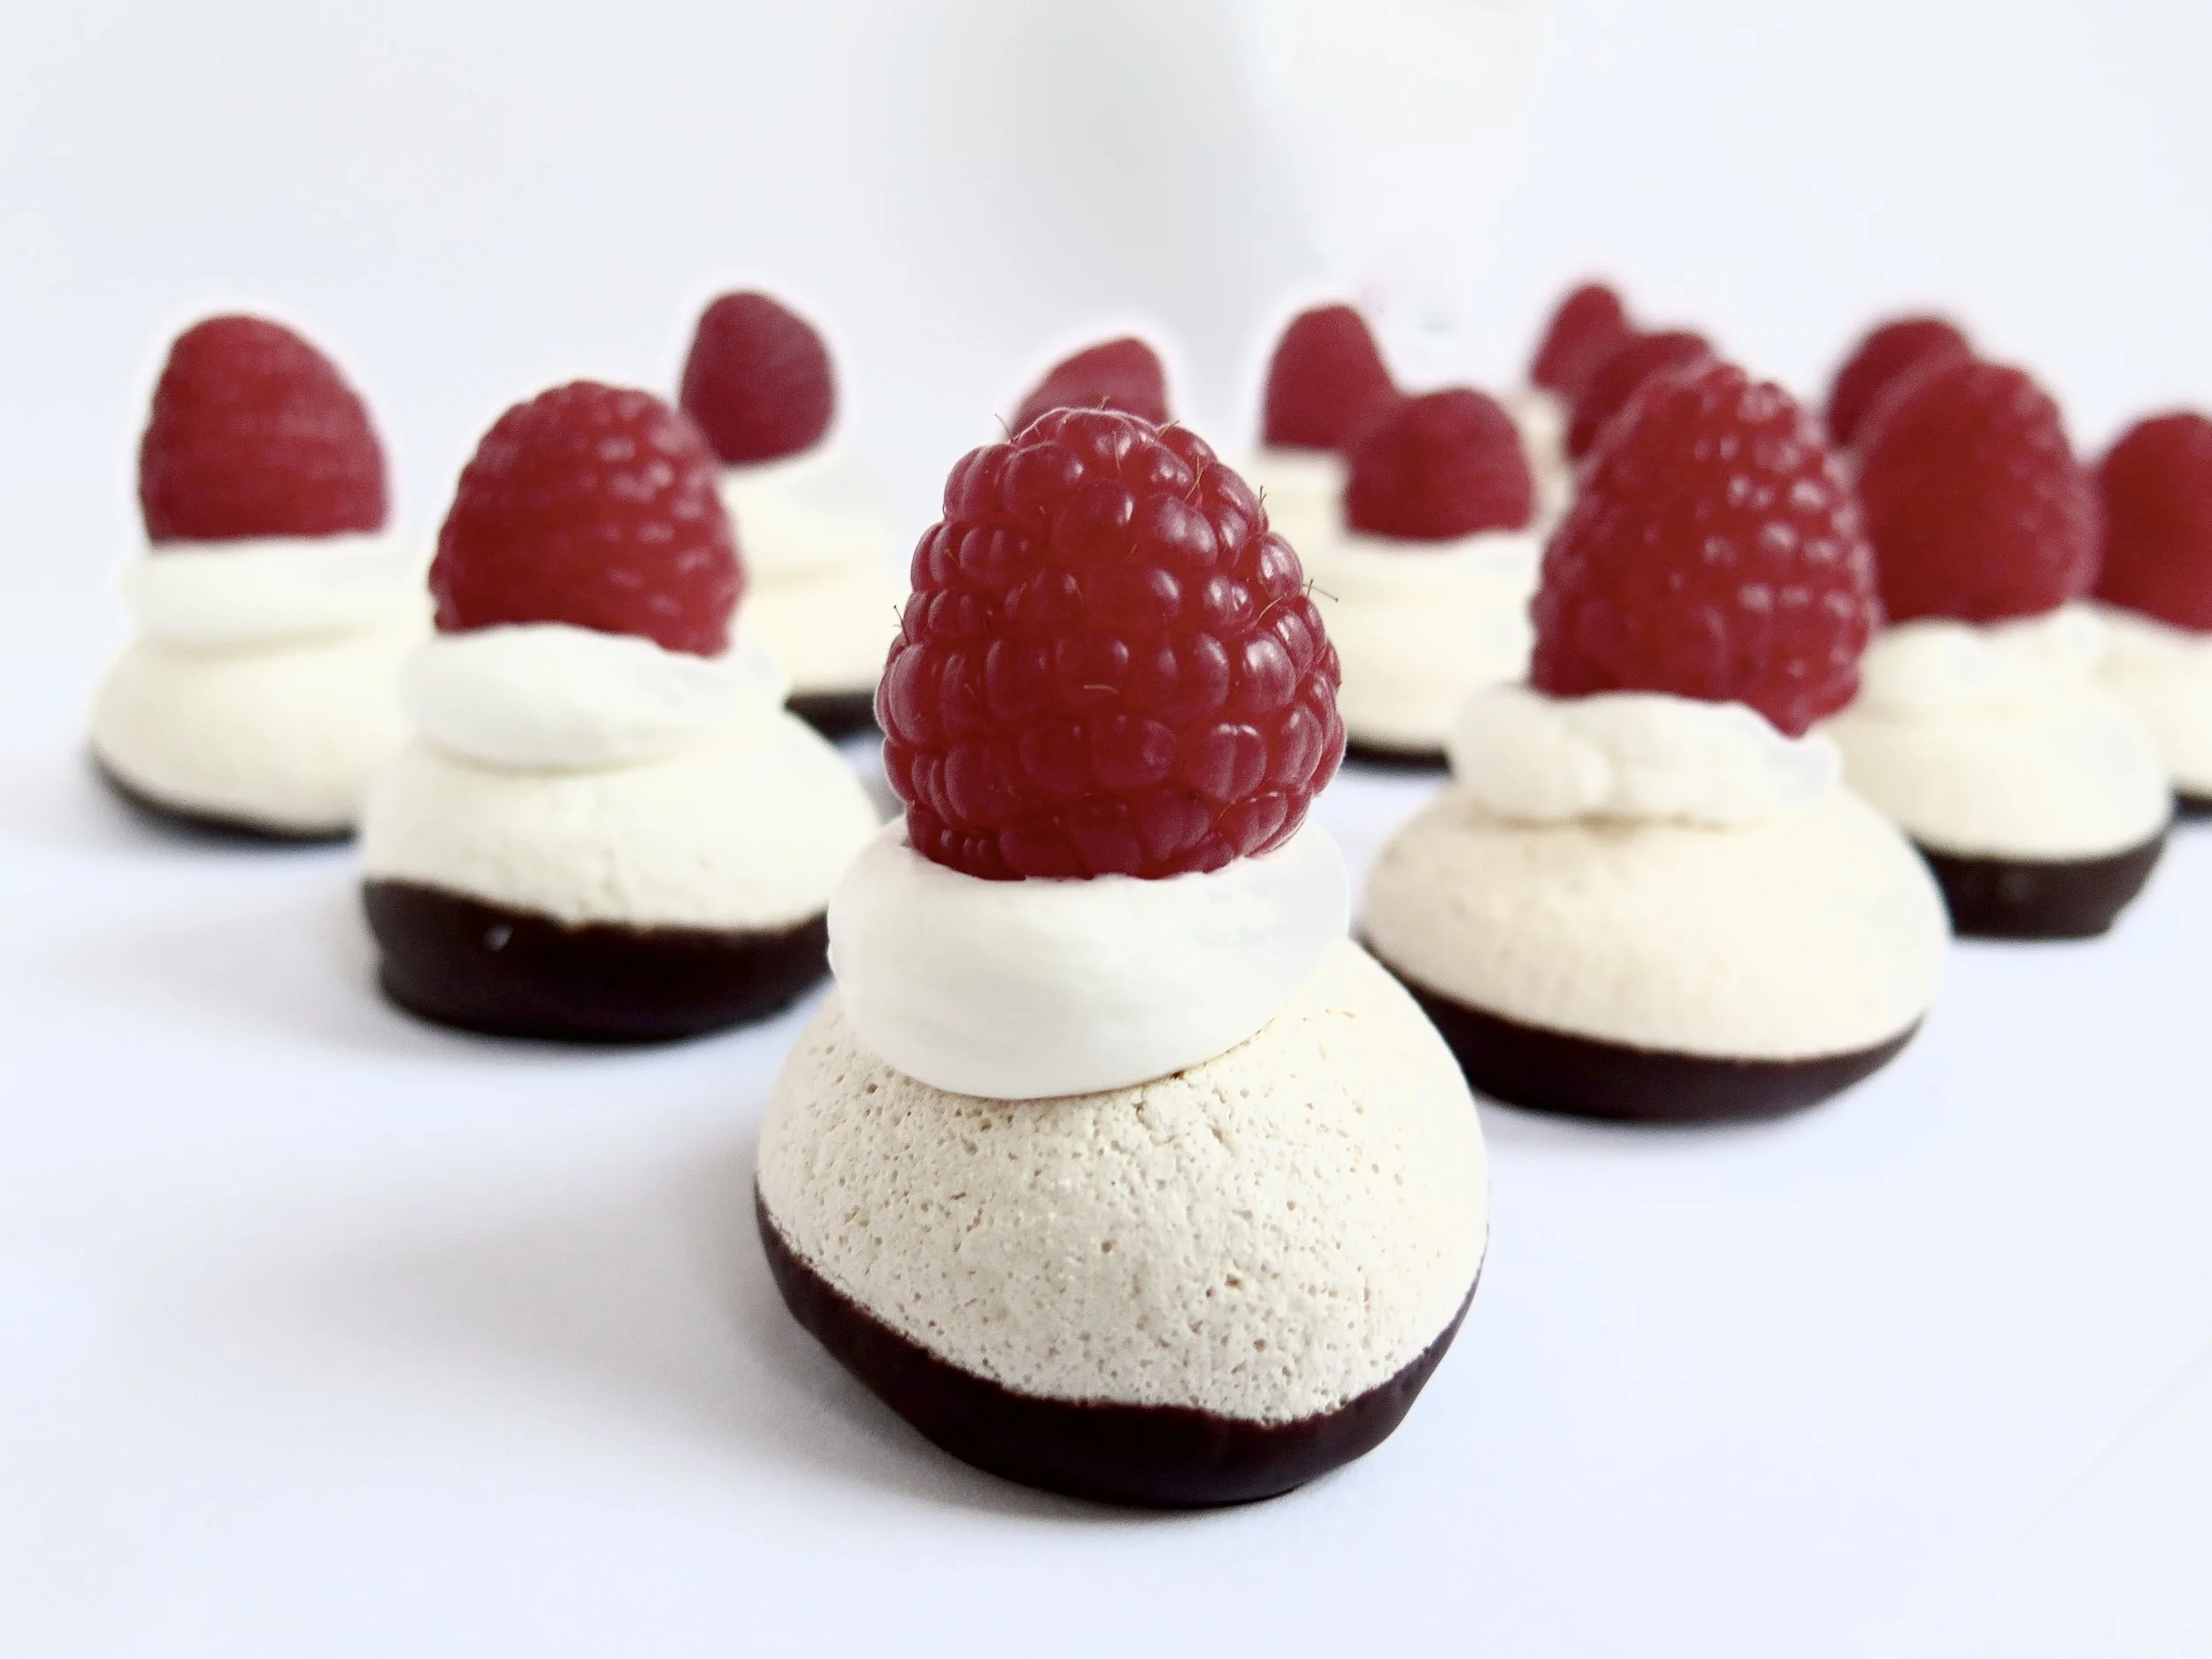
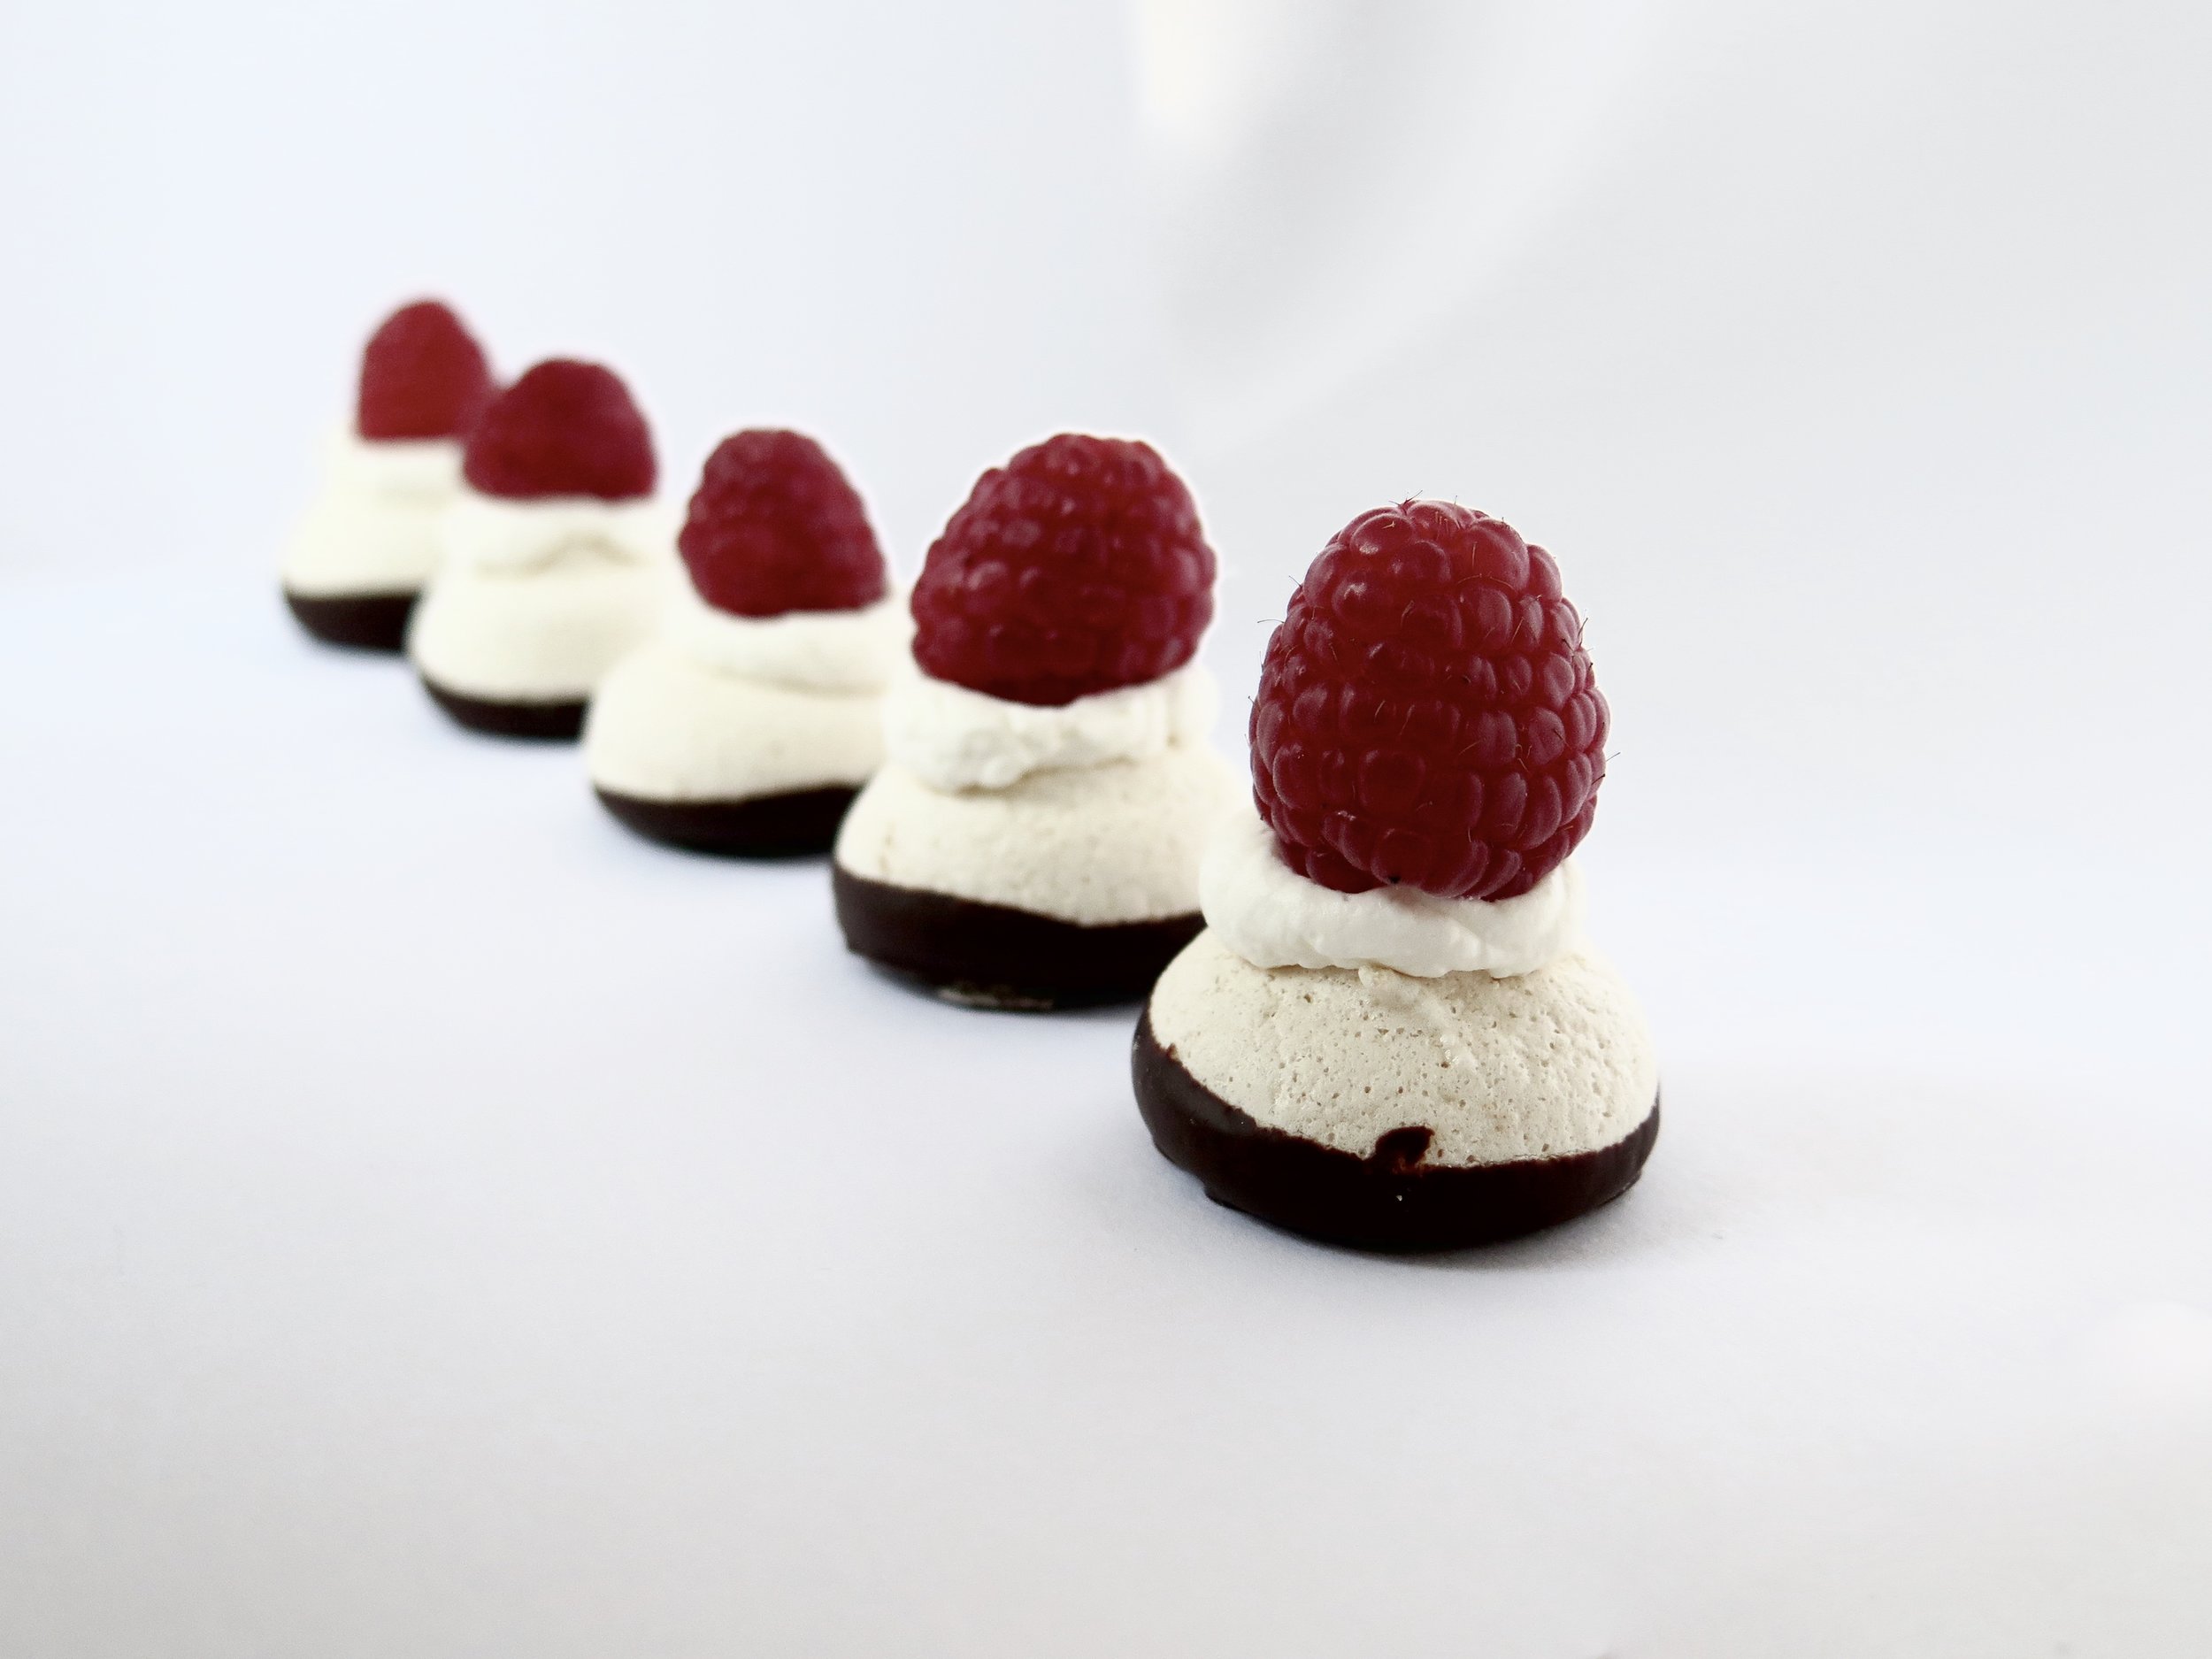
Mini Chocolate & Raspberry Meringues

According to most newspapers, January should be the month of indulgence deprivation. With the weather cold, grey and bleak, we’re being told that now is the time to eliminate everything that affords even a hint of pleasure. I admit that it may be time for me to cut down on the panettone habit: I caught myself tearing off fleecy chunks of the ambrosial, yellow, sultana-studded fluff and crowding my mouth until it overflowed. 

Mini chocolate & raspberry meringue

My brother actually created a time-saving method which anticipated the bolus of food that would develop in the gullet by compressing the panettone in his hands first before devouring. I was impressed.

Mini chocolate & raspberry meringue

Fortunately, but lamentably, my mother prevented me from importing from Italy to England the 5 kg of panettone that I’d bought (with the pretence of giving as gifts). To cope with the withdrawal symptoms, I made these instead.  

Mini chocolate & raspberry meringue

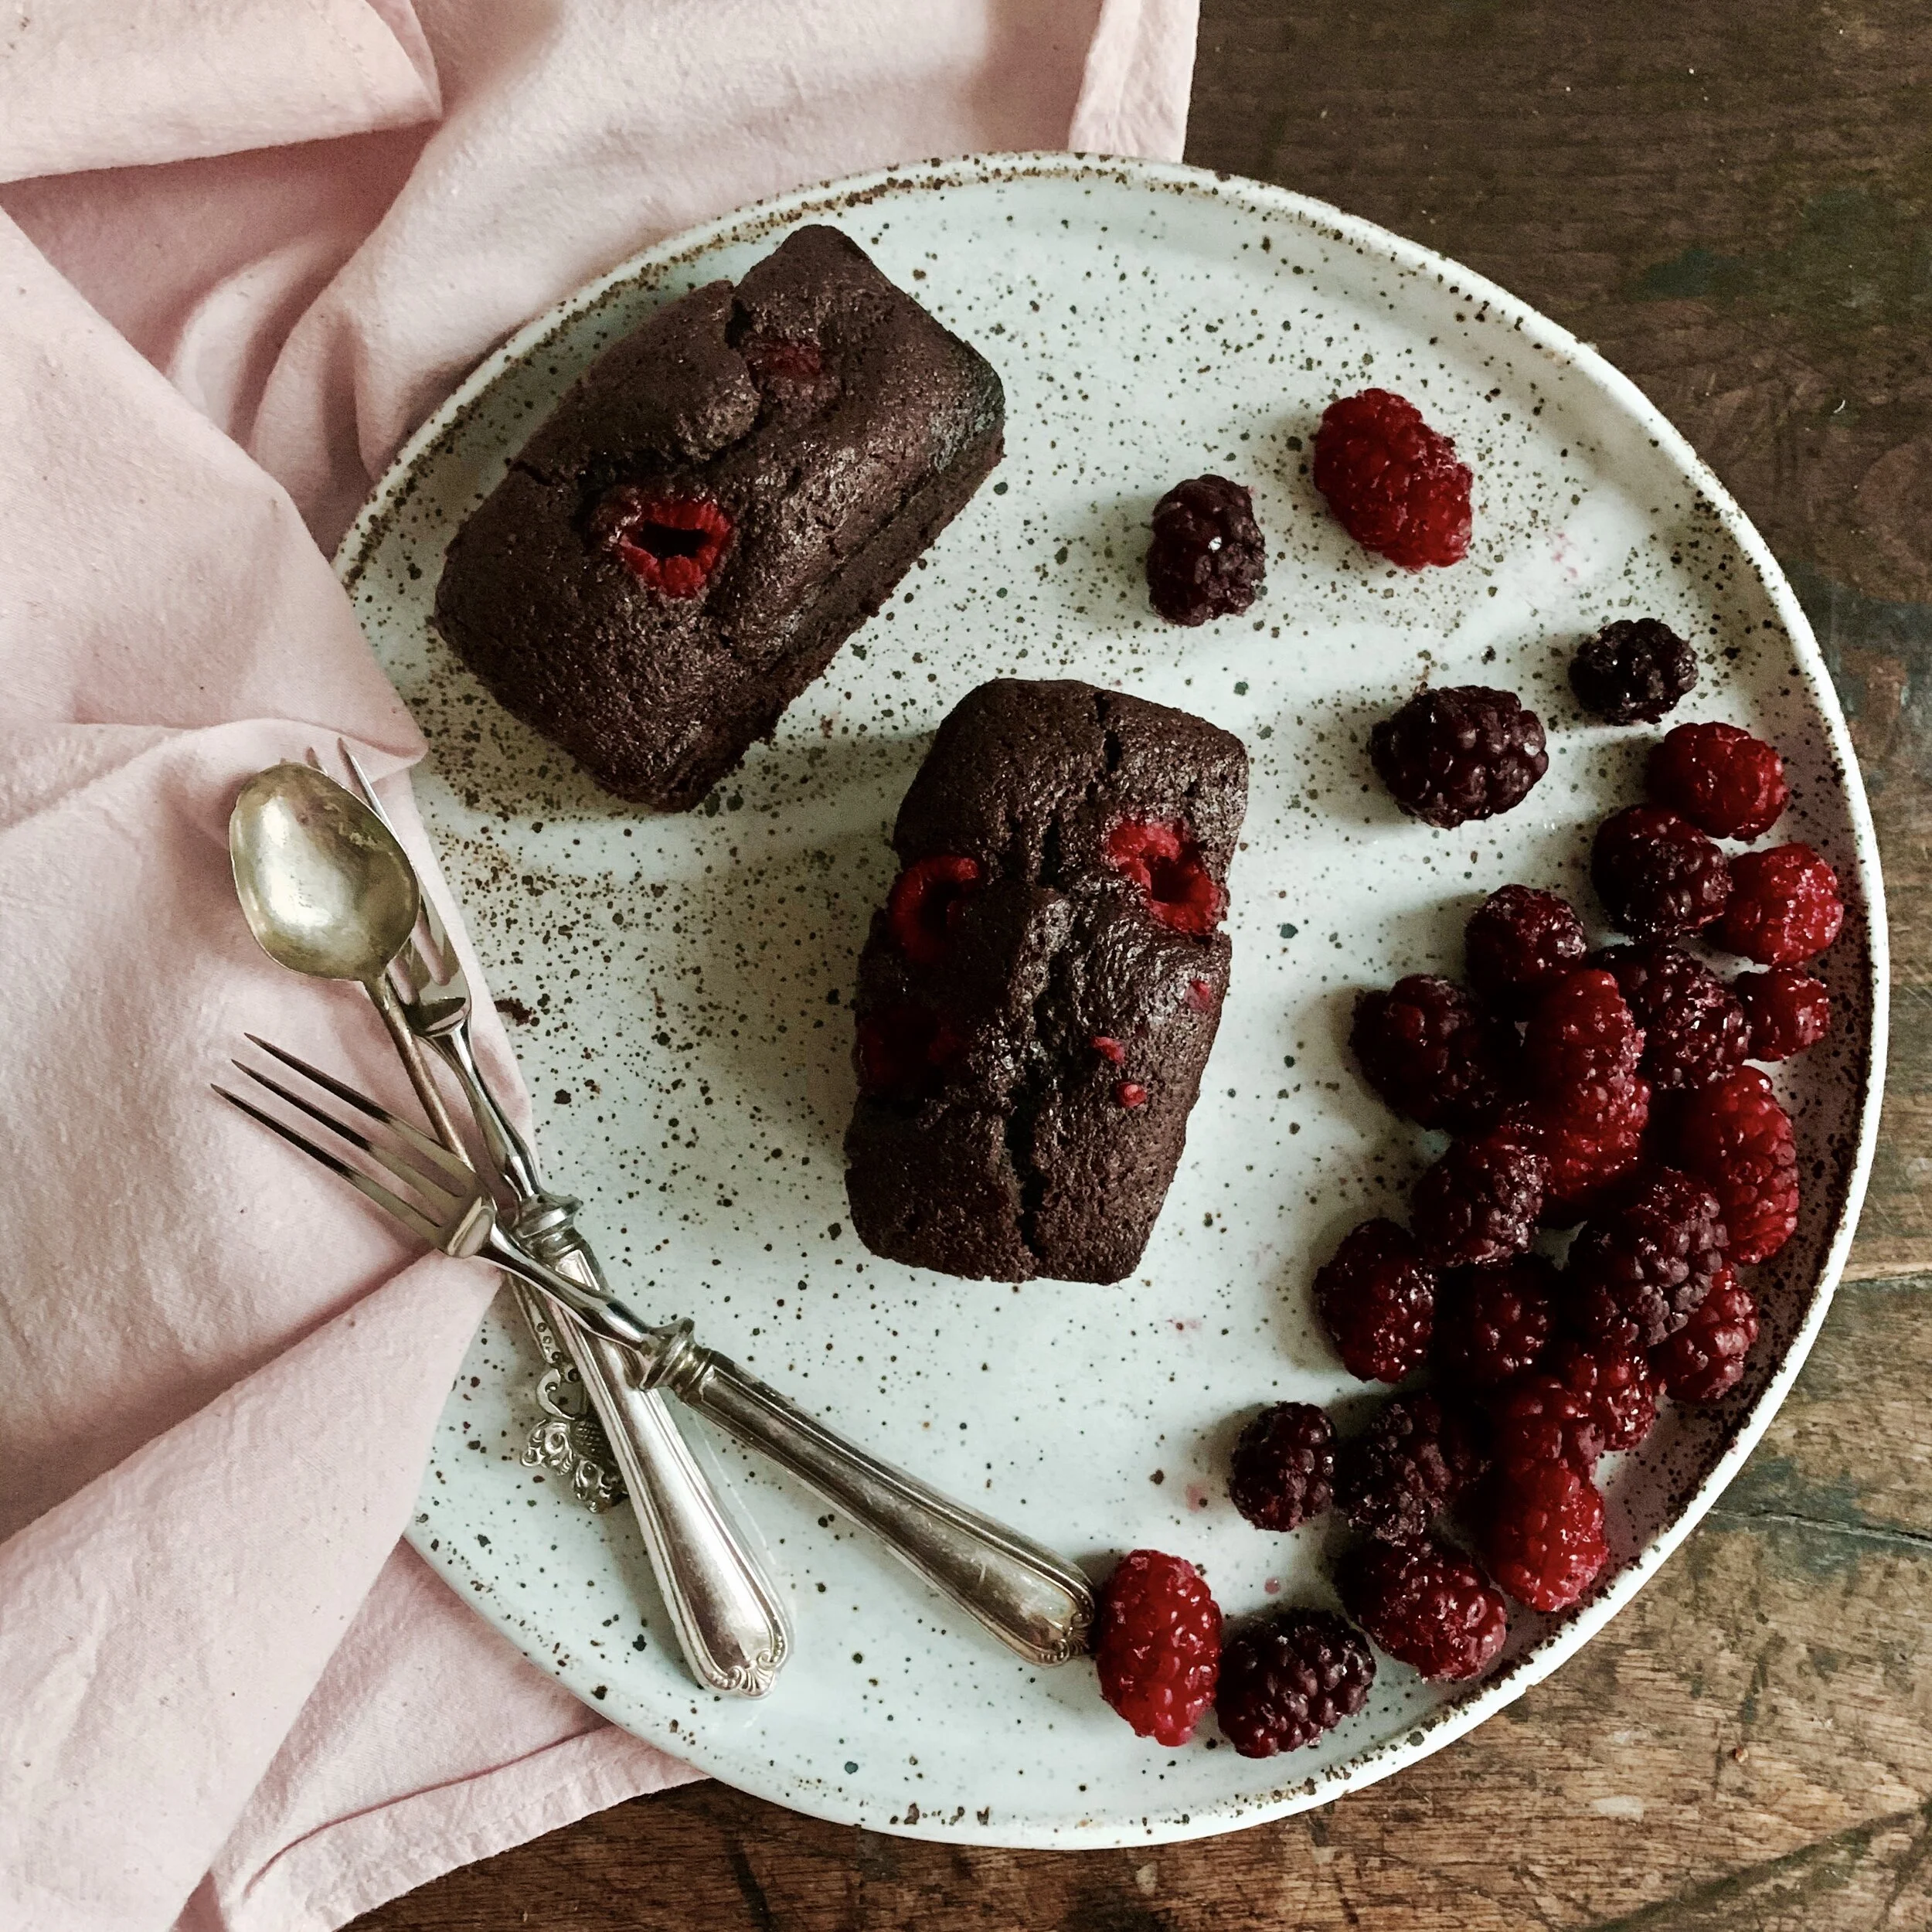
I refuse to deprive myself of pleasure - these can be a happy halfway house. So numerous that they can be popped into the mouth in one without anyone noticing that the supply has been reduced, so light that they can be enjoyed without having to loosen waistbands to accommodate them, and so small that they make gorgeous bejewelled petit fours at dinner parties without the guilt attached, in my case, to eating an entire pavlova.  

Mini chocolate & raspberry meringue
Mini Chocolate & Raspberry Meringues

The dark chocolate base adds a touch of sophistication and slight bitterness to undercut the sweetness, and the raspberry provides that much needed astringency to cut through it. Crunch, creaminess, chocolate and tang, all in one mouthful – who needs 5kg of panettone? 

Mini Chocolate & Raspberry Meringues

Ingredients

(makes 70 mini meringues - halve the recipe if you would like fewer)

90g egg white (the whites of 3 large eggs)

175g caster sugar

150g good quality dark chocolate (70%)

200ml double cream

350g raspberries (approximately 1 per meringue)

30g icing sugar (optional)

2 large baking sheets lined with baking parchment

A piping bag fitted with a round 1cm nozzle to be used twice: first to pipe the meringue, and then the cream.  It can be marginally larger or smaller than 1cm. If you lack a piping bag, you can use a freezer bag and cut off a corner to replicate a 1 cm sized nozzle.

Method

  1. Preheat oven to 130°C. Pour egg whites into an electric mixer fitted with a whisk and whisk on high speed until soft peaks form.  It should be foamy in appearance.
  2. Switch the speed to medium-high and pour in caster sugar one tablespoon at a time. Once each tablespoon has dissolved into the mass of egg white, add the next. Keep whisking until the meringue forms hard peaks and is glossy i.e. the meringue should hold its shape when drawn into peaks with a spoon and the tracks of the whisk are visible in its surface.
  3. Spoon the meringue mixture into the piping bag.  Holding the nozzle at a right angle to the baking parchment, pipe 3cm diameter sized meringue peaks onto the parchment in rows, leaving 3cm between each one (they expand slightly as they bake). Place in the oven and cook for 45 minutes, checking after 30 minutes. Once cooked, switch the oven off and allow to sit for another 15 minutes in the oven. They should remain pale and be crisp on the outside and slightly soft in the centre. Remove cooled meringues from the oven, and set them aside.
  4. Break the chocolate into pieces and place in a bowl over a pot of simmering water. Don't allow the water to touch the base of the chocolate bowl. Don't melt the chocolate directly in a pan on the stove as this causes it to seize. Allow to melt, stirring occasionally until glossy and smooth. Remove from the heat. Lightly holding the meringues at the sides with thumb and forefinger, dip the base of each meringue into the molten chocolate so that it coats the base and up to 1cm on the sides of the meringue. Place the dipped meringues back on to the baking parchment. Once the whole batch is coated, place the tray in the freezer for 10 minutes to allow them to set.
  5. In an electric mixer fitted with a whisk (or by hand if you’re feeling strong), whisk the cream until thickened. The tracks of the whisk should be visible and it should hold light peaks. Spoon the cream into a piping bag and pipe about a teaspoon of cream on to each meringue. Place a raspberry on each cream peak, face down. Sieve icing sugar over, if desired, and serve. 
  6. Best eaten on the day but the meringues without topping can be kept in an airtight container for a couple of weeks in a cool dry cupboard, and for a month in the freezer.
Mini Chocolate & Raspberry Meringues

HUNGRY FOR MORE?

Comment

Beware Gluten-free + Recipe for Moroccan Style Chickpea Salad

3 Comments

Beware Gluten-free + Recipe for Moroccan Style Chickpea Salad

IMG_65821.jpg
IMG_65821.jpg
Moroccan Chickpea Salad

Yesterday, with cupboards almost bare, I resorted to the very strange assortment of ingredients remaining & concocted this salad.  It's low GI, wholesome, healthy, super quick to make, involves minimal cooking and is addictively flavoursome.

Moroccan Chickpea Salad

Ingredients

250g halloumi cheese cut into 1 cm cubes

1 tbsp. olive oil

400g chickpeas, drained

1 red onion, finely sliced

50g drained, sundried tomatoes, cut into narrow strips

150g cherry tomatoes, halved

40g fresh coriander, including stalks, finely chopped, plus a few sprigs extra for garnish

½ green chilli, finely sliced (optional)

Dressing

3 tbsp. lemon juice

2 tbsp. harissa

3 tsp. sundried tomato paste

2 cloves garlic, crushed

Freshly ground black pepper

Method

  1. Fry the cubes of halloumi in the olive oil until they are golden brown.
  2. Combine all the salad ingredients apart from the dressing, the chilli (if using), and the extra coriander for garnish.
  3. Mix the dressing ingredients until well combined.
  4. Shortly before serving the salad, mix the salad with the dressing, and sprinkle with the coriander and chilli.

(Serves 4 as an accompaniment)

BEWARE GLUTEN-FREE!

1 in 100 people in UK is coeliac .  1 in 20 people in UK is diabetic (http://www.diabetes.org.uk/Documents/Reports/Diabetes-in-the-UK-2012.pdf).

According to the Telegraph, 1 in 5 people is buying gluten-free products, but only 5% of these are buying the products due to coeliac disease.  The most common reasons for a non-coeliac buying the gluten-free products are listed as: “digestive health”, “nutritional value” and “to help me lose weight”.  These consumers are misguided. Everyone who can is cynically taking advantage by jumping aboard the gluten-free bandwagon: the British gluten-free market is worth £238 million annually (Food Standards Agency) and grew by more than 15 per cent last year. In the US, it is worth around $2.6 billion, a growth of 36 per cent since 2006, with predictions that it may double in size in the next two years.

It’s great that the gluten-free options are increasing for those who have coeliac disease, but the products that are tailored specifically to exclude gluten (bread, biscuits, pastas etc.) and targeted at non-coeliac sufferers are actually detrimental to one’s health.

Gluten-free does not mean that a product is ‘virtuous’ or in any way superior to its glutenous counterpart.

Unless you are coeliac, your body needs the vitamin B, iron and folates that are in gluten-containing grains such as barley, spelt and kamut. That is not to say that these should be had in excess, but they should not be entirely avoided.

Gluten-free products which have been made to substitute for the real bread, pasta, biscuits etc. may be worse for you than what they purport to replace: in order to imitate the gluten contained in their counterparts, the products have to be messed around with a lot more, often resulting in a significantly higher level of fat than their “normal” equivalents. For example, the gluten in bread allows it to maintain its shape and softness; to achieve the gluten-free equivalent, manufacturers often use additives like xanthan gum and hydroxypropyl methyl cellulose or corn starch. In addition, extra sugar and fat are often also added to make products more flavoursome.

It is not just the shops that are propagating the gluten-free message, taking advantage of people’s ignorance, but food bloggers and recipe websites are doing it too. The internet is saturated with gluten-free recipes, and more and more cooks are incorporating gluten-free recipes into their books.  Clearly, not a bad thing for coeliac sufferers.  There is, however, no transparency.  The breads that are made in imitation of the glutenous equivalent use a combination of flours.  For example, the Doves Farm’s gluten-free brown flour, with muted-tone, paper bag packaging promoting a wholesome brand image – consists of potato, rice, tapioca buckwheat, carob, sugar beet fibre, and xanthan gum.  Doesn’t sound too bad, you might think.  In fact, these combined ingredients create a product much higher on the Glycaemic Index (GI) than white flour.  The GI is not a fad diet but a measure of the rise in a person's blood sugar level following consumption of a carbohydrate.  The NHS recommends diabetics to have a low GI diet as low GI foods break down more slowly and are less likely to cause a rapid increase in blood sugar levels in contrast with high GI foods.  A low GI lifestyle is not solely beneficial for diabetics but for everyone.    Carbohydrates with high GI cause glucose and insulin levels to surge.  The body releases the hormone insulin to regulate blood sugar levels. If sugar is not quickly used for energy, insulin removes it from the blood, and it is then converted into triglycerides in the liver. These triglycerides can then be stored as body fat.  Standard white bread has a high GI of 71 on average.  Gluten-free white bread has a higher GI of 79.  Clearly, GI isn’t always a measure of other benefits that are derived from a product, but the fact that shops, companies, bakeries and bloggers are promoting gluten-free products as a virtuous substitute is deeply misleading – they are, in fact, pushing a product that spikes the levels of glucose in a consumer’s blood, causing fat gain, aiding the onset of obesity and type 2 diabetes.

So the question is why is “low GI” not trending? Why is #glutenfree posted on almost 3,000,000 photos on Instagram, and #lowGI only 18,000? Gluten-free products are not necessarily beneficial for your health. Surely there should be greater focus on the GI factor as well as greater transparency in relation to gluten-free products.

3 Comments

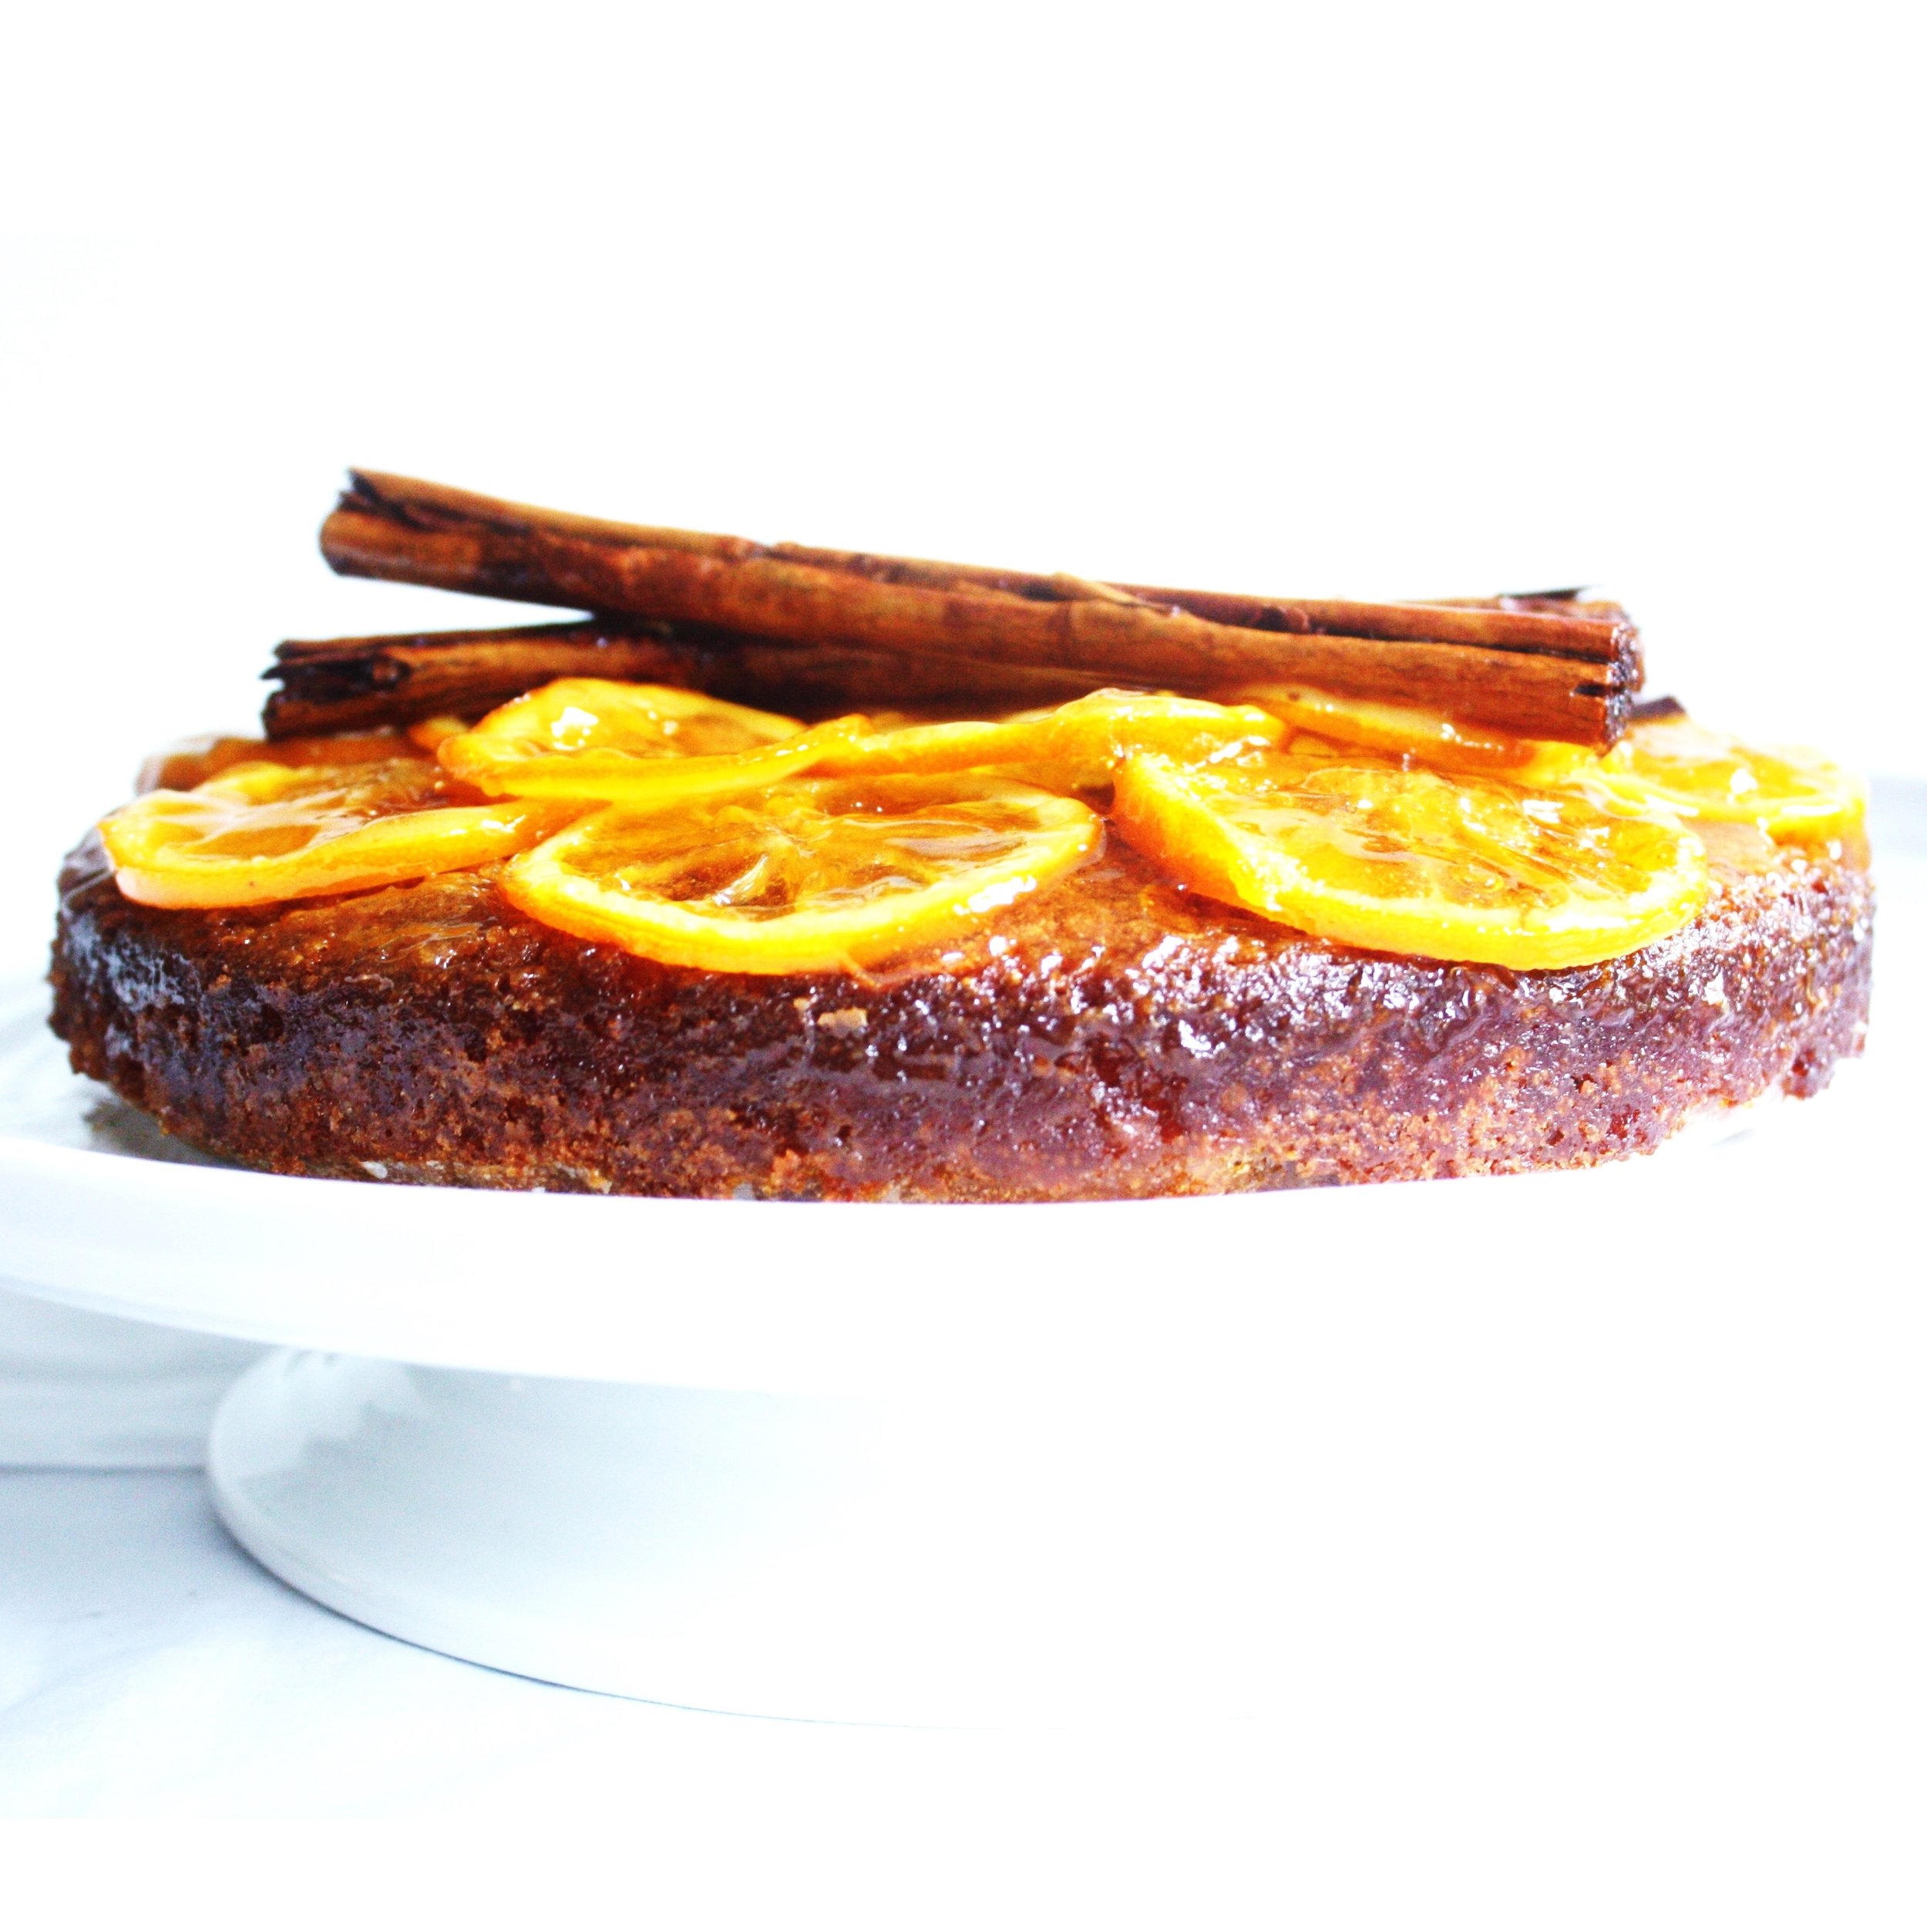
Citrus syrup-soaked cake

5 Comments

Citrus syrup-soaked cake

orangecake2-3.jpg

IMG_3830 This citrus syrup soaked almond cake takes me back to the Jemaa el-Fnaa, the central square of Marrakesh: the teeth pullers ready to pounce with their pliers, the snake charmers forcing a writhing snake scarf on your neck, and amongst this the orange juice vendors lined up, the citrus scents suffusing the air…


orangecake2 (3)

Incredibly easy and quick to make, this cake will last for several weeks if kept in a sealed container.

It can be made gluten free simply by using gluten-free bread crumbs.

IMG_3251


The candied orange topping is optional.
 

Ingredients


Cake

50g stale/toasted white bread crumbs (gluten free can be used)

175g caster sugar

100g ground almonds

1 ½ tsp baking powder

200ml vegetable oil

4 eggs

Finely grated zest of 3 medium /2 large unwaxed oranges

Finely grated zest of 2 unwaxed lemons

1 tsp cinnamon (optional)

½ tsp vanilla extract

¼ tsp salt


Citrus syrup

Juice of 2 oranges

Juice of 1 ½ lemons

75g sugar

6 cloves

1 cinnamon stick


Optional Candied Orange

1 cup water

½  cup caster sugar

2 small unwaxed oranges sliced across the diameter 2mm thick


20cm diameter tin, lined with baking parchment


Method

Cake

  1. In a large bowl whisk together oil, eggs and orange and lemon zest until combined.


  1. In a separate large bowl mix all dry ingredients together.


  1. Pour wet mixture into dry and stir until combined. Pour into lined tin and place in cold oven & turn heat to 180˚C.


  1. Bake for 40-50 minutes or until skewer comes out clean.


Citrus syrup

  1. While cake is cooking pour all ingredients into pan & place on medium high heat. Stir until sugar has dissolved then let it simmer for 4 minutes until it has reduced slightly to a thin, non-viscose syrup.


  1. As soon as the cake is removed the oven stab it all-over with a skewer , don’t hold back. Pour the syrup over.  It may initially look like it’s drowning, but it will rapidly be absorbed.


  1. Serve when cool.


Optional candied orange layer

  1. In a large frying pan stir together sugar and water until sugar has dissolved.


  1. simmer for 3 minutes then add orange slices. Don’t worry if they overlap.


  1. Simmer on medium-low heat for 15 minutes, or until the skin of the orange is translucent.


  1. Arrange as desired.


IMG_3844


(recipe influenced by Sophie Grigson)


5 Comments