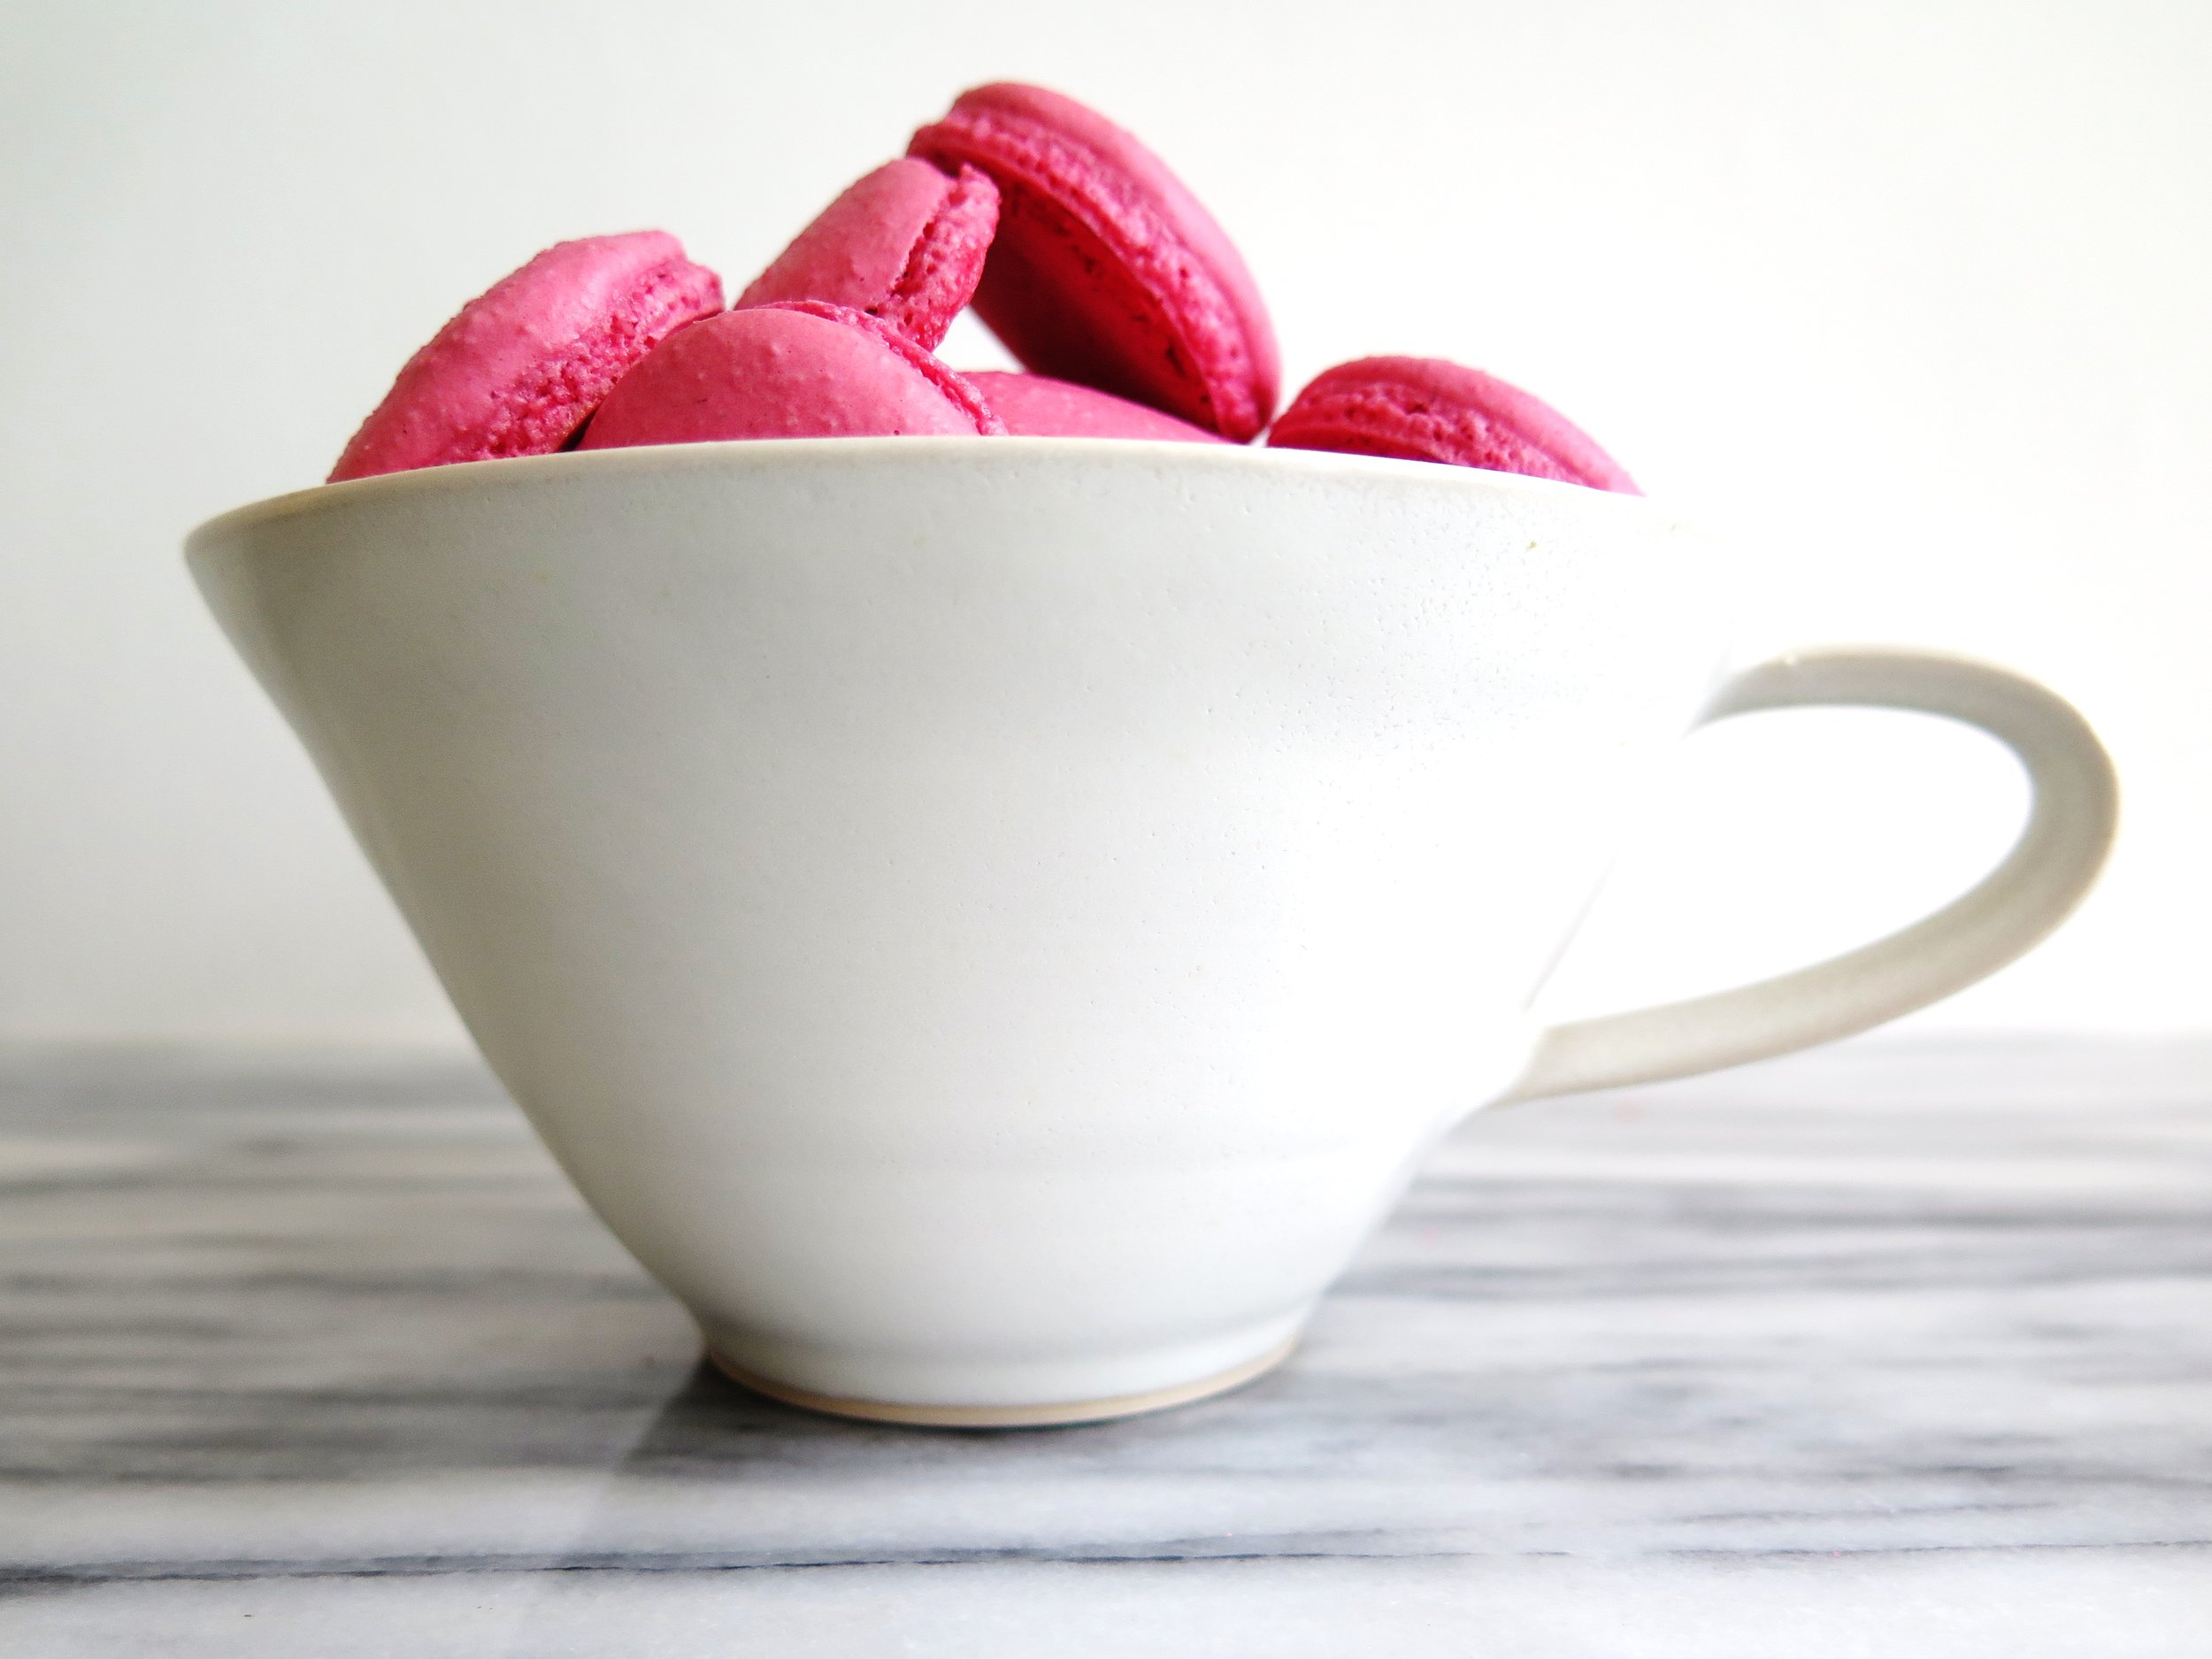
(Affectionately known as Froyo Yoyos)

If something becomes a fad, I usually try to avoid it. Cupcakes were once things of joy, their light, sweet, spongeyness perfuming the house with the scent of birthdays. And there was always the hope of left over icing, not to mention the ease with which one could convince oneself that the perfectly domed surface was in need of decapitation, just to preview the crunchy golden coated delicate sponge, just in case the cupcakes weren’t guest-worthy. But now those simple pleasures have been crushed for me as the once-a -year treat has lost its golden hued novelty.

The single-concept shops dedicated to cupcakes are now a graveyard for the dying fad. I walked past a well-known purveyor of cupcakes in the middle of an airless department store only last week, and watched as the woman behind the counter shuffled the gaudy treats into reverse rainbow order in an attempt to look busy.

Frozen yoghurt is no longer a novelty, but for me at least it has not yet lost its appeal. Some people (including me) are able to delude themselves that even with the marshmallow, cookie dough, caramel topping it’s a healthier version of their favourite ice cream.
When the clouds deigned to expose a sliver of sunlight for a short while on Saturday, I decided to indulge in a little frozen yoghurt.


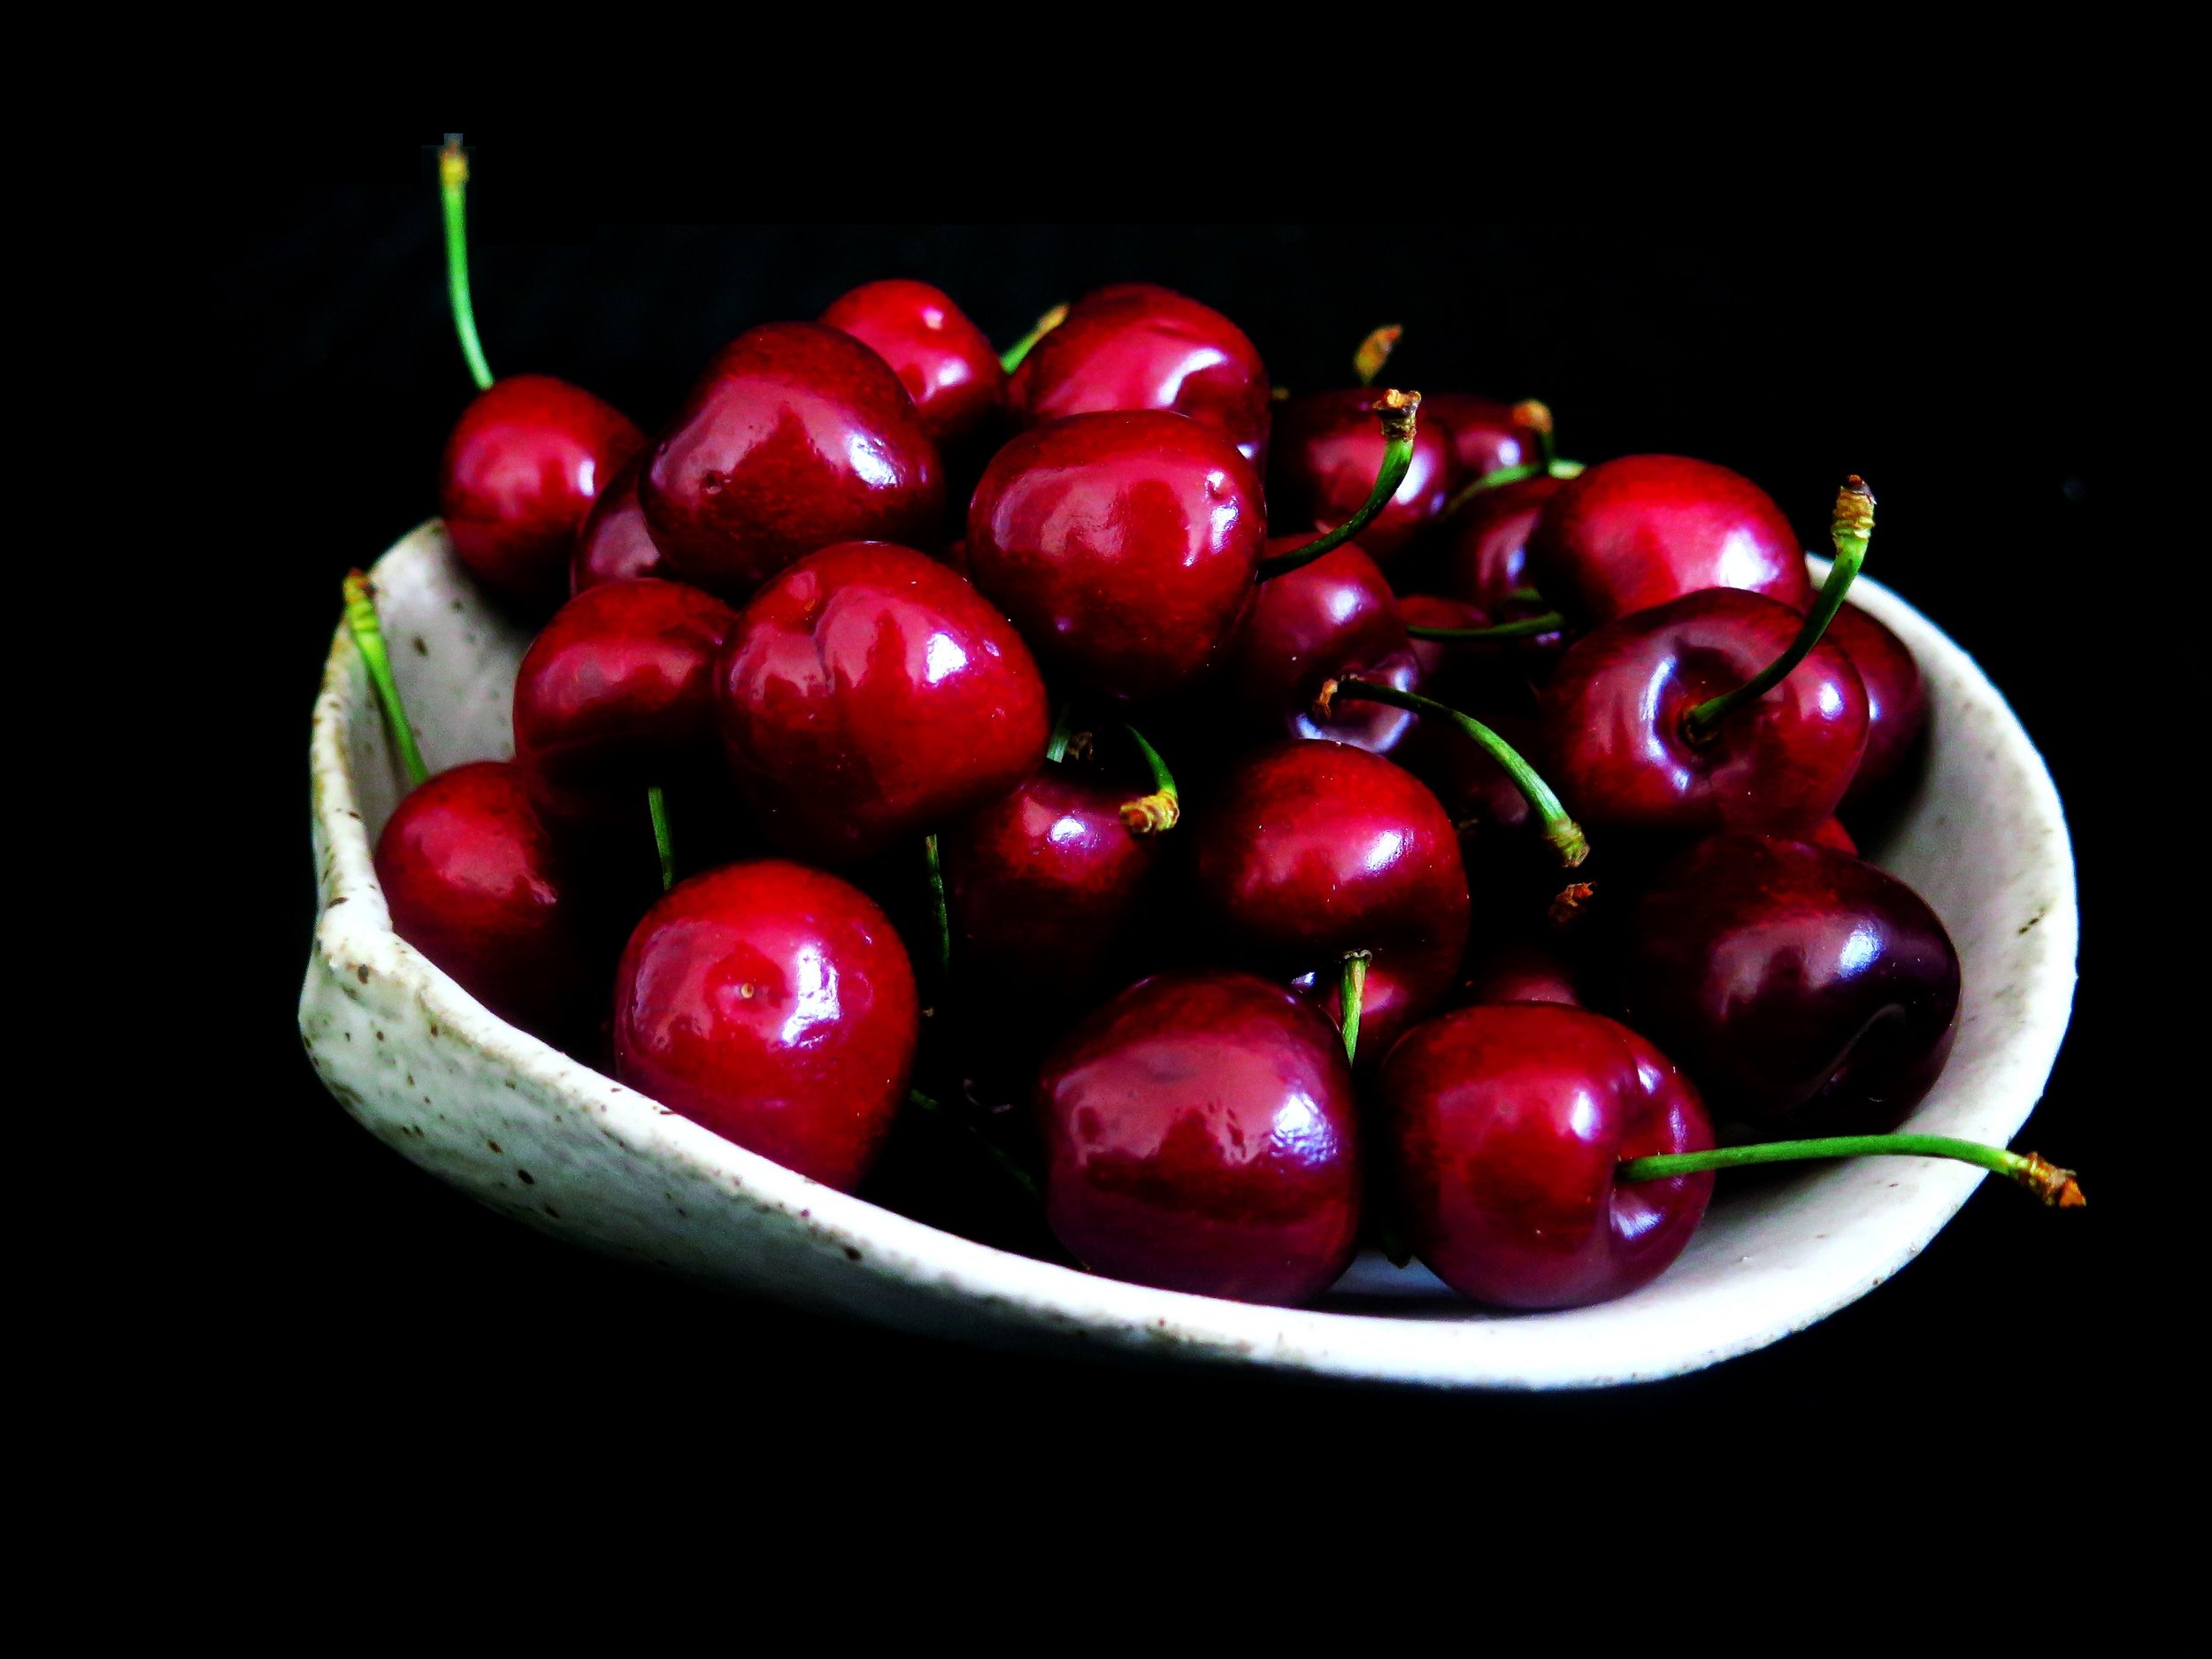
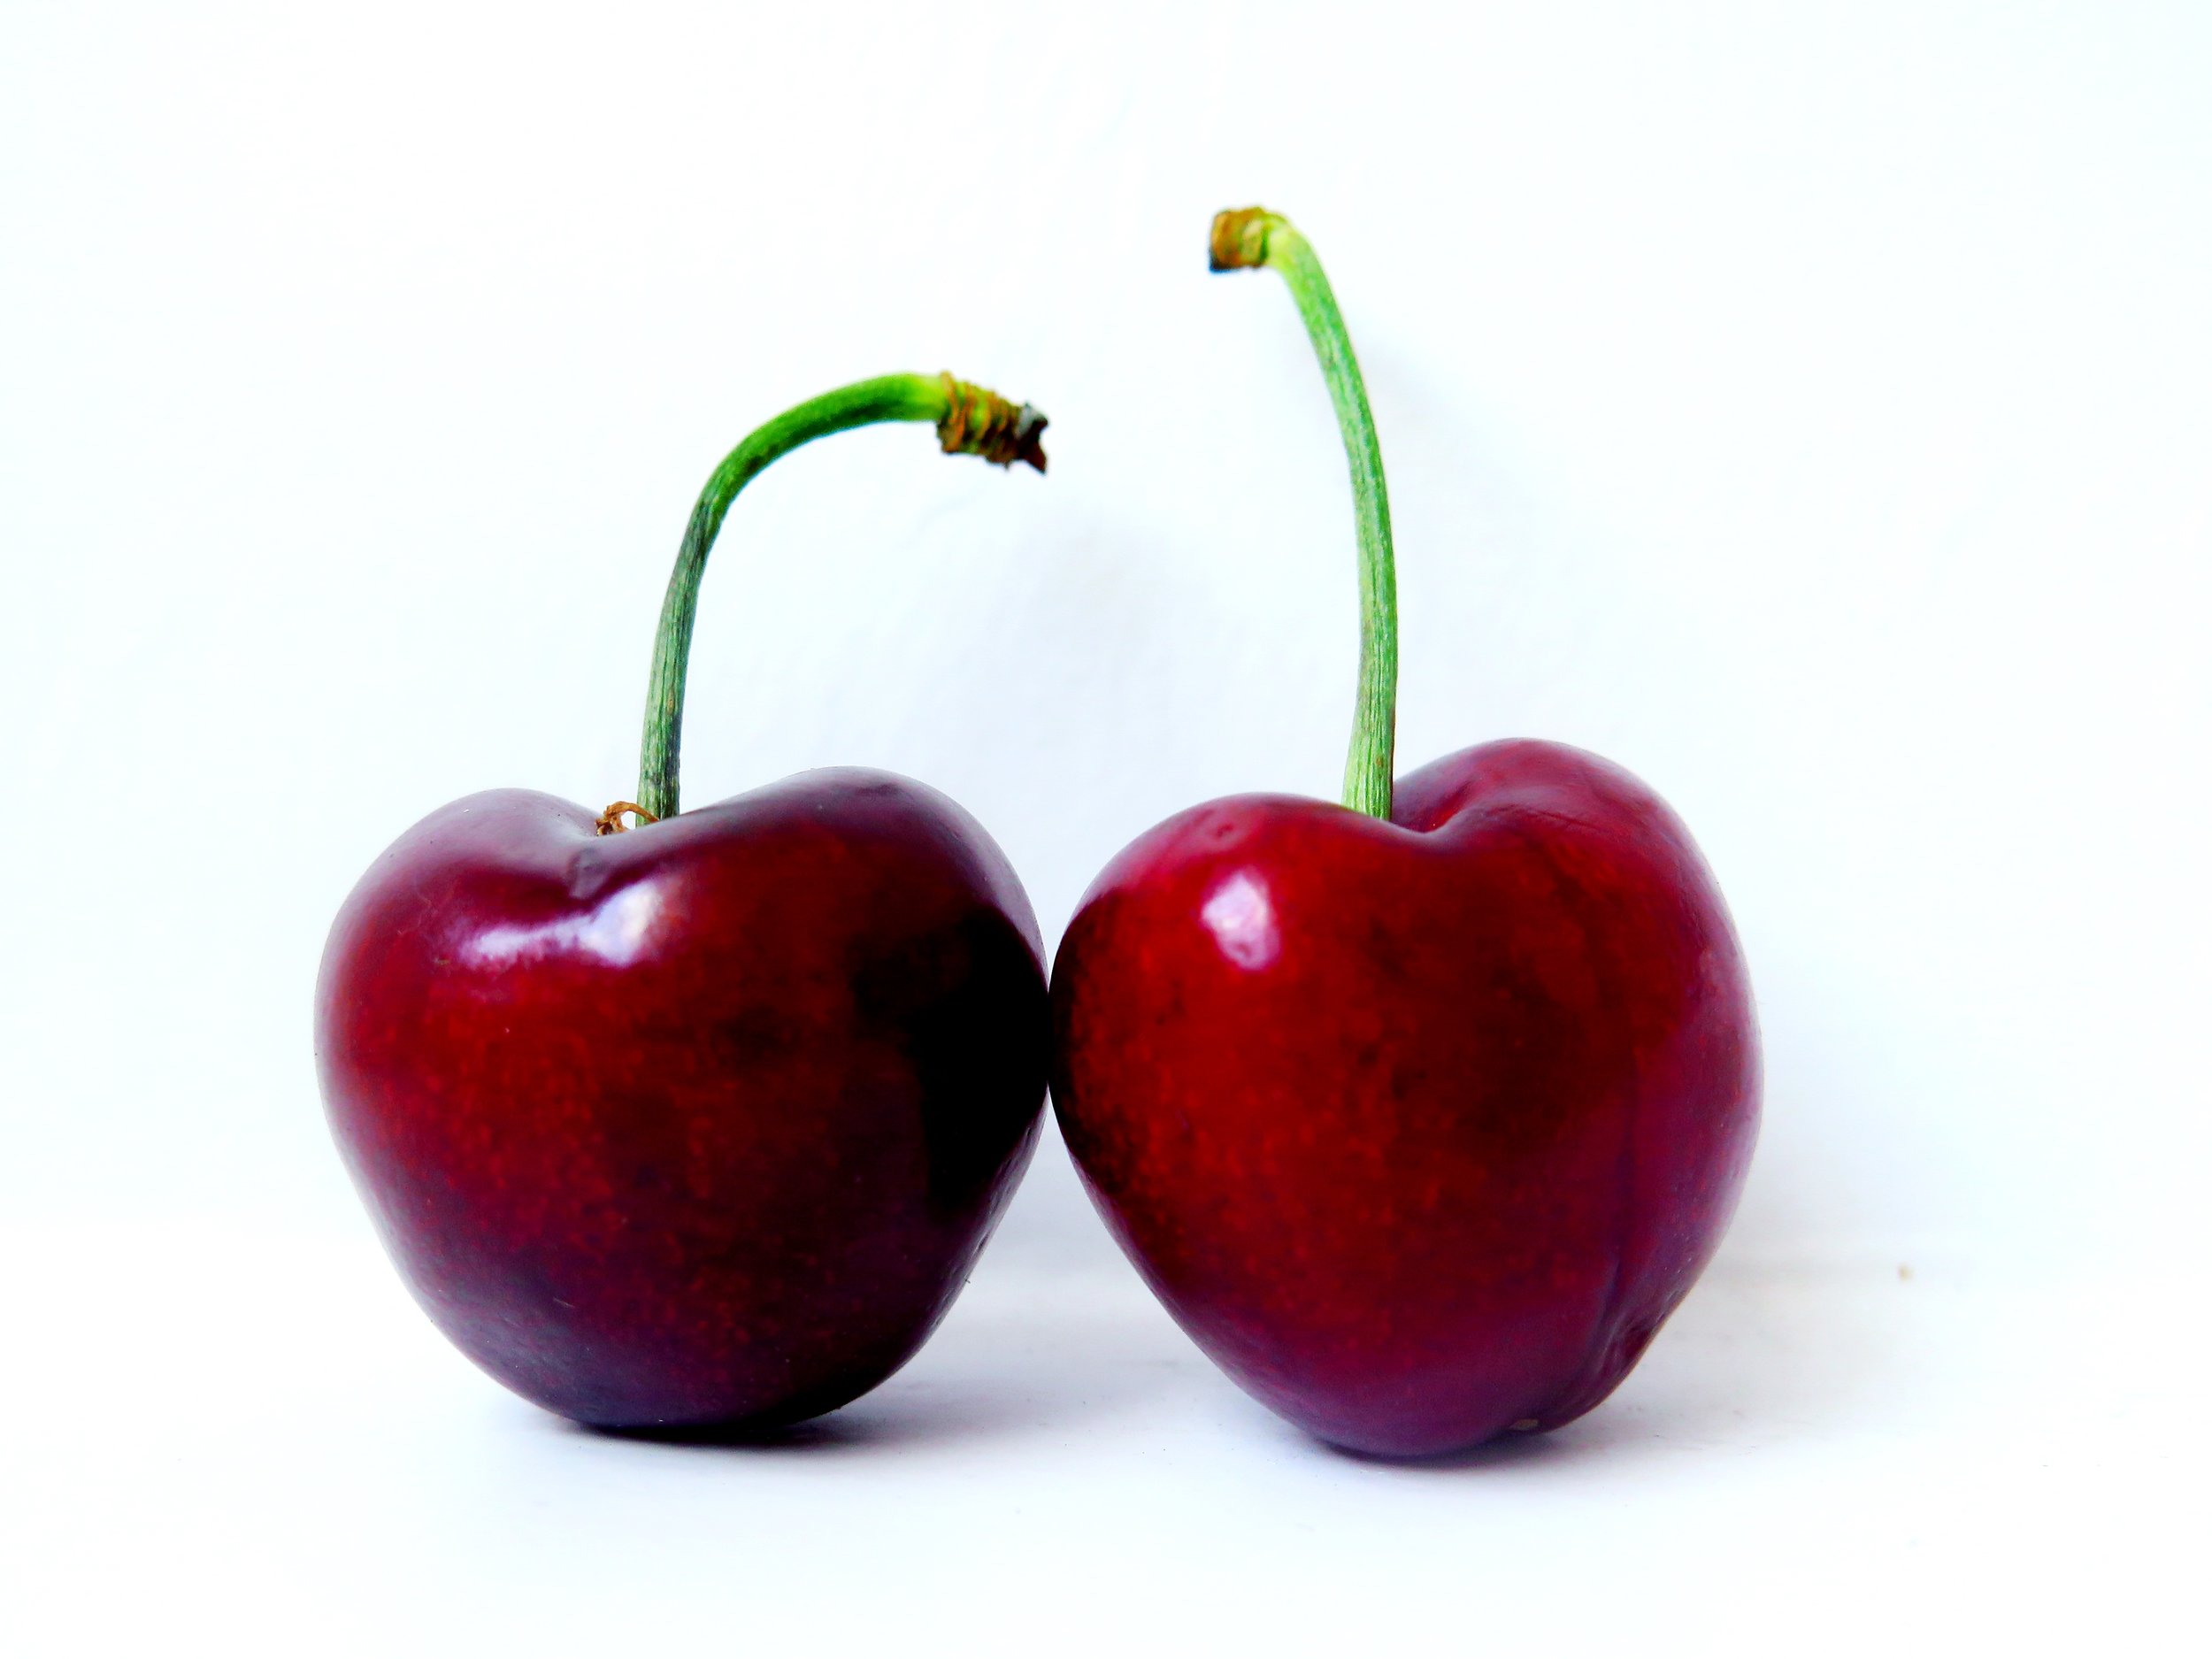
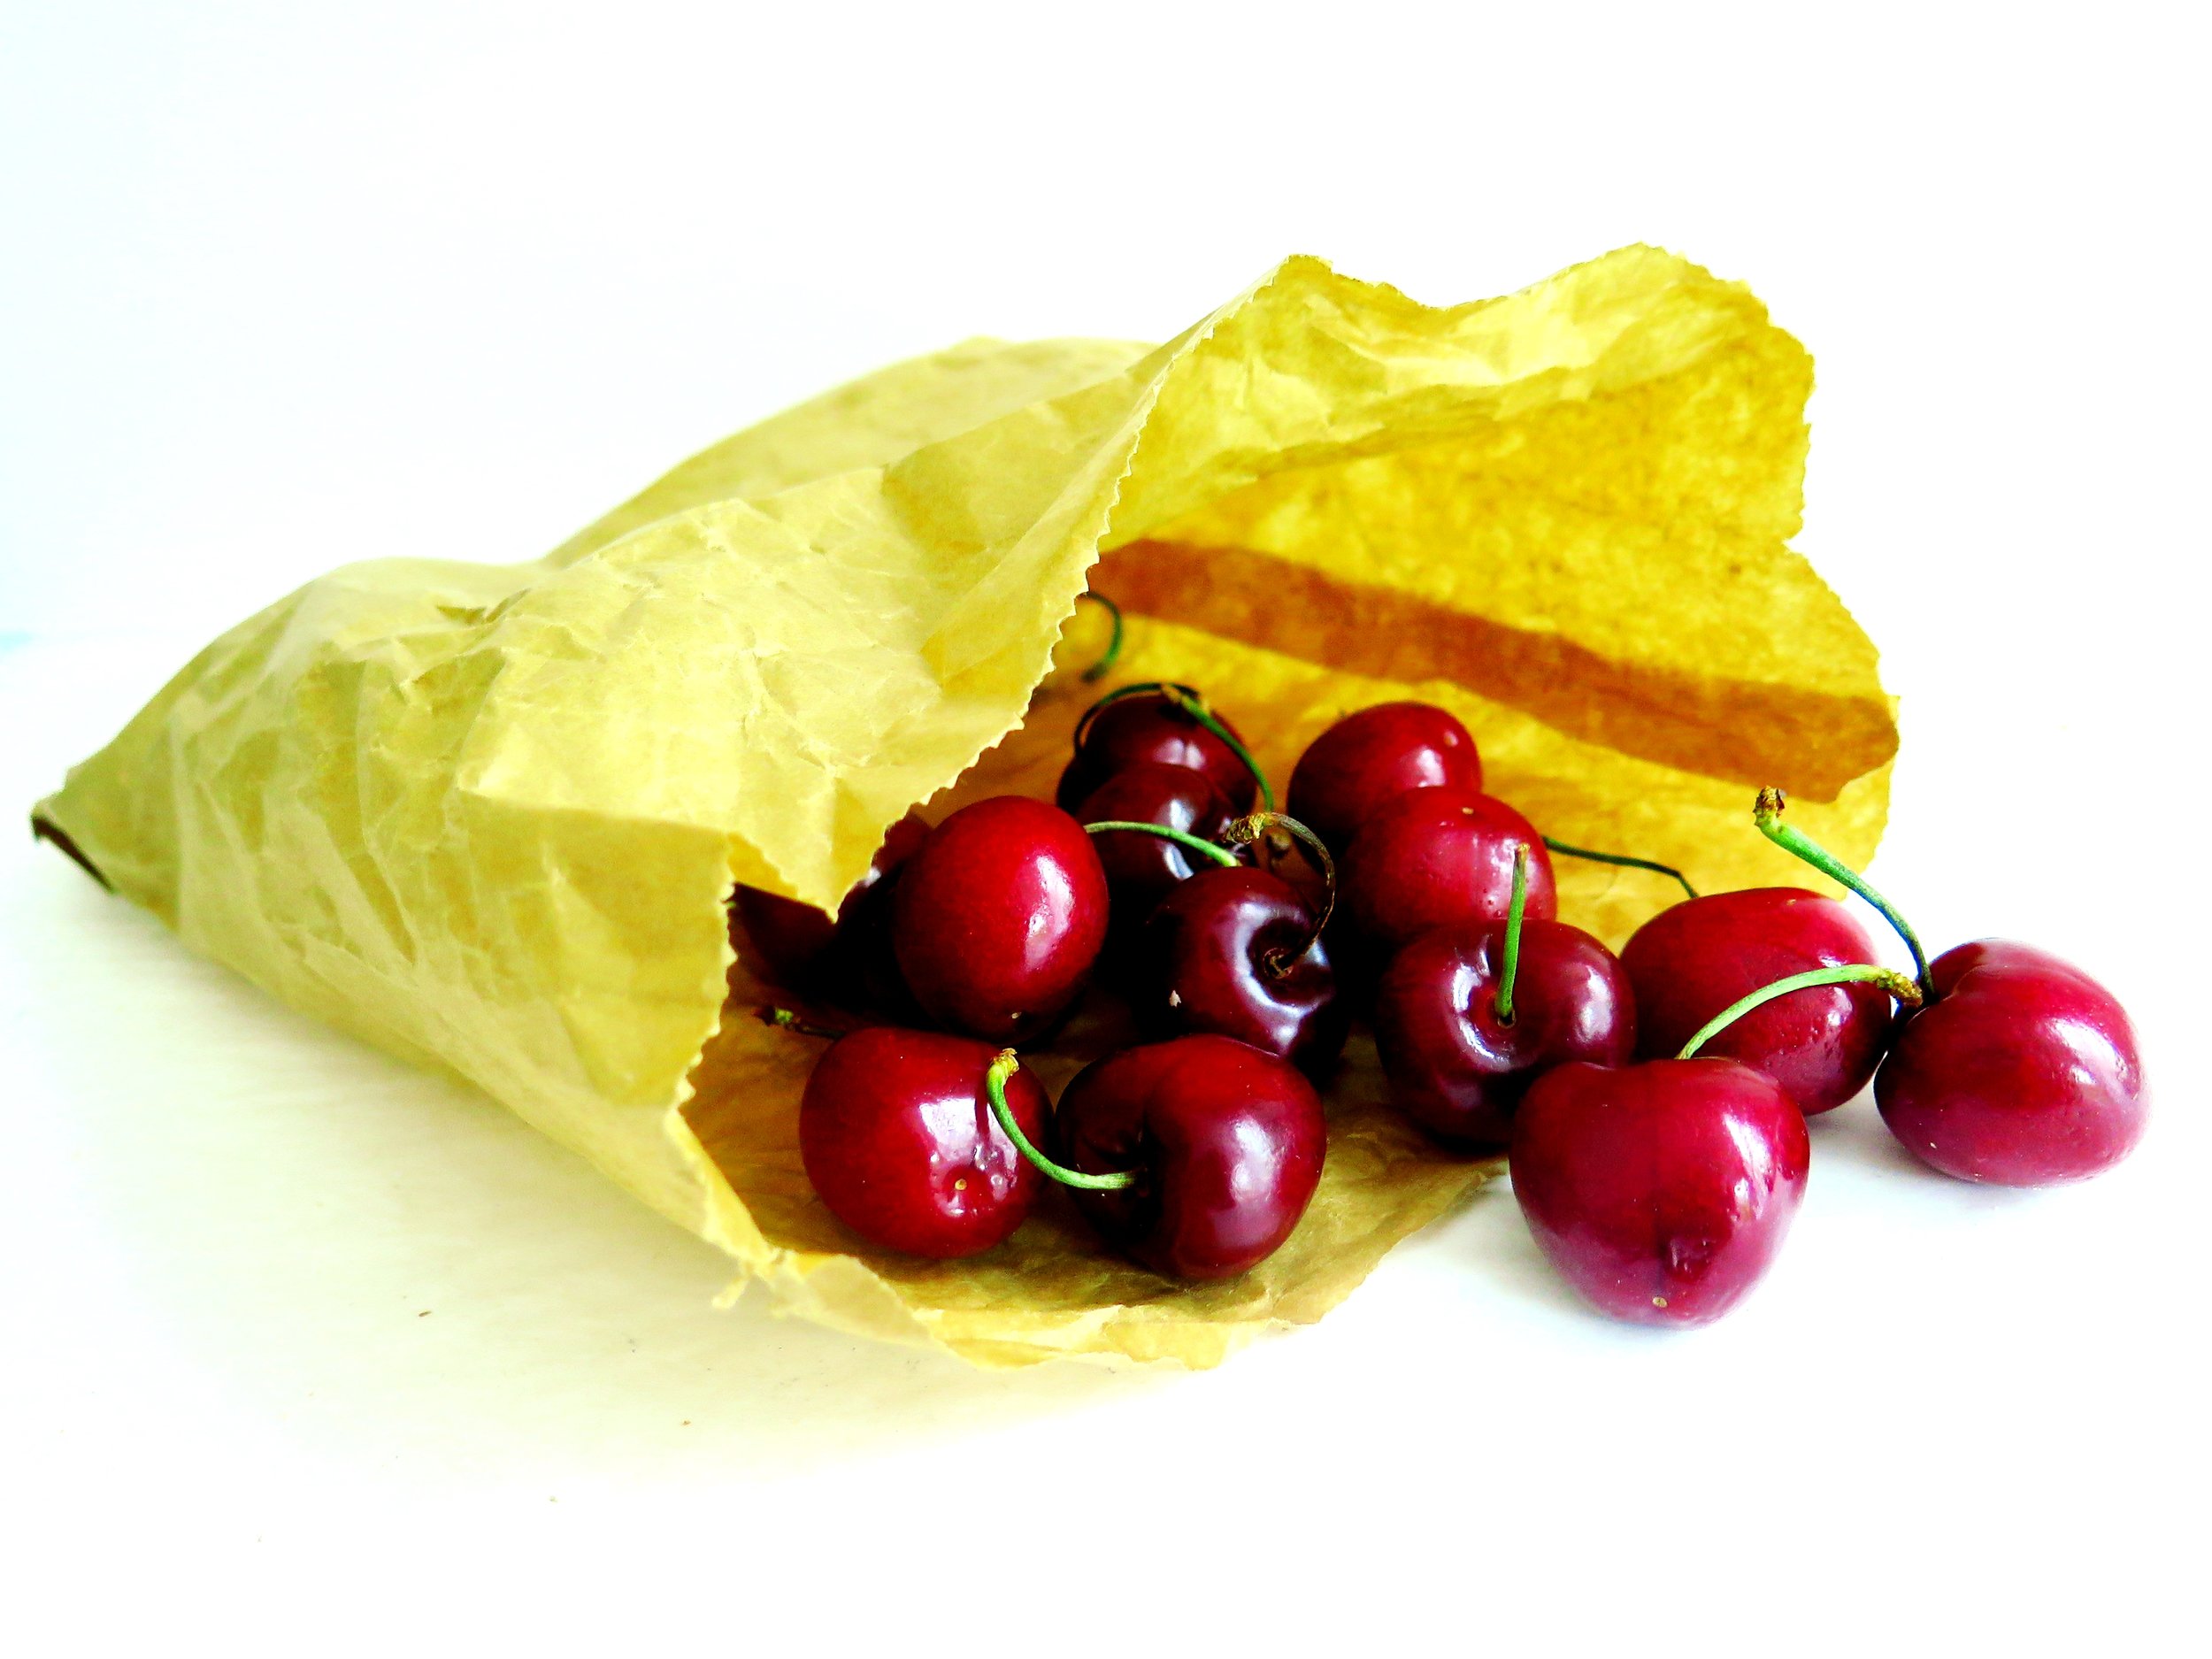
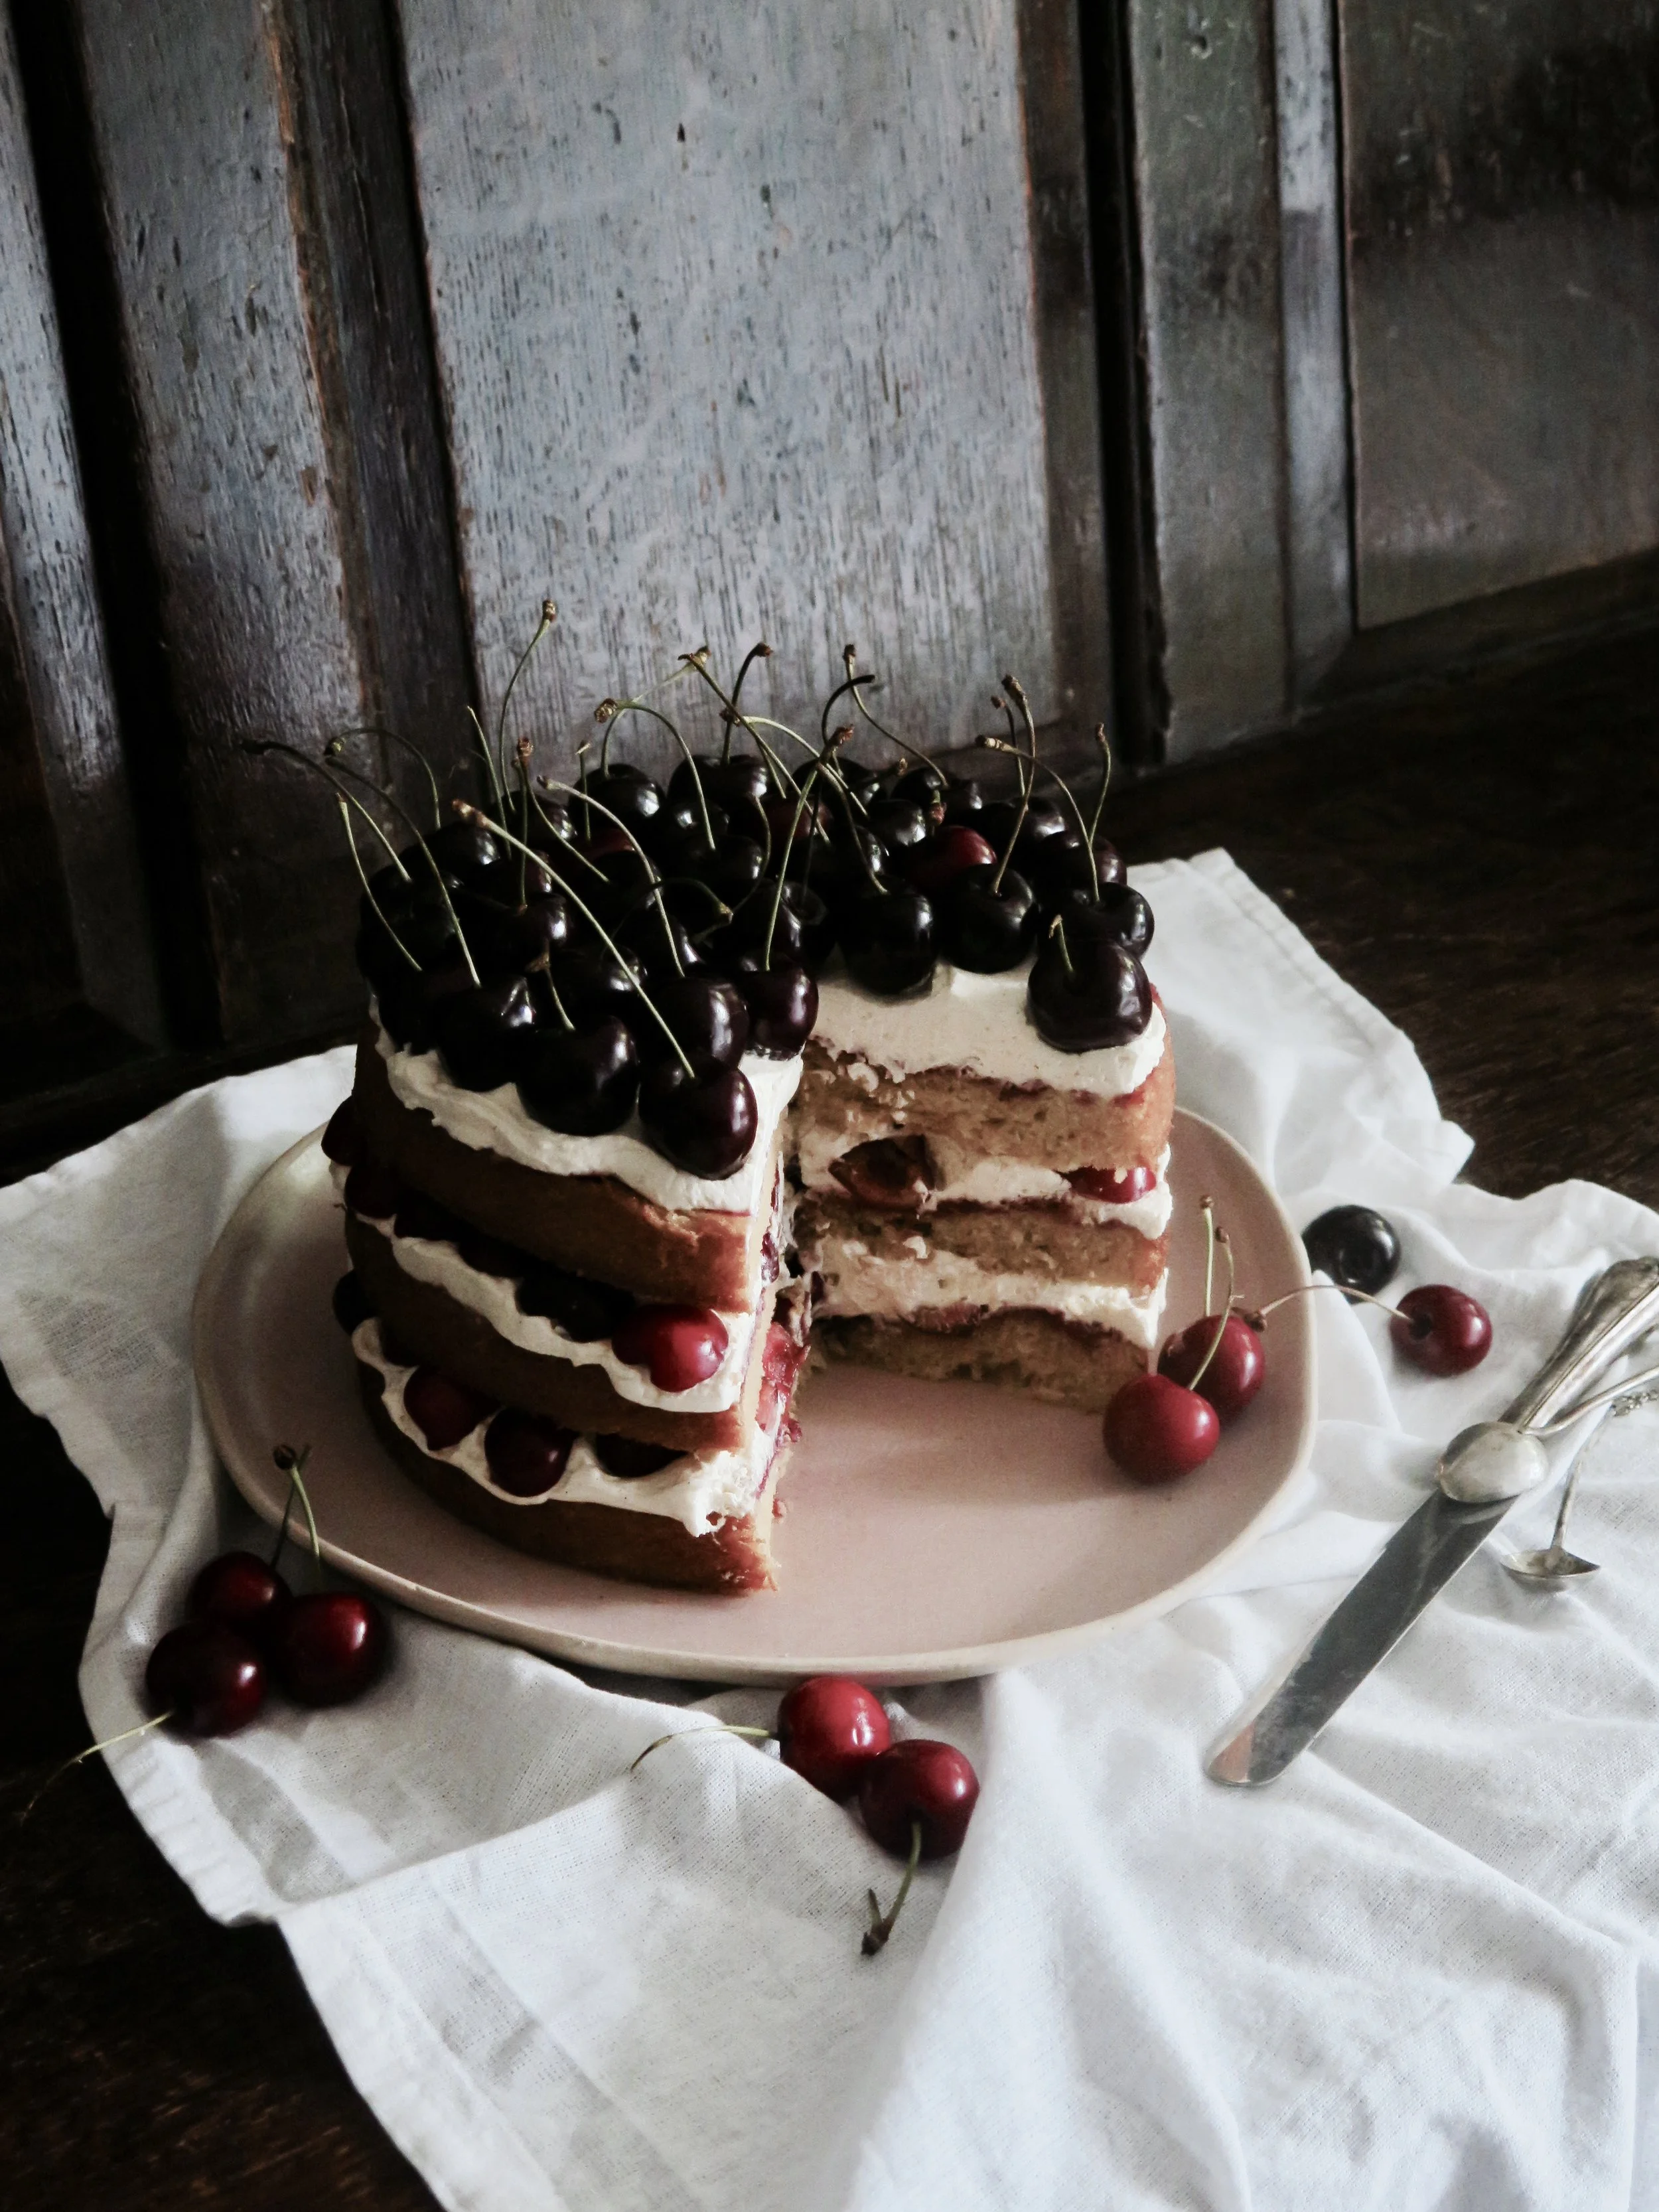
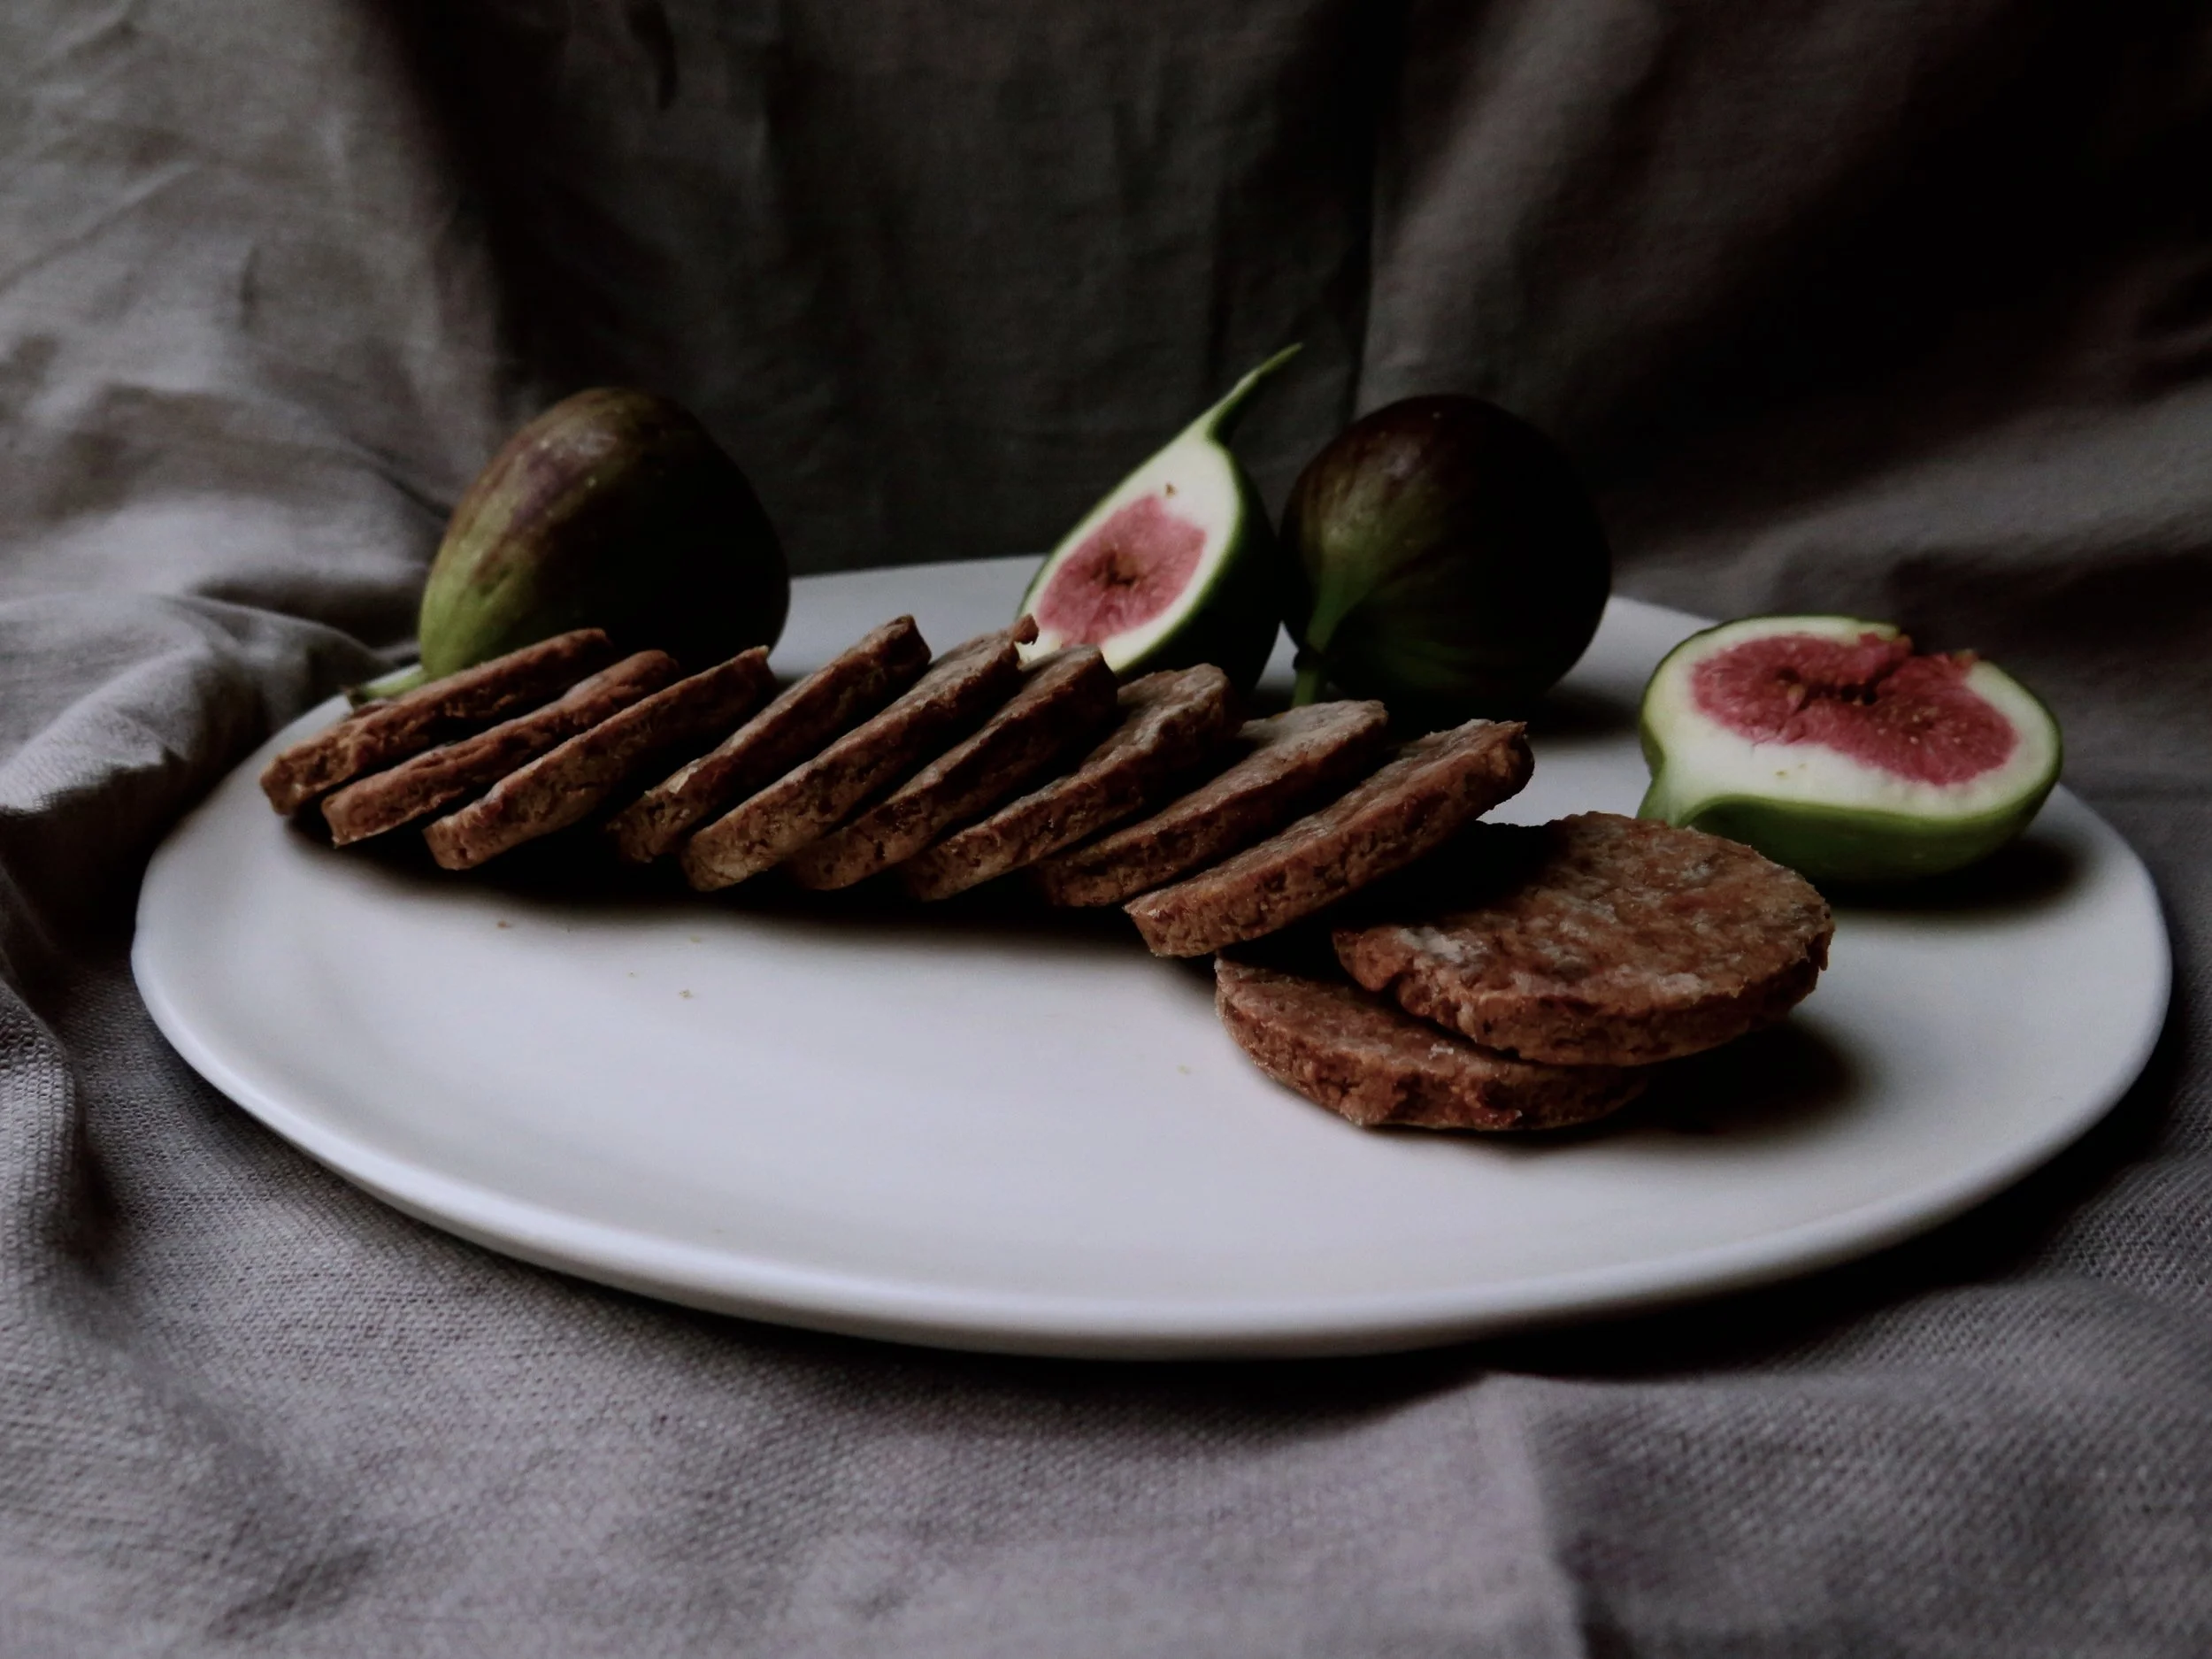
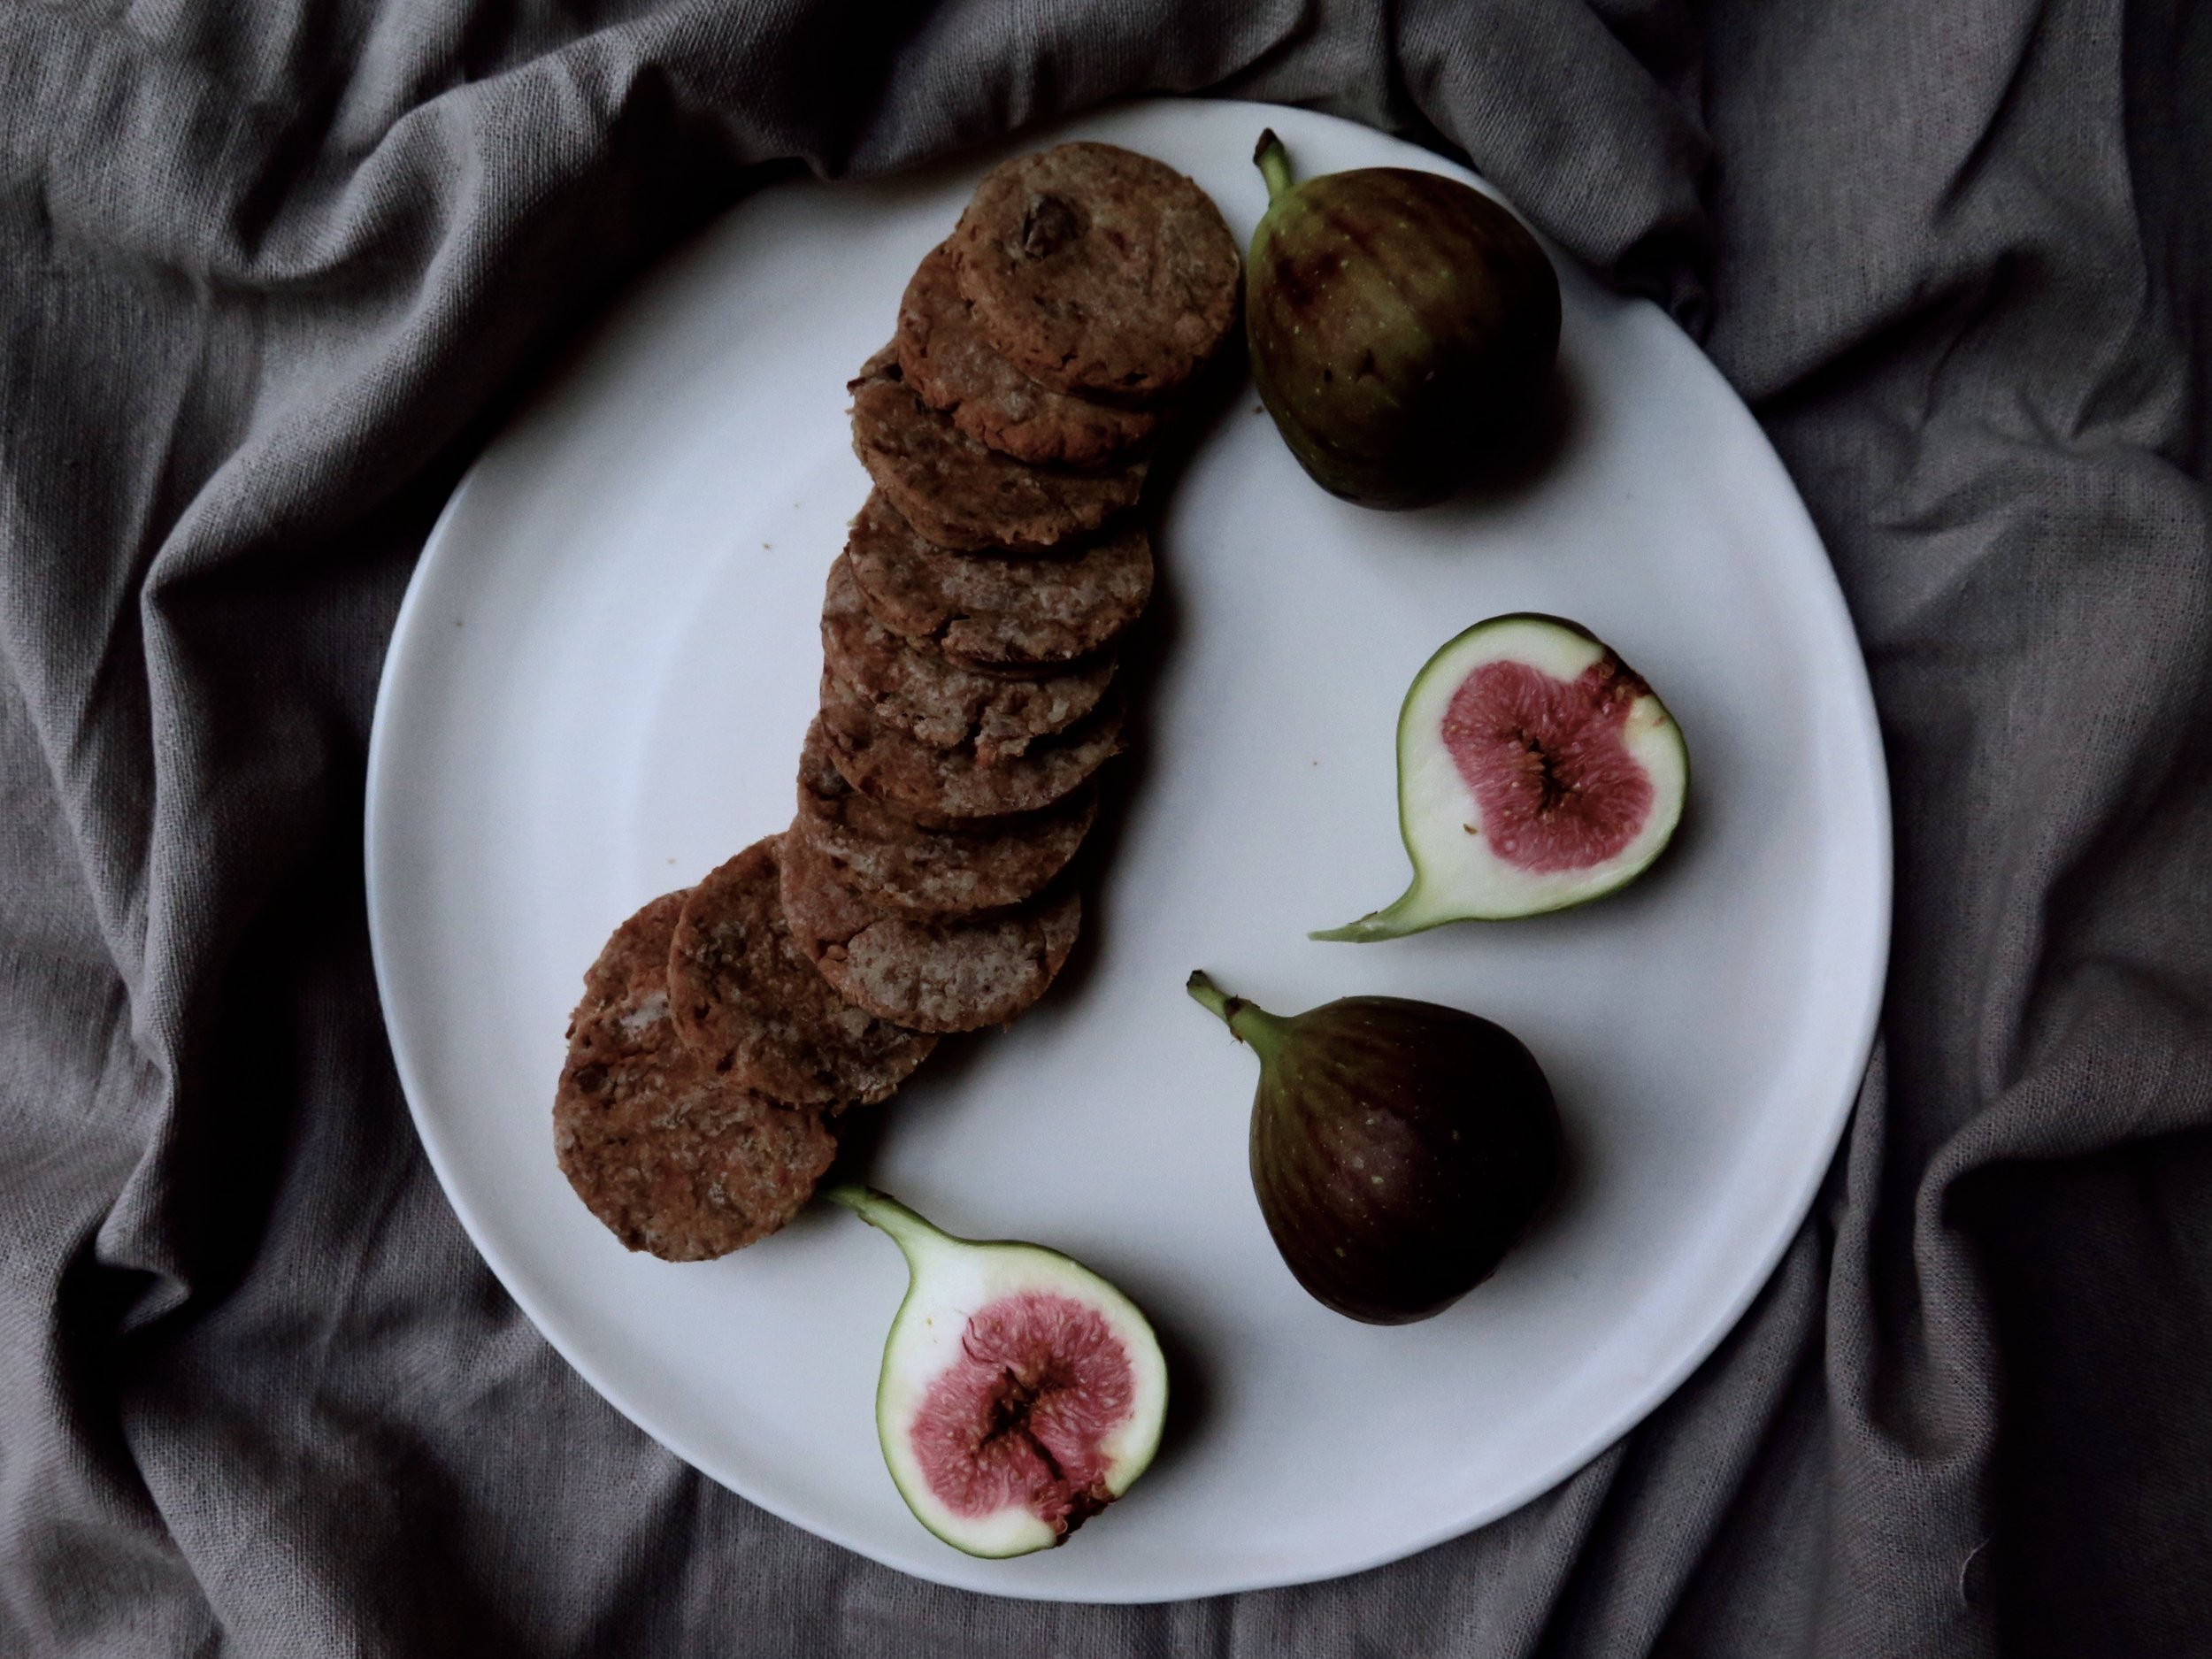
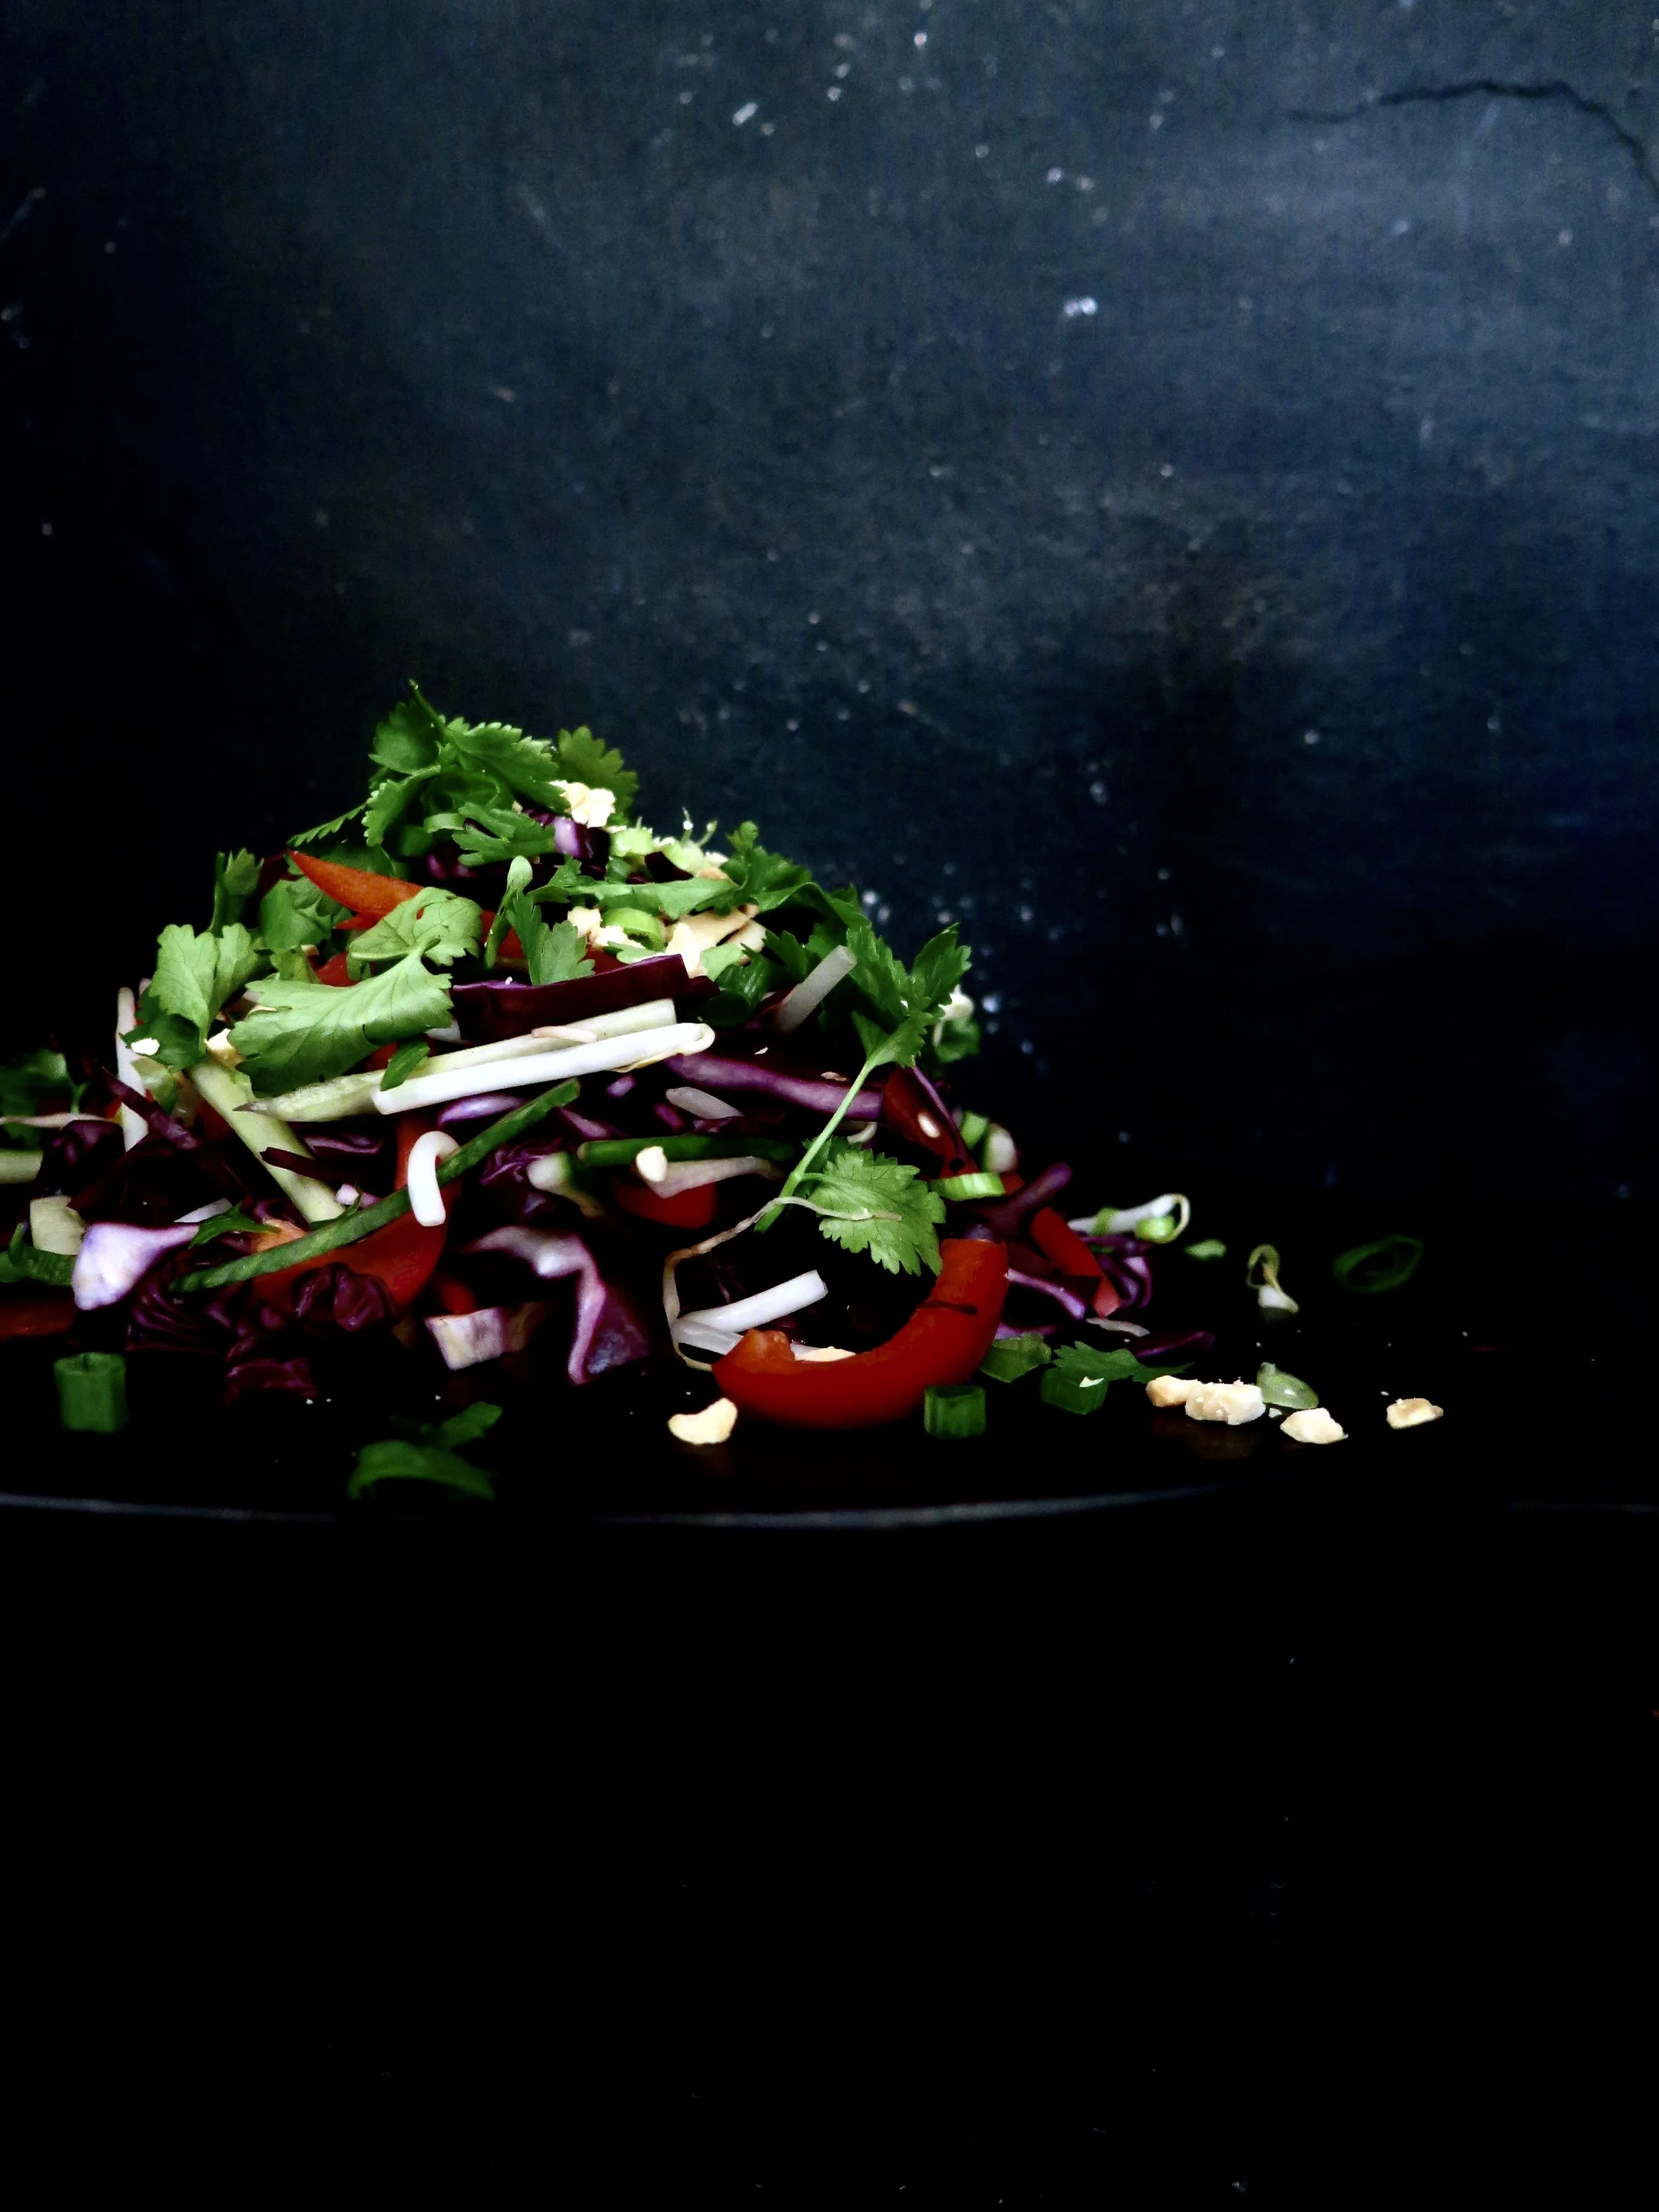
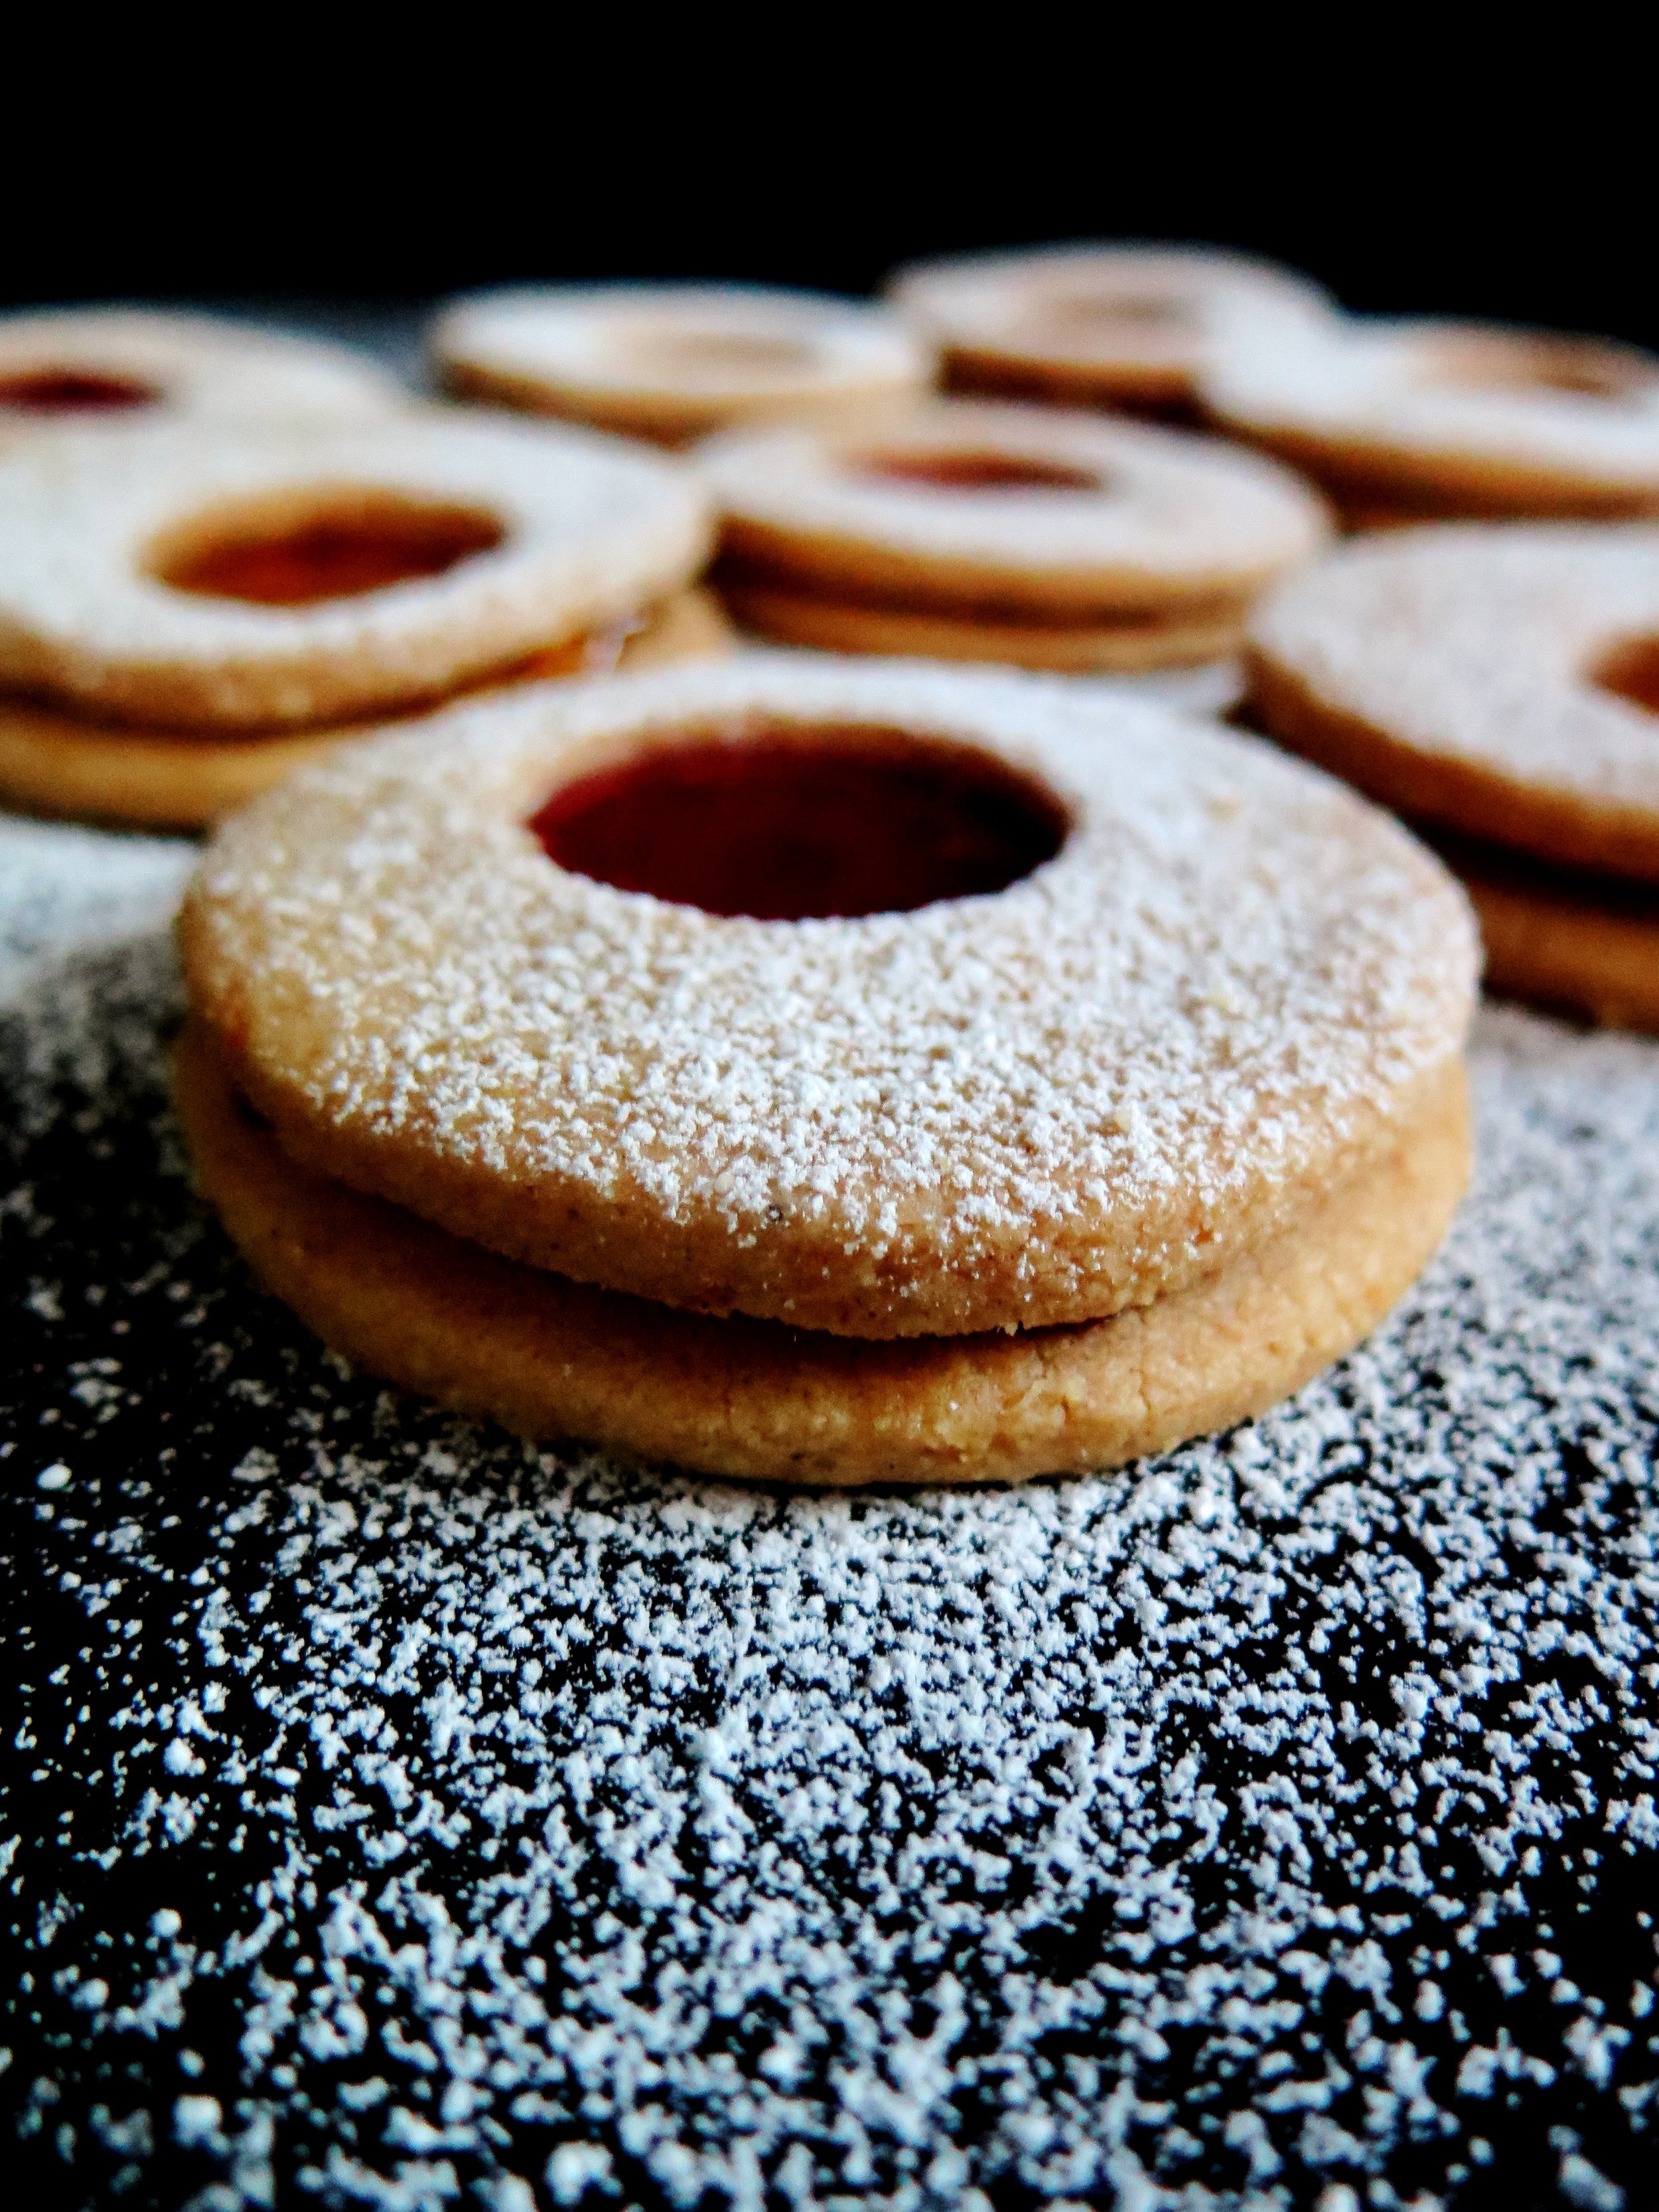
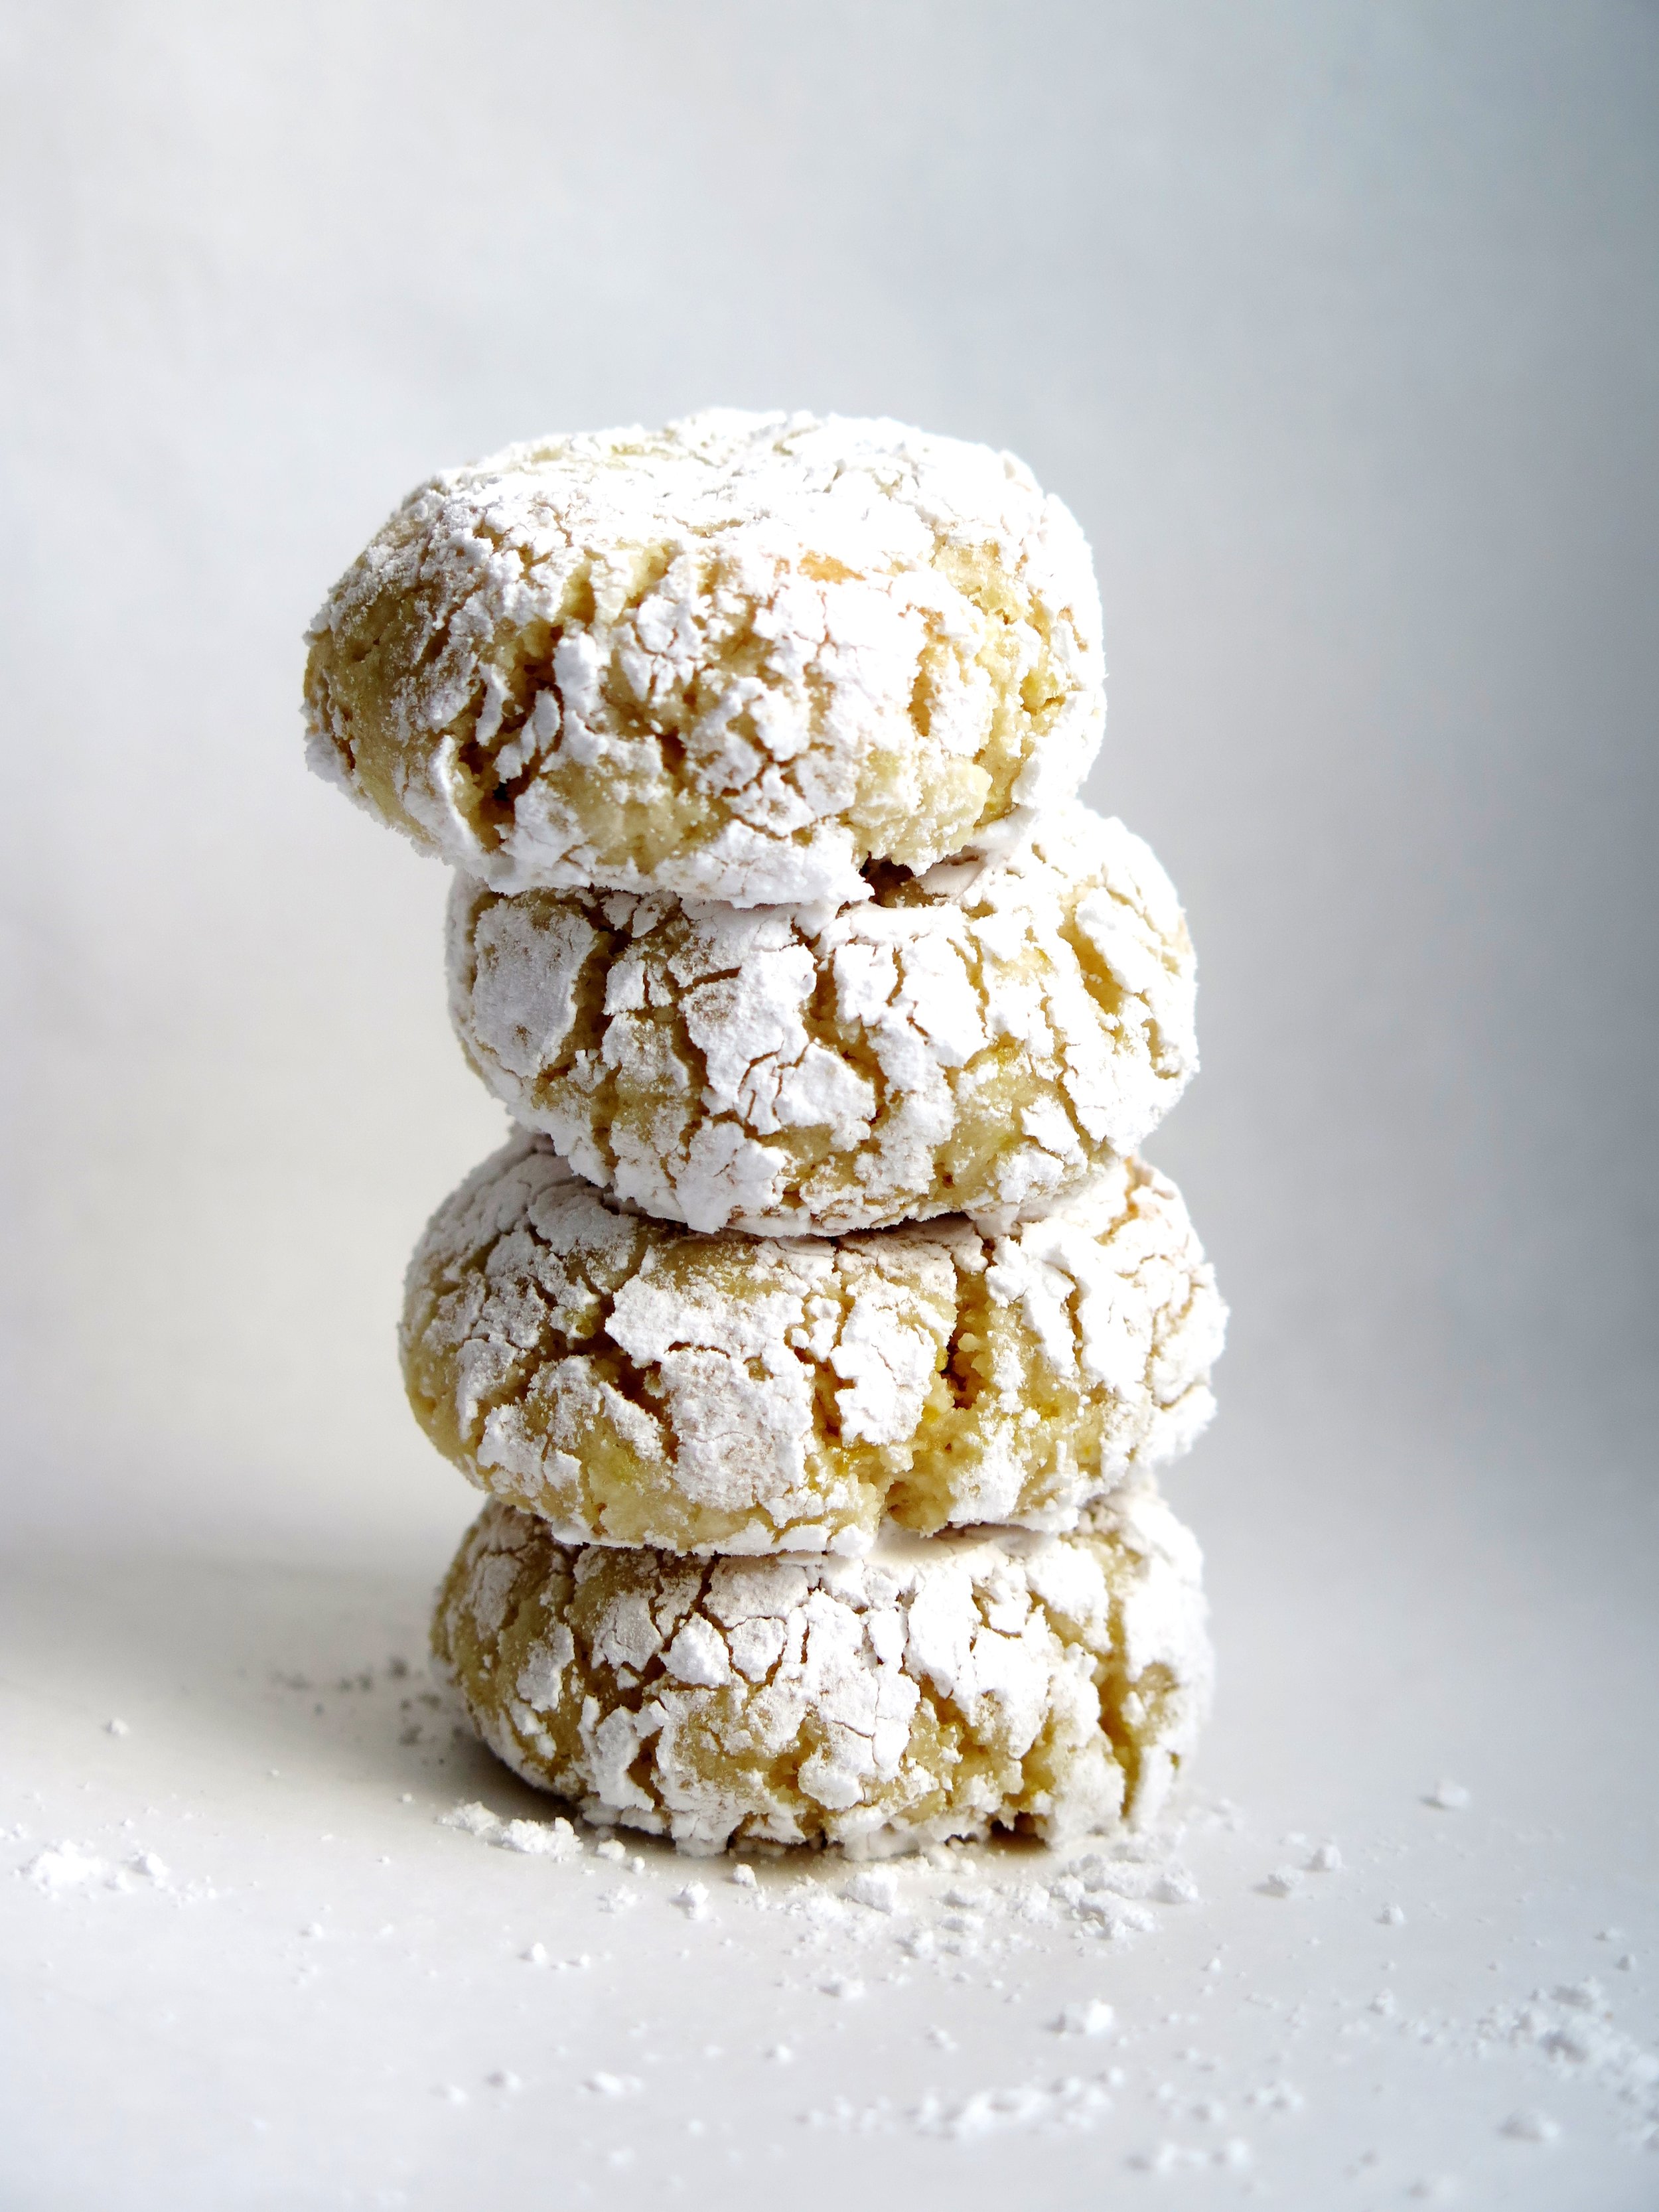
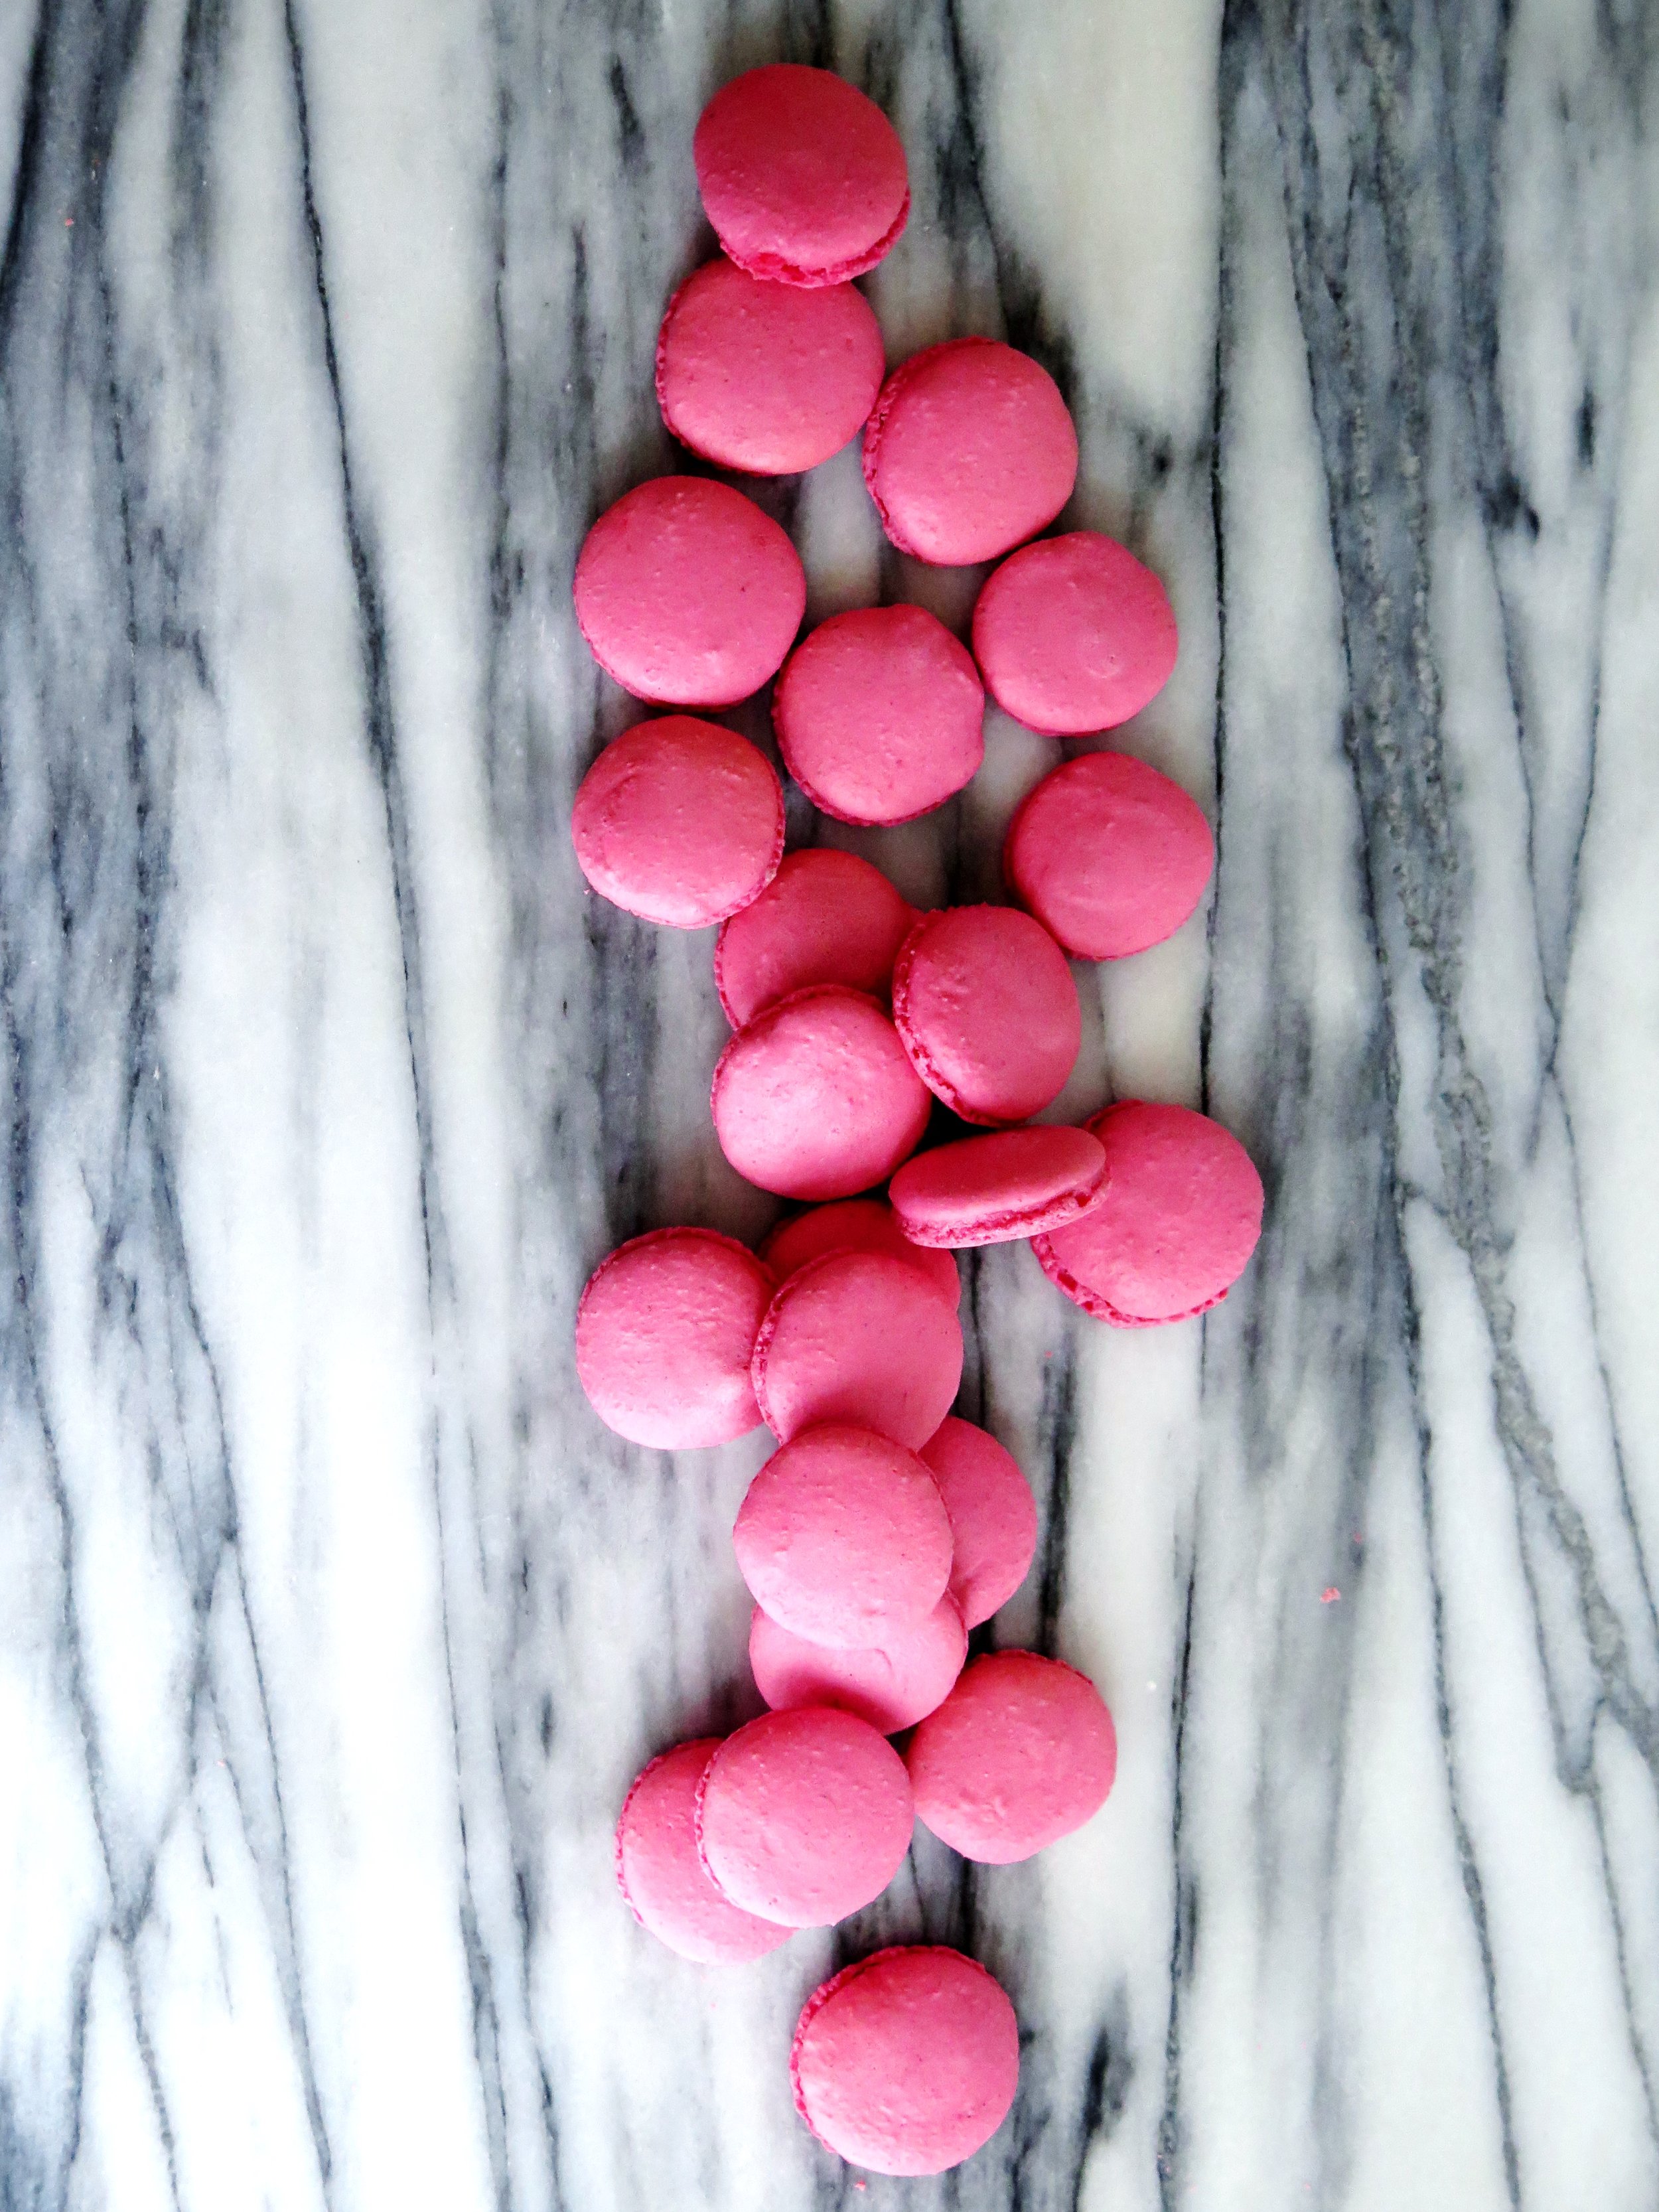
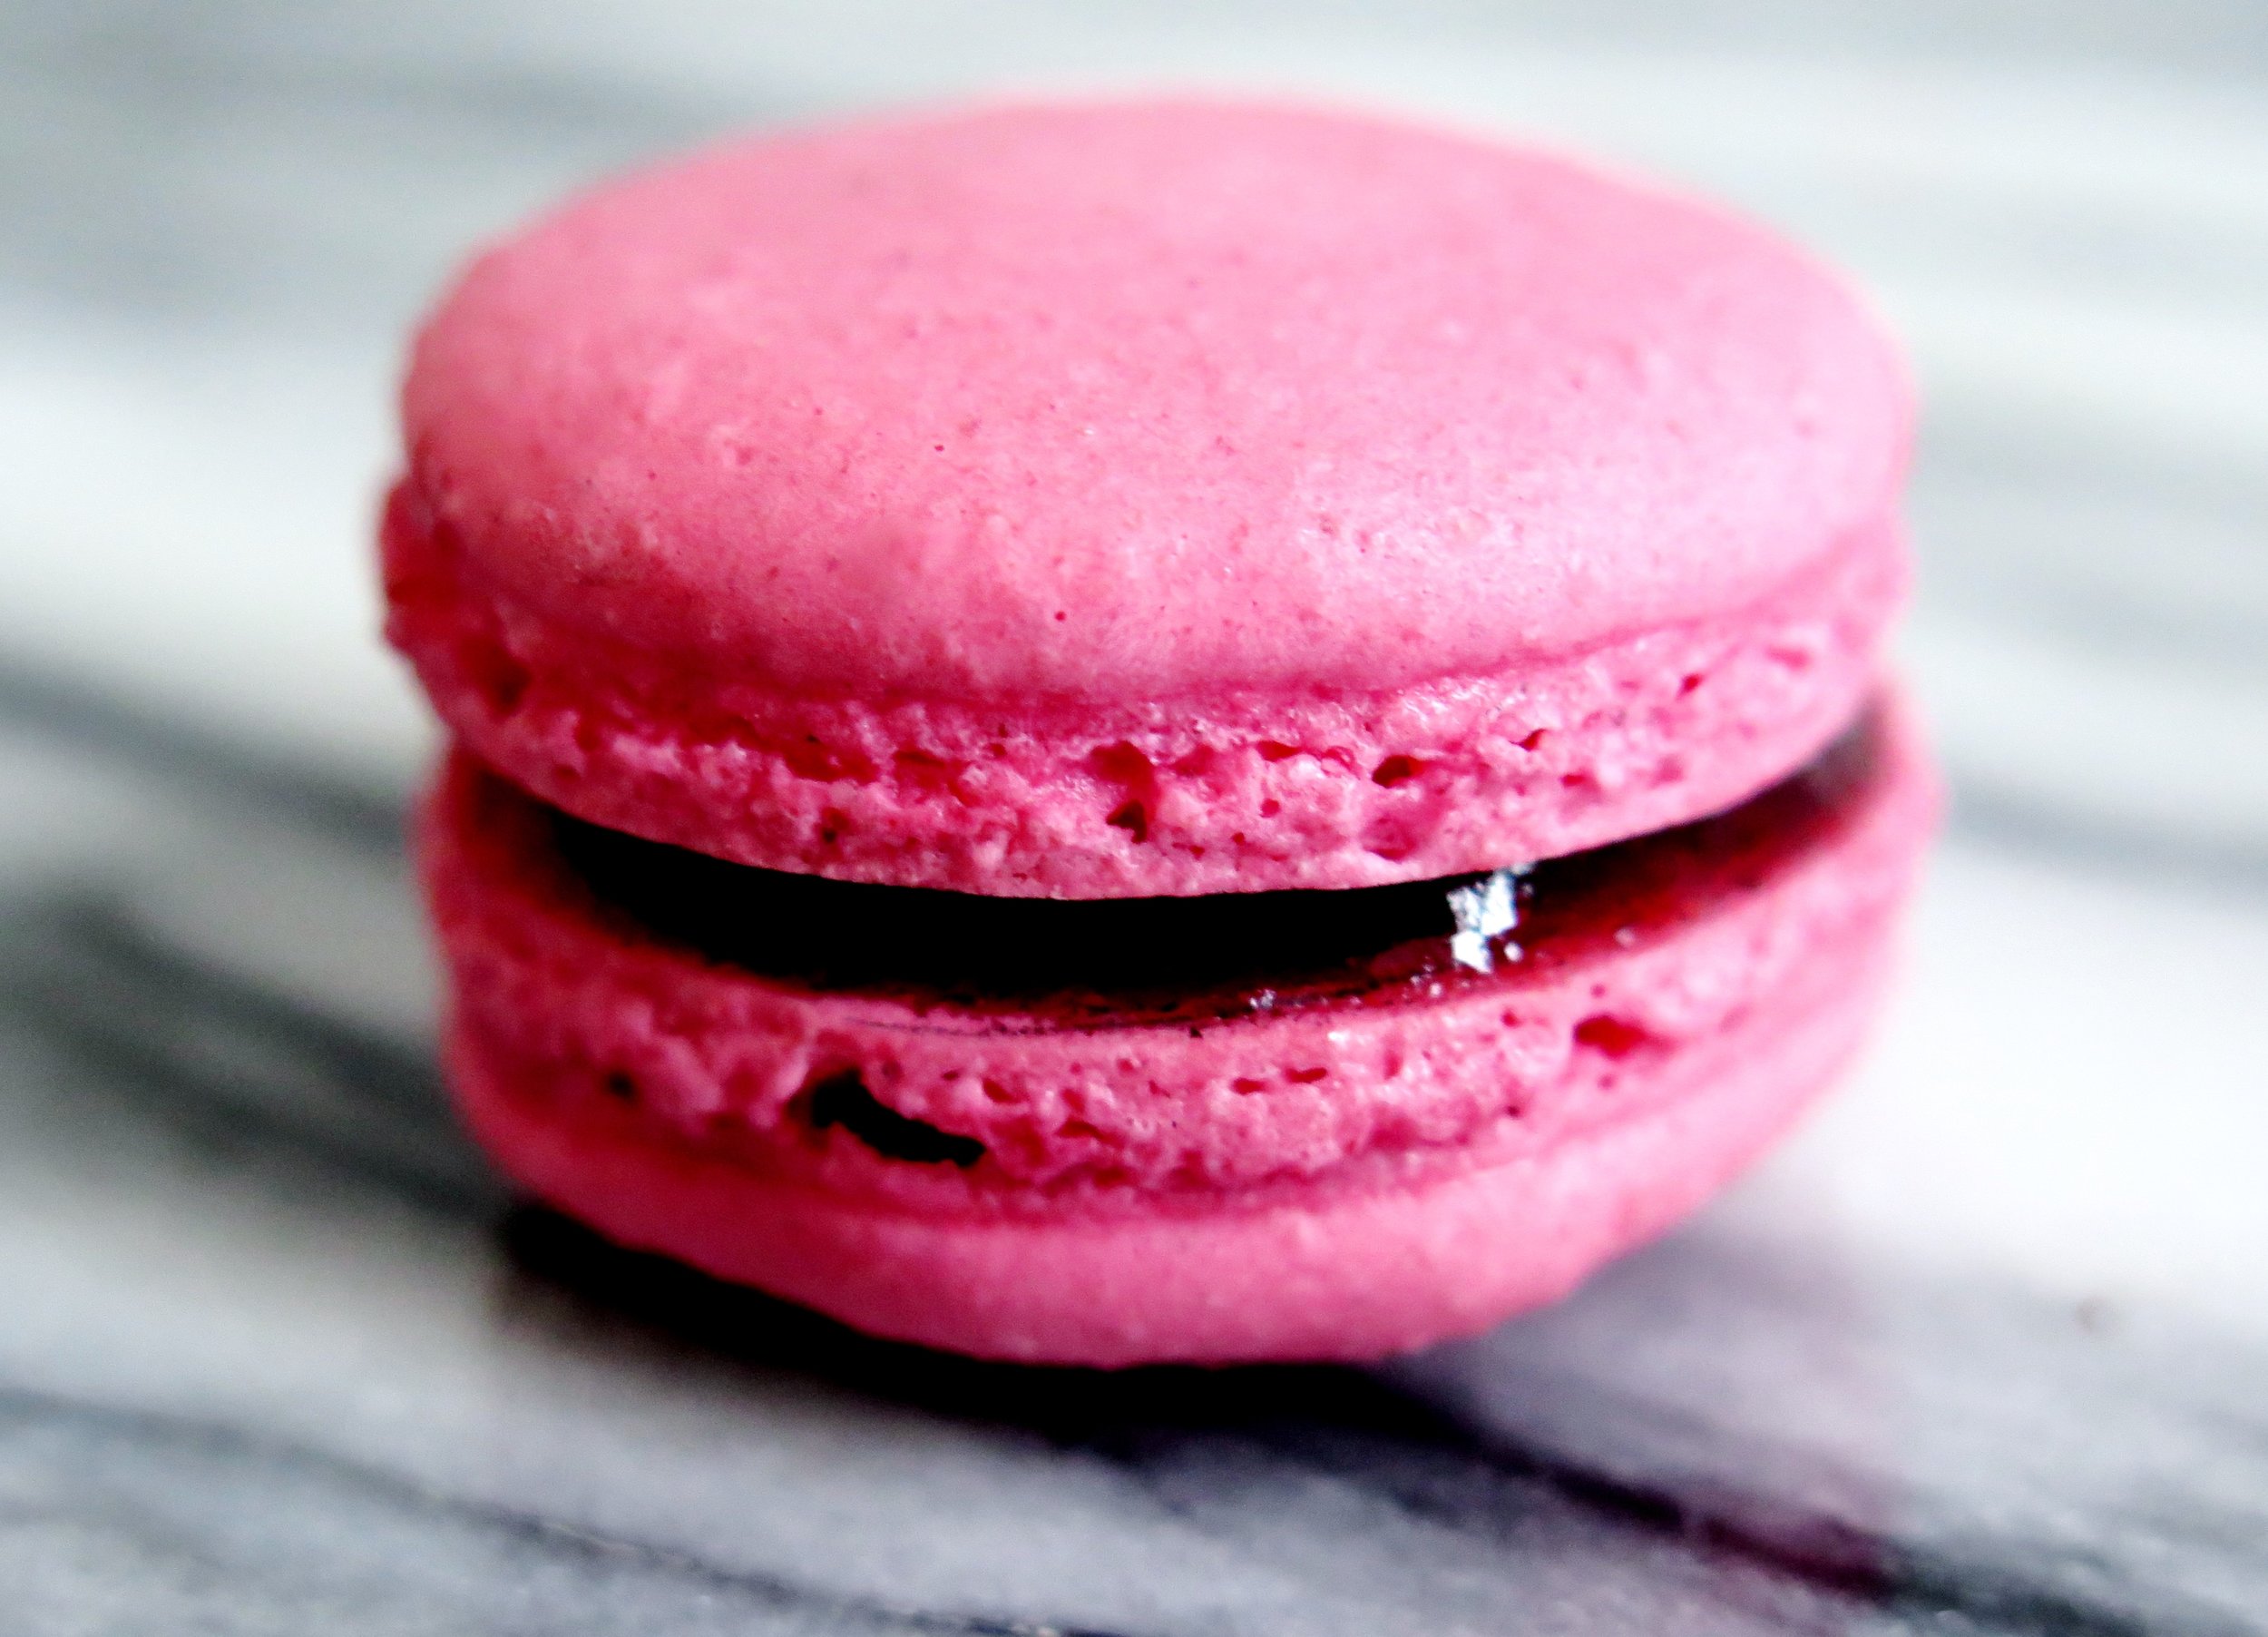
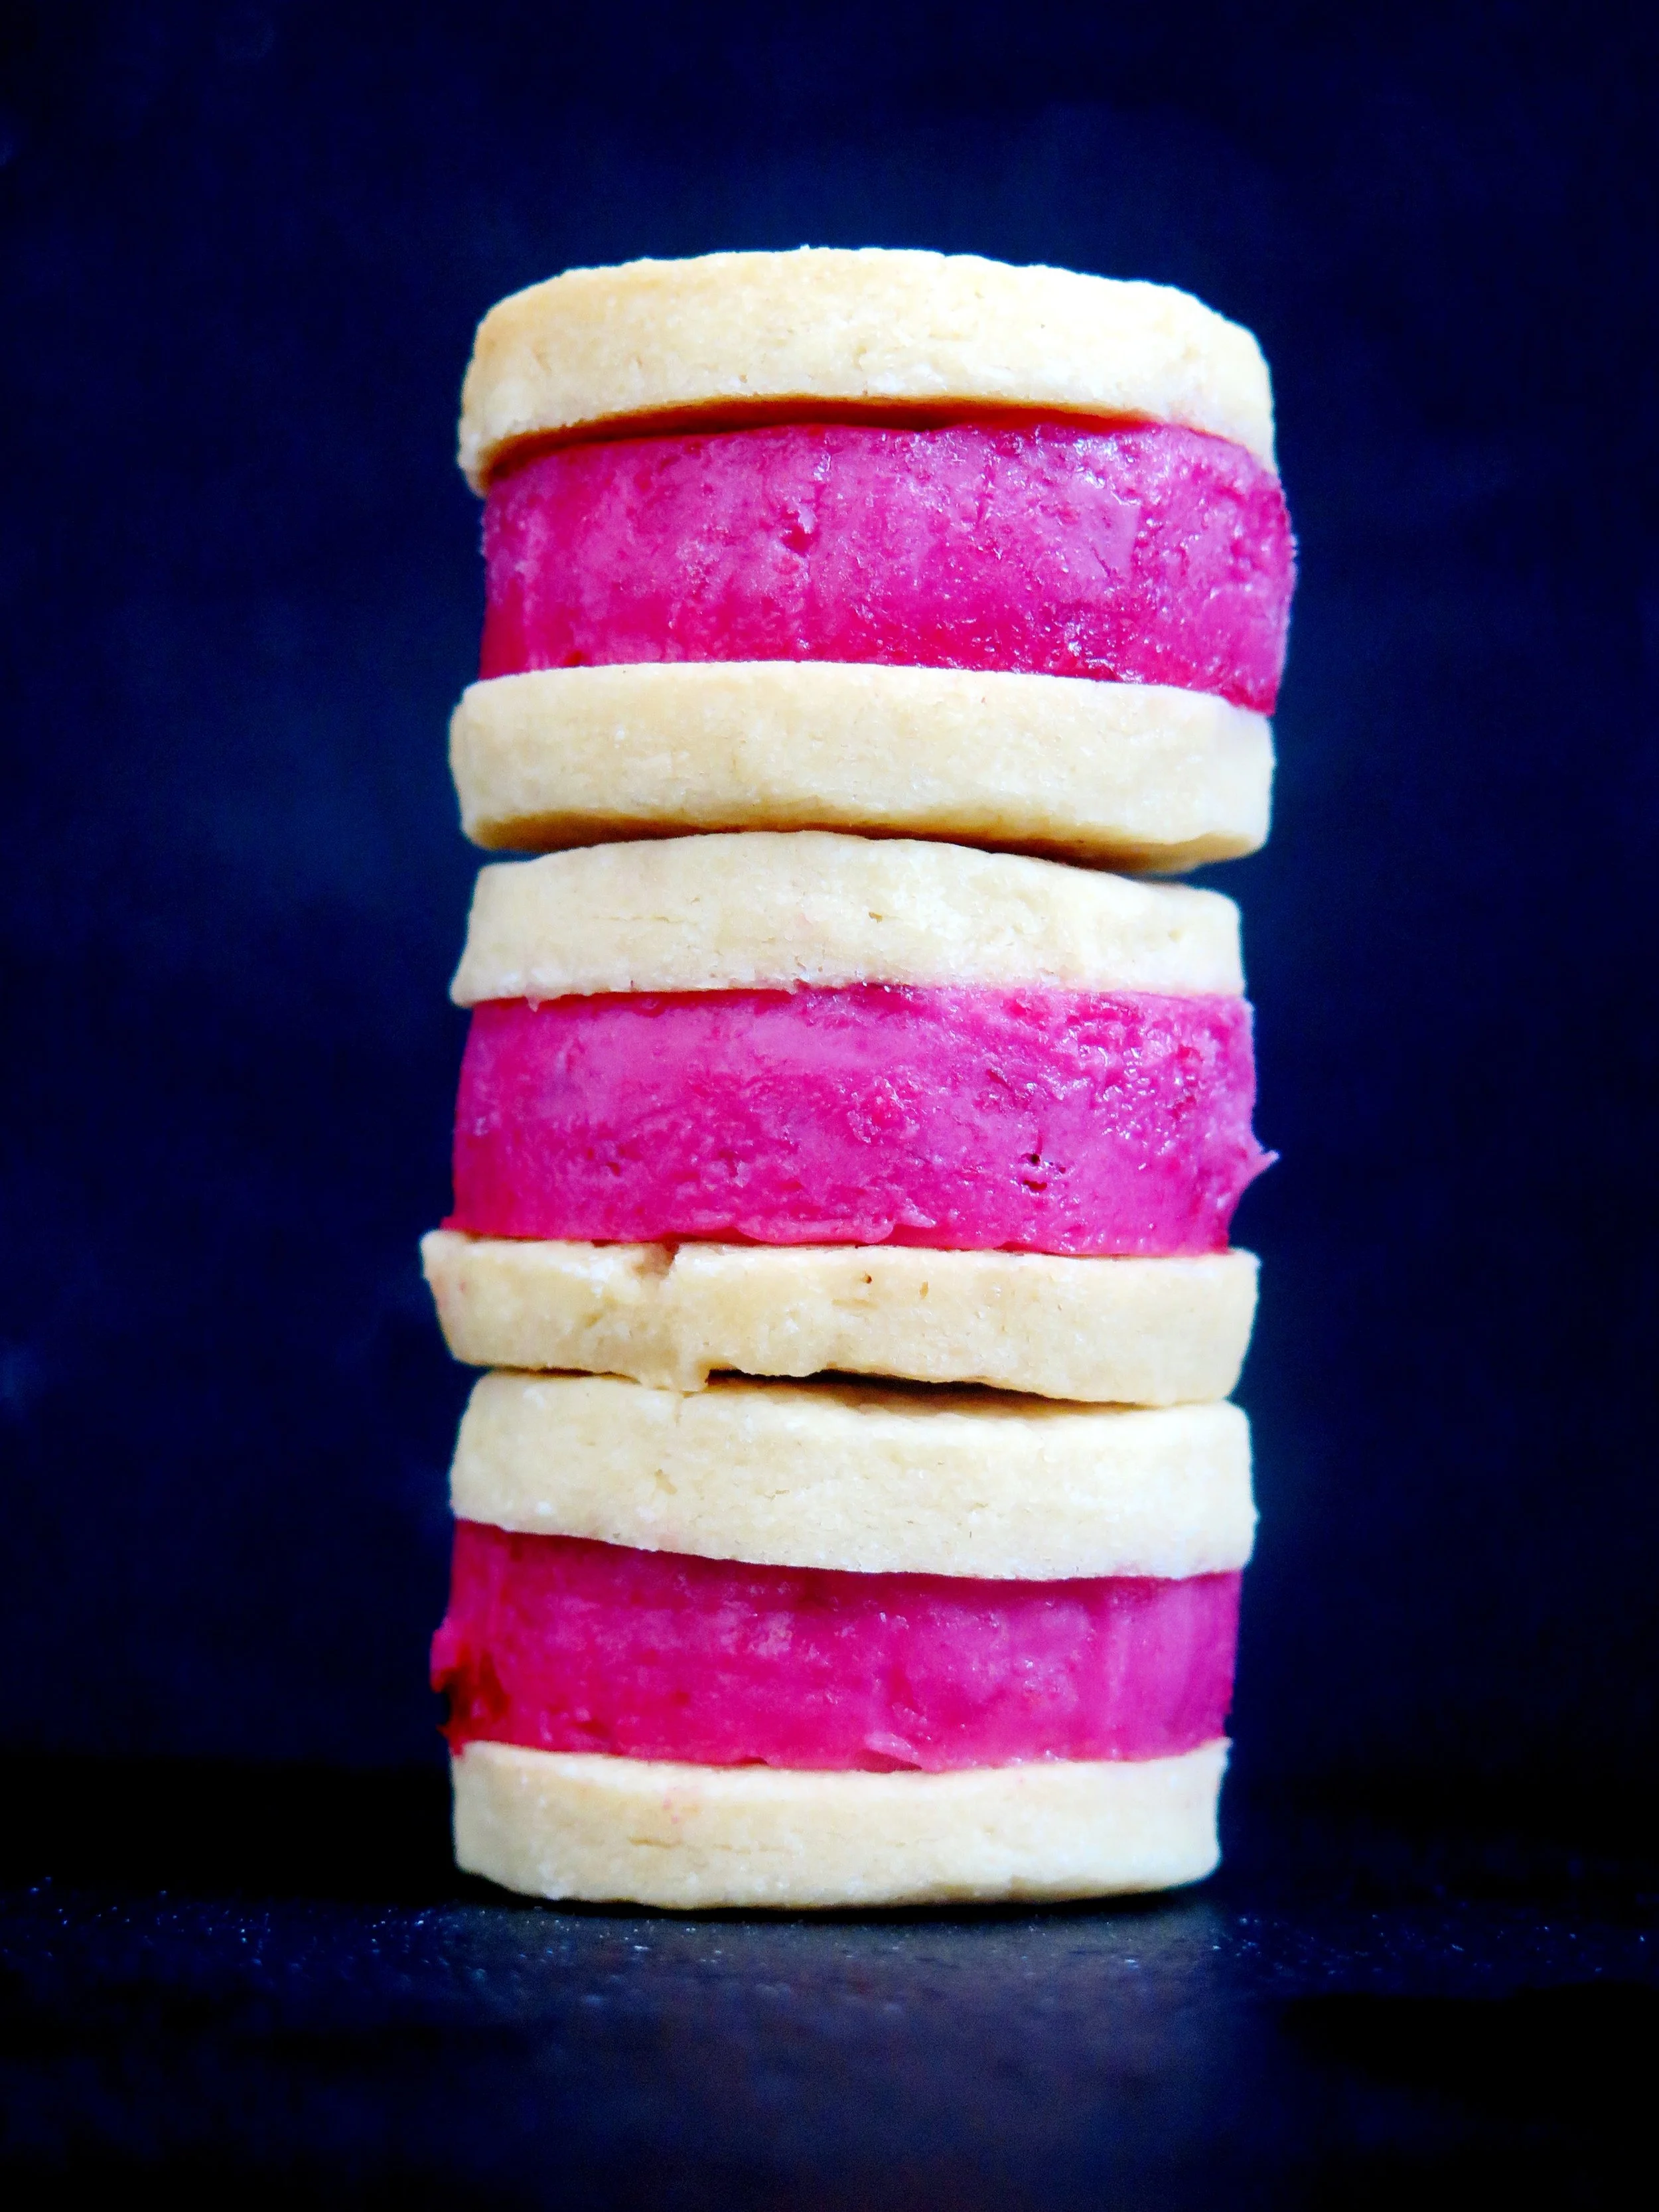
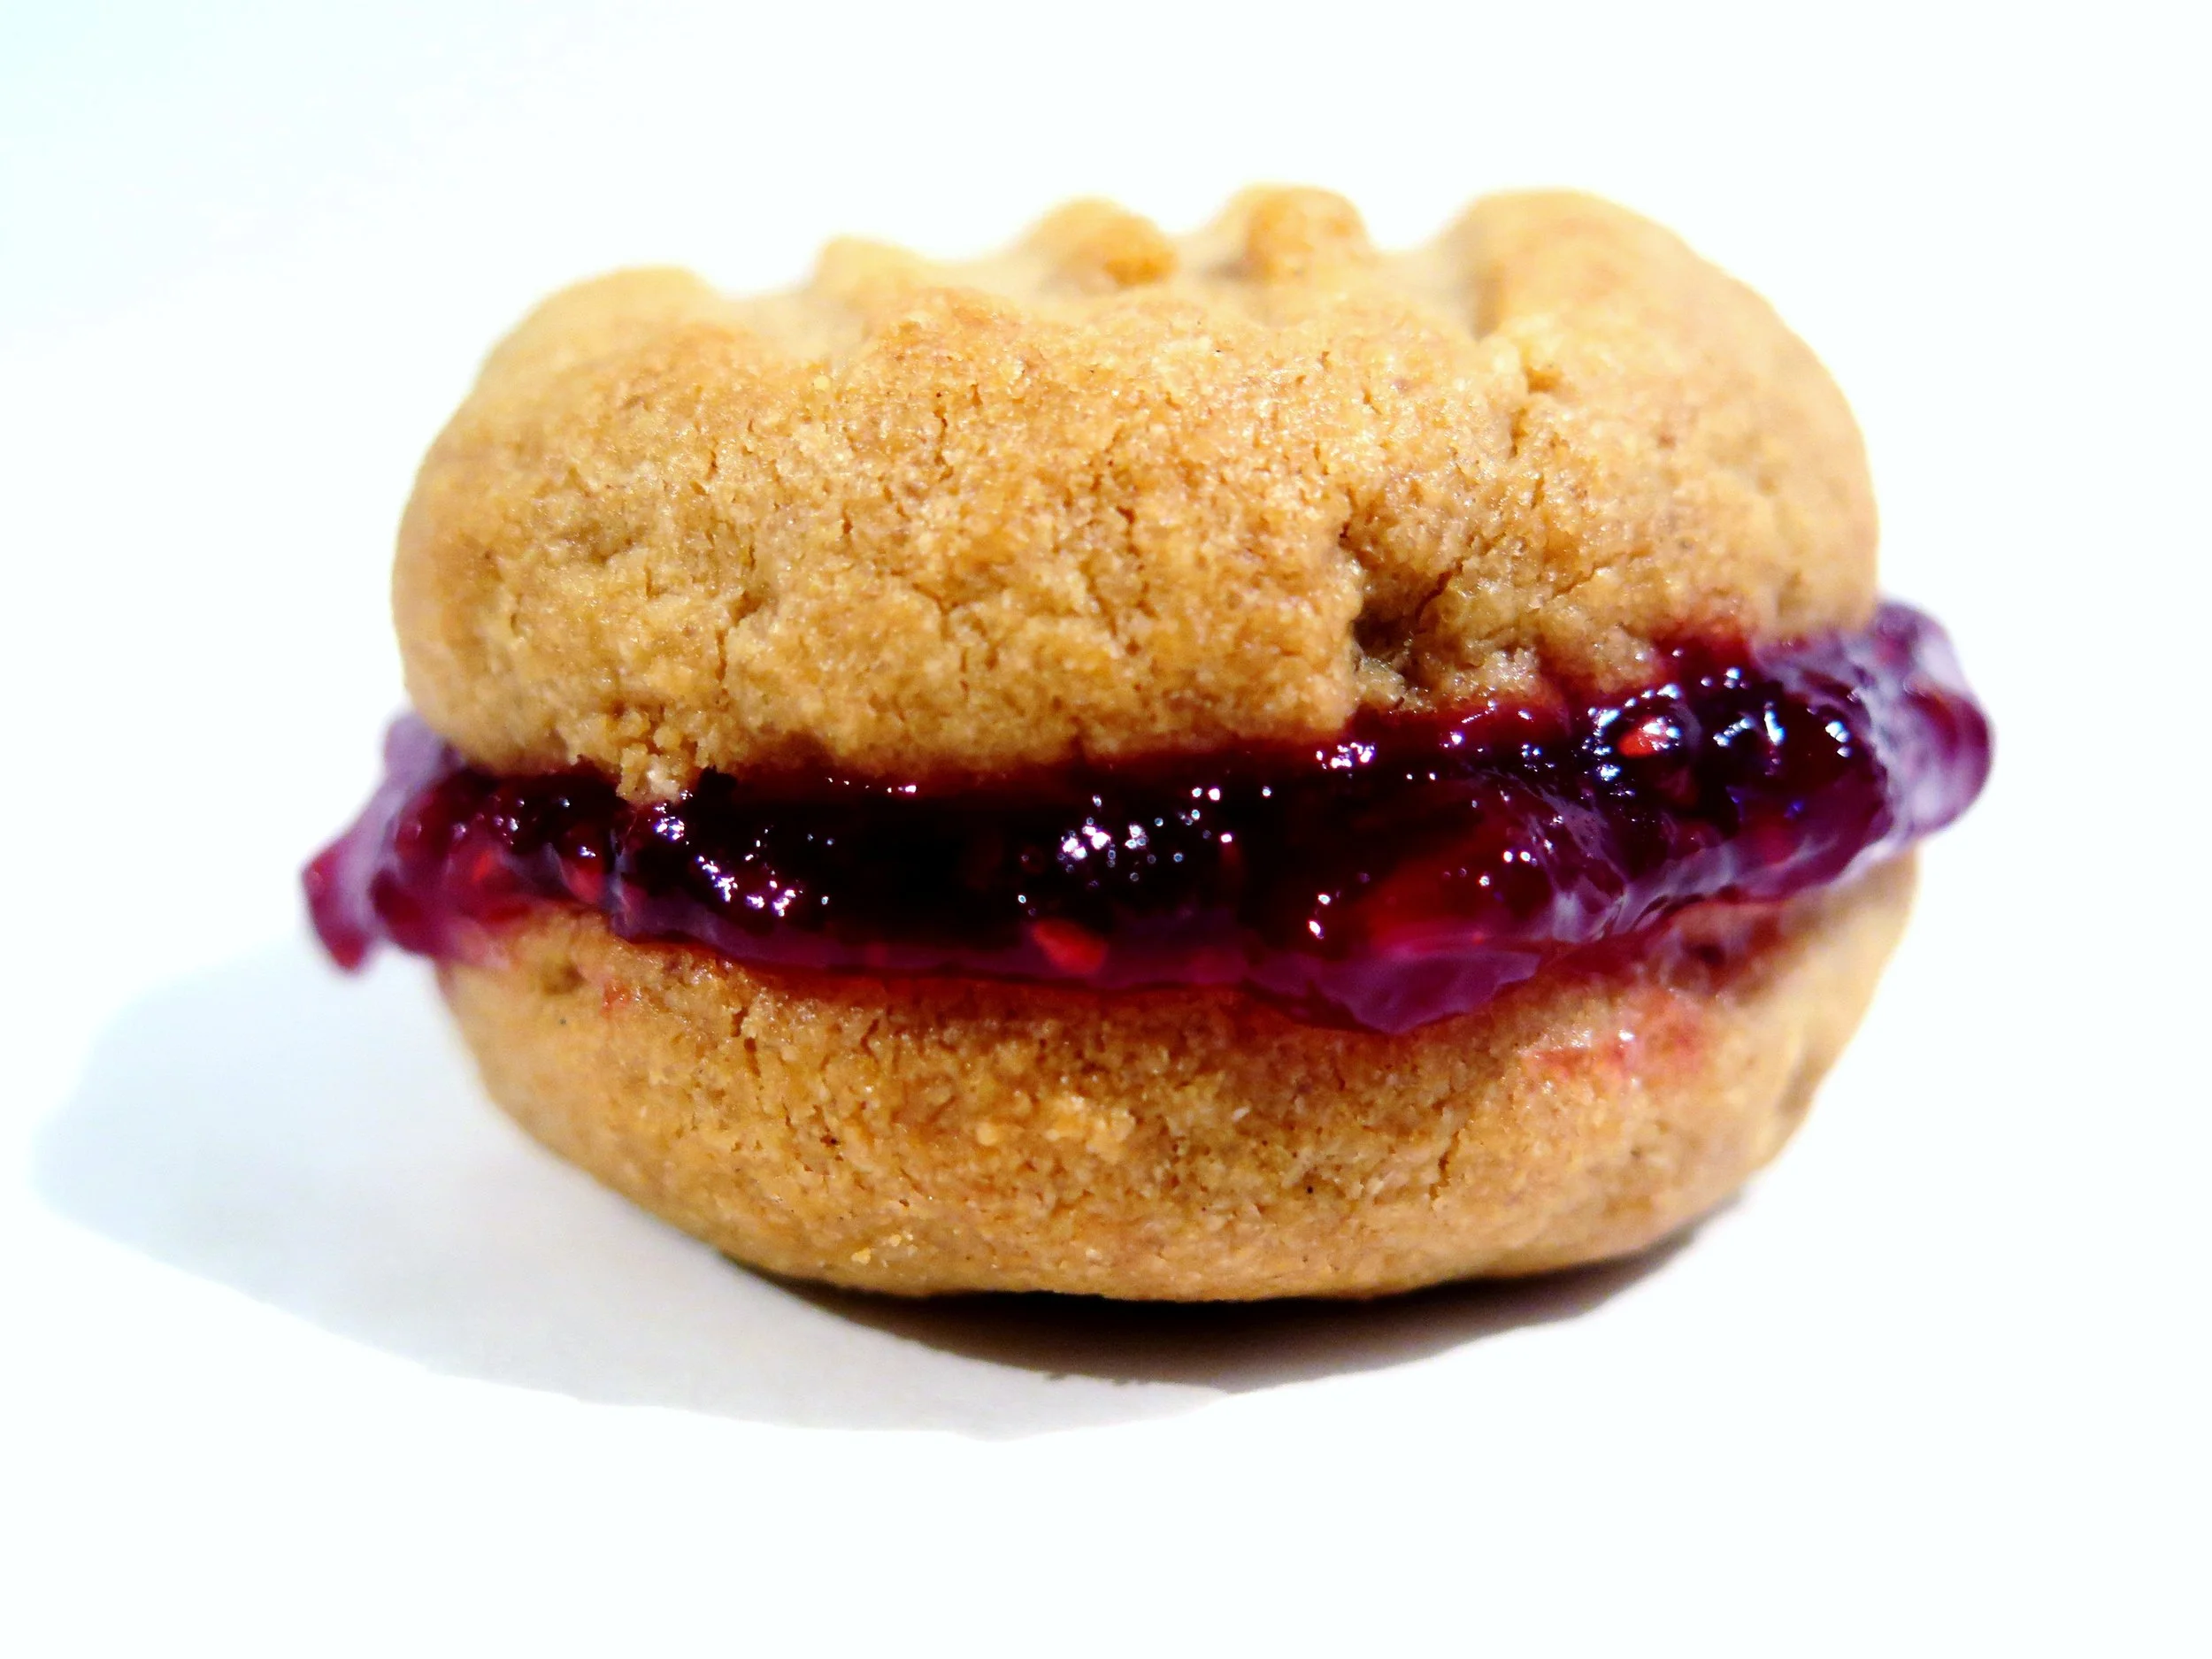
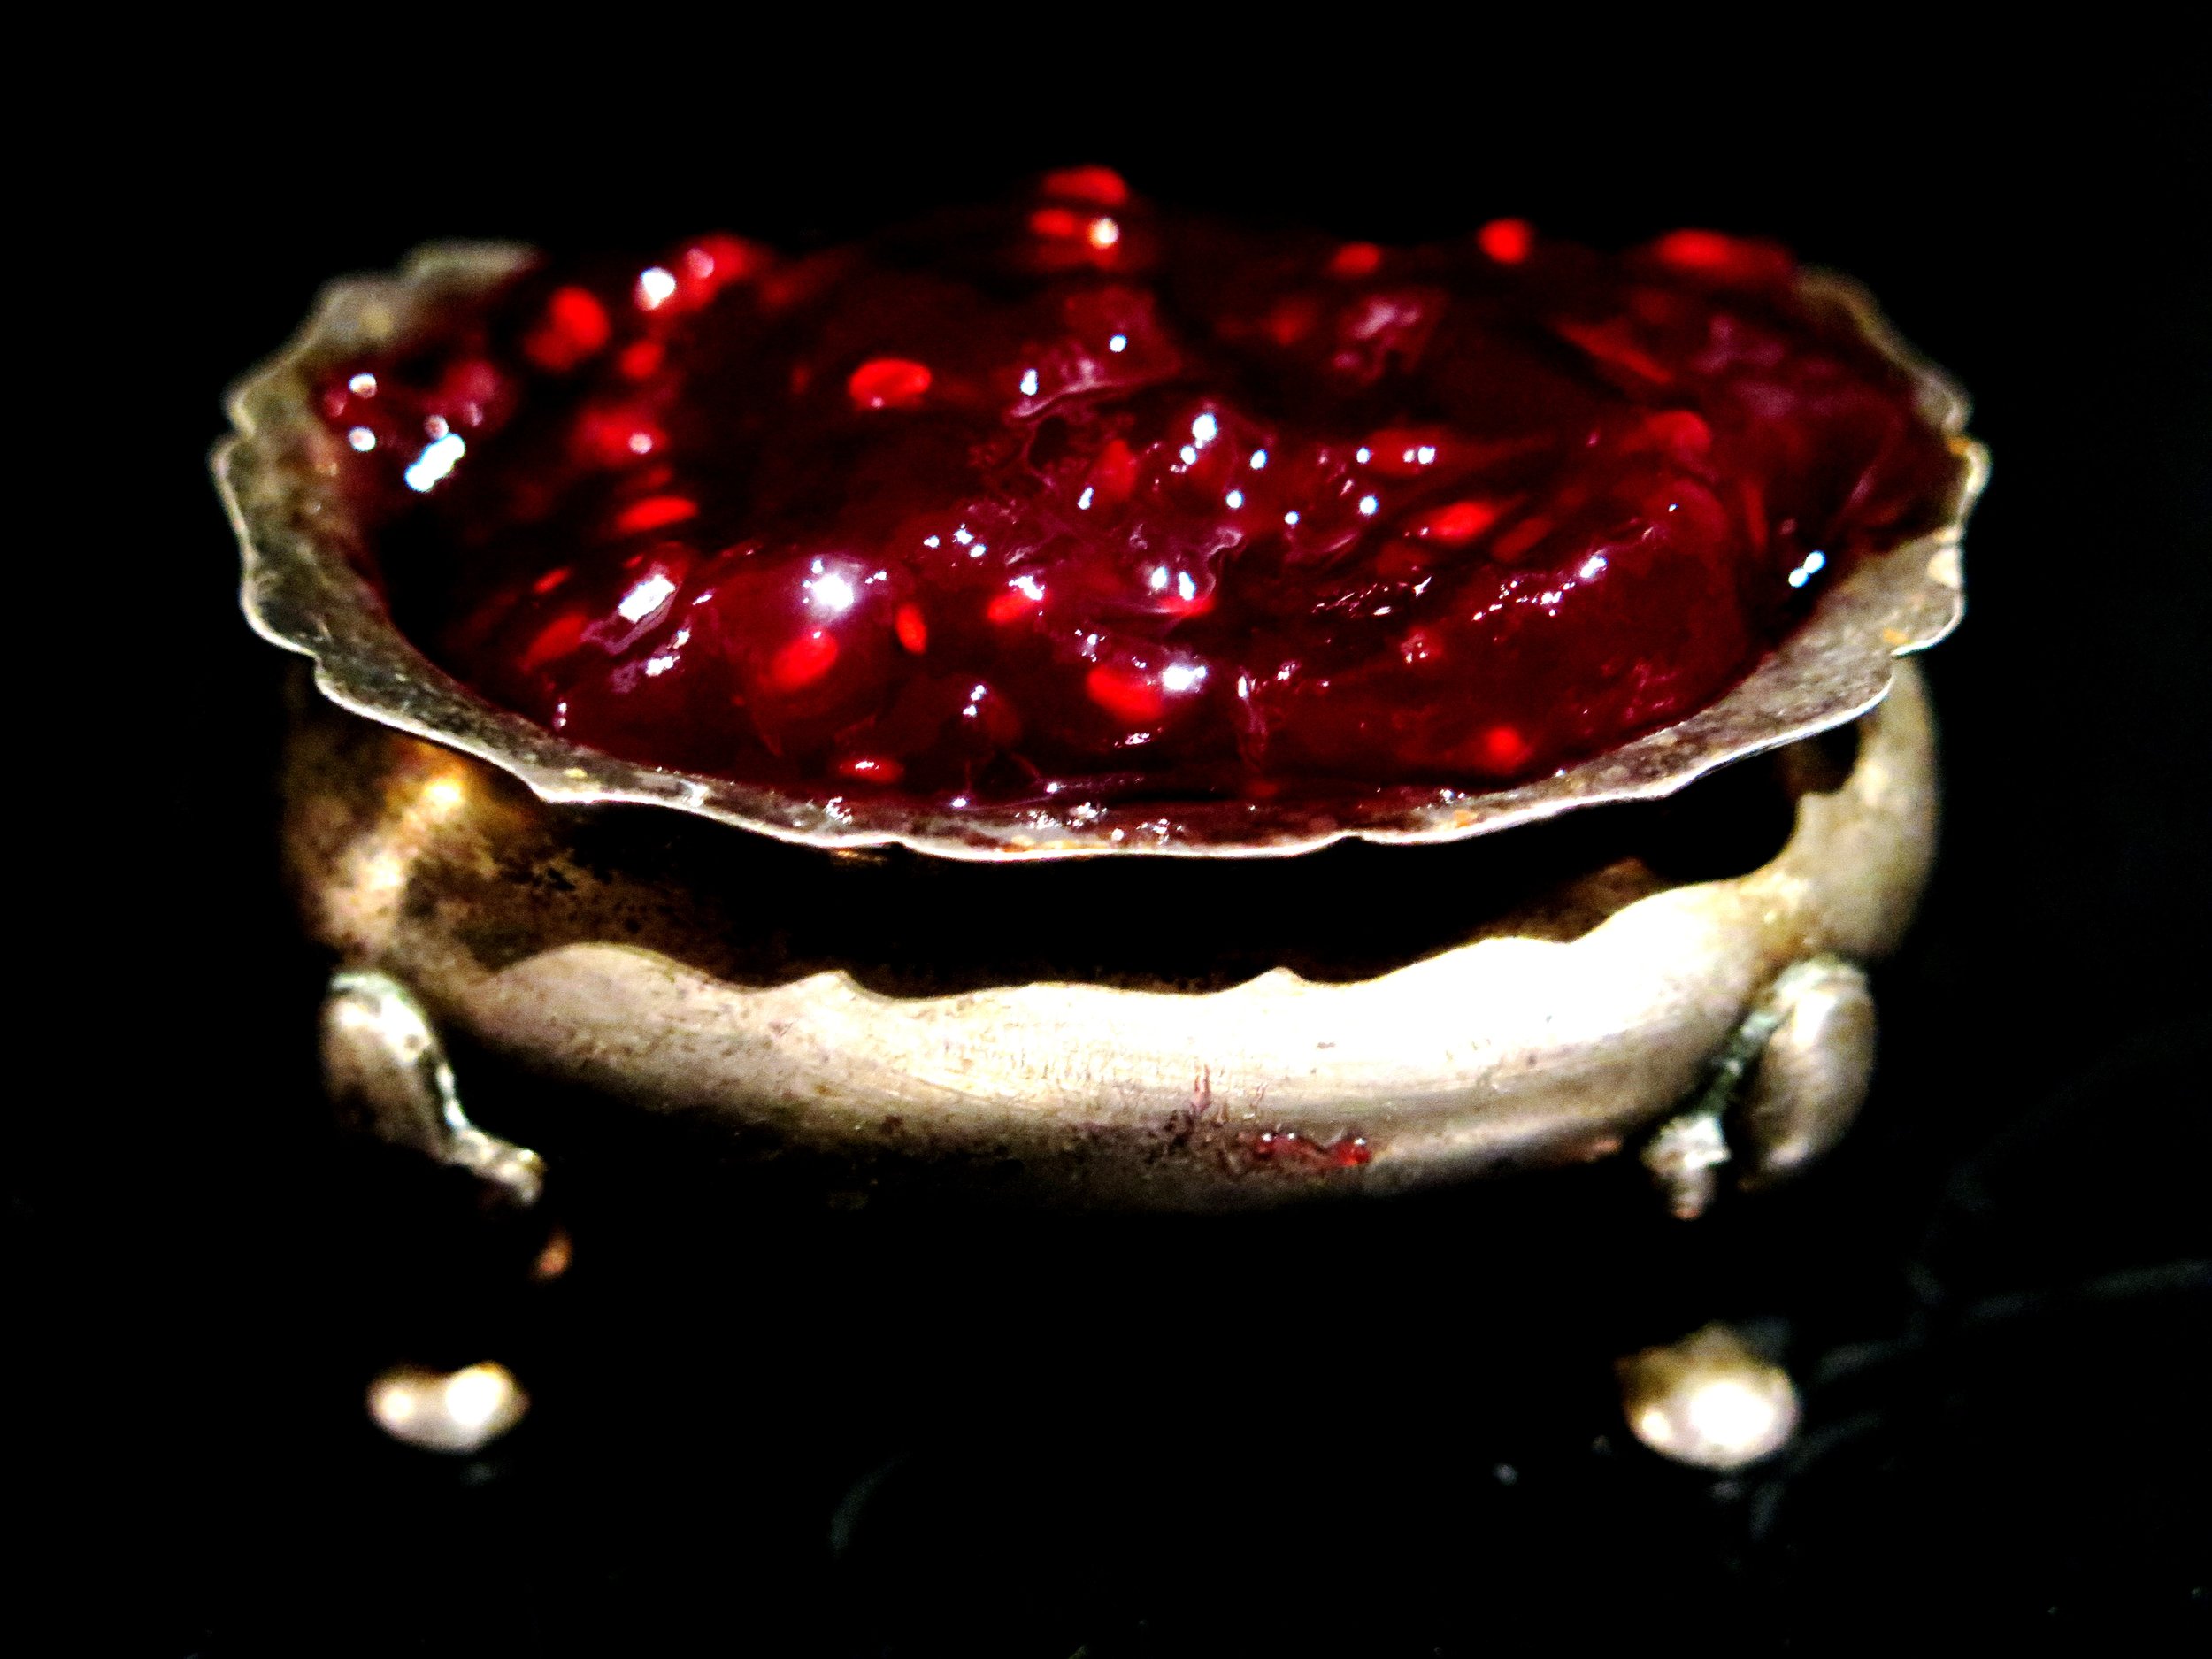
The cherries at my favourite fruit monger were so glossy and irresistibly crimson they were begging to be involved in my hoping-for-summer recipe. I combined them with yuzu juice for a touch of astringency to cut through the sweet creaminess of the yoghurt. Then, to add a childlike allure, I sandwiched the frozen yoghurt between two discs of biscuit which I’d infused with almond extract to bring out the cherry flavour further.
The yuzu juice provides a wonderfully tart citrusy note to the frozen yoghurt. If you can't find it, substitute it with lemon or lime.
I used an ice cream churner to make the frozen yoghurt smoother and the ice crystals finer, but if you don’t have one this stage can be skipped and the result will still be delicious.

Of course, the cherry and yuzu frozen yoghurt can be enjoyed sans biscuit. The biscuit is however, rather useful if you wish to turn it into a hand held treat, whether or not the sunshine lingers.

Ingredients (makes 8-10)
Cherry and Yuzu Frozen Yoghurt
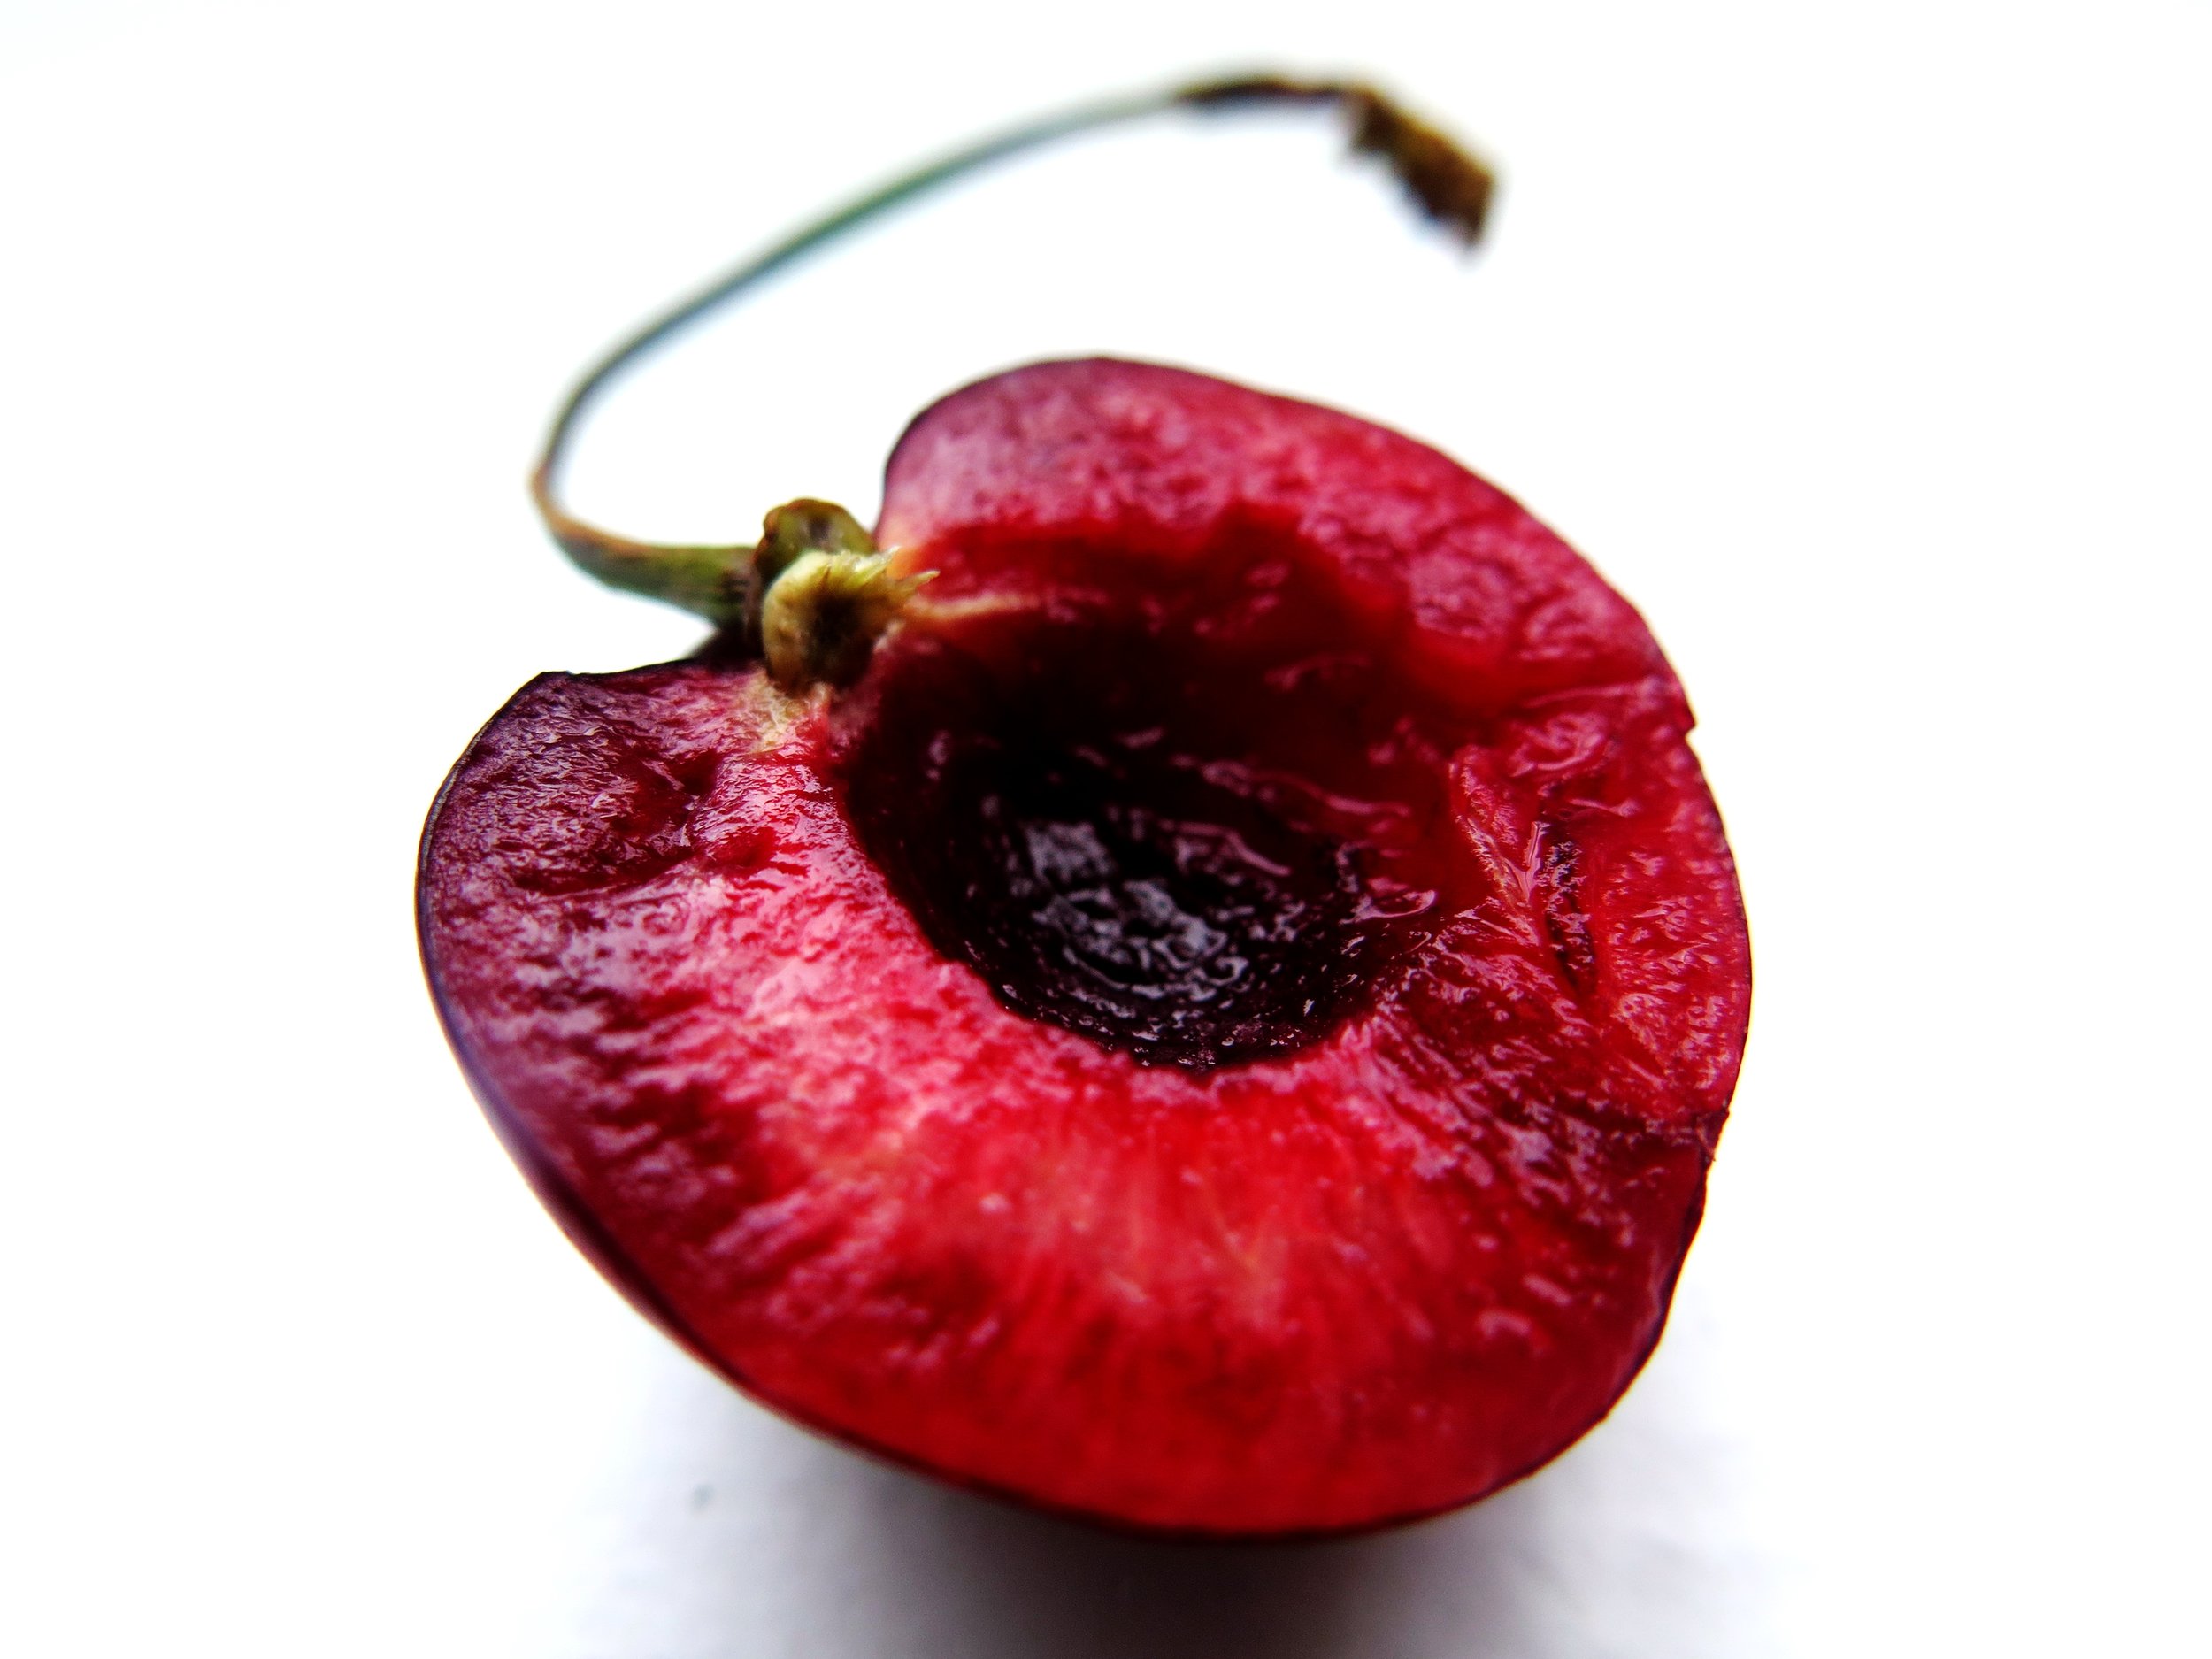
375g cherries, halved and pitted
125g caster sugar
250g full fat natural yoghurt (don’t use Greek)
1 tsp yuzu juice
6 drops of almond extract
1 medium sized (18cm x 28cm approx.) loaf tin, lined with cling film
Almond Biscuit
160g butter, at room temperature
2 egg yolks
10 drops almond extract
210g plain flour
50g sugar
1tsp vanilla extract
¼ tsp salt
1 large baking tray lined with baking parchment
4.5/5cm circular cookie cutter or wine glass
Method
Cherry & Yuzu Frozen Yoghurt
- Place cherries and sugar in a small pan over a high heat. Stir occasionally to prevent sugar from burning. When enough liquid has run out from the cherries to coat the base of the pan and it begins to boil, reduce heat to medium. Allow to simmer for 10 minutes until the liquid from the cherries has reduced and is just slightly thicker than maple syrup.
- Allow the cherries and syrup to cool then blitz them together with the yuzu, almond extract and yoghurt until smooth. If you are using an ice cream maker, chill the mixture and then churn according to the manufacturer’s instructions. Otherwise, proceed to step 3.
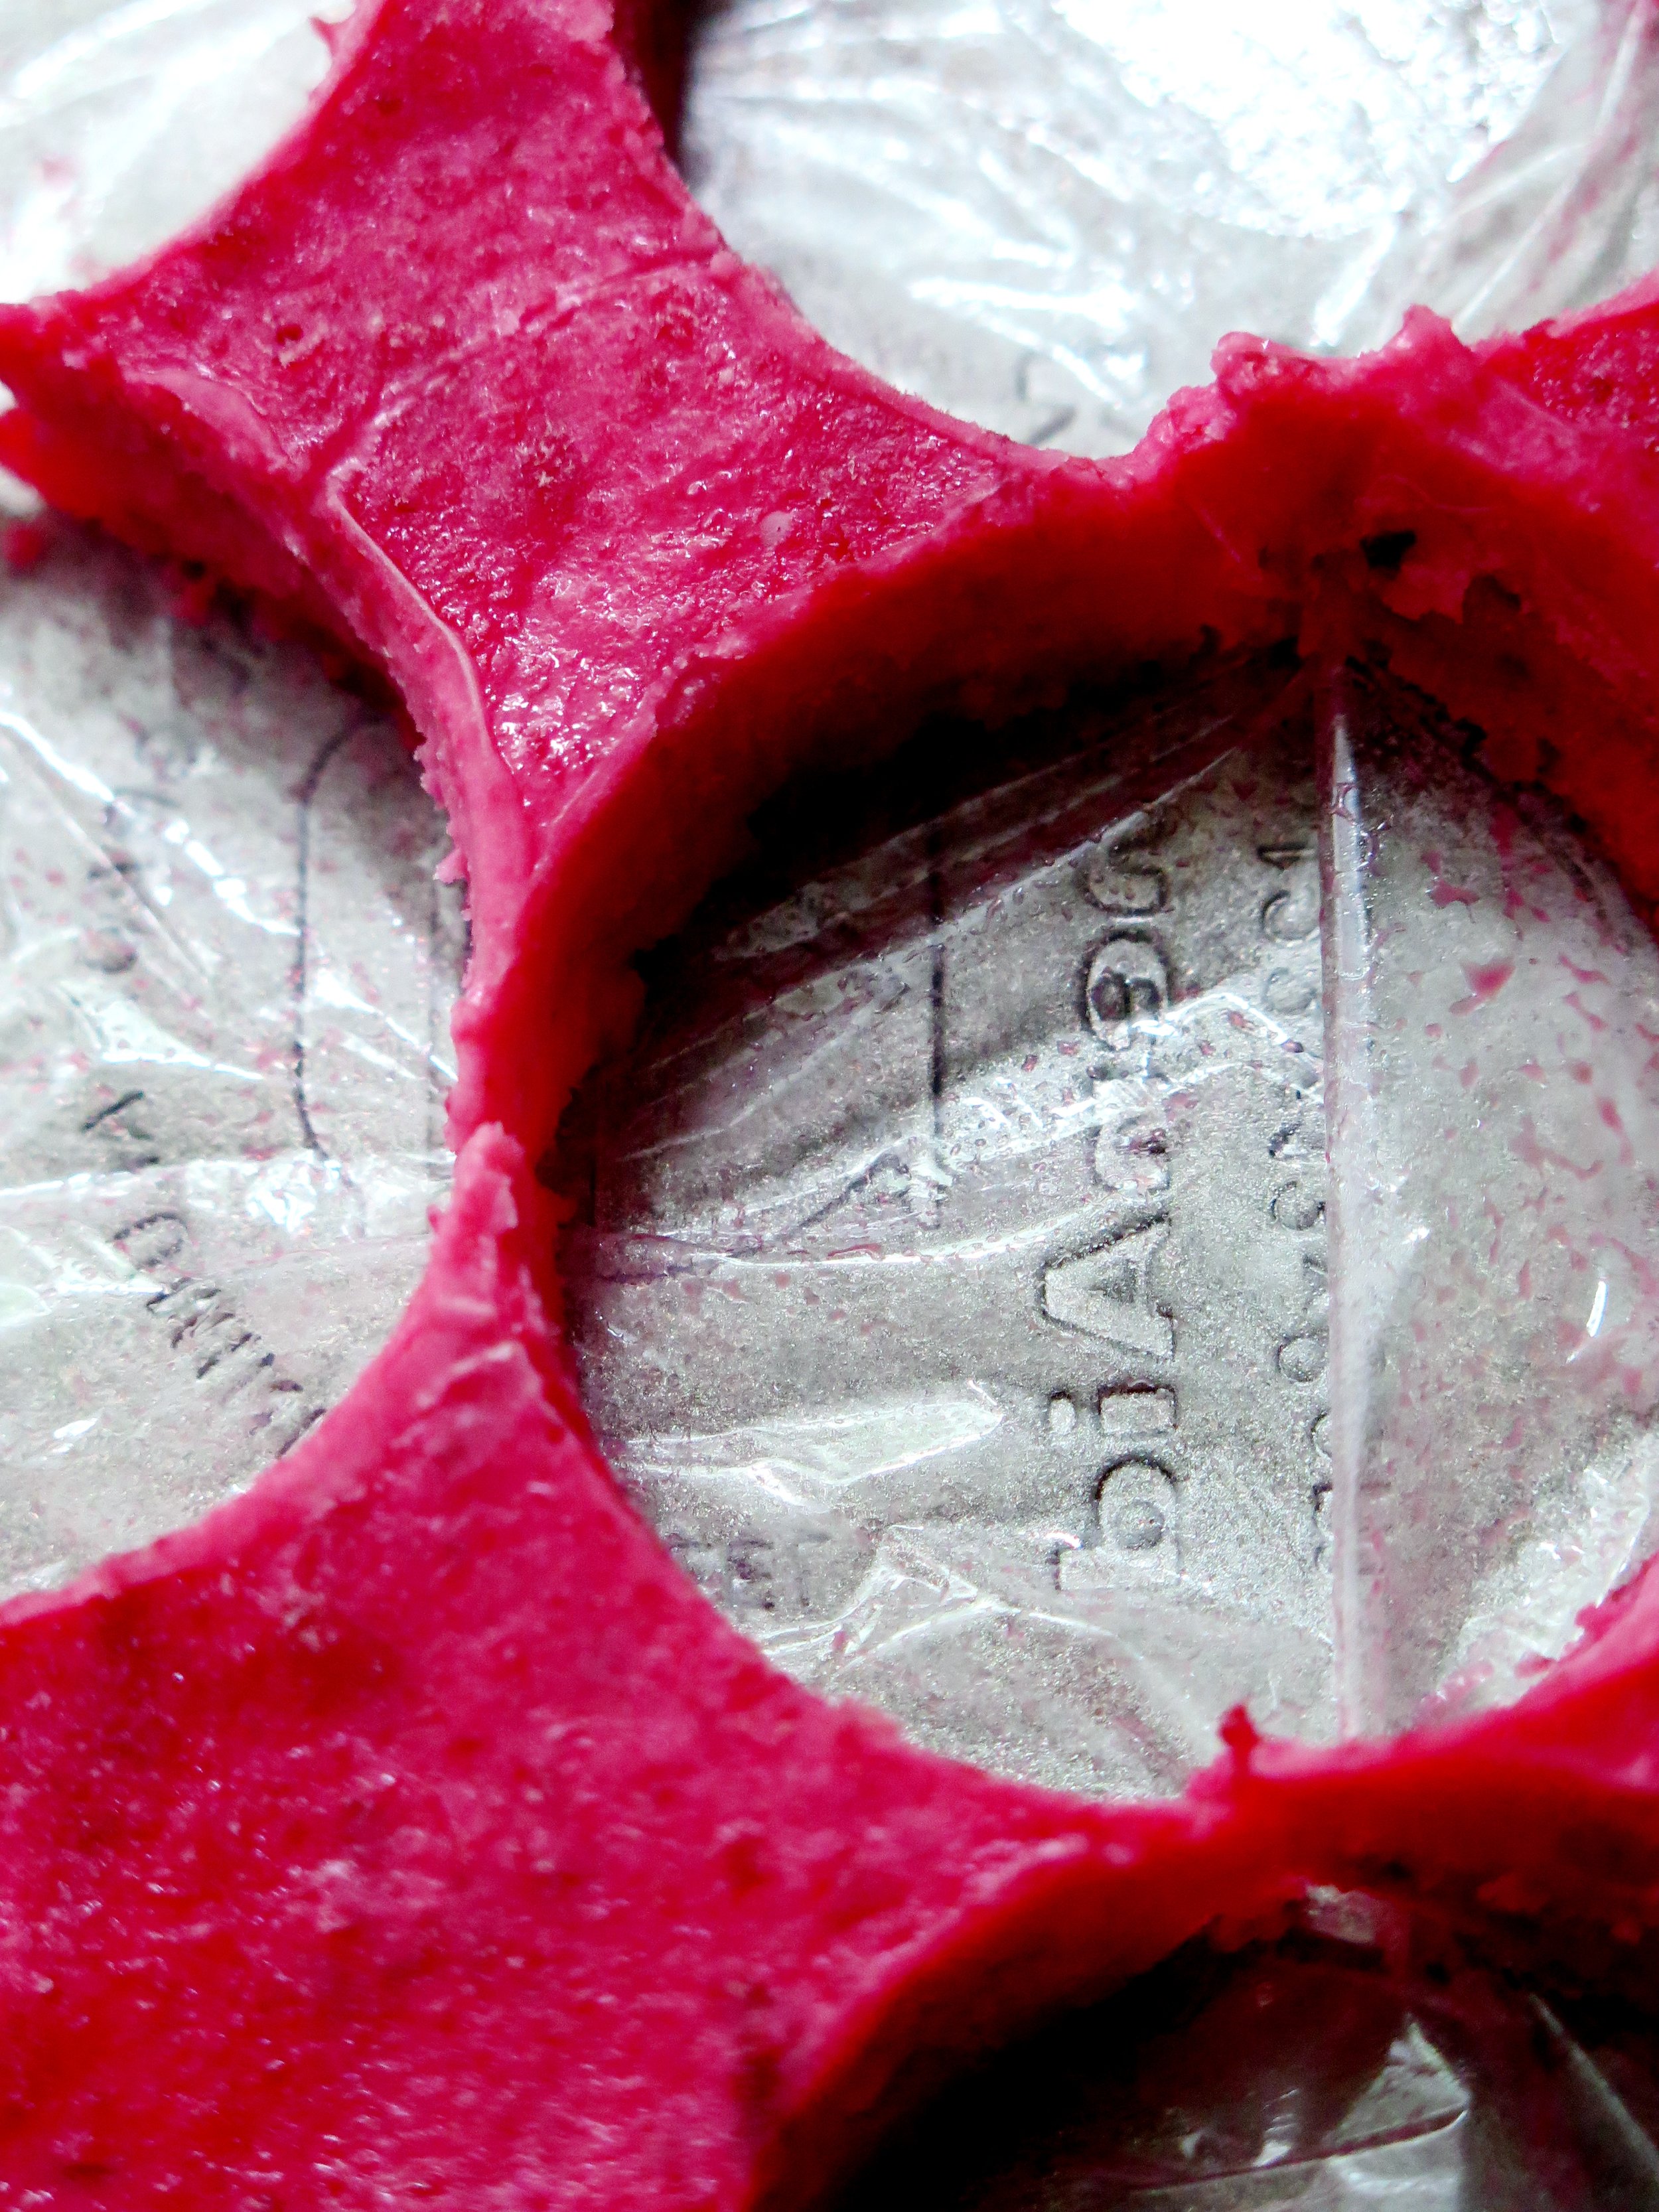
- Pour the mixture into the cling film-lined loaf tin, and smooth the surface with a spatula. Place in freezer for 1-2 hours until solid.
Almond Cookies
- Beat the butter in a mixer (or by hand) until light and fluffy. Into this, beat the almond extract, vanilla extract and egg yolks.
- In a separate bowl, mix together flour, sugar and salt. Stir this into the butter mixture until a dough forms.
- Flatten the dough into a disk, wrap in baking parchment and place in freezer for 15 minutes (or fridge for 30 minutes).
- Preheat oven to 160˚C.
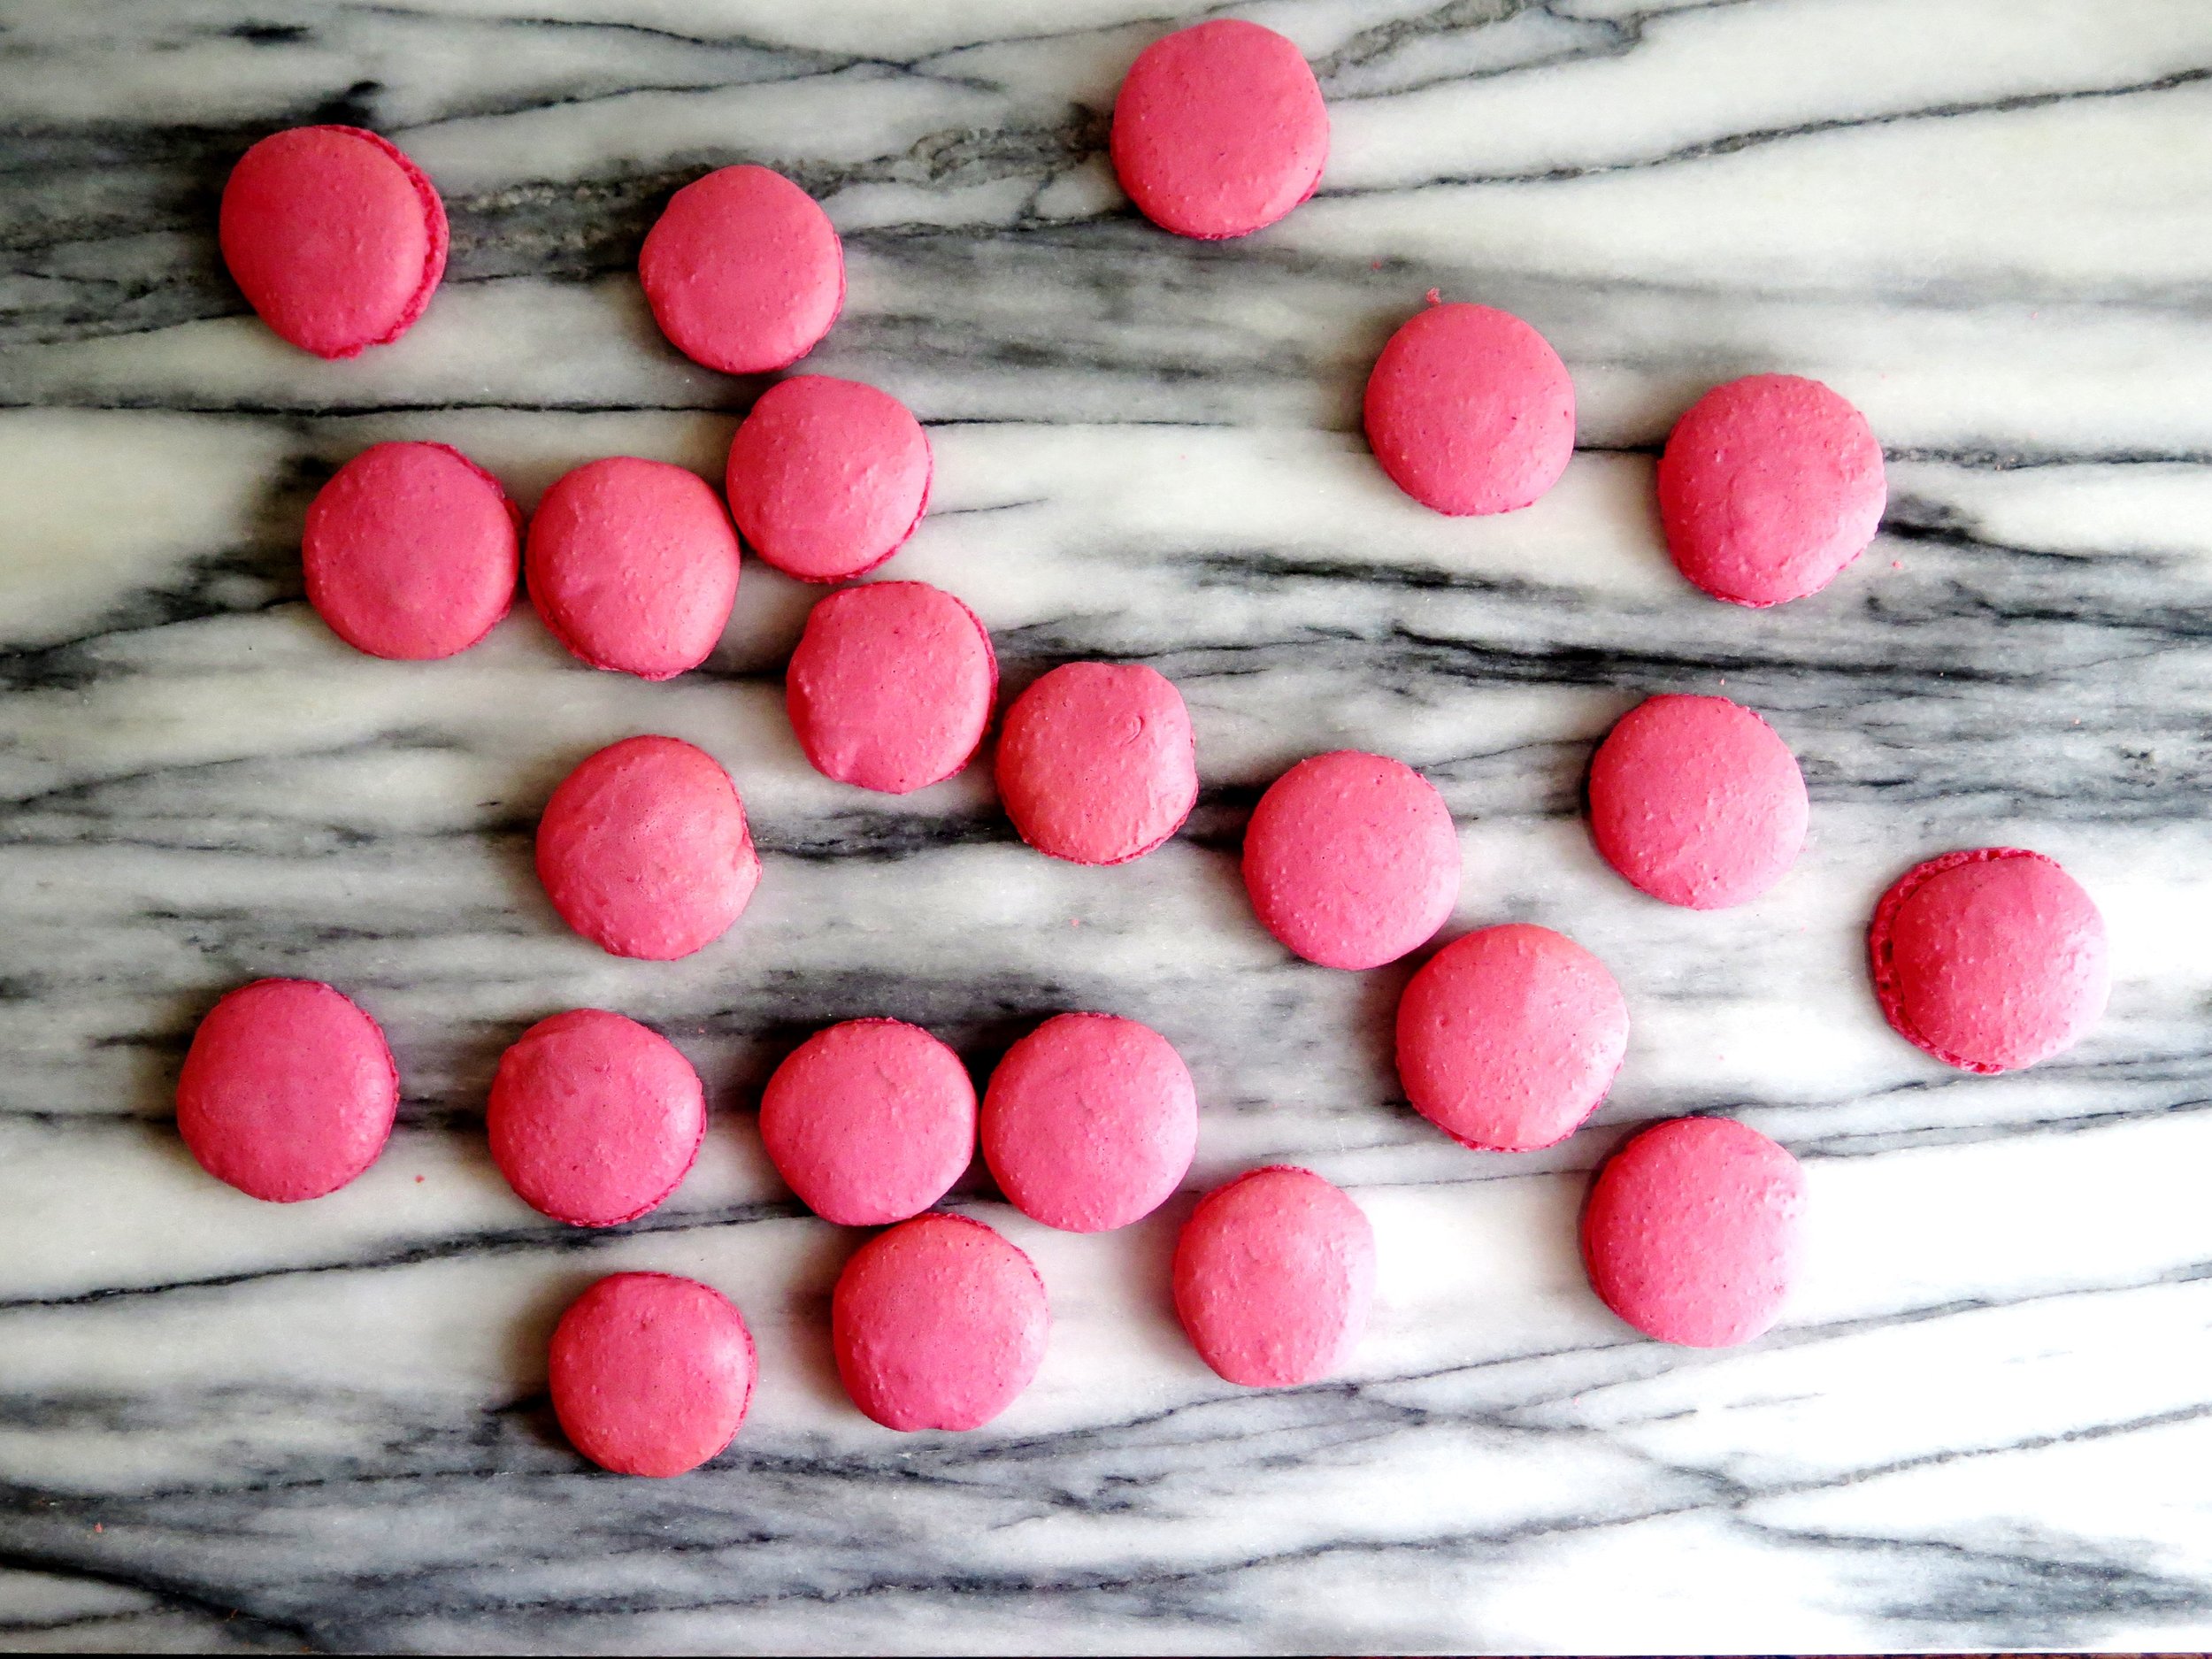
- On a floured surface, roll out the dough to 7mm thickness. Using the cookie cutter, cut the dough into the discs and place on lined tray.
- Bake for 7-10 minutes until cooked all the way through but still pale. Allow to cool.
Assembly
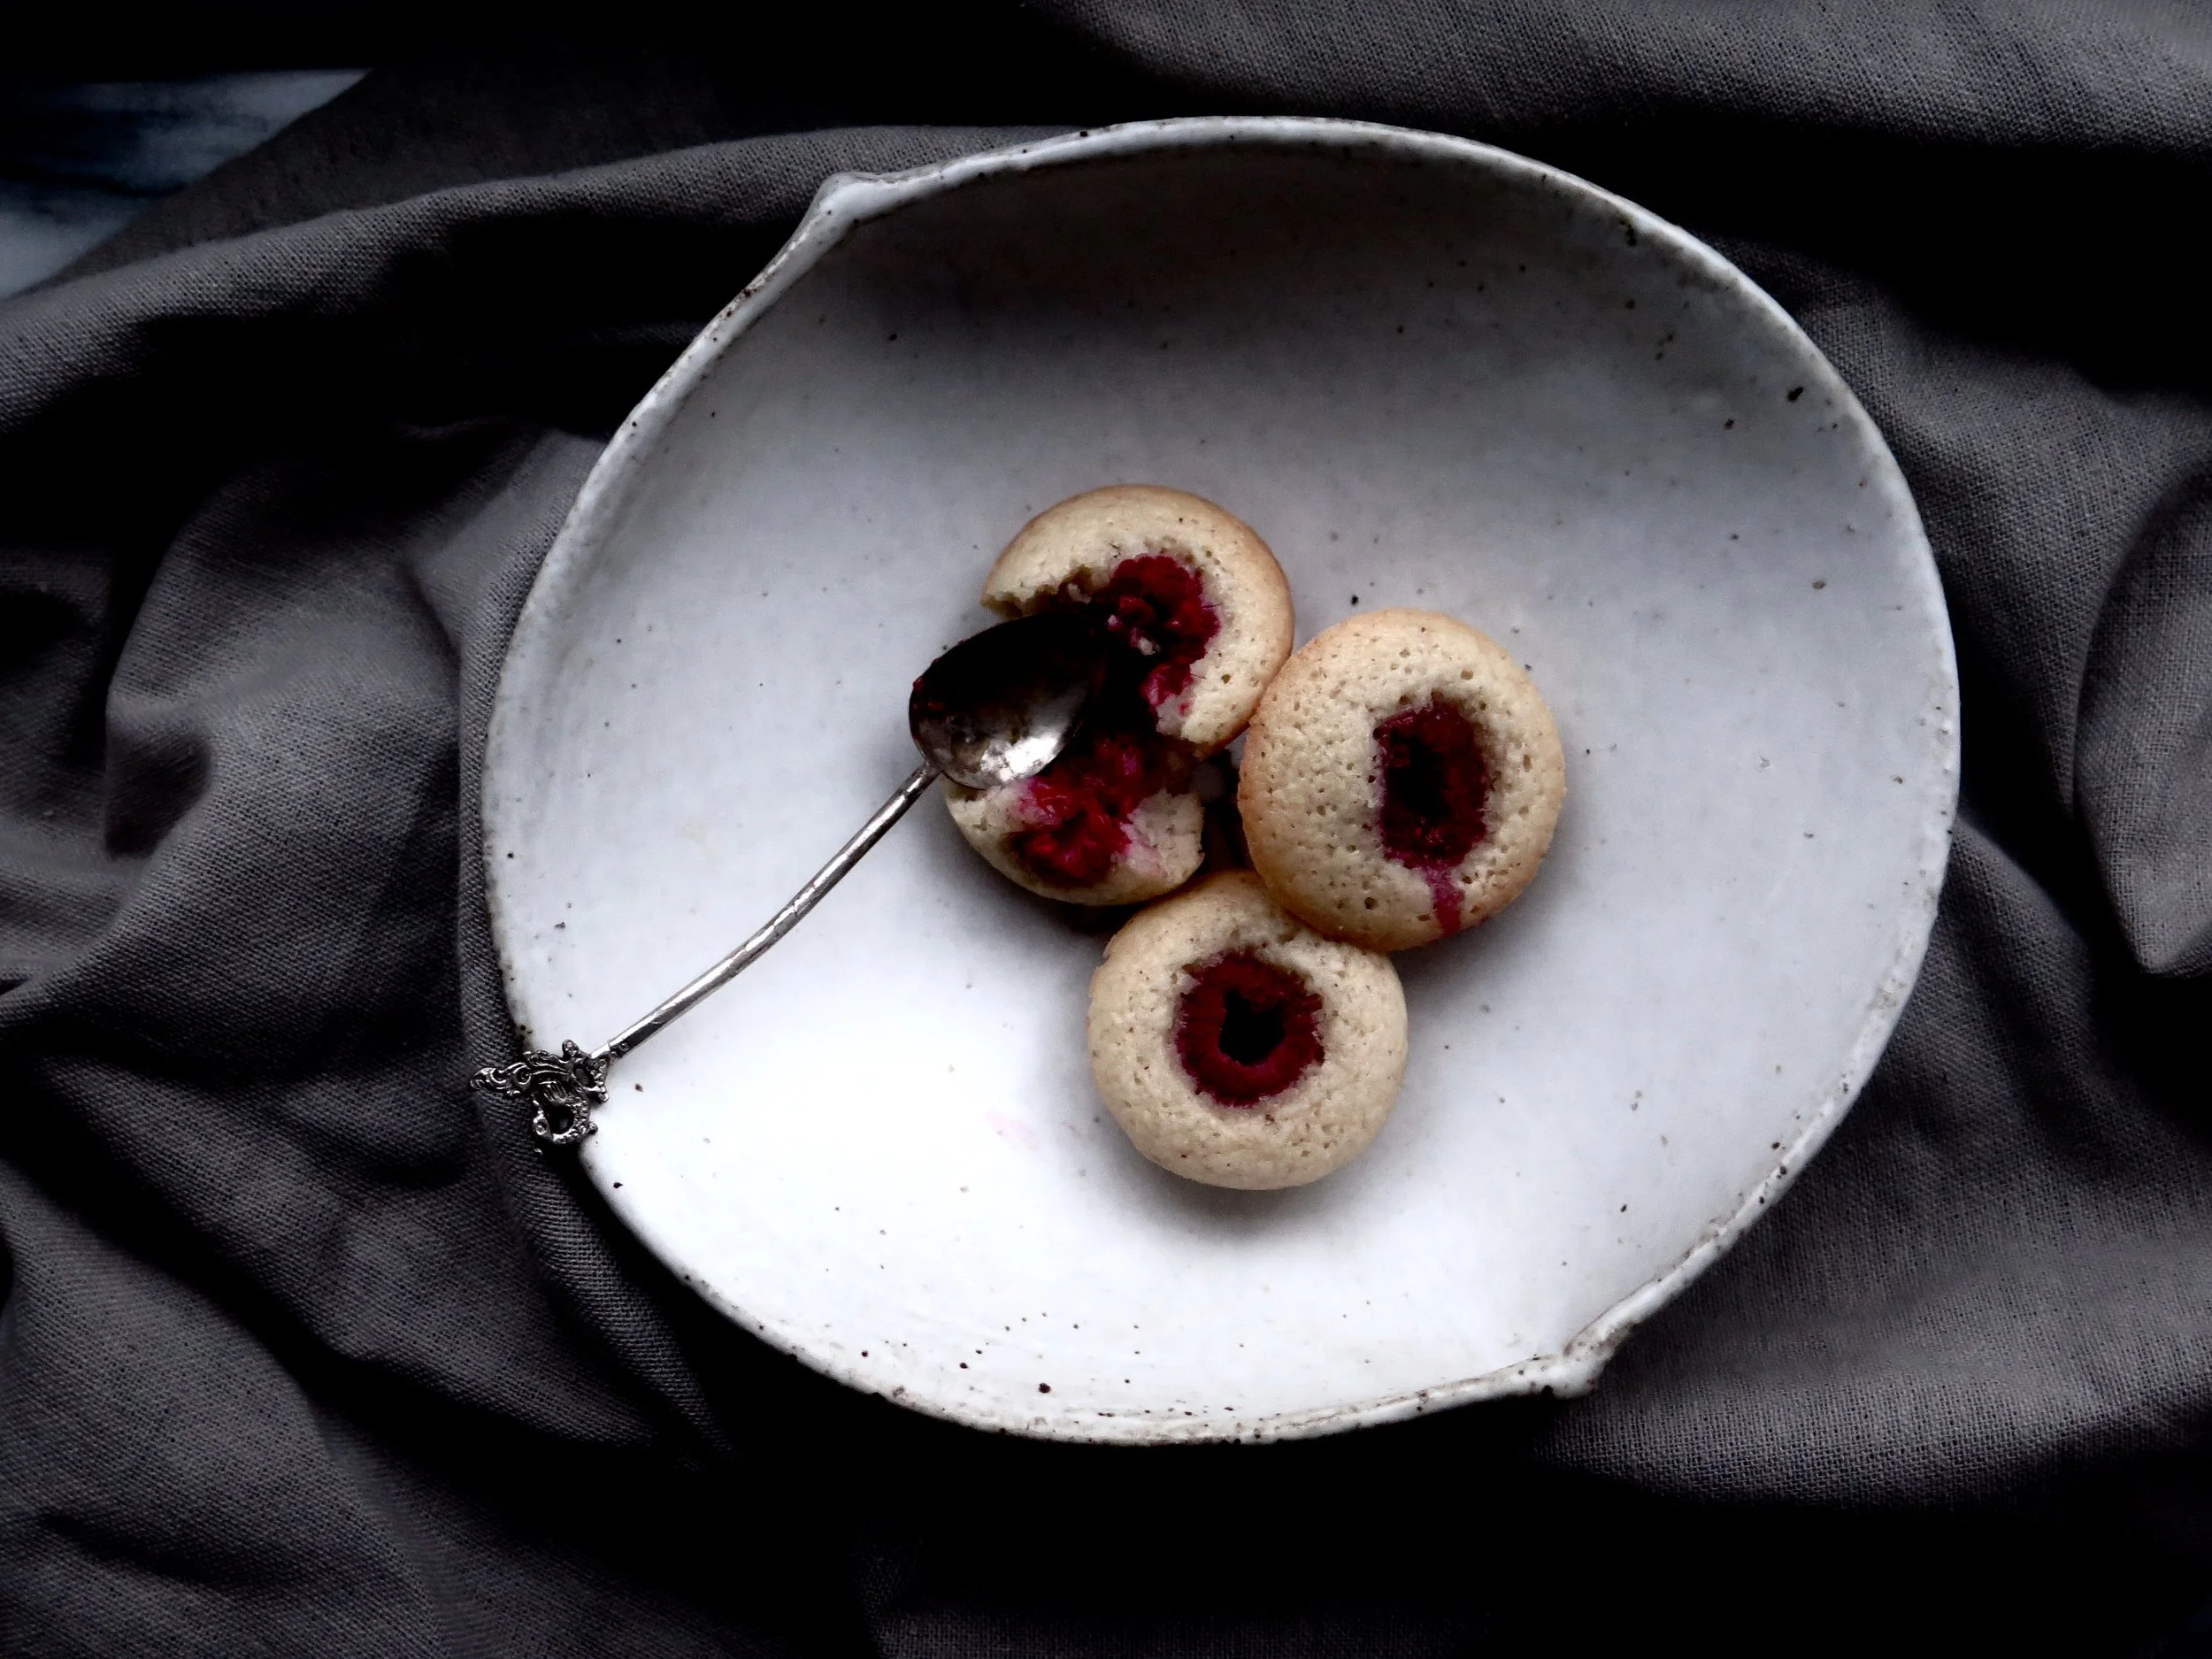
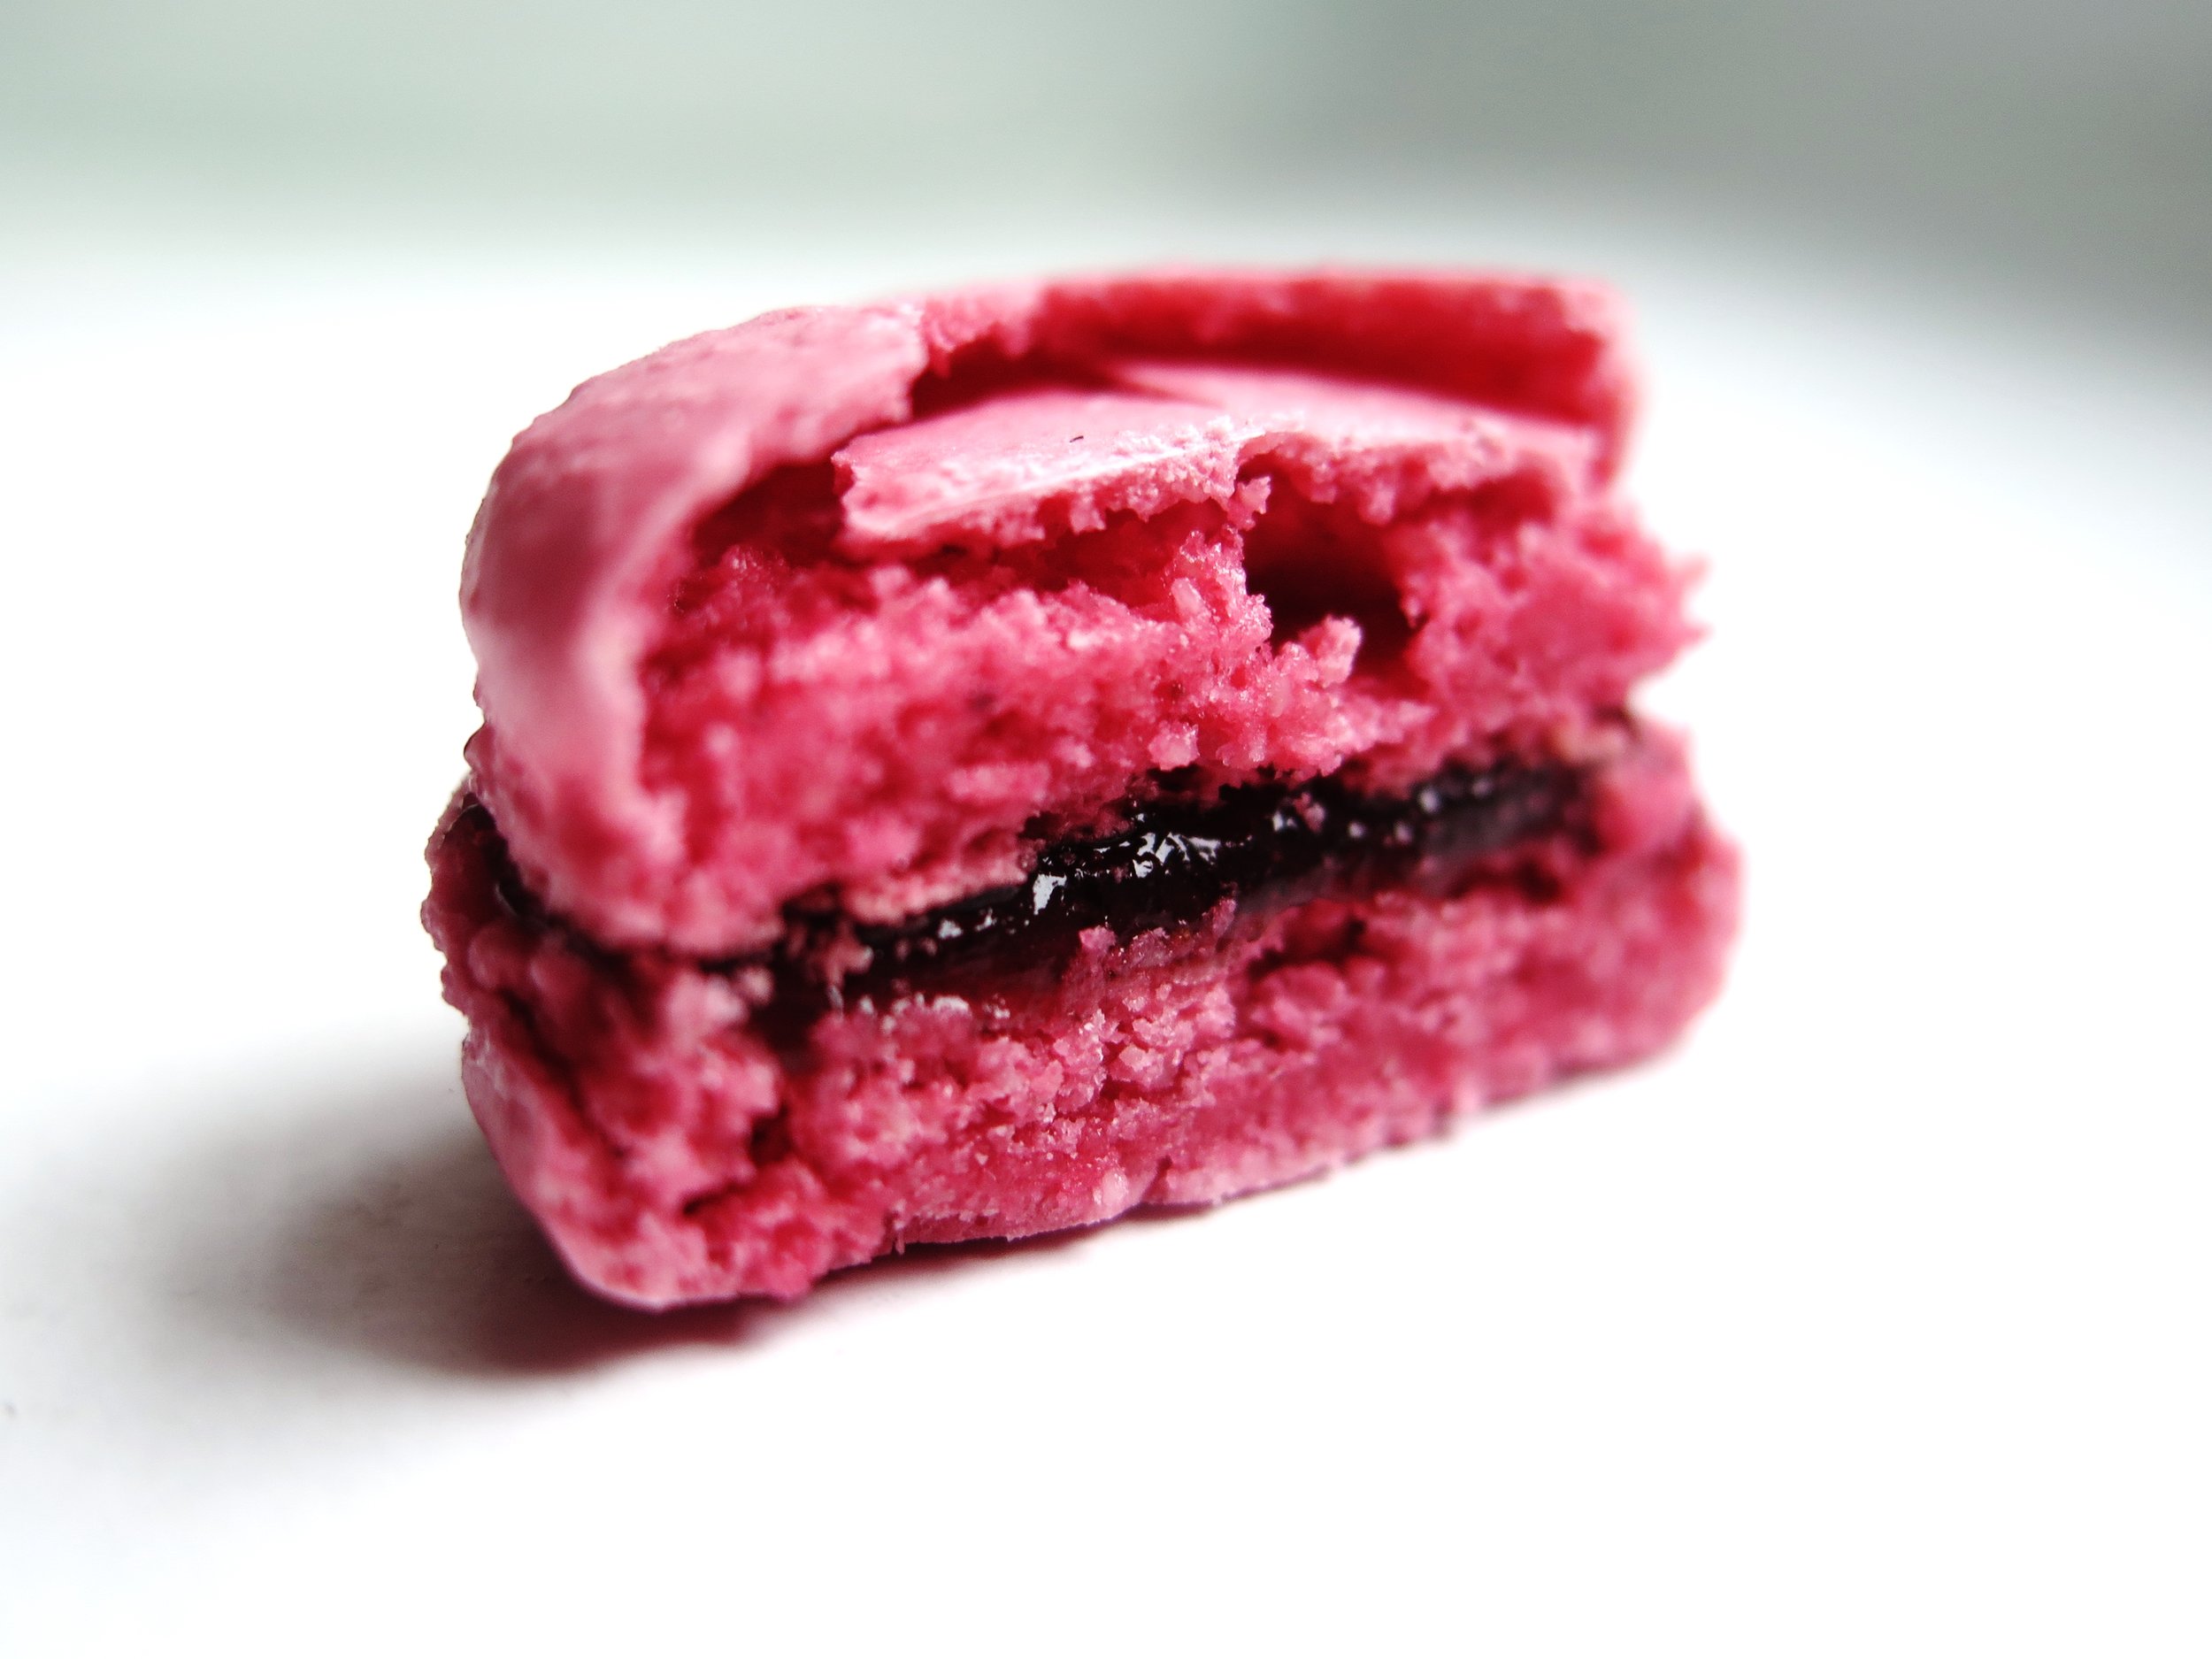
Remove the loaf tin containing the frozen yoghurt from the freezer. Using the cookie cutter, cut the frozen yoghurt into discs and sandwich each disc between two almond biscuits. Store these in an airtight container and return to the freezer until ready to serve.


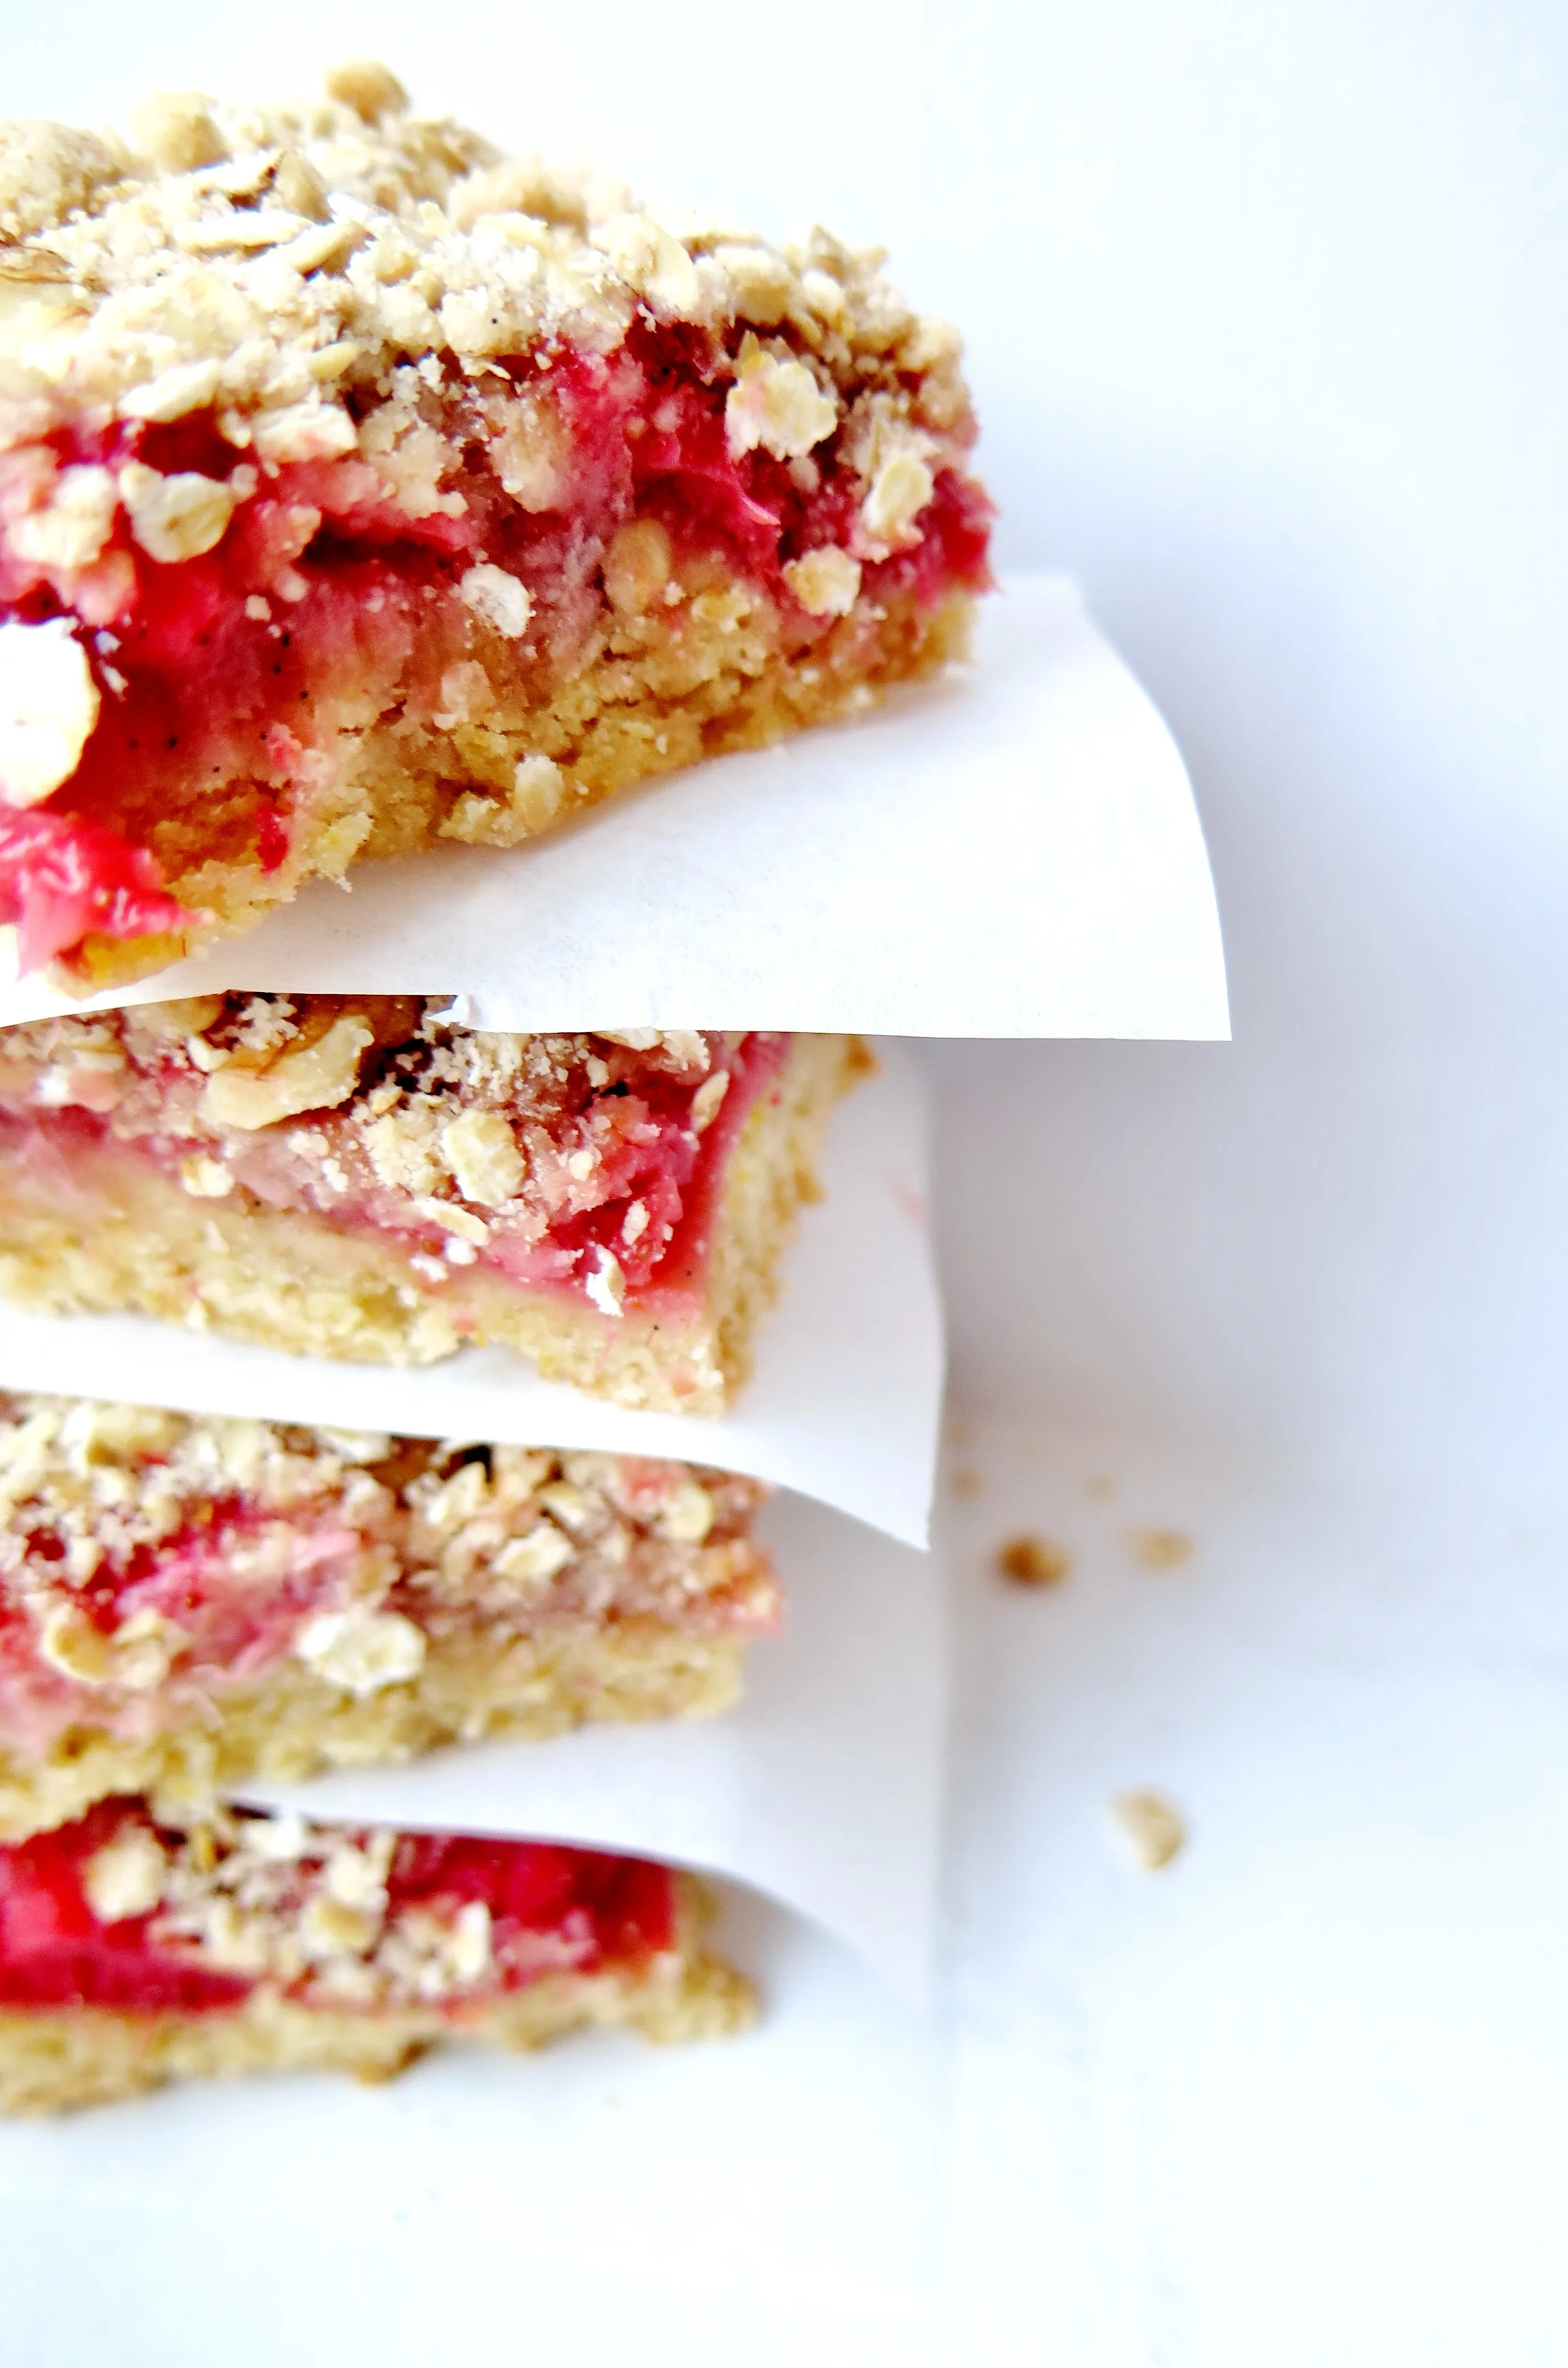

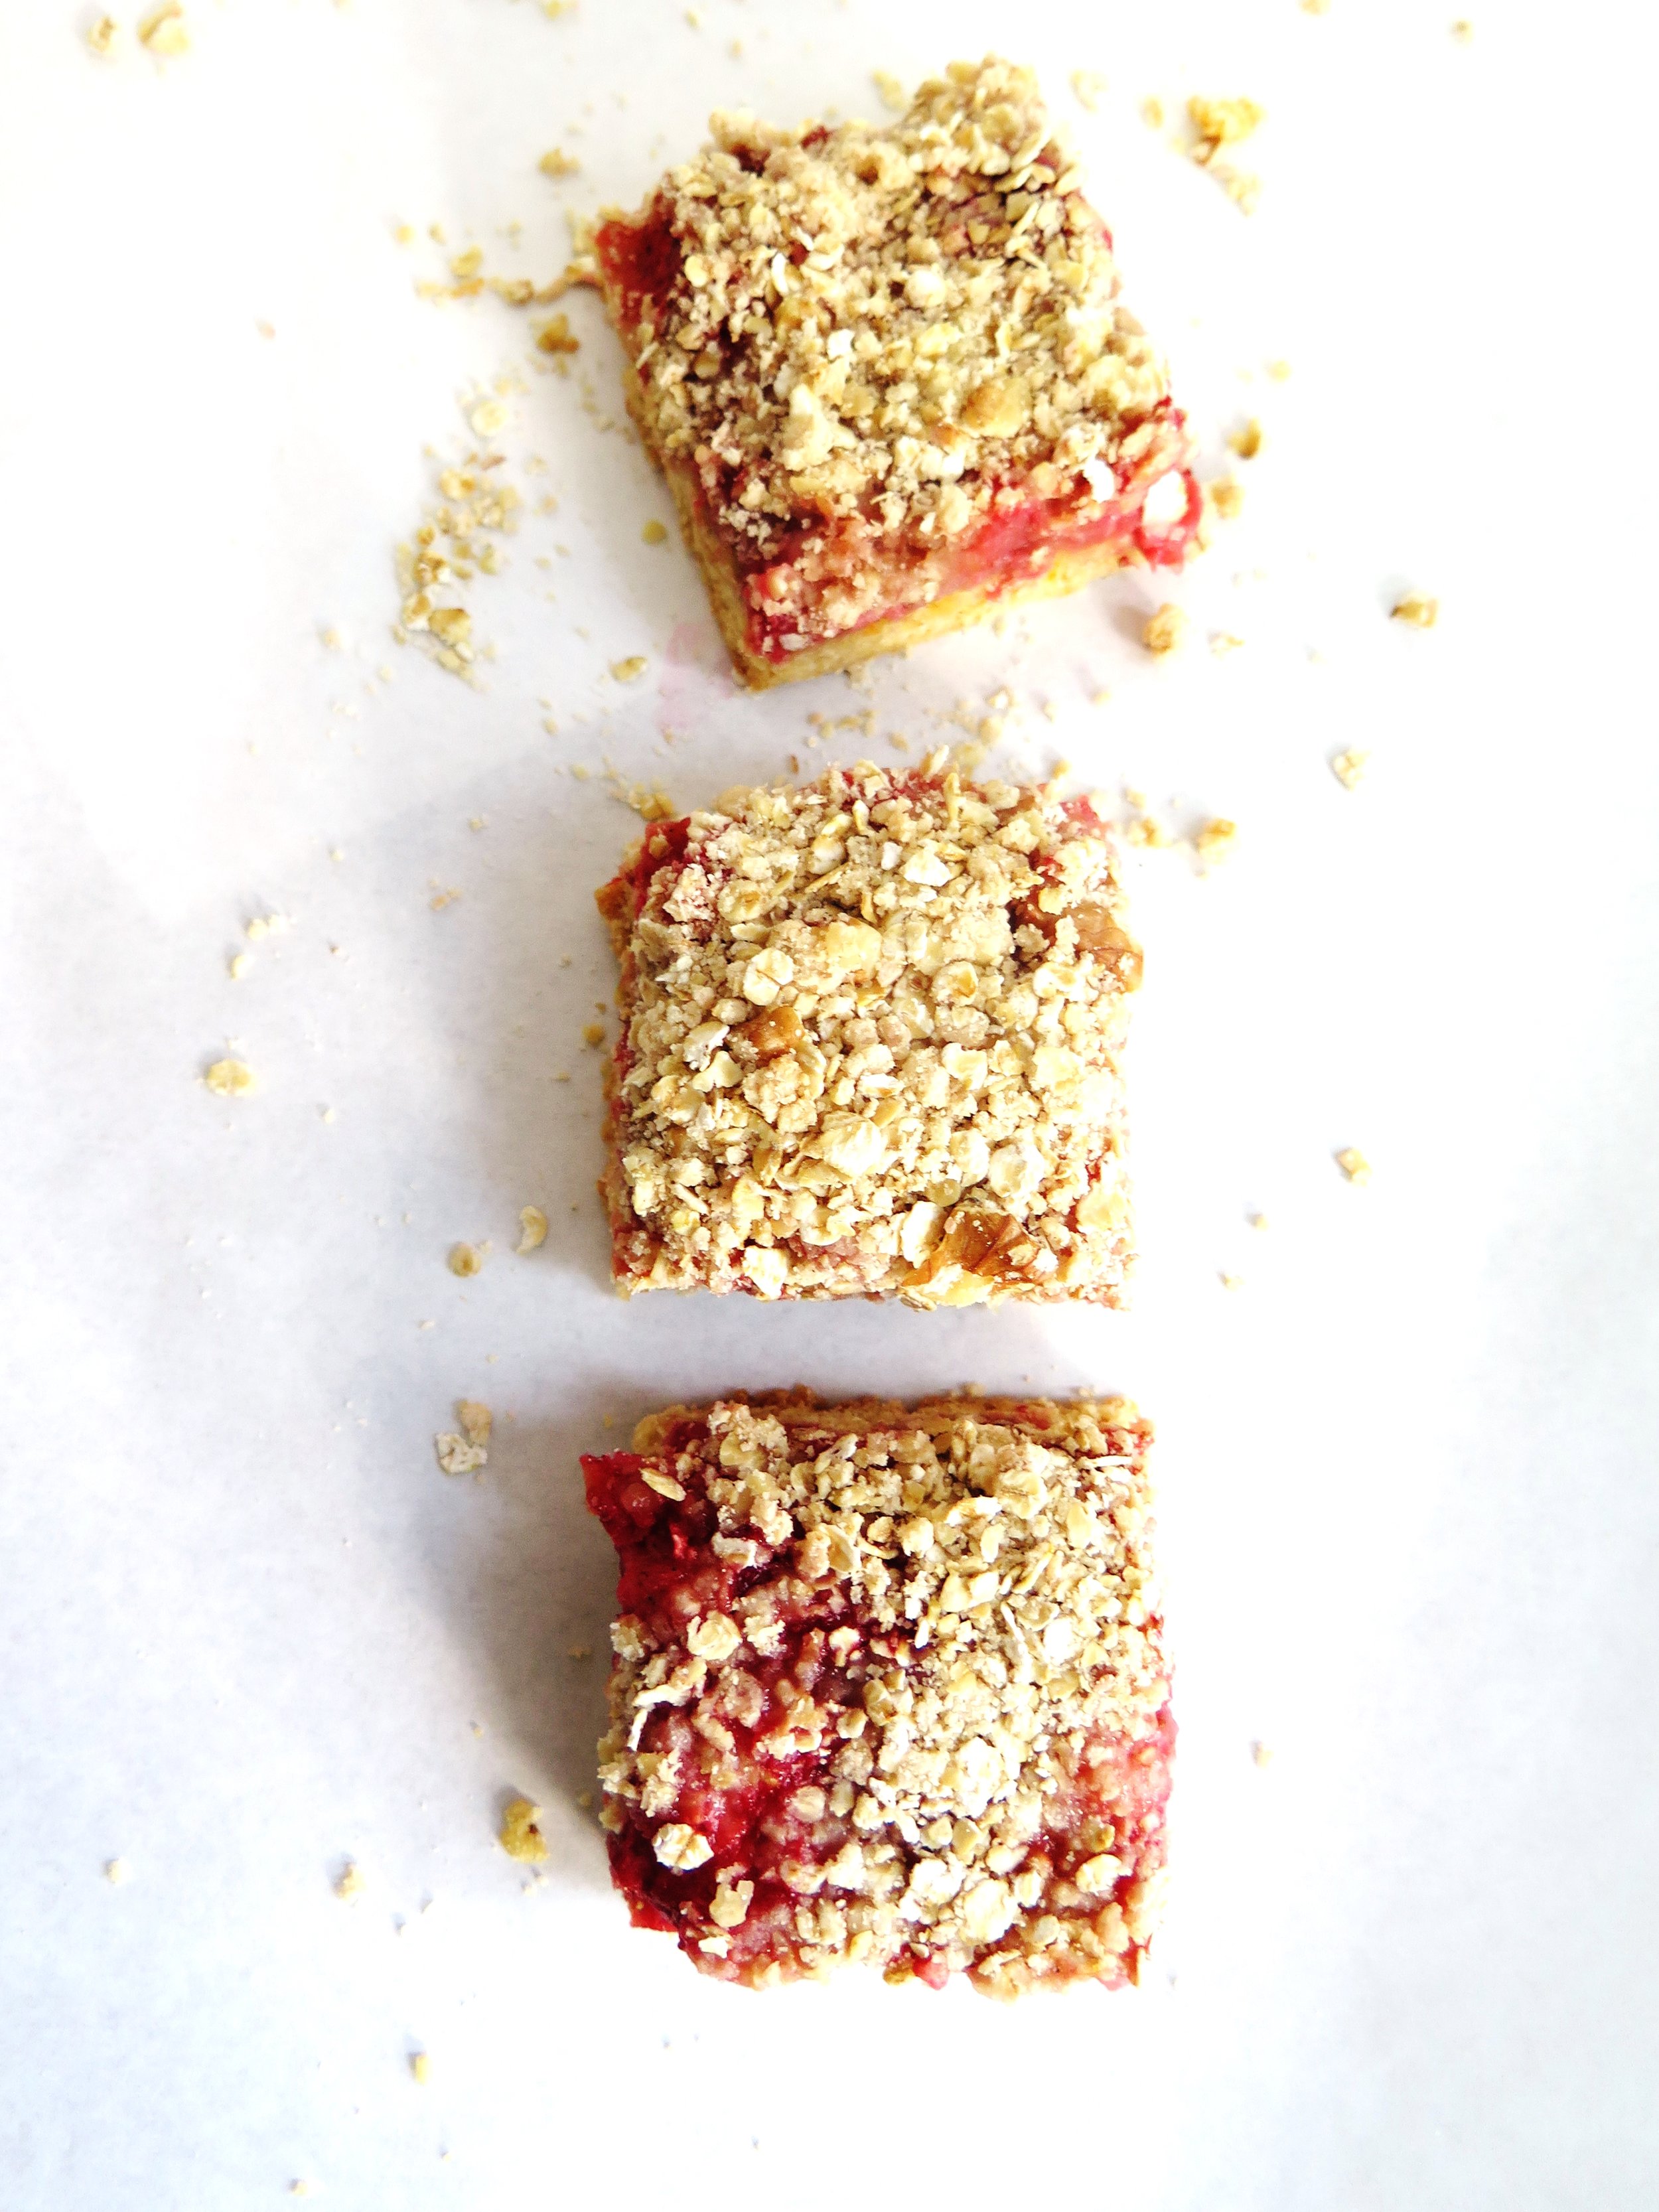
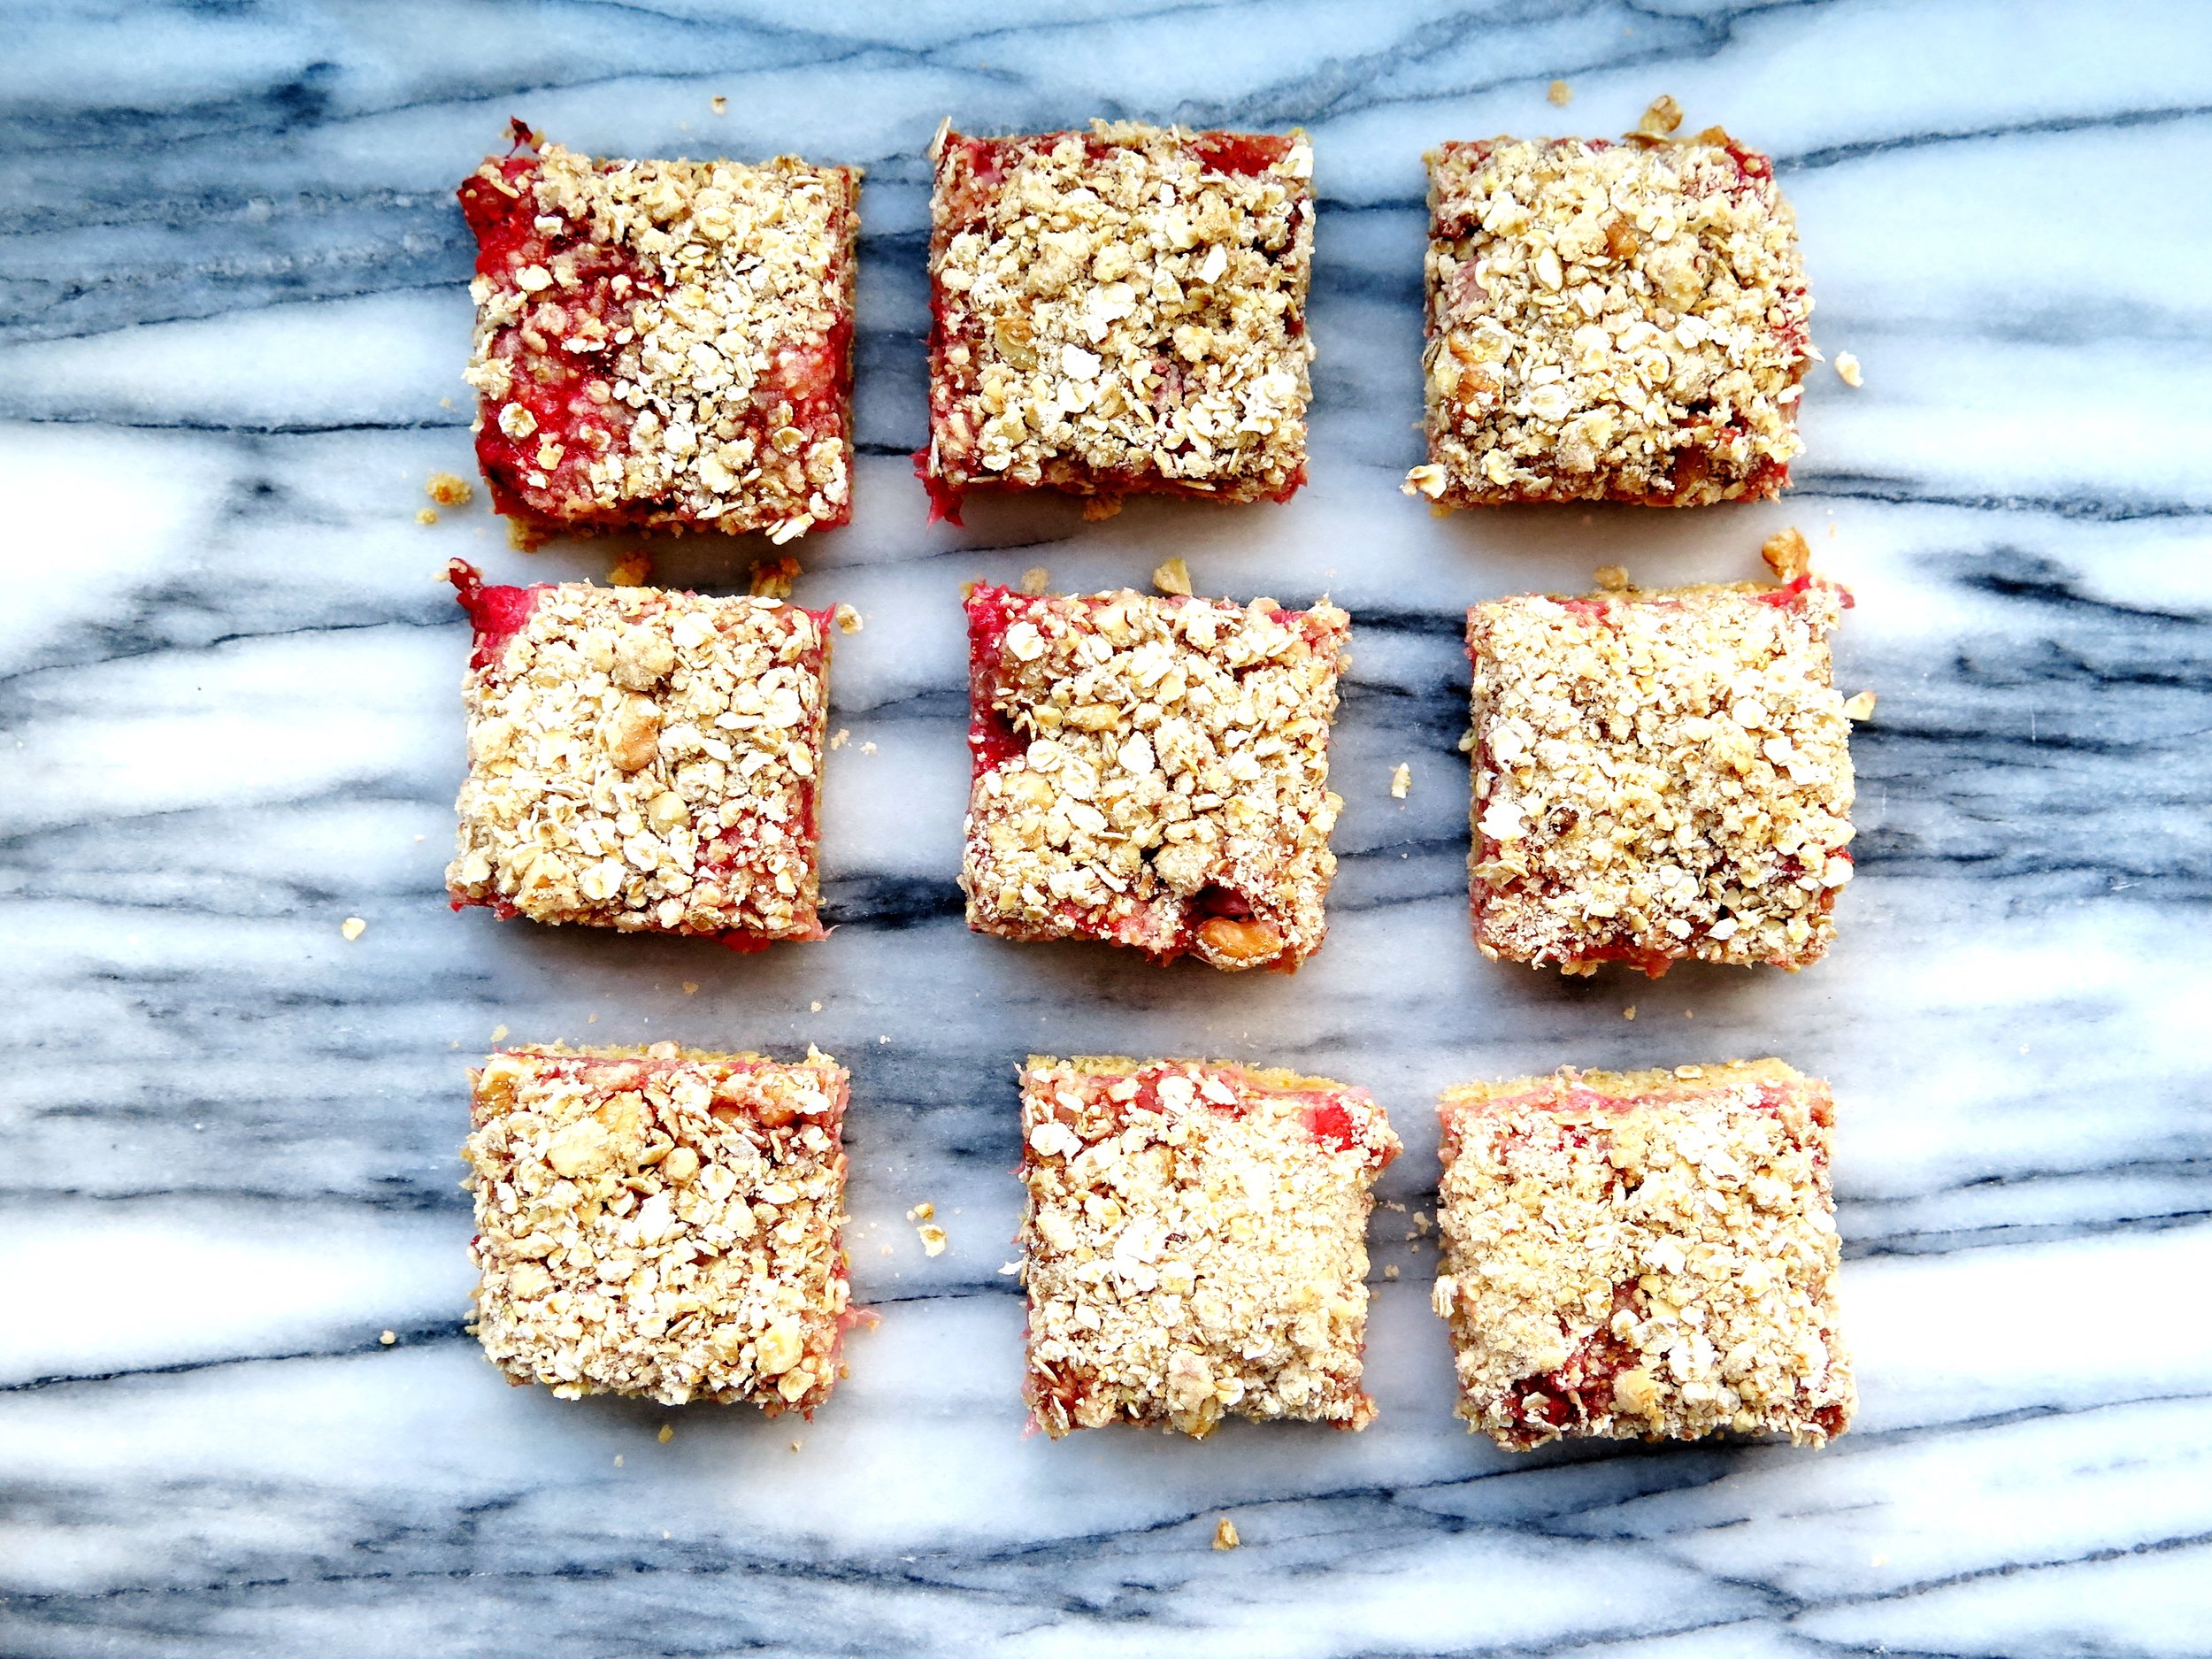
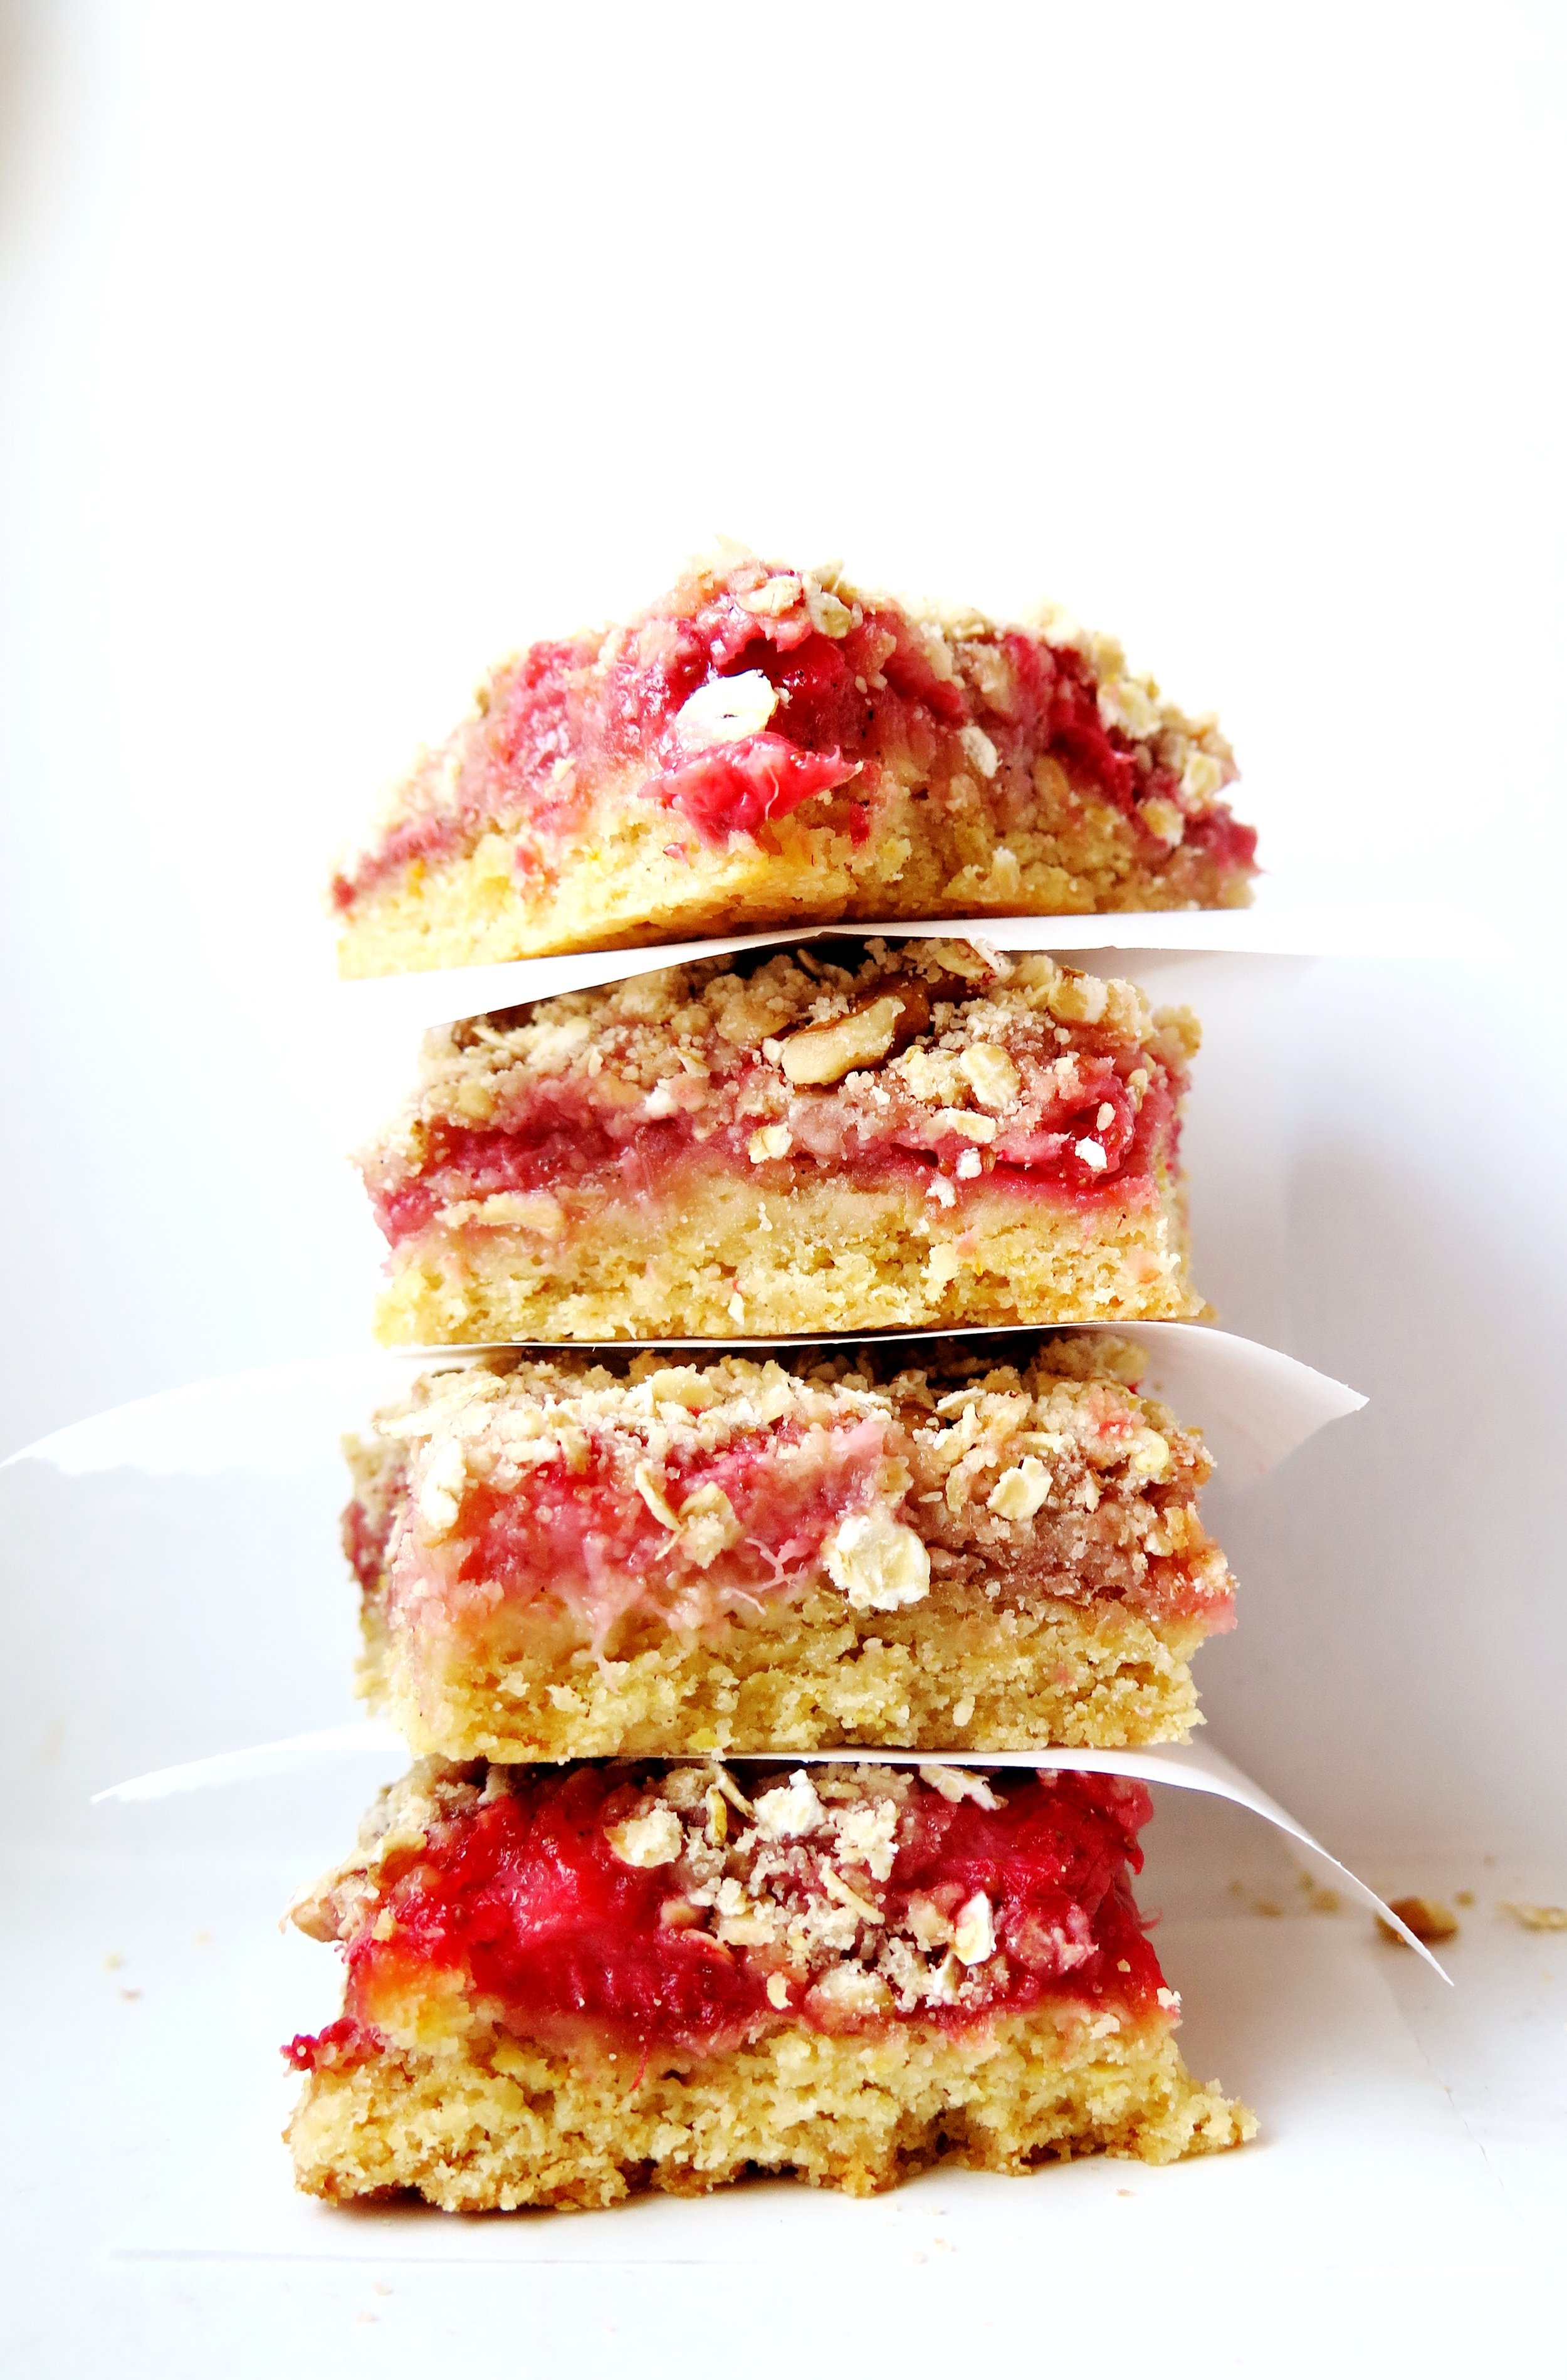
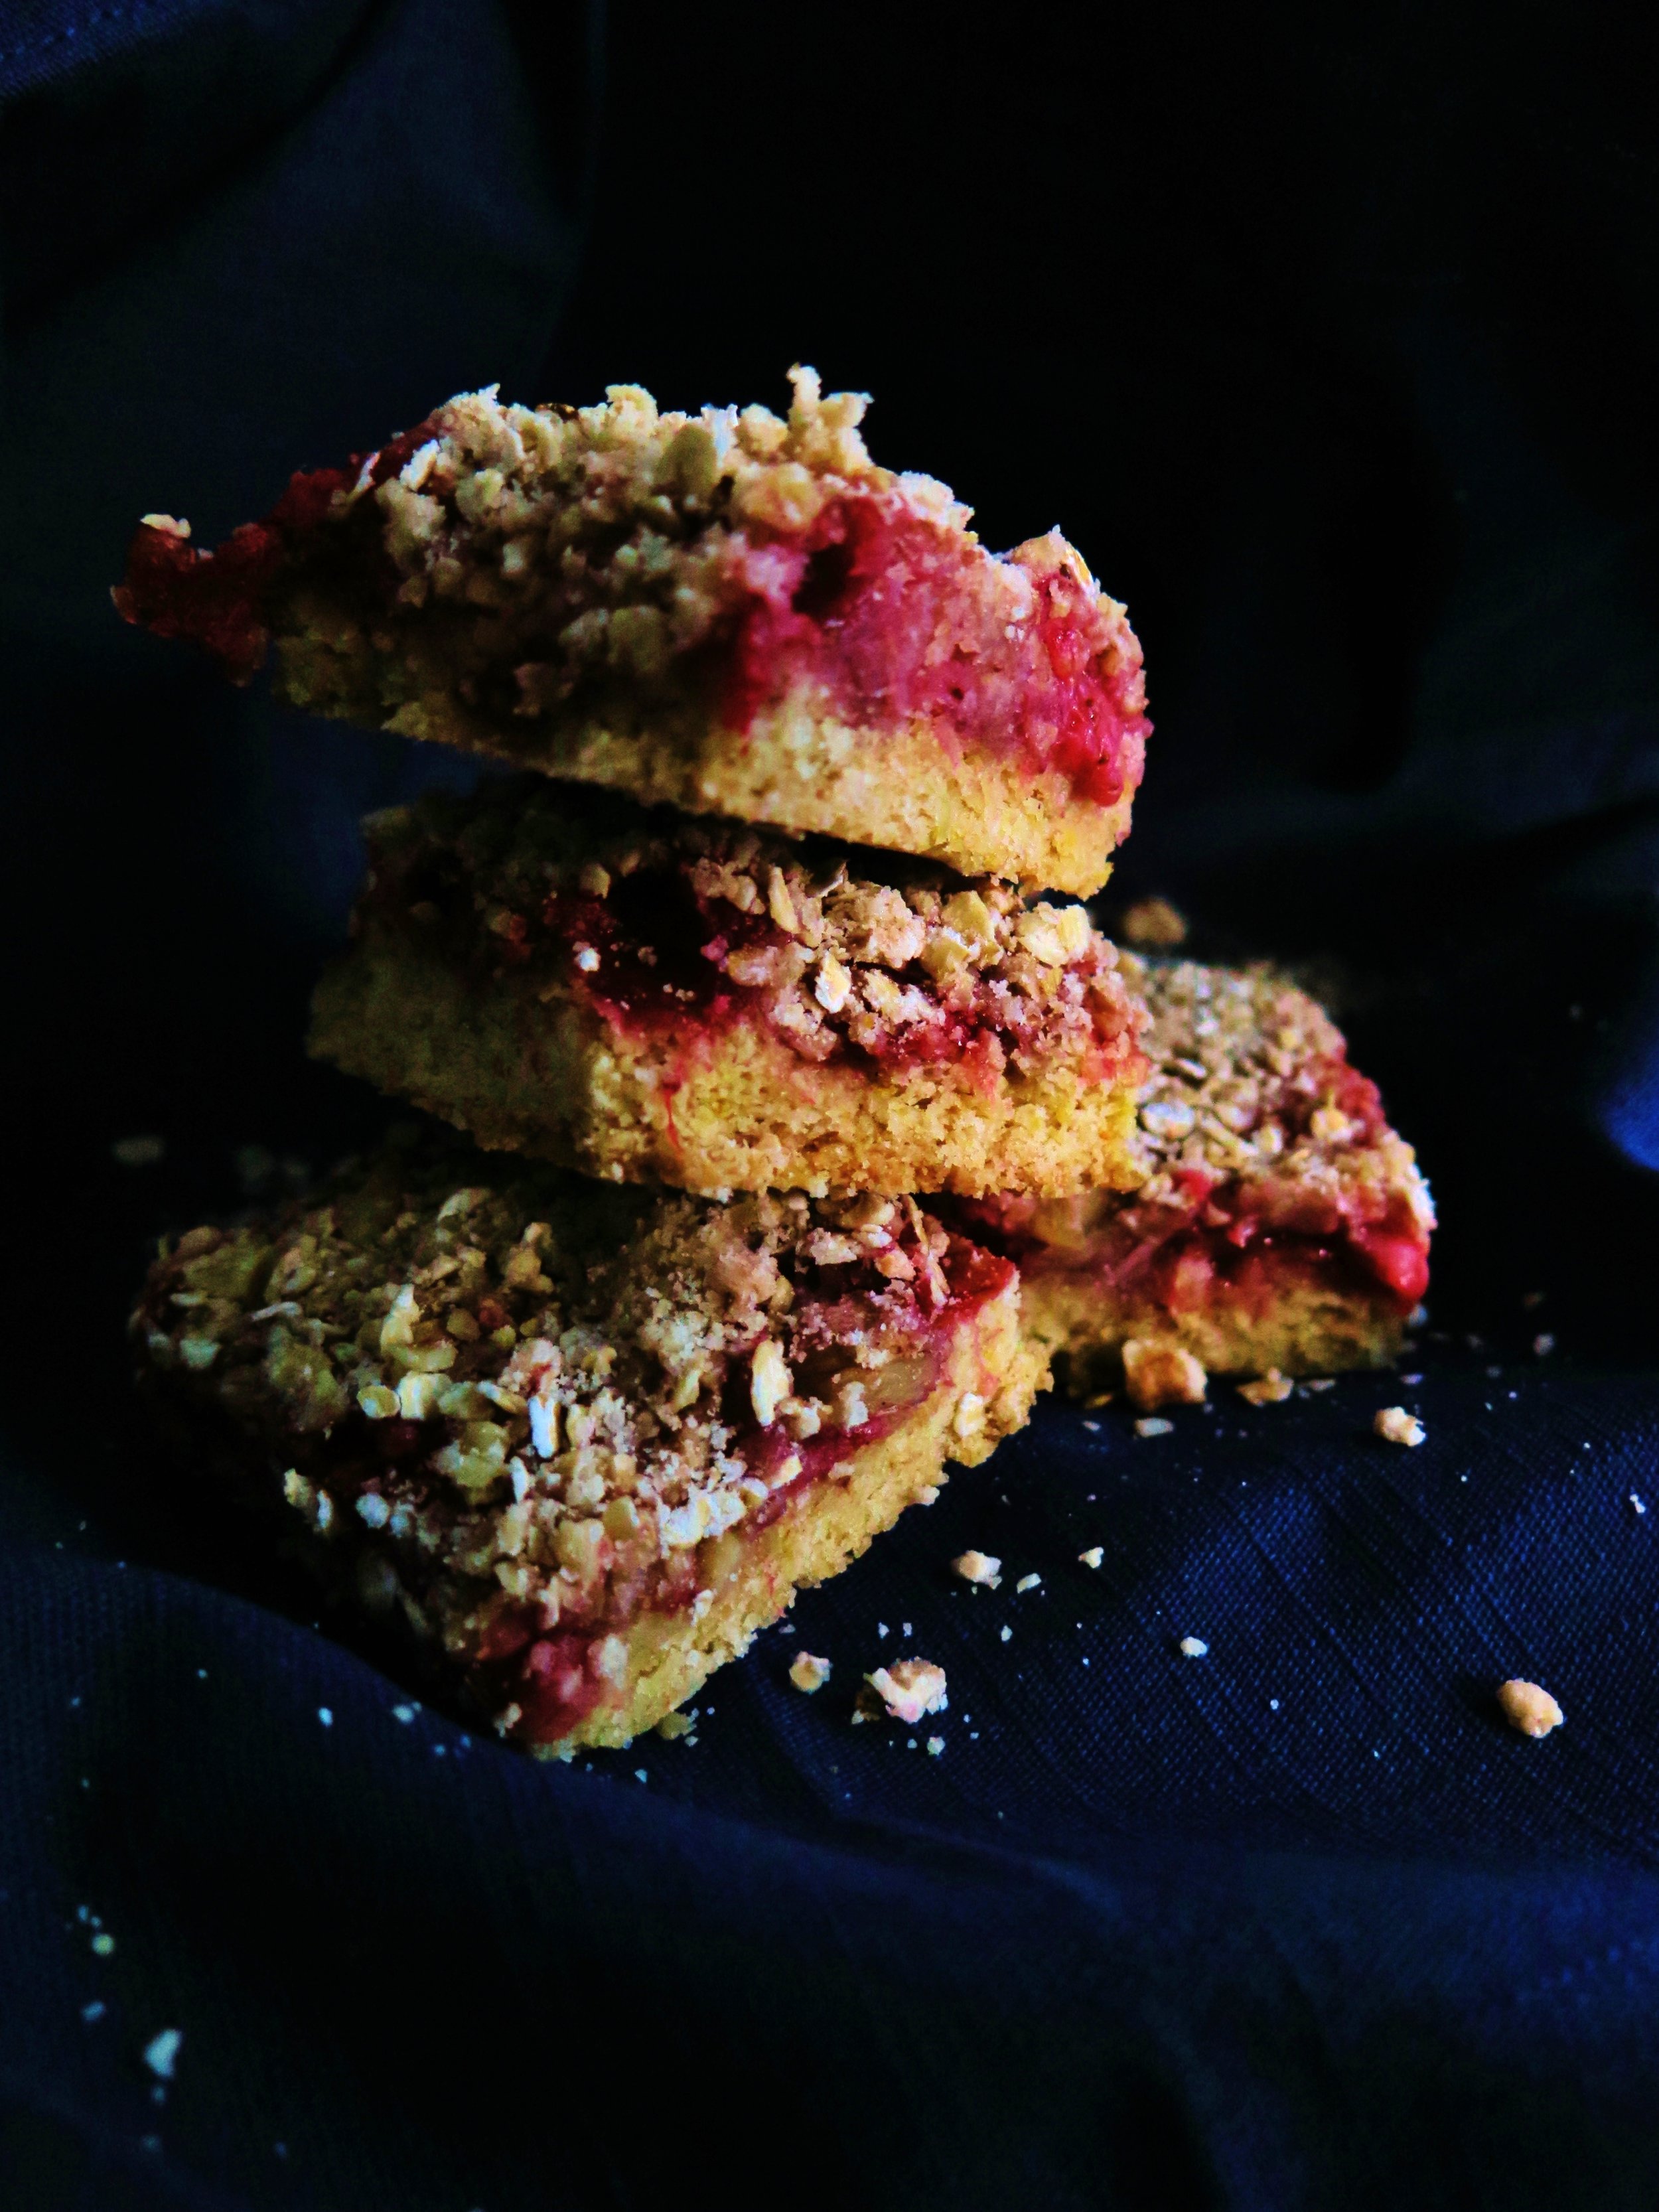
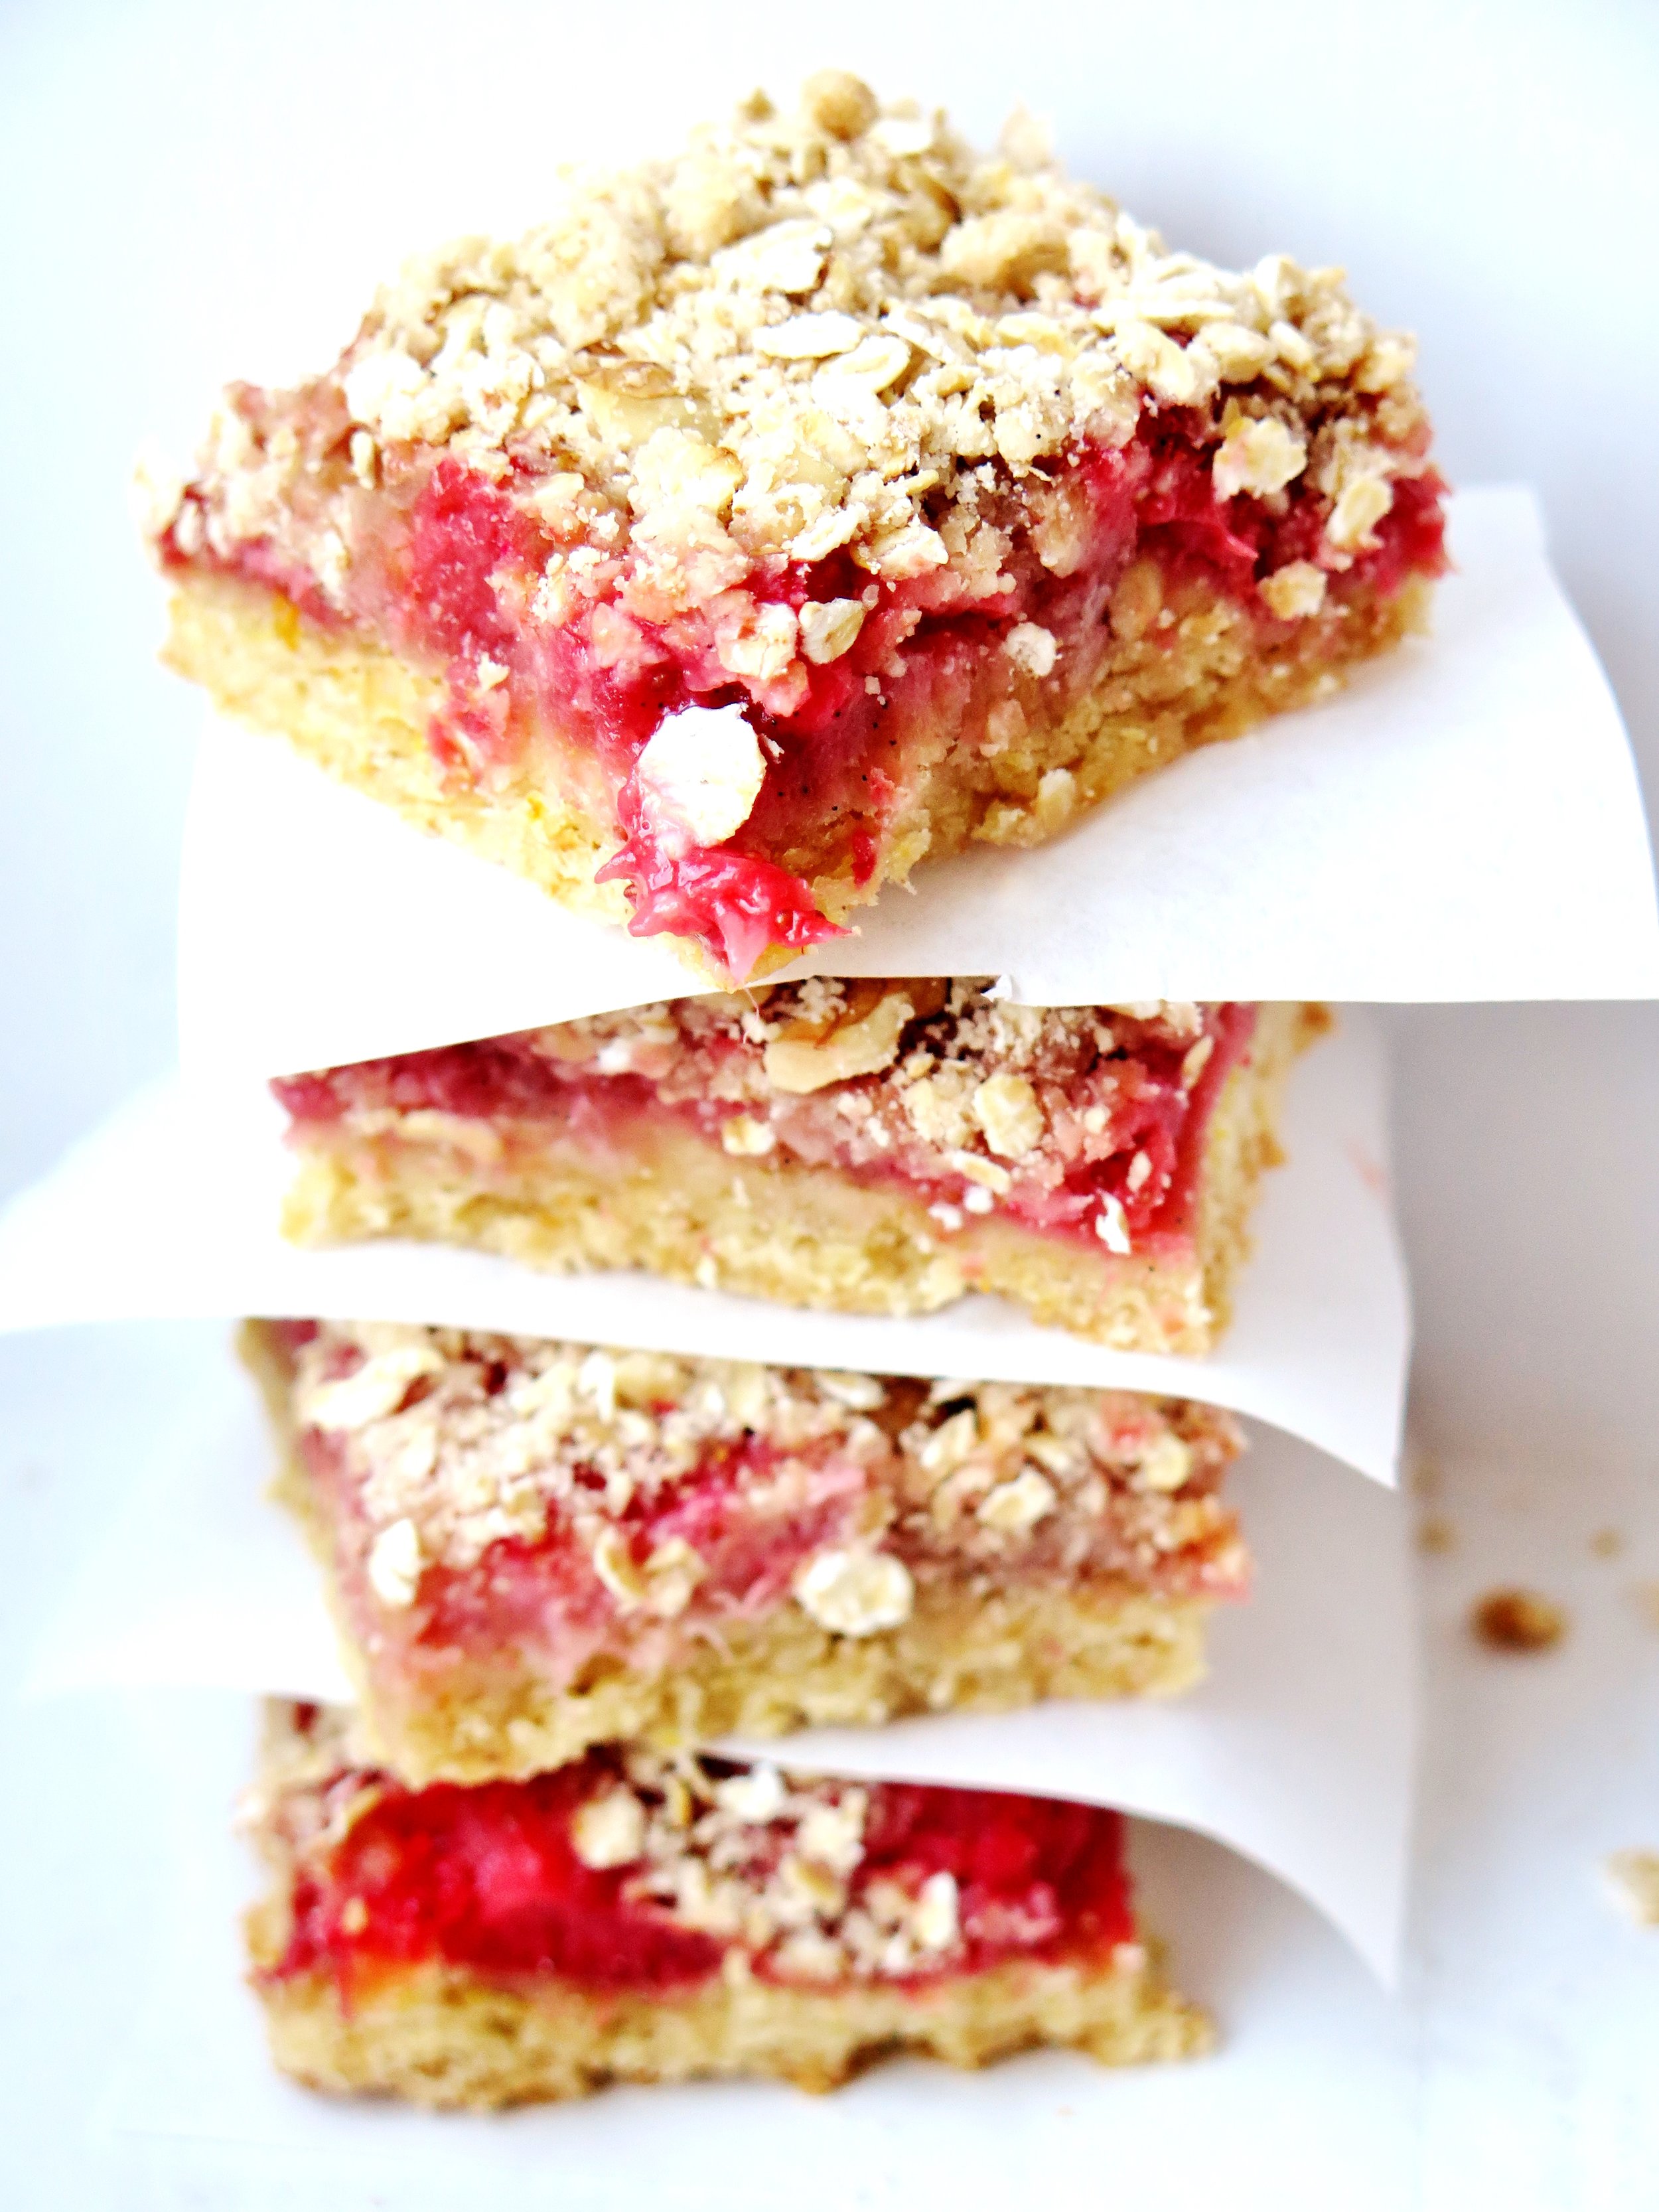 What’s your crumble-to-fruit ratio? If you’re the kind who favours a preponderance of stewed fruit with an insubstantial fairy dusting of oaty-flour, turn away now. If you lean towards the lavish when it comes to crumble proportion - good. Read on…
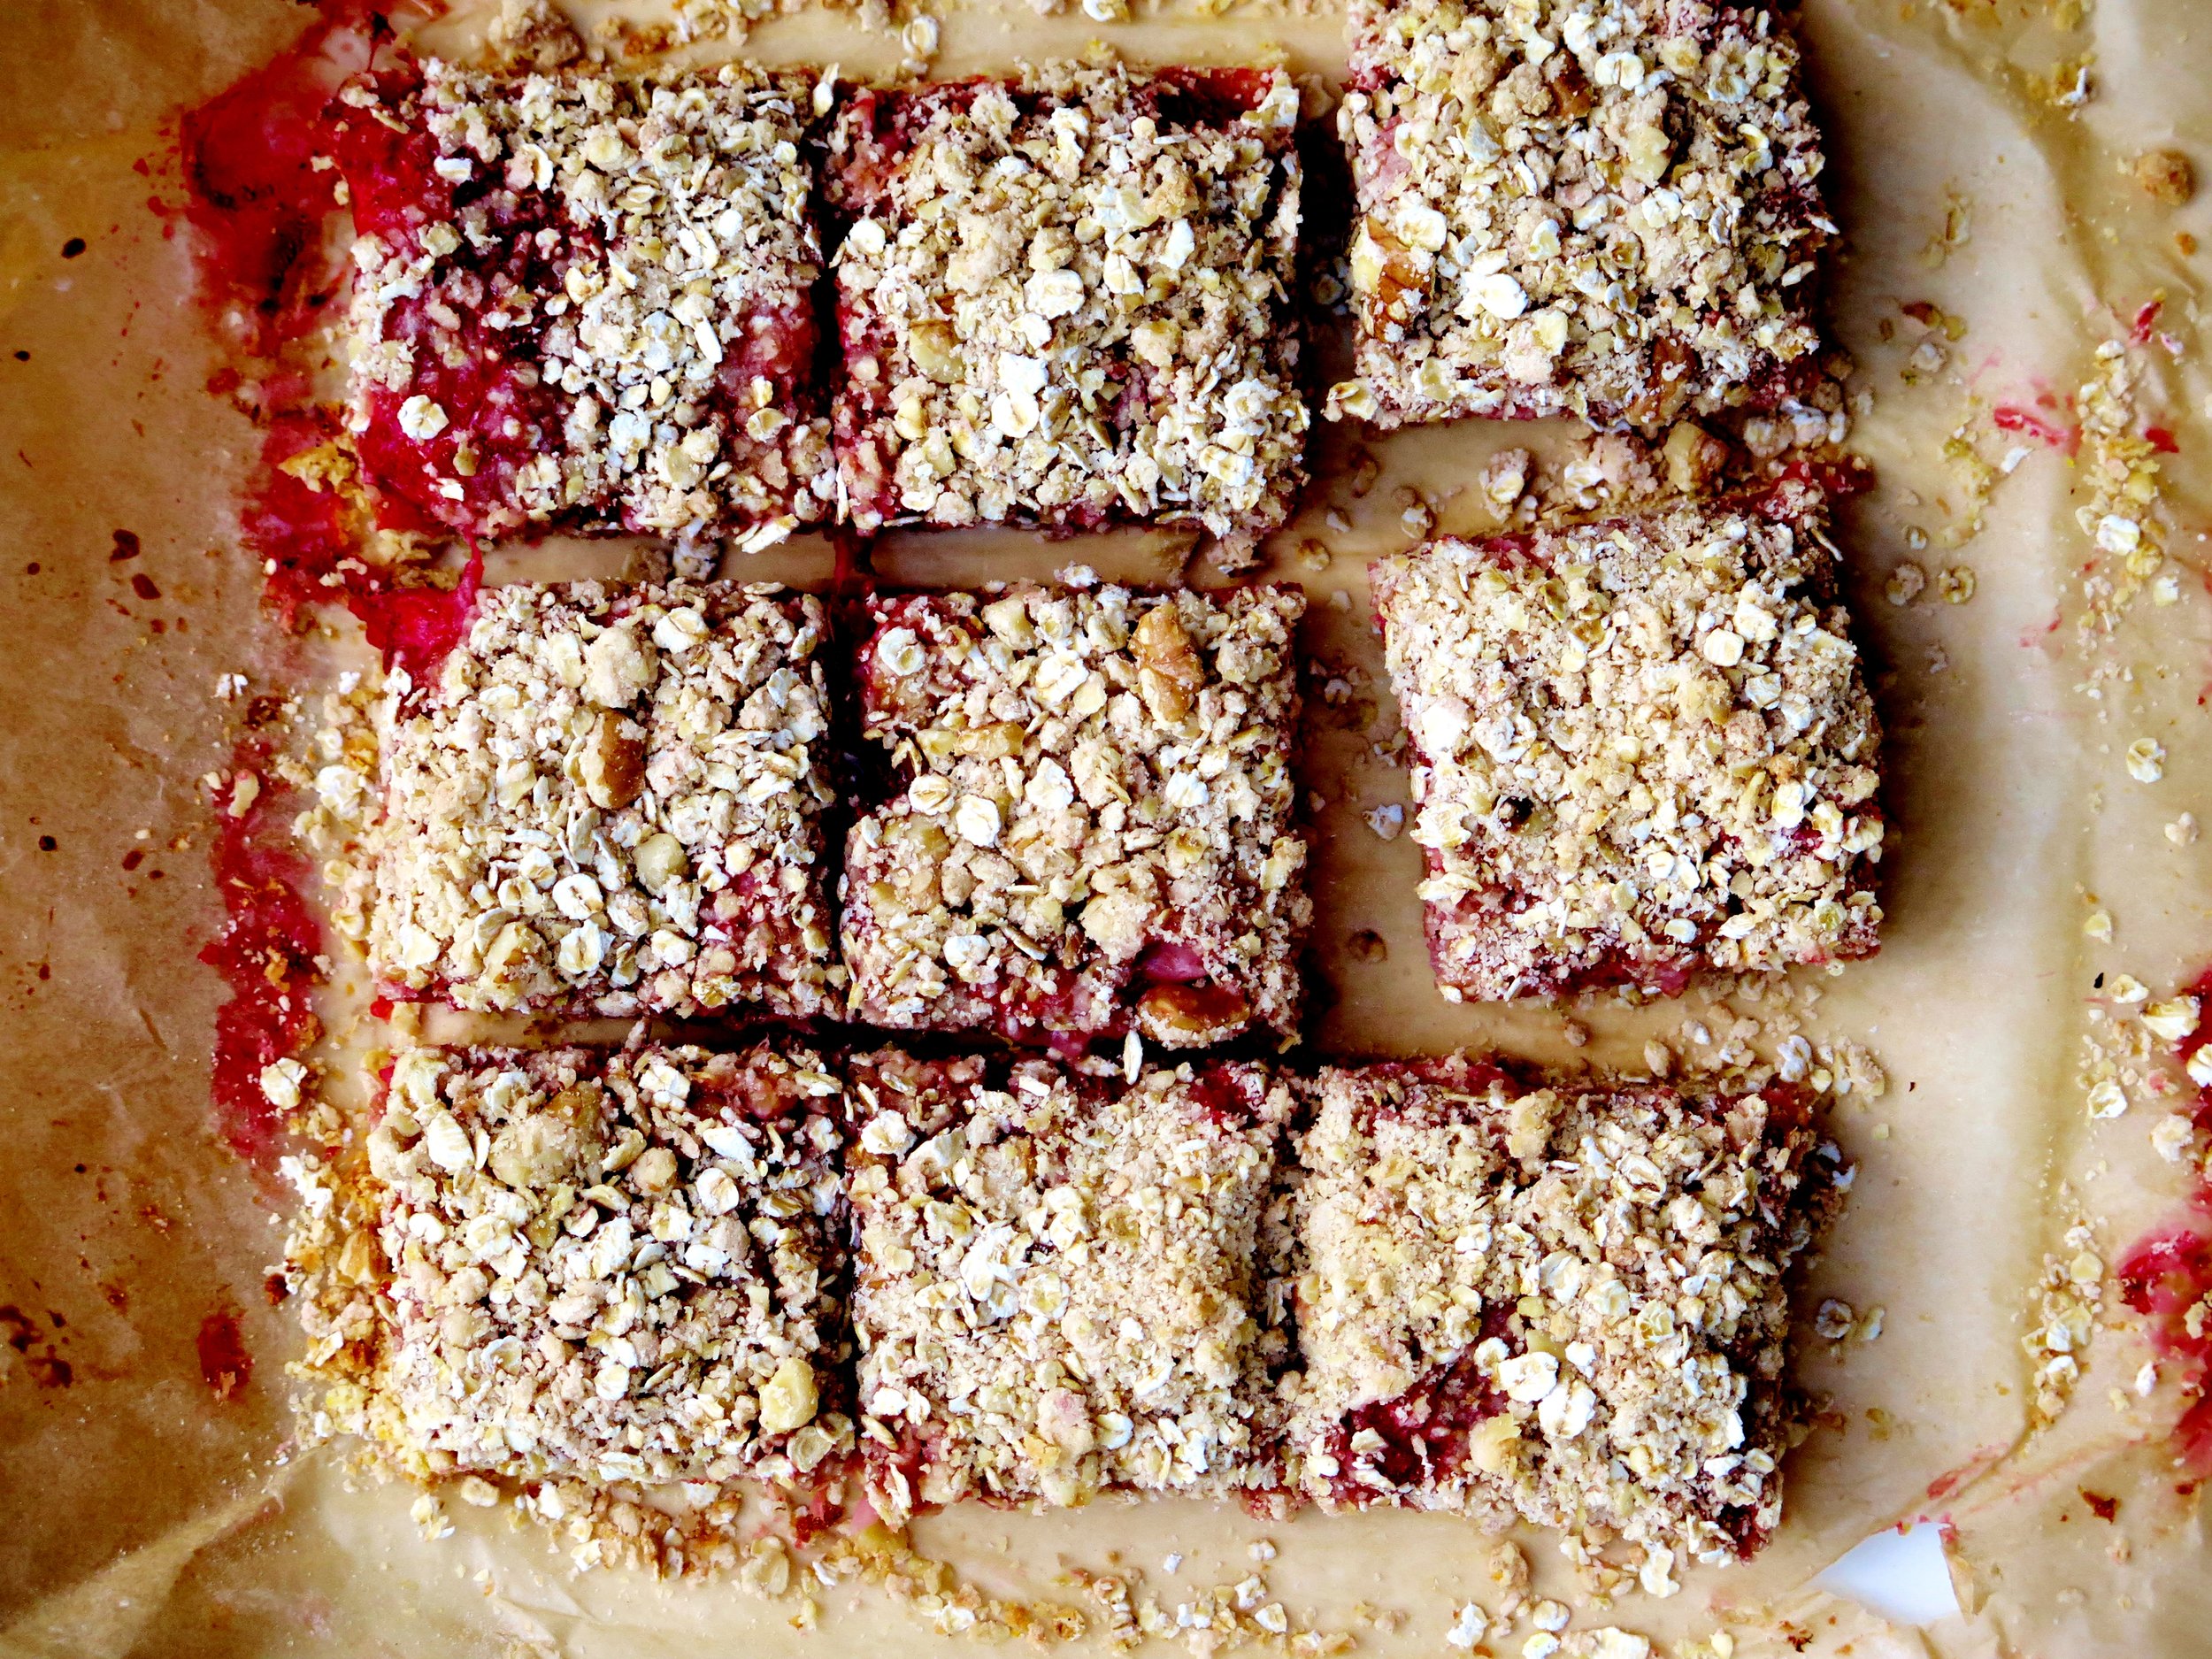
 A good crumble, as with so many things, should leave you wanting more.

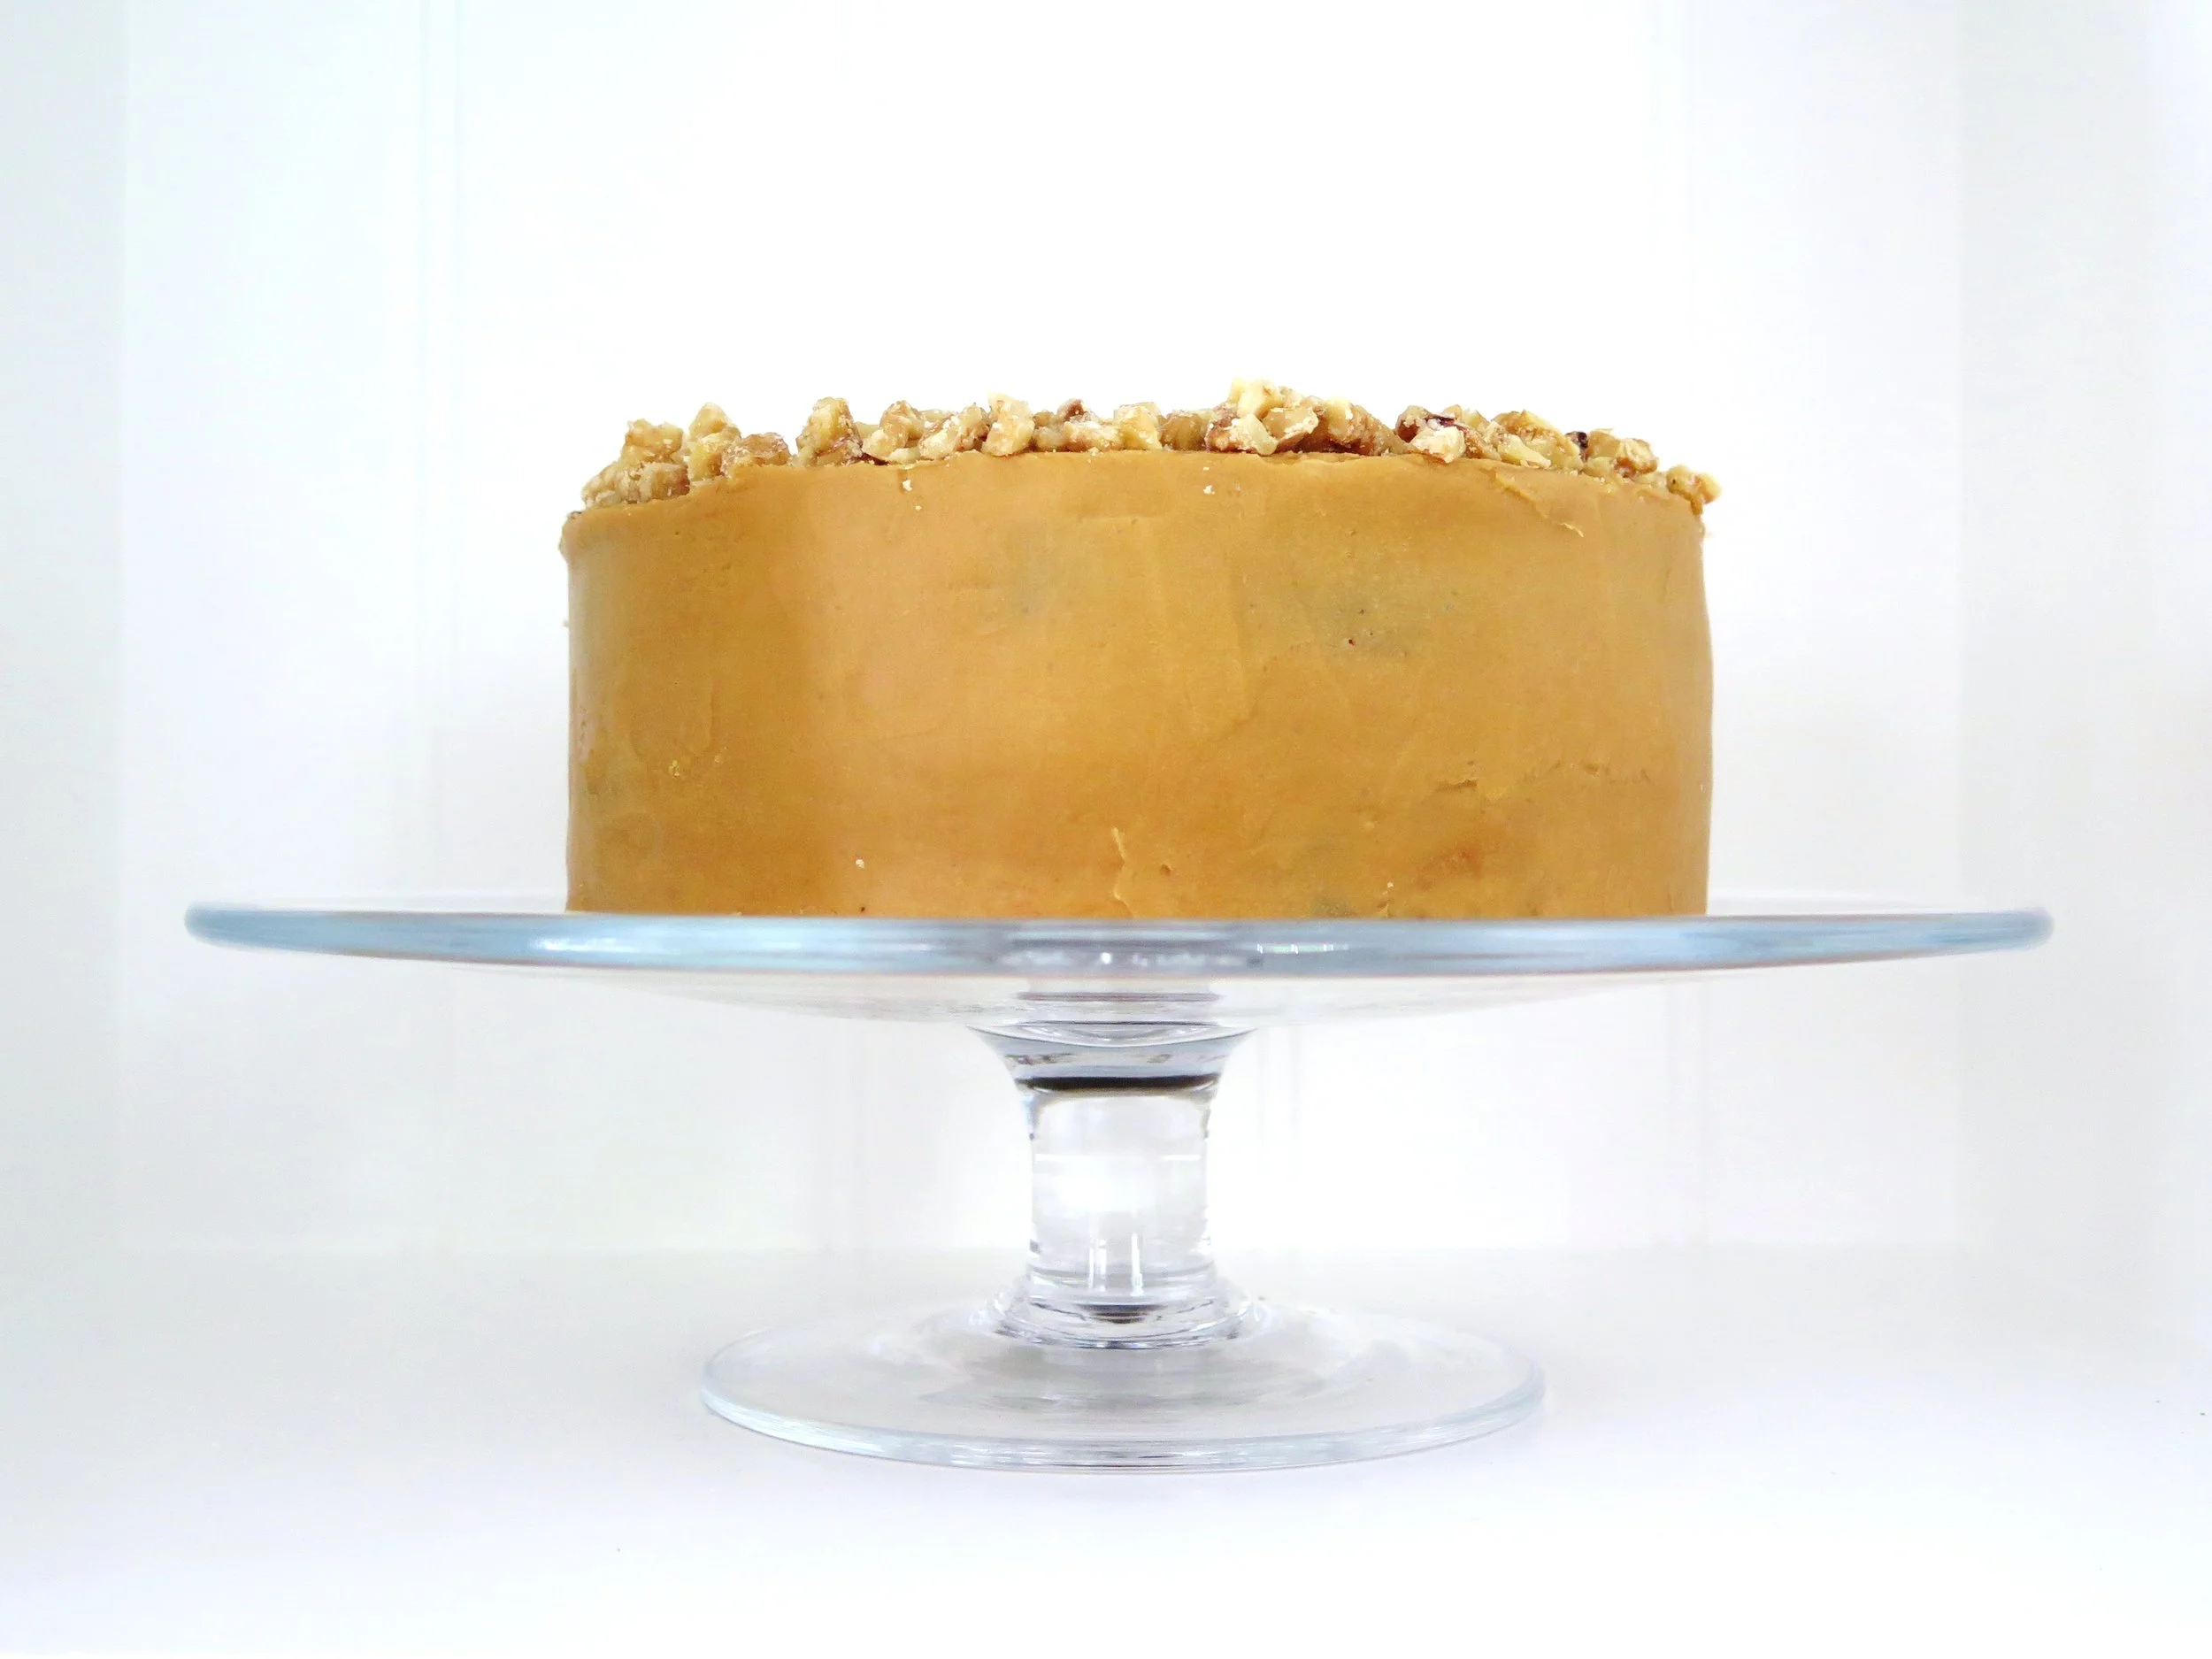


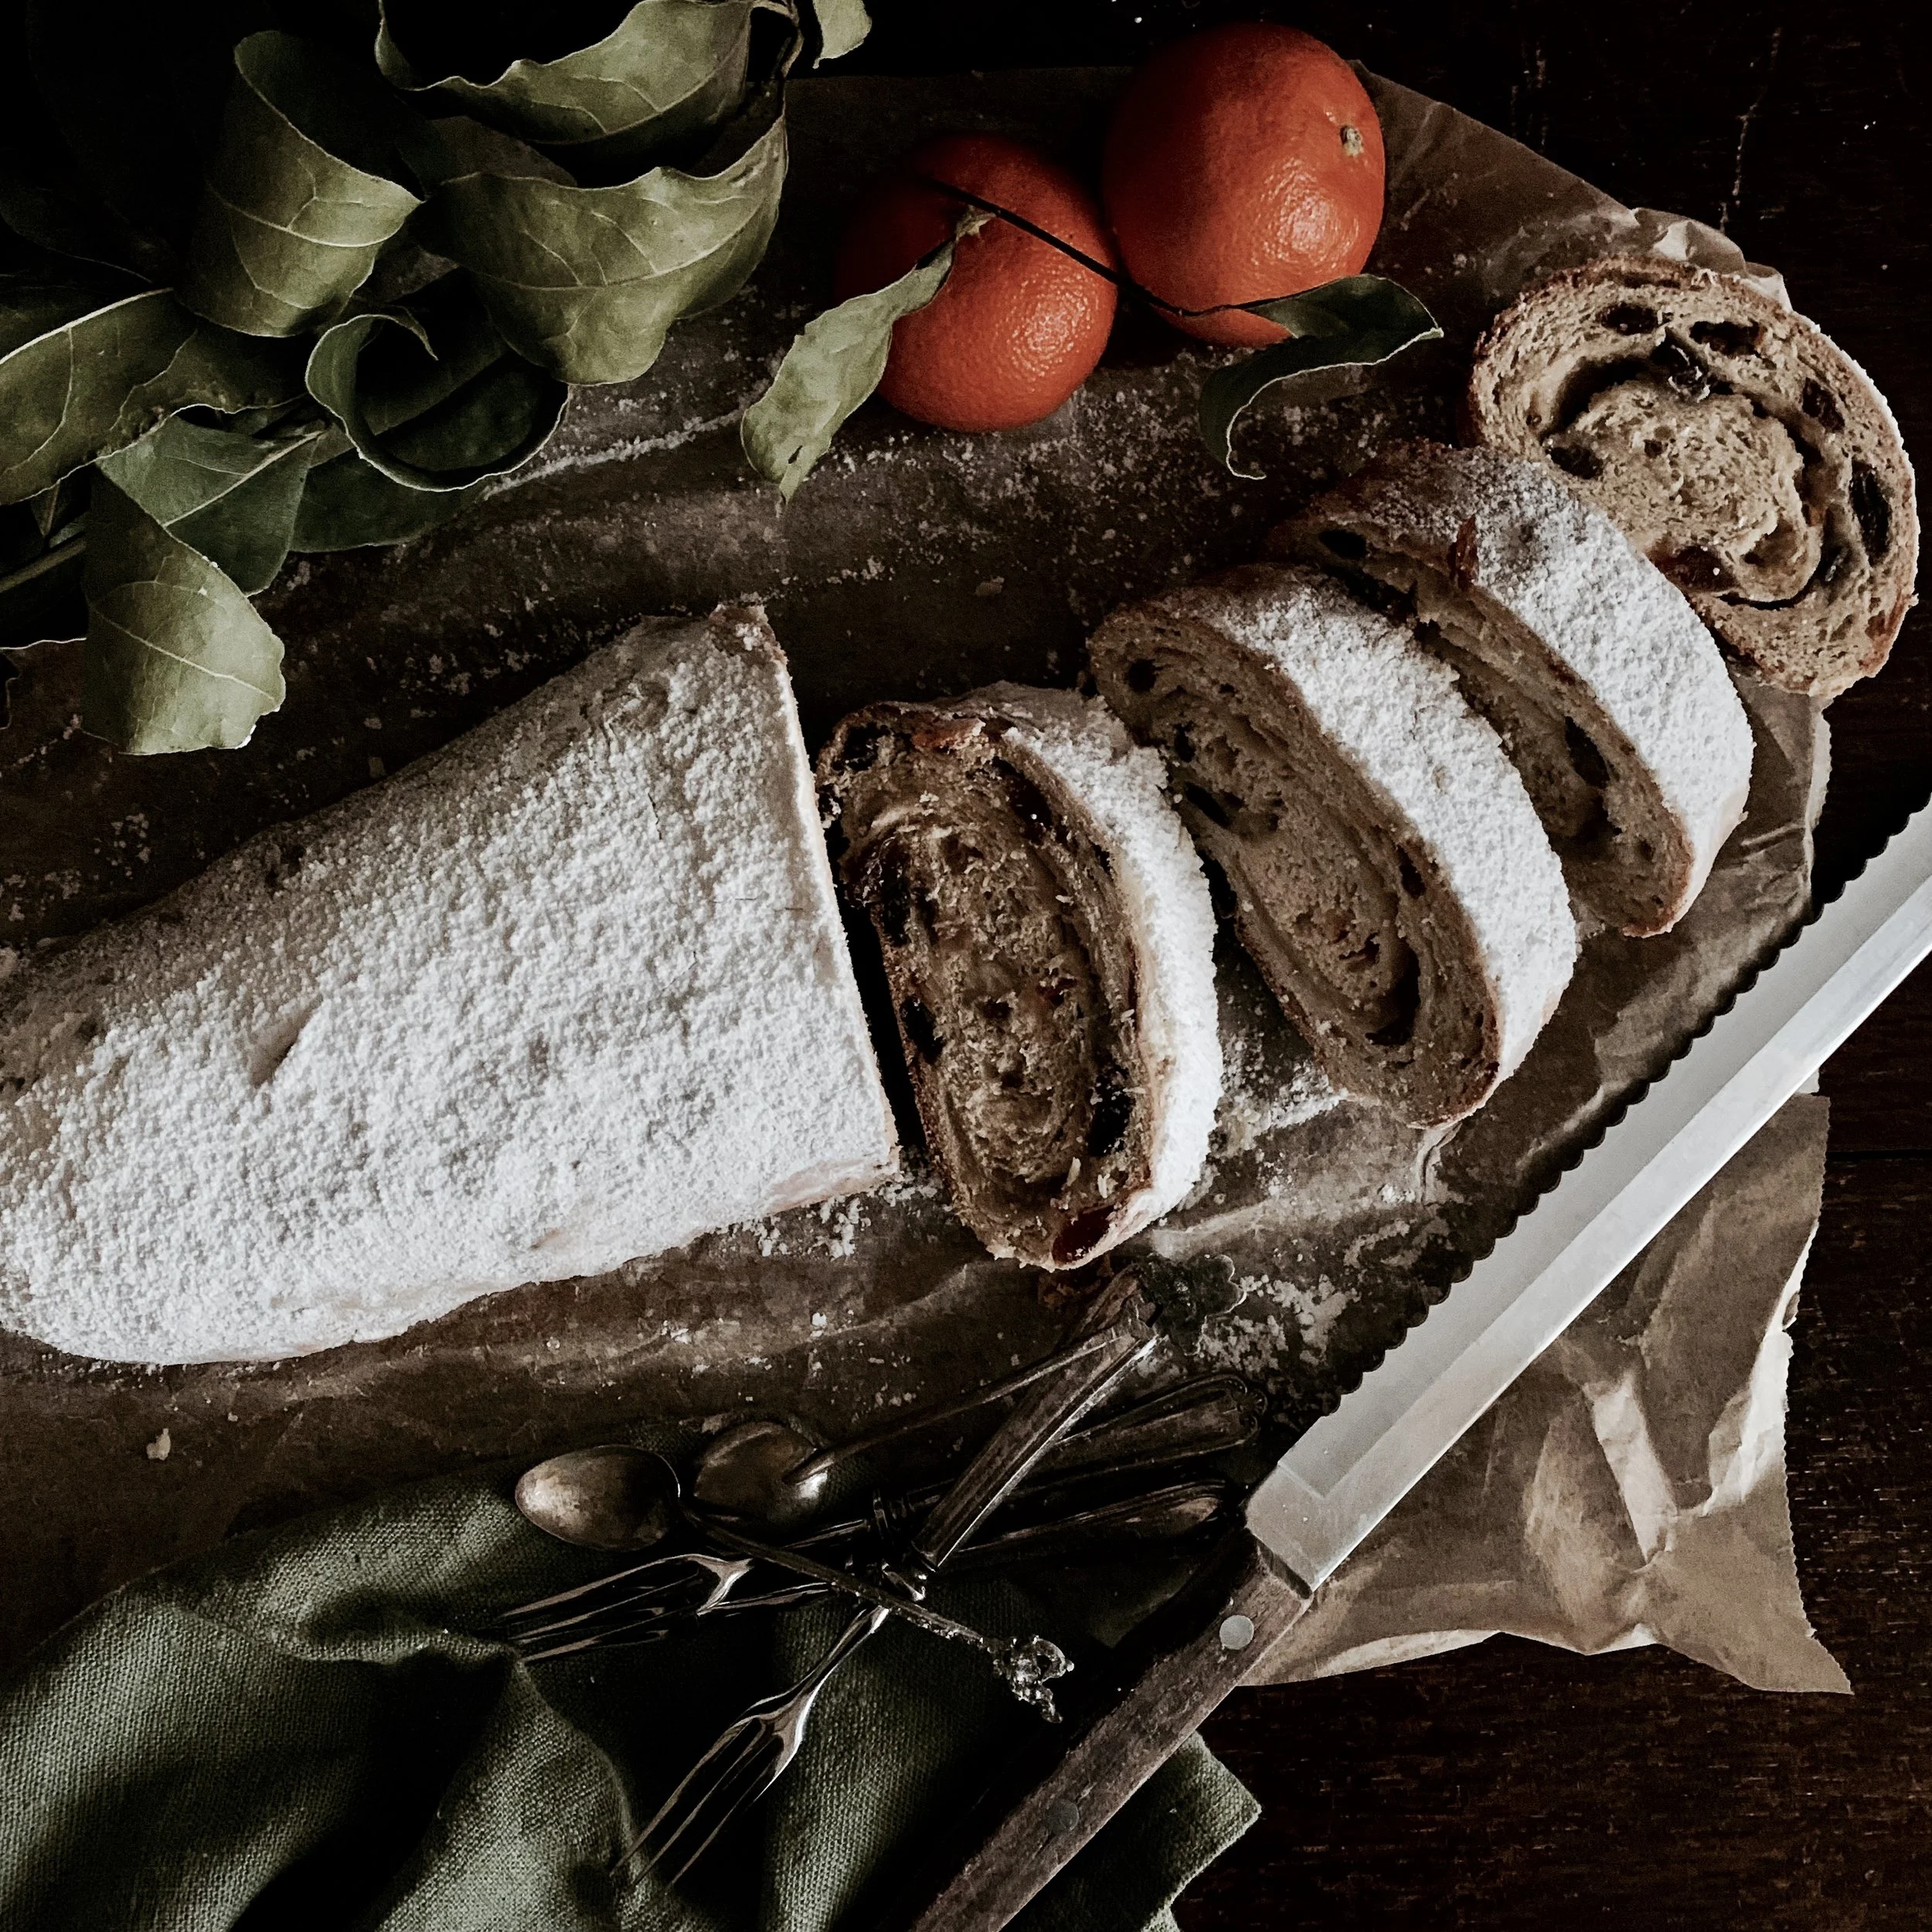
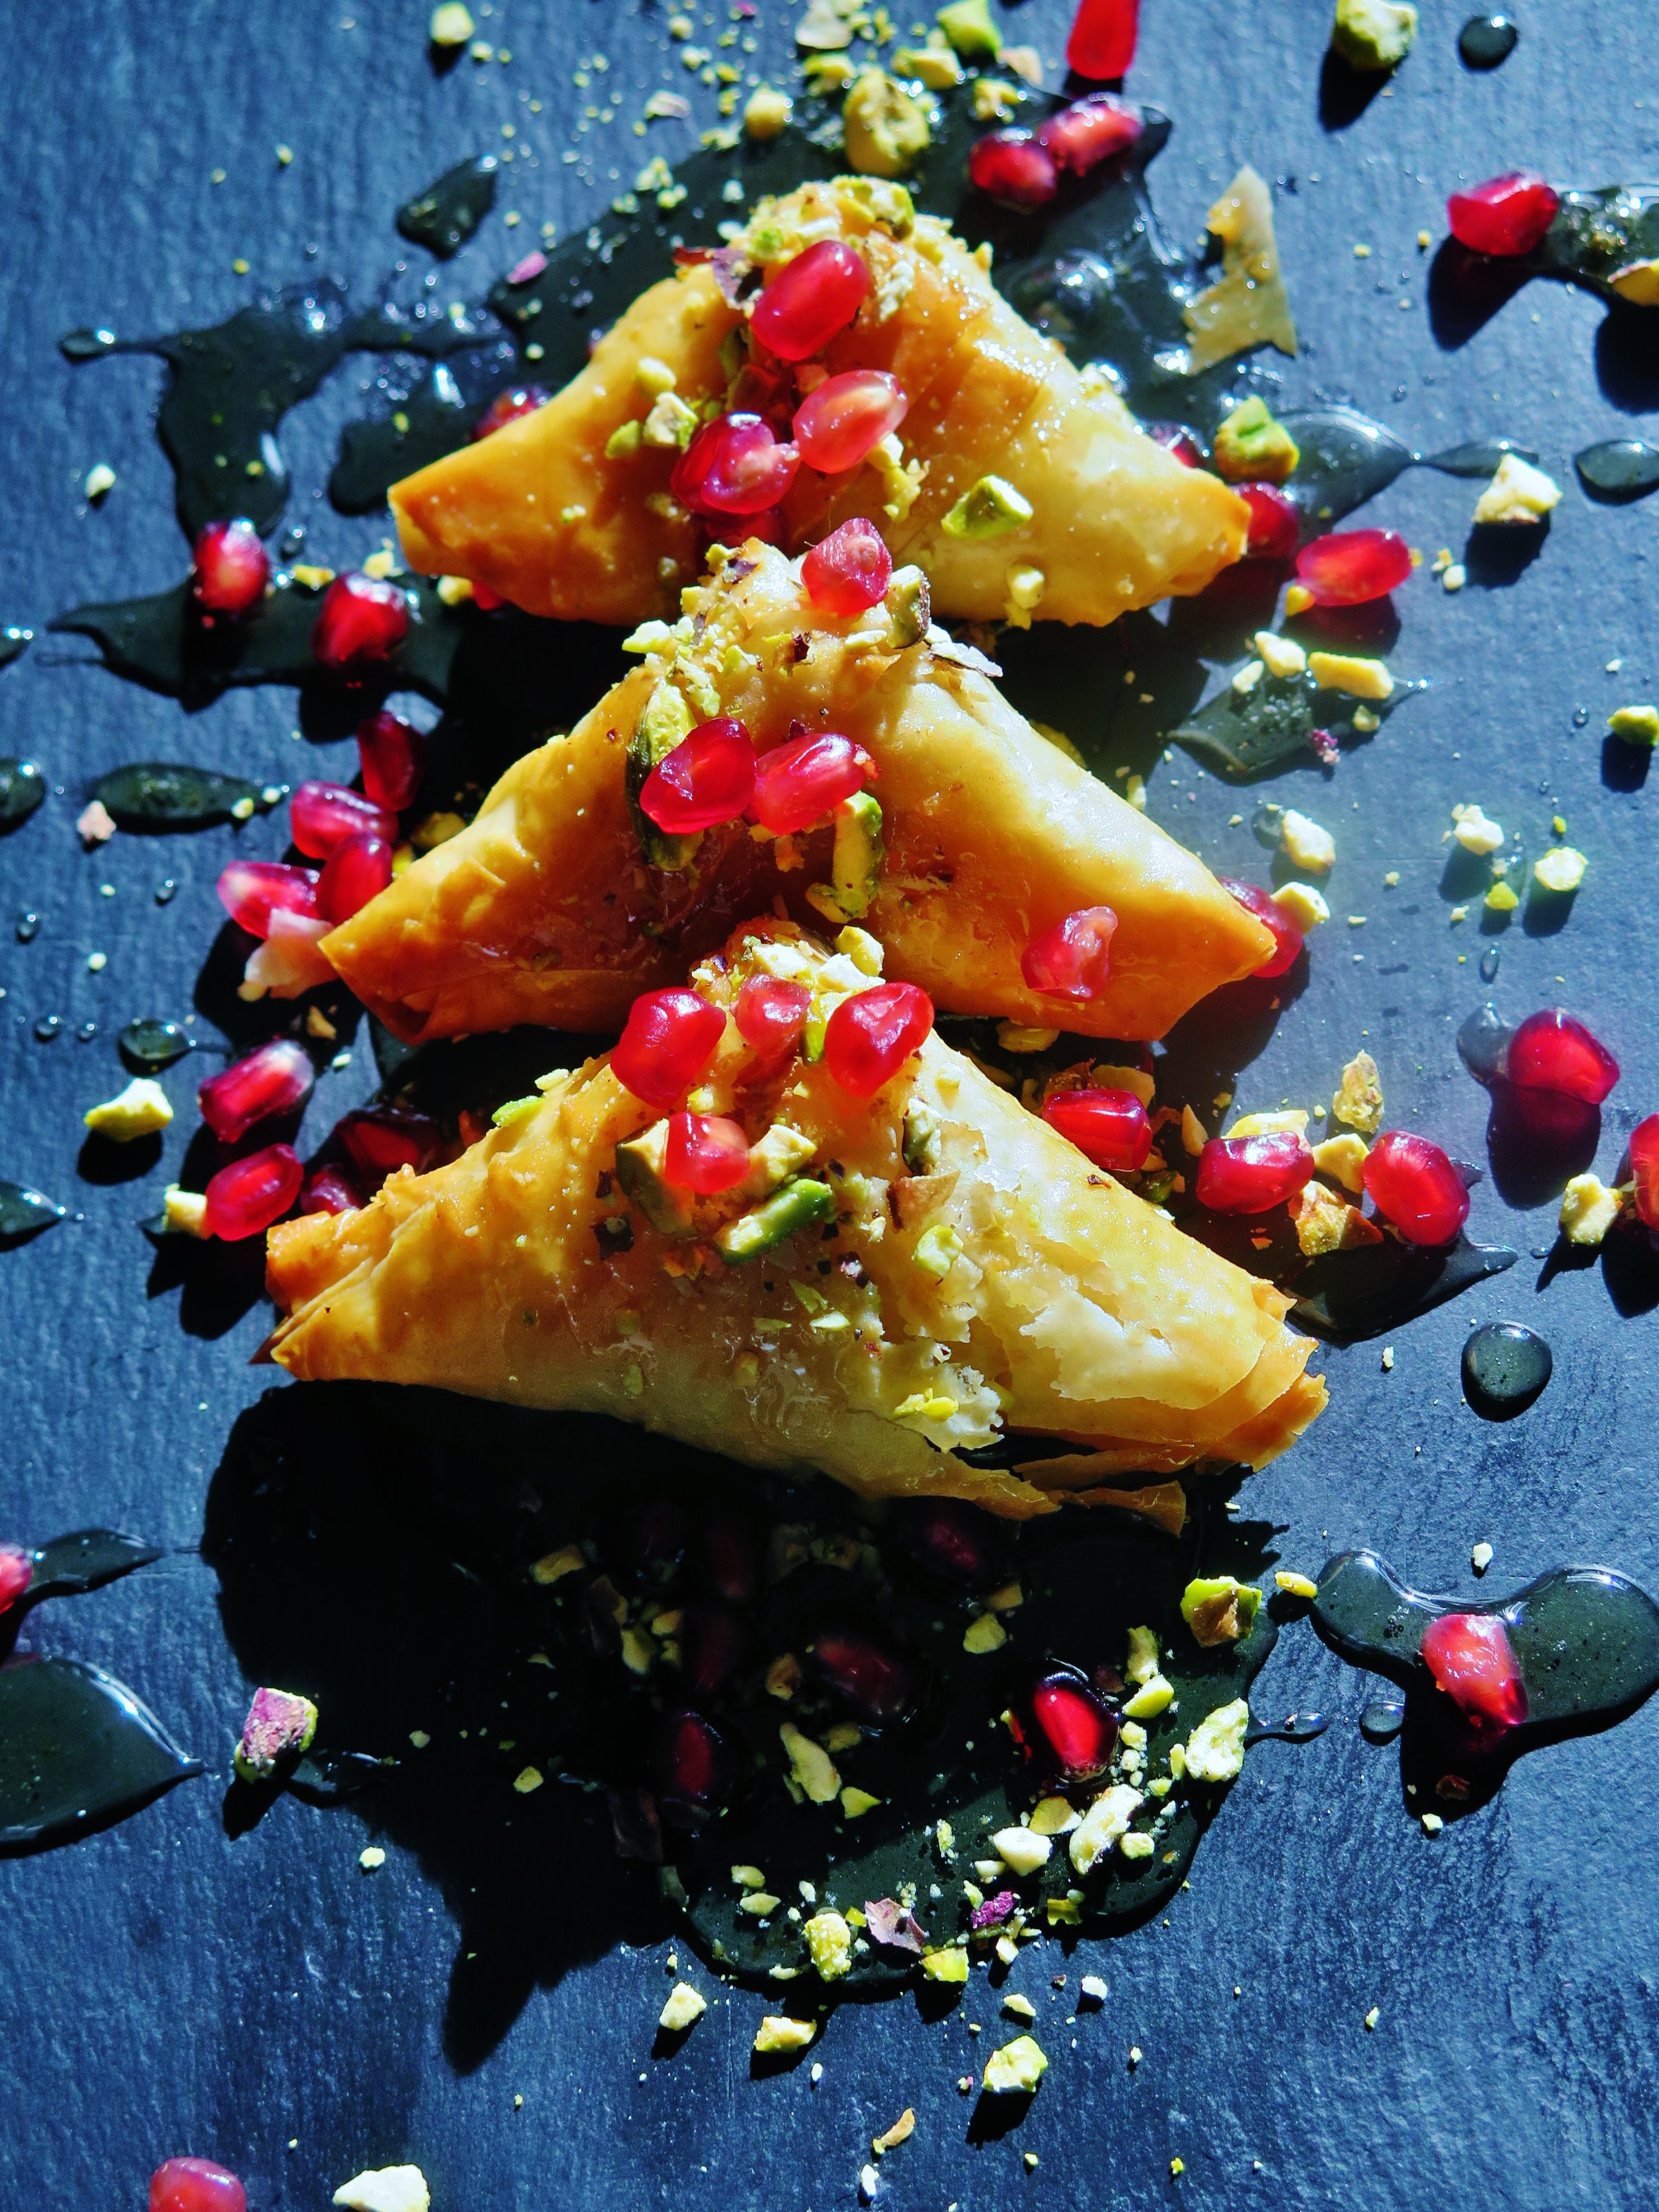 Its origins lie as either Central Asian Turkic traditional layered breads, or traditional Roman desserts from Istanbul the capital of the Eastern Roman Empire (I favour the latter option). Breakfast, afternoon tea, dinner – these golden perfumed sweets are appropriate at any time of the day in may book and they are way simpler & quicker to make than you might think.
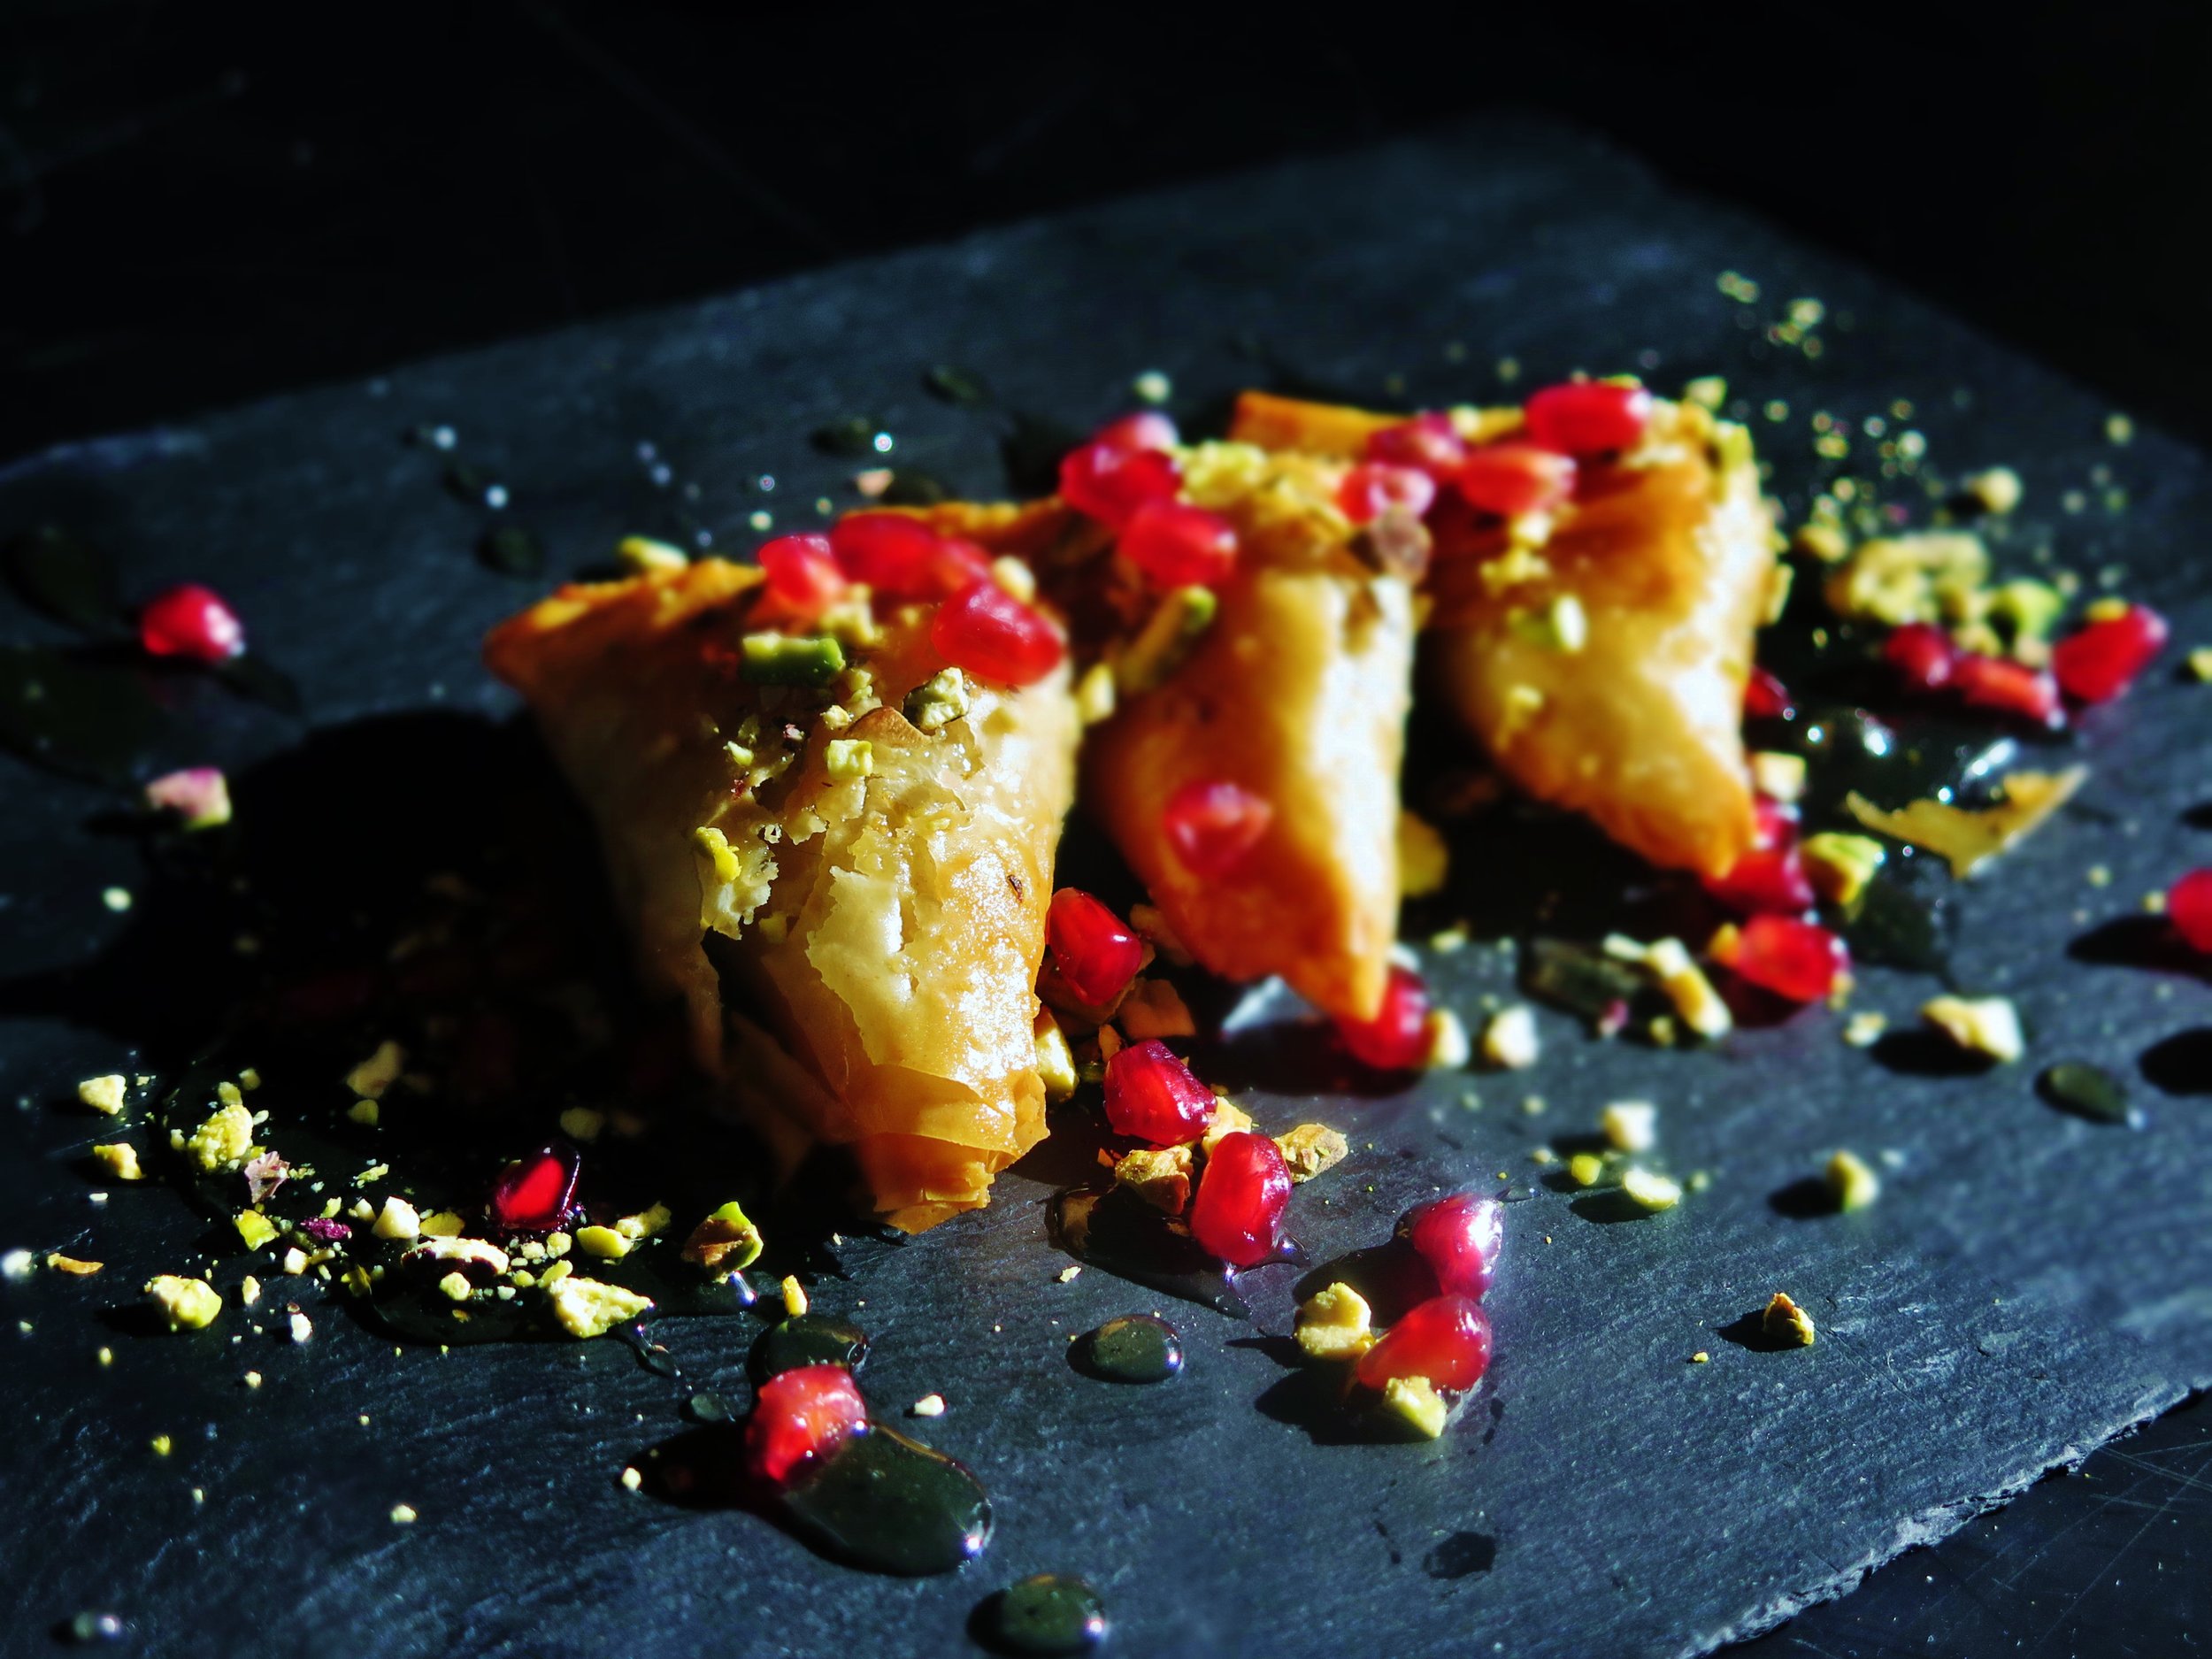


