Viewing entries tagged
parmesan

Triple Cheese & Nigella Seed Biscuits

Comment

Triple Cheese & Nigella Seed Biscuits


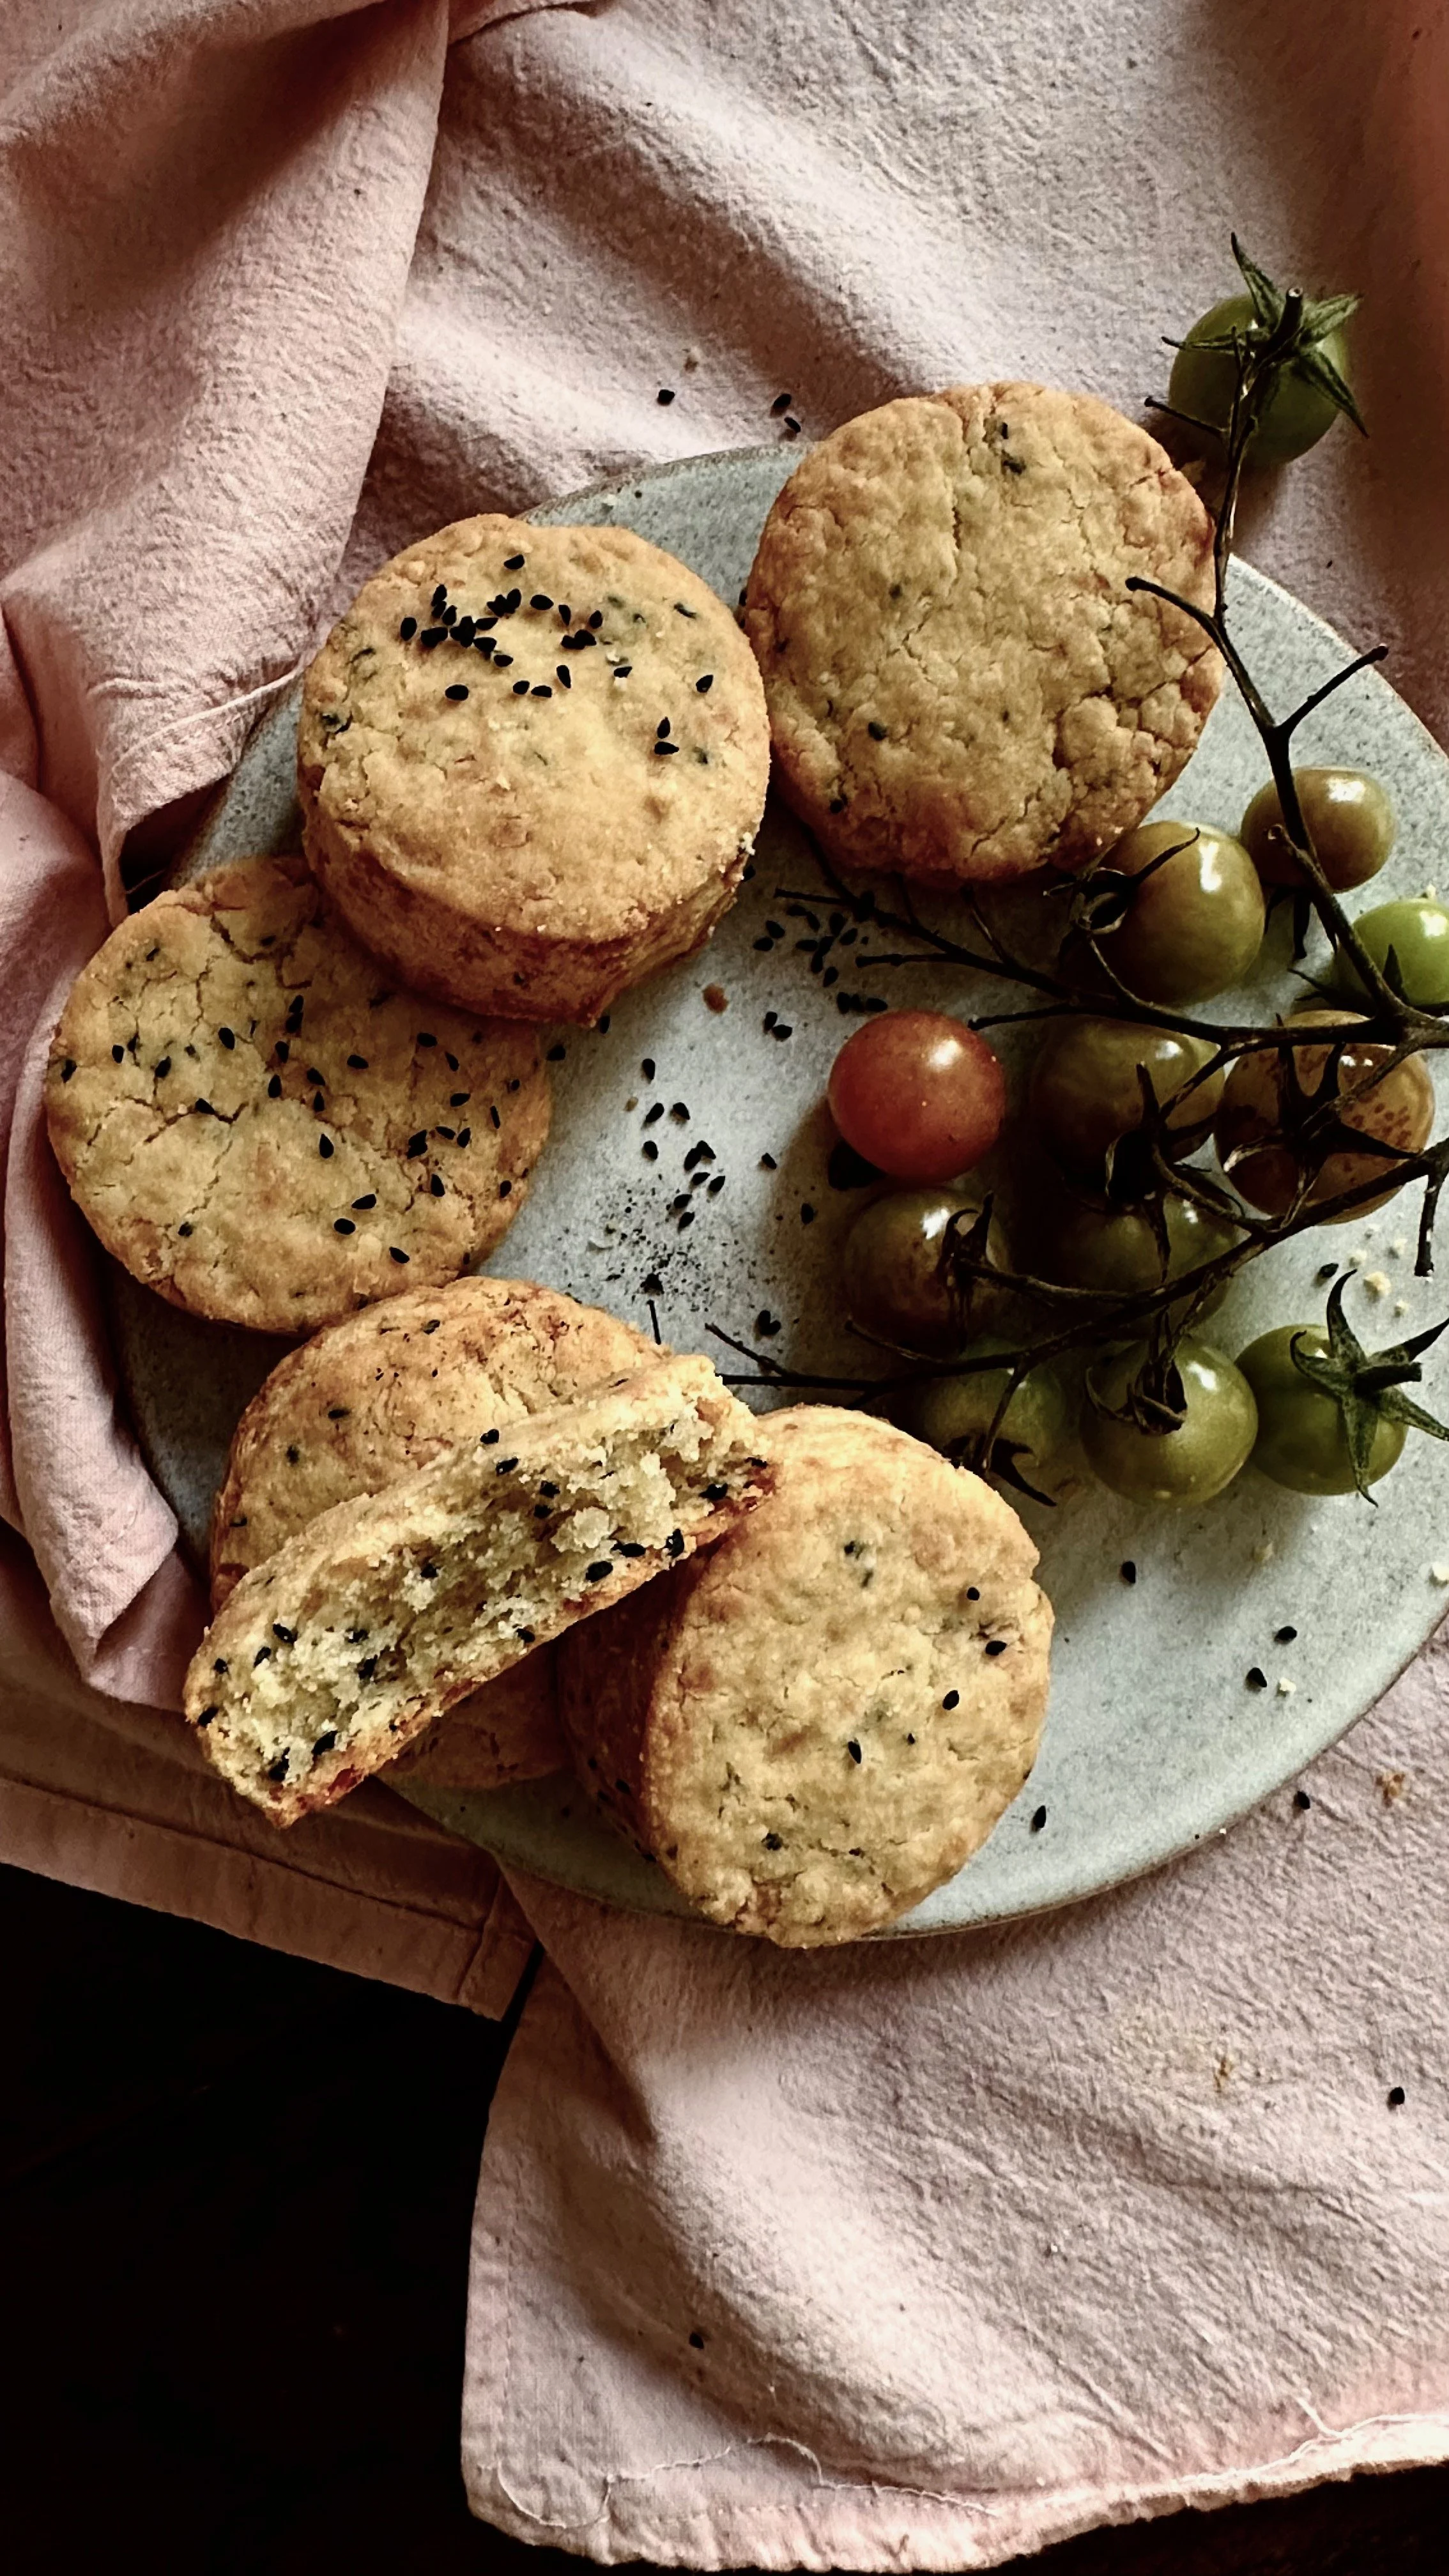
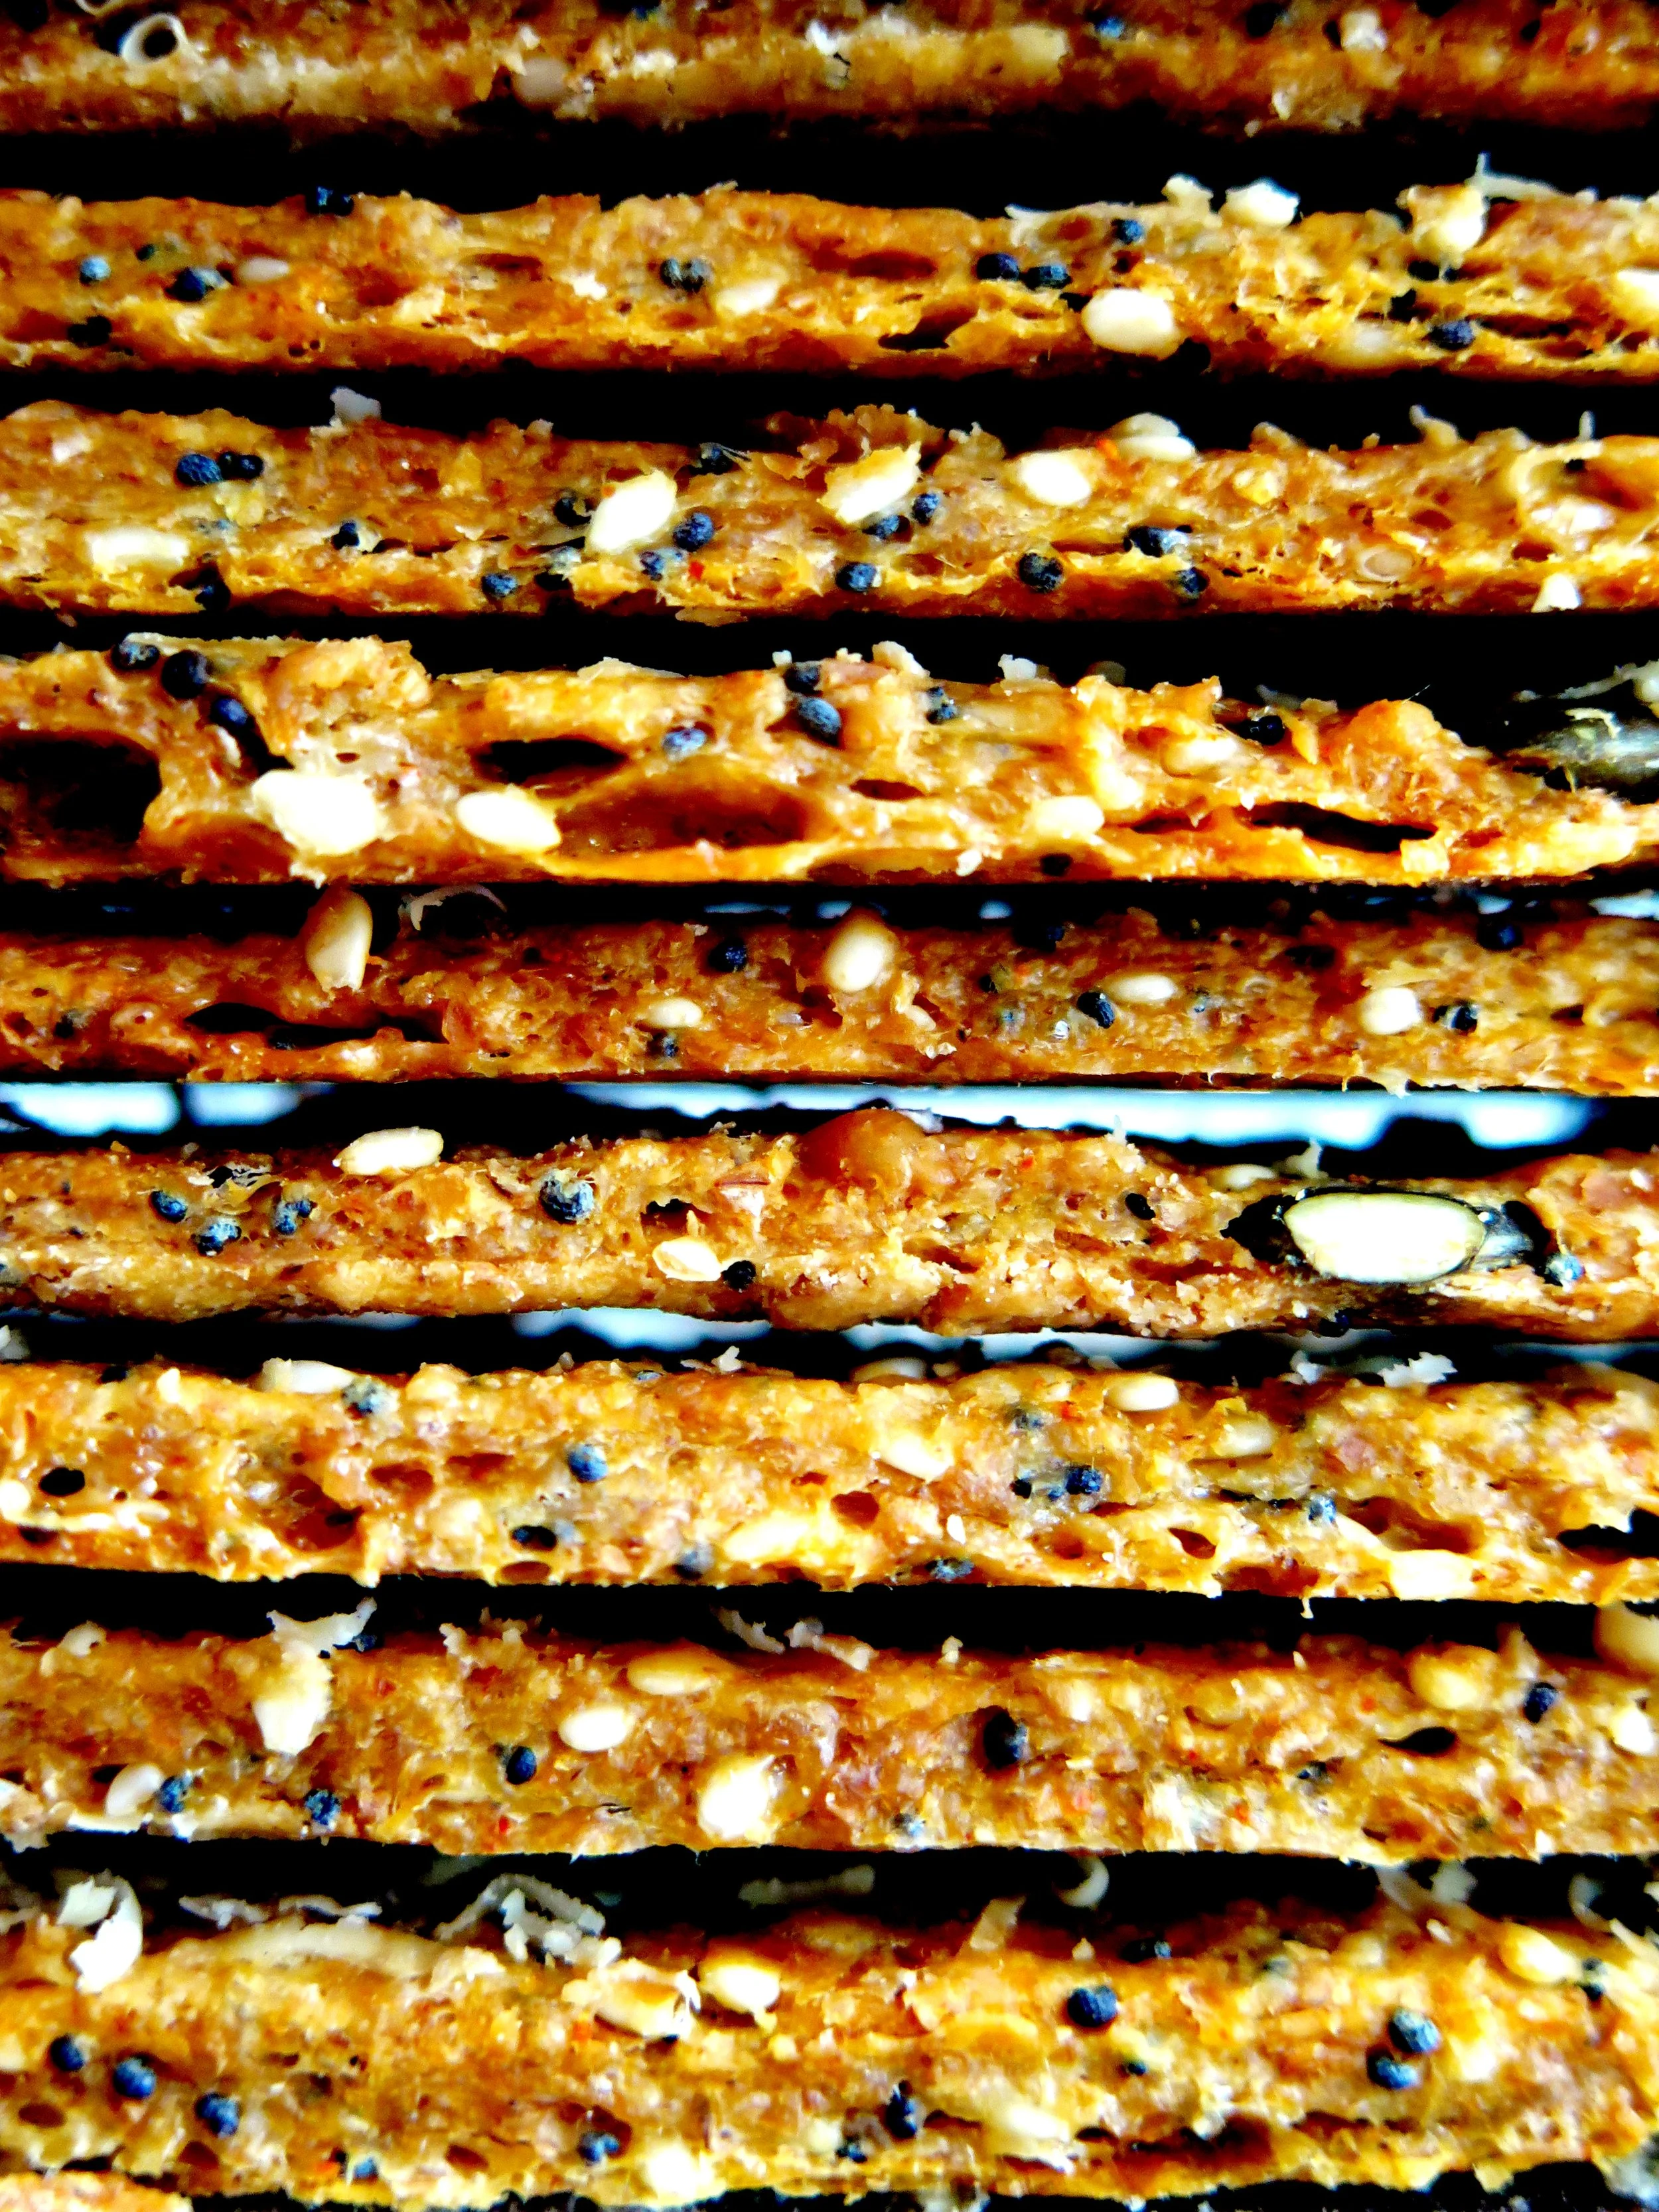
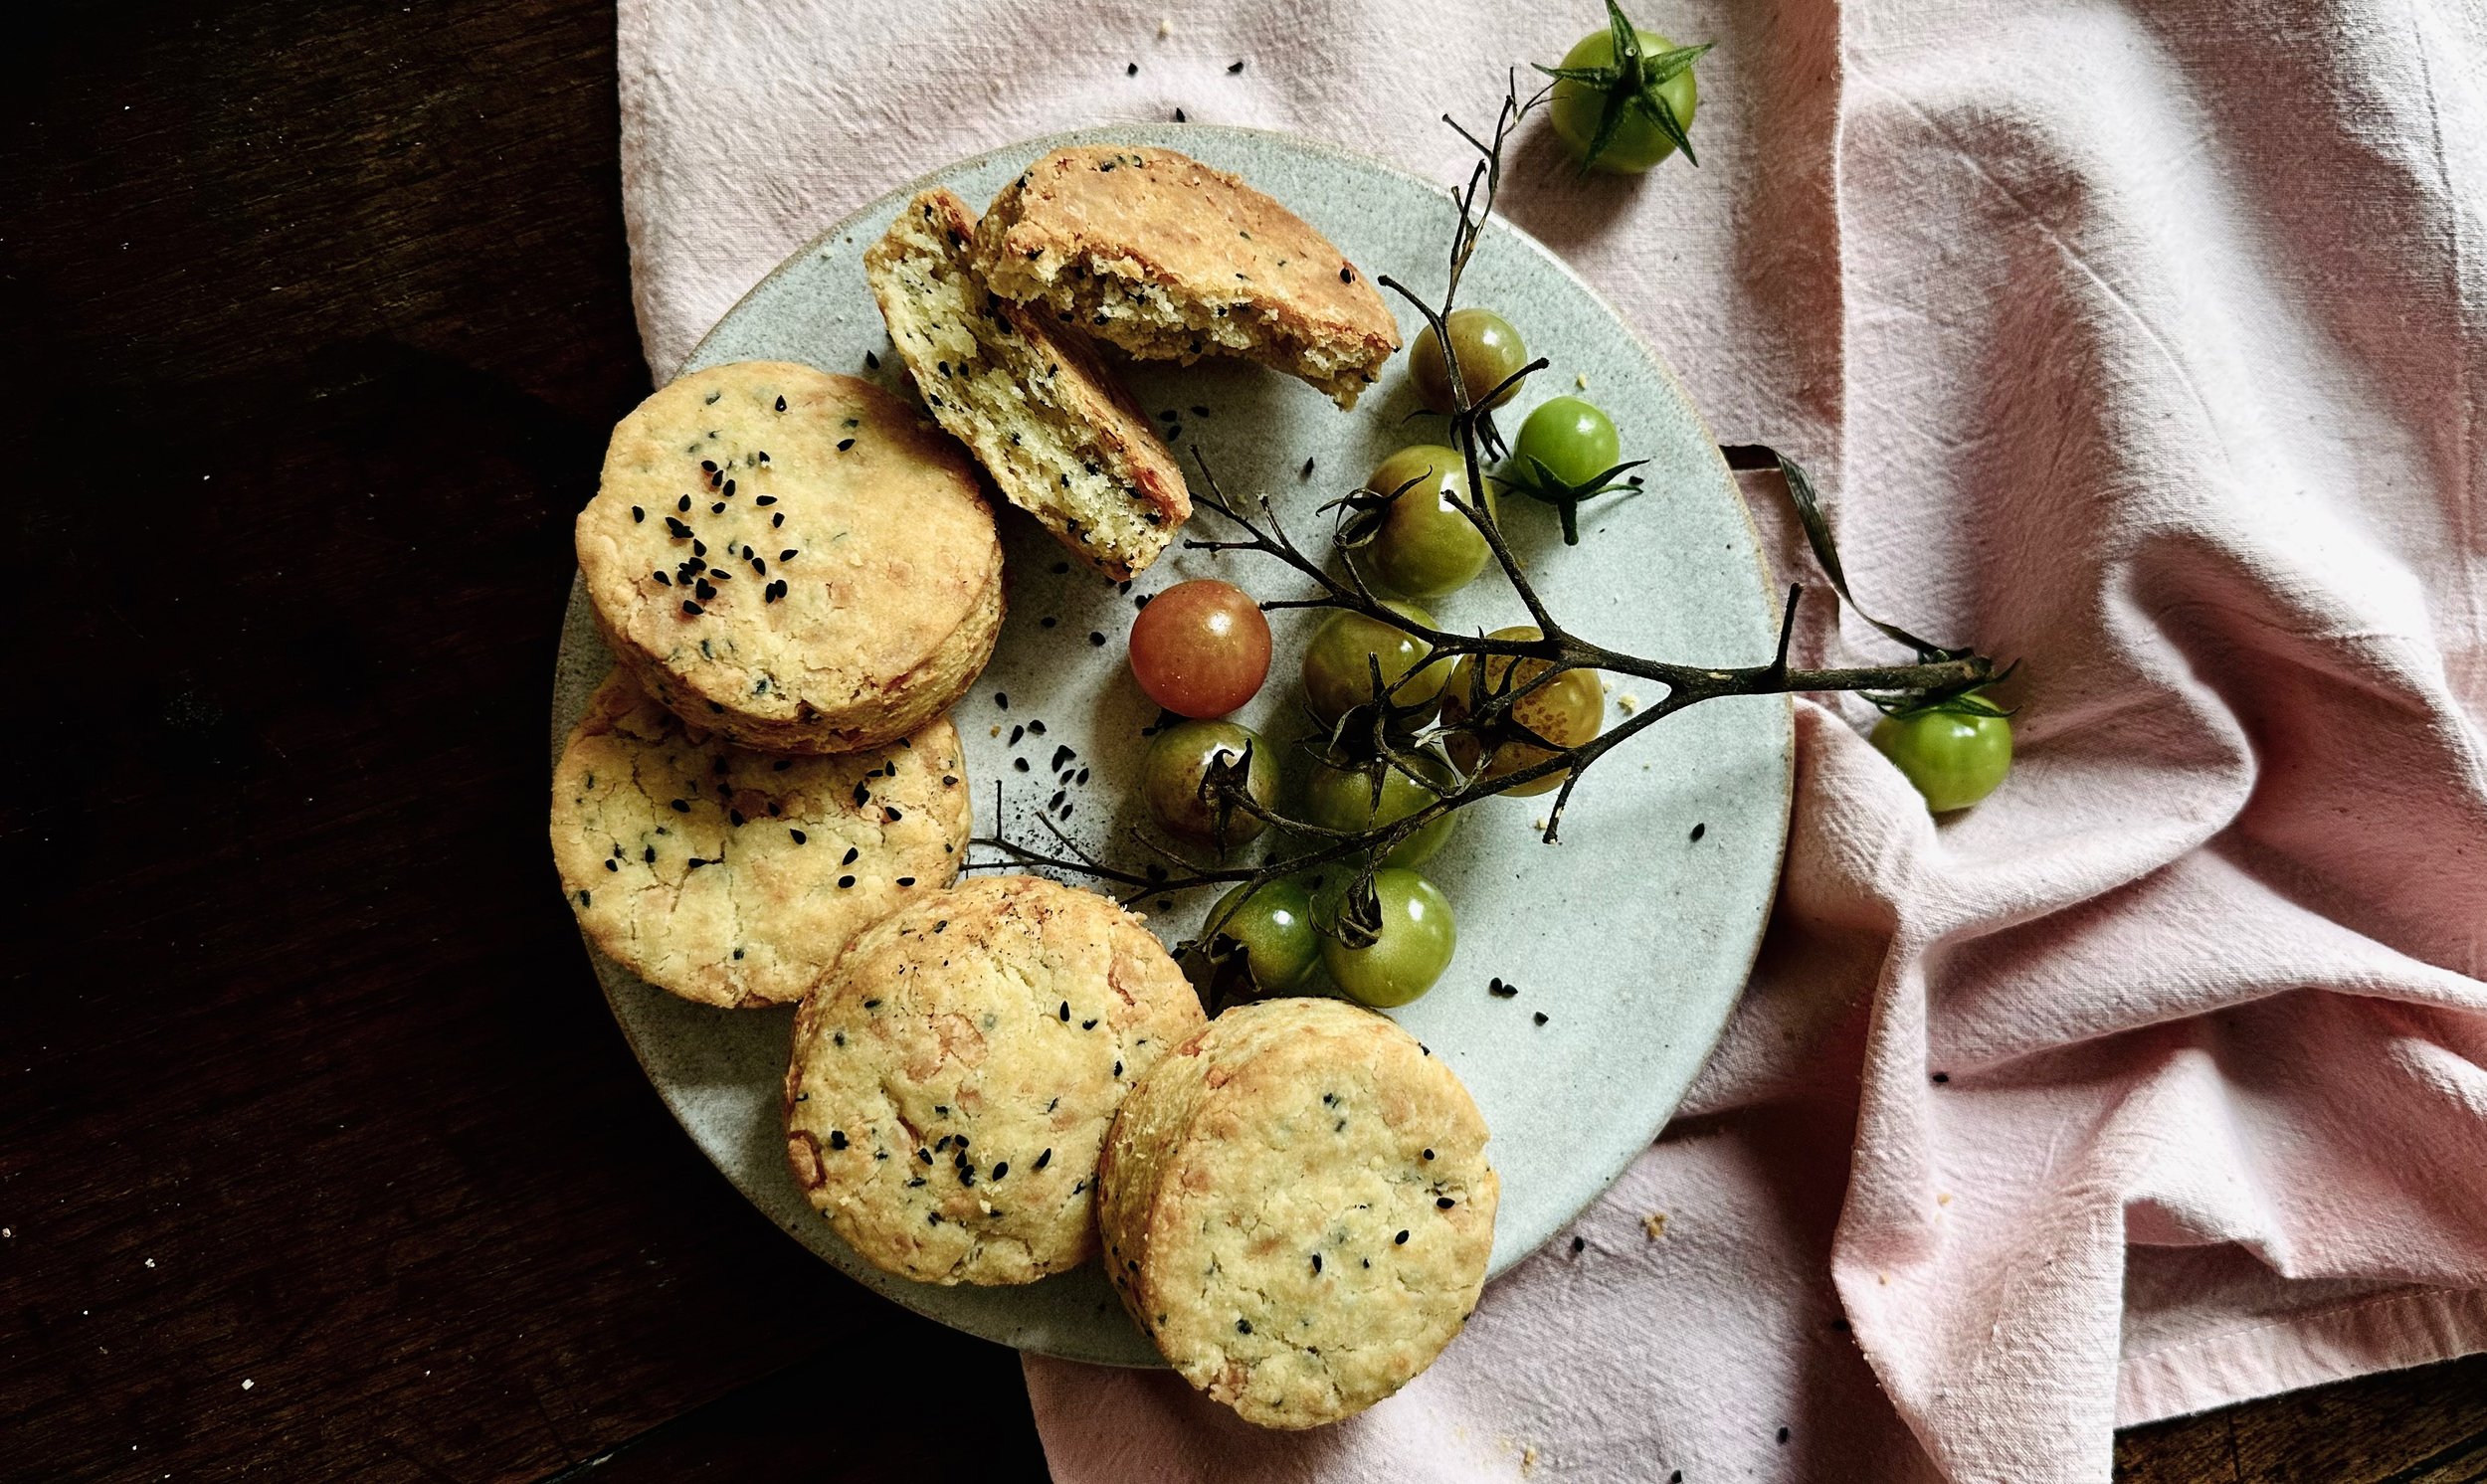
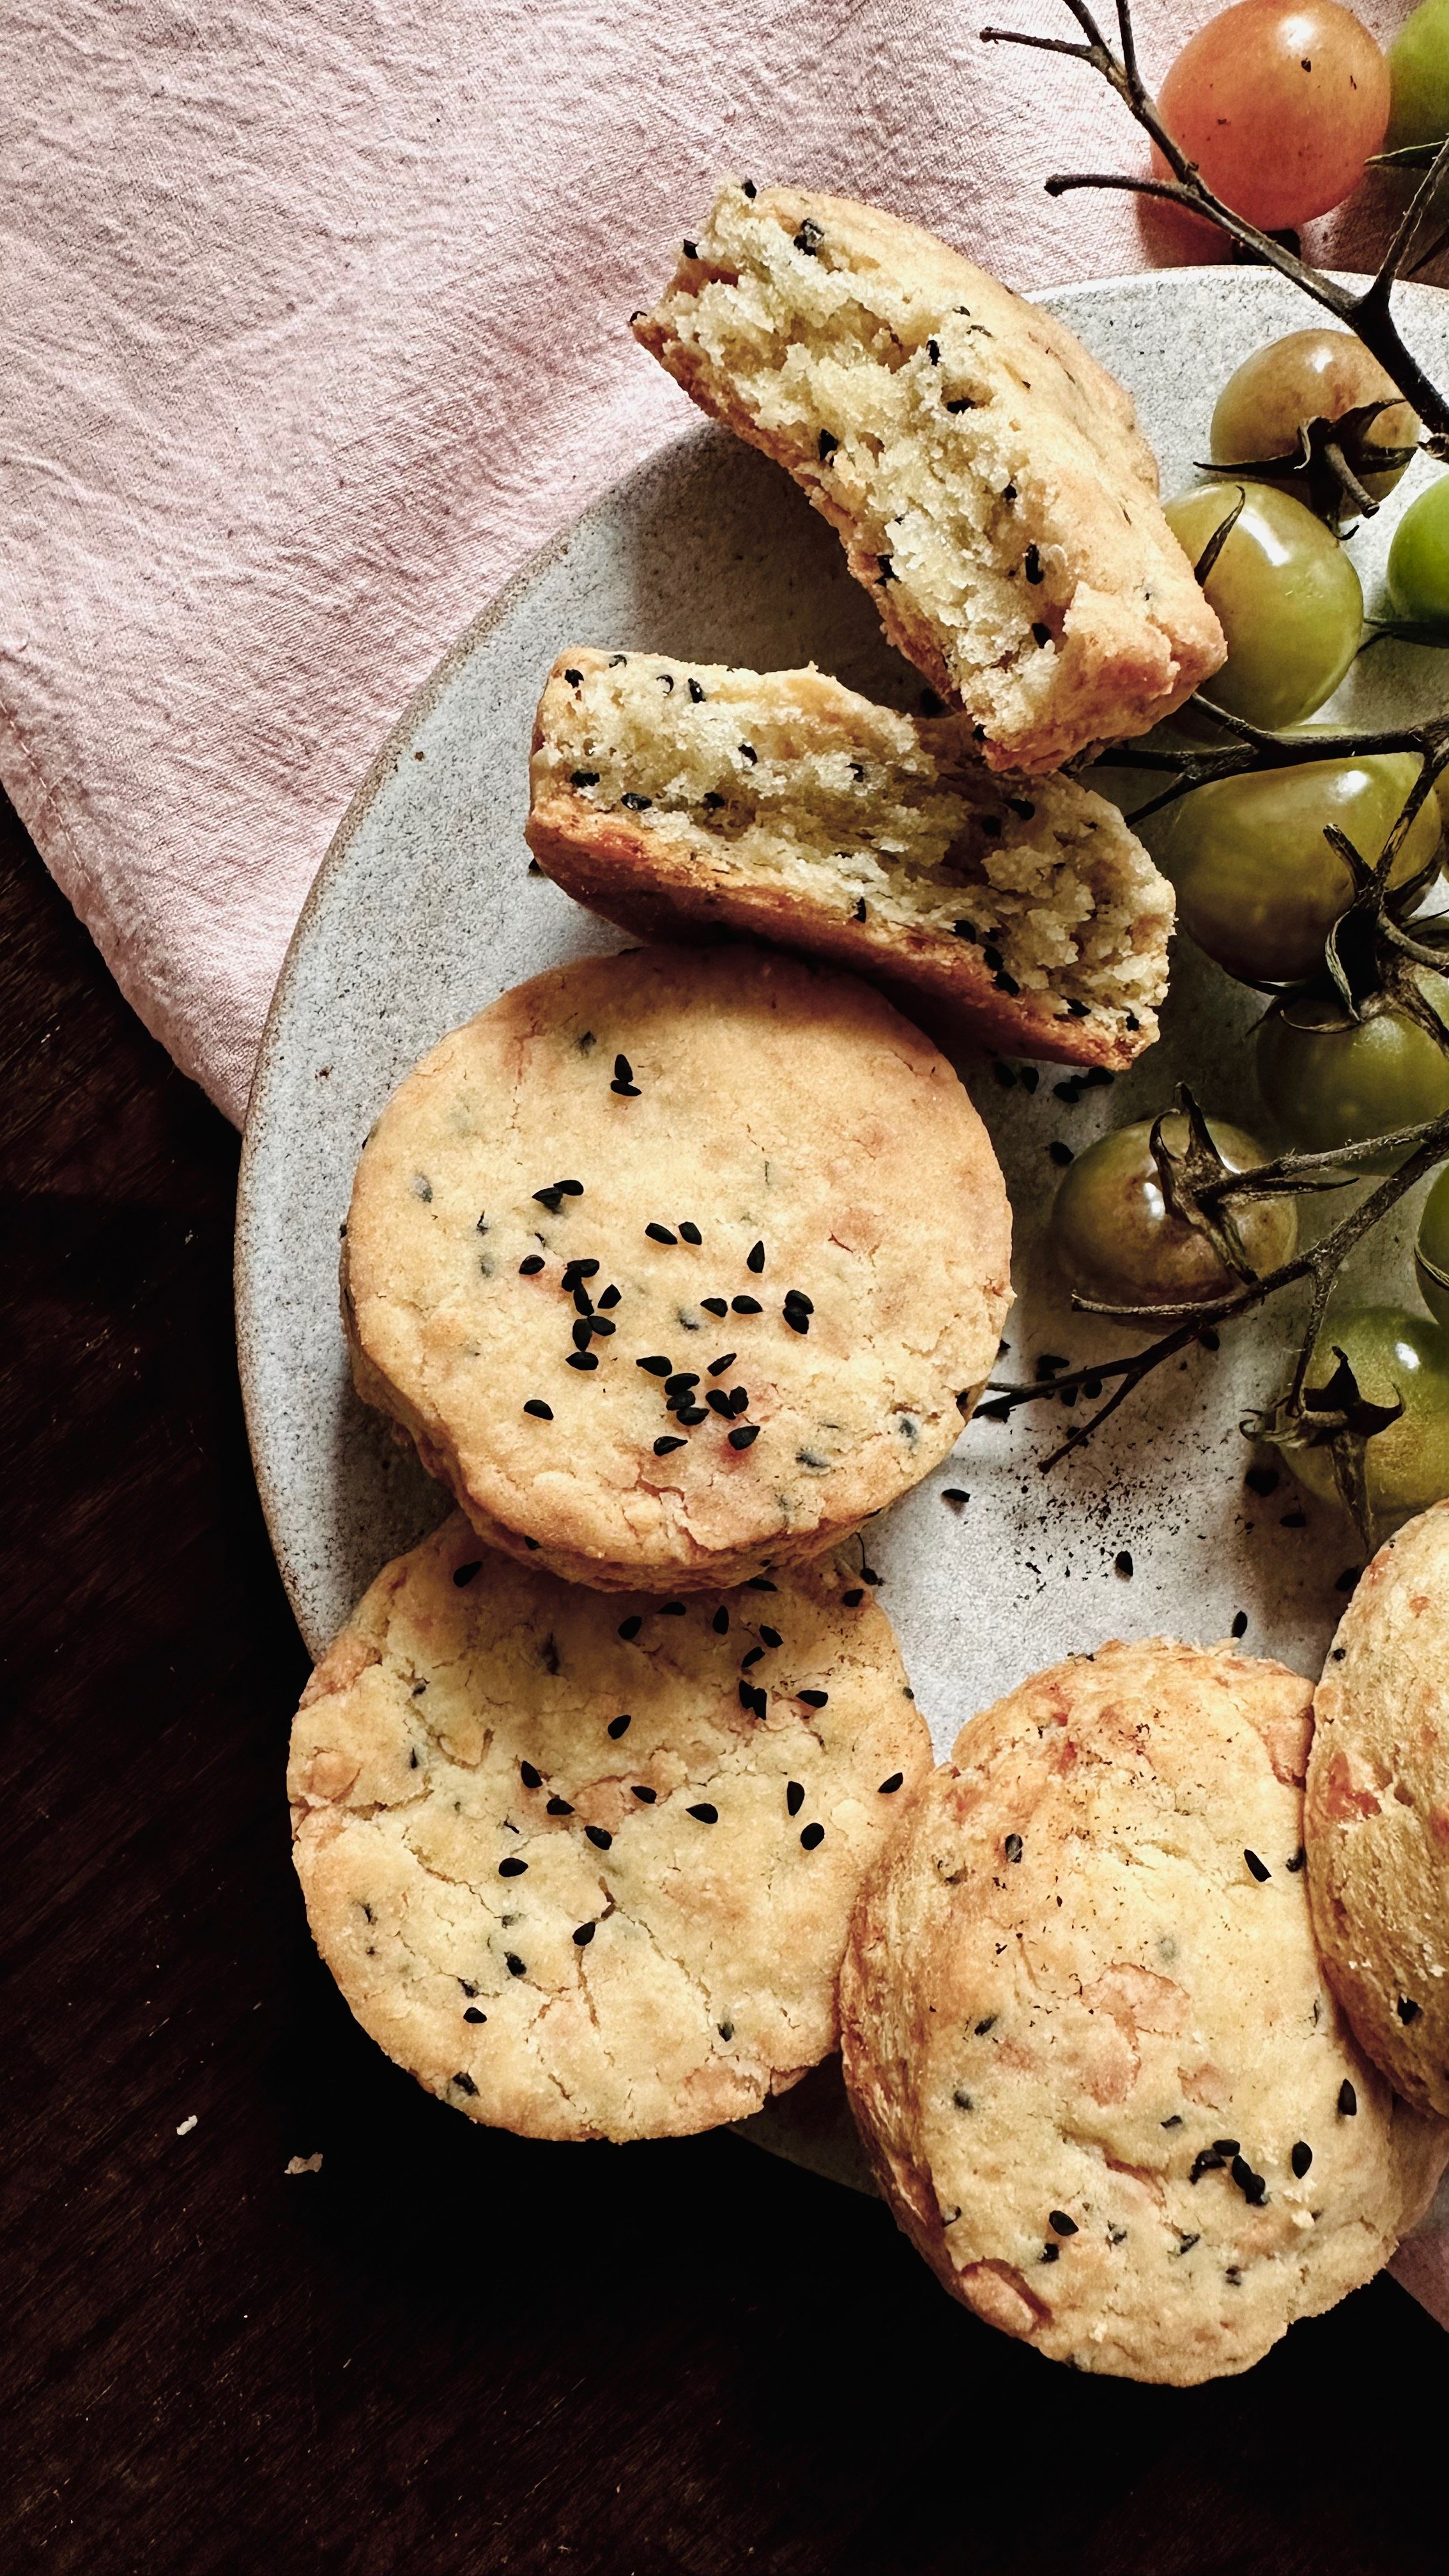
These exist in that tender interior, crunchy exterior, no-man’s-land between a scone, and a biscuit. I tried something similar at a hotel in Turkey, where at daily afternoon tea they produced thick, golden and extremely savoury kashar cheese cookies. As kashar cheese is a little harder to get here in the UK, I subbed in a mix of mozzarella, pecorino and feta, and they turned out beautifully. They’re umami, and slightly salty, and the cheese caramelises on the outside in a way that’s reminiscent of a toasted cheese sandwich.

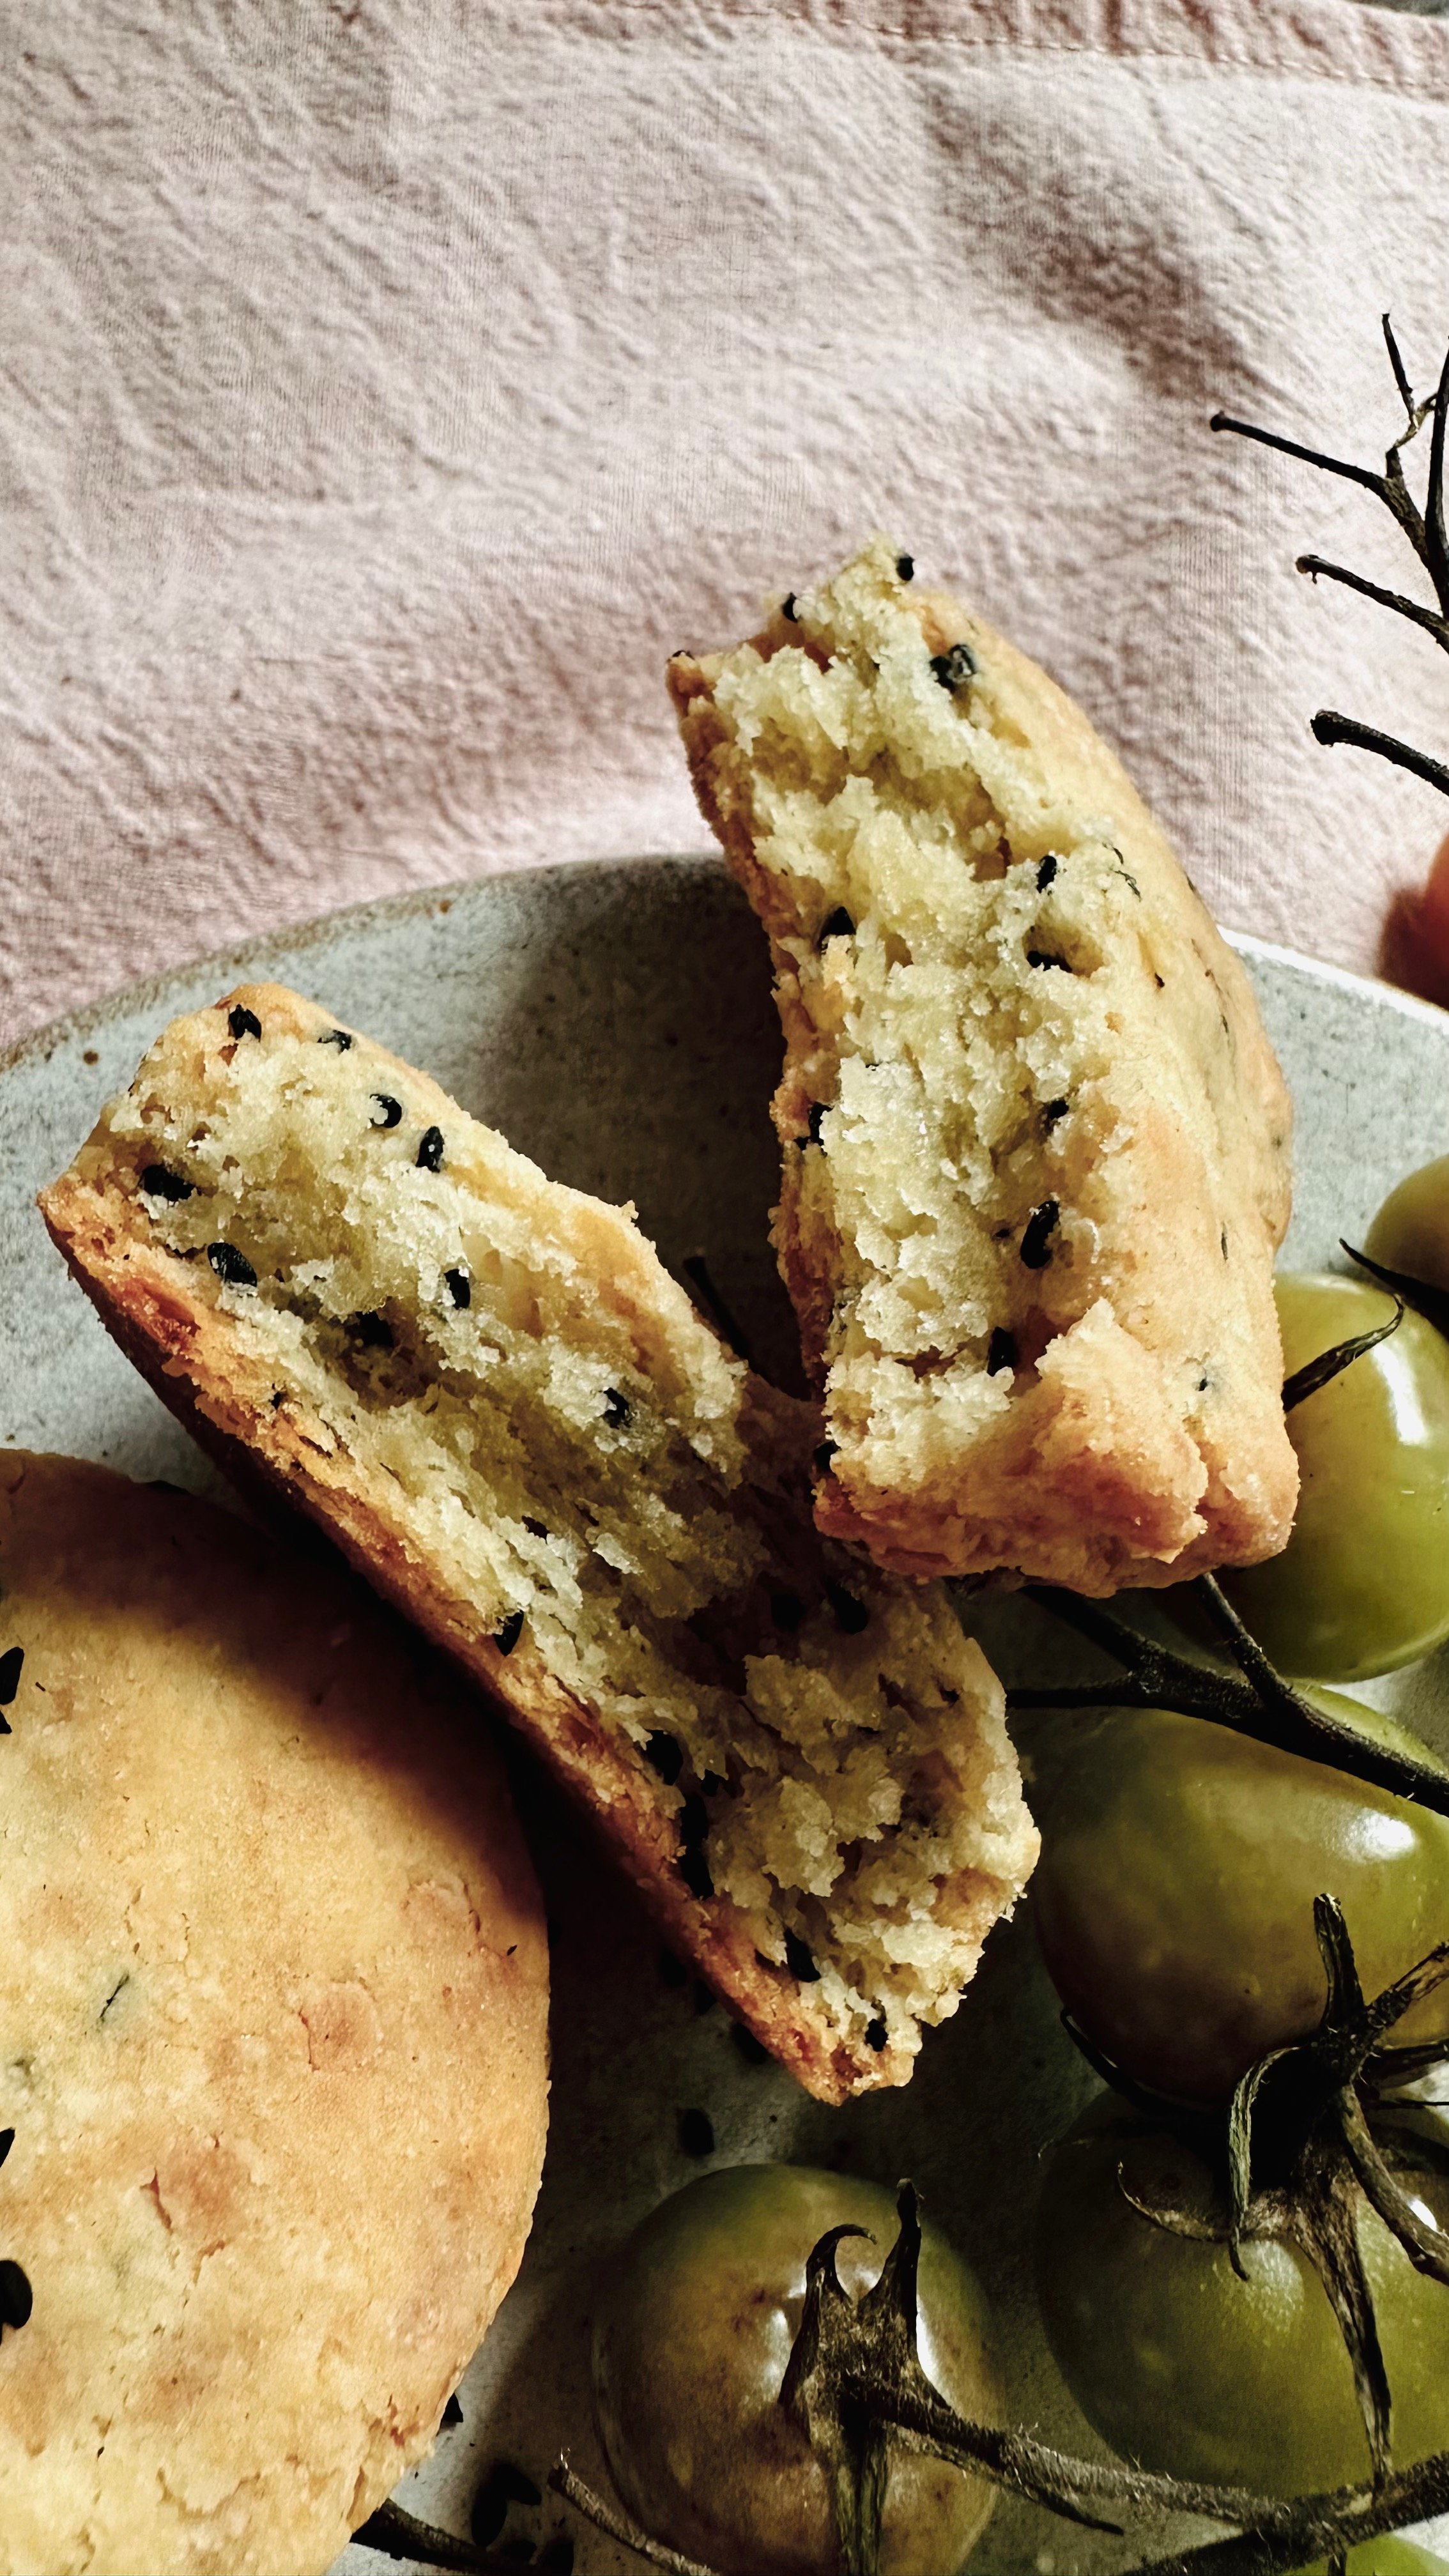
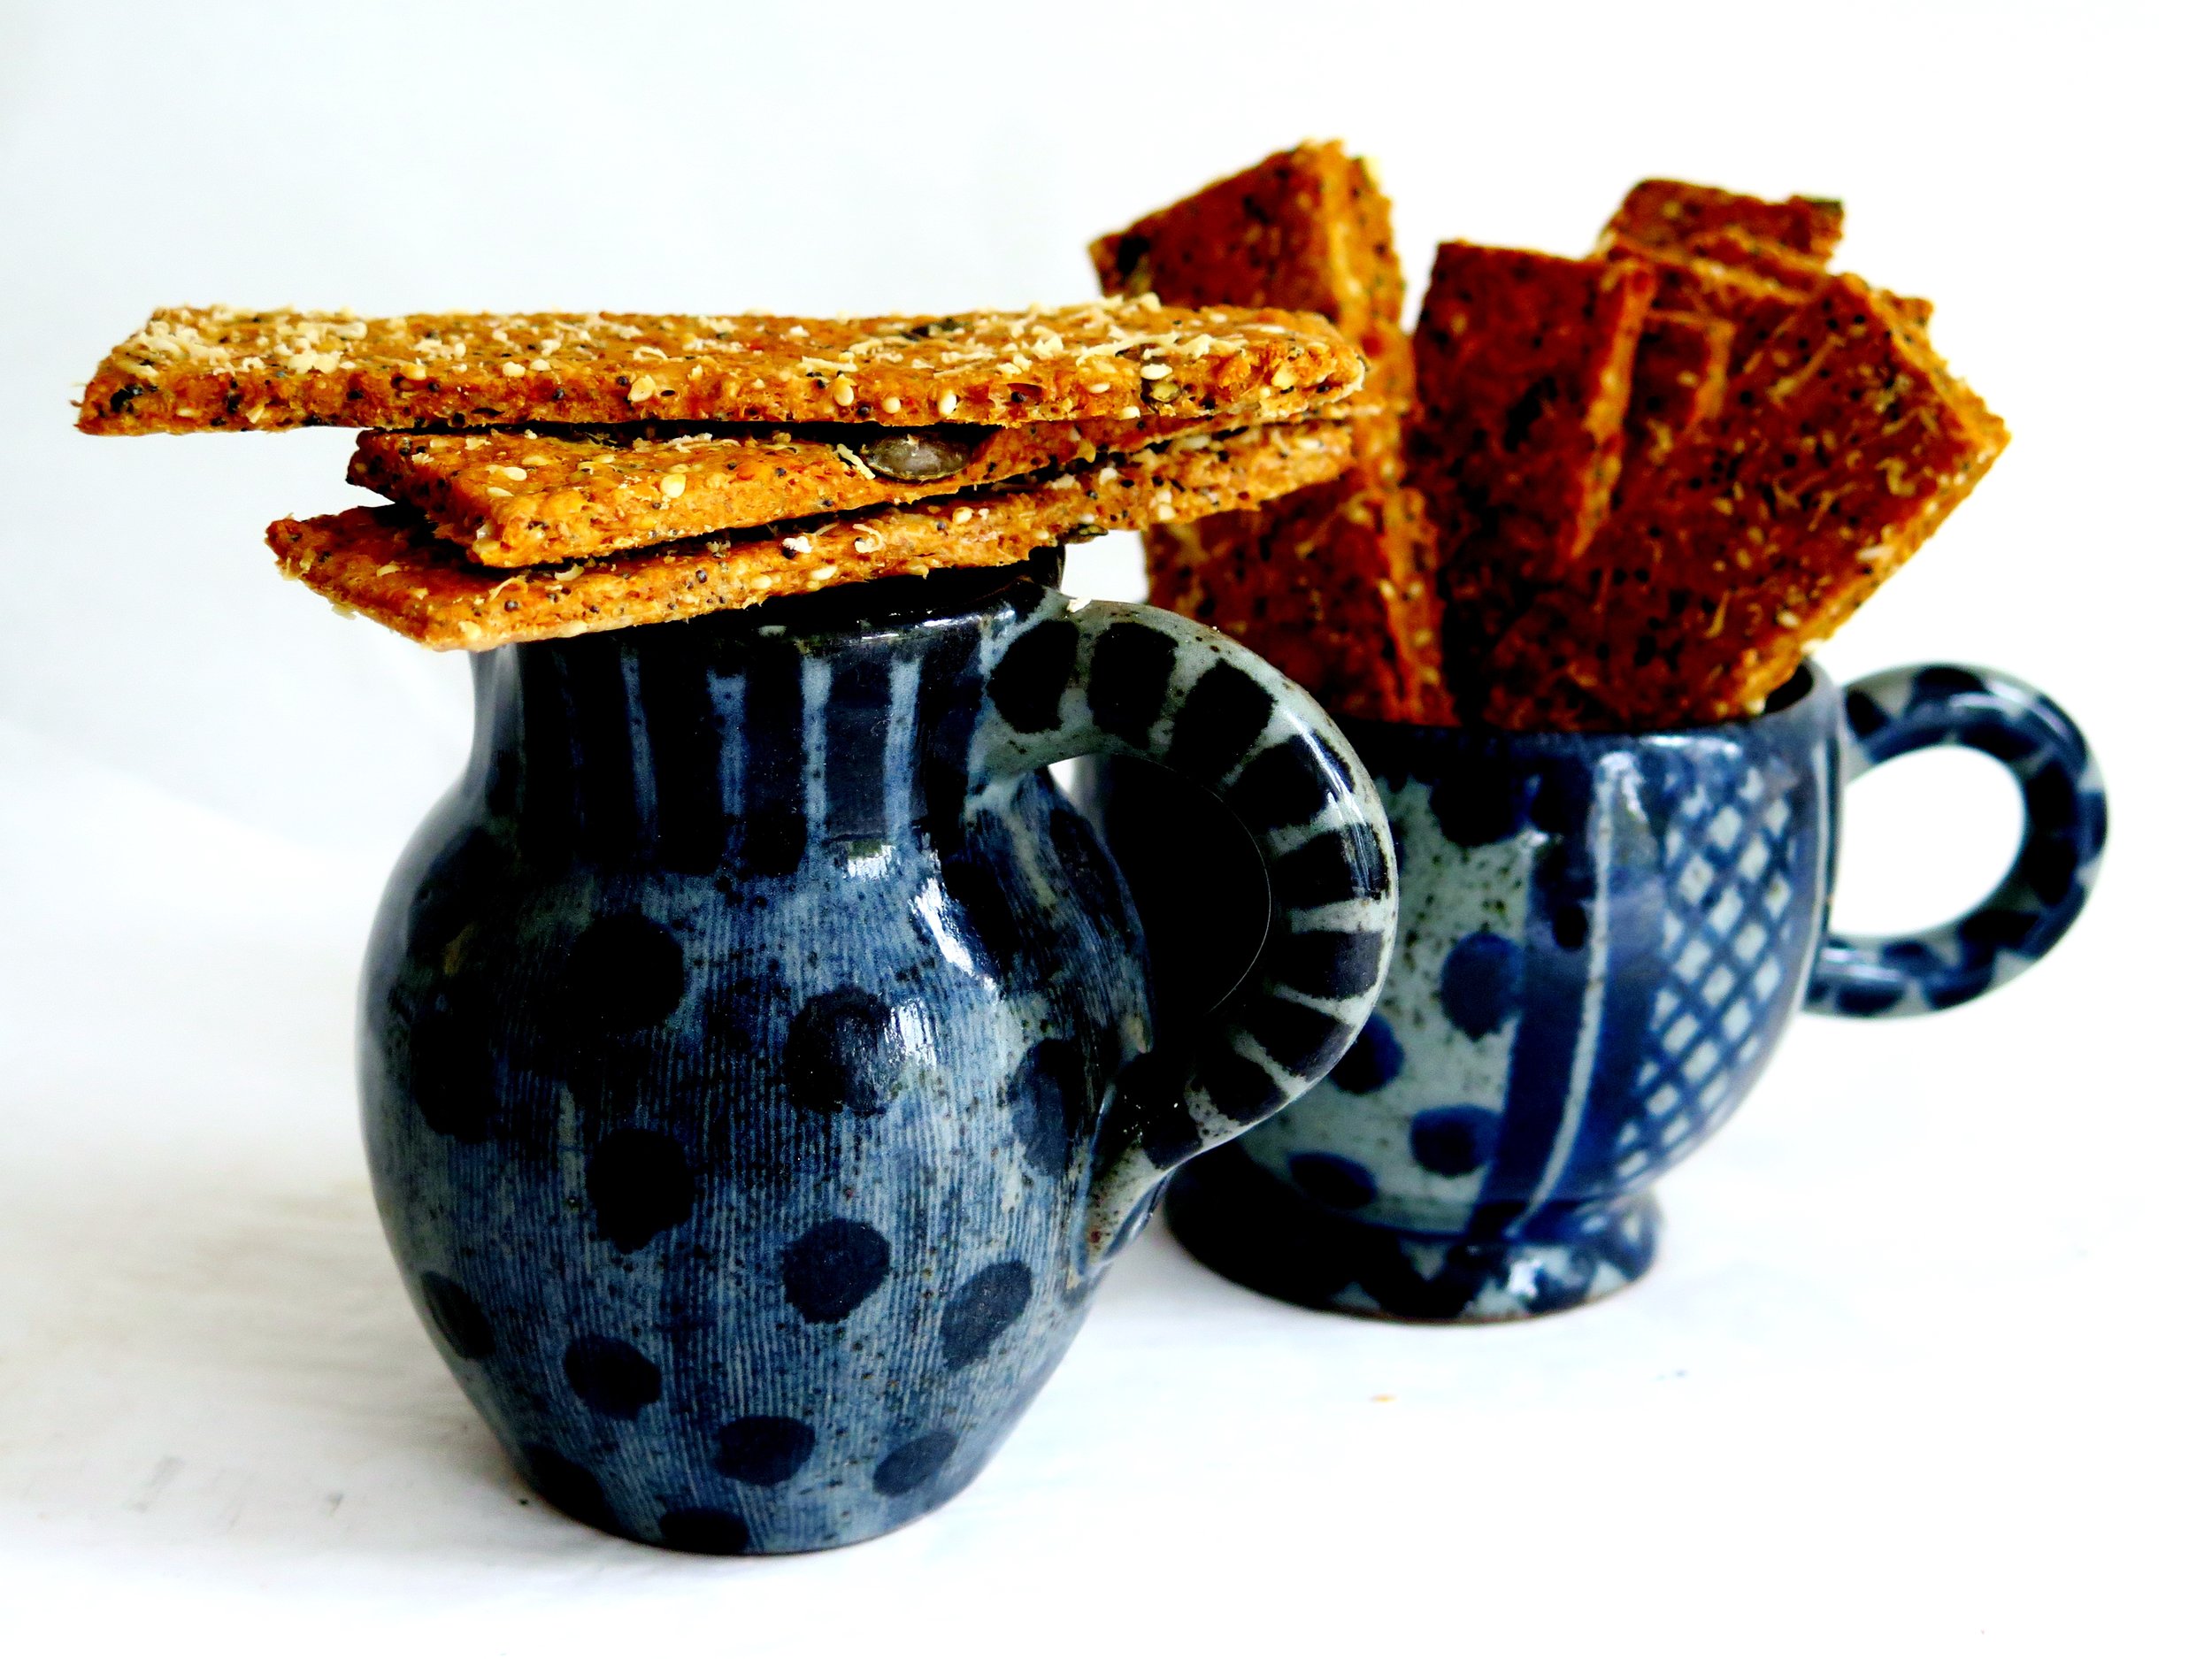
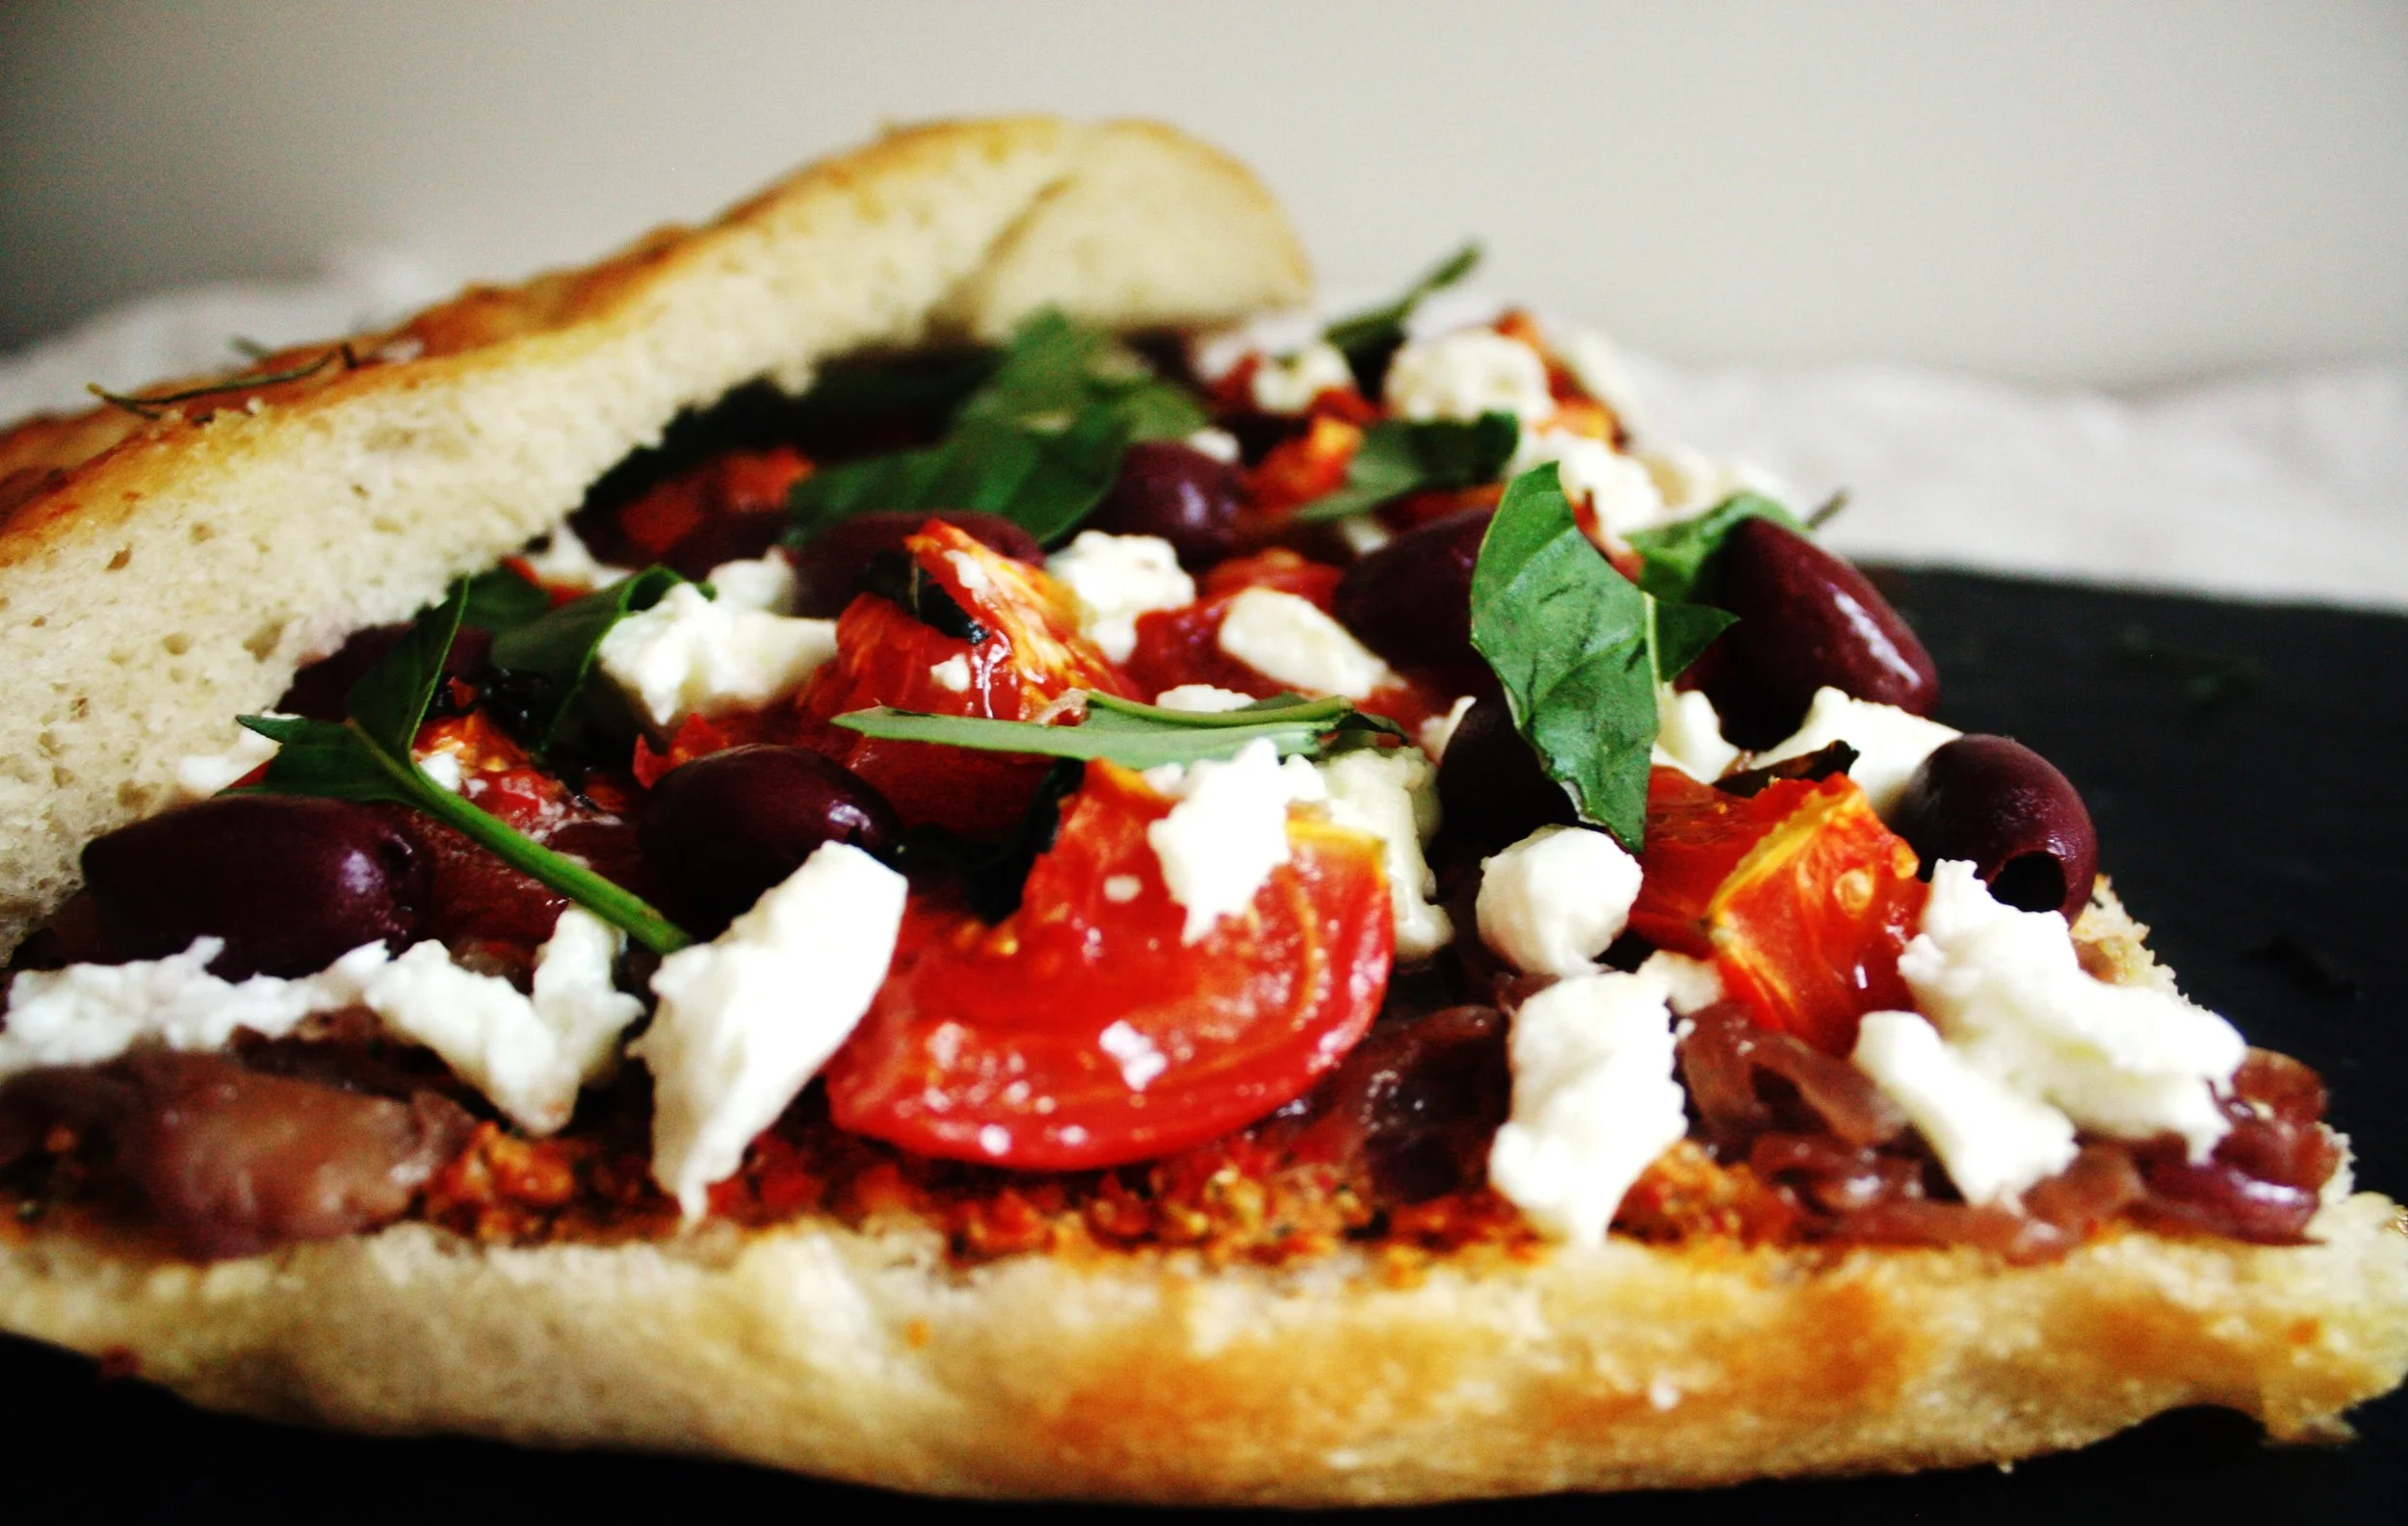
They’re extremely easy to whip up, and work perfectly as a savoury treat at afternoon tea, accompanying a bowl of soup, or with cheeses, membrillo paste and a handful of fresh baby tomatoes.


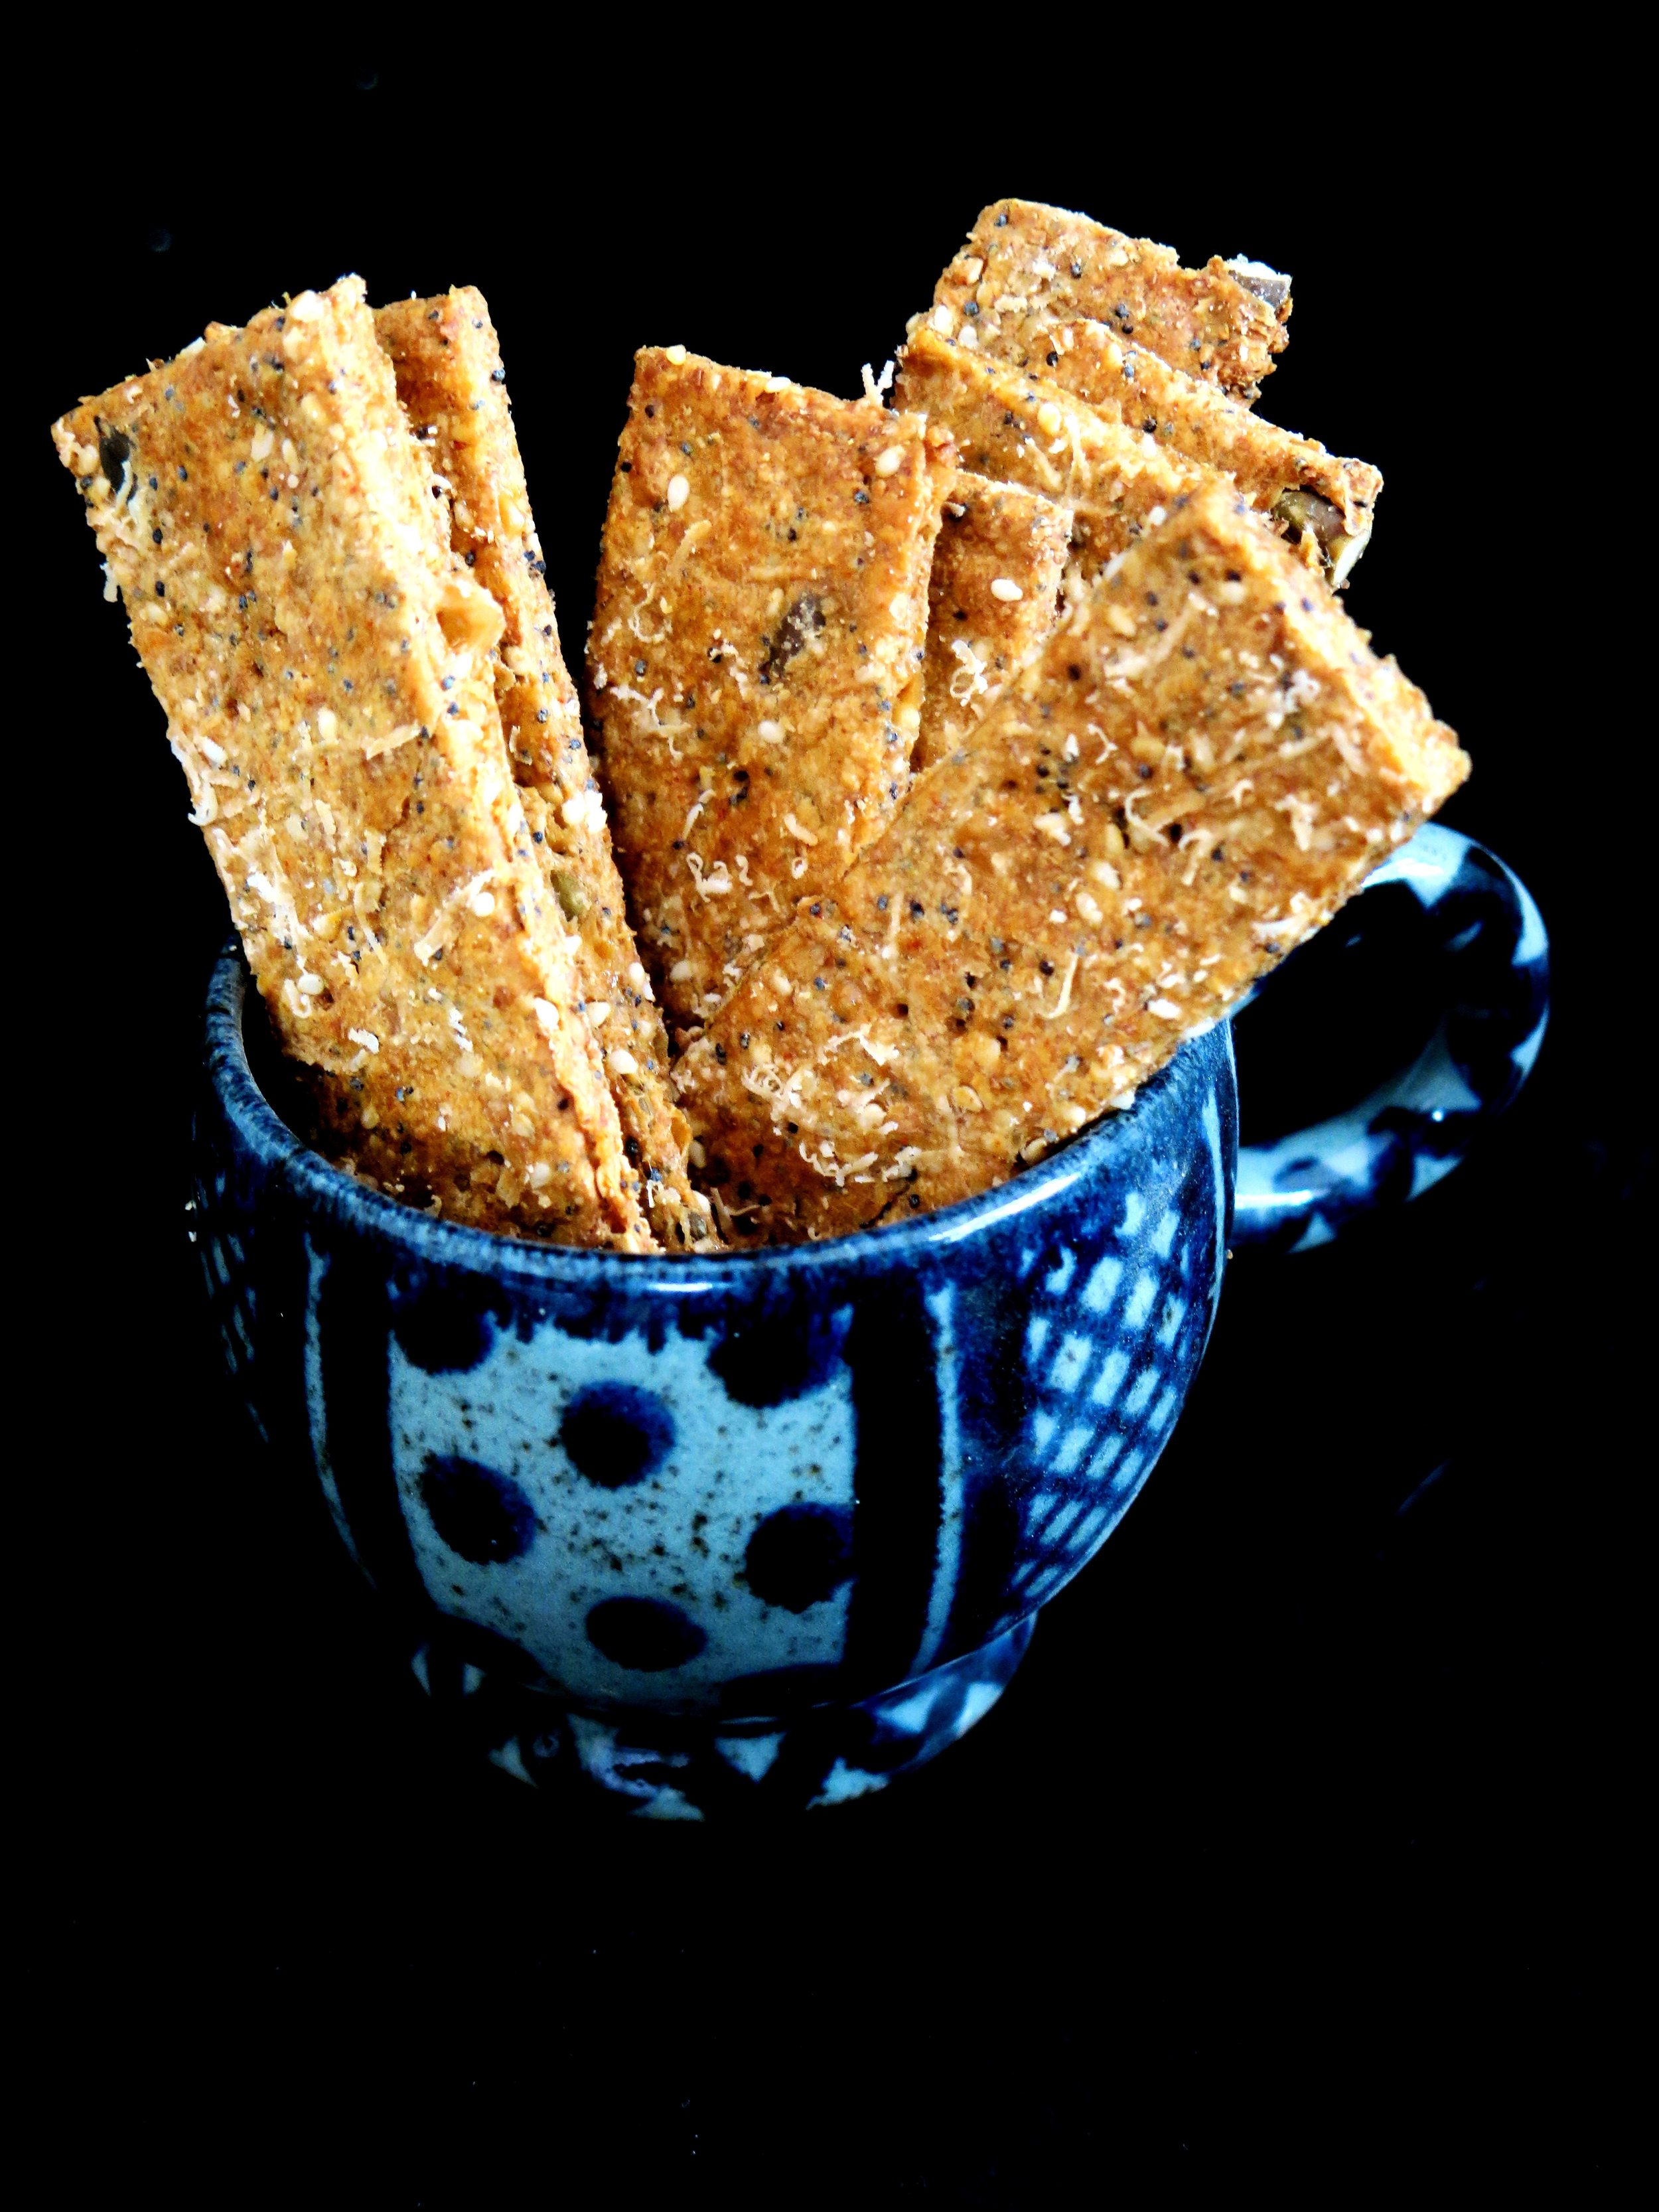
TRIPLE CHEESE & NIGELLA SEED BISCUITS

RECIPE – MAKES 12


Ingredients


150g butter, very cold/frozen

75g fresh mozzarella

75g semi-stagionato pecorino (or parmesan, if you can’t get hold of pecorino)

60g feta

1 ½ tsp double cream (or milk if you don’t have any double cream to hand)

250g plain flour

10g nigella seeds

½ tsp salt

½ tsp baking powder

¼ tsp caster sugar


large baking tray, lined with baking parchment

6cm diameter cookie cutter (feel free to use a different size if you want larger/smaller cookies, but bear in mind the baking time will reduce for smaller cookies)


Method


1)    Preheat oven to 200°C.

2)    Take the mozzarella and press it between two pieces of paper towel to squeeze out as much liquid as possible.

3)    Using the coarse side of a cheese grater, grate the cold/frozen butter, mozzarella, pecorino and feta into the bowl of an electric stand mixer or a large bowl if making by hand. The cheeses may crumble a little unevenly but don’t worry too much about striving for perfection, they just need to be broken down into small pieces. Add in the double cream and stir together.

4)    In a separate medium sized bowl, whisk together the flour, nigella seeds, salt, baking powder and caster sugar until evenly mixed.

5)    Pour the dry ingredients into the bowl containing the cheeses. If using an electric stand mixer, fit it with the paddle and mix on a low-medium speed until the mixture just comes together. If making it by hand, stir with a wooden spoon until a crumbly dough is formed. Take care not to over mix as this will stimulate the gluten in the flour, and break down the butter too much, making the cookie tougher and less tender. If the mixture is too dry (climate/room temperature can affect this), add in a tiny bit more double cream but be careful not to add too much – the dough should be slightly crumbly.

6)    Lightly dust a clean surface/board with flour. Tip the cookie dough on to the surface and pat it together until it forms a disc. Roll it out to an even thickness of 1.5cm. Then use the cookie cutter to stamp out the circles. Place them on the baking tray at least 4cm apart (they won’t spread much).

7)    Place in the oven and bake for 12-15 mins, until the top and base are golden and crunchy. You can serve these warm or cool. NB, they keep for up to 3 days stored in an airtight container at room temperature. Or you can freeze them for up to 6 months in an airtight container.


Triple cheese and nigella seed biscuits recipe

 HUNGRY FOR MORE?

Comment

Seeded Spelt Crackers - Recipe

9 Comments

Seeded Spelt Crackers - Recipe

IMG_5199.jpg

Last week I panic baked.  My usually dependable supply of Dr Karg’s seeded spelt and emmental and pumpkin seed crisp breads had run dry. Only a few sad seeds in the corner of the packet remained, which I ate mournfully, before desperation led me to pulling open drawers in search of the emergency packet I had hidden from myself.

IMG_5211
IMG_5211
Seeded Spelt Crackers - Recipe

My hunt was rewarded with absolutely no trophies.  I must have found them some time before.

Seeded Spelt Crackers - Recipe

Necessity mothered invention: I combined some of my favourite ingredients to make my own version of the crisp breads, and they turned out rather well, perhaps even better than the originals. My family had clearly also been struck by panic, as two batches were devoured in ten minutes…

Seeded Spelt Crackers - Recipe

These crisp breads are ridiculously quick to make, healthy (when you don’t eat the whole batch in one sitting – an almost impossible feat), and delicious.  They’re also versatile – the seeds can be eliminated and/or exchanged for other varieties as desired, and they can be served with hummus, red pepper pesto (see my recipe), guacamole etc.  They can also be made dairy-free by eliminating the cheese.

Seeded Spelt Crackers - Recipe

Ingredients

115g white spelt flour

100g wholemeal spelt flour

¾ tsp salt

30g sesame seeds

15g poppy seeds

30g pumpkin seeds

50g cheddar, grated

50g parmesan grated, + 5g for sprinkling

1 tsp cayenne pepper (optional)

125ml water

1 tbsp olive oil

1 baking tray, overturned, greased with oil and dusted with flour

Method

  1. Preheat oven to 220˚C. In a large bowl mix dry ingredients together. Pour in water and oil and stir until mixture clumps together into quite a dry dough.  You may need to knead it slightly with your hands.
  2. Place dough on overturned baking tray and roll it out until it reaches the edges of the tray. It should be about 3mm thick.
  3. Sprinkle with the extra parmesan, prick the dough liberally with a fork, and score it into your preferred geometric shapes. I like 4cm x 10cm rectangles.
  4. Place in oven and bake for 10-15 minutes until golden, and firm to touch. Leave to cool – they will become crisper as they cool.
Seeded Spelt Crackers - Recipe

9 Comments

Red Pepper Pesto & The Ultimate Sandwich: Mediterranean style

1 Comment

Red Pepper Pesto & The Ultimate Sandwich: Mediterranean style

focaccia3-2.jpg

focaccia2 (2) It started in exam term in my first year when everyone’s eyes were bloodshot and their eyelids quivering with panic and fear. The cool, white-lit aisles of M&S became a solace – I didn’t even need to buy anything. Drawn inexorably to my oasis, my first trip one day led me to a jar of red pepper pesto. I plunged a spoon into the glistening depths as soon as I made it back to my room, and in the grip of revision lunacy, it made sense to finish the jar - straight, without any interfering bread or cracker-like vehicle, and as fast as possible. It was savoury and creamy, but when the jar was empty and I stopped to analyse what I had just consumed, it was clear to me that the pesto was way too oily. I began to experiment with my own version, and I concluded that adding oil is entirely unnecessary. I think my version tastes fresh, summery, and light, with a hint of smokiness from the char grilled peppers. You can, of course, grill your own, but there are ready-made grilled peppers in jars that are remarkably good. It is incredibly easy to make: just one step, especially if you’re not going to the trouble of grilling your own peppers. It’s also versatile, and can be swirled into soups, couscous, quinoa, salads and pasta, and can be used as a mezze dip.

red pepper pesto The Mediterranean focaccia sandwich is the perfect platform for the red pepper pesto – it expands and rounds out the flavours of the filling ingredients, adding depth to the sandwich.

focacciawhole1 (2)

Of course, freshly baked, homemade bread is a superior breed to most shop-bought equivalents, and really isn’t difficult to make. It’s not even time-consuming as it gets on with its own activities while you get on with yours. A little bit of punching down (of the dough) now and then is really not that onerous, and the smell of baking bread is well-documented.

focacciawhol3 (2)

You can fill it with whatever Mediterranean, or indeed other, ingredients you wish.

focaccia3 (2)

I loaded mine with roasted tomatoes, olives, mozzarella and torn basil, and of course the red pepper pesto. This is not just a sandwich…this is a meal.

IMG_5837

Red pepper pesto

Ingredients

10g garlic (4 cloves) peeled and crushed 40g pine nuts 40g basil (leaves & stalks) 40g parmesan, grated 3 roasted red peppers from a jar (200g) 2 tbsp sun dried tomato paste 1 tsp lemon juice ¼ tsp salt

Method

In a blender, whizz all the pesto ingredients together until combined but there is still some texture.


Focaccia (Adapted from Gail’s Artisan Bakery Cookbook)

Ingredients

Dough:

500g strong white bread flour 330ml room temperature water 50ml extra virgin olive oil 2 tsp salt 1 tsp caster sugar 10g fresh yeast or 5g dried active yeast 45g clear honey Extra oil and flour for greasing and dusting tin

Topping:

150ml olive oil 8 garlic cloves, crushed 3 sprigs fresh rosemary ½ tsp salt

1 tin 5cm x 24cm x 34cm, lined with baking parchment

Method

1. If using fresh yeast, cream it together with caster sugar in a bowl. It should turn creamy. If using dry yeast, add it in with rest of ingredients. 2. Sift flour into bowl of stand mixer fixed with dough hook attachment. Add rest of ingredients including the yeast. 3. Knead on slow speed for approximately 8 minutes, until dough is smooth, soft and springy. 4. Swirl the dough in an oiled bowl until coated. Cover with cling film and leave to rise in a warm place. 5. In the meantime, make the topping by mixing the oil with the salt and garlic, and allow it to steep. 6. After 45 minutes of rising, knock the dough down and cover it again with cling film. 7. Leave for another 45 minutes. Knock down, and leave for another 45 minutes. Knock down again. 8. Leave it to rise for a further 45 minutes, then stretch the dough to fit the tin and make dimples in the dough with your forefinger. Paint the dough with the garlic-infused oil, and sprinkle with rosemary needles. 9. Preheat the oven to 200°C. Leave the dough to rise for 20 minutes. 10. Bake for ten minutes, then reduce the heat to 180°C and bake for a further 10-15 minutes until golden and the bread is soft and springy. Remove the bread from the tin to check that the base of the bread is crisp and golden. If it isn’t, bake for a further five minutes or so. 11. Once the bread is baked, paint it again with the remainder of the garlic-infused olive oil and sprinkle with salt. 12. Place on wire rack to cool, or serve immediately.

IMG_5819

1 Comment