Viewing entries tagged
raspberry

Molten Centre Chocolate & Raspberry Cakes (vegan)

Comment

Molten Centre Chocolate & Raspberry Cakes (vegan)

The cake is tender and chocolatey and, when cut open, reveals a molten centre. The raspberries add that vital fresh astringency to cut through the sweetness and make a second piece impossibly hard to resist.

Once again, this recipe comes with a disclaimer that despite being vegan, the cake does not vaguely taste “vegan”.

Comment

Giant Vegan Blueberry Pancake

Comment

Giant Vegan Blueberry Pancake

So, I’ve got the solution. Why make loads when you can make one large pancake to divide between your salivating guests? This is the pancake to top all pancakes – it makes even the most indulgent of American pancakes look pitiful and mean. It’s giant, thic(cc)k, pillowy and stuffed with blueberries. It can be dressed up, piled high with tumbled berries and drenched with lashings of maple syrup. 

Comment

Vanilla Berry Oatmeal Loaves (refined sugar-free)

Comment

Vanilla Berry Oatmeal Loaves (refined sugar-free)

The ideal combo of oatmeal, pancake and muffin. They’re protein and fibre-full and naturally sweet (no refined sugar), bursting with berries (zero dryness here) and filling. They’re quick to make, and super convenient as they can be made in advance, frozen and defrosted when cravings strike. They also look rather irresistible on any breakfast table, so great for when you have guests.

Comment

Raspberry & Orange Financiers

Comment

Raspberry & Orange Financiers

Entremets, soufflés, macarons, choux buns - even making ciabatta, a two day process, which culminates in a dough whose tenacious elasticity has been known to reduce some people to tears - I’ve generally met their challenges.

However, hubris met nemesis a couple of weeks ago. I came home to the nutty toasted perfume of a new recipe my mom had tried out: ridiculously simple, five ingredient coconut wafers so thin you could see the sunset through them, so tender that they crumbled in anticipation of hitting one’s tongue, and so light and moreish that a second batch was immediately required in order to satisfy my family’s greed.

I duly crumbed, clumped, chilled, and sliced.  “Make them thinner,” my mom said. And I did, each slice crumbling into thousands of buttery coconut crumbs. I pressed them together and started again. And again. Unfortunately, it was only my patience that turned out thin, and the petulant three year old in me ended up scooping together the entire mixture and, from a height, throwing it down onto the tray.

Finally, I managed to get the fragments to coagulate by adding water. Things went more smoothly, but the biscuits, when baked, were slightly tougher, less flaky and less moreish than the original batch. Nevertheless, my brother took them to university. One of his friends, suffering from tonsillitis, reached into the box of biscuits, and in taking out one, touched many. The rest were binned, mostly due to the possibility of their having being infected with tonsillitis, but clearly not delicious enough to warrant risking it – a failure in my book.

After nursing my crumbled confidence for several days I swerved off the rocky path of coconut wafers to try my hand at financiers. I have always admired them - perfectly bite sized and innocent- looking with the flush of raspberry in the centre. They are also simple to make, requiring few ingredients, and turning out both delicious and delicate.

The history is much debated, but some say they were create by nuns of the Order of the Visitation and then adapted by a French baker, Lasne, to sell in the Parisian financial district where their almond content allowed them to keep well in the pockets of bankers. 

They are elegant and dainty, slightly crunchy on the outside, the tender blond crumb perfumed with a slight orange tang and moistened by the burst of raspberry.  They do keep rather well and would bless a summer’s picnic.

Recipe:

Makes 30 (approx)

50g unsalted butter

50g plain flour

160g icing sugar

140g ground almonds

1/2 tsp salt

200g egg whites (6 large eggs)

1/4 tsp almond extract

zest of 1/4 orange 

60g raspberries (minimum of 30 raspberries i.e. 1 per financier)

 Very well-greased and flour- dusted 3 x 12 hole mini cupcake tins (with 2.5cm diameter circles)  OR 1 to be used 3 times

Method:

  1. Melt the butter in a small pan over a medium heat. When completely melted, stir the bottom of the pan continuously until the butter turns a deep gold colour and nutty in aroma. Set aside to cool.
  2. Sieve the flour and icing sugar into large bowl. Stir in the ground almonds and salt. Once combined, pour in the egg whites, almond extract, zest and slightly cooled butter and stir to fully combine. Cover the bowl and allow the mixture to chill in the fridge for 2 hours.
  3. Preheat the oven to 180C.
  4. Spoon the batter into the holes until each is two thirds full. Press a raspberry into the centre of each - the batter should rise to all the way to the top. 
  5. Place in the oven to bake for 10-12 minutes or until light gold in colour. Transfer to a wire rack to cool (to avoid them becoming soggy) or devour immediately. 

Comment

MINI CHOCOLATE & RASPBERRY MERINGUES

Comment

MINI CHOCOLATE & RASPBERRY MERINGUES

Mini Chocolate & Raspberry Meringues

According to most newspapers, January should be the month of indulgence deprivation. With the weather cold, grey and bleak, we’re being told that now is the time to eliminate everything that affords even a hint of pleasure. I admit that it may be time for me to cut down on the panettone habit: I caught myself tearing off fleecy chunks of the ambrosial, yellow, sultana-studded fluff and crowding my mouth until it overflowed. 

Mini chocolate & raspberry meringue

My brother actually created a time-saving method which anticipated the bolus of food that would develop in the gullet by compressing the panettone in his hands first before devouring. I was impressed.

Mini chocolate & raspberry meringue

Fortunately, but lamentably, my mother prevented me from importing from Italy to England the 5 kg of panettone that I’d bought (with the pretence of giving as gifts). To cope with the withdrawal symptoms, I made these instead.  

Mini chocolate & raspberry meringue

I refuse to deprive myself of pleasure - these can be a happy halfway house. So numerous that they can be popped into the mouth in one without anyone noticing that the supply has been reduced, so light that they can be enjoyed without having to loosen waistbands to accommodate them, and so small that they make gorgeous bejewelled petit fours at dinner parties without the guilt attached, in my case, to eating an entire pavlova.  

Mini chocolate & raspberry meringue
Mini Chocolate & Raspberry Meringues

The dark chocolate base adds a touch of sophistication and slight bitterness to undercut the sweetness, and the raspberry provides that much needed astringency to cut through it. Crunch, creaminess, chocolate and tang, all in one mouthful – who needs 5kg of panettone? 

Mini Chocolate & Raspberry Meringues

Ingredients

(makes 70 mini meringues - halve the recipe if you would like fewer)

90g egg white (the whites of 3 large eggs)

175g caster sugar

150g good quality dark chocolate (70%)

200ml double cream

350g raspberries (approximately 1 per meringue)

30g icing sugar (optional)

2 large baking sheets lined with baking parchment

A piping bag fitted with a round 1cm nozzle to be used twice: first to pipe the meringue, and then the cream.  It can be marginally larger or smaller than 1cm. If you lack a piping bag, you can use a freezer bag and cut off a corner to replicate a 1 cm sized nozzle.

Method

  1. Preheat oven to 130°C. Pour egg whites into an electric mixer fitted with a whisk and whisk on high speed until soft peaks form.  It should be foamy in appearance.
  2. Switch the speed to medium-high and pour in caster sugar one tablespoon at a time. Once each tablespoon has dissolved into the mass of egg white, add the next. Keep whisking until the meringue forms hard peaks and is glossy i.e. the meringue should hold its shape when drawn into peaks with a spoon and the tracks of the whisk are visible in its surface.
  3. Spoon the meringue mixture into the piping bag.  Holding the nozzle at a right angle to the baking parchment, pipe 3cm diameter sized meringue peaks onto the parchment in rows, leaving 3cm between each one (they expand slightly as they bake). Place in the oven and cook for 45 minutes, checking after 30 minutes. Once cooked, switch the oven off and allow to sit for another 15 minutes in the oven. They should remain pale and be crisp on the outside and slightly soft in the centre. Remove cooled meringues from the oven, and set them aside.
  4. Break the chocolate into pieces and place in a bowl over a pot of simmering water. Don't allow the water to touch the base of the chocolate bowl. Don't melt the chocolate directly in a pan on the stove as this causes it to seize. Allow to melt, stirring occasionally until glossy and smooth. Remove from the heat. Lightly holding the meringues at the sides with thumb and forefinger, dip the base of each meringue into the molten chocolate so that it coats the base and up to 1cm on the sides of the meringue. Place the dipped meringues back on to the baking parchment. Once the whole batch is coated, place the tray in the freezer for 10 minutes to allow them to set.
  5. In an electric mixer fitted with a whisk (or by hand if you’re feeling strong), whisk the cream until thickened. The tracks of the whisk should be visible and it should hold light peaks. Spoon the cream into a piping bag and pipe about a teaspoon of cream on to each meringue. Place a raspberry on each cream peak, face down. Sieve icing sugar over, if desired, and serve. 
  6. Best eaten on the day but the meringues without topping can be kept in an airtight container for a couple of weeks in a cool dry cupboard, and for a month in the freezer.
Mini Chocolate & Raspberry Meringues

HUNGRY FOR MORE?

Comment

Morroccan Spiced Linzer Jam Cookies

Comment

Morroccan Spiced Linzer Jam Cookies

Afternoon tea.  What do you think of when someone says those words? Tiers of fluffy isosceles sandwiches, miniature entremets layered with fruit, caramel, and chocolate, and maybe a scone glistening with strawberries.  Crisp napkins, high ceilings, the tinkling of fine bone china…

Near where I live there is an Austrian tea room.  The window is filled with garish glace cherry- adorned, deflated pastries, crusted squiggles of festering cream, and opera cake melding into a brown sludge. It opened 60 years ago, and the décor and pastries appear not to have been refreshed since.

Morroccan Spiced Linzer Jam Cookies

Inside, it is dark and cramped, and the airless atmosphere is thickened with hot breath and the oversweet smell of fat and sugar.

Their Linzer biscuits, however, remind me of Jammie Dodgers – those jam-filled, shortbread biscuits of my childhood that only other people’s mothers allowed – and inspired me to re- interpret them. 

These have a slight Moroccan edge: spiced, delicate with a slight chewiness, filled with the tangy conserve of your choice.

I like marmalade for the tart/bitter contrast against the sweetness of the pastry, but strawberry also works well.  Of course, you can go for any shape, but I am rather taken by the cog-like –quirky take on a Jammie Dodger look.

Ingredients

290g (10.125 ounces) white spelt flour (or plain flour if unavailable)

140g (5 ounces) ground almonds

100g (3.5 ounces) caster sugar

¼ tsp salt

2 ½ tsp cinnamon

¼ tsp ground cloves

¼ tsp almond extract

1 tsp grated lemon zest (about ½ lemon)

1 tsp grated orange zest (about ½ medium orange)

225g (8 ounces) unsalted butter

200g (7 ounces) marmalade or jam of choice (I used marmalade and strawberry)

30g (1 ounce) icing sugar

Large and small cookie cutters (I used 7cm and 3.5cm diameter rings)

2 large baking sheets, lined with baking parhcment

Method

  1. Pour flour, ground almonds, caster sugar, salt cinnoman, cloves,orange and lemons zest, and almond extract into a food processor and pulse until fully combined.  Add in the chopped butter and pulse again until the mixture forms a damp sand-like texture.  Keep pulsing until it clumps tighter to form a dough.
  2. Divide the dough into two rounds and flatten both onto sheets of baking parchment, wrap them and place them in the freezer for about 20 minutes or the fridge for an hour.
  3. Preheat the oven to 160˚C (325˚F). Remove the disks of dough from the freezer/fridge – if they are too firm to roll, let them sit for a few minutes.  Ona thoroughly floured board, roll one disk out to a 3mm (1/8 inch) thickness. Cut out as many cookies as possible and set aside the scraps.  Space the disks out on the baking trays as you go. Repeat with the second disk and use the smaller cutter to cut out small holes from the rounds.  Press together the accumulated scraps and roll out again.  Make sure there are an equal number of whole circles to circles with a cut out circle.  A tip to avoid the cutter sticking in the dough is to dip it in flour first.
  4. Place the trays in the oven and bake for 12- 15 minutes until the cookies are golden but still soft to the touch – they will continue to cook as they cool. When cool, for aesthetic effect, sieve the icing sugar onto the rounds with the circles cut out of them. Then spread a teaspoon of the jam/marmalade onto the complete circles, and lightly press the cut-out layer on top.  Devour, delicately, of course…
Morroccan Spiced Linzer Jam Cookies

Comment

The Best Bircher Muesli

2 Comments

The Best Bircher Muesli

'Oats: a grain, which in England is generally given to horses, but in Scotland supports the people’ Samuel Johnson, The Dictionary of the English Language, 1755

If I were the type of person that leafed (ironically) through Cosmo, and stumbled across one of those lazy, page-filling content, tree diagrams which happened to ask “what is your spirit animal?”, I know what mine would be. A horse.  Well, at least that’s what it would have been during the second year of my time at university in terms of comestibles…

Essay crises necessitate fuel in order to feed the adrenaline and, for me, that fuel came in the form of oats.

When you have a 9 am deadline approaching, and there is only one hour remaining, every minute is precious - so there is no time to spare for cooking oats over the hob until they break down into a creamy mulch.

The Best Bircher Muesli

That’s the excuse I gave myself.  Instead, I developed the rather grotesque habit of eating oats straight from the packet, raw and desiccated. In my maddened and pressured state, I savoured the clagginess of the oats, where you can’t quite conjure up enough saliva to swallow them.  Ideal.

I have since moved on from this stage (with the very occasional relapse) to a more acceptable way of dealing with my love of oats: Bircher muesli, invented by Bircher Benner, a pioneer of raw foodism, in the late 19th century as a way of curing his jaundice.  It worked.

I feel, somewhat justifiably, that it runs in my blood (thick & creamy): my great-great-uncle was a frequent patient at Benner’s rather avant garde  Swiss raw food clinic and, one sunny day, he stepped down from a plane on an impromptu visit from Scotland to South Africa with no clothes besides the ones on his back, a vegetable juicing contraption which he trailed behind him on a rickety little cart, and a proselytising passion for Bircher muesli.

The Best Bircher Muesli

I have tried many a Bircher muesli, from Swiss versions to Vietnamese attempts, but I feel I have concocted the ultimate version (excuse my arrogance).  Creamy, healthy, juicy, and exotic, it’s effectively manna, and I would happily have it for every meal of the day (jaundiced or not).

The Best Bircher Muesli  (Serves 5)

Ingredients

2 Braeburn apples, grated

Juice of 1/2 lemon

200ml orange juice

200g natural yogurt

200g almond and coconut milk (can be substituted with dairy or non-dairy alternatives)

3 tbsp maple syrup

1 tsp vanilla bean paste (if you can’t get hold of this, omit it, or substitute with ½ tsp vanilla extract)

50g desiccated coconut, lightly toasted in a pan on a low heat until pale gold)

200g porridge oats

Pinch of salt

200g of fresh fruit of your choice (blueberries, strawberries, raspberries, figs, sliced banana work well)

40g coconut chips (optional but adds great texture)

Method

  1. In a large bowl mix together all the ingredients apart from the fresh fruit and optional coconut chips. If you are making this the night before, cover the bowl with cling film and place in the fridge overnight to let the oats soak up the flavours.  If you are serving the muesli immediately, stir the mixture for a couple of minutes to break down the oats until they are creamy.
  2. If you are leaving the muesli overnight, allow it to come to room temperature before serving. Scatter mixed berries and fruits and coconut chips over the top and serve.

2 Comments

Tipsy Triple Raspberry Macarons

1 Comment

Tipsy Triple Raspberry Macarons

IMG_6464.jpg

Tipsy Triple Raspberry Macarons I refuse to believe that the macaron is simply a fad.  Admittedly, there was a craze which saw the opening of several French macaron boutiques in London. I shan’t name names but one of the largest French specialists does not even make them fresh in London. Instead, they import them frozen from France - in a state of hibernation, as they call it.

Tipsy Triple Raspberry Macarons

Tipsy Triple Raspberry Macarons

Despite this, the specialists remain, and the macaron is here to stay. Now that the craze has faded a little, I feel more free to write a recipe as people will be slightly less sick of the sight of the perfect ruffled shells.

Tipsy Triple Raspberry Macarons

Many are intimidated at the prospect of making them, but there really is no need.  The rumour of the challenge in making them may well have been promulgated by the macaron specialists themselves in order to justify their extortionate pricing.

Tipsy Triple Raspberry Macarons

To make them extra tangy and fruity, raspberry is worked into these macarons in three ways: freeze dried raspberries, raspberry jam and raspberry liqueur.  If you can’t get hold of freeze dried raspberries, just omit this element from the recipe.

Tipsy Triple Raspberry MacaronsTipsy Triple Raspberry Macarons

Tipsy Triple Raspberry Macarons

Triple Raspberry Liqueur Macarons 


Makes about 30 small macarons


Ingredients

110g icing sugar, sieved

50g ground almonds, blitzed in a blender to a fine powder, and sieved

5g freeze dried raspberry powder OR 10g freeze dried raspberries, crushed or whole (see below)

60g egg whites (about 2 eggs' worth)

40g caster sugar

A couple of drops of pink food dye (optional)

200g seedless raspberry am

4 tbsp Chambord (raspberry liqueur)


2 large baking trays lined with baking parchment – if you wish to achieve perfectly circular macarons, create guidelines for the piping by drawing in pencil round a 4cm bottle lid repeatedly on the greaseproof paper, leaving at least 4cm between each circle.  Flip it over after doing this to ensure that the pencil does not transfer to the macaron


Piping bag fitted with 0.5cm nozzle


  1. In a large bowl, mix together the sieved icing sugar, ground almonds and freeze dried raspberry powder.  If you can only get hold of crushed or whole freeze dried raspberries, place these in a blender and blitz until they are as pulverised as possible, and then sieve to remove the seeds.  You should be left with a fine red dust.
  2. Pour egg whites into the bowl of a bone dry electric mixer fitted with a whisk attachment. Whisk at a high speed until soft, foamy peaks form.  Then, with the whisk still ongoing, add in the caster sugar, a tablespoonful at a time.  Keep whisking until the meringue is glossy and firm peaks form.
  3. Take a third of the meringue and mix it into the dry ingredients.  If the dry ingredients don’t fully combine, stir in another tablespoon of meringue.  At this point you can add a couple of drops of food dye to reach desired colour - anything from baby  girl to schiaparelli pink. The mixture should turn into a thick, smooth paste.  Then, gradually fold in the rest of the meringue, a tablespoon at a time, until the mixture becomes glossy and smooth.
  4. Spoon mixture in the piping bag and pipe little dots directly onto the corners of the baking tray to stick the baking parchment down.  Then pipe the mixture into each circle.  Once finished piping, tap the tray down firmly on a hard surface a couple of times to remove the air bubbles from the macarons. Then set the macarons aside at room temperature for 30 minutes.  This will allow a skin to form and will lead to the creation of the often-elusive but essential “macaron foot”.
  5. While they are resting, preheat oven to 150˚C. Bake the macarons for 20 minutes or until they can be lifted off the tray cleanly with a pallet knife. Allow them to cool until they reach room temperature.
  6. Place raspberrry jam in a small pot over a medium-high heat and stir continuously. After it has bubbled furiously for a couple of minutes, stir in the Chambord.  Allow the mixture to simmer for about 5 minutes,  or until it has become more viscous and thick enough to be able to be dropped off a spoon. Remove from the stove, allow to cool for 5 minutes and then sandwich each pair of macaron shells together with a teaspoon of the mixture.

Tipsy Triple Raspberry Macarons


Tipsy Triple Raspberry Macarons

1 Comment

Summer Berry Lemon Curd Tarts

8 Comments

Summer Berry Lemon Curd Tarts

IMG_1078.jpg

Summer Berry Lemon Curd Tarts I endured school lunches for four years and then abandoned them. Waking up twenty minutes early to throw together a packed lunch seemed worth it at the time.  My school lunches weren’t even bad.  In fact, they were probably rather good – good enough to avoid having Jamie Oliver sniff his way into our school kitchen in pursuit of good TV.

IMG_1007

What turned me (and my stomach) resided in the stainless steel vats adjacent to the desserts:  pools of lurid yellow purulence (custard).

Summer Berry Lemon Curd Tarts


Notwithstanding my decade old aversion, I decided to venture into custard territory last week.  And I found my cure: lemon curd-filled tarts.

Summer Berry Lemon Curd Tarts

Summer Berry Lemon Curd Tarts


Made using both lemon juice and zest, paired with a lemon-infused tart shell, and partnered with fresh berries, these make a tangy and refreshing summer dessert.

Summer Berry Lemon Curd Tarts

Summer Berry Lemon Curd Tarts


I use spelt flour in the pastry to add extra nuttiness and depth of flavour.  It also has a lower GI than wheat flour.   However, if you can't find it, you can substitute plain flour.

IMG_1038


IMG_1021 Summer Berry Lemon Curd Tarts

Summer Berry Lemon Curd Tarts

Summer Berry Lemon Curd Tarts Summer Berry Lemon Curd Tarts Ingredients (makes 12)

Lemon tart shells

360g white spelt flour  (substitute with plain flour if unavailable)

110g icing sugar

Finely grated zest of 1 lemon

¼ tsp salt

190g cold unsalted butter, roughly chopped into small cubes

1 egg yolk

1 tsp vanilla extract

2 tbsp cold water


A 10cm pastry cutter

1 12-hole cupcake tin, greased with butter and then placed in fridge to chill

Baking beads or rice to weigh down the pastry while it bakes

12 cupcake cases


Lemon Curd

Finely grated zest of 4 lemons

200 ml lemon juice (4-6 lemons)

200g caster sugar

4 medium eggs

4 medium egg yolks

180g unsalted butter

1 baking tray with lipped sides

200g blueberries

150g strawberries

150g raspberries

Icing sugar for dusting


Method

Lemon pastry tart shells

  1. Blend together flour, sugar, lemon zest and salt in a food processor, and add in butter, pulsing to combine until the mixture resembles damp sand. Alternatively, if working manually, mix together the dry ingredients in a large bowl and rub the butter in with your fingers.
  2. Pour the egg yolk, vanilla and water into the mixture and pulse/stir until the mixture just comes together. Flatten the pastry dough into a disc , wrap in baking parchment/cling film and chill in the fridge for an hour, or freezer for 20 minutes.
  3. Preheat the oven to 150˚C.
  4. On a floured surface, roll half the dough out to the thickness of 2 or 3 mm, and cut the pastry into discs using the pastry cutter. Gently press the pastry discs into the prepared cupcake tin.  You will find that there is some dough left over.  This can be frozen for about a month.
  5. Set the cupcake cases into the pastry shells and fill them with the baking beads/rice to weigh the pastry down and prevent it from losing its shape during the bake.
  6. Bake in the oven for about 20-25 minutes until golden and firm to touch. If they have not turned golden by this point, remove the baking beads/rice and cupcake cases and bake for a further 5-10 minutes.  Remove from the oven and set aside to cool.  These can be made 2 or 3 days in advance and kept in an airtight container until you are ready to use them.

Lemon curd

  1. Place lemon zest, juice, sugar, eggs, egg yolks and half the butter in a saucepan over a medium-high heat and whisk continuously while the ingredients cook together.  When the mixture has thickened slightly and threatens to stick to the bottom of the pan, reduce the heat and continue to whisk for another couple of minutes until thickened, whisking all the while.  Off the heat, whisk in the remaining butter until thoroughly combined.  It should be smooth and glossy.
  2. Sieve the curd over the baking tray, and spread it out with a spatula so that only a thin layer coats the tray. Cover the surface of the lemon curd with baking parchment or cling film and place the tray in the fridge for a minimum of half an hour or until it has cooled and become slightly firmer.  Alternatively, place the tray in the freezer for 20 minutes.

Assembly

Arrange the pastry shells on a serving plate and spoon in the lemon curd (roughly 3 tsp per case). Top generously with the berries and dust with icing sugar just before serving.  They can be kept in the fridge for up to 6 hours before serving; longer than that they tend to become soggy.

Summer Berry Lemon Curd TartsSummer Berry Lemon Curd Tarts

8 Comments

Stripy Lemon & Raspberry Cake - Recipe

21 Comments

Stripy Lemon & Raspberry Cake - Recipe

IMG_5587.jpg

Stripy Lemon & Raspberry Cake This stripy lemon and raspberry cake speaks for itself: elegant and refined on the outside, yet quirky on the inside - great if you feel like a change from the usual, and you’re in the mood for something fun.

Stripy Lemon & Raspberry Cake


Stripy Lemon & Raspberry Cake

Unlike most layer cakes, the stripes are vertical.  This makes it both superficially pleasing and more delicious - more stripes = more sumptuous raspberry compote...

Stripy Lemon & Raspberry Cake


Please don’t be intimidated by the lists of ingredients and the recipe.  It really is a lot easier  and quicker than you may think: the stripes are formed by baking the sponge in a baking sheet, spreading the cooked surface with the raspberry compote, cutting it into strips, and rolling them, one strip after the other, swiss roll-like, into a ‘log’.

Stripy Lemon & Raspberry Cake

The sponge is light and lemony, the raspberry compote is tart and moreish, and the icing is infused with berries to provide a little summery freshness.

Stripy Lemon & Raspberry CakeStripy Lemon & Raspberry CakeStripy Lemon & Raspberry CakeStripy Lemon & Raspberry CakeStripy Lemon & Raspberry CakeStripy Lemon & Raspberry CakeStripy Lemon & Raspberry CakeStripy Lemon & Raspberry Cake

Ingredients

Cake

120g plain flour

1 tsp baking powder

¼ tsp salt

3 large eggs

140g caster sugar

Zest of 1 lemon

½ tbsp. water


Baking sheet 38x25x2.5 cm, lined with baking parchment and covering both the base and shallow sides.

Additional baking parchment


Raspberry compote

200g raspberries fresh or frozen, but if using frozen, defrost before use

40g caster sugar

2 tsp vanilla extract

2 tbsp water

150g raspberry jam

2 tbsp corn flour

½ tsp lemon juice


Crumb coating (optional – but makes icing easier and adds extra tanginess and interest to the cake)

75g icing sugar, sieved

50g butter at room temperature

2 tsp lemon juice


Berry-infused cream cheese icing

25g red berries (raspberries and redcurrants work well, and you can use frozen), blitzed until smooth to make a puree

½ tsp lemon juice

75 g cream cheese, at room temperature (essential)

50g unsalted butter, softened to the point that it is threatening to turn into liquid

300g icing sugar, sieved


Method

Raspberry compote

  1. Place frozen/fresh raspberries, sugar, vanilla extract, and water in a saucepan over high heat and stir until the sugar has dissolved. Simmer for 5 minutes or until the texture is slightly syrupy.
  2. Stir in the raspberry jam and corn flour, and boil for a further 2 minutes. Remove from heat.
  3. Blitz the mixture together with the lemon juice in a blender until smooth.

Lemon Sponge Cake

Stripy Lemon & Raspberry Cake

  1. Preheat oven to 220˚C.
  2. Beat together eggs and sugar for about 5 minutes until pale and custard-like (I find it easier to use an electric mixer).
  3. Fold into the wet mixture the sifted flour and baking powder, lemon zest, salt and water. Stir as little as possible and with a light hand so as to keep the mixture airy.
  4. Pour the mixture into the lined baking sheet and spread it out in an even layer right up to the edges of the tray. Place in the centre of the oven, and bake for 4-5 minutes until golden brown and a skewer comes out clean.
  5. While the cake is still warm from the oven, flip it upside down on to a large sheet of baking parchment. Carefully peel off the parchment layer on which it was baked.
  6. Spread the compote evenly over the lemon sponge, and slice lengthways (i.e. from short side to short side) into 4 equal strips of cake.
  7. Begin with one strip and roll into a coil. Place the edge of the roll next to the edge of the second strip and continue to roll.  Continue with the remaining strips until a large spiral is formed.  Place the ‘log’ spiral side up on a plate or cake stand.

Lemon crumb coating (optional, but makes icing the cake easier, and adds extra tanginess and interest)

  1. Beat together icing sugar, lemon and butter until creamy and spread in a thin layer over the top and sides of the cake. Place in the fridge for half an hour, or the freezer for 10 minutes.

Berry-infused cream cheese icing

  1. Beat the butter until completely smooth, then beat in the cream cheese. Stir in the berry puree and lemon juice, before beating in the icing sugar.
  2. Spread evenly over the cake using a spatula. Decorate with berries, or as desired.


Stripy Lemon & Raspberry Cake


21 Comments

Peanut Butter and Jam Cookies - Recipe

Comment

Peanut Butter and Jam Cookies - Recipe

IMG_4786.jpg

Peanut Butter and Jam Cookies - Recipe Memories of countries and cities I’ve visited are strongly intertwined with my culinary experiences there.   Whenever I’m asked about my trip to Cuba, memories of the music, culture and politics, the beauty of the countryside, the cars, and the buildings are always drowned by the paddies of rice starch dotted with beans which faced me every meal time.  The lone cylinder of “Master Potato Crisps” (lesser Pringles), furry with dust, which commanded an entire shelf in an embargo-challenged grocery store emerged as a perverse highlight.

Peanut Butter and Jam Cookies - Recipe


I will never be able mentally to separate Canada from the oozing, sticky-sweet clasp of a particular Toronto cinnamon bun (it may have been preceded by some, but its superiority has eradicated all past and future competition).  New York is always a complete sensory overload: last year I ate overtime to cram Lebanese, Thai, raw vegan, Chinese, Italian, modern European, American, French, Greek, Mexican, and Brazilian into five days - delicious and, arguably, gluttonous.  Yet, despite this mammoth accomplishment, one of the most outstanding of the culinary delights I’ve sampled there is something rather less exotic: the peanut butter cookie.  It may be humble in name, maybe in appearance too, but it is most certainly not humble in nature.  The source of this ambrosia is the well-established City Bakery, off Union Square, known best for its croissant pretzels, seductively viscous hot chocolate and, of course, its peanut butter cookies -crumbly on the outside and soft and chewy in the interior, with salty and sweet in fine-tuned balance creating an insatiable desire for more.

Peanut Butter and Jam Cookies - Recipe

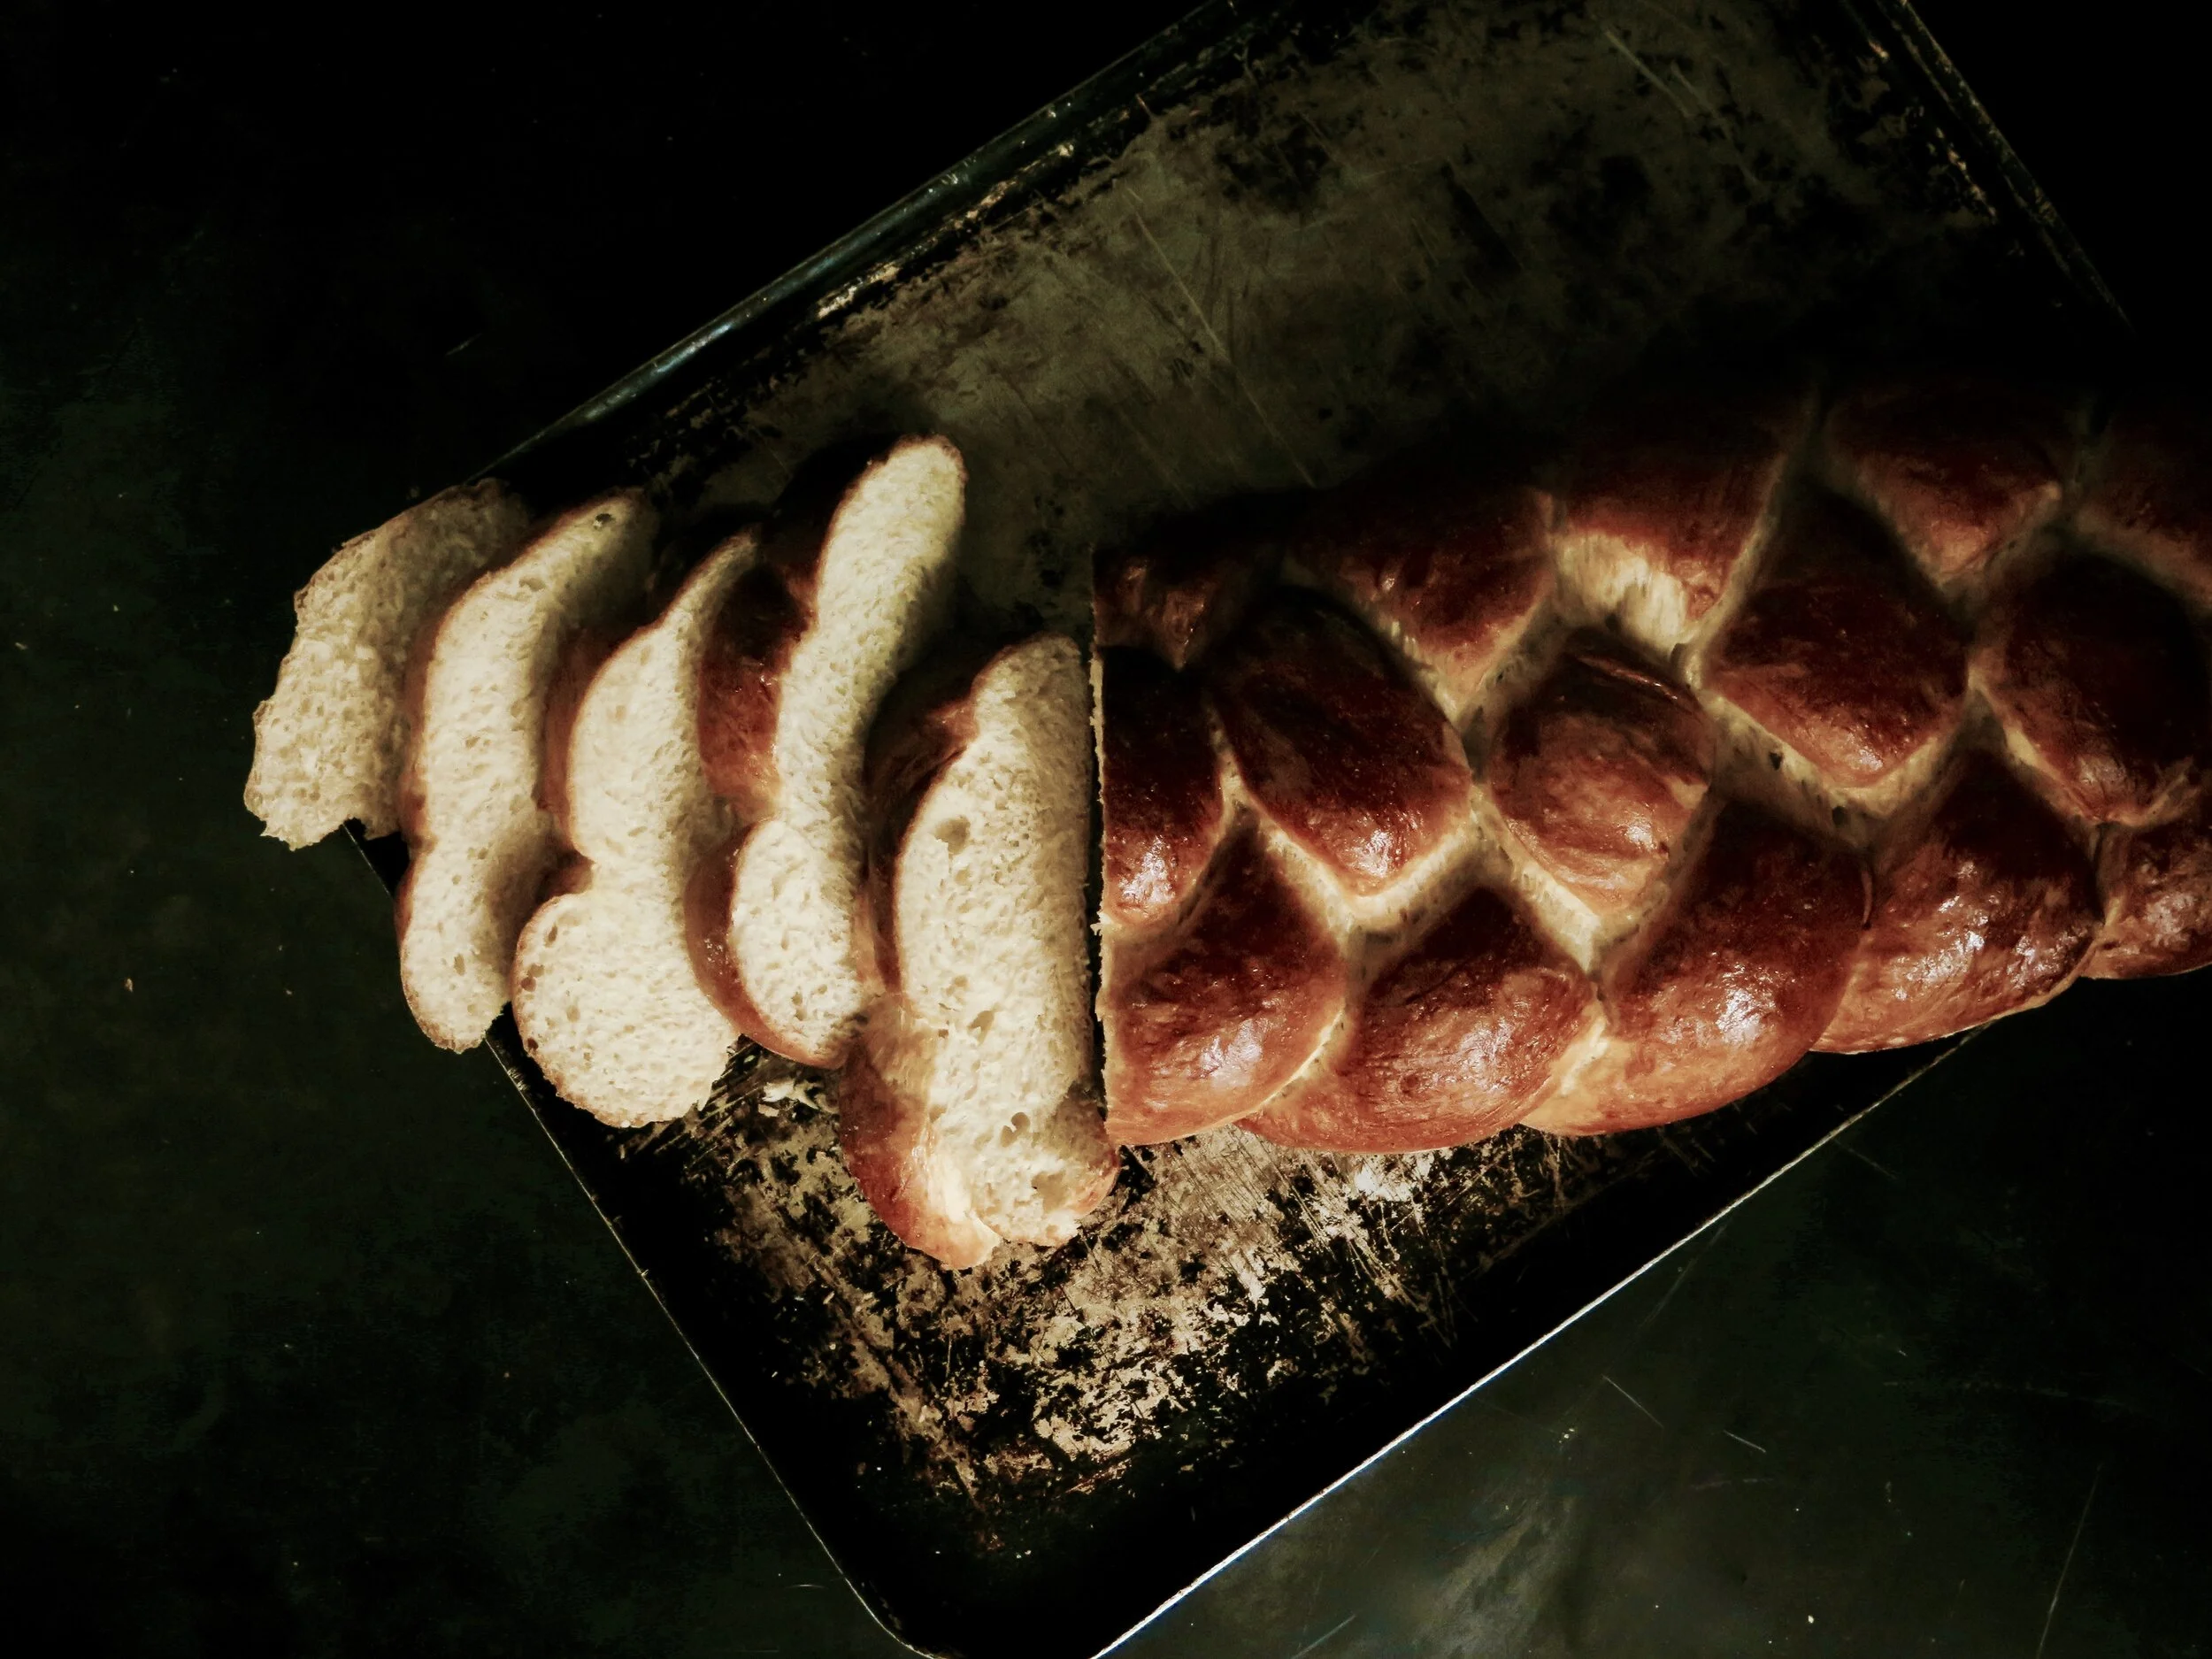
At brunch a couple of weekends ago, one of my friends confessed her current obsession: sneaking off to her kitchen cupboard armed with a bread stick to pair with that American favourite of jam and peanut butter.

Peanut Butter and Jam Cookies - Recipe

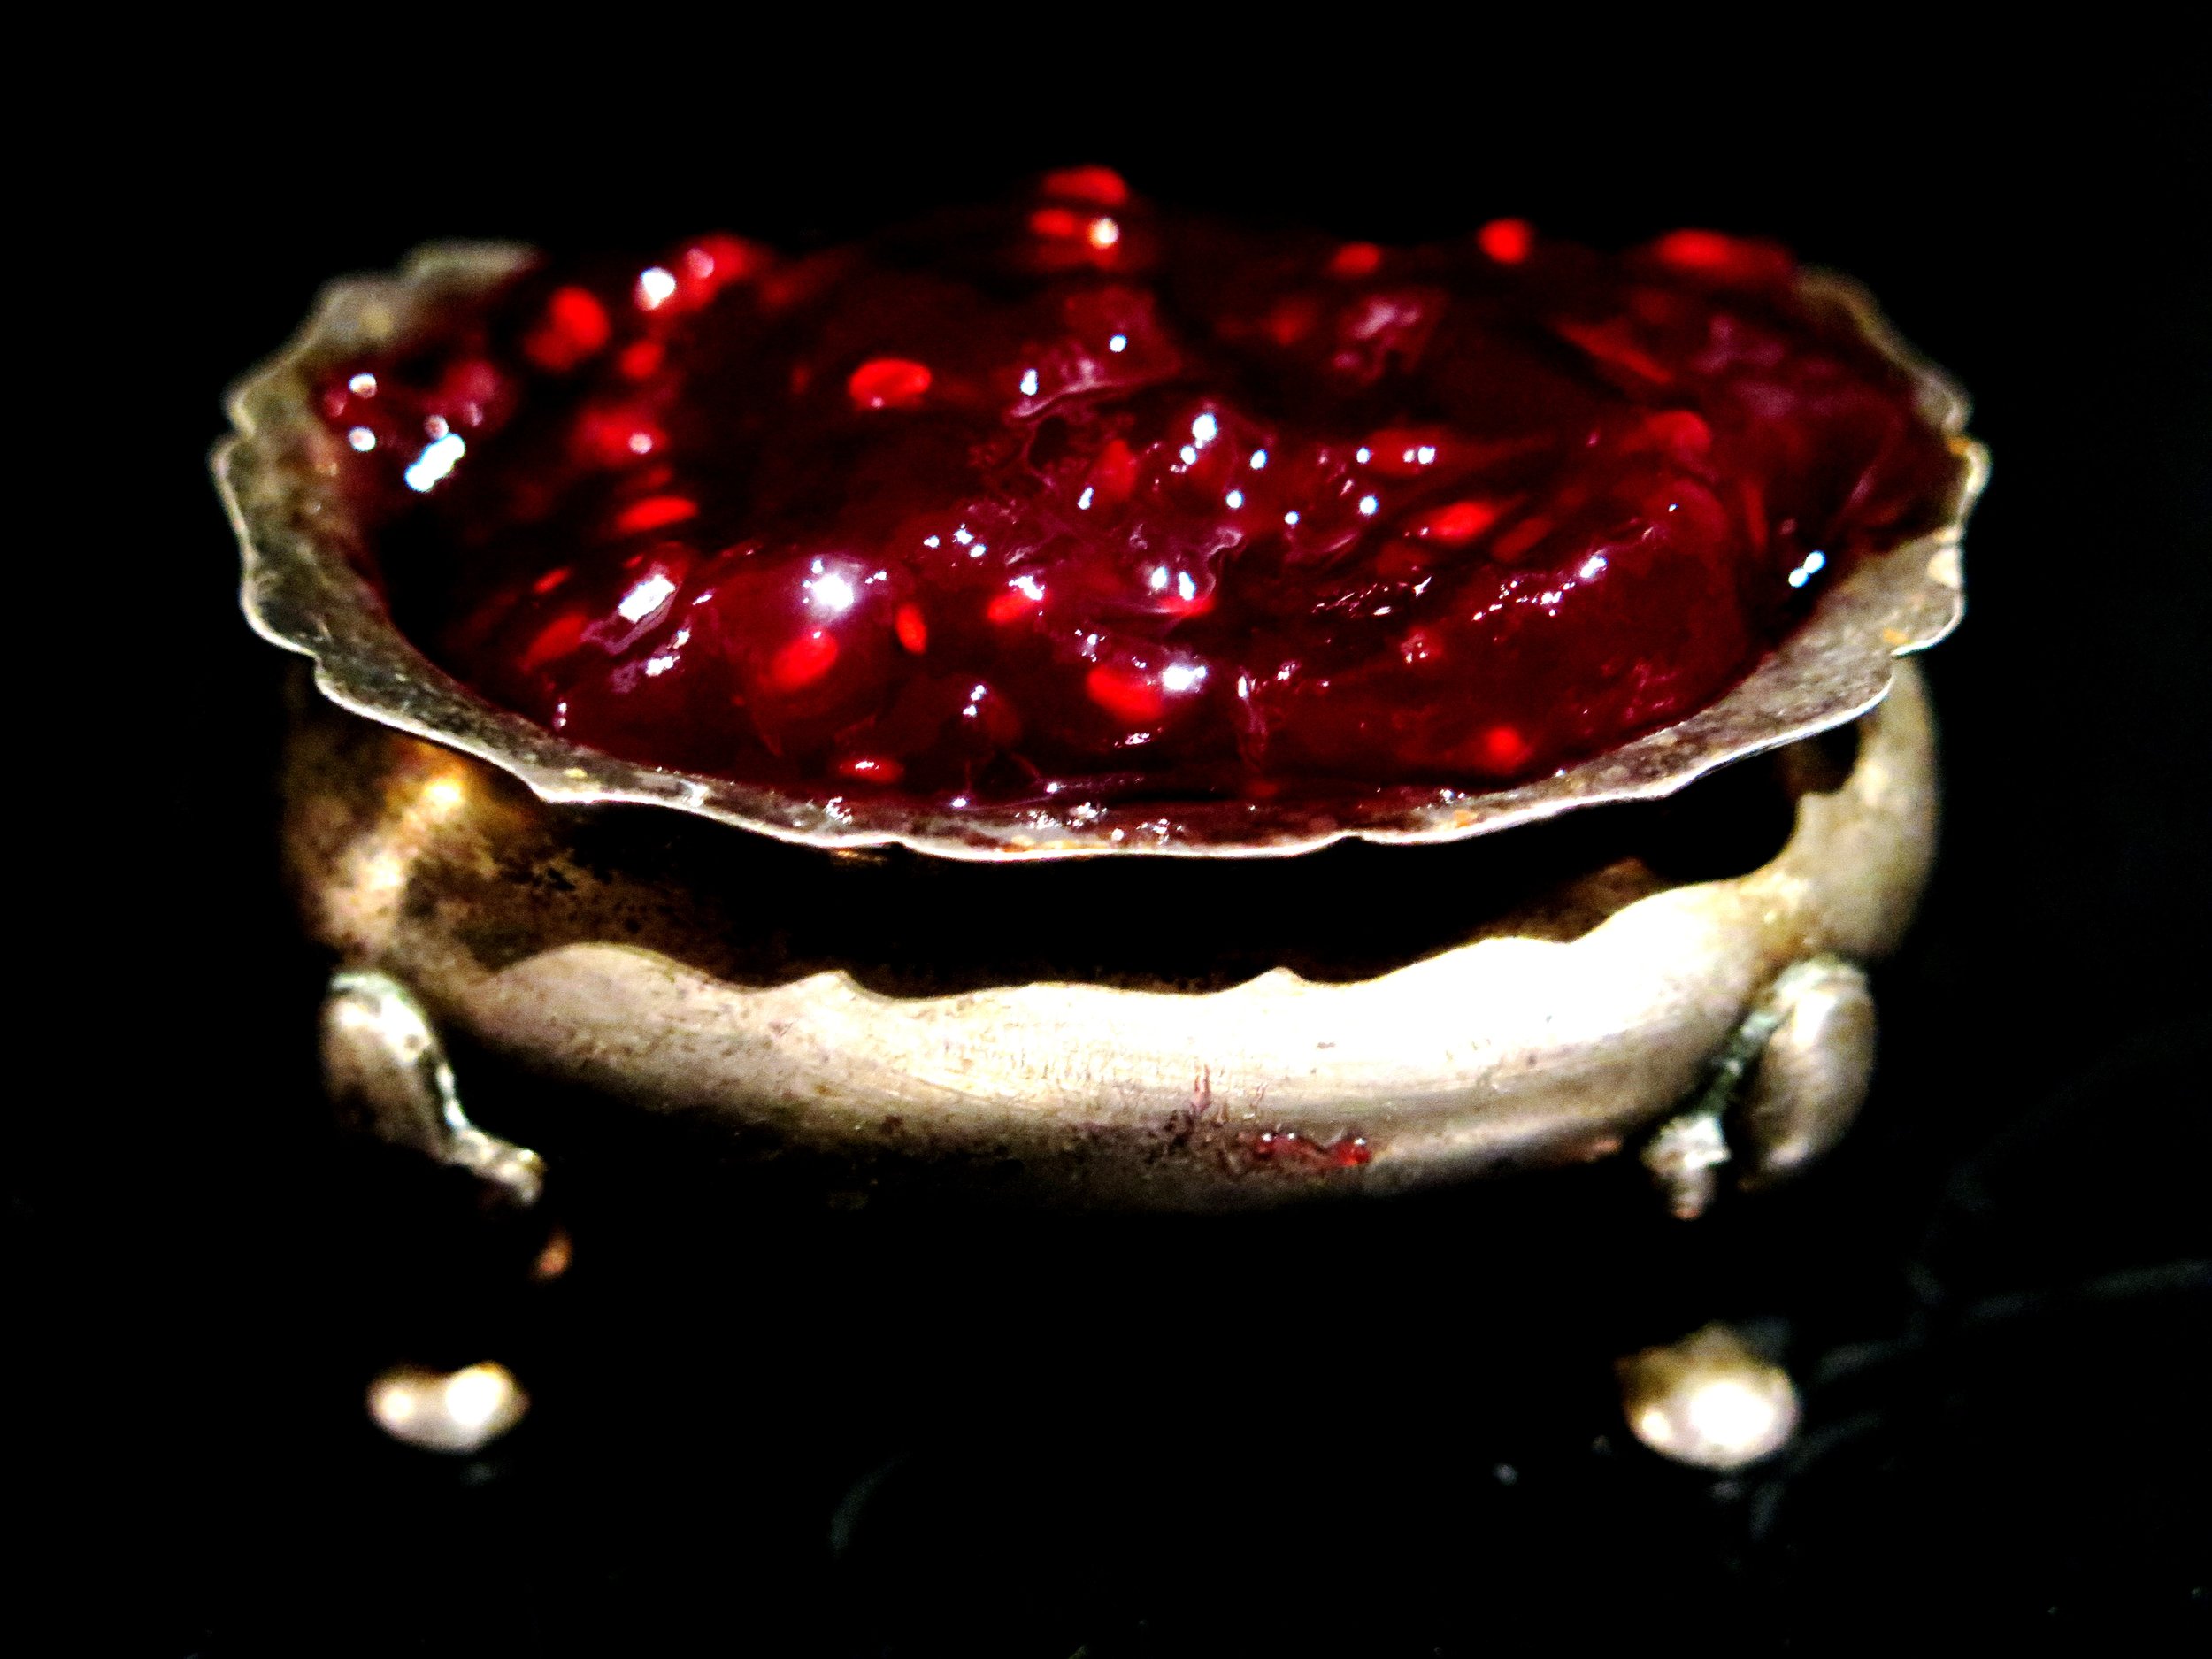
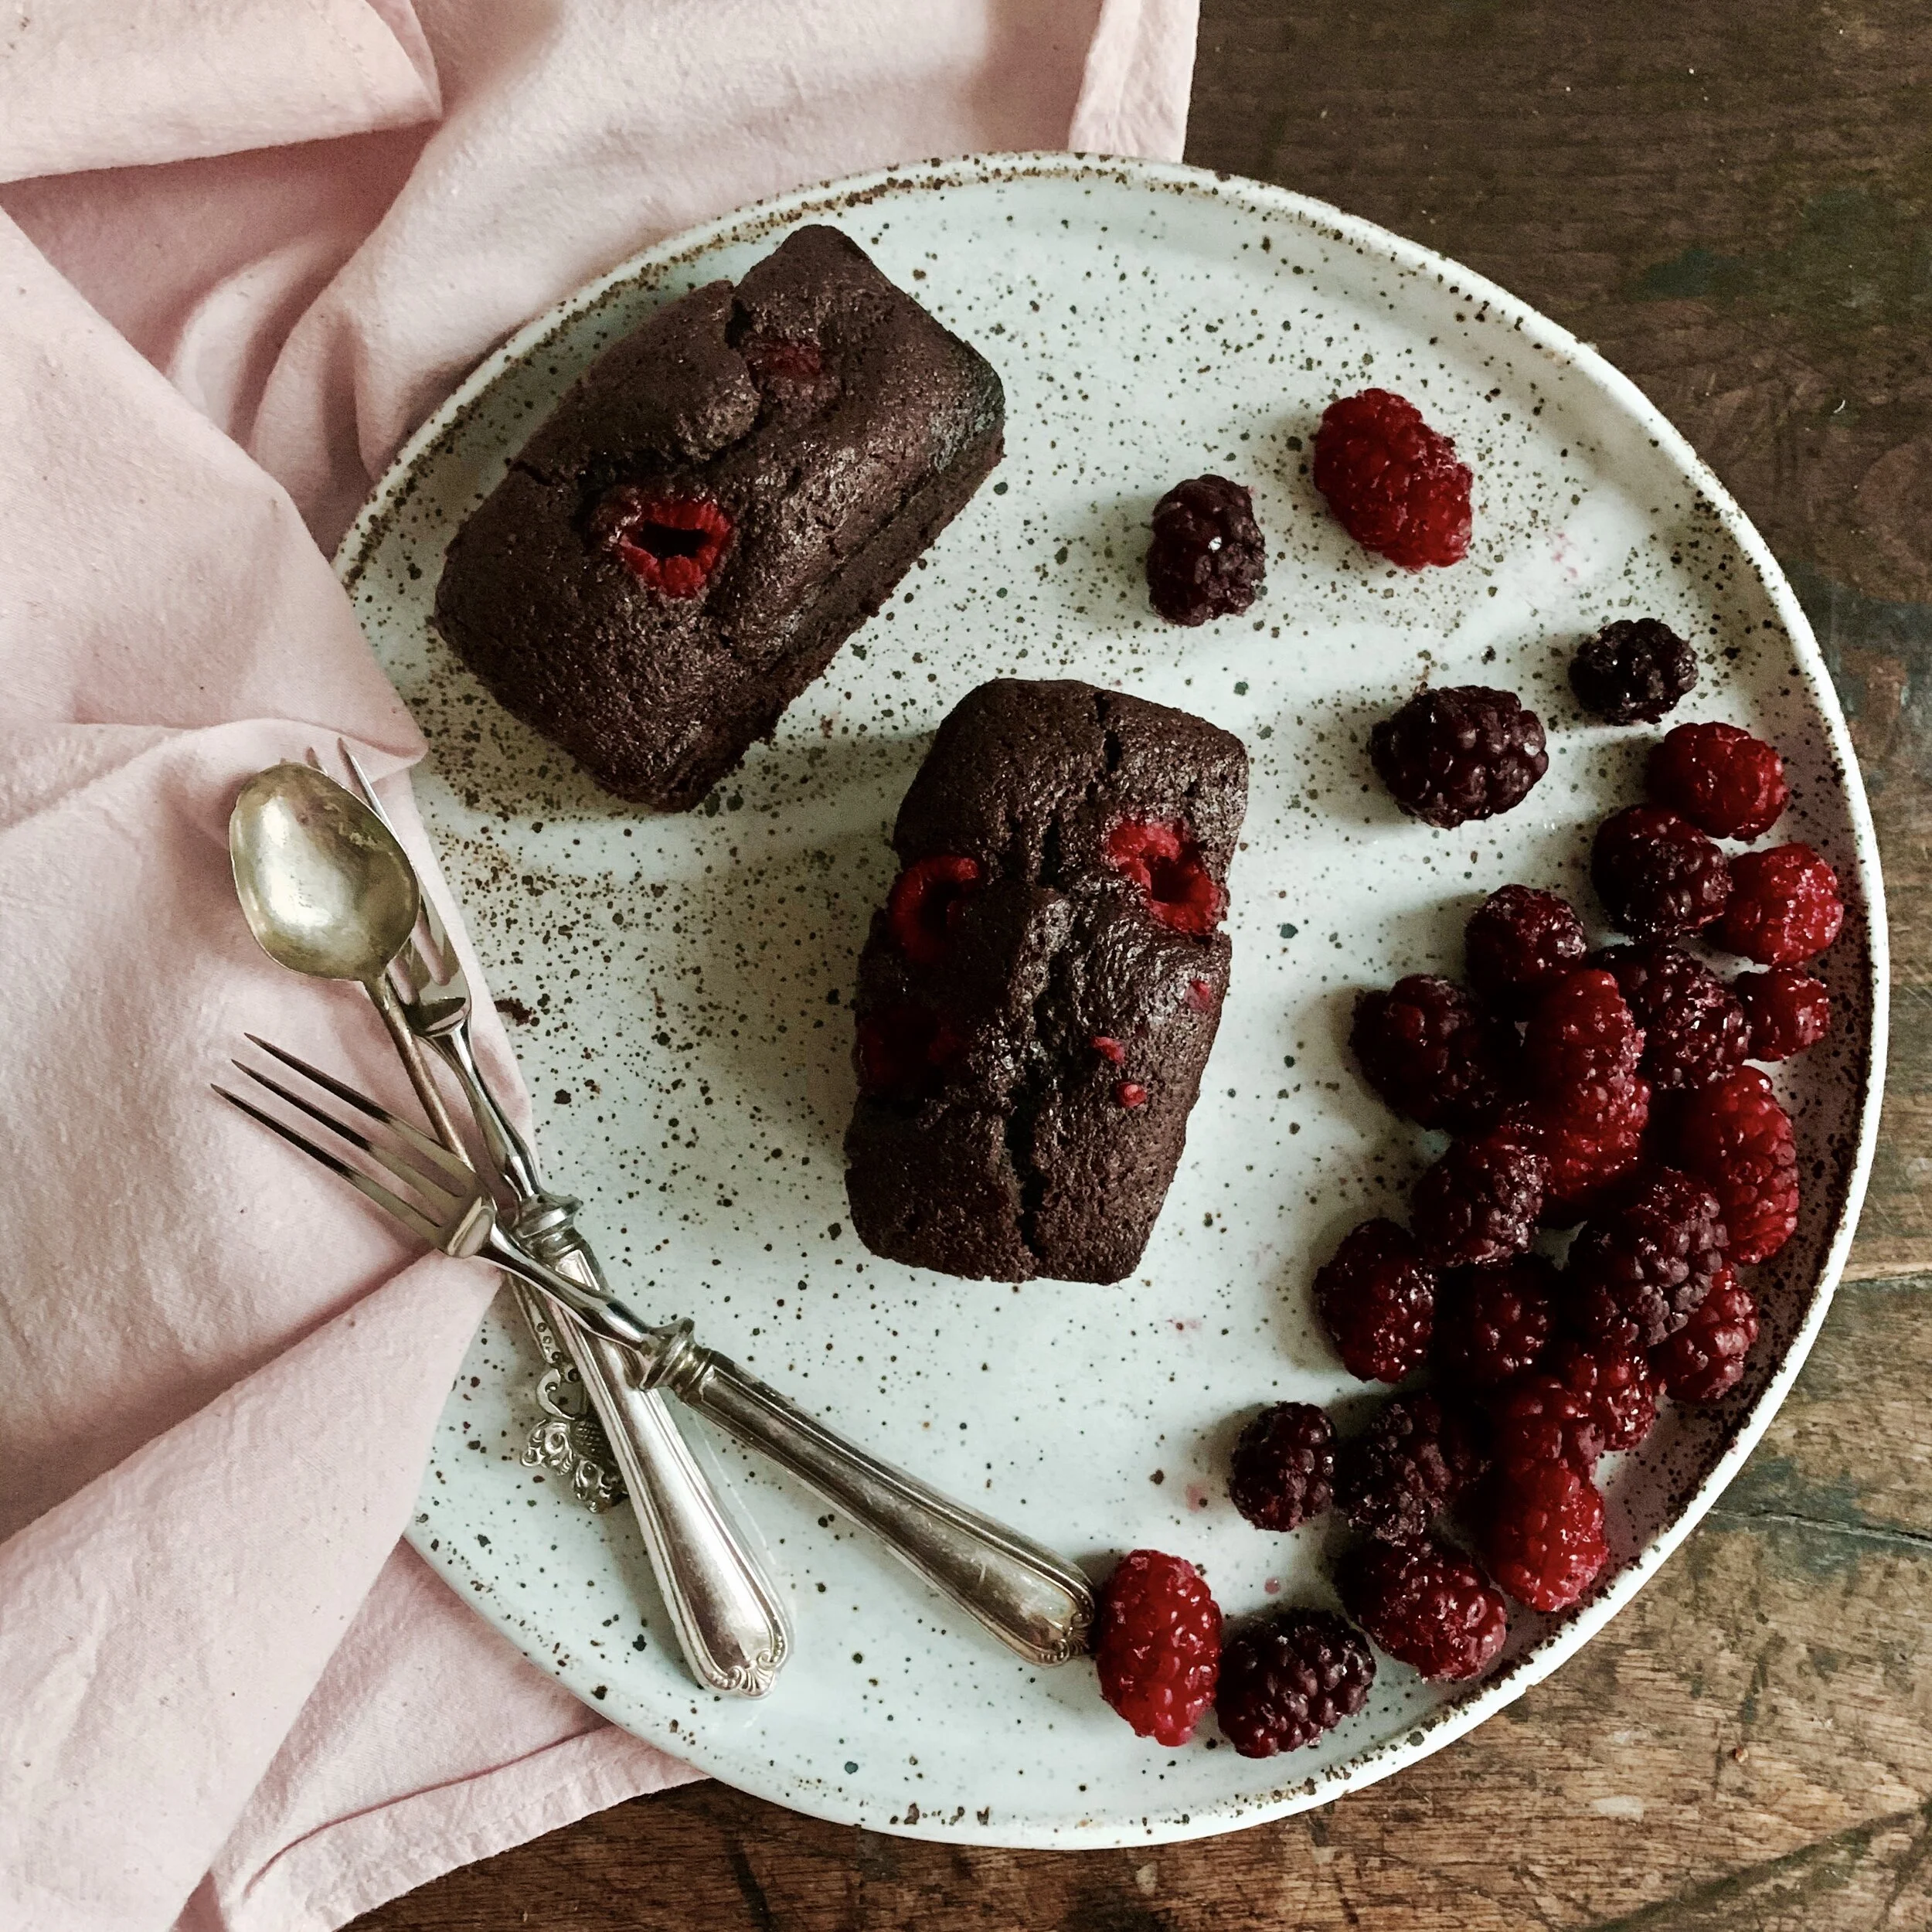
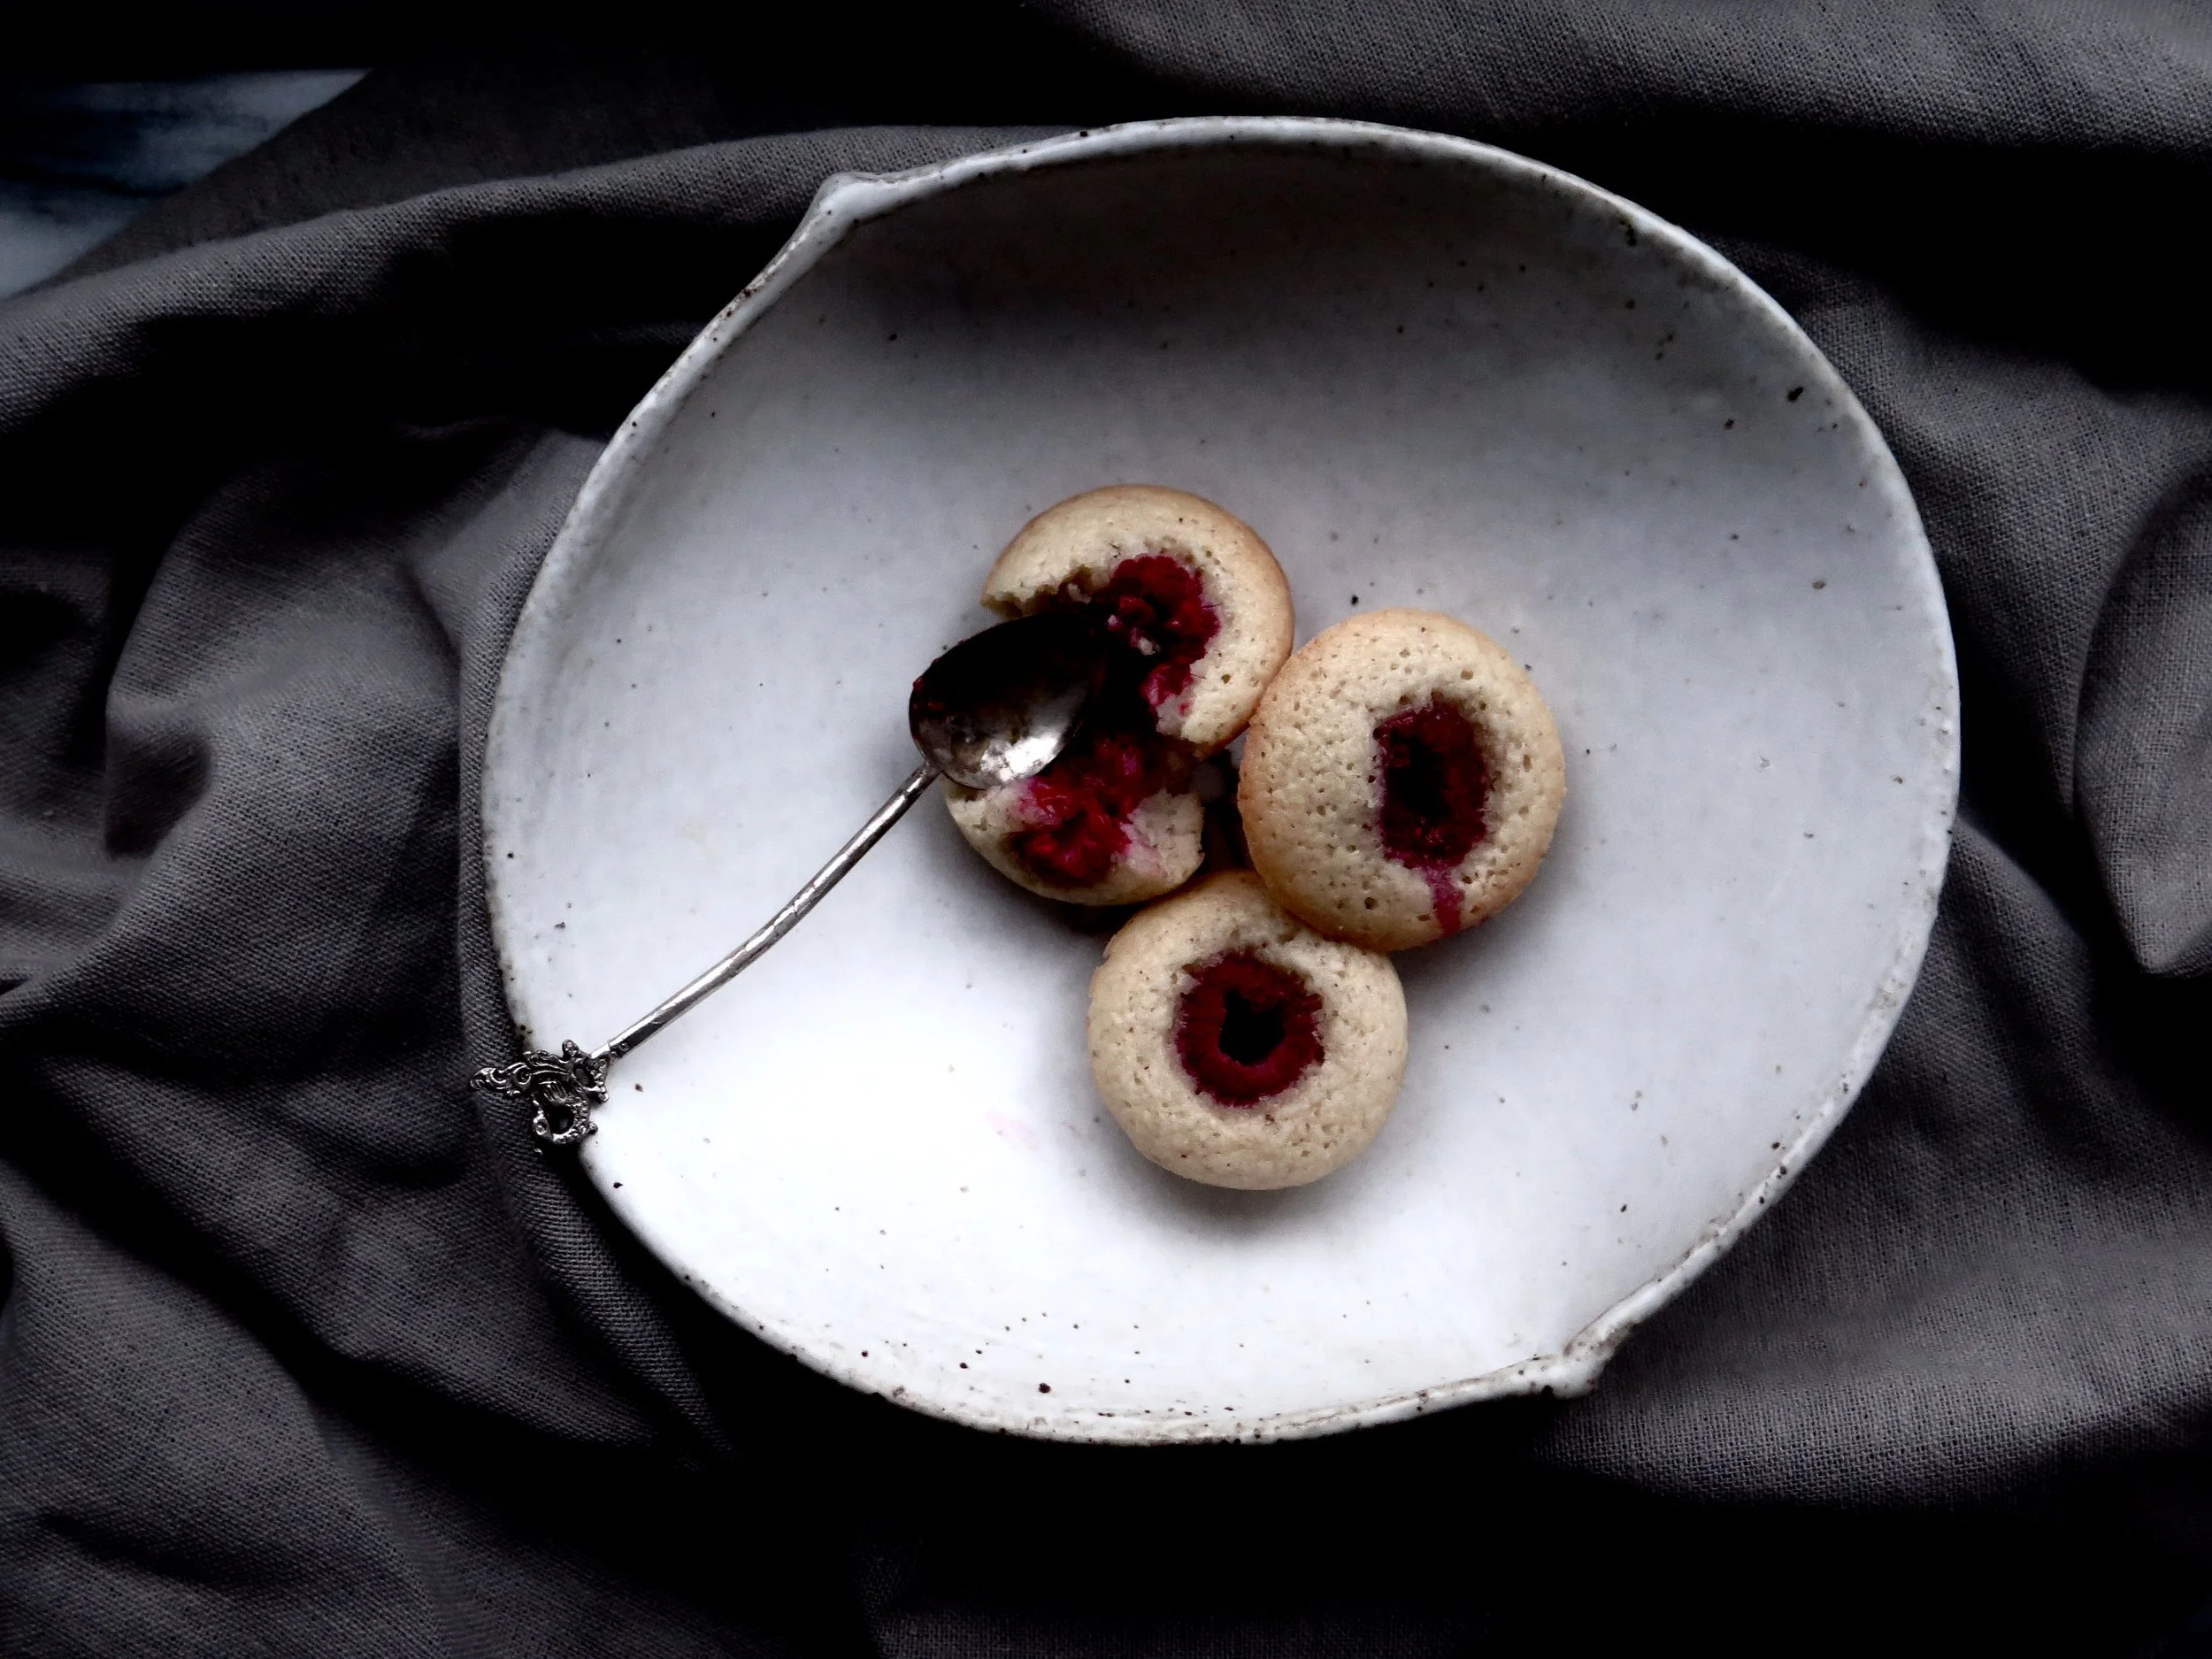
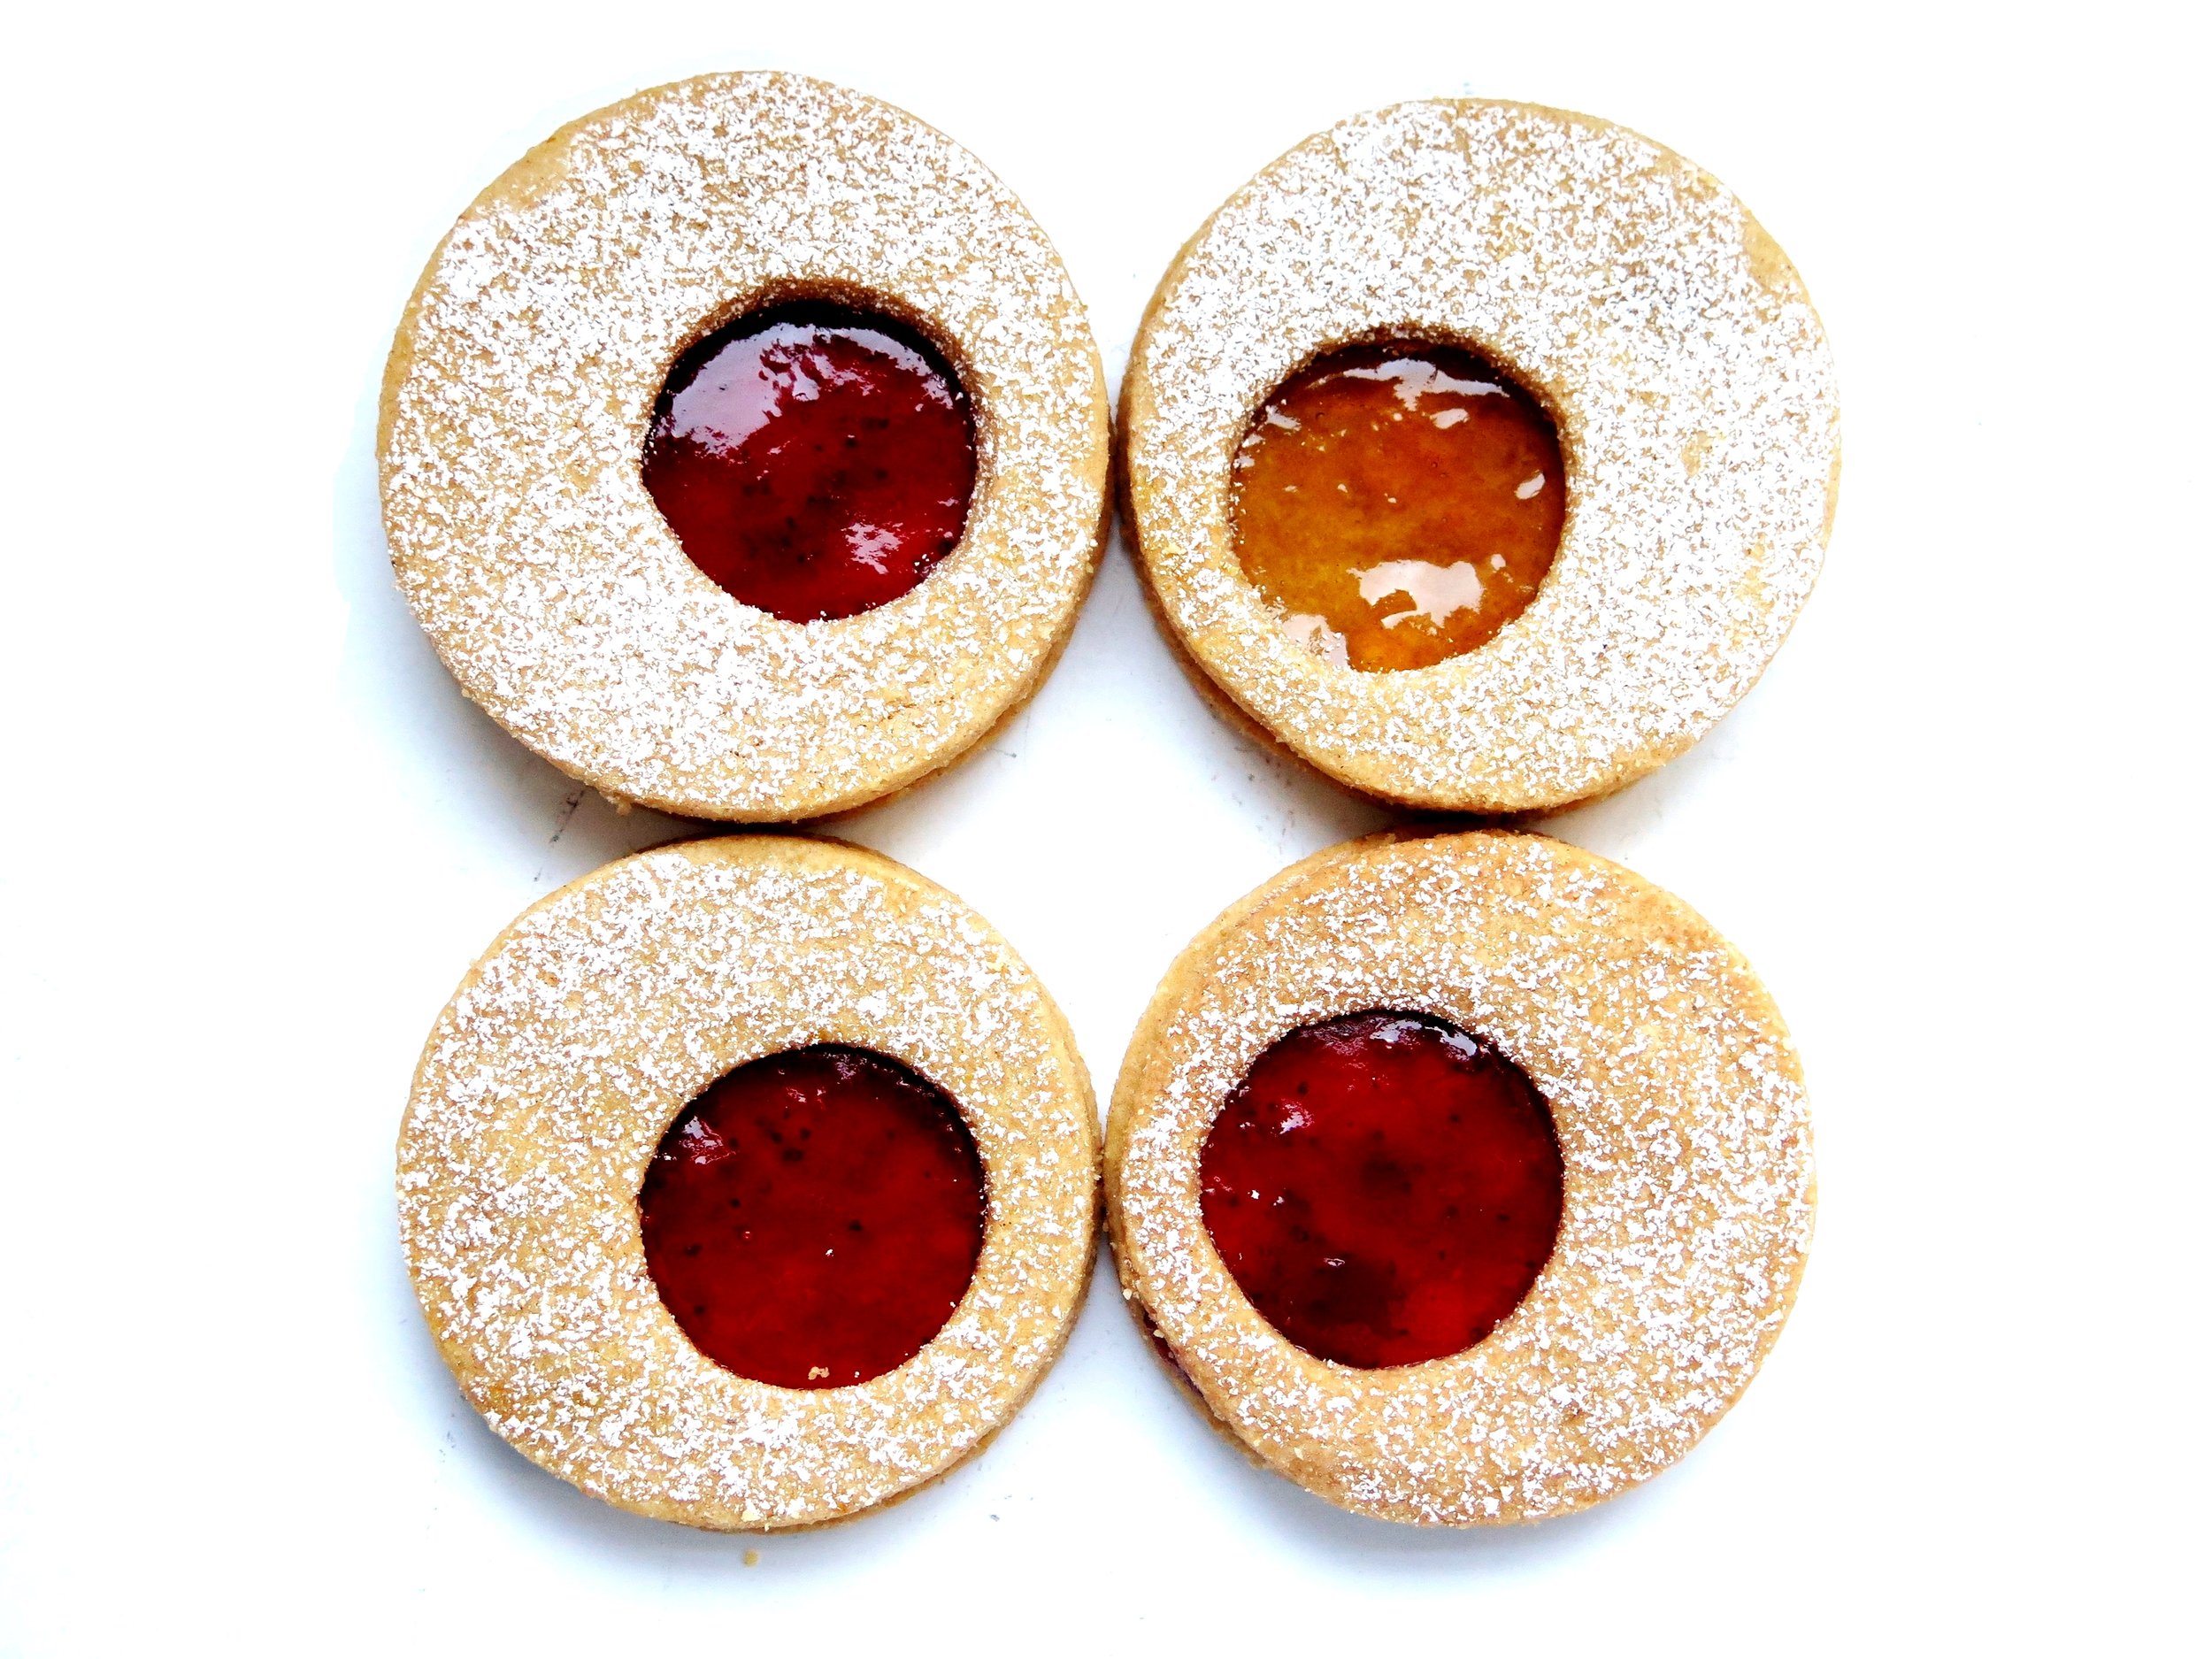
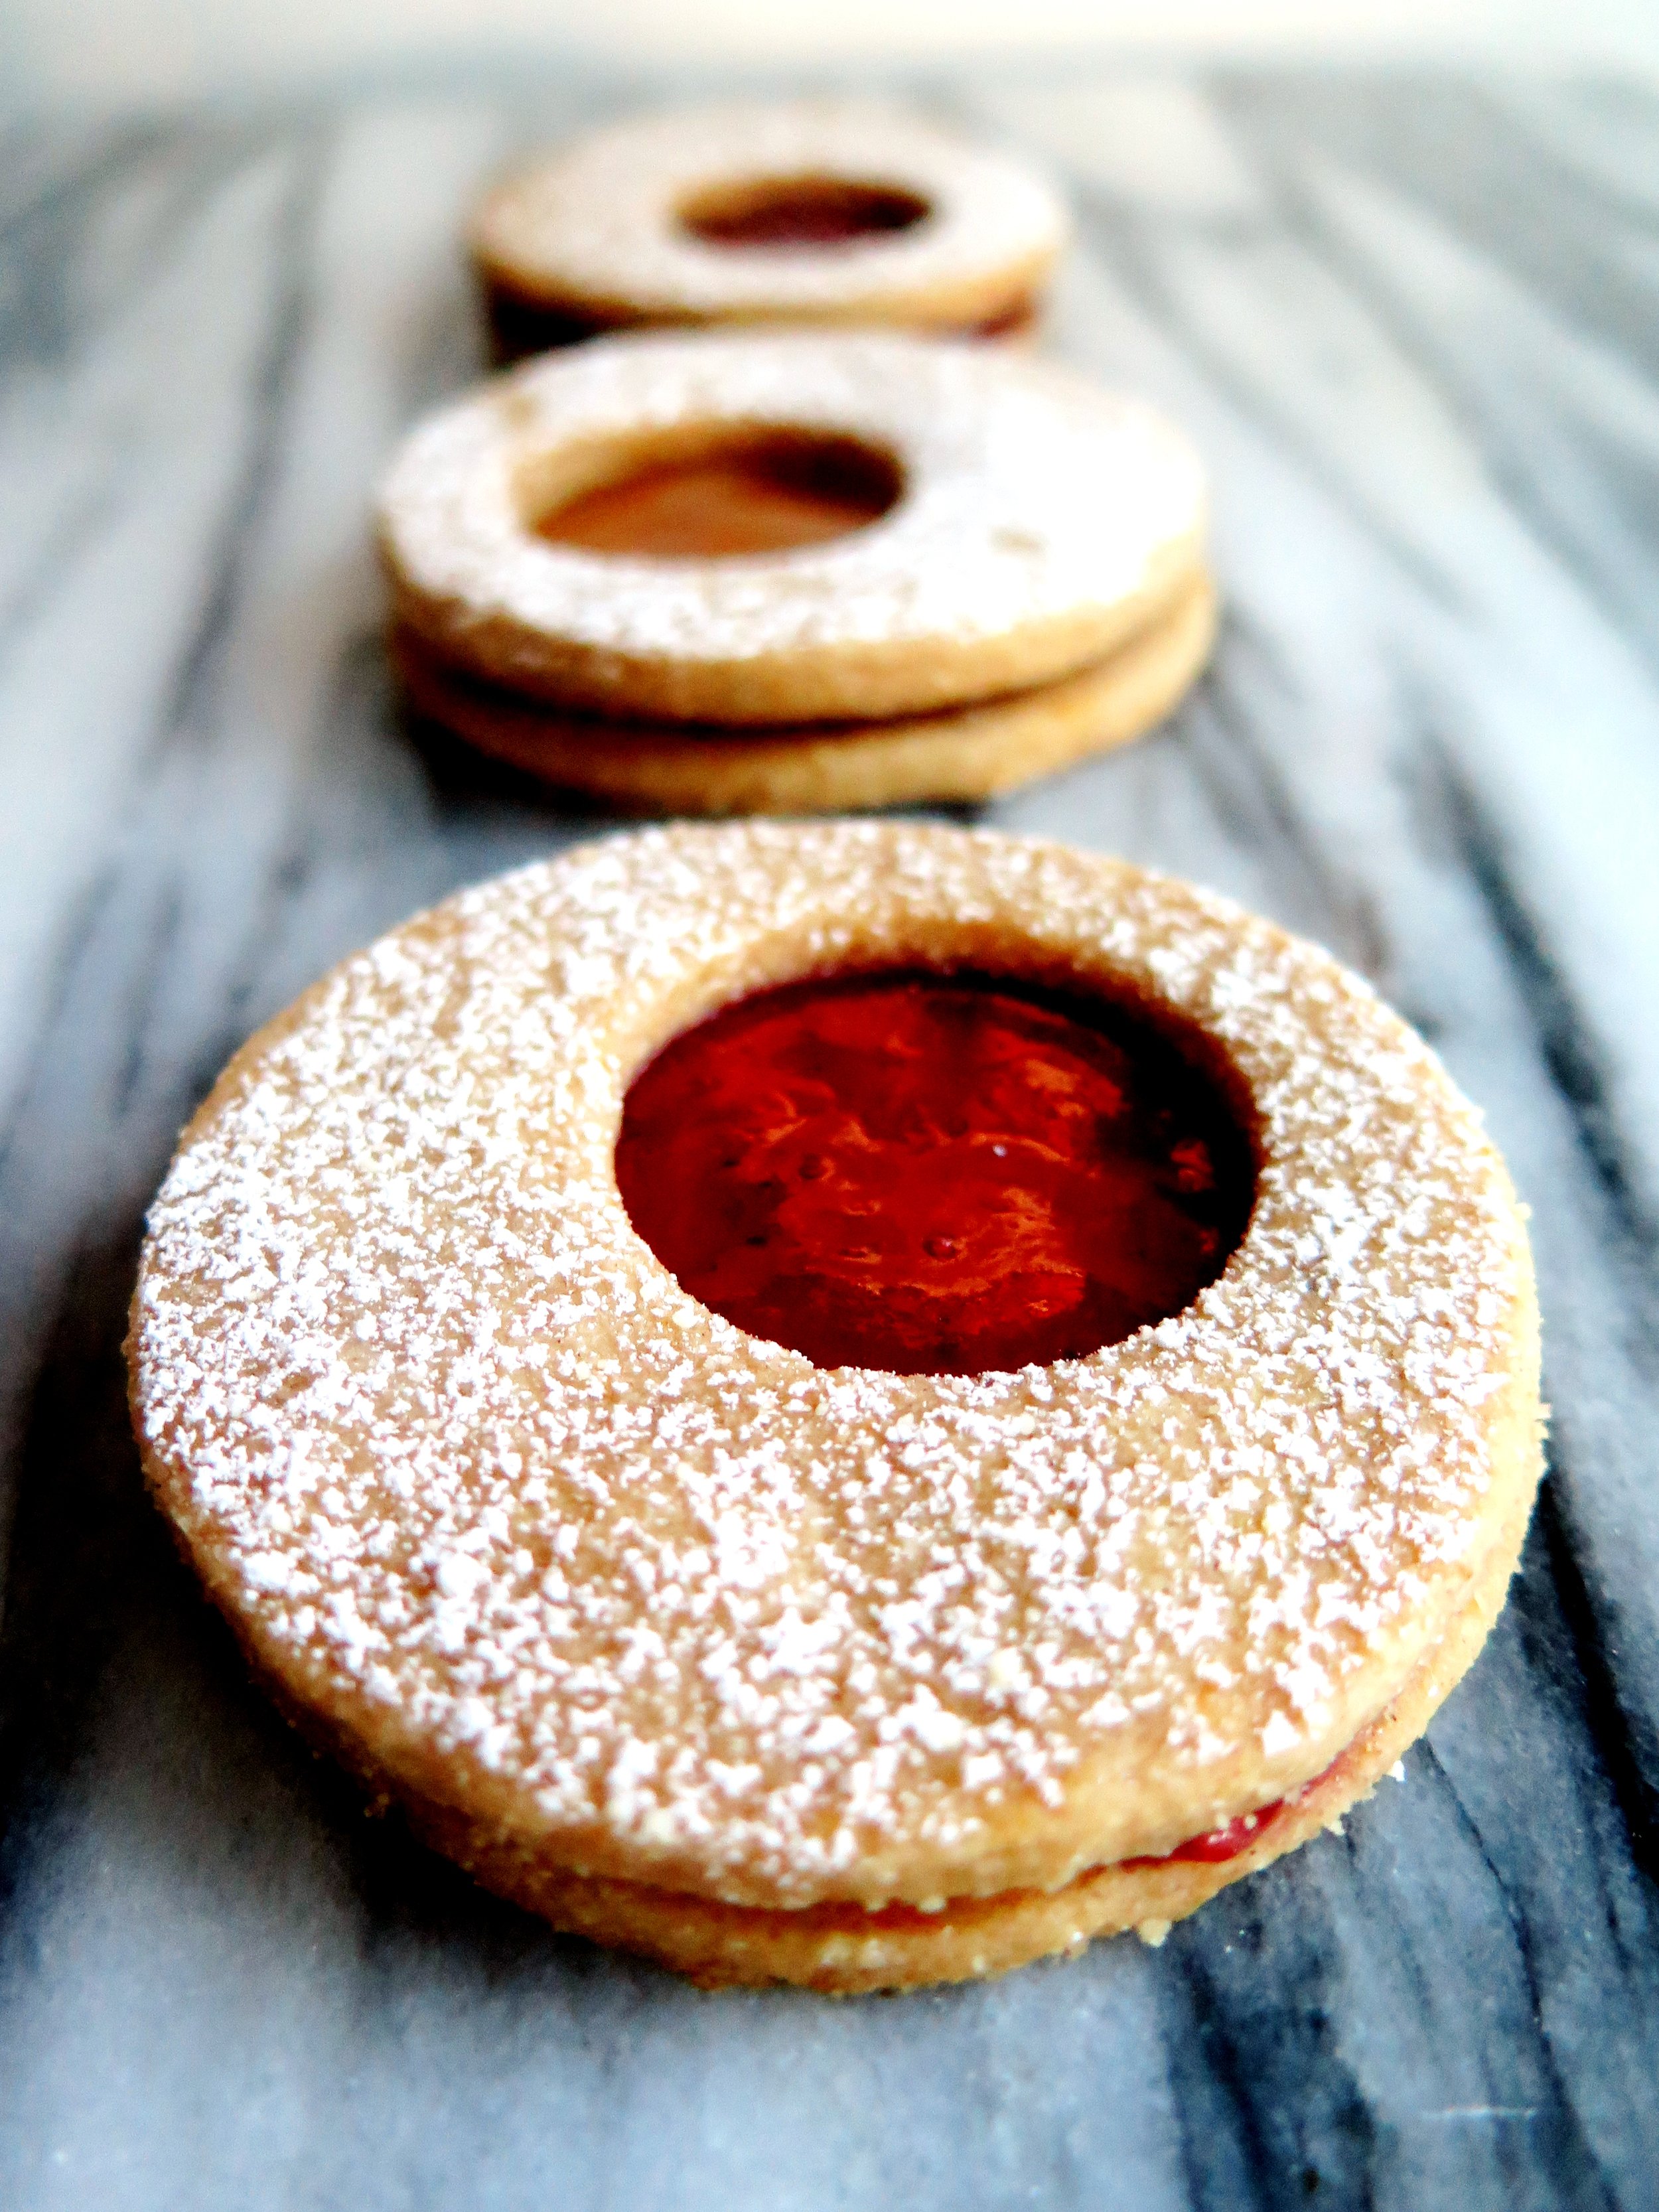
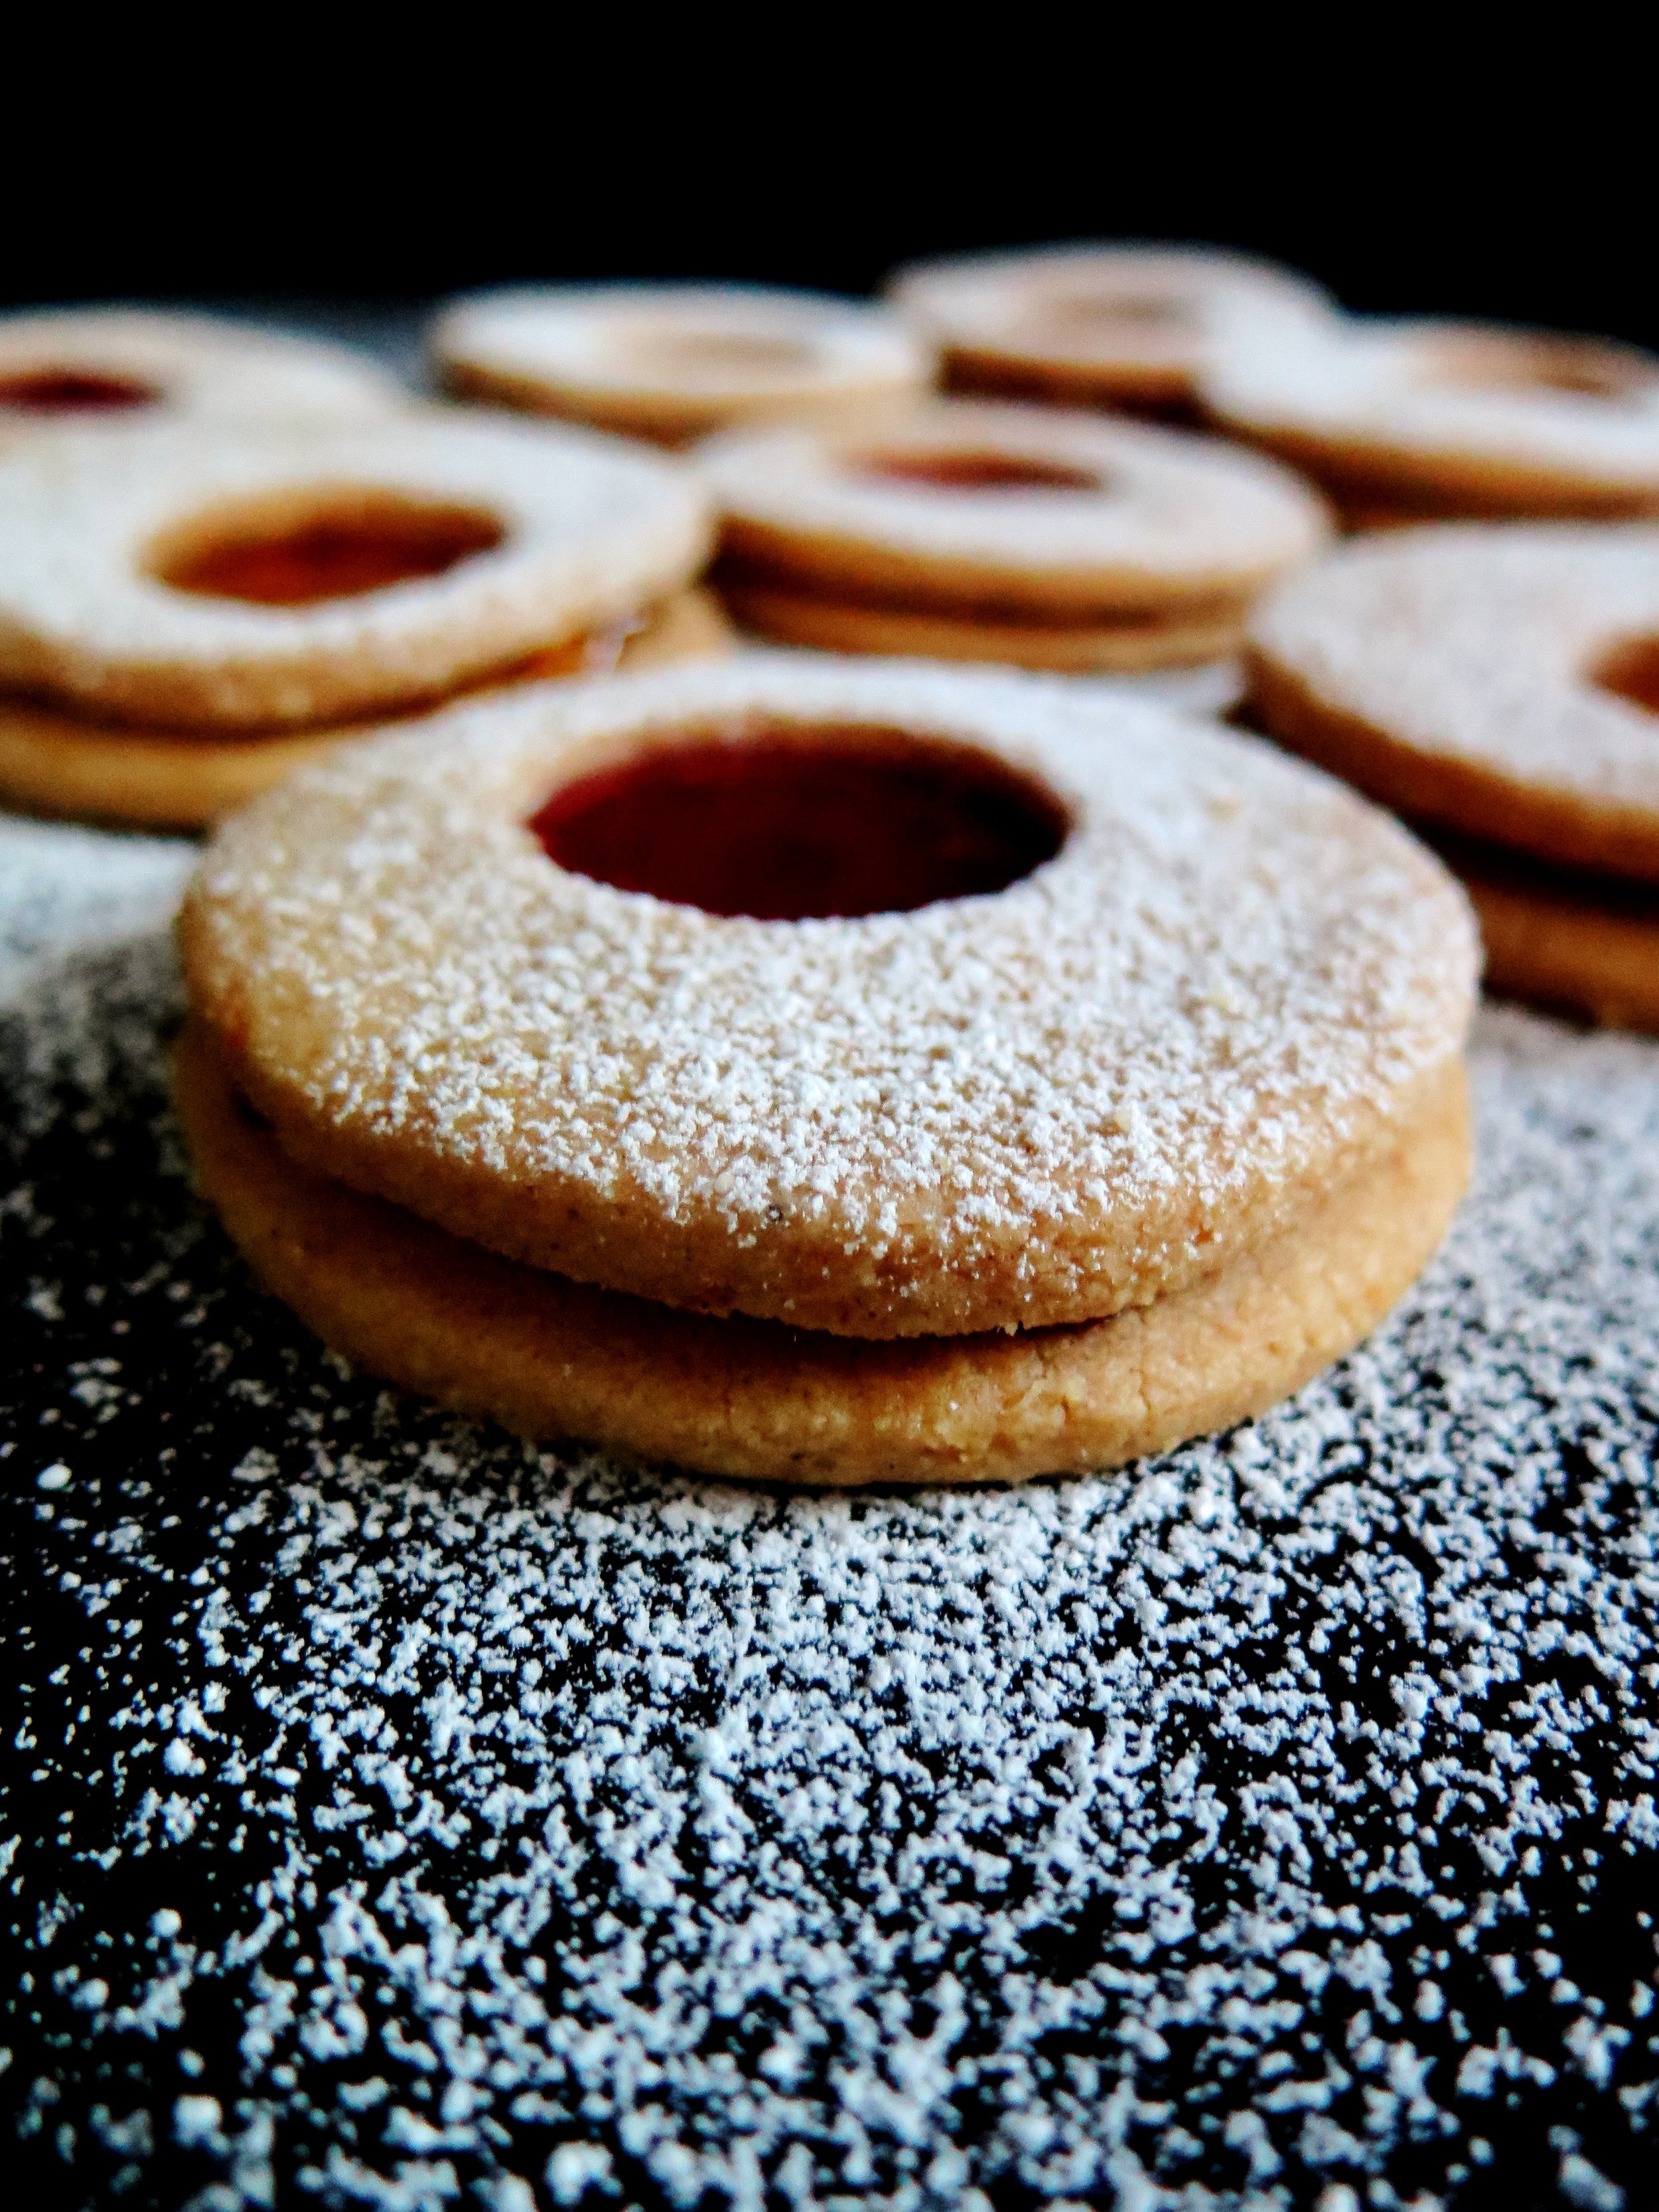
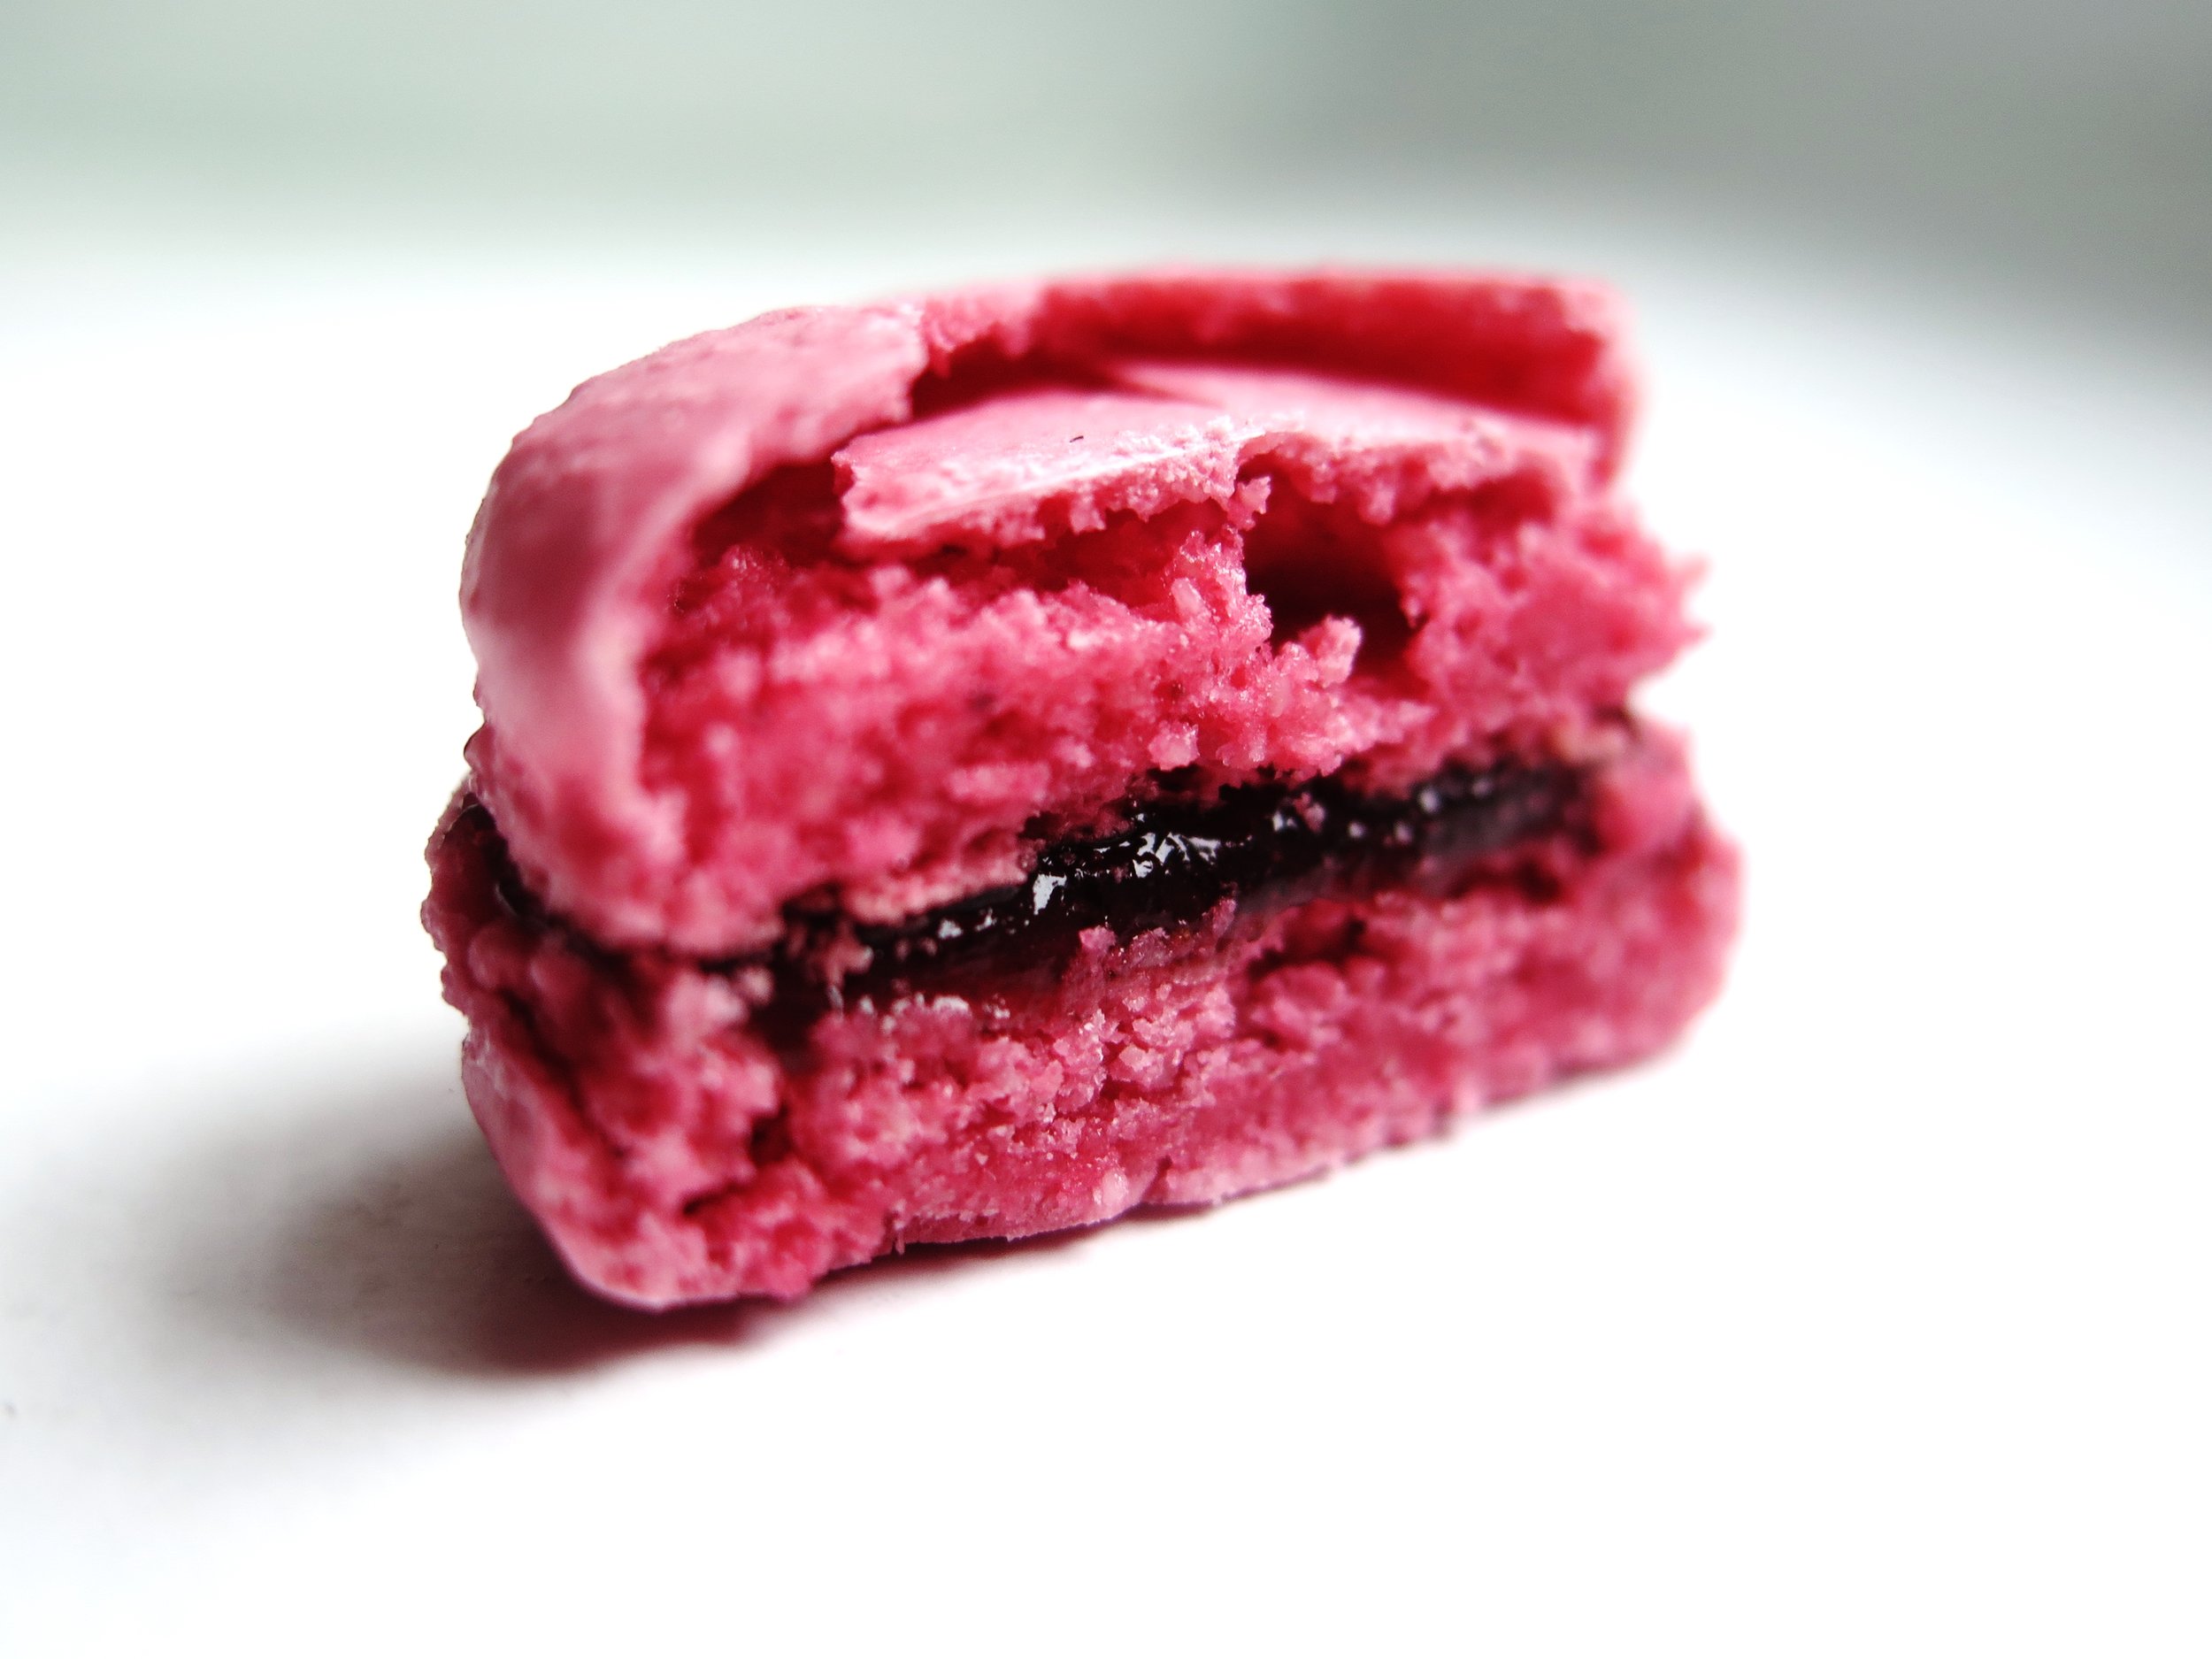
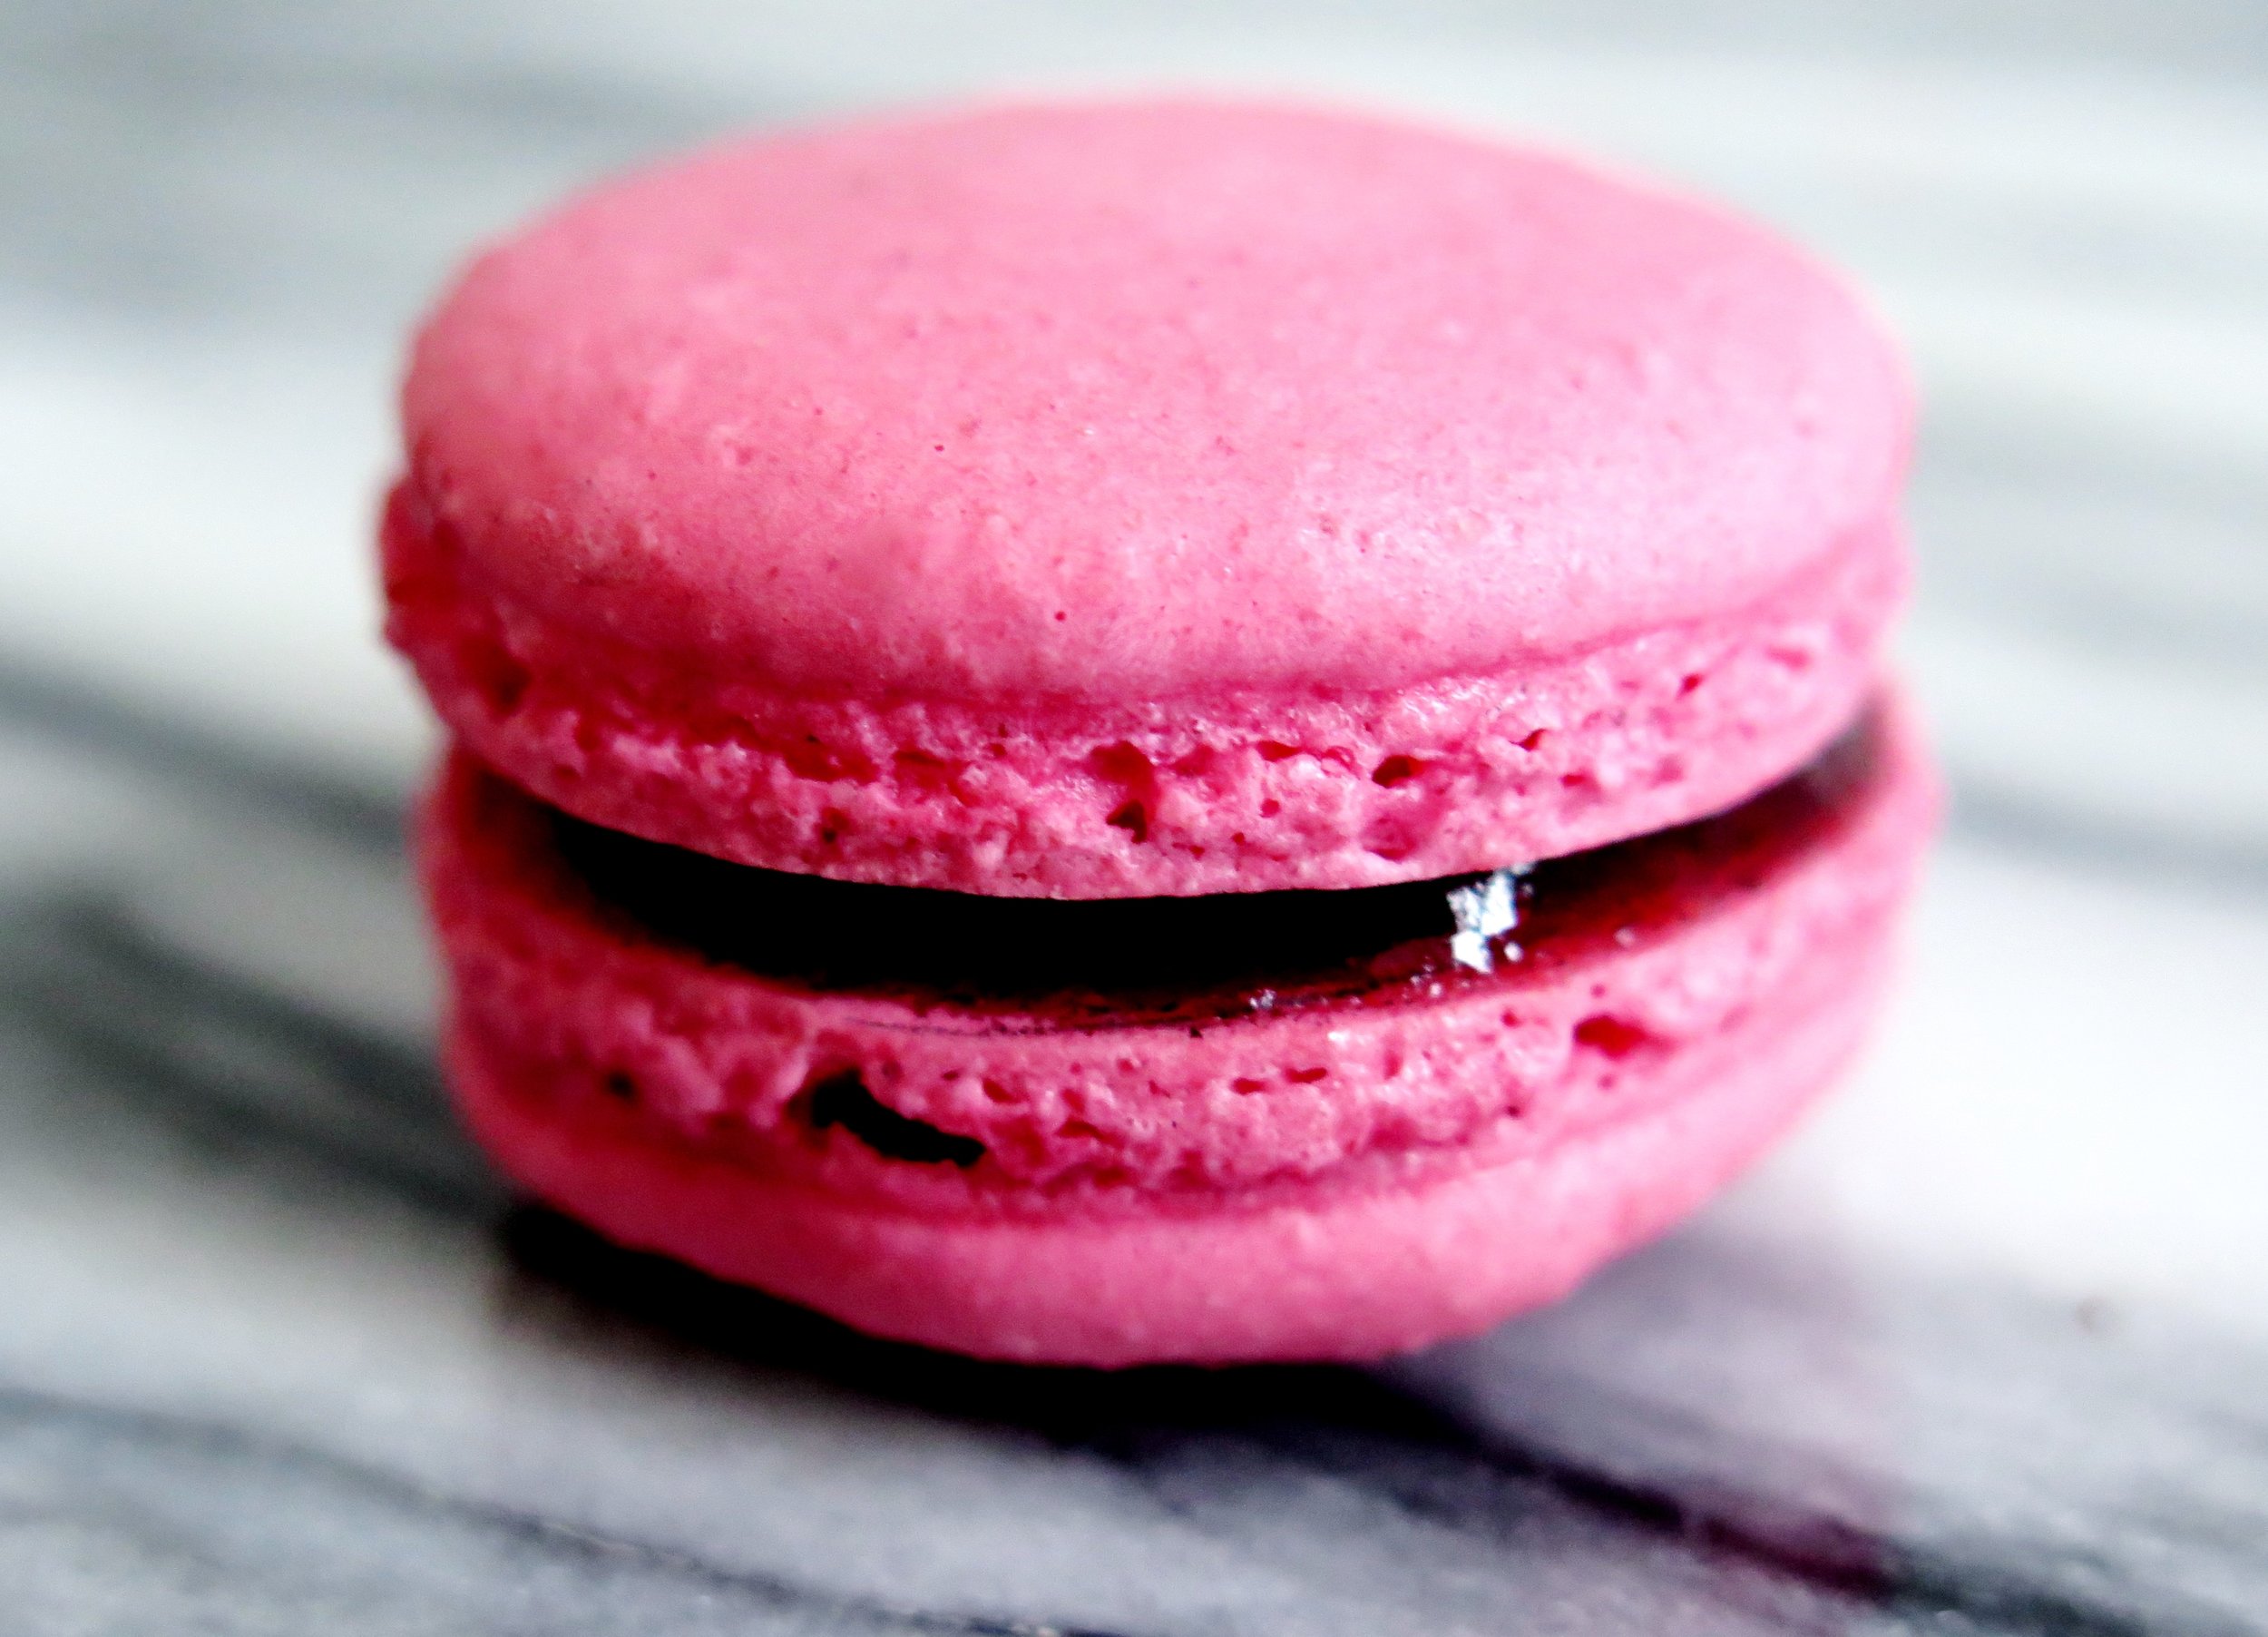
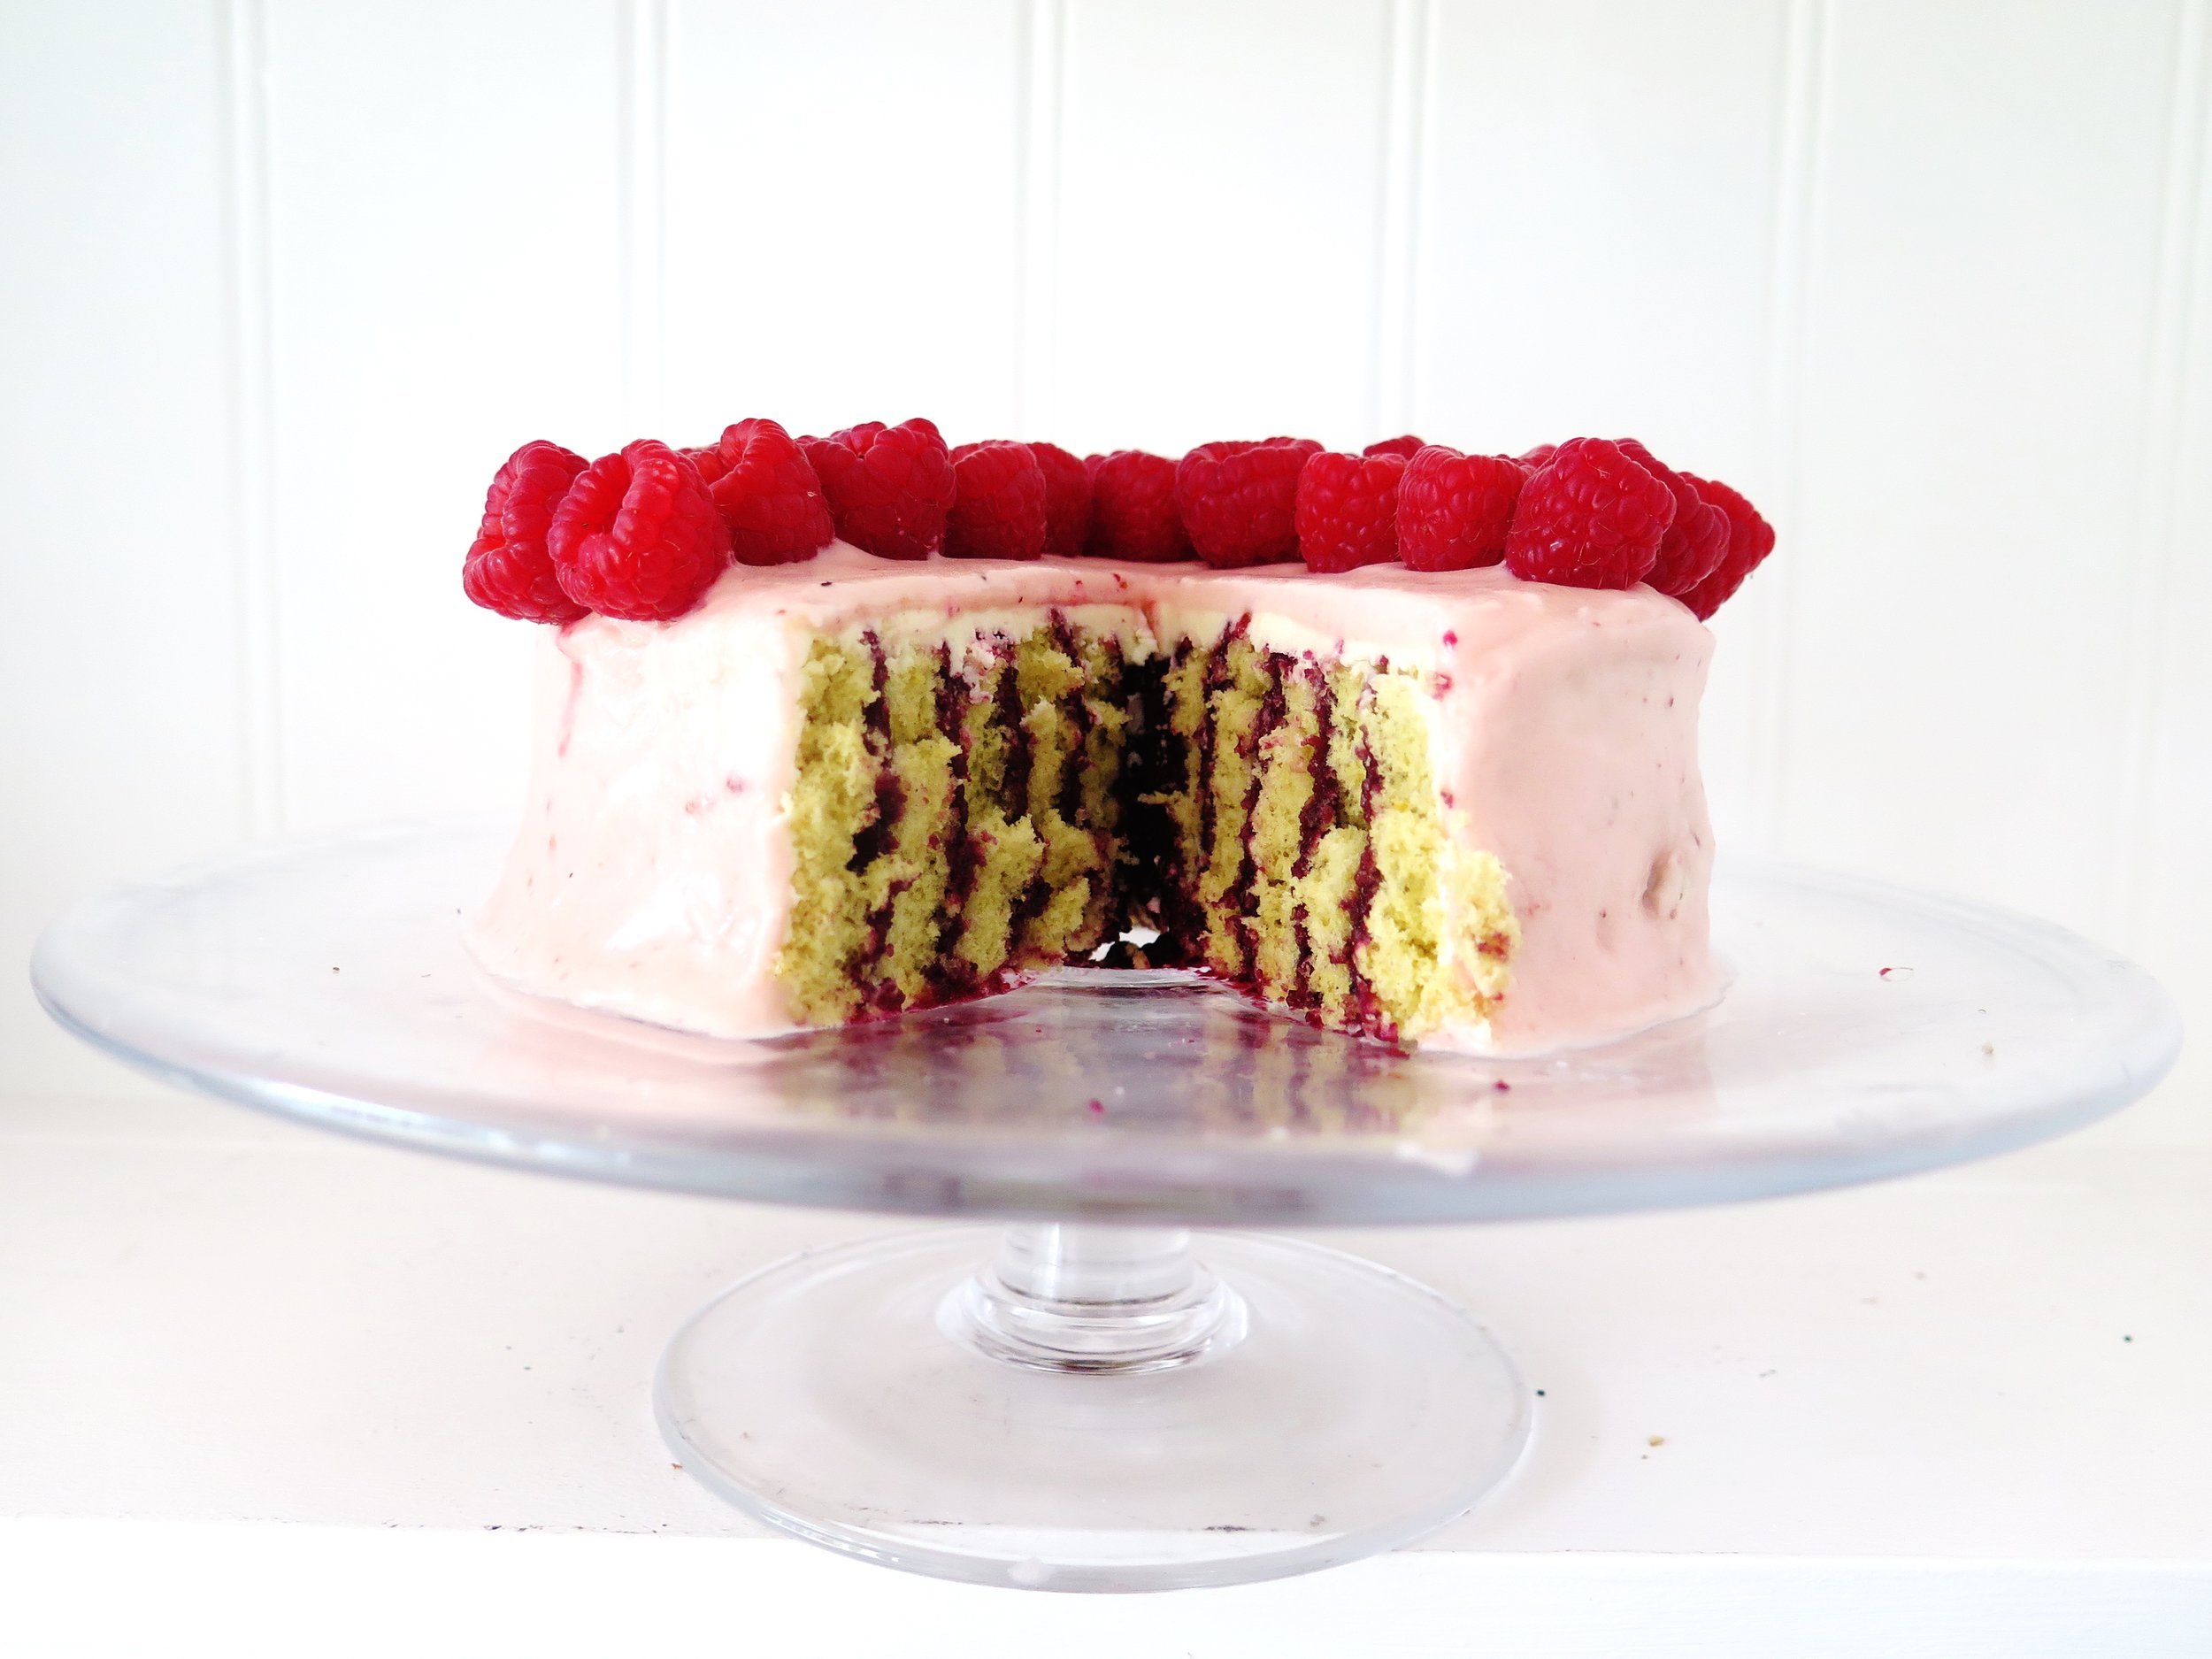
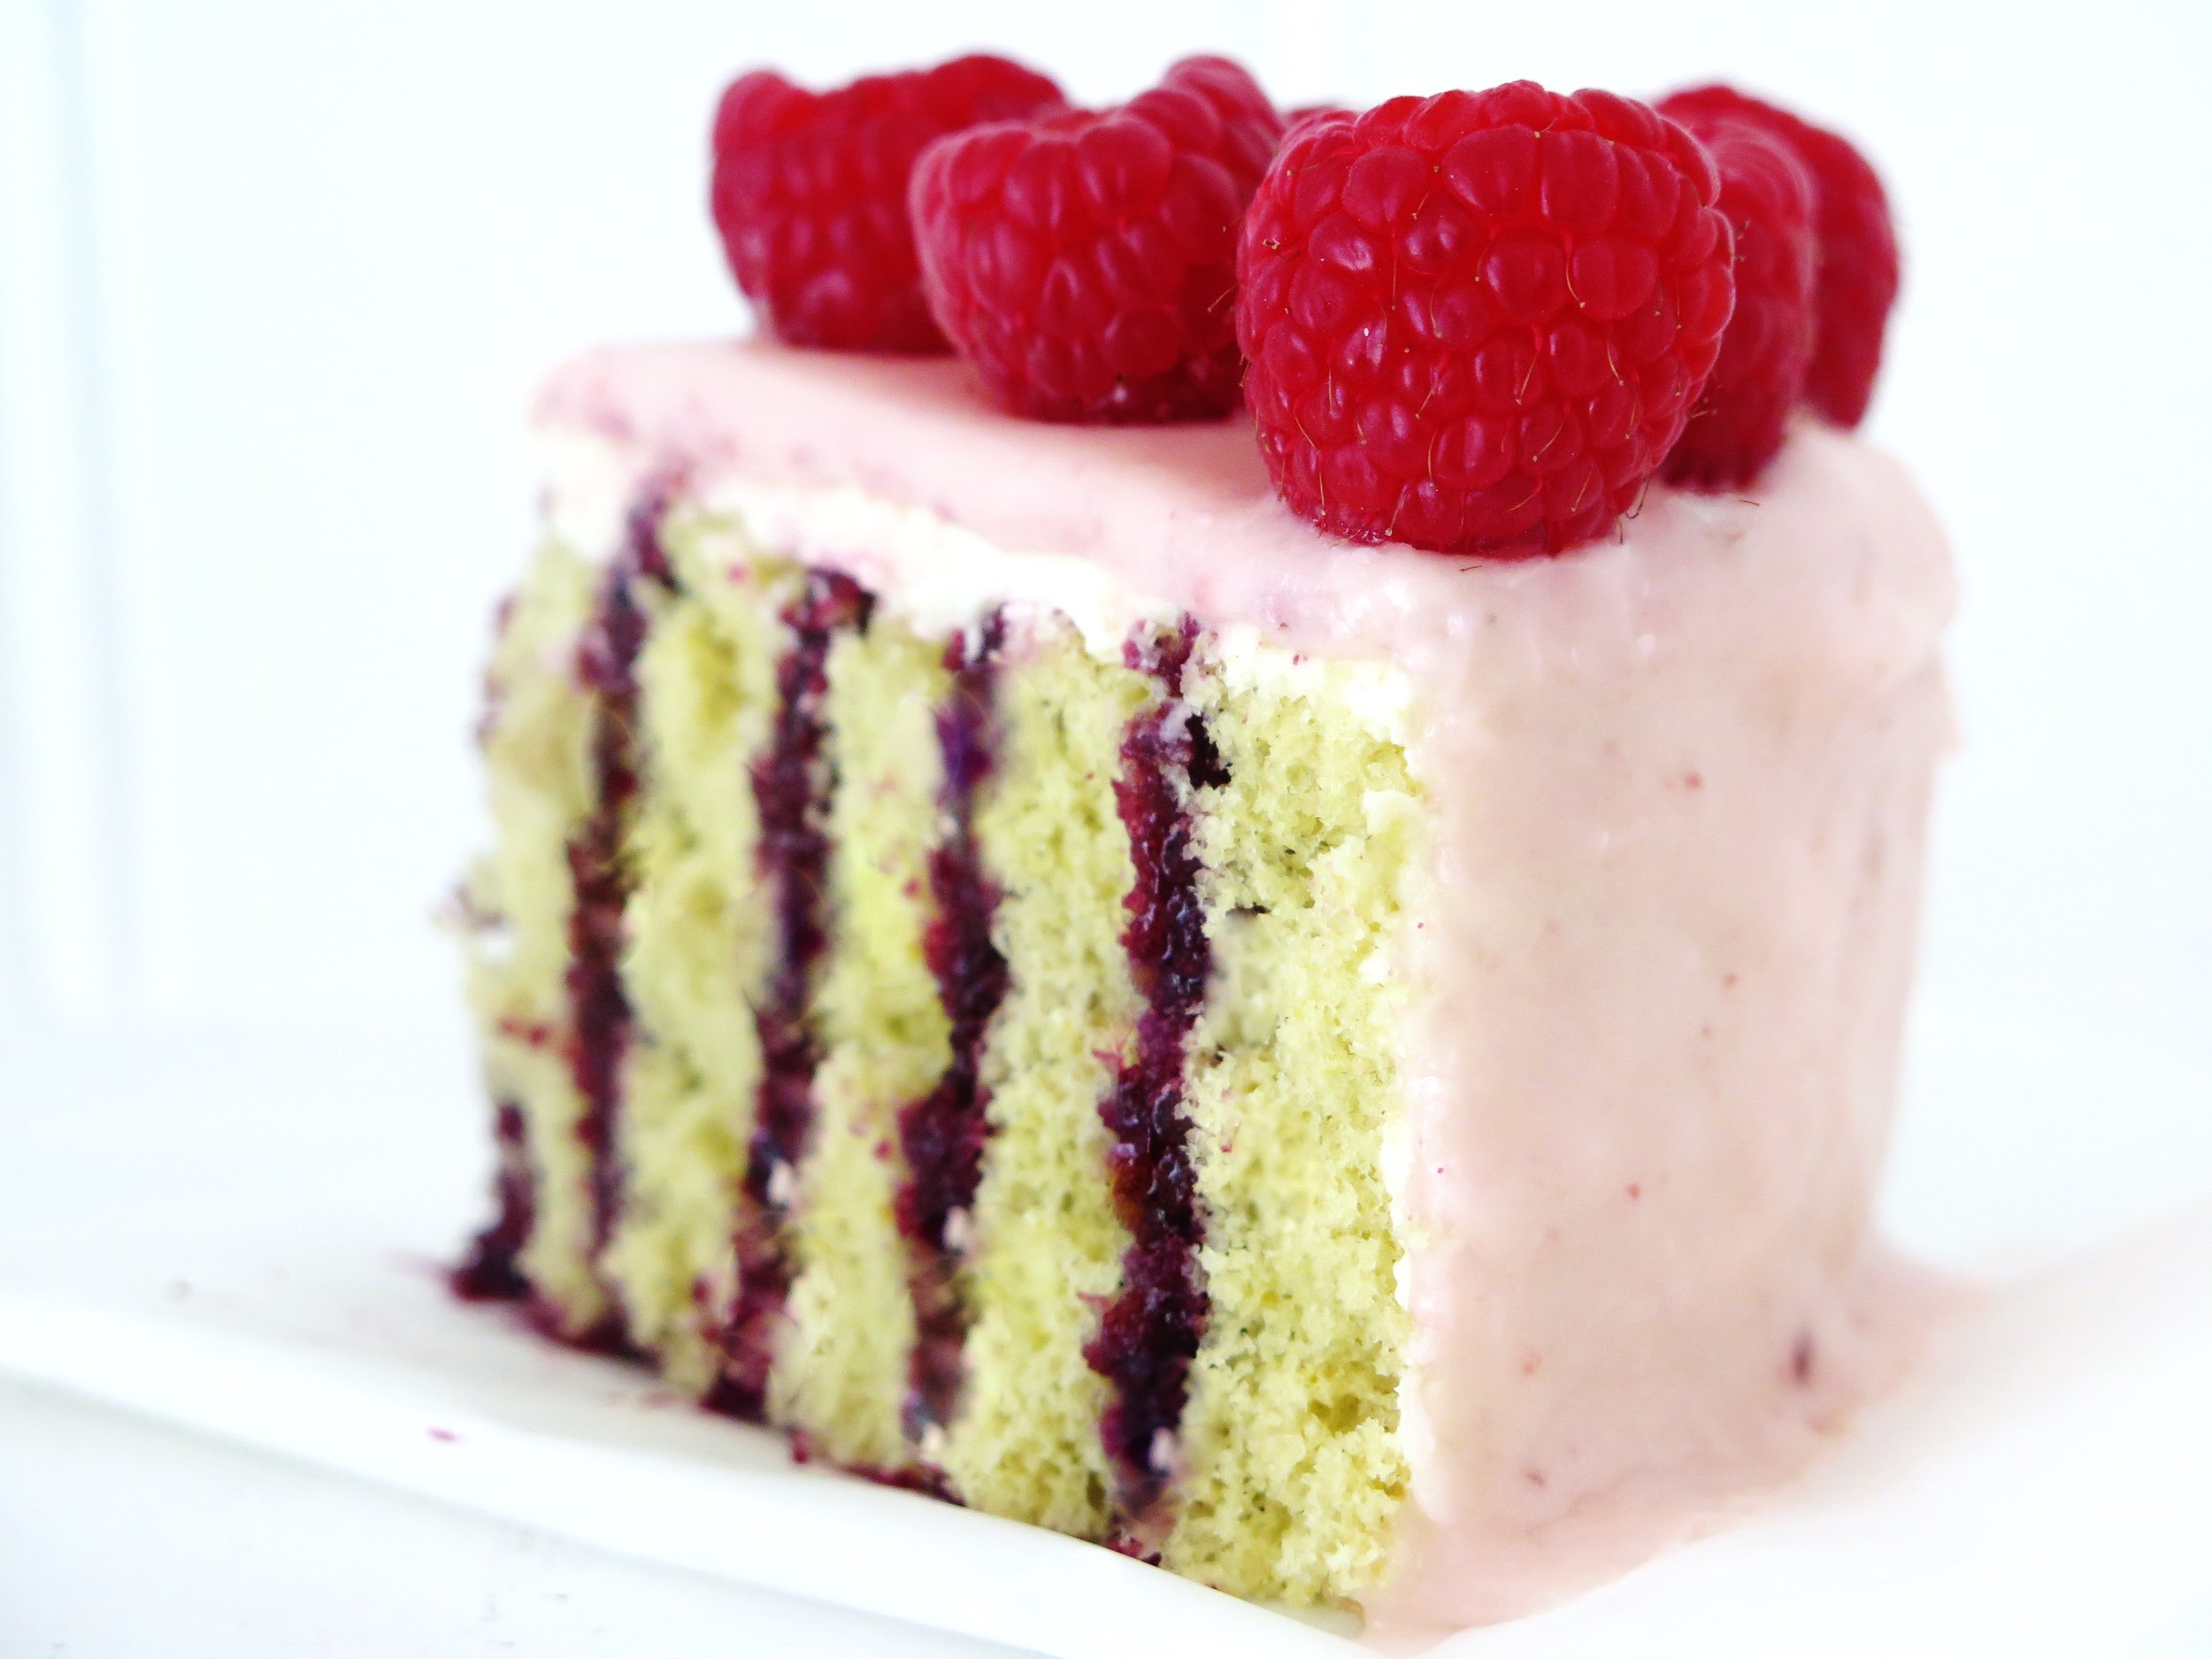
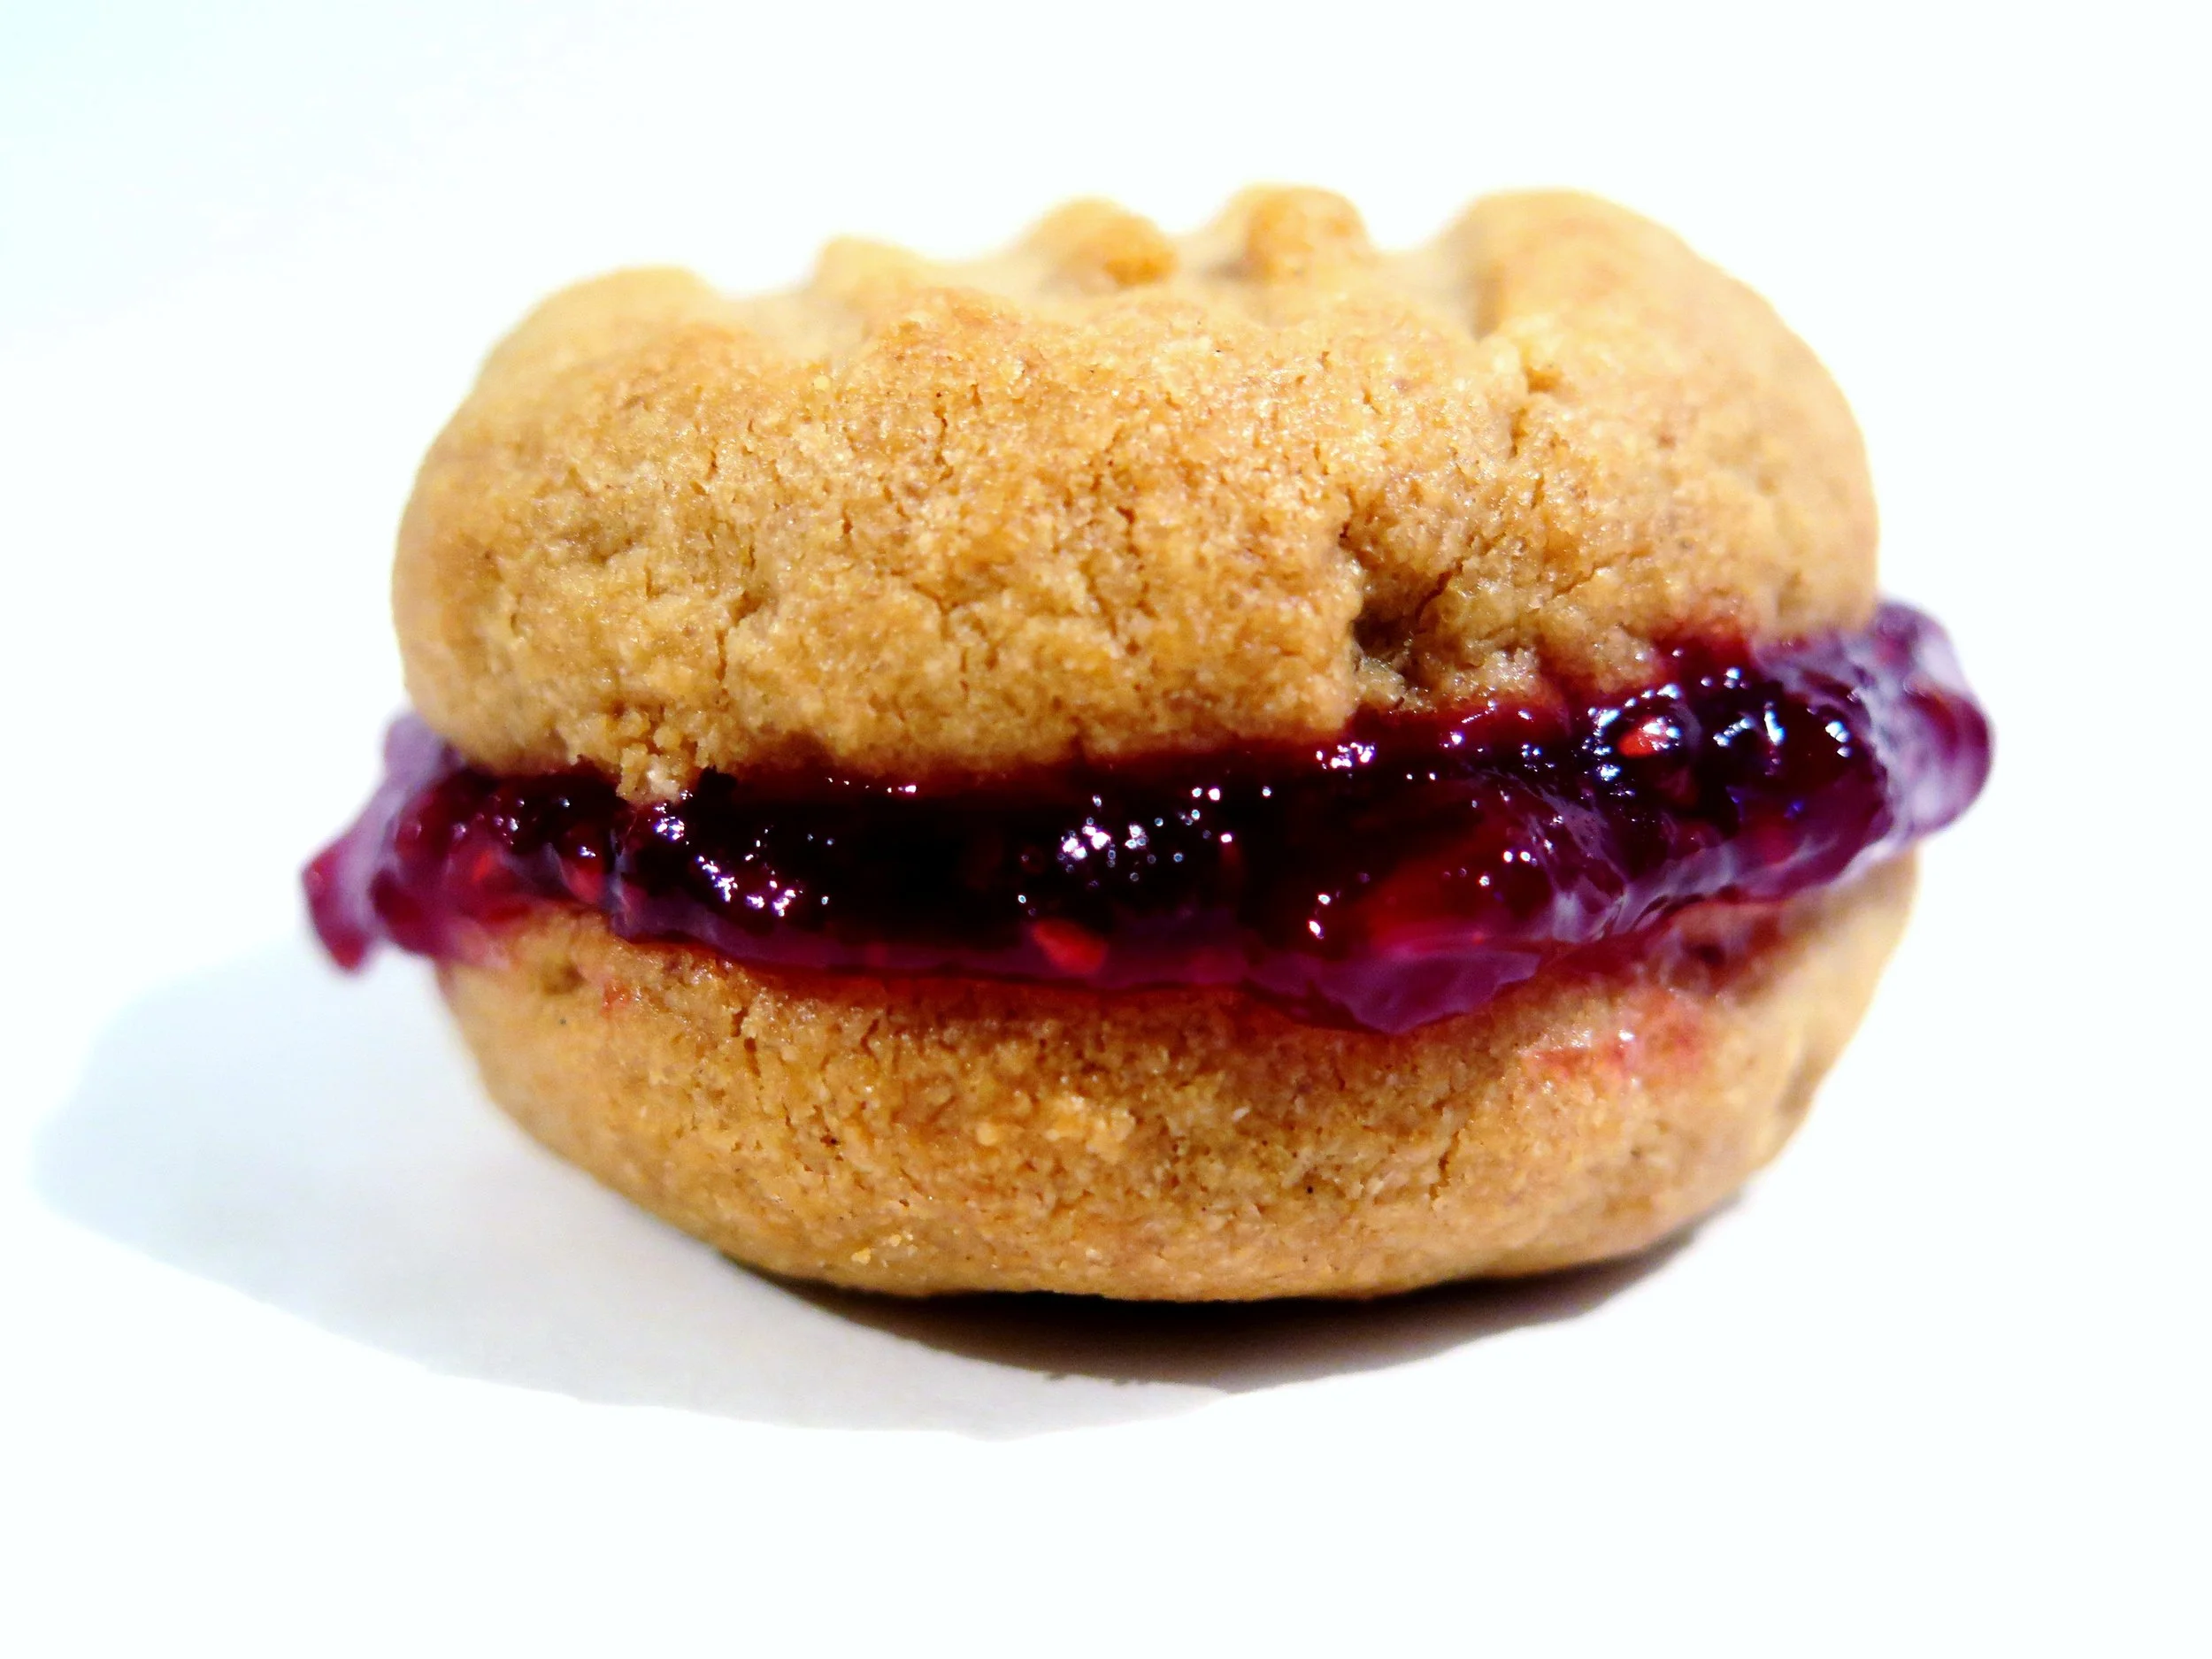
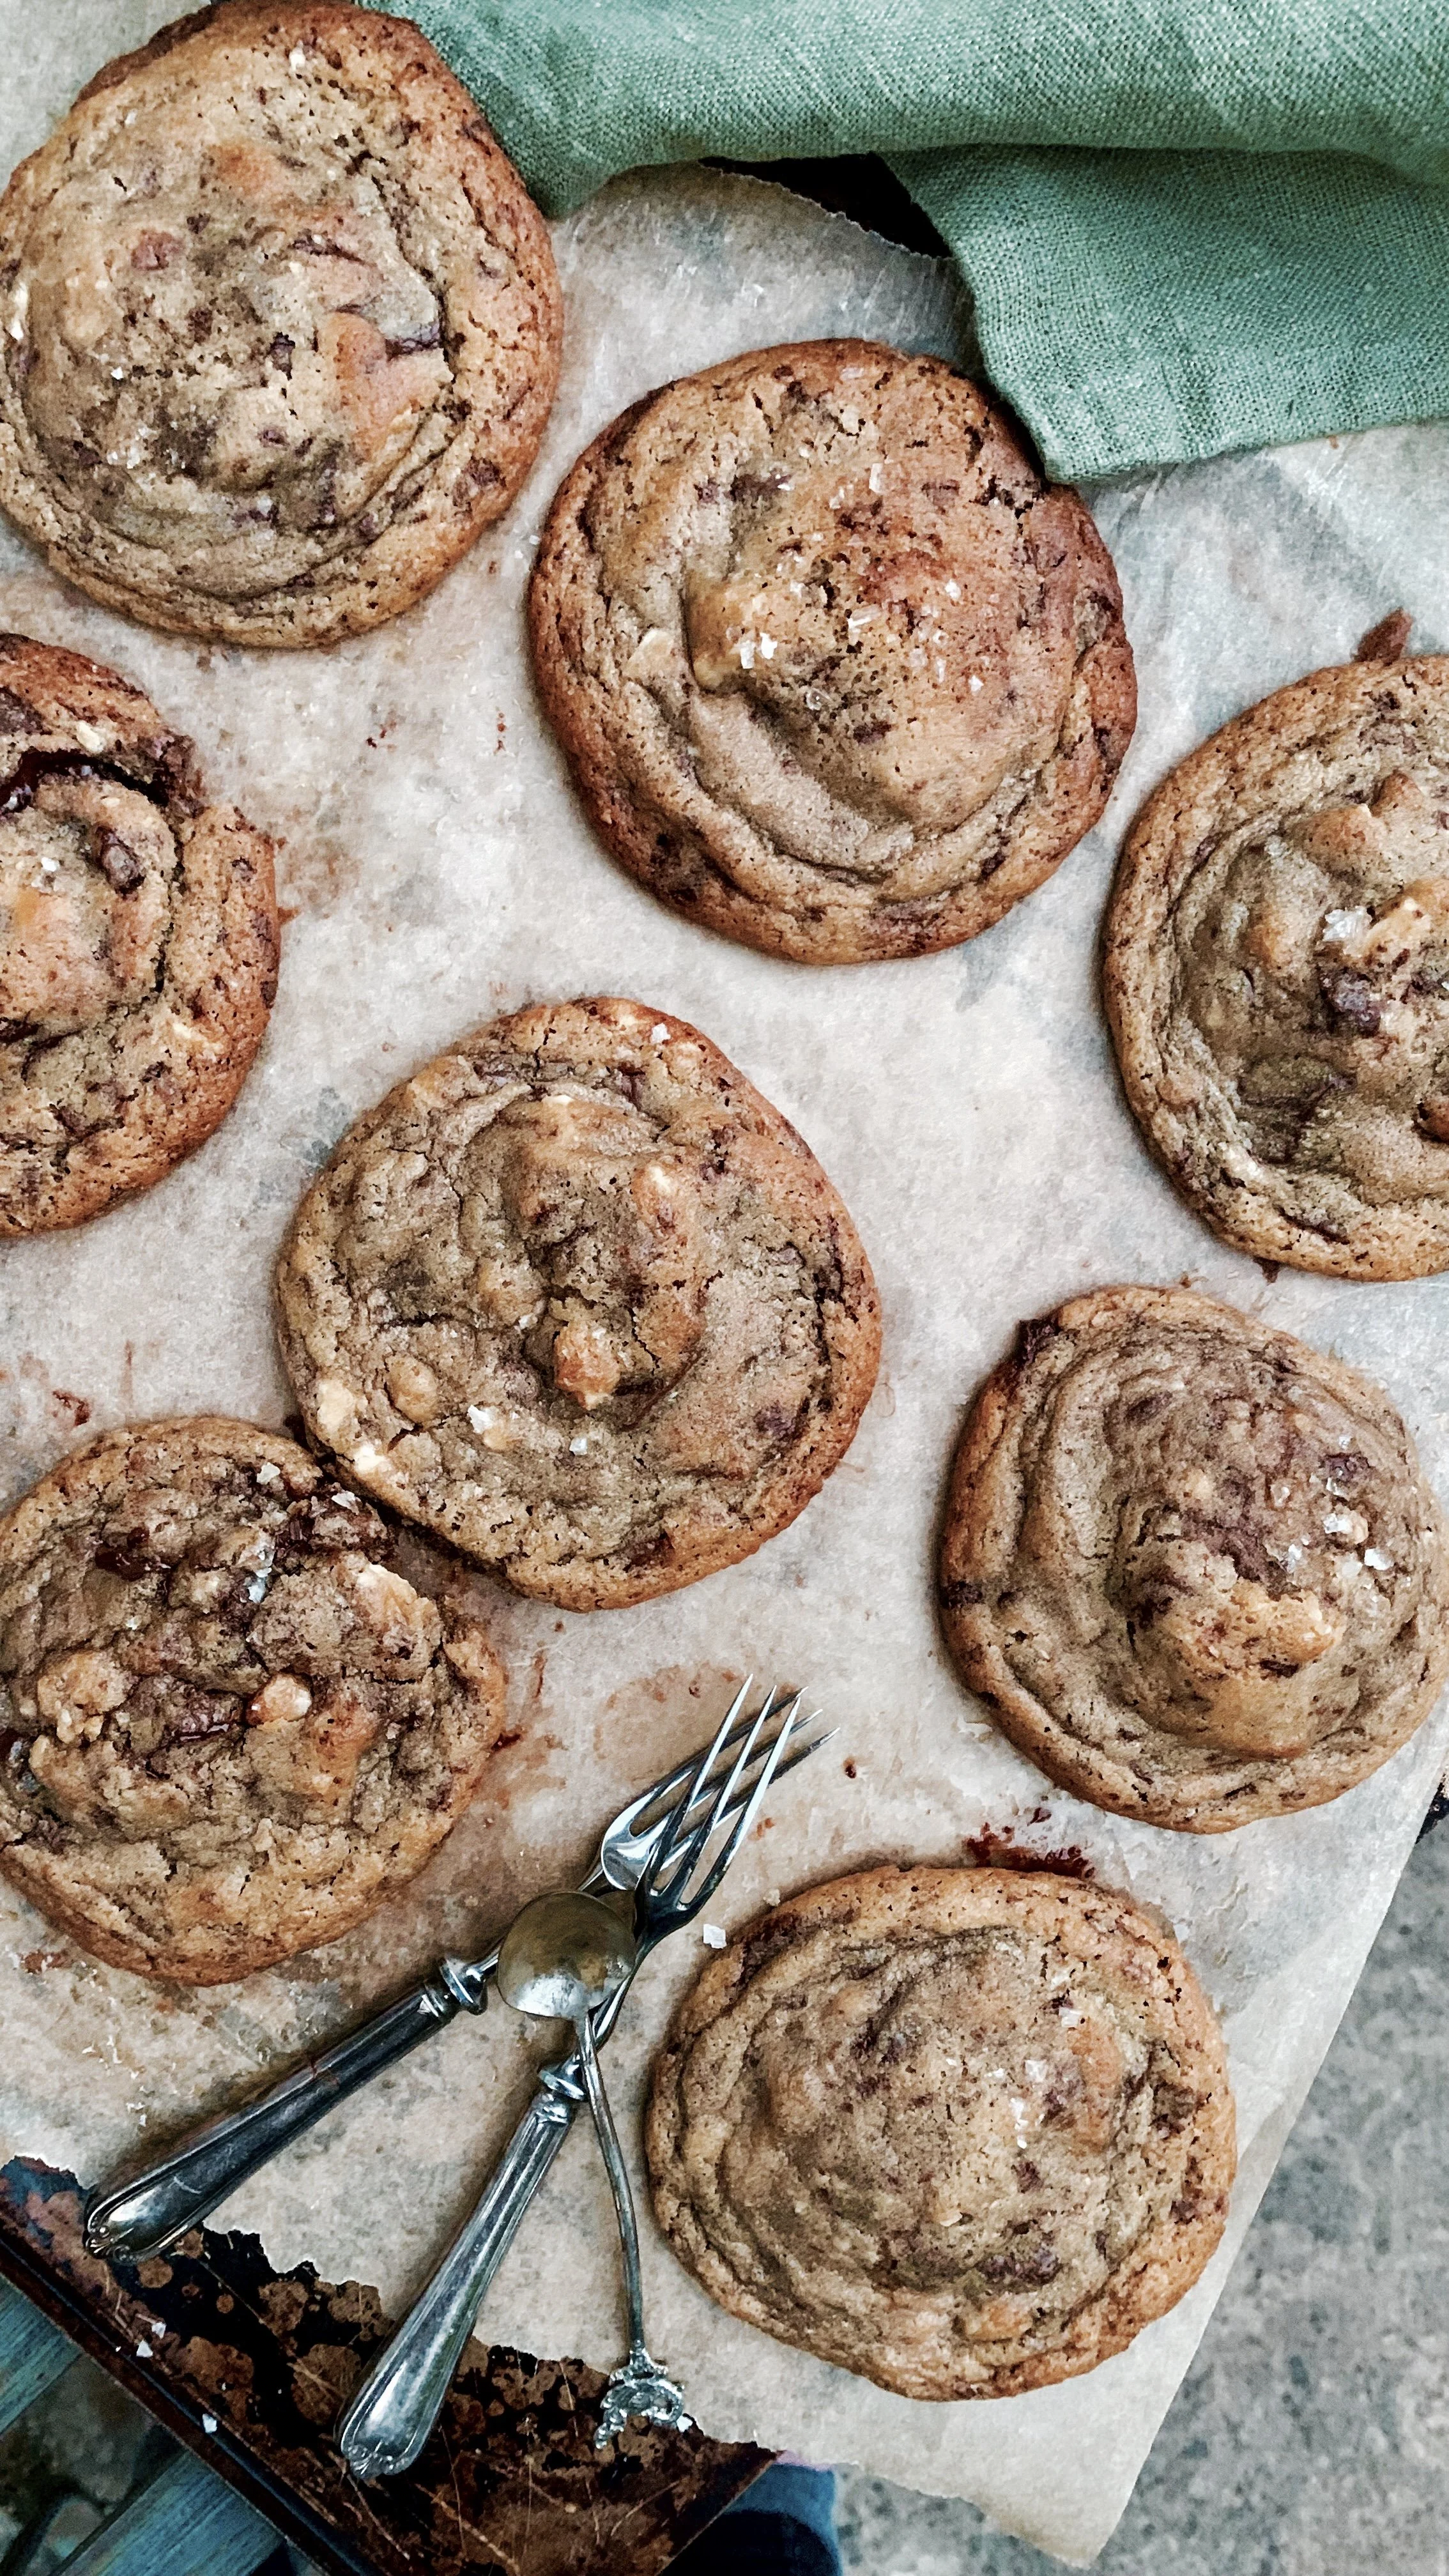
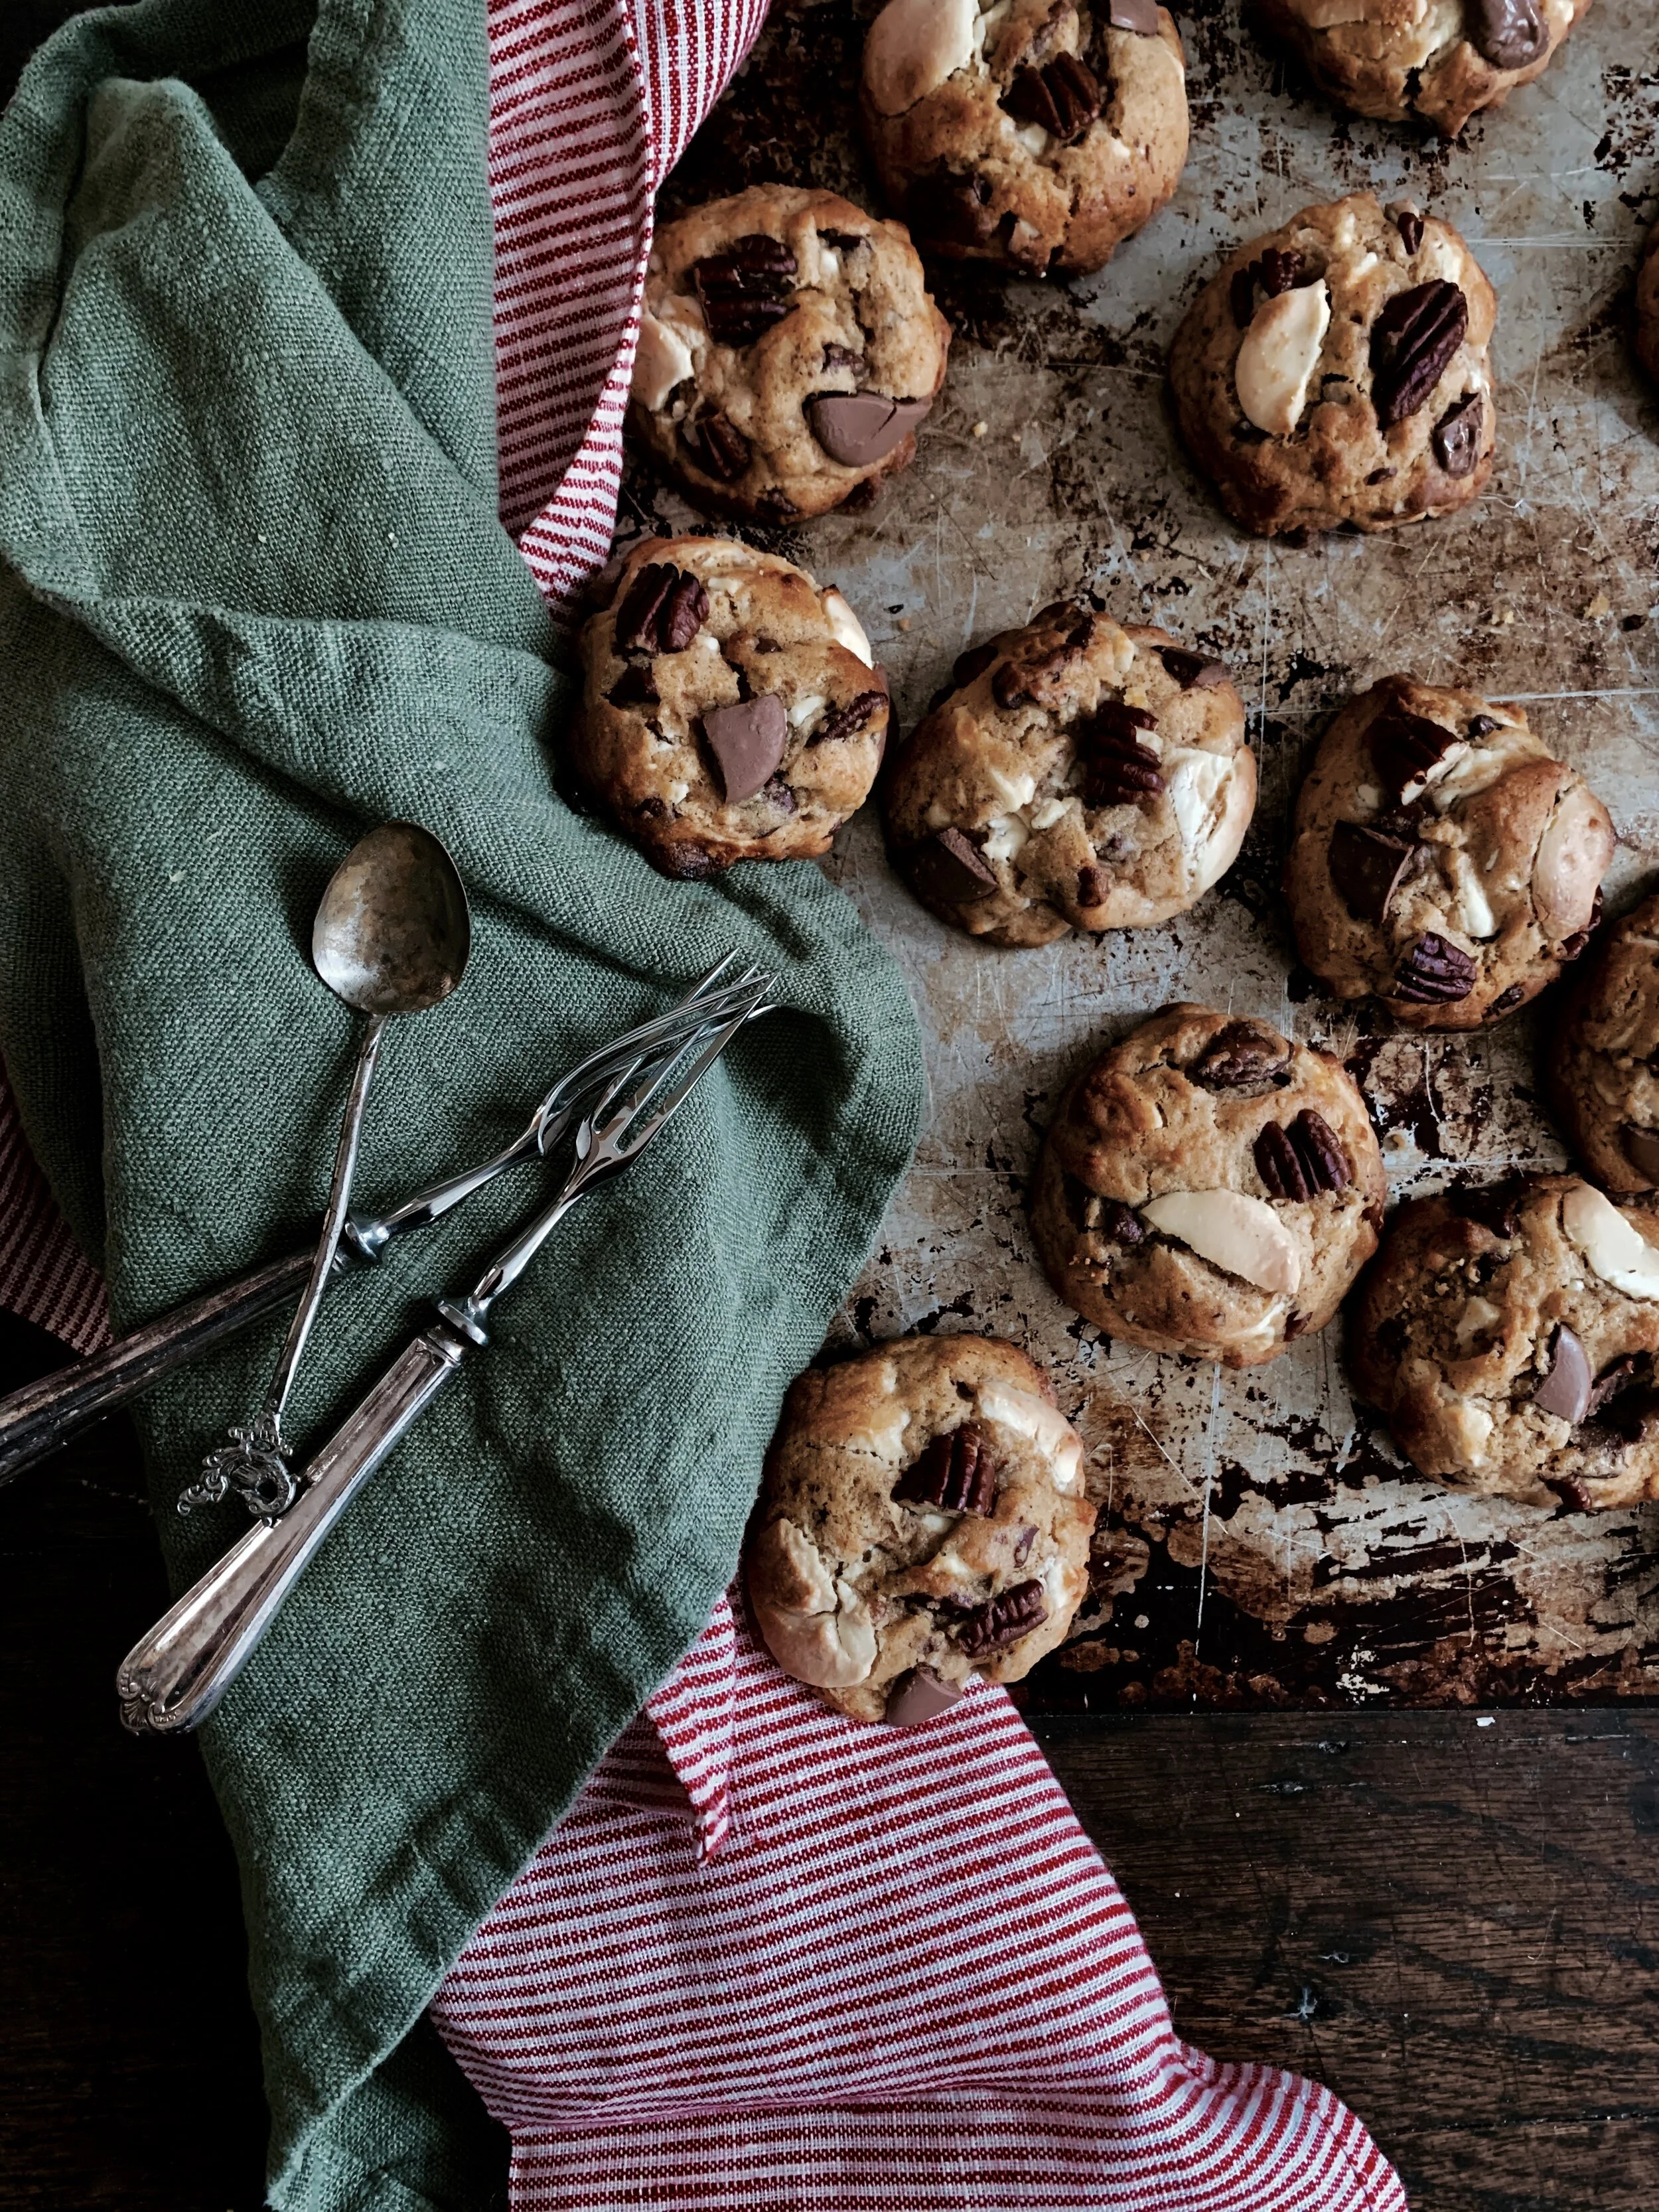
The memory of the palate-coating, salty-sweetness of the City Bakery peanut butter cookies reasserted itself.  Over the next week it took up stubborn residence, so I made up my own.  They worked.  I know this because I made them twice: I left the first batch out to cool, exited the kitchen for 10 minutes, and when I returned, they were gone, my brother unabashedly dusting the last few crumbs off his sweater.  With family members temporarily banished from the kitchen, the second batch survived long enough to be photographed.  Although delicious on their own, I sandwiched mine with raspberry jam to offset the sweet salty nuttiness with a little tang. Julia D. you are to blame for this recipe (and it is, indeed, dedicated to you).

Peanut Butter and Jam Cookies - Recipe

Often cookie recipes frustratingly demand that the dough is chilled before baking.  These can be made, baked and eaten in 20 minutes - no torturous chilling necessary.

Peanut Butter and Jam Cookies - Recipe

Ingredients (makes 34 individual cookies)

115g unsalted butter, at room temperature

190g granulated sugar

60g light brown sugar

¾ tsp salt

250g smooth peanut butter

1 large egg

½ tsp vanilla extract

140g white spelt flour (or plain flour)

150g raspberry jam (optional)

2 baking sheets lined with baking parchment


Method


  1. Preheat oven to 180˚C.
  2. In a mixer (or by hand), cream together butter, granulated sugar, light brown sugar and salt until pale and fluffy. Mix in peanut butter, egg and vanilla extract until fully combined.  Gently stir in the flour.
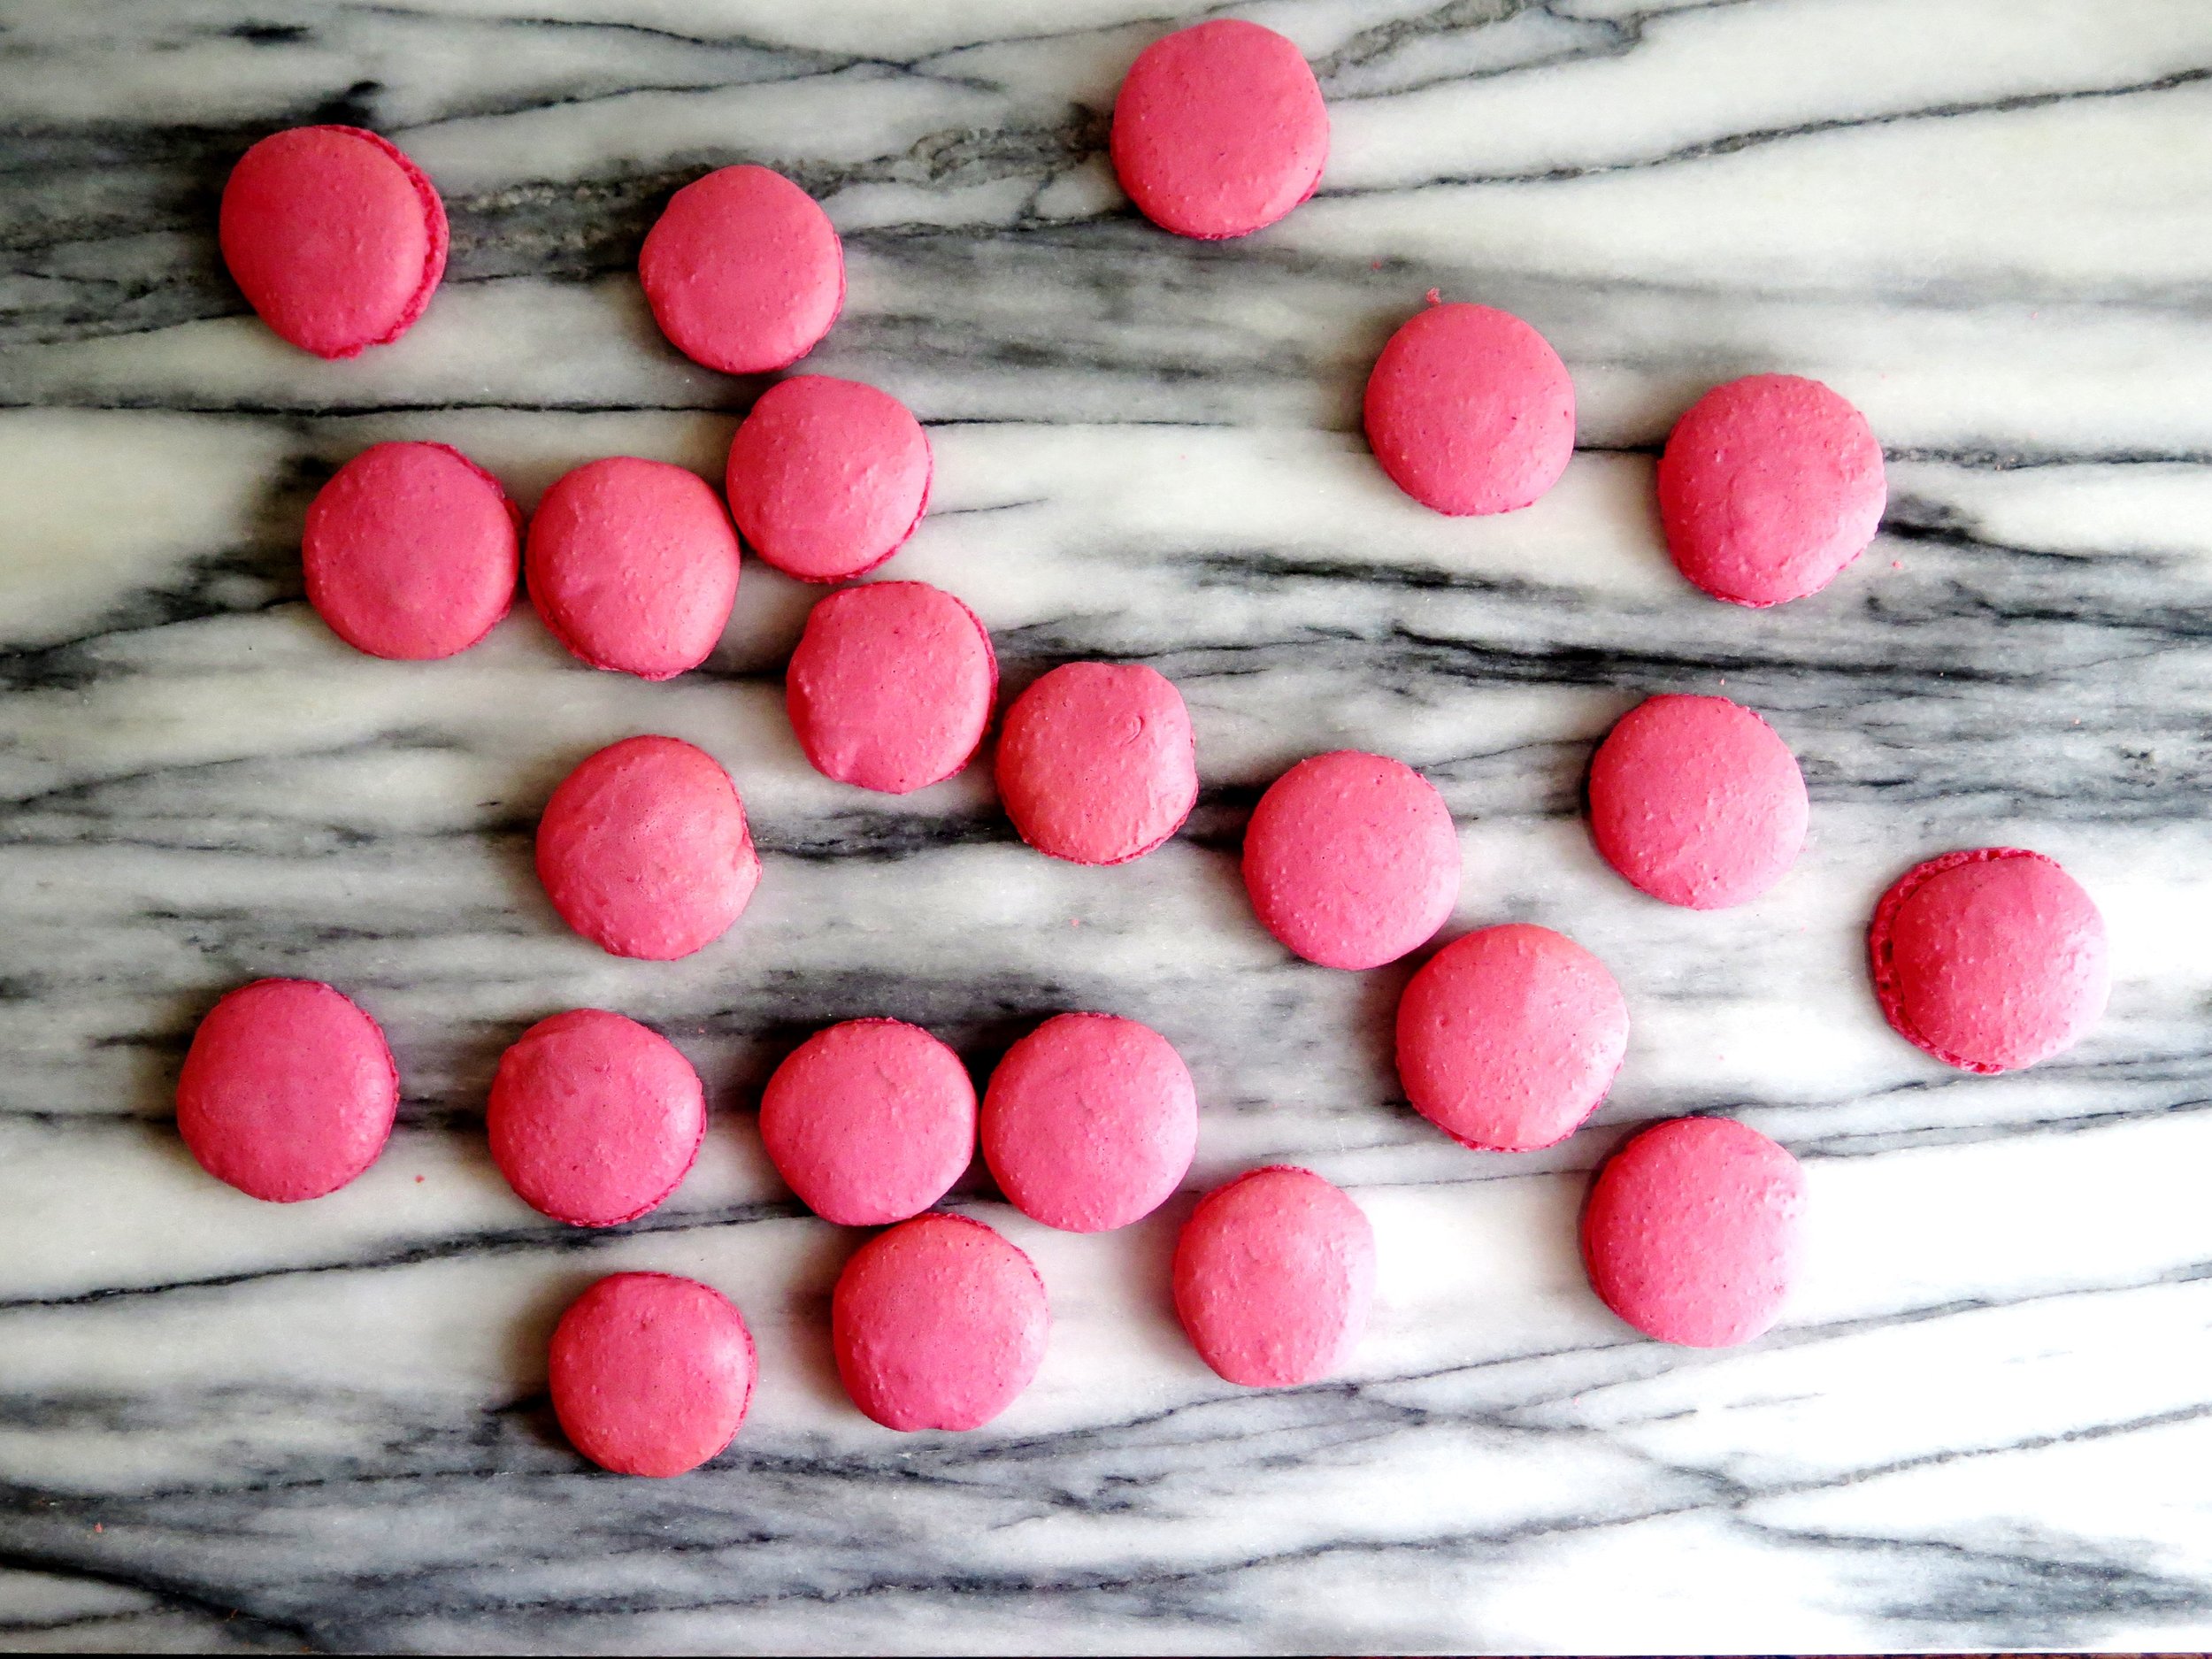
  3. In the palms of your hands, roll a tablespoon of the mixture at a time to form 4cm spheres. Space them out on the tray.  When the mixture is used up, gently press a fork into the spheres to flatten them and form a criss-cross pattern as pictured.
  4. Bake in oven for 12-14 minutes until slightly golden and still soft to touch. Allow to cool slightly before sandwiching each pair together with a teaspoon of raspberry jam.

Peanut Butter and Jam Cookies - Recipe

Comment

Wholesome American Style Spelt Pancakes (Dairy-free) - Recipe

3 Comments

Wholesome American Style Spelt Pancakes (Dairy-free) - Recipe

Khanom krok, crepes, blinis, dosas, tortillas, msemmen, ingera, beghrir, and both pandan and rice  pancakes - dense, spongy, fluffy, light,...  I've devoured them all.  But when it gets to Sunday, and brunch is obligatory, I always revert to American-style pancakes.   I want to whisk up something quick, easy and delicious.

The internet is currently riddled with recipes for "sugarless, 2-ingredient protein pancakes".  Warning: two ingredients = egg and banana, and there are many things I'd rather eat than a banana omelette.  So I came up with my own healthier version of American-style pancakes using wholegrain spelt and coconut oil.

They're fluffy, light and filling, and the wholemeal spelt flour adds a warming nuttiness as well as lowering the overall GI level.  They're also really  addictive - the photos are of the fourth batch I made on the day (as the first batch were consumed as a solo act, and the second and third were inhaled by my brothers).

I paired them with a very simple mixed berry compote, the recipe for which is below.

Ingredients

Wholesome American Style Spelt Pancakes

340g wholemeal spelt flour (can be substituted with plain flour, wholemeal wheat or white spelt)

4 1/2 tsp baking powder

1/4 tsp salt

3 large eggs

450ml unsweetened almond milk (can be substituted with any other kind)

1 tbsp vanilla extract

45g coconut oil, melted + extra to coat frying pan (can be substituted with butter)

Berry Compote

500g mixed frozen berries

3 tbsp maple syrup (optional)

1tbsp vanilla extract

Method

Pancakes

1.) In a blender, blitz together all the ingredients until smooth.

2.) Place shallow frying pan over a medium-high heat and melt 1tbsp of coconut butter (or butter, if using), swirling it around to coat the pan.

3) Pour batter into pan to desired pancake size and cook for a couple of minutes until bubbles begin to break through the surface.  Flip, and cook for a further couple of minutes until golden.

Mixed Berry Compote

1.) Place pan over high heat, pour in all ingredients, and stir to mix through.

2.) When the berries have melted and the mixture begins to simmer, reduce to a low heat and cook until berries are completely cooked through.

3.) Drench pancakes.

HUNGRY FOR MORE?

3 Comments

Vanilla Bean & Cinnamon Bircher Muesli (Dairy-free, Sugar-free, Gluten-free) - Recipe

Comment

Vanilla Bean & Cinnamon Bircher Muesli (Dairy-free, Sugar-free, Gluten-free) - Recipe

IMG_2375.jpg

Vanilla Bean & Cinnamon Bircher Muesli (Dairy-free, Sugar-free, Gluten-free) - Recipe Last year I spent a week in the middle of nowhere, in freezing cold, exercising over 6 hours a day in mud/gales/snow/hail,  under the supervision of ex-military trainers who pushed me physically beyond  my limits until every last droplet of sweat had been purged.  My fellow “bootcampers” included a fresh out of prison and rehab drug dealer/addict, a morbidly obese woman who refused to communicate with anyone, a creepy London shop owner, a z-list celebrity from a certain Chelsea based reality TV show, whose ego was undeservedly overblown, and some poor guy whose father had told him he was going on a spa retreat in Spain but despatched him instead into gruelling and bleak middle England.

Vanilla Bean & Cinnamon Bircher Muesli (Dairy-free, Sugar-free, Gluten-free) - Recipe


Our diet was heavily regimented, too: no sugar, no caffeine, no alcohol, and nothing processed.  Despite its virtuousness, it was delicious - fresh, wholesome and innovative - all cooked by an ex-OXO Tower chef.  Admittedly, food is the first thing I think of when I wake up anyway, but this feeling became intensified at the camp, especially with a 6 o’clock alarm call, and two hours of torture before breakfast.   No, it wasn’t a prison camp: I did this out of choice.


Vanilla Bean & Cinnamon Bircher Muesli (Dairy-free, Sugar-free, Gluten-free) - RecipeVanilla Bean & Cinnamon Bircher Muesli (Dairy-free, Sugar-free, Gluten-free) - RecipeVanilla Bean & Cinnamon Bircher Muesli (Dairy-free, Sugar-free, Gluten-free) - Recipe

It was one of the only occasions when getting chummy with the chef didn’t reap any edible perks.  I did , however, manage to glean the recipe for the breakfast highlight of the week: Bircher muesli.  It traditionally has a fluid consistency and is made the night before to allow the oats to become plump with apple juice and yoghurt.   This one breaks all the rules but is more delicious, healthier and a hundred times more convenient – most people (excluding me) spare little thought for breakfast, let alone prepare for it the night before.

Vanilla Bean & Cinnamon Bircher Muesli (Dairy-free, Sugar-free, Gluten-free) - Recipe

This recipe is dairy-free and sugar-free simply because I think it’s delicious that way, but feel free to use dairy equivalents, and add some maple syrup if you’re that way inclined – it works equally well. It can also be made gluten-free  – just use the appropriate muesli brand.

Vanilla Bean & Cinnamon Bircher Muesli (Dairy-free, Sugar-free, Gluten-free) - Recipe


Ingredients (serves 2)

Muesli

2 cups sugar-free muesli

1 Braeburn apple, grated and sprinkled with 1 tsp lemon juice (this will prevent it oxidising and going brown)

¼ tsp vanilla bean paste

1 tsp cinnamon

¼ cup coconut yoghurt (or Greek yoghurt)

3 tbsp coconut milk (or dairy)

2 tbsp apple juice

(1 tbsp maple syrup – optional)


Topping

¼ cup coconut yoghurt

100g raspberries

A handful of strawberries

2 tbsp flaked almonds, toasted in a dry pan over a medium heat for a few minutes until pale brown


 Method

  1. Stir together all topping ingredients. It should be of a thick consistency but feel free to add another splash of coconut milk if you prefer.  Leave for 10 minutes to allow the muesli to absorb the flavours.
  2. Top with yoghurt, and scatter with berries and flaked almonds. Drizzle with maple syrup if you like.


Vanilla Bean & Cinnamon Bircher Muesli (Dairy-free, Sugar-free, Gluten-free) - Recipe

Comment

Wholesome Berry & Oat Breakfast Loaf - Recipe

Comment

Wholesome Berry & Oat Breakfast Loaf - Recipe

Wholesome berry & oat breakfast loaf 
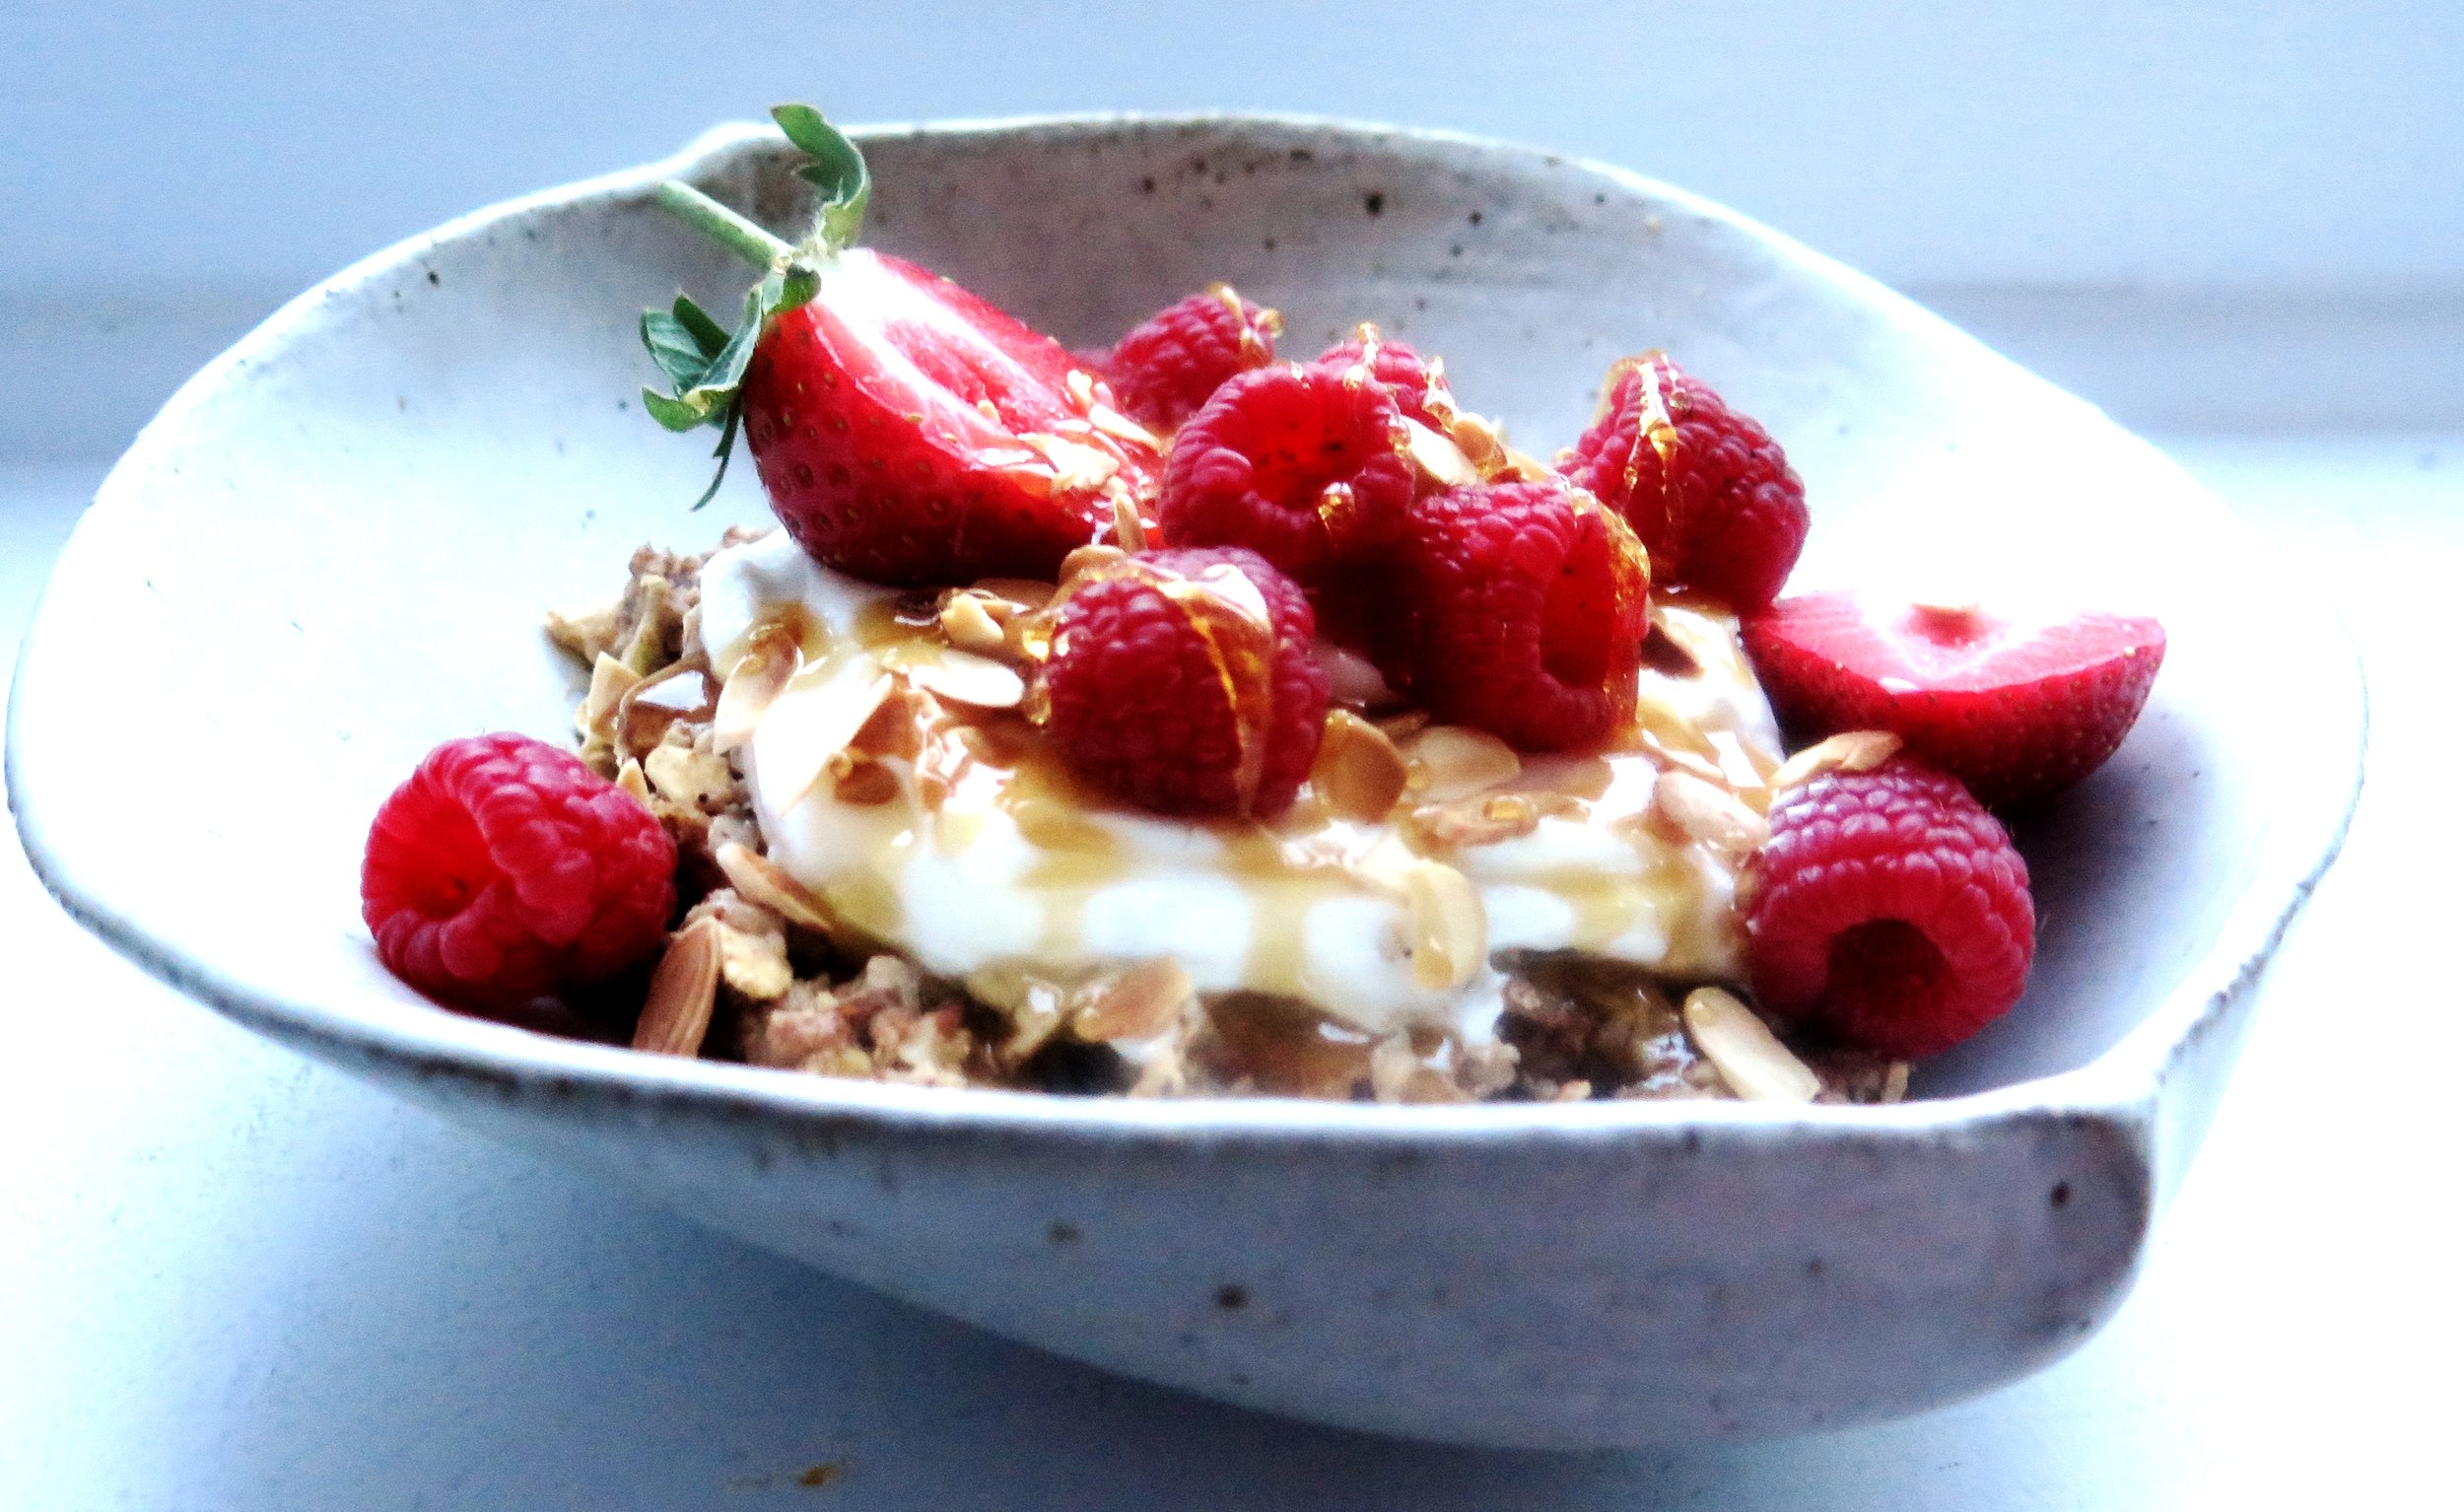
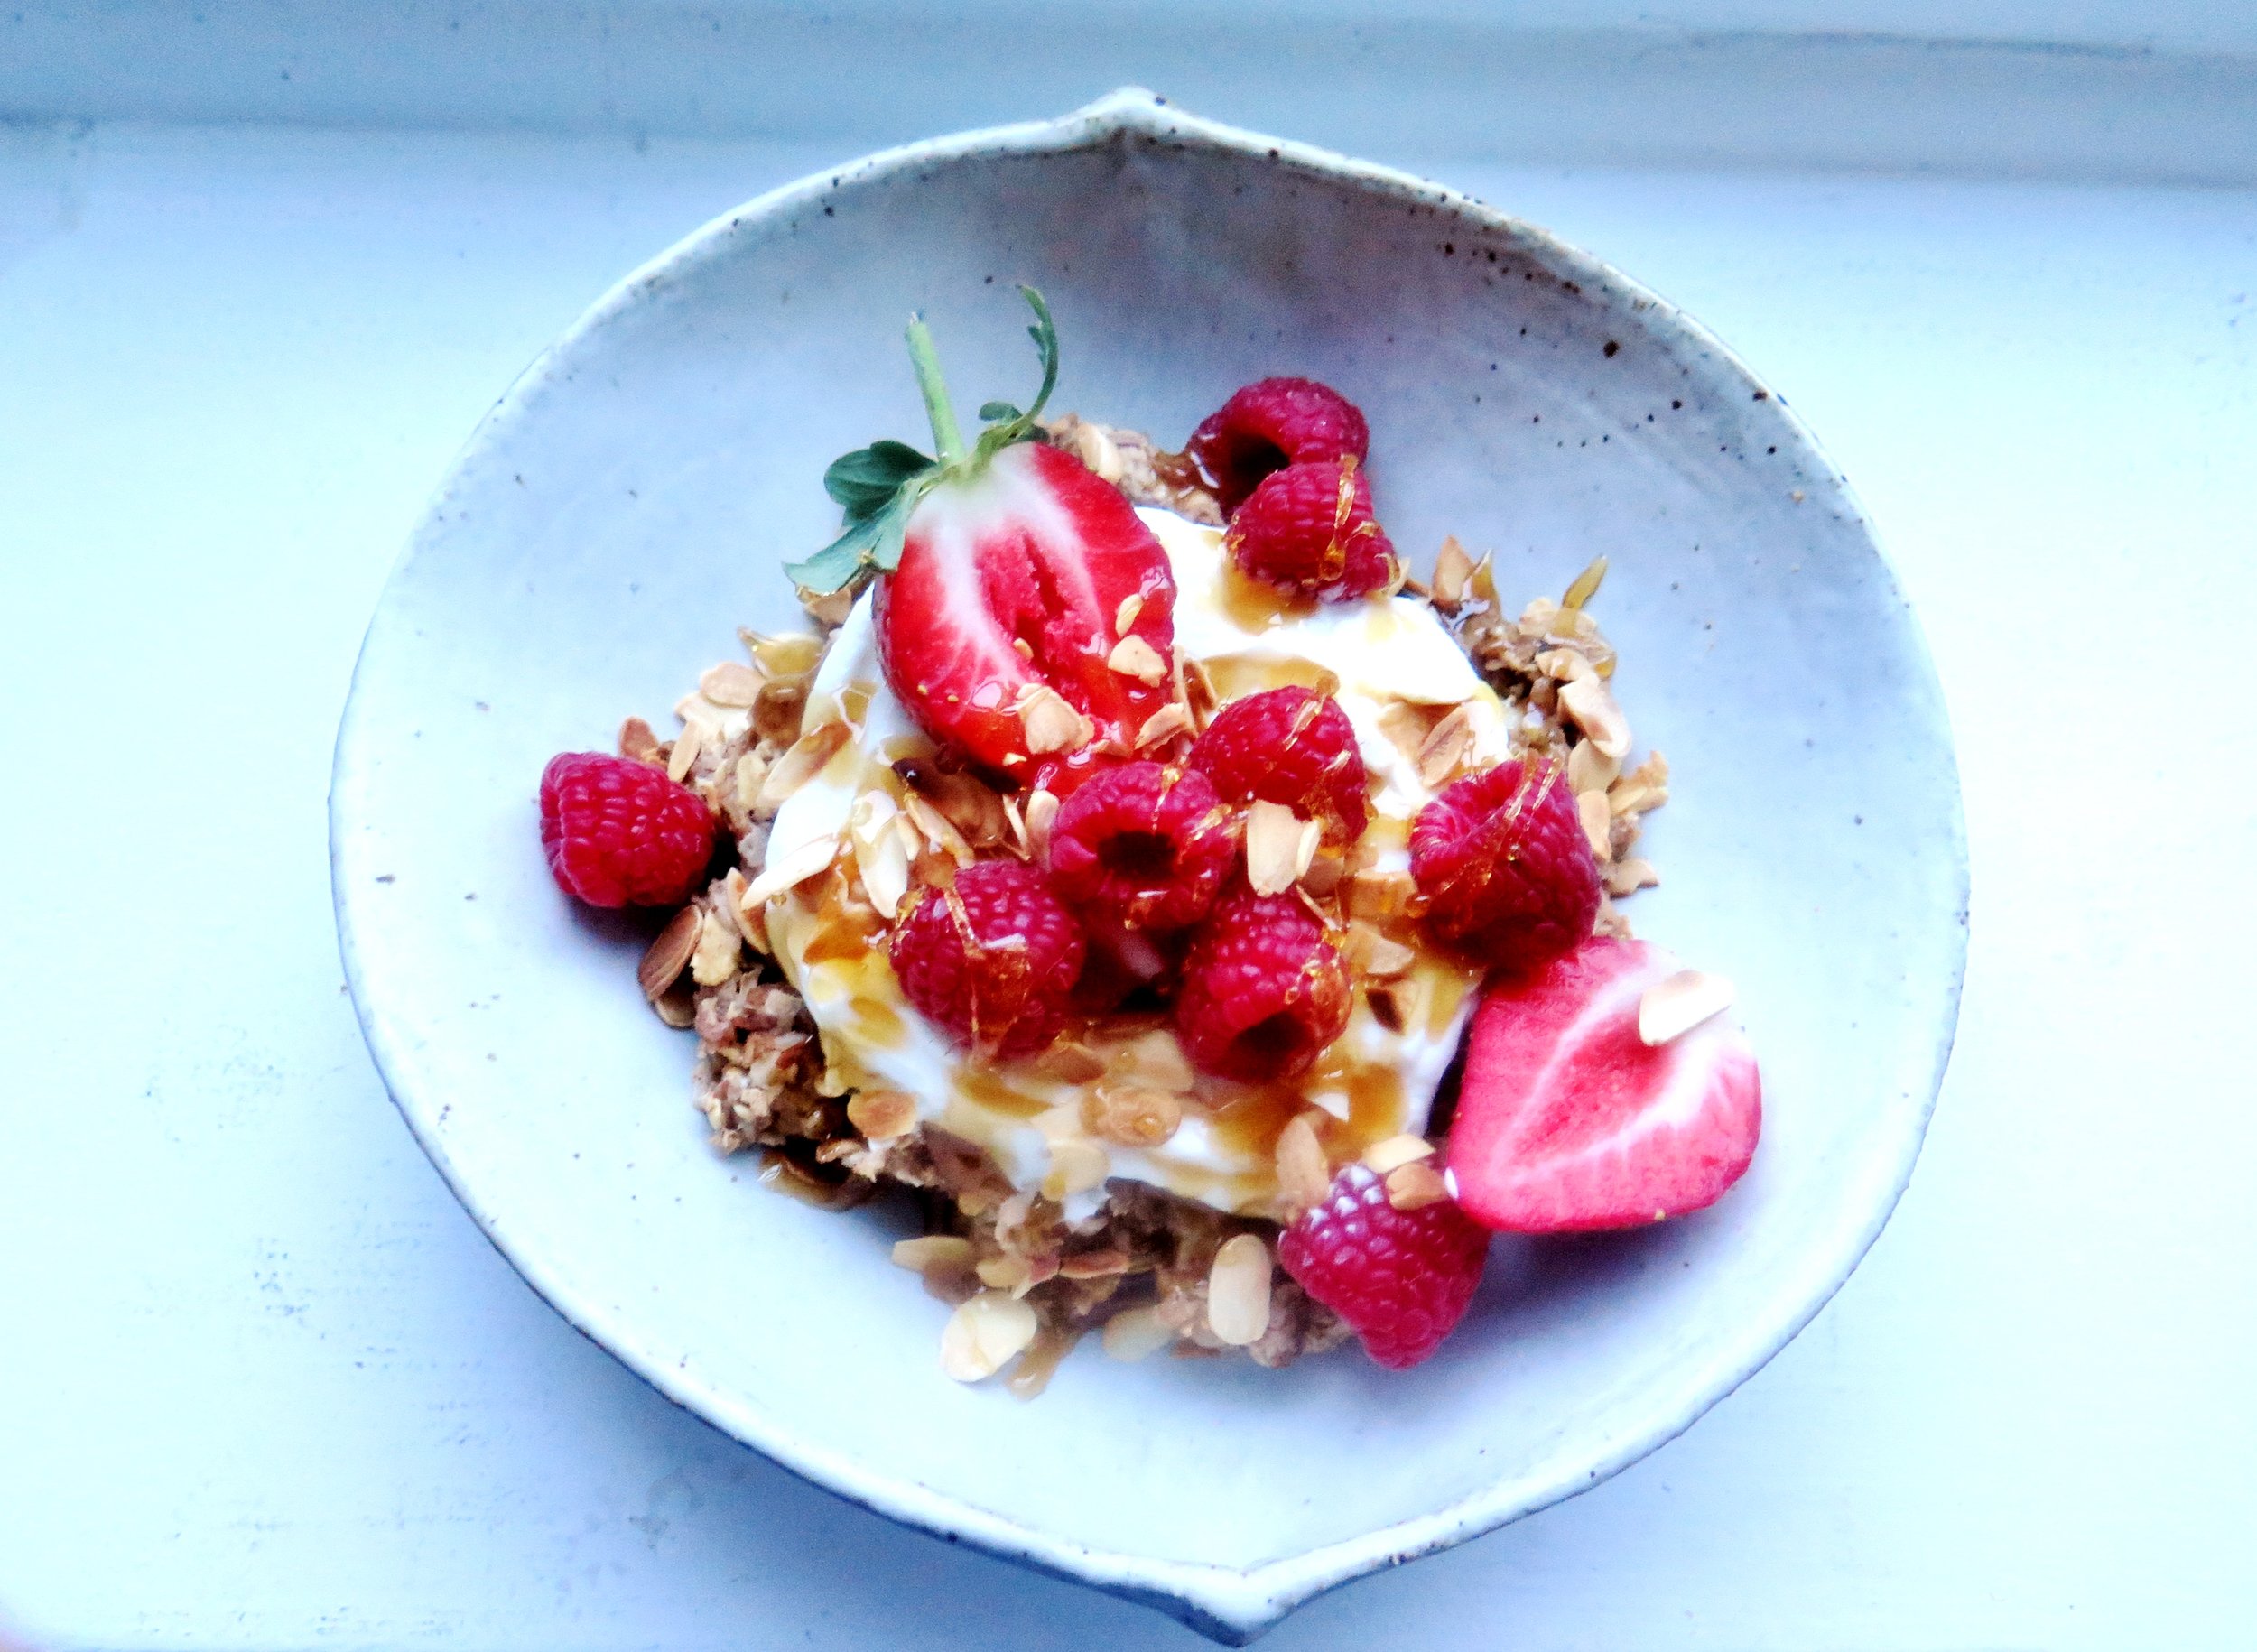
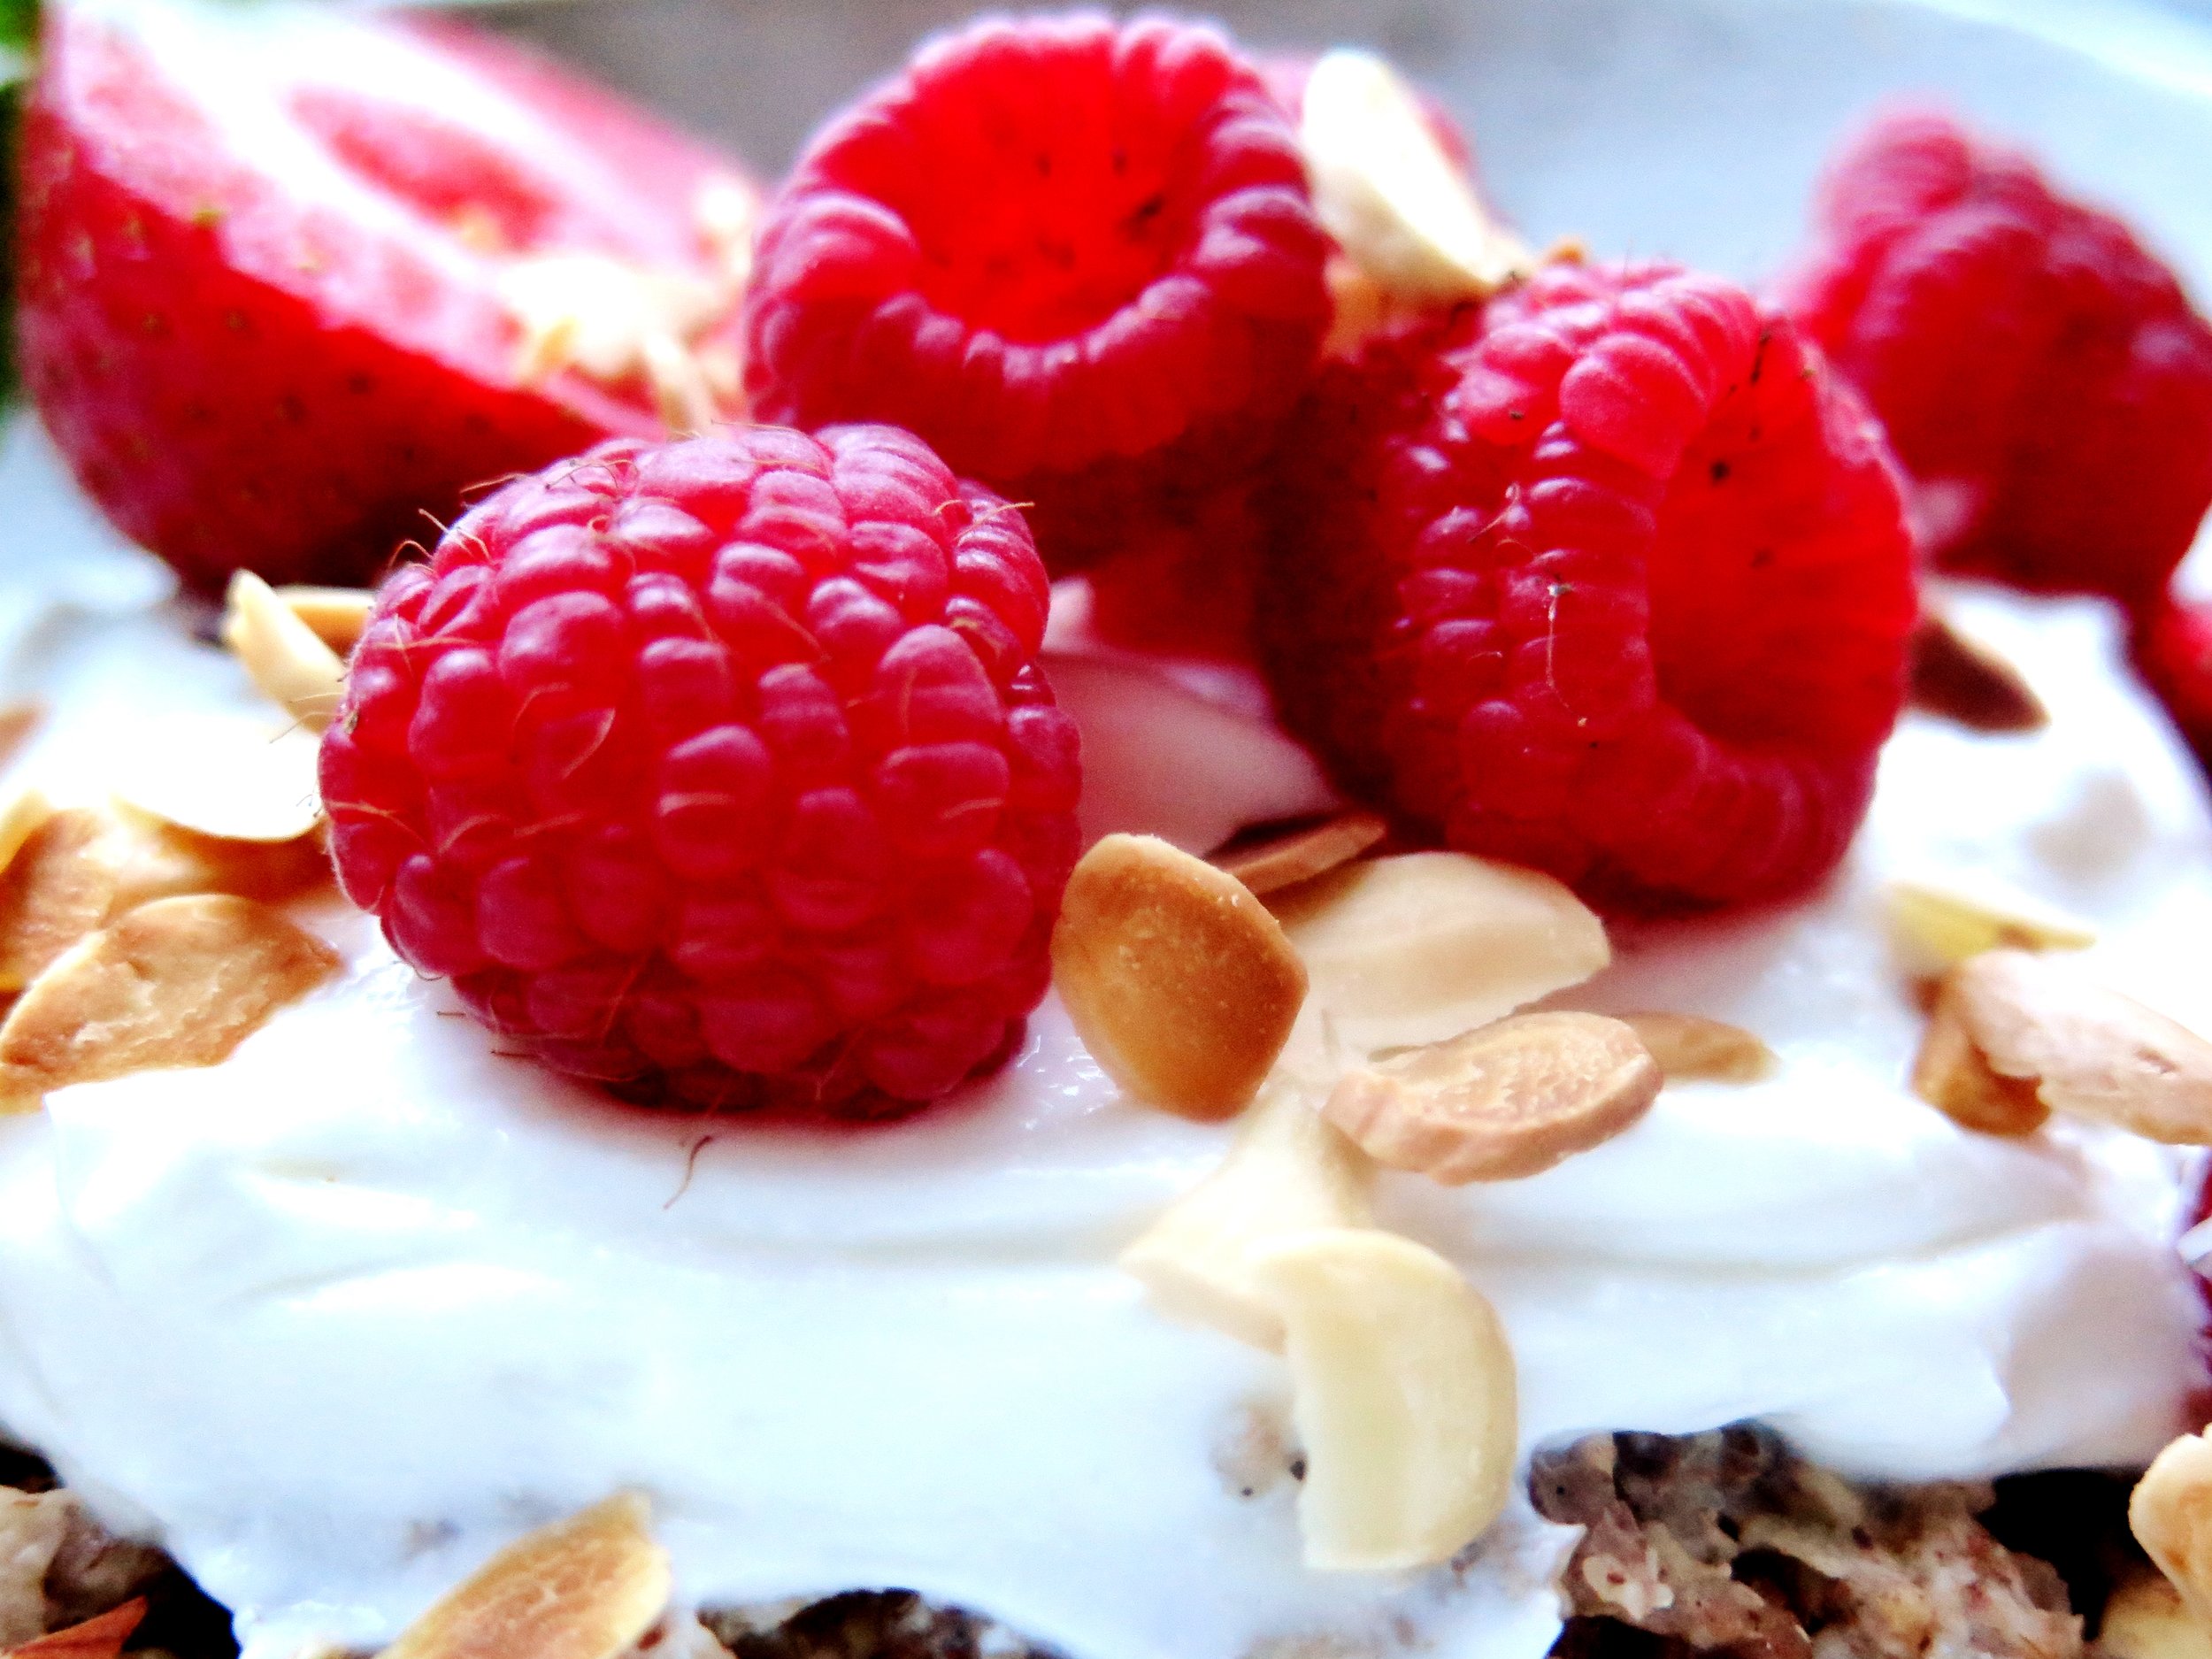
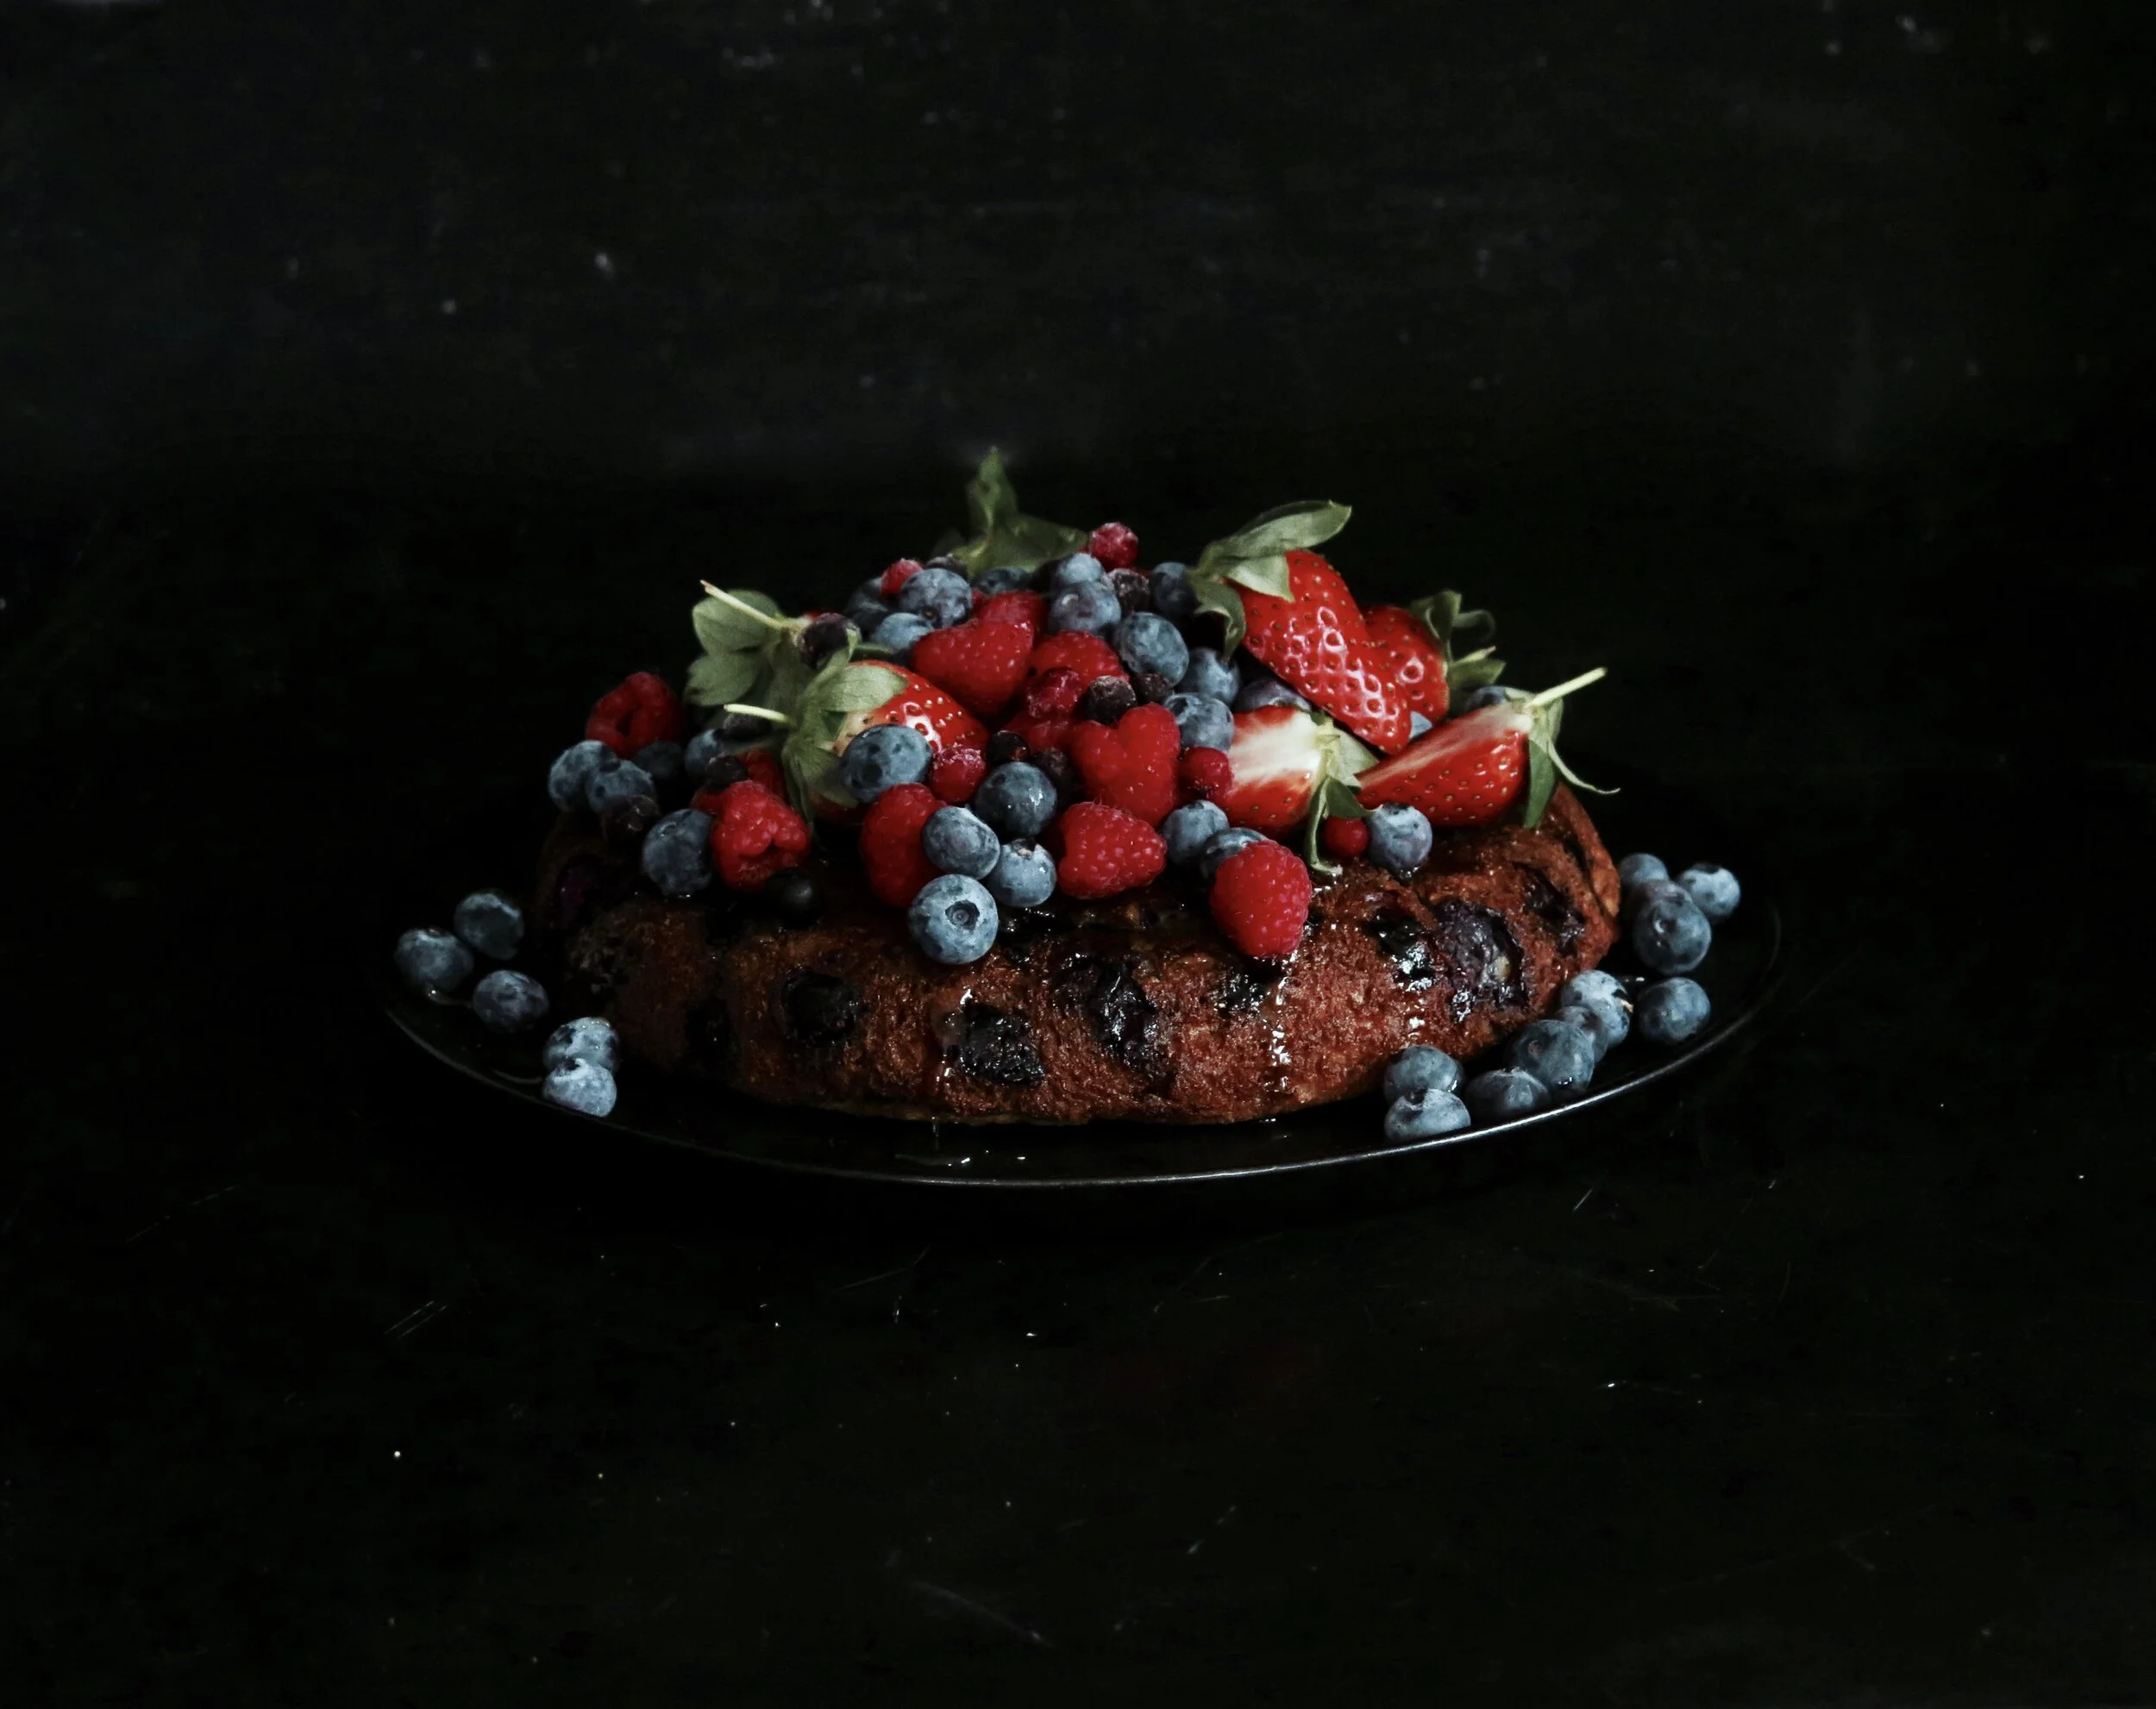
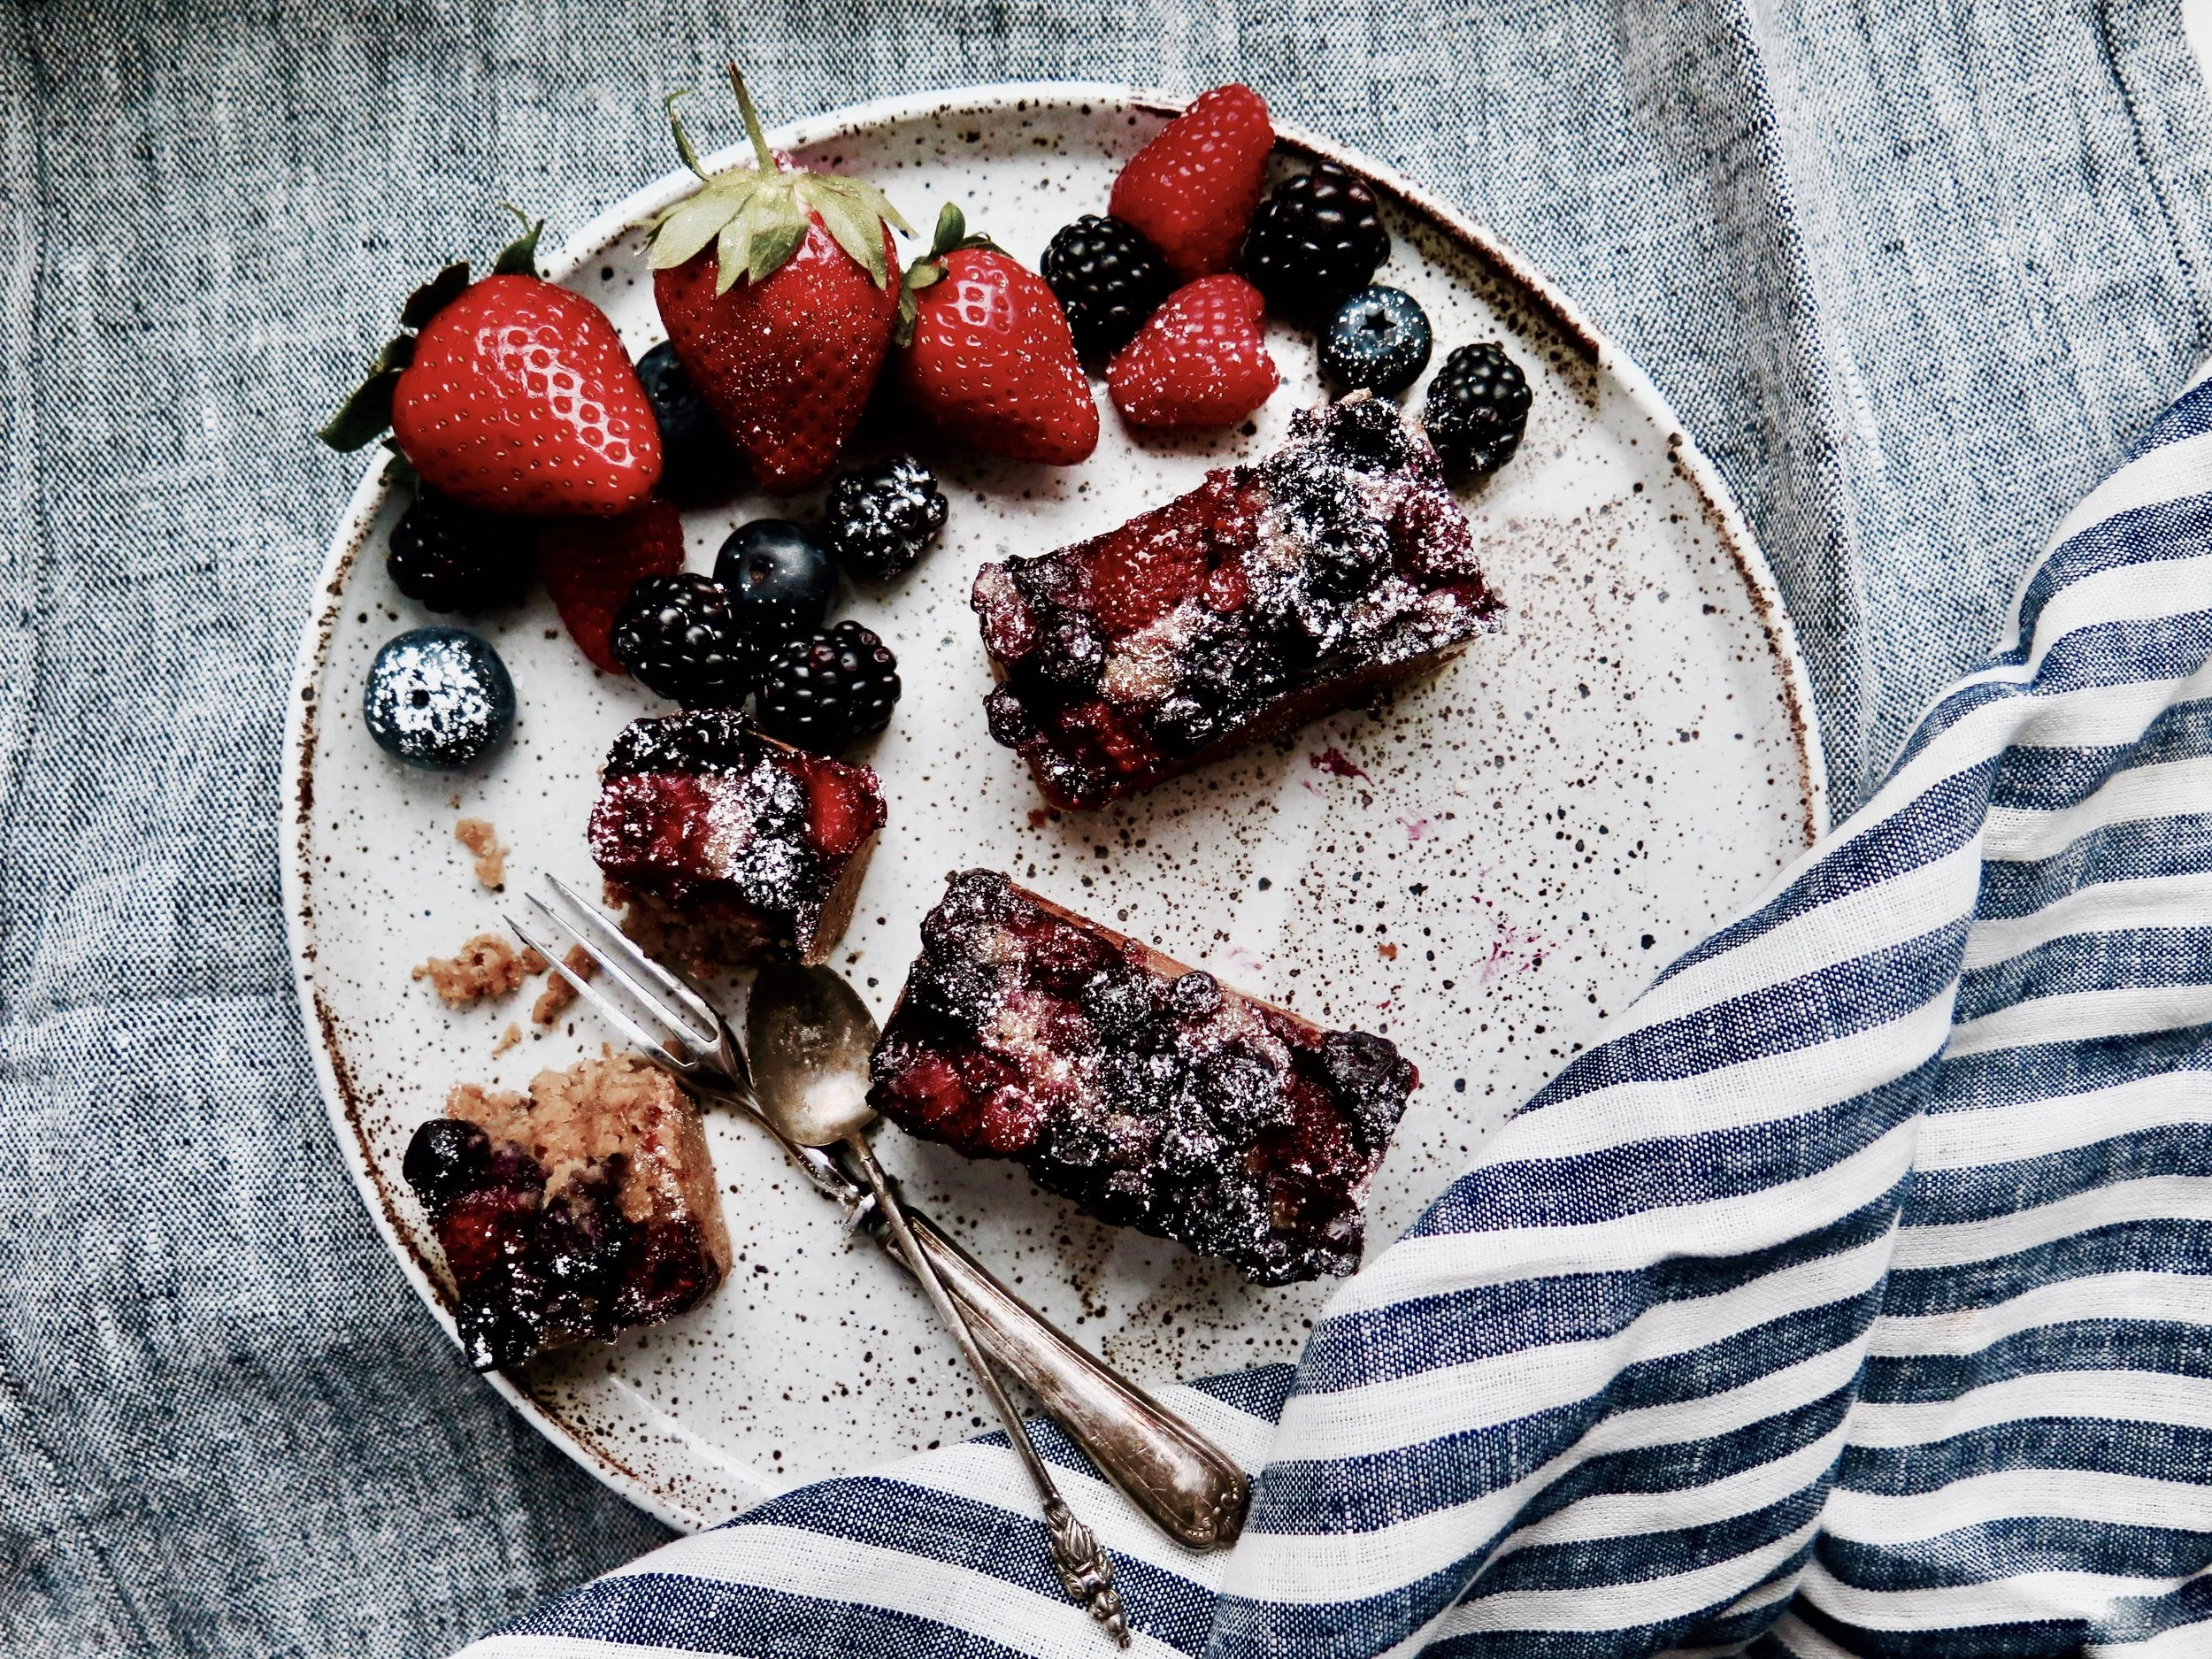
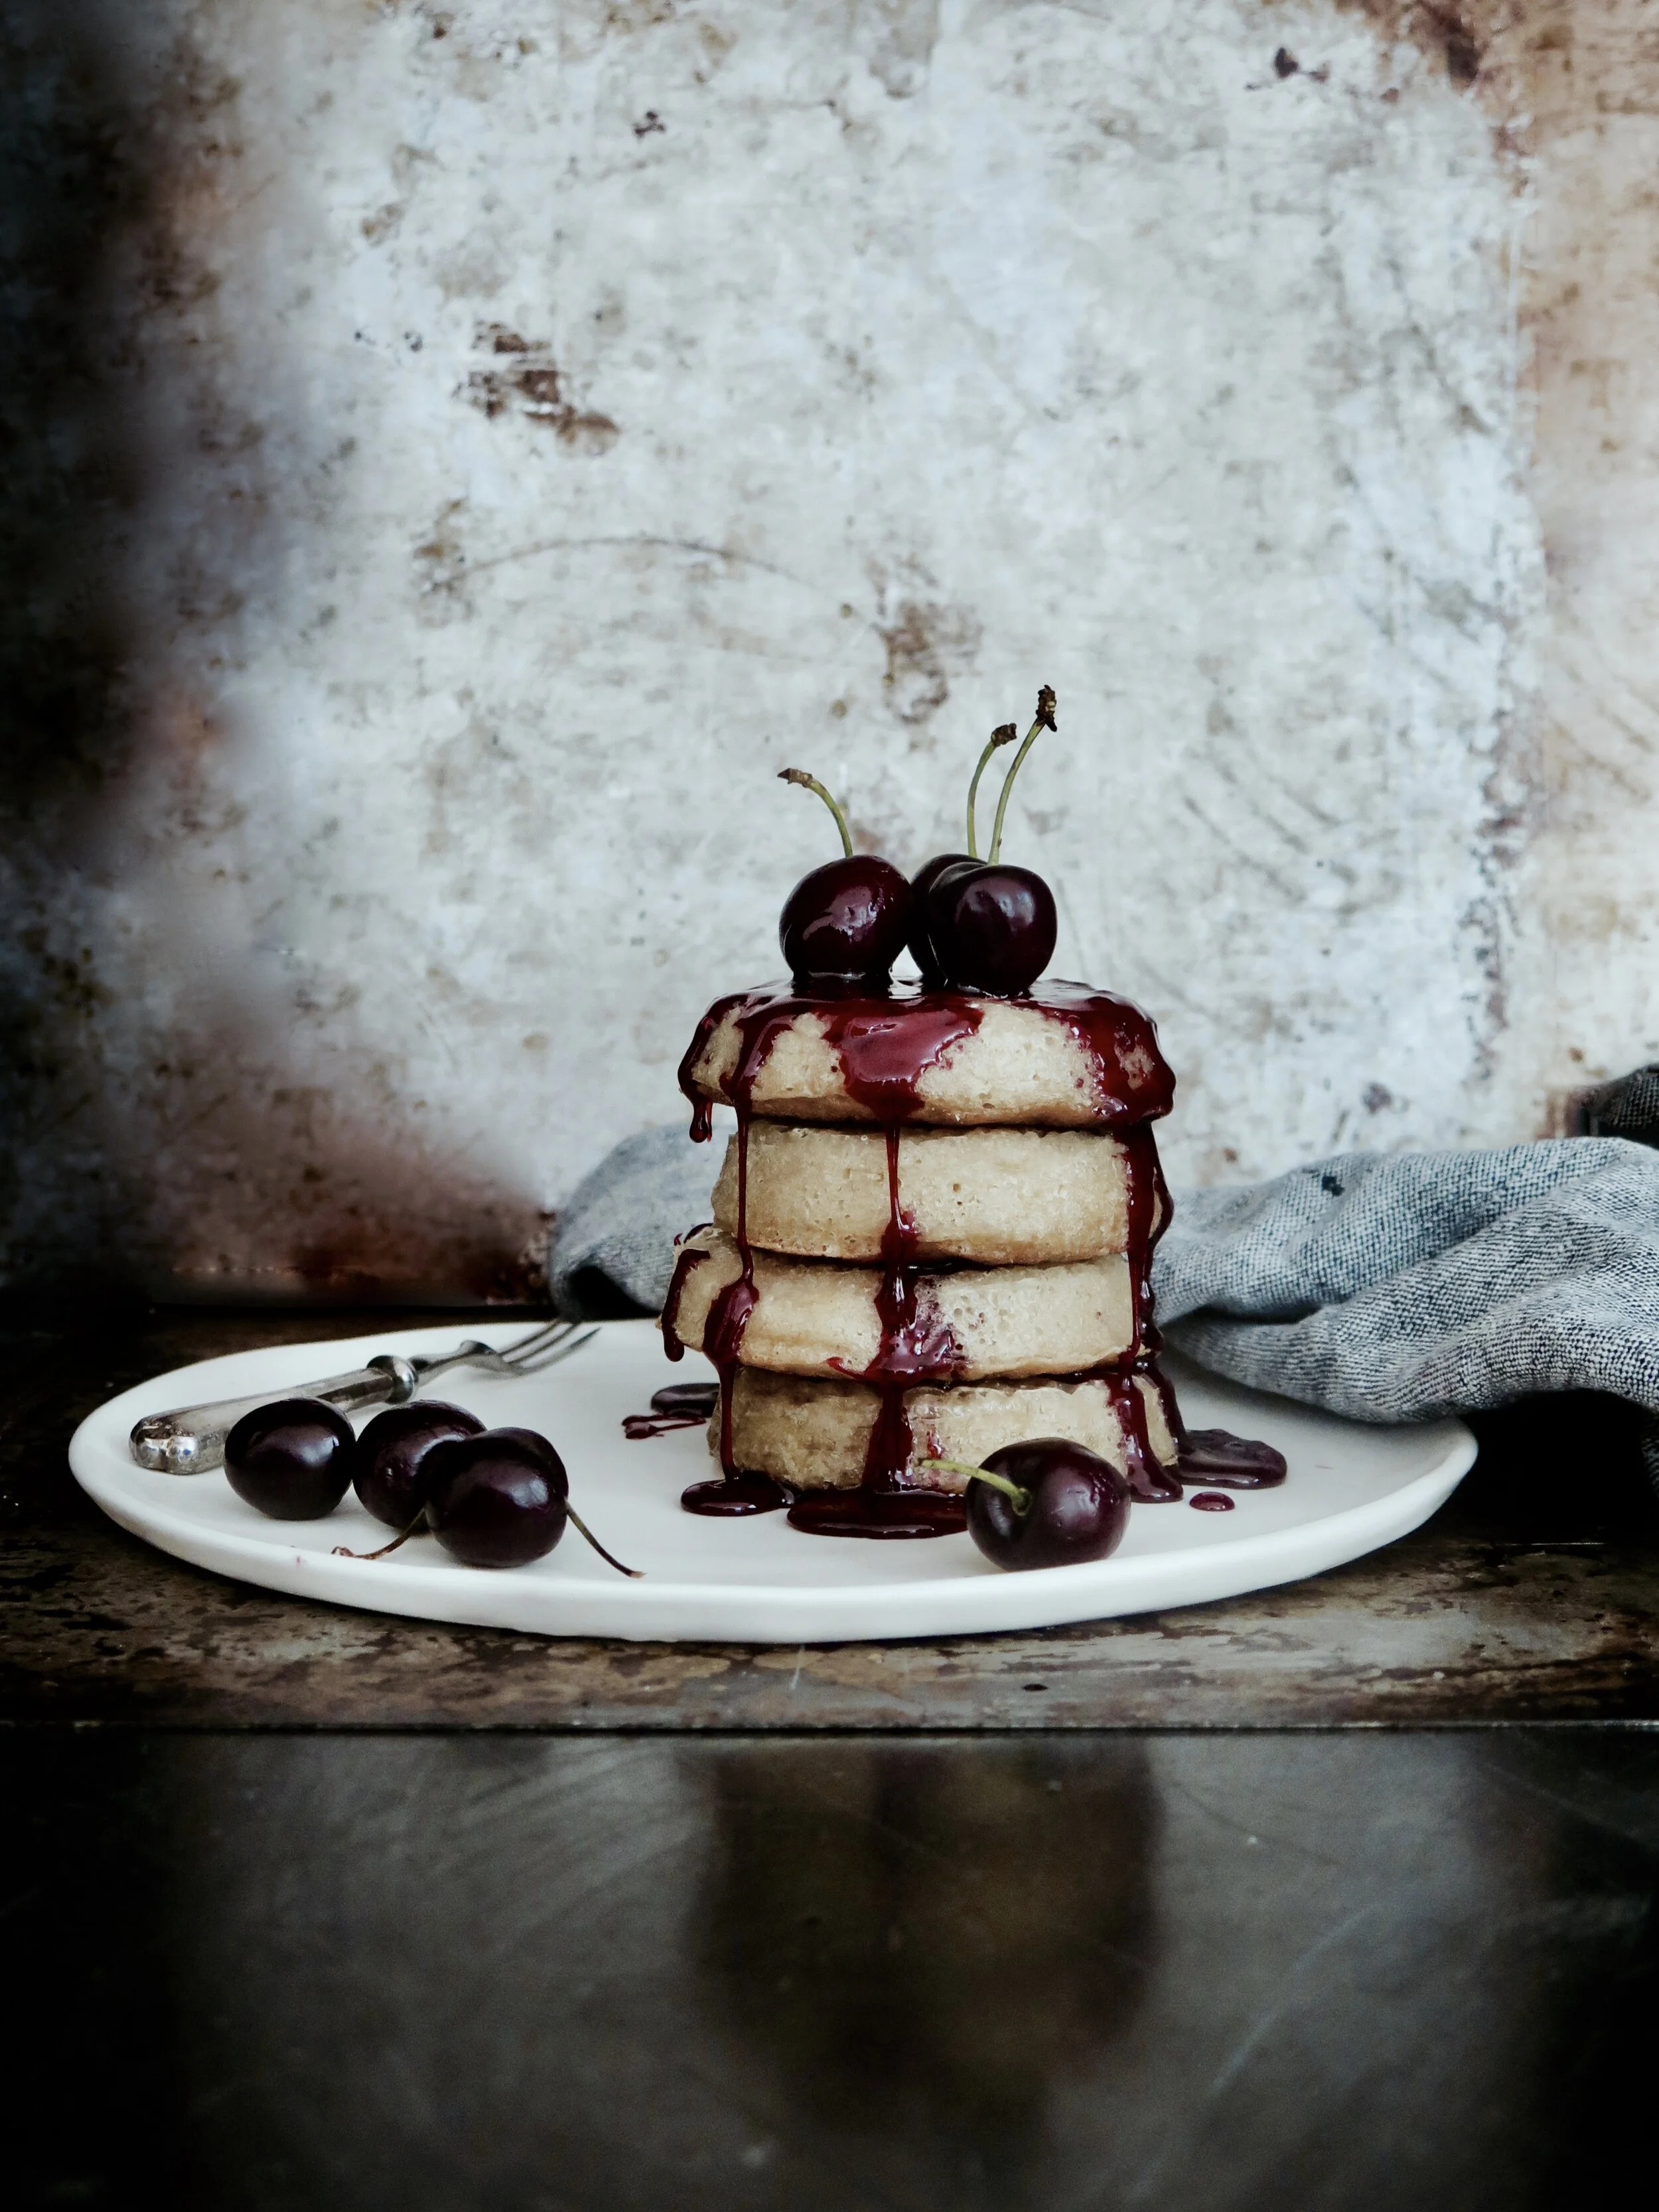
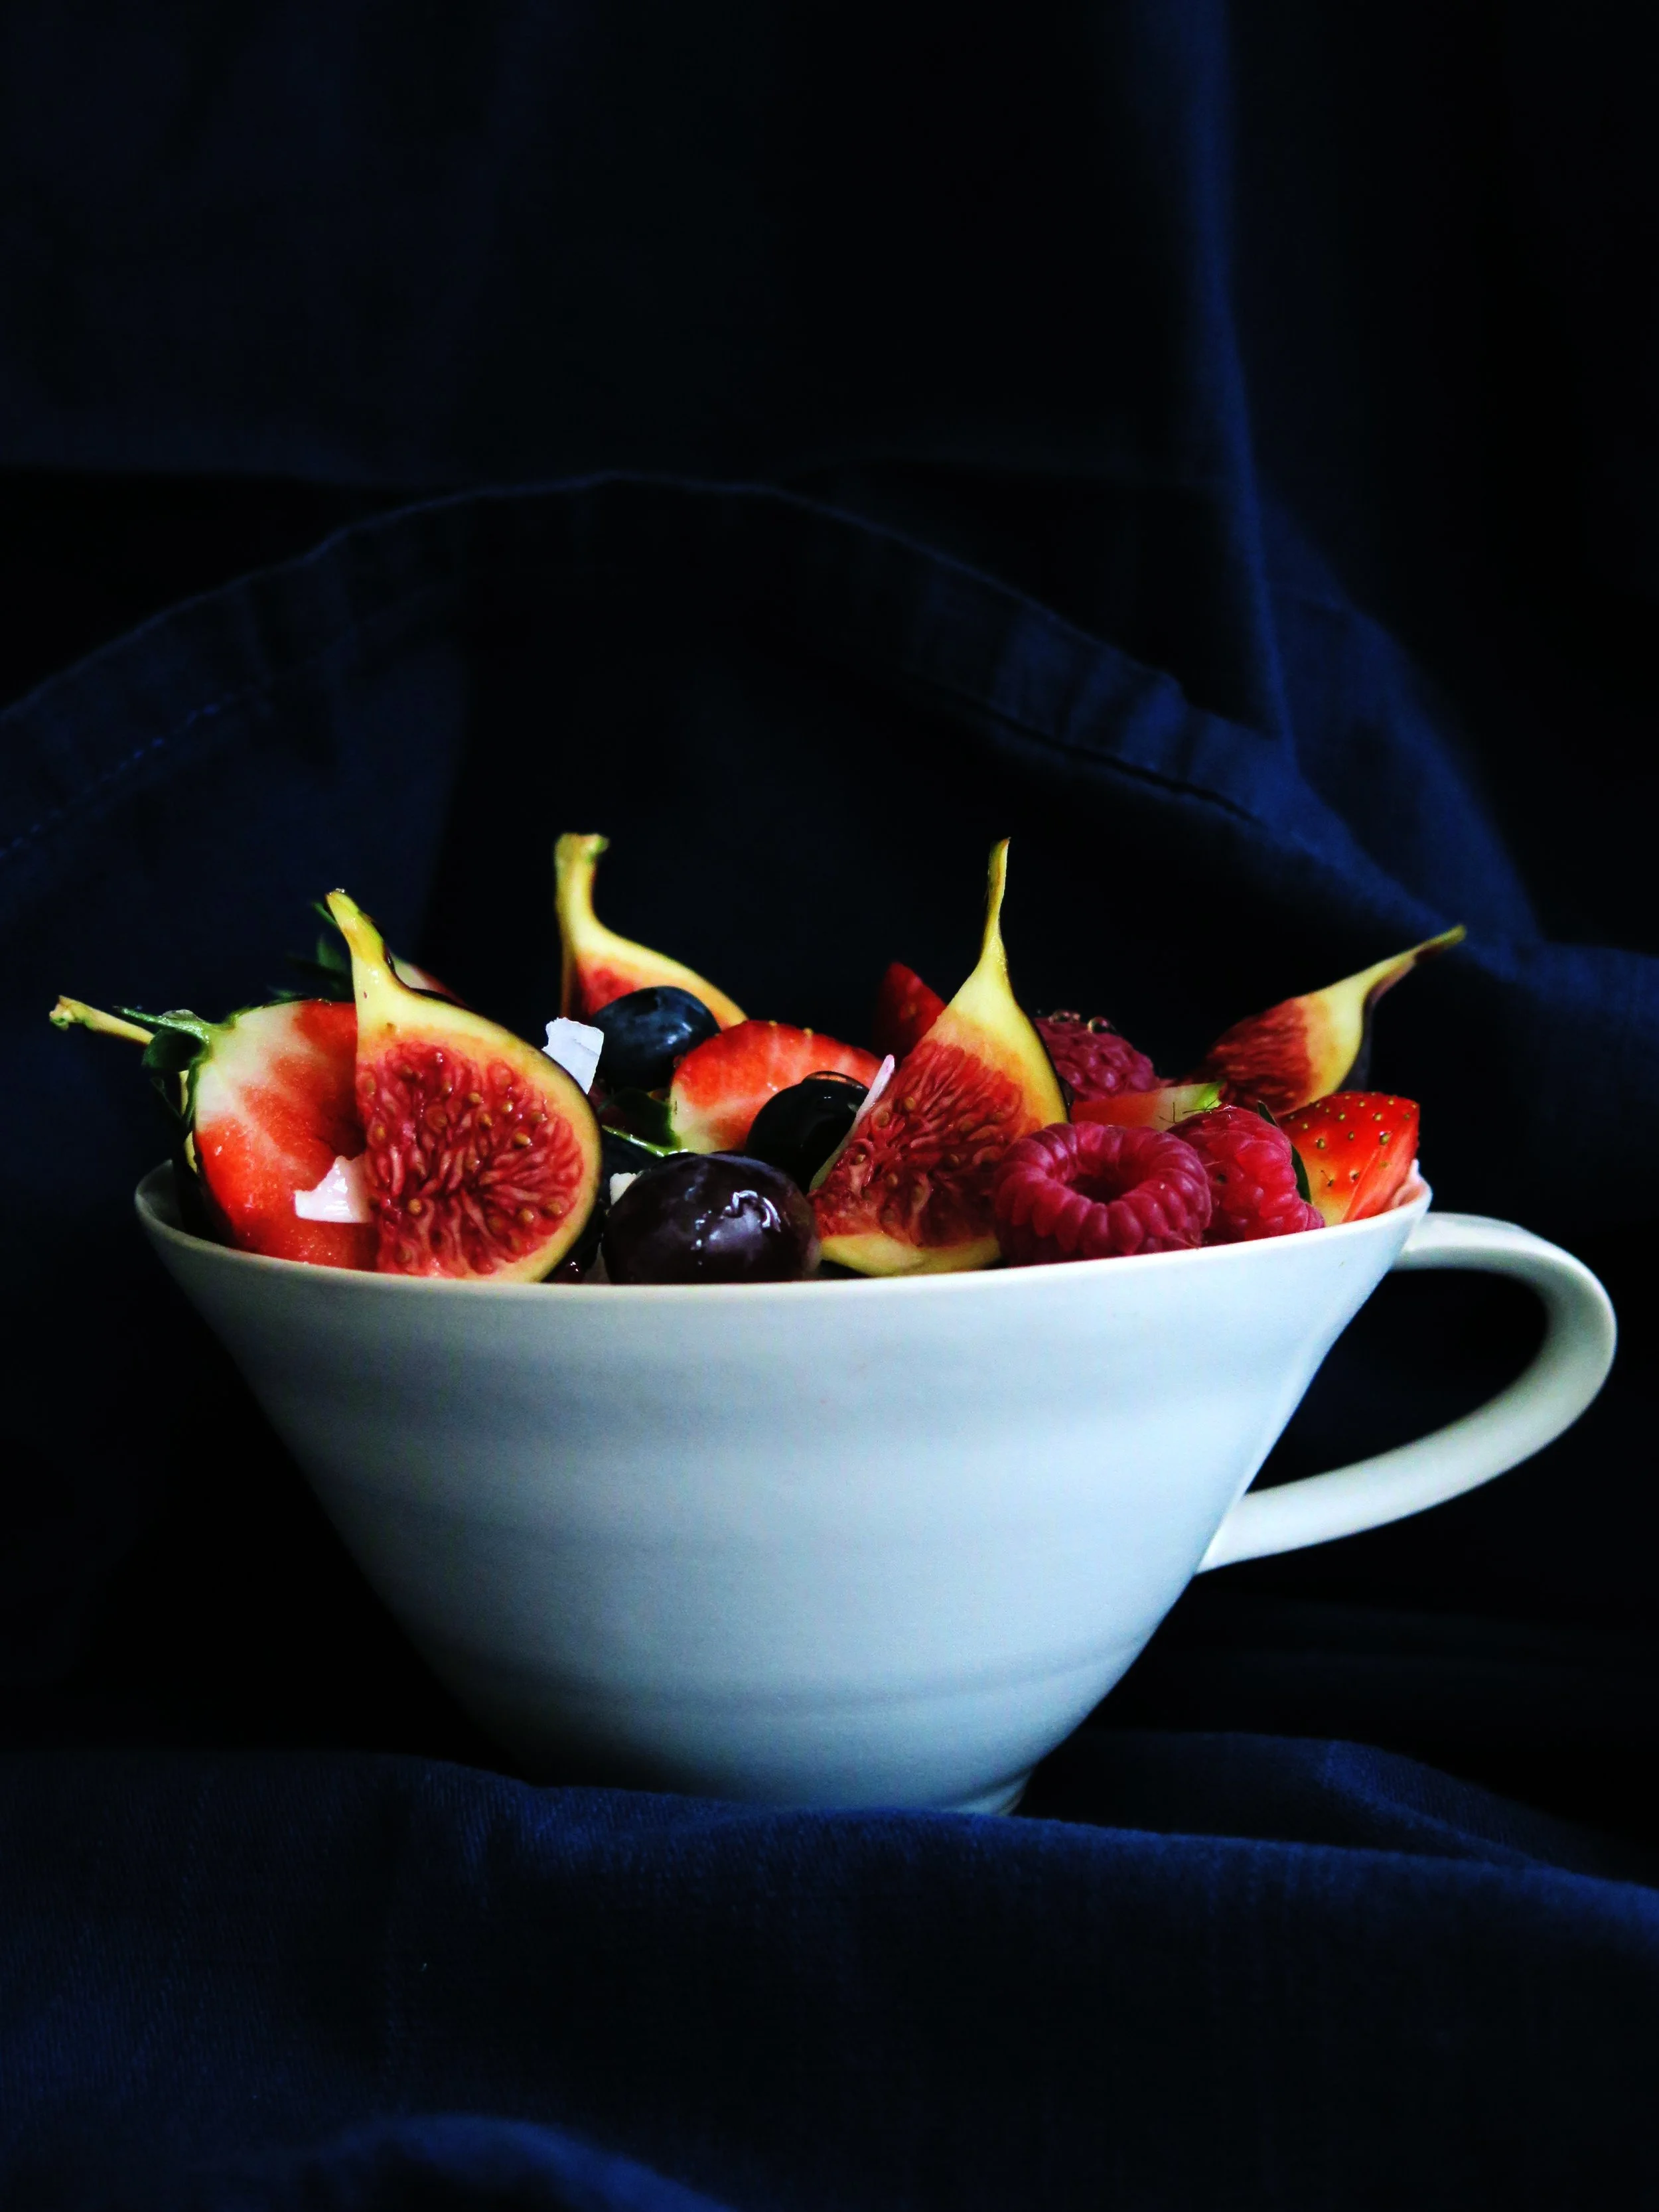
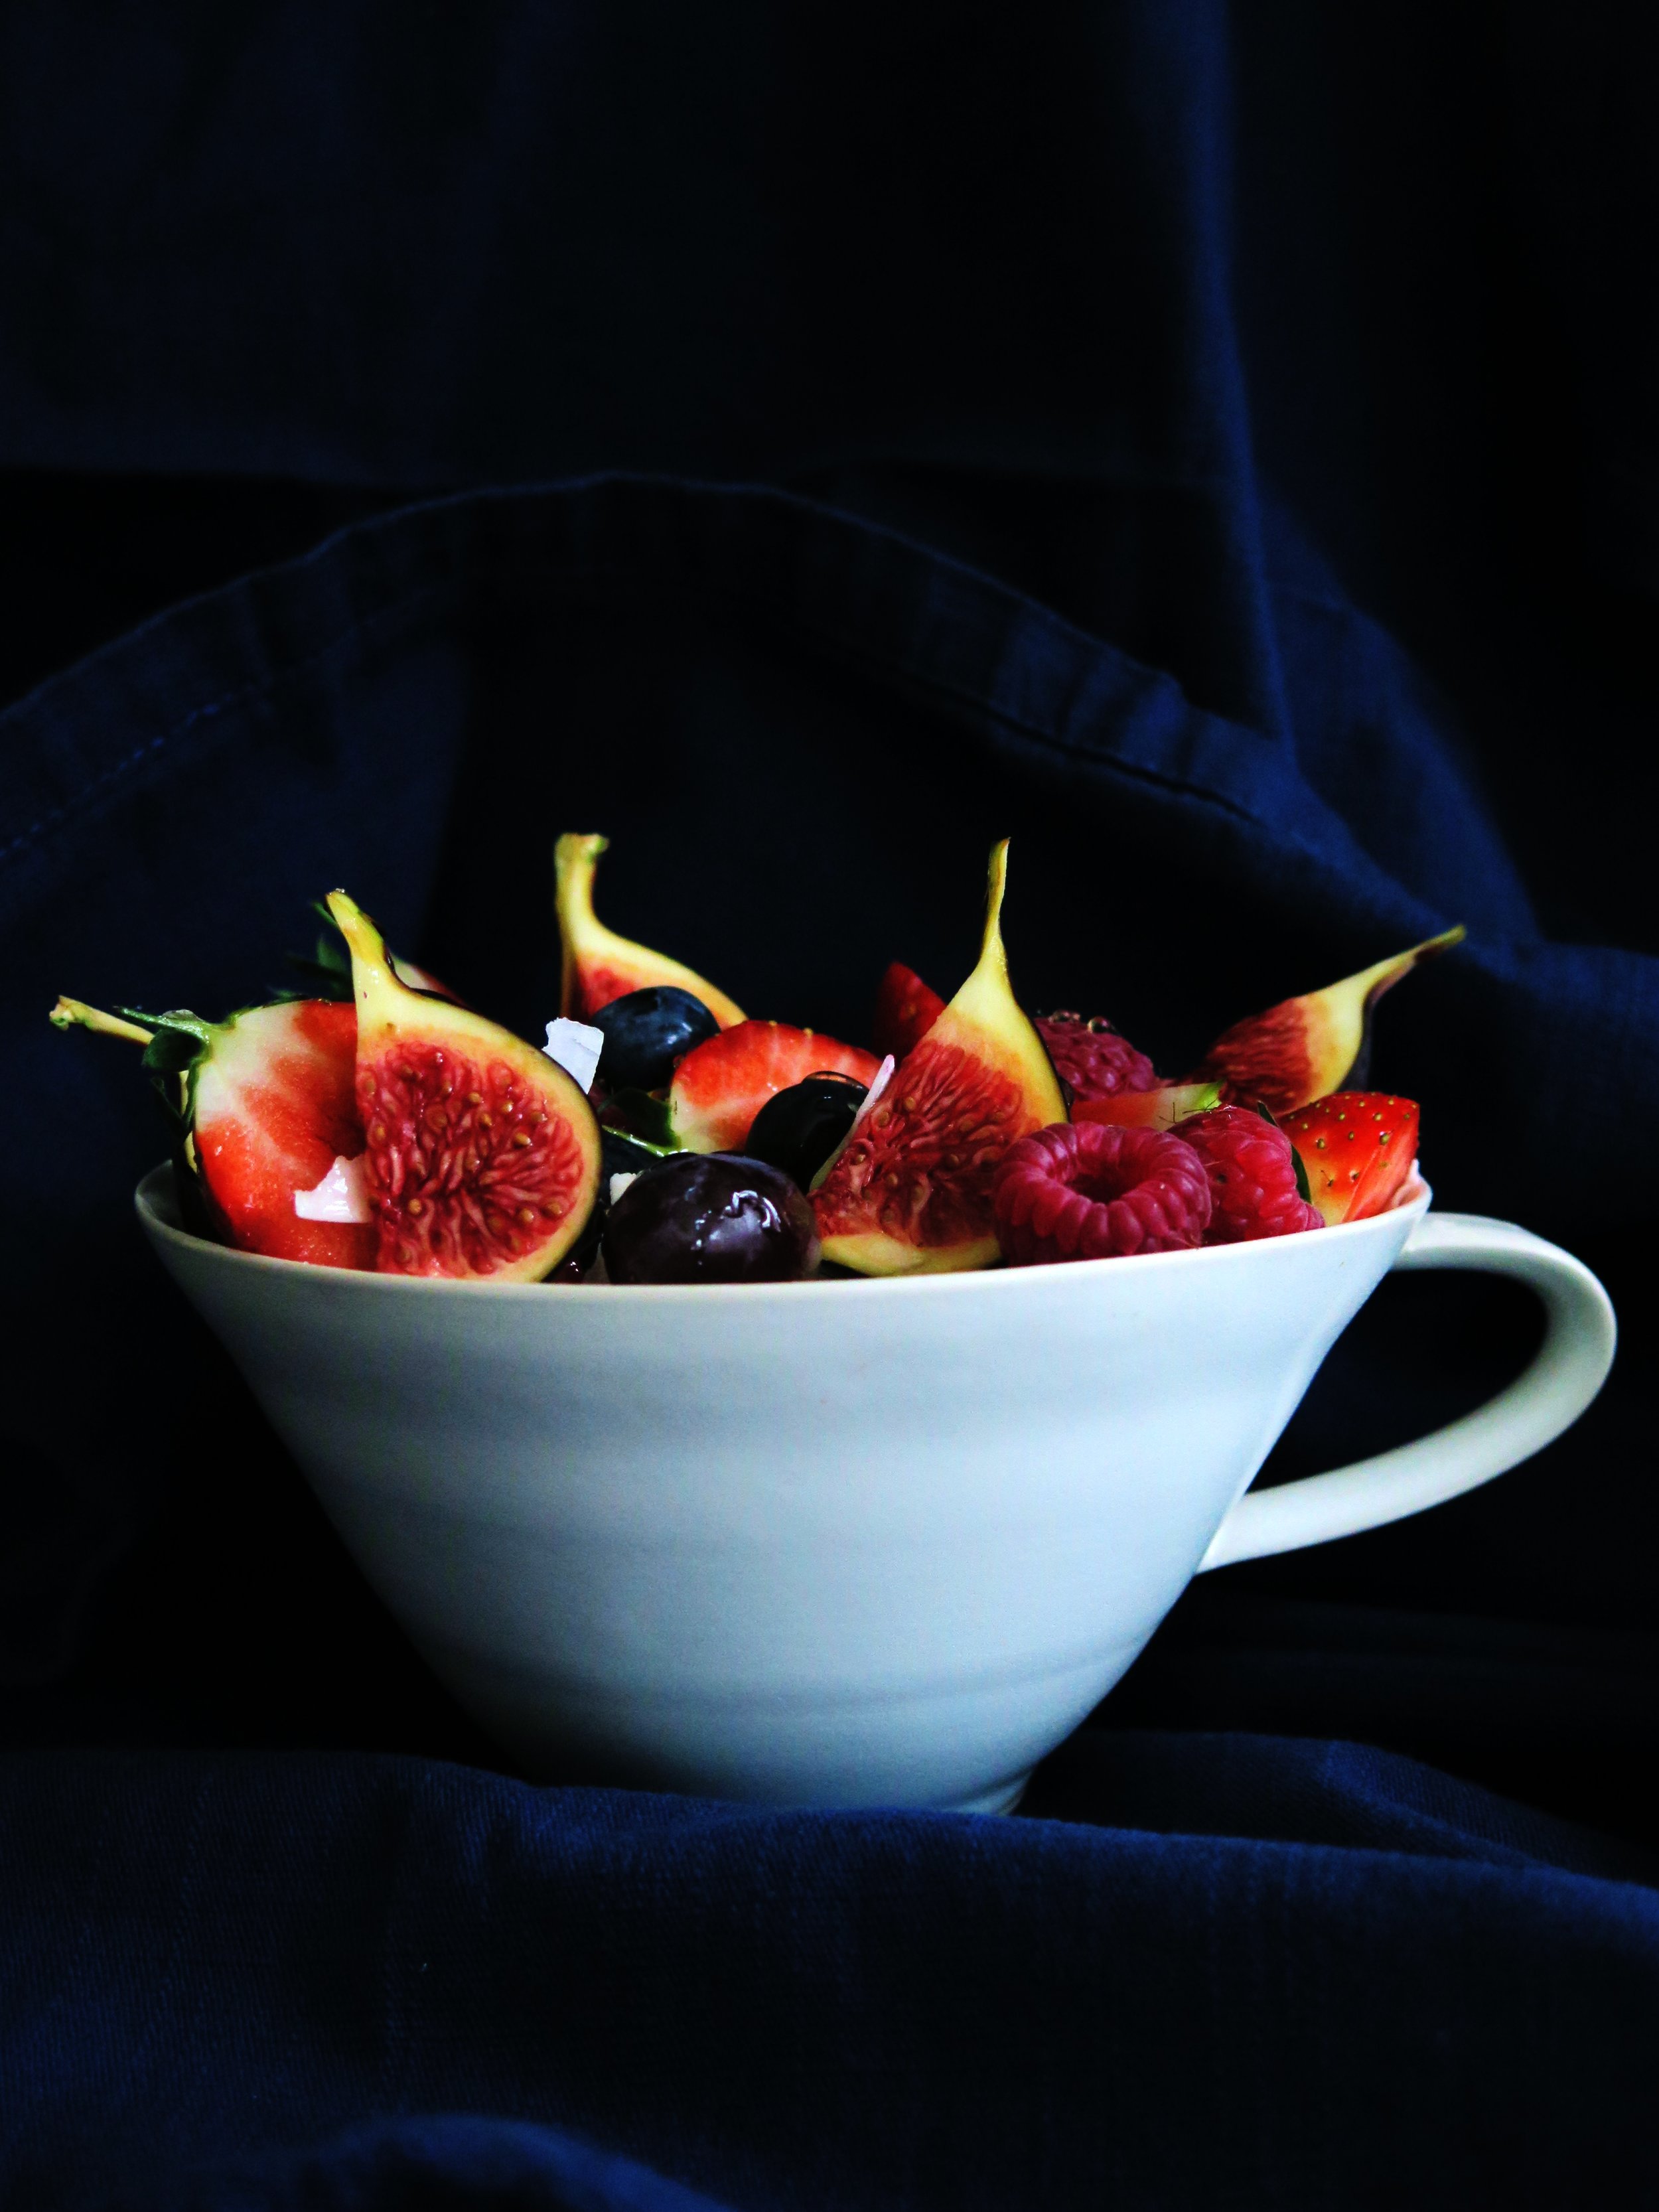
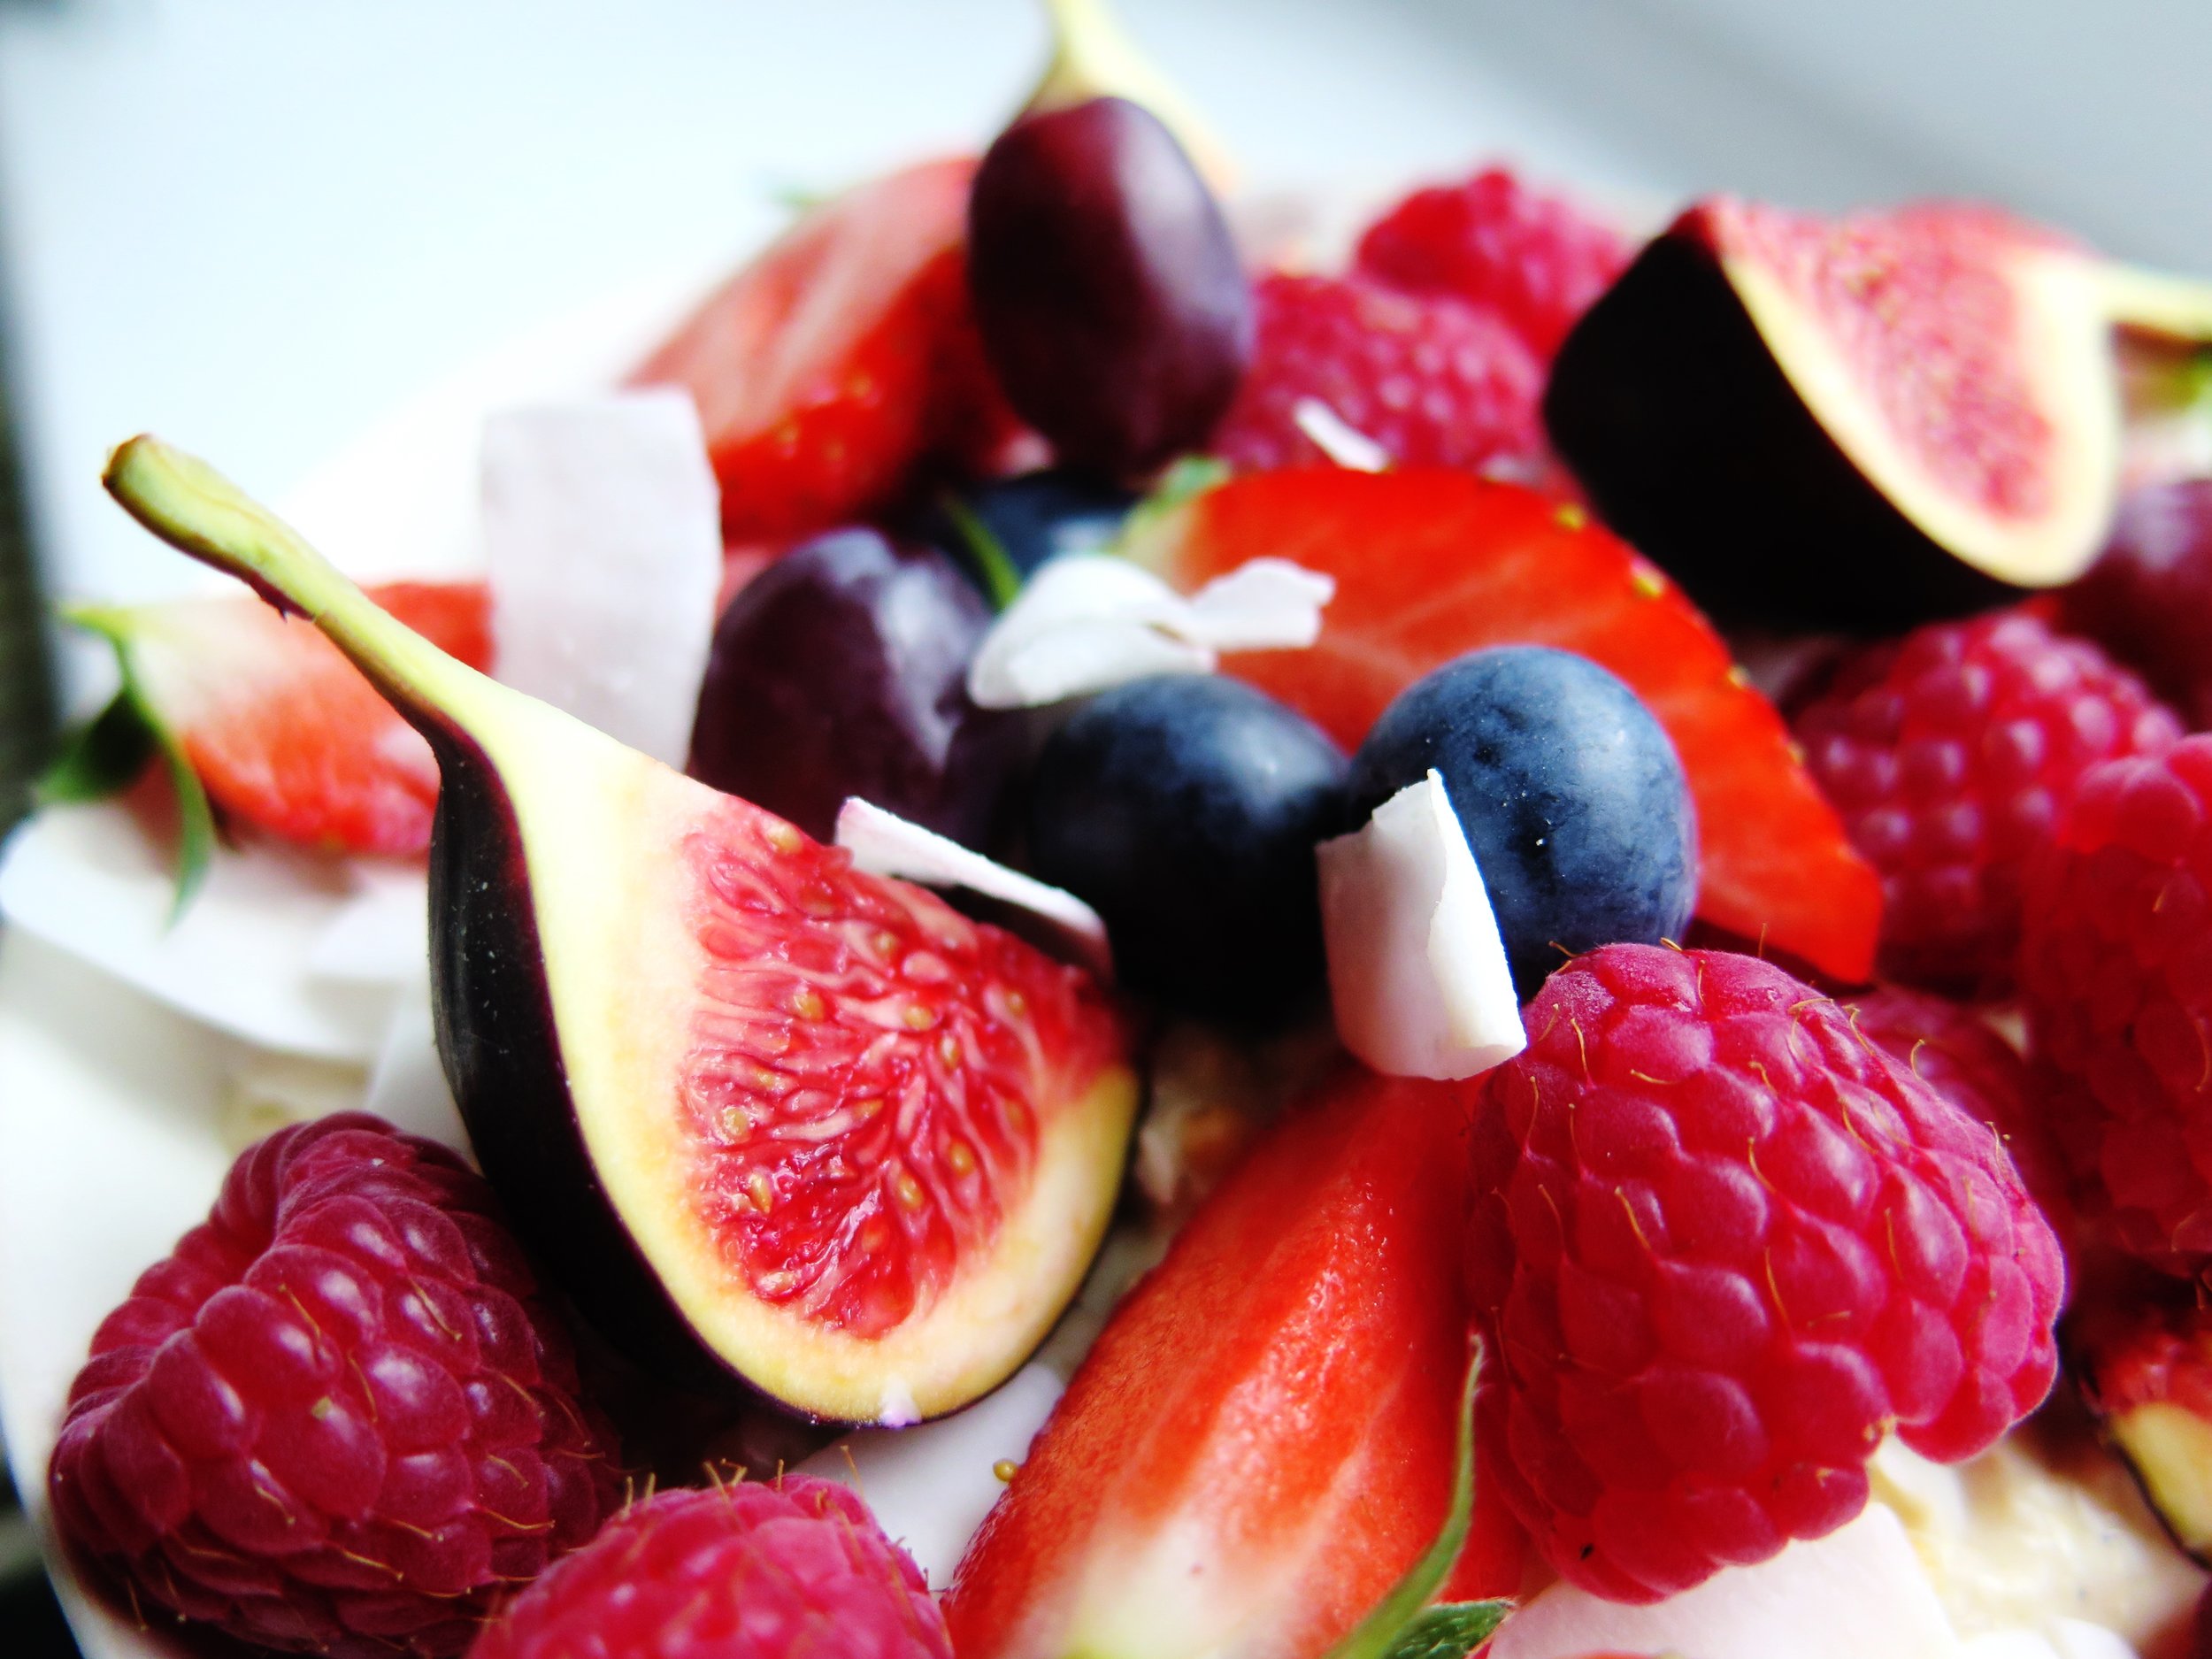
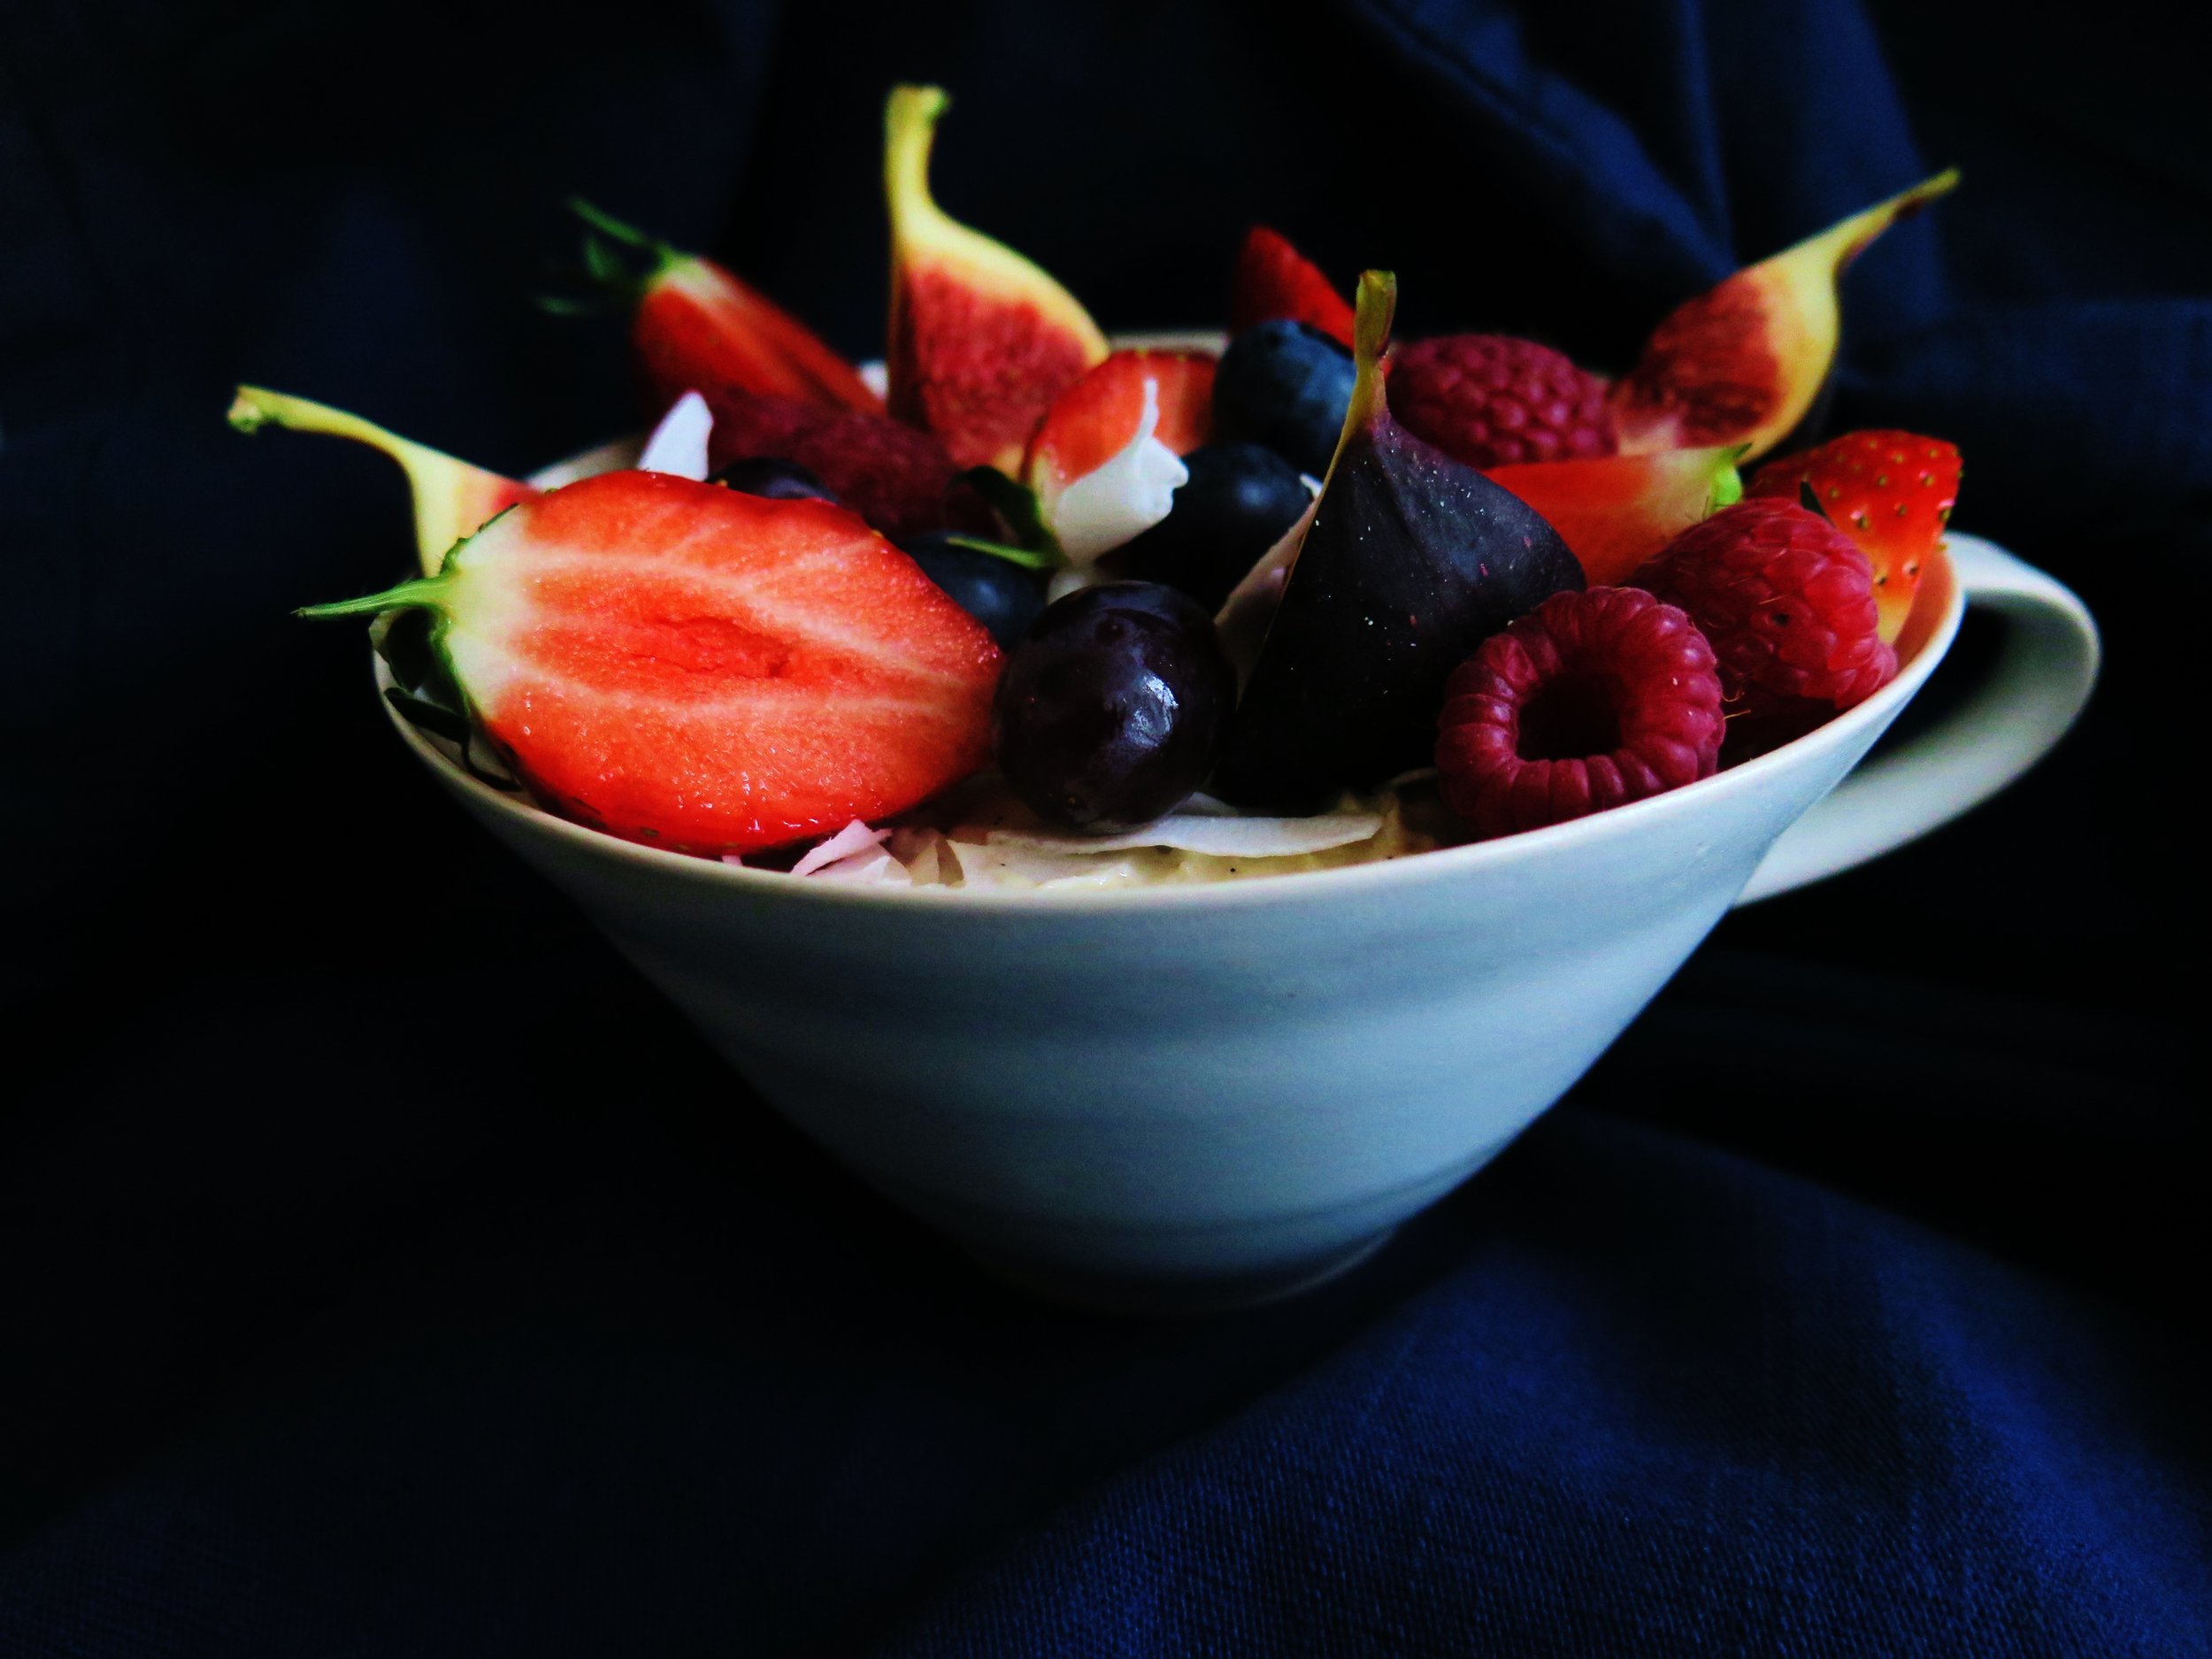
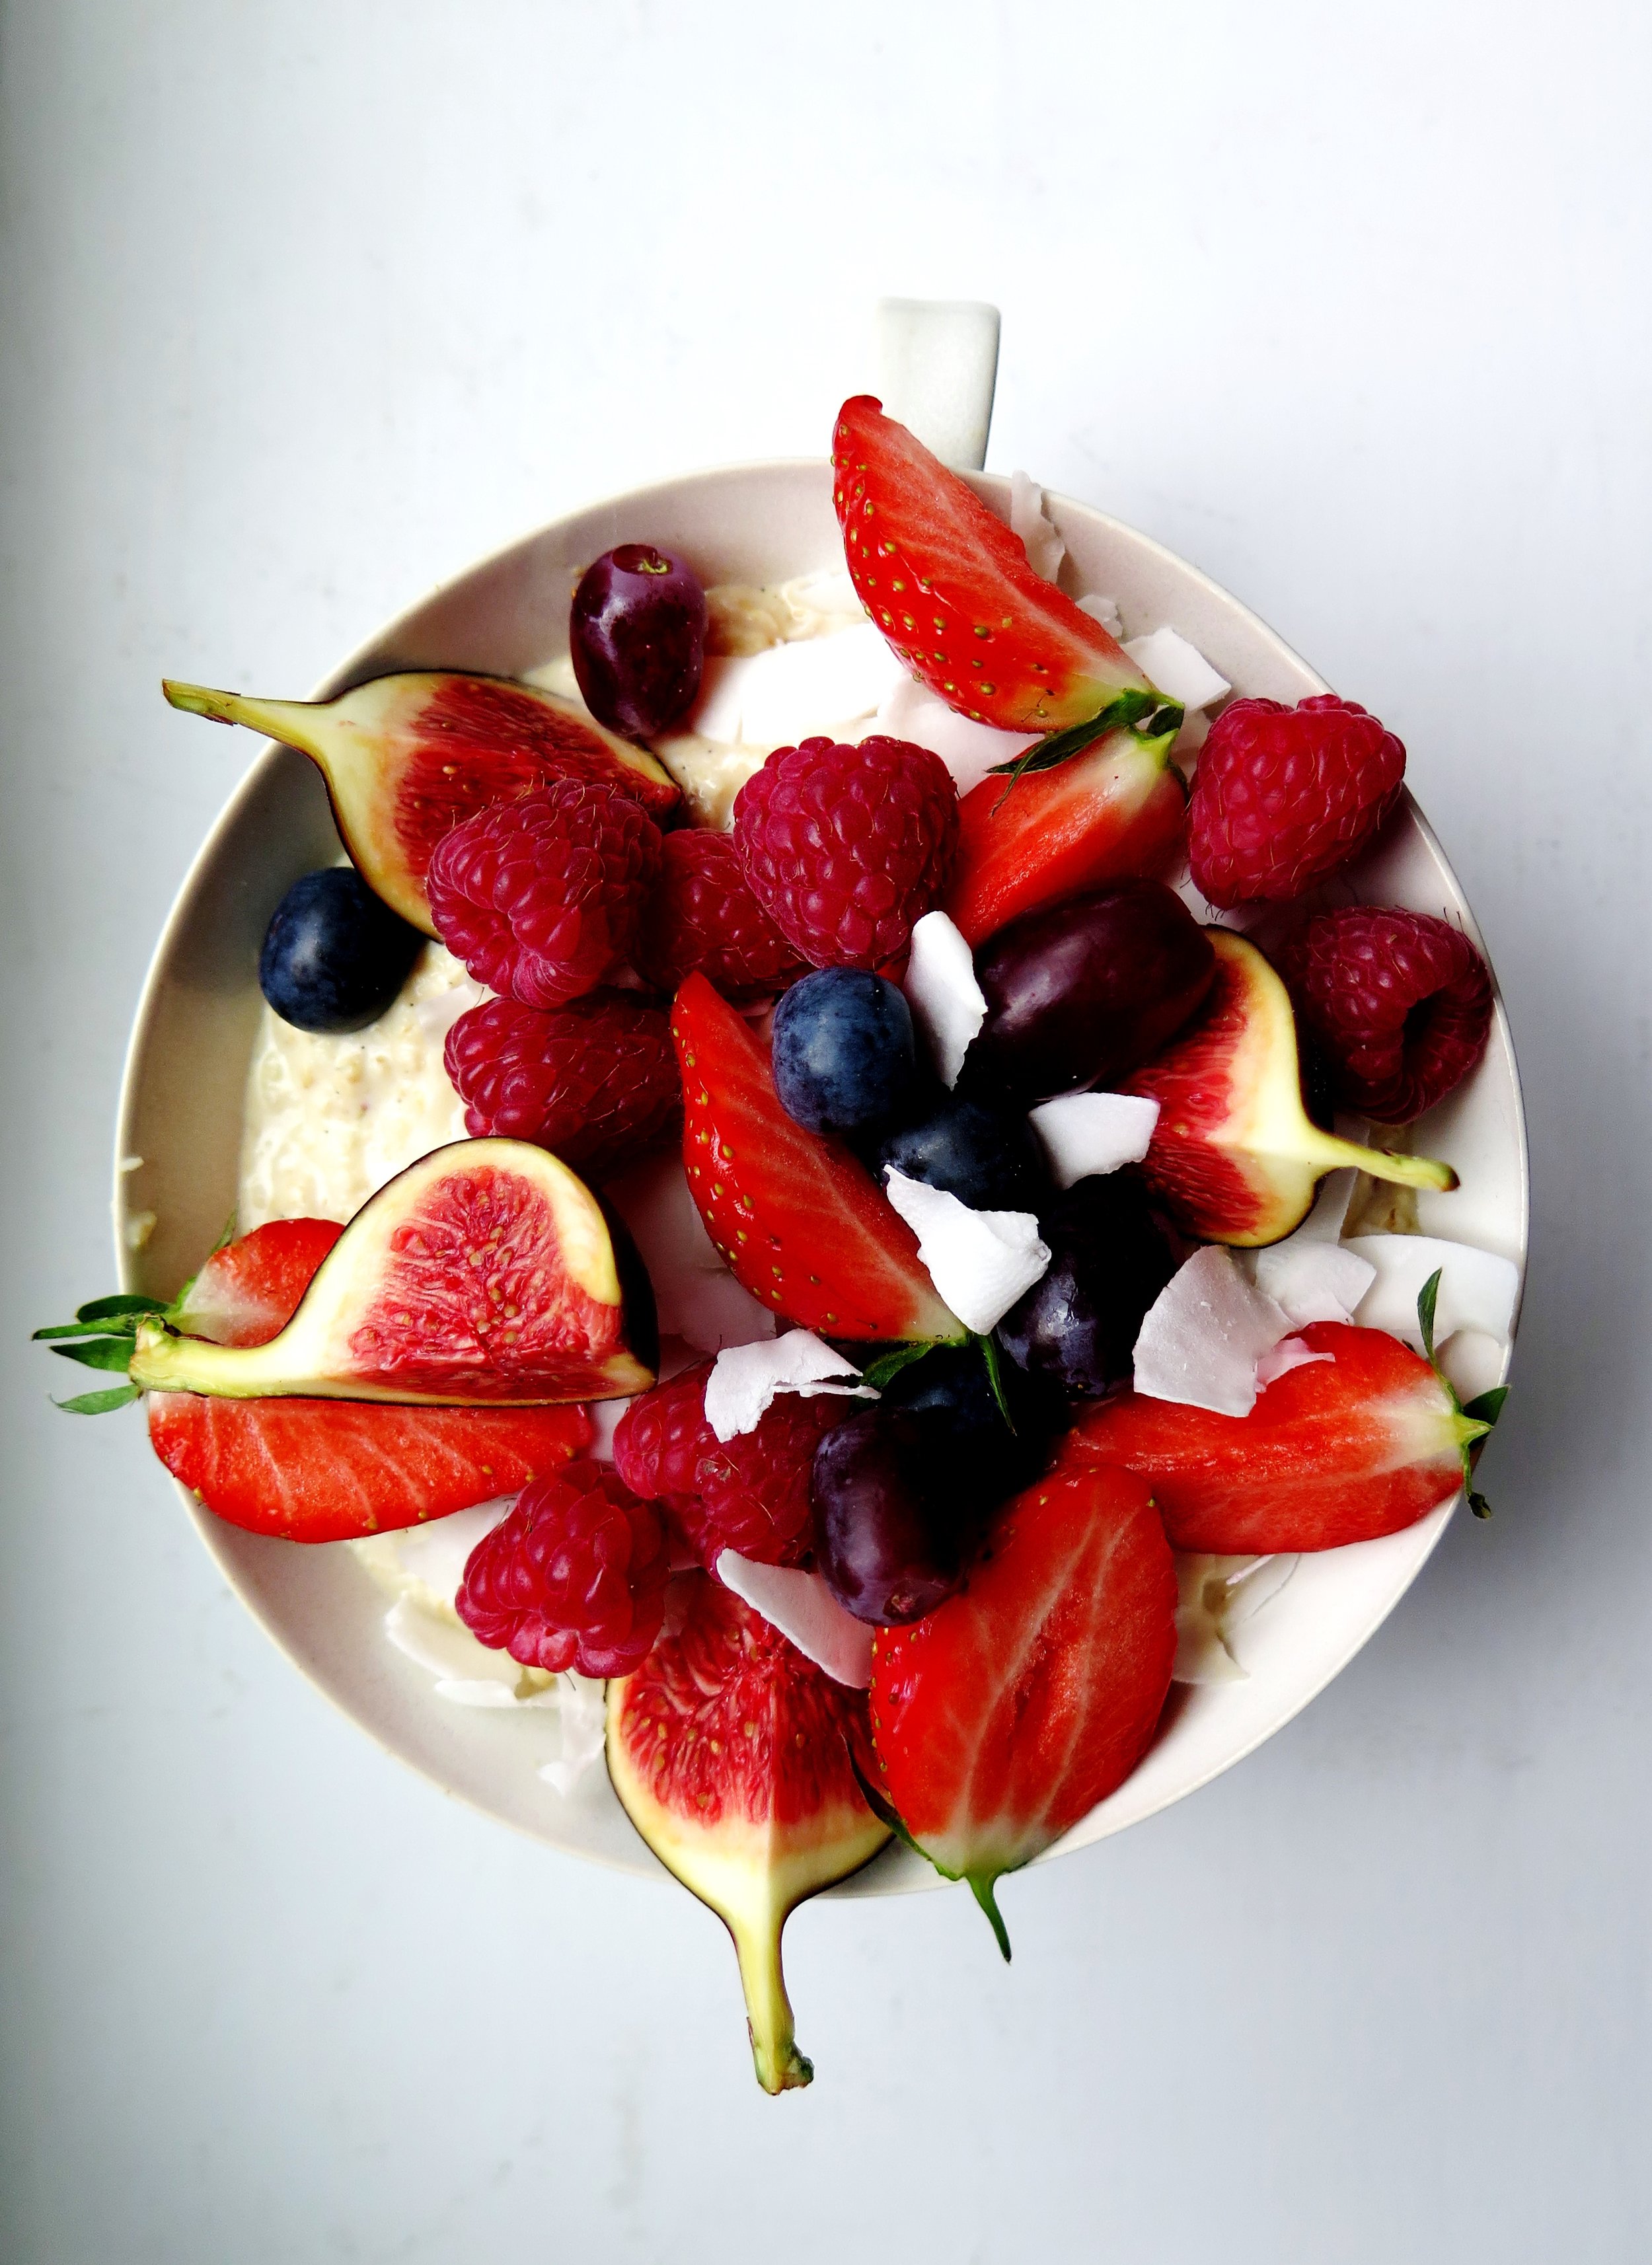
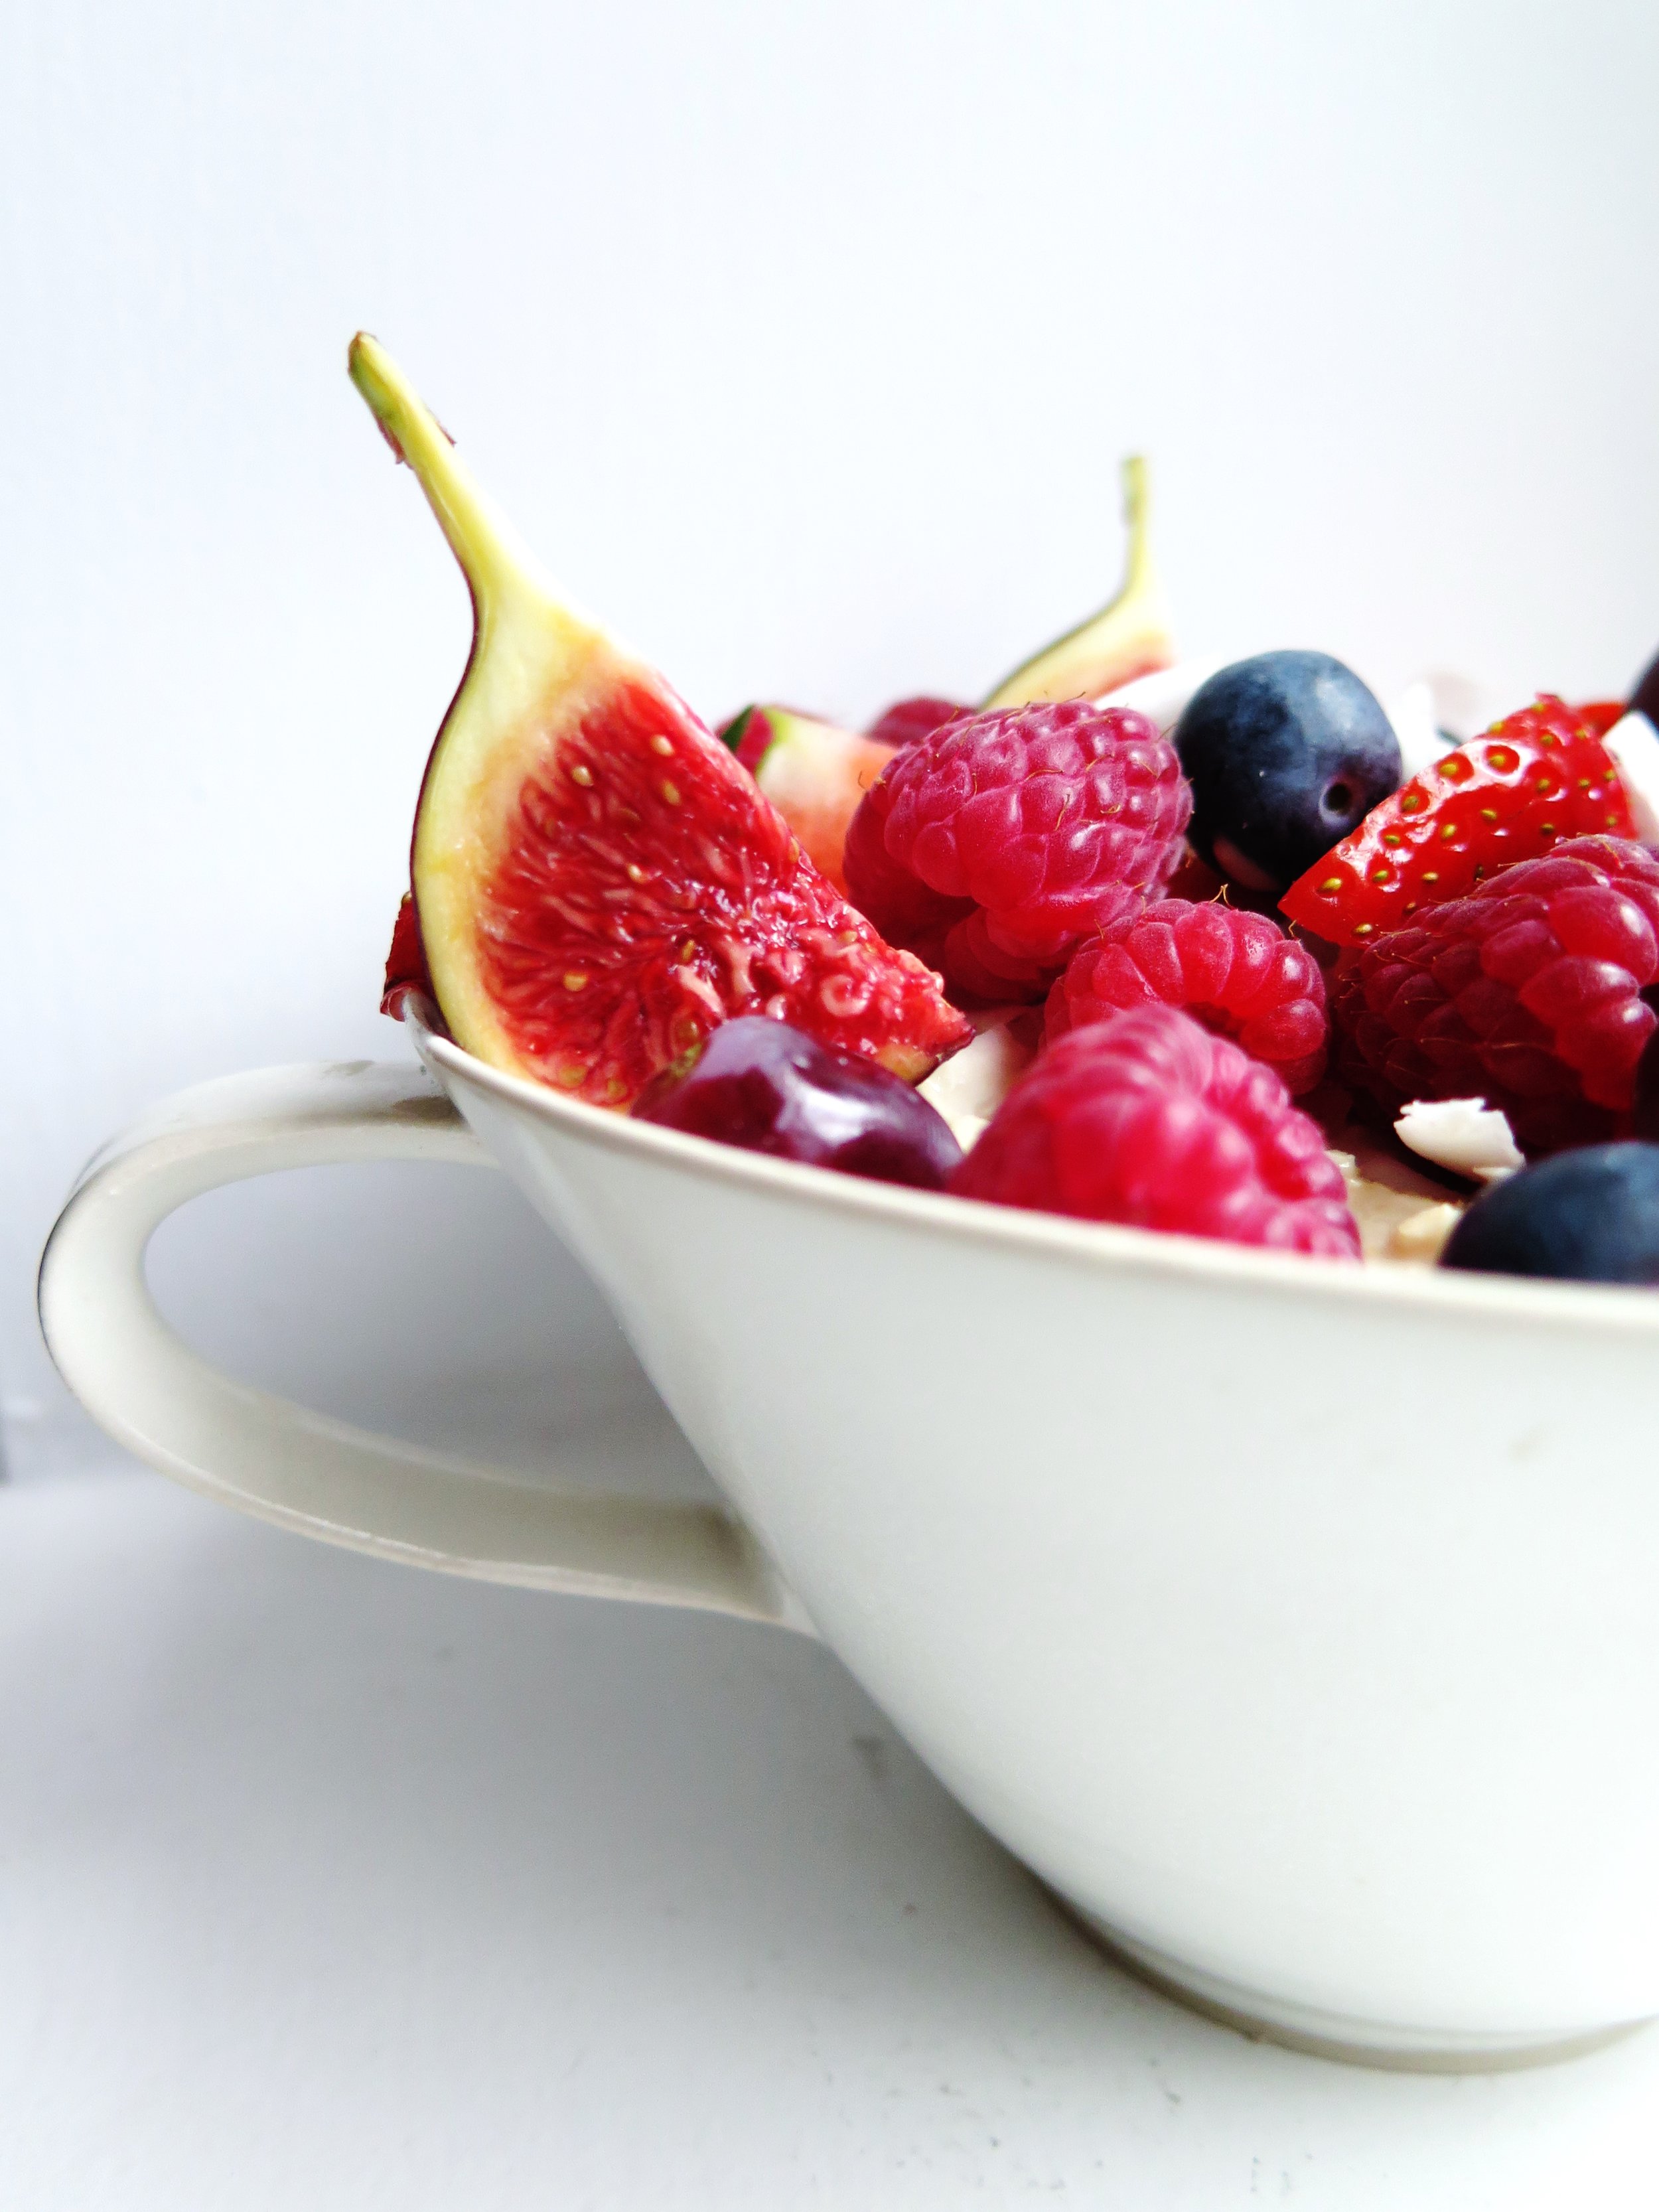
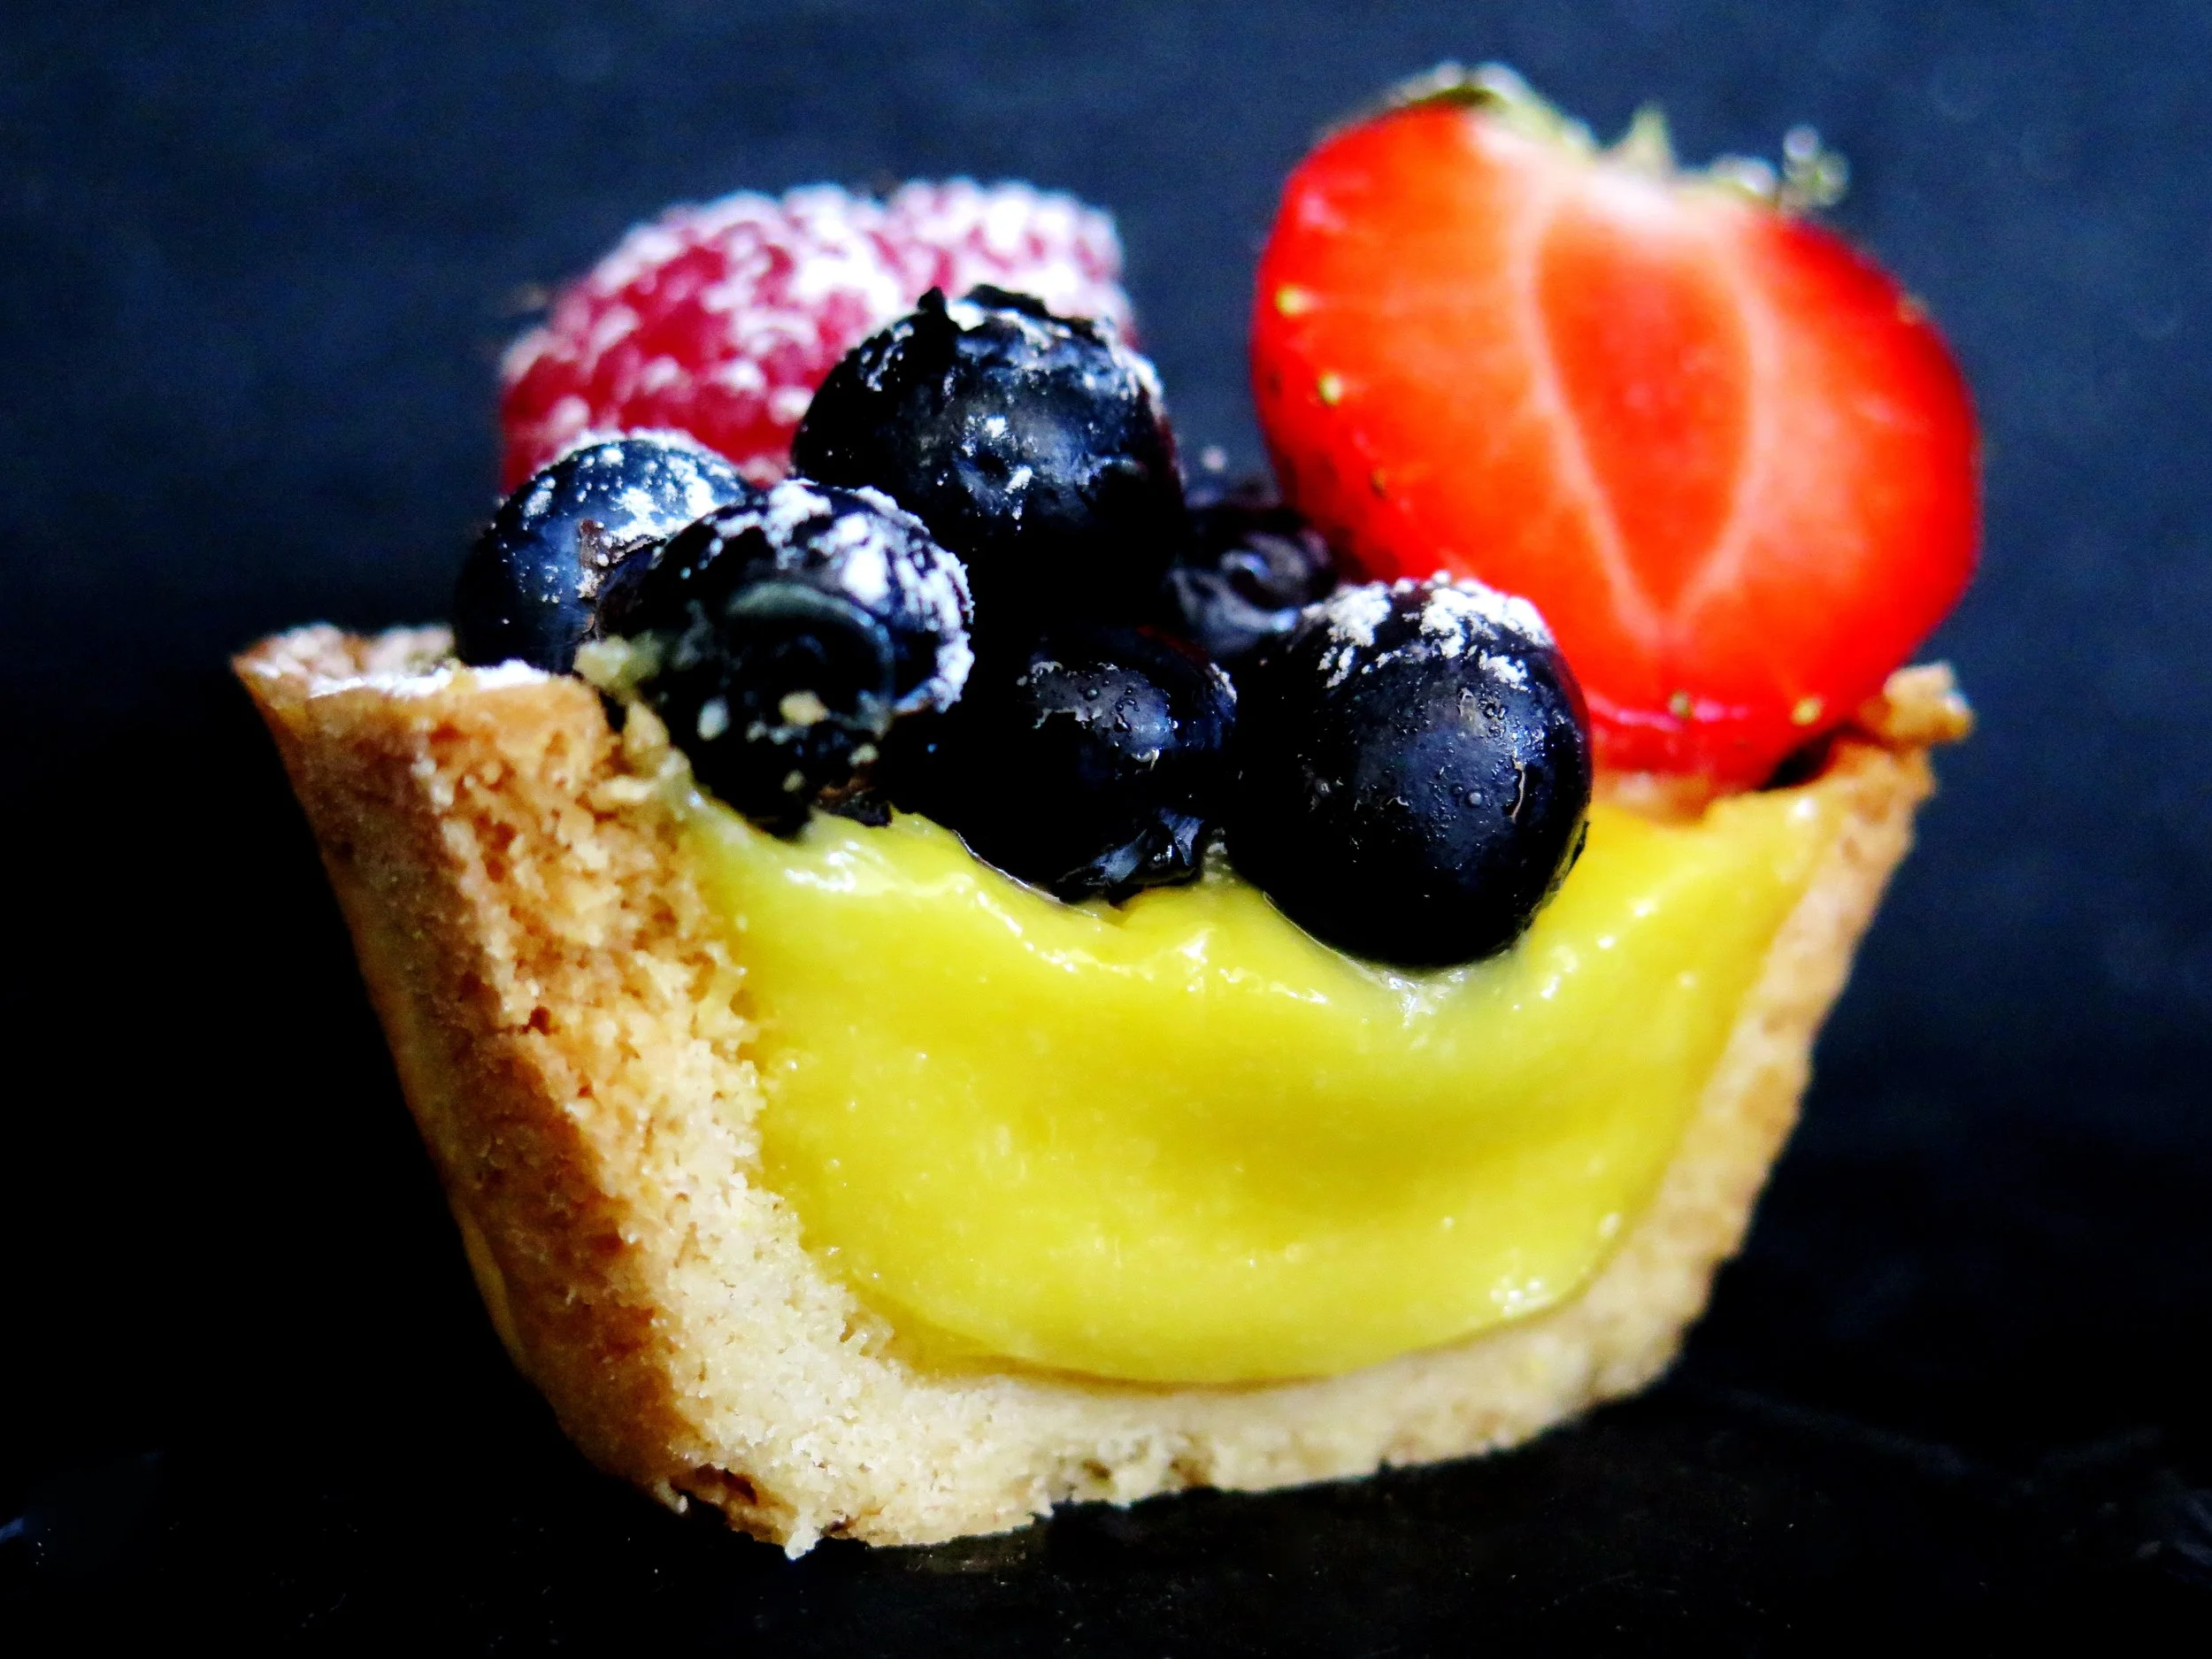
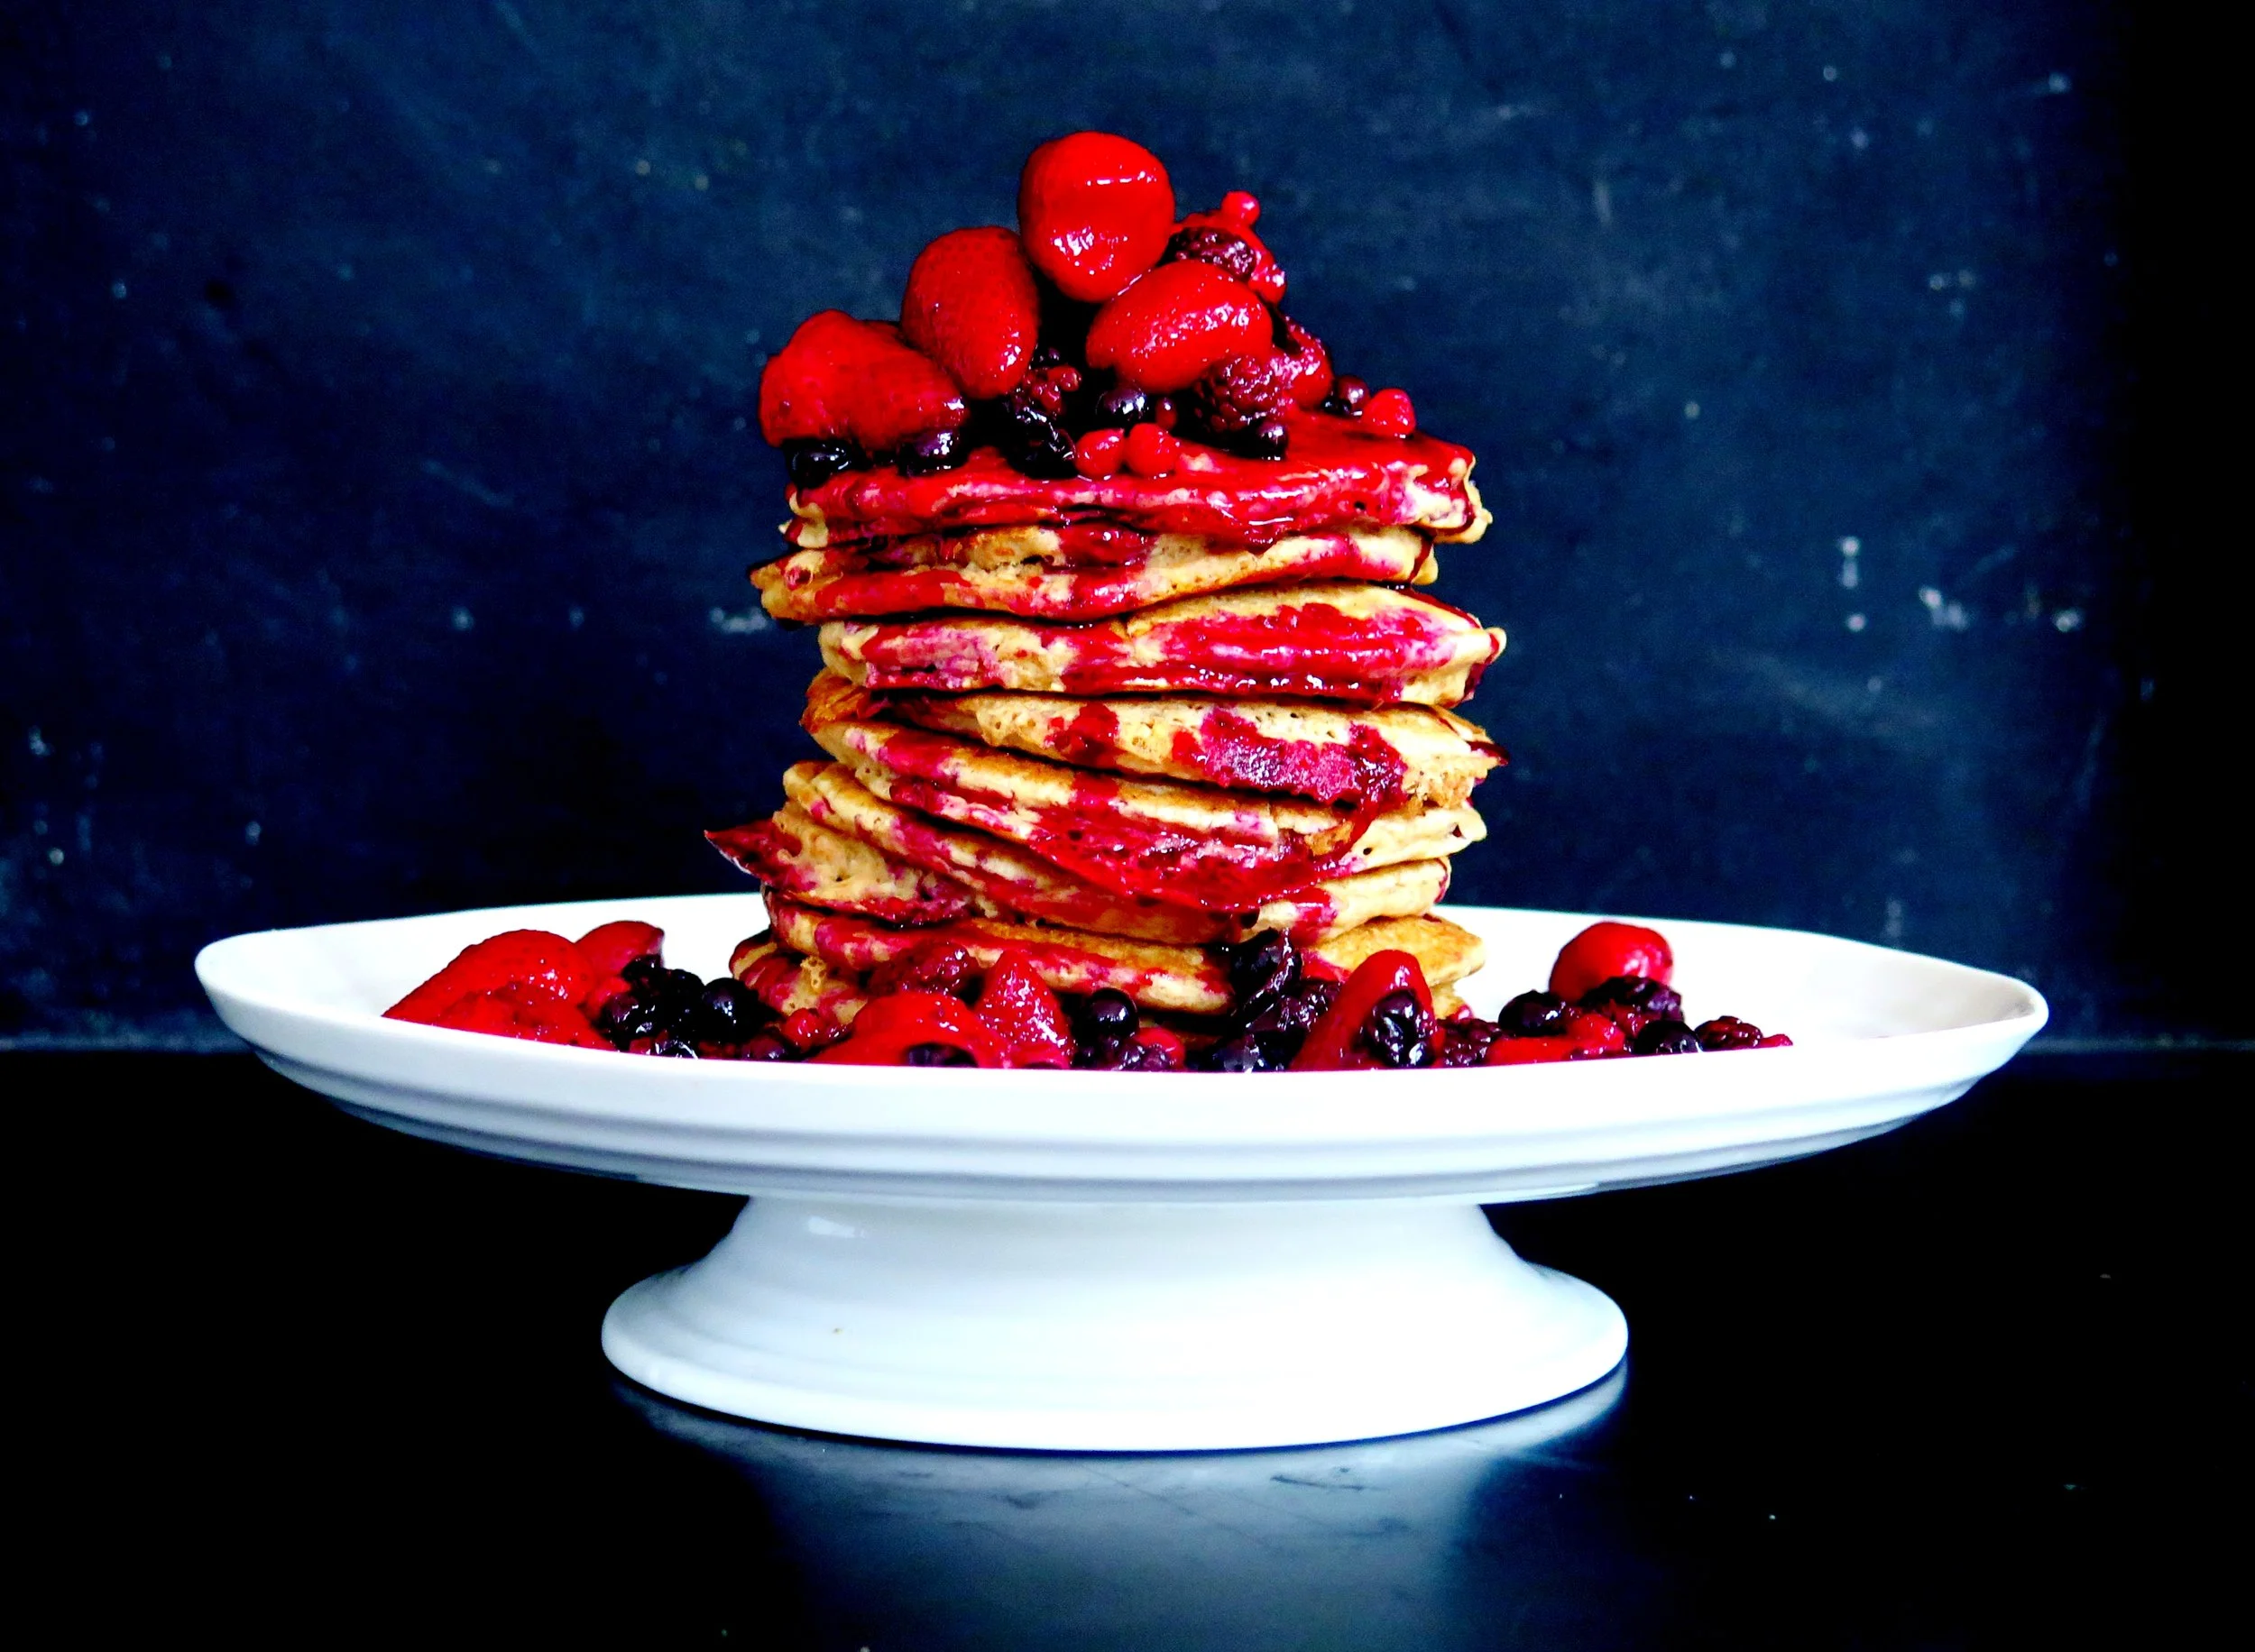
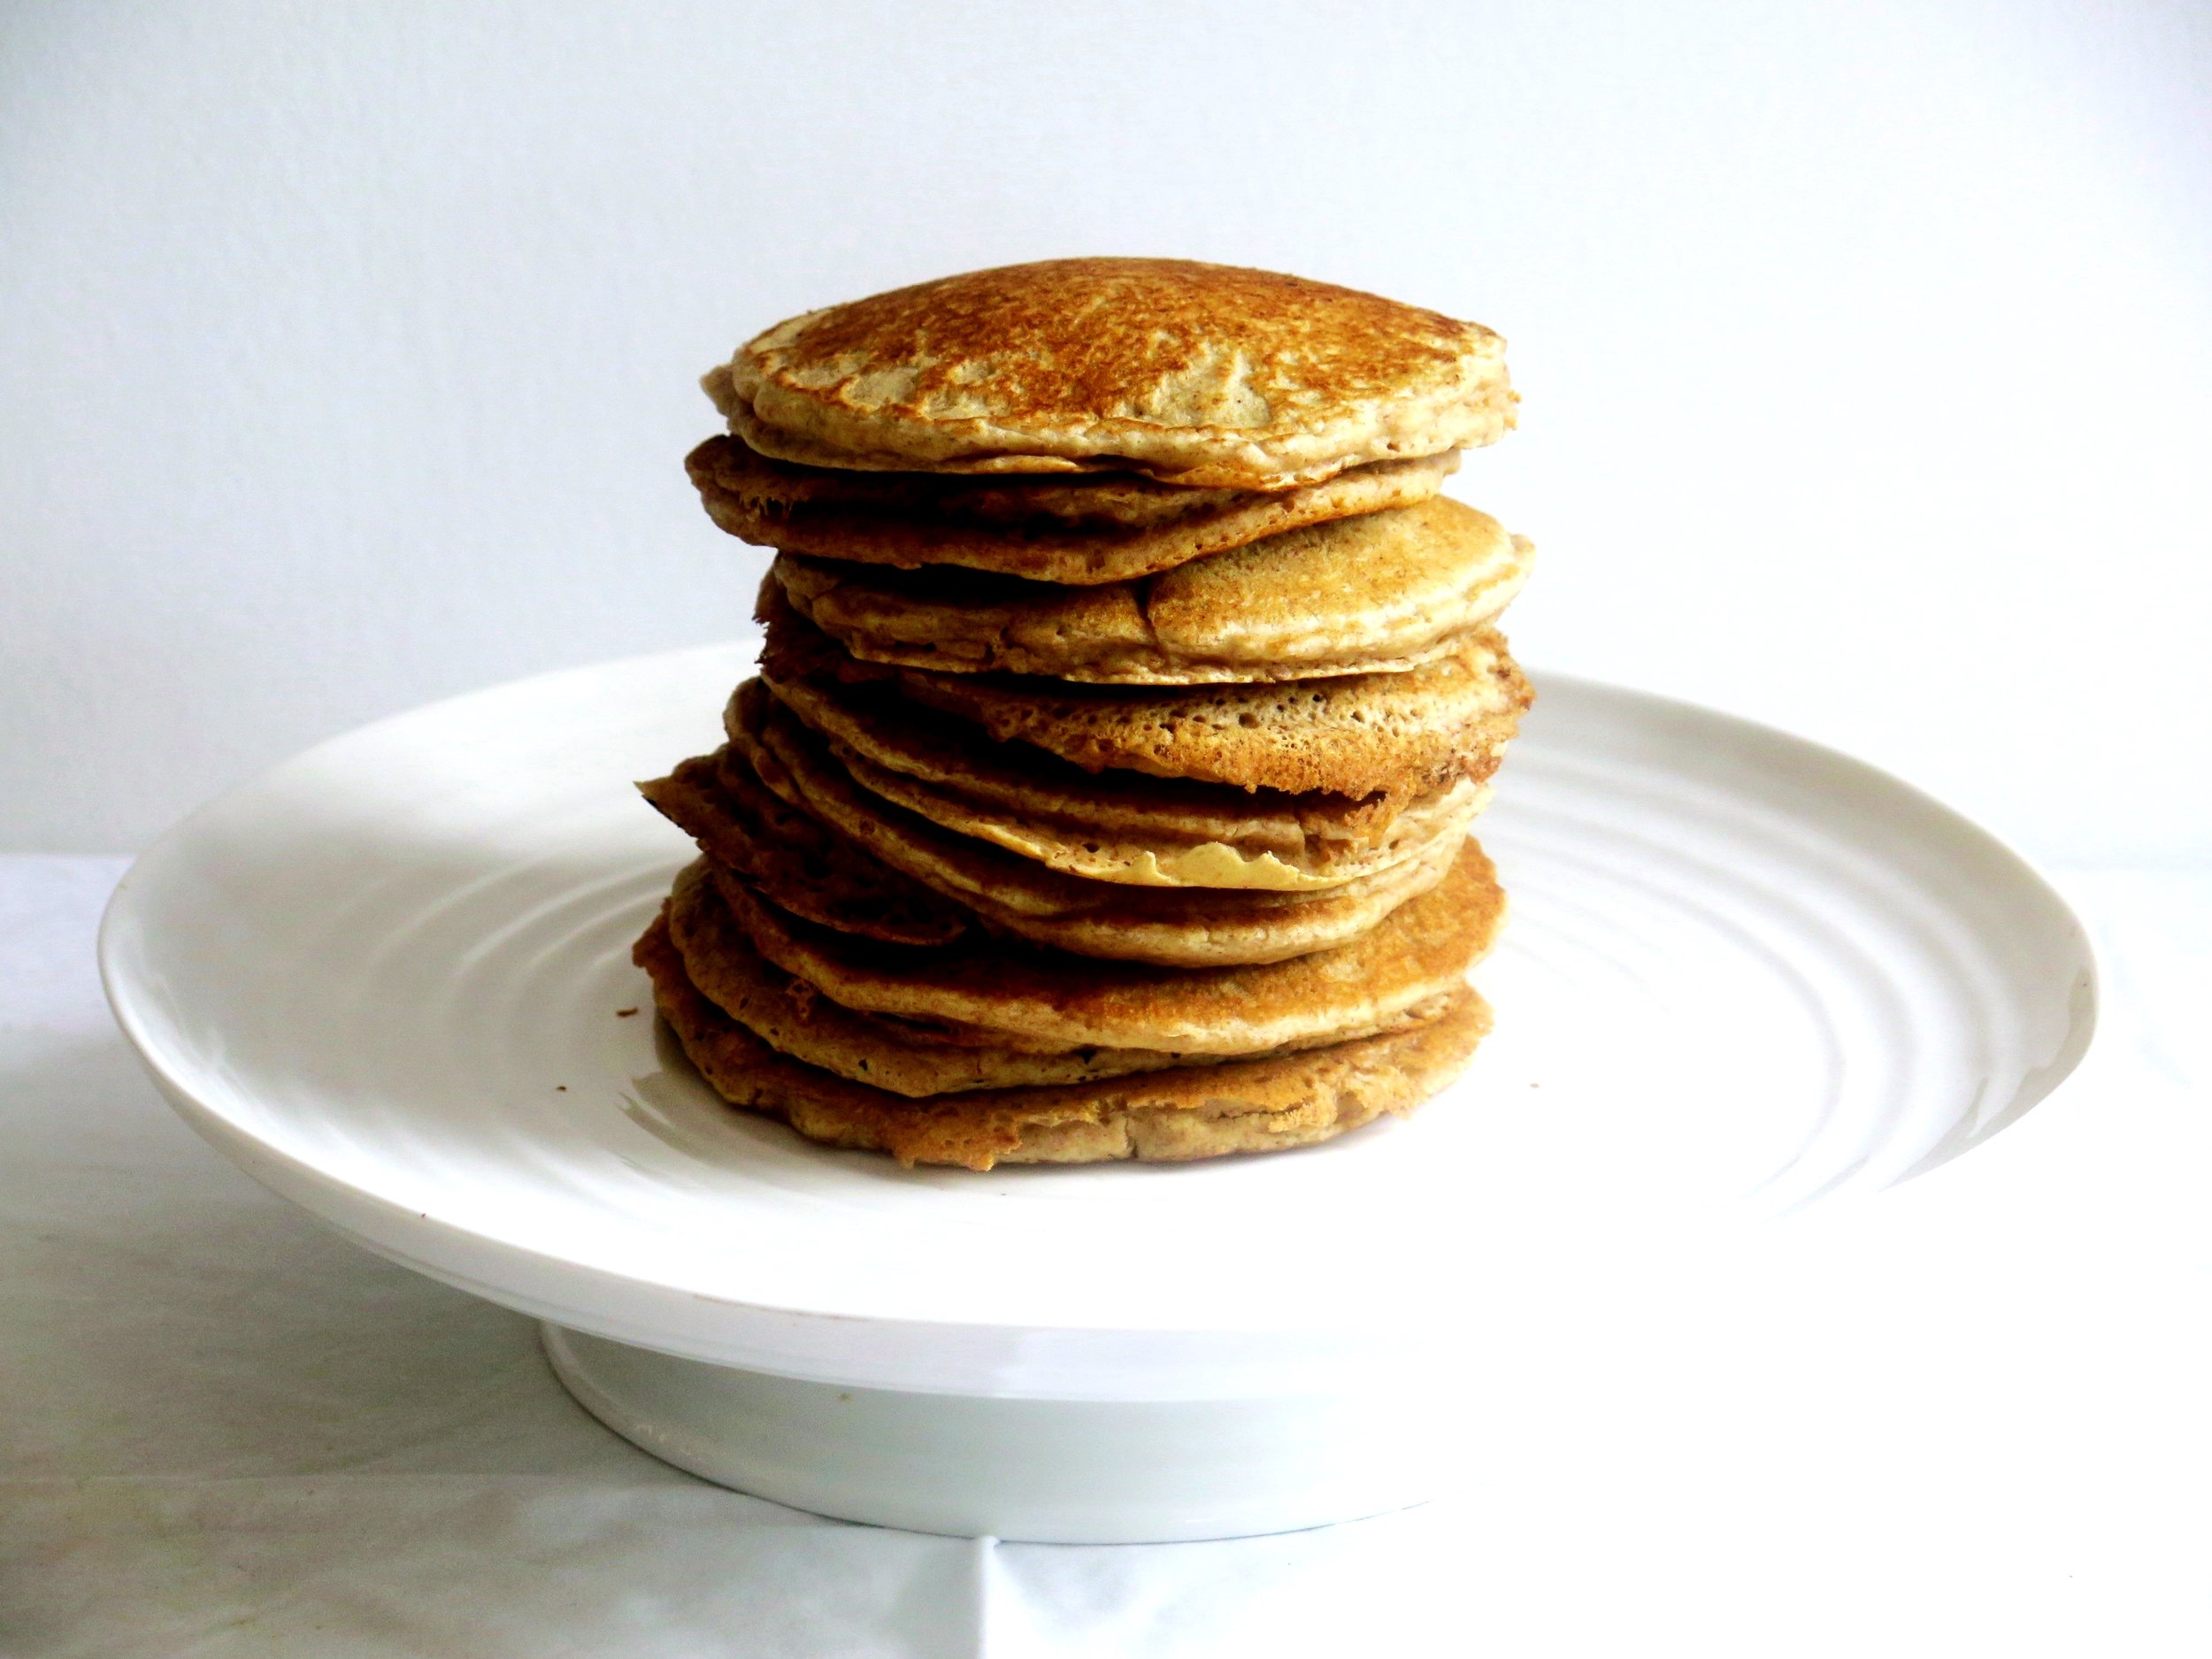
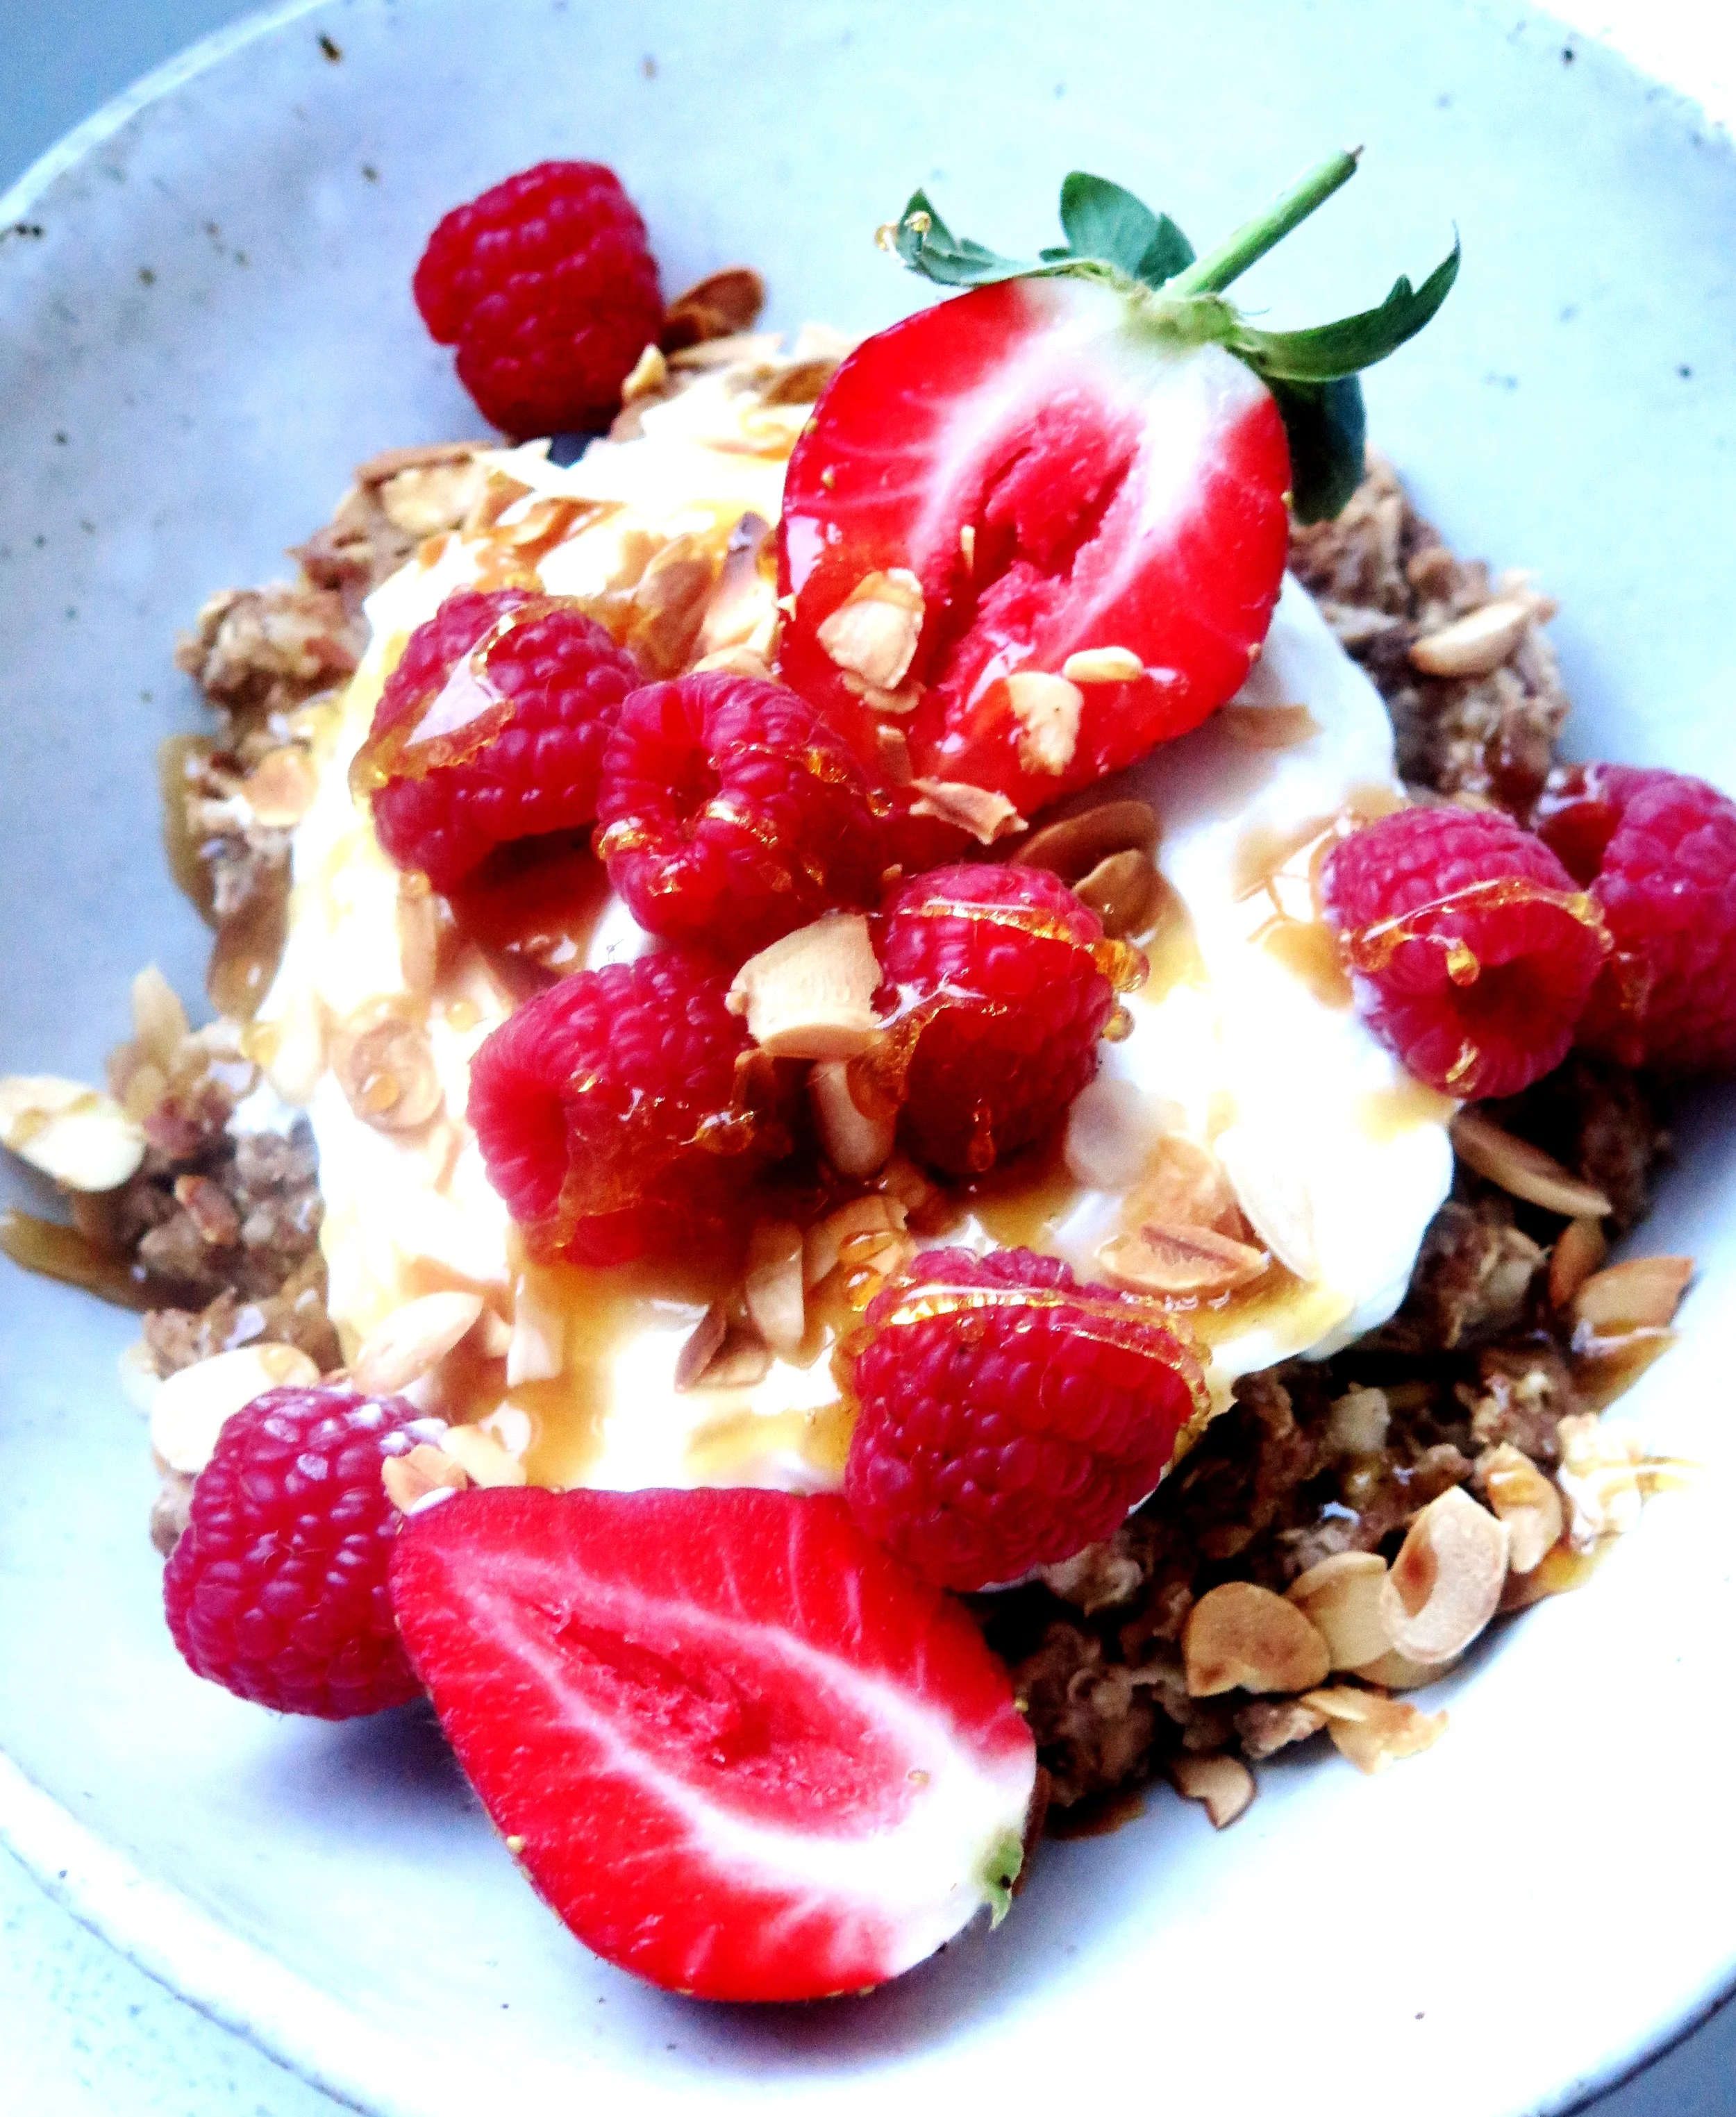
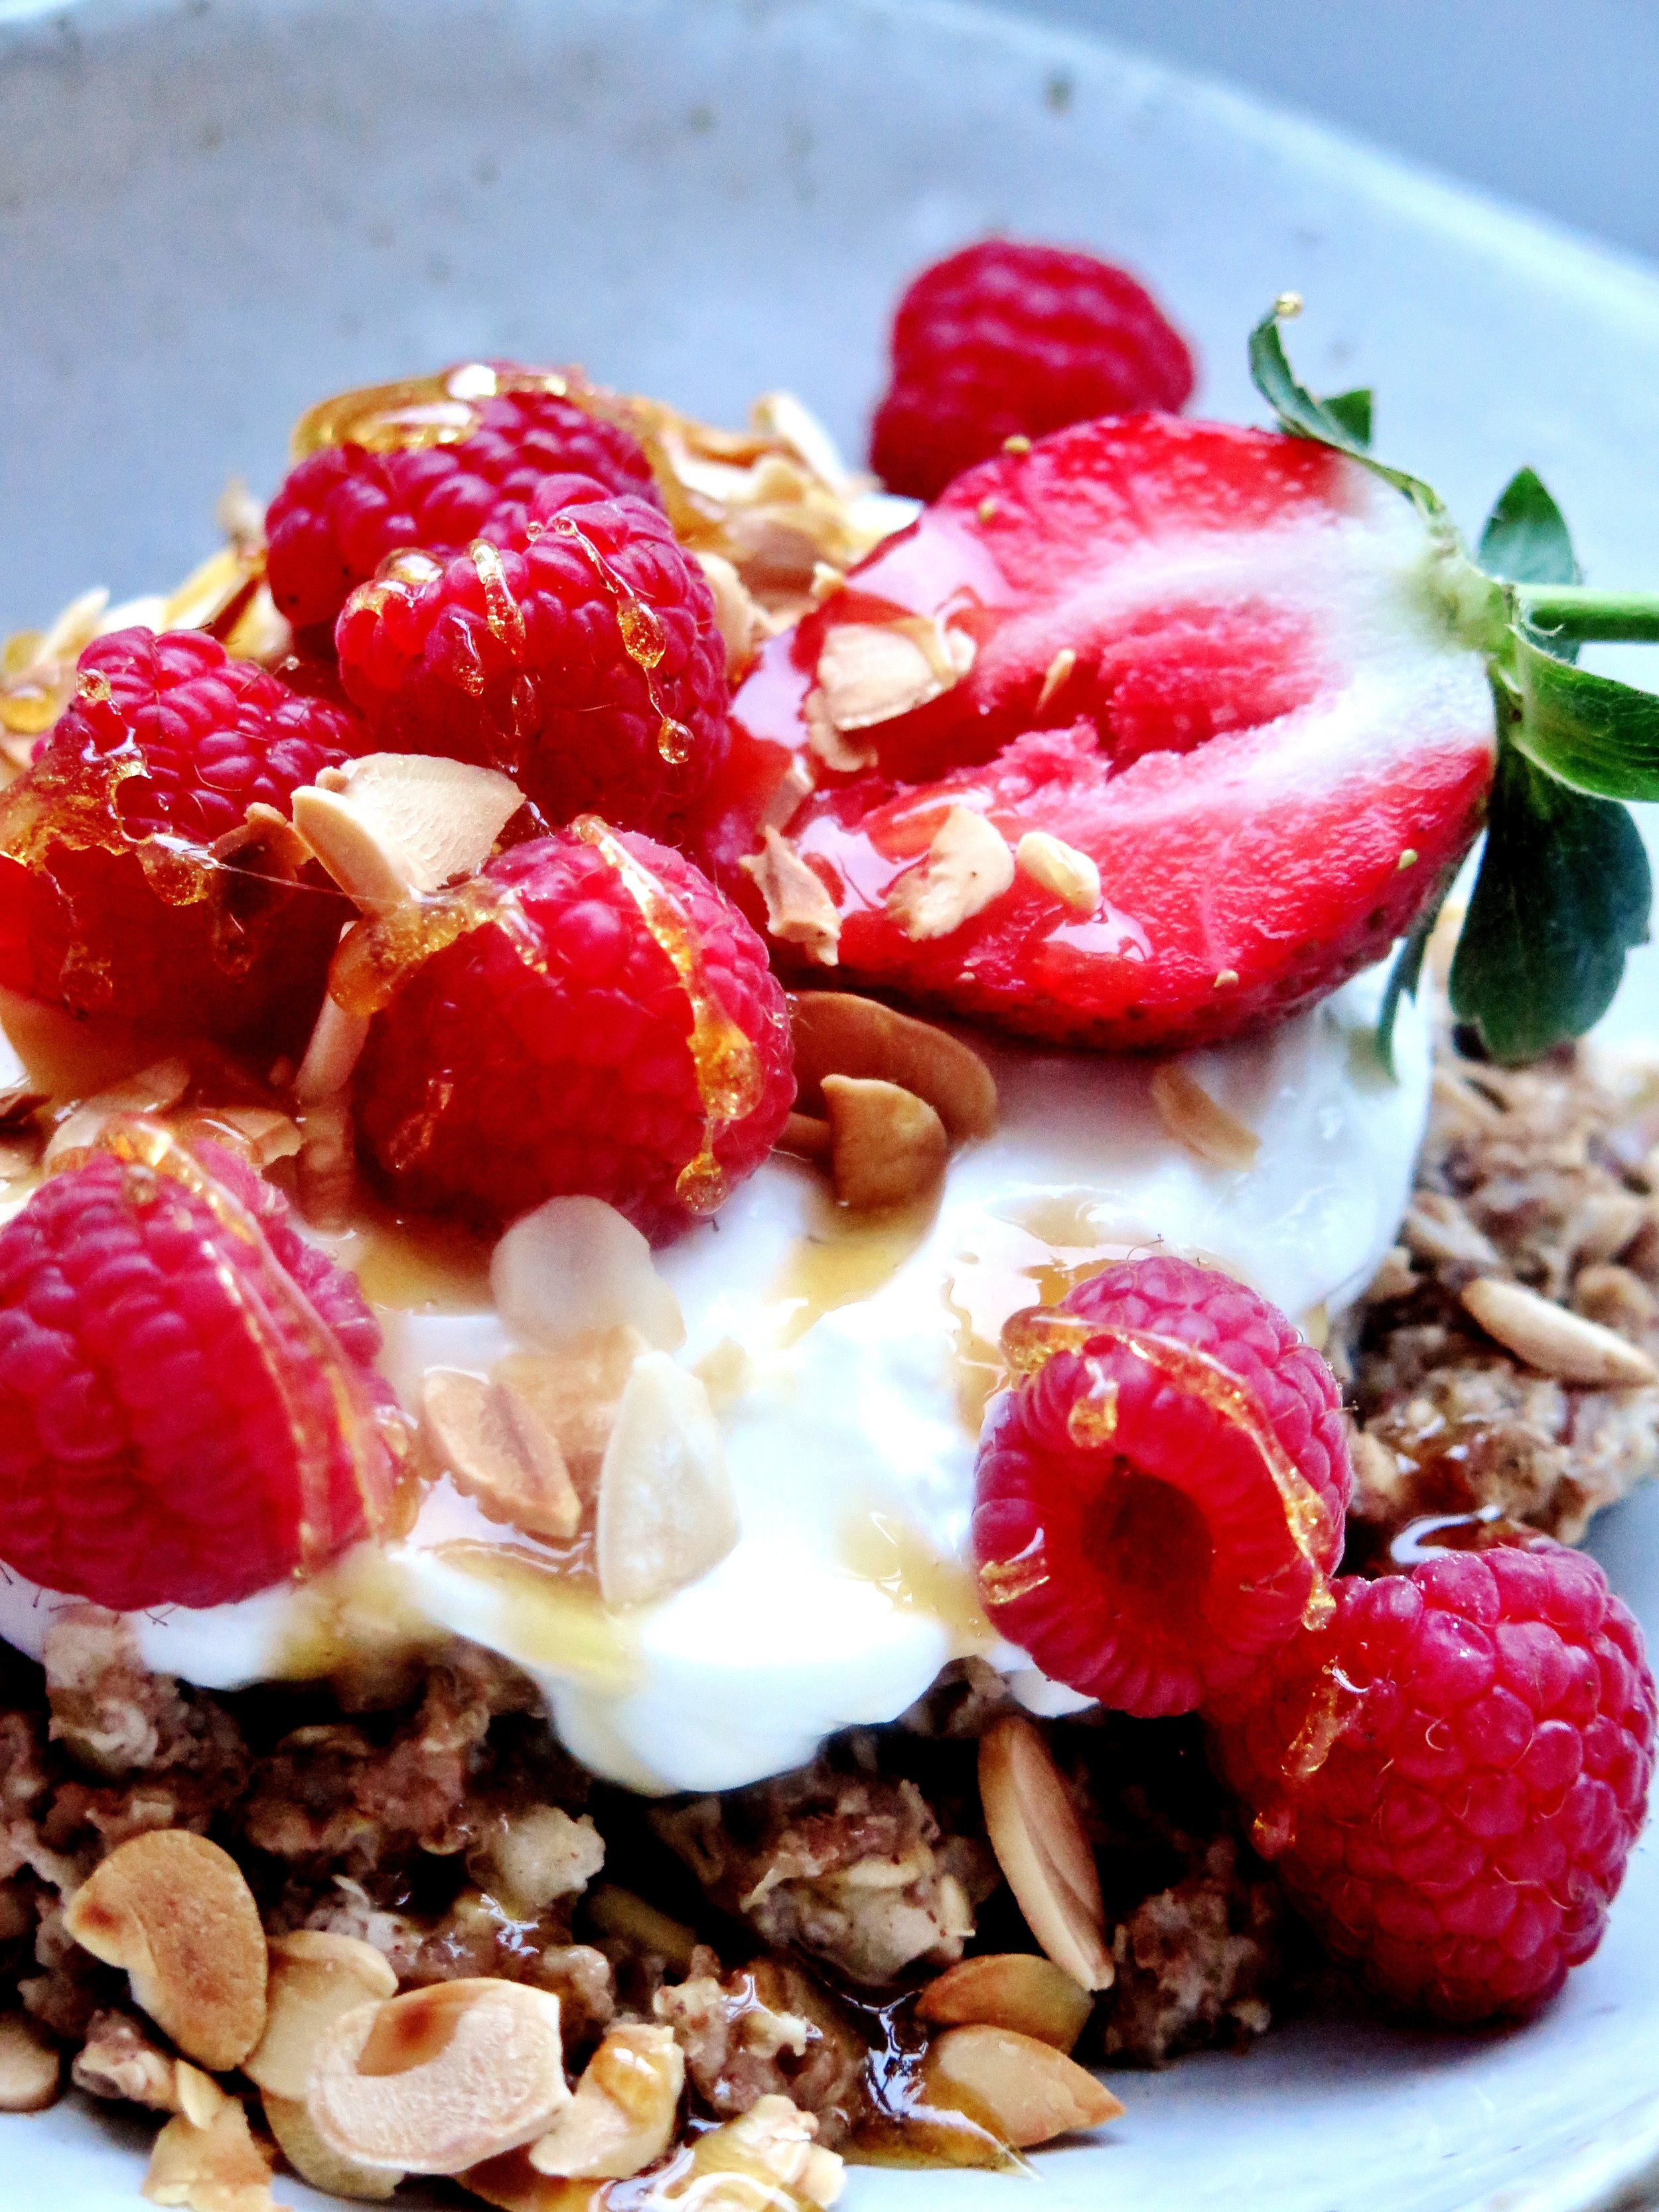
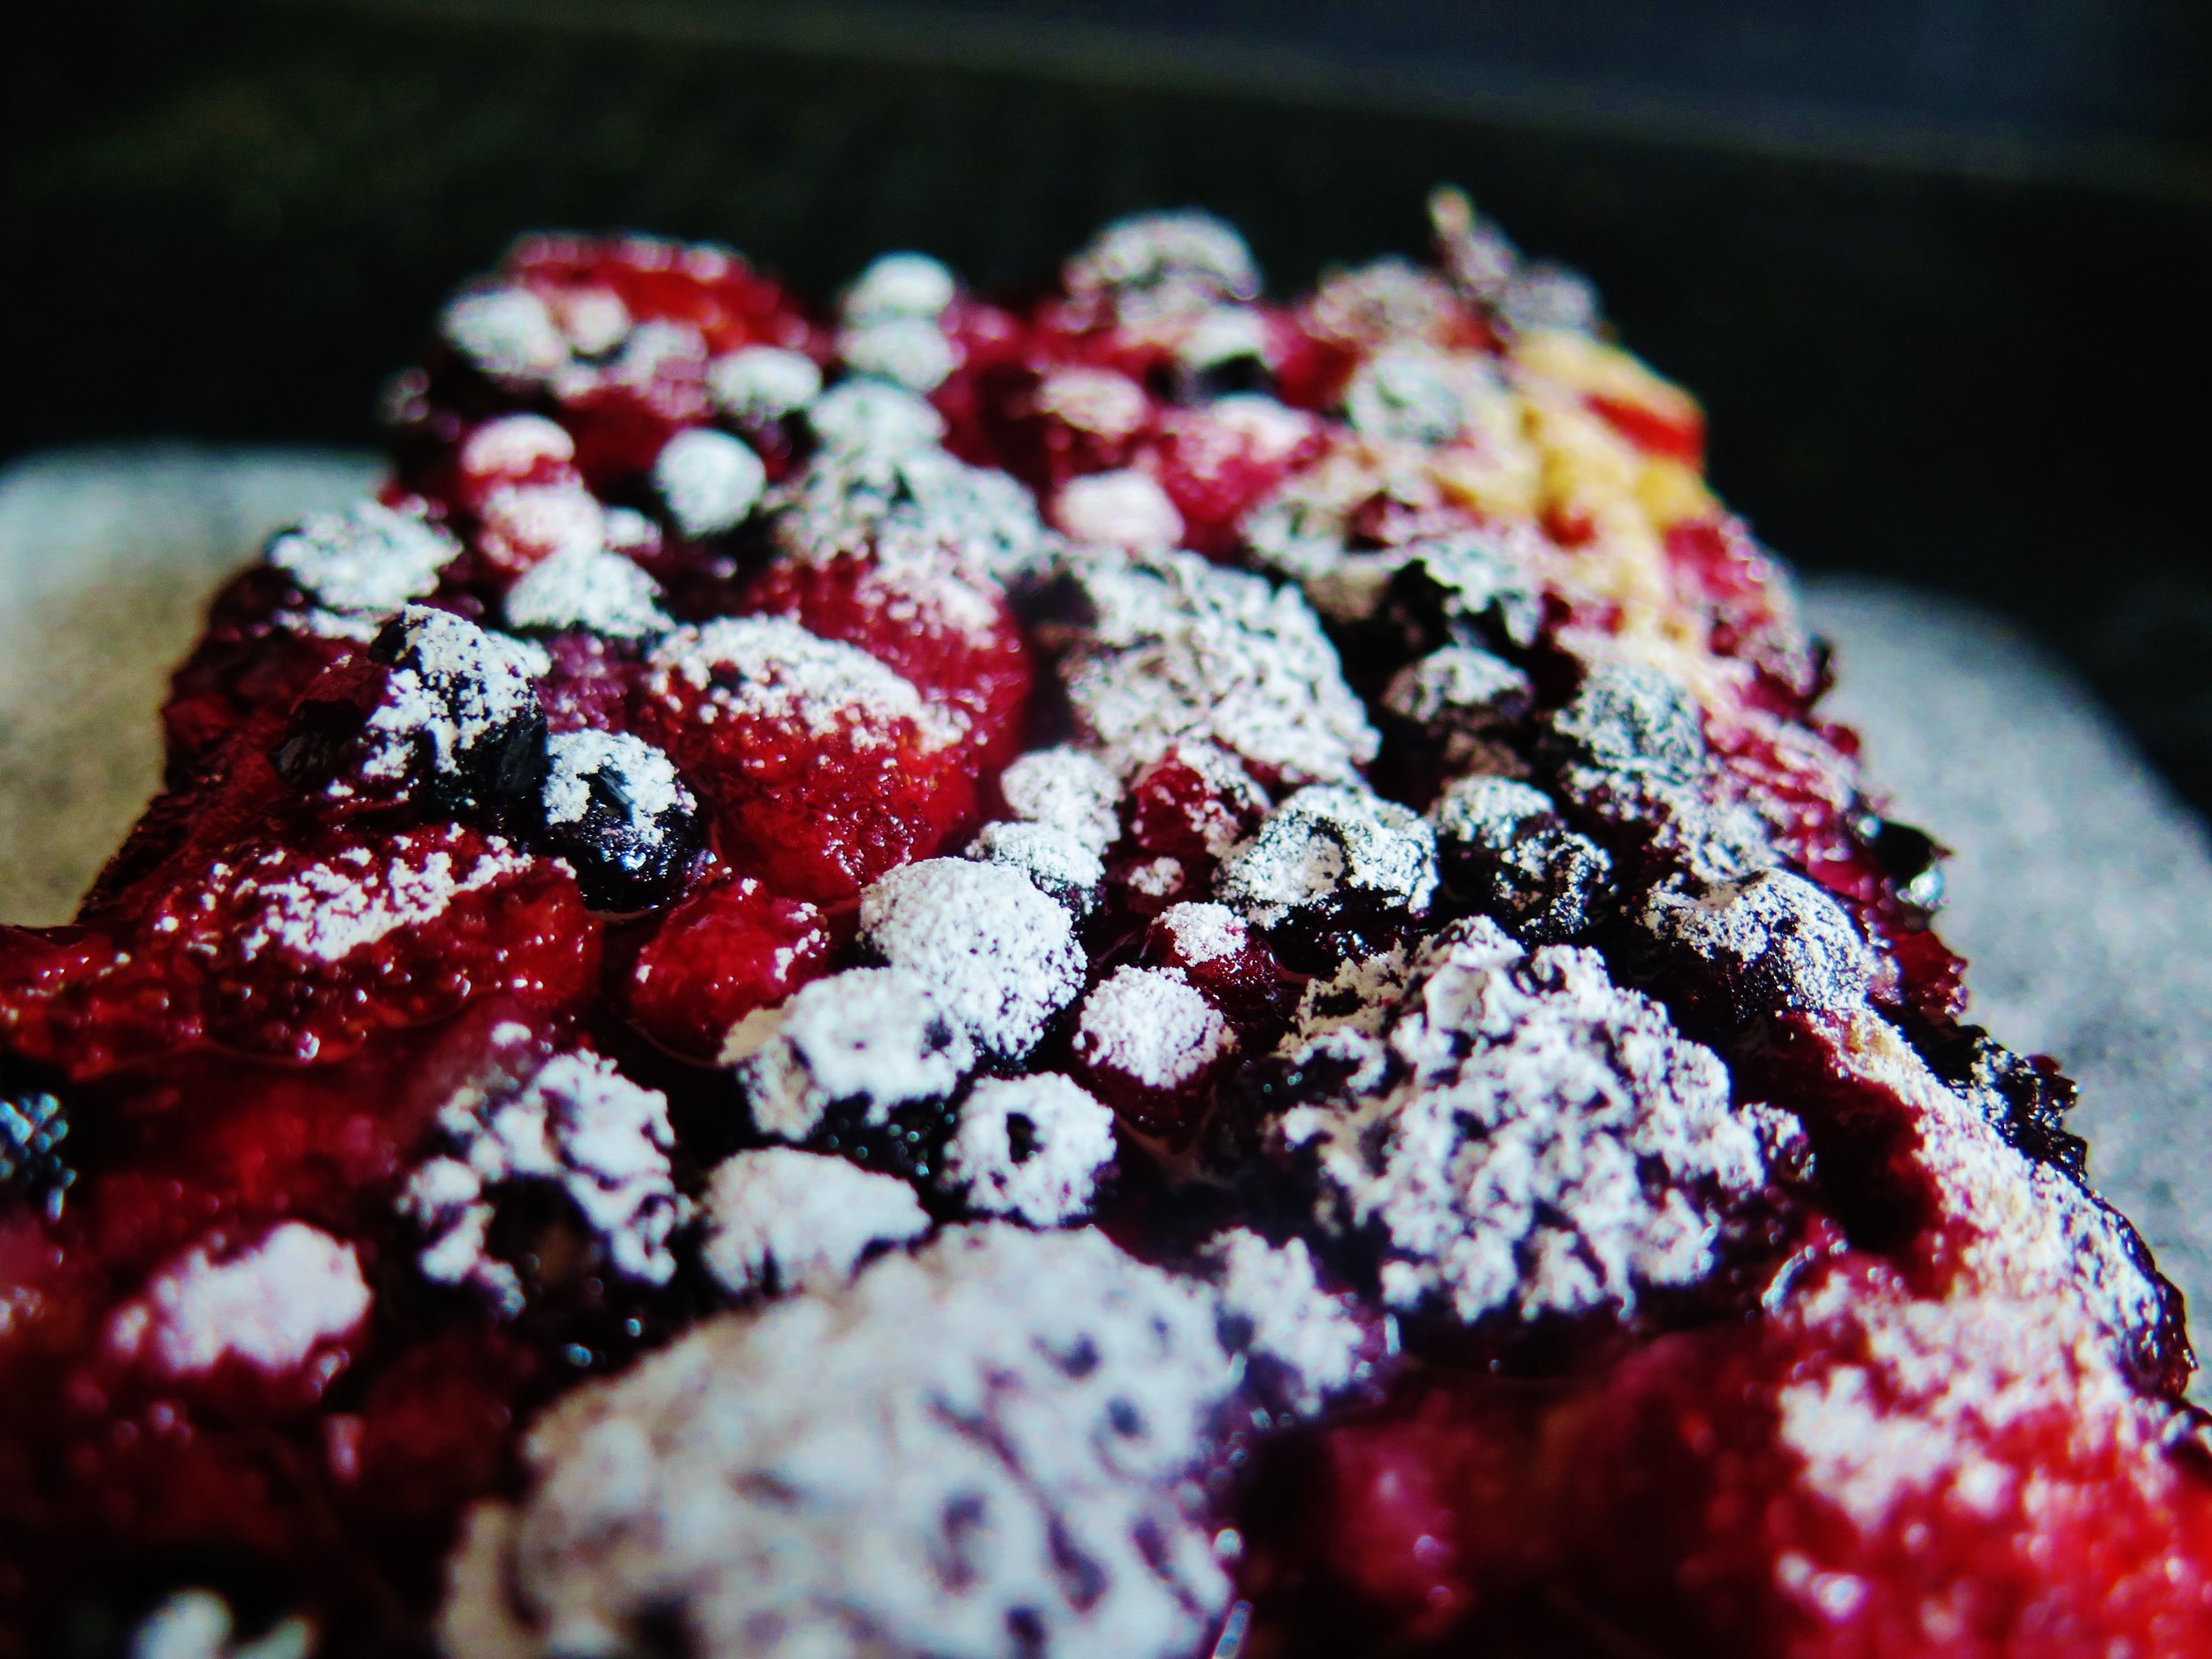
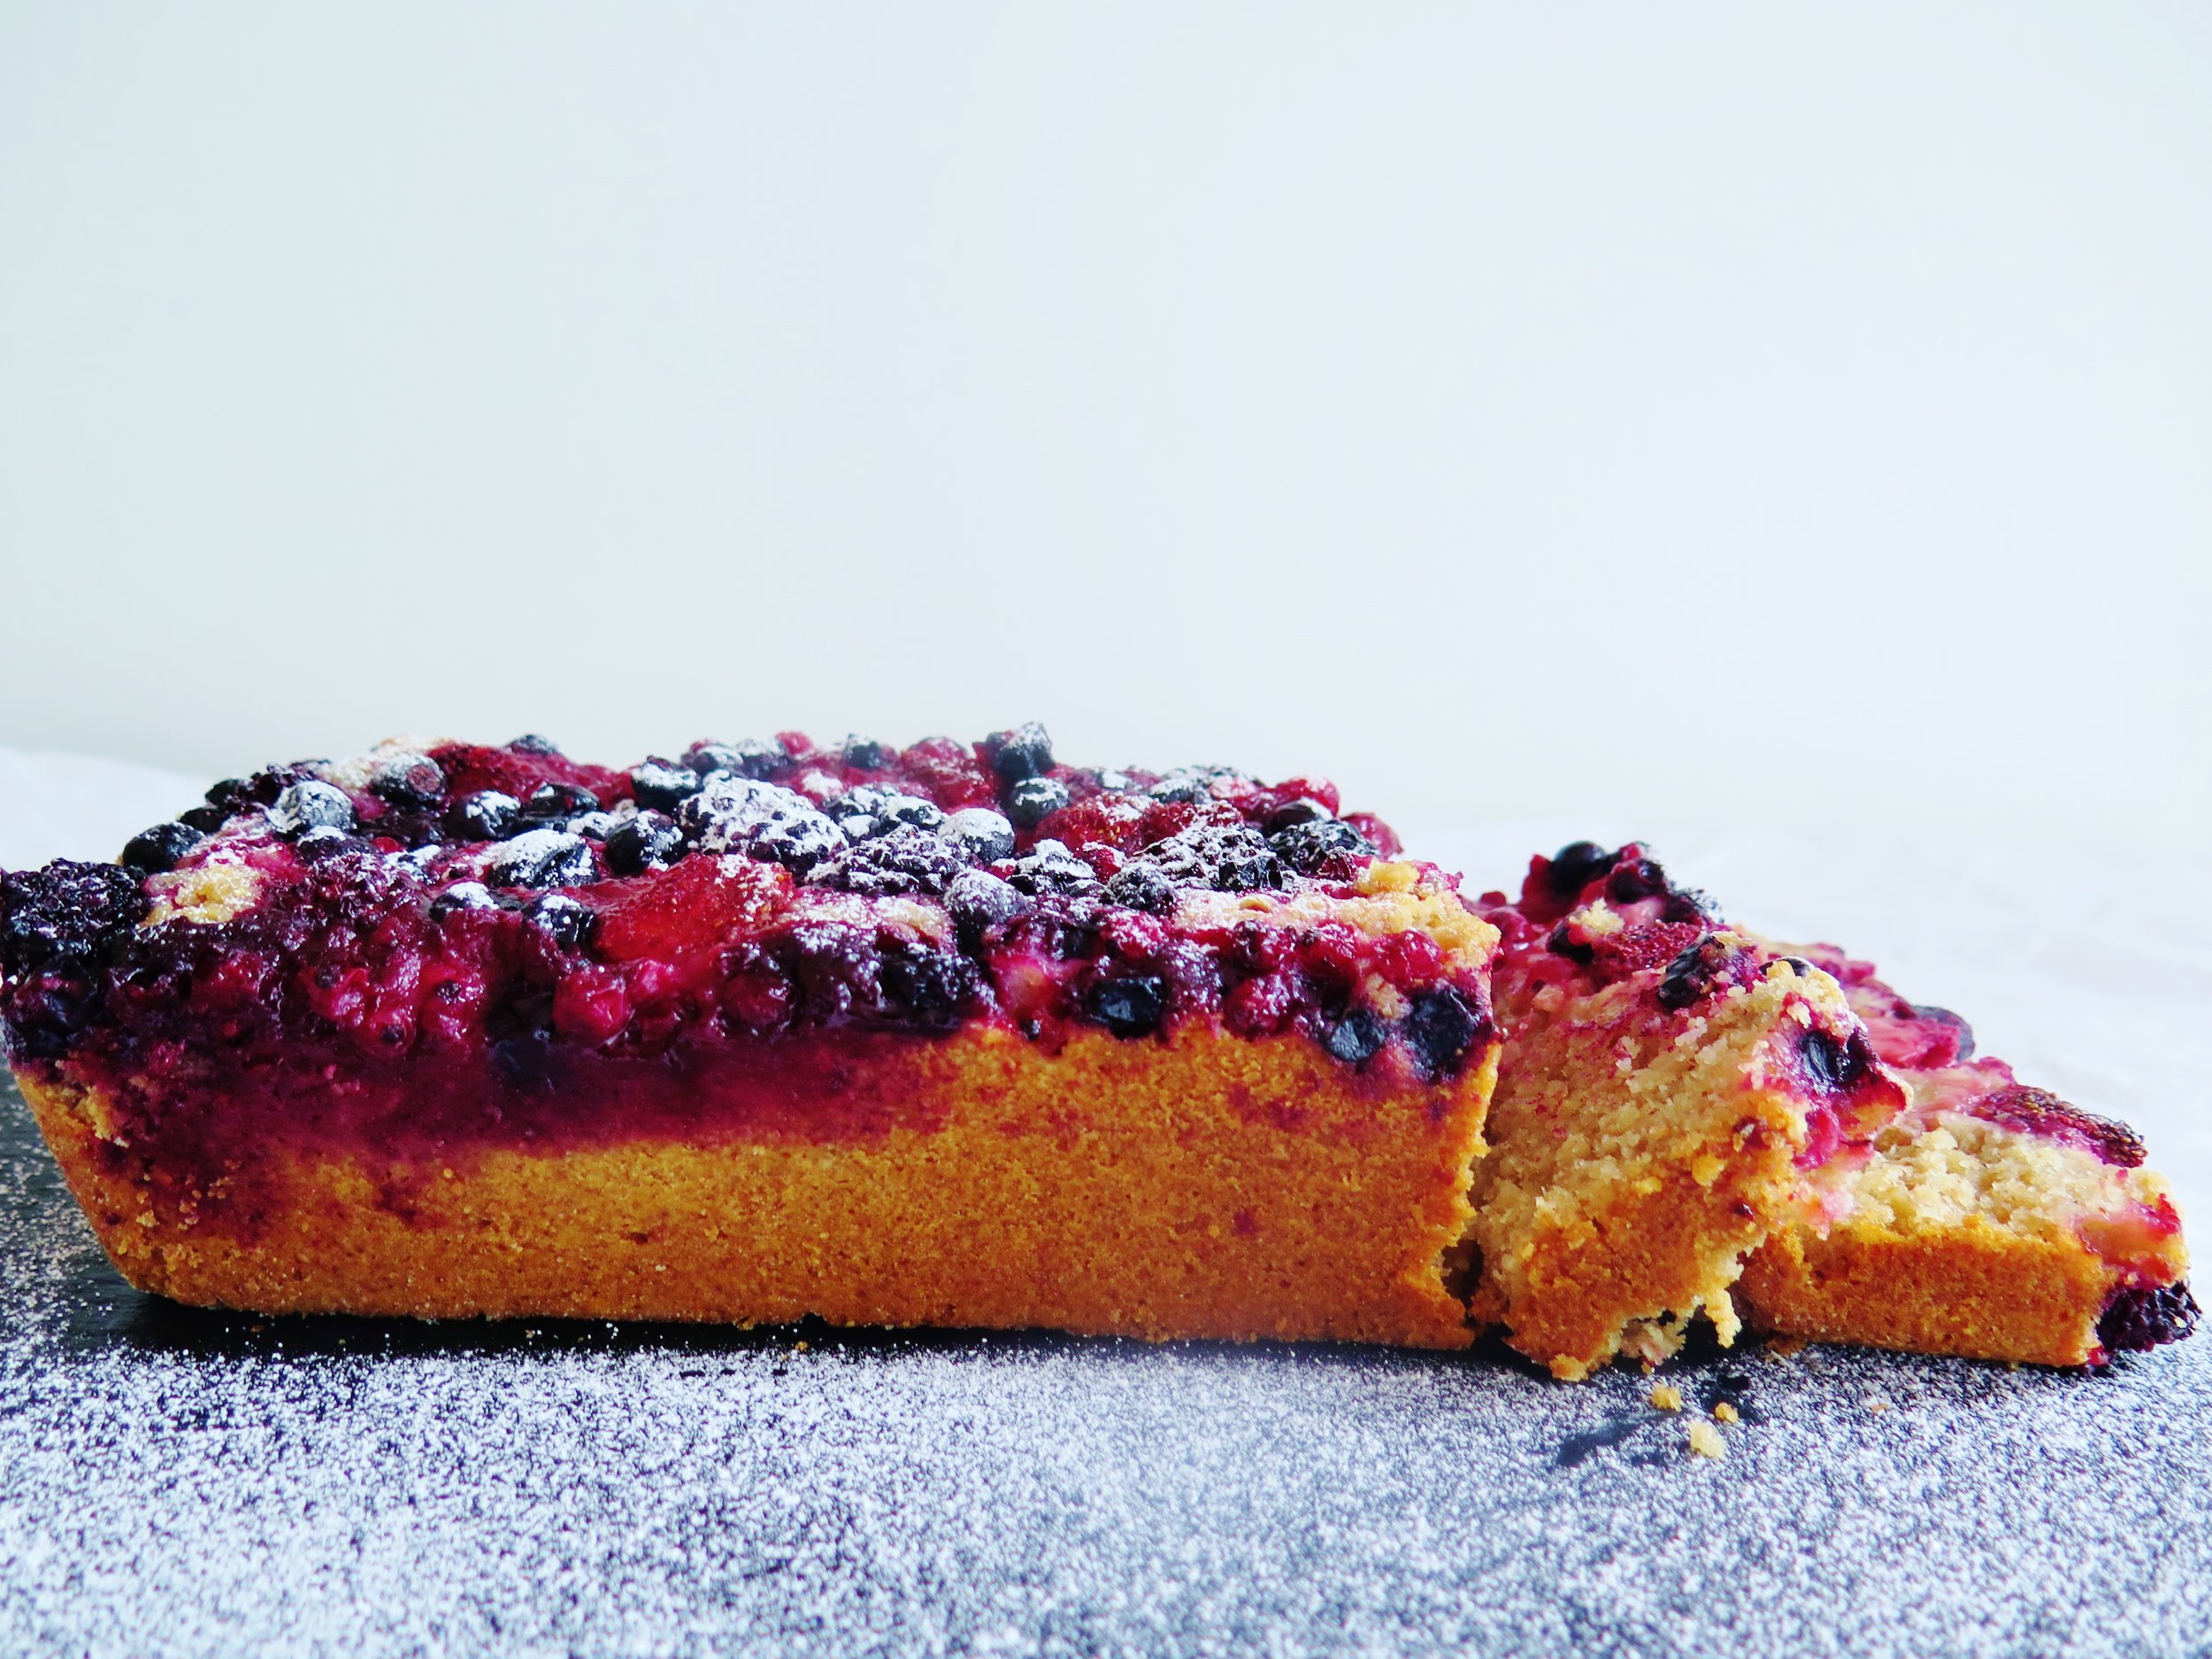
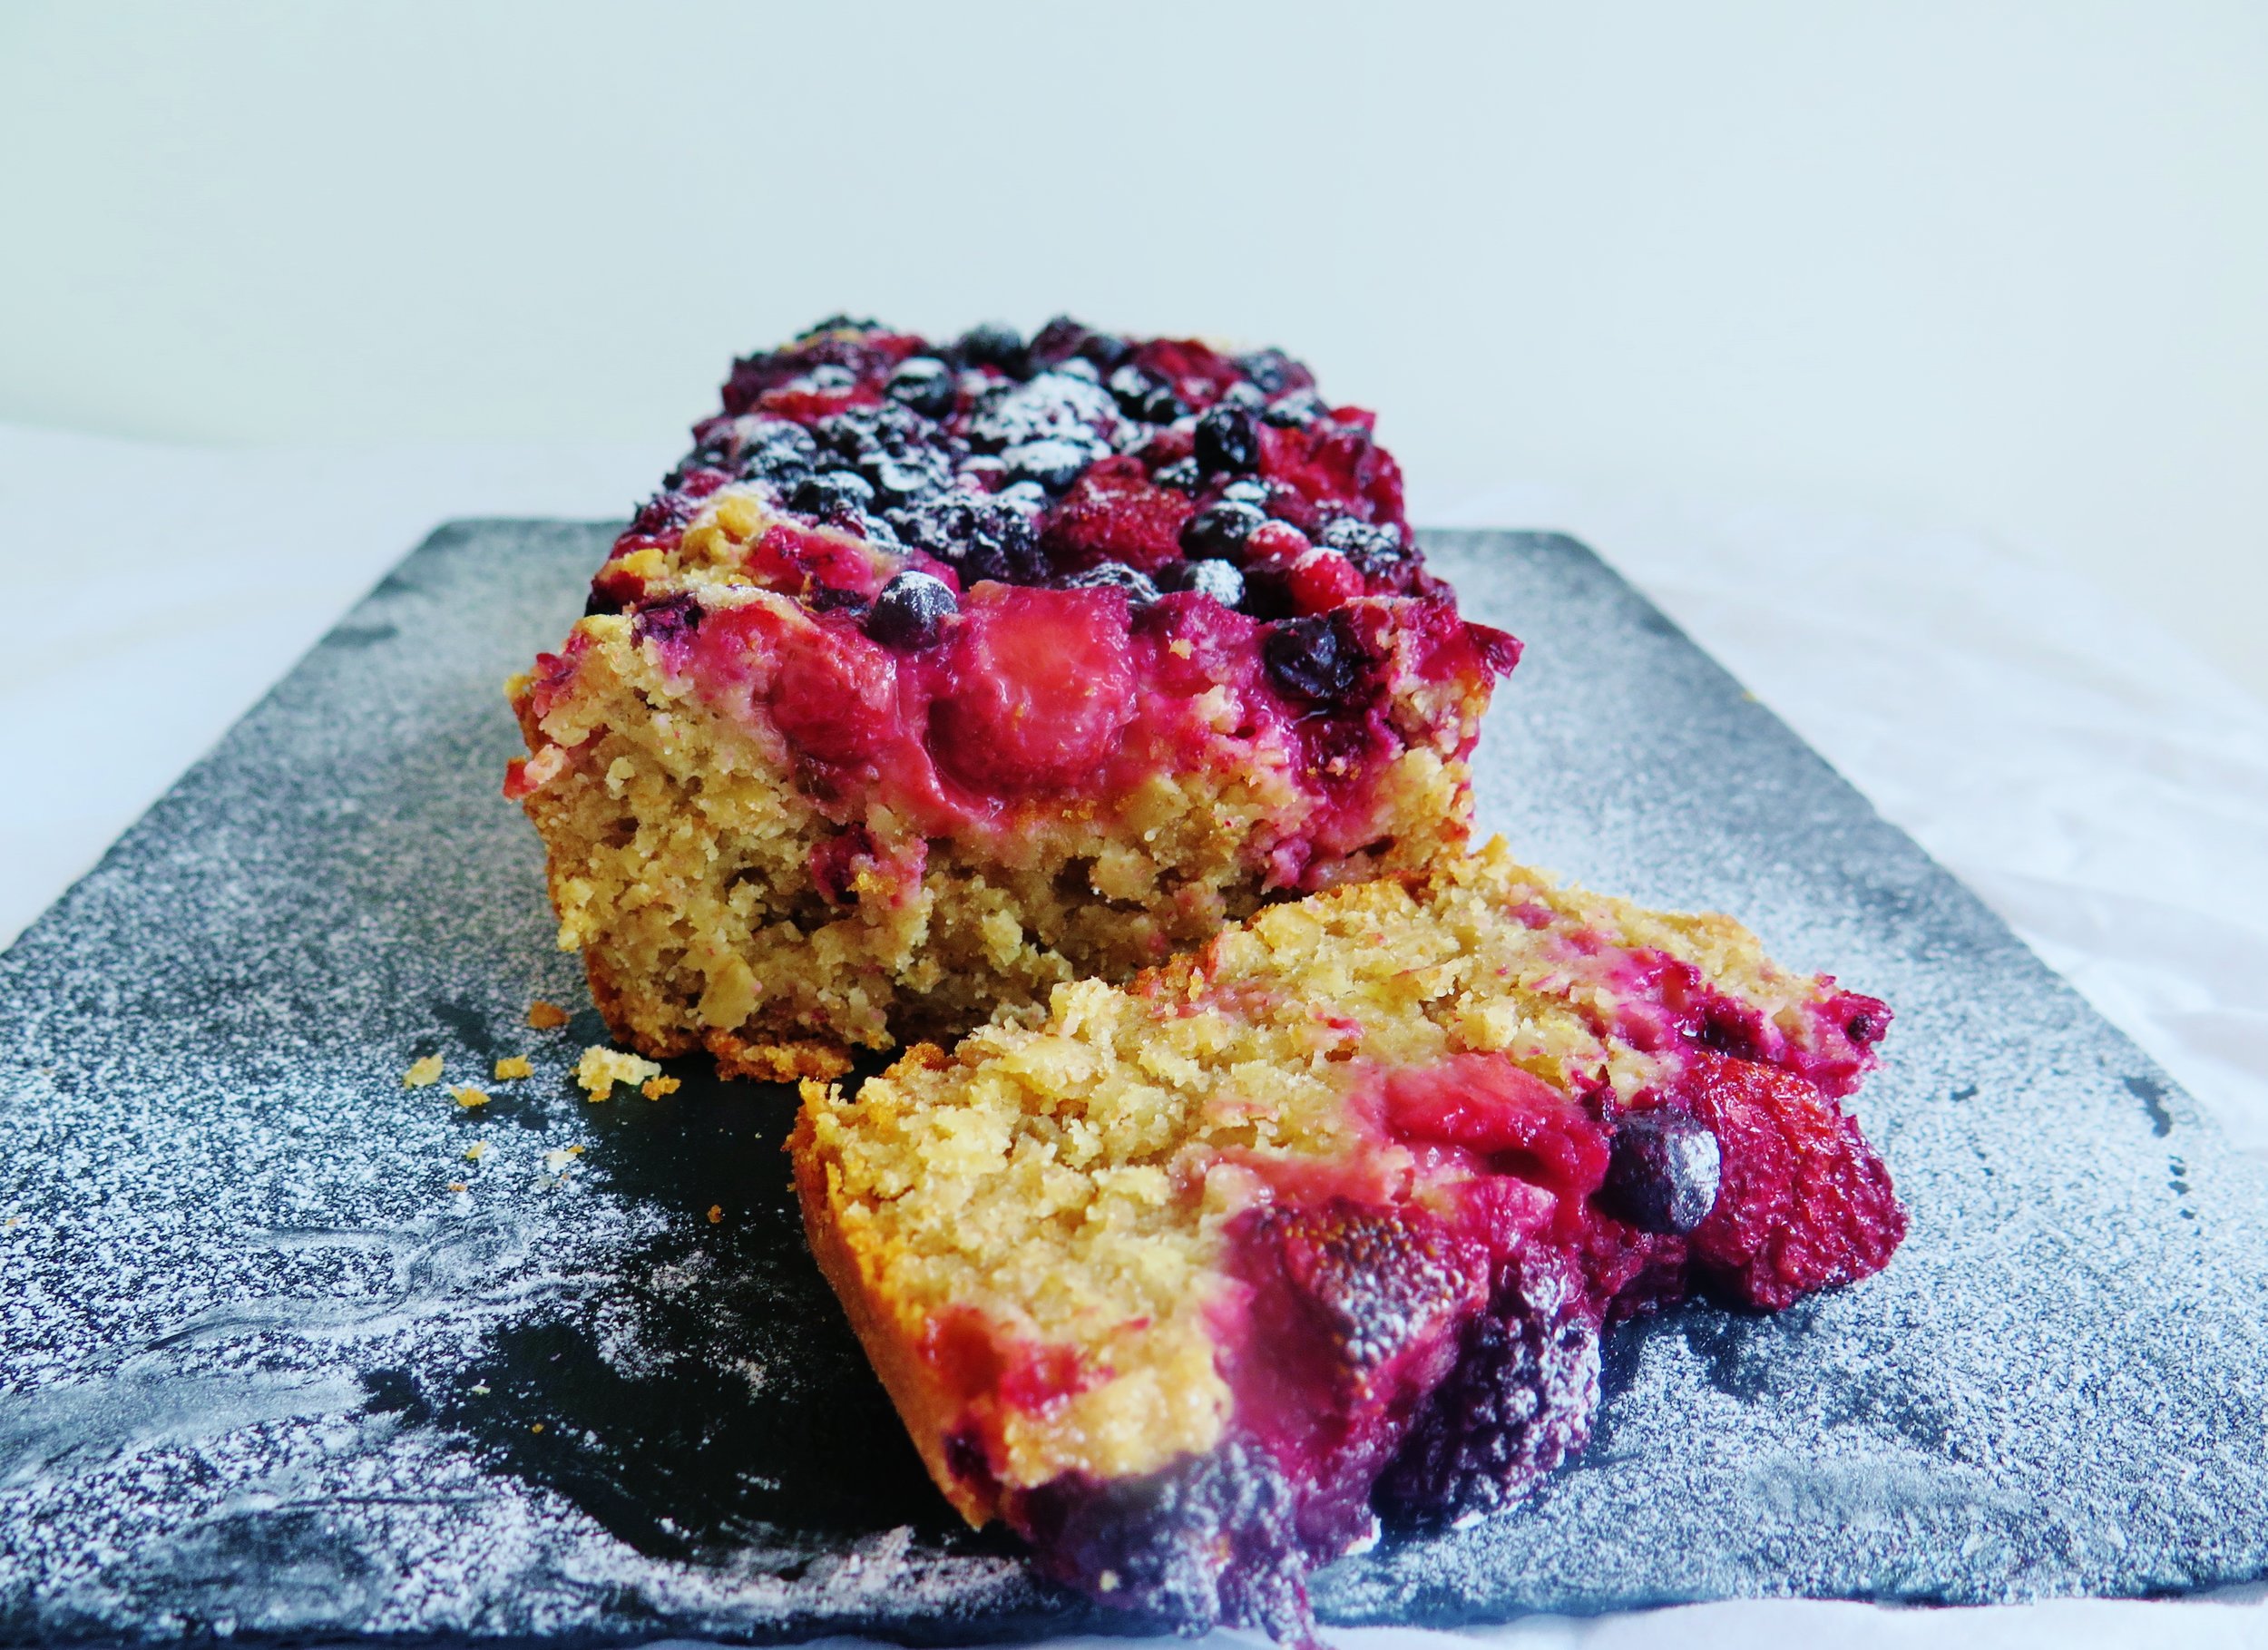
If you’re undecided as to what to have for breakfast, make this: fruit, oatmeal/porridge and pancakes rolled into one.  It’s delicious, quick to make, filling, and just sweet enough to satisfy any sweet craving but also not so sweet that it will send blood glucose levels skyrocketing...
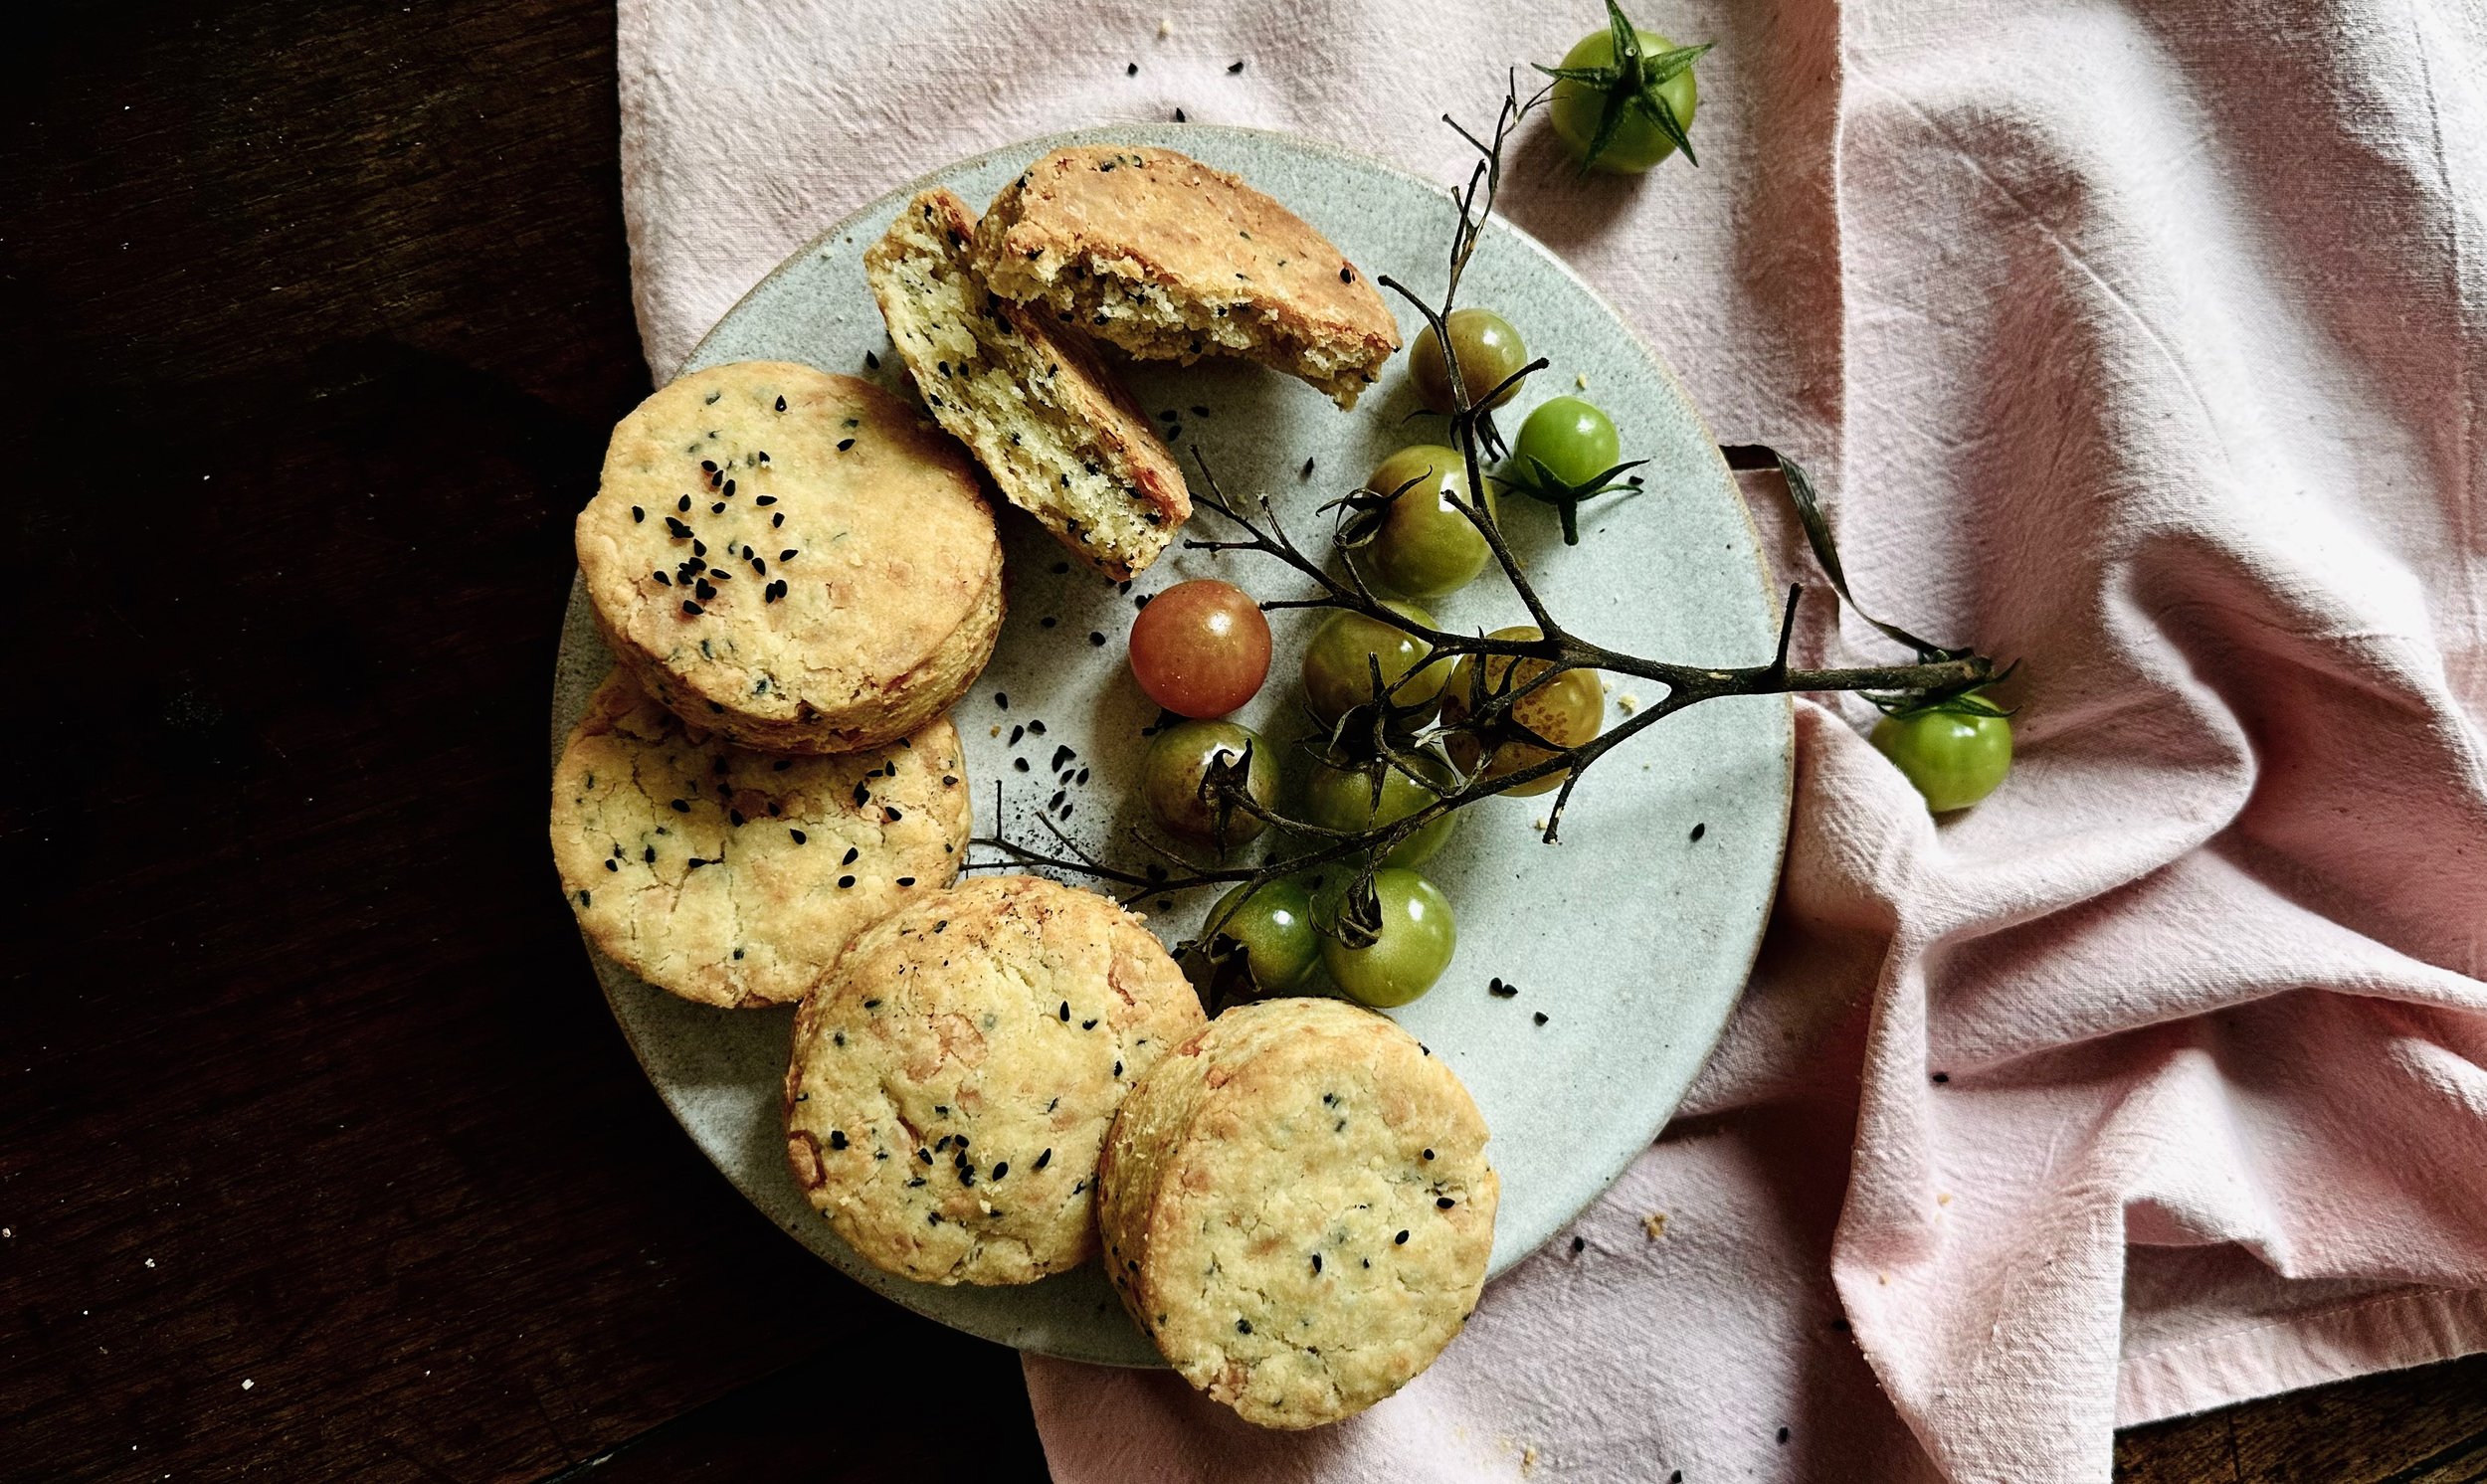
Wholesome berry & oat breakfast loaf


brunch

Wholesome berry & oat breakfast loaf

Wholesome berry & oat breakfast loaf

Wholesome berry & oat breakfast loafWholesome berry & oat breakfast loaf

Wholesome berry & oat breakfast loaf

Wholesome berry & oat breakfast loaf

The almond milk & coconut oil can be substituted for their dairy equivalents, (milk & butter) in the same quantity.

Wholegrain spelt flour can be substituted for white/wholegrain wheat flour, or gluten-free.


Ingredients

110g rolled oats

300ml hot unsweetened almond milk

100g coconut oil

60g caster sugar

50ml honey

1 tsp vanilla extract

1 medium egg

Zest of half a lemon

1 tsp baking powder

140g wholegrain spelt flour

300g frozen mixed berries (or fresh)

11 x 22cm loaf tin (or one of a similar area), greased and dusted with flour

Serves 8


Method

  1. Preheat oven to 180˚C. Mix oats with hot milk and allow to soak.
  2. Beat together oil, sugar, honey, vanilla, egg and lemon zest. Sieve in baking powder and flour and mix until just combined.  The bran in the wholemeal flour won’t sieve so just add it in once you’ve sieved as much as possible.
  3. Using a sieve, drain the excess liquid from the soaked oats , then stir them into the mixture.
  4. Pour into loaf tin and scatter berries on top.
  5. Bake for 40 to 50 minutes, or until a skewer comes out clean. Serve warm or cold.

Wholesom Berry & Oat Breakfast Loaf

Comment