Viewing entries in
Desserts

MINI CHOCOLATE & RASPBERRY MERINGUES

Comment

MINI CHOCOLATE & RASPBERRY MERINGUES

Mini Chocolate & Raspberry Meringues

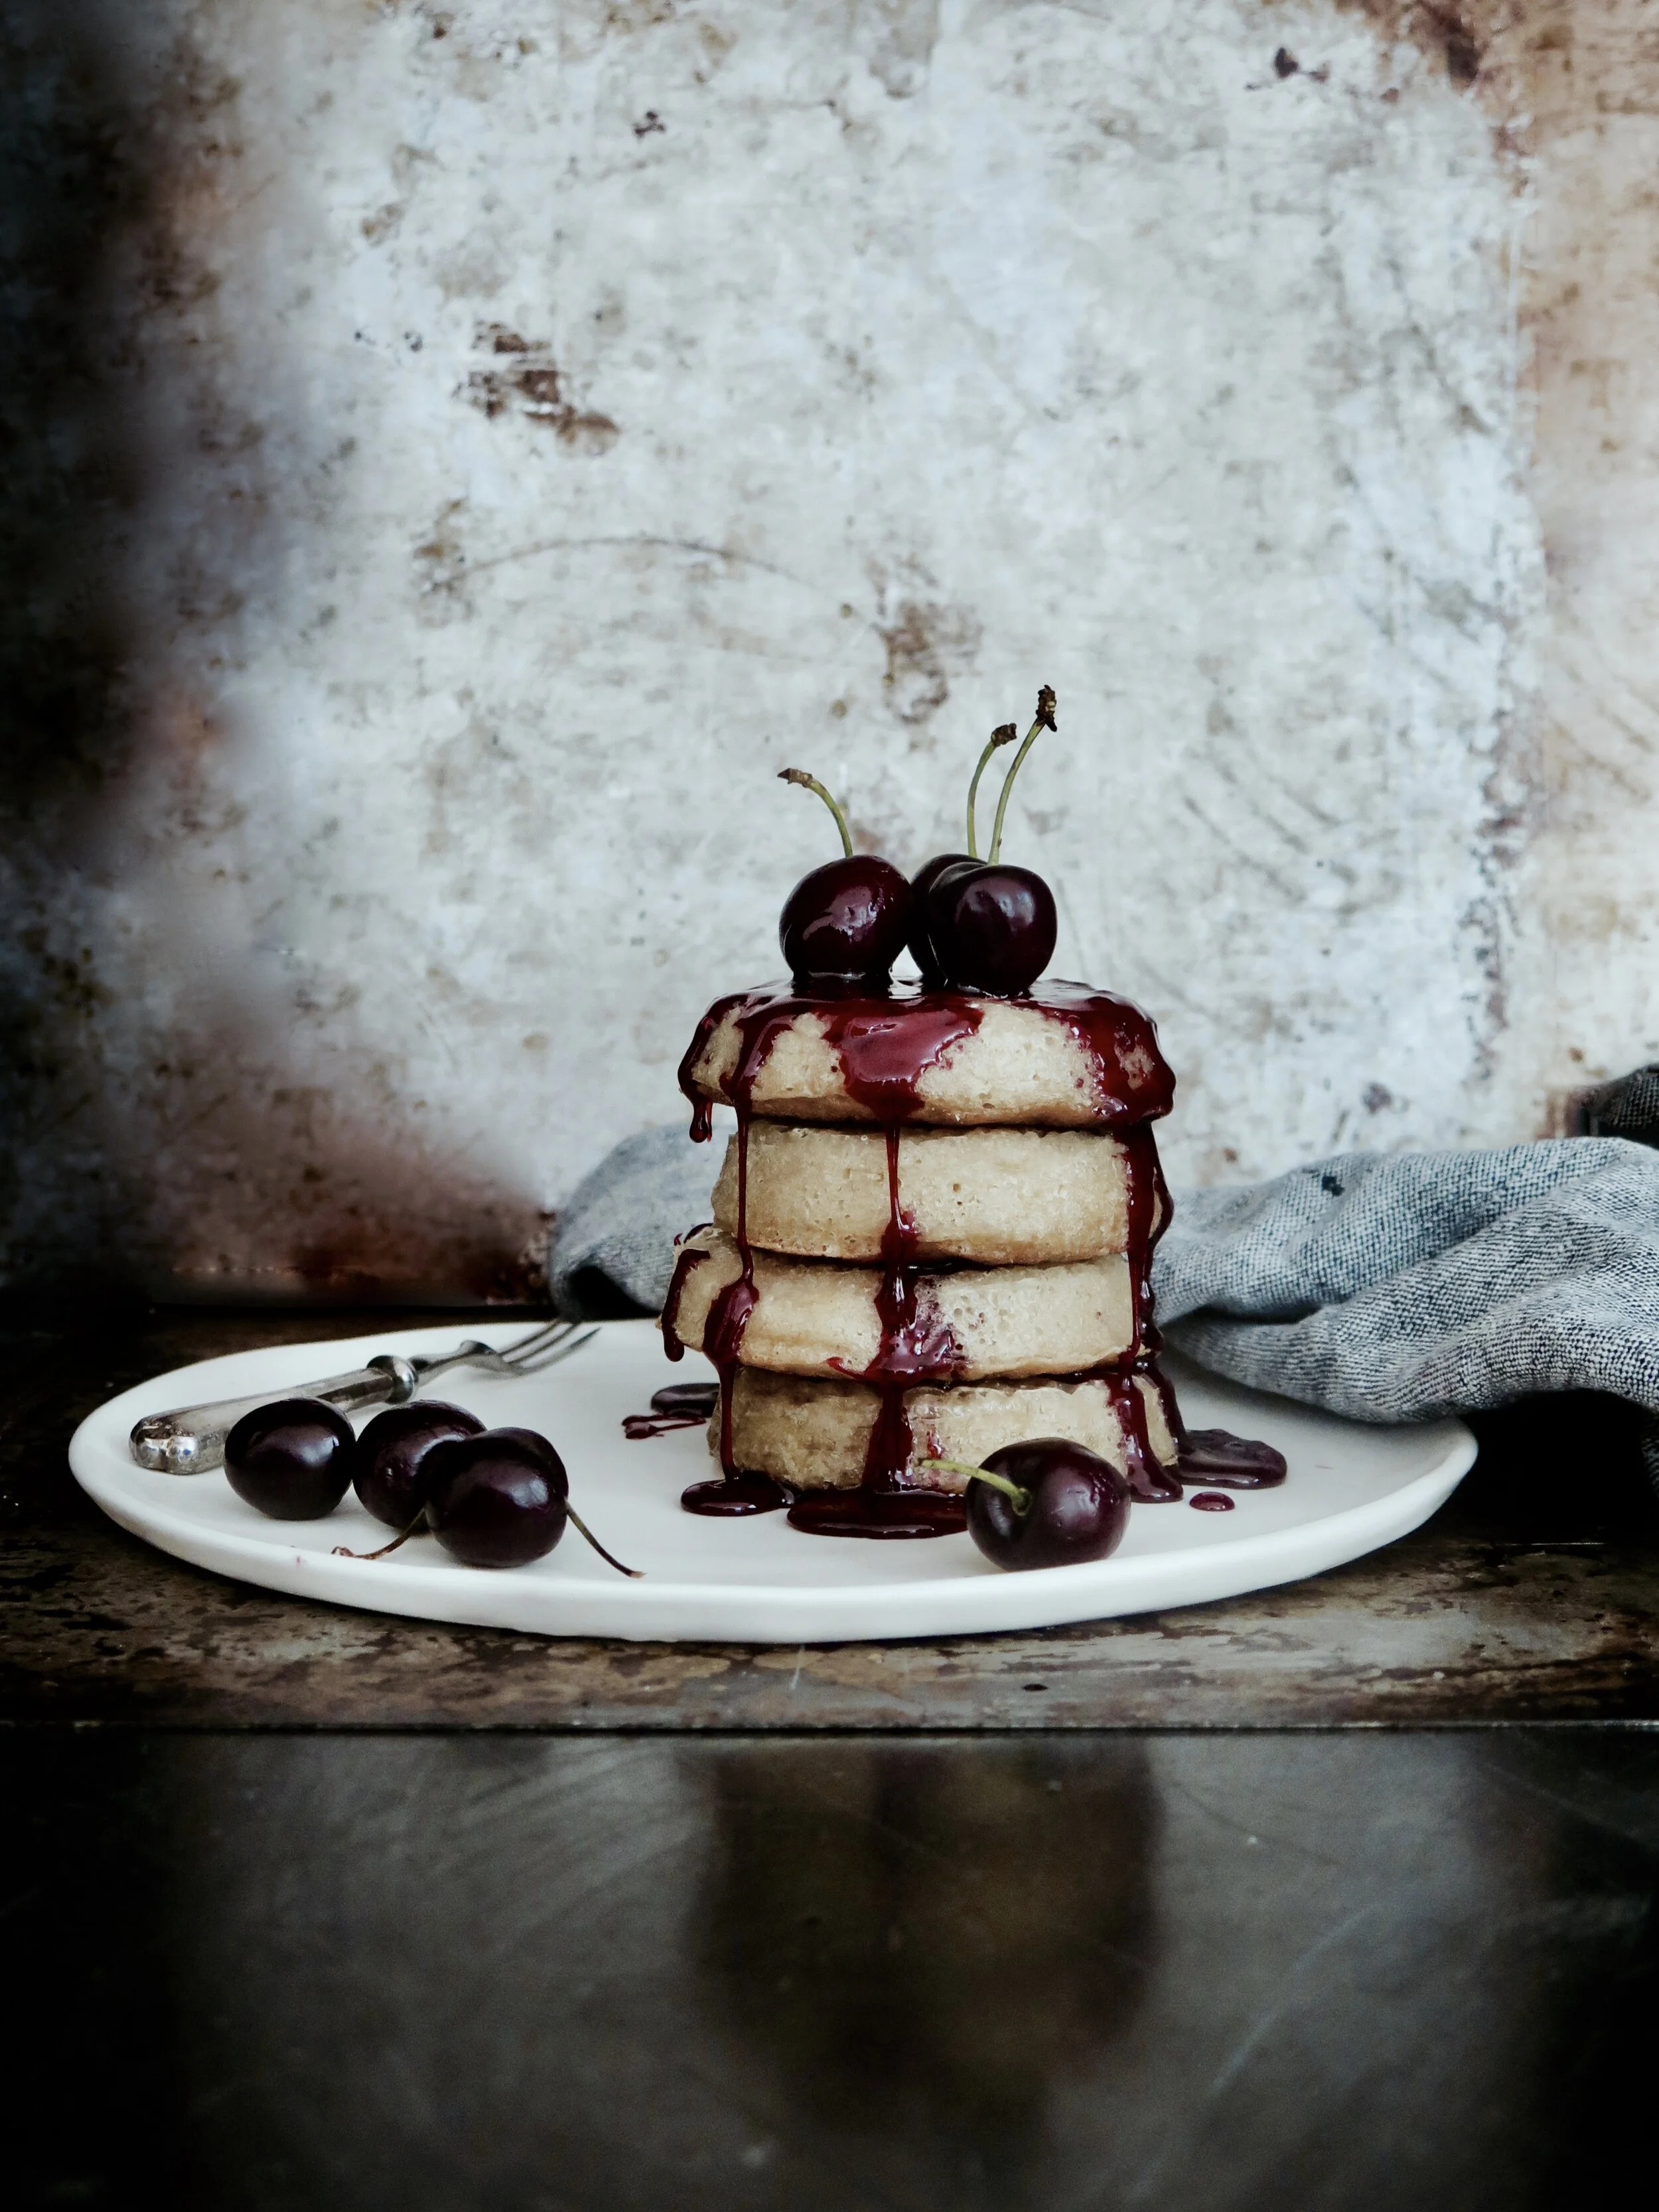
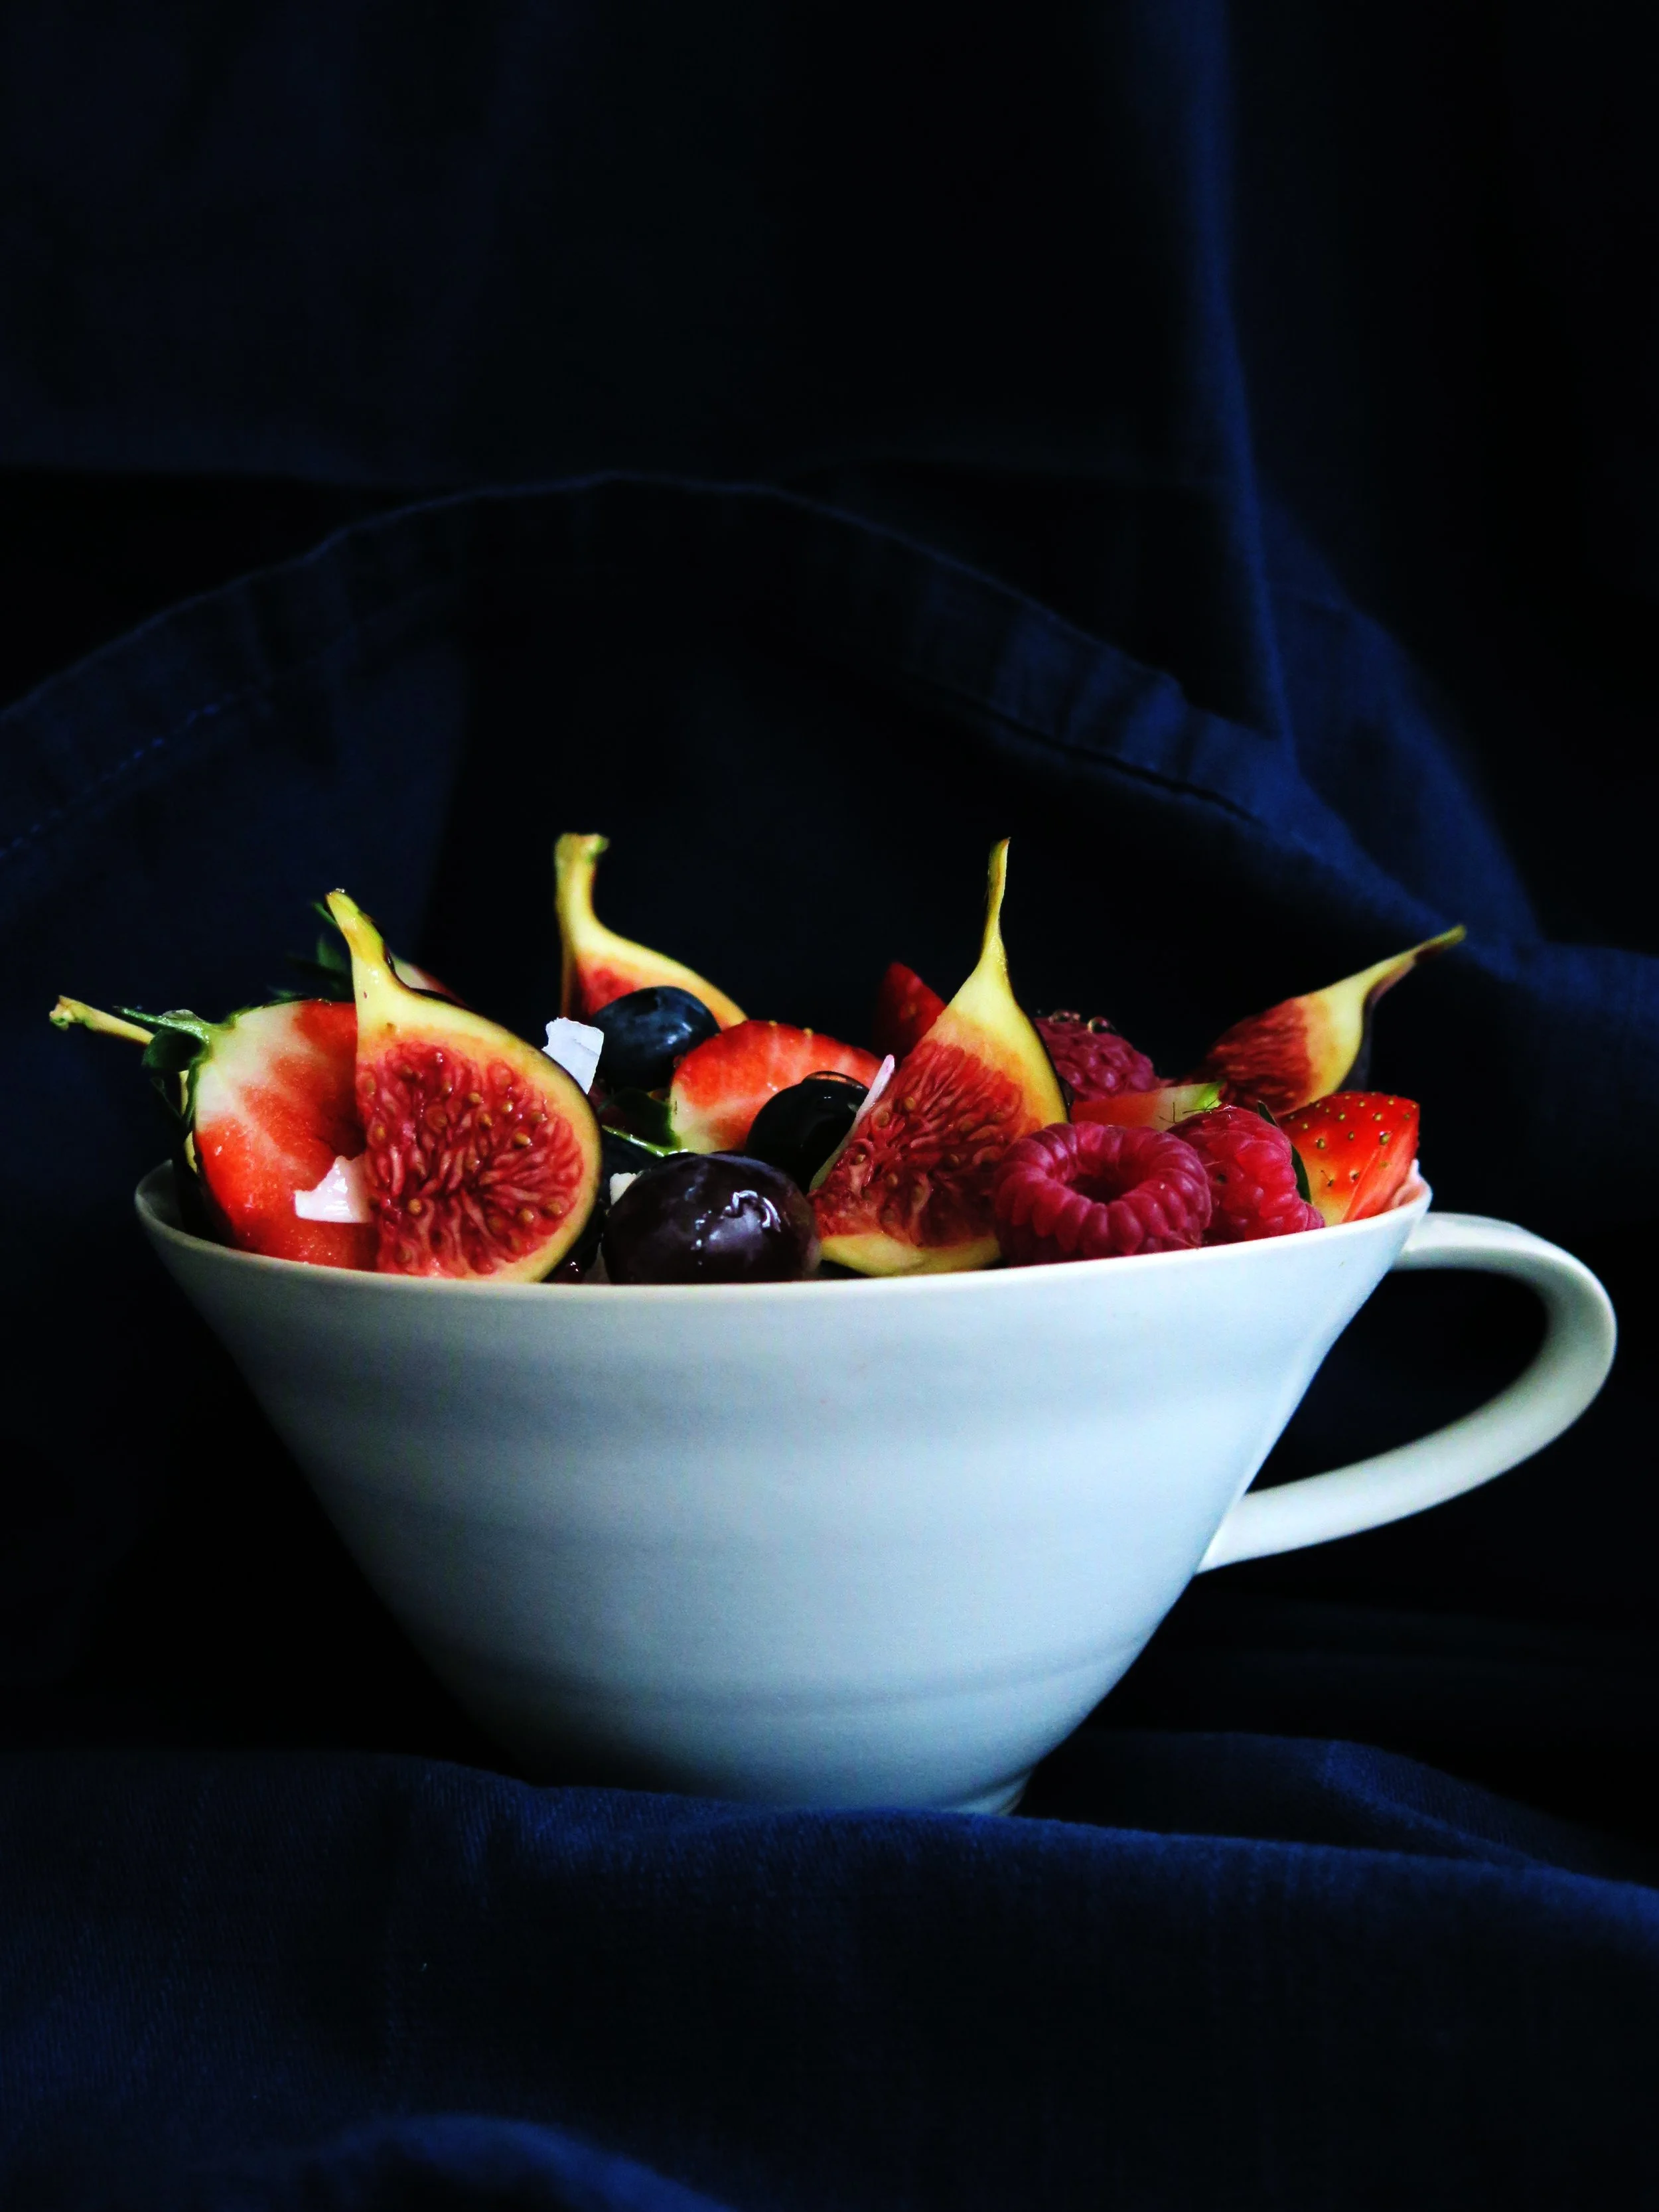
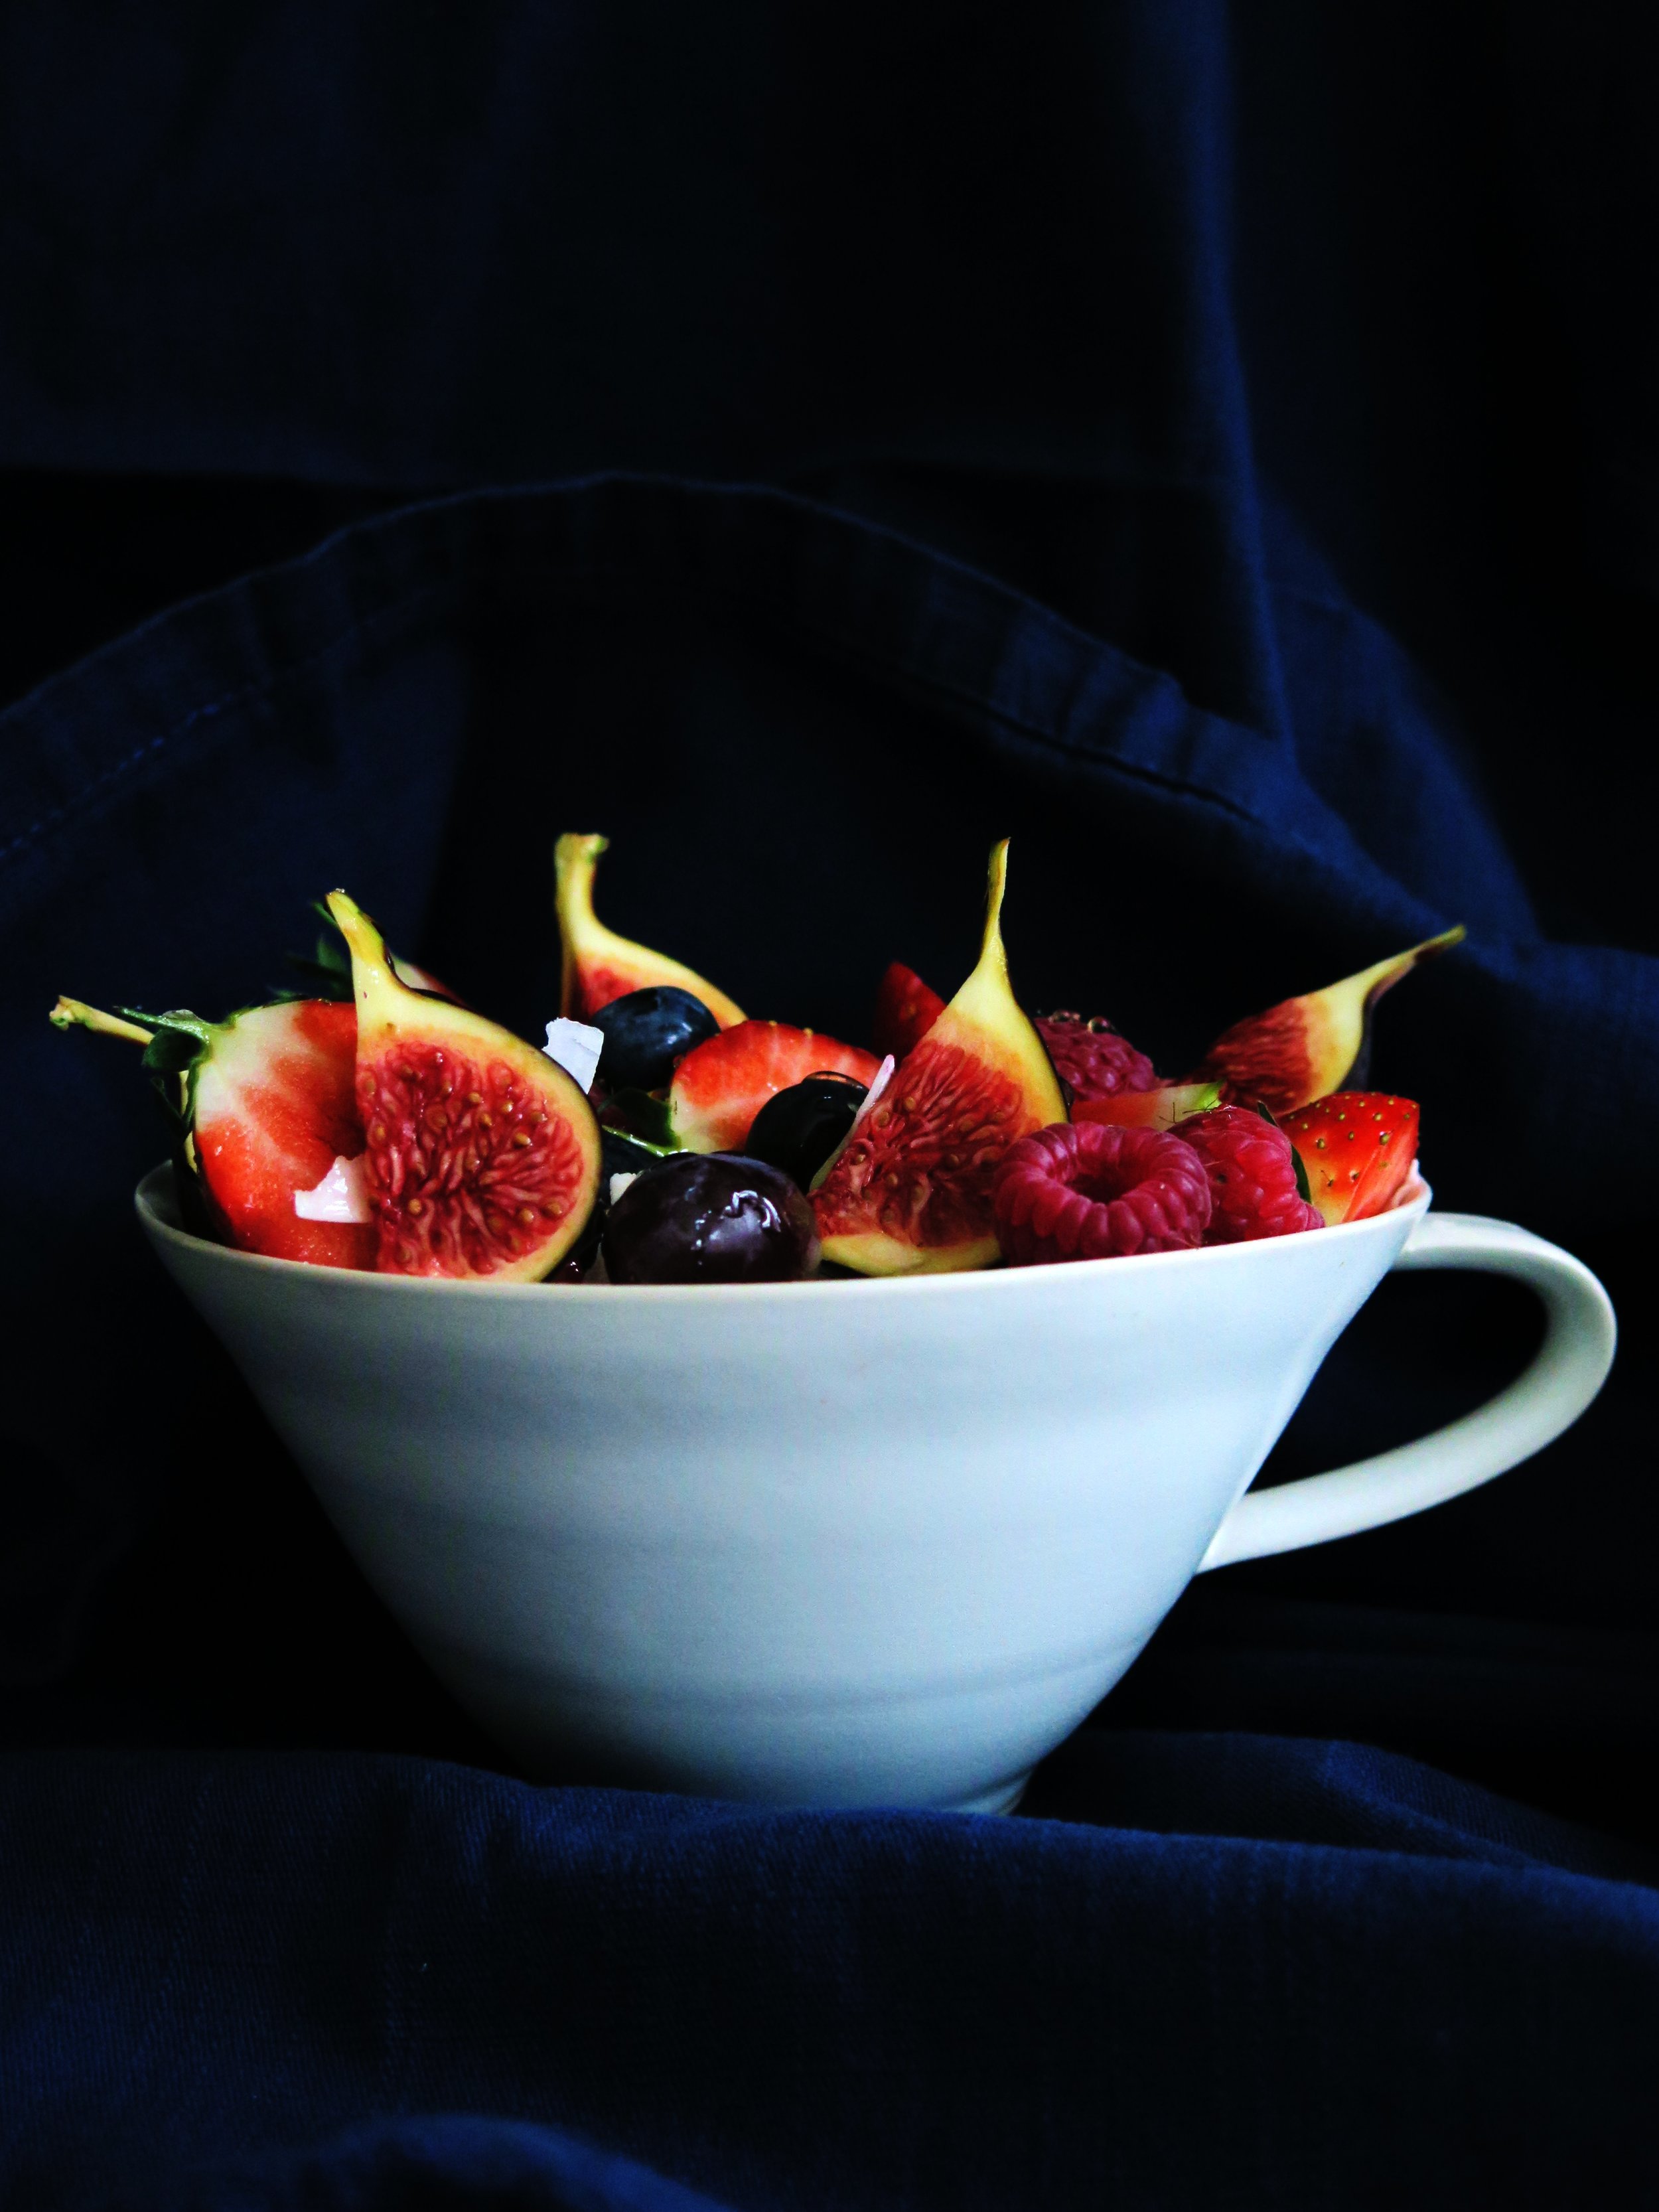
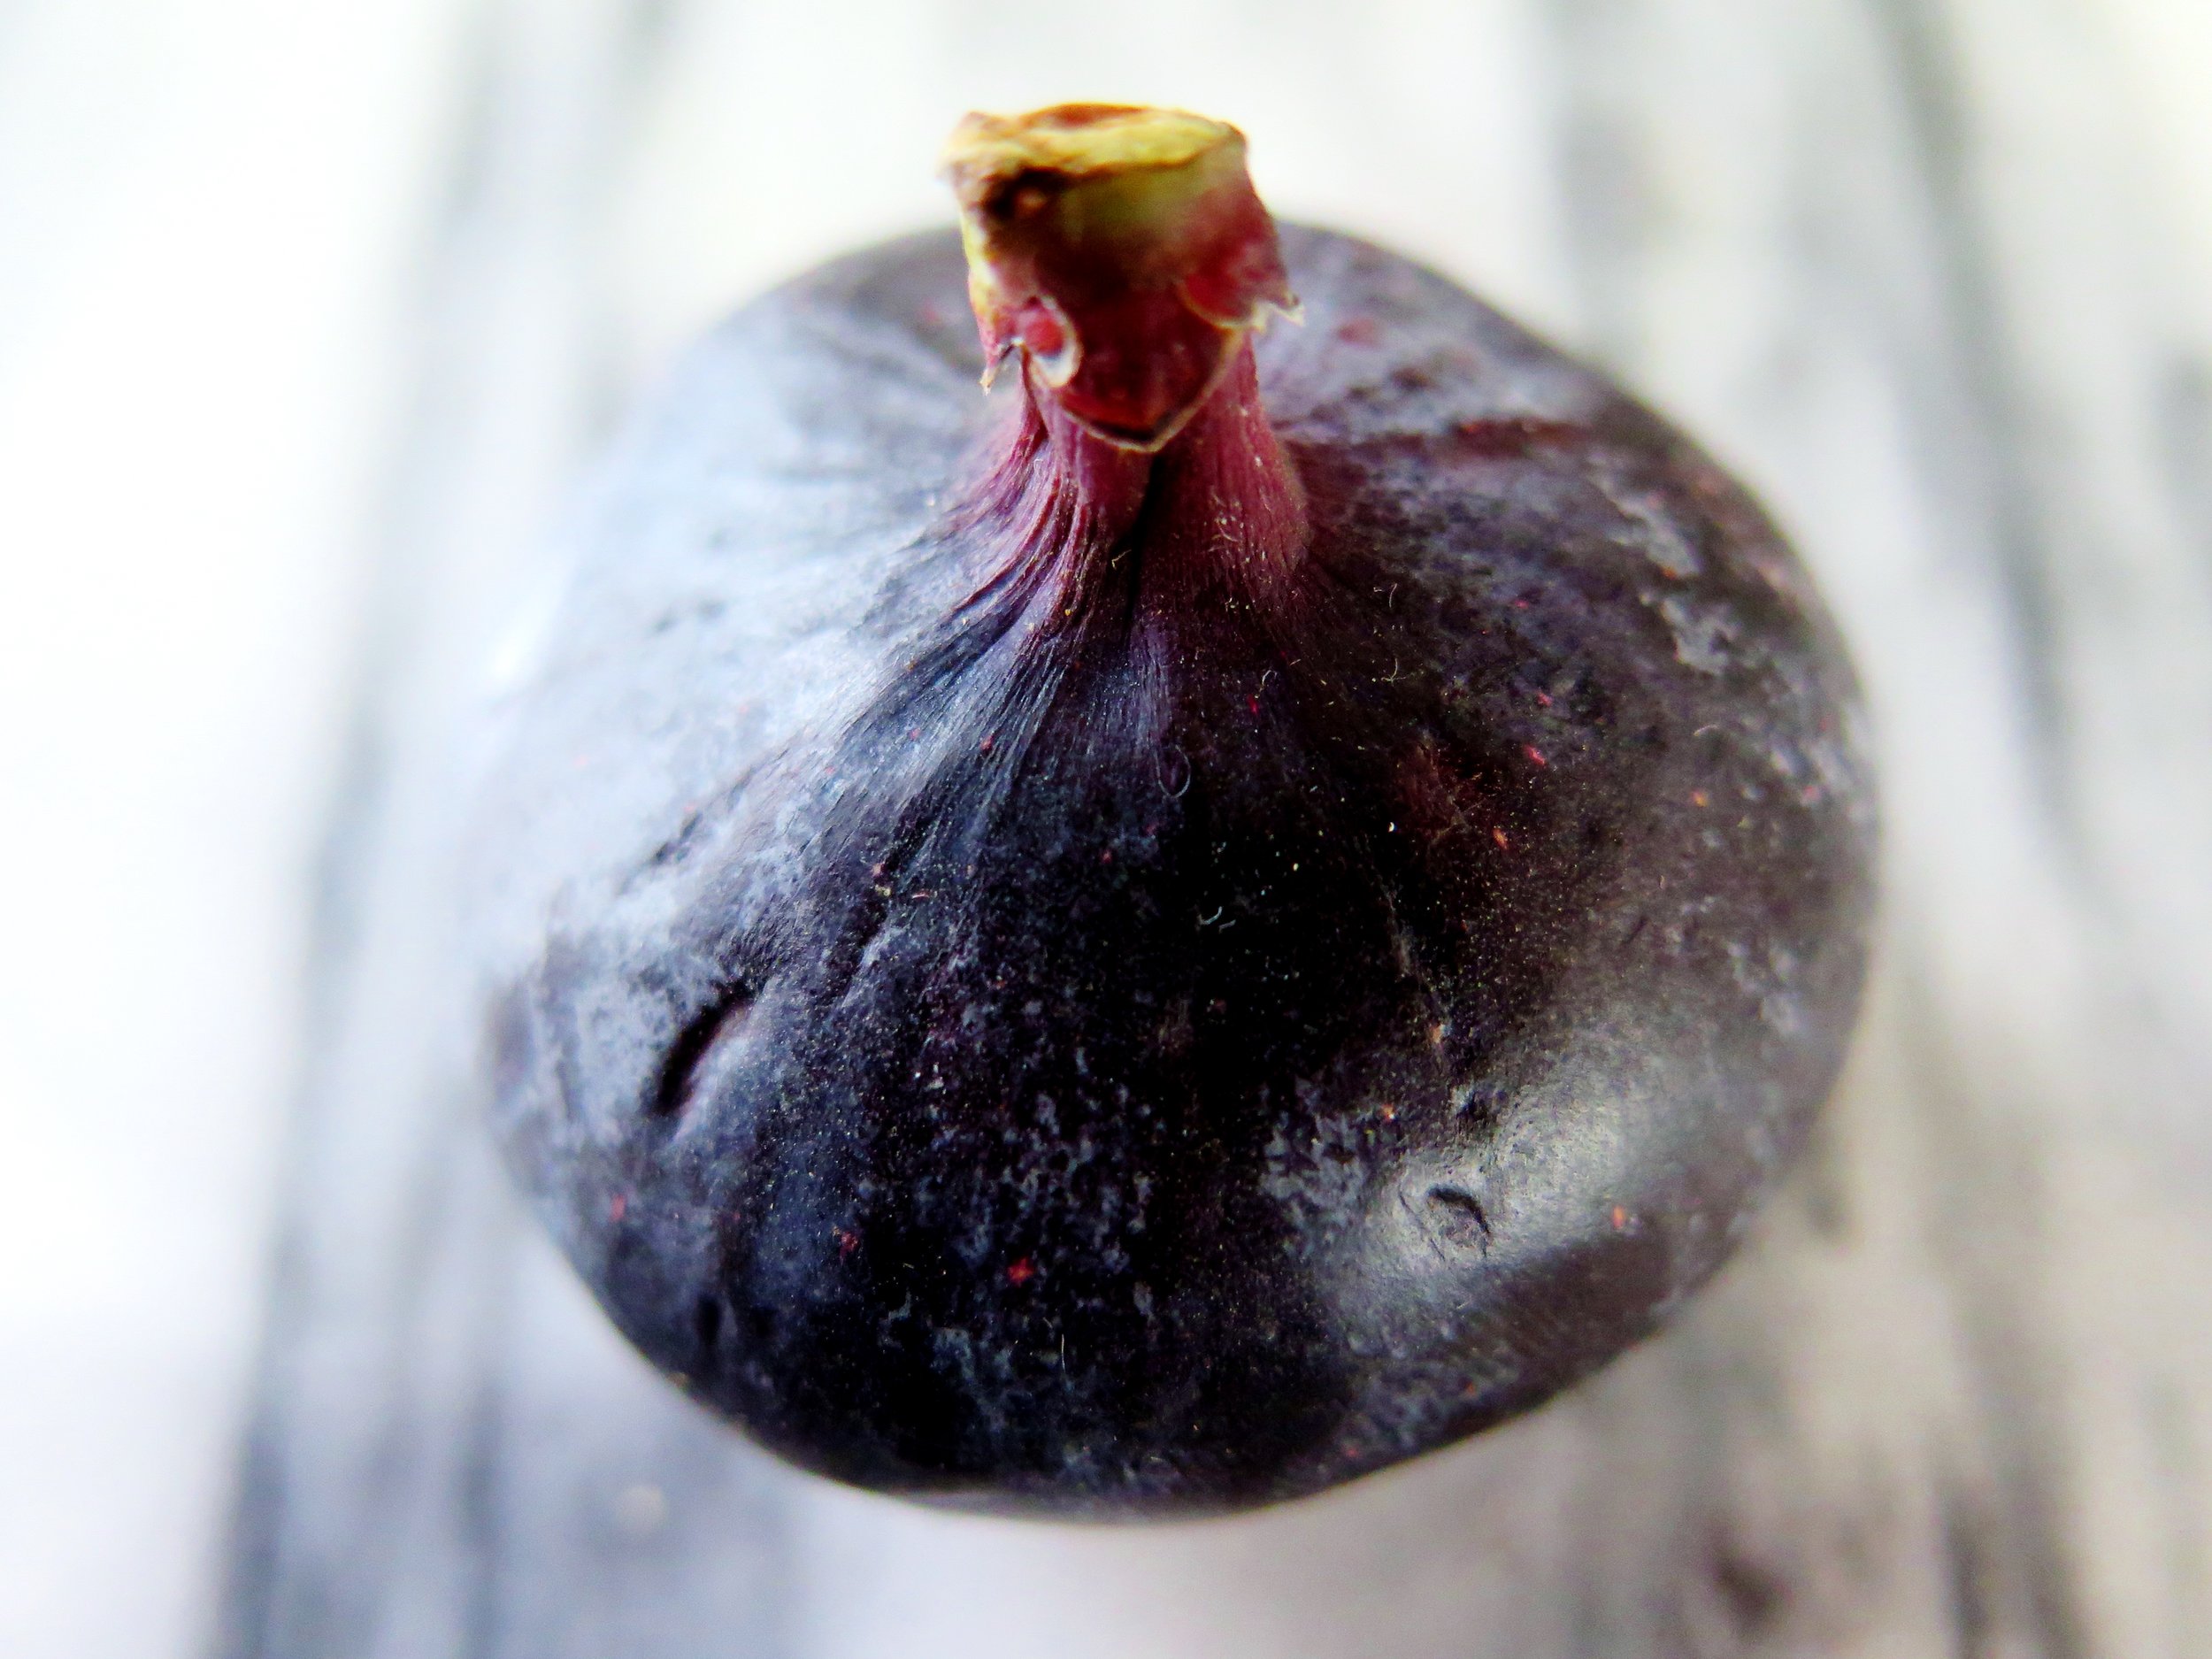
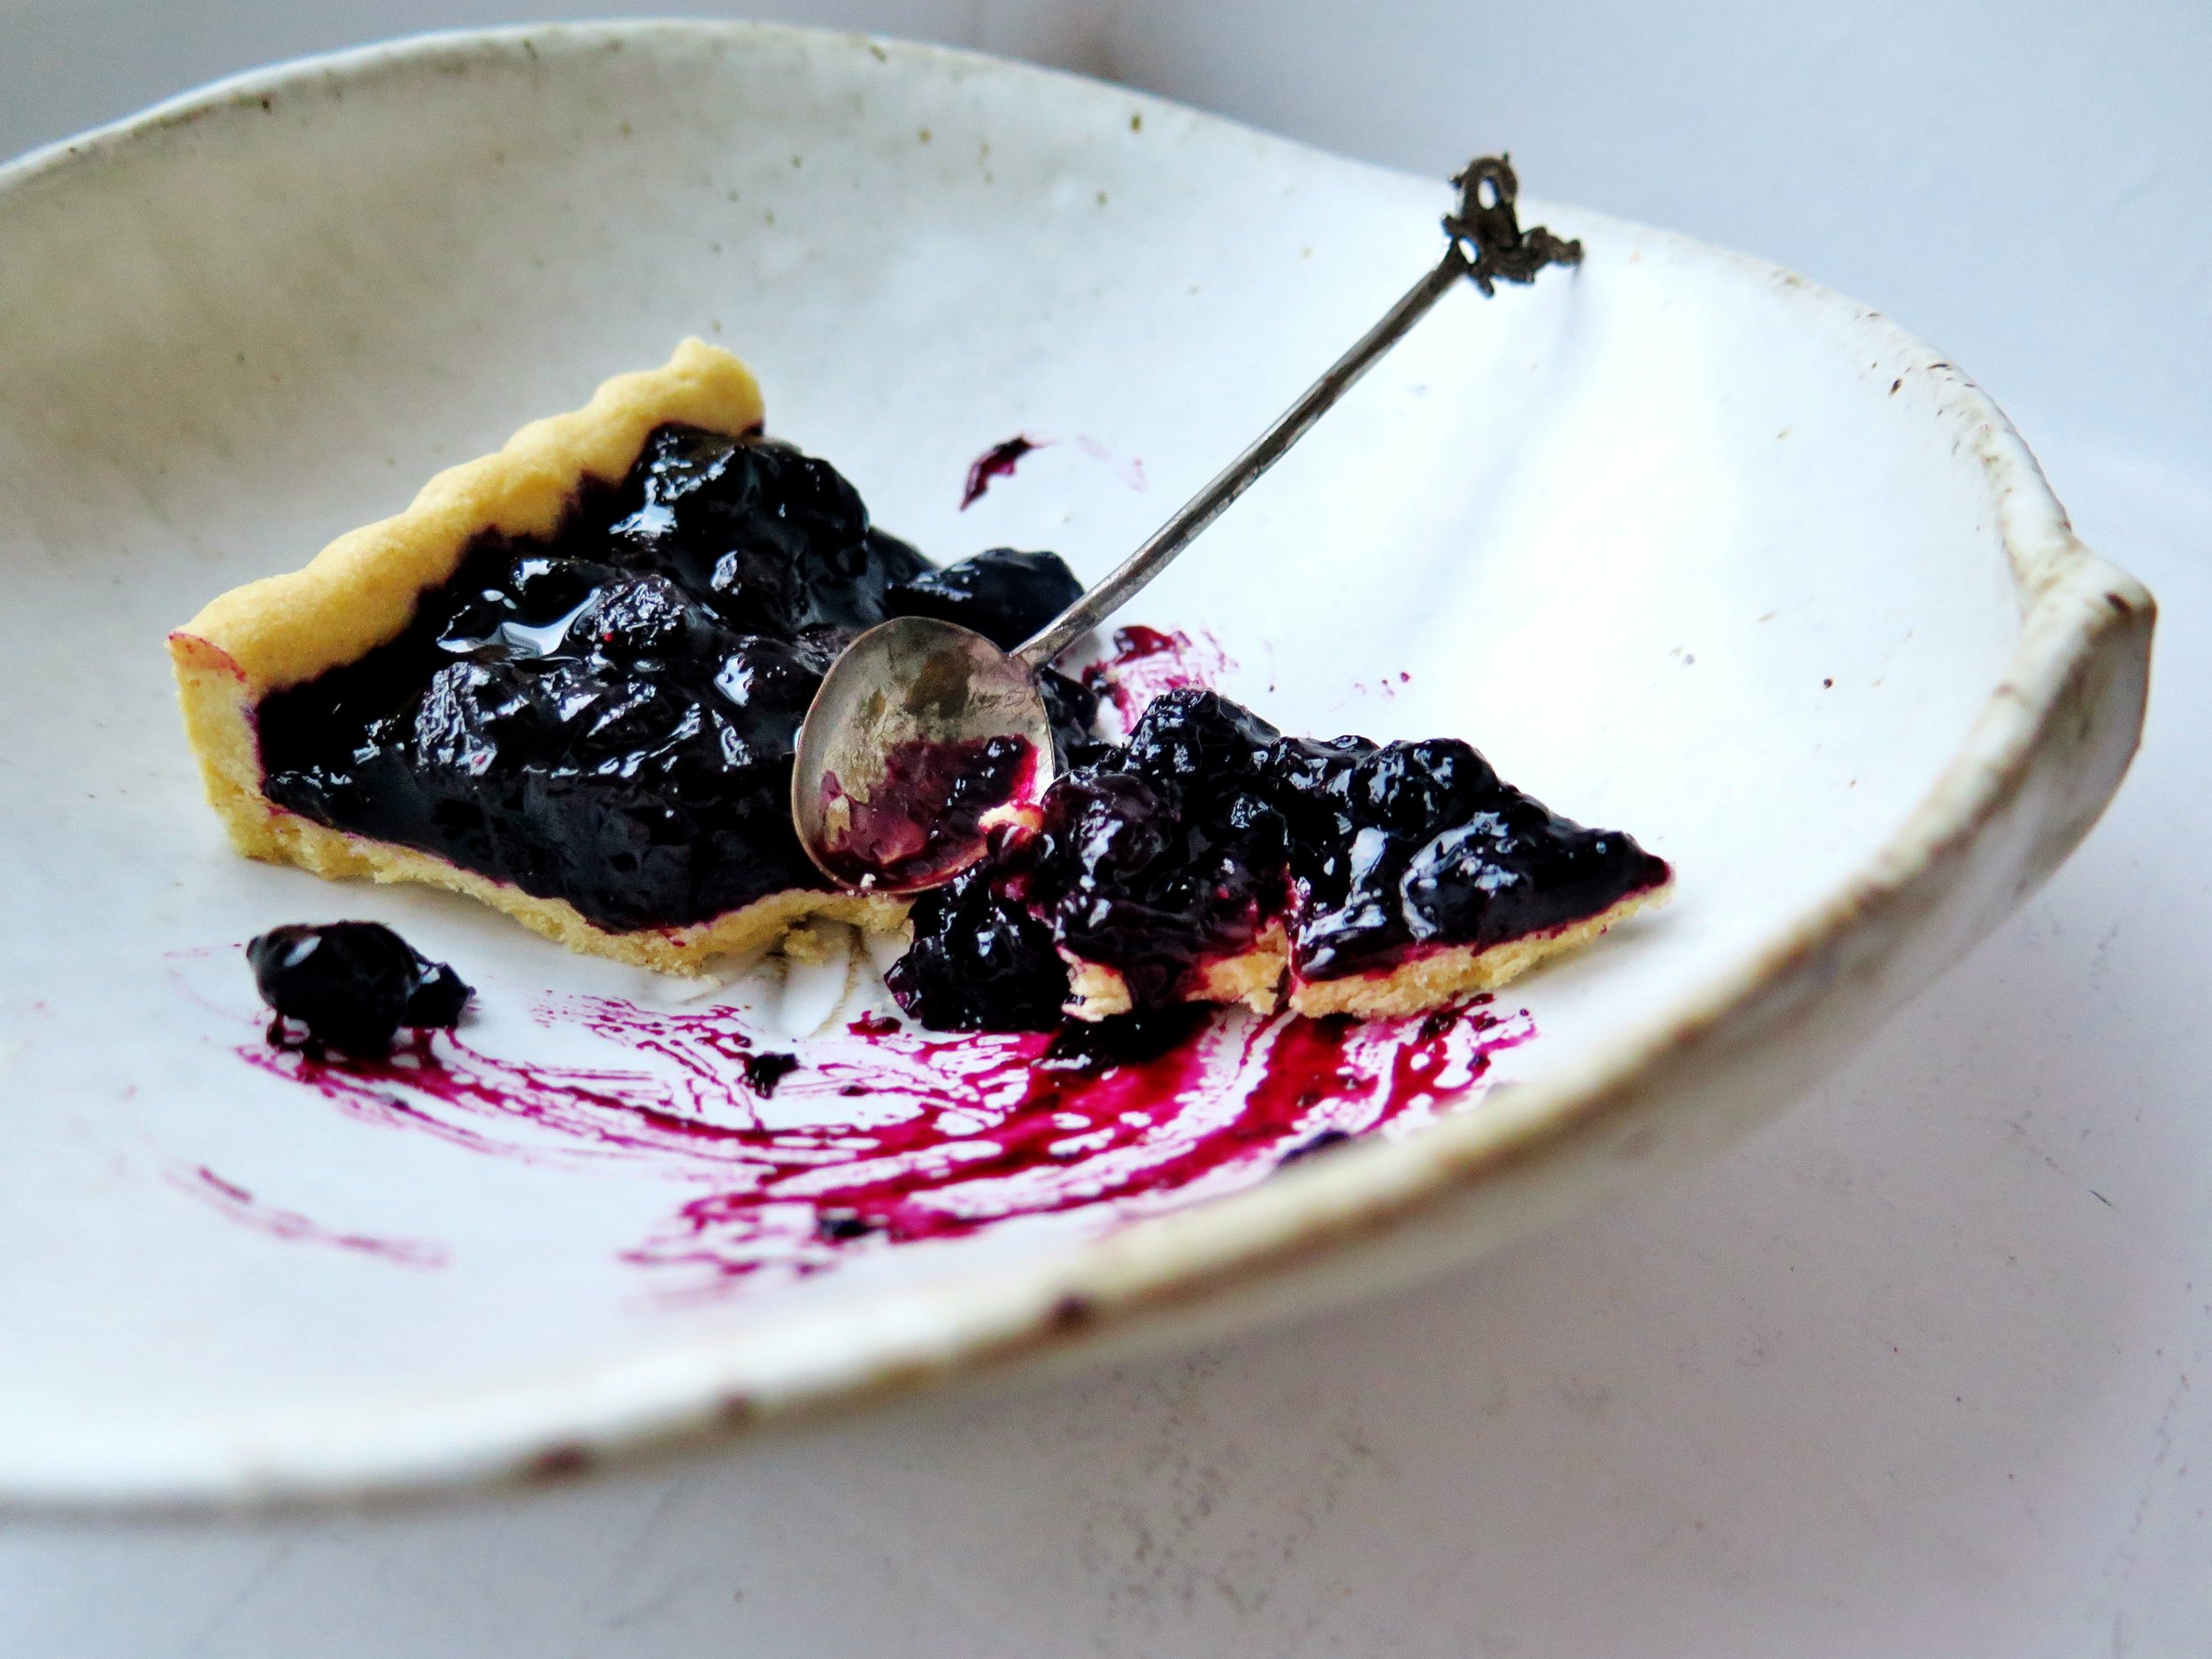
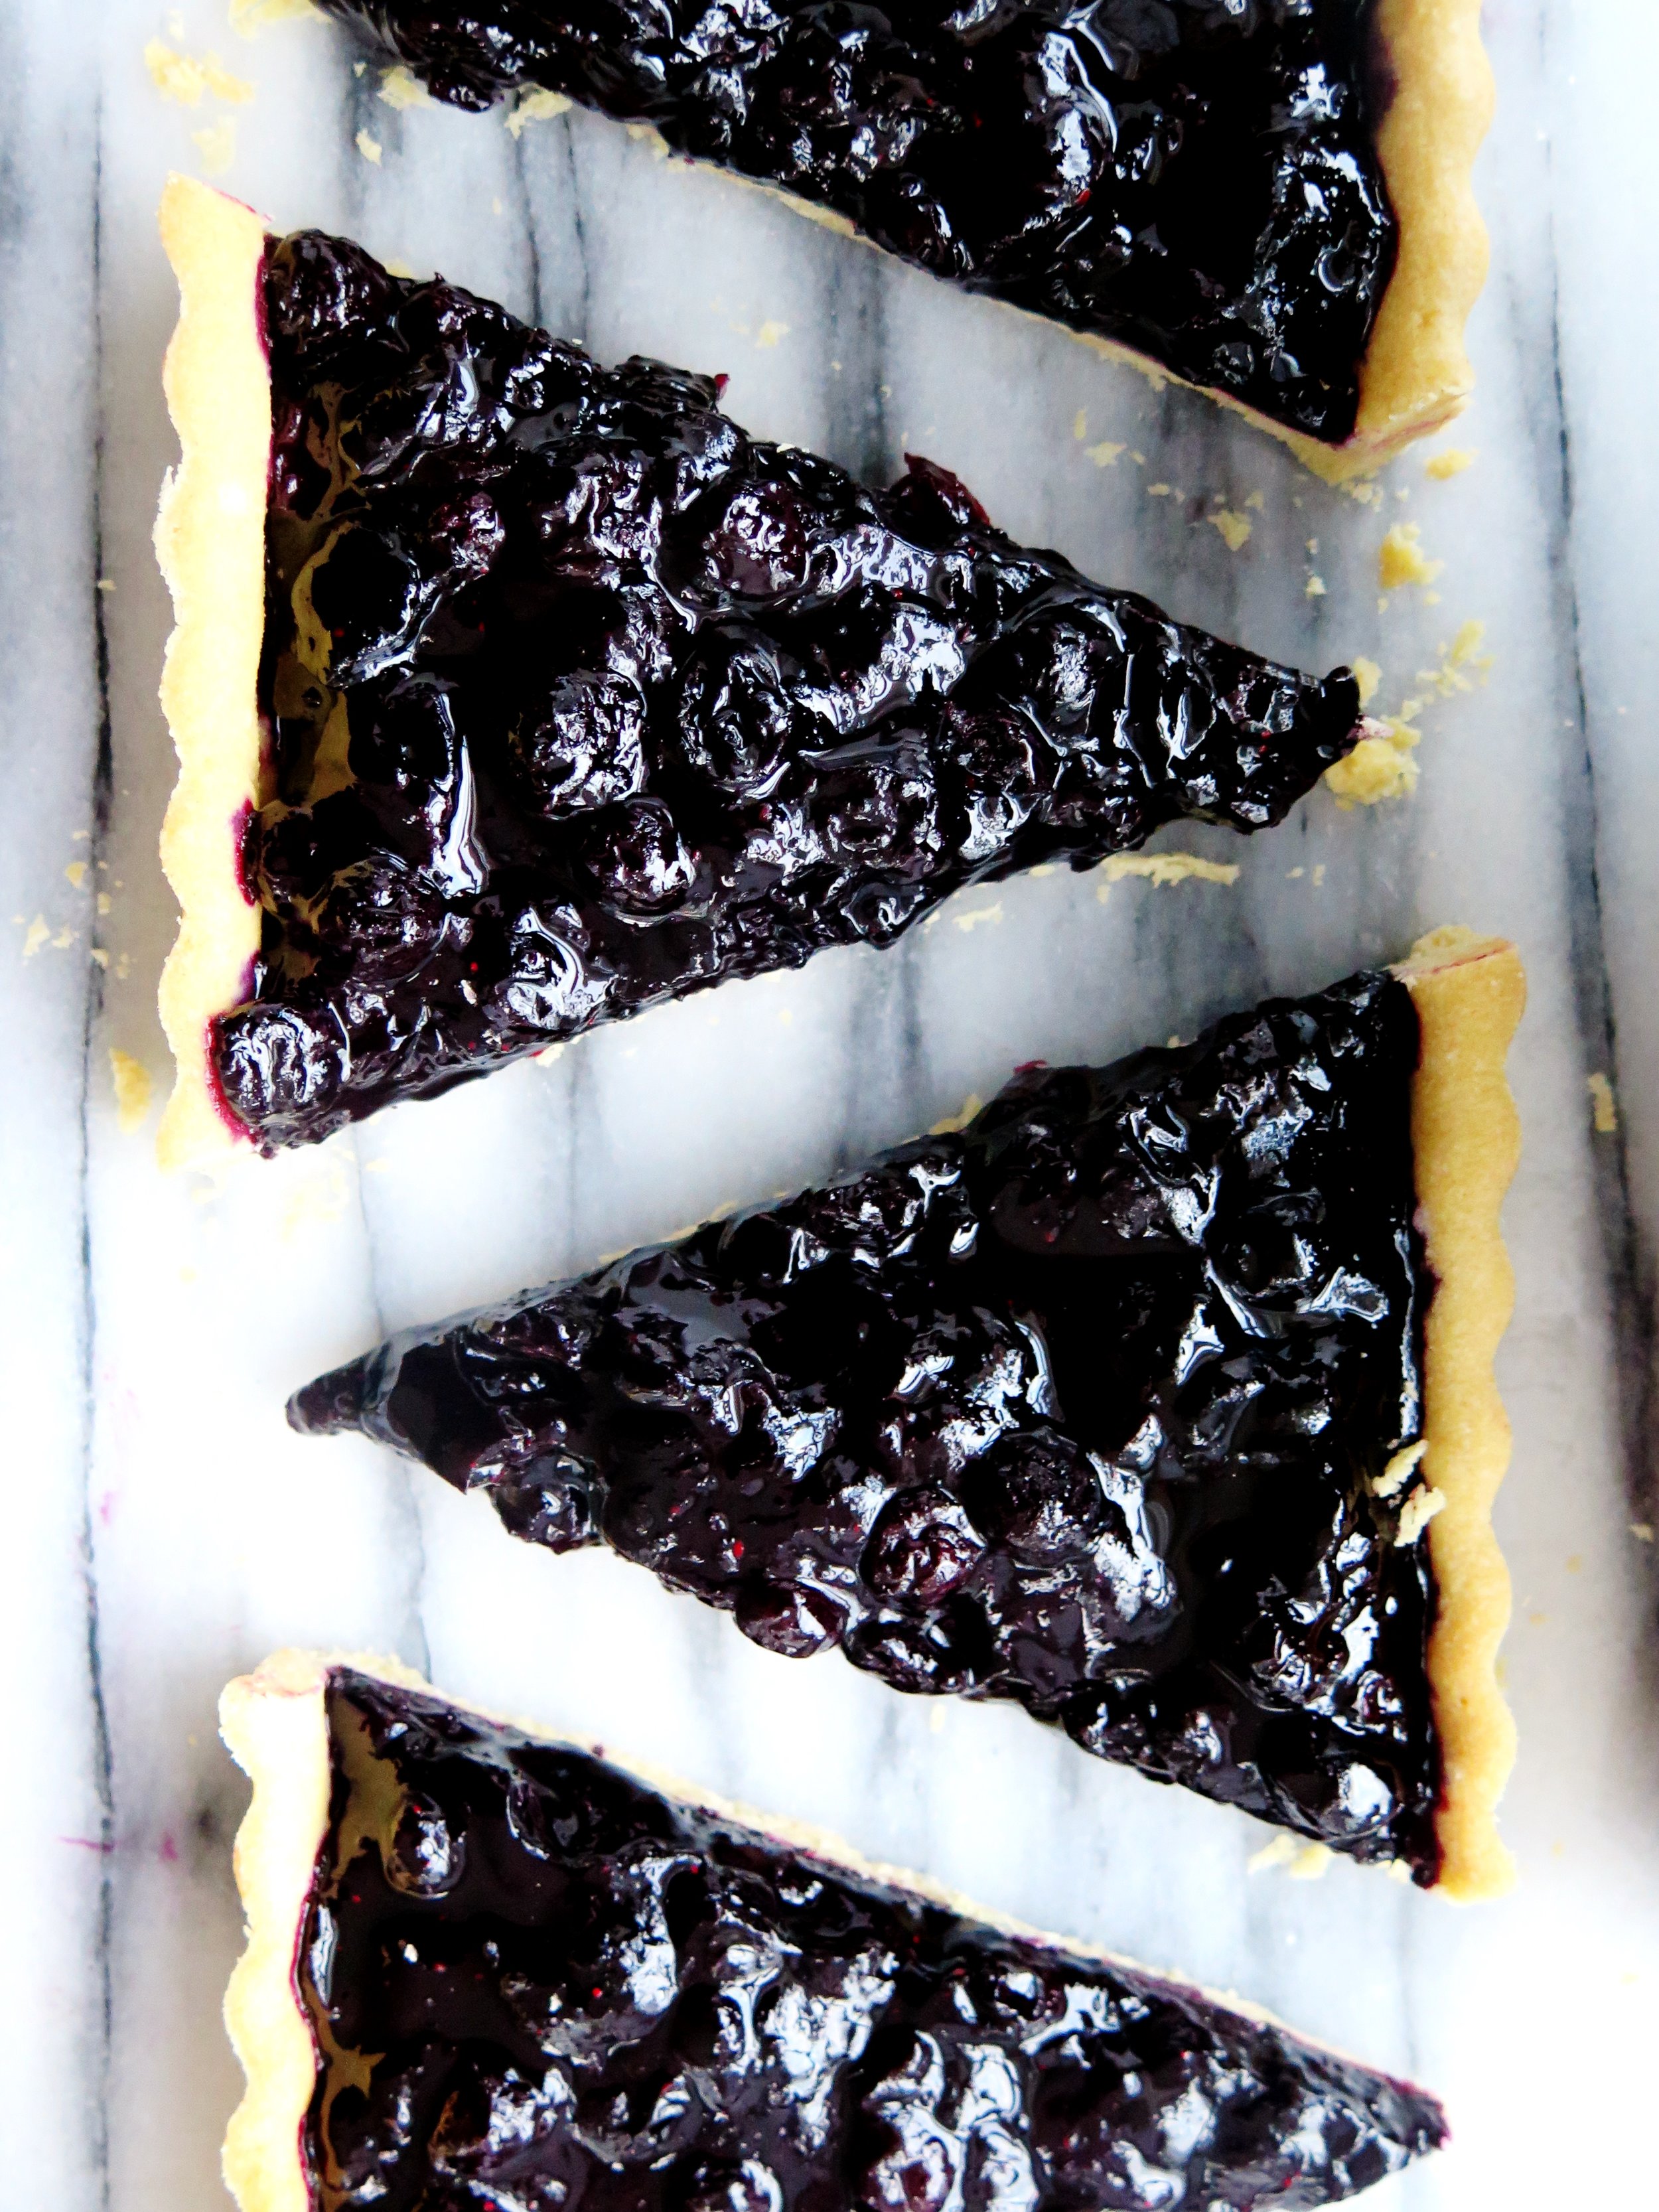
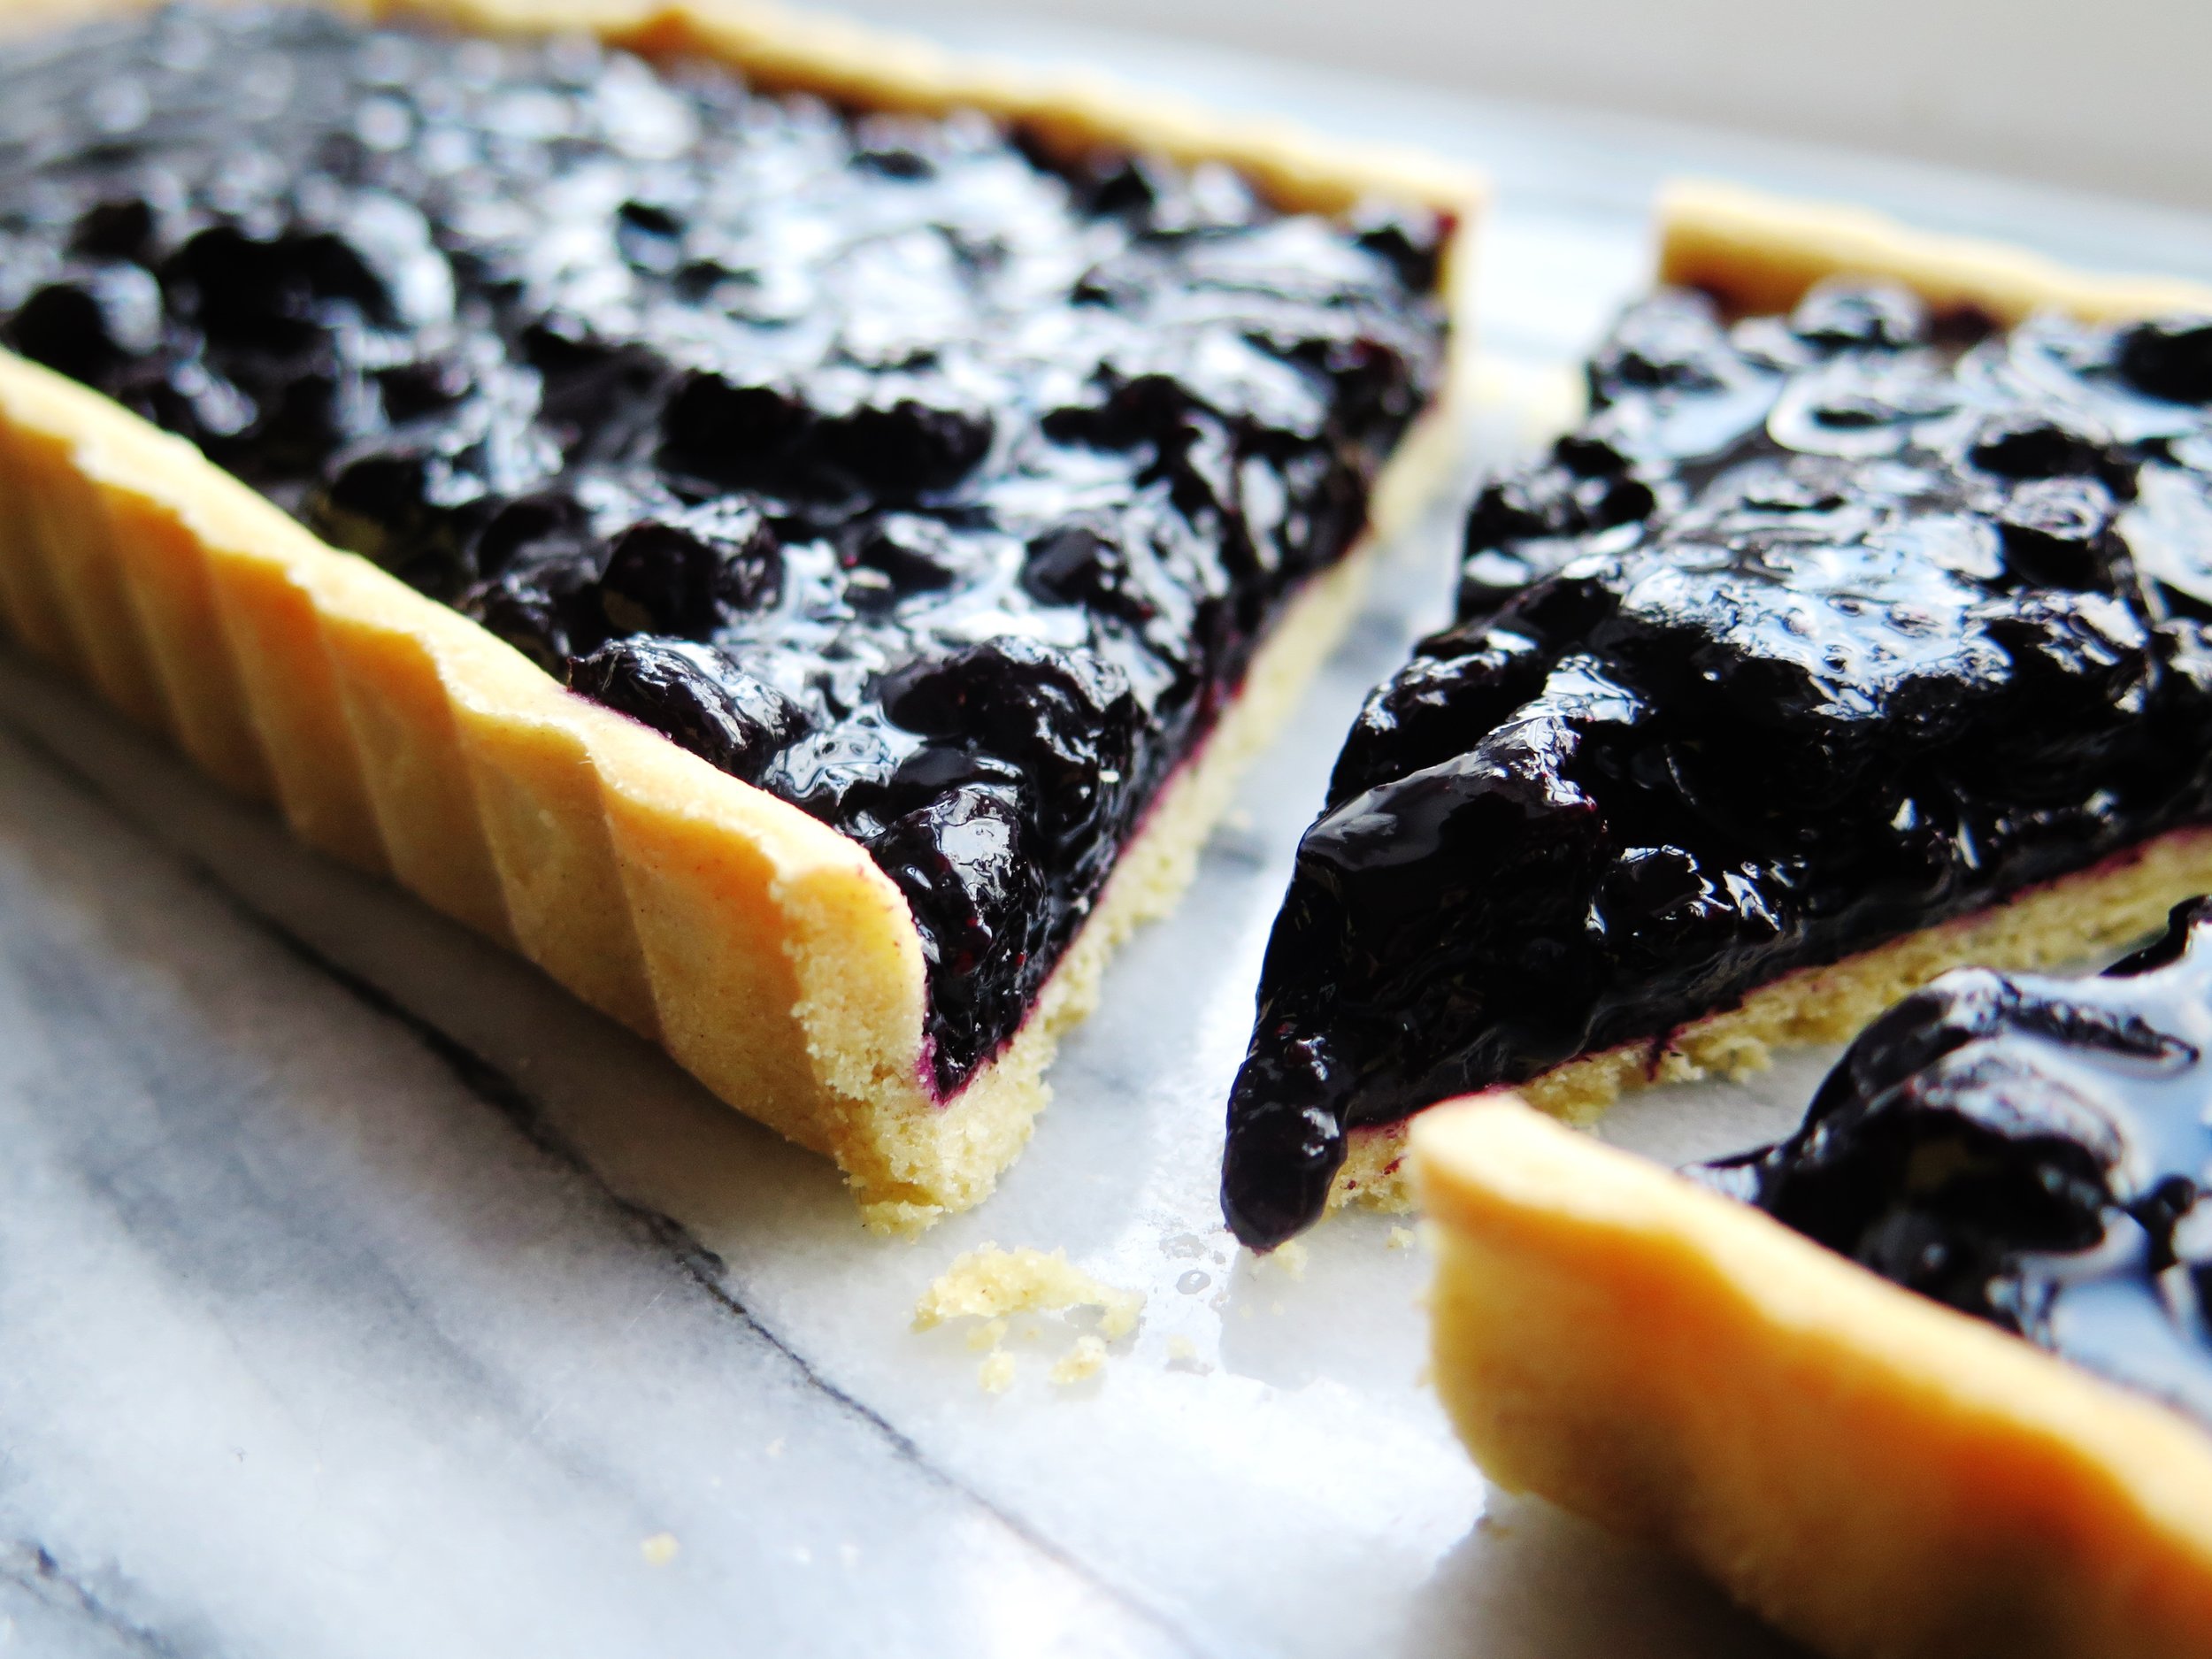
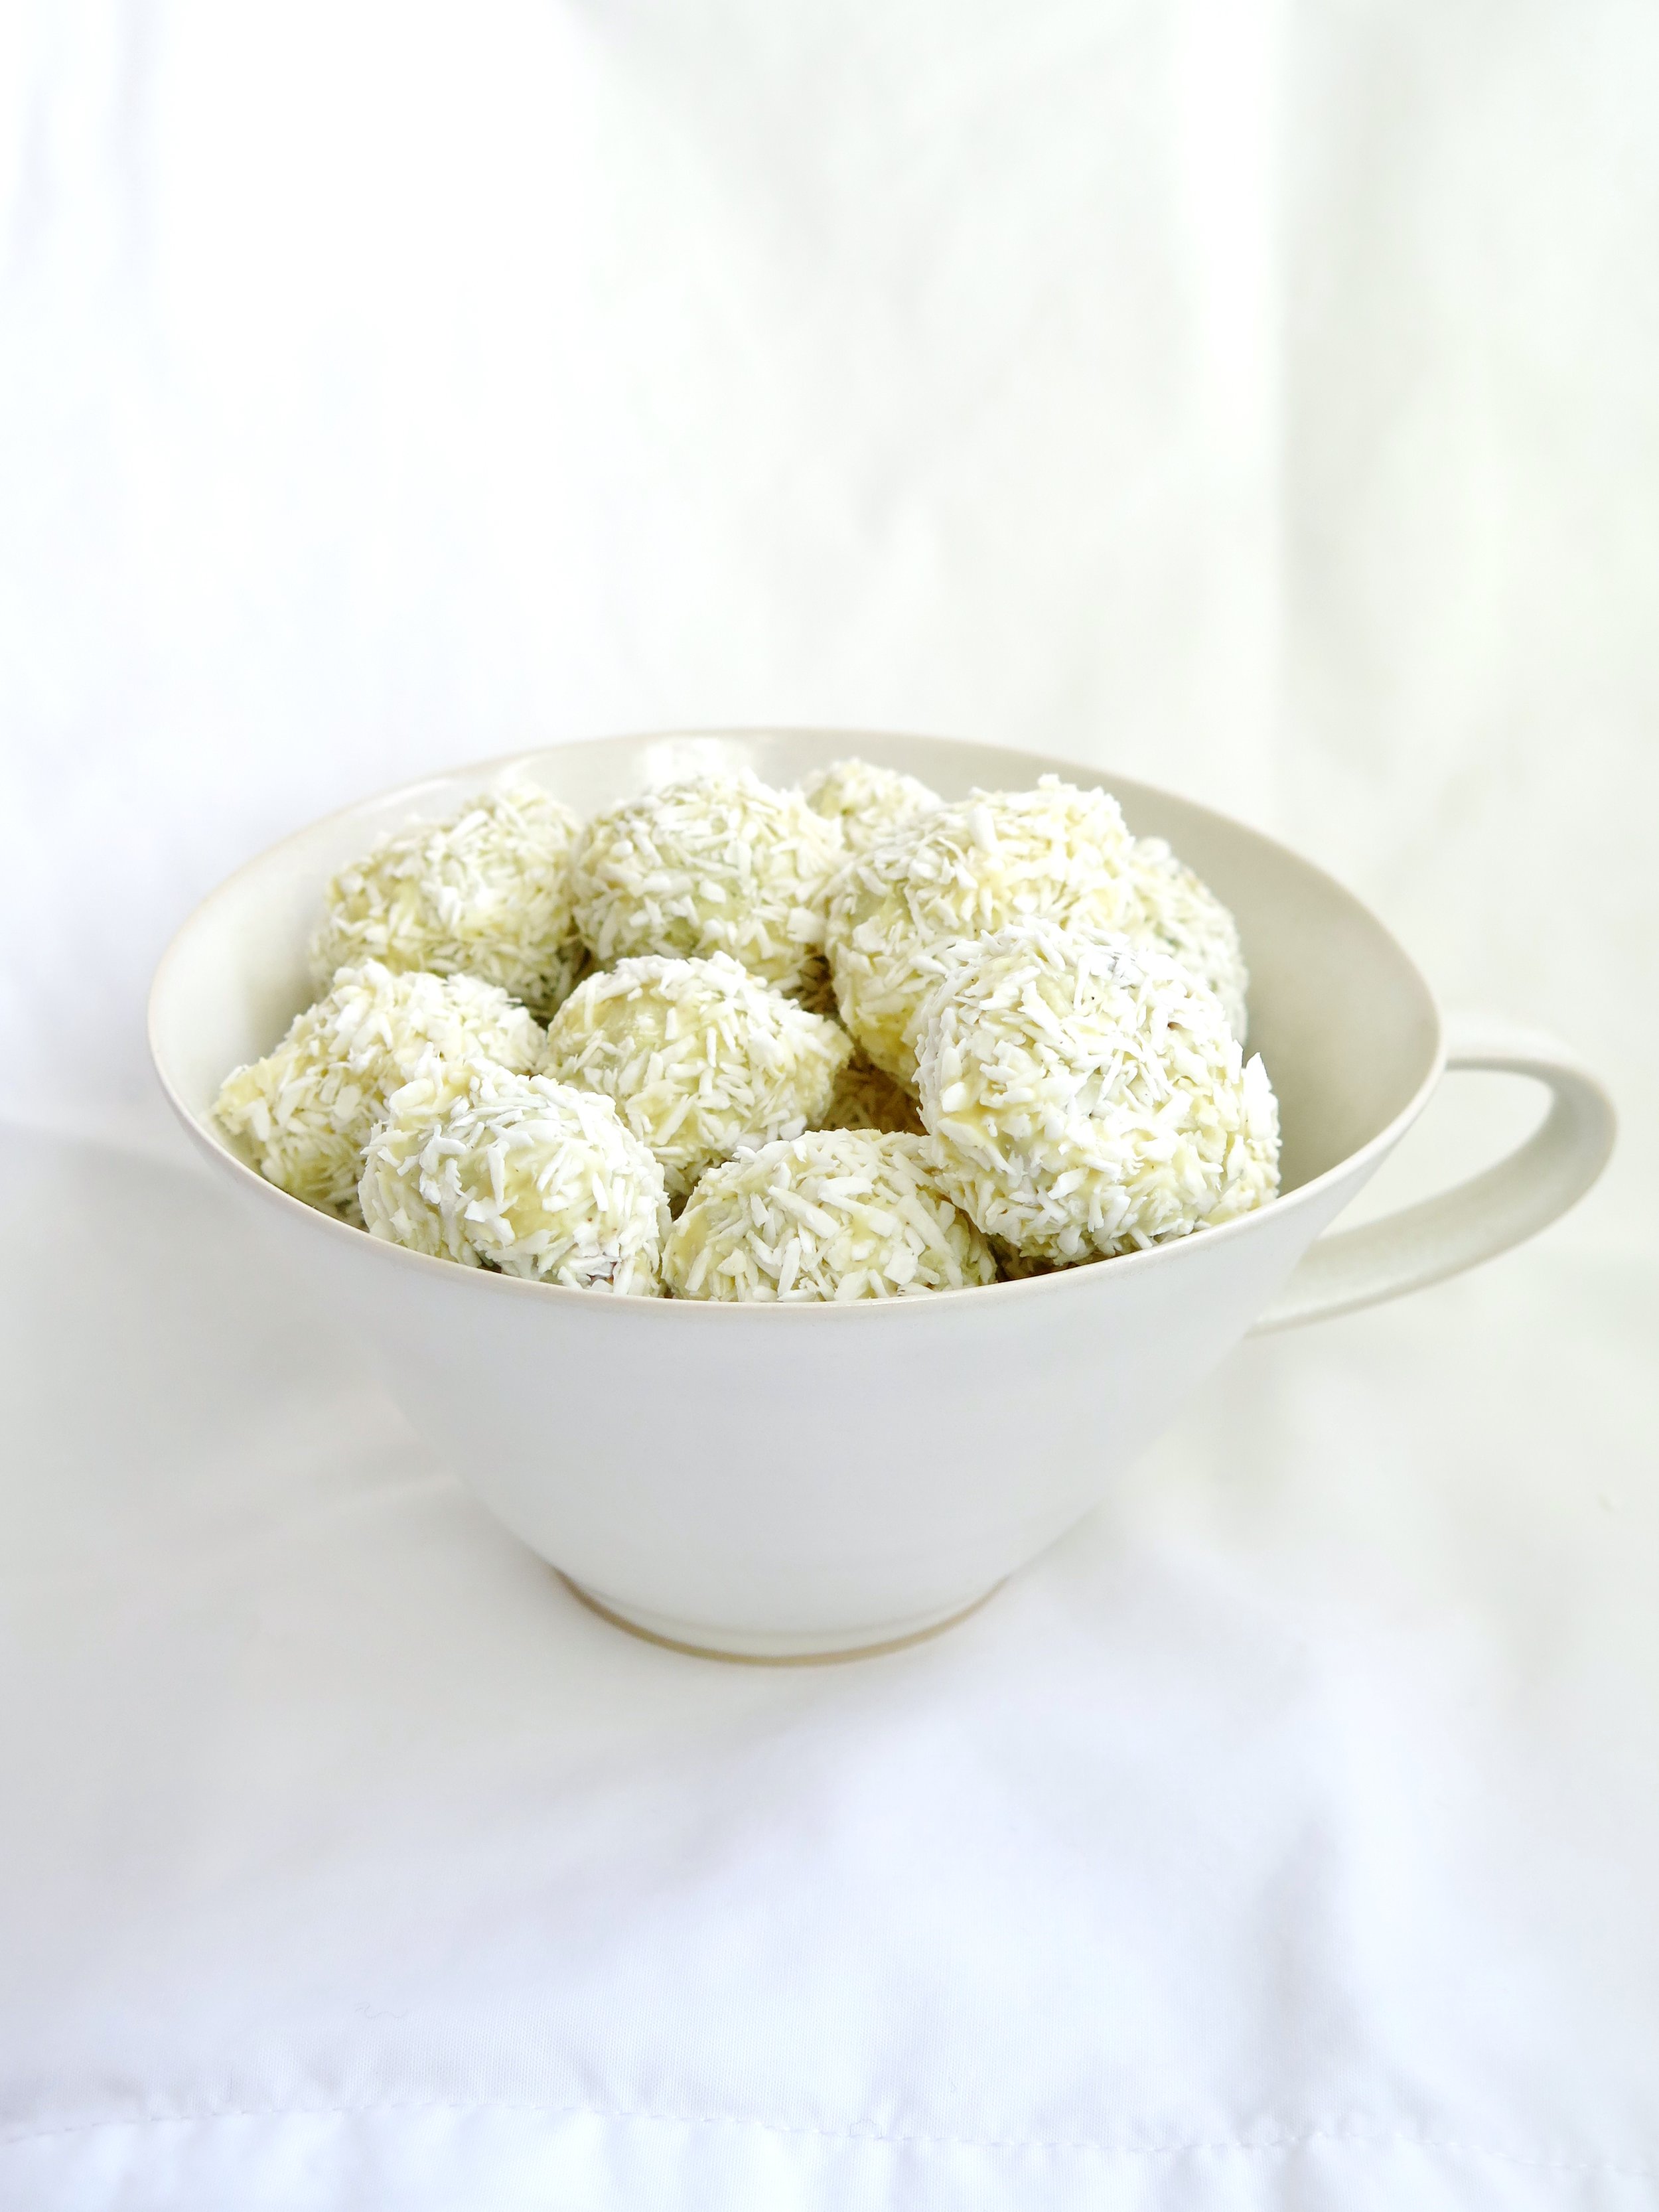
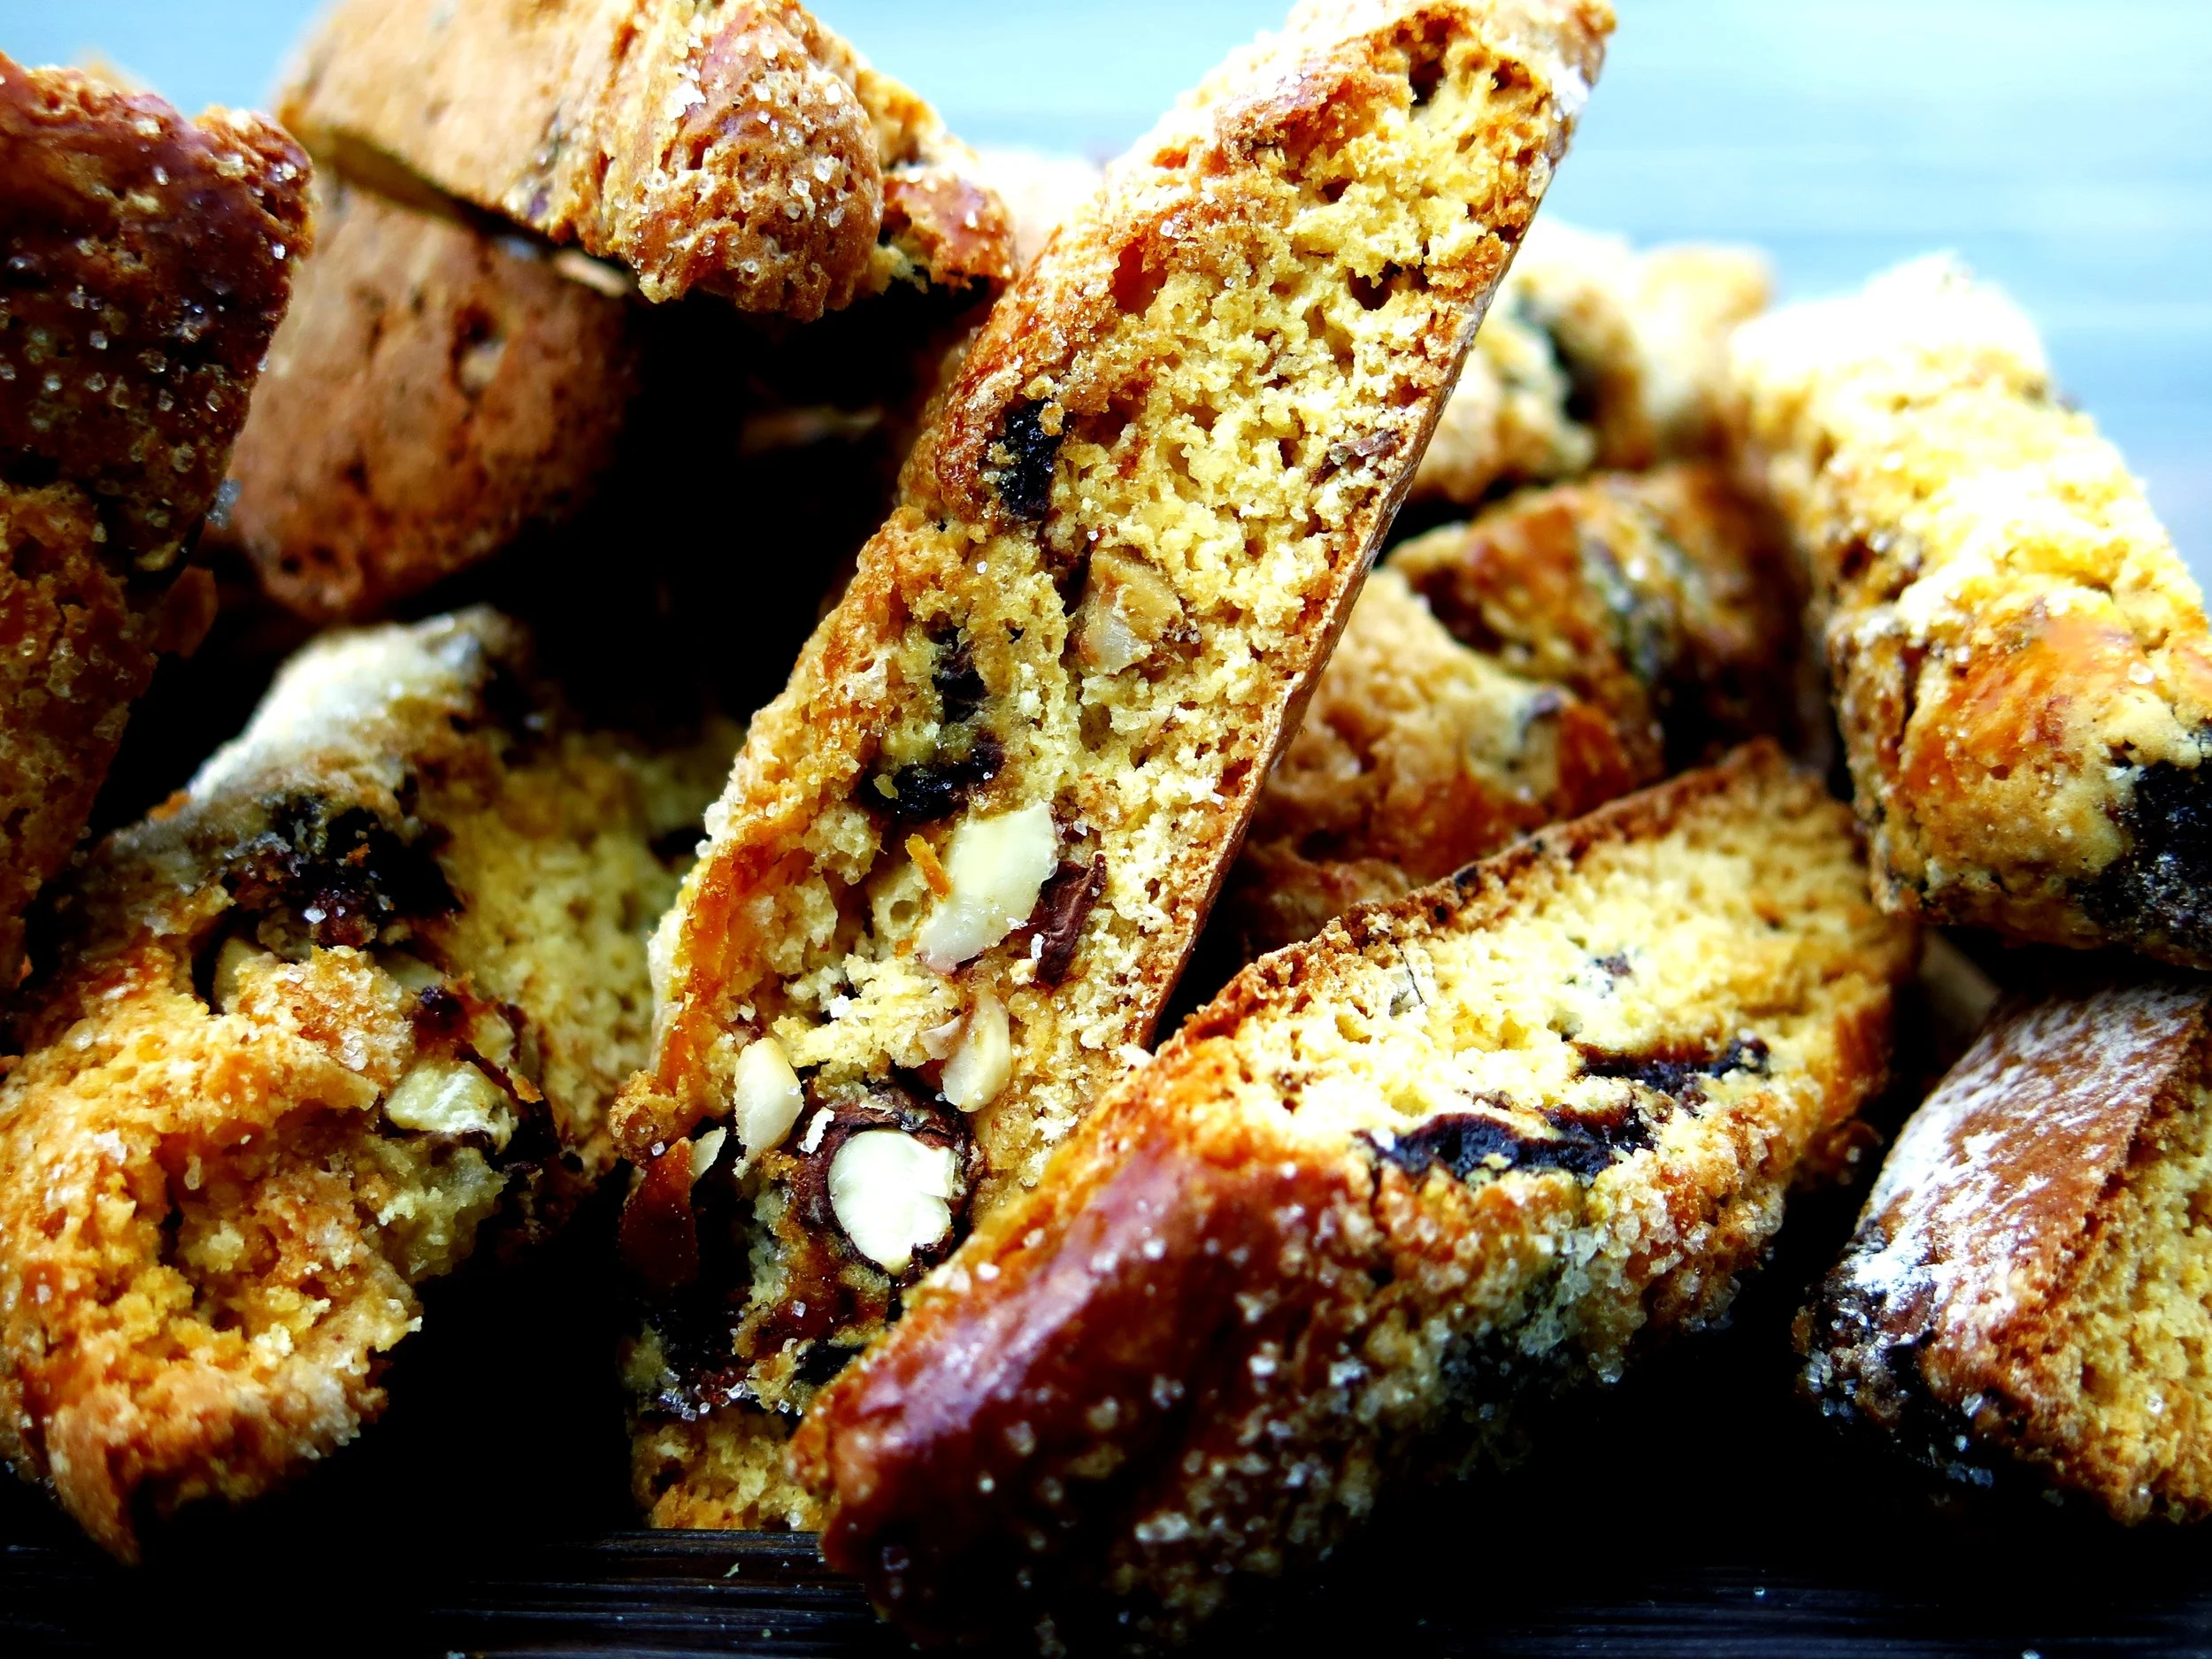
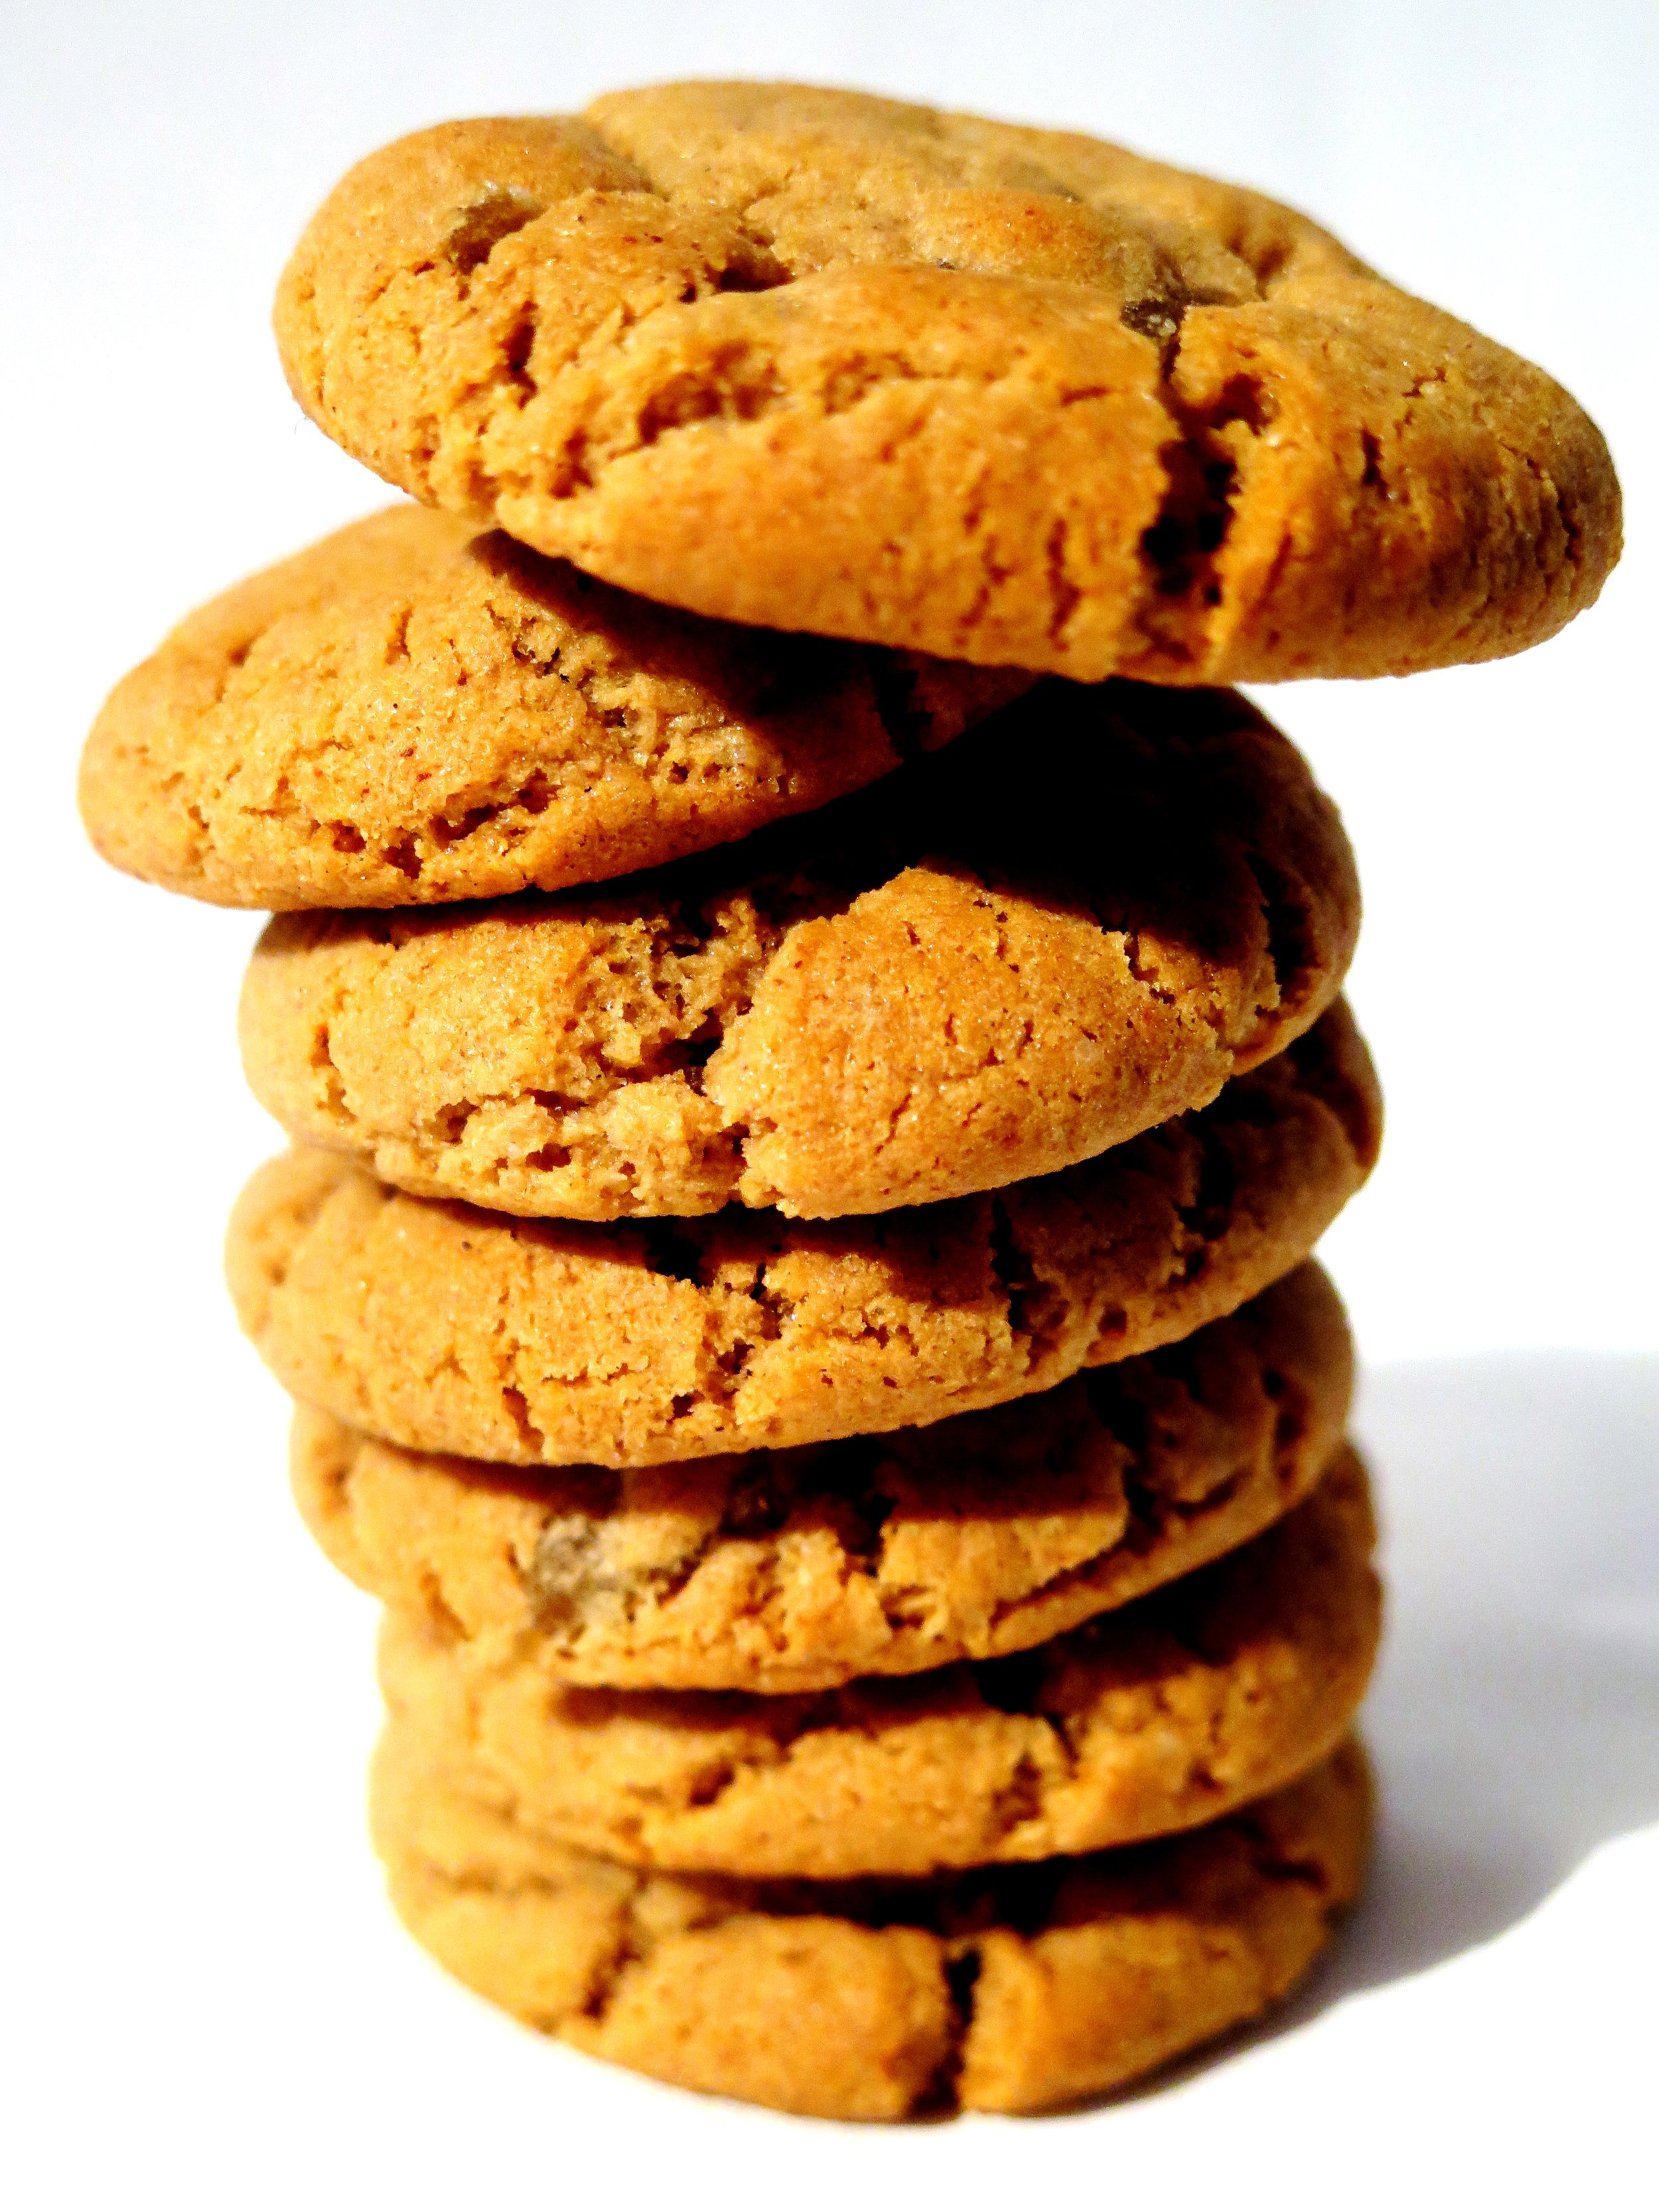
According to most newspapers, January should be the month of indulgence deprivation. With the weather cold, grey and bleak, we’re being told that now is the time to eliminate everything that affords even a hint of pleasure. I admit that it may be time for me to cut down on the panettone habit: I caught myself tearing off fleecy chunks of the ambrosial, yellow, sultana-studded fluff and crowding my mouth until it overflowed. 

Mini chocolate & raspberry meringue

My brother actually created a time-saving method which anticipated the bolus of food that would develop in the gullet by compressing the panettone in his hands first before devouring. I was impressed.

Mini chocolate & raspberry meringue

Fortunately, but lamentably, my mother prevented me from importing from Italy to England the 5 kg of panettone that I’d bought (with the pretence of giving as gifts). To cope with the withdrawal symptoms, I made these instead.  

Mini chocolate & raspberry meringue

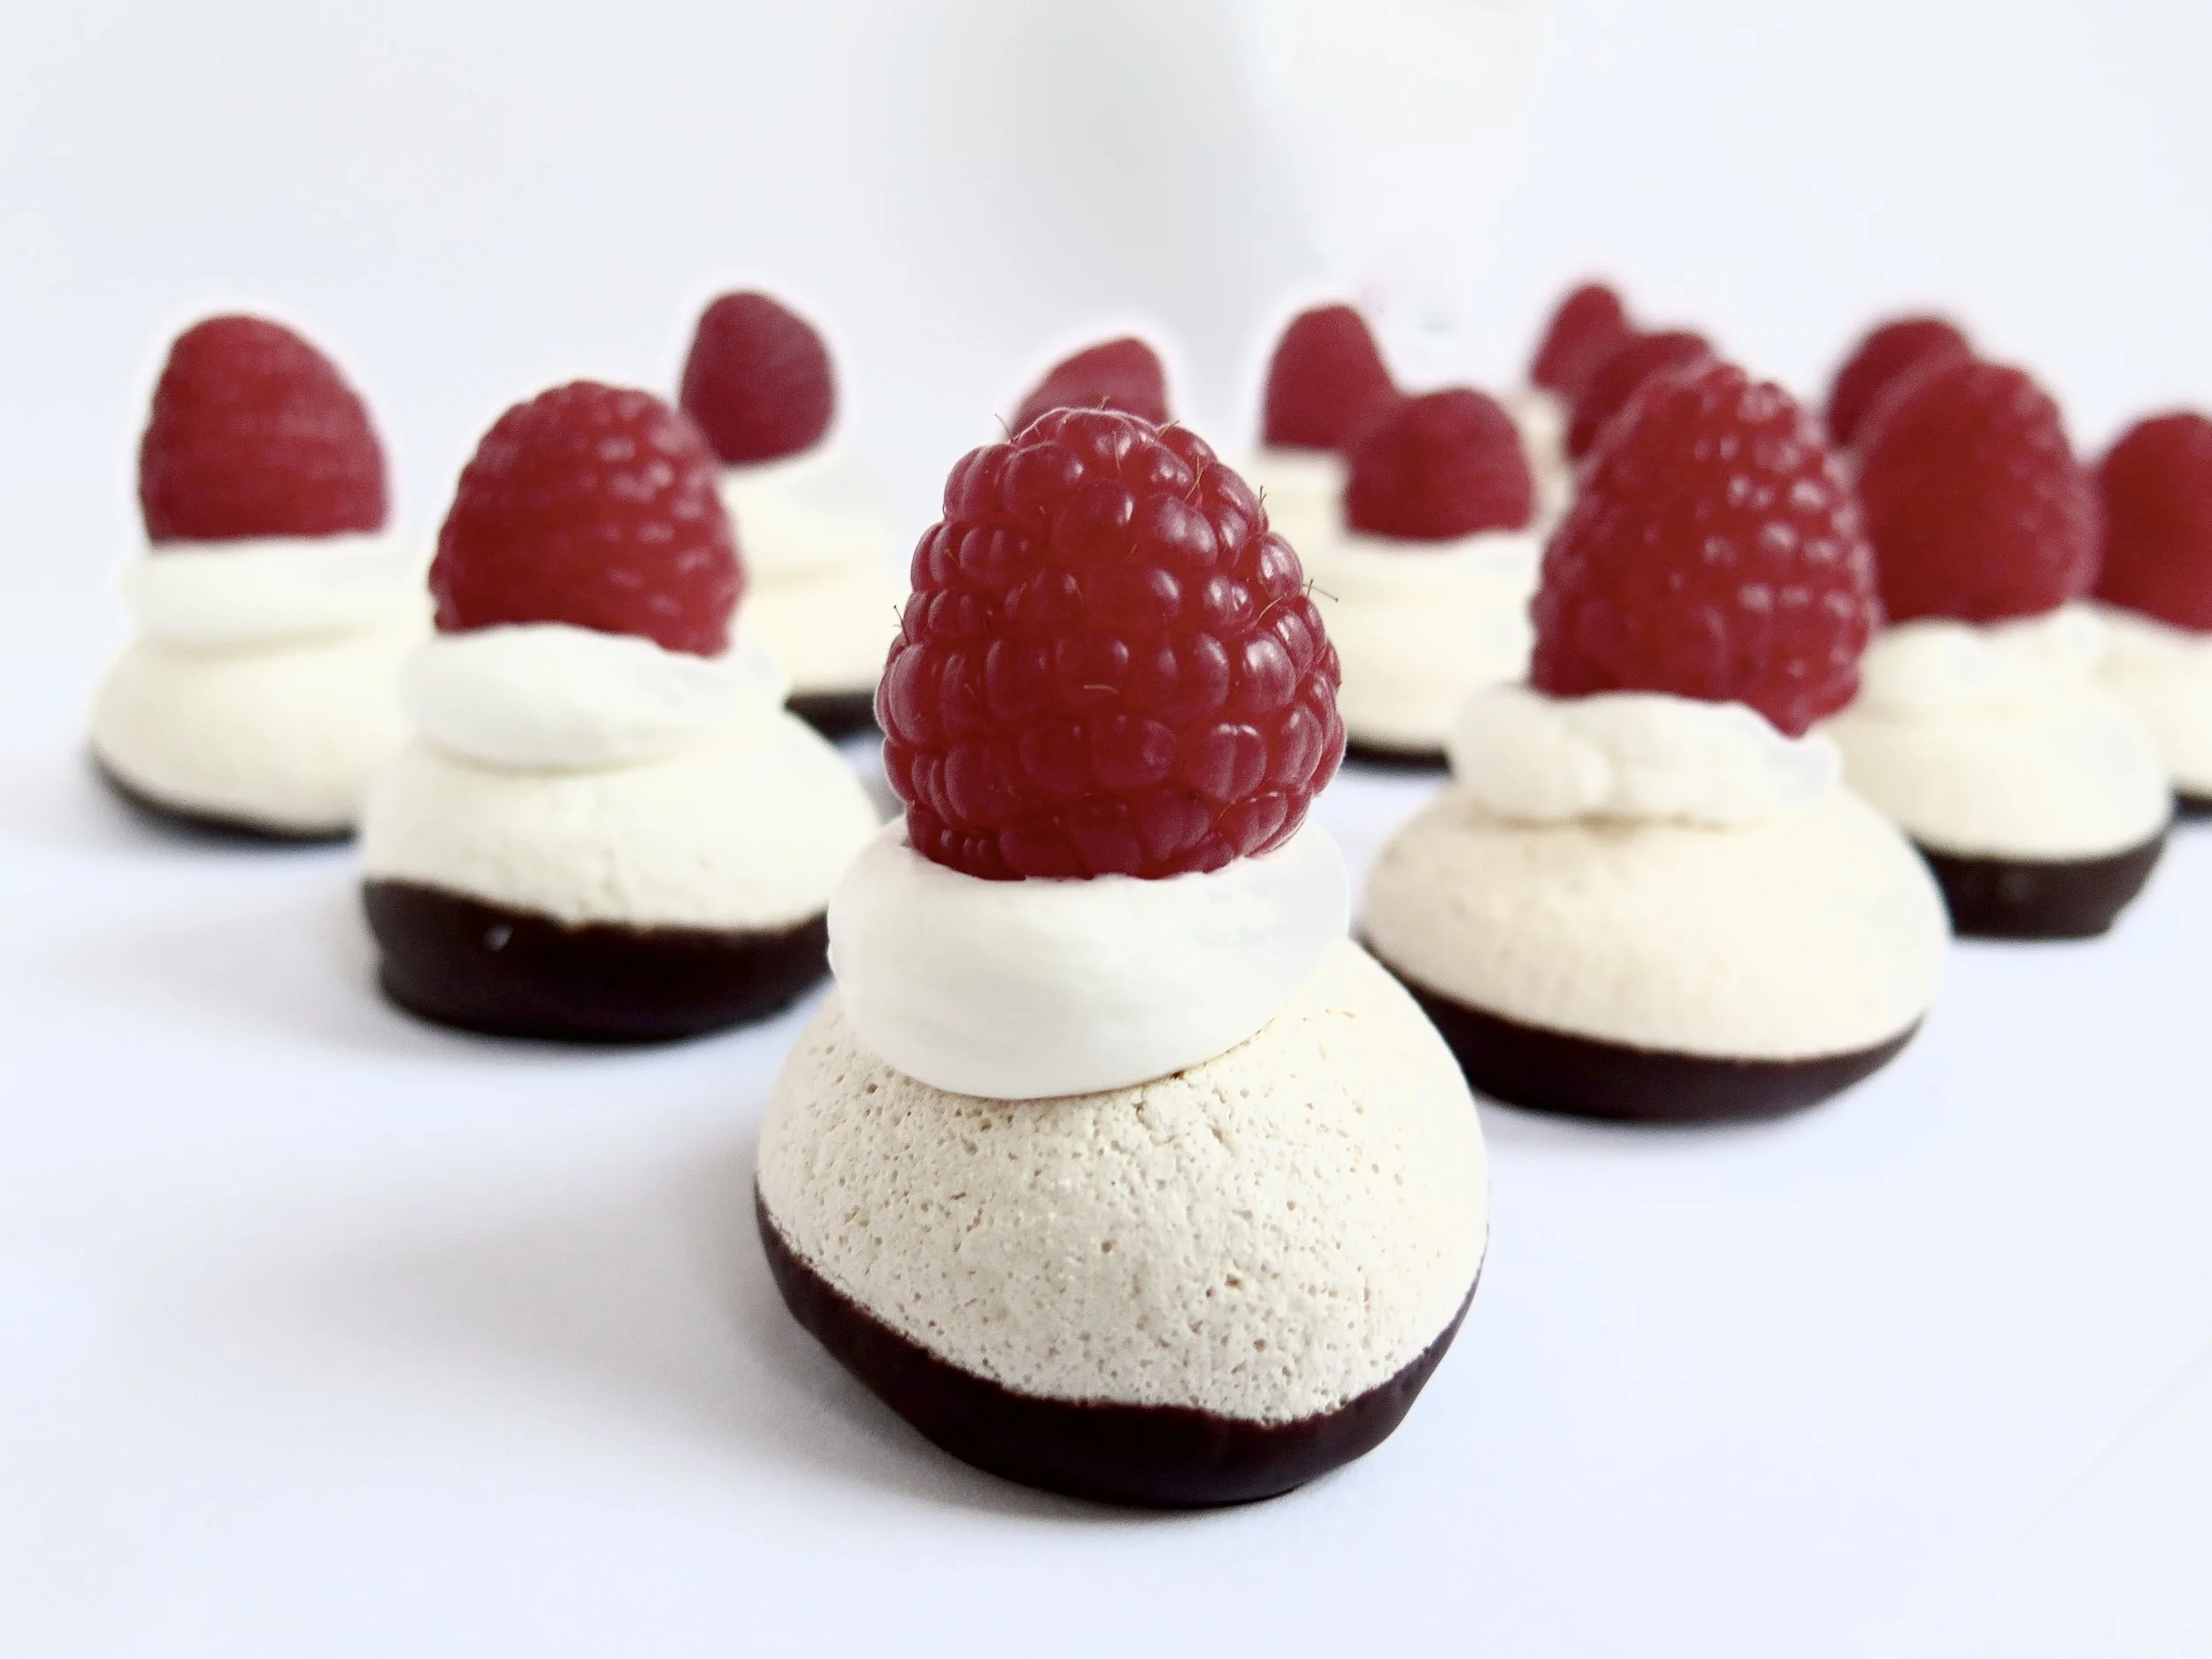
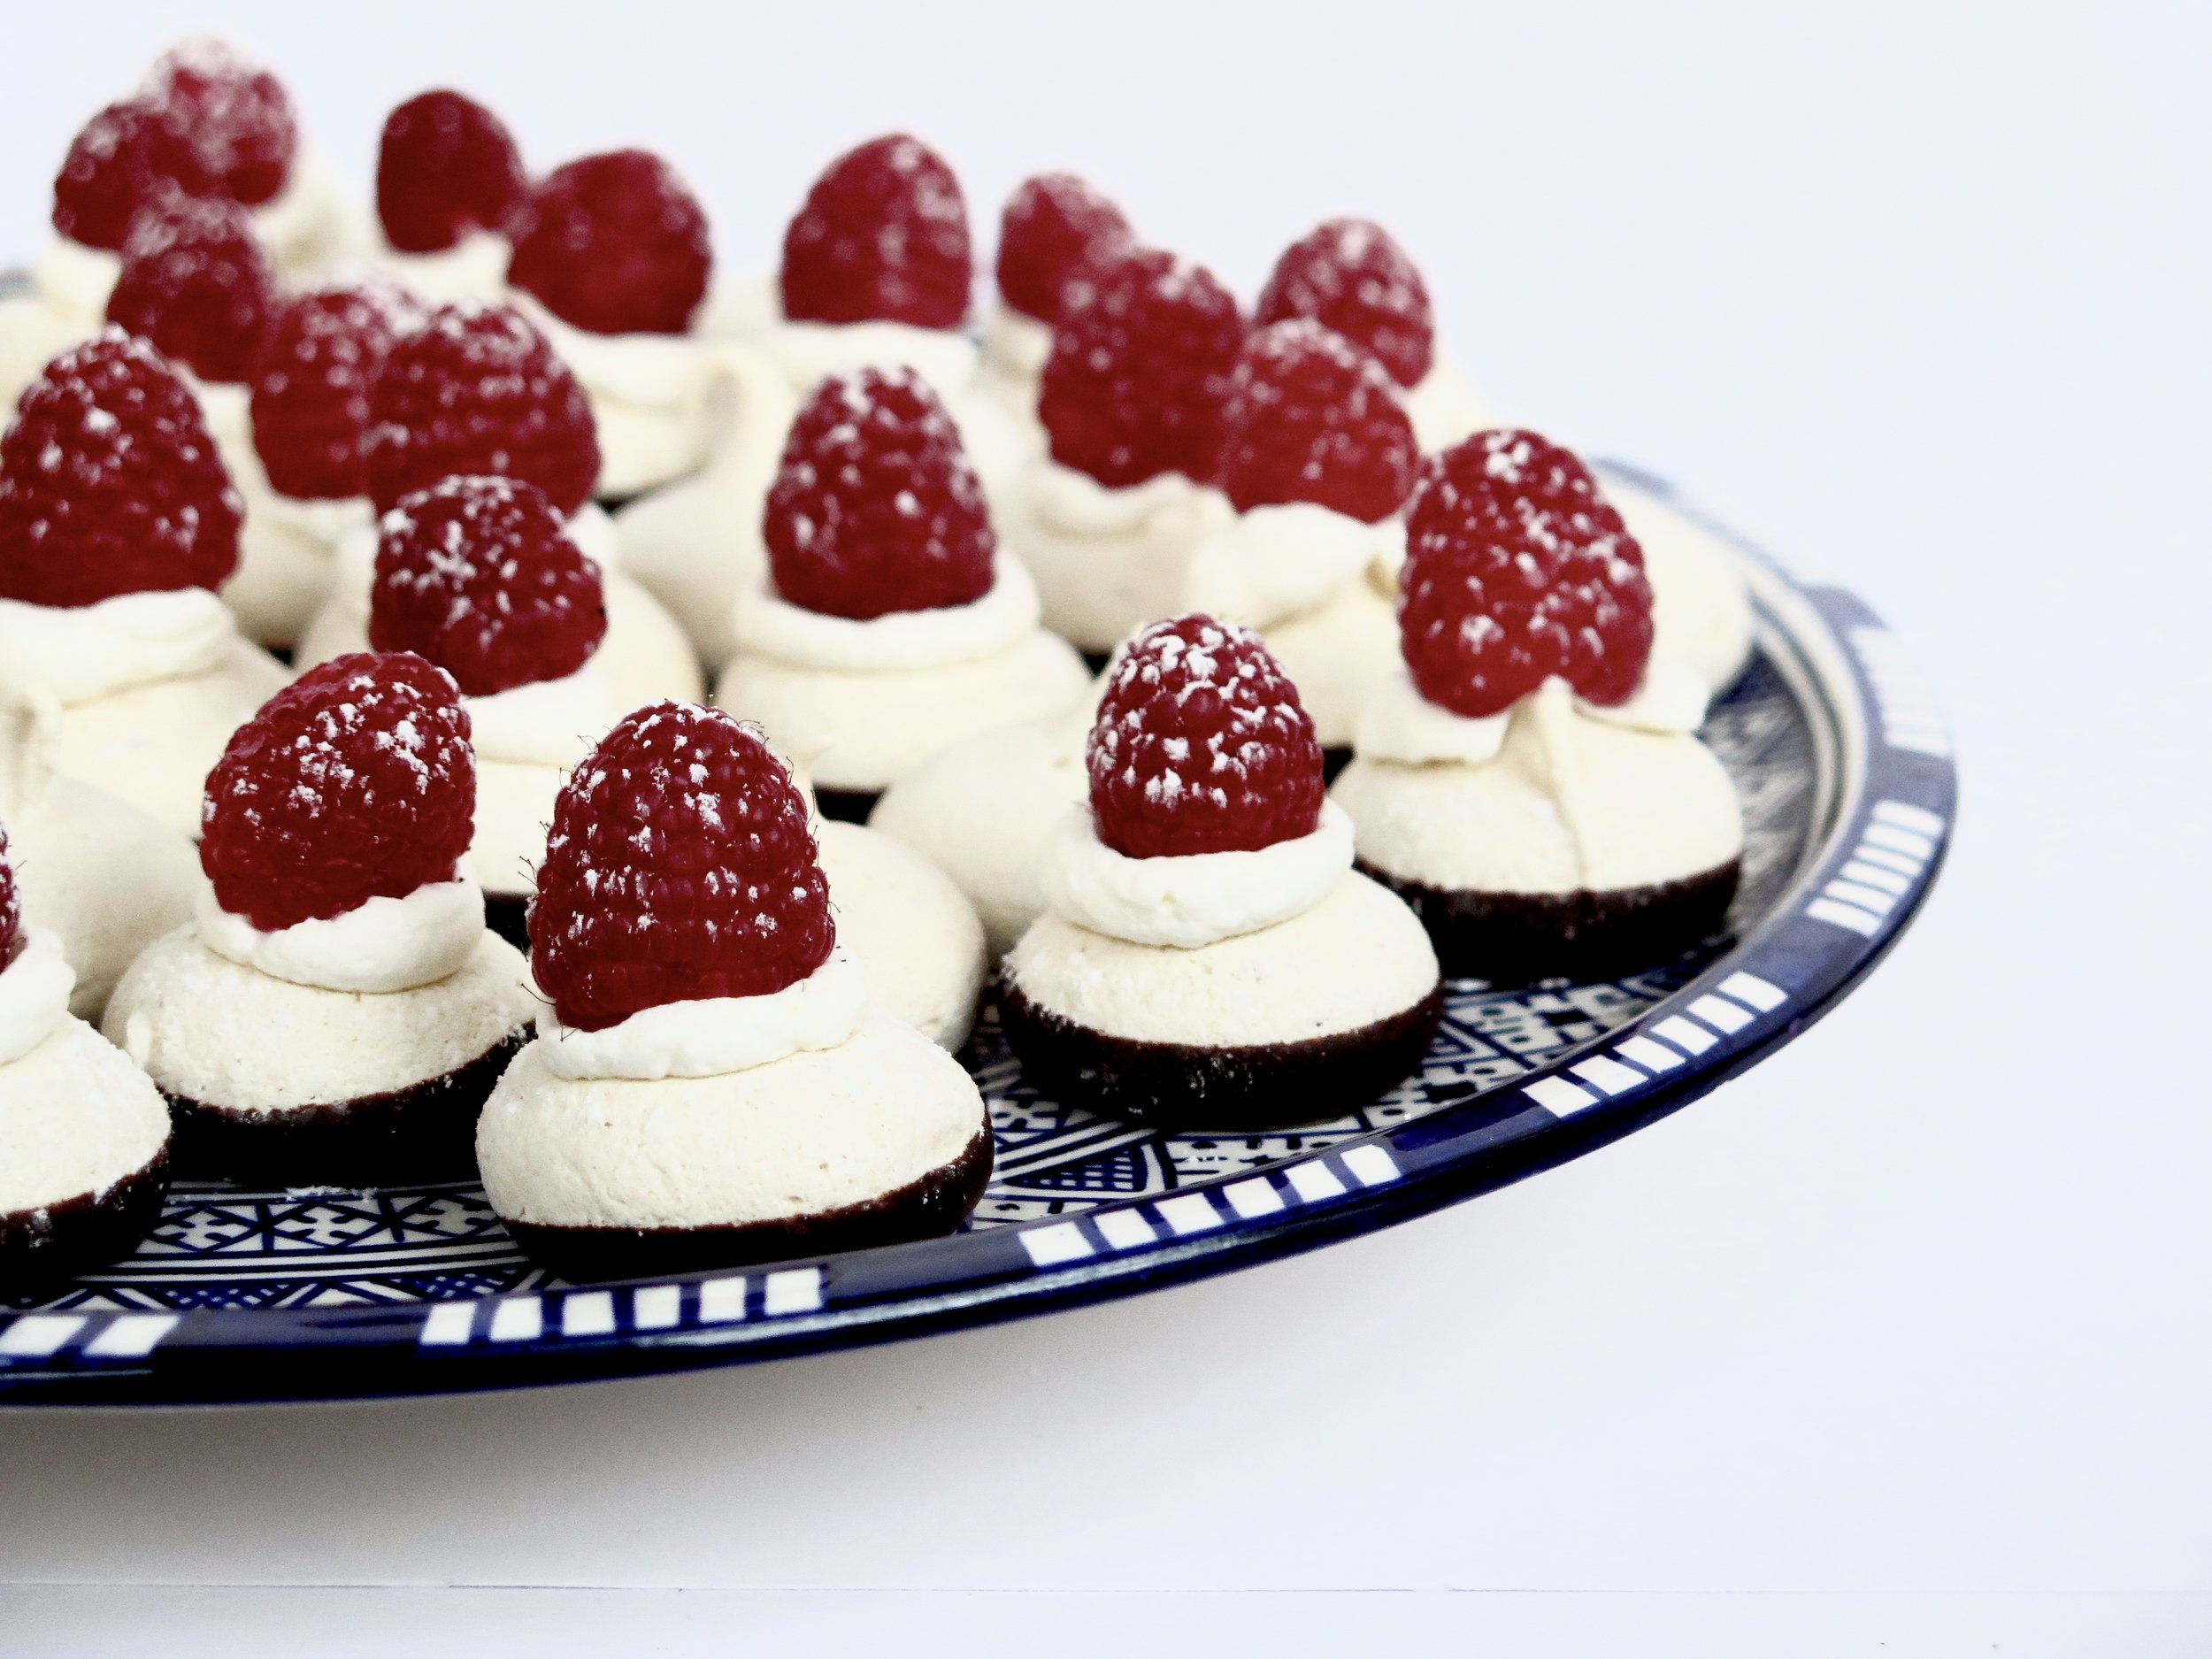
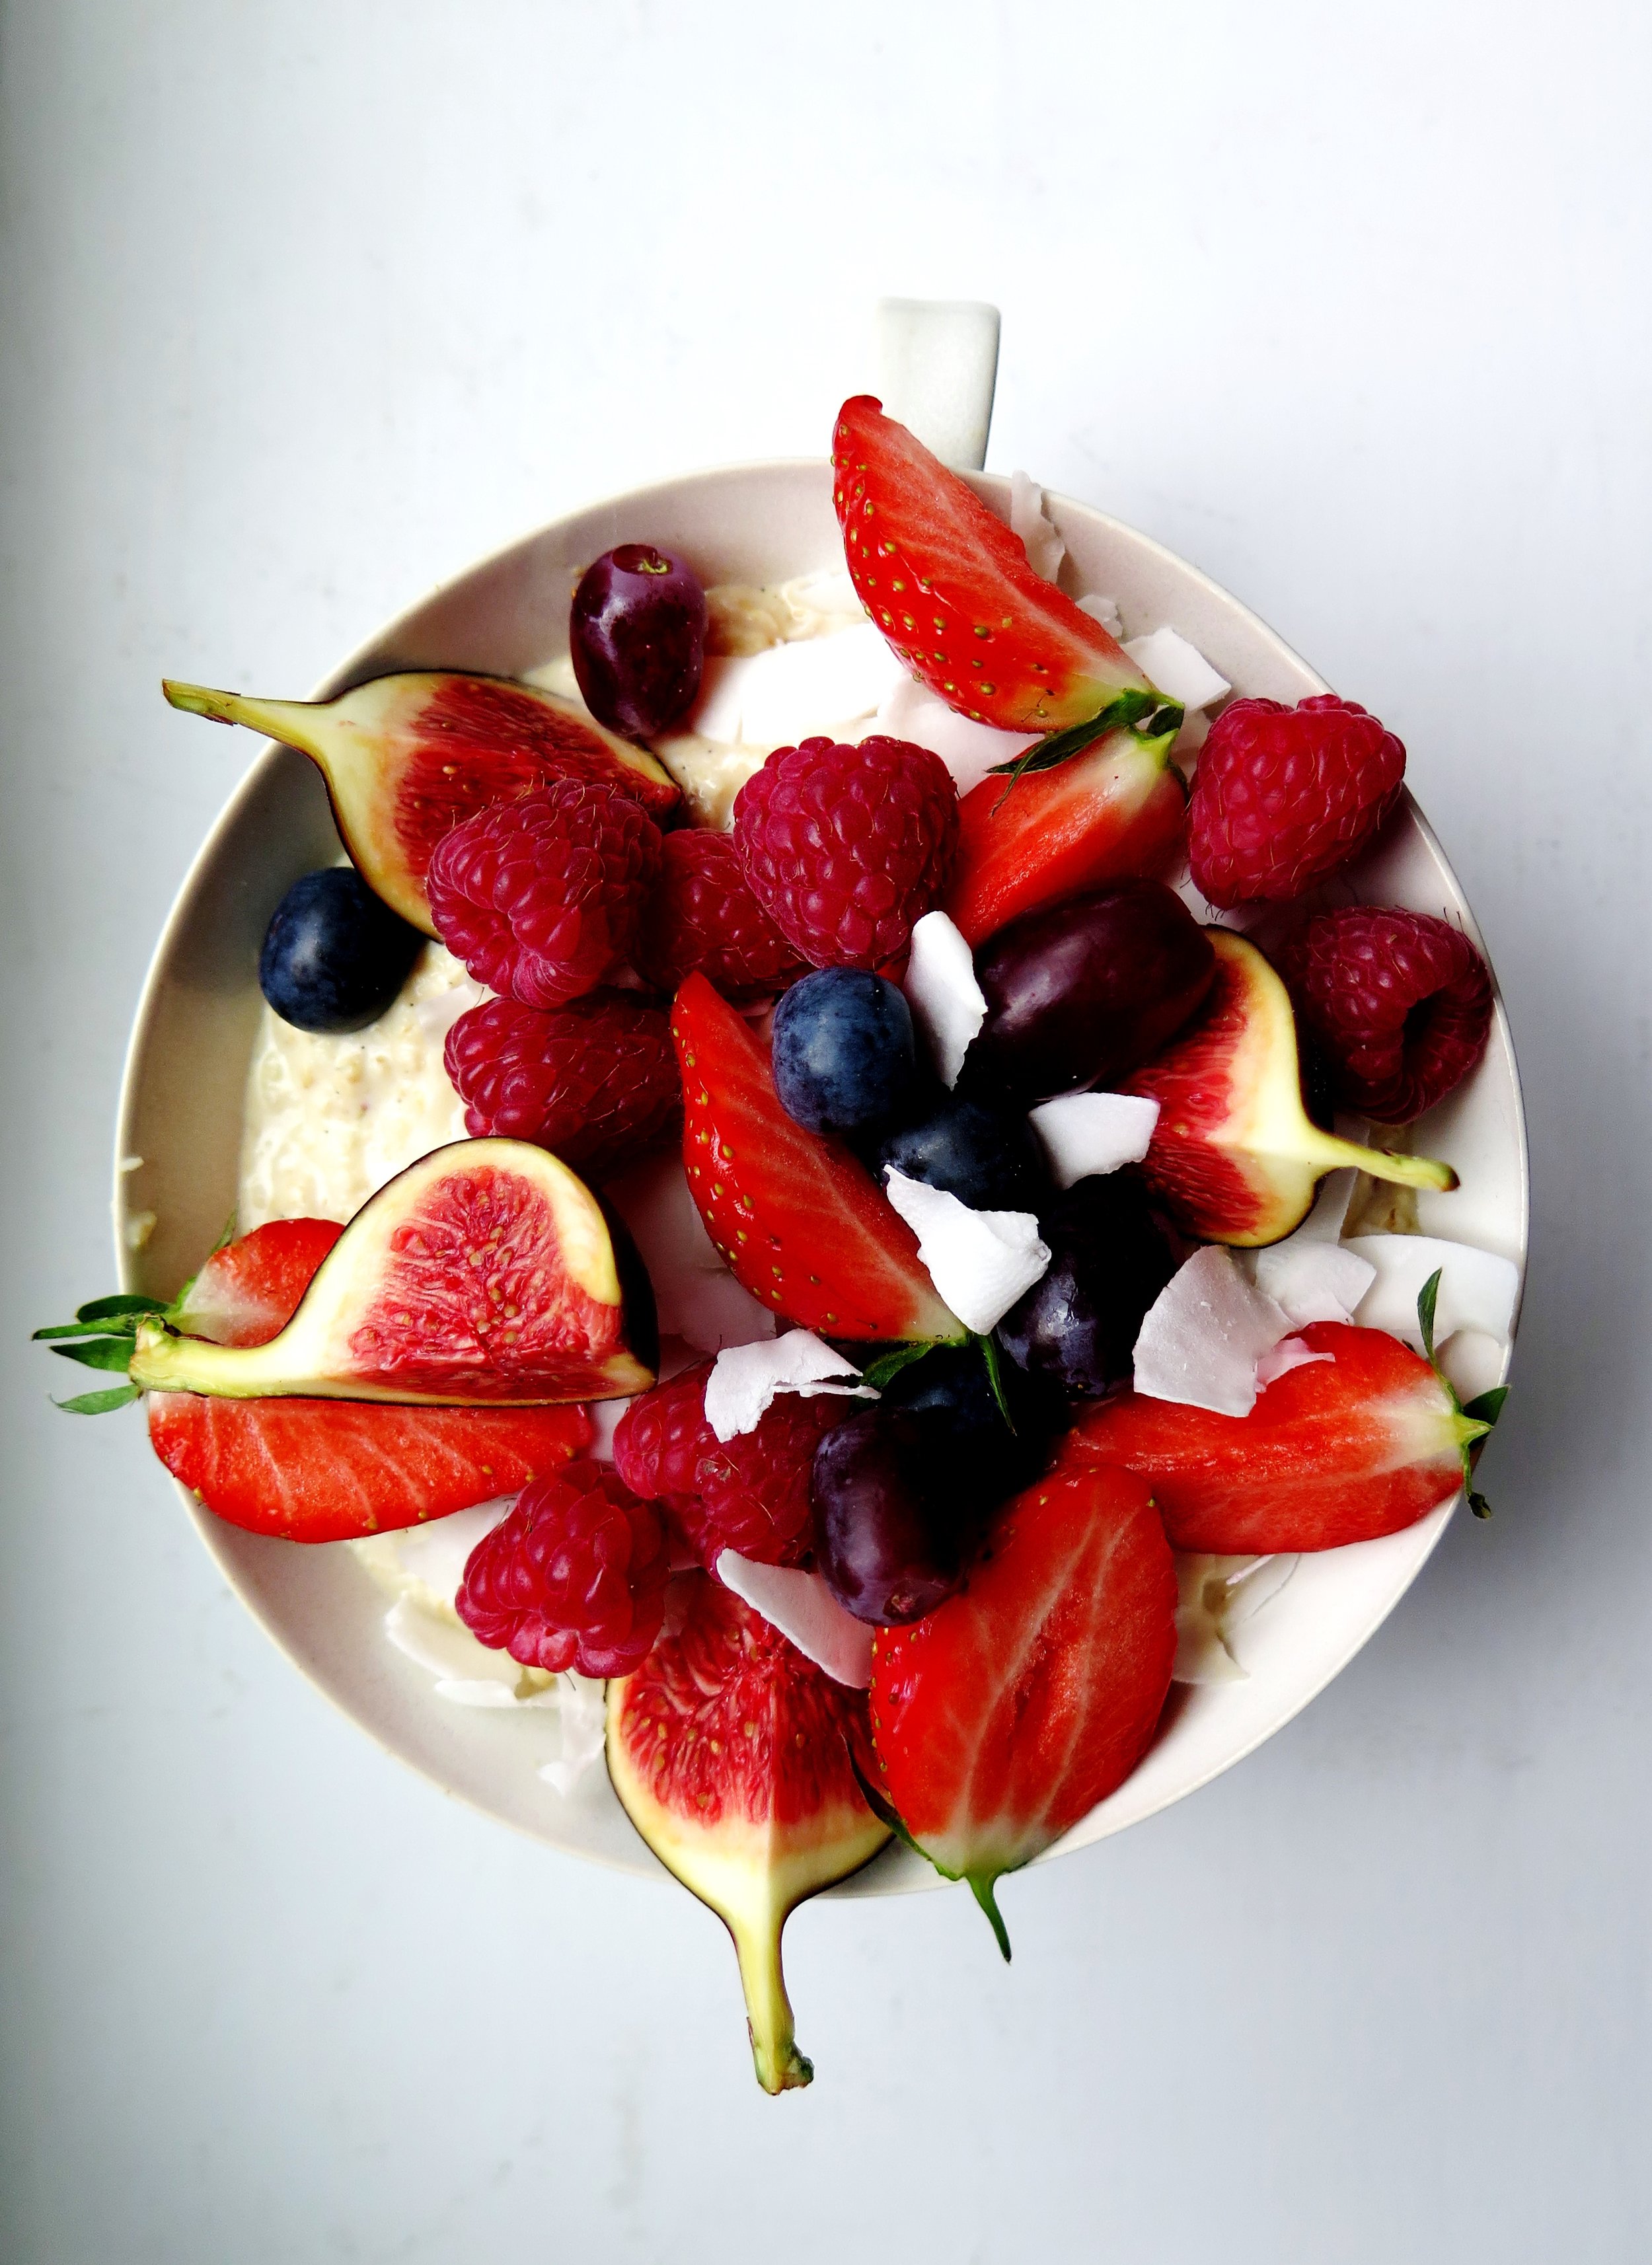
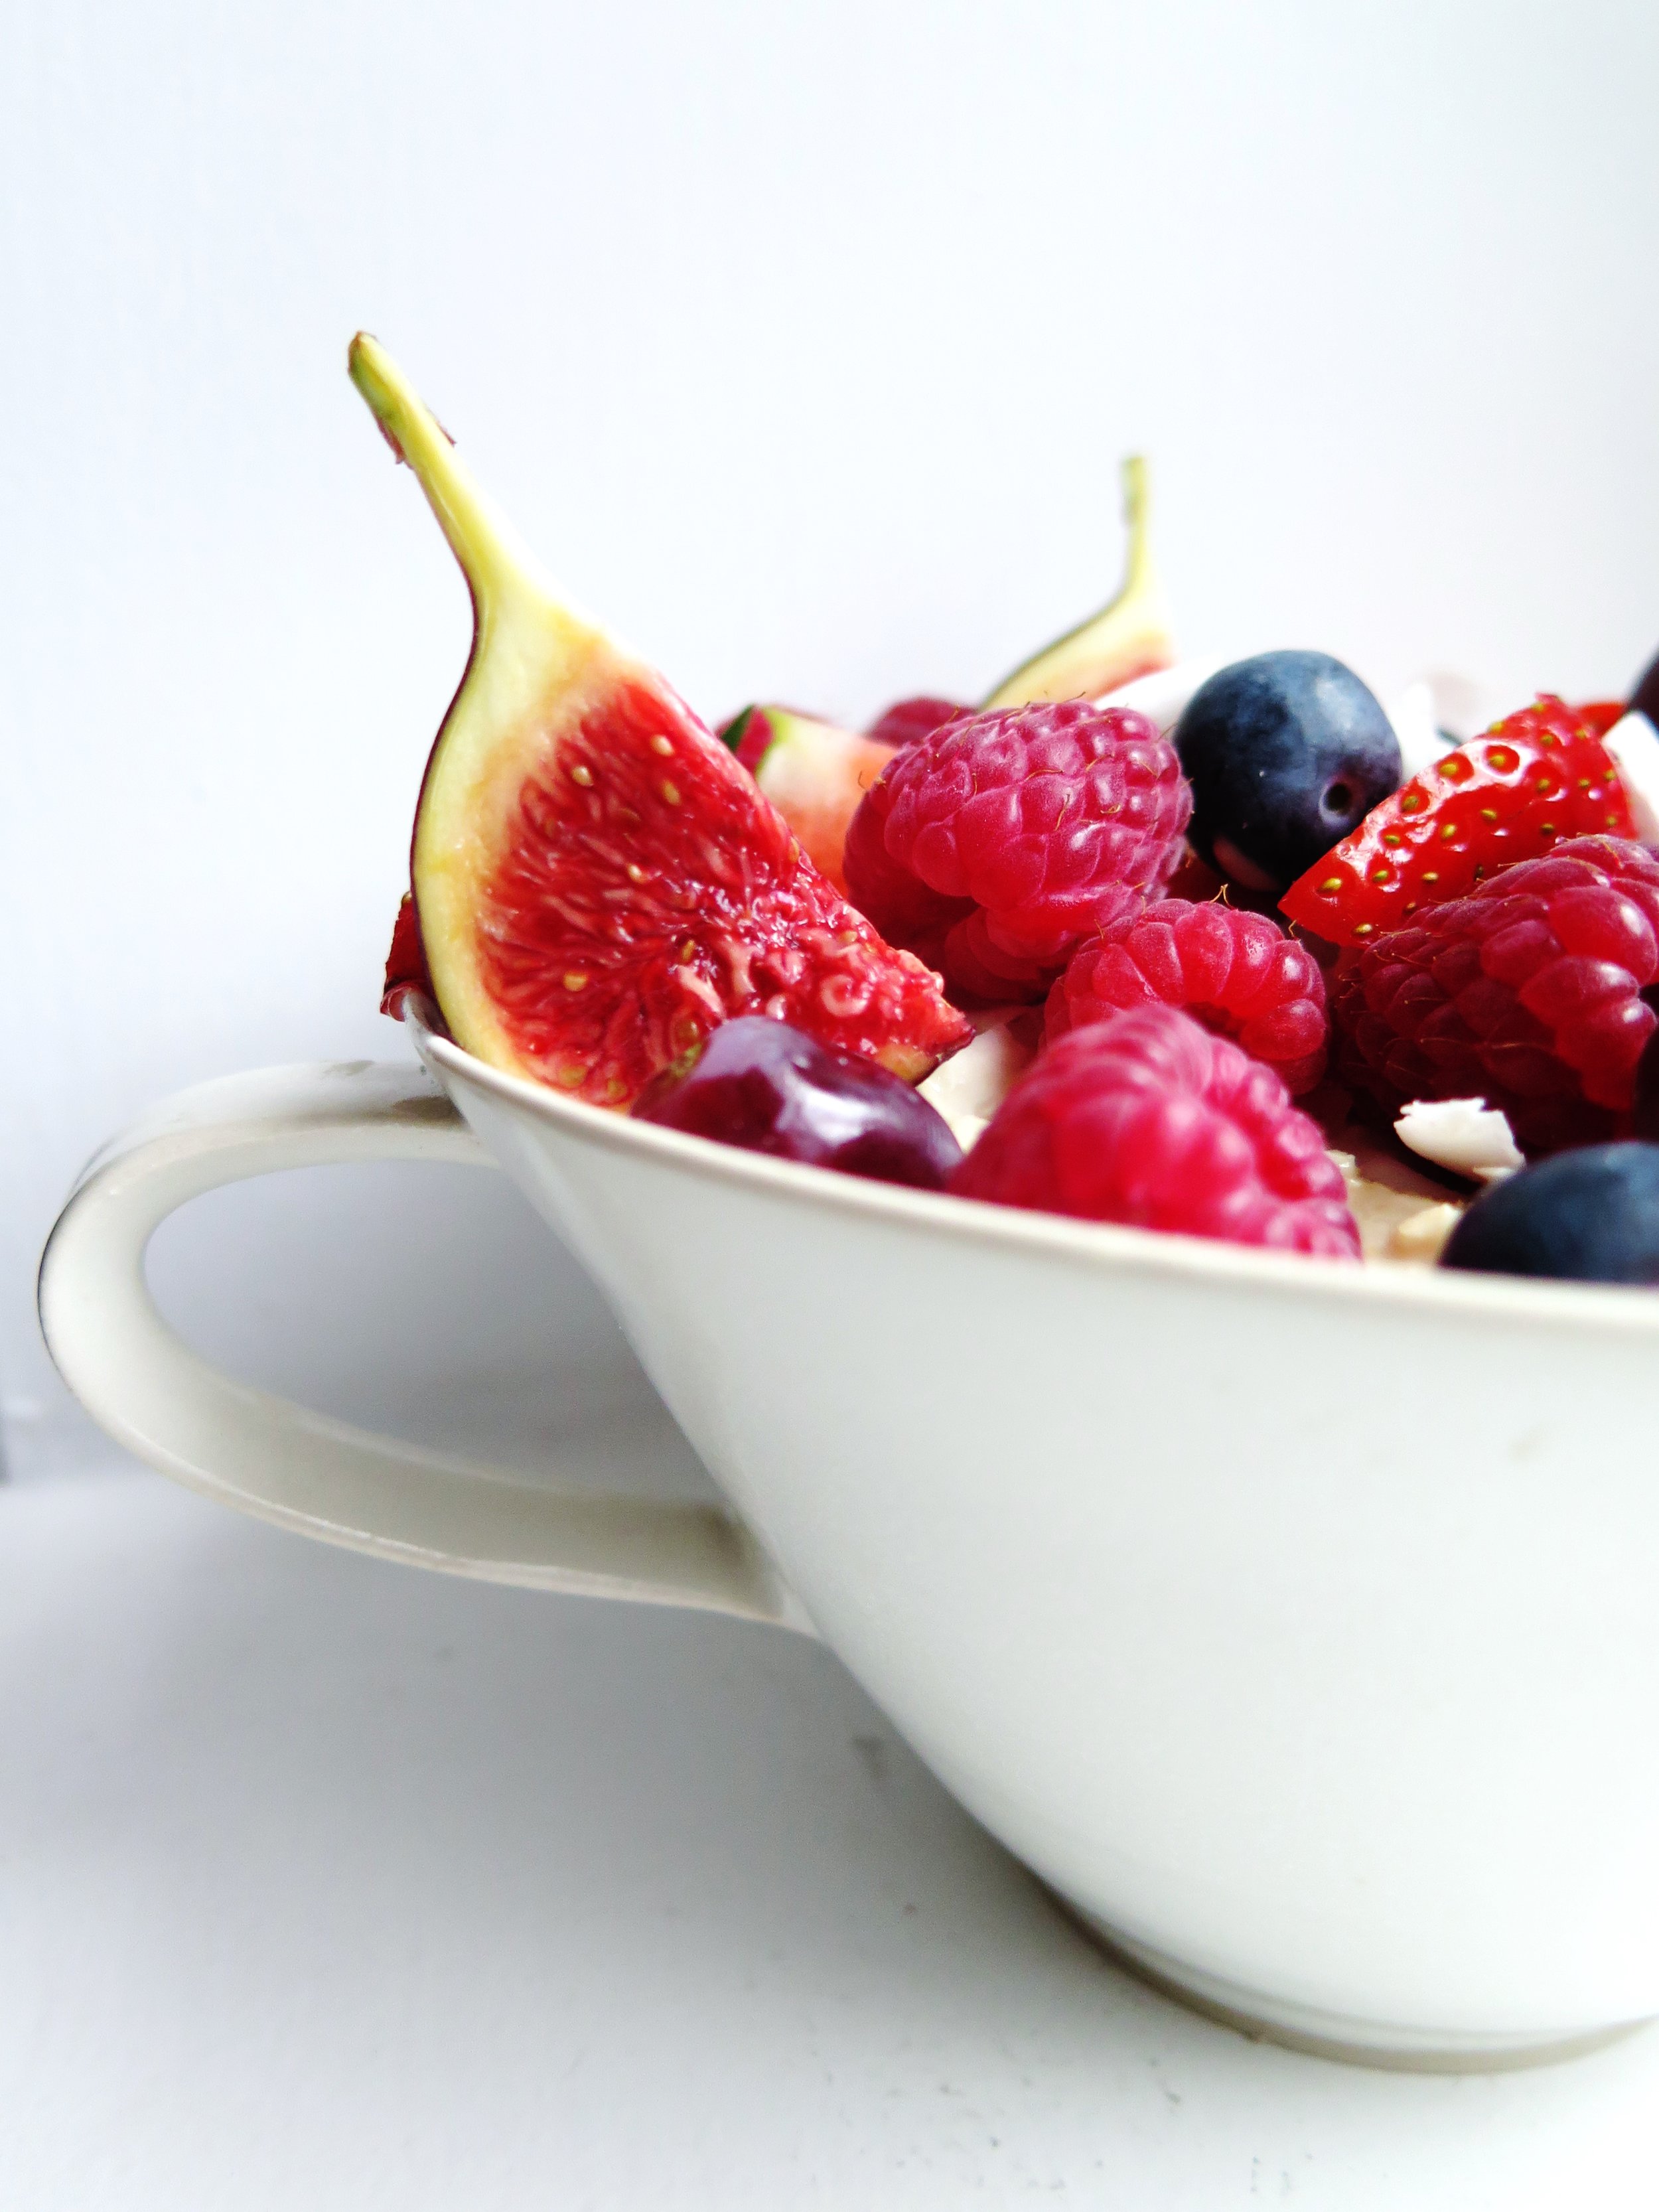
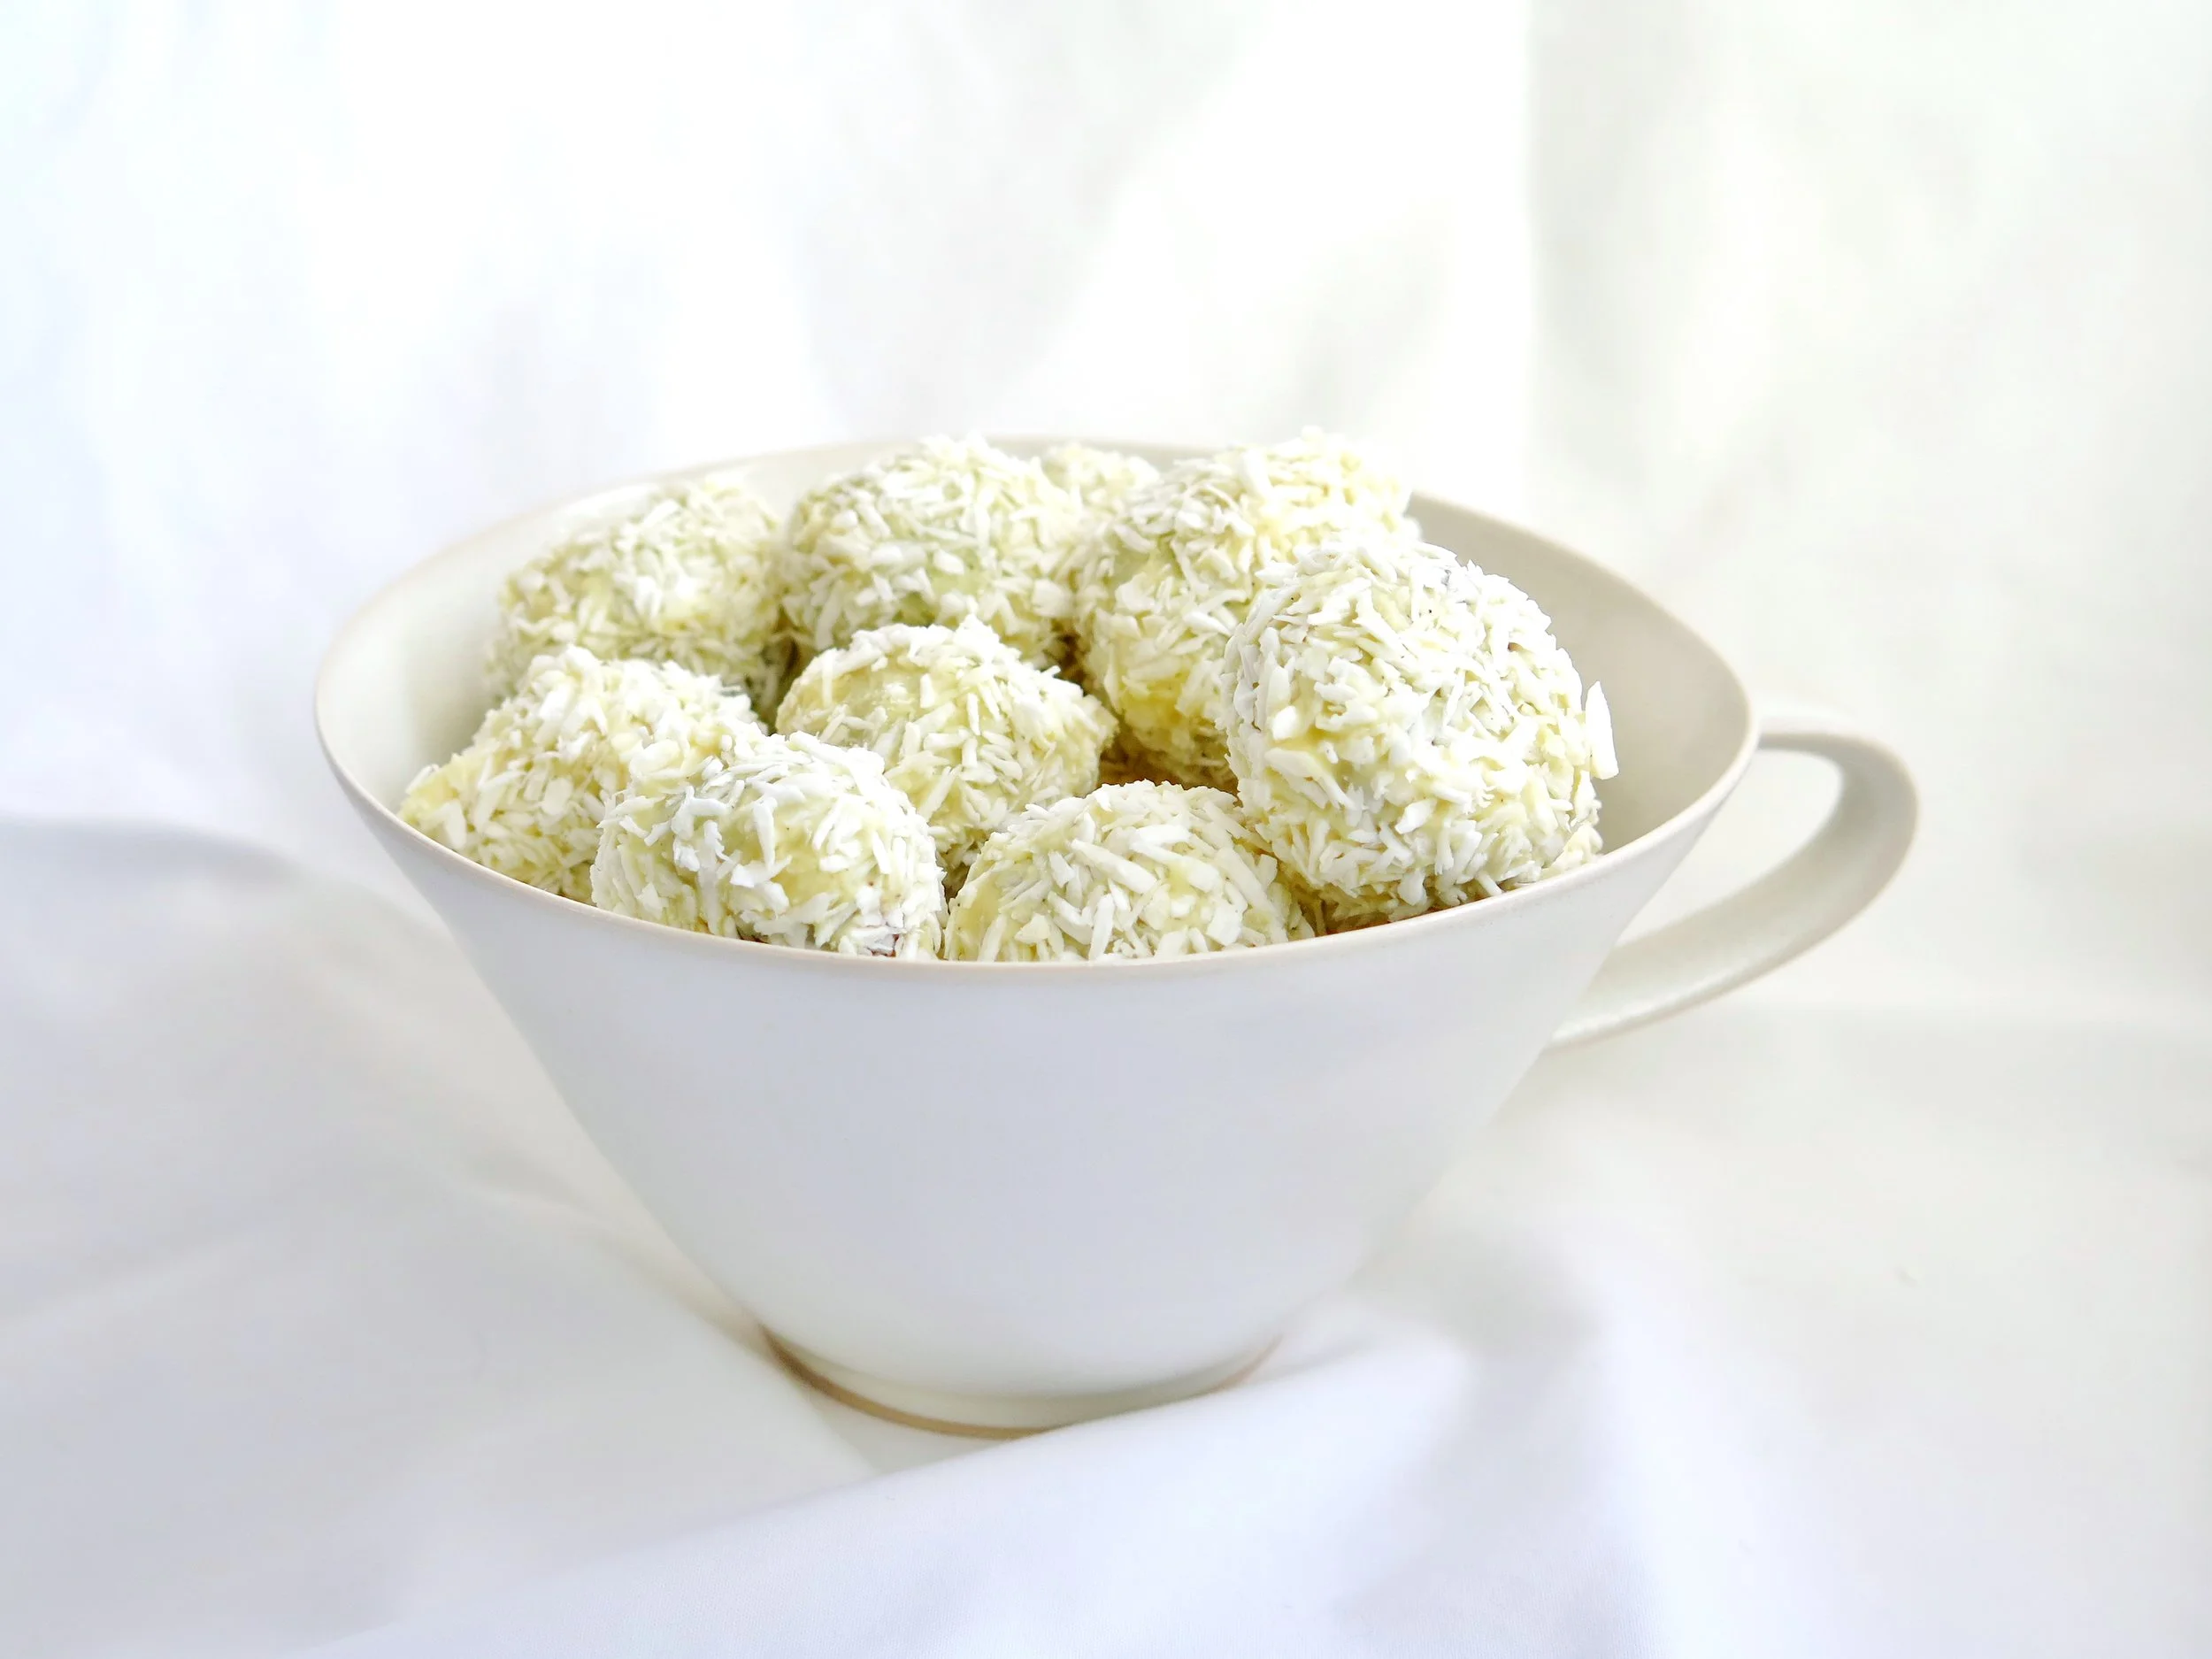
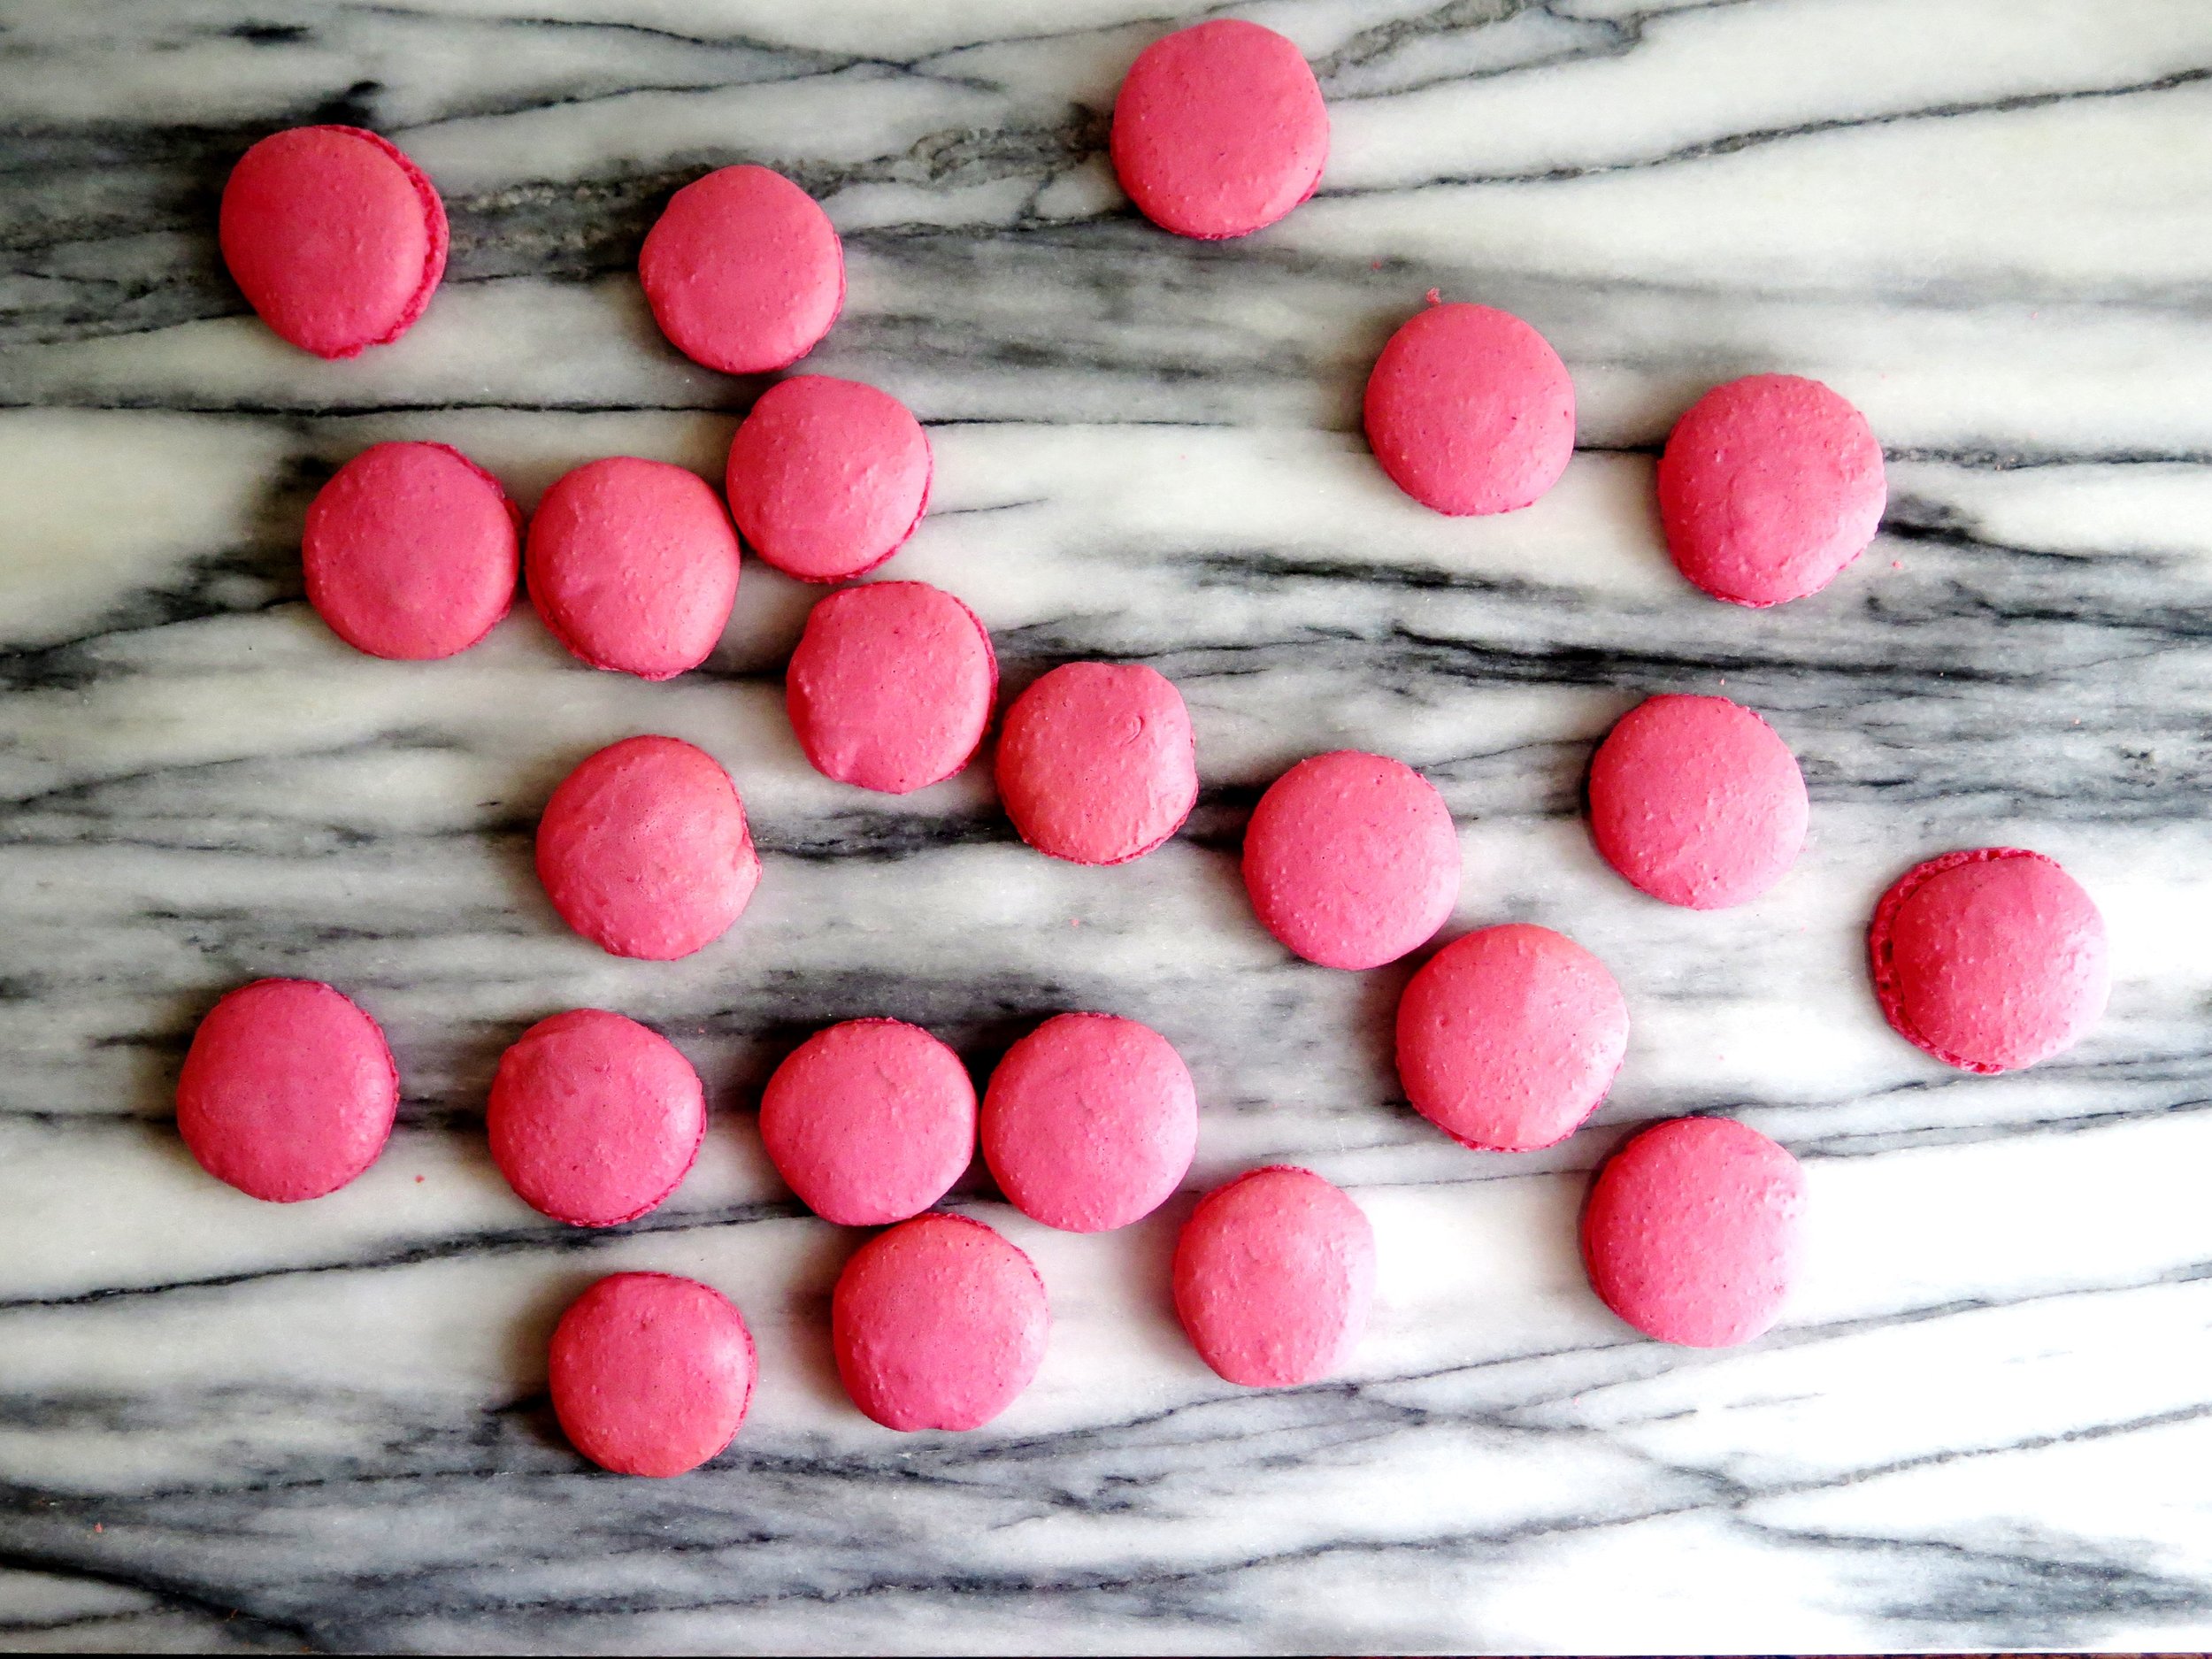
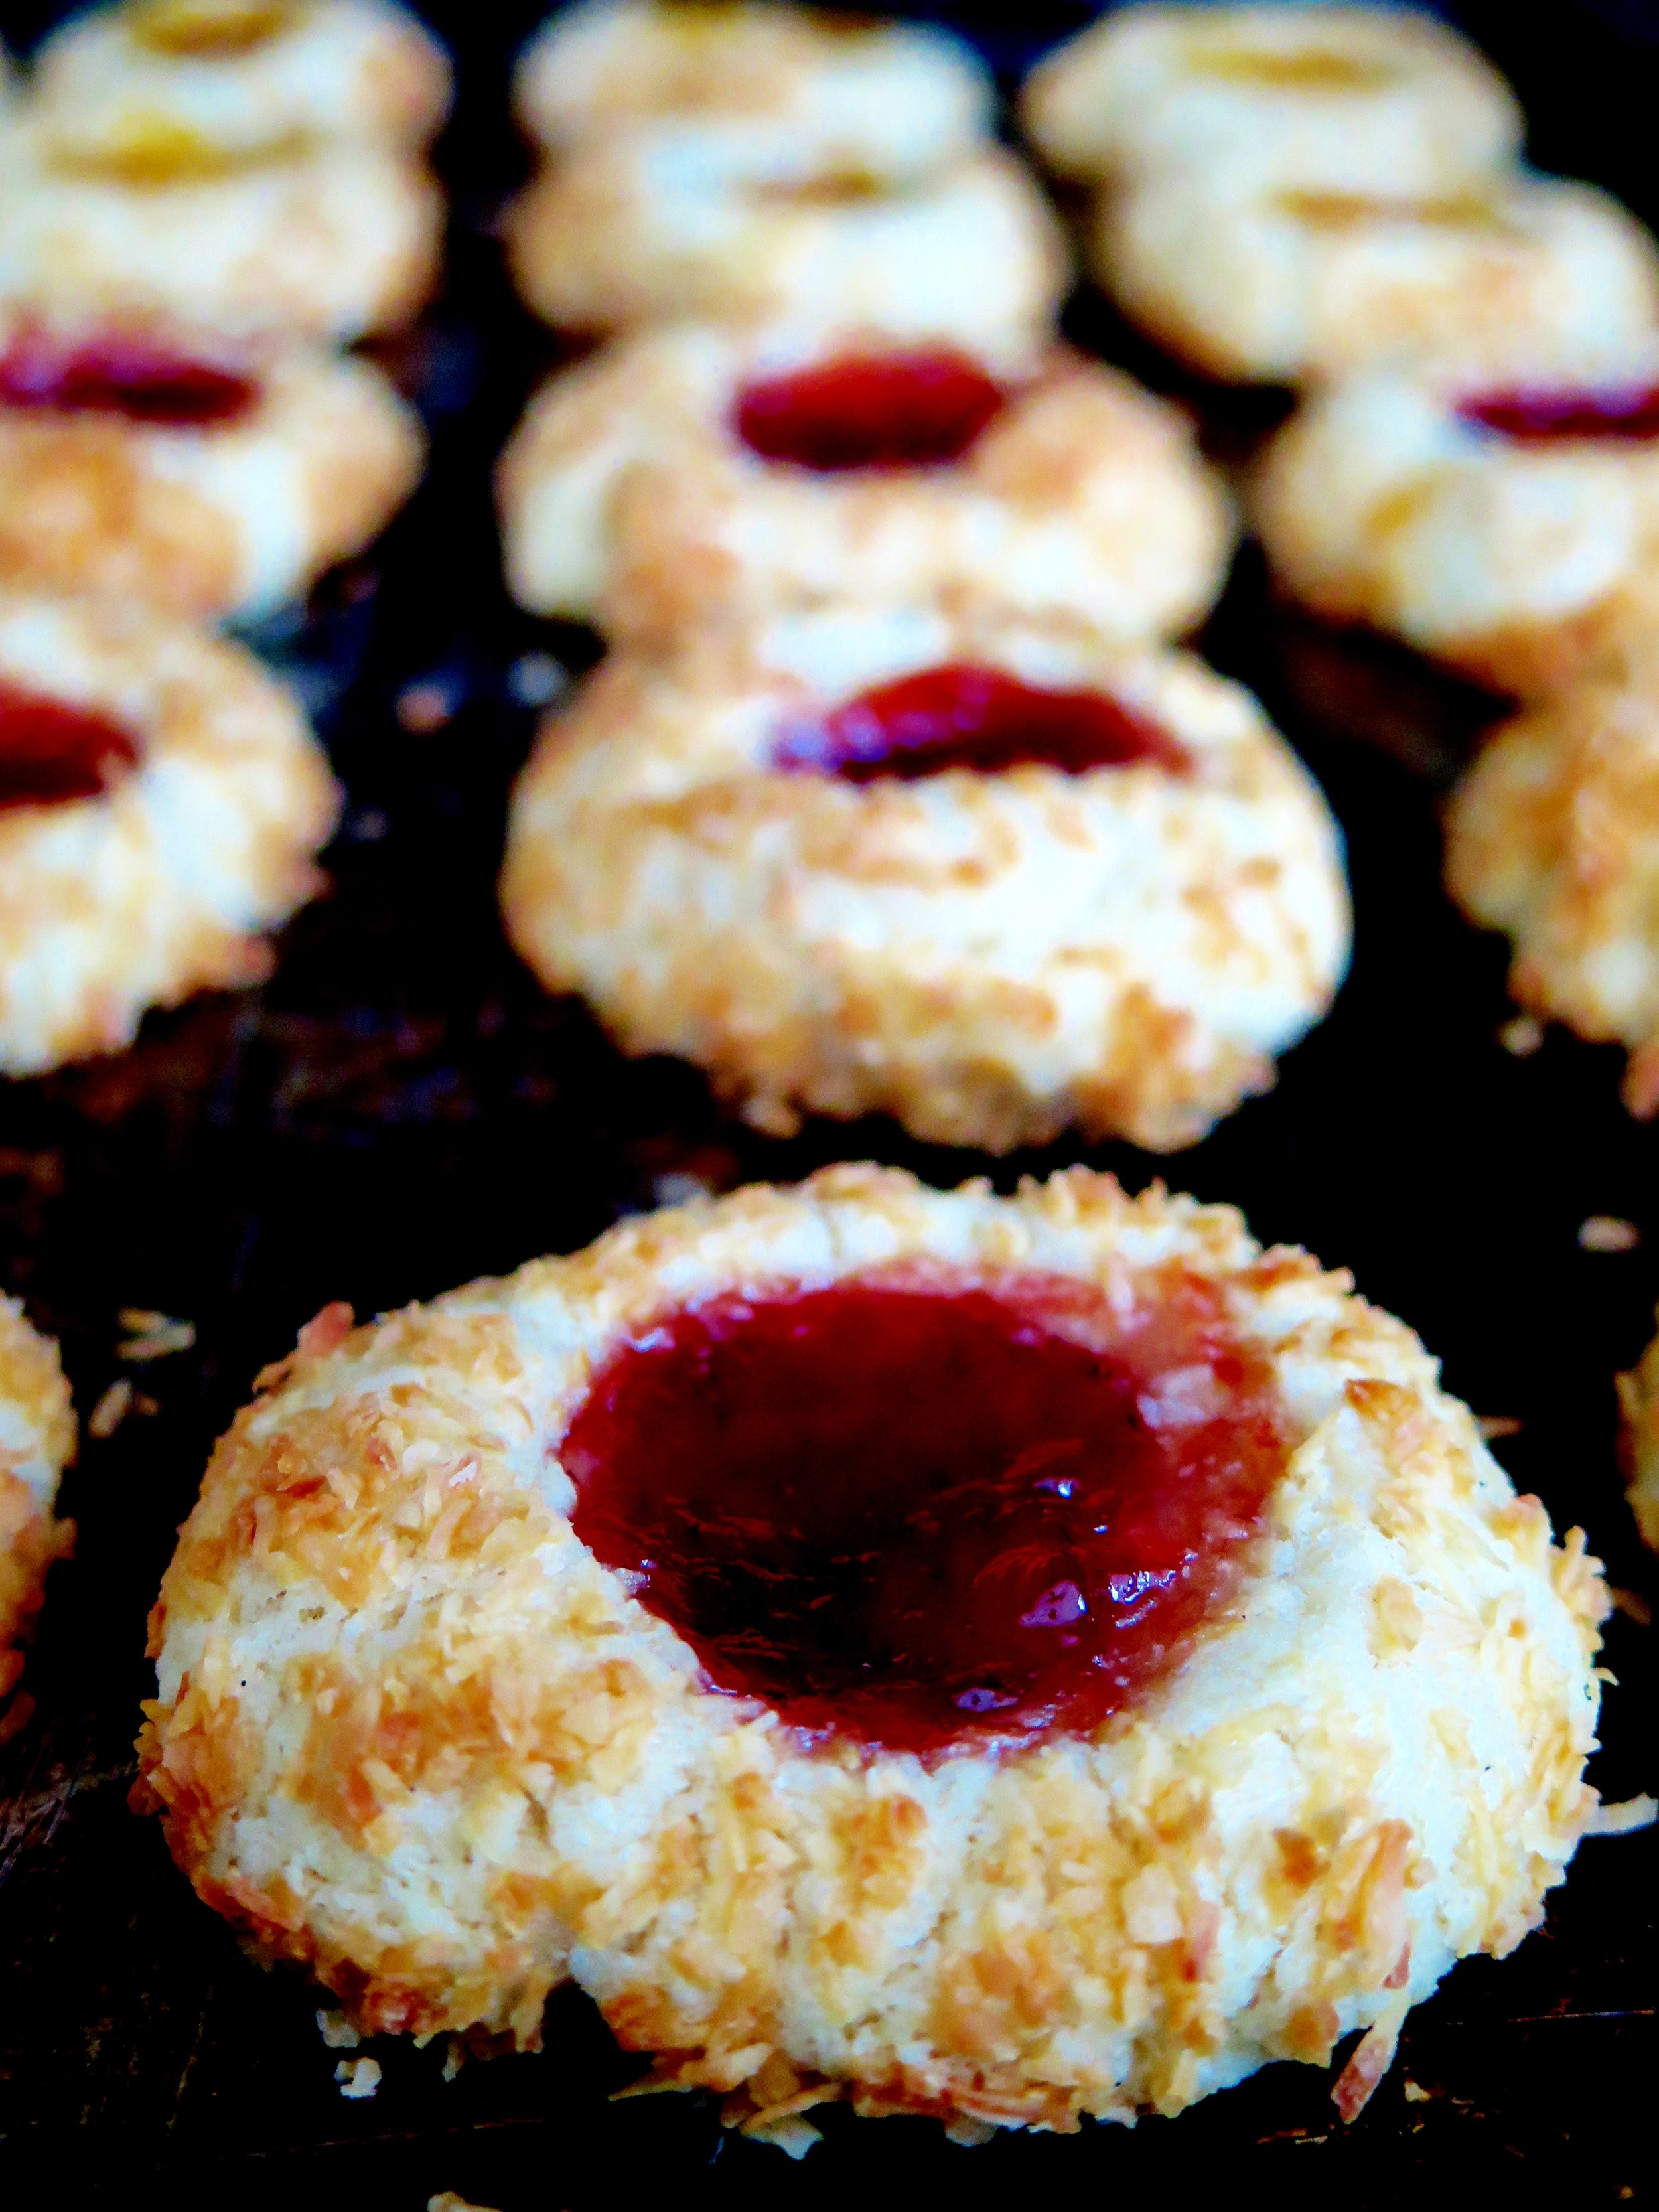
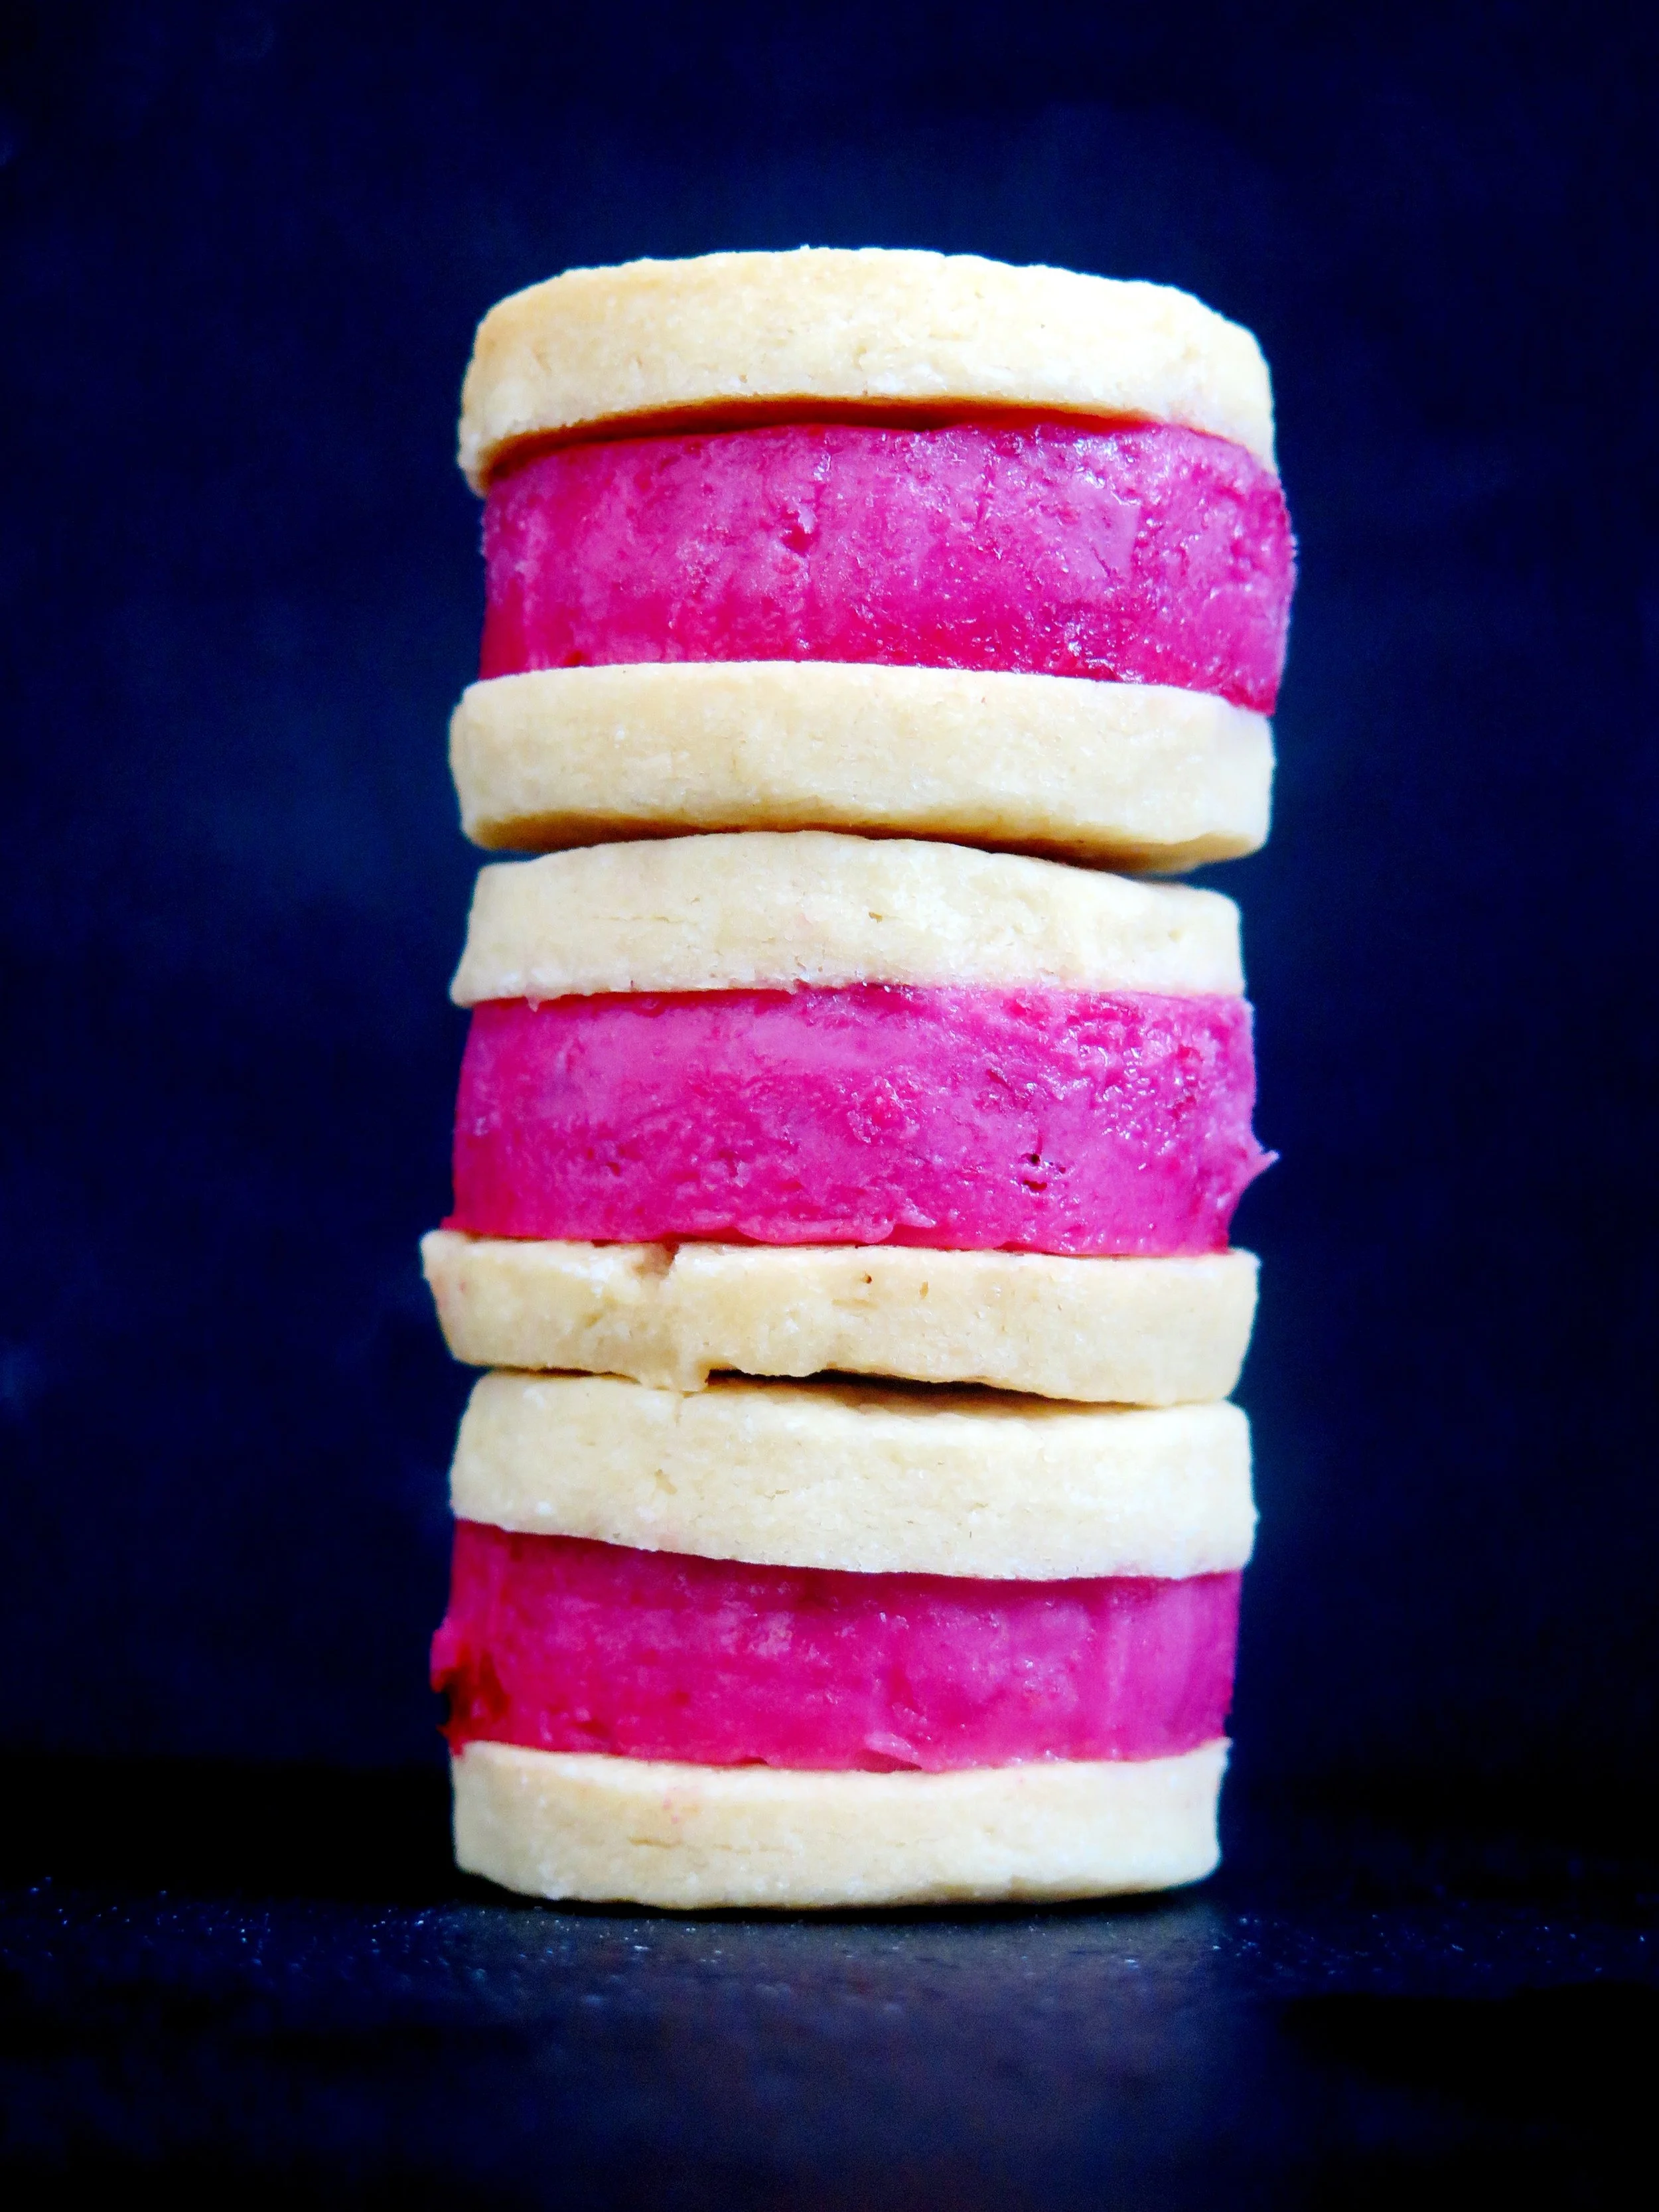
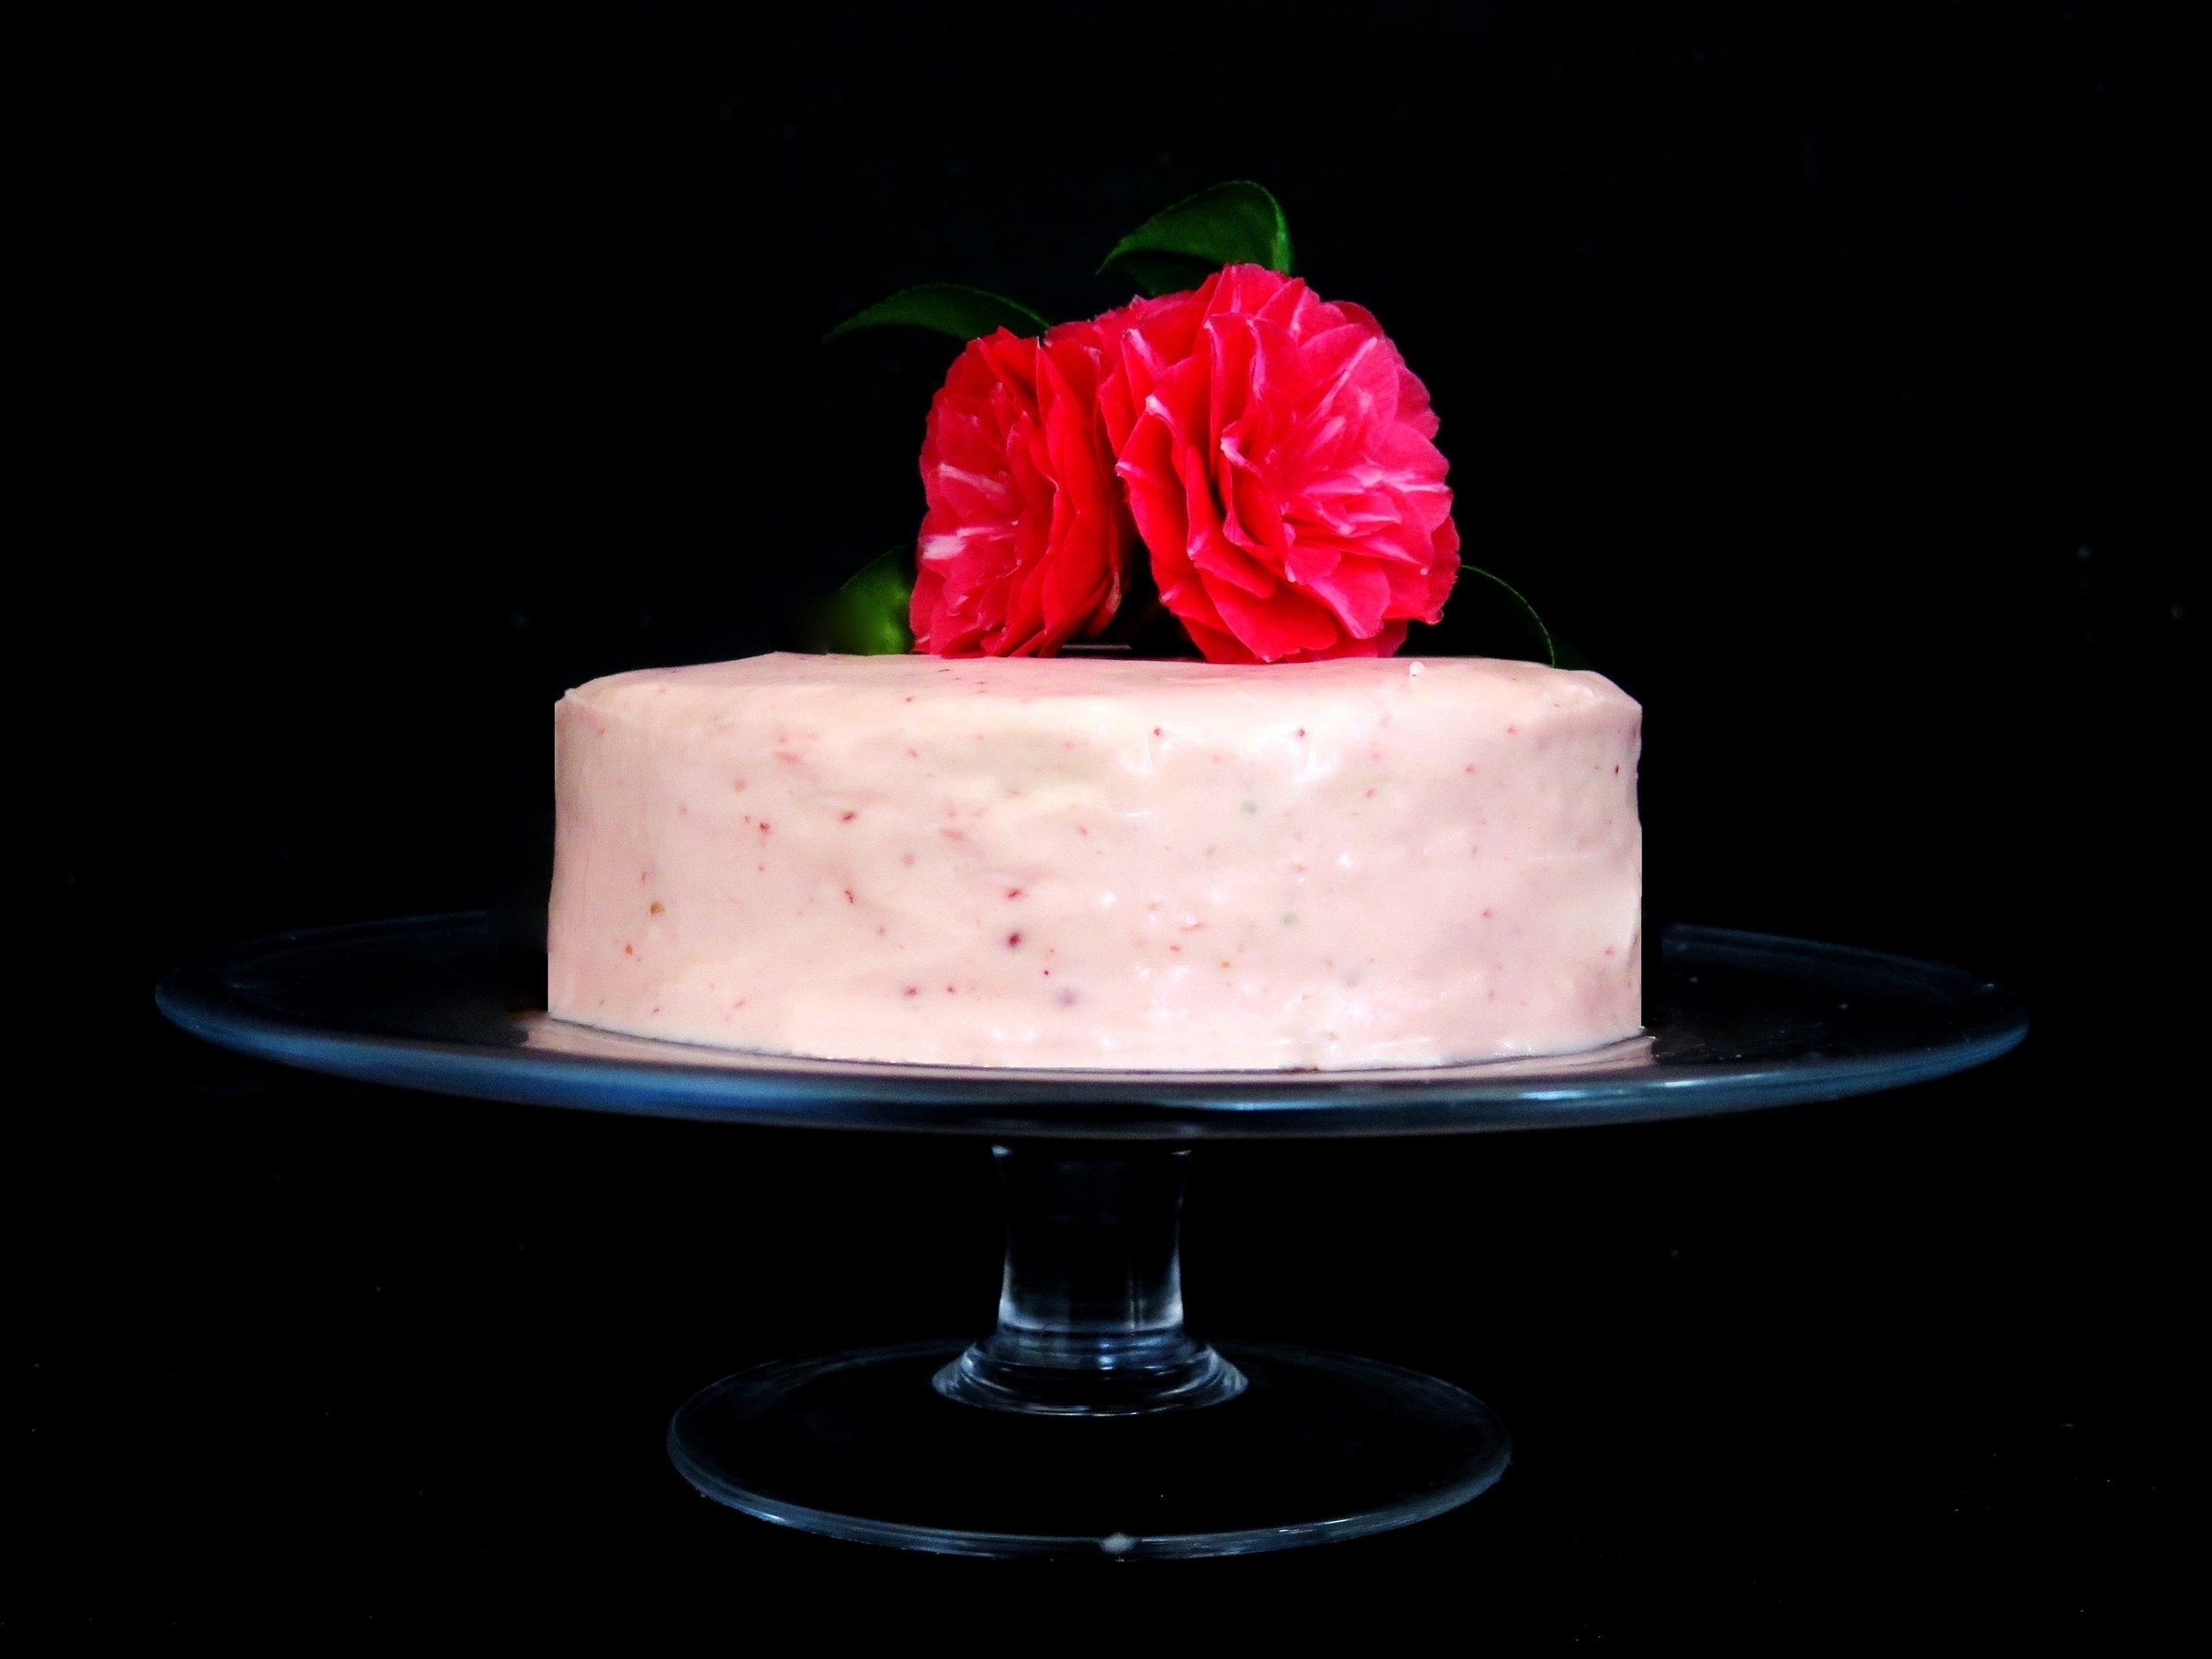
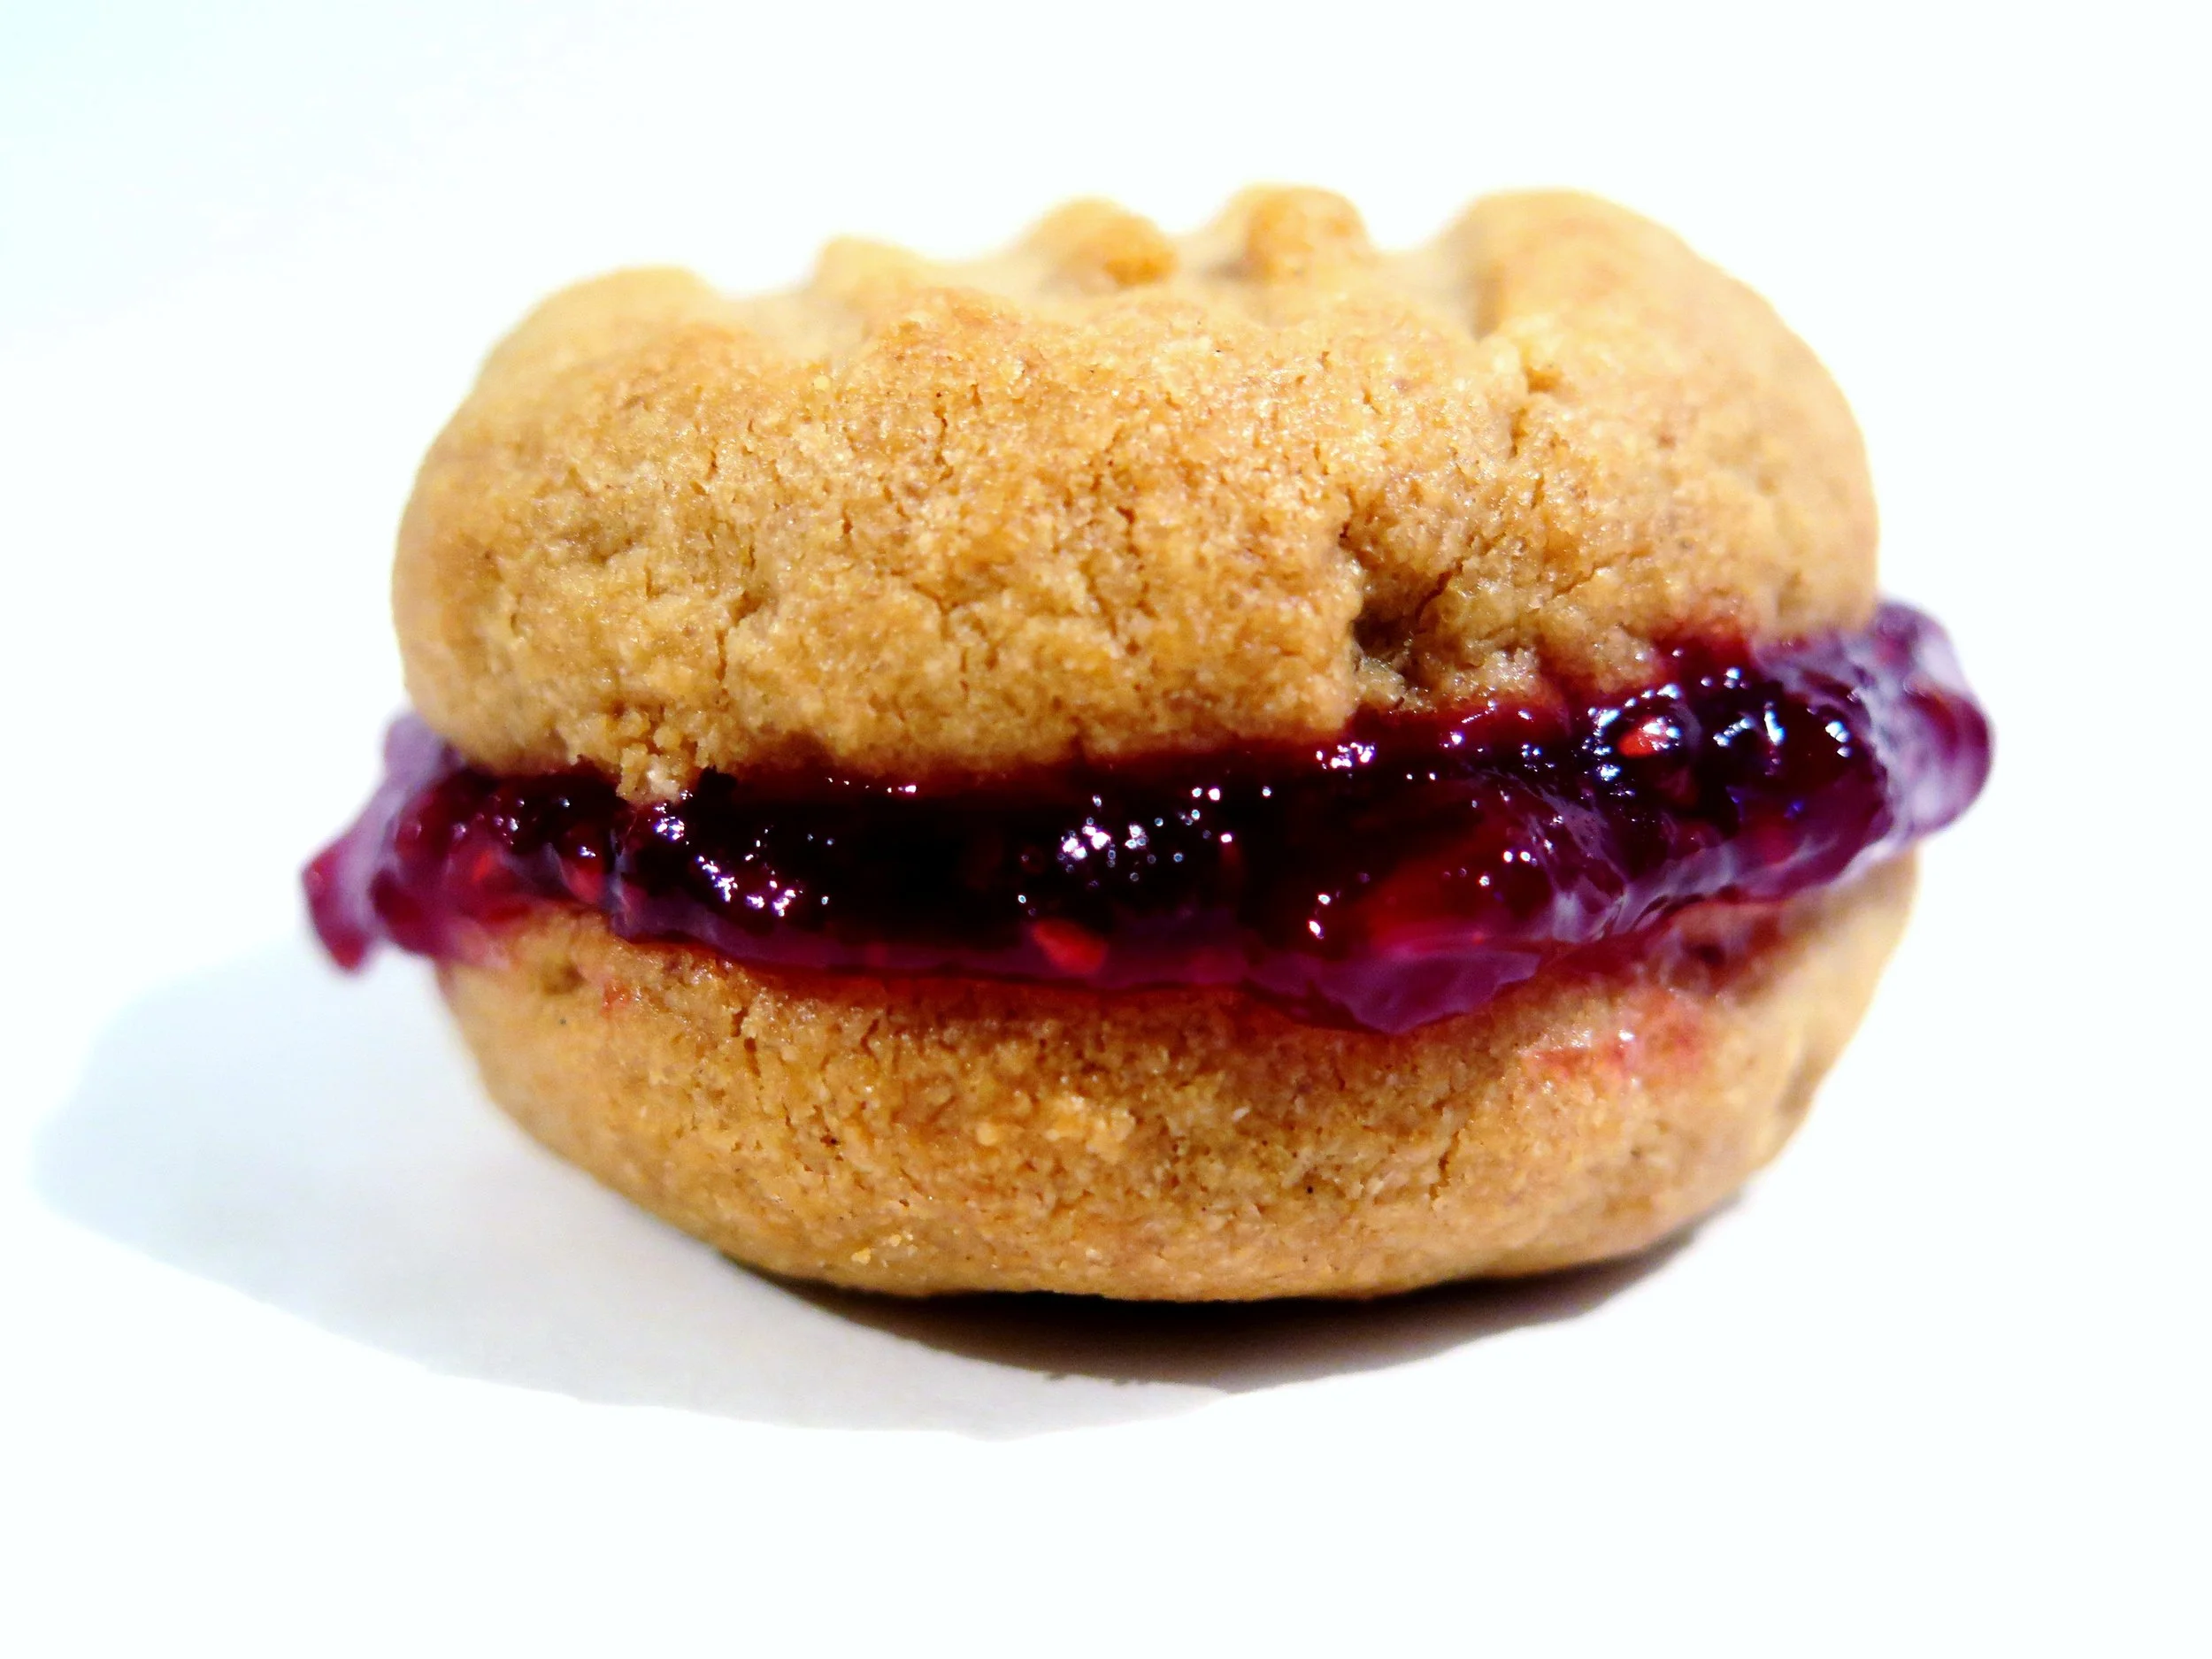
I refuse to deprive myself of pleasure - these can be a happy halfway house. So numerous that they can be popped into the mouth in one without anyone noticing that the supply has been reduced, so light that they can be enjoyed without having to loosen waistbands to accommodate them, and so small that they make gorgeous bejewelled petit fours at dinner parties without the guilt attached, in my case, to eating an entire pavlova.  

Mini chocolate & raspberry meringue
Mini Chocolate & Raspberry Meringues

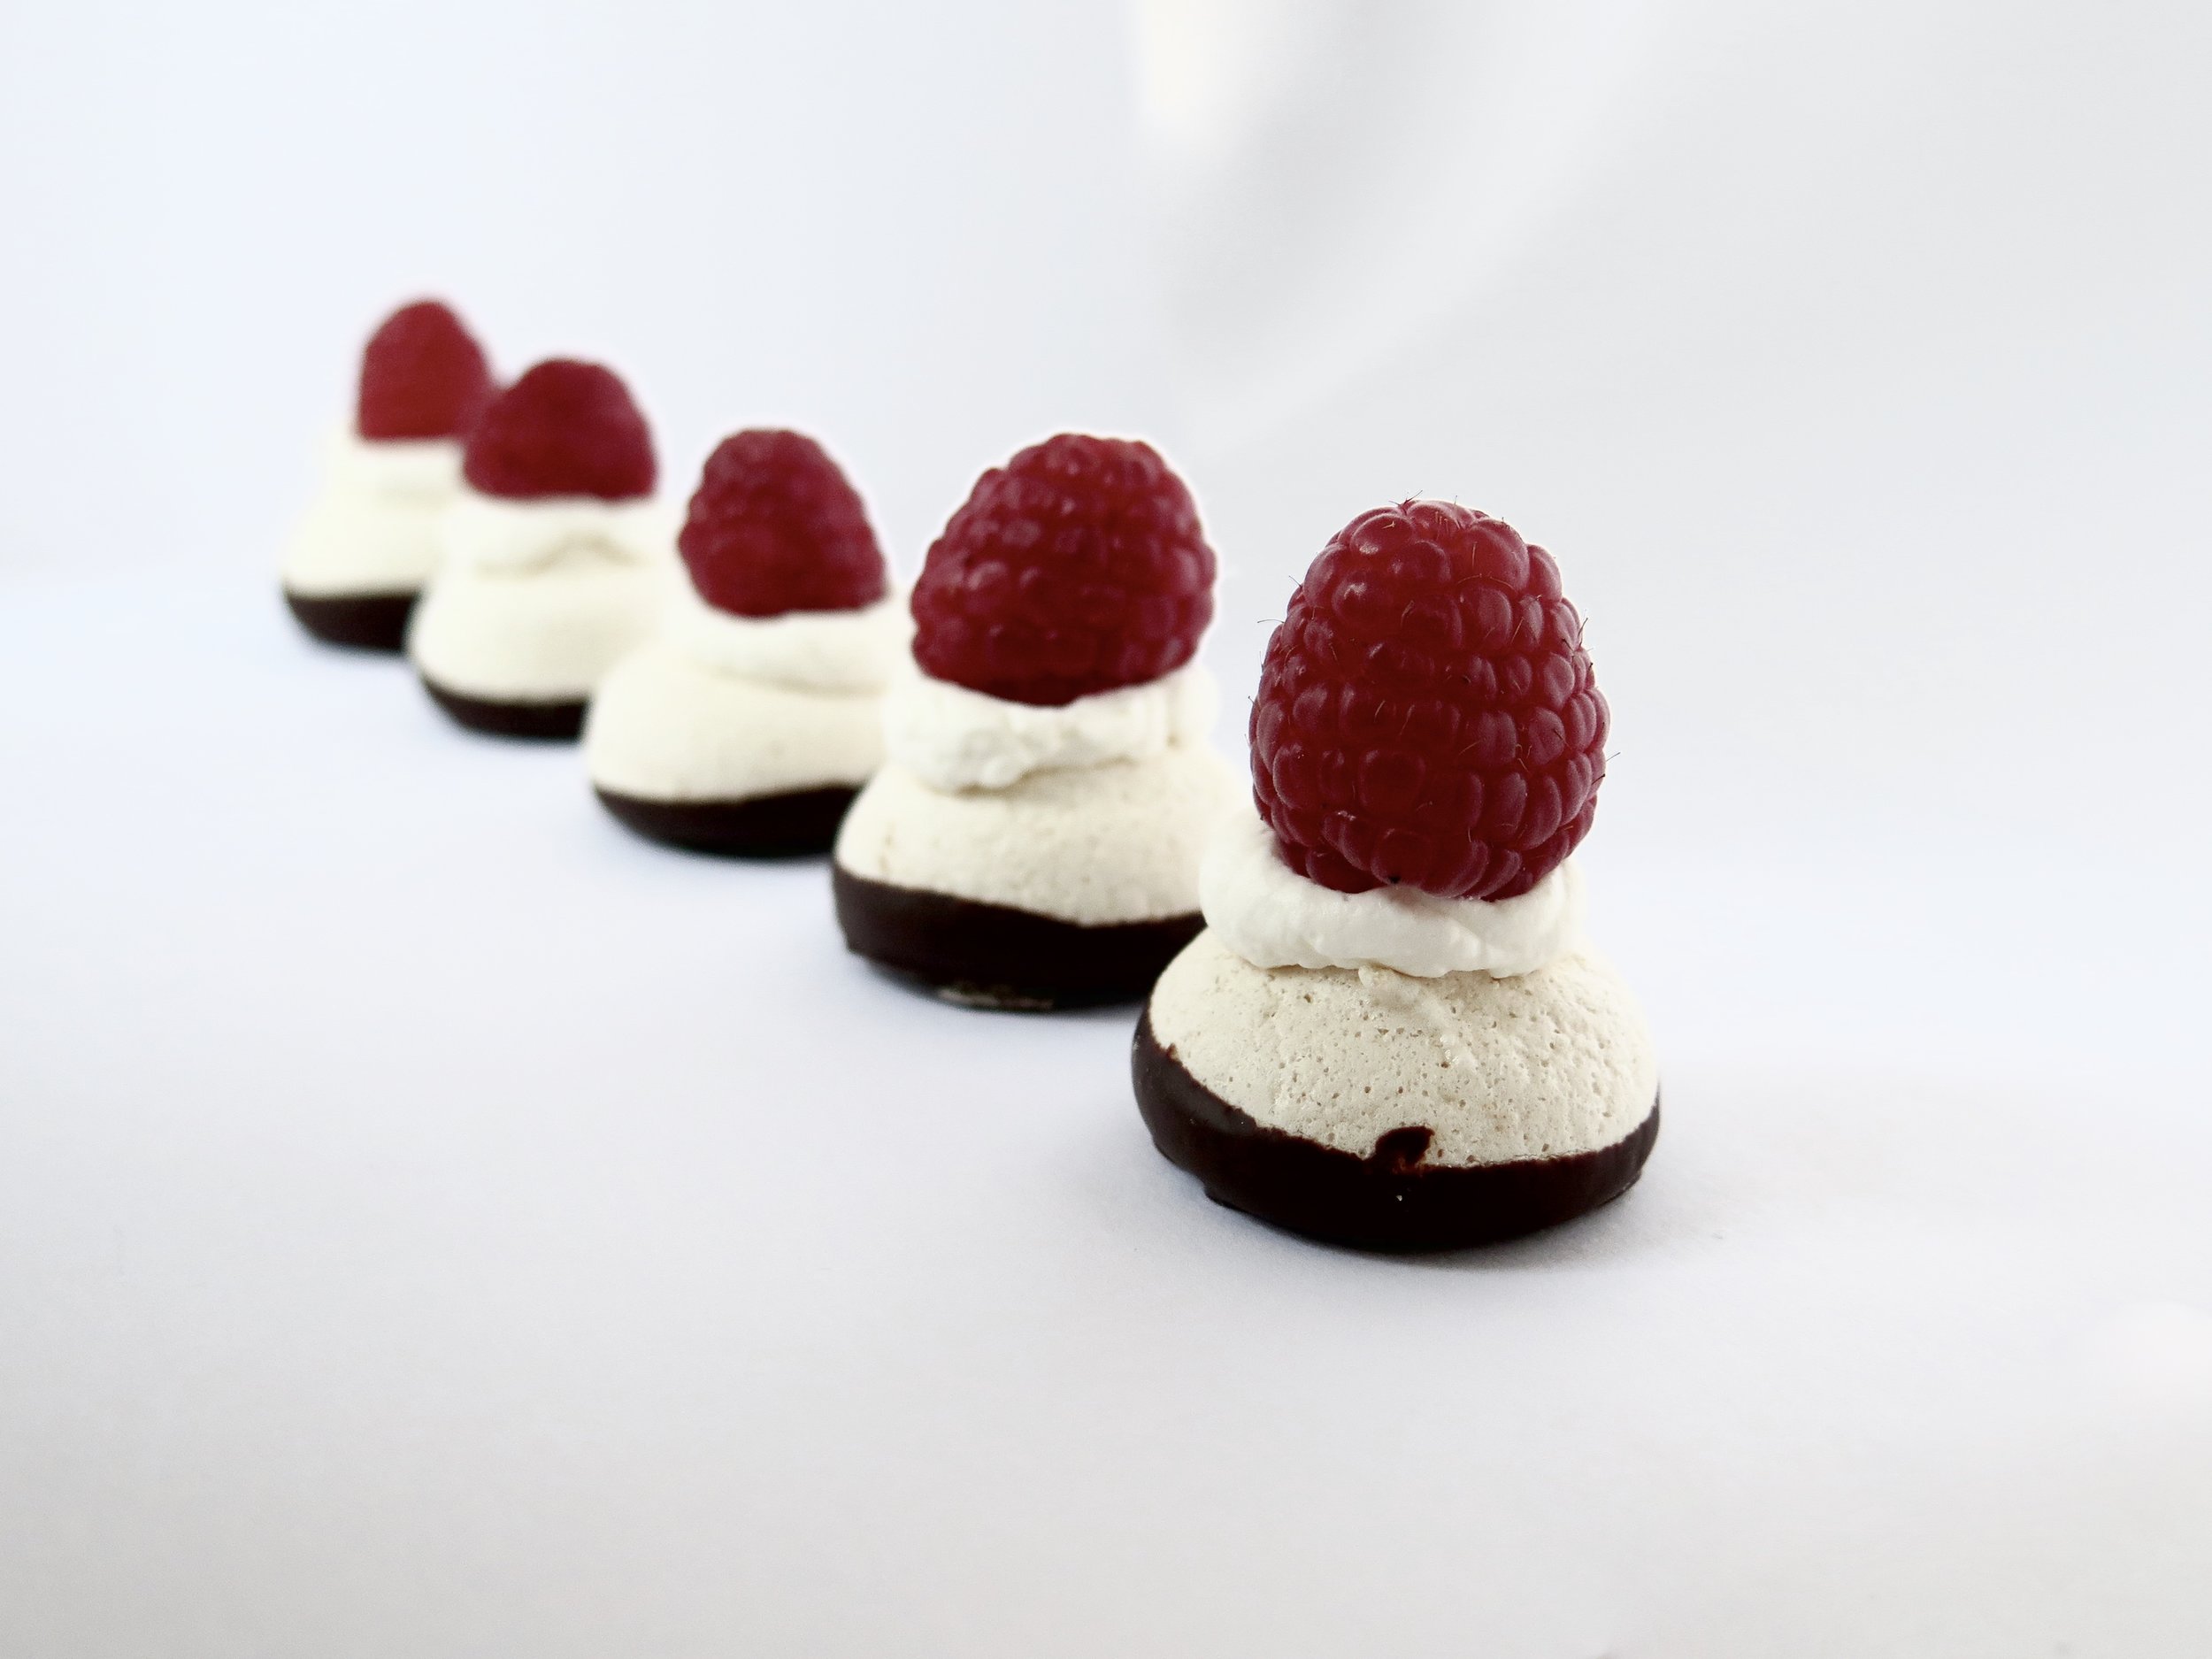
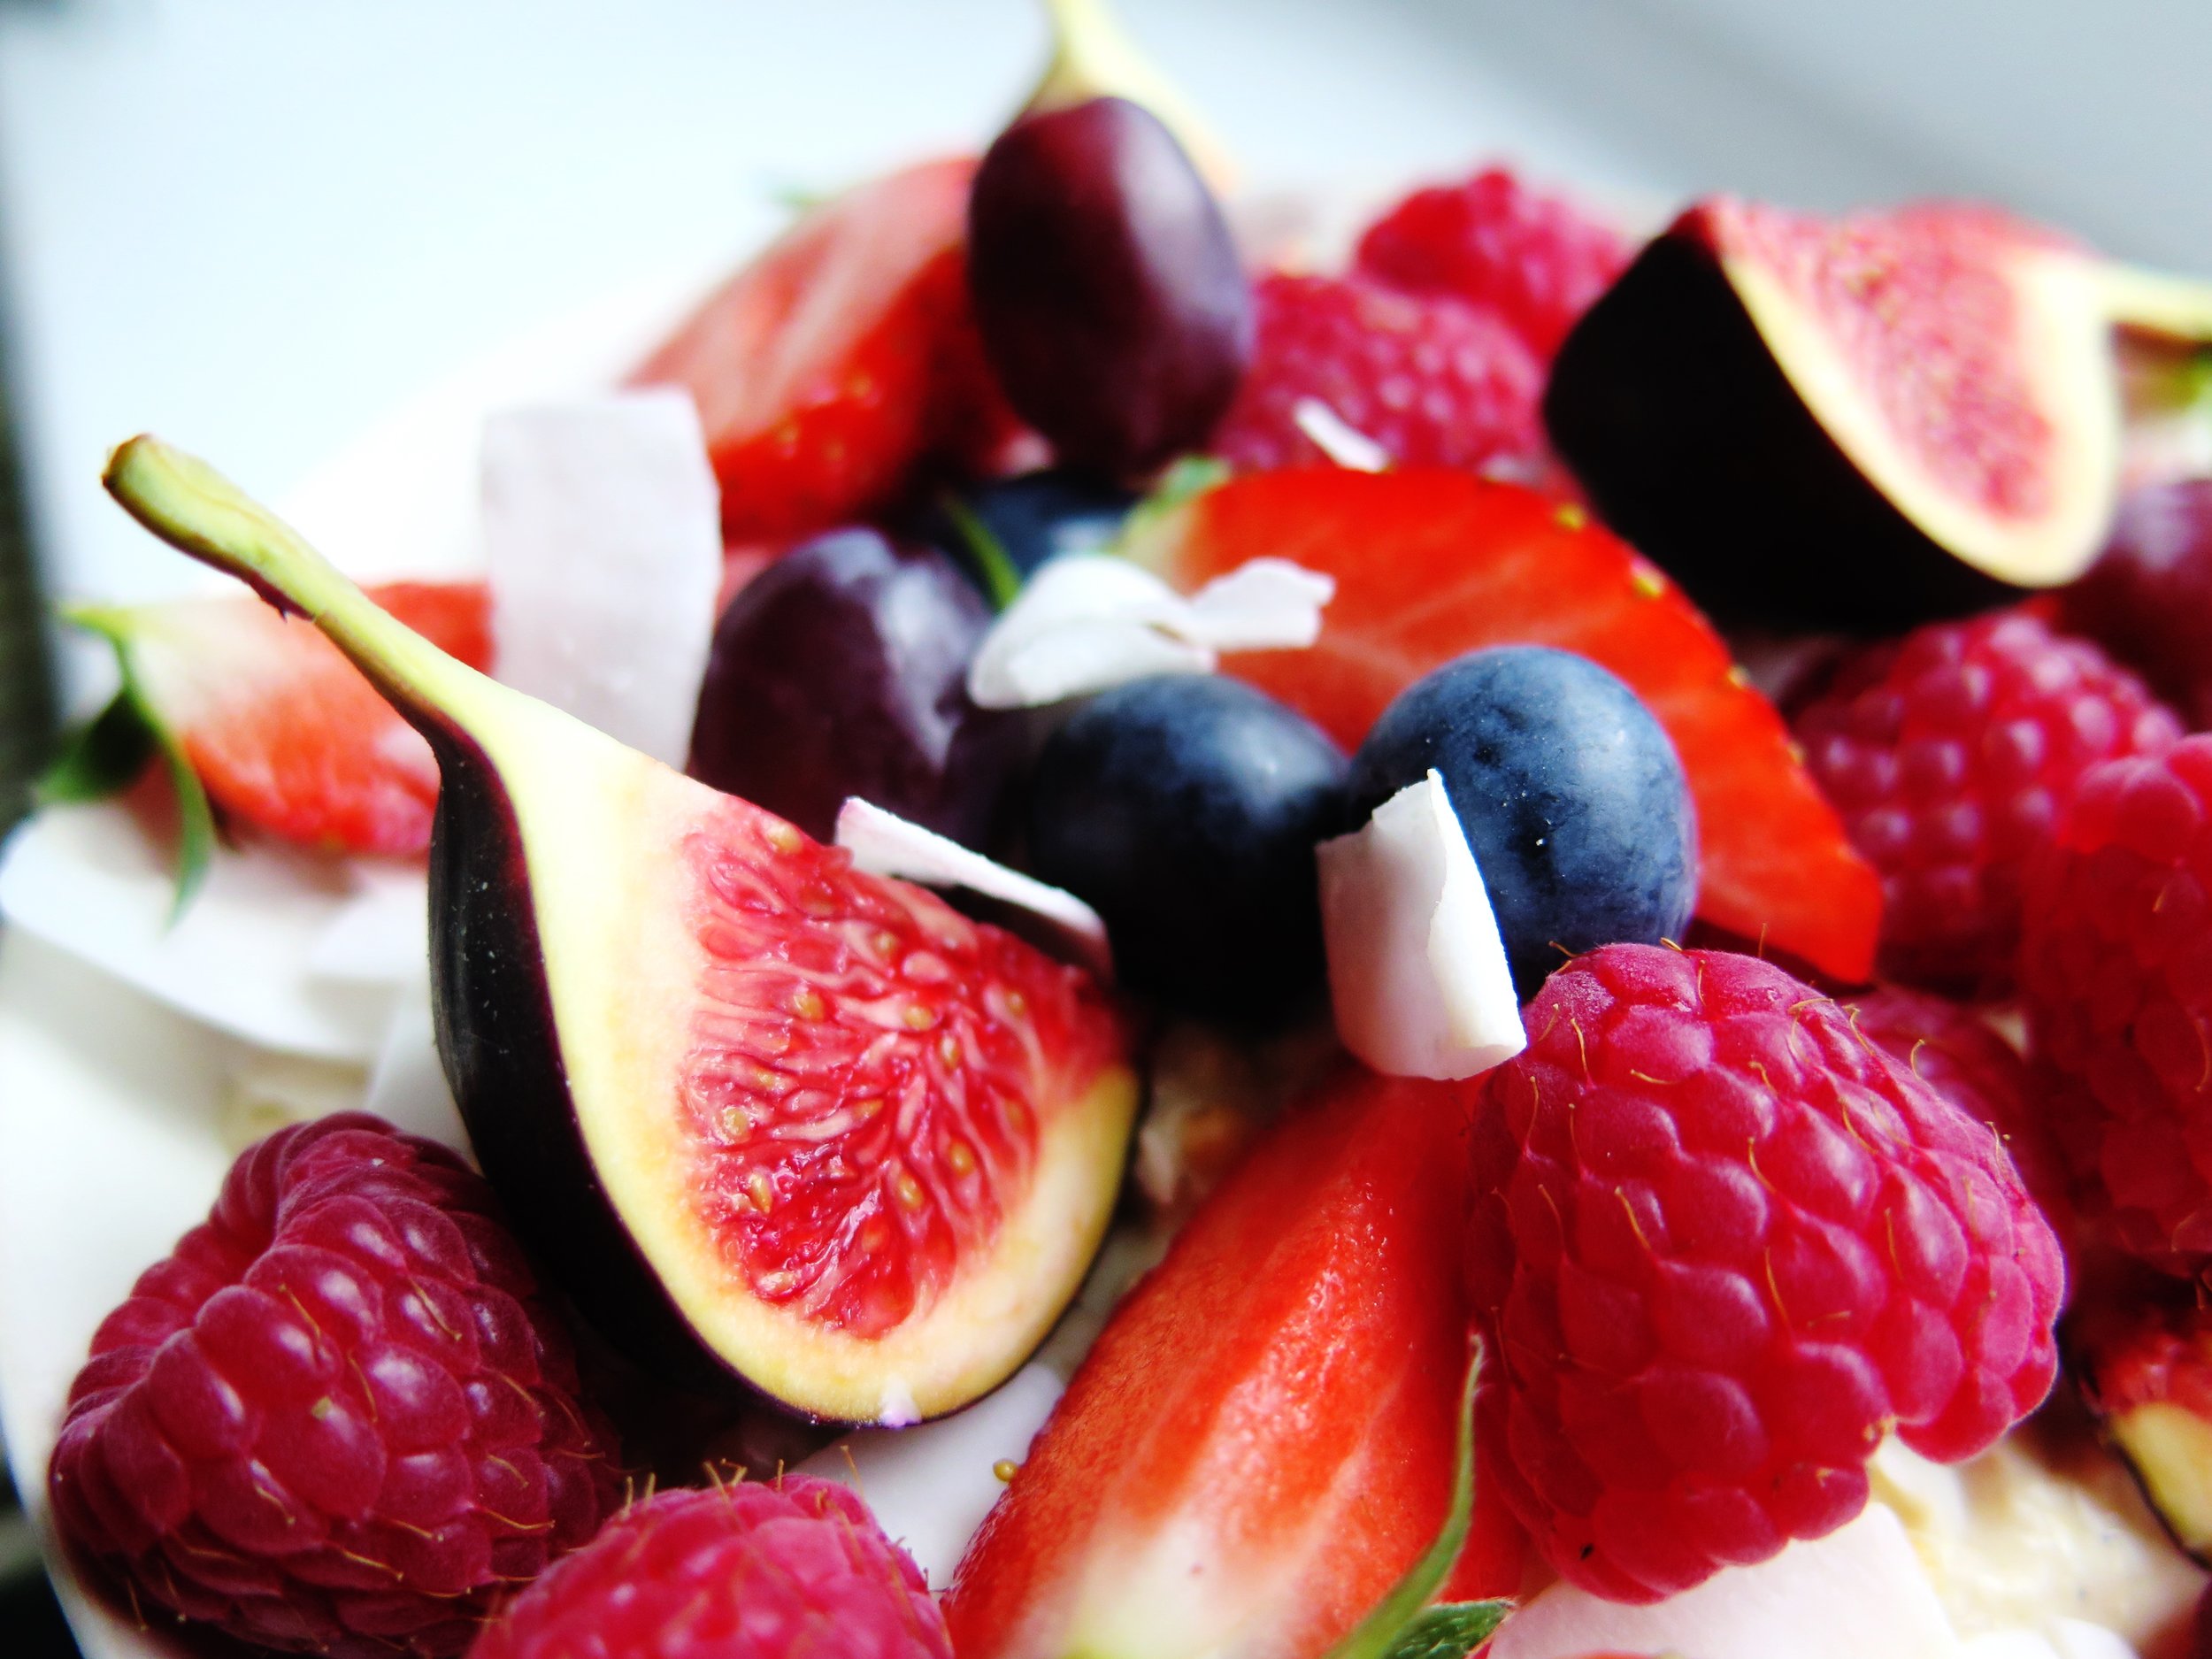
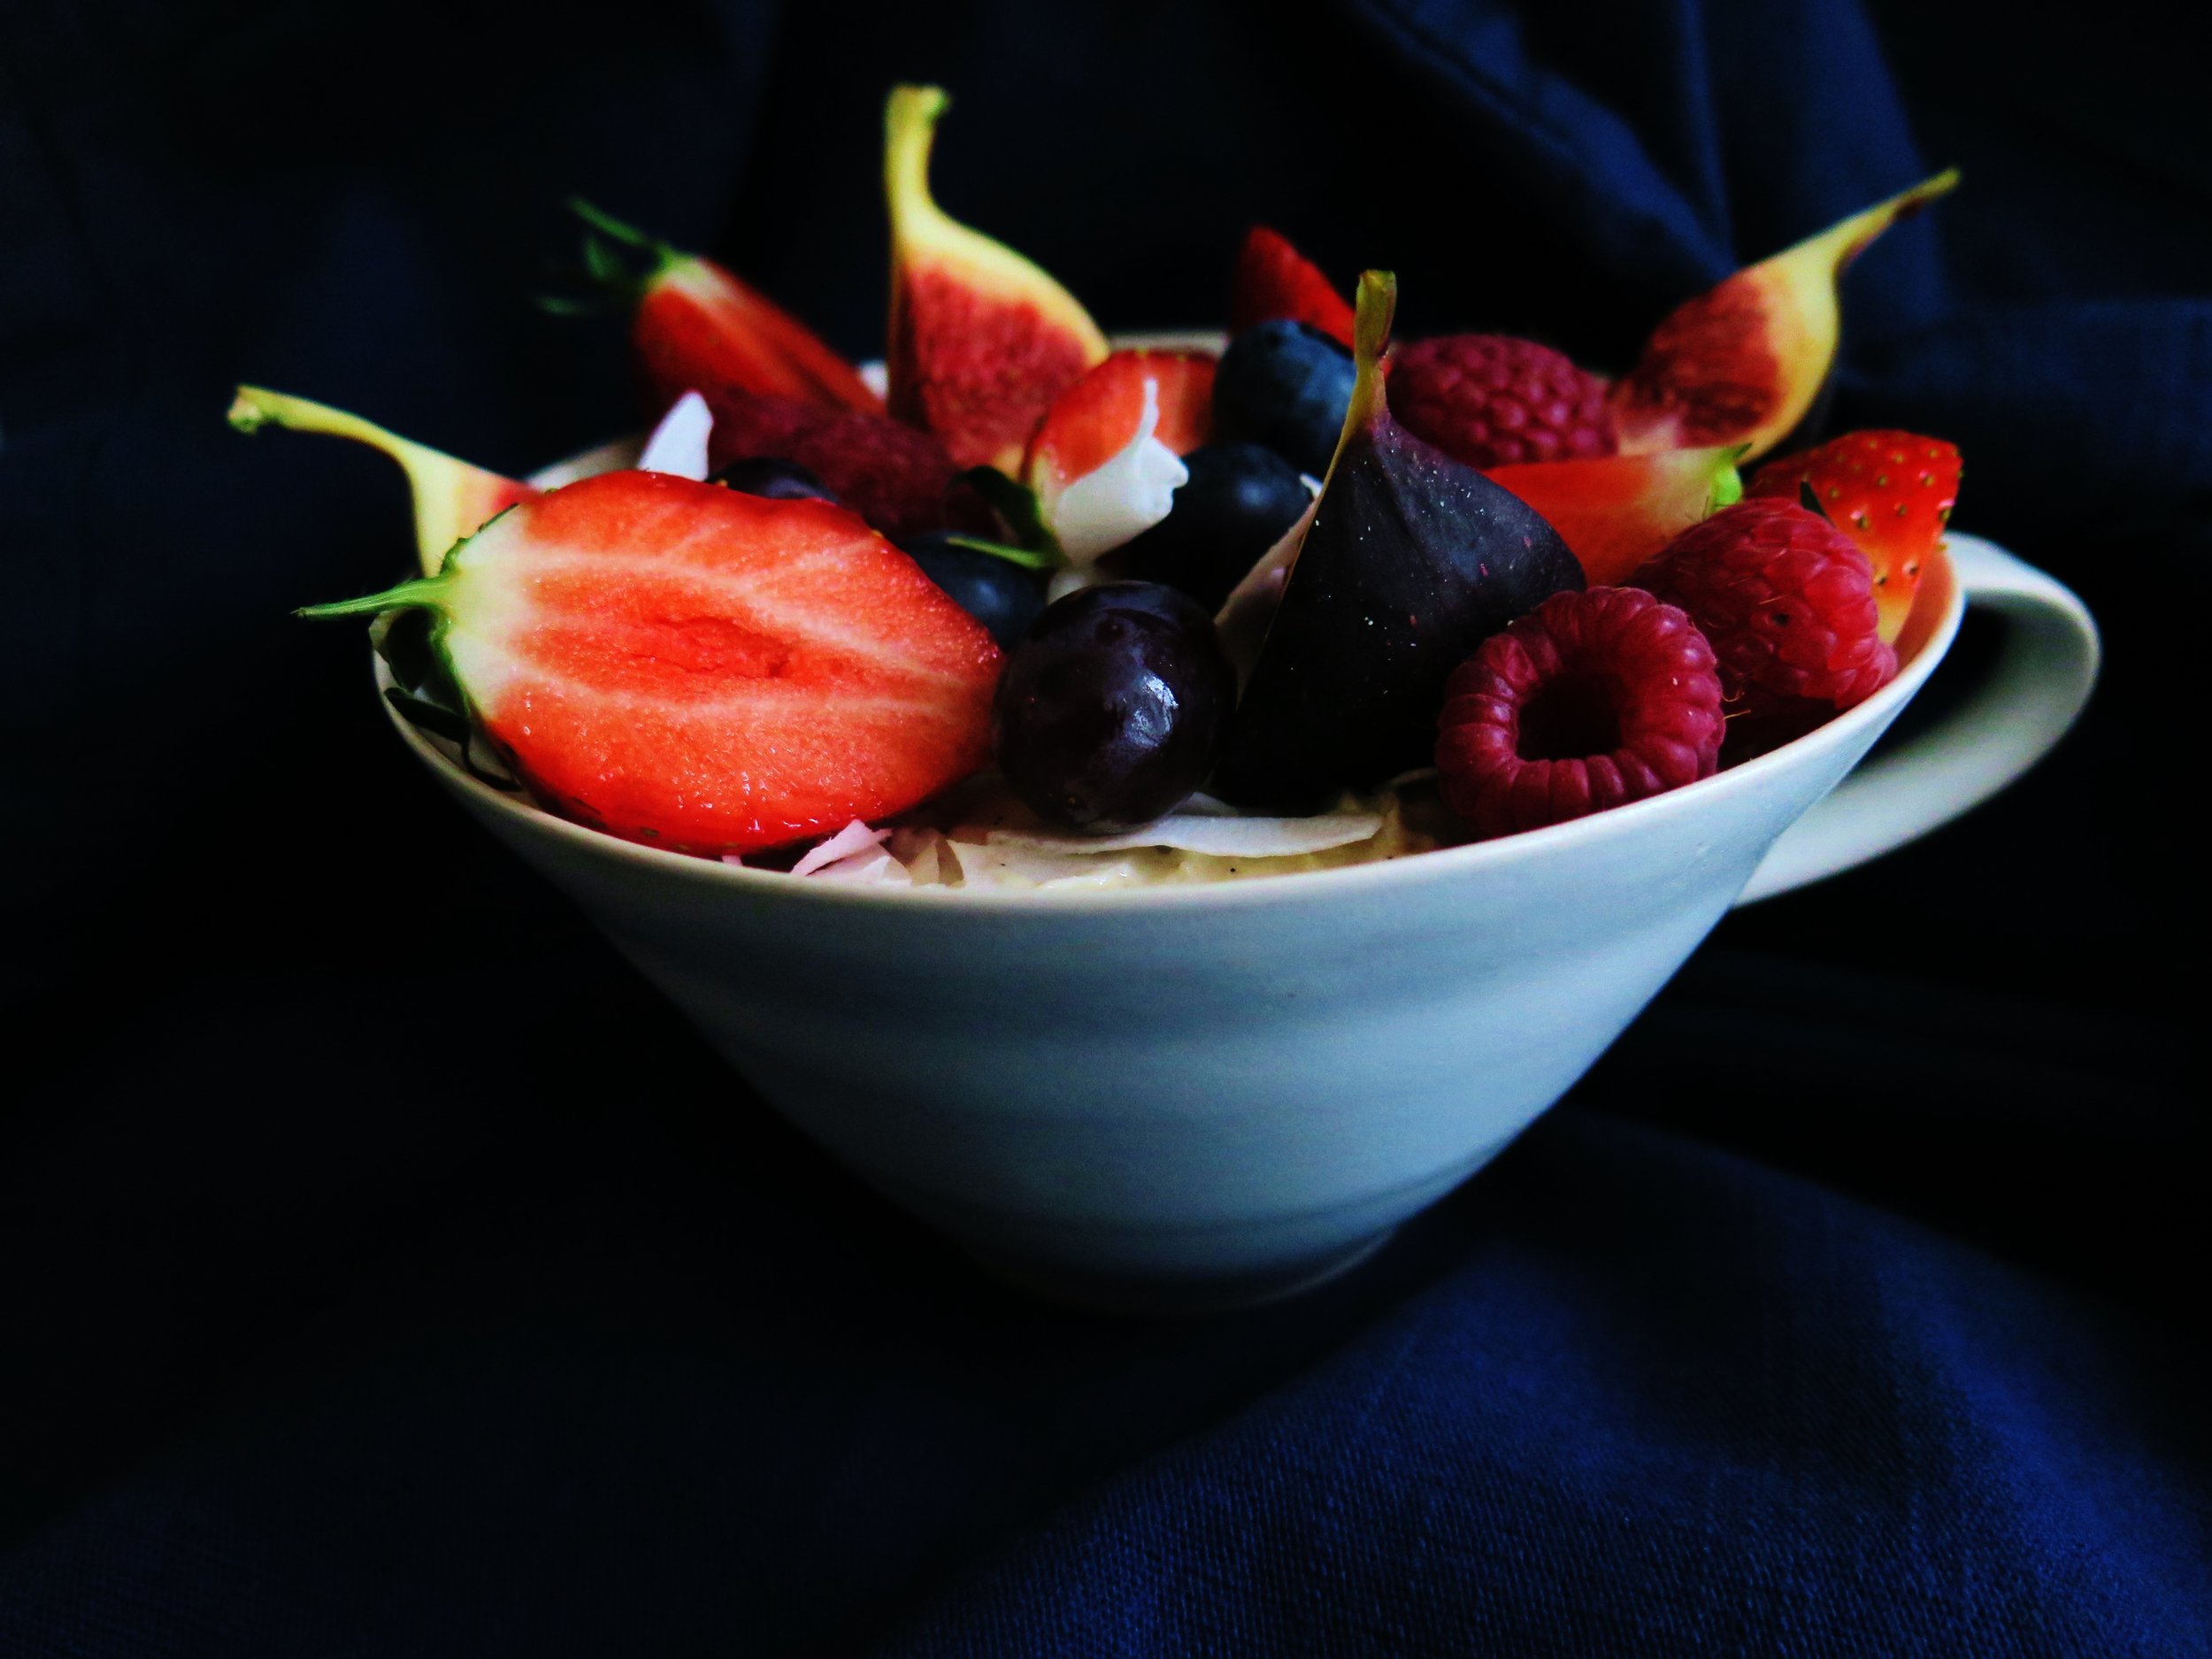
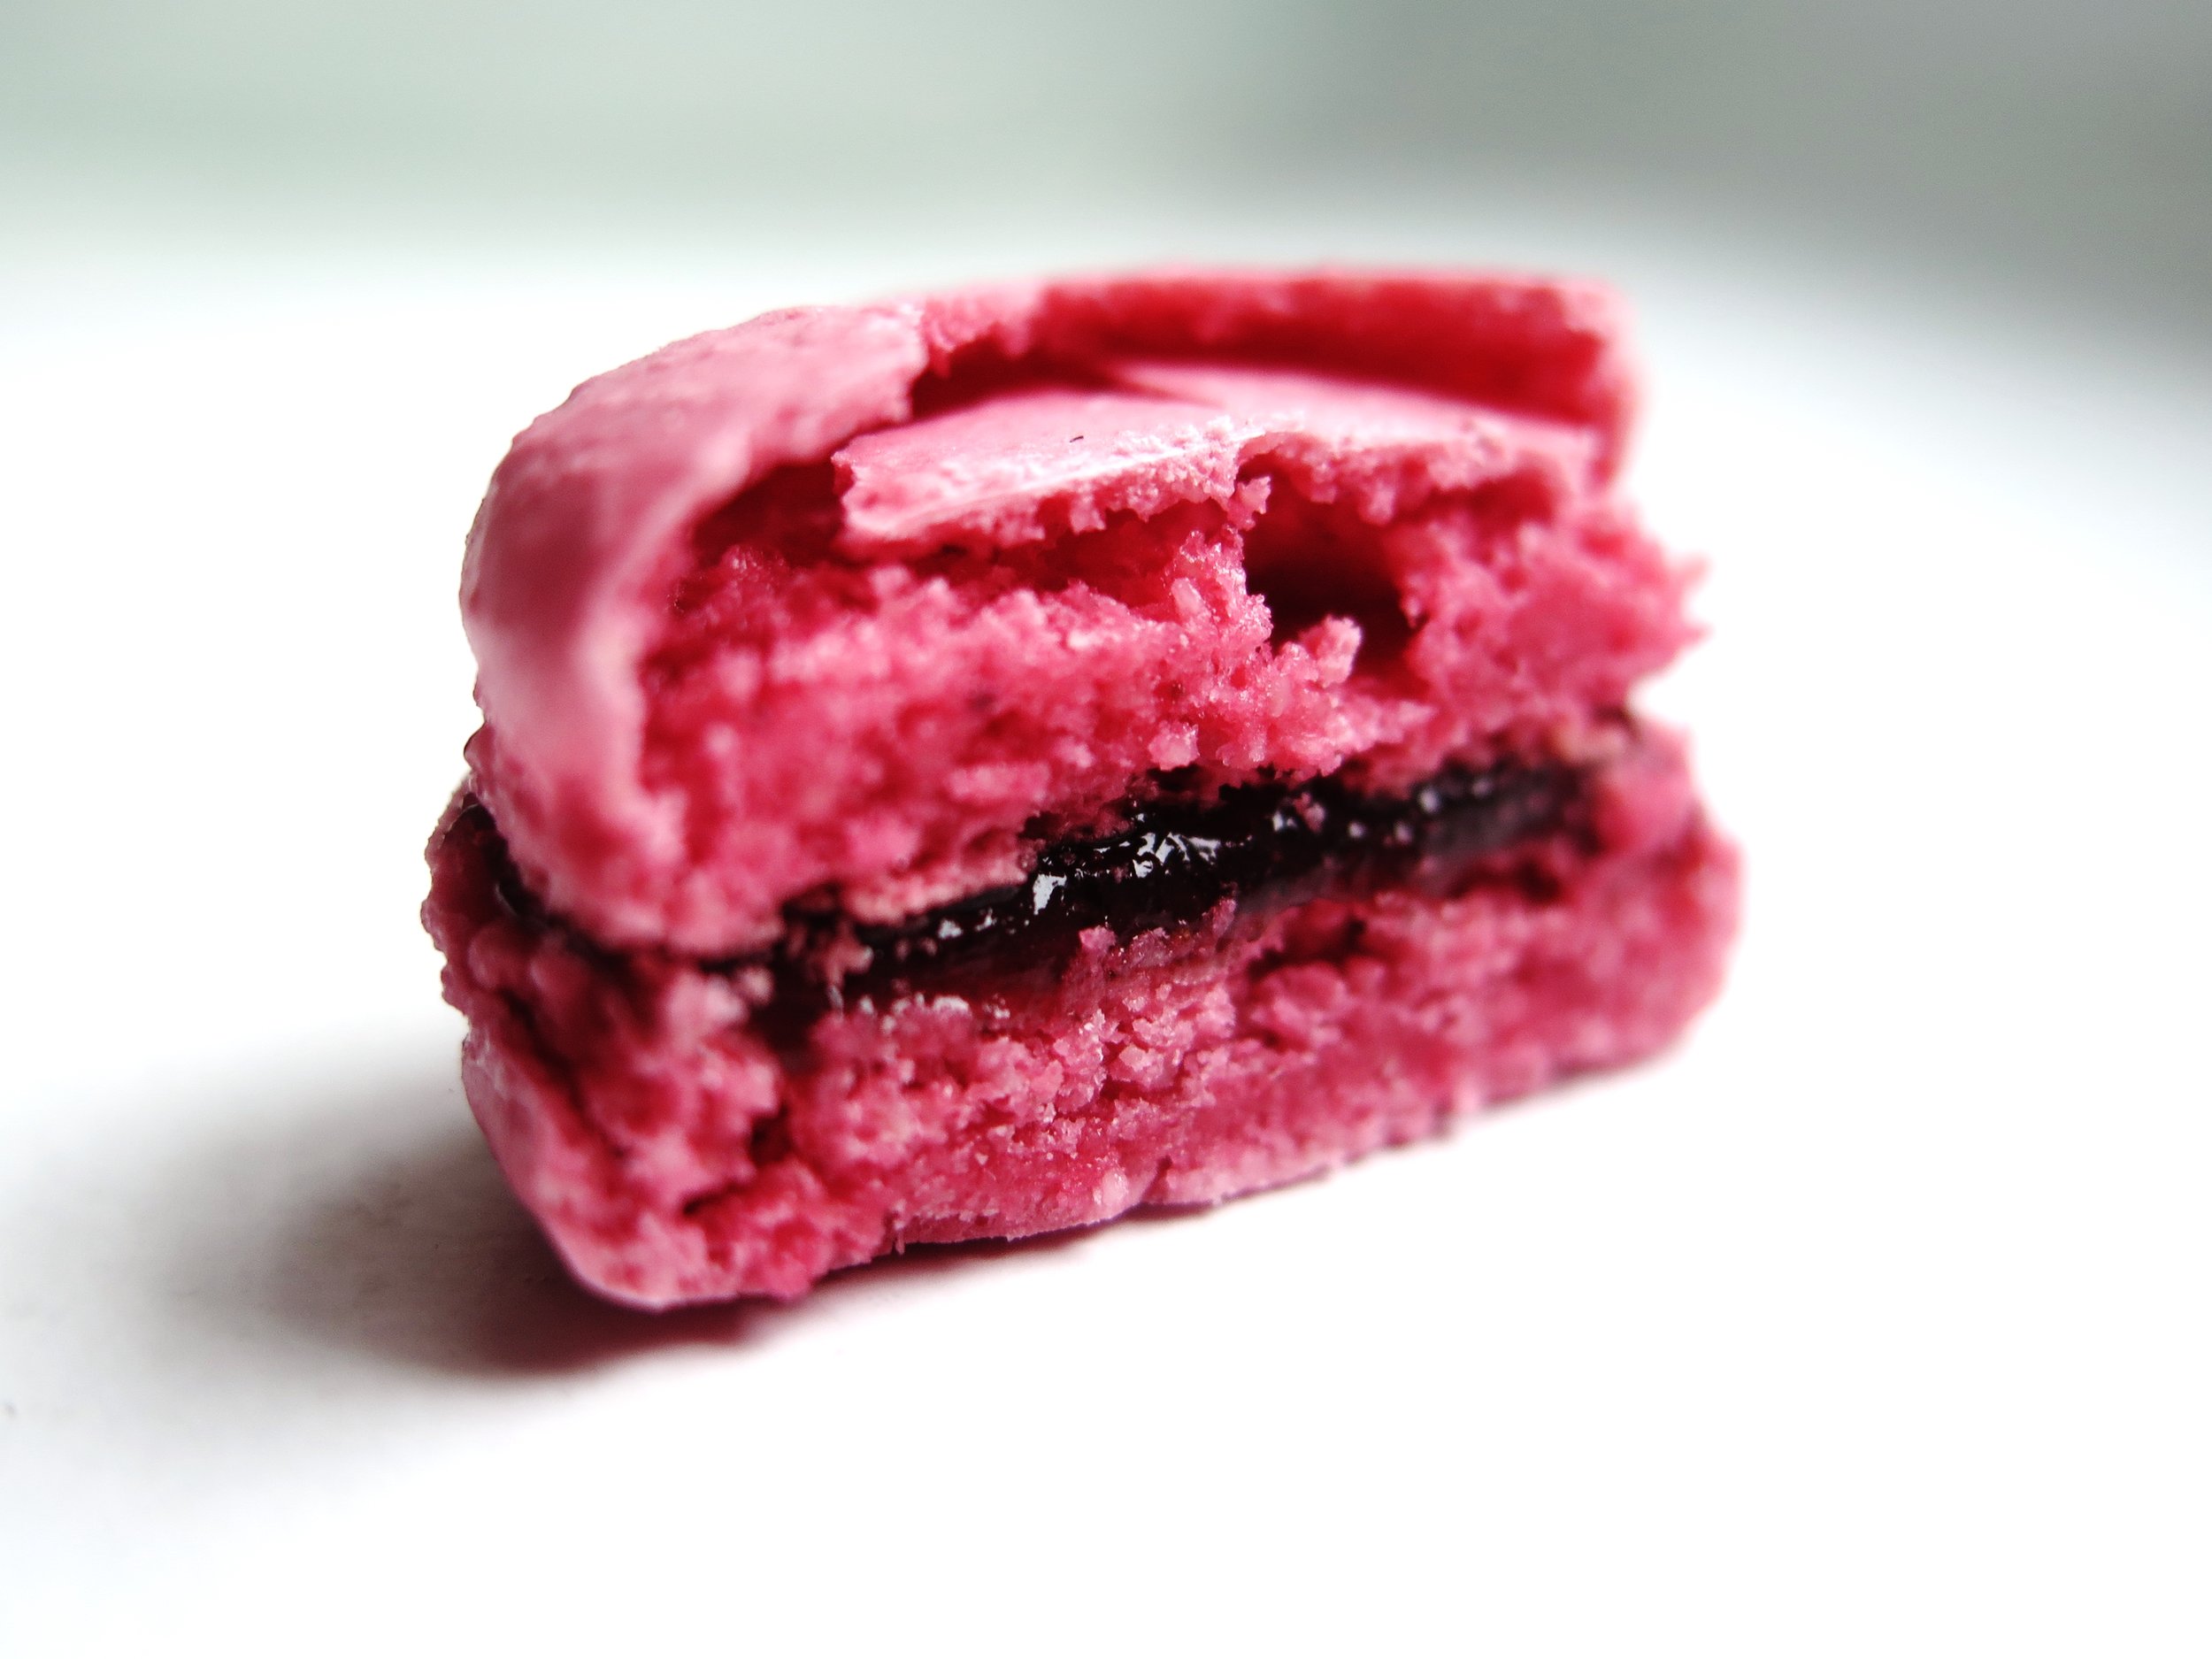
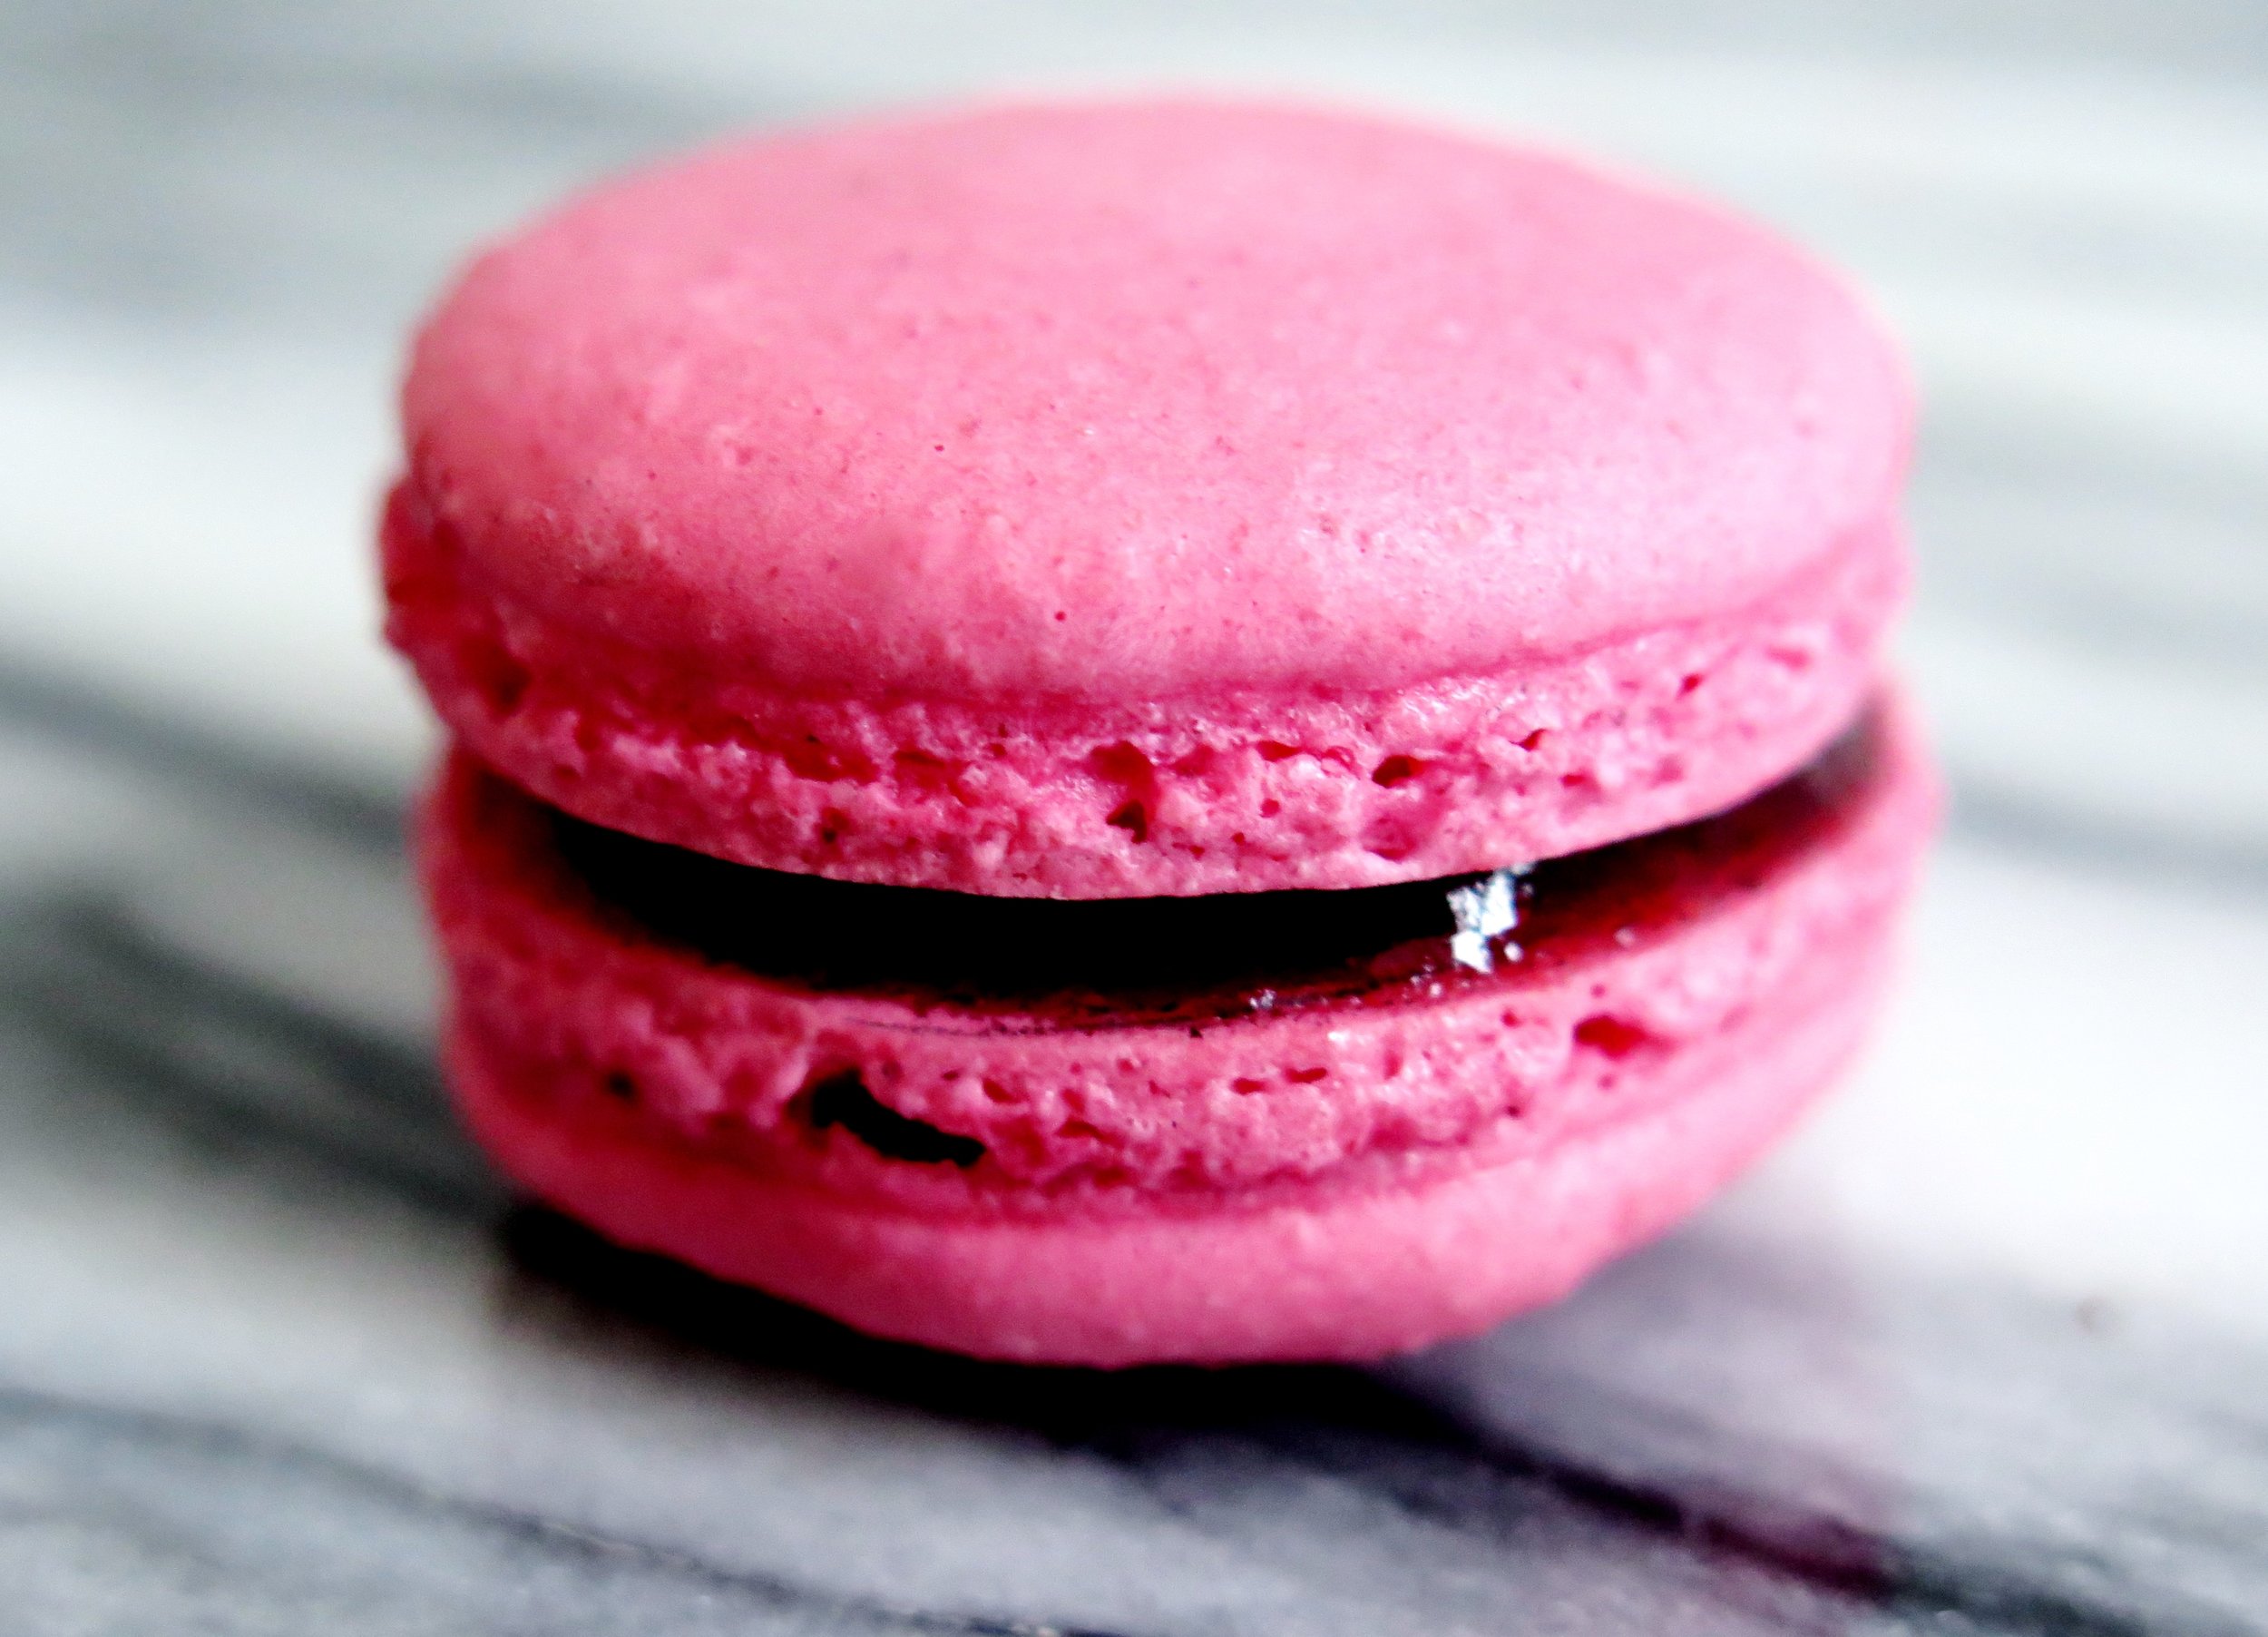
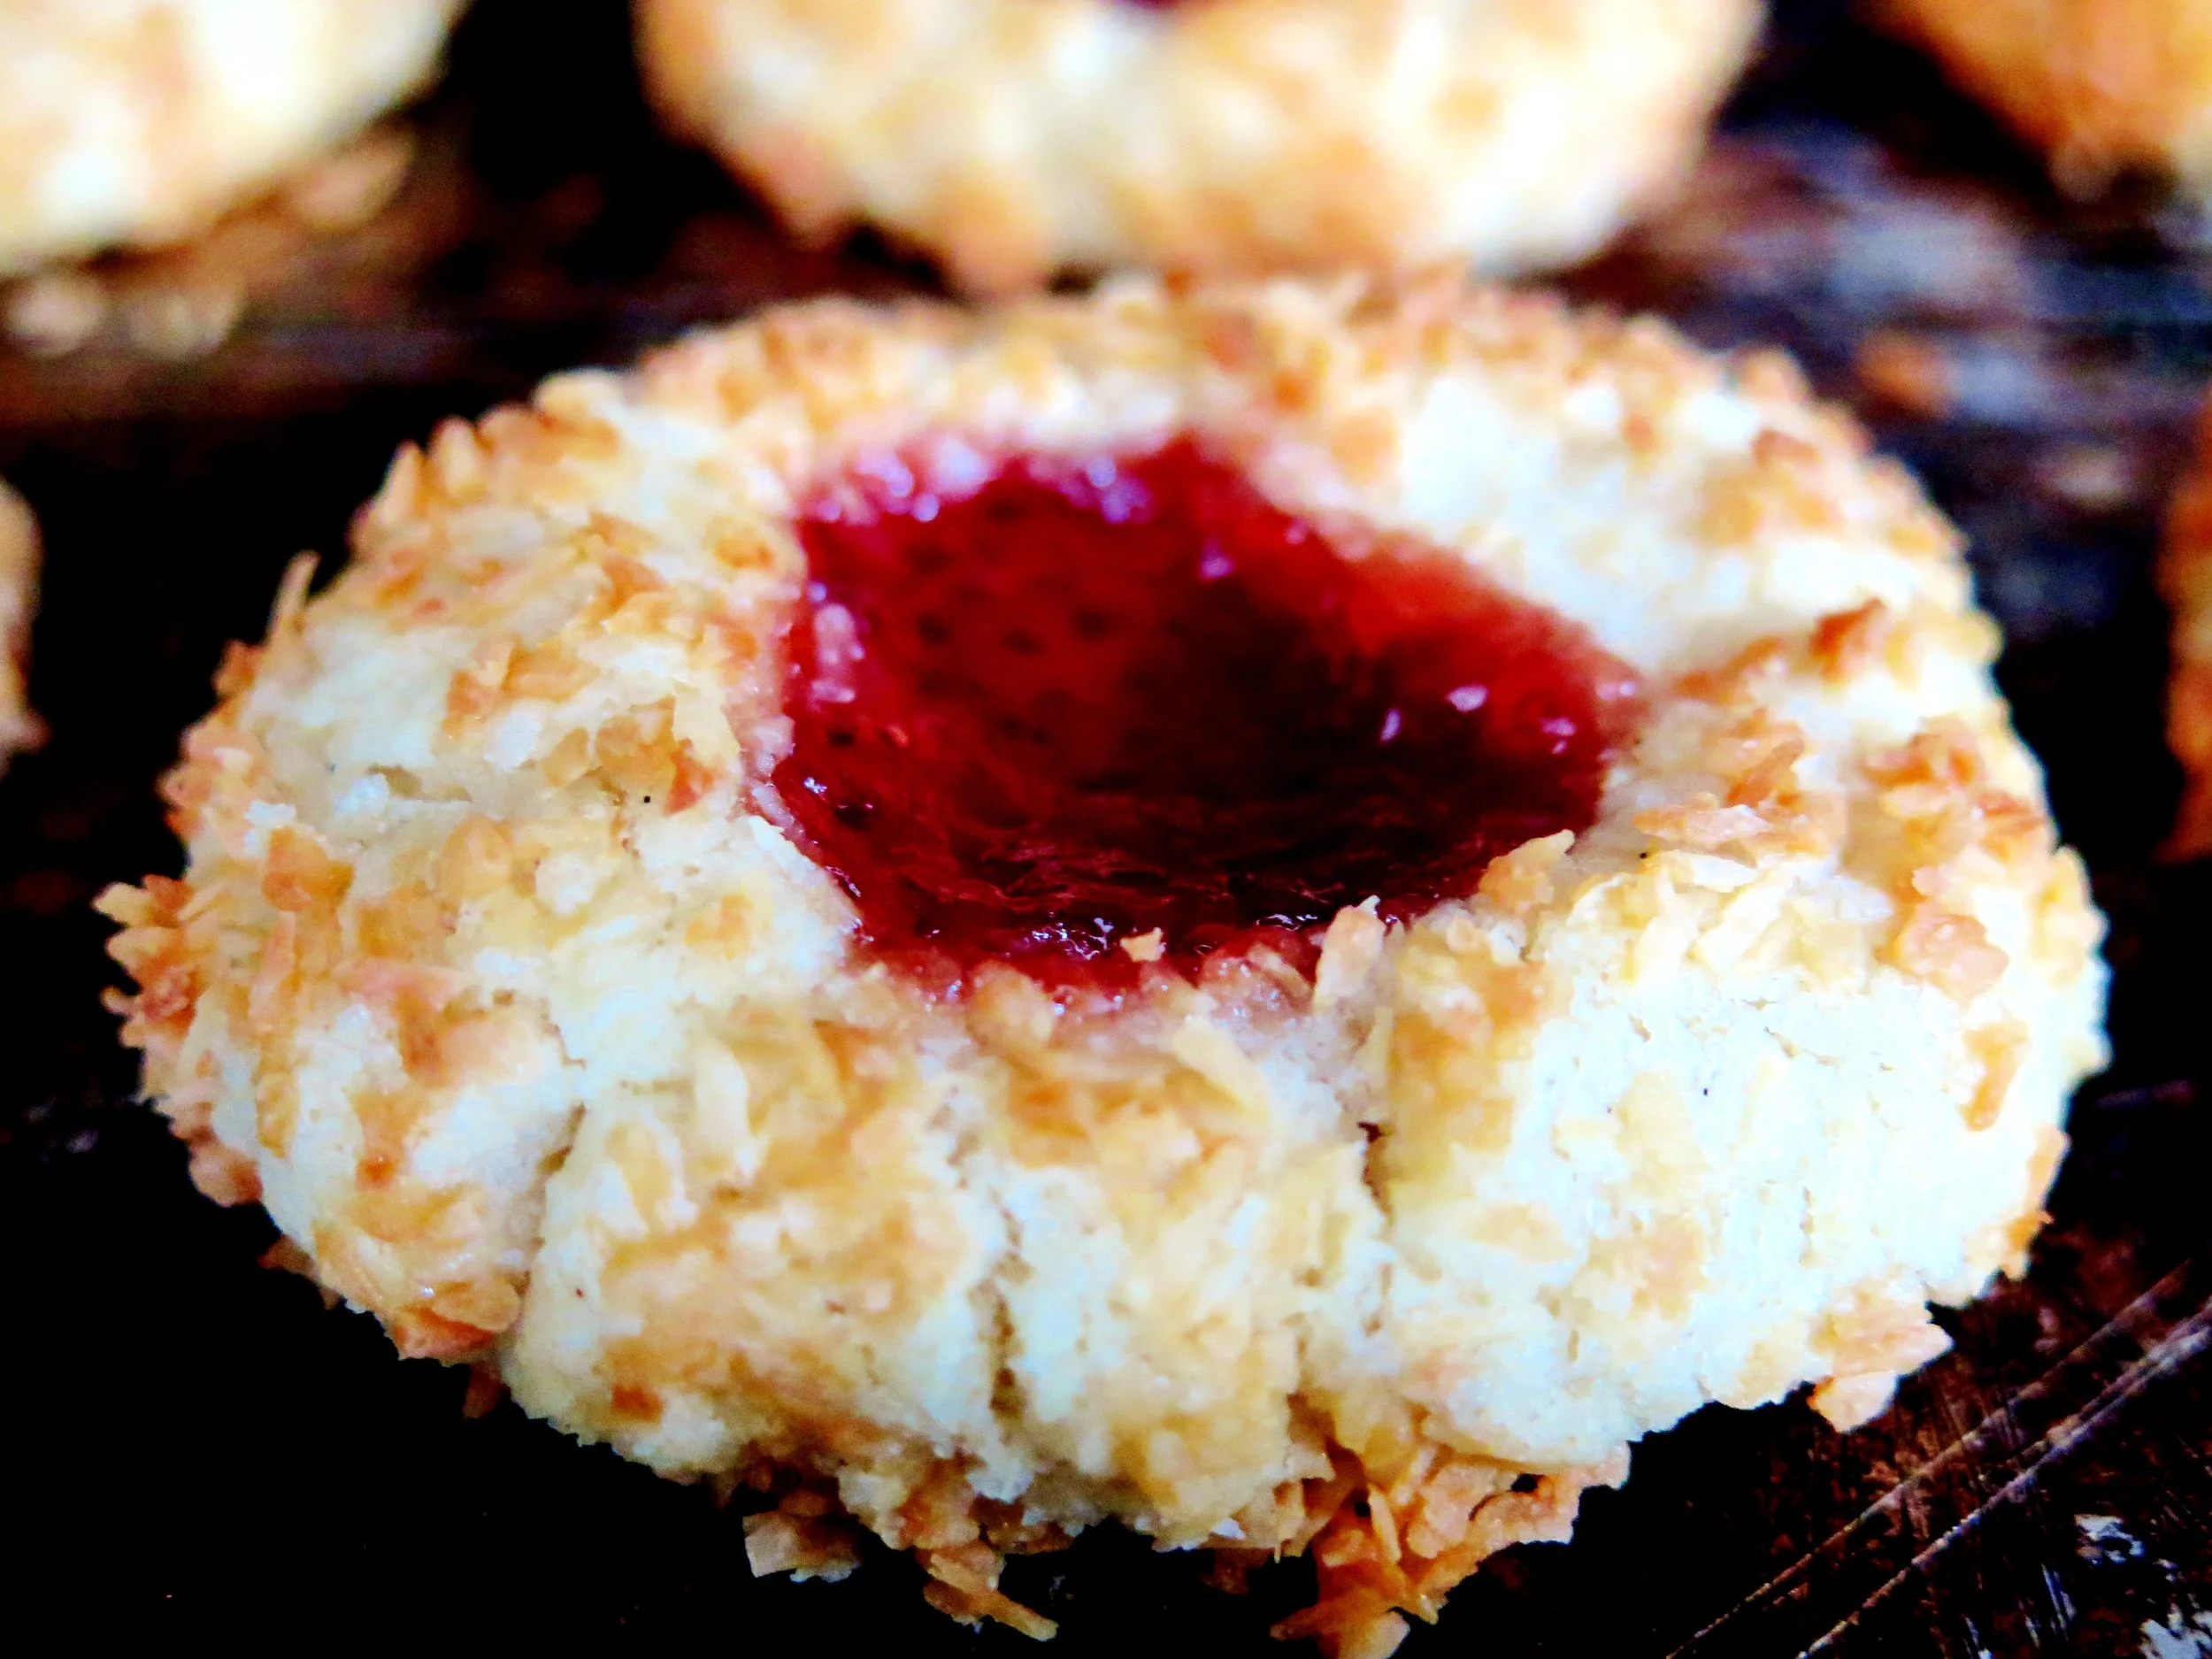
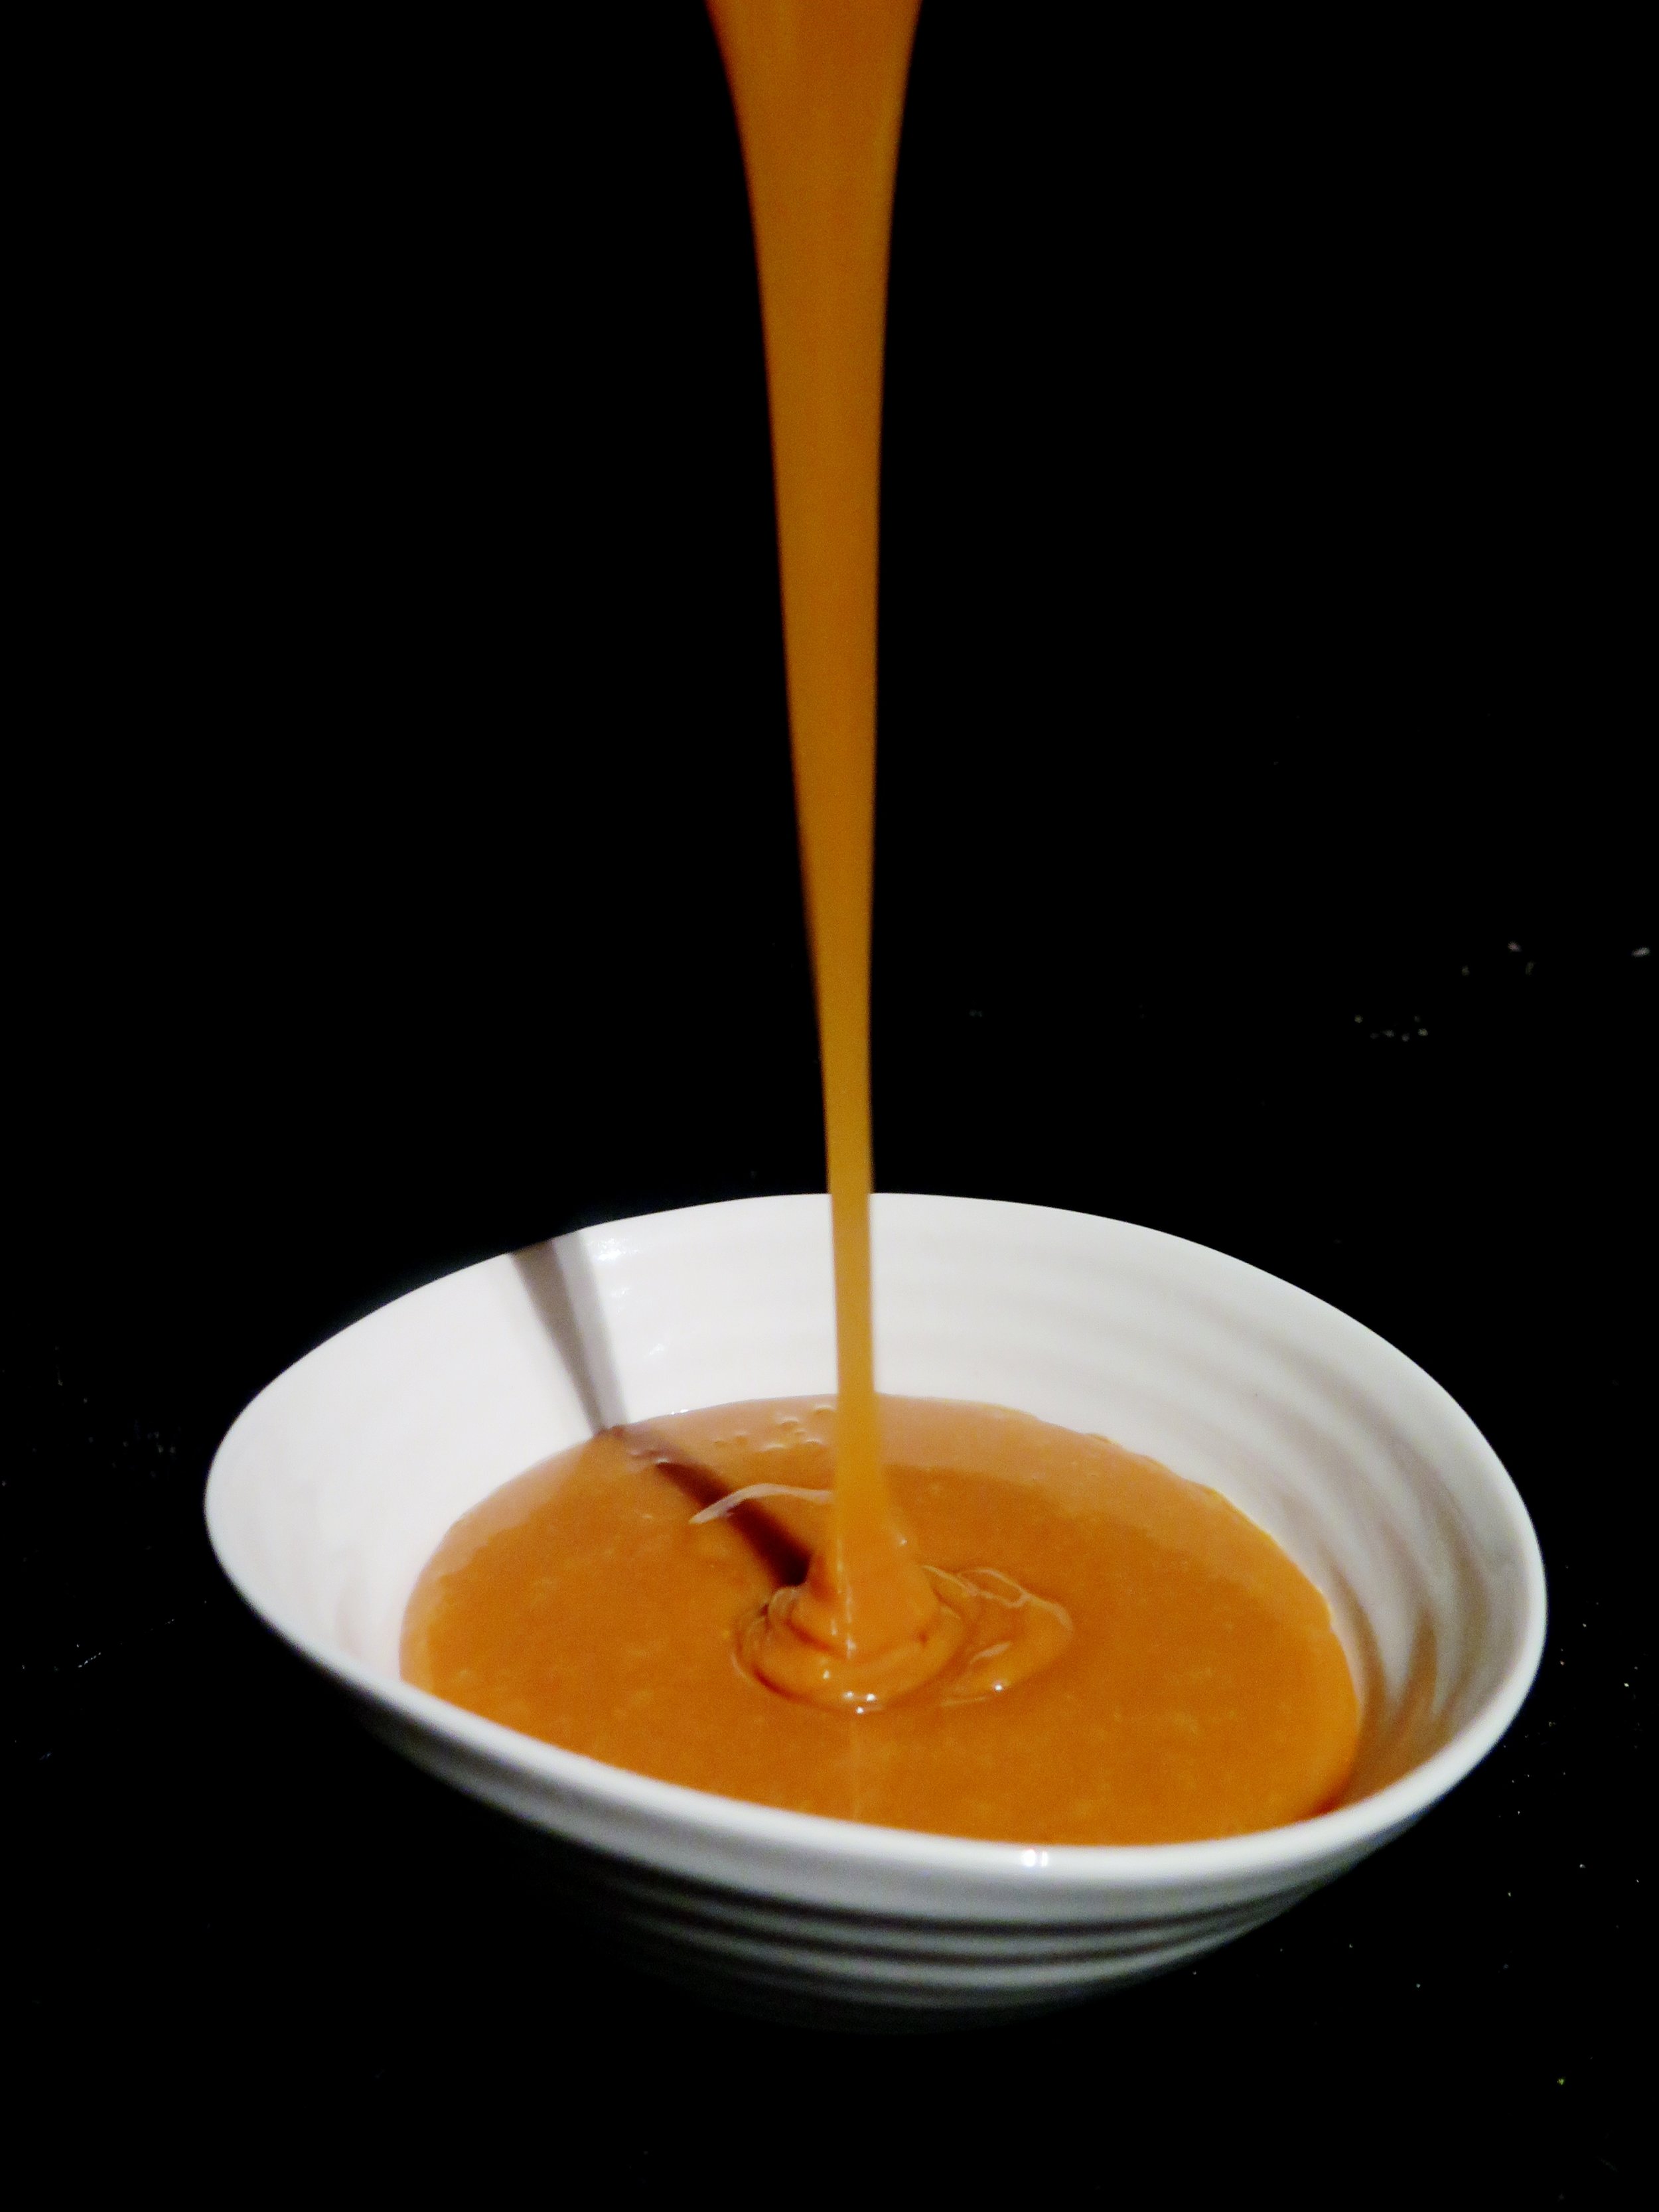
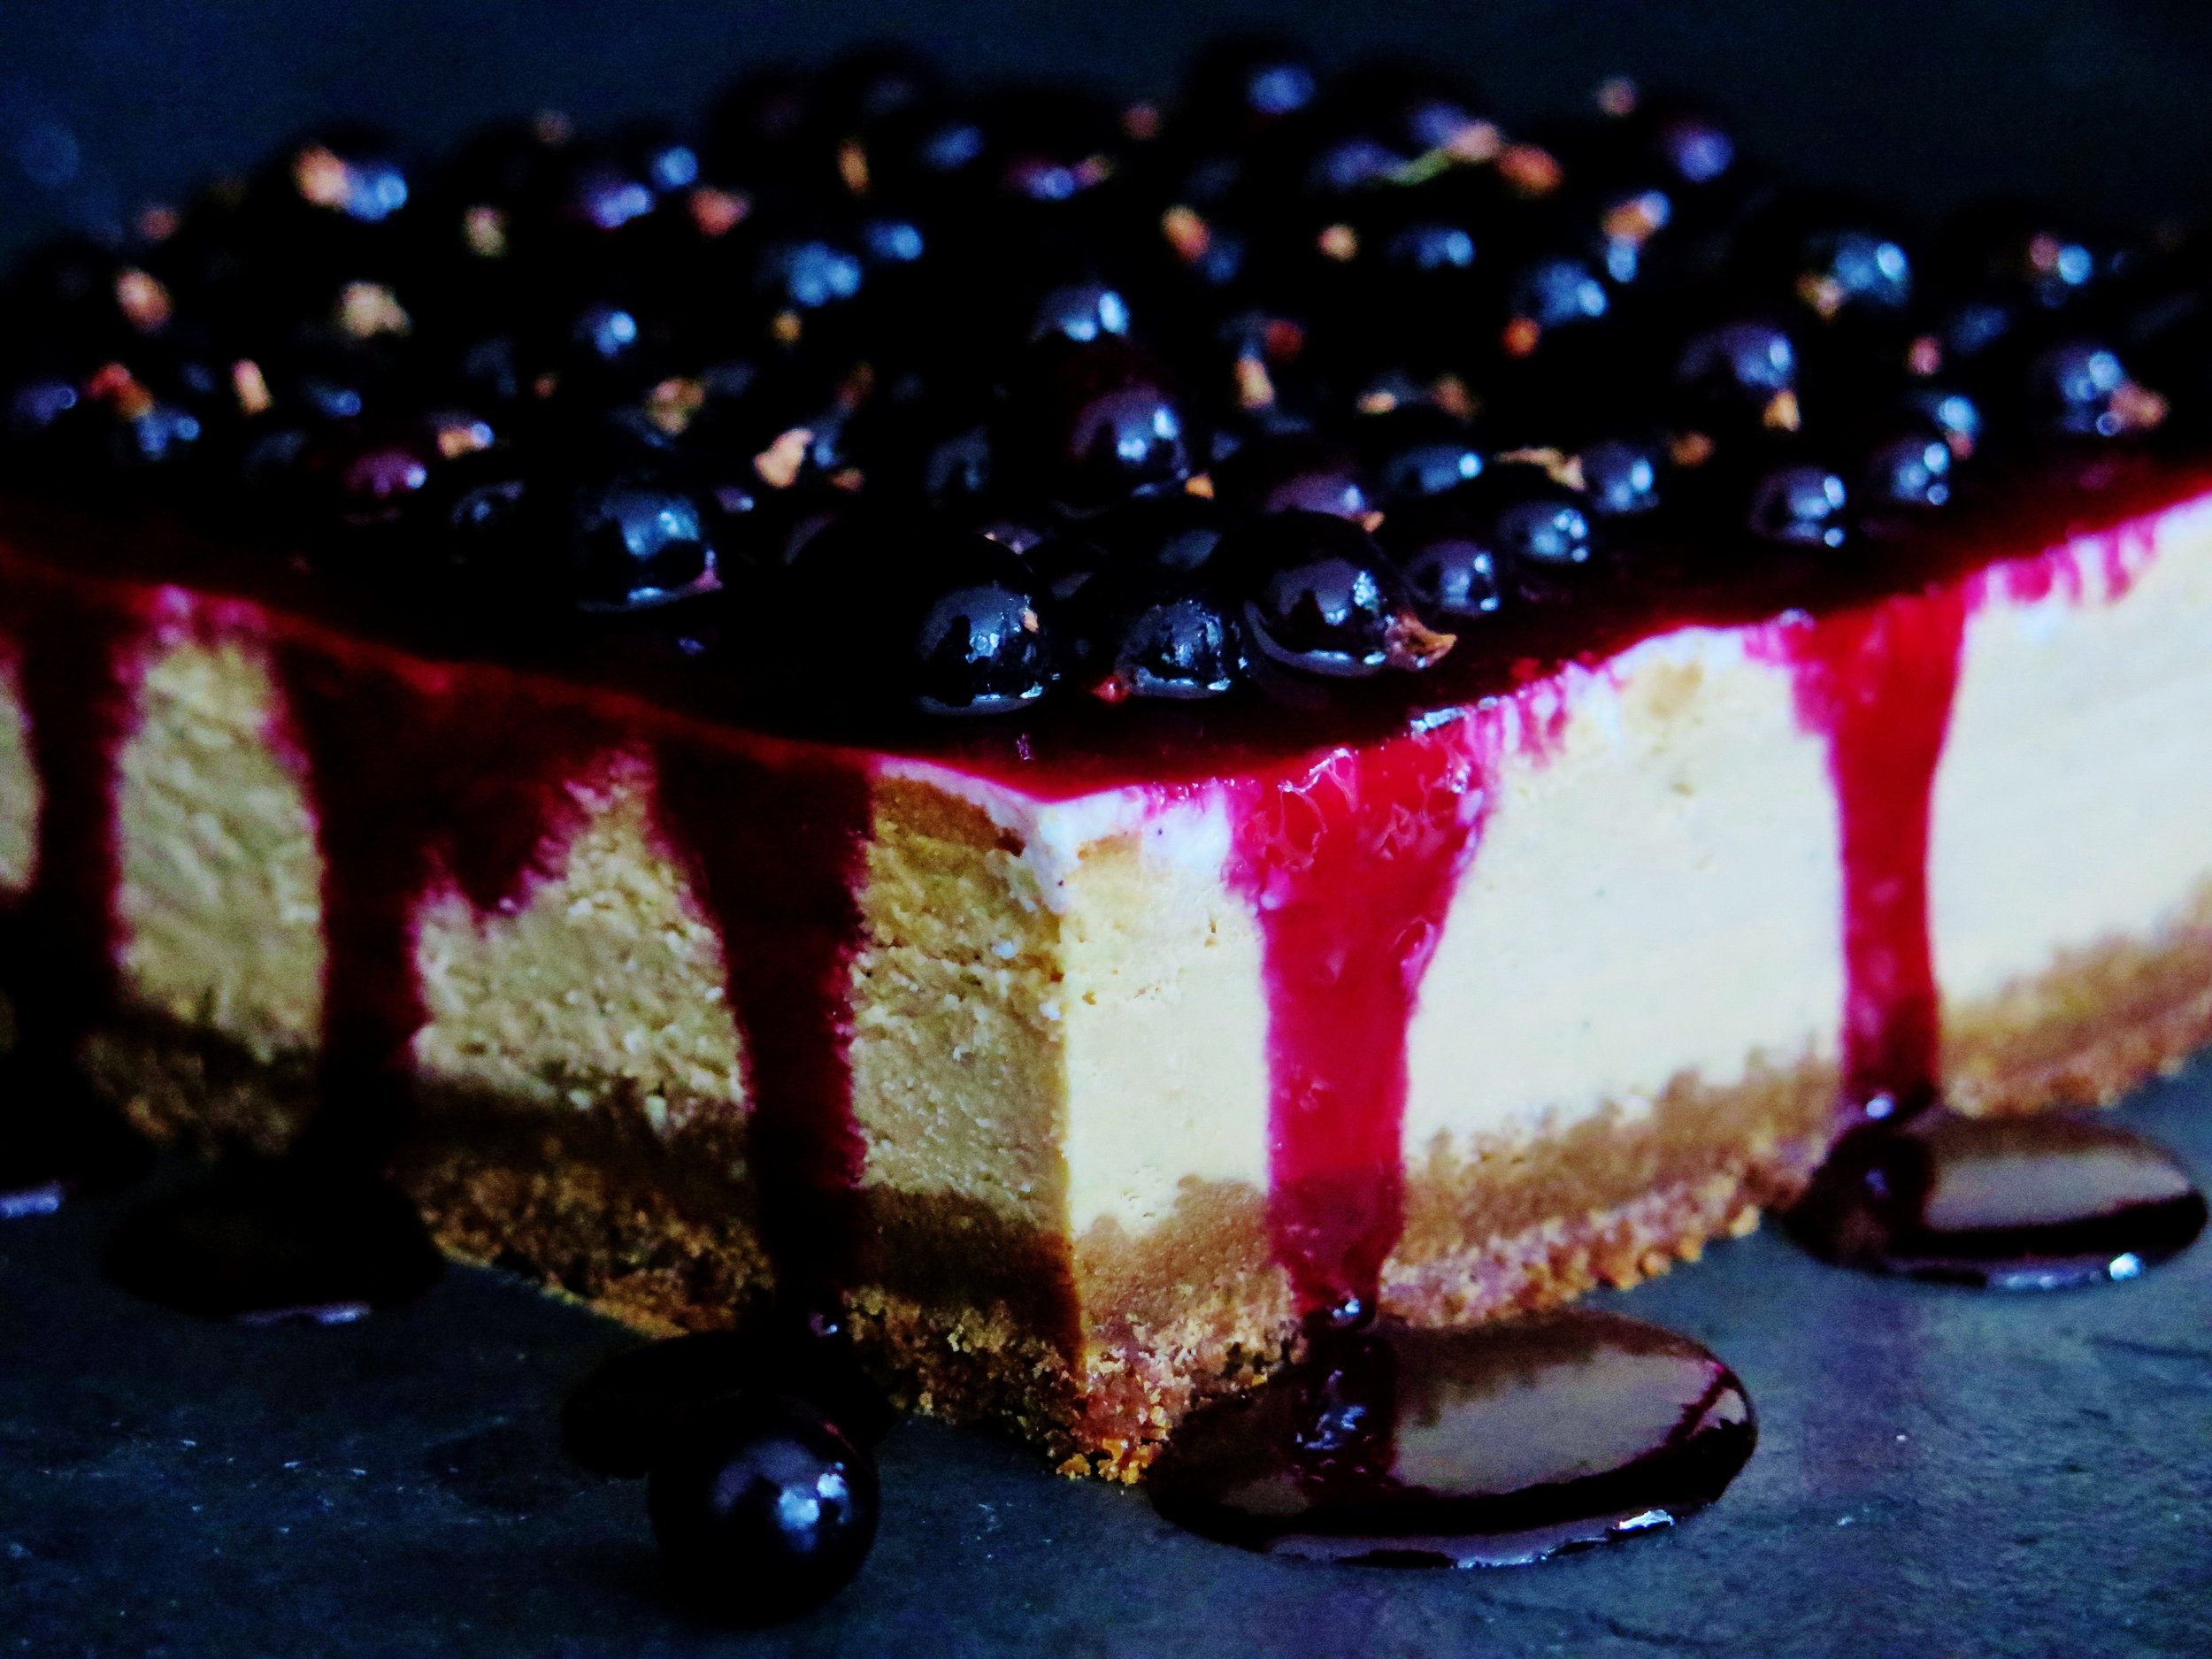
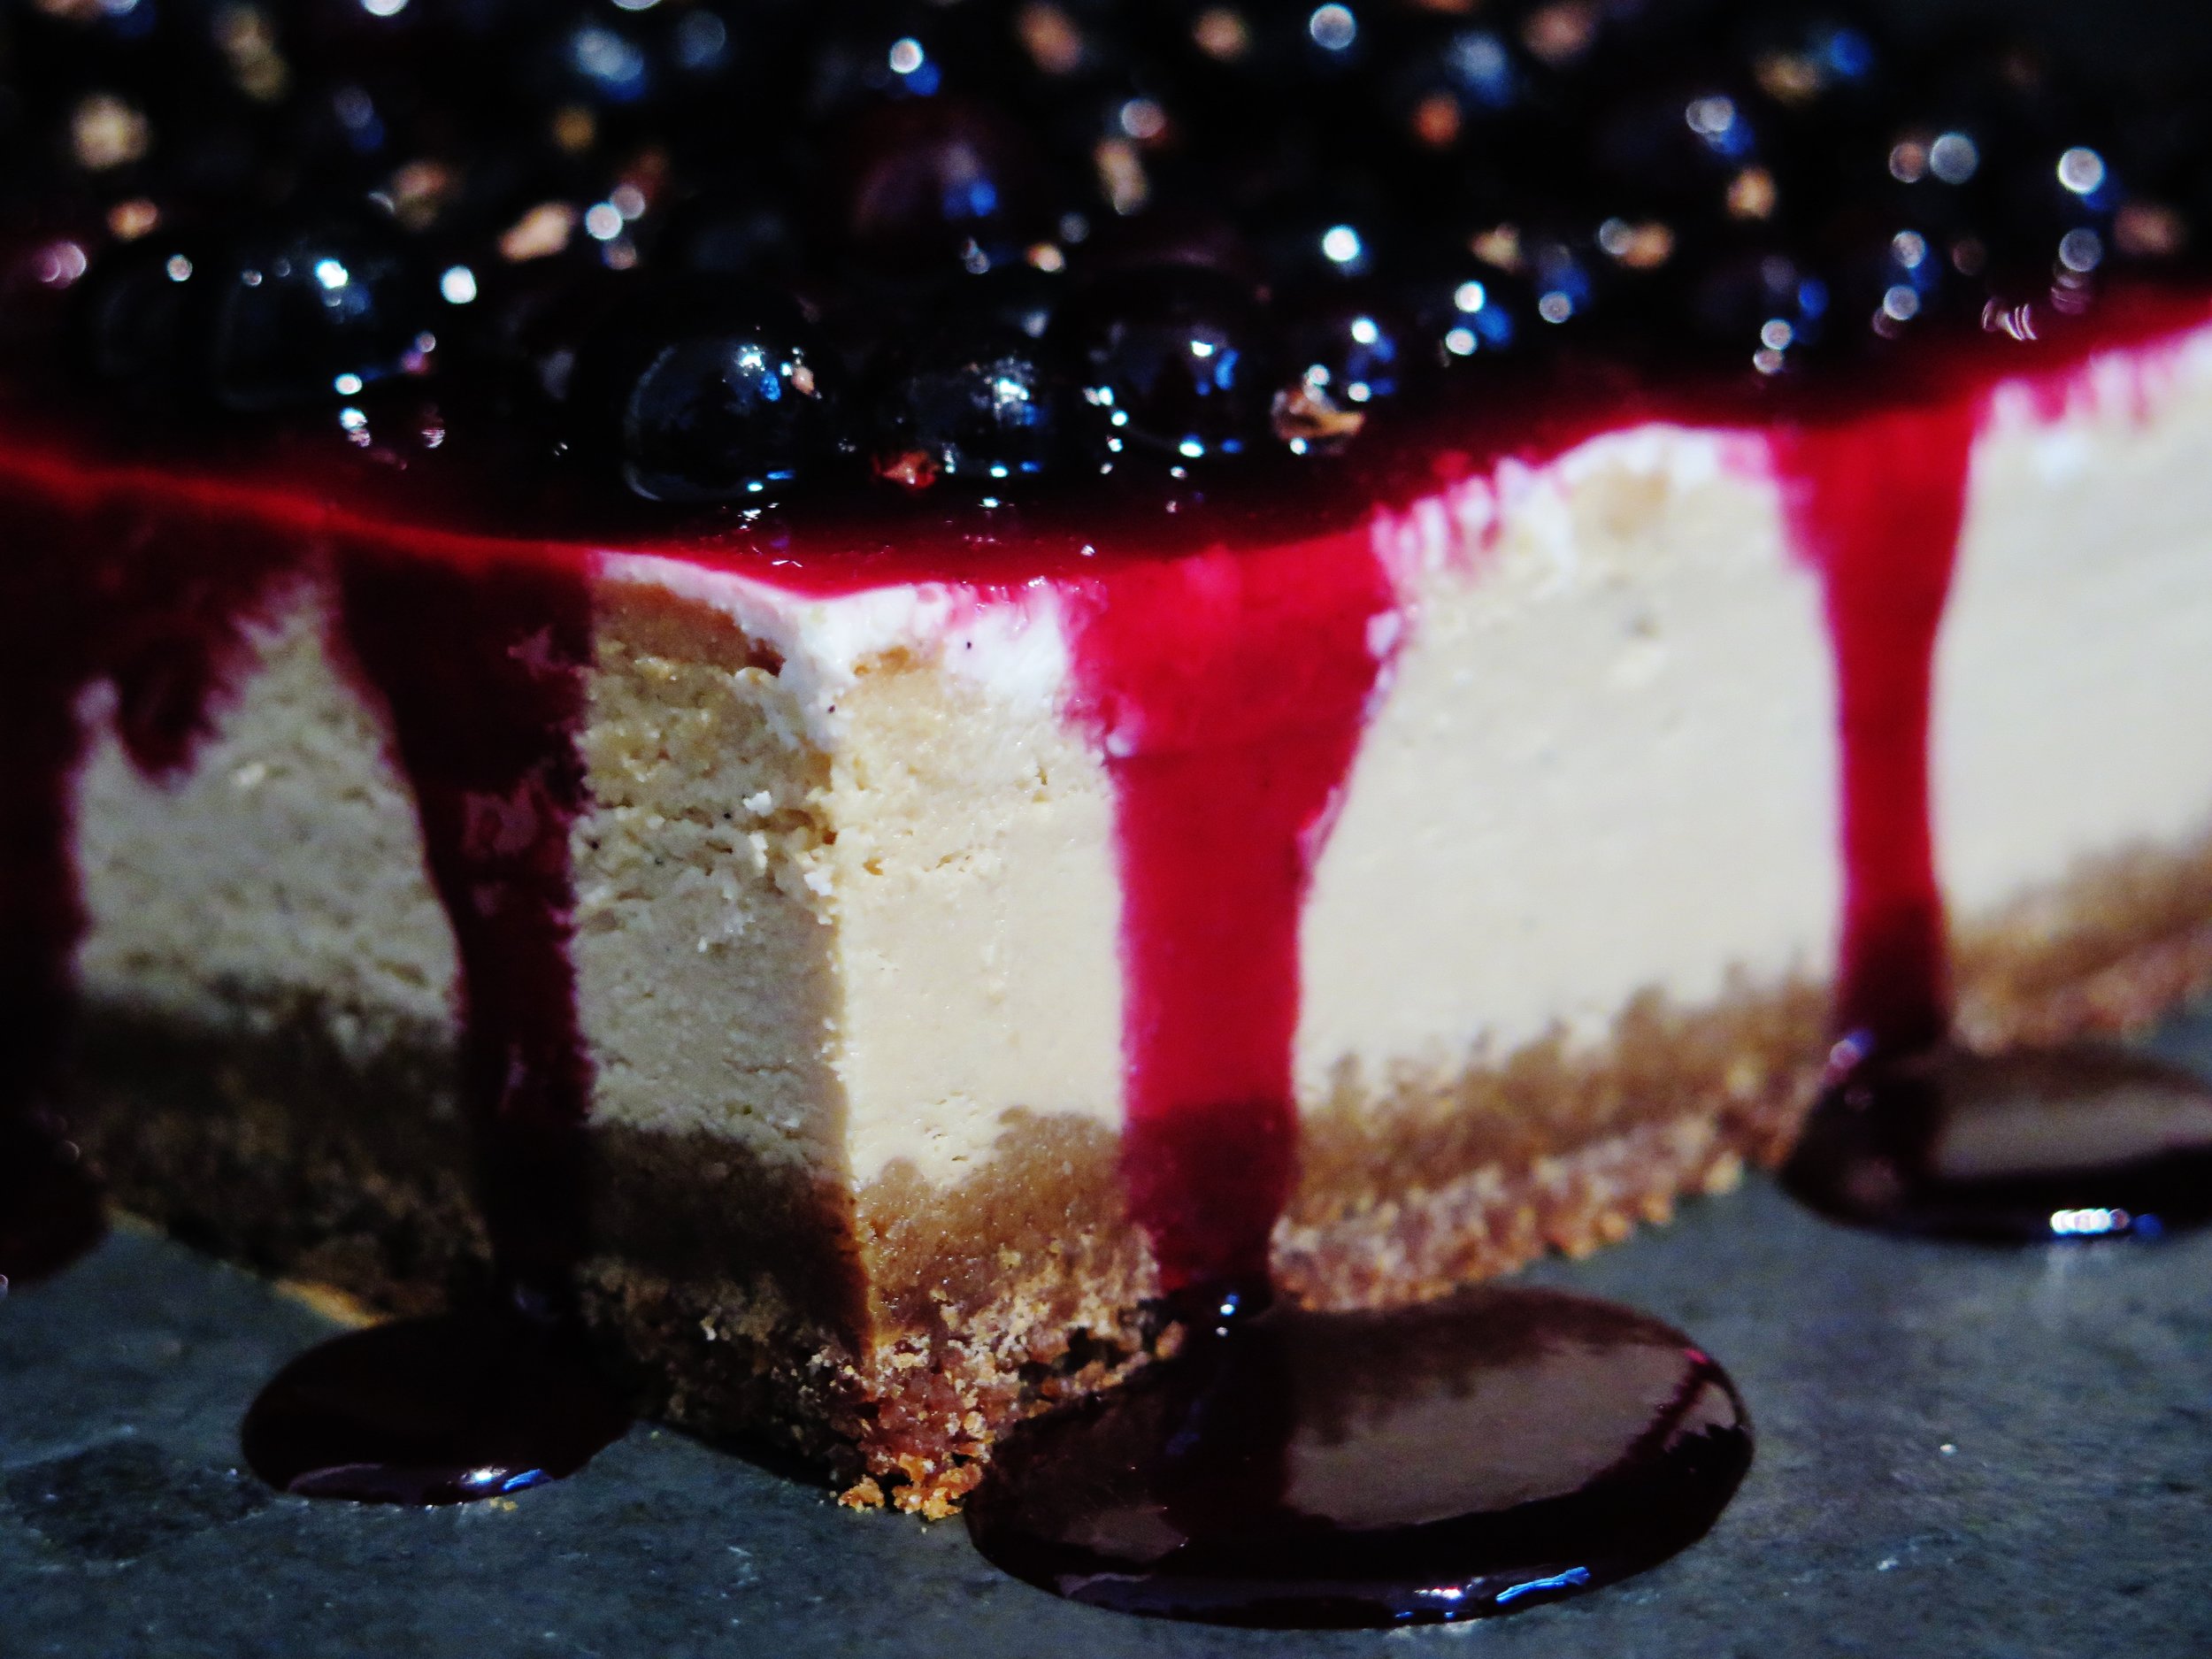
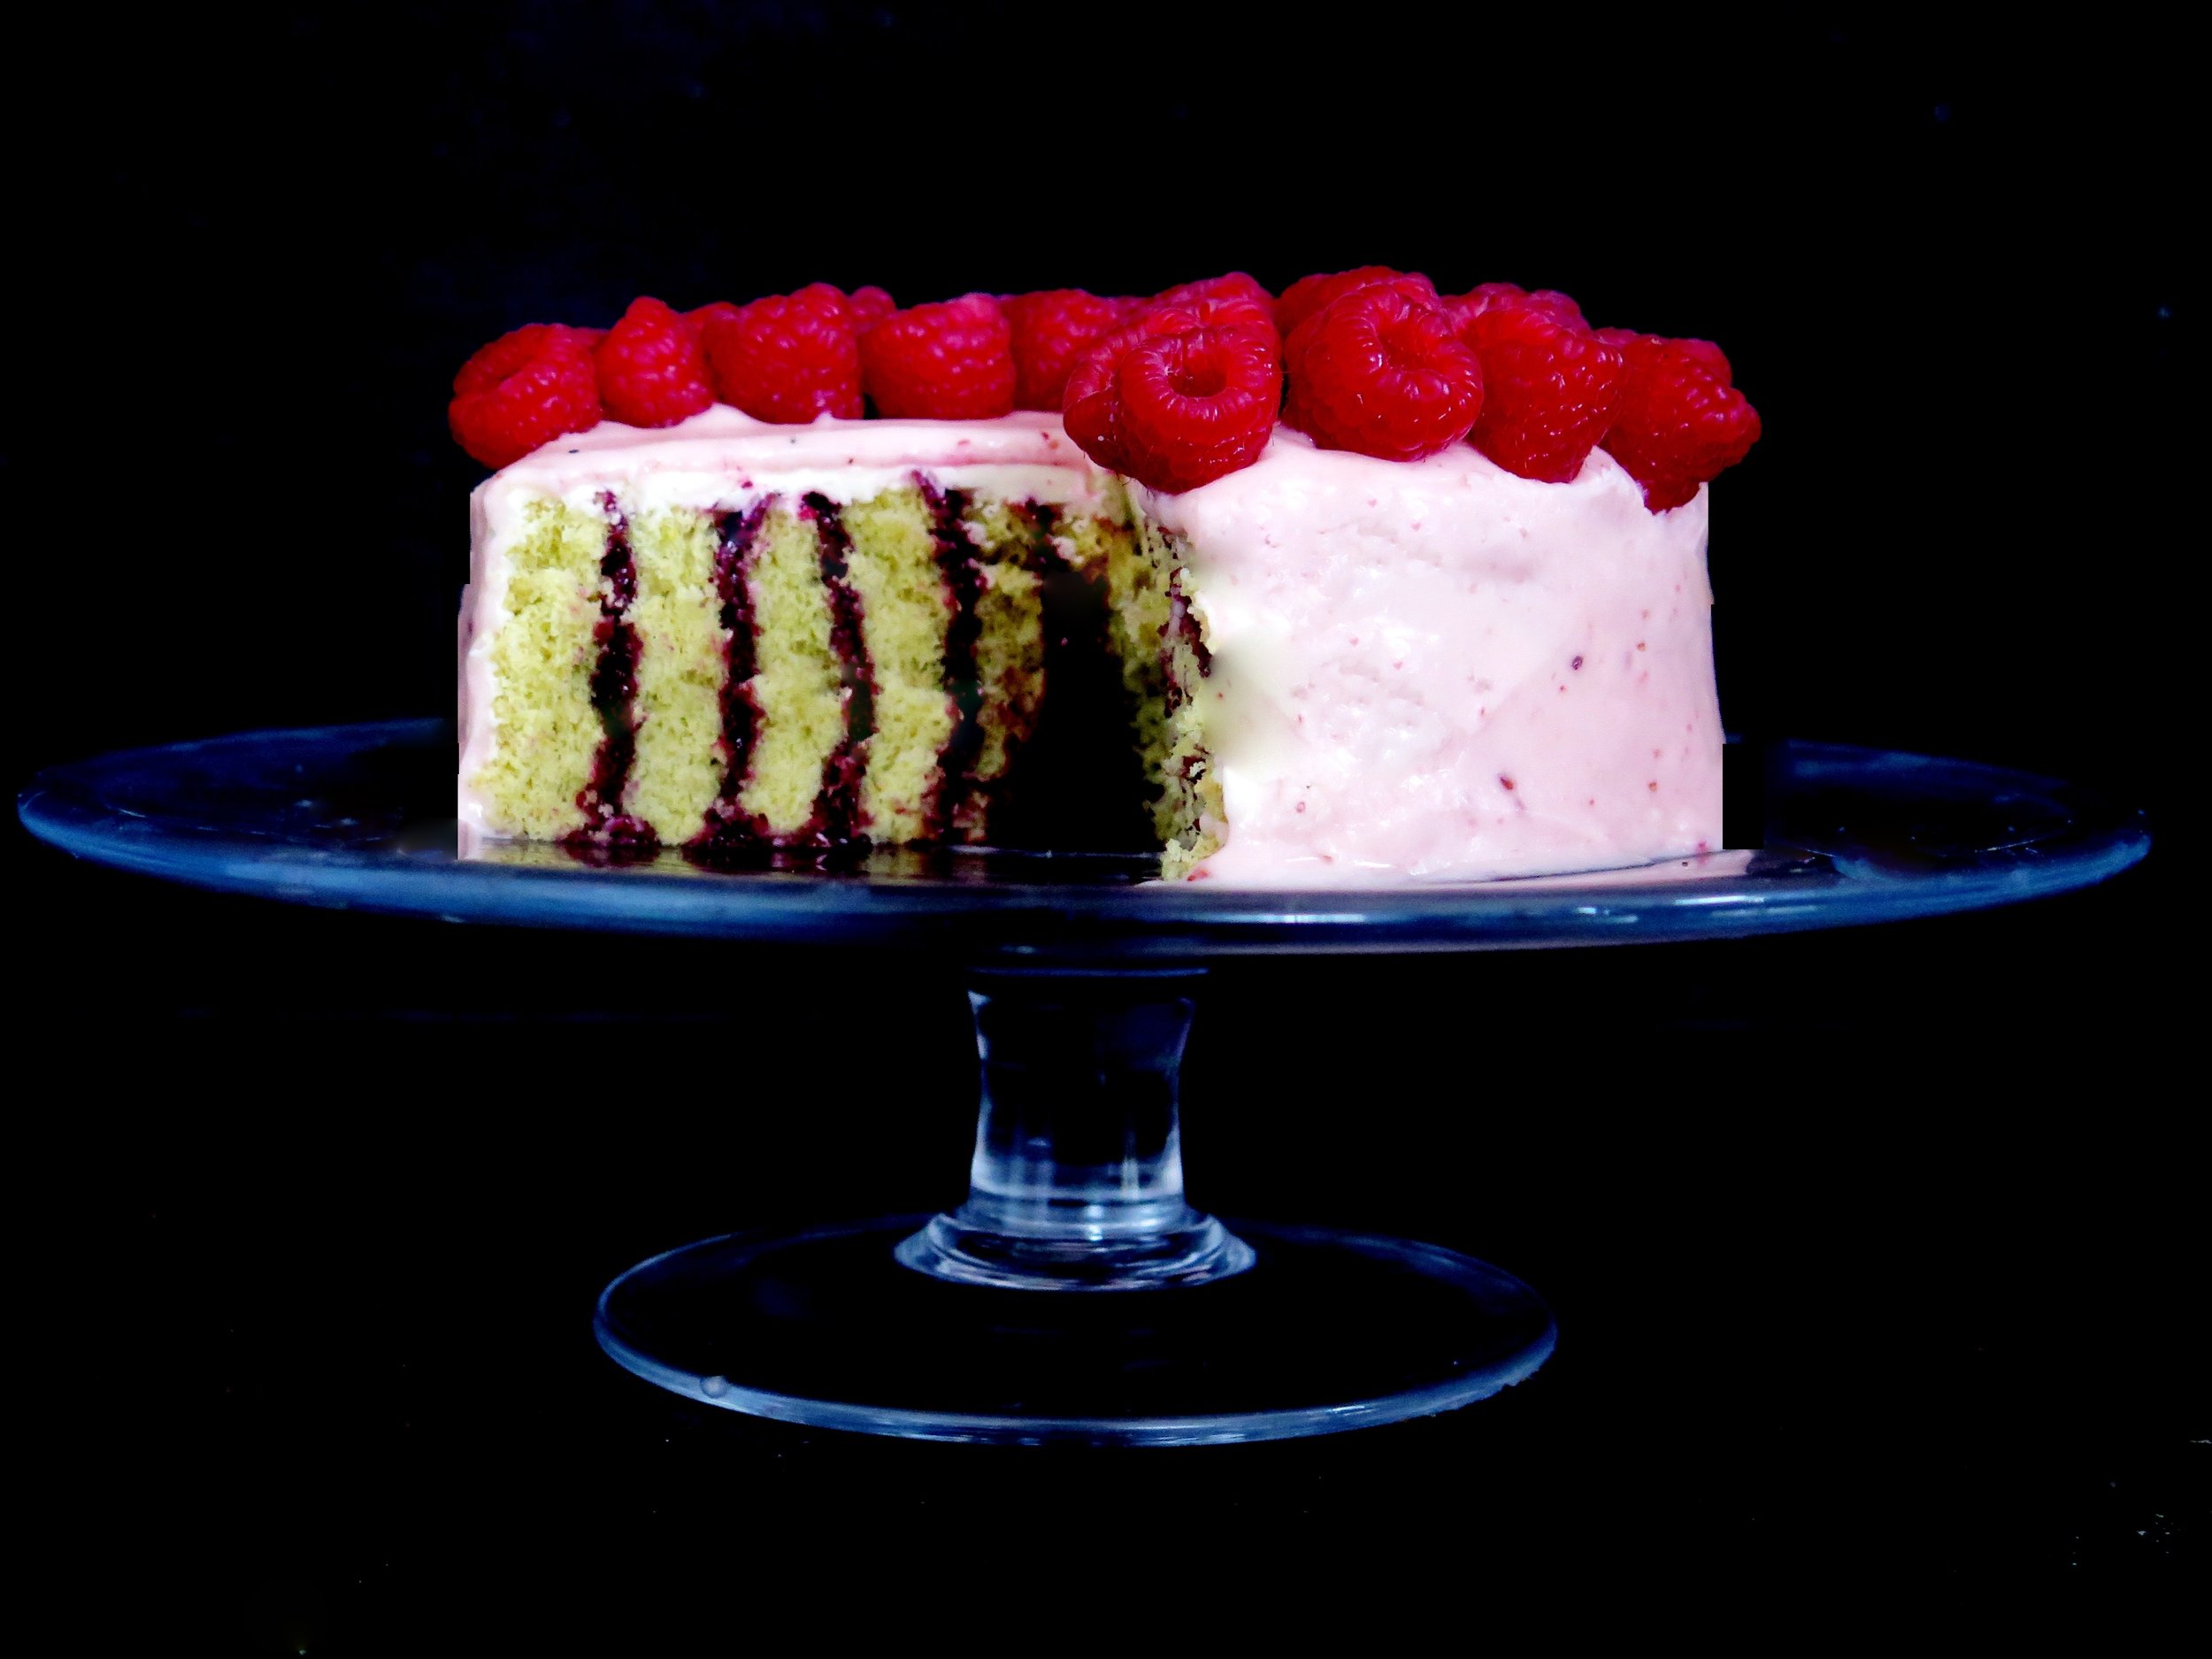
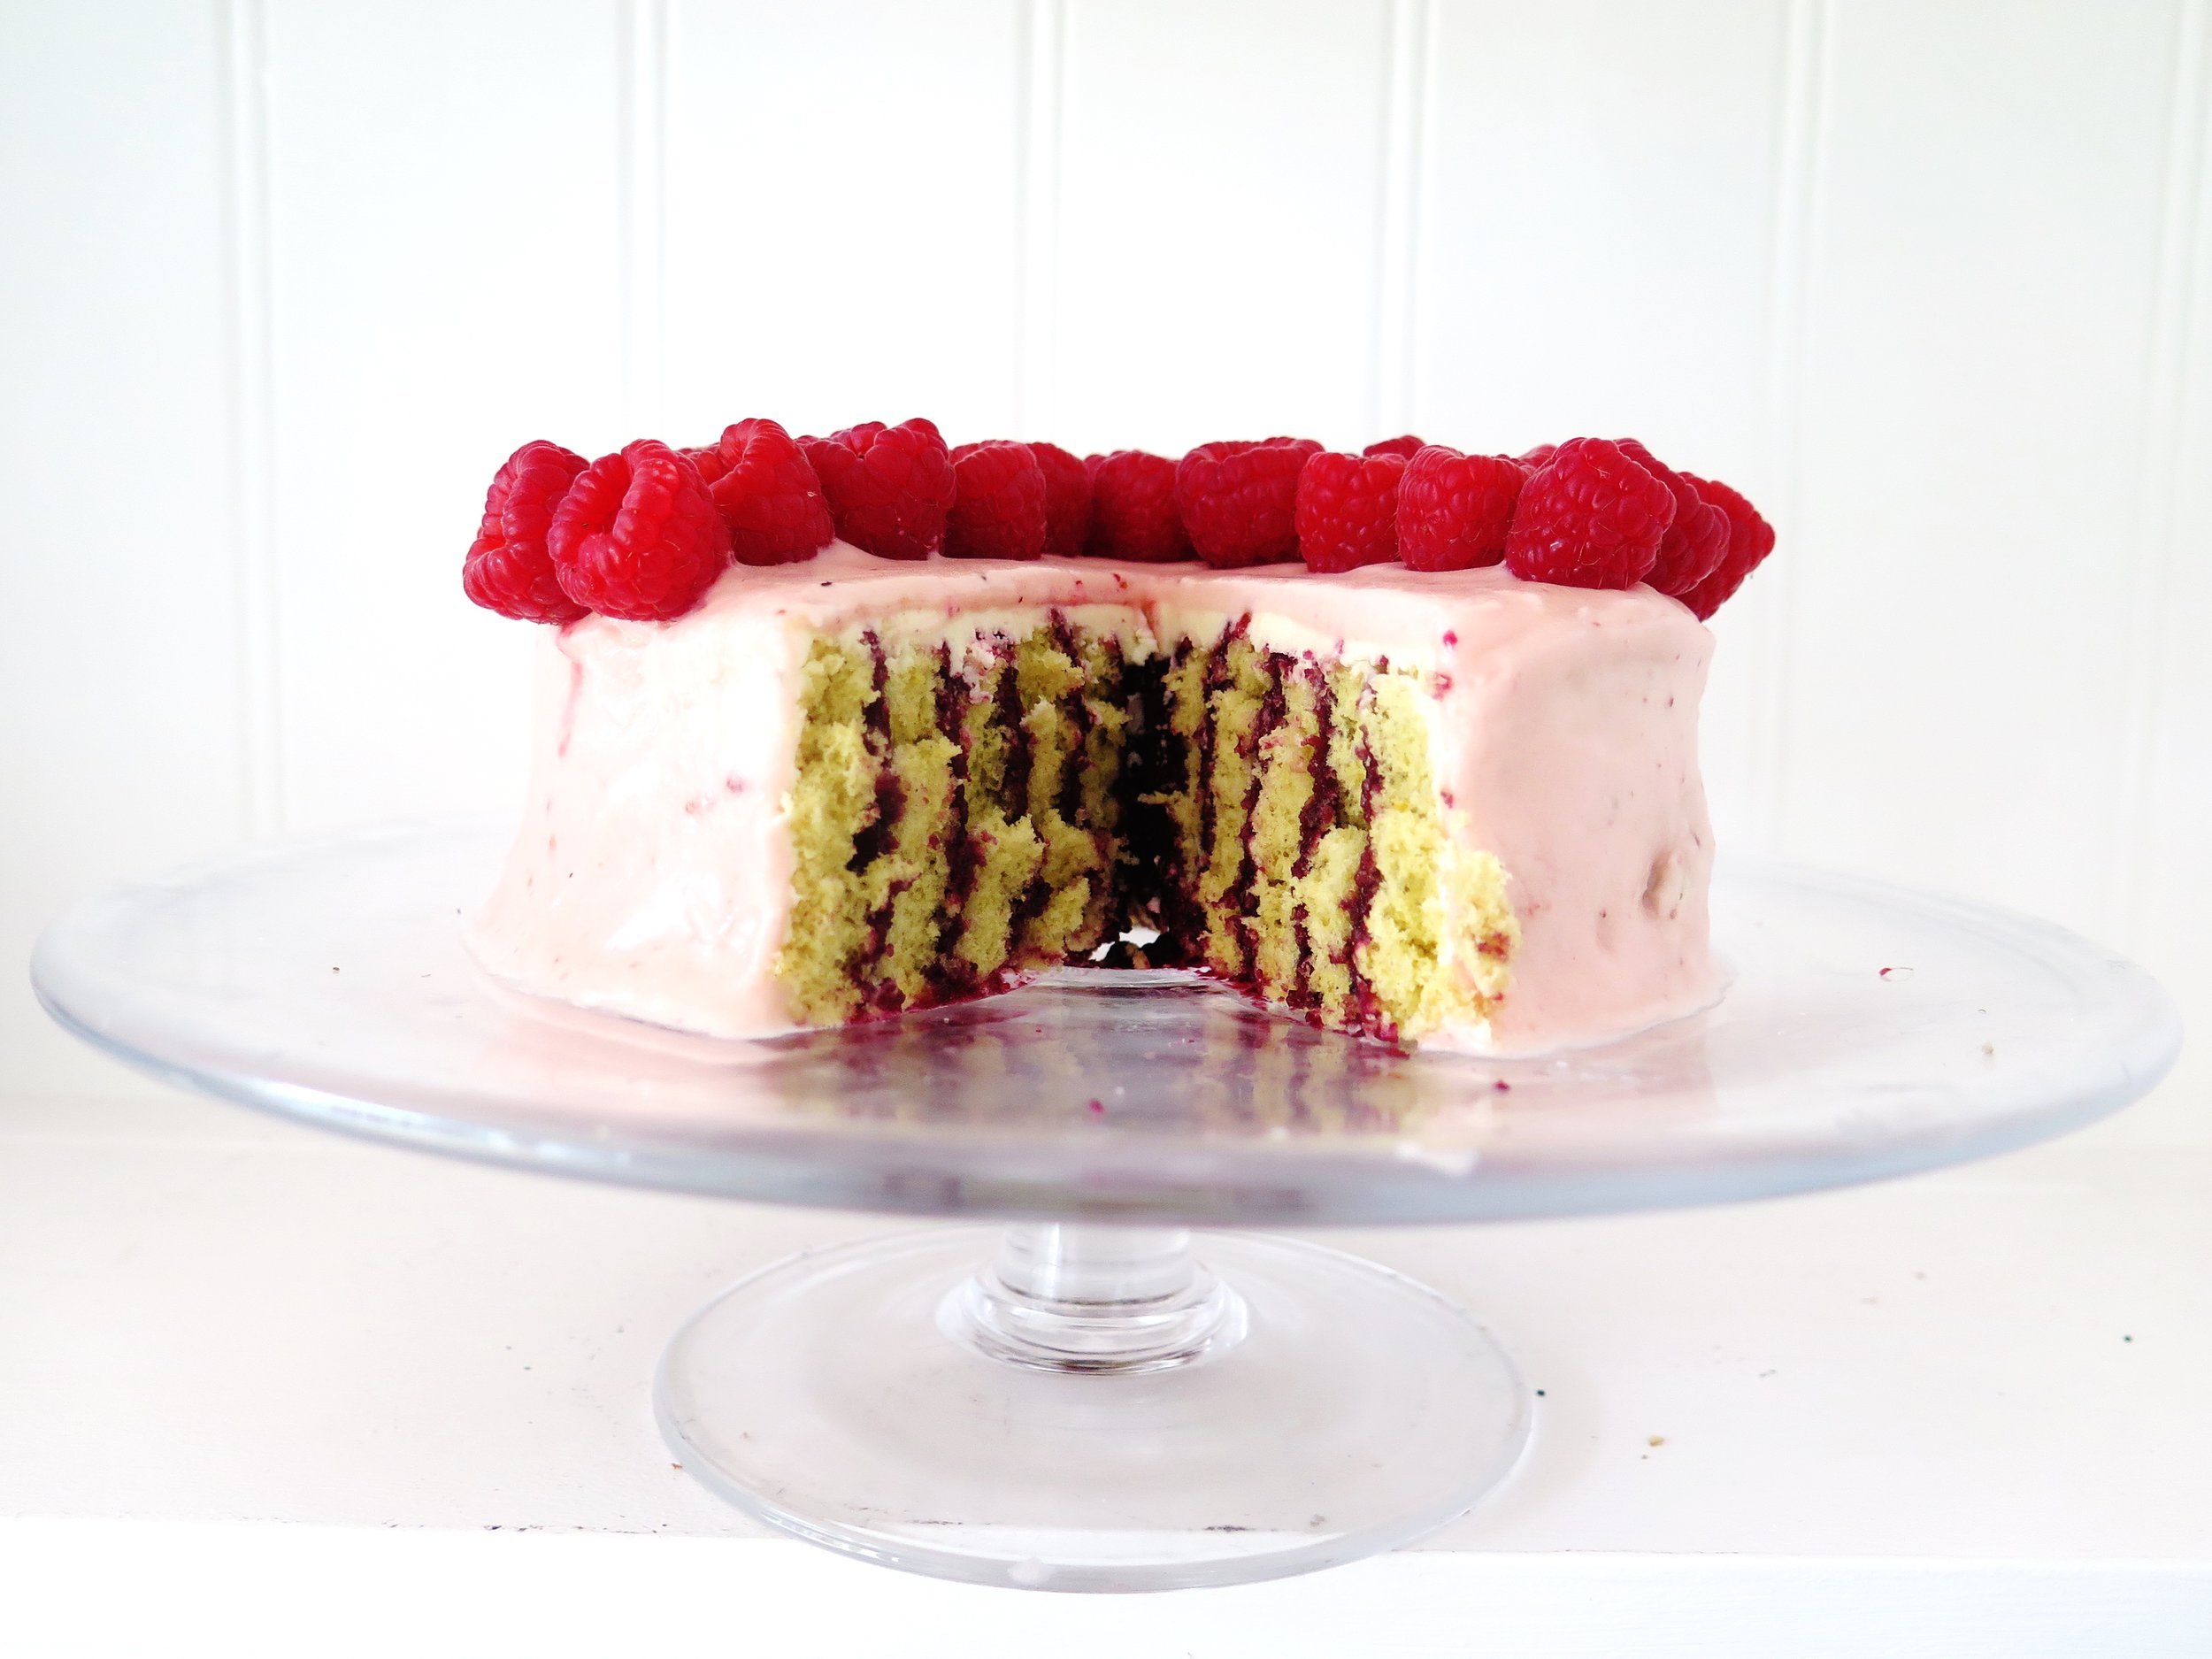
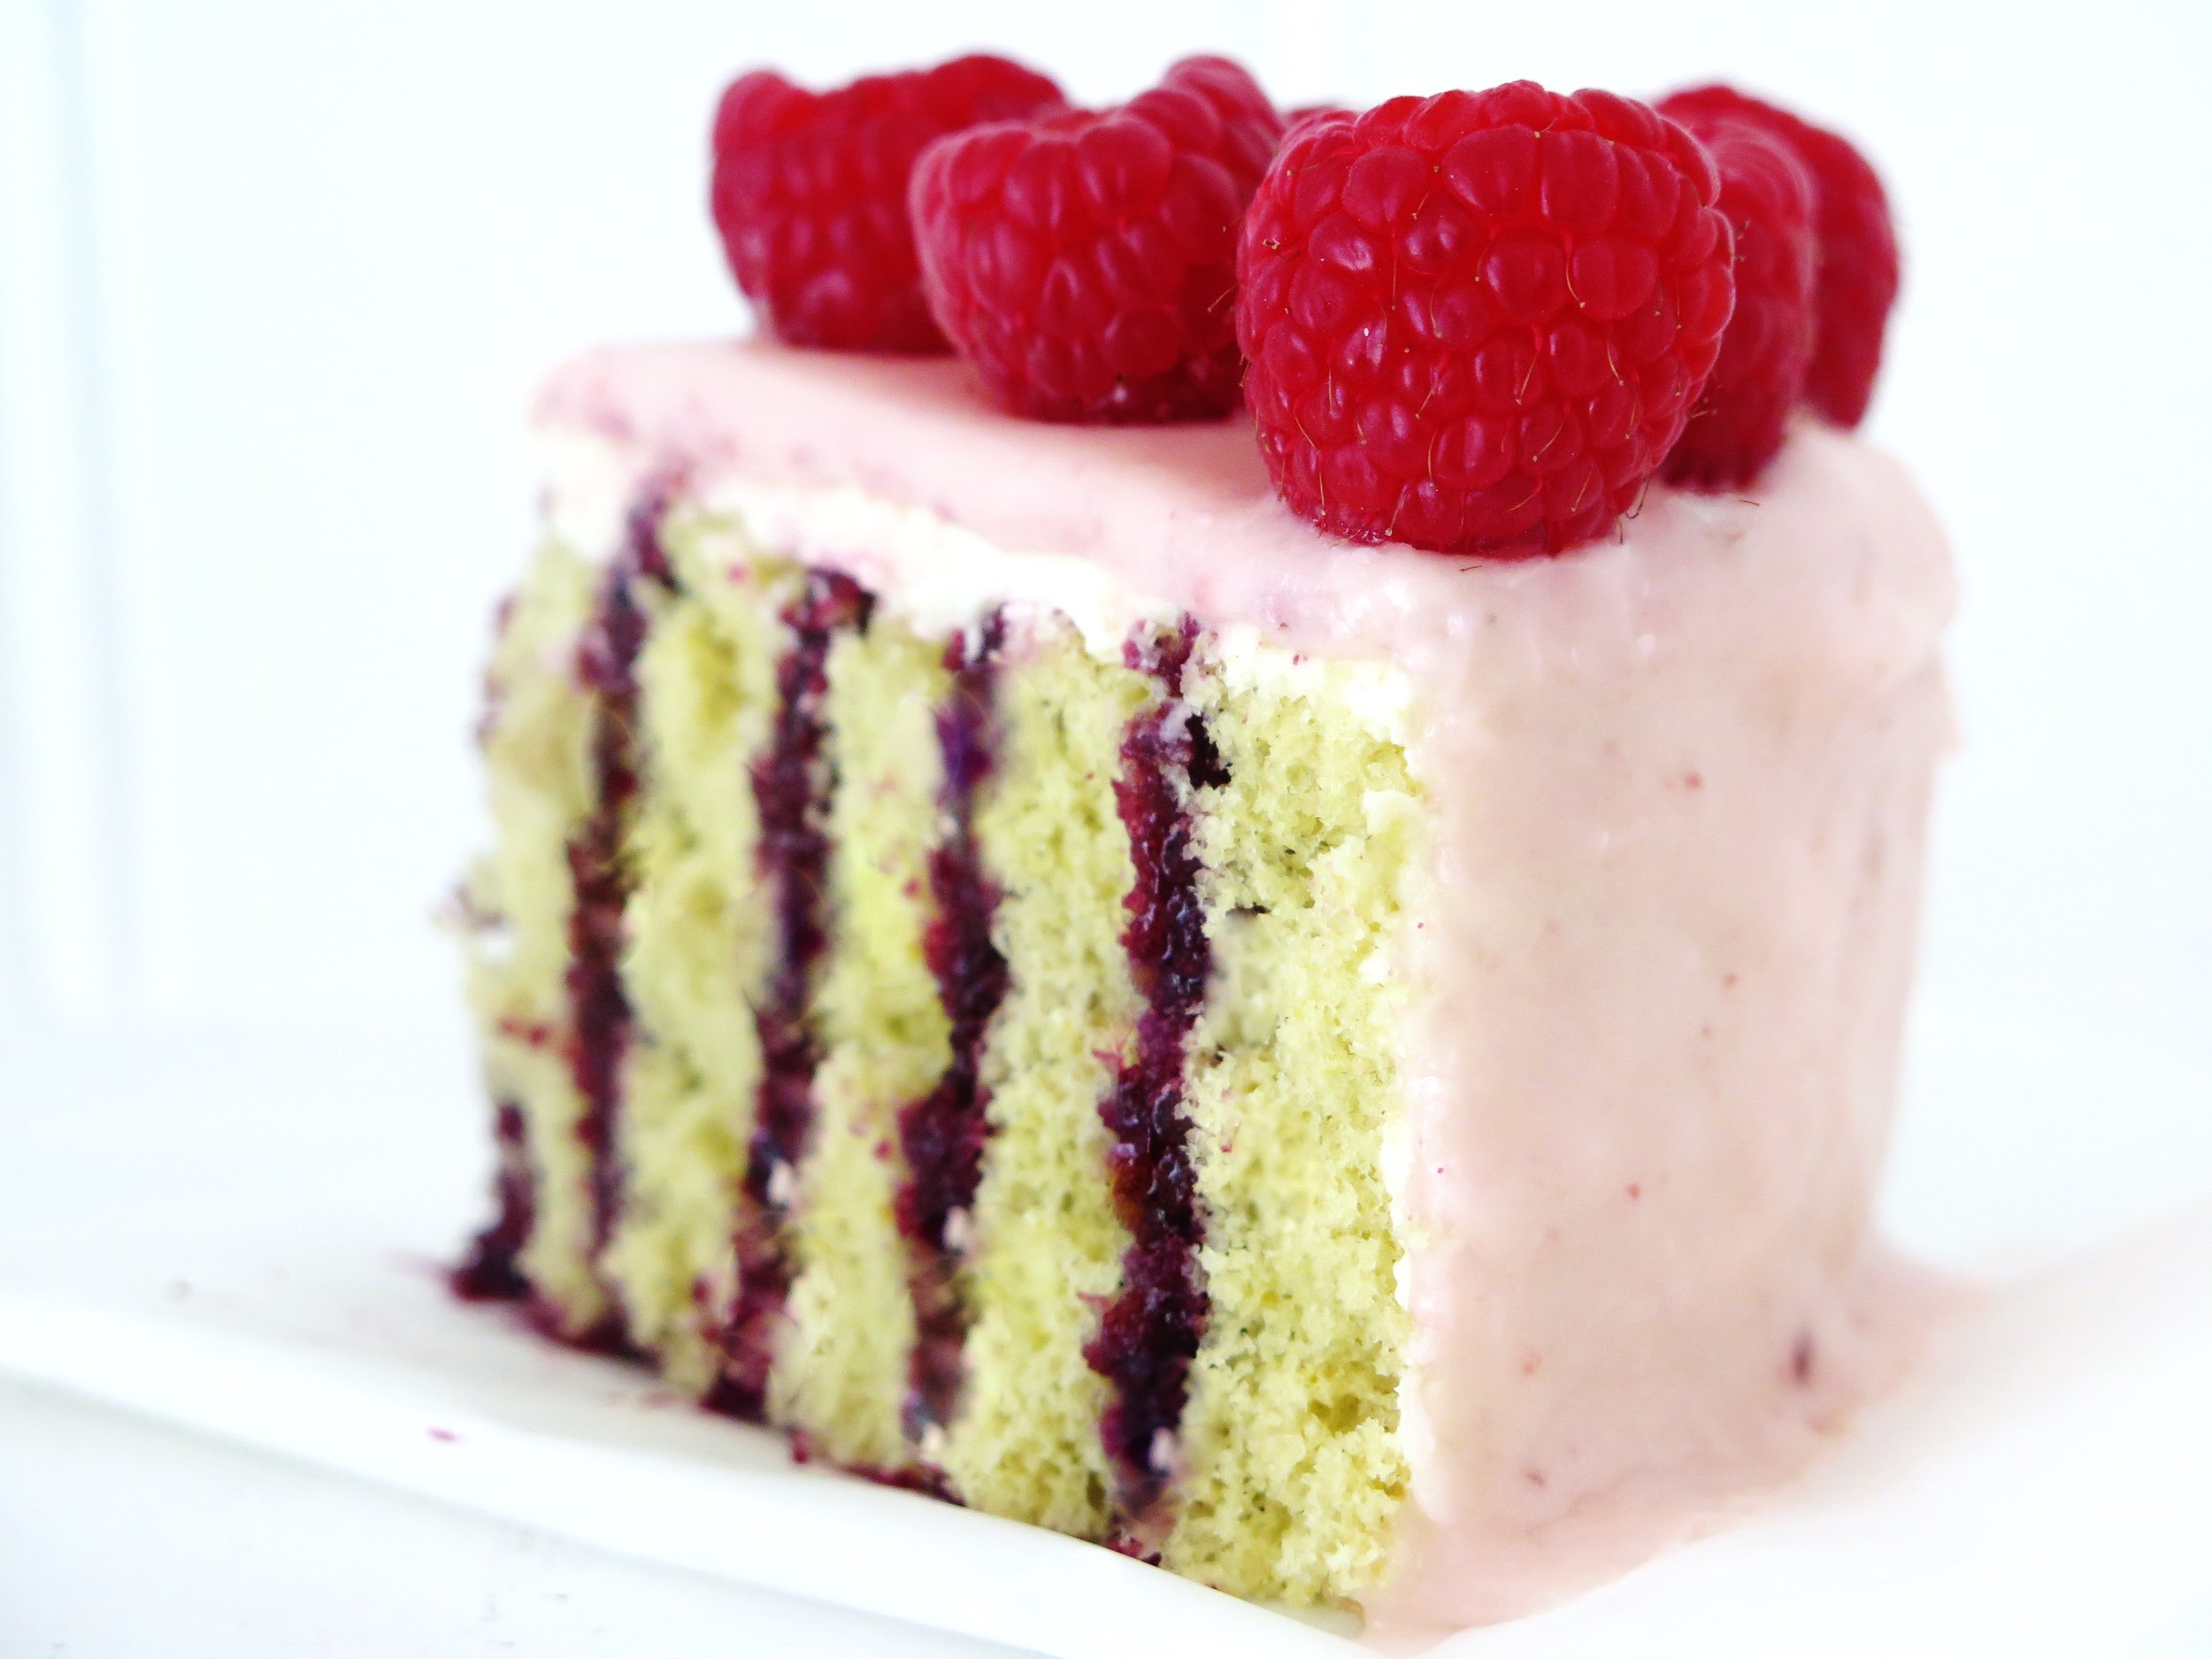
The dark chocolate base adds a touch of sophistication and slight bitterness to undercut the sweetness, and the raspberry provides that much needed astringency to cut through it. Crunch, creaminess, chocolate and tang, all in one mouthful – who needs 5kg of panettone? 

Mini Chocolate & Raspberry Meringues

Ingredients

(makes 70 mini meringues - halve the recipe if you would like fewer)

90g egg white (the whites of 3 large eggs)

175g caster sugar

150g good quality dark chocolate (70%)

200ml double cream

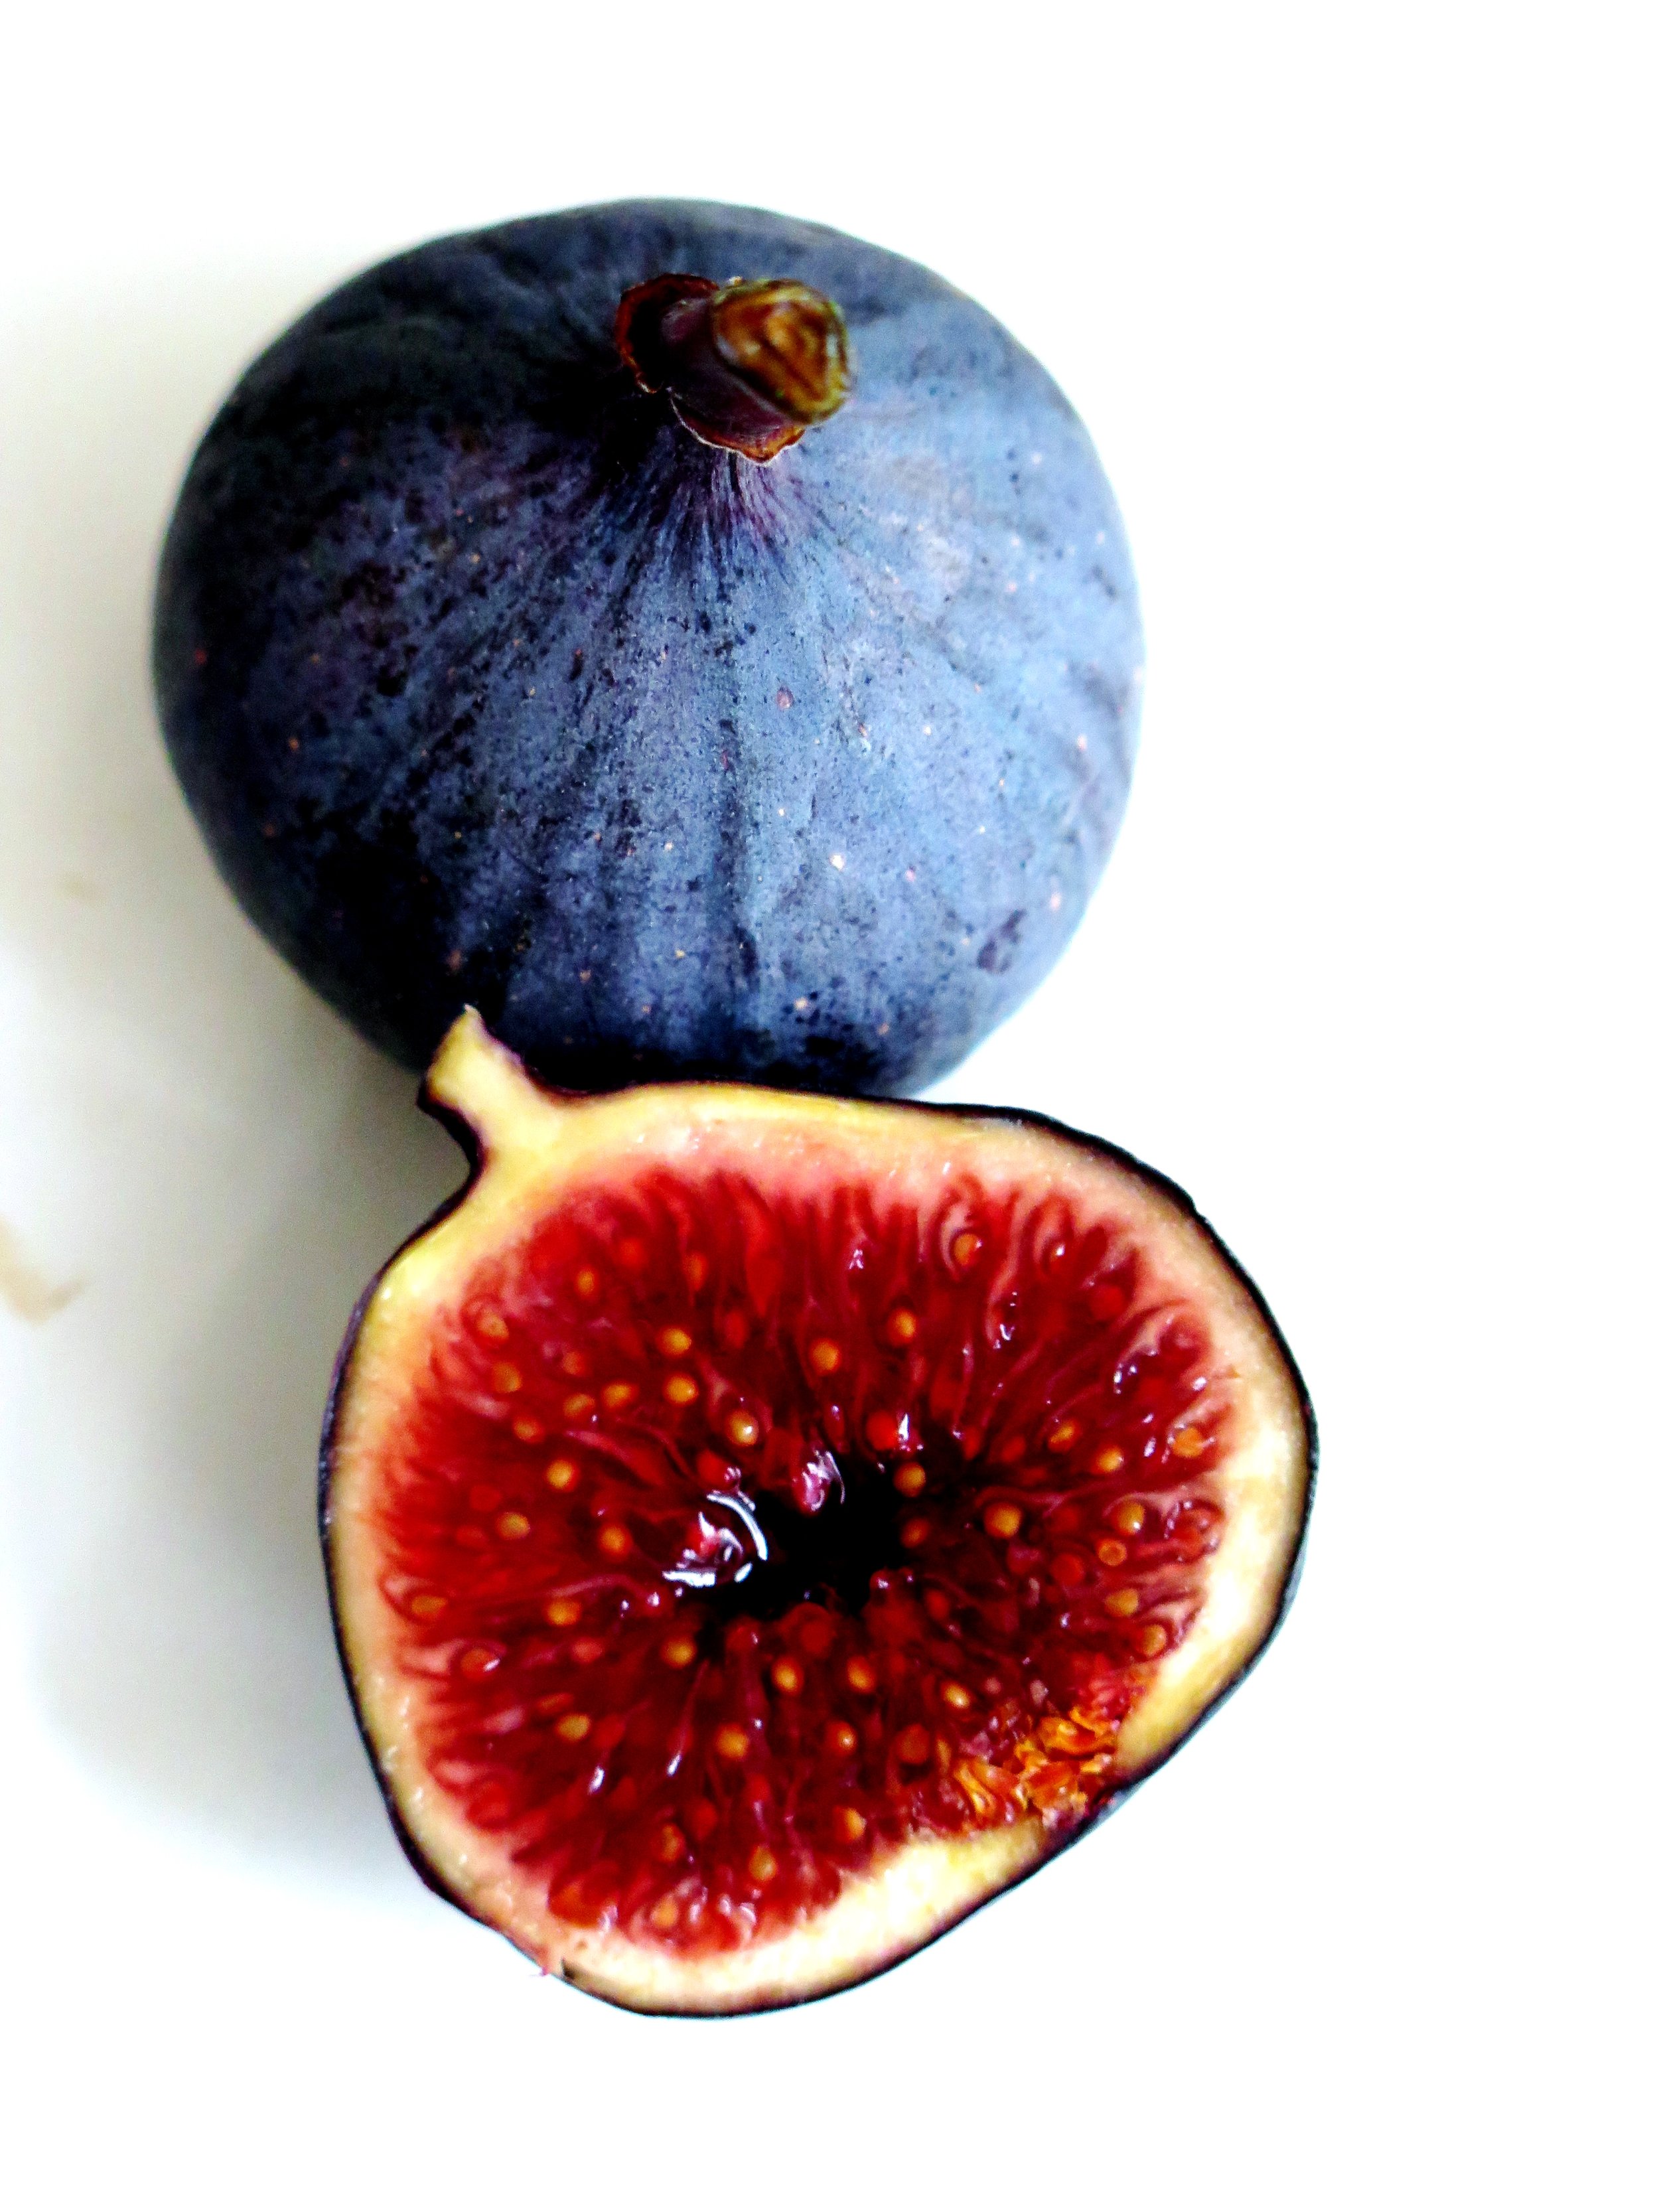
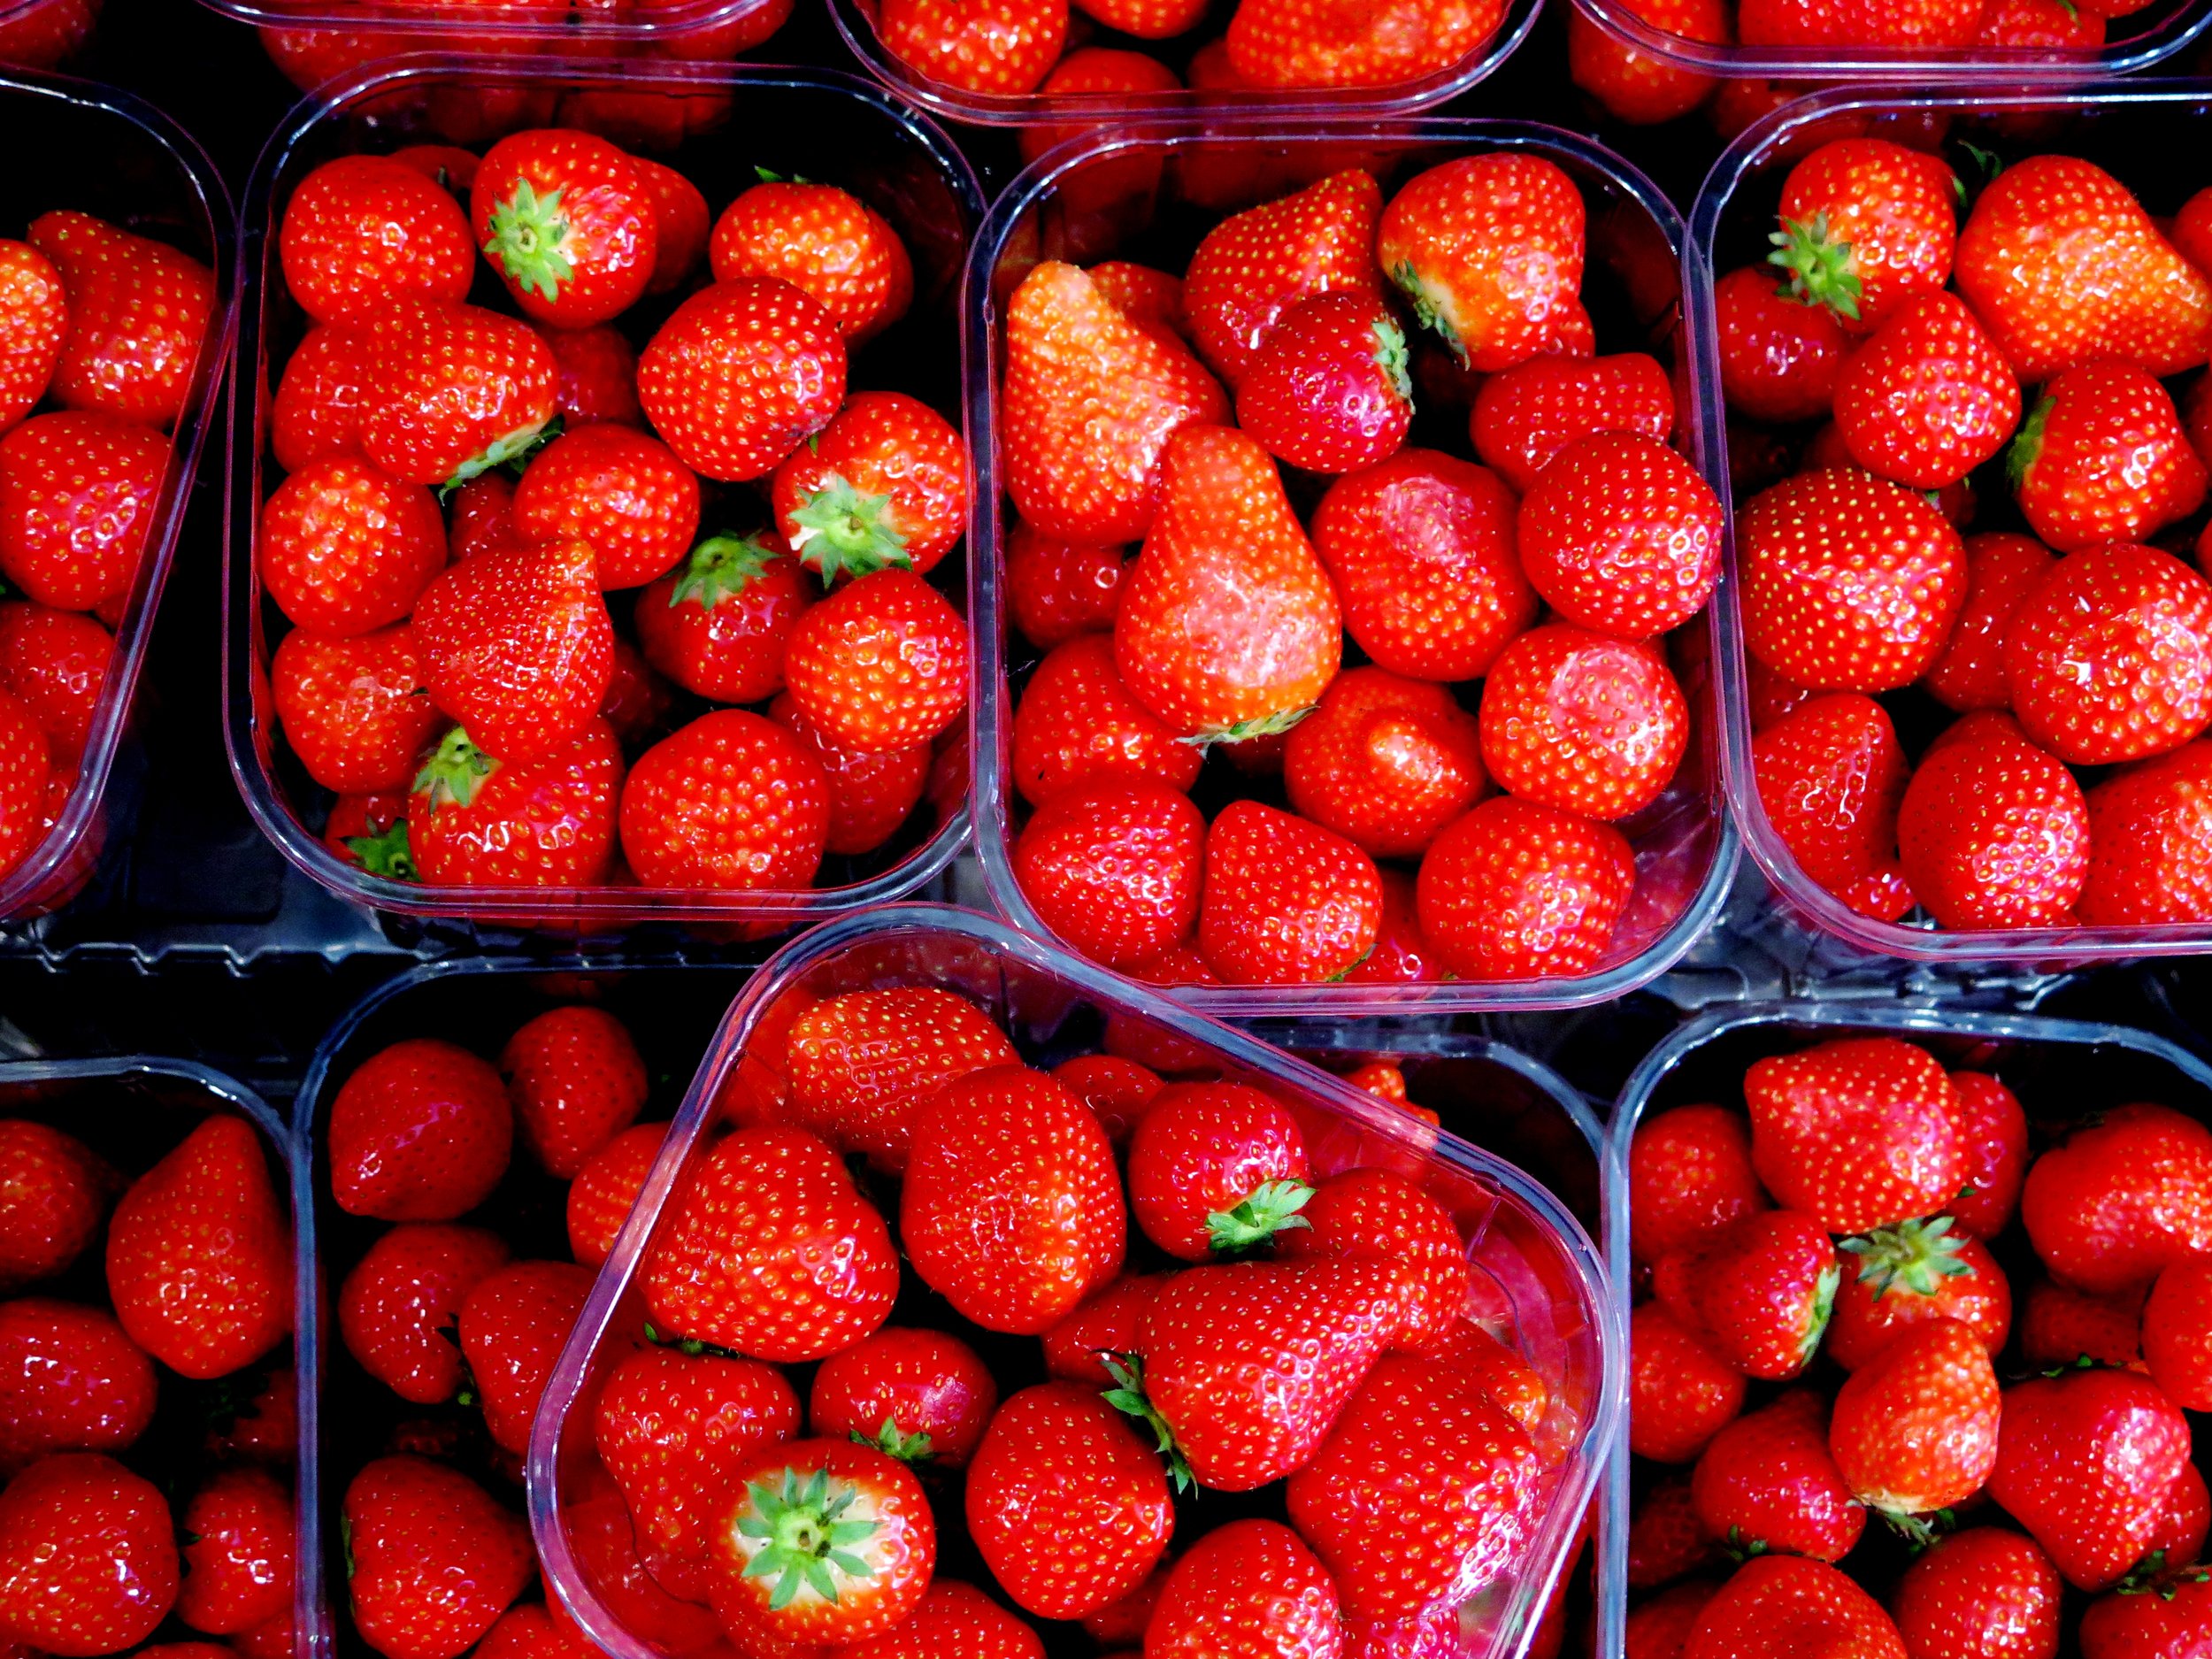
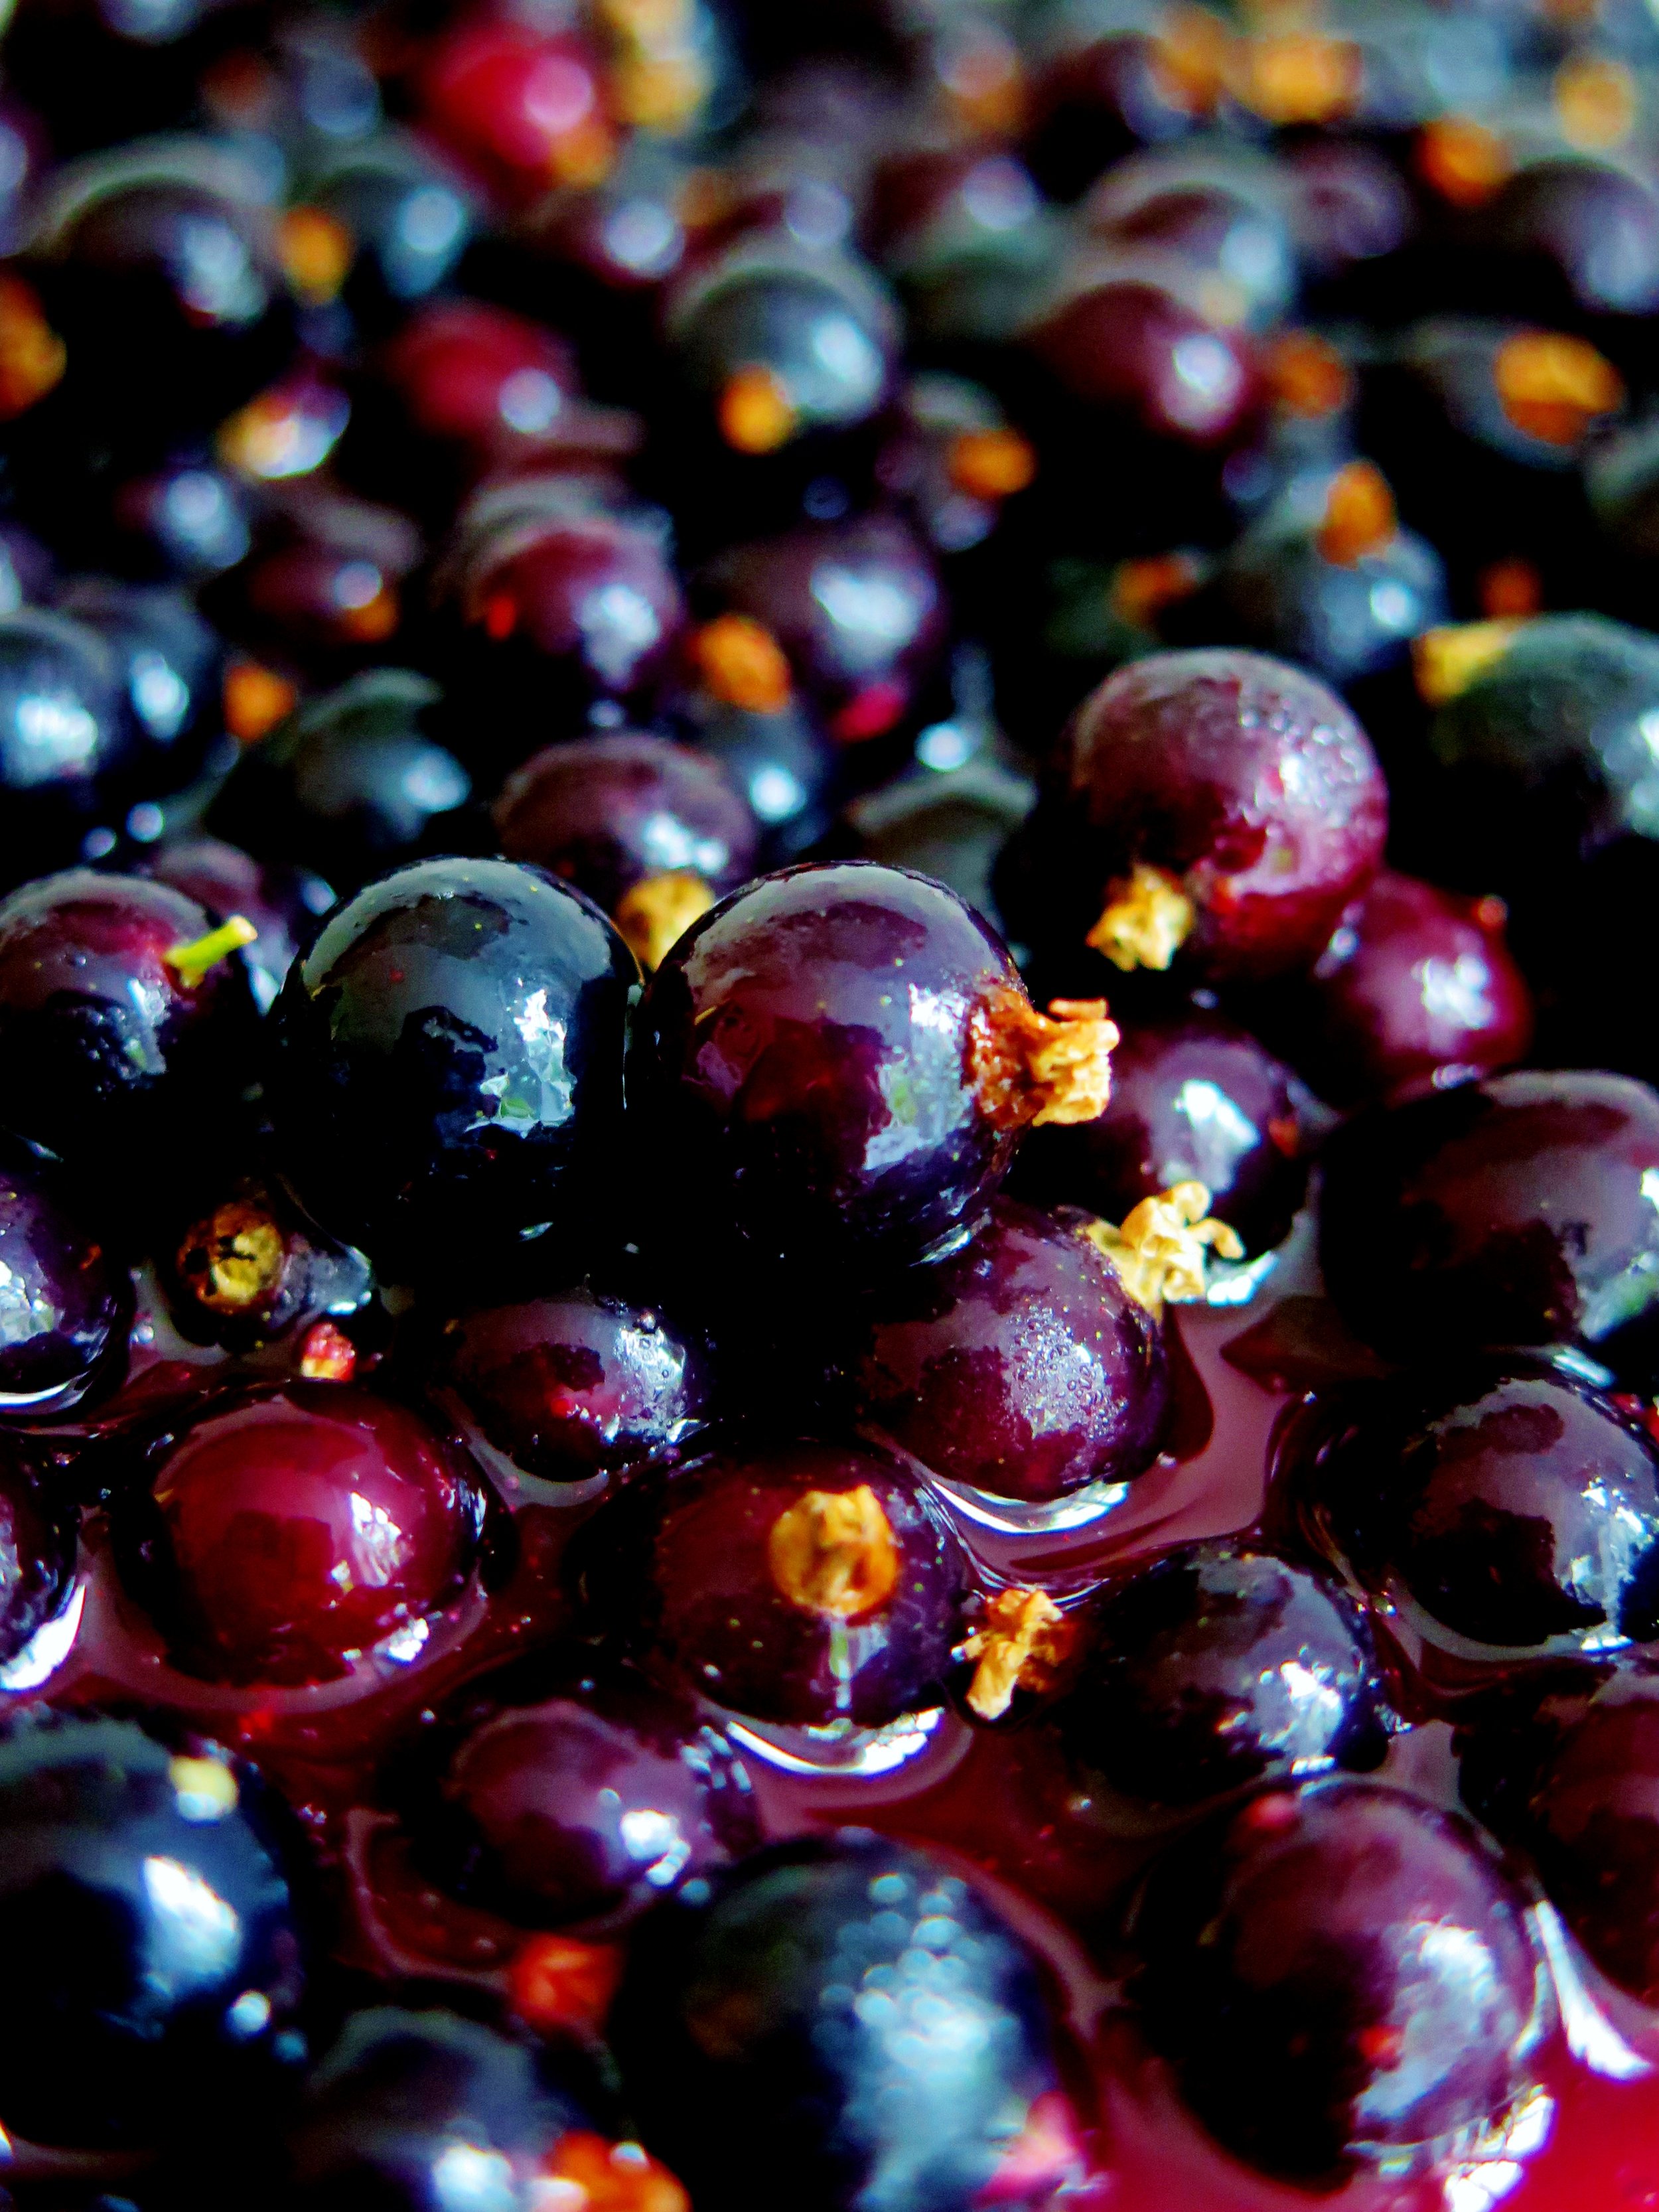
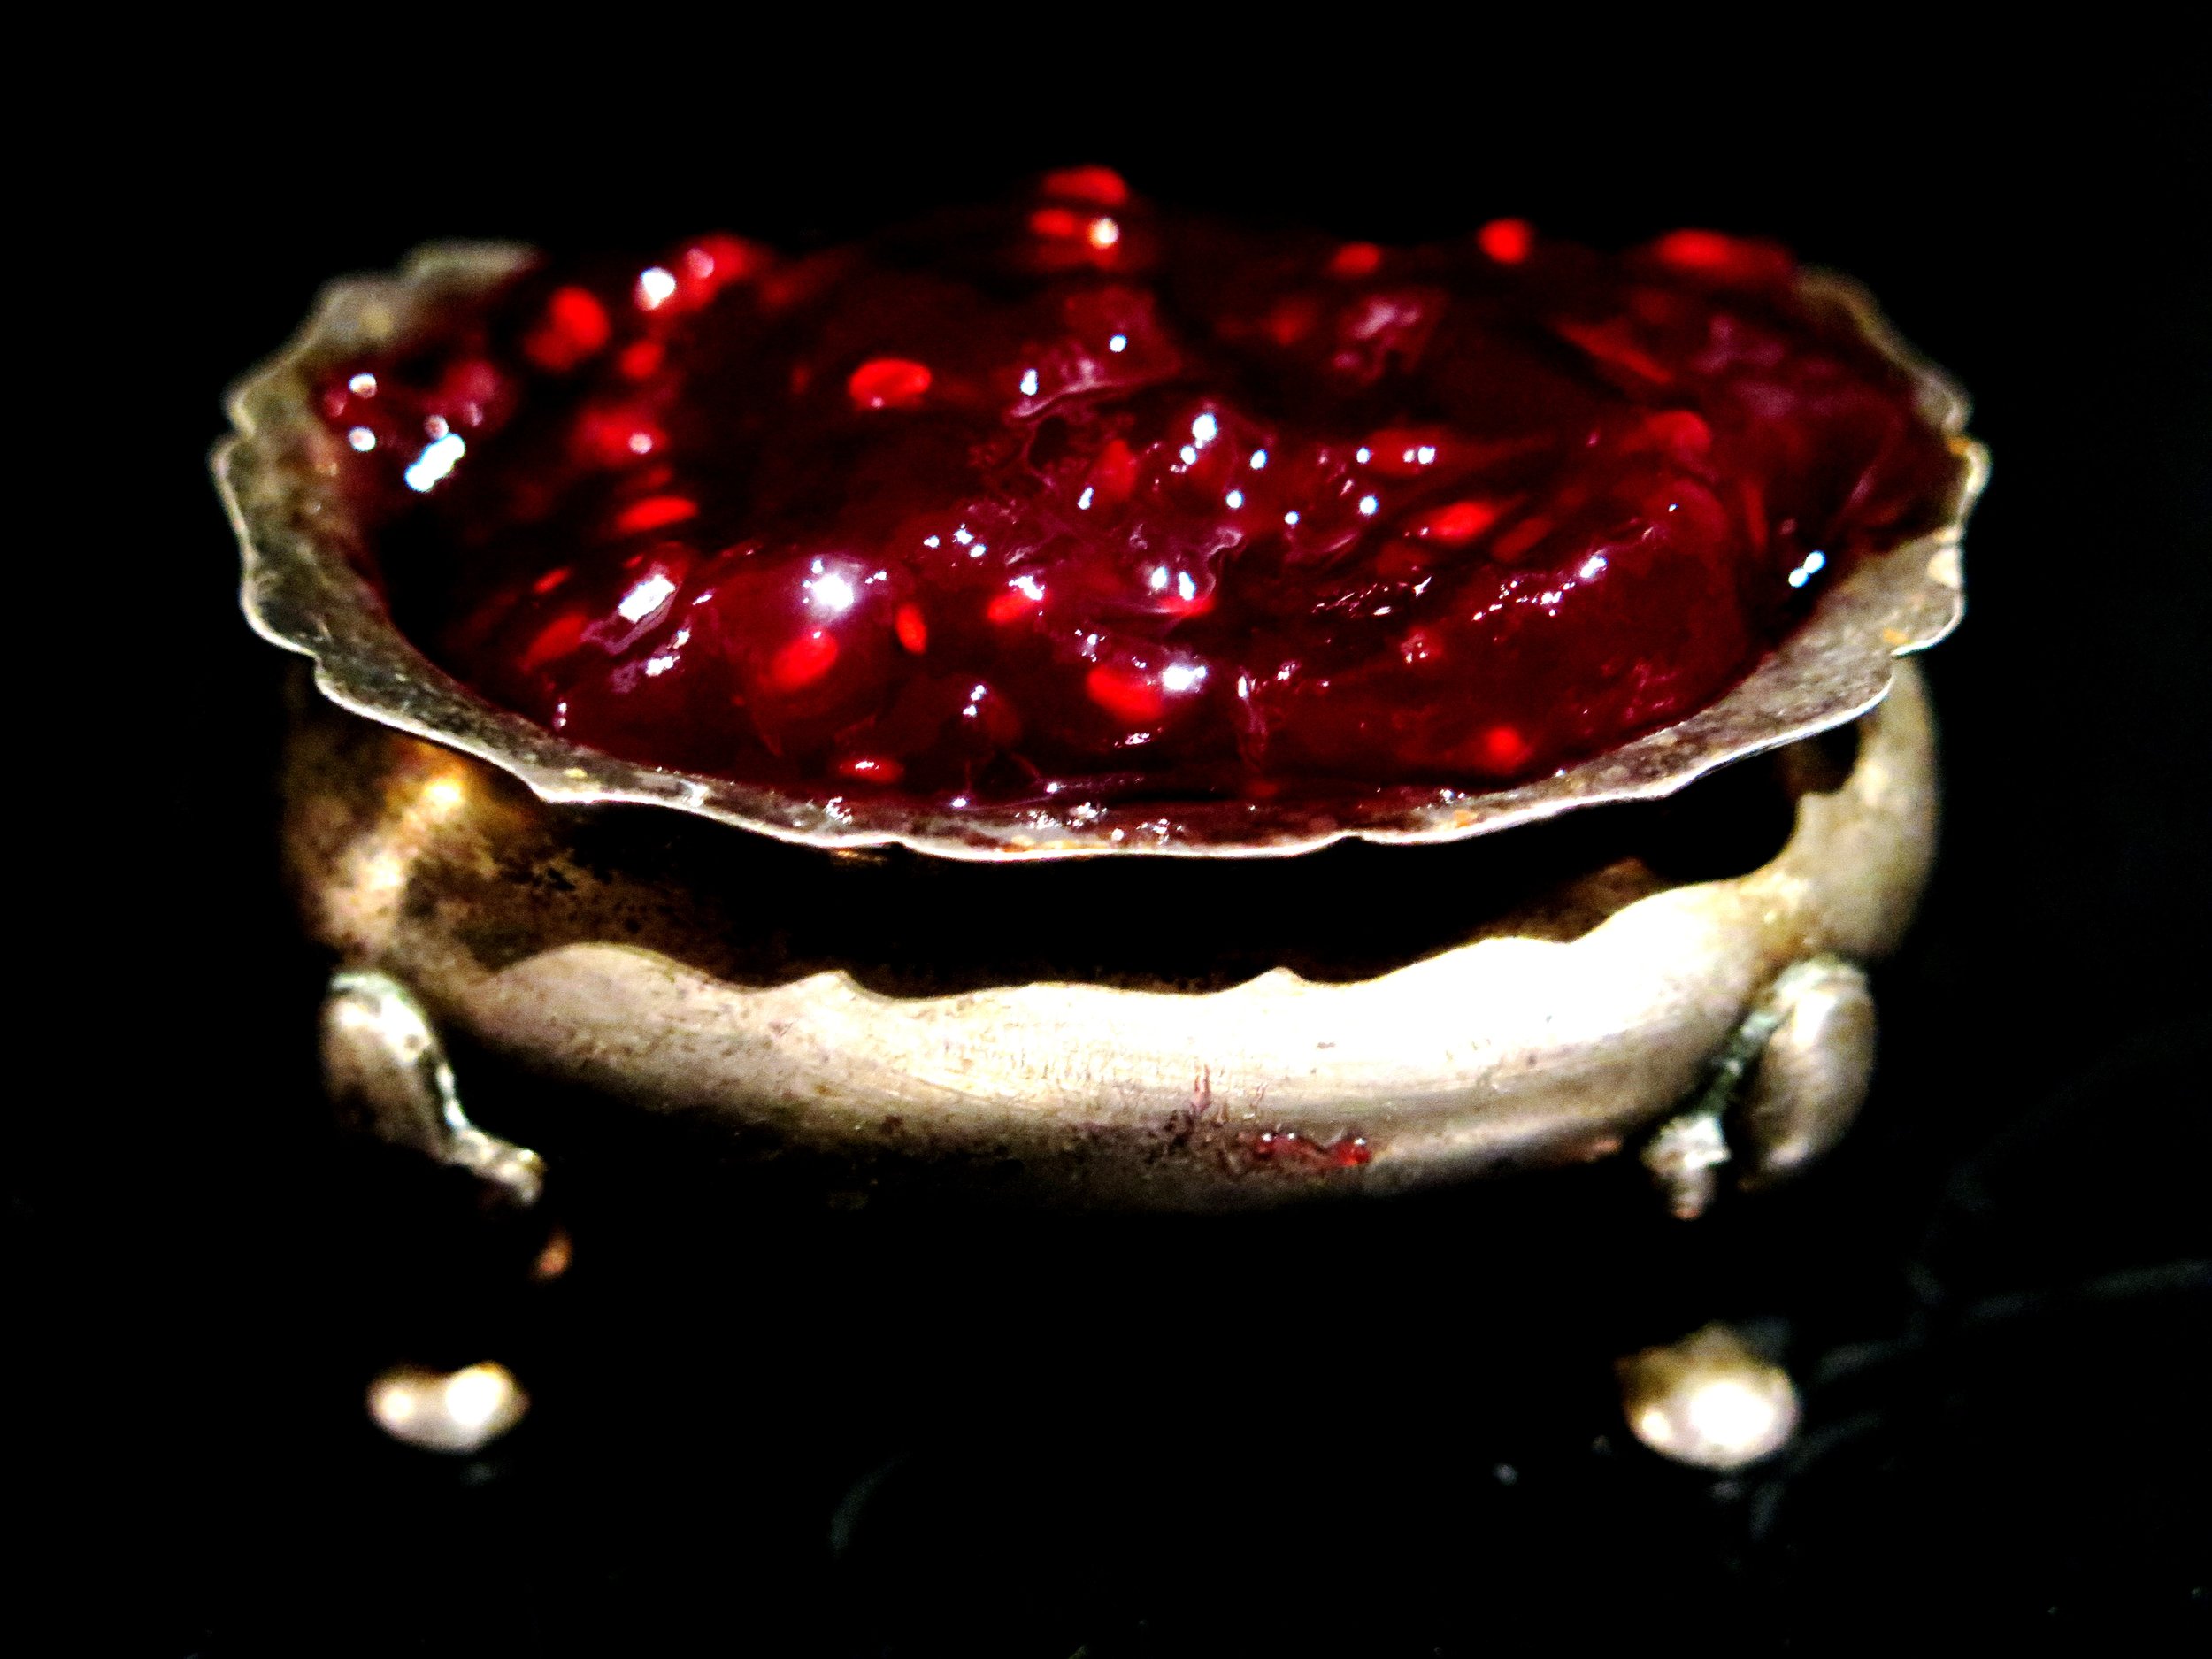
350g raspberries (approximately 1 per meringue)

30g icing sugar (optional)

2 large baking sheets lined with baking parchment

A piping bag fitted with a round 1cm nozzle to be used twice: first to pipe the meringue, and then the cream.  It can be marginally larger or smaller than 1cm. If you lack a piping bag, you can use a freezer bag and cut off a corner to replicate a 1 cm sized nozzle.

Method

  1. Preheat oven to 130°C. Pour egg whites into an electric mixer fitted with a whisk and whisk on high speed until soft peaks form.  It should be foamy in appearance.
  2. Switch the speed to medium-high and pour in caster sugar one tablespoon at a time. Once each tablespoon has dissolved into the mass of egg white, add the next. Keep whisking until the meringue forms hard peaks and is glossy i.e. the meringue should hold its shape when drawn into peaks with a spoon and the tracks of the whisk are visible in its surface.
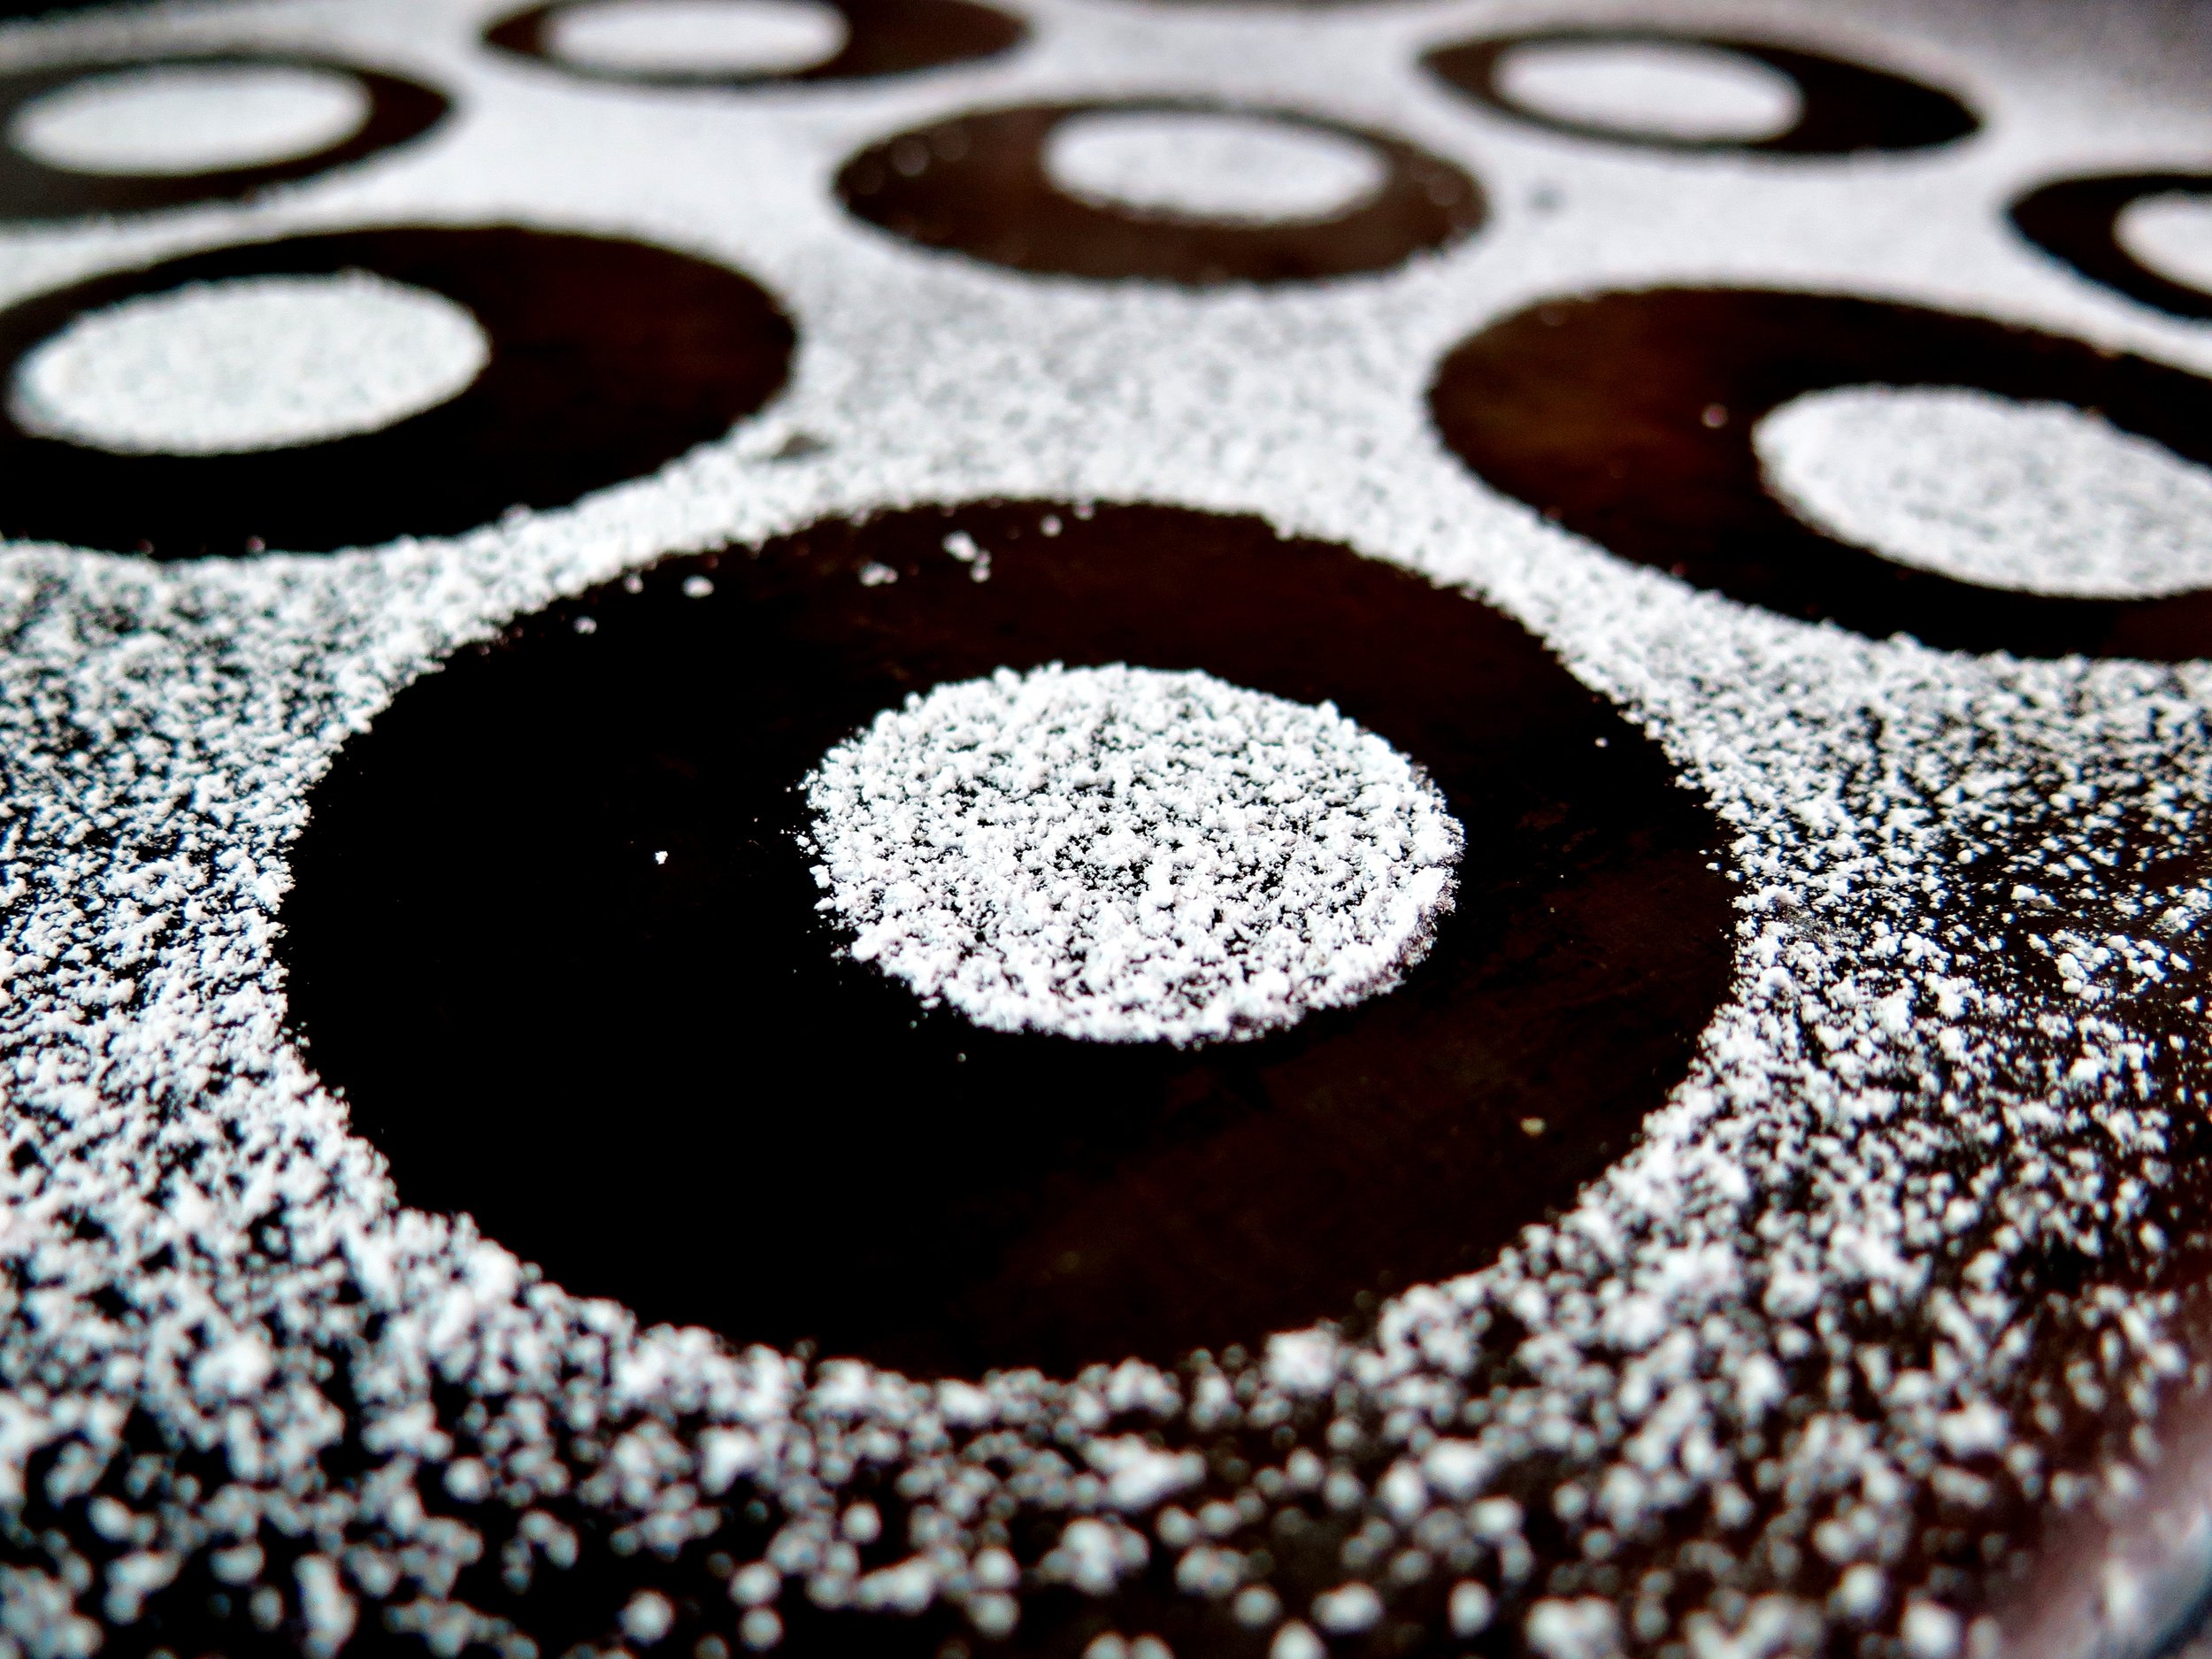
  3. Spoon the meringue mixture into the piping bag.  Holding the nozzle at a right angle to the baking parchment, pipe 3cm diameter sized meringue peaks onto the parchment in rows, leaving 3cm between each one (they expand slightly as they bake). Place in the oven and cook for 45 minutes, checking after 30 minutes. Once cooked, switch the oven off and allow to sit for another 15 minutes in the oven. They should remain pale and be crisp on the outside and slightly soft in the centre. Remove cooled meringues from the oven, and set them aside.
  4. Break the chocolate into pieces and place in a bowl over a pot of simmering water. Don't allow the water to touch the base of the chocolate bowl. Don't melt the chocolate directly in a pan on the stove as this causes it to seize. Allow to melt, stirring occasionally until glossy and smooth. Remove from the heat. Lightly holding the meringues at the sides with thumb and forefinger, dip the base of each meringue into the molten chocolate so that it coats the base and up to 1cm on the sides of the meringue. Place the dipped meringues back on to the baking parchment. Once the whole batch is coated, place the tray in the freezer for 10 minutes to allow them to set.
  5. In an electric mixer fitted with a whisk (or by hand if you’re feeling strong), whisk the cream until thickened. The tracks of the whisk should be visible and it should hold light peaks. Spoon the cream into a piping bag and pipe about a teaspoon of cream on to each meringue. Place a raspberry on each cream peak, face down. Sieve icing sugar over, if desired, and serve. 
  6. Best eaten on the day but the meringues without topping can be kept in an airtight container for a couple of weeks in a cool dry cupboard, and for a month in the freezer.
Mini Chocolate & Raspberry Meringues

HUNGRY FOR MORE?

Comment

Cinnamon Apple Crumble Pies

Comment

Cinnamon Apple Crumble Pies

IMG_8392.jpg

This is the cinnamon apple crumble pie 2.0. Tried, tested, and enhanced...Cinnamon Apple Crumble Pies Soft, crunchy, crumbly, fresh, sweet, and on the cusp of sour – the Gail’s Bakery apple crumble cake is what I crave.  It’s the ultimate winter treat, although I gaze longingly through the bakery window at them year-round.

Cinnamon Apple Crumble Pies


Cinnamon Apple Crumble Pies
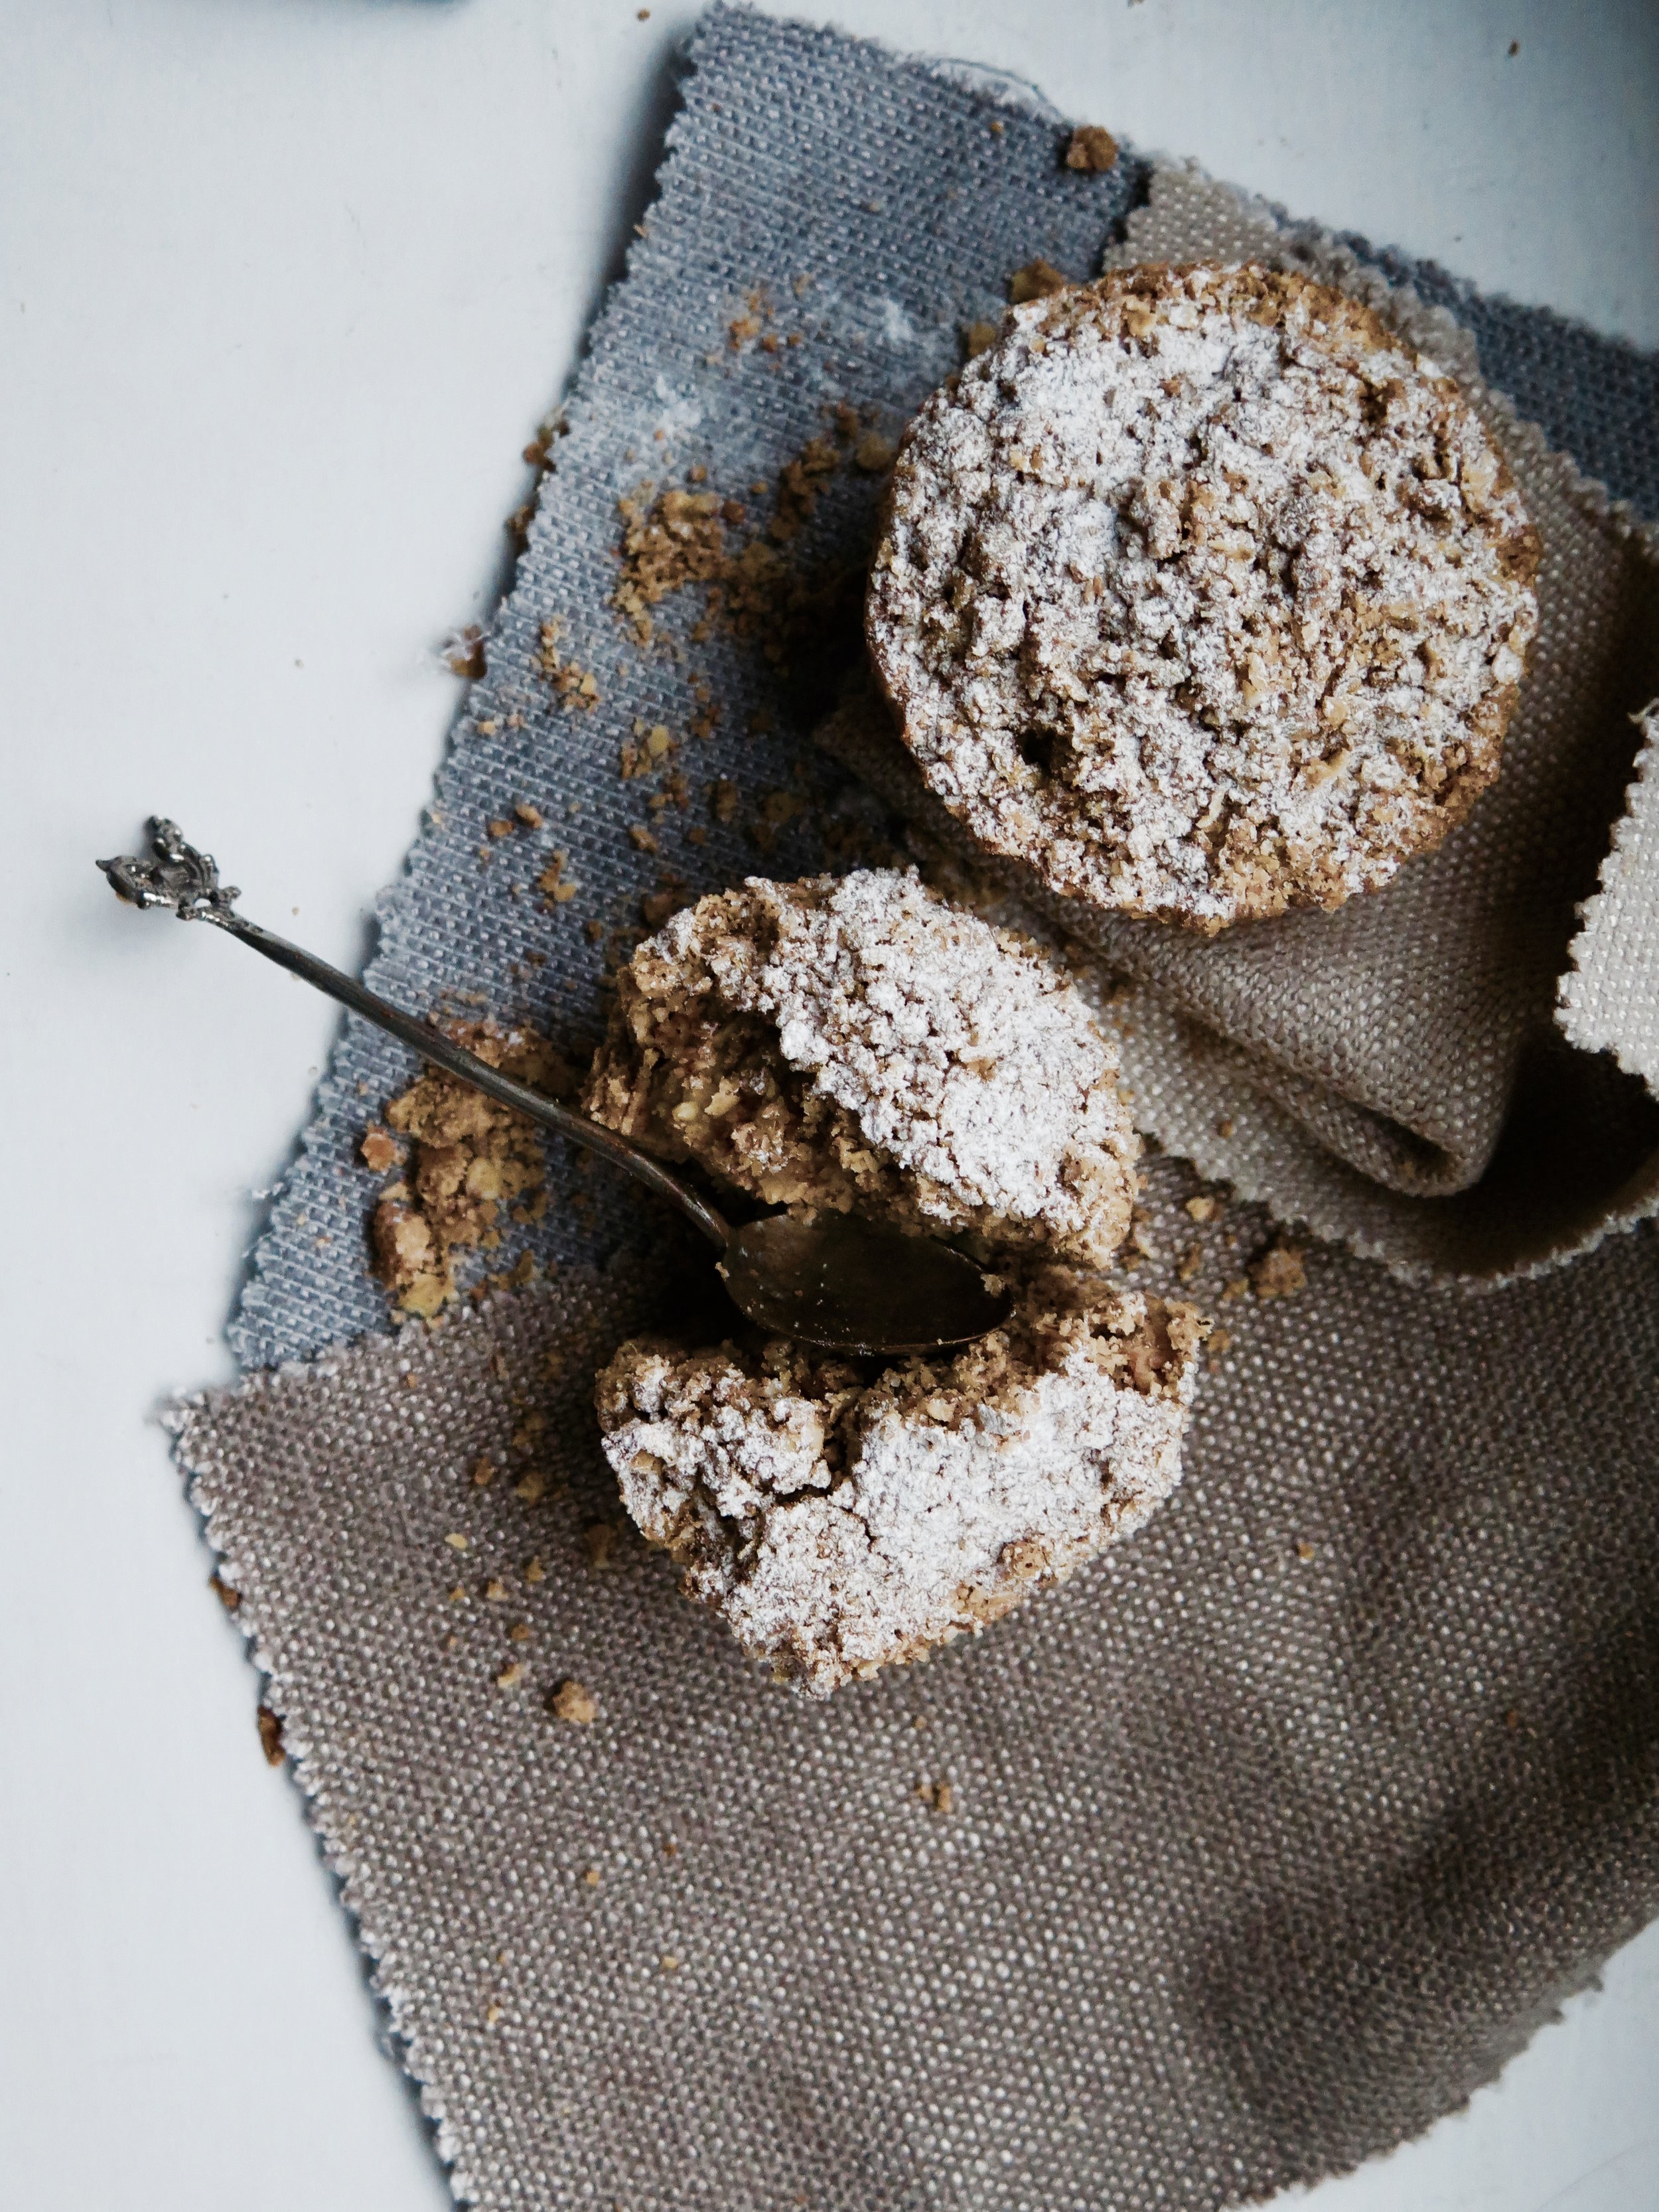
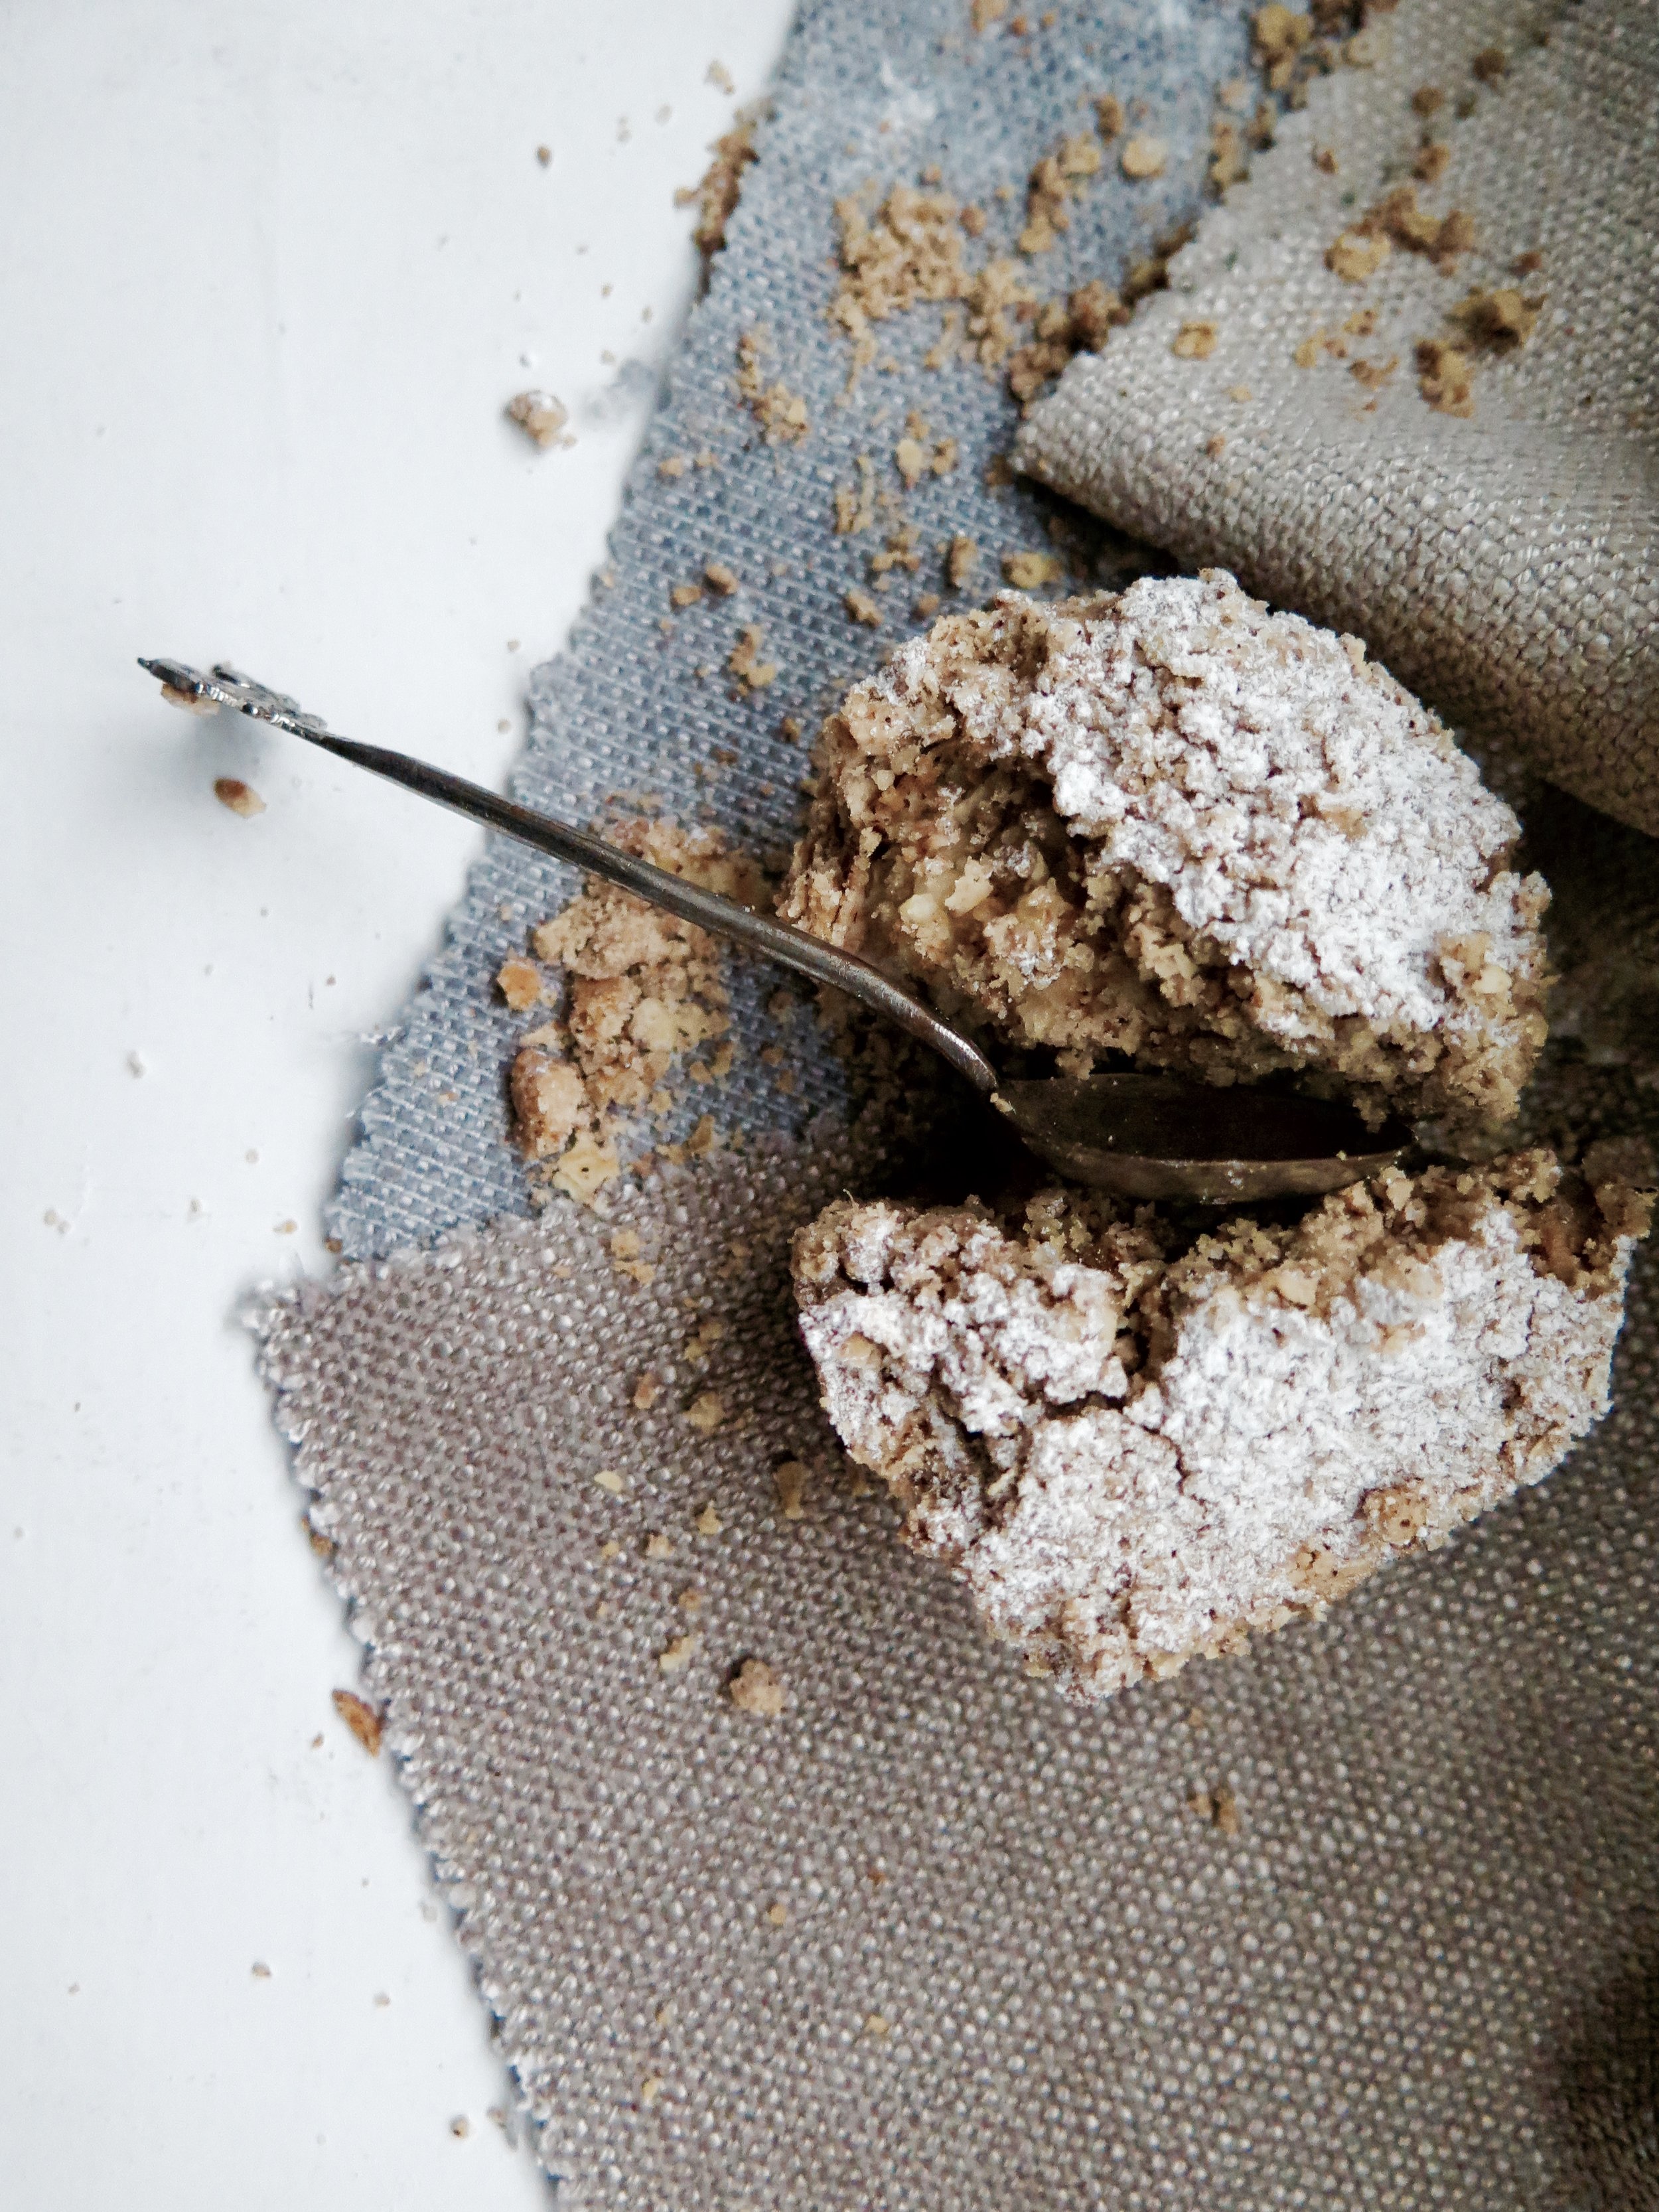
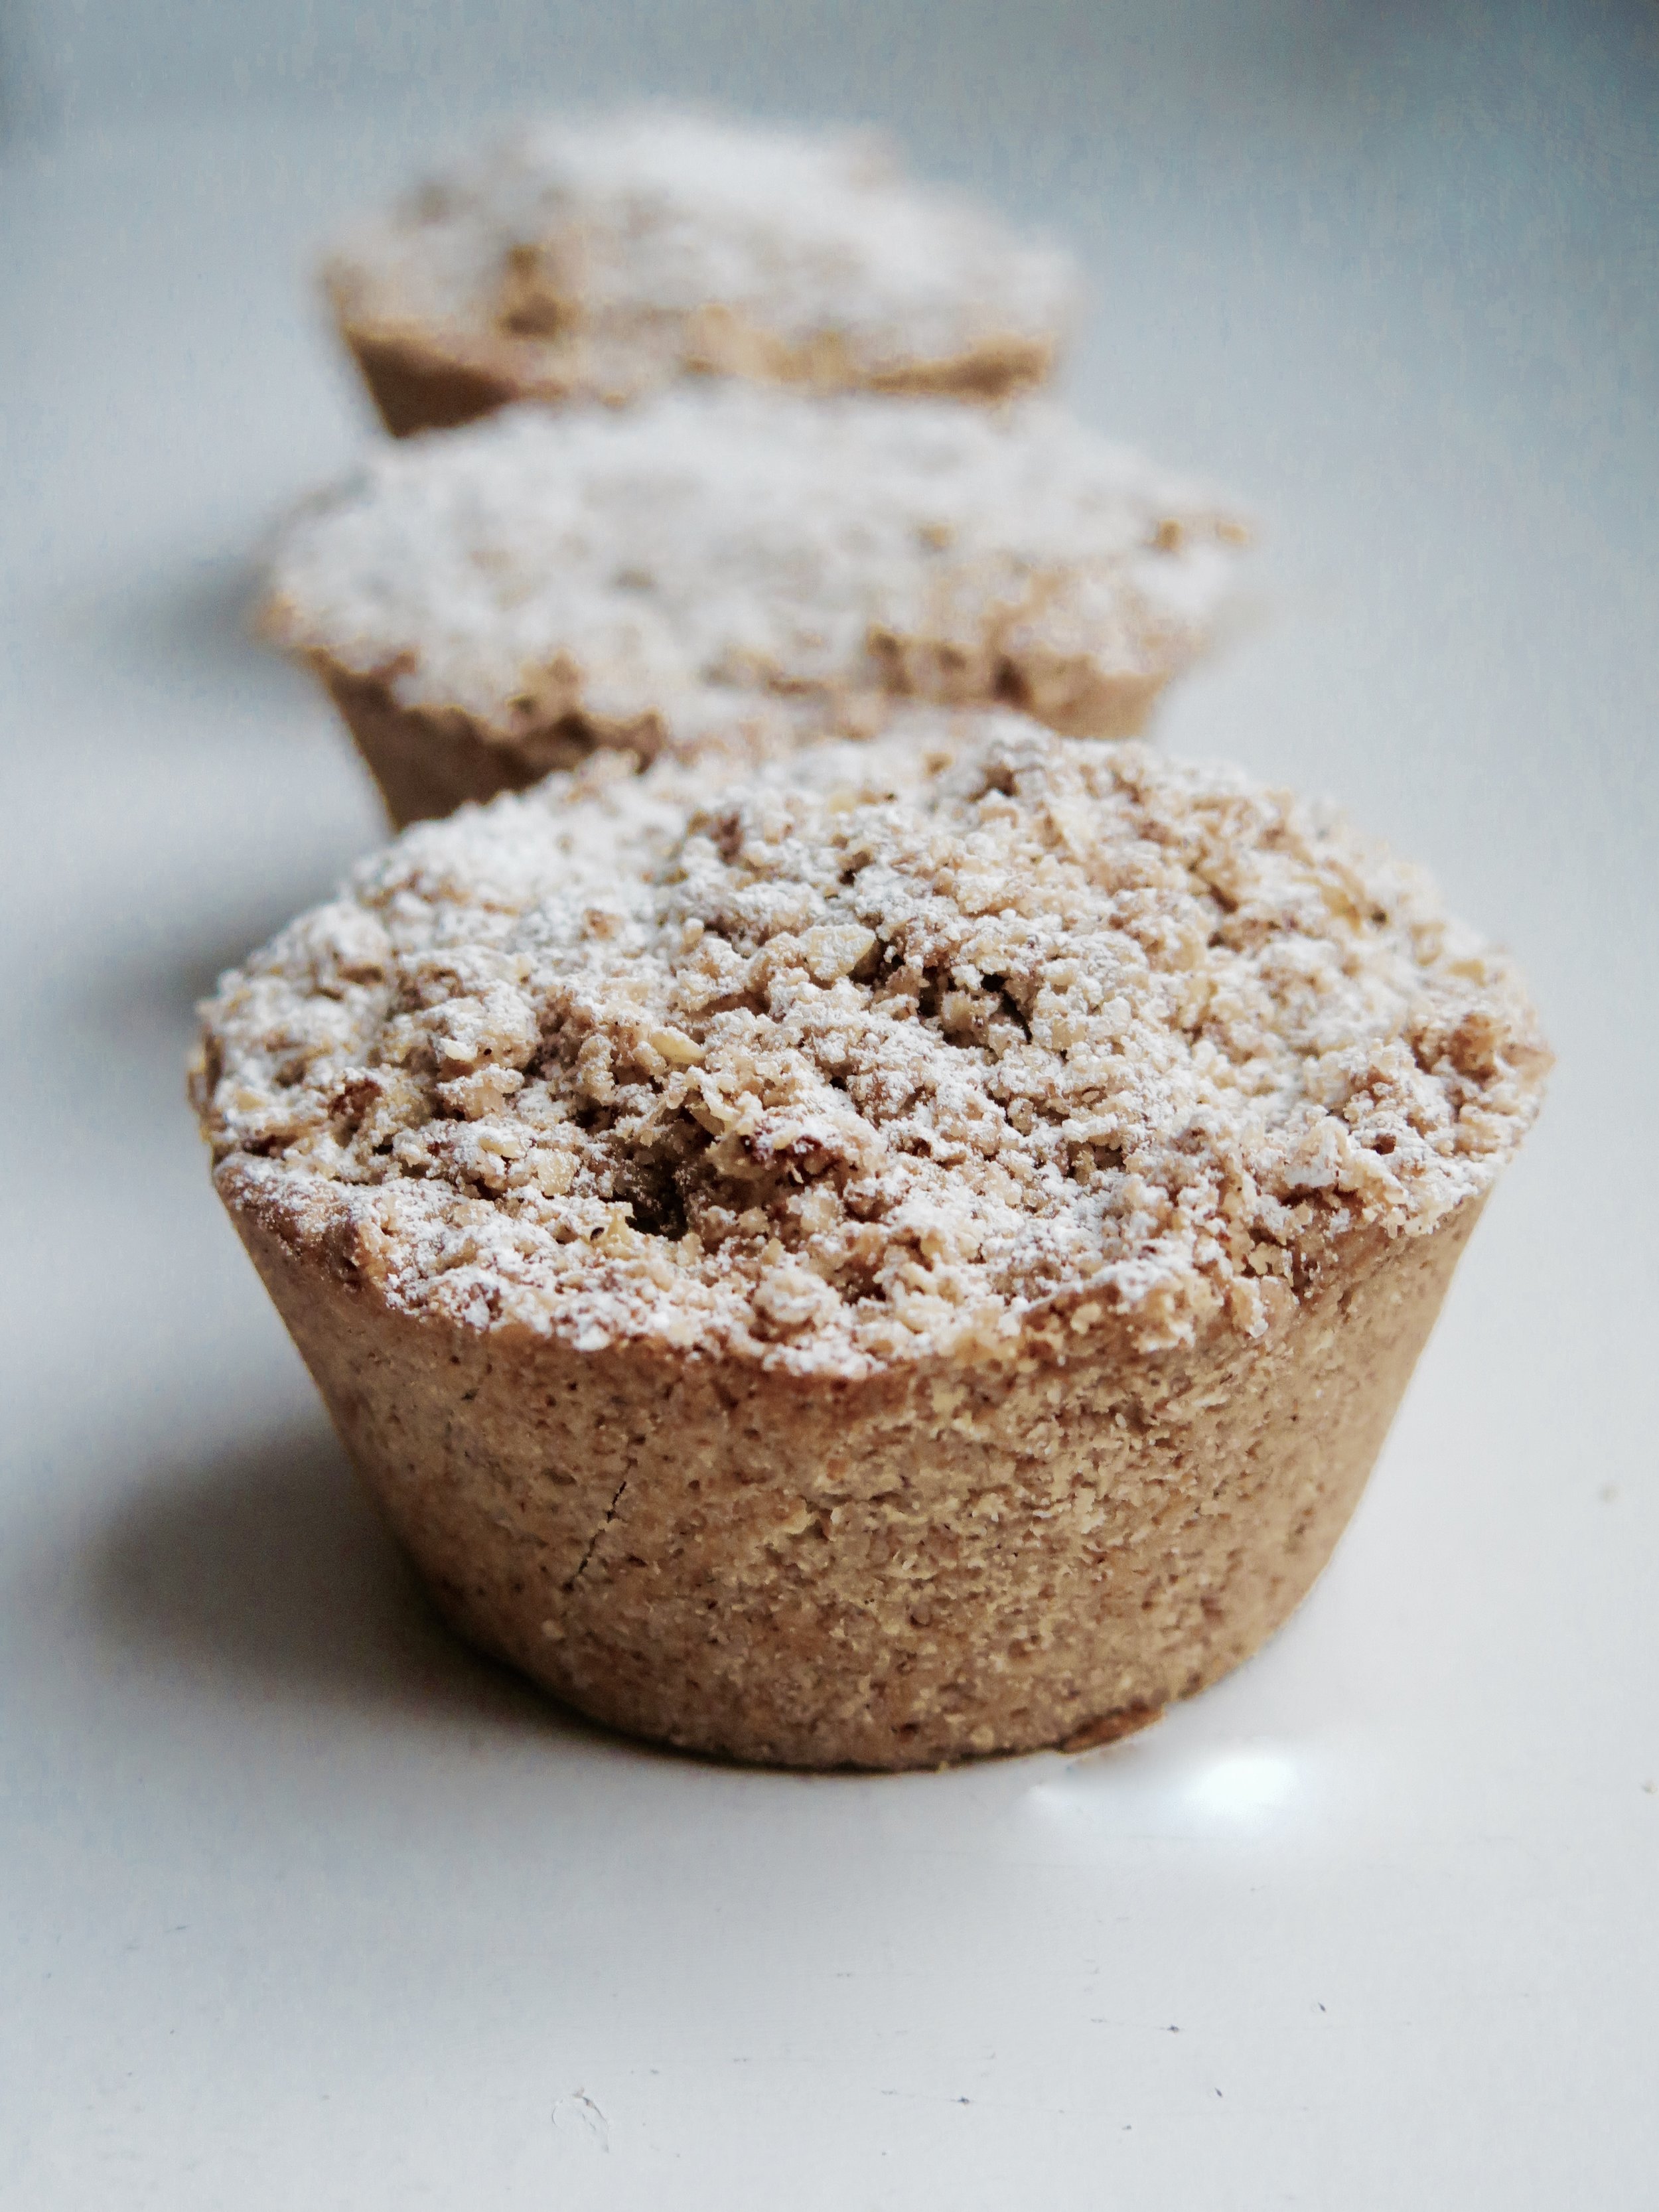
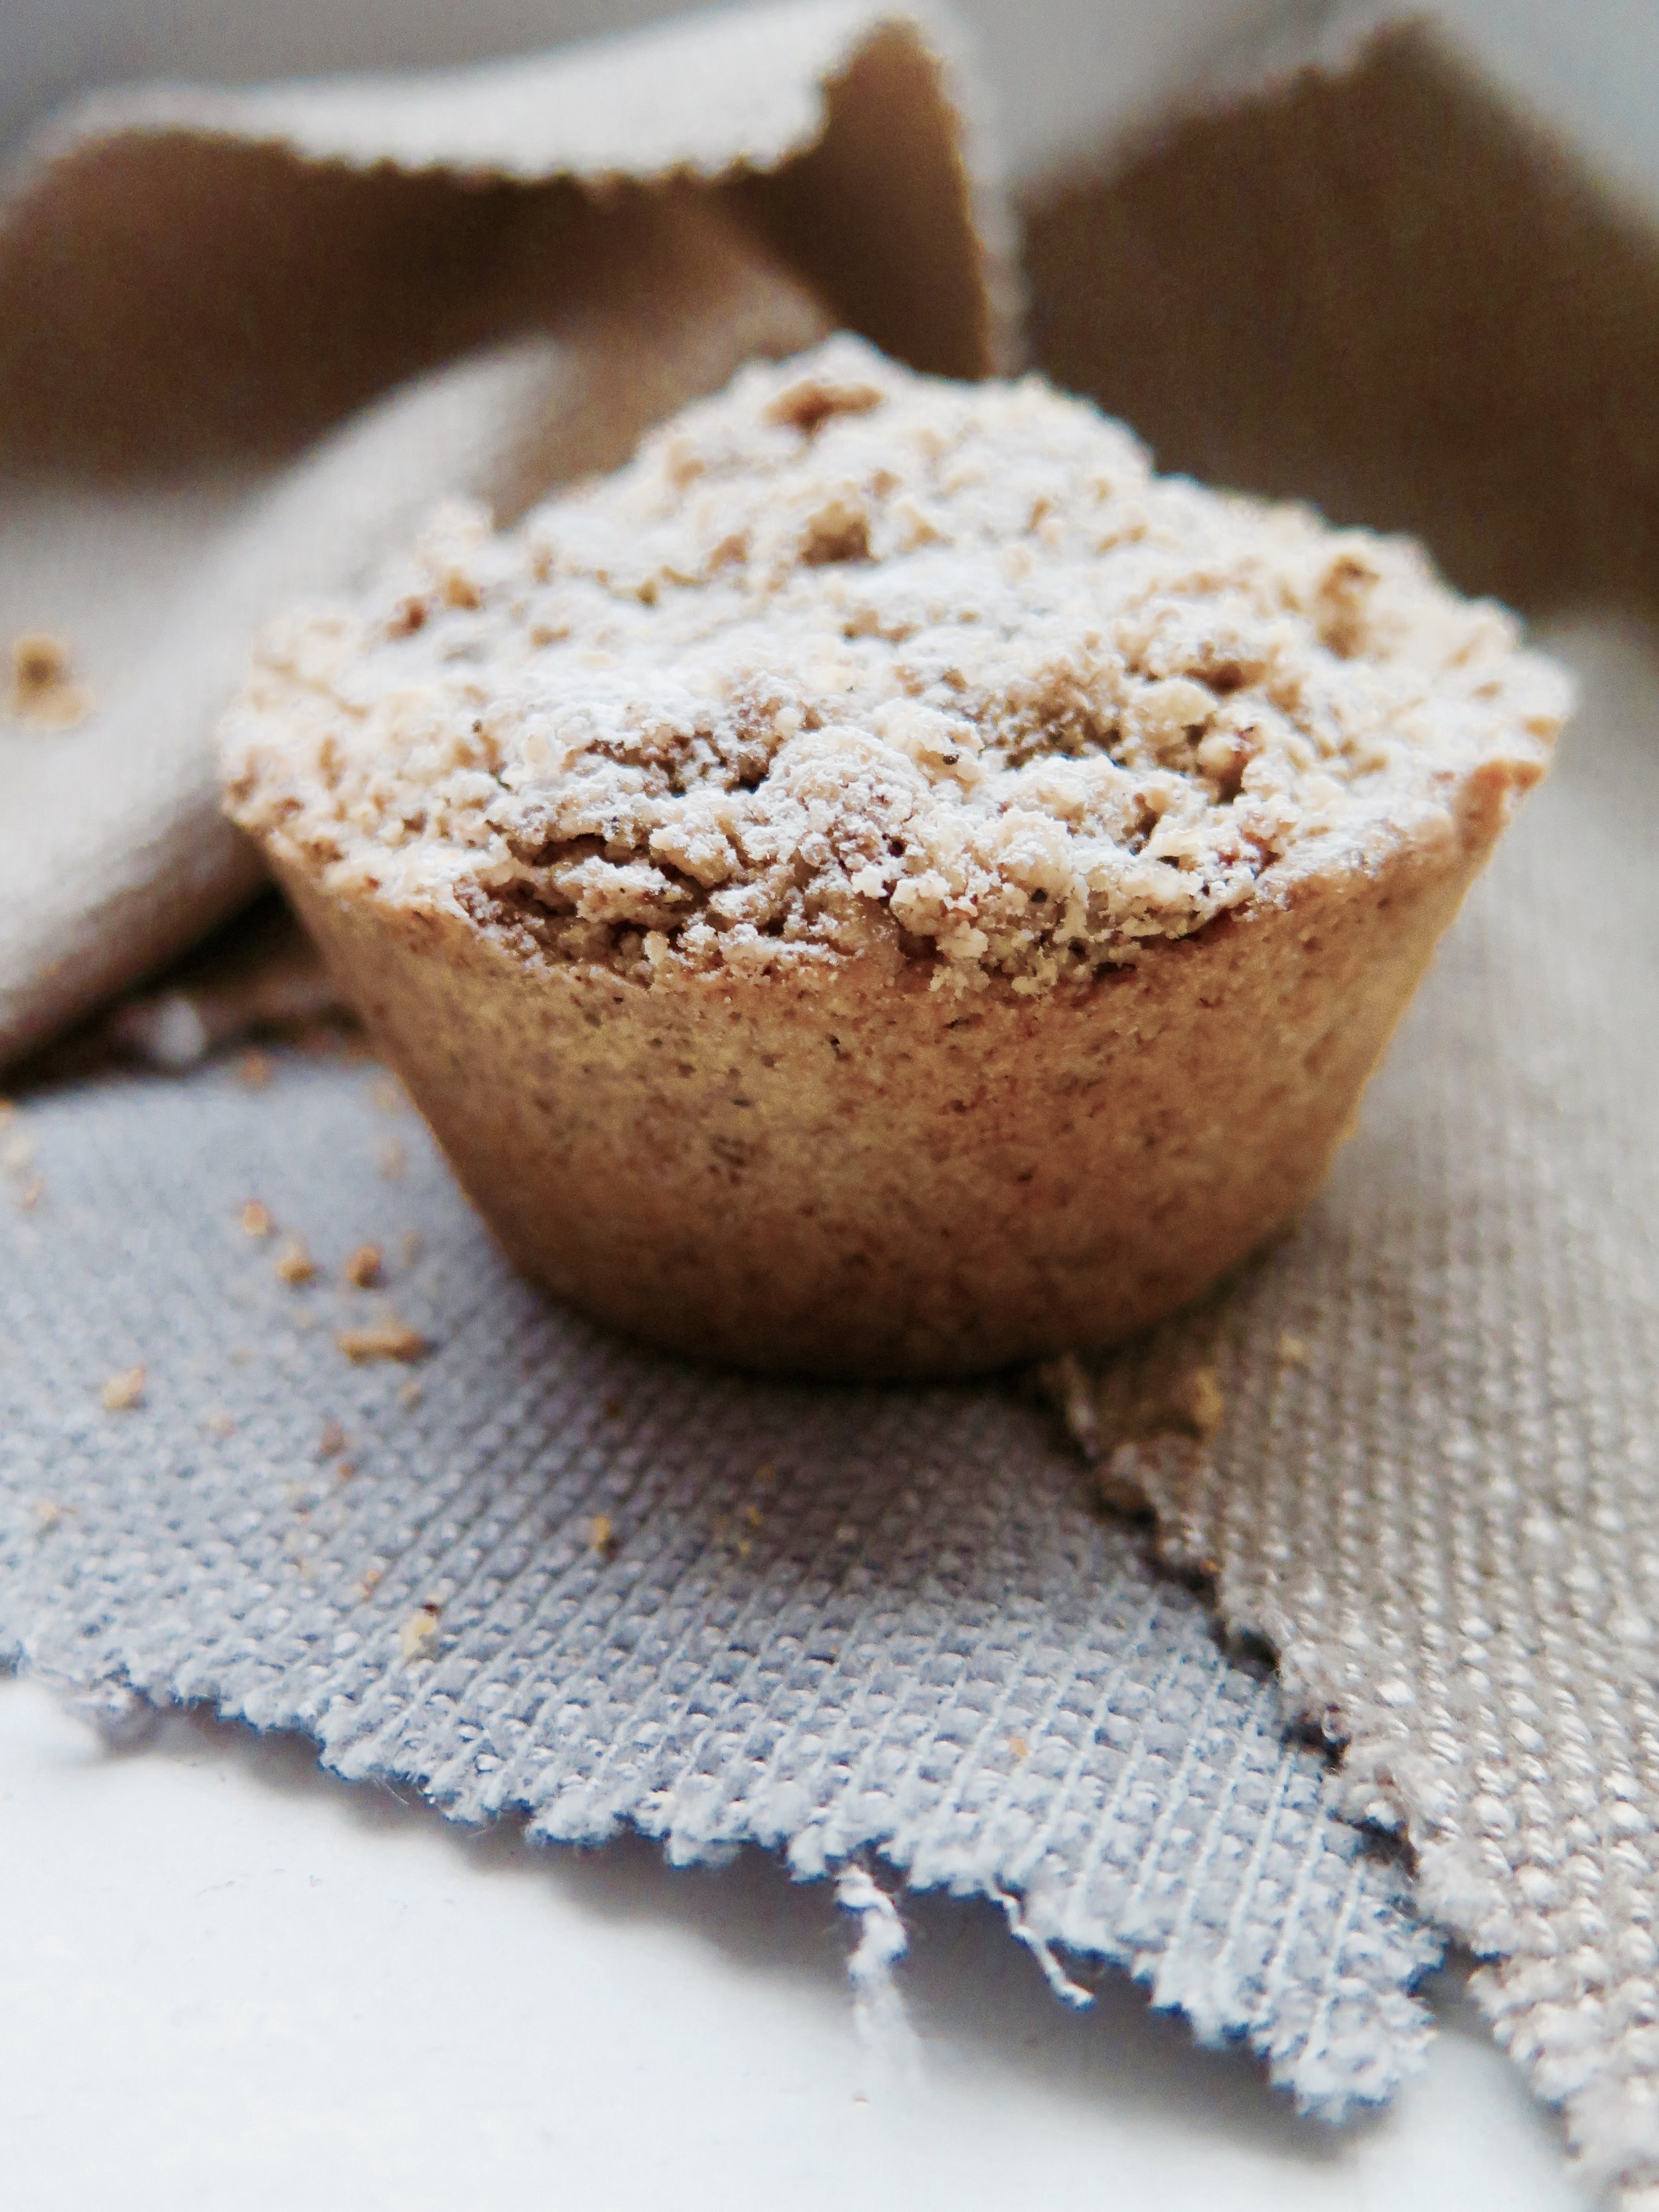
I bought the Gail’s Artisan Bakery Cookbook a few months ago in the hope that they had divulged the secret of their signature apple crumble cake. They hadn’t.
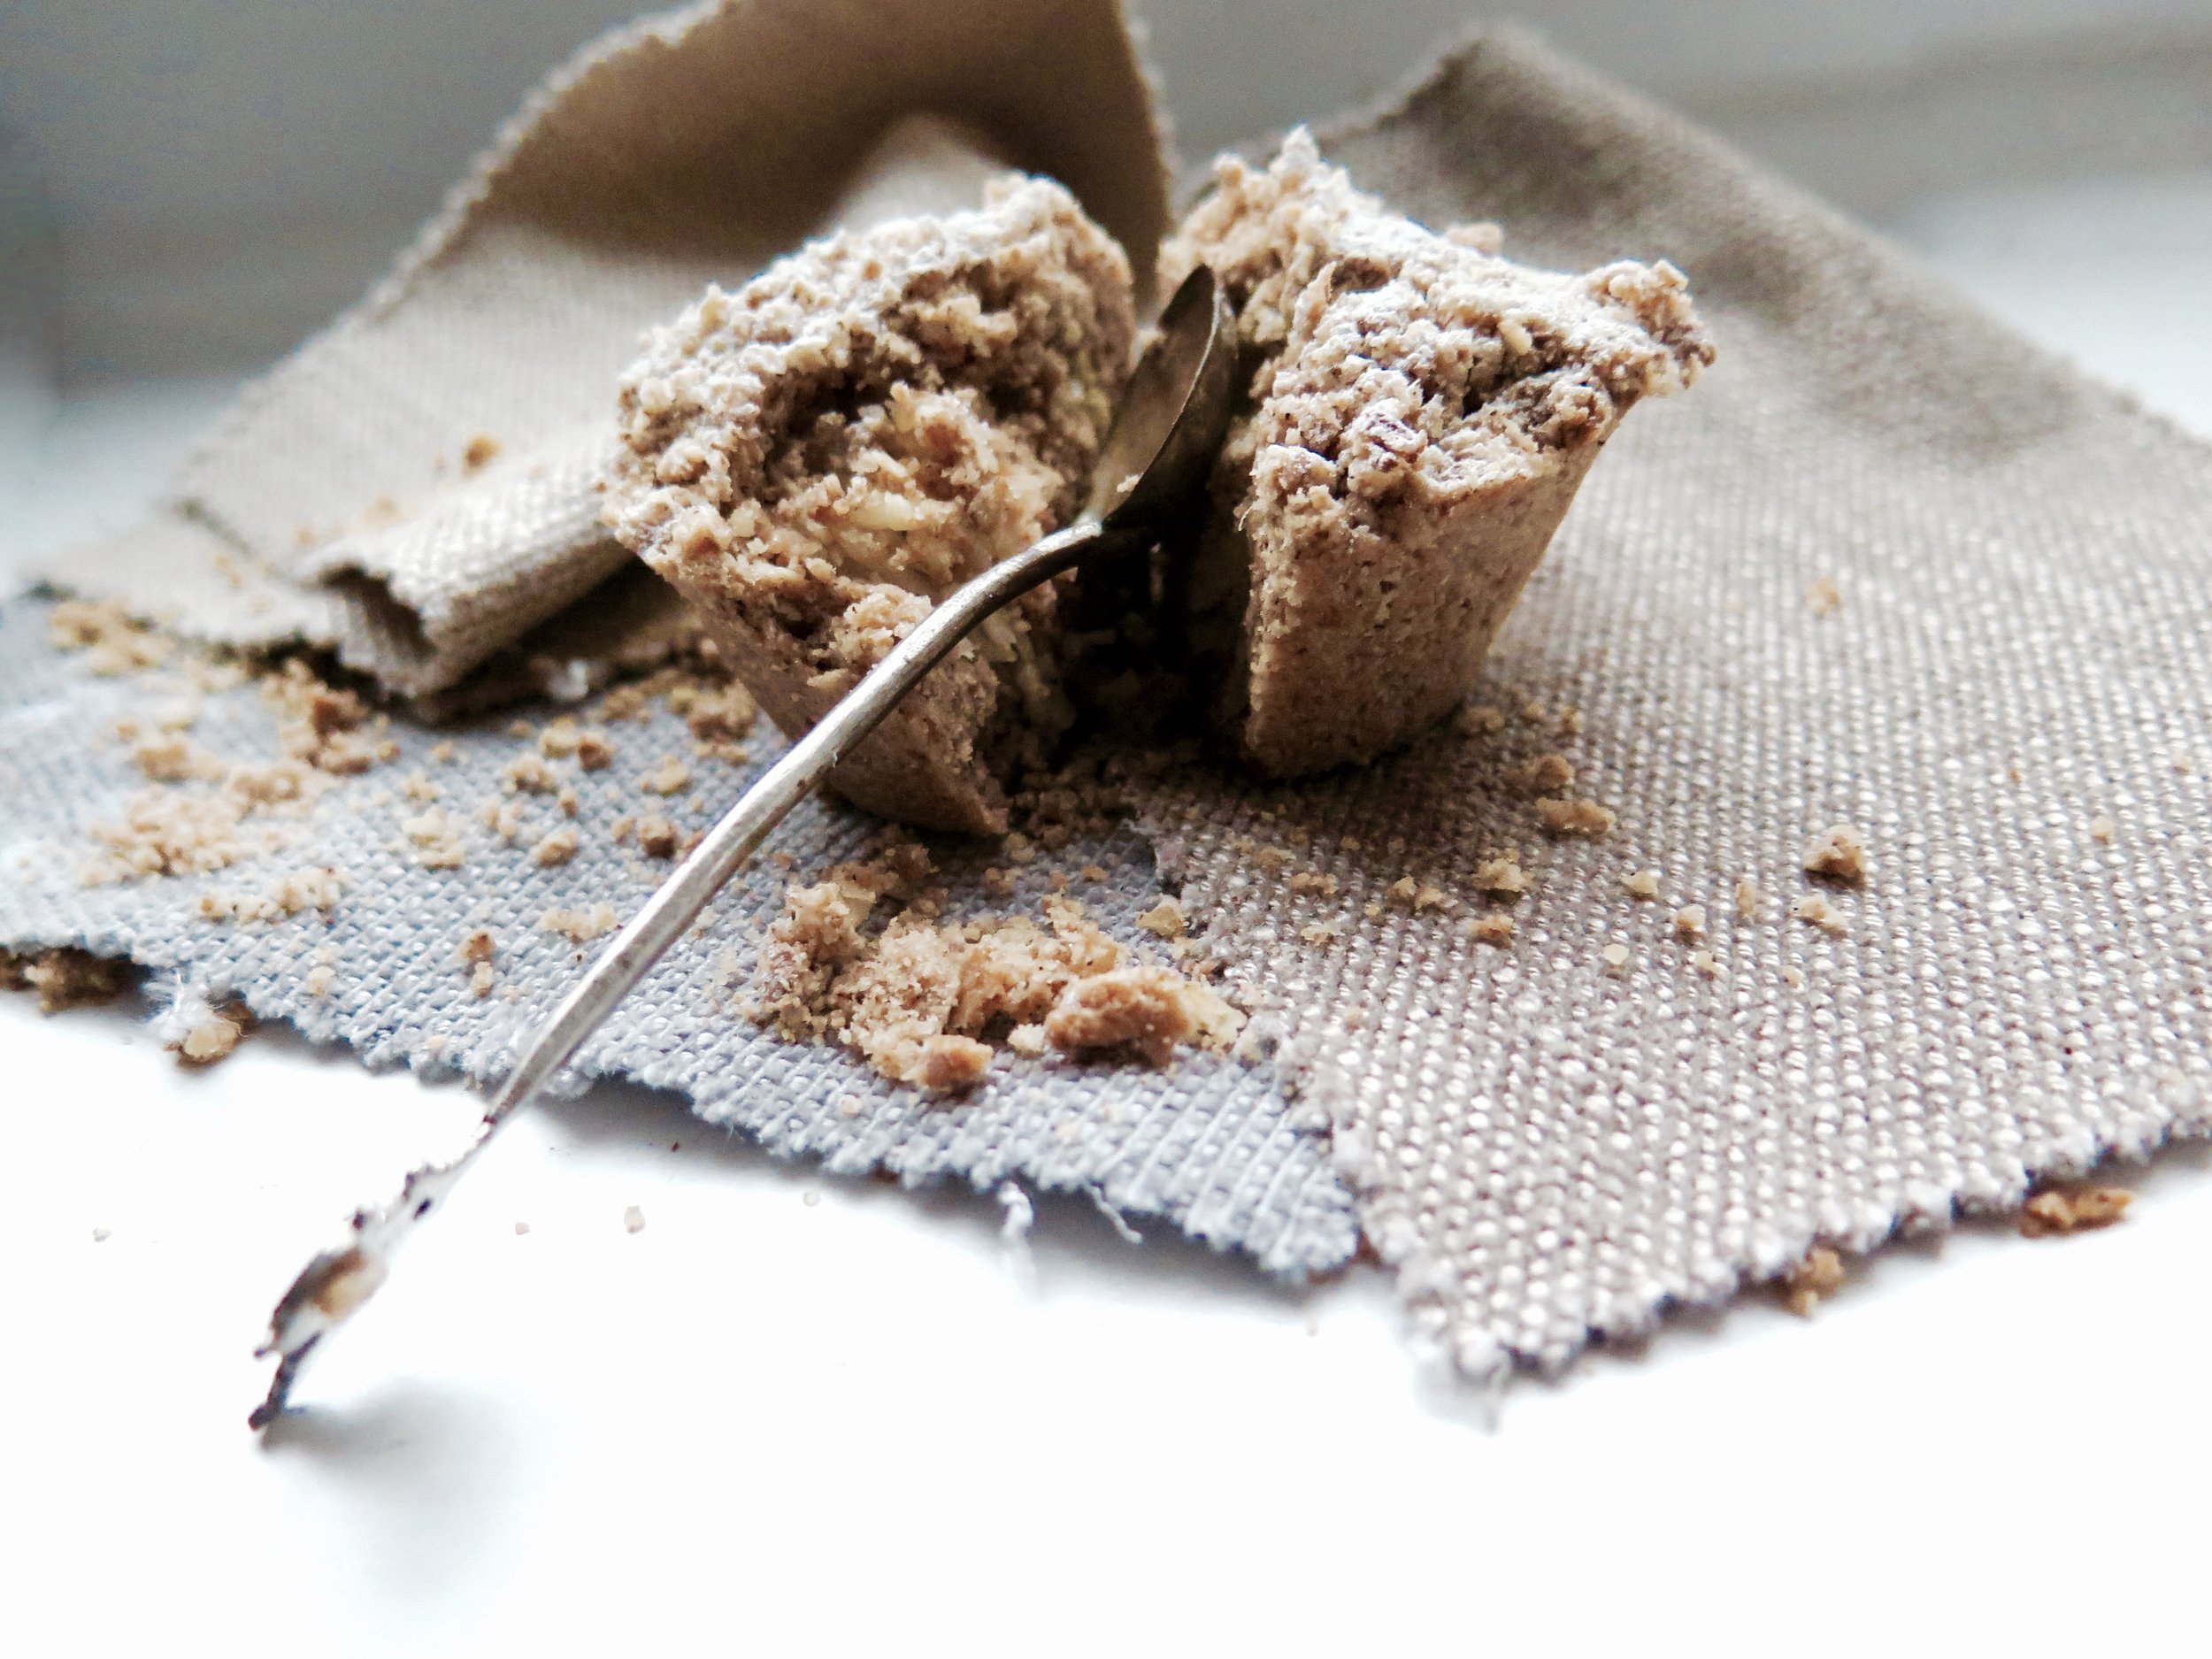
Cinnamon Apple Crumble PiesCinnamon Apple Crumble Pies

As a result I’ve just had to develop my own recipe – more wholesome, with more cinnamon and less sugar, I’ve heard they may even be superior…

IMG_8388

Cinnamon Apple Crumble Pies

Cinnamon Apple Crumble Pies

Cinnamon Apple Crumble Pies


Ingredients

(Makes 15)

Pastry

320g (11.3 oz) wholegrain spelt flour

110g (3.9oz) icing sugar

2 tsp cinnamon

½ tsp salt

165g (5.8oz) butter, roughly chopped into cubes

1 large egg, beaten

Apple Filling

700 (1lb 5oz) grams of peeled, cored and coarsely grated Bramley apples (about 3 large apples)

70g (2.5oz) caster sugar

Crumble topping

80g (2.8oz) wholegrain spelt flour

45g (1.6oz) oats

45g (1.6oz) caster sugar

50g (1.7oz)  butter

2 tsp cinnamon

¼ tsp salt

15 hole muffin/cupcake tin, greased (usually they come in 12s, in which case you will need 2 x muffin trays


Method

Pastry

  1. In a blender, blitz together dry ingredients. Then add in the butter and pulse until the mixture resembles damp sand. Pour in the egg and continue to pulse until the mixture clumps together into a dough. Avoid mixing it more than necessary.
  2. Flatten the dough roughly into a disc and wrap in cling film or baking parchment. Chill in the freezer while you make the other elements.

Apple Filling

  • Place all ingredients in a pan and stir over a high heat for about 5 minutes until the apple turns soft but some texture still remains.  Strain the mixture using a sieve, pressing down to get rid of excess liquid (about 250ml, which incidentally tastes like a delicious mulled cider).  Set aside to cool.

Crumble

  • Place all ingredients in a blender and pulse until the mixture resembles damp sand.

Assembly

  1. Preheat an oven to 180˚C.
  2. On a floured surface, roll out the chilled pasty to a thickness of 0.5cm. Cut the pastry into circles with an area similar to that of the muffin tin holes (about 8-10cm), and press each circle in the holes. You may need to patchwork the pieces together.
  3. Prick the pastry lining the muffin holes with a fork, and bake in the oven for 8-10 minutes, or cooked through and beginning to golden slightly.
  4. Take the tin out of the oven and spoon 2tbsp of the cooked apple into each pastry shells. Top the cakes by spooning a few tablespoons of the crumb topping over each cake, patting it down and then sprinkling the rest of the mixture over.  I like to clump some of it together before scattering it over in order to add further texture and rustic appeal.
  5. Bake in the oven for 8-10 minutes until the crumble topping is golden and crisp. Serve hot or cold.

Cinnamon Apple Crumble Pies

Comment

Morroccan Spiced Linzer Jam Cookies

Comment

Morroccan Spiced Linzer Jam Cookies

Afternoon tea.  What do you think of when someone says those words? Tiers of fluffy isosceles sandwiches, miniature entremets layered with fruit, caramel, and chocolate, and maybe a scone glistening with strawberries.  Crisp napkins, high ceilings, the tinkling of fine bone china…

Near where I live there is an Austrian tea room.  The window is filled with garish glace cherry- adorned, deflated pastries, crusted squiggles of festering cream, and opera cake melding into a brown sludge. It opened 60 years ago, and the décor and pastries appear not to have been refreshed since.

Morroccan Spiced Linzer Jam Cookies

Inside, it is dark and cramped, and the airless atmosphere is thickened with hot breath and the oversweet smell of fat and sugar.

Their Linzer biscuits, however, remind me of Jammie Dodgers – those jam-filled, shortbread biscuits of my childhood that only other people’s mothers allowed – and inspired me to re- interpret them. 

These have a slight Moroccan edge: spiced, delicate with a slight chewiness, filled with the tangy conserve of your choice.

I like marmalade for the tart/bitter contrast against the sweetness of the pastry, but strawberry also works well.  Of course, you can go for any shape, but I am rather taken by the cog-like –quirky take on a Jammie Dodger look.

Ingredients

290g (10.125 ounces) white spelt flour (or plain flour if unavailable)

140g (5 ounces) ground almonds

100g (3.5 ounces) caster sugar

¼ tsp salt

2 ½ tsp cinnamon

¼ tsp ground cloves

¼ tsp almond extract

1 tsp grated lemon zest (about ½ lemon)

1 tsp grated orange zest (about ½ medium orange)

225g (8 ounces) unsalted butter

200g (7 ounces) marmalade or jam of choice (I used marmalade and strawberry)

30g (1 ounce) icing sugar

Large and small cookie cutters (I used 7cm and 3.5cm diameter rings)

2 large baking sheets, lined with baking parhcment

Method

  1. Pour flour, ground almonds, caster sugar, salt cinnoman, cloves,orange and lemons zest, and almond extract into a food processor and pulse until fully combined.  Add in the chopped butter and pulse again until the mixture forms a damp sand-like texture.  Keep pulsing until it clumps tighter to form a dough.
  2. Divide the dough into two rounds and flatten both onto sheets of baking parchment, wrap them and place them in the freezer for about 20 minutes or the fridge for an hour.
  3. Preheat the oven to 160˚C (325˚F). Remove the disks of dough from the freezer/fridge – if they are too firm to roll, let them sit for a few minutes.  Ona thoroughly floured board, roll one disk out to a 3mm (1/8 inch) thickness. Cut out as many cookies as possible and set aside the scraps.  Space the disks out on the baking trays as you go. Repeat with the second disk and use the smaller cutter to cut out small holes from the rounds.  Press together the accumulated scraps and roll out again.  Make sure there are an equal number of whole circles to circles with a cut out circle.  A tip to avoid the cutter sticking in the dough is to dip it in flour first.
  4. Place the trays in the oven and bake for 12- 15 minutes until the cookies are golden but still soft to the touch – they will continue to cook as they cool. When cool, for aesthetic effect, sieve the icing sugar onto the rounds with the circles cut out of them. Then spread a teaspoon of the jam/marmalade onto the complete circles, and lightly press the cut-out layer on top.  Devour, delicately, of course…
Morroccan Spiced Linzer Jam Cookies

Comment

The Best Bircher Muesli

2 Comments

The Best Bircher Muesli

'Oats: a grain, which in England is generally given to horses, but in Scotland supports the people’ Samuel Johnson, The Dictionary of the English Language, 1755

If I were the type of person that leafed (ironically) through Cosmo, and stumbled across one of those lazy, page-filling content, tree diagrams which happened to ask “what is your spirit animal?”, I know what mine would be. A horse.  Well, at least that’s what it would have been during the second year of my time at university in terms of comestibles…

Essay crises necessitate fuel in order to feed the adrenaline and, for me, that fuel came in the form of oats.

When you have a 9 am deadline approaching, and there is only one hour remaining, every minute is precious - so there is no time to spare for cooking oats over the hob until they break down into a creamy mulch.

The Best Bircher Muesli

That’s the excuse I gave myself.  Instead, I developed the rather grotesque habit of eating oats straight from the packet, raw and desiccated. In my maddened and pressured state, I savoured the clagginess of the oats, where you can’t quite conjure up enough saliva to swallow them.  Ideal.

I have since moved on from this stage (with the very occasional relapse) to a more acceptable way of dealing with my love of oats: Bircher muesli, invented by Bircher Benner, a pioneer of raw foodism, in the late 19th century as a way of curing his jaundice.  It worked.

I feel, somewhat justifiably, that it runs in my blood (thick & creamy): my great-great-uncle was a frequent patient at Benner’s rather avant garde  Swiss raw food clinic and, one sunny day, he stepped down from a plane on an impromptu visit from Scotland to South Africa with no clothes besides the ones on his back, a vegetable juicing contraption which he trailed behind him on a rickety little cart, and a proselytising passion for Bircher muesli.

The Best Bircher Muesli

I have tried many a Bircher muesli, from Swiss versions to Vietnamese attempts, but I feel I have concocted the ultimate version (excuse my arrogance).  Creamy, healthy, juicy, and exotic, it’s effectively manna, and I would happily have it for every meal of the day (jaundiced or not).

The Best Bircher Muesli  (Serves 5)

Ingredients

2 Braeburn apples, grated

Juice of 1/2 lemon

200ml orange juice

200g natural yogurt

200g almond and coconut milk (can be substituted with dairy or non-dairy alternatives)

3 tbsp maple syrup

1 tsp vanilla bean paste (if you can’t get hold of this, omit it, or substitute with ½ tsp vanilla extract)

50g desiccated coconut, lightly toasted in a pan on a low heat until pale gold)

200g porridge oats

Pinch of salt

200g of fresh fruit of your choice (blueberries, strawberries, raspberries, figs, sliced banana work well)

40g coconut chips (optional but adds great texture)

Method

  1. In a large bowl mix together all the ingredients apart from the fresh fruit and optional coconut chips. If you are making this the night before, cover the bowl with cling film and place in the fridge overnight to let the oats soak up the flavours.  If you are serving the muesli immediately, stir the mixture for a couple of minutes to break down the oats until they are creamy.
  2. If you are leaving the muesli overnight, allow it to come to room temperature before serving. Scatter mixed berries and fruits and coconut chips over the top and serve.

2 Comments

Triple Coffee & Caramelised Walnut Cake

1 Comment

Triple Coffee & Caramelised Walnut Cake

IMG_4523.jpg

 How to bake and stay (reasonably) in shape. Triple Coffee & Caramelised Walnut Cake

I am often asked how it is that I am not obese.  I am by no means super skinny, but people wonder how I avoid rolling around the place when I am seemingly baking the whole time and have little resistance to delicious things.  So, here’s my secret.  Have a go.

Triple Coffee & Caramelised Walnut Cake


What I need: a running machine; a radio; an oven; a timer

Triple Coffee & Caramelised Walnut Cake

What I do:

Pour the batter into the cake tin, lovingly smooth the surface over with a spatula. One lick of the spatula before it goes in the sink (just a little indulgence). Carefully open the oven door, and bend down slowly so that the batter remains level.  Place the cake tin tenderly on the rack. Set the oven timer.  22 minutes.  Then GO.

Triple Coffee & Caramelised Walnut Cake

Run up the stairs, two at a time.  That’s one minute either side to rush back down.  Turn up the radio. Leap on to the treadmill, and run. 10 mph minimum. 20 mins to go.  Sweat, pound, sweat.  15 mins.  Beyoncé’s screaming.  Oven beeps.  Run back down (Beyoncé’s mumbling). Open oven door, skewer the cake.  Damn - not cooked. Rip out a sheet of tin foil. Cover the cake.  Burn hand.  Set timer: 7 mins more.  Repeat process until skewer comes out clean.  Place cake on rack and allow to cool.

Stretch and shower.

Hover over the cake with a knife.

Triple Coffee & Caramelised Walnut Cake

You can make the cake sans-icing by simply halving the recipe and, before serving, dusting with a little icing sugar.Triple Coffee & Caramelised Walnut Cake


Ingredients

Cake

200g butter, at room temperature

170g caster sugar

30g light brown muscovado sugar

2 tbsp ground coffee

¼ tsp salt

70g toasted walnuts, ground to a fine sand

4 large eggs, beaten

1 tsp vanilla extract

1 ½ tsp instant coffee, dissolved in as little hot water as possible to make a smooth paste

240g self-rising flour, sieved

2 x 8 inch cake tins, greased and with bases lined with a circle of baking parchment


Coffee Syrup

40g golden syrup

50g caster sugar

2 tbsp instant coffee

100ml boiling water


Coffee Icing

300g butter, at room temperature

450g icing sugar

1 ½ tsp vanilla

2 tbsp instant coffee dissolved in as little hot water as possible to make a smooth paste

¼ tsp salt


Caramelised walnuts

60g walnuts

2 tbsp caster sugar

3 tbsp water

Method

  1. Preheat oven to 180˚C. Using an electric mixer, or with a vigorous hand, in a large bowl beat together the butter, caster sugar, muscovado, ground coffee and salt until light and fluffy.
  2. In a separate bowl, beat together the eggs, vanilla and dissolved instant coffee. Beat this into the butter-sugar-coffee-salt mix.  Once combined, stir in the ground walnuts.
  3. Finally, gently fold the sieved flour into the mixture, being careful not to overbeat. Divide the mixture between the two tins and place in the oven to bake for 25 minutes (checking after 20) or until a skewer comes out clean.
  4. While the cakes are baking, make the coffee syrup. Dissolve the instant coffee in the water and pour into a small pan along with the syrup and sugar.  On a medium high heat, stir until the sugar has dissolved, then allow to simmer for 5 minutes or until it thickens slightly to the consistency of maple syrup.
  5. Remove cakes from oven. Stab them all over with a cake tester or skewer, and spoon the syrup equally over the two cakes.  Set aside on a rack and allow to cool.

Icing

  1. Beat together butter and icing sugar. Once combined, beat in the vanilla, coffee and salt.
  2. Remove the cakes from tins, place one on the serving plate and spread ¼ of the icing on its surface. Place the other cake on top and spread the icing evenly over the cake.

Caramelised Walnuts

  1. In a shallow pan, over a medium-high heat, stir together water and sugar until the sugar has dissolved. Then pour in the walnuts, and continue to stir and coat them until all the water has evaporated.  Decant them on to a sheet of baking parchment, and allow them to cool.
  2. Once cool, chop roughly, and scatter as desired over the cake.

Triple Coffee & Caramelised Walnut Cake

1 Comment

Spiced Blueberry Tart

1 Comment

Spiced Blueberry Tart

IMG_4374i.jpg

Is it just me, or is anyone else sick of logging on to Facebook, innocently hoping to drain away half an hour of one’s day (minimum) by looking at pictures of people one may or may not have half met once trying to prove how much fun they are having by posting pictures of themselves with friends/family, strained smiles stretched across their faces, and who are clearly not that immersed in the fun as they have had to spend half an hour trying to get one decent picture out of the hundred they’ve taken to emblazon it across their Facebook wall and maybe, just maybe, turn it into a cover photo?

And then – BAM - your gaze is diverted,

and you are staring down into the depths of a garishly coloured plastic bowl filled with some unidentifiable artificial gunk, pink fleshy hands massaging some other substance into it to form some putty-like emulsion which is then mushed and squeezed and squidged into a plastic mould, whizzed up, and extruded through a bag and…… oh look, it’s that Gooey Oreo, Jellied Eel and Green Marshmallow Mini Coffee Cup that “you’ve always wanted to make for your slumber party with the gals”.

Here’s an antidote.  It is simple yet sophisticated, humble yet sumptuous, tangy but not cloyingly sweet, and light yet not so light when you’ve had 4+ pieces….

Ingredients

Pastry

200g white spelt flour (can be substituted with plain flour)

100g butter, roughly cubed

2 tbsp icing sugar

¼ tsp salt

1 small egg, beaten

12 x 36cm tart tin, greased and dusted with flour

Blueberry filling

800g frozen blueberries

250g caster sugar

1 tsp cinnamon

½ tsp nutmeg

2 tbsp cornflour

Zest of ½ medium sized orange

Method

  1. Place flour, butter, icing sugar and salt in a food processor, and blitz until it resembles damp sand. Pour in the beaten egg, and pulse until the mixture combines to form a soft dough.  Remove from the processor, wrap in baking parchment and place in the fridge for half an hour (or freezer for 10-15 minutes) – this will prevent the dough from shrinking when it bakes.
  2. Preheat the oven to 180˚C. Lightly dust a surface with flour and roll out the dough in a rough rectangle to 0.5cm thickness. Roll the pastry around a rolling pin and transfer to the tin, pressing it into the fluting (if, indeed, your tin is fluted). Run a knife along the top edge of the tin to remove excess pastry. Prick the base of the pastry a few times with a fork, and place back in the fridge for 30 minutes (or freezer for 10 minutes).
  3. Prepare the pastry for blind baking by lining the inside with a sheet of tin foil and filling it with baking beads to weigh it down while it bakes and to prevent it from shrinking. Place in the oven for 15-20 minutes until the pastry is dry and beginning to turn golden.  If it is cooking too slowly, you can remove the beads and tin foil after 15 minutes and continue to bake.  Remove from oven and set aside to cool.
  4. To make the spiced blueberry filling, place a large pan over a high heat and pour in all the ingredients. Stir continuously until the sugar is dissolved in the juice that runs off the blueberries. When the mixture begins to boil, reduce the heat to medium-high and allow to simmer for 20-30 minutes, stirring occasionally to prevent it from catching, until the liquid is almost completely reduced and with the viscosity somewhere between a syrup and a jam. Allow to cool to room temperature, then pour into the pre-baked pastry case.
Spiced Blueberry Tart

1 Comment

Passion Fruit & Coconut Truffles

Comment

Passion Fruit & Coconut Truffles

IMG_4223.jpg

Passion Fruit & Coconut Double Chocolate Truffles IMG_4217

My household has recently been beset by a typical problem. My mom rather enjoys pressing the "+”button when ordering from Ocado.  Whereas last week this resulted in a glut of cherries, this week it was passion fruit.   Even after days of bisecting the plum-coloured orbs and slurping up the tangy yellow spawn (sans spoon, and only in the most ladylike way, obviously), the supply remained steady.

IMG_4163

IMG_4135

IMG_4237Clearly, truffles were the solution.  Most truffle recipes create a molten ganache centre by simply combining melted chocolate with the flavour/ingredient of choice and a dribble of cream.  Easy?  Perhaps.  Zero depth of flavour? Indeed.  I make a caramel base to add a darker, nuttier complexity.

IMG_4215

This is poured over the dark chocolate to melt it, and the golden toasted coconut is then swirled in with the fresh and tangy passion fruit juice.

IMG_4126

I recommend using good quality dark chocolate – the results are worth it.  The tangy molten ganache is then frozen, later to be formed into spheres.  These are encased in a crisp white chocolate and coconut shell to add a touch of sweetness and contrast of textures.

IMG_4225

The name “passion fruit” does not, as you might assume, come from any aphrodisiac qualities of the fruit.  Rather, it comes from the shape of flower which resembles a crown like that that of thorns around Jesus’ head – thus, passion derives from the "passion of Christ”.  Indeed, these truffles are rather ambrosial – you could even say that eating them is a religious experience.

IMG_4219

IMG_4157


Ingredients (makes 50 - halve if strapped for time)

For the Ganache

150g 70% dark chocolate (good quality)

150g caster sugar

150g double cream

10g unsalted butter

10g light brown muscovado sugar

½ tsp salt

70g desiccated coconut

8 passion fruits, sieved to extract about 90ml of juice.

100g icing sugar, sifted


Large tray lined with baking parchment


For the shell

500g white chocolate

200g desiccated coconut

Pair of surgical gloves (optional)

  1. Chop the dark chocolate roughly, and set it aside in a large heatproof mixing bowl.
  2. To toast the coconut (70g), place a medium frying pan over a medium-high heat, pour the coconut in and stir continuously for 5 -8 minutes until the coconut turns a light golden colour. Add this to the dark chocolate.
  3. Place the caster sugar in saucepan over medium high heat, and when it starts to melt, stir gently with a spatula to avoid the sugar burning around the edges. Push unmelted sugar into the already caramelised sugar to aid the caramelising process.
  4. Once the sugar has turned a rich, dark gold colour, while still on the heat, pour in the cream, whisking all the time. If clumps form, don’t panic: keep whisking over medium low heat, and they will eventually melt.
  5. Once the lumps have dissolved, whisk in the muscovado sugar, butter, vanilla and salt and stir the bubbling mixture on a medium heat for another 2 minutes.
  6. Pour the hot mixture into the bowl of chopped dark chocolate and coconut and stir immediately until all the chocolate has melted and the caramel and chocolate are fully combined. Pour the passion fruit juice into the mixture, and stir to combine fully. Pour this into a shallow tray, and place in the freezer for an hour to set slightly.
  7. Once it has become slightly more solid, remove the tray of mixture from the freezer. Use a teaspoon to scoop out dollops, and roll each between the palms of your hands to form 2cm diameter spheres. Roll the spheres in the icing sugar to coat them finely, and then place them on a baking tray with space around each sphere to avoid their sticking together. Once all the mixture has been rolled into spheres, place the baking tray in the freezer for half an hour or until the spheres are firm and cold to touch. You may need to do this in batches as the ganache mixture melts very quickly.
  8. Break half the white chocolate (250g) into pieces and place in a bone-dry, heatproof bowl (any drop of water will make the chocolate seize). Place the bowl over a pot of boiling water (without the boiling water touching the base of the heatproof bowl), and stir occasionally until the chocolate is melted.
  9. Remove the dark chocolate spheres from the freezer, and one at a time, skewer with a toothpick and coat by spooning the melted white chocolate over each frozen chocolate sphere. Remove the skewer, replace the coated truffle on the baking tray, and replace in the freezer for 10 minutes for the first layer to set.

Melt the rest of the white chocolate (using the same method as before), and place the desiccated coconut (200g) in a bowl. Remove the truffles from the freezer. If you don’t want to get too messy, wear surgical gloves to do this stage. With one hand, roll the truffle in the melted white chocolate. Then, drop it into the coconut and with your other hand roll it to coat it. Once the batch is complete, place back in the freezer for a minimum 10 minutes to set.

IMG_4216


Comment

Double Chocolate Salted Caramel Tart

5 Comments

Double Chocolate Salted Caramel Tart

IMG_3775.jpg

I never caught on to the Disney hype – I endured a few of the films when I was younger but was never enthralled by its saccharine princesses and unrealistic princes. I rejected the dressing up stage of childhood, and have none of the nostalgia that is awakened in many when hearing or singing the songs.  My only knowledge of Lion King is from Cindies (arguably the stickiest night club in Cambridge) which is played for 30 seconds without fail every Wednesday evening to excite the Disney addicts and to jolt inebriated students out of their drunken kisses.

What I did love was the sugar-glazed brutality of the original Charlie and the Chocolate Factory film.

I adored the Chocolate Room, and my six year old self spent a lot of time fantasising about edible wallpaper and edible TV adverts. However, the first scene, where Augustus Gloop falls into the ‘chocolate’ river, is almost too painful to watch.

It was concocted using 150,000 gallons of water, real chocolate and real ice cream, yet despite its authenticity, its watery thinness is more the stuff of sewers than of dreams.

If I were going to bathe in chocolate it would need to be velvety, glossy and thick… and after 15 years of dwelling on this I’ve come to terms with the fact that this tart is probably the closest I will get to doing that.

Double Chocolate Salted Caramel Tart

Ingredients

Chocolate pastry

225g plain flour

30g cocoa

150g unsalted butter, chopped into cubes

110g white caster sugar

3 egg yolks

¼ tsp salt

1 tsp vanilla extract

1 tbsp ice water

baking beads/uncooked rice/dry beans

4 fresh figs, halved (optional)

12 x 36cm tart tin, greased and dusted with flour

Salted caramel chocolate ganache

300g 70% good quality dark chocolate

300g white caster sugar

300ml double cream

20g light brown muscovado sugar

20g butter

1tsp vanilla extract

1 tsp salt

Pastry Method

  1. Preheat the oven to 200˚C
  2. Blitz all the ingredients in a blender. Pulse until into turns into a damp sand texture. Tip out on to a surface and press it so that it clumps together into dough.   Wrap the dough in baking parchment and put it in the fridge for an hour, or in the freezer for 15 minutes.
  3. Dust a surface with flour and roll the pastry out in a rectangle to a thickness of 0.5cm. Any excess can be frozen and used within 2 months. Transfer the pastry to the greased and floured tin to line it. Don’t panic if it crumbles in the transition, just patchwork it together in the tin. Place a sheet of baking parchment or tin foil over the pastry, and fill it with the baking beads to weigh it down to prevent the pastry from shrinking as it cooks.
  4. Place it in the oven to bake for 10 minutes. Remove from the oven and remove the baking parchment and baking beads. Reduce the oven temperature to 150˚C, and place the pastry back in to bake for a further 10-15 minutes until it is fully cooked. Set aside to cool.

Salted Caramel Chocolate Ganache Method

  1. Chop the dark chocolate roughly, and set it aside in a heatproof mixing bowl.
  2. Place the caster sugar in a saucepan over medium high heat and, when it starts to melt, stir gently with a rubber spatula to avoid it burning around the edges. Push any unmelted sugar into the already caramelised sugar to aid the caramelising process.
  3. Once the sugar has turned a rich, dark gold colour, while still on the heat, pour in the cream whisking all the time. If clumps form, don’t panic: keep whisking over medium low heat, and they will eventually melt.
  4. Once the lumps have dissolved, whisk in the muscovado sugar, butter, vanilla and salt, and stir the bubbling mixture on a medium heat for another 2 minutes.
  5. Pour the mixture into the bowl of chopped dark chocolate and stir immediately until all the chocolate has melted and the caramel and chocolate are fully combined.
  6. Pour into the tart shell, smooth the surface over with a palate knife, and place this in the fridge for an hour (or freezer for half an hour) to set. Decorate with sliced figs to serve.
Double Chocolate Salted Caramel Tart

5 Comments

Amaretti

4 Comments

Amaretti

IMG_3851.jpg

Amaretti (gluten-free)  Amaretti

These are not those tooth-breaking, individually wrapped little rocks you might impulse buy at coffee shops.  They’re soft, aromatic and chewy (and great for the dentally challenged).

AmarettiAmaretti are also perfect for coeliacs, and can make a wonderful dessert paired with ice cream and a tangy berry sauce (see recipe here).

AmarettiThis recipe should be paired with my one for summer berry lemon curd tarts (see recipe here) which awkwardly leaves you with spare egg whites.  Don’t waste them, make these instead –you won’t regret it…

Amaretti


Amaretti

Ingredients (makes 35 small cookies)

360g ground almonds

220g caster sugar

finely grated zest of 2 lemons

½ tsp salt

115g egg white (3 large eggs, approx.)

4 tsp honey

¼ tsp almond extract

100g icing sugar, sieved, for rolling


1 large baking tray lined with baking parchment


Method

1.)    Preheat oven to 170˚C.  In a large bowl mix together the ground almonds, sugar, lemon zest and salt, and set aside.

2.)    Pour the egg whites into the bone dry and non-greasy bowl of an electric mixer.  Whisk on high speed until soft and frothy peaks form.  Pour the honey into the eggs and continue to whisk on a high speed until the peaks are glossy (see above photo). Sprinkle the almond extract into the eggs and whisk together very briefly at a low speed just to combine.

3.)    Very gently fold the whisked egg white mixture into the dry ingredients.  They will combine to form a soft and sticky paste.

4.)    Using your palms, roll 20g at a time of the mixture into spheres (roughly 2.5cm in diameter), and then roll each generously in a bowl of icing sugar.  Repeat and arrange on the tray, leaving at least 3cm between.  Use the tines of a fork to slightly flatten the amaretti spheres. Place the tray in the oven to bake for 8-12 minutes until they are beginning to turn golden on the outside but are still soft inside.  They will continue to cook as they cool.

Amaretti

4 Comments

Tipsy Triple Raspberry Macarons

1 Comment

Tipsy Triple Raspberry Macarons

IMG_6464.jpg

Tipsy Triple Raspberry Macarons I refuse to believe that the macaron is simply a fad.  Admittedly, there was a craze which saw the opening of several French macaron boutiques in London. I shan’t name names but one of the largest French specialists does not even make them fresh in London. Instead, they import them frozen from France - in a state of hibernation, as they call it.

Tipsy Triple Raspberry Macarons

Tipsy Triple Raspberry Macarons

Despite this, the specialists remain, and the macaron is here to stay. Now that the craze has faded a little, I feel more free to write a recipe as people will be slightly less sick of the sight of the perfect ruffled shells.

Tipsy Triple Raspberry Macarons

Many are intimidated at the prospect of making them, but there really is no need.  The rumour of the challenge in making them may well have been promulgated by the macaron specialists themselves in order to justify their extortionate pricing.

Tipsy Triple Raspberry Macarons

To make them extra tangy and fruity, raspberry is worked into these macarons in three ways: freeze dried raspberries, raspberry jam and raspberry liqueur.  If you can’t get hold of freeze dried raspberries, just omit this element from the recipe.

Tipsy Triple Raspberry MacaronsTipsy Triple Raspberry Macarons

Tipsy Triple Raspberry Macarons

Triple Raspberry Liqueur Macarons 


Makes about 30 small macarons


Ingredients

110g icing sugar, sieved

50g ground almonds, blitzed in a blender to a fine powder, and sieved

5g freeze dried raspberry powder OR 10g freeze dried raspberries, crushed or whole (see below)

60g egg whites (about 2 eggs' worth)

40g caster sugar

A couple of drops of pink food dye (optional)

200g seedless raspberry am

4 tbsp Chambord (raspberry liqueur)


2 large baking trays lined with baking parchment – if you wish to achieve perfectly circular macarons, create guidelines for the piping by drawing in pencil round a 4cm bottle lid repeatedly on the greaseproof paper, leaving at least 4cm between each circle.  Flip it over after doing this to ensure that the pencil does not transfer to the macaron


Piping bag fitted with 0.5cm nozzle


  1. In a large bowl, mix together the sieved icing sugar, ground almonds and freeze dried raspberry powder.  If you can only get hold of crushed or whole freeze dried raspberries, place these in a blender and blitz until they are as pulverised as possible, and then sieve to remove the seeds.  You should be left with a fine red dust.
  2. Pour egg whites into the bowl of a bone dry electric mixer fitted with a whisk attachment. Whisk at a high speed until soft, foamy peaks form.  Then, with the whisk still ongoing, add in the caster sugar, a tablespoonful at a time.  Keep whisking until the meringue is glossy and firm peaks form.
  3. Take a third of the meringue and mix it into the dry ingredients.  If the dry ingredients don’t fully combine, stir in another tablespoon of meringue.  At this point you can add a couple of drops of food dye to reach desired colour - anything from baby  girl to schiaparelli pink. The mixture should turn into a thick, smooth paste.  Then, gradually fold in the rest of the meringue, a tablespoon at a time, until the mixture becomes glossy and smooth.
  4. Spoon mixture in the piping bag and pipe little dots directly onto the corners of the baking tray to stick the baking parchment down.  Then pipe the mixture into each circle.  Once finished piping, tap the tray down firmly on a hard surface a couple of times to remove the air bubbles from the macarons. Then set the macarons aside at room temperature for 30 minutes.  This will allow a skin to form and will lead to the creation of the often-elusive but essential “macaron foot”.
  5. While they are resting, preheat oven to 150˚C. Bake the macarons for 20 minutes or until they can be lifted off the tray cleanly with a pallet knife. Allow them to cool until they reach room temperature.
  6. Place raspberrry jam in a small pot over a medium-high heat and stir continuously. After it has bubbled furiously for a couple of minutes, stir in the Chambord.  Allow the mixture to simmer for about 5 minutes,  or until it has become more viscous and thick enough to be able to be dropped off a spoon. Remove from the stove, allow to cool for 5 minutes and then sandwich each pair of macaron shells together with a teaspoon of the mixture.

Tipsy Triple Raspberry Macarons


Tipsy Triple Raspberry Macarons

1 Comment

Tarta de Santiago

3 Comments

Tarta de Santiago

IMG_2892.jpg

When life gives you … quinces Tarta de Santiago


The scent coming from the paper bag was soft and sweet, and old fashioned rose-like, and when I turned out its contents, eight yellow, somewhat misshapen apple-pears tumbled out.

Tarta de Santiago     These quinces were the unwanted fruit of an unappreciated tree in someone else’s garden.  Beguilingly biblical in appearance, their uncompromising hardness metamorphoses into something utterly different after cooking.

Tarta de Santiago

Tarta de Santiago Originally referred to as the Kydonian melon, and mentioned in 6th Century BCE Greek poetry, the quinces we recognise today are believed to have been indigenous to Kydonia on the island of Crete. The Ancient Greeks dedicated the quince to Aphrodite, goddess of love and beauty, who was often represented with the golden apple of Hesperides in her right hand – that apple, in all likelihood, a quince.  Indeed, quinces symbolised love and fertility, and Plutarch refers to the ancient wedding ritual whereby a bride would take a bite from a quince before retiring to the bridal chamber with her husband – possibly to freshen her breath, too.

Tarta de Santiago The path of the wedding procession of Helen and Menelaus was said to have been strewn with quinces, myrtle leaves and crowns woven from violets and roses. The fruit was also said by Pliny to have warded off the malign influence of the evil eye, and its medicinal value as an aid to digestion was also noted.

Tarta de Santiago

The Byzantines made wine from quinces as well as kydonaton, a thick quince jelly, probably the ancestor of French cotignac or condoignac, a delicacy made with honey, wine and spices that was considered a worthy gift for kings.

Tarta de SantiagoApicius, the first extant Roman cookbook writer, of the first century CE, preserved quinces whole in honey diluted with a spiced wine reduction, and also combined them with leeks, honey, and broth in hot oil in a dish known as Patina de Cydoniis. In the 4th Century CE, Palladius, an agriculturist and writer, composed a recipe for baked quince strips, possibly the first stirrings of membrillo, the Spanish quince gel that we know today.

Tarta de Santiago

During the 16th and 17th centuries, cooks in England prepared many variations of quince preserves which they called quidoniac, quiddony or paste of Genoa.  Often the preserve paste was thick enough to be moulded into animal or flower shapes. Nowadays, many cultures use quinces in their cuisine: in India, a quince sambal is made by making a puree out of quinces, onions, chillies, orange juice and salt. In Iran, quinces are sometimes cored and stuffed with minced meat, and Moroccan tagines often include quince along with dried fruit and spices.

Tarta de Santiago

Despite its pertinence in history and mythology the quince has rather fallen out of fashion.  Now the prized aphrodisiac and breath-freshener has been reduced to an unloved (except by the cognoscenti), knobbly peculiarity.  I hereby am starting a quince appreciation campaign and when life gives you quinces, make membrillo, and with the membrillo make Tarta de Santiago.

Tarta de Santiago

Membrillo is the rose-tinted translucent and slightly grainy gel that miraculously results from boiling quinces with water, sugar and citrus.  Its perfumed exoticness makes one think of orange groves and balmy breezes, and when combined with the citrus infused almond cake and pastry layers, one is transported right to the Alhambra.

Tarta de Santiago


Recipe

Ingredients

Pastry

150g white spelt flour (substitutable with any flour of your choice including gluten-free to create a gluten-free dessert)

40g caster sugar

1 ½ tsp ground cinnamon

½ tsp salt

Grated zest of ½ unwaxed orange

100g butter, roughly chopped into small cubes

1 egg yolk

25cm x 25cm square tin (or round tin with similar dimensions) at least 8cm deep, lined with greaseproof paper

Filling

250g quince paste (membrillo)

2 tbsp lemon juice

Grated zest of ½ unwaxed orange

Grated zest of ½ unwaxed lemon

65g ground almonds

Cake layer

150 ground almonds

100g caster sugar

1 tsp ground cinnamon

½ tsp salt

Grated zest of 1 unwaxed orange

Grated zest of 1 unwaxed lemon

150g butter, melted and allowed to cool slightly

100ml triple sec

3 eggs

Optional candied orange decoration

Follow instructions from my recipe for Citrus Syrup-Soaked Cake

Method

  1. In a blender, blitz together sugar, cinnamon, flour, salt and butter until the mixture resembles damp sand. Add in the egg yolk and blitz until the mixture comes together into dough.  Flatten into a disc, wrap in greaseproof paper and chill in a freezer for 15 minutes or refrigerate for ½ hour.
  2. On a well-floured surface, roll the dough out to a 3mm thickness and transfer to the tin to line the base. Refrigerate while you prepare the filling.
  3. Preheat oven to 180°C. To make the filling, place the quince paste (membrillo), lemon juice and zest in a small pan over a medium heat and stir until smooth and fully combined.  Remove from the heat and stir in the ground almonds.  Remove the tin from the fridge and spread the quince mixture evenly over the pastry.  Refrigerate once more.
  4. To make the cake layer, whisk together ground almonds, sugar, cinnamon, salt and zest in a bowl. In a separate bowl, whisk together melted butter, triple sec and eggs.  Pour the wet ingredients into the dry and whisk until combined in a loose paste.
  5. Remove the tin from the fridge and pour the cake layer mixture over the quince layer. Bake in the preheated oven for 35-40 minutes until golden brown, springy to touch and a skewer comes out clean.  Allow to cool before serving.

Tarta de Santiago


3 Comments

Coconut & Strawberry Jam Thumbprint Cookies

10 Comments

Coconut & Strawberry Jam Thumbprint Cookies

IMG_1559.jpg

Coconut & Strawberry Jam Thumbprint Cookies Standing on a dining room chair to reach the kitchen counter top, swamped by my grandmother’s floral apron, and covered head to toe in drifts of white flour, at three years’ old I felt important and grown up. But first my grandparents and I would visit art galleries, going for afternoon tea (lemon cake for me, always), sitting on the top deck of the bus, drawing, painting, drinking more tea, and then, finally, at the end of the day, my grandmother would let me help her bake her oat and ginger cherry-bejewelled cookies – what I knew and still know as “Granny Biscuits”.  They are still in ready supply whenever I visit my grandmother’s house, and are as chewy, oaty and delicately sweet as they’ve ever been.

Coconut & Strawberry Jam Thumbprint Cookies


My grandfather possessed a dangerously sweet tooth, and, as I’ve previously mentioned, was inclined to satisfy this without regard for moderation.  He would sneak into the larder and consume an entire box of glace cherries.

Coconut & Strawberry Jam Thumbprint Cookies

This trait has wound its way down into my family. I name no names, but once the plastic seal has been broken, glace cherries mysteriously disappear at a rapid rate.  Although I admit I have, at several low points in my life, spooned jam without any justifying bread straight into my mouth, the general jam supply in my household is a more reliable presence.

Coconut & Strawberry Jam Thumbprint CookiesSo when recently I came to press the cherries into the Granny Biscuits (an essential step), and found there to be none, jam was a delicious substitute.

Coconut & Strawberry Jam Thumbprint Cookies

This recipe is further adapted with coconut replacing oats to provide a more even coating and a beautiful golden crunch once baked.

You can use whatever jam or marmalade you desire – strawberry and apricot are two of my favourites.

Coconut & Strawberry Jam Thumbprint Cookies

Ingredients (Makes 25-35 approx.)

350g unsalted butter, at room temperature

200g caster sugar

2tsp vanilla extract

Zest of ½ lemon

½  tsp salt

350g white spelt flour

1 egg, beaten with 2 tsp water

200g desiccated coconut

100g strawberry jam

100g apricot jam


2 baking trays lined with baking parchment


Method

1.)    Preheat oven to 180˚C.

2.)    In a food mixer fitted with the paddle, or in a large bowl with a wooden spoon, beat butter, sugar, vanilla, lemon zest and salt together until fluffy and pale.

3.)    Sift in flour and mix together until fully combined and a soft dough is formed.  Flatten the dough into a roughly 2 cm thick disk, wrap in baking parchment, and chill in the freezer for 15 minutes or the fridge for ½ hour.

4.)    Roll the dough into 30g spheres (roughly 3 cm in diameter), dip each one in the beaten egg and then roll in the coconut.  Space the spheres at least 5 cm apart on the baking sheet.

5.)    Press your thumb in the middle of the spheres to create a teaspoon- sized indent.  Fill the indent with a teaspoonful  of the jam of your choice.

6.)    Place in the oven to bake for 15-20 minutes or until cooked through and the coconut turns golden.  Allow to cool and serve.

Coconut & Strawberry Jam Thumbprint Cookies

10 Comments

Caramelised White Chocolate Cheesecake

5 Comments

Caramelised White Chocolate Cheesecake

IMG_1368-Copy.jpg

  Caramelised White Chocolate Cheesecake with Salty-Sweet Fudgy Biscuit Base & Blackcurrant Glaze

Caramelised White Chocolate Cheesecake


I’m at risk of sounding like one of those mindless click-bait buzzfeed articles when I say this, but I mean ever word: you’ve been eating white chocolate incorrectly your whole life.

Caramelised White Chocolate Cheesecake


Would you believe me if I told you that the innocent Milky Bar Kid’s saccharine white cocoa butter chocolate has a deeper, darker, more seductive side?

Caramelised White Chocolate Cheesecake

The corruption process is simple.  All you need is:

- heat

- good quality white chocolate

-a tray

Caramelised White Chocolate Cheesecake

After about 20 minutes, the heat will begin to convert the pool of glossy molten cocoa butter into white chocolate’s luscious evil sister.  I dare you to try it.

Caramelised White Chocolate Cheesecake

It’s pretty sublime on its own but, if you can resist eating it all, it works deliciously well in a cheesecake.  I pair it with a fudgy, salted, graham cracker-style base and an astringent blackcurrant glaze to cut through the sweetness.

Caramelised White Chocolate Cheesecake

Often cheesecakes call for a base simply made out of crushed store-bought cookies.  I’m no stranger to doing this myself, but I’m always left with a pang of guilt for cheating.  Not only does homemade biscuit base taste better, it’s chemical-free and you have much more control over the flavour balance – this one’s especially fudgy.

Caramelised White Chocolate Cheesecake

However, if you’re feeling lazy you can make the base using 400g digestive biscuits blitzed into crumbs with the 120g browned melted butter.  If you are a coeliac just use gluten-free digestive biscuits.

Caramelised White Chocolate Cheesecake

You can also use non-caramelised white-chocolate.  It will still taste delicious, just not anywhere near as ambrosial.

Caramelised White Chocolate Cheesecake

If you can’t get hold of any blackcurrants, feel free to use fresh or frozen raspberries or redcurrants instead.

Caramelised White Chocolate Cheesecake

This is best made the day before serving and kept in the fridge overnight.  In fact, the fridge works wonders.

Caramelised White Chocolate CheesecakeCaramelised White Chocolate Cheesecake

Ingredients

Salty-sweet, fudgy biscuit base

200g white spelt flour

60g light muscovado sugar

1 tsp bicarbonate of soda

1 tsp salt

60g unsalted butter, diced

70g clear honey

4 tsp vanilla extract

120g unsalted butter, for melting

Large baking tray, lined with baking parchment

20cm square tin (or round with similar capacity), lined with baking parchment

Caramelised white chocolate filling

300g good quality white chocolate, broken into pieces

180ml double cream

500g full fat cream cheese, at room temperature

100g caster sugar

4 eggs, at room temperature

1 tbsp vanilla bean paste (or the seeds of 1 vanilla pod)

Bone dry baking tray (preferably non-stick)

Sour cream topping

220ml sour cream

40g icing sugar, sifted

Blackcurrant glaze

200g blackcurrants

80g caster sugar

3 tbsp water

100g fresh blackcurrants to decorate (optional)

Method

Salty-sweet fudgy biscuit base

  1. Preheat the oven to 180˚C. Pour flour, sugar, bicarb, salt and diced butter into a blender and blitz until the mixture resembles damp sand. Alternatively, use your fingers to rub the butter into the other ingredients.
  2. Whisk together the honey, vanilla and milk. Stir this into the dry mixture to combine and form a paste-like dough.
  3. Spread the dough on to the baking tray in an even 0.5cm thick layer. Bake in the oven for 15-20 minutes until golden brown and cooked through.  If it doesn’t become dry and brittle after cooling, bake for a further 5 minutes.
  4. Brown the 120g of butter for melting by placing it in a pan over medium heat and allowing it to turn a golden brown before setting it aside to cool.  It should give off a wonderfully nutty aroma.
  5. Crumble the baked biscuit into a blender with the browned melted butter, and pulse until it turns to damp sand-like consistency. Tip this out into the lined cake tin and press down to form an even layer.  Place in freezer to set.

Sour cream topping

  1.    Whisk together sour cream and icing sugar until smooth. Store in the fridge until ready to use

Caramelised white chocolate filling

  1. Preheat the oven to 130˚C. Pour broken white chocolate on to the tray and place in the oven. Every 10 minutes remove the chocolate from the oven, stir with a bone dry utensil, and place back in the oven.  After about 30-40 minutes it will have taken on a beautiful honeyed caramel tone.    As ovens vary in character and different chocolate brands vary in ingredient quality, it may take longer.  The chocolate may also seize.  Don’t panic if this happens: just keep going until it turns golden (I’ll explain how to proceed with this in the next step).
  2. Increase the oven temperature to 160˚C. Place the double cream in a small pan over a high heat. Once it begins to boil, remove from the heat and pour into it the caramelised white chocolate.  Stir to combine until smooth. If the chocolate did seize in the oven, it will be lumpy.  If this is the case, pour the lumpy cream and chocolate mixture in a blender and blitz until completely smooth.  If a few recalcitrant lumps remain, simple sieve them out.
  3. Either using a stand mixer fixed with the beater or a hand held whisk, beat the cream cheese together with the caster sugar until completely soft and smooth. Beat in the cream and white chocolate caramel.  In a separate bowl, whisk together the eggs and vanilla.  Pour this into the cream cheese mixture and beat until completely smooth and glossy.
  4. Remove the cake tin with the biscuit base from the freezer, and pour into it the filling mixture. Bake in the oven for 1 ½ hours, checking after 45 minutes.  If it begins to go brown, cover with tin foil and continue to bake for the full time.
  5. Keeping the oven on, remove the cheesecake from the oven and allow it to cool for 10 minutes. Spread the sour cream topping in an even layer over the surface of the cake. Place the cheesecake back in the oven, switch off the oven and leave its door slightly ajar while the cheesecake sets inside for a further 1 ½ hours.
  6. When the cheesecake reaches room temperature, remove from the oven, cover the cake tin with cling film, and place it in the fridge to allow it to set over night, or place it in the freezer for a couple of hours.

Blackcurrant glaze

  1. Place 200g blackcurrants, caster sugar and water in a small pan over a high heat and stir until the sugar is dissolved. When it begins to boil, reduce heat slightly and allow it to simmer for 5-10 minutes or until it thickens to a viscosity like that of maple syrup.  Strain the mixture through a sieve and place the liquid back in the pan to simmer for a further 3 minutes.
  2. Allow the syrup to cool slightly then carefully pour it over the chilled cheesecake. Scatter with fresh blackcurrants and serve.

Caramelised White Chocolate Cheesecake

5 Comments

Summer Berry Lemon Curd Tarts

8 Comments

Summer Berry Lemon Curd Tarts

IMG_1078.jpg

Summer Berry Lemon Curd Tarts I endured school lunches for four years and then abandoned them. Waking up twenty minutes early to throw together a packed lunch seemed worth it at the time.  My school lunches weren’t even bad.  In fact, they were probably rather good – good enough to avoid having Jamie Oliver sniff his way into our school kitchen in pursuit of good TV.

IMG_1007

What turned me (and my stomach) resided in the stainless steel vats adjacent to the desserts:  pools of lurid yellow purulence (custard).

Summer Berry Lemon Curd Tarts


Notwithstanding my decade old aversion, I decided to venture into custard territory last week.  And I found my cure: lemon curd-filled tarts.

Summer Berry Lemon Curd Tarts

Summer Berry Lemon Curd Tarts


Made using both lemon juice and zest, paired with a lemon-infused tart shell, and partnered with fresh berries, these make a tangy and refreshing summer dessert.

Summer Berry Lemon Curd Tarts

Summer Berry Lemon Curd Tarts


I use spelt flour in the pastry to add extra nuttiness and depth of flavour.  It also has a lower GI than wheat flour.   However, if you can't find it, you can substitute plain flour.

IMG_1038


IMG_1021 Summer Berry Lemon Curd Tarts

Summer Berry Lemon Curd Tarts

Summer Berry Lemon Curd Tarts Summer Berry Lemon Curd Tarts Ingredients (makes 12)

Lemon tart shells

360g white spelt flour  (substitute with plain flour if unavailable)

110g icing sugar

Finely grated zest of 1 lemon

¼ tsp salt

190g cold unsalted butter, roughly chopped into small cubes

1 egg yolk

1 tsp vanilla extract

2 tbsp cold water


A 10cm pastry cutter

1 12-hole cupcake tin, greased with butter and then placed in fridge to chill

Baking beads or rice to weigh down the pastry while it bakes

12 cupcake cases


Lemon Curd

Finely grated zest of 4 lemons

200 ml lemon juice (4-6 lemons)

200g caster sugar

4 medium eggs

4 medium egg yolks

180g unsalted butter

1 baking tray with lipped sides

200g blueberries

150g strawberries

150g raspberries

Icing sugar for dusting


Method

Lemon pastry tart shells

  1. Blend together flour, sugar, lemon zest and salt in a food processor, and add in butter, pulsing to combine until the mixture resembles damp sand. Alternatively, if working manually, mix together the dry ingredients in a large bowl and rub the butter in with your fingers.
  2. Pour the egg yolk, vanilla and water into the mixture and pulse/stir until the mixture just comes together. Flatten the pastry dough into a disc , wrap in baking parchment/cling film and chill in the fridge for an hour, or freezer for 20 minutes.
  3. Preheat the oven to 150˚C.
  4. On a floured surface, roll half the dough out to the thickness of 2 or 3 mm, and cut the pastry into discs using the pastry cutter. Gently press the pastry discs into the prepared cupcake tin.  You will find that there is some dough left over.  This can be frozen for about a month.
  5. Set the cupcake cases into the pastry shells and fill them with the baking beads/rice to weigh the pastry down and prevent it from losing its shape during the bake.
  6. Bake in the oven for about 20-25 minutes until golden and firm to touch. If they have not turned golden by this point, remove the baking beads/rice and cupcake cases and bake for a further 5-10 minutes.  Remove from the oven and set aside to cool.  These can be made 2 or 3 days in advance and kept in an airtight container until you are ready to use them.

Lemon curd

  1. Place lemon zest, juice, sugar, eggs, egg yolks and half the butter in a saucepan over a medium-high heat and whisk continuously while the ingredients cook together.  When the mixture has thickened slightly and threatens to stick to the bottom of the pan, reduce the heat and continue to whisk for another couple of minutes until thickened, whisking all the while.  Off the heat, whisk in the remaining butter until thoroughly combined.  It should be smooth and glossy.
  2. Sieve the curd over the baking tray, and spread it out with a spatula so that only a thin layer coats the tray. Cover the surface of the lemon curd with baking parchment or cling film and place the tray in the fridge for a minimum of half an hour or until it has cooled and become slightly firmer.  Alternatively, place the tray in the freezer for 20 minutes.

Assembly

Arrange the pastry shells on a serving plate and spoon in the lemon curd (roughly 3 tsp per case). Top generously with the berries and dust with icing sugar just before serving.  They can be kept in the fridge for up to 6 hours before serving; longer than that they tend to become soggy.

Summer Berry Lemon Curd TartsSummer Berry Lemon Curd Tarts

8 Comments

Brown Butter Brioche Cinnamon Buns

2 Comments

Brown Butter Brioche Cinnamon Buns

IMG_0348.jpg

Brown Butter Brioche Cinnamon Buns

When I was six I experienced peak cinnamon bun.  In the middle of a farmers’ market in Toronto I was handed a parcel wrapped in brown paper.  Inside was a glistening golden sticky buttery cinnamon swirl - a full face experience, and well worth it.  Ever since then I’ve been looking for one to mirror its spiced perfection, but my quest continues to this day.  To the untrained/inexperienced/non-cinnamon obsessed palate a cinnamon bun is just a cinnamon bun.  Wrong.

Brown Butter Brioche Cinnamon Buns

My gluttonous many-year quest has allowed me to sample the many different types:  there is the American gloopy, slightly under baked, doughy, cream cheese-coated type.  This can be found in a ubiquitous American chain (at particular low points during my degree I used to linger outside the Cambridge branch just to catch the cinnamon perfumed scent).

Brown Butter Brioche Cinnamon Buns


At the opposite end of the scale there’s the more refined flaky and French variety which is unsatisfyingly mild in terms of cinnamon flavour if you’re an obsessive like me.

Brown Butter Brioche Cinnamon Buns


Somewhere in between the two is the Nordic variety, cardamom and cinnamon infused, with a delicate dough (my trip to Norway this summer will be dedicated to experiencing as many of these as possible).

Brown Butter Brioche Cinnamon Buns   My own recipe falls somewhere in the middle of the 3 varieties.  The brioche dough is soft and light on the inside and crisp on the outside, the browning of the butter in the filling adds a nutty richness, and the muscovado sugar makes the bun moister and adds greater depth of flavour than plain caster sugar.  As the buns cook, the sugar cinnamon filling caramelises slightly at the base adding a moreish stickiness.

Brown Butter Brioche Cinnamon BunsAlthough the brioche dough requires starting the evening before, don’t let it stop you from making these.  They are, in fact, incredibly easy and quick to make.  It’s also rather lovely going to bed knowing that a cinnamon bun awaits you the next day…

Brown Butter Brioche Cinnamon Buns


Brown Butter Brioche Cinnamon Buns


Ingredients

Brioche

1 ½ tsp active dried yeast

3 tbsp lukewarm water

285g strong white bread flour

¾ tsp salt

40g caster sugar

3 medium sized eggs + 1 to paint the buns

115g cold unsalted butter

Cinnamon Filling

90g butter

160g light brown muscovado sugar

3 tbsp cinnamon

½ tsp salt


1 round 9 inch tin, greased and dusted with flour


Method

  1. In large bowl stir together yeast and water until the yeast has dissolved. Leave in a warm place for 5-10 minutes until the yeast is activated and the mixture begins to go slightly frothy.
  2. Add in the flour, salt, sugar and eggs and mix until thoroughly combined and the dough is smooth and sticky. If you are using a Kitchen Aid, as I do, fit it with the paddle and mix.
  3. Stirring continuously (or with the machine on a medium-high speed) add in the butter bit by bit, waiting until it is fully combined before adding more. Once the butter is fully combined, keep mixing until the dough is smooth and shiny. This will take about 8-10 minutes.
  4. Placed dough in a lightly greased bowl, cover with cling film, and place in fridge overnight or for minimum 8 hours.
  5. The next day make the cinnamon filling by placing the butter in a pan over a medium heat. Once it has melted, leave it on the heat for another minute until it goes golden in colour and has a rich, nutty aroma. Mix the sugar, salt and cinnamon with the butter to form a paste and set aside to cool.
  6. Remove the dough from the fridge and, on a board dusted with flour, roll it out to a rectangle of roughly 30cm by 38cm and to a 3/4cm thickness. Spread the cinnamon filling evenly over the rectangle.
  7. With long side of the rectangle closest to you (i.e. landscape as opposed to portrait), roll the dough from the long side to the other long side tightly, like a scroll. With the seam side down, slice the roll into 12 even slices. Arrange the slices spiral side up in the prepared tin, cover with a tea towel, and allow to rise for an hour in a warm place.
  8. Preheat the oven to 180˚C. To give the buns a beautiful golden shine, beat the egg and brush a thin layer over them.
  9. Place the tin in the oven and allow to bake for about 20-30 minutes until the surface is a golden brown and a skewer comes out clean. If it looks a little too dark early on in the bake, cover with tin foil. Once cooked, place on a wire rack to cool (or eat immediately).

Brown Butter Brioche Cinnamon Buns

2 Comments

Cherry & Yuzu Frozen Yoghurt Almond Cookie Sandwich

10 Comments

Cherry & Yuzu Frozen Yoghurt Almond Cookie Sandwich

IMG_6945.jpg

(Affectionately known as Froyo Yoyos) Cherry & Yuzu Frozen Yoghurt Almond Cookie Sandwich

If something becomes a fad, I usually try to avoid it.  Cupcakes were once things of joy, their light, sweet, spongeyness perfuming the house with the scent of birthdays.  And there was always the hope of left over icing, not to mention the ease with which one could convince oneself that the perfectly domed surface was in need of decapitation, just to preview the crunchy golden coated delicate sponge, just in case the cupcakes weren’t guest-worthy.  But now those simple pleasures have been crushed for me as the once-a -year treat has lost its golden hued novelty.

Cherry & Yuzu Frozen Yoghurt Almond Cookie Sandwich

The single-concept shops dedicated to cupcakes are now a graveyard for the dying fad.  I walked past a well-known purveyor of cupcakes in the middle of an airless department store only last week, and watched as the woman behind the counter shuffled the gaudy treats into reverse rainbow order in an attempt to look busy.

Cherry & Yuzu Frozen Yoghurt Almond Cookie Sandwich

Frozen yoghurt is no longer a novelty, but for me at least it has not yet lost its appeal.  Some people (including me) are able to delude themselves that even with the marshmallow, cookie dough, caramel topping it’s a healthier version of their favourite ice cream.

Cherry & Yuzu Frozen Yoghurt Almond Cookie Sandwich

When the clouds deigned to expose a sliver of sunlight for a short while on Saturday, I decided to indulge in a little frozen yoghurt.

Cherry & Yuzu Frozen Yoghurt Almond Cookie Sandwich


Cherry & Yuzu Frozen Yoghurt Almond Cookie Sandwich

The cherries at my favourite fruit monger were so glossy and irresistibly crimson they were begging to be involved in my hoping-for-summer recipe.  I combined them with yuzu juice for a touch of astringency to cut through the sweet creaminess of the yoghurt. Then, to add a childlike allure, I sandwiched the frozen yoghurt between two discs of biscuit which I’d infused with almond extract to bring out the cherry flavour further.

Cherry & Yuzu Frozen Yoghurt Almond Cookie Sandwich

The yuzu juice provides a wonderfully tart citrusy note to the frozen yoghurt.  If you can't find it, substitute it with lemon or lime.

Cherry & Yuzu Frozen Yoghurt Almond Cookie Sandwich

I used an ice cream churner to make the frozen yoghurt smoother and the ice crystals finer, but if you don’t have one this stage can be skipped and the result will still be delicious.

Cherry & Yuzu Frozen Yoghurt Almond Cookie Sandwich

Of course, the cherry and yuzu frozen yoghurt can be enjoyed sans biscuit.  The biscuit is however, rather useful if you wish to turn it into a hand held treat, whether or not the sunshine lingers.

Cherry & Yuzu Frozen Yoghurt Almond Cookie Sandwich

Cherry & Yuzu Frozen Yoghurt Almond Cookie Sandwich


Ingredients  (makes 8-10)

Cherry and Yuzu Frozen Yoghurt

375g cherries, halved and pitted

125g caster sugar

250g full fat natural yoghurt (don’t use Greek)

1 tsp yuzu juice

6 drops of almond extract

1 medium sized (18cm x 28cm approx.) loaf tin, lined with cling film


Almond Biscuit

160g butter, at room temperature

2 egg yolks

10 drops almond extract

210g plain flour

50g sugar

1tsp vanilla extract

¼ tsp salt

1 large baking tray lined with baking parchment

4.5/5cm circular cookie cutter or wine glass


Method

Cherry & Yuzu Frozen Yoghurt

  1. Place cherries and sugar in a small pan over a high heat. Stir occasionally to prevent sugar from burning.  When enough liquid has run out from the cherries to coat the base of the pan and it begins to boil, reduce heat to medium.  Allow to simmer for 10 minutes until the liquid from the cherries has reduced and is just slightly thicker than maple syrup.
  2. Allow the cherries and syrup to cool then blitz them together with the yuzu, almond extract and yoghurt until smooth. If you are using an ice cream maker, chill the mixture and then churn according to the manufacturer’s instructions.  Otherwise, proceed to step 3.
  3. Pour the mixture into the cling film-lined loaf tin, and smooth the surface with a spatula. Place in freezer for 1-2 hours until solid.

Almond Cookies

  1. Beat the butter in a mixer (or by hand) until light and fluffy. Into this, beat the almond extract, vanilla extract and egg yolks.
  2. In a separate bowl, mix together flour, sugar and salt. Stir this into the butter mixture until a dough forms.
  3. Flatten the dough into a disk, wrap in baking parchment and place in freezer for 15 minutes (or fridge for 30 minutes).
  4. Preheat oven to 160˚C.
  5. On a floured surface, roll out the dough to 7mm thickness. Using the cookie cutter, cut the dough into the discs and place on lined tray.
  6. Bake for 7-10 minutes until cooked all the way through but still pale. Allow to cool.

Assembly

Remove the loaf tin containing the frozen yoghurt from the freezer. Using the cookie cutter, cut the frozen yoghurt into discs and sandwich each disc between two almond biscuits.  Store these in an airtight container and return to the freezer until ready to serve.

Cherry & Yuzu Frozen Yoghurt Almond Cookie Sandwich

10 Comments

Stripy Lemon & Raspberry Cake - Recipe

21 Comments

Stripy Lemon & Raspberry Cake - Recipe

IMG_5587.jpg

Stripy Lemon & Raspberry Cake This stripy lemon and raspberry cake speaks for itself: elegant and refined on the outside, yet quirky on the inside - great if you feel like a change from the usual, and you’re in the mood for something fun.

Stripy Lemon & Raspberry Cake


Stripy Lemon & Raspberry Cake

Unlike most layer cakes, the stripes are vertical.  This makes it both superficially pleasing and more delicious - more stripes = more sumptuous raspberry compote...

Stripy Lemon & Raspberry Cake


Please don’t be intimidated by the lists of ingredients and the recipe.  It really is a lot easier  and quicker than you may think: the stripes are formed by baking the sponge in a baking sheet, spreading the cooked surface with the raspberry compote, cutting it into strips, and rolling them, one strip after the other, swiss roll-like, into a ‘log’.

Stripy Lemon & Raspberry Cake

The sponge is light and lemony, the raspberry compote is tart and moreish, and the icing is infused with berries to provide a little summery freshness.

Stripy Lemon & Raspberry CakeStripy Lemon & Raspberry CakeStripy Lemon & Raspberry CakeStripy Lemon & Raspberry CakeStripy Lemon & Raspberry CakeStripy Lemon & Raspberry CakeStripy Lemon & Raspberry CakeStripy Lemon & Raspberry Cake

Ingredients

Cake

120g plain flour

1 tsp baking powder

¼ tsp salt

3 large eggs

140g caster sugar

Zest of 1 lemon

½ tbsp. water


Baking sheet 38x25x2.5 cm, lined with baking parchment and covering both the base and shallow sides.

Additional baking parchment


Raspberry compote

200g raspberries fresh or frozen, but if using frozen, defrost before use

40g caster sugar

2 tsp vanilla extract

2 tbsp water

150g raspberry jam

2 tbsp corn flour

½ tsp lemon juice


Crumb coating (optional – but makes icing easier and adds extra tanginess and interest to the cake)

75g icing sugar, sieved

50g butter at room temperature

2 tsp lemon juice


Berry-infused cream cheese icing

25g red berries (raspberries and redcurrants work well, and you can use frozen), blitzed until smooth to make a puree

½ tsp lemon juice

75 g cream cheese, at room temperature (essential)

50g unsalted butter, softened to the point that it is threatening to turn into liquid

300g icing sugar, sieved


Method

Raspberry compote

  1. Place frozen/fresh raspberries, sugar, vanilla extract, and water in a saucepan over high heat and stir until the sugar has dissolved. Simmer for 5 minutes or until the texture is slightly syrupy.
  2. Stir in the raspberry jam and corn flour, and boil for a further 2 minutes. Remove from heat.
  3. Blitz the mixture together with the lemon juice in a blender until smooth.

Lemon Sponge Cake

Stripy Lemon & Raspberry Cake

  1. Preheat oven to 220˚C.
  2. Beat together eggs and sugar for about 5 minutes until pale and custard-like (I find it easier to use an electric mixer).
  3. Fold into the wet mixture the sifted flour and baking powder, lemon zest, salt and water. Stir as little as possible and with a light hand so as to keep the mixture airy.
  4. Pour the mixture into the lined baking sheet and spread it out in an even layer right up to the edges of the tray. Place in the centre of the oven, and bake for 4-5 minutes until golden brown and a skewer comes out clean.
  5. While the cake is still warm from the oven, flip it upside down on to a large sheet of baking parchment. Carefully peel off the parchment layer on which it was baked.
  6. Spread the compote evenly over the lemon sponge, and slice lengthways (i.e. from short side to short side) into 4 equal strips of cake.
  7. Begin with one strip and roll into a coil. Place the edge of the roll next to the edge of the second strip and continue to roll.  Continue with the remaining strips until a large spiral is formed.  Place the ‘log’ spiral side up on a plate or cake stand.

Lemon crumb coating (optional, but makes icing the cake easier, and adds extra tanginess and interest)

  1. Beat together icing sugar, lemon and butter until creamy and spread in a thin layer over the top and sides of the cake. Place in the fridge for half an hour, or the freezer for 10 minutes.

Berry-infused cream cheese icing

  1. Beat the butter until completely smooth, then beat in the cream cheese. Stir in the berry puree and lemon juice, before beating in the icing sugar.
  2. Spread evenly over the cake using a spatula. Decorate with berries, or as desired.


Stripy Lemon & Raspberry Cake


21 Comments

Candied Ginger & Orange Hazelnut Biscotti - Recipe

2 Comments

Candied Ginger & Orange Hazelnut Biscotti - Recipe

IMG_0144.jpg

Candied Ginger & Orange Hazelnut Biscotti - Recipe Biscotti, or cantucci, as they are known in Tuscany are crunchy and chewy slivers of twice baked and ridiculously moreish, Italian biscuits traditionally containing almonds, and often an abundance of dried fruit.  They are obligatorily dipped into an immodestly full glass of Vin Santo (Italian sweet wine) and held there until the majority of the wine has been absorbed by the biscuit and there’s every chance it will land in one’s lap before it reaches one’s ready and waiting mouth.

Candied Ginger & Orange Hazelnut Biscotti - Recipe


Unfortunately, biscotti are endangered in Britain.  Their reputation is marred by the imitation biscotti that have taken up residence in the majority of common coffee chains.

Candied Ginger & Orange Hazelnut Biscotti - Recipe

These poor copies of the true Italian post-prandial biscuit are so dry that they react like silica gel to one’s mouth, so stale that you may need to sacrifice a tooth to consume them.

Candied Ginger & Orange Hazelnut Biscotti - Recipe

For this pleasure the coffee chains also charge a trillion percent mark-up on what are the easiest and most inexpensive biscuits to make.  Also, they’re often sold individually – who stops at just one?

Candied Ginger & Orange Hazelnut Biscotti - Recipe

This recipe is very versatile.  I love strong flavours, and so I paired ginger with orange to give the biscuits a tang, and added the toasted hazelnuts for slight smokiness.  However, these ingredients can be substituted with any dried fruit and nut of your choice, or indeed left plain.  Use 200g of the dried fruit, 250g of the nut of your choice and, in place of the orange & ginger syrups, sub in an extra 2 tbsp honey.

Candied Ginger & Orange Hazelnut Biscotti - Recipe

Ingredients

For the biscuit

500g plain flour

350g sugar

3 tsp baking powder

½ tsp salt

3 eggs + 1 egg white + 1 egg yolk for later

2 tsp vanilla essence

3 tsp curaçao (triple sec)

250g roasted hazelnuts crushed into halves or slightly smaller pieces

2 tbsp honey

Zest of 1 orange

2 trays lined with baking parchment

For the candied oranges                                                

2 oranges

1 cup water

3/4   cup sugar

For the candied ginger – or 140g store bought

200g ginger peeled and slices into 1/8 inch disks

4 cups of water

170g sugar


Candied ginger method

  1. Place sliced and peeled ginger in shallow pan with water and bring to boil.  Allow to simmer with the lid on for 25 minutes
  2. Drain the ginger saving 1 cup of liquid and pour in sugar. Bring to medium heat and stir until the sugar is dissolved. Allow to simmer for about 15 minutes until the liquid becomes syrupy and the ginger is translucent.
  3. Place sieve over a bowl and pour the mixture over to drain off the syrup. Reserve both elements for later use.

Candied orange peel method

  1. Slice the peel off the oranges with a knife in thick strips, cutting close to the flesh. Cut the peel into thin 0.5 cm strips and those to roughly 2cm lengths.
  2. Place chopped orange peel, sugar and water in pan and bring to boil. Reduce to medium heat and allow to simmer for 15-20 minutes or until the liquid is mostly evaporated and syrupy and the oranges are translucent and lacking the sourness of their fresh state.

Biscuit method

  1. Preheat oven to 180C. Mix all the dry ingredients together with the toasted hazelnuts in a large bowl.
  2. In a separate bowl separate one egg and place the yolk aside for later use.  Mix together the 3 whole eggs, the egg white of one egg and the other liquid ingredients with the candied orange peel (along with it syrup) and the drained pieces of ginger along with 2 tbsp of the ginger syrup.
  3. Pour liquid mixture into the dry and stir until combined in a stiff dough.
  4. Sprinkle a wooden board with flour and spoon 1/6 of the mixture onto it. Coat your hands in flour and roll the dough out into a 5 cm wide log. Place on tray. Repeat with rest of mixture, leaving a large at least 10cm distance between each piece since it will spread whilst cooking.
  5. Bake for 20 minutes or until deep golden brown. With knife at the ready, take them out and slice diagonally into 3 cm widths and turn them so they’re cut side up.  Turn off the oven and place these back in to dry out for another  10 minutes. Or just leave them in until ready to serve.

Candied Ginger & Orange Hazelnut Biscotti - Recipe

2 Comments

Peanut Butter and Jam Cookies - Recipe

Comment

Peanut Butter and Jam Cookies - Recipe

IMG_4786.jpg

Peanut Butter and Jam Cookies - Recipe Memories of countries and cities I’ve visited are strongly intertwined with my culinary experiences there.   Whenever I’m asked about my trip to Cuba, memories of the music, culture and politics, the beauty of the countryside, the cars, and the buildings are always drowned by the paddies of rice starch dotted with beans which faced me every meal time.  The lone cylinder of “Master Potato Crisps” (lesser Pringles), furry with dust, which commanded an entire shelf in an embargo-challenged grocery store emerged as a perverse highlight.

Peanut Butter and Jam Cookies - Recipe


I will never be able mentally to separate Canada from the oozing, sticky-sweet clasp of a particular Toronto cinnamon bun (it may have been preceded by some, but its superiority has eradicated all past and future competition).  New York is always a complete sensory overload: last year I ate overtime to cram Lebanese, Thai, raw vegan, Chinese, Italian, modern European, American, French, Greek, Mexican, and Brazilian into five days - delicious and, arguably, gluttonous.  Yet, despite this mammoth accomplishment, one of the most outstanding of the culinary delights I’ve sampled there is something rather less exotic: the peanut butter cookie.  It may be humble in name, maybe in appearance too, but it is most certainly not humble in nature.  The source of this ambrosia is the well-established City Bakery, off Union Square, known best for its croissant pretzels, seductively viscous hot chocolate and, of course, its peanut butter cookies -crumbly on the outside and soft and chewy in the interior, with salty and sweet in fine-tuned balance creating an insatiable desire for more.

Peanut Butter and Jam Cookies - Recipe

At brunch a couple of weekends ago, one of my friends confessed her current obsession: sneaking off to her kitchen cupboard armed with a bread stick to pair with that American favourite of jam and peanut butter.

Peanut Butter and Jam Cookies - Recipe

The memory of the palate-coating, salty-sweetness of the City Bakery peanut butter cookies reasserted itself.  Over the next week it took up stubborn residence, so I made up my own.  They worked.  I know this because I made them twice: I left the first batch out to cool, exited the kitchen for 10 minutes, and when I returned, they were gone, my brother unabashedly dusting the last few crumbs off his sweater.  With family members temporarily banished from the kitchen, the second batch survived long enough to be photographed.  Although delicious on their own, I sandwiched mine with raspberry jam to offset the sweet salty nuttiness with a little tang. Julia D. you are to blame for this recipe (and it is, indeed, dedicated to you).

Peanut Butter and Jam Cookies - Recipe

Often cookie recipes frustratingly demand that the dough is chilled before baking.  These can be made, baked and eaten in 20 minutes - no torturous chilling necessary.

Peanut Butter and Jam Cookies - Recipe

Ingredients (makes 34 individual cookies)

115g unsalted butter, at room temperature

190g granulated sugar

60g light brown sugar

¾ tsp salt

250g smooth peanut butter

1 large egg

½ tsp vanilla extract

140g white spelt flour (or plain flour)

150g raspberry jam (optional)

2 baking sheets lined with baking parchment


Method


  1. Preheat oven to 180˚C.
  2. In a mixer (or by hand), cream together butter, granulated sugar, light brown sugar and salt until pale and fluffy. Mix in peanut butter, egg and vanilla extract until fully combined.  Gently stir in the flour.
  3. In the palms of your hands, roll a tablespoon of the mixture at a time to form 4cm spheres. Space them out on the tray.  When the mixture is used up, gently press a fork into the spheres to flatten them and form a criss-cross pattern as pictured.
  4. Bake in oven for 12-14 minutes until slightly golden and still soft to touch. Allow to cool slightly before sandwiching each pair together with a teaspoon of raspberry jam.

Peanut Butter and Jam Cookies - Recipe

Comment

Anti-Valentine's Day Soft & Chewy Hot Spiced Double Ginger Cookies

Comment

Anti-Valentine's Day Soft & Chewy Hot Spiced Double Ginger Cookies

IMG_3475.jpg
IMG_3475.jpg
Anti-Valentine's Day Soft & Chewy Hot Spiced Double Ginger Cookies

Every year the bile-inducing  pink and fluffy over-commercialised day of dictated love comes about. And unsurprisingly, due to their arguable aphrodisiac qualities, sales of oysters peak.  Well as you or your date slurp these down on your Valentine’s date, think of this: oysters are related to slugs.  Why not grab a few from your garden, douse them with some Tabasco with buttered bread on the side and gulp these instead – cheaper and more plentiful (this is not actually a recipe).

Anti-Valentine's Day Soft & Chewy Hot Spiced Double Ginger Cookies

Something a little more acceptable as an anti-Valentine’s day recipe might be this: soft & chewy hot spiced double ginger nut cookies.  They’re not red, not cloying-sweet and they’re not heart shaped.  They even have a little rebellious kick to them if you choose to add the cayenne pepper, which as a spice addict, I love.  But if you prefer something a little milder, leave it out.  If you want to shake off a stalker add more (roughly 5x stated quantity) and deliver gift wrapped.

Anti-Valentine's Day Soft & Chewy Hot Spiced Double Ginger Cookies

Makes about 35 cookies

Ingredients

200g unsalted butter, softened

440g self-raising flour

125g caster sugar

3 tbsp ground ginger

1 1/2 tsp bicarbonate of soda

1/4 tsp cayenne pepper (optional)

1/4 tsp salt

100g stem ginger (;preserved in syrup), finely chopped

2 tbsp ginger syrup (from the preserved ginger)

180g golden syrup

30g treacle

1 tsp vanilla extract

2 baking tray lined with baking parchment

Method

1.)Preheat oven to 160°C.

2.)Place butter, flour, sugar, ground ginger, bicarbonate of soda, cayenne pepper (if using) and salt in a blender and blitz until thoroughly mixed and is like damp sand.

3.) Warm chopped ginger, ginger syrup, golden syrup, treacle and vanilla extract in a pan over a low heat for a couple of minutes until the mixture becomes less viscose.  Pour this into the dry ingredients and pulse until combined into a dough.

4.) Roll the dough into 3cm wide spheres and space them out on the baking trays  as they will spread whilst baking.

5.) Place in preheated oven and bake for 7-10 minutes until golden and slightly crisp on outside and very soft on the inside.  They should seem slightly under-baked as they will continue to cook as they cool and this will make them deliciously soft and chewy.

Anti-Valentine's Day Soft & Chewy Hot Spiced Double Ginger Cookies
Anti-Valentine's Day Ginger Cookies - Recipe

Comment