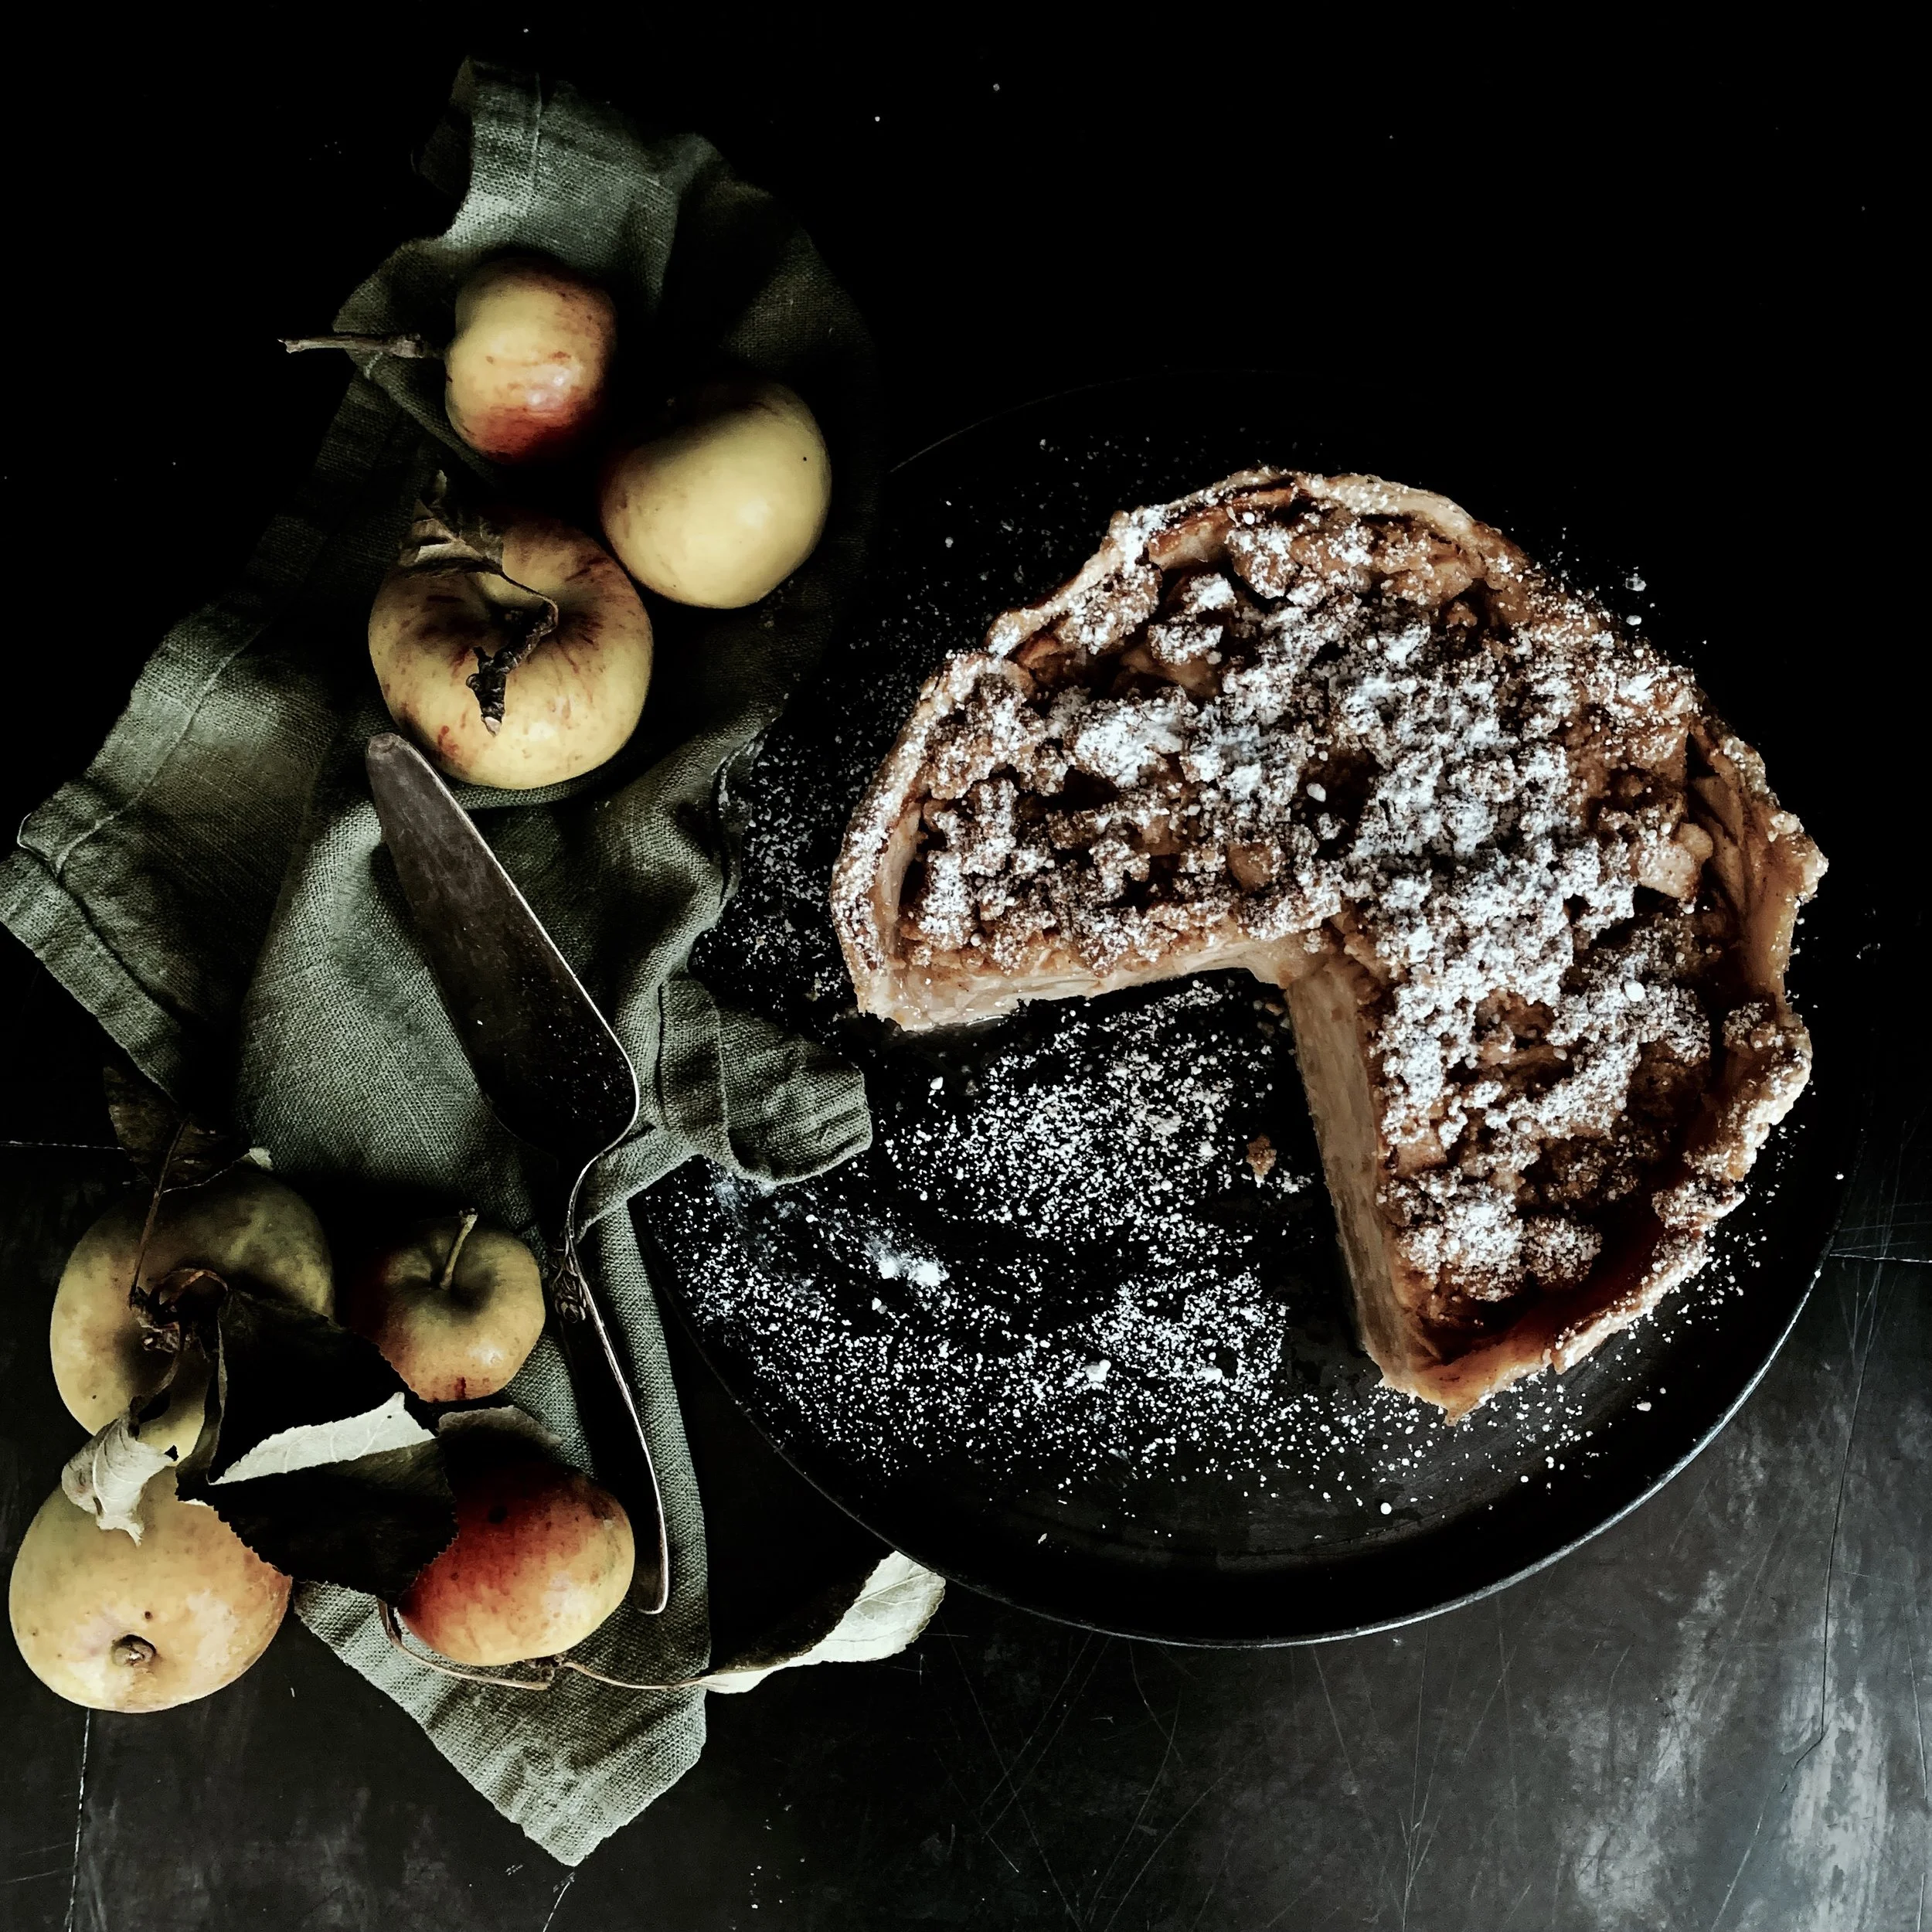

I have six of these in my freezer - six burnished, crunchy, brown butter and cinnamon-topped, thick apple pies. Most days I catch myself thinking about them. They bring a great deal of comfort, knowing that I would have a steady supply were I to hibernate for the wintery. It’s actually fairly miraculous that they’ve lasted this long (one month) in the freezer considering how delicious they are. But that might be due to the fact that for the month of October I had the Herculean task of turning 300 apples into various delicious and storable manifestations in a race against the rot (I won), and may have reached “peak apple”. We had apple butter, stewed apple, apple cake, apple tart, apple crumble, apple crumble bars…and, of course, the crown jewel of apple-based desserts – the aforementioned apple pie. The pastry is golden and flakey, and the apple filling a medley of tart, tangy and sweet. There’s a hint of autumnal spice (without it being overpowering), and it’s topped, not with more pastry, but a brown butter cinnamon crumble that adds moreish crunch.

This is best made the day before eating (or early on the day of eating) so that the juices from the apple can settle. I live in possibly the most impatient of households and have been forced to cut into the pie straight after baking, and it’s just not as good. If I’m making this after a day at work, I spread the preparation over two days: I make the pastry on day one; roll it out, fill it and bake it on day two; and eat it on day three.

As mentioned, if you have a glut of apples, you can make multiple pies and freeze them. If you put them in an airtight box or wrap them with cling film, they’ll last up to three months. To eat from frozen, remove the pie from the freezer and place it to defrost in the fridge the day before eating.
NB Don’t be intimidated by the number of steps - it really is very simple! And if you’re short on time, you can spread the effort over a couple of days (as above).

EPIC APPLE PIE - RECIPE
Ingredients (serves 8-10)
Pie dough
315g white, all-purpose flour
15g caster sugar
1 tsp salt
175g unsalted, cold butter, roughly cut into 1cm cubes
120ml cold water
Apple filling
2.5kg of apples (weight before peeling and coring) – can be any type: Bramley, Braeburn, Pink Lady etc.
1tbsp apple cider vinegar
200g caster sugar
40g plain flour
1tsp cinnamon
½ tsp salt
¼ tsp ground nutmeg
Crumble topping
60g unsalted butter, melted
100g plain flour
45g caster sugar
45g light brown muscovado sugar
1 tsp baking powder
½ tsp cinnamon
¼ tsp salt
23cm diameter round tin with a depth of at least 8cm, greased with butter and dusted with flour
Method
Dough
1) Pour dry ingredients into a food processor and pulse a few times to combine. Add the butter and pulse a few times so that butter is coated in flour and the pieces have almost halved in size.
2) It is essential that the butter remains visible in the dough as that will give it a lovely flakey texture when baked. Empty the butter-flour mixture into a mixing bowl and pour the water over it. Gently fold it all together until almost combined. Tip it all on to a large sheet of greaseproof paper or clingfilm, and, with your hands, press it into a rough circle. Don’t worry if it’s still a bit crumbly – the flour will hydrate as it sits in the fridge. Wrap the dough in greaseproof paper or clingfilm, and place it in the fridge for a minimum of 1 hour, and up to 3 days (if making it in advance).
Constructing & Filling
1) Preheat oven to 180°C.
2) Peel the apples, and slice them into 0.3mm-0.5mm thick pieces (avoiding the core). I use a mandolin (and/or recruit someone in my houseful) to speed this up.
3) Mix the sliced apples with the vinegar, flour, sugar, spices and salt and set aside.
4) On a well-floured board, roll out the dough to a circle roughly 40cm in diameter. Lift it off the board and drape it into the prepared tin (I sometimes roll mine over the rolling pin to stop it falling apart mid-air). Make sure the dough is pressed into the crease of the tin where the side meets the base. There will be an overhang, too, which you can trim so that it is 1cm over the edge of the tin.
5) Press the apple mixture into the tin. It will look like a huge amount but it will all fit, even if you have to heap it up a little. There may be some apple juice in the bottom of the bowl – you can pour this over, too – it will thicken as the pie bakes.
6) Place in the oven and bake for half an hour.
Crumble topping
1) While the pie is baking, make the crumble topping by whisking together the dry ingredients in a bowl. Pour the melted butter over the dry ingredients, and continue to whisk until combined and turns into coarse rubble.
2) Remove the pie from the oven after the initial half an hour of baking, and scatter the crumble over the apples.
3) Turn the heat down to 140°C and place the pie back in the oven to bake for another hour. Make sure to check it after 45mins to ensure it doesn’t burn. If it does begin to catch a little, place tin foil over the top.
4) Once baked, remove from the oven and allow it to cool. Then serve or place in the fridge overnight to devour the next day.