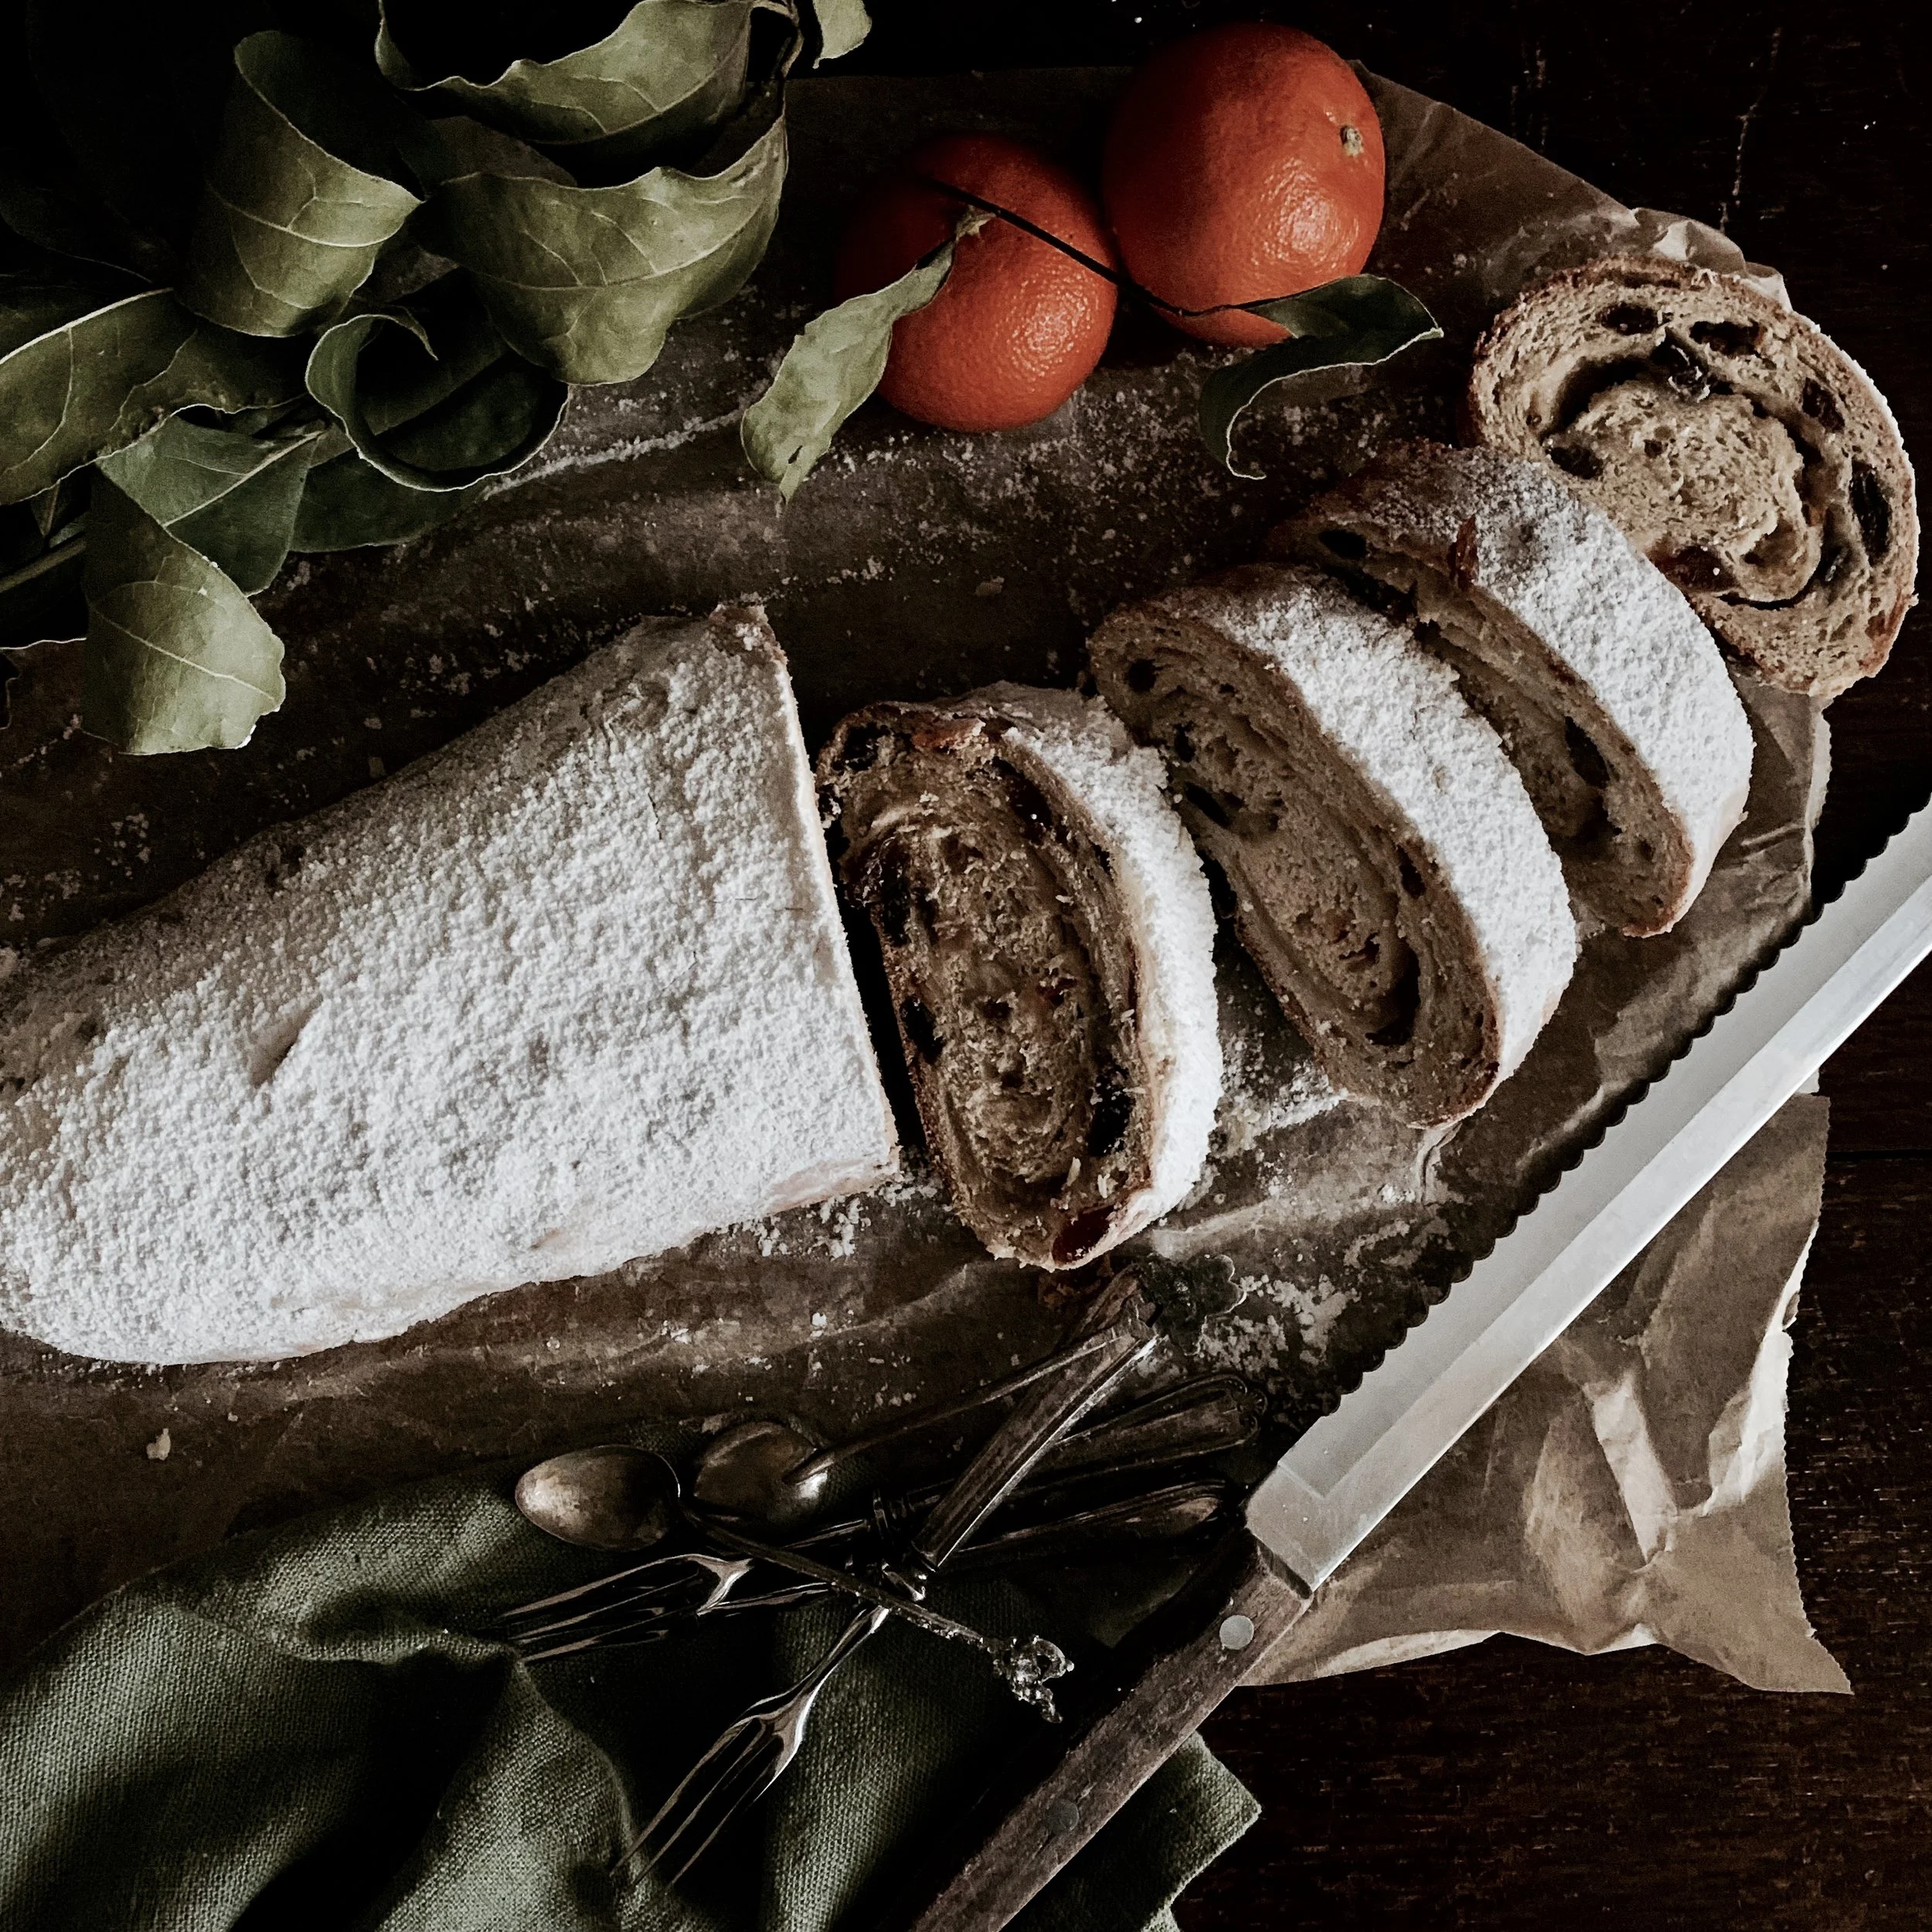
This recipe is delivered with a warning: this stollen, despite its understated, simple, appearance, is highly addictive. I ate almost an entire stollen in one day and felt quite sorry for myself afterwards (guilt streaked sugar-overload), so arm yourself with friends or a freezer before making it
Viewing entries tagged
almond
This cake is heady with the spirit of Tuscany. The grapes combined with the harmonious perfumed trio of orange, almond and vanilla is particularly luscious, and peculiar to Italian baking. The use of olive oil instead of butter, and the addition of ground almonds make it so moist and sumptuous. The flavour tends to develop after a day, so I’d advise making this a day or two in advance of eating (storing it an airtight container or covering the top of the cake tin until ready to serve).
Do your ears hang low? Well, attached or unattached, furry or fuzzy, chunky or petite, this recipe is an ode to the earlobe.
Specifically, it is a celebration of stretched earlobes, whether those of an 85-year-old glamazon who refuses to compromise on opulence in pursuit of practicality or pain avoidance, and has transformed the once-small piercing pin pricks into gaping chasms by the weight of her bejewelled, solid gold hoops. Or the nonchalant indie who has plugged and gouged and strained their lobes to form human wind tunnels.
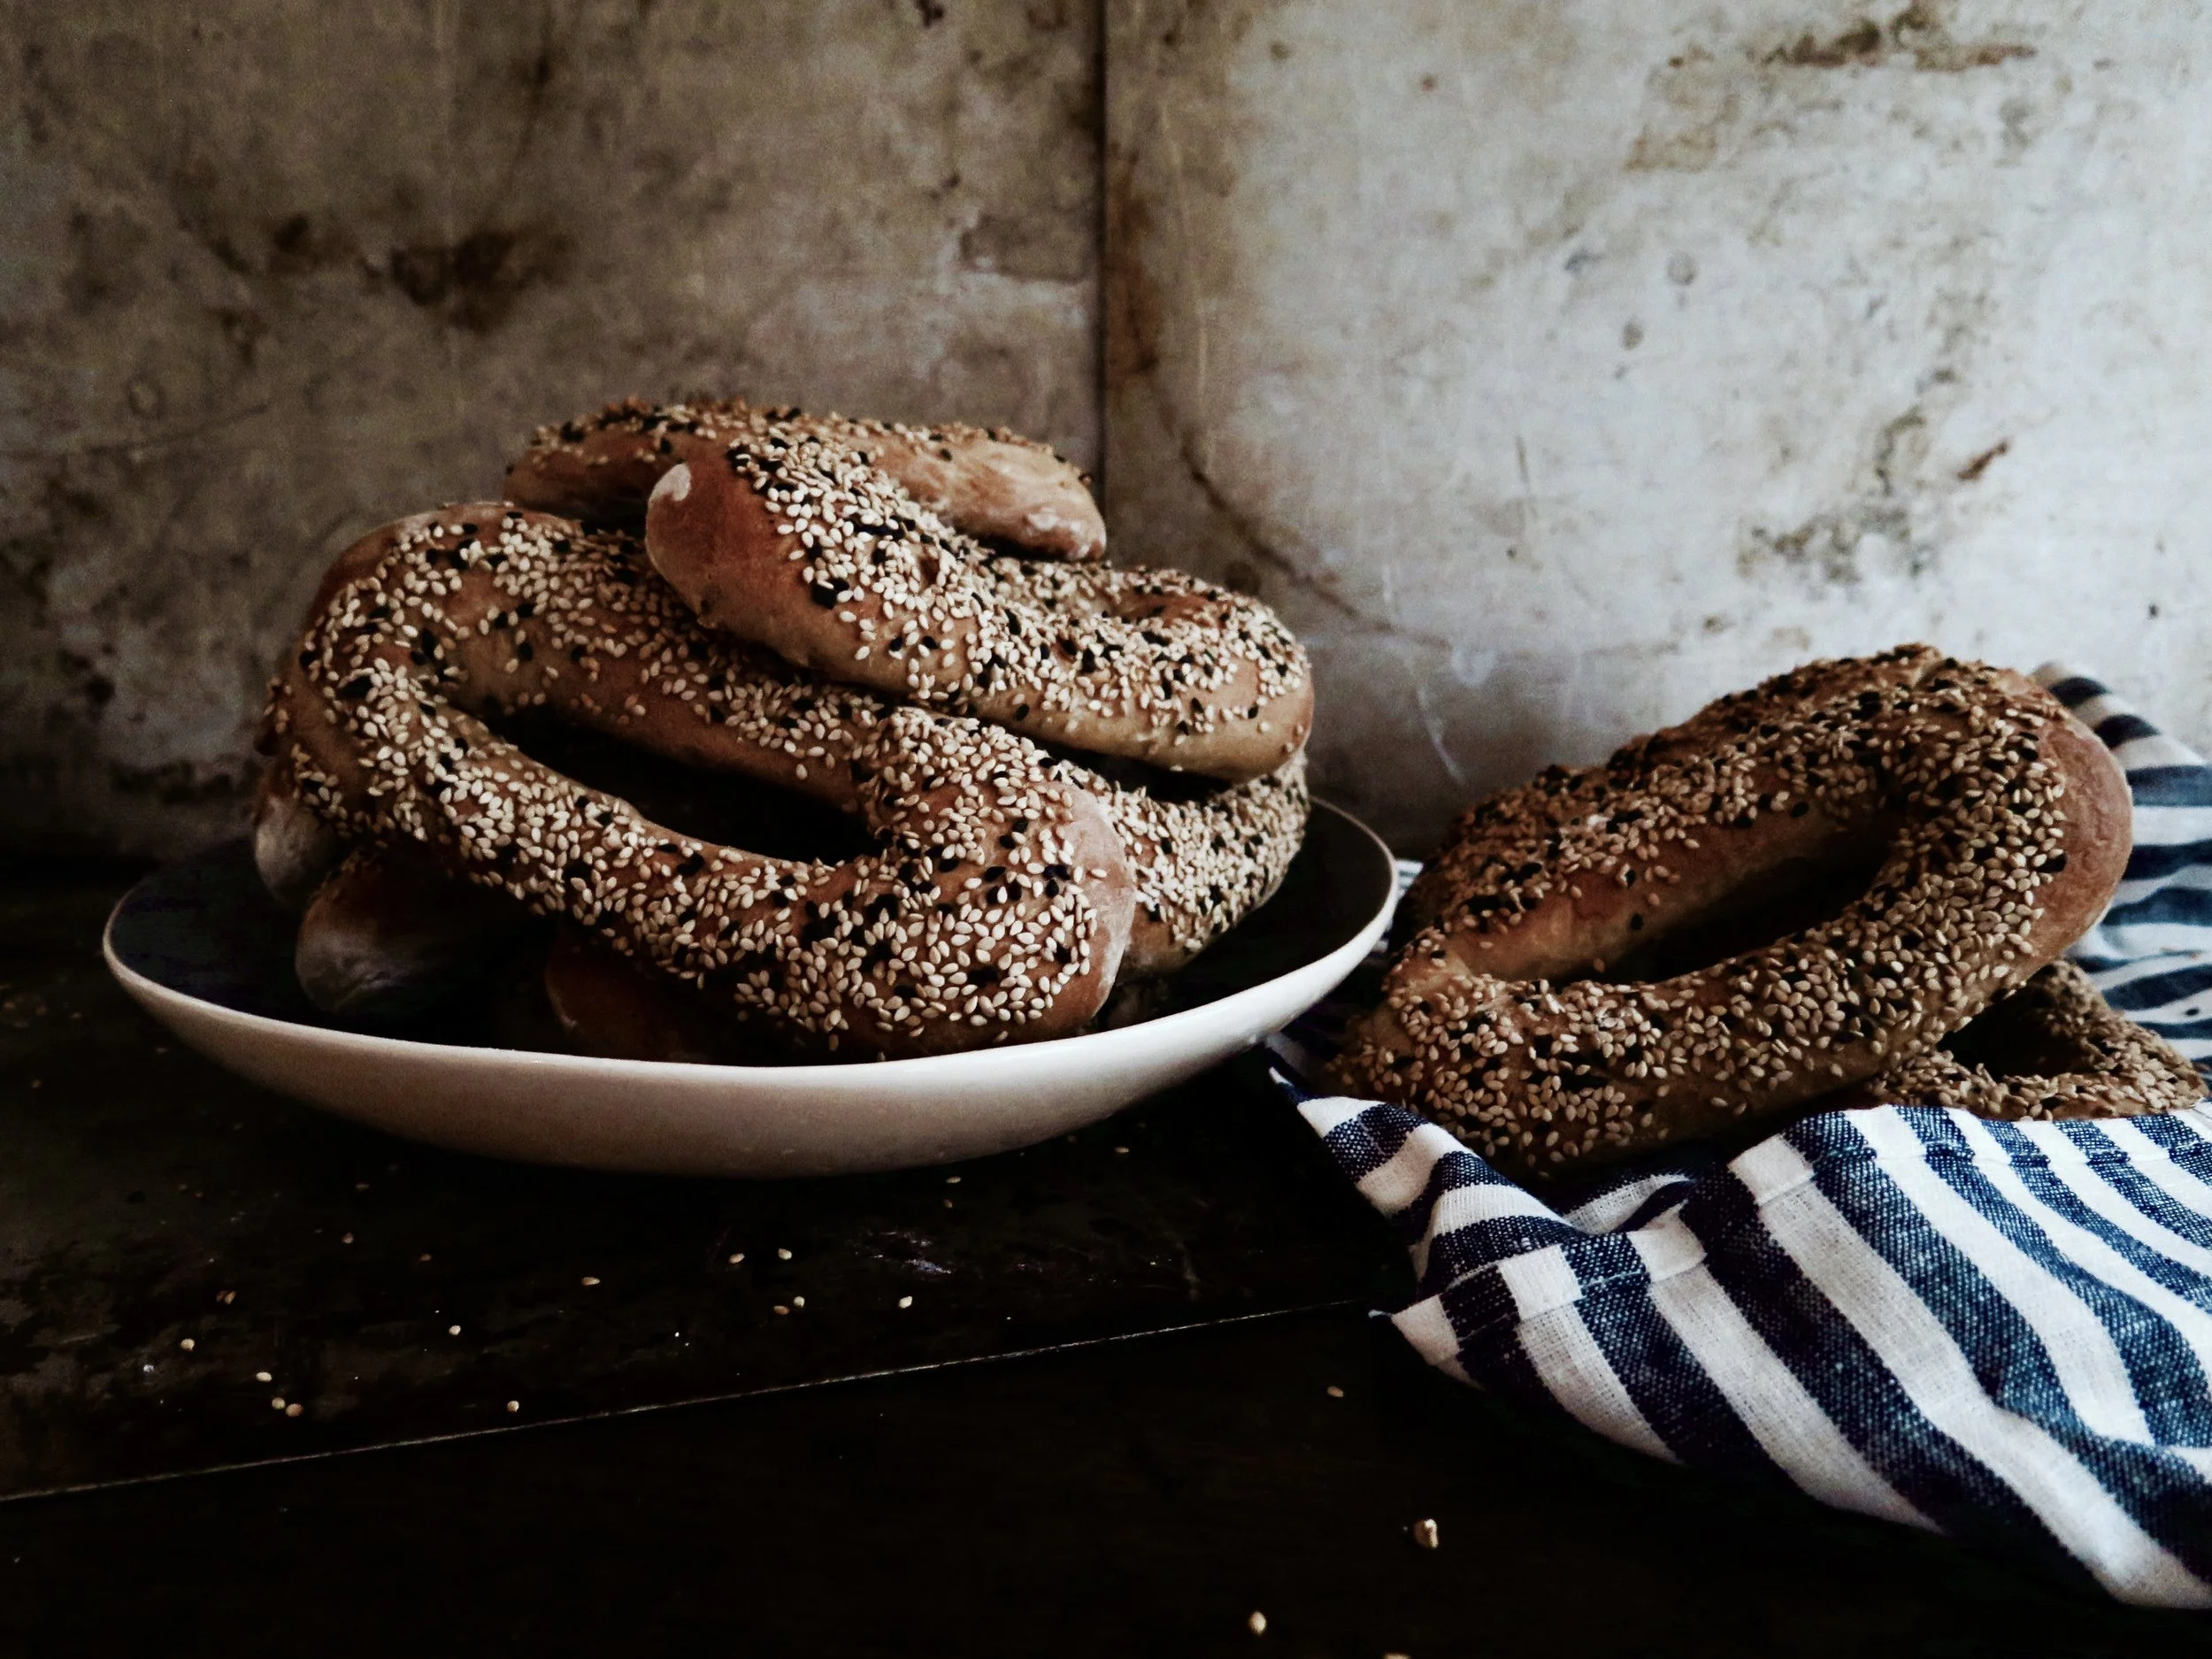
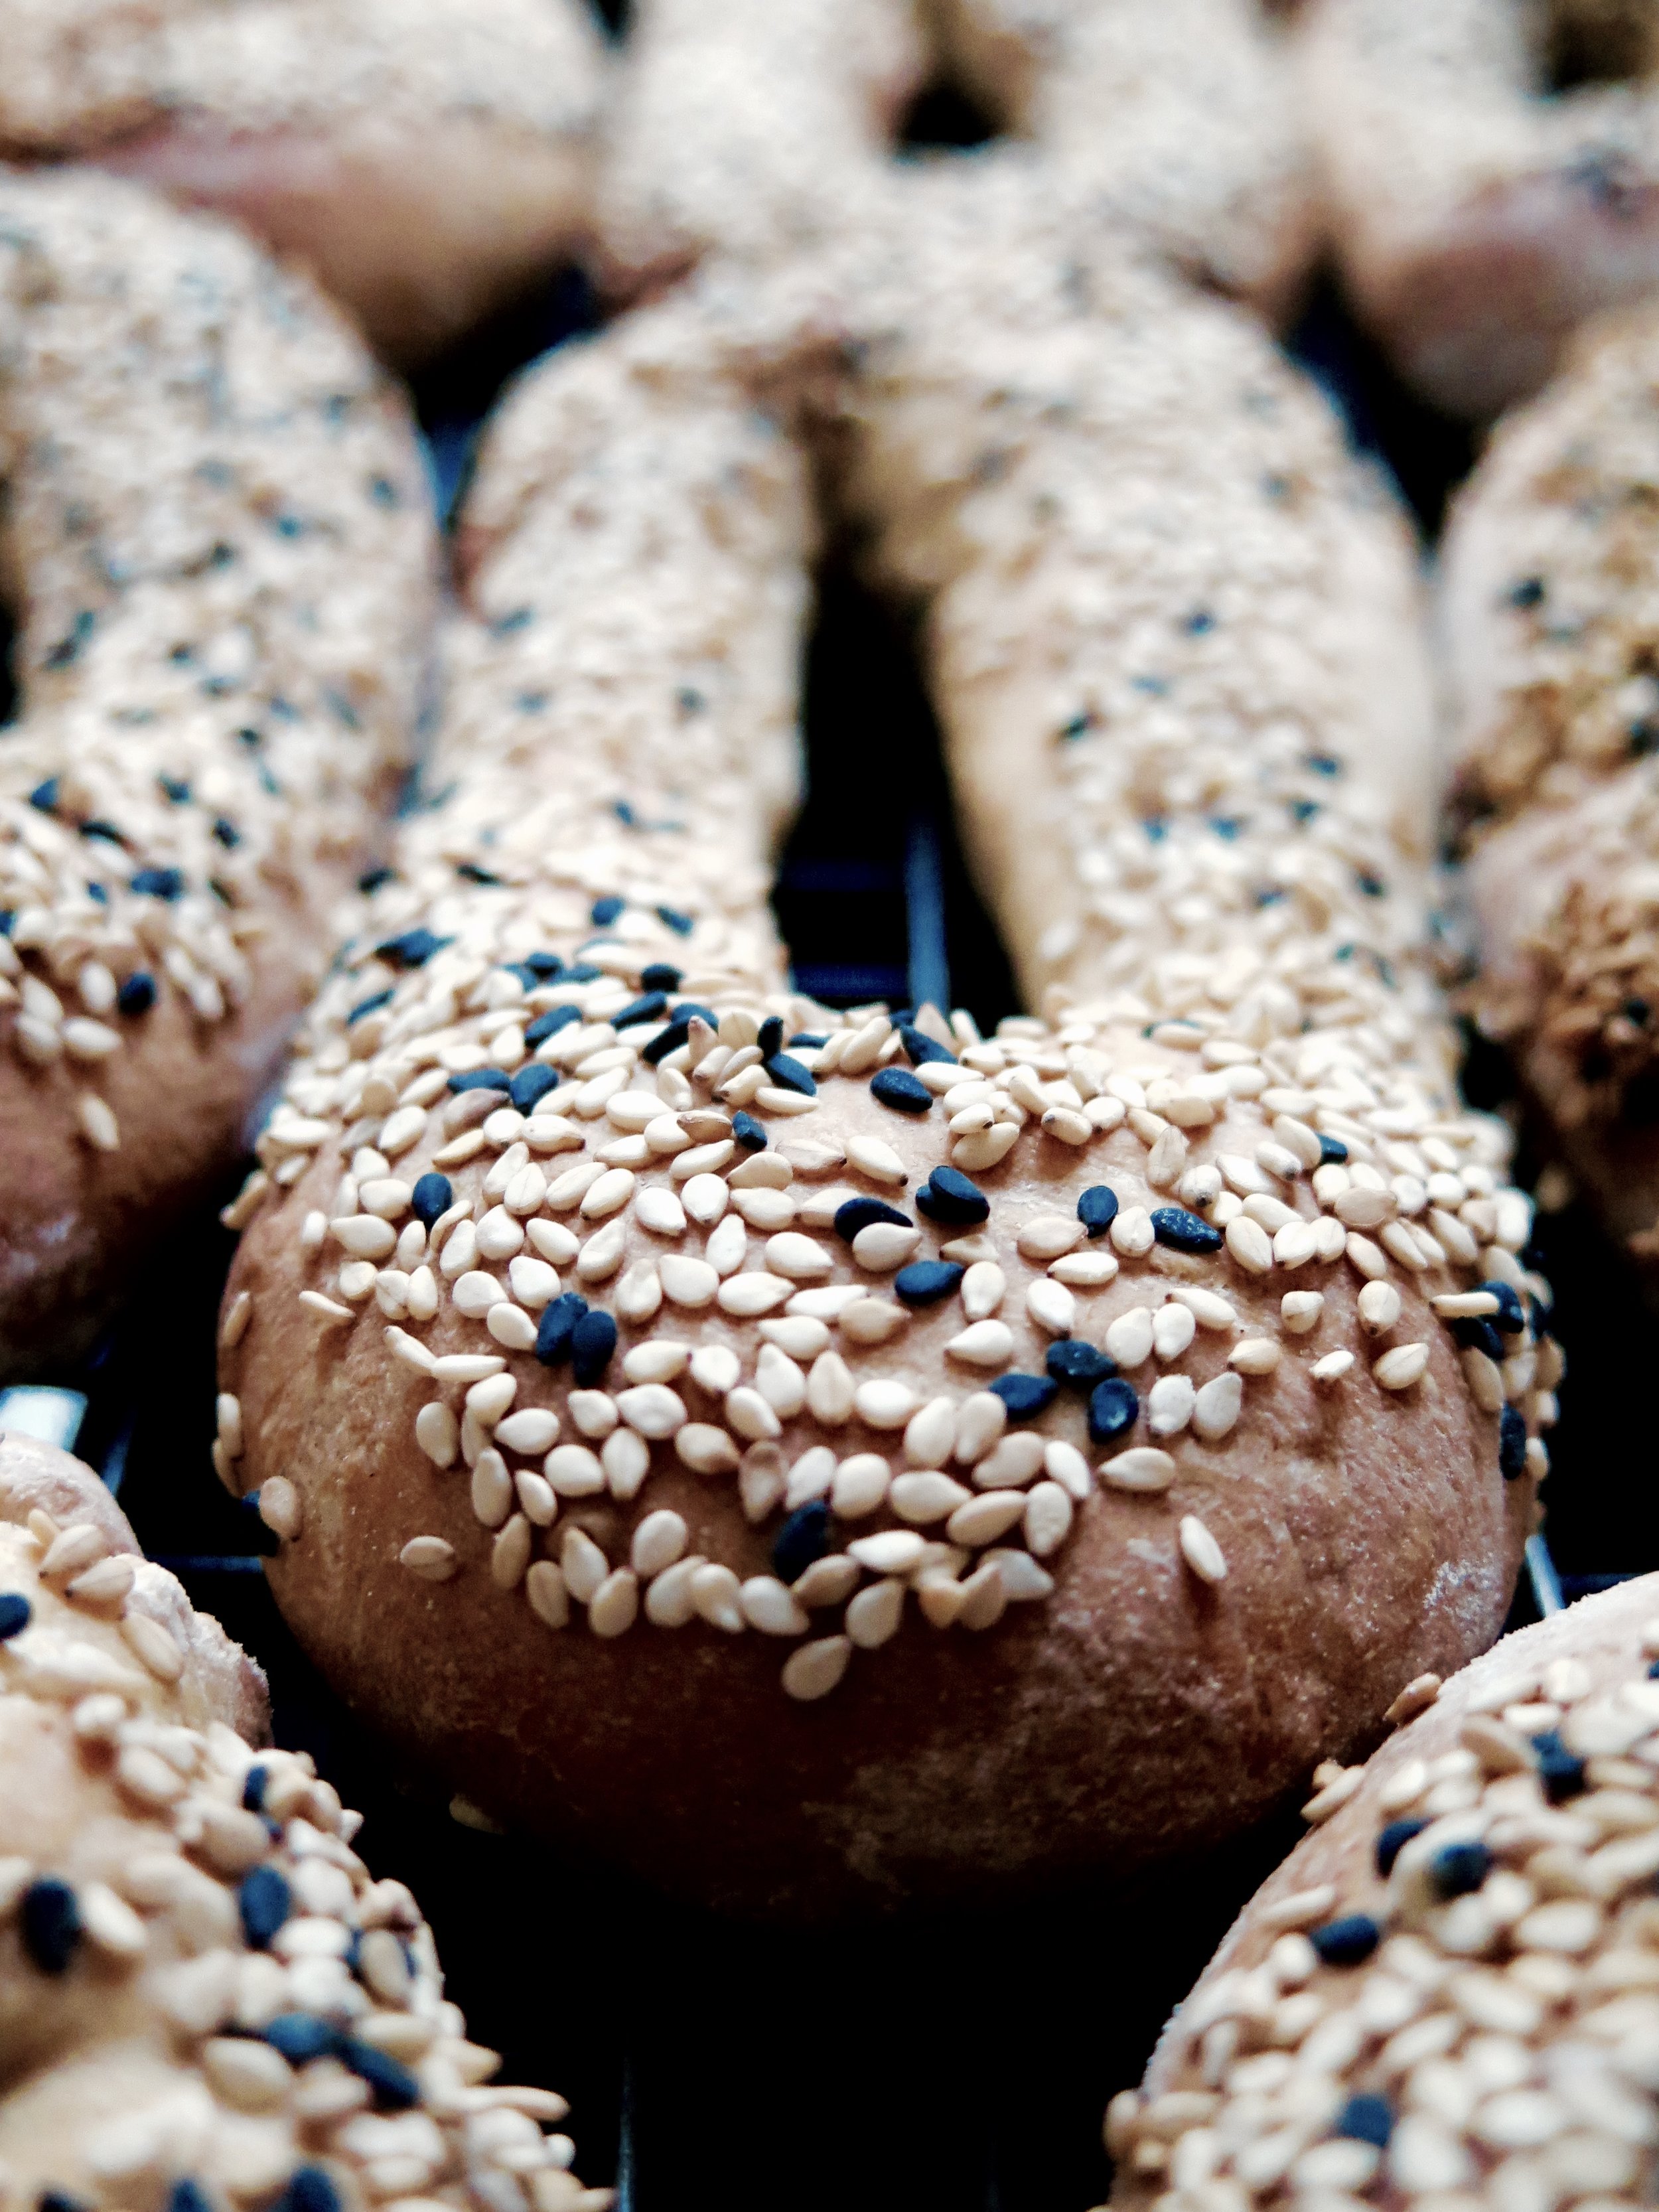
Like stretched lobes, these sesame studded bagels are not your standard chewy round.
They are a rare sight in the UK, only occasionally vaguely mimicked by the odd fougasse dangling in the windows of French bakeries. Though related to those that are more common sighted, Jerusalem bagels are elegantly elongated, less chewy, more fluffy, yet with a crusty exterior (I’m on the topic of bread now, not lobes). And the Jerusalem bagel is in no way a lesser version – being a rarer breed and a much more fun shape to nibble (yes, still on bagels), I actually prefer them. They are also easier to bake: the absence of the boiling stage means less room for error, and no witch-hunting of wet doughy rounds, bobbing up and down and falling apart in vats of boiling water.
If you are intimidated by bread-baking, do not be.
These are extremely simple, and though the process from flour to end-product takes a while, they are very undemanding in terms of action – the sesame seed dipping is, in fact, rather satisfying from a pre-school art class perspective. Feel free to halve the mixture if you want fewer bagels, though they are so delicious and addictive it’s probably not worth it.... Also, do have a play around with ingredients: you could try poppy, flax, sunflower, or nigella seeds, as well as sprinkling the bagels with cheddar cheese or parmesan if you aren’t vegan.
Makes 20
Ingredients
750ml warmed, unsweetened almond milk (can substitute with oat, or another neutral-flavoured, unsweetened plant-based milk)
21g active dry instant yeast (3 sachets)
60g caster sugar
500g strong white flour (+ extra flour for dusting surfaces)
500g white spelt flour
4 tsp salt
2 tsp baking powder
1 tbsp olive oil
100g white sesame seeds
15g black sesame seeds
4 tbsp boiling water
2 tbsp pomegranate molasses
1 tbsp agave syrup (or honey if you’re not vegan)
3 baking trays lined with baking parchment
Method
1) In the bowl of a mixer fitted with a dough hook, or in a large stand-alone bowl, stir together warmed milk, yeast and sugar. Pour in all the flour (apart from that to be used for dusting the surface), salt and baking powder and stir to combine into dough.
2) If using a mixer, knead the dough for about five minutes on a low speed with a dough hook. If making by hand, pour the dough onto a lightly floured surface, and knead by hand until soft, smooth and springy. It may be slightly sticky, but try to avoid adding too much flour as this will make the bagels dry and tough. Even if I use the dough hook, I take the dough out to knead by hand for the last minute.
3) Coat the inside of a bowl with the olive oil, place the dough inside and cover with cling film or a tea towel. Allow to rise in a warm place for about an hour, or until it has doubled in size.
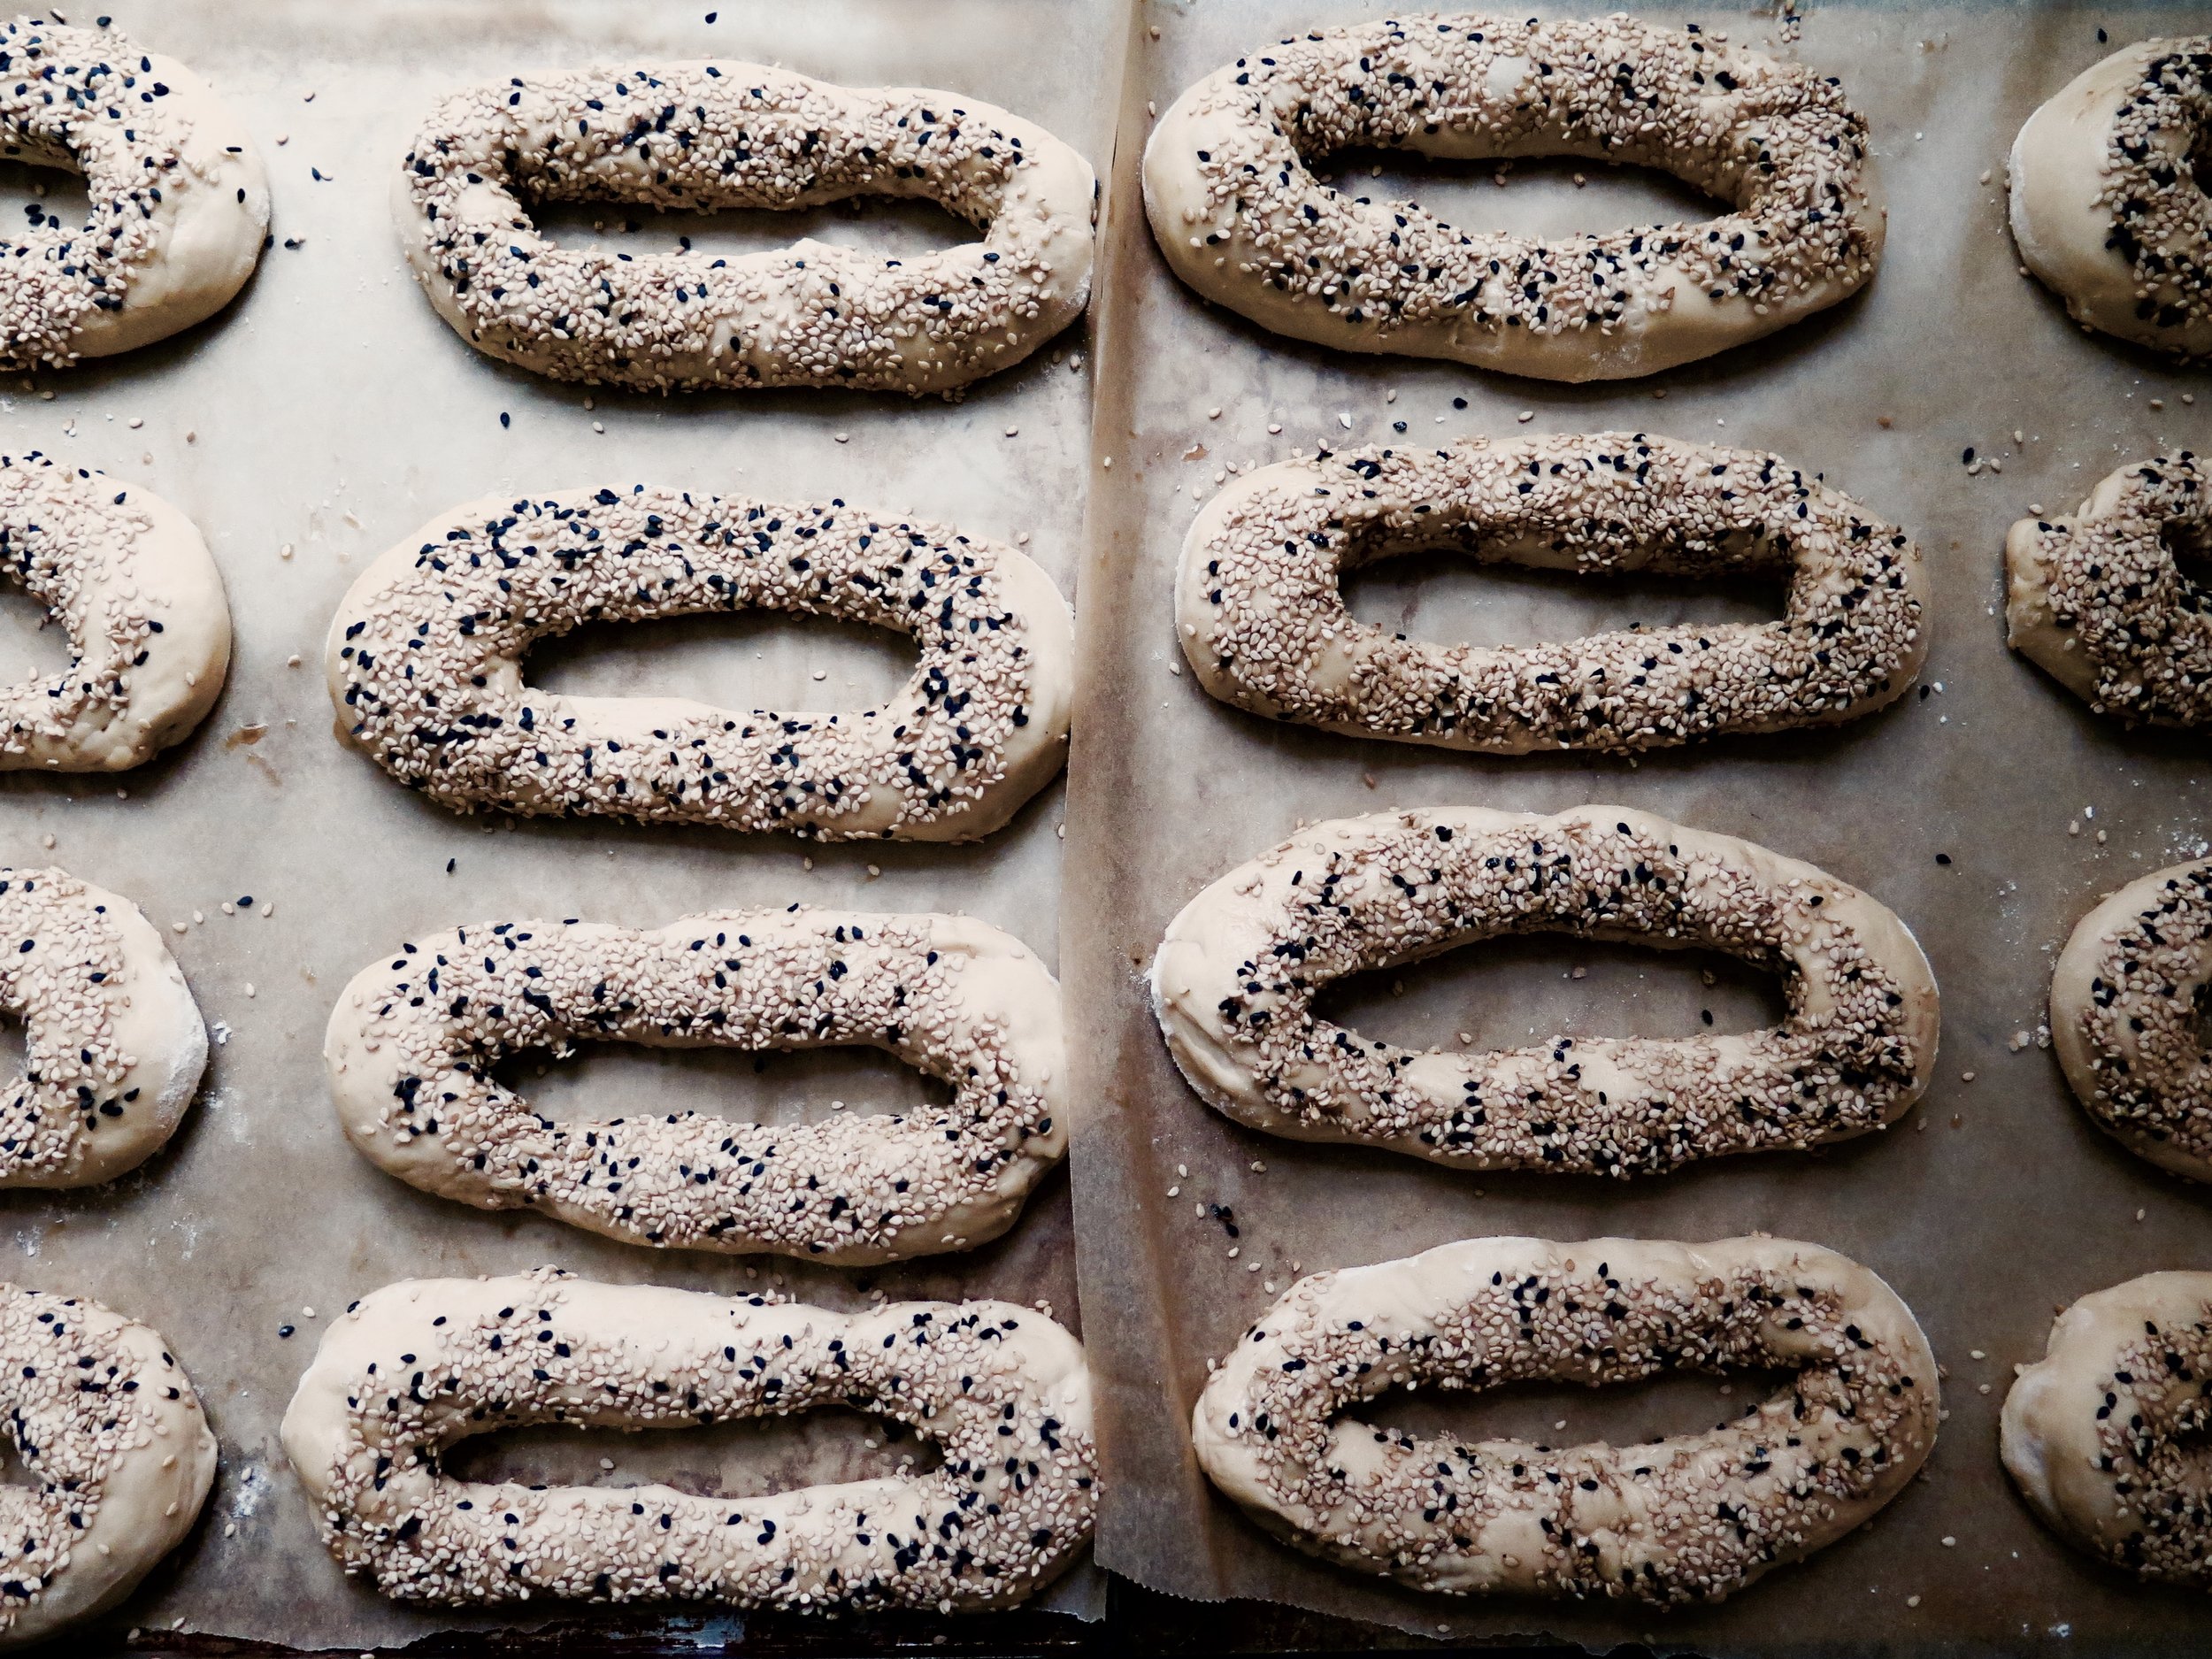
4) When the dough has risen, punch it down and turn it on to a lightly floured surface. Divide the dough into 20 pieces. You can approximate this by quartering the dough and dividing each quarter into five pieces. Or you can weigh it: each piece should be about 85g. Then gently roll each into a ball. To make the Jerusalem bagel shape, take each ball of dough and press your thumb through the centre to create a hole. Whilst keeping the dough even in diameter, gently stretch the hole into an oval so the bagel is about 11 cm long. Place each back on the floured surface and allow to rest and rise for 15 minutes.
5) Preheat the oven to 200C. Make the topping by mixing the water, pomegranate molasses and agave/honey in a bowl. Then pour the mixture into a small tray or large flat-based bowl. On another tray, mix together the black and white sesame seeds (or whichever other seeds you are using). Taking each bagel lobe, dip it first (on one side only) into the water molasses mix, then into the sesame, so that one side is coated in sesame seeds. Then place it on the tray lined with baking parchment. If the bagel stretches a bit, that is fine. Repeat with the rest of the bagels, spacing them at least 3 or 4cm apart, and allow them to rest again for a further 10 minutes.
6) Place them in the oven to bake for 10-15 minutes until they are deep golden and crusty on the outside. Once baked, transfer the bagels to a baking rack to cool. They are best eaten on the day of baking (and it will be a miracle if they last beyond a day). However, if you want to save them for another time, you can freeze them as soon as they have cooled for up to three months in an airtight container.
HUNGRY FOR MORE?
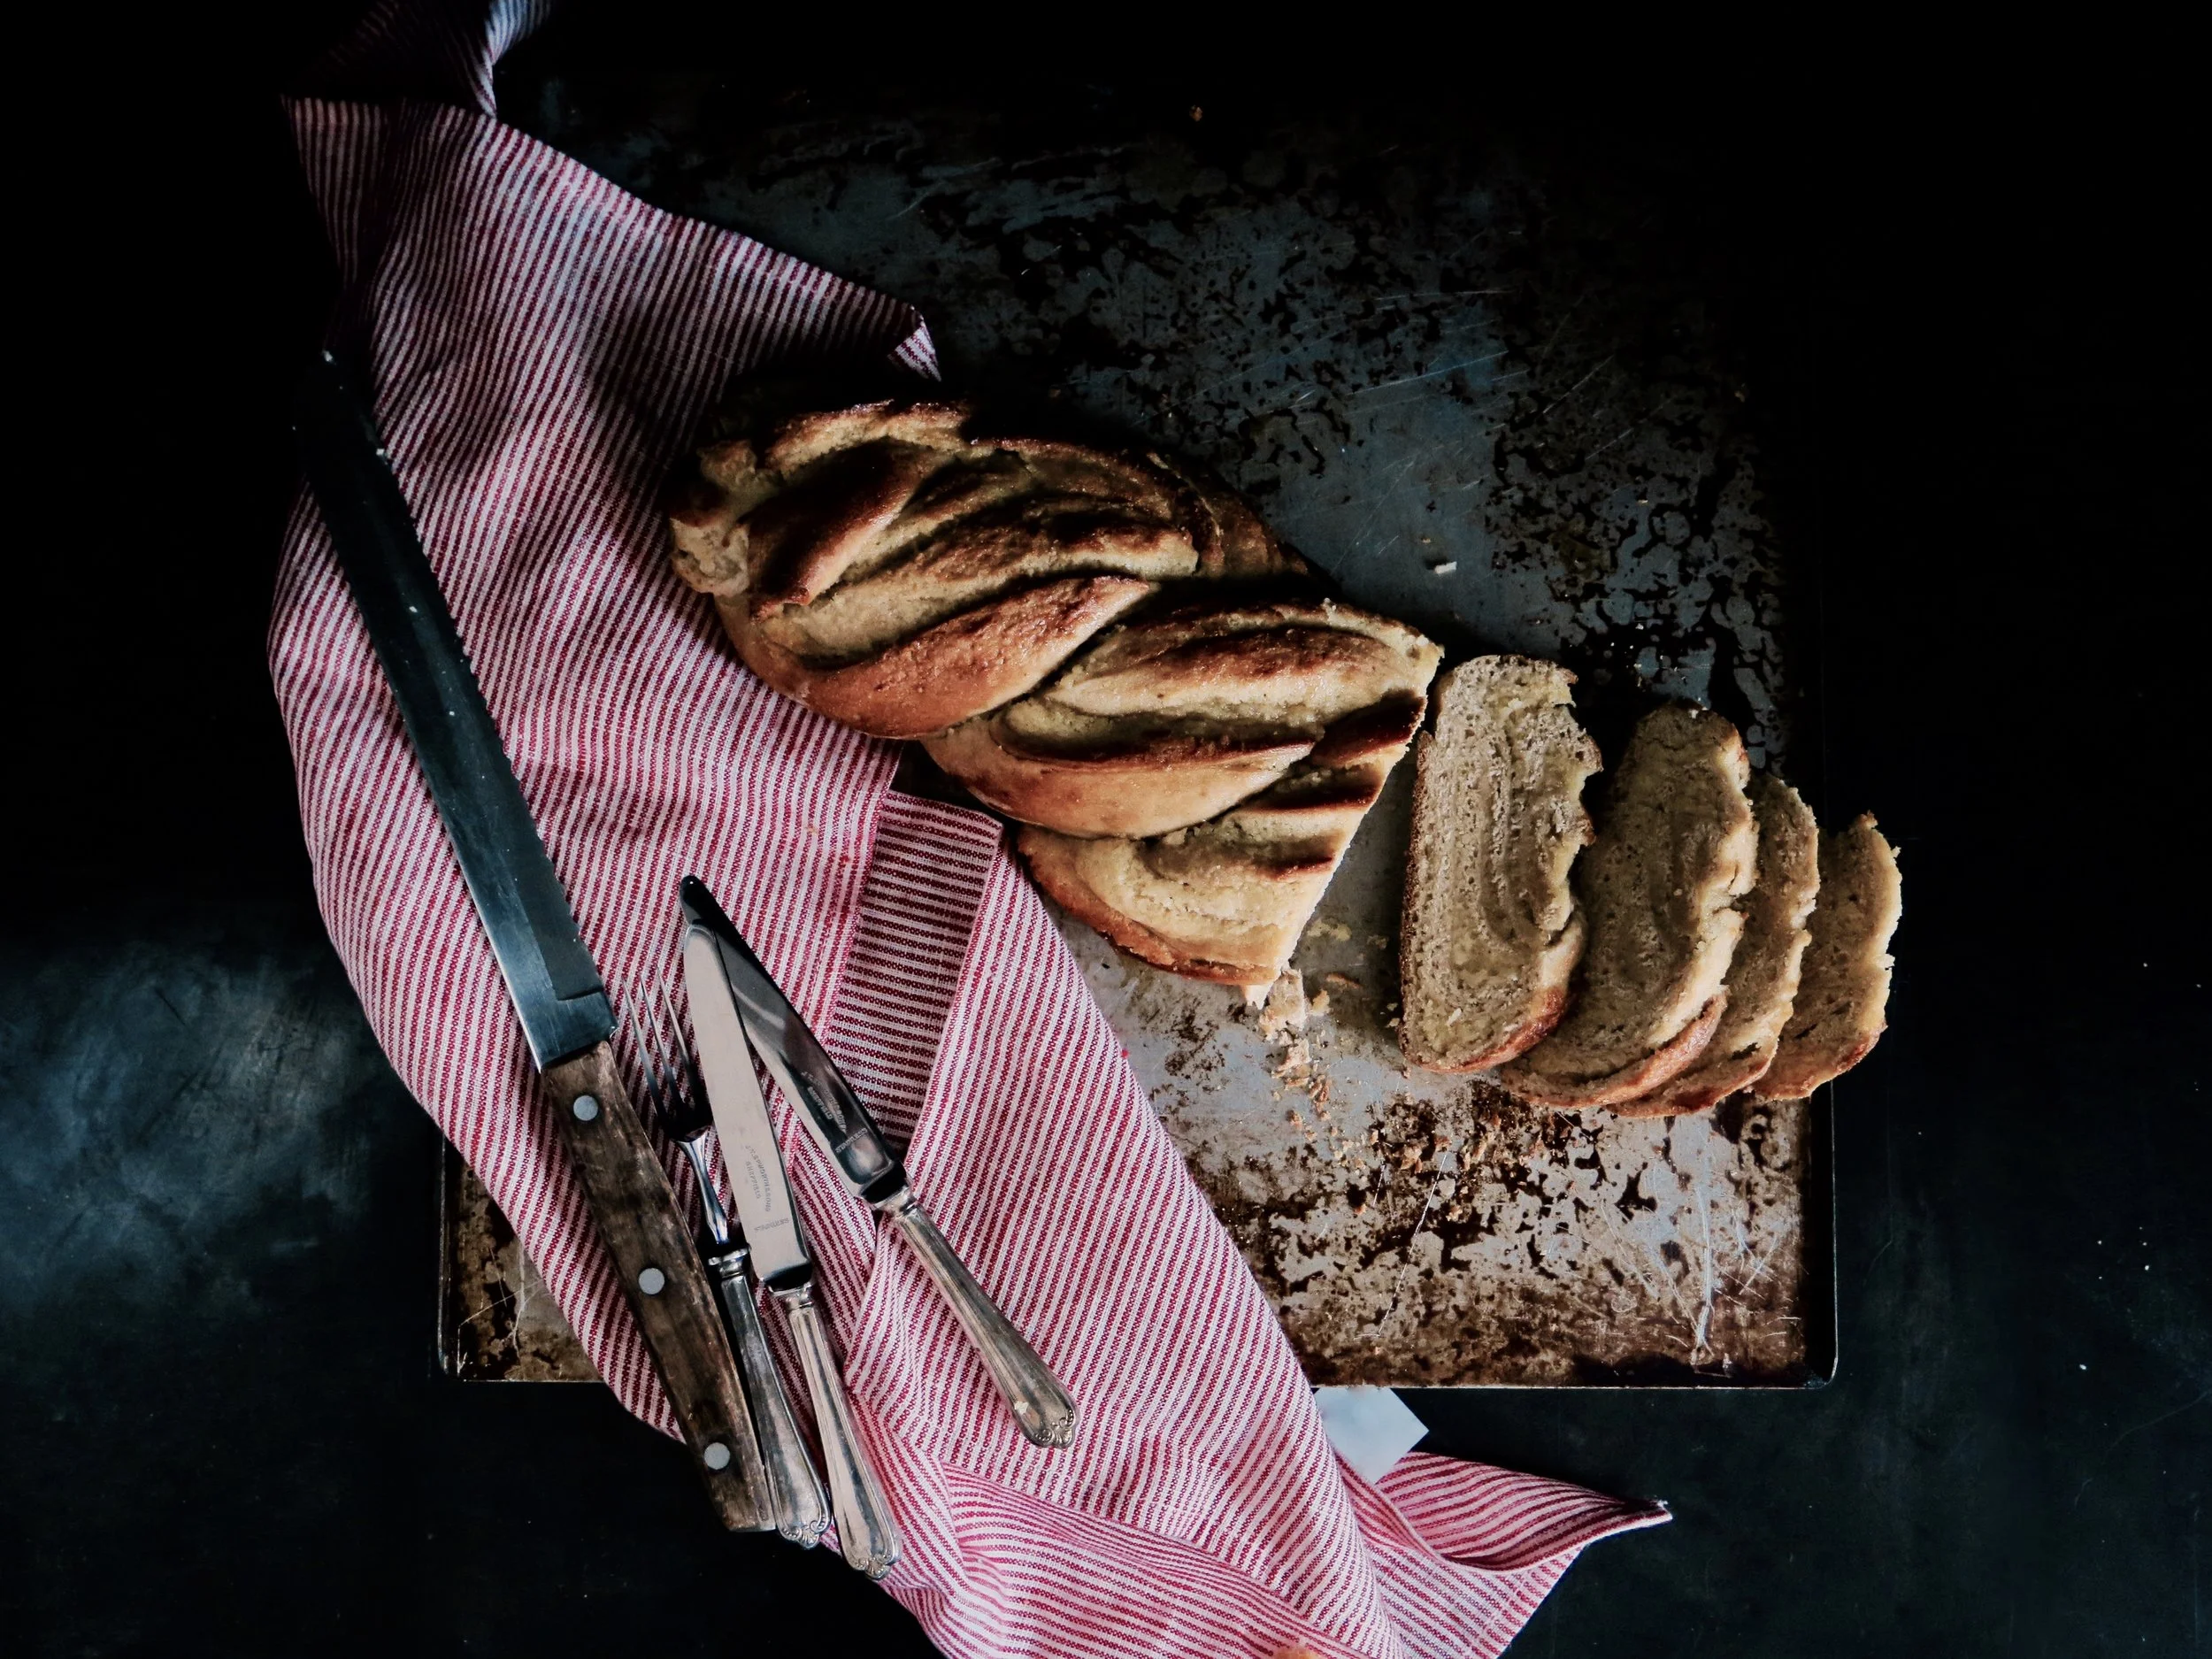
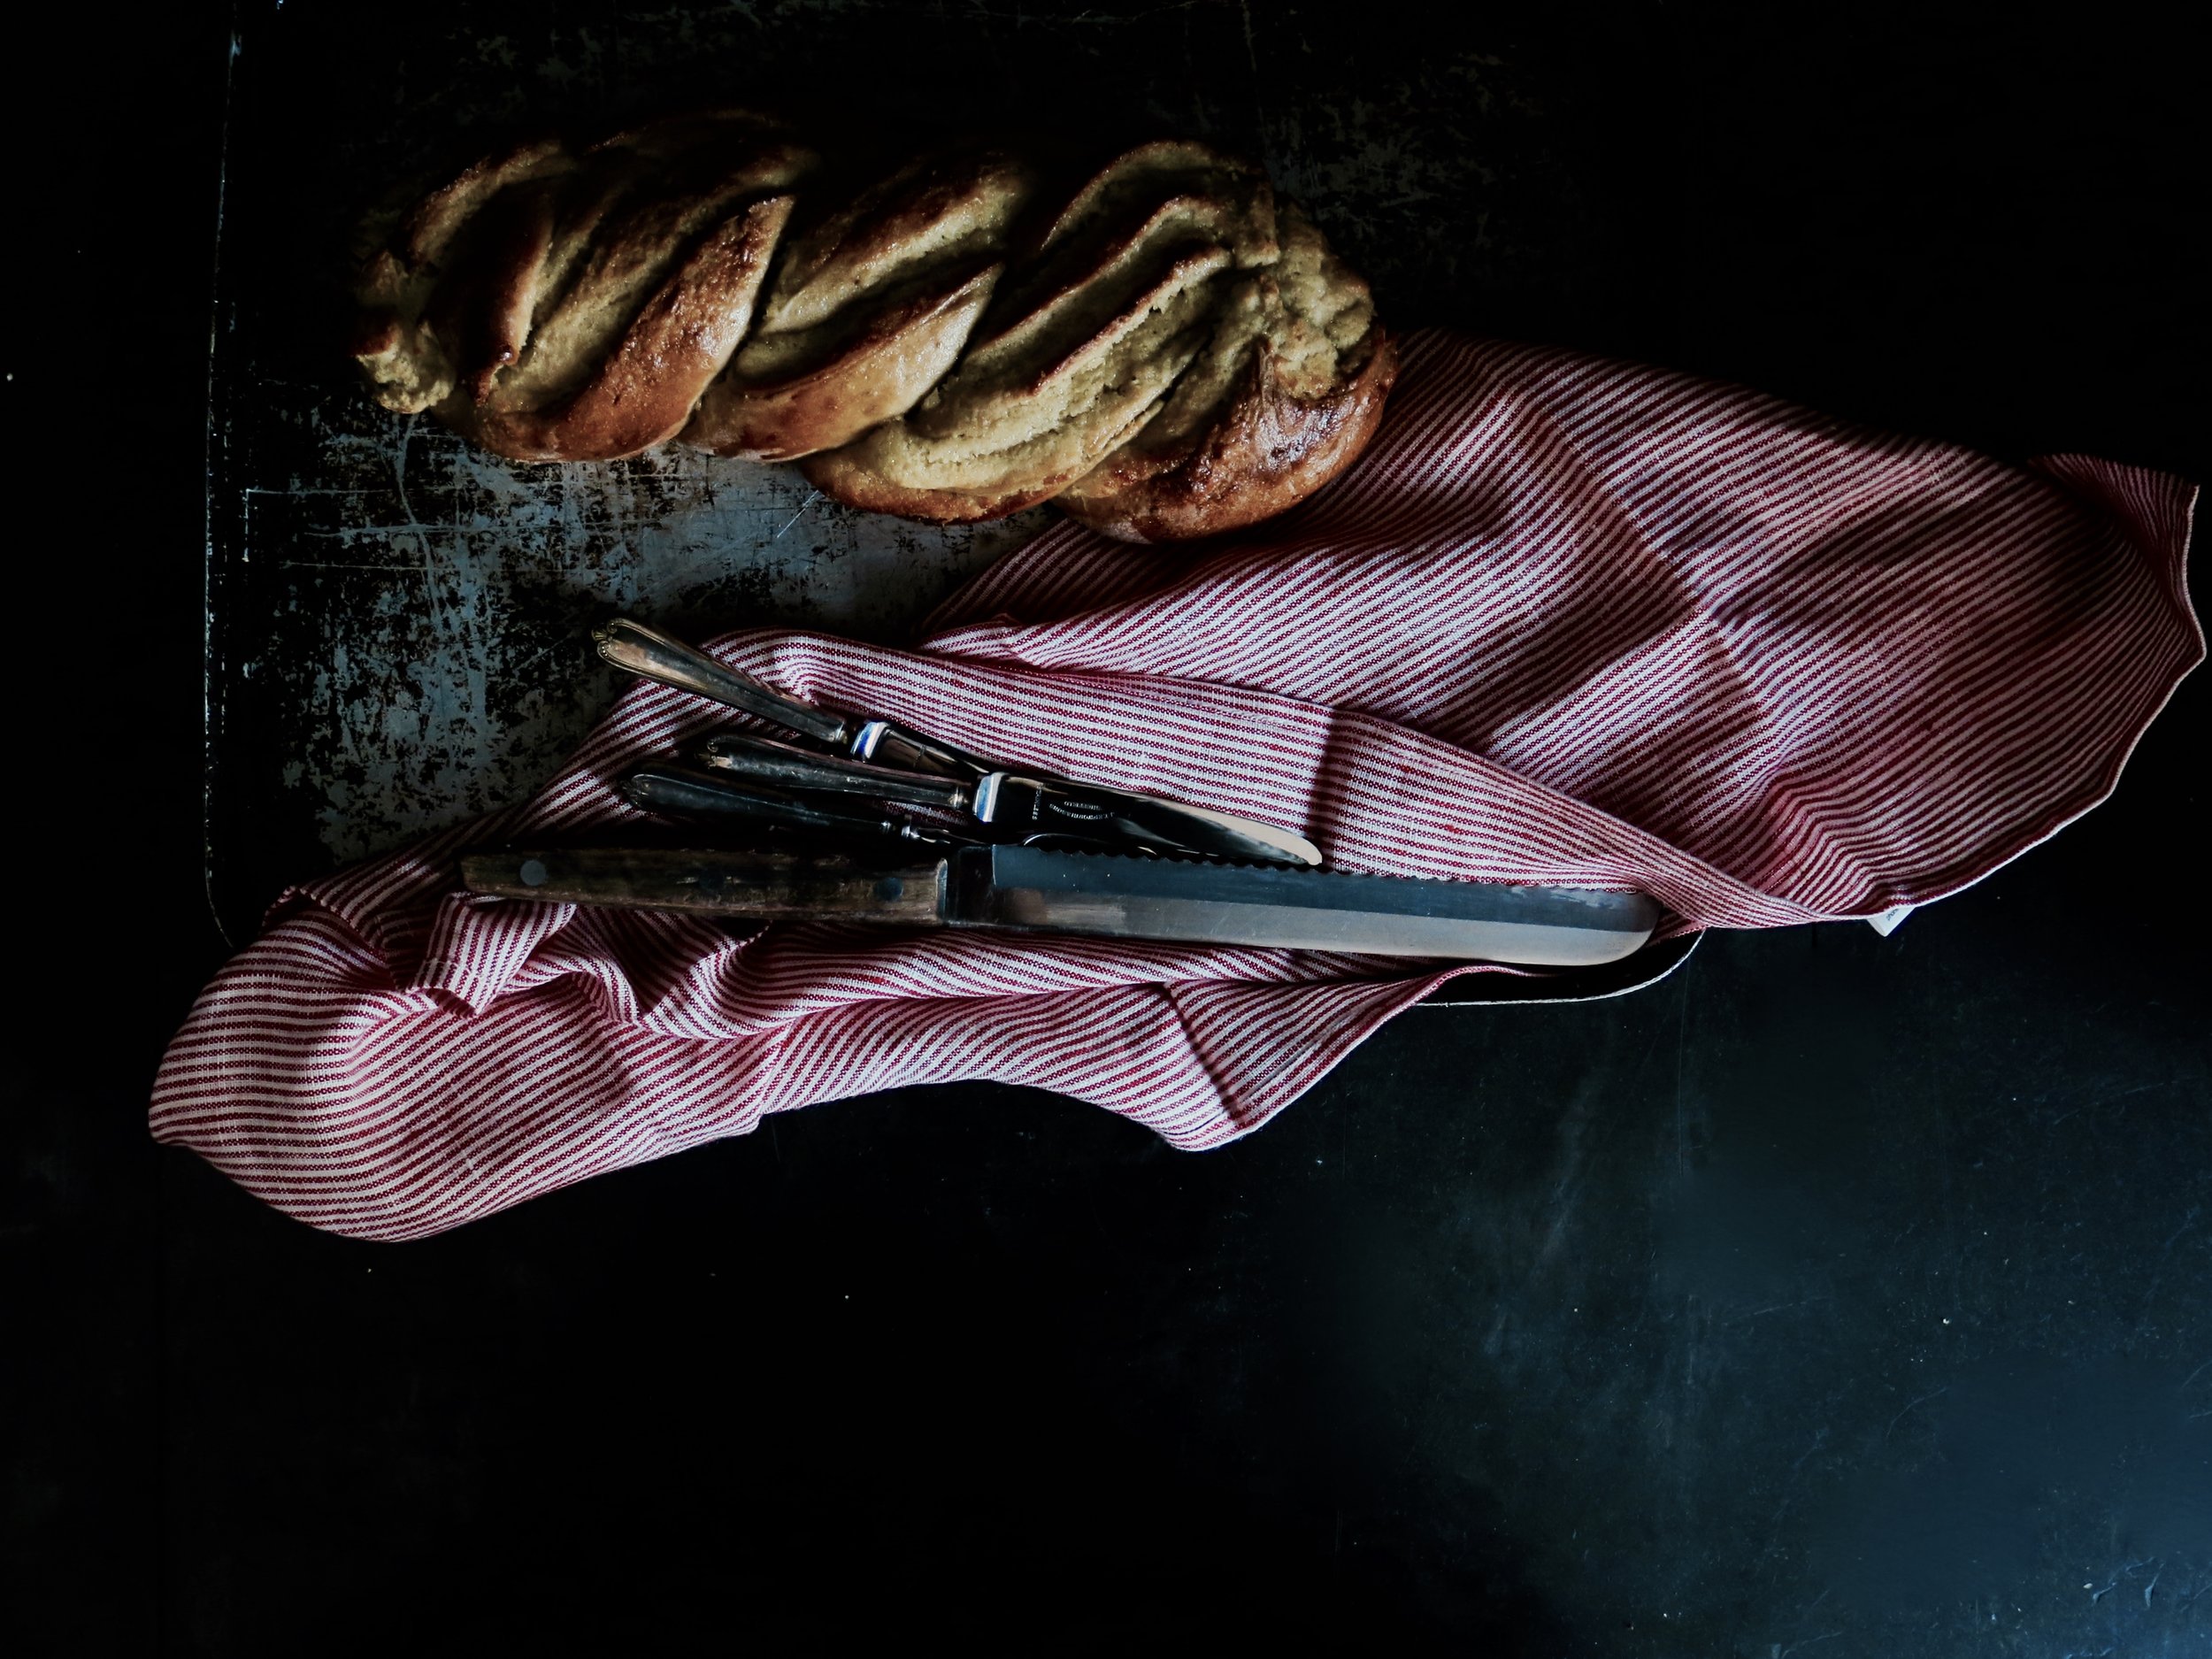
This bread is the love child of a brioche and stollen. The dough is soft, buttery and ridiculously moreish. And the filling is like that marzipan core of stollen except less overpoweringly almondy, lighter and less tooth-achingly sweet (which means you can have more of it, of course). One of my many intolerances is not gluten, nuts or dairy but overpromising. If the title promises a filling, I want that filling, and I want it in abundance. If it says caramel, I want luscious rivers of it; if it’s olives on a pizza, I want at least one for every 2cm squared (NB I am disappointed by this every time - unless I make it myself). And, if it is a frangipane bread, I demand every mouthful to be molten with frangipane.
So, in response, this bread will not fail to meet expectations: not only a show stopper in appearance, it is also ambrosial. I had to make this several times in order to photograph it before it was inhaled by surrounding friends/family.
If you want to have plain bread, just leave out the frangipane and follow the instructions below. Similarly, if you’re feeling experimental add another filling in place of the frangipanes - think Nutella, marmalade, fruit conserve…
Ingredients (makes 2 loaves)
For the bread
30g fresh yeast (or 15g dry yeast)
100g caster sugar
250ml lukewarm milk (normal or any non-dairy alternative)
2 large eggs, beaten
1 tsp salt
700g white spelt flour (or plain wheat) + more for kneading
100g unsalted butter, at room temperature
For the frangipane
180g caster sugar
150g unsalted butter, at room temperature
4 eggs
½ tsp salt
250g ground almonds
1 ½ tsp almond extract
2 large baking sheets lined with baking parchment
Method
1) In the bowl of an electric mixer (or large mixing bowl), cream together fresh yeast and caster sugar until the sugar begins to dissolve and turns the yeast liquid. If using dry yeast, add it into the milk first and allow to sit for five minutes before continuing with step 2.
2) Pour in lukewarm milk, 3/4 of the beaten eggs (i.e. 1 ½ eggs, keeping the other half aside to paint the bread) and salt, and whisk together. Whisk in 100g grams of the flour to begin to incorporate air.
3) Add the remaining flour into the mixture and mix together. Once combined, either using a mixer fitted with the dough hook, or on a heavily floured surface knead the dough for about 5 minutes until it is smooth and bounces back when pressed with your thumb. Temperature and humidity can affect the dough texture so you may need to add a touch more flour if it is truly unworkable, though try to keep it to a minimum as too much will make the bread tough and the dough difficult to roll out. I find that using the dough hook initially until combined and then kneading by hand for the last stretch particularly effective.
4) Place in a large oiled bowl in a warm spot and cover with a cloth or clingfilm to allow to rise until doubled in size (about 45 minutes to an hour).
5) At this point, if you wish to make the bread without the frangipane, proceed to step 7a
6) To make the frangipane, beat together the sugar and butter until light and fluffy. You can do this by hand or in a mixer fitted with the paddle attachment. Beat in the eggs (don’t worry if it looks slightly curdled at this point), then stir in salt, ground almonds and almond extract. It should be a smooth almondy paste.
7) Once the dough has risen, punch back down, turn it onto a heavily floured surface
a. For bread without filling: divide dough into two (to make two loaves). Shape as desired, but if you favour a plaited loaf, as I do, taking one of the dough halves, divide it into three or four pieces (depending on whether you prefer a three- way or four-way plait.) Roll each piece into a long, even strand of about 3cm in diameter. Then pinch the ends together and plait as normal. When you reach the end of the plait, pinch the strands together and tuck under. Repeat for the second loaf, place on a baking tray and cover. Leave to rise for about half an hour.
b. For bread laced with frangipane: place the dough on a large, flat, heavily floured surface and roll it to a rectangle of about 60 x 30cm and about ¾ cm thick. Tip the frangipane mixture into the centre of the dough, and spread it out evenly with a spatula right up to the edges. Then, from the long side, roll the dough to make a long tight coil. Finish with the seal at the base of the roll. Then slice the roll into two (in order to make two loaves). Take one long roll and holding the knife directly above the roll, with the blade parallel to the length of the roll, bisect it running the knife through the centre along the its length. Once split, with the open halves separate, pinch them at the top and then cross one over the other repeatedly in a kind of two string plait. Pinch at the end and tuck it under then place on baking tray. Repeat with the other half.
8) Cover both breads with a cloth, and allow to rise in a warm place for 45 minutes. Preheat the oven to 200 °C.
9) With the remaining beaten egg, brush the tops of the breads. Place the breads in the oven to bake for 10 minutes. Then reduce the oven temperature to 180 °C and allow to bake for a further 10-15 minutes. Ovens can be temperamental, so check every 5-10 minutes to ensure that the bread doesn’t burn. If it looks like it is beginning to catch, cover with aluminium foil and continue to bake. Remove from the oven when the outside is a deep golden colour. Place on a cooling rack and allow to reach room temperature, then devour. Best eaten on day of baking, but the bread can be frozen in a sealed air tight container for up to 3 months.
HUNGRY FOR MORE?
Entremets, soufflés, macarons, choux buns - even making ciabatta, a two day process, which culminates in a dough whose tenacious elasticity has been known to reduce some people to tears - I’ve generally met their challenges.
However, hubris met nemesis a couple of weeks ago. I came home to the nutty toasted perfume of a new recipe my mom had tried out: ridiculously simple, five ingredient coconut wafers so thin you could see the sunset through them, so tender that they crumbled in anticipation of hitting one’s tongue, and so light and moreish that a second batch was immediately required in order to satisfy my family’s greed.
I duly crumbed, clumped, chilled, and sliced. “Make them thinner,” my mom said. And I did, each slice crumbling into thousands of buttery coconut crumbs. I pressed them together and started again. And again. Unfortunately, it was only my patience that turned out thin, and the petulant three year old in me ended up scooping together the entire mixture and, from a height, throwing it down onto the tray.
Finally, I managed to get the fragments to coagulate by adding water. Things went more smoothly, but the biscuits, when baked, were slightly tougher, less flaky and less moreish than the original batch. Nevertheless, my brother took them to university. One of his friends, suffering from tonsillitis, reached into the box of biscuits, and in taking out one, touched many. The rest were binned, mostly due to the possibility of their having being infected with tonsillitis, but clearly not delicious enough to warrant risking it – a failure in my book.
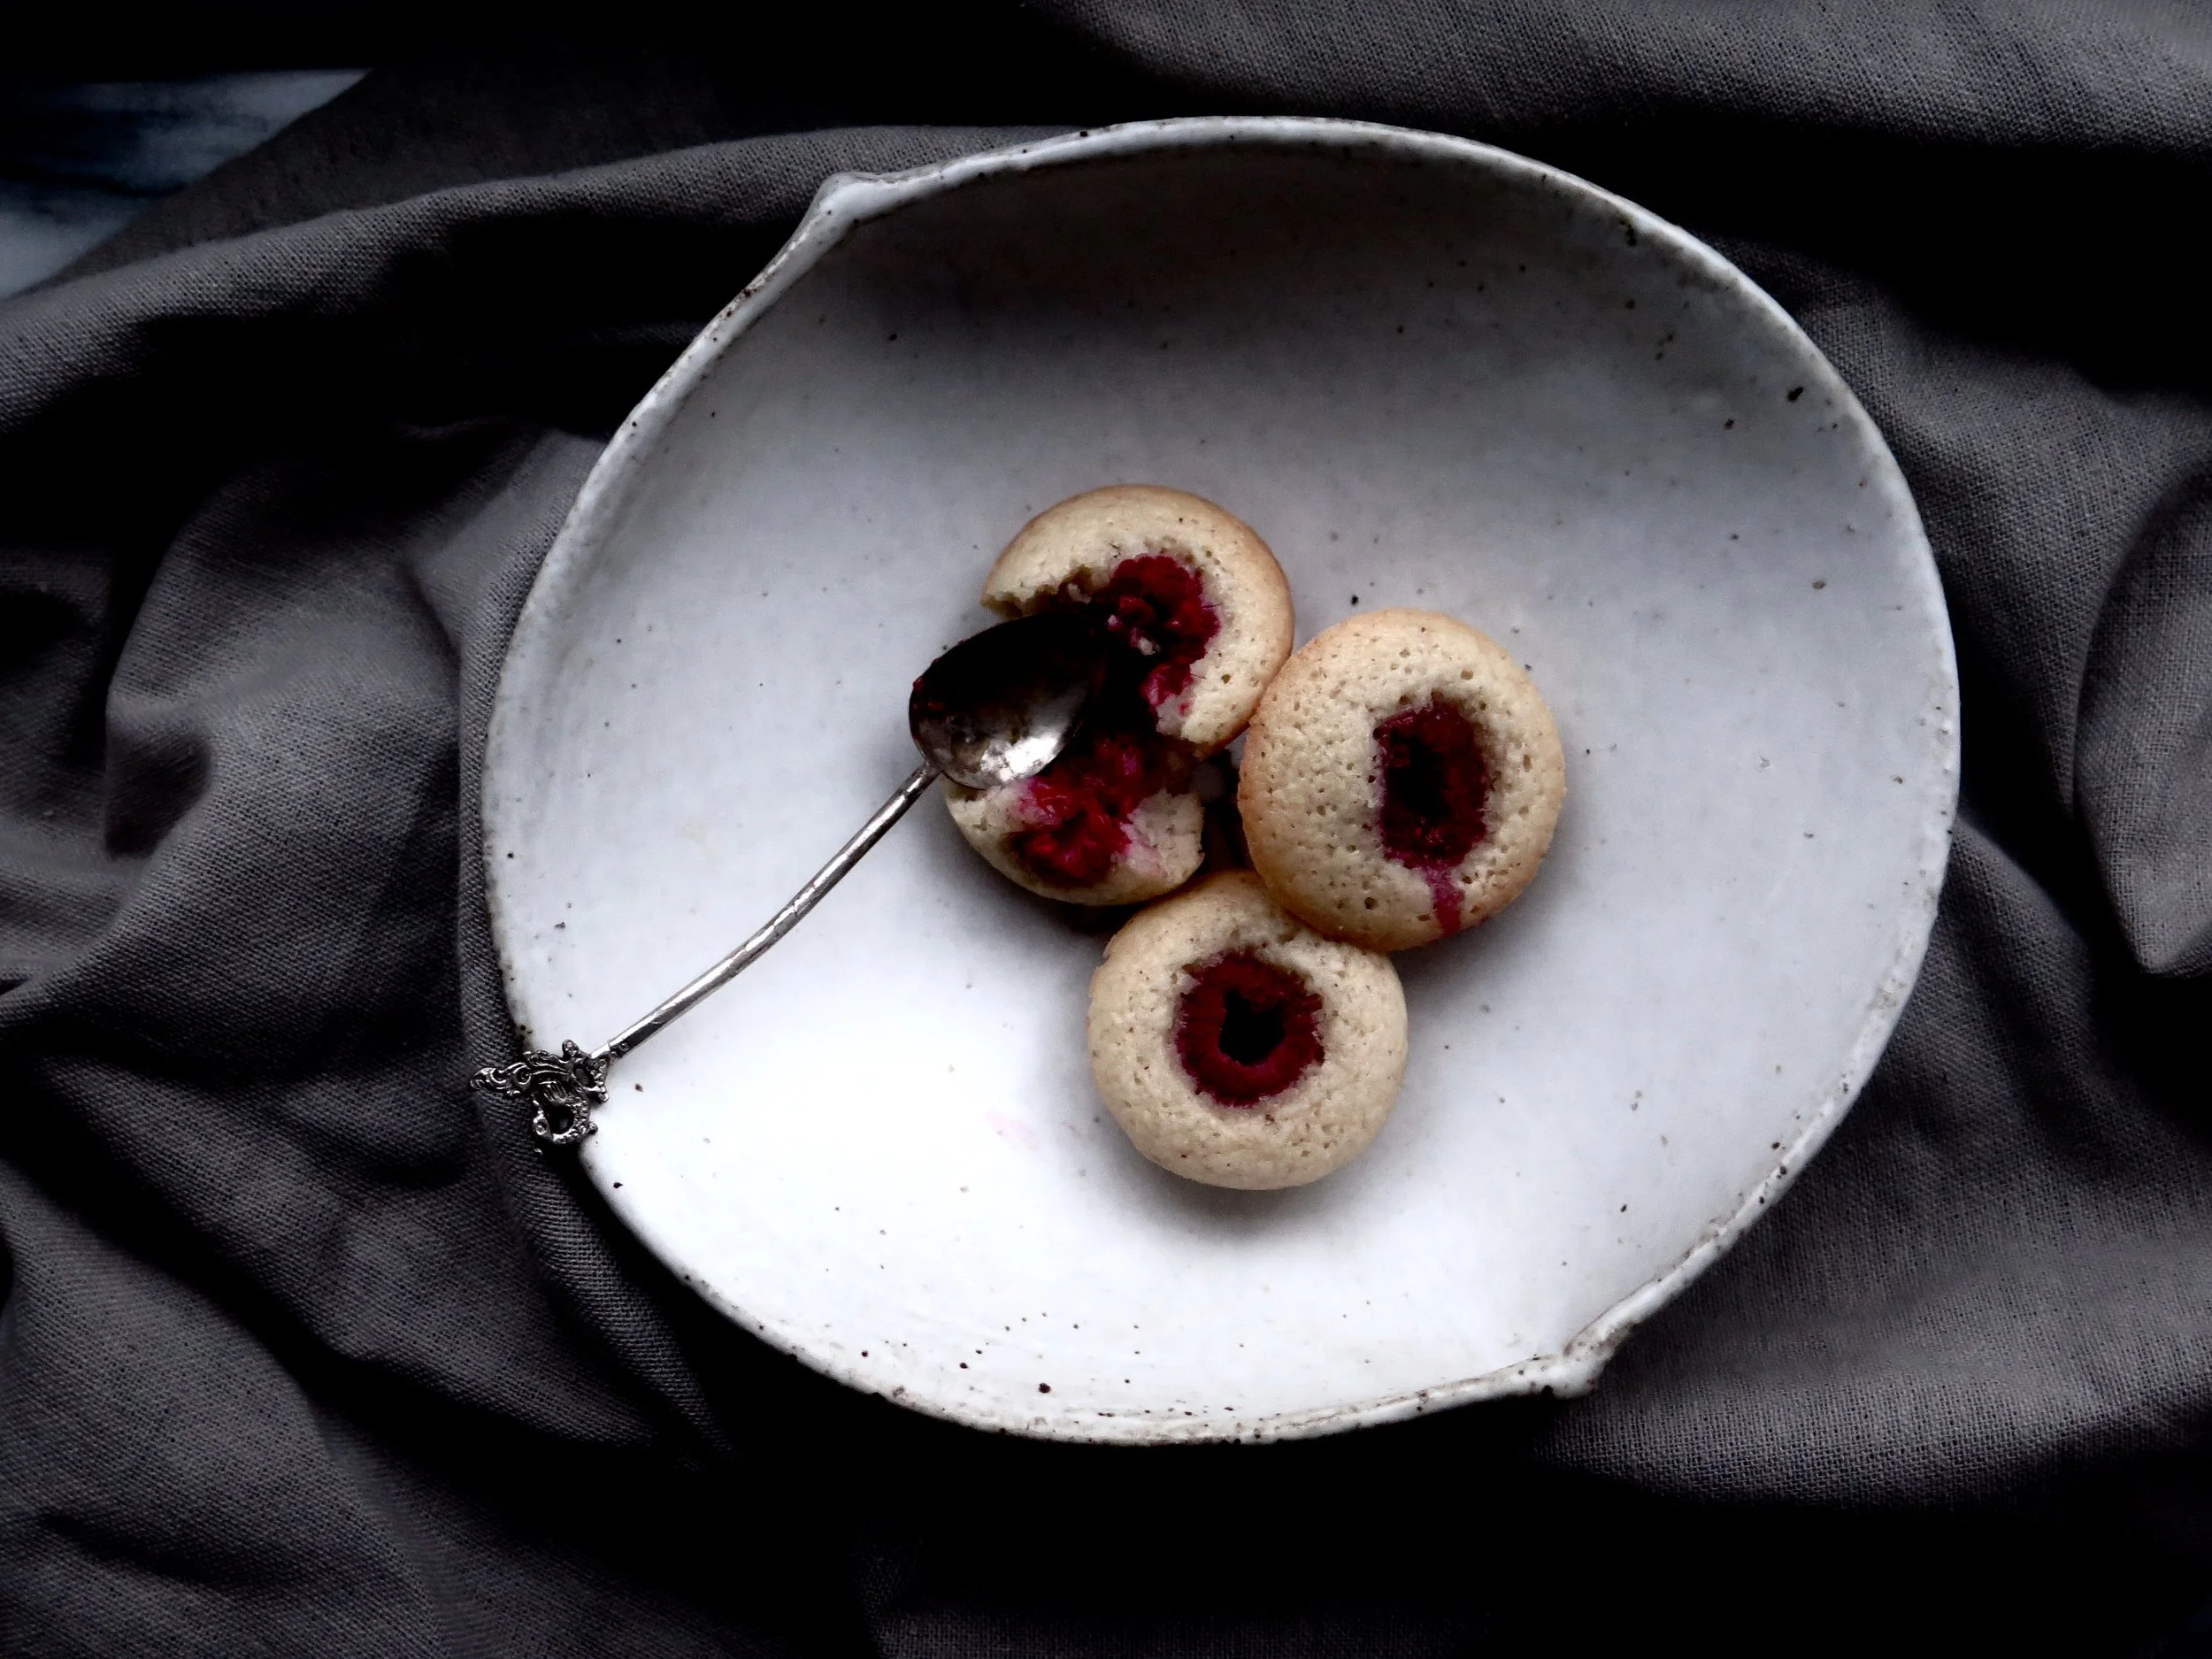
After nursing my crumbled confidence for several days I swerved off the rocky path of coconut wafers to try my hand at financiers. I have always admired them - perfectly bite sized and innocent- looking with the flush of raspberry in the centre. They are also simple to make, requiring few ingredients, and turning out both delicious and delicate.
The history is much debated, but some say they were create by nuns of the Order of the Visitation and then adapted by a French baker, Lasne, to sell in the Parisian financial district where their almond content allowed them to keep well in the pockets of bankers.
They are elegant and dainty, slightly crunchy on the outside, the tender blond crumb perfumed with a slight orange tang and moistened by the burst of raspberry. They do keep rather well and would bless a summer’s picnic.
Recipe:
Makes 30 (approx)
50g unsalted butter
50g plain flour
160g icing sugar
140g ground almonds
1/2 tsp salt
200g egg whites (6 large eggs)
1/4 tsp almond extract
zest of 1/4 orange
60g raspberries (minimum of 30 raspberries i.e. 1 per financier)
Very well-greased and flour- dusted 3 x 12 hole mini cupcake tins (with 2.5cm diameter circles) OR 1 to be used 3 times
Method:
- Melt the butter in a small pan over a medium heat. When completely melted, stir the bottom of the pan continuously until the butter turns a deep gold colour and nutty in aroma. Set aside to cool.
- Sieve the flour and icing sugar into large bowl. Stir in the ground almonds and salt. Once combined, pour in the egg whites, almond extract, zest and slightly cooled butter and stir to fully combine. Cover the bowl and allow the mixture to chill in the fridge for 2 hours.
- Preheat the oven to 180C.
- Spoon the batter into the holes until each is two thirds full. Press a raspberry into the centre of each - the batter should rise to all the way to the top.
- Place in the oven to bake for 10-12 minutes or until light gold in colour. Transfer to a wire rack to cool (to avoid them becoming soggy) or devour immediately.
Afternoon tea. What do you think of when someone says those words? Tiers of fluffy isosceles sandwiches, miniature entremets layered with fruit, caramel, and chocolate, and maybe a scone glistening with strawberries. Crisp napkins, high ceilings, the tinkling of fine bone china…
Near where I live there is an Austrian tea room. The window is filled with garish glace cherry- adorned, deflated pastries, crusted squiggles of festering cream, and opera cake melding into a brown sludge. It opened 60 years ago, and the décor and pastries appear not to have been refreshed since.
Inside, it is dark and cramped, and the airless atmosphere is thickened with hot breath and the oversweet smell of fat and sugar.
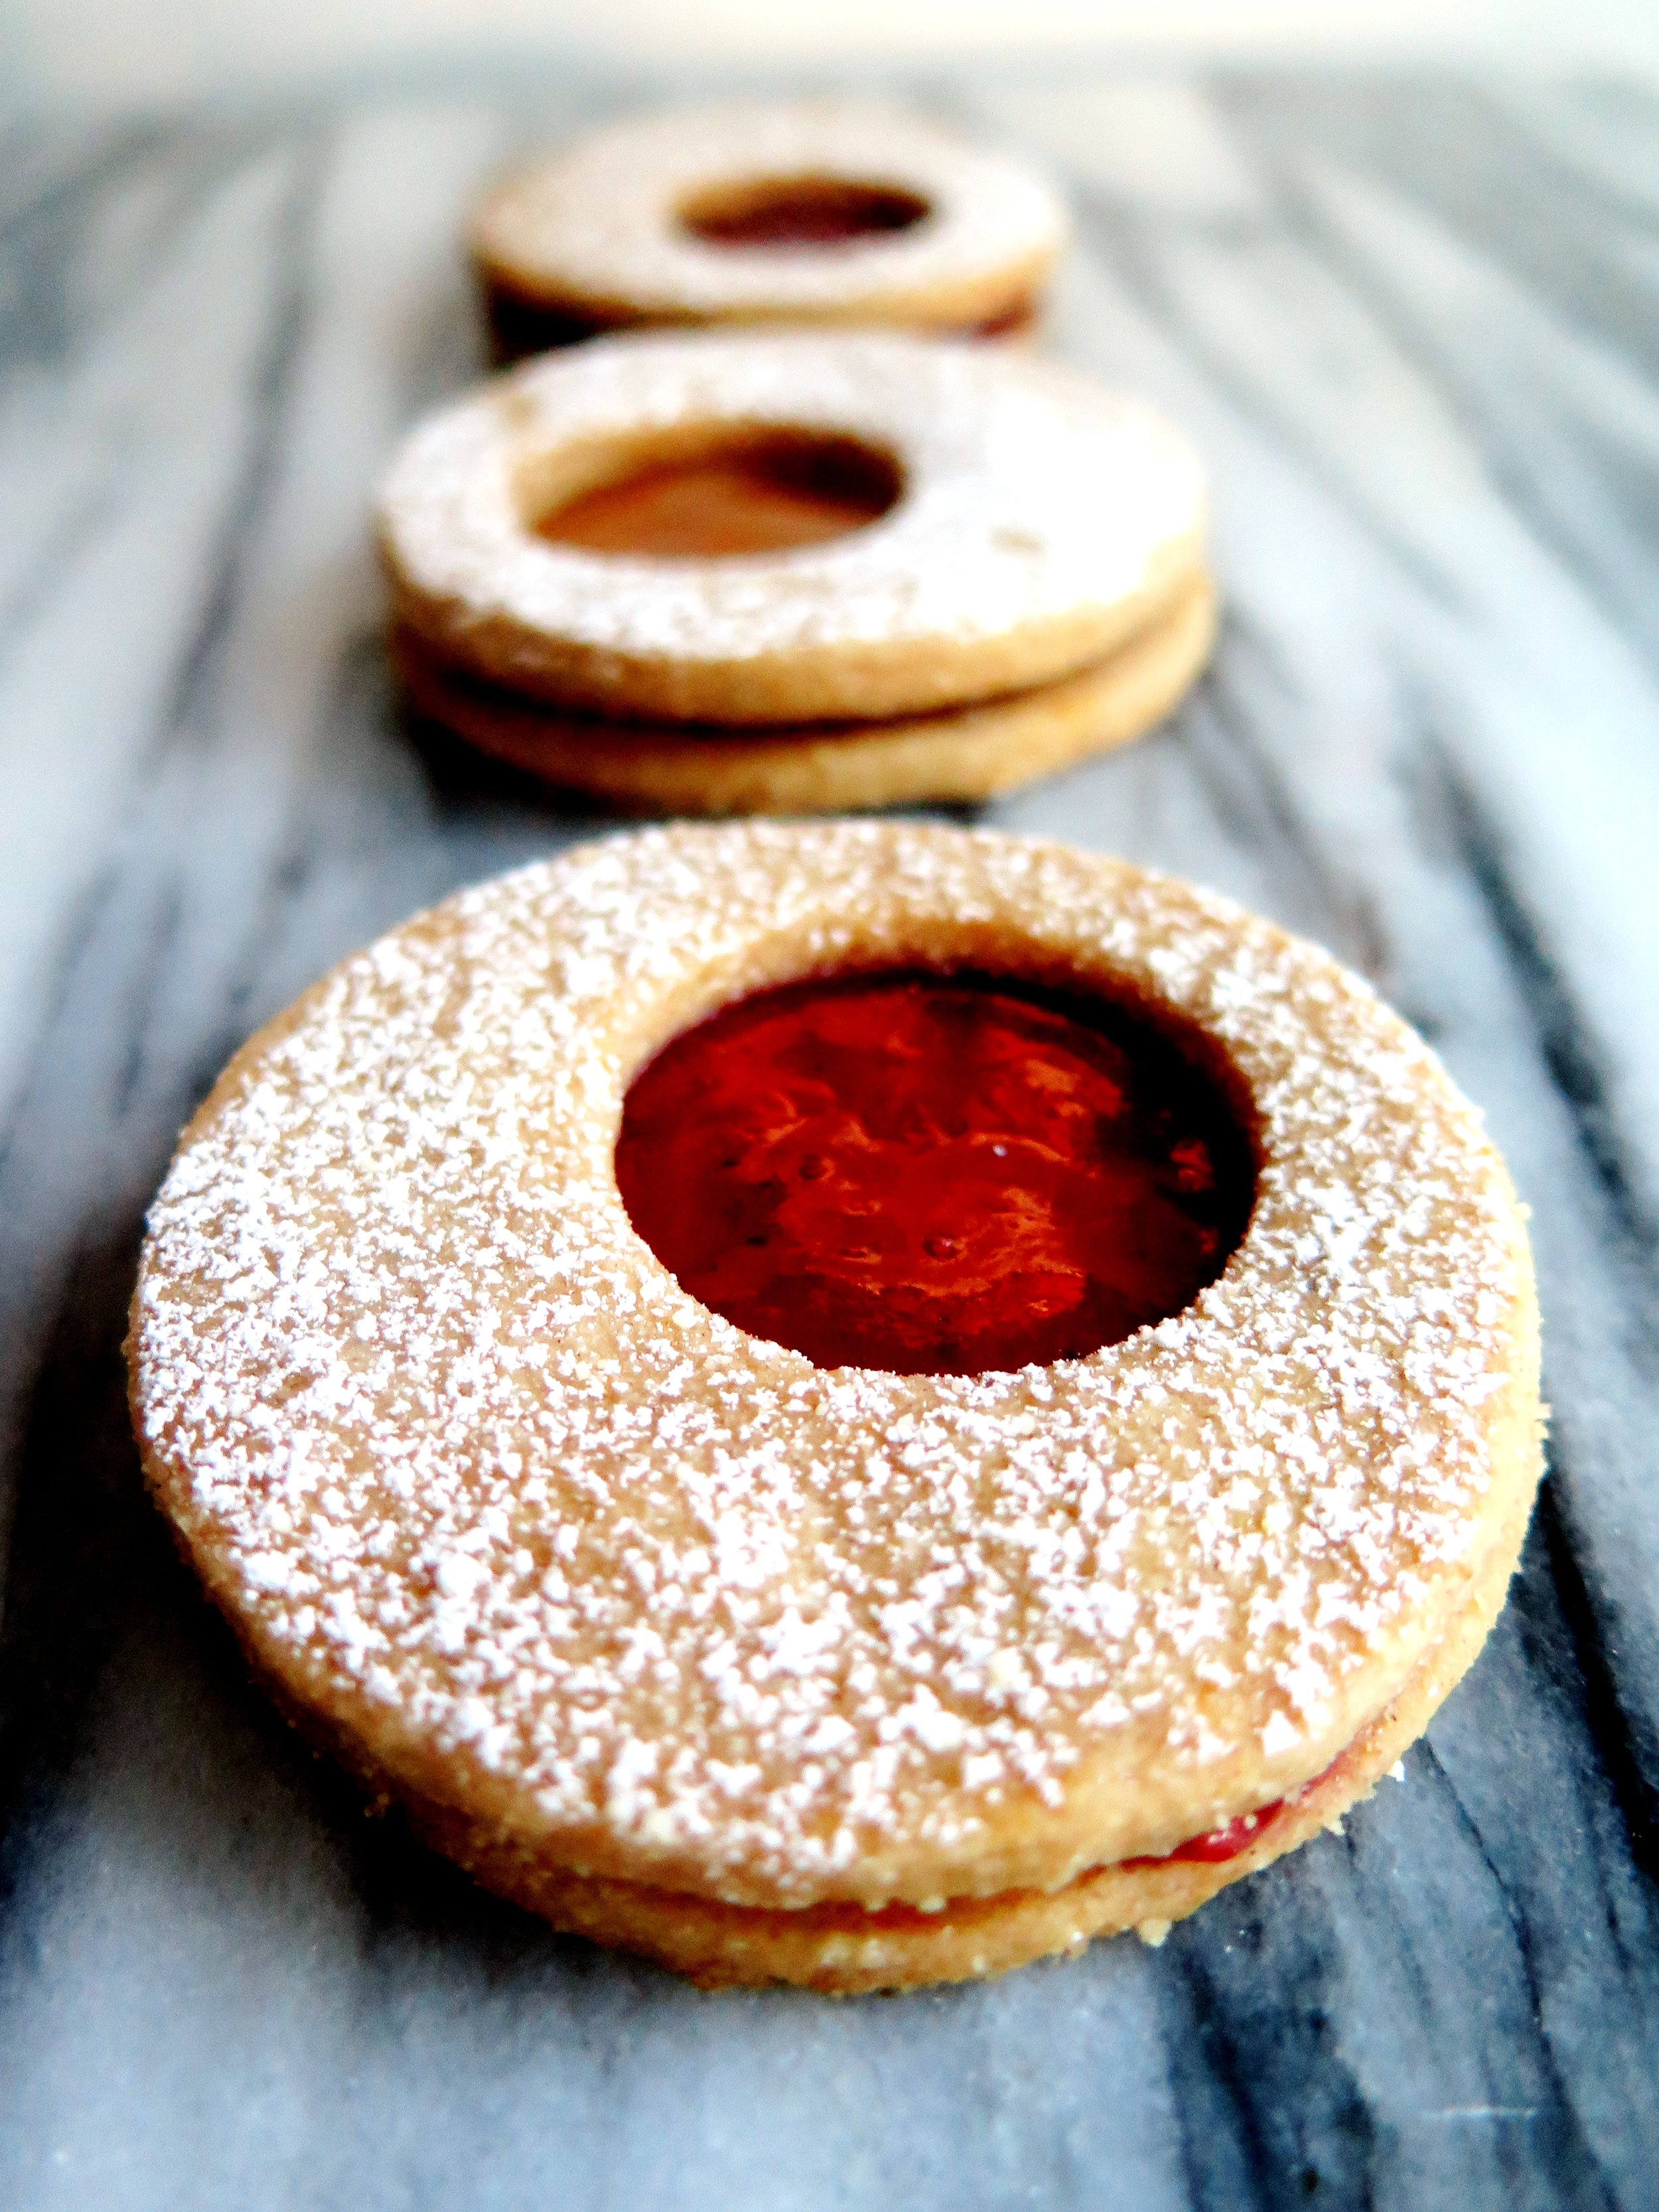
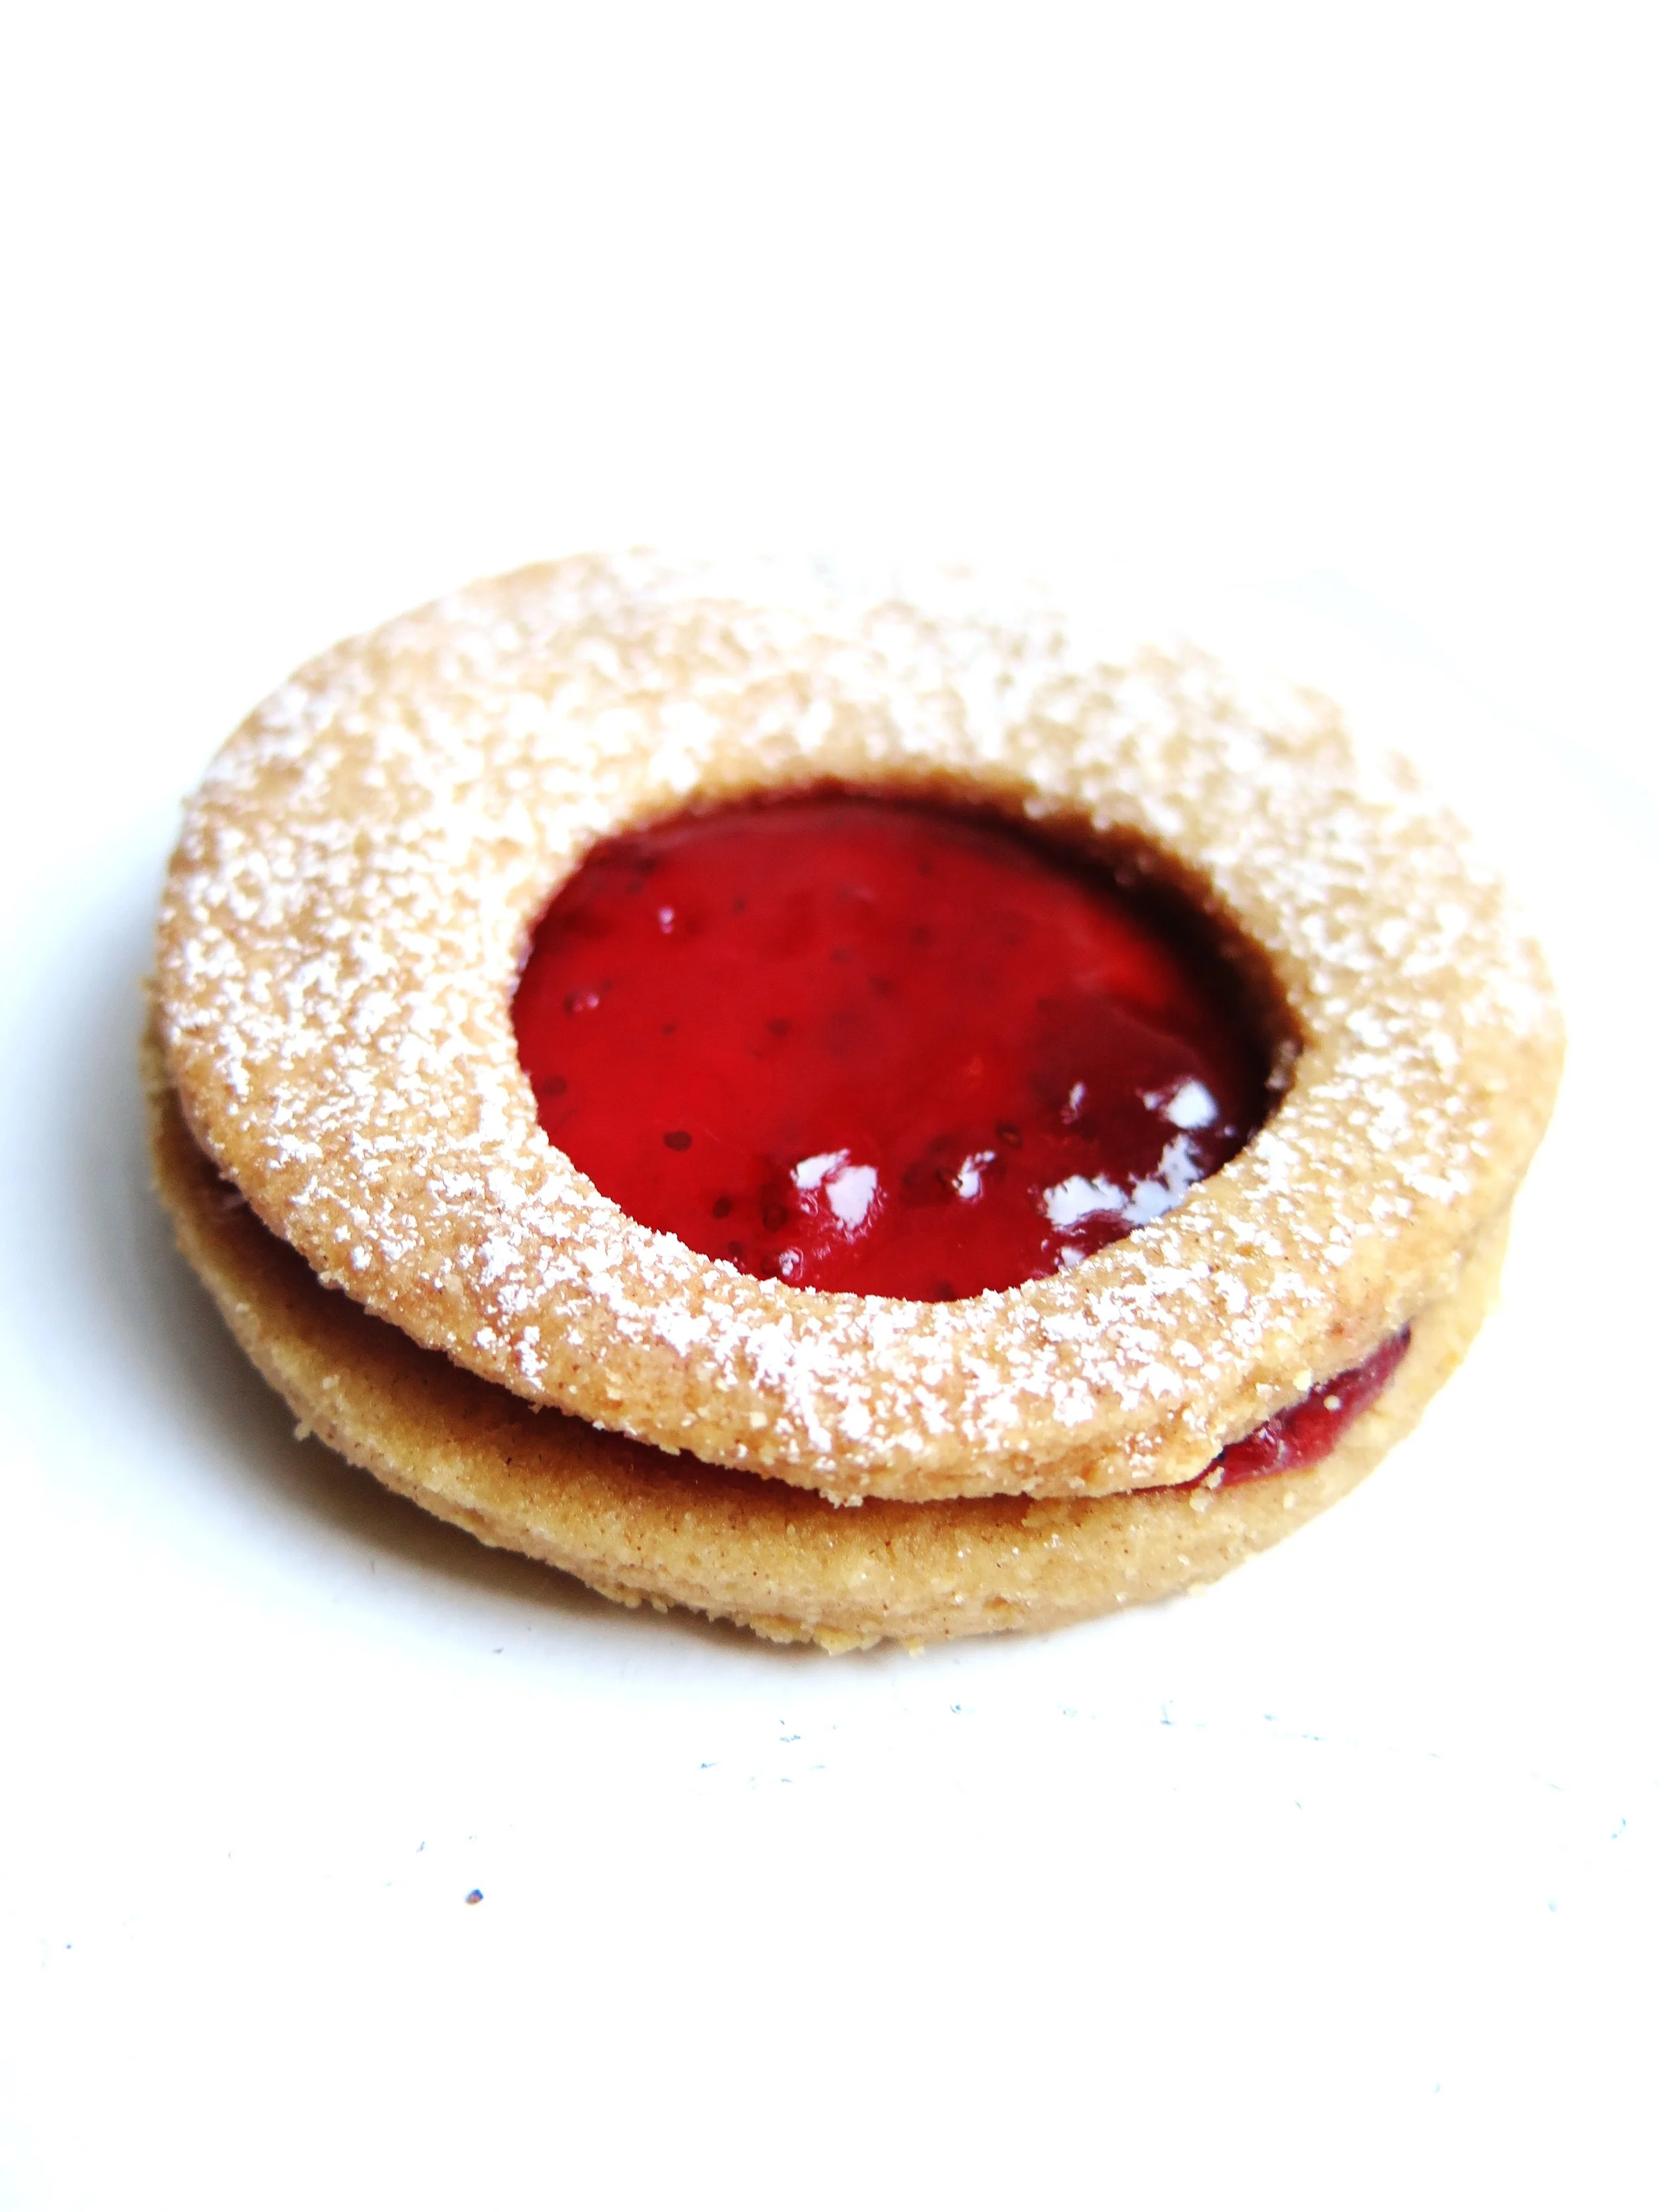
Their Linzer biscuits, however, remind me of Jammie Dodgers – those jam-filled, shortbread biscuits of my childhood that only other people’s mothers allowed – and inspired me to re- interpret them.
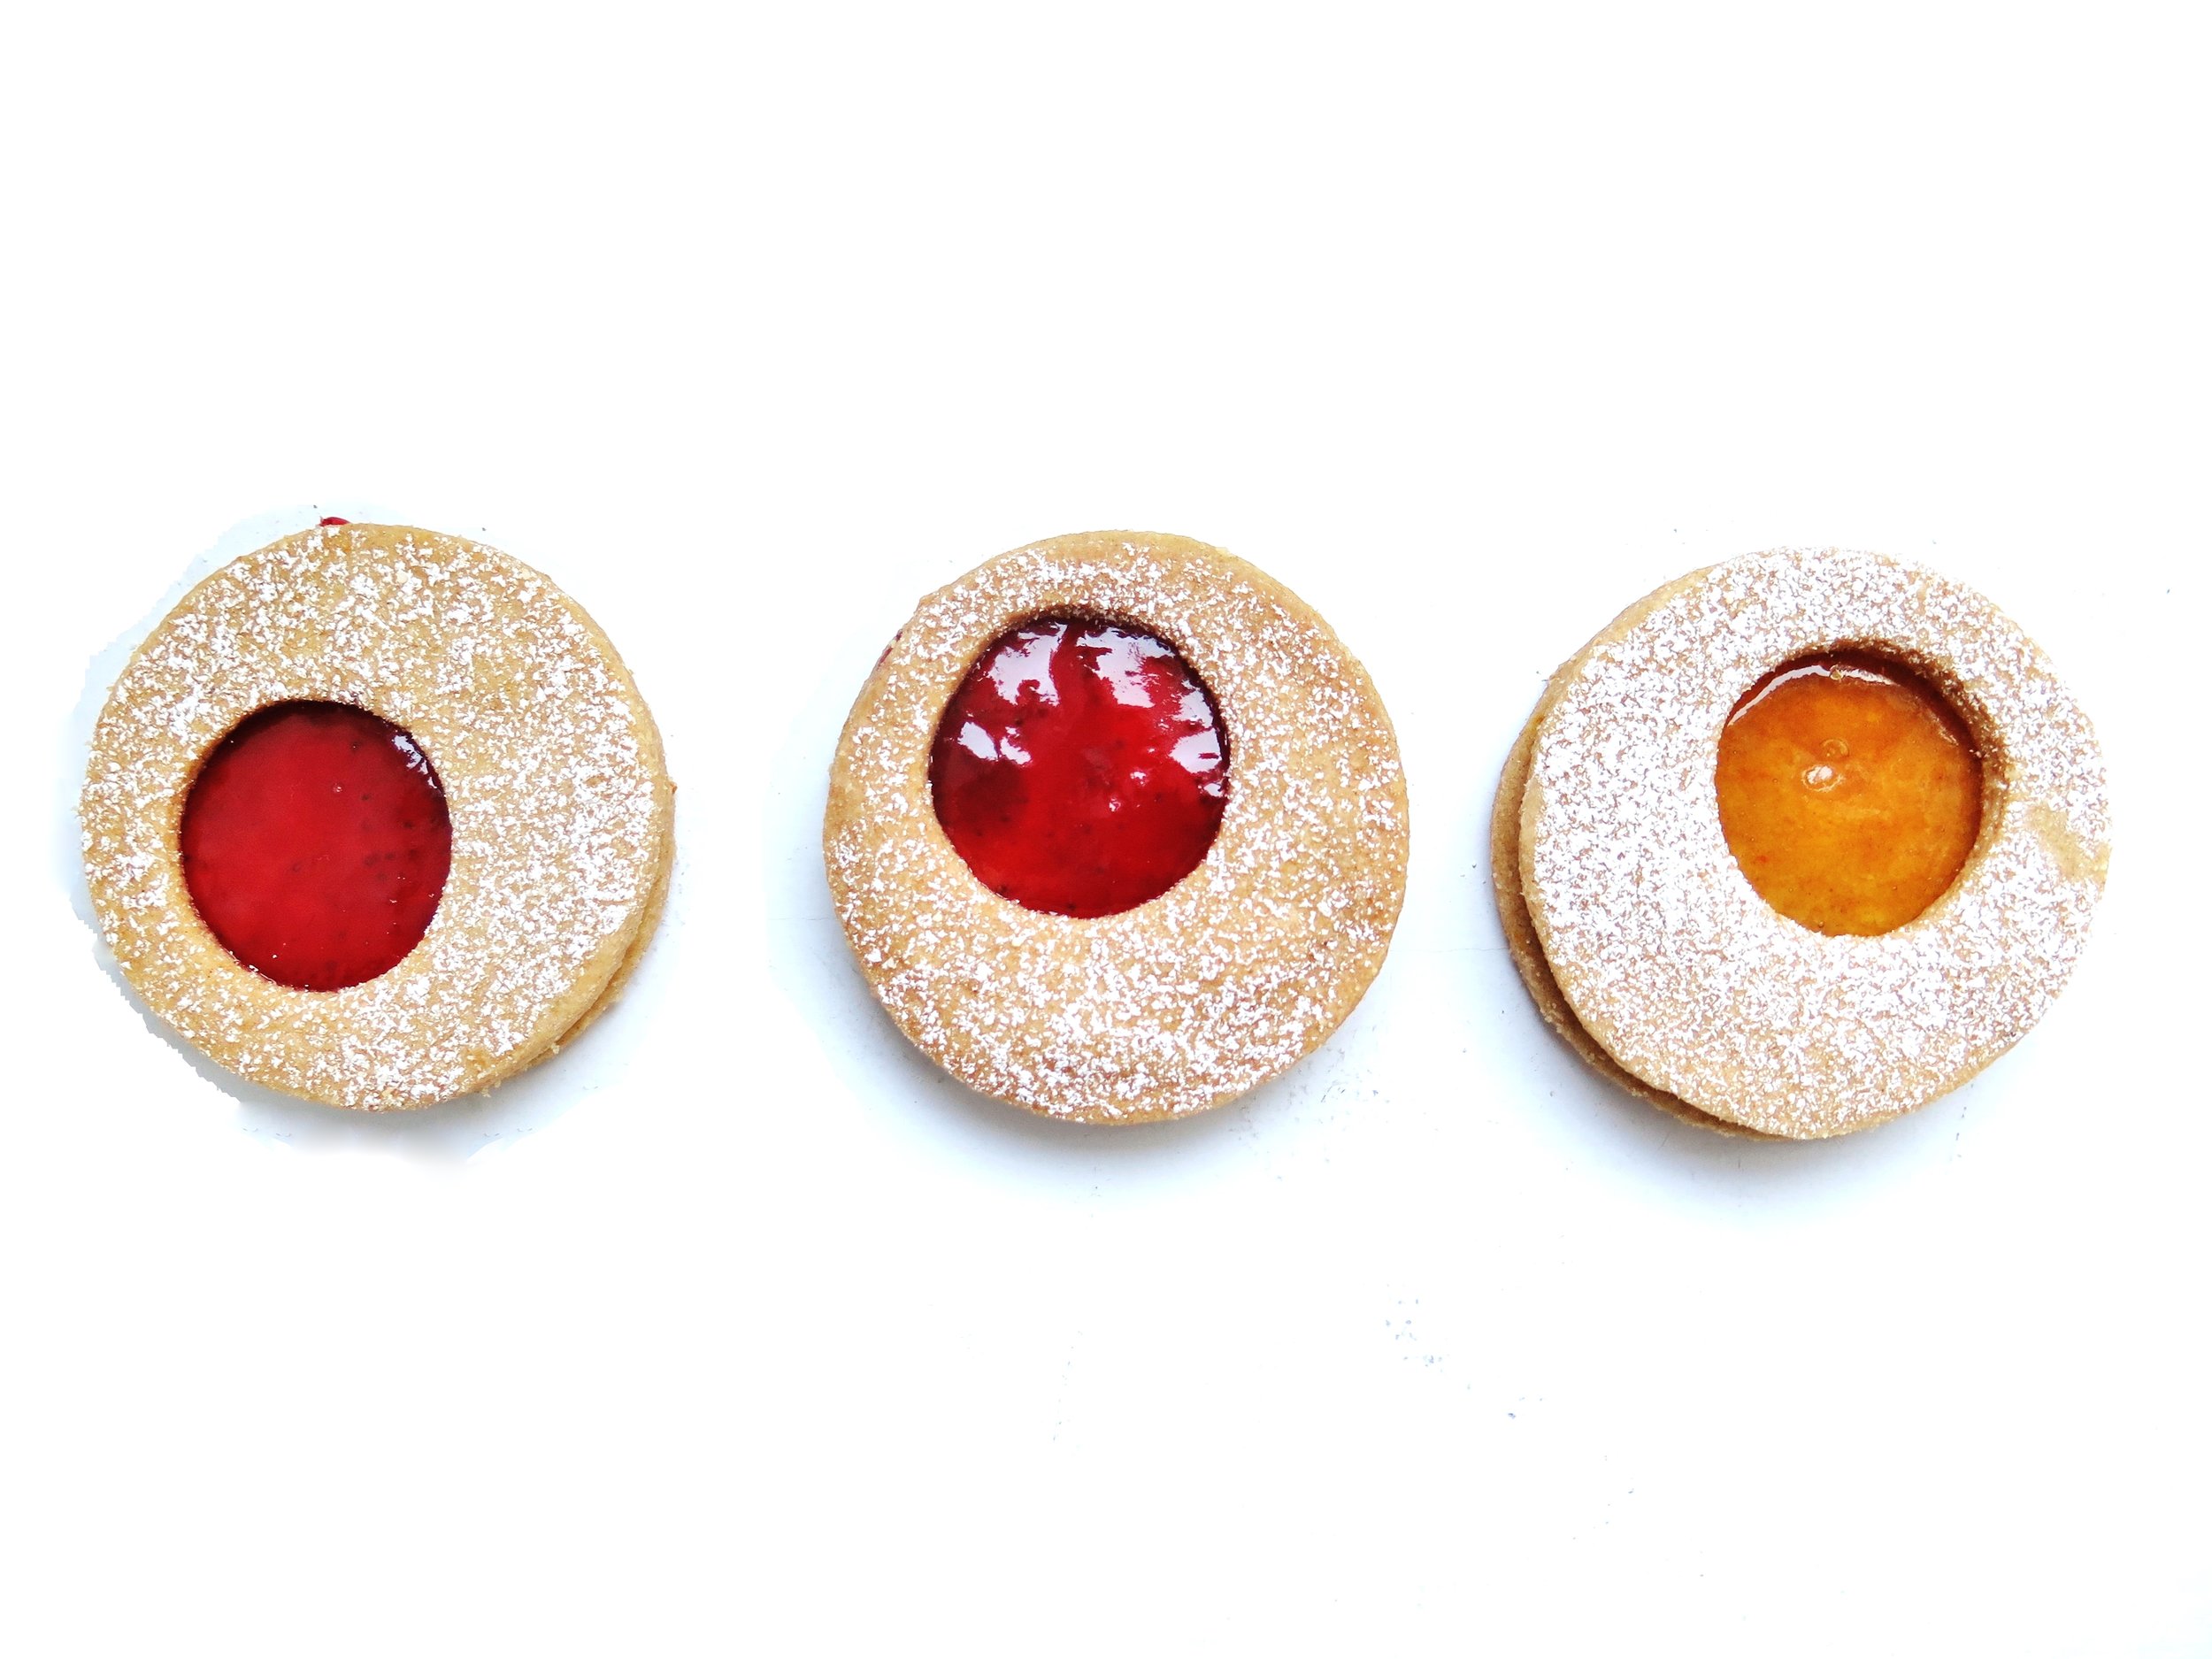
These have a slight Moroccan edge: spiced, delicate with a slight chewiness, filled with the tangy conserve of your choice.
I like marmalade for the tart/bitter contrast against the sweetness of the pastry, but strawberry also works well. Of course, you can go for any shape, but I am rather taken by the cog-like –quirky take on a Jammie Dodger look.
Ingredients
290g (10.125 ounces) white spelt flour (or plain flour if unavailable)
140g (5 ounces) ground almonds
100g (3.5 ounces) caster sugar
¼ tsp salt
2 ½ tsp cinnamon
¼ tsp ground cloves
¼ tsp almond extract
1 tsp grated lemon zest (about ½ lemon)
1 tsp grated orange zest (about ½ medium orange)
225g (8 ounces) unsalted butter
200g (7 ounces) marmalade or jam of choice (I used marmalade and strawberry)
30g (1 ounce) icing sugar
Large and small cookie cutters (I used 7cm and 3.5cm diameter rings)
2 large baking sheets, lined with baking parhcment
Method
- Pour flour, ground almonds, caster sugar, salt cinnoman, cloves,orange and lemons zest, and almond extract into a food processor and pulse until fully combined. Add in the chopped butter and pulse again until the mixture forms a damp sand-like texture. Keep pulsing until it clumps tighter to form a dough.
- Divide the dough into two rounds and flatten both onto sheets of baking parchment, wrap them and place them in the freezer for about 20 minutes or the fridge for an hour.
- Preheat the oven to 160˚C (325˚F). Remove the disks of dough from the freezer/fridge – if they are too firm to roll, let them sit for a few minutes. Ona thoroughly floured board, roll one disk out to a 3mm (1/8 inch) thickness. Cut out as many cookies as possible and set aside the scraps. Space the disks out on the baking trays as you go. Repeat with the second disk and use the smaller cutter to cut out small holes from the rounds. Press together the accumulated scraps and roll out again. Make sure there are an equal number of whole circles to circles with a cut out circle. A tip to avoid the cutter sticking in the dough is to dip it in flour first.
- Place the trays in the oven and bake for 12- 15 minutes until the cookies are golden but still soft to the touch – they will continue to cook as they cool. When cool, for aesthetic effect, sieve the icing sugar onto the rounds with the circles cut out of them. Then spread a teaspoon of the jam/marmalade onto the complete circles, and lightly press the cut-out layer on top. Devour, delicately, of course…
& a glimpse inside the kitchen...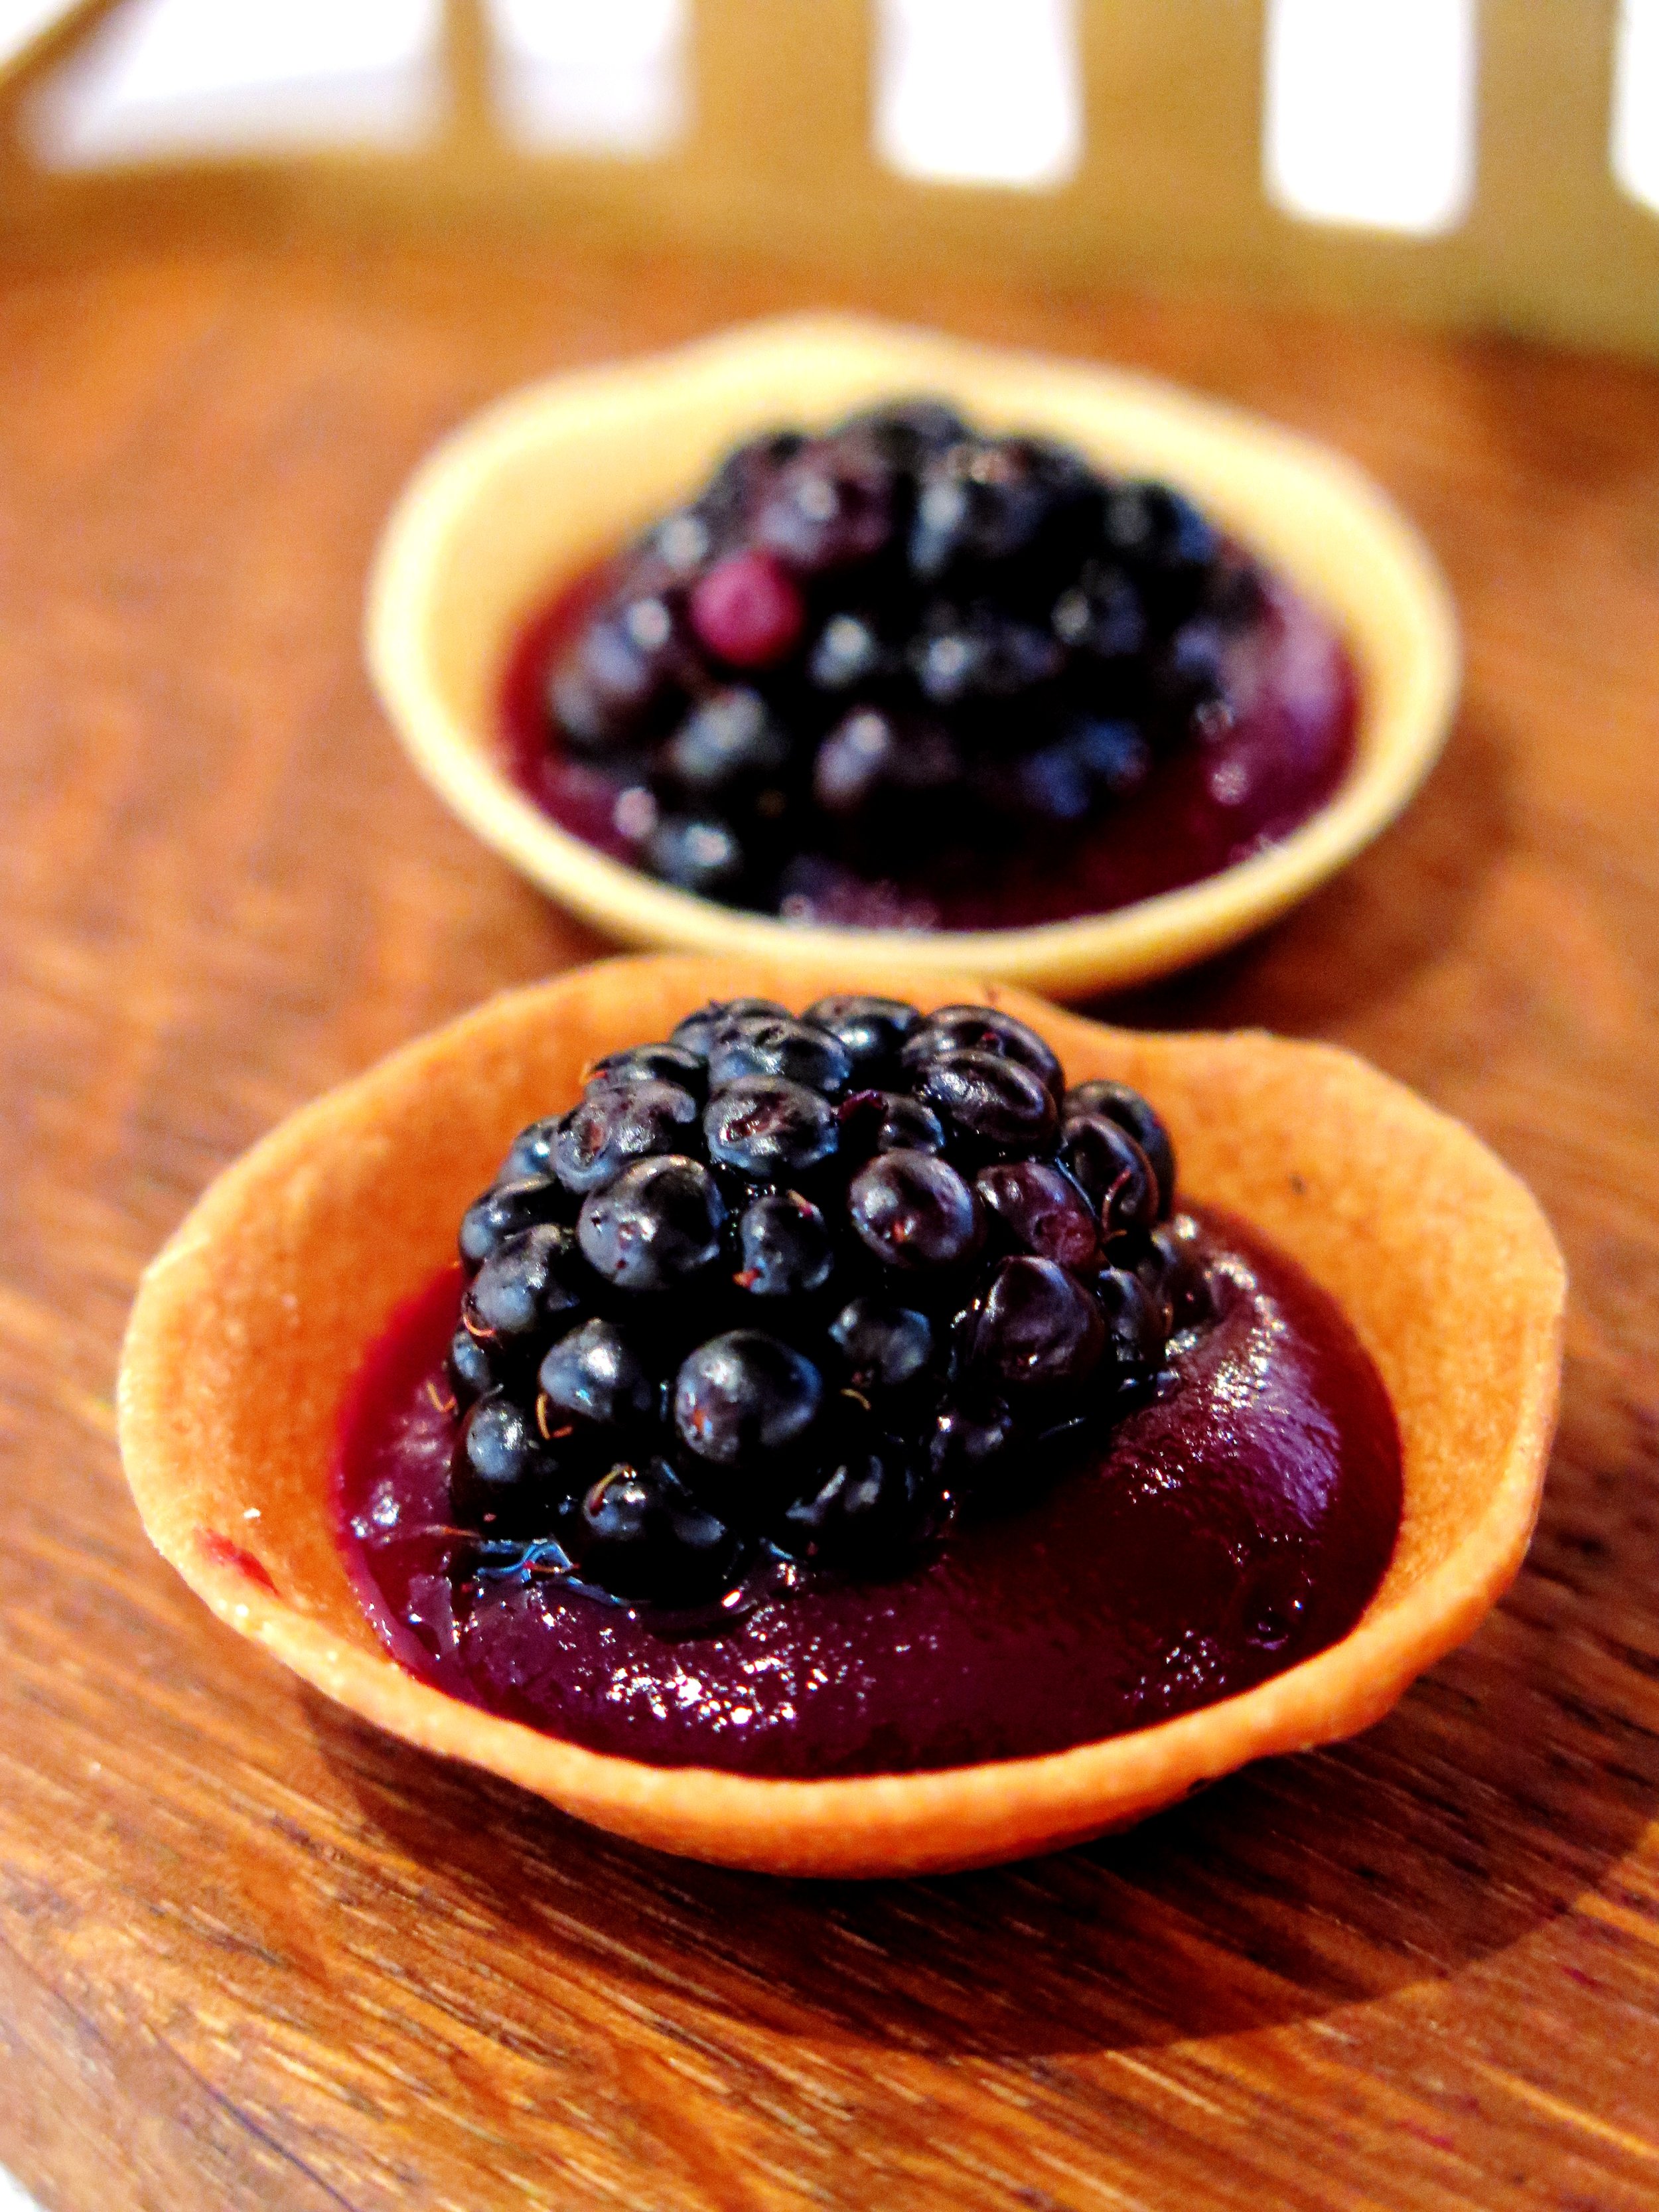
Last week I went to a blind wine-tasting in a stuffy carpeted room on the top floor of a Mayfair pub. On the table, columns of bottles were massed, awaiting palatal analysis and identification. One of the sweaty, post-work crowd sidled up to me and refused to leave my side the entire evening. Not for any flattering reason: he had arrived drunk at the alcohol imbibition. The sole potential benefit of his presence was his vaunted knowledge of wines, gained from downing over fifty years’ worth of ethanol. Wine after wine he sipped, swirled, glugged, holding each up to the window despite the fading light. Glass after glass he swigged and squirted from one side of his mouth to the other, patting his lips, flipping his tongue up to his palette in order “to catch the aftertaste”, sucking and squelching. “Taste the vanilla in that”, “feel the syrupy smoothness of this”, he said, nodding sagely. 1/9 of his answers were correct…
To me, this is all a manifestation of the emperor’s new clothes syndrome which may sometimes be applied to Michelin-starred restaurants. Do I really want to dine on fussy little squiggles of substance that I have to chase with another globule of something or other so that the perfect scientific reaction can effervesce at the back end of my tongue? However, Jason Atherton’s soon to be double Michelin-starred flagship is not in this category. An idyll amongst the raucous, tourist-ridden bustle of Regent Street, Pollen Street Social sits opposite its sister restaurant, Little Social (see review here). Its style is unfussy, open, and clean, with attention to detail: even our bags were given individual stools.
Before we had even turned the page of the menu, a selection of amuse bouches materialised: dainty sweet corn muffins topped with delicate swirls of dill and cucumber cream, beetroot and blackberry filled tuiles that burst with sweet vinegary freshness, and my favourite, a Jerusalem artichoke crème. These were followed by cups of mushroom consommé topped with delicate parmesan foam, salty and meaty while being vegetarian.
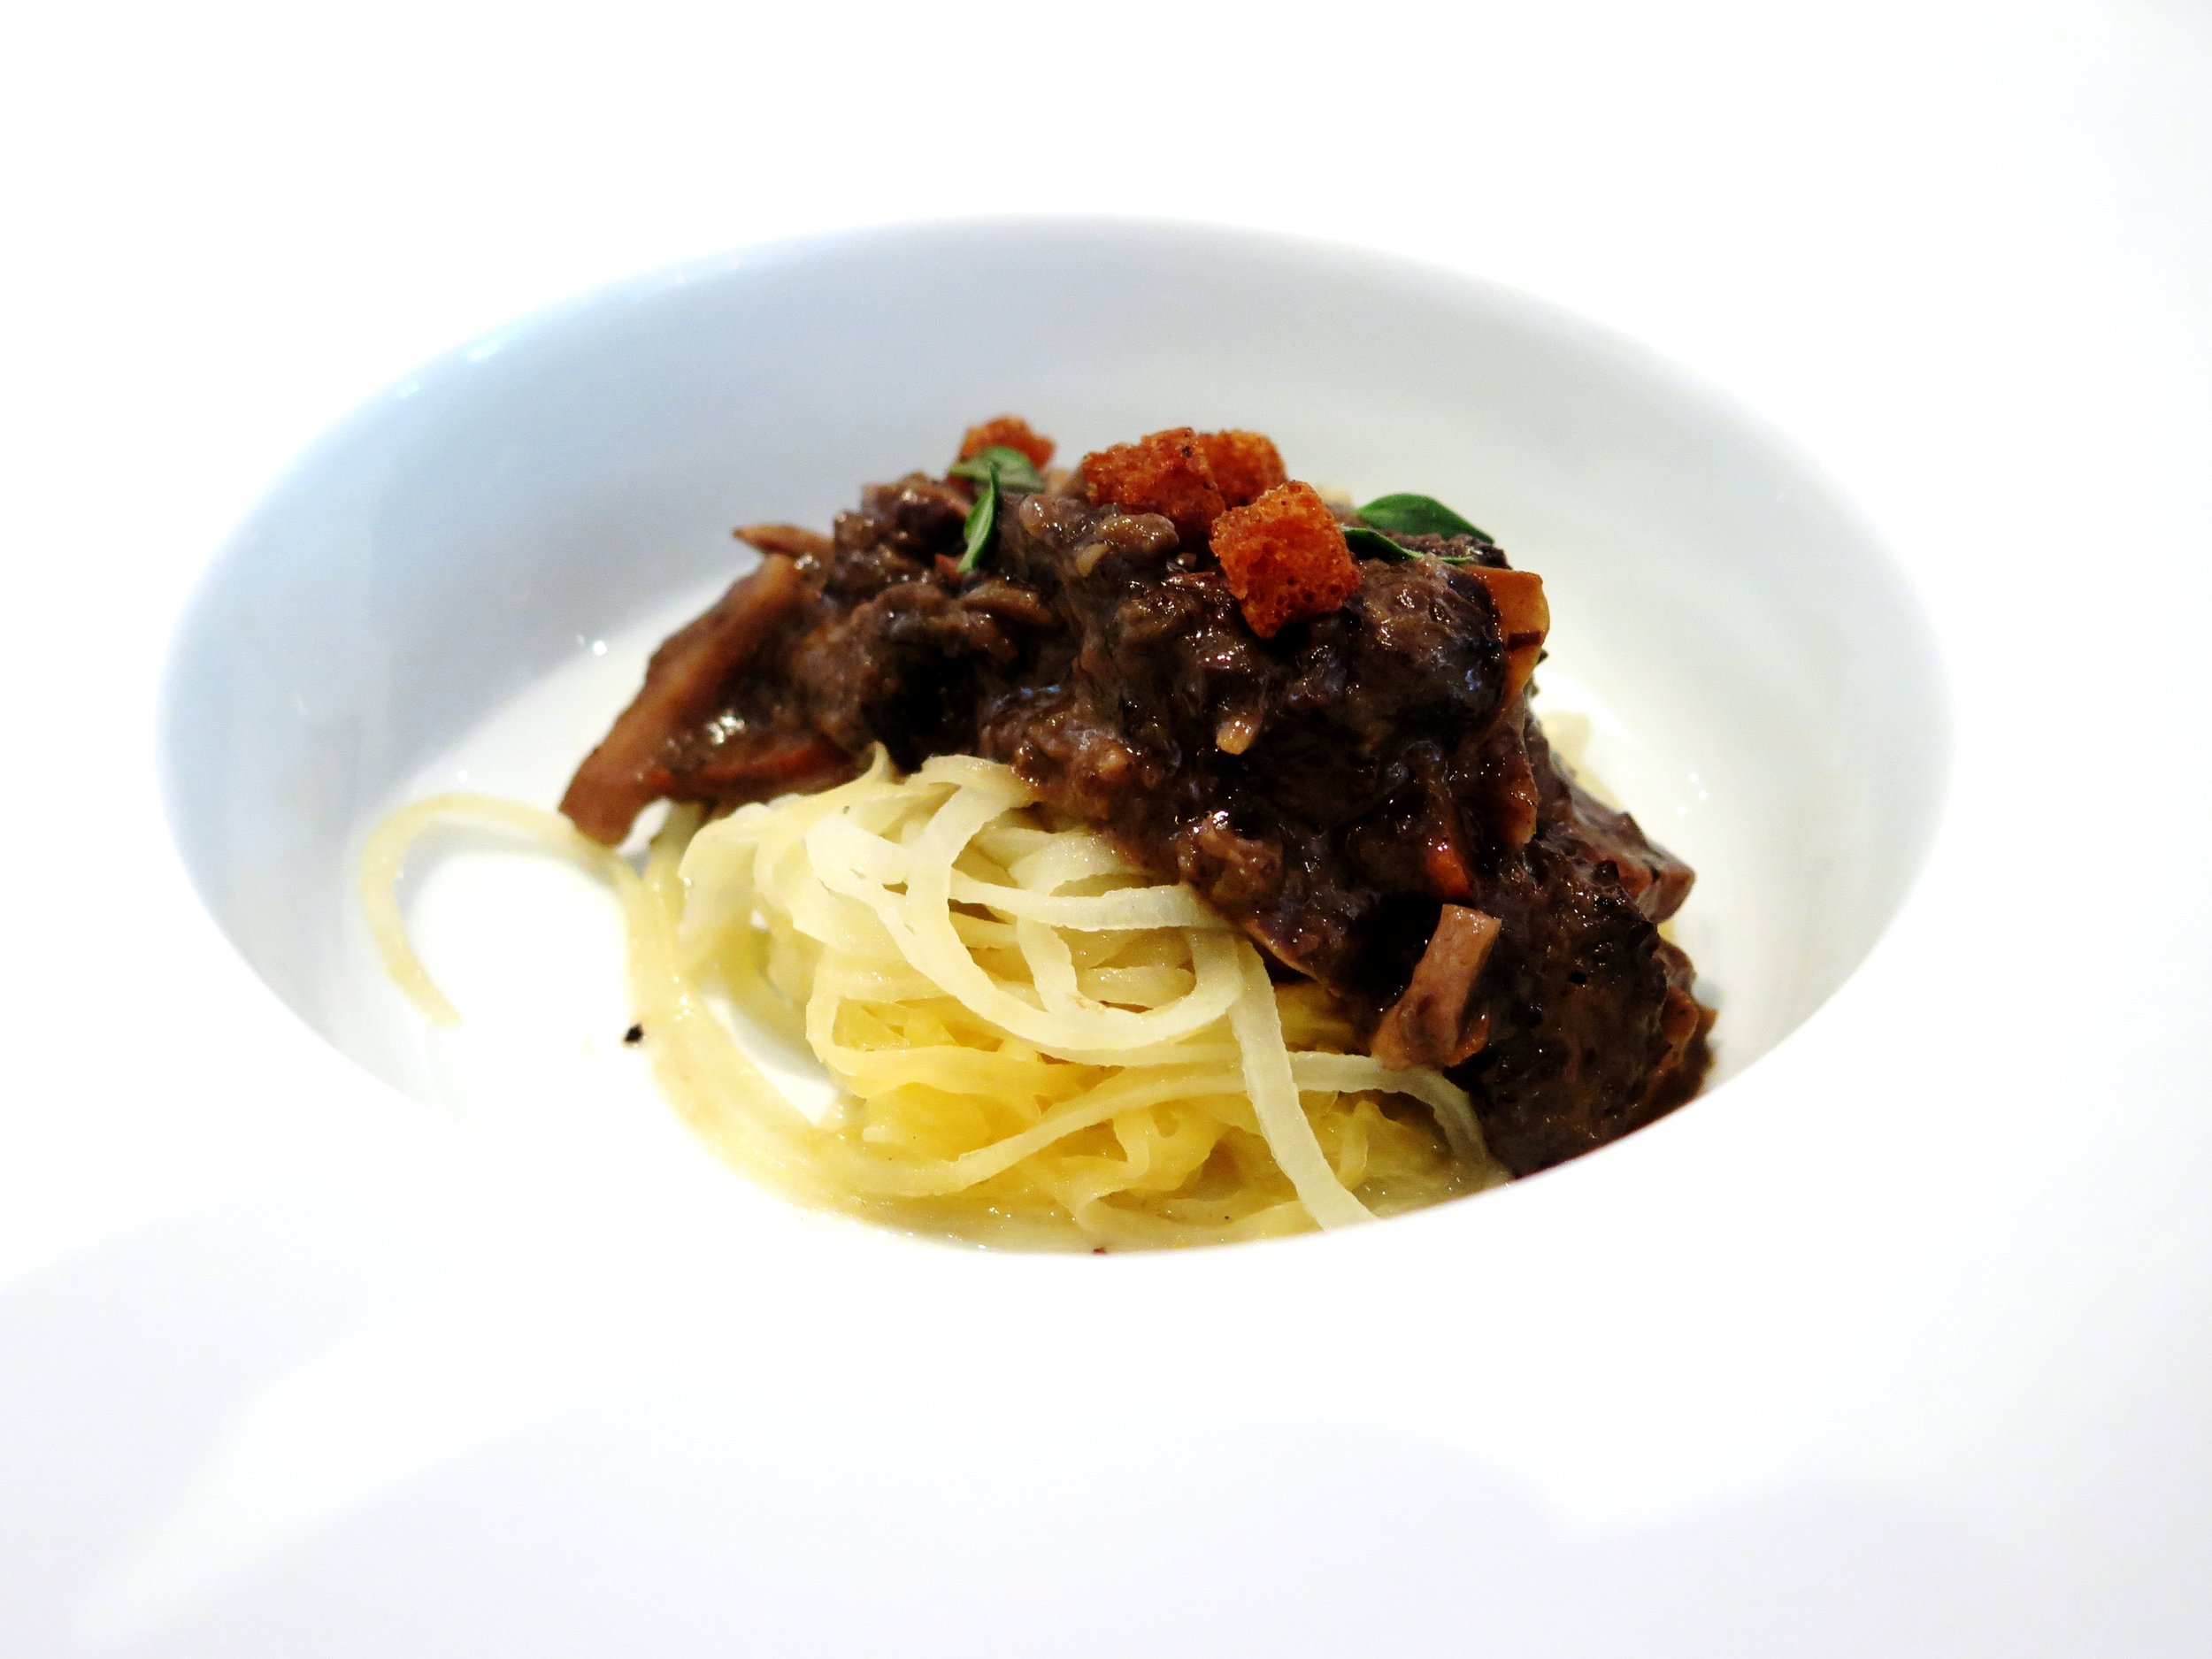
To start, I chose the neeps and tatties in a mushroom ragout- a wonderful coil of tender turnip ribbons generously grated with umami Berkswell cheese. I could have easily devoured my dining companions’ portions as well.

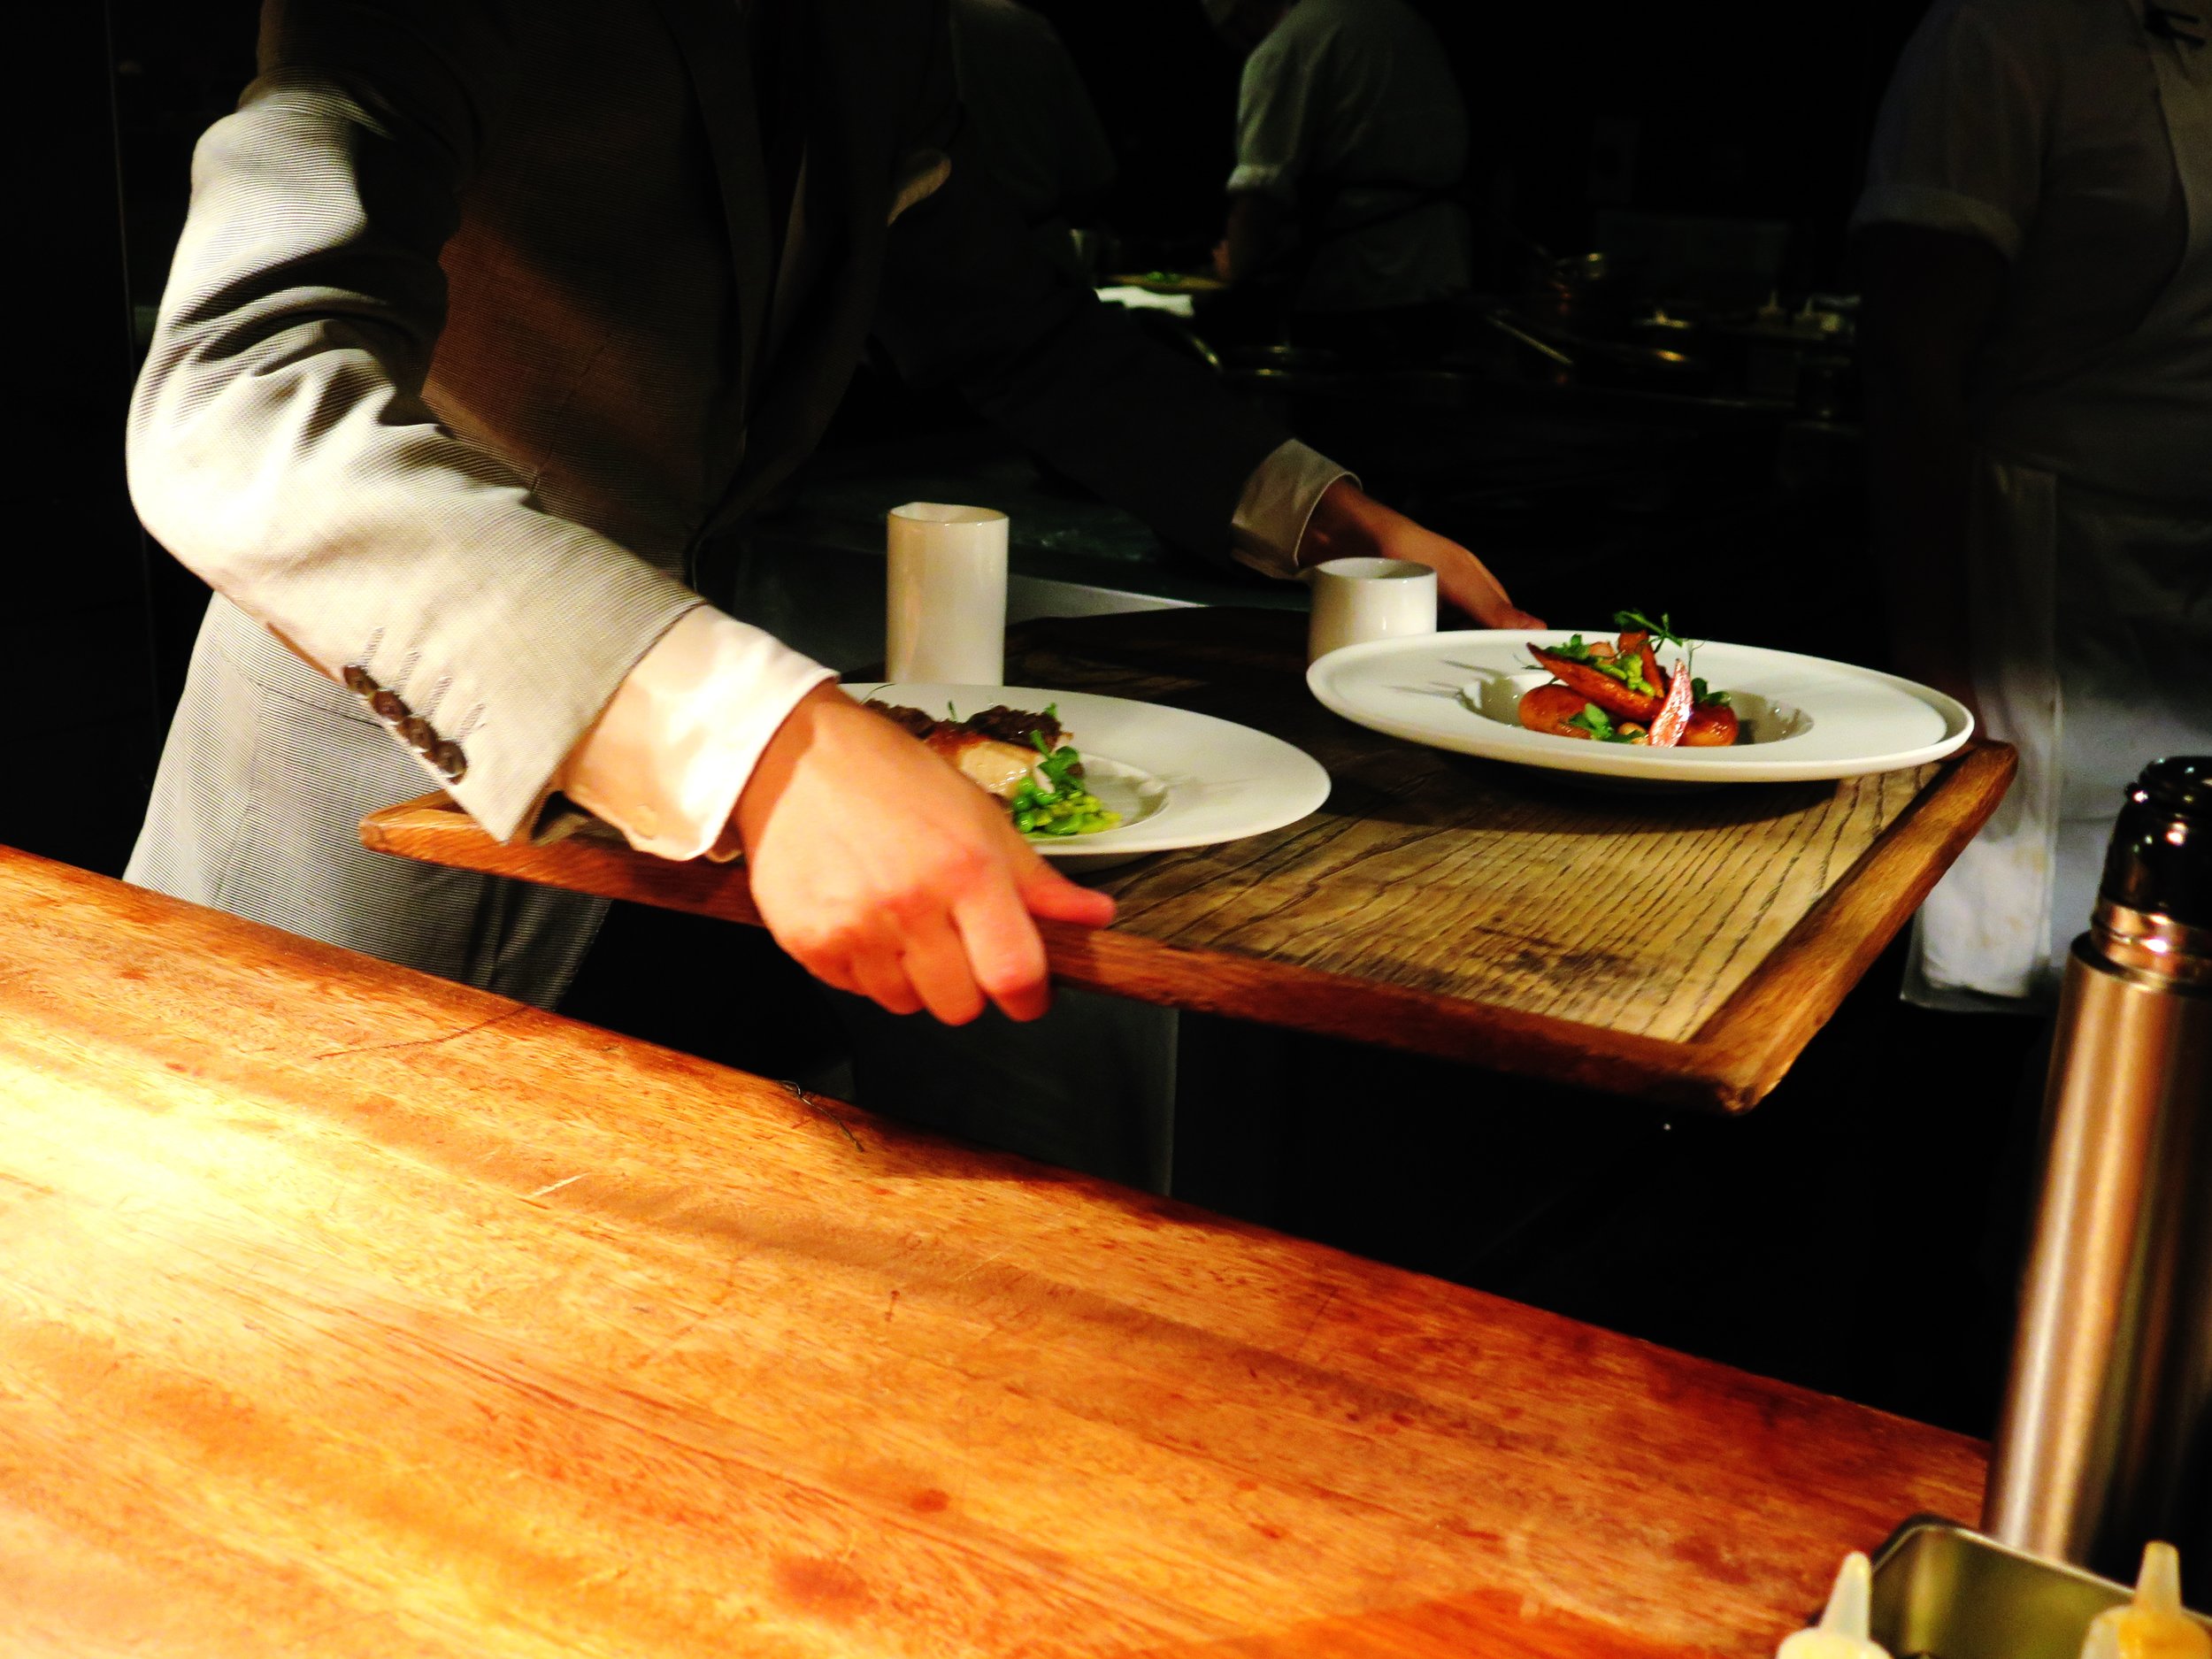
 Out of the whirr and buzz there then appeared the sprightly figure of Tiziano, the junior manager, who filled the room with his energy and excitable charm. He whisked me off to view the upstairs kitchen and the pass – a dark, orange- lit forge, tantalisingly situated behind glass.

 It was sprung with energy but, unlike the amped up drama so often portrayed on TV, it was at the same time controlled and calm. Whilst fixing plates, advising chefs on the pass, and approving the dishes that flowed past us on wooden board, Dale (Head Chef) talked me through the dishes.
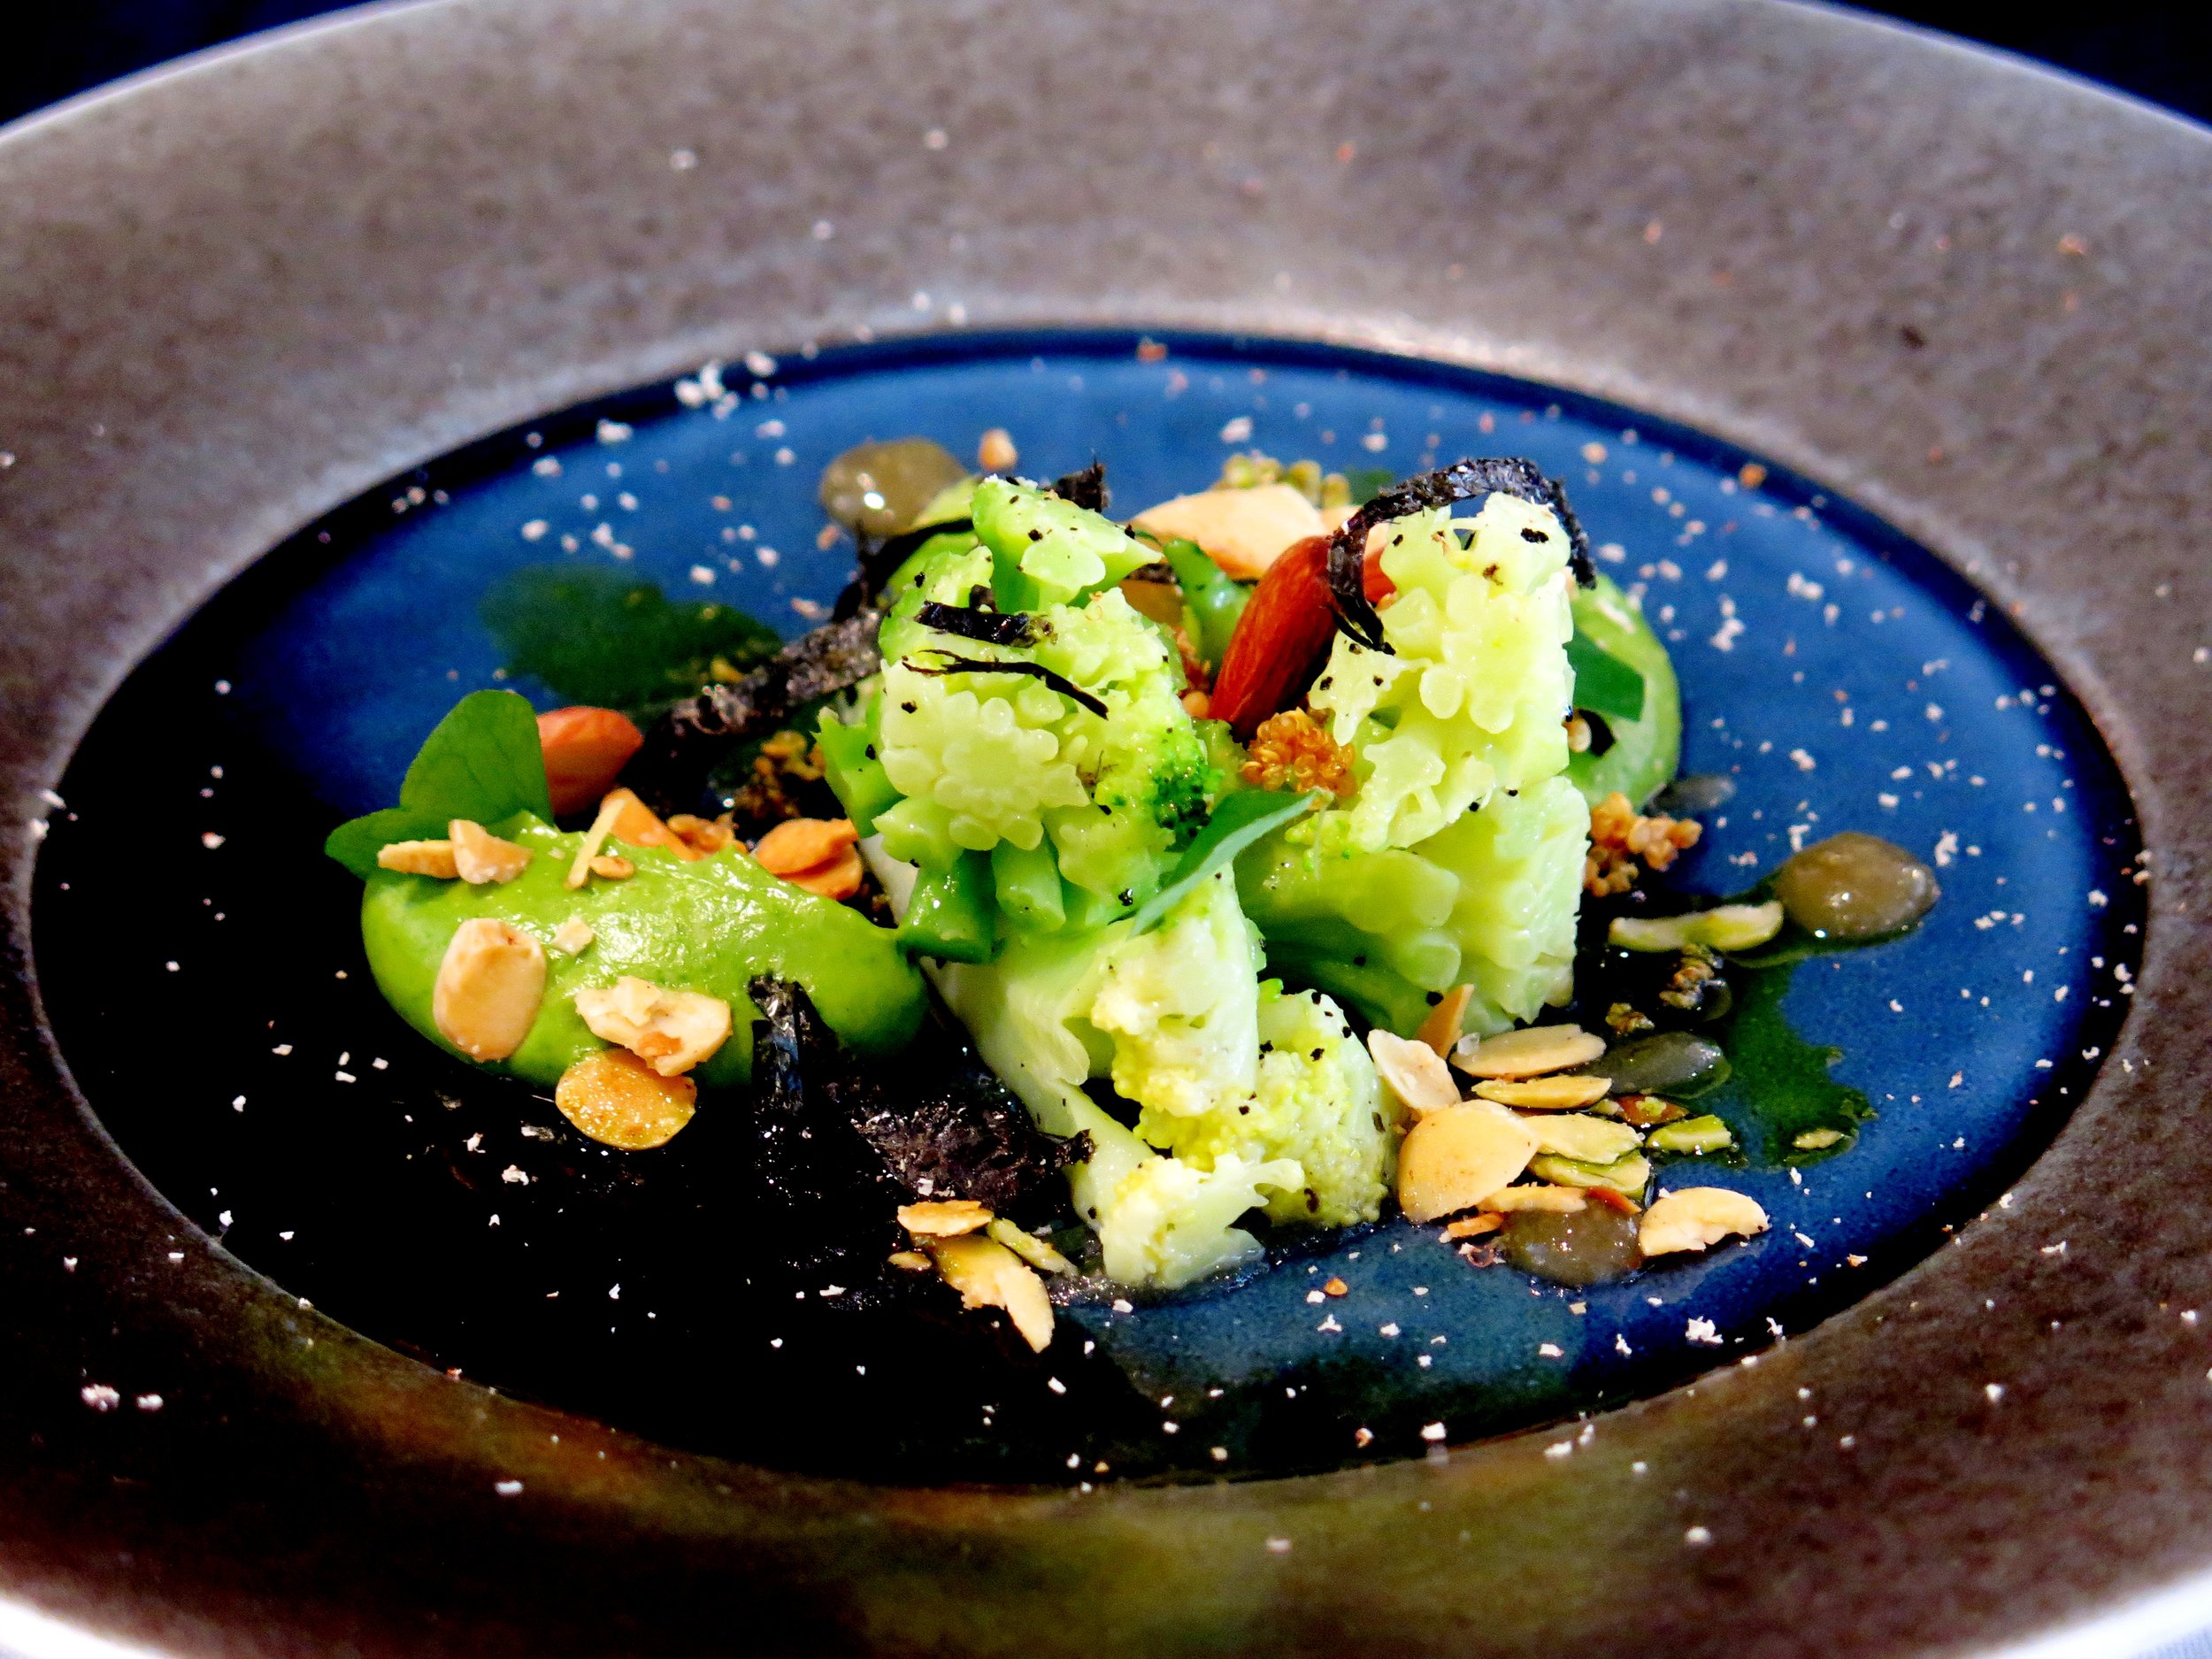
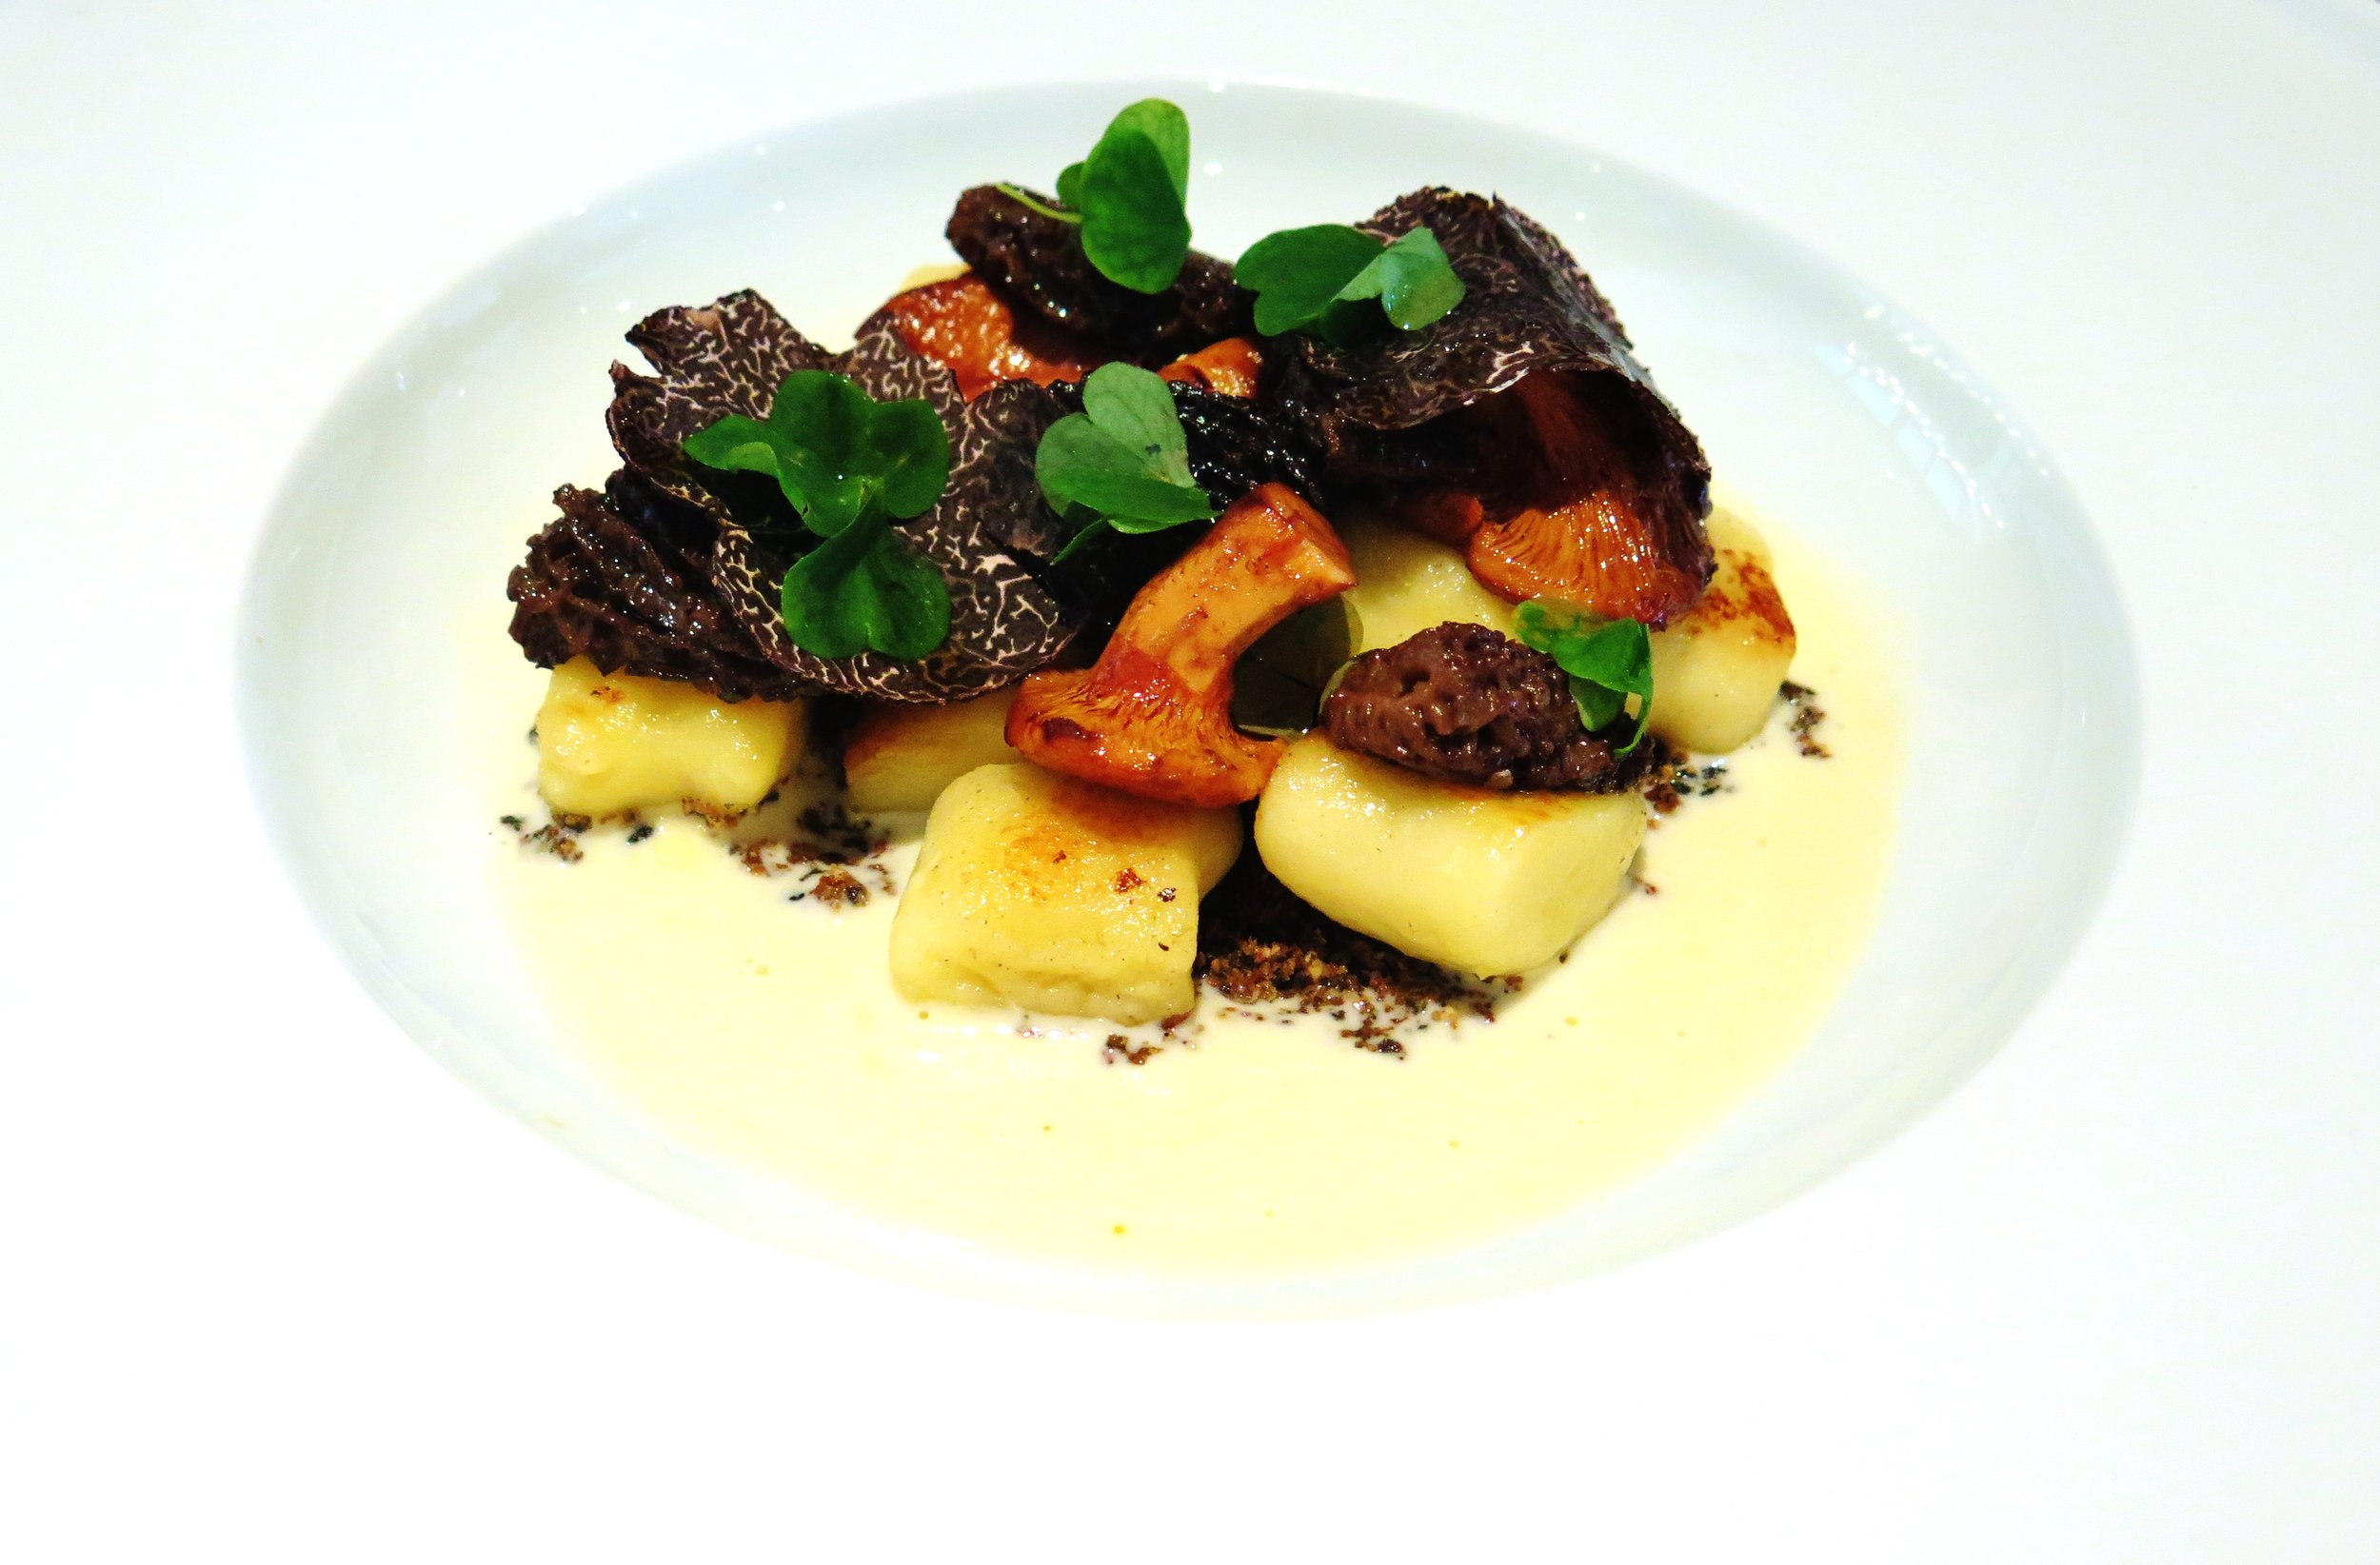
Our main courses were served as soon as I returned to my seat: the juiciest of chicken breast with a skin so crisp that even I (spurner of skin) couldn’t resist – its earthy savouriness was contrasted with the little pops of peas and broad beans, underpinned once more by the seasonal buttery, almost molten, girolles. The wild garlic flowers added to the dish with their fresh savouriness. My dining companions’ lamb and gnocchi dishes were also successes, although if there were any criticism it would be the mushroom theme that was developing throughout the vegetarian dishes – a non fungi fan would have had difficulty. In addition, my companion found some of the mushrooms somewhat too heavily salted.

 We decamped to the dessert bar to watch the pastry chefs practising their craft. First, a palate cleanser which was one of the highlights of the meal, straddling the line between savoury and sweet, and without risking losing stomach room for dessert: light yogurt foam with fairy-thin shards of meringue and a verdant and astringent basil sorbet.
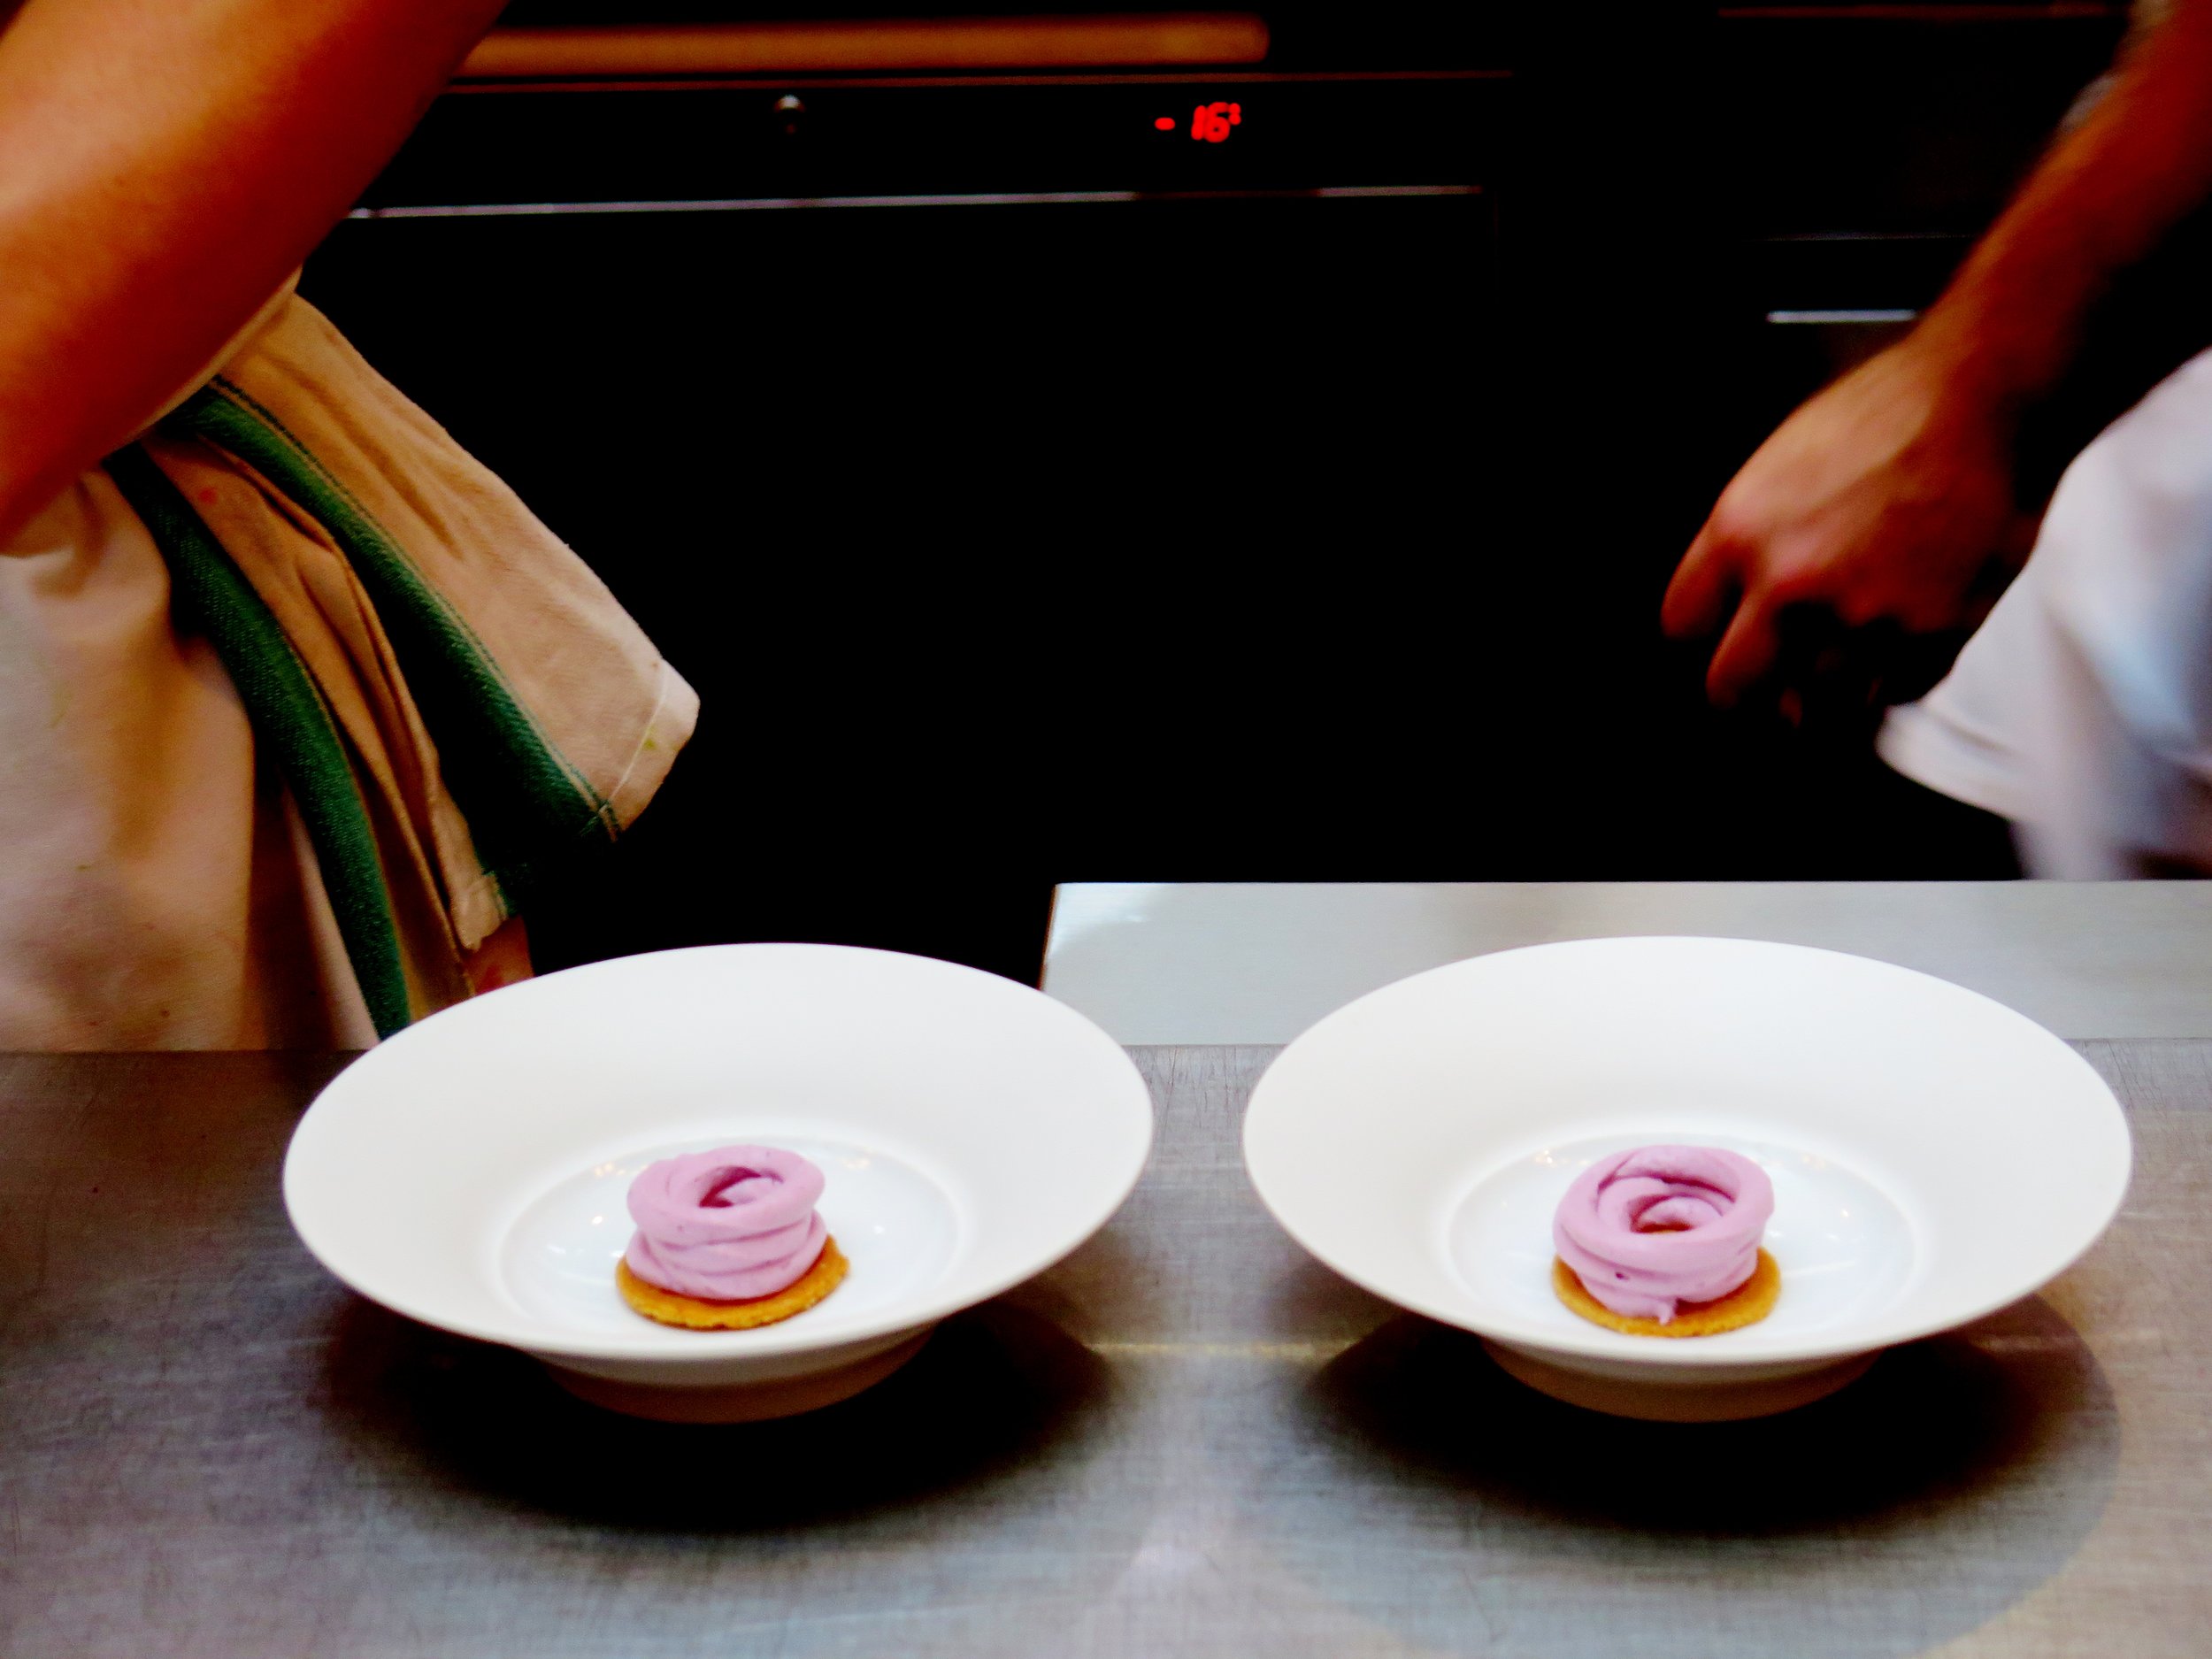

 We watched as cylinders of tempered chocolate were filled with an aerated milk mousse and crumbled sticky and crunchy caramelised puffed rice. A chocolate disc was delicately placed on top like a lid, and adorned with a gold leaf foil, and then accompanied by a rocher of honey ice cream. My dining companions' poached berries with lime and cream cheese sorbet with honey sugar tuile were also a hit. These were chased by a velvety chocolate mousse, and an almond and cherry financier, and a passion fruit and blood orange pâté de fruit, as well as a hazelnut crème entremets for the road…just in case.

 Delicious, unfussy, comfortable and exciting – this is one of the finest dining experiences I have had in the last few years. And I can say that without any fear of an emperor’s new clothes diagnosis.
Food: 9.5/10
Ambience: 8/10
Service: 10/10
Price: ££££
Loos: 9/10
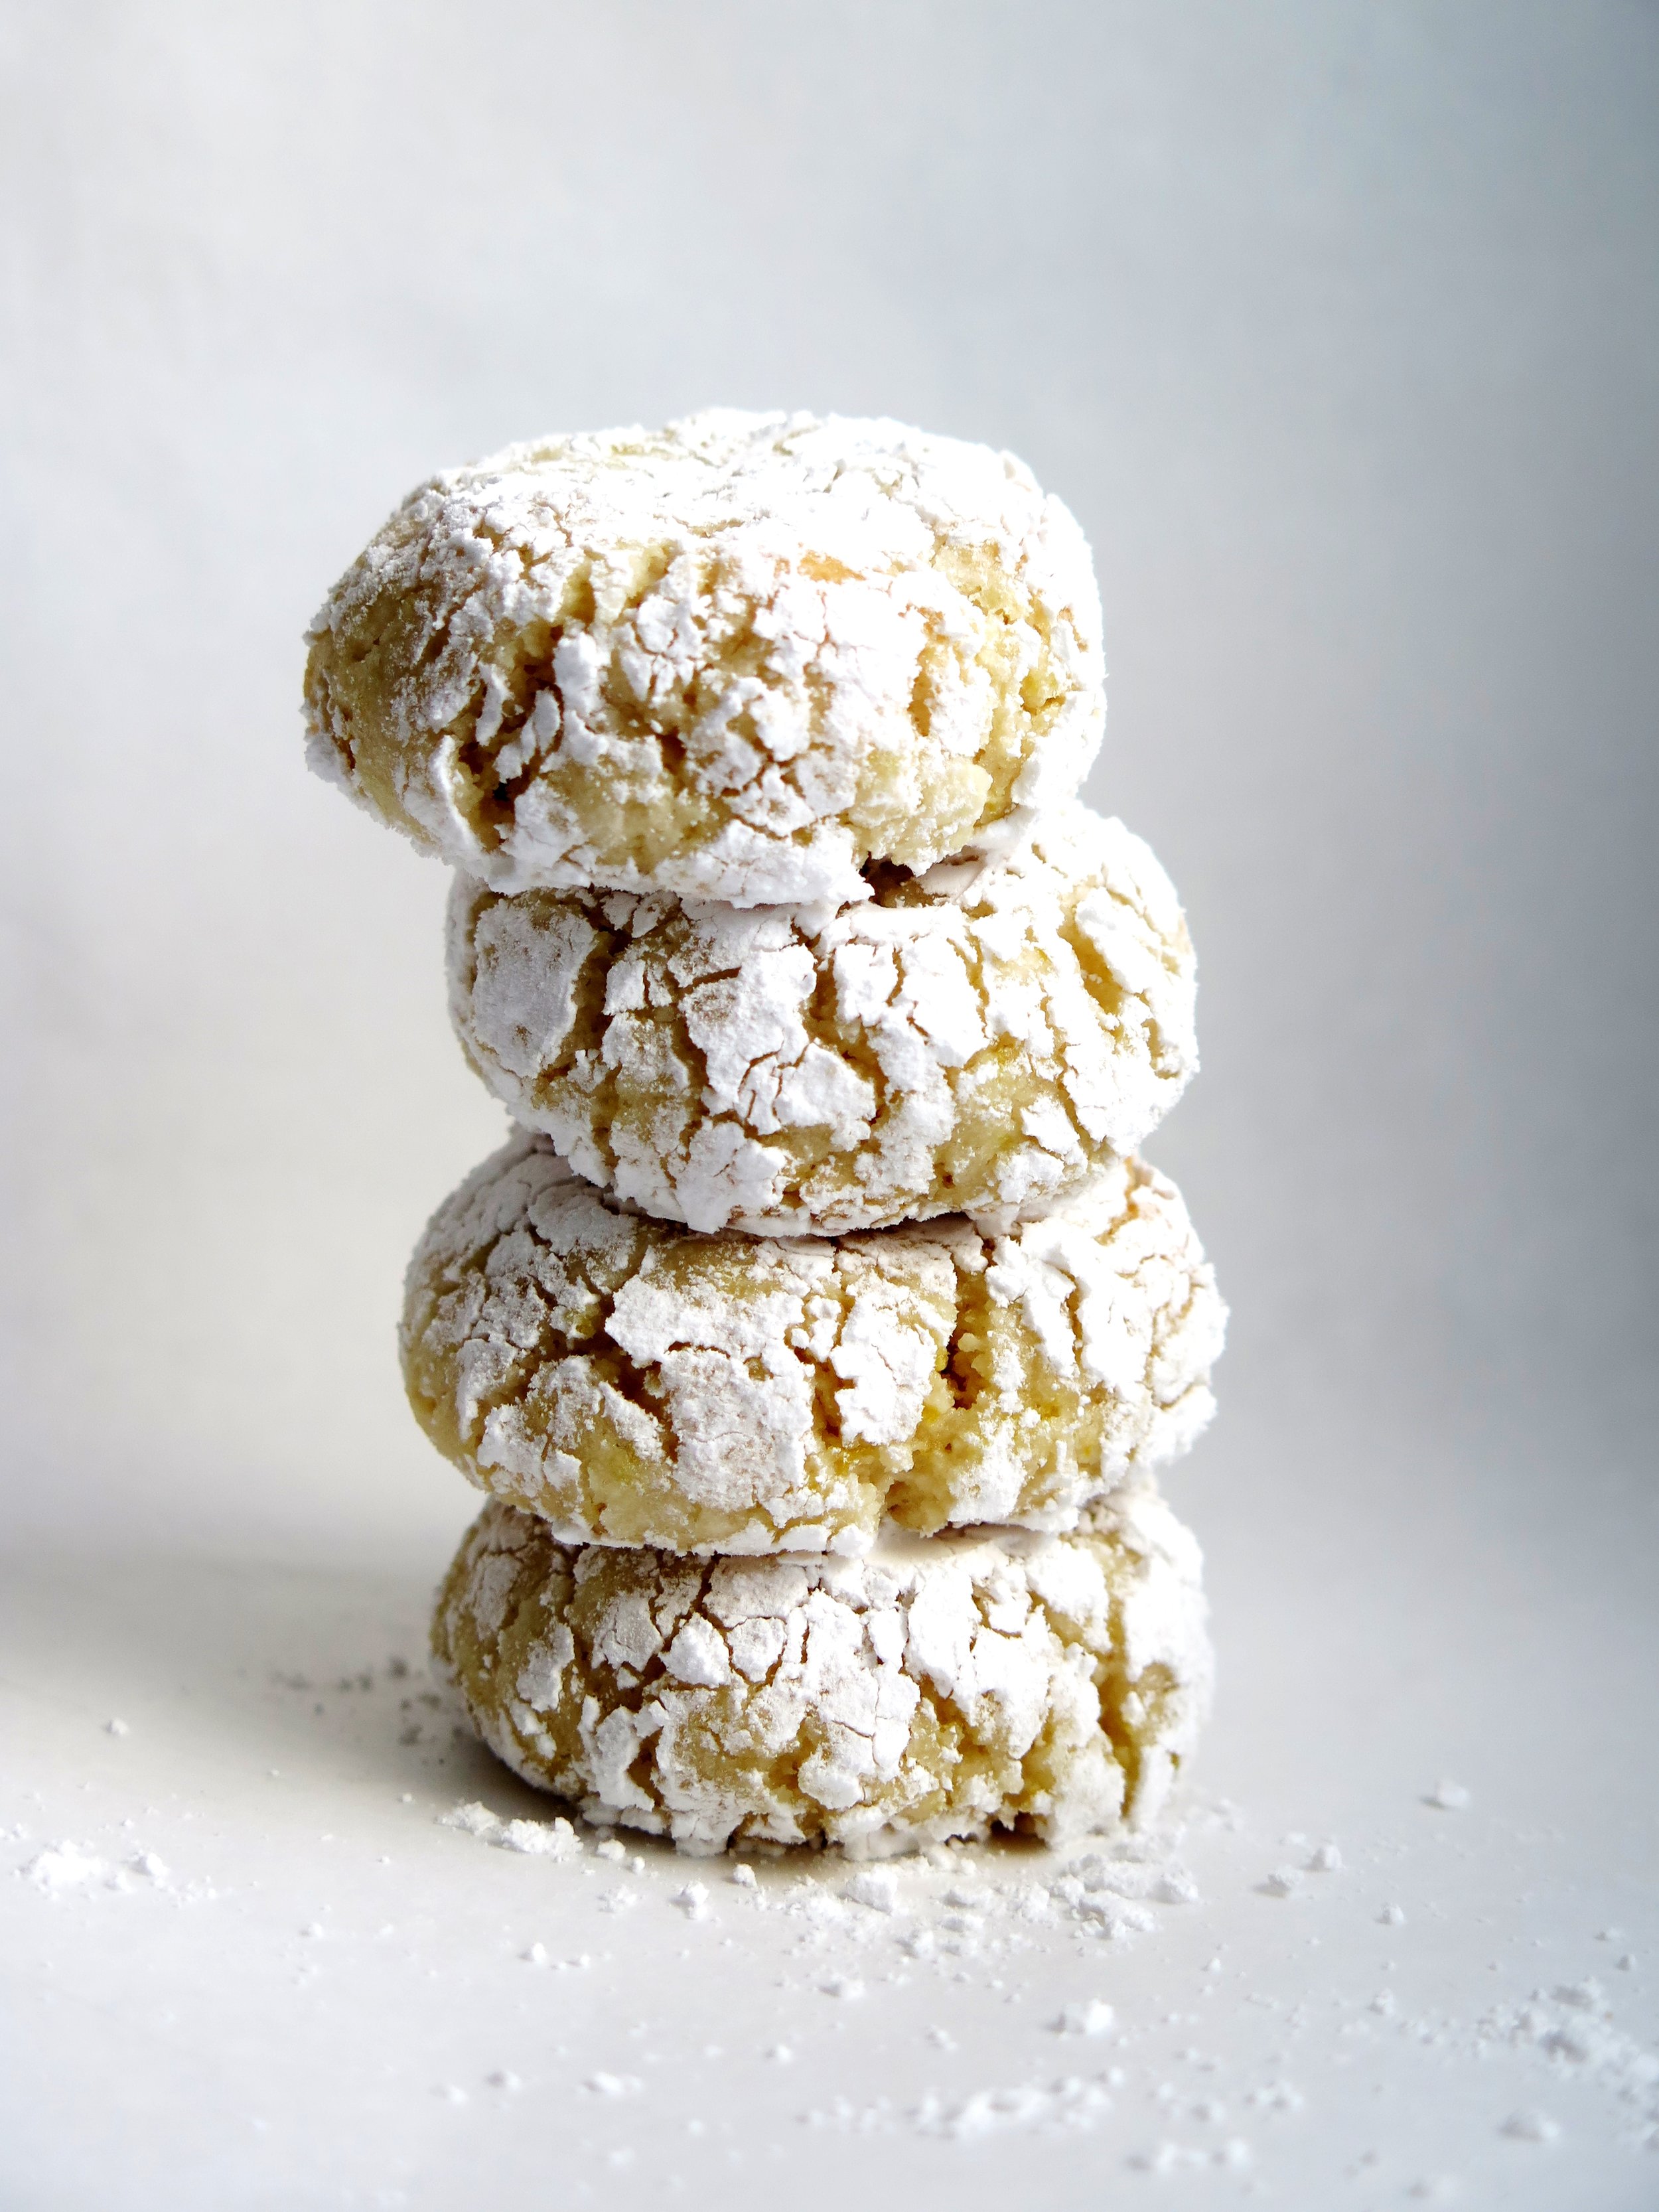
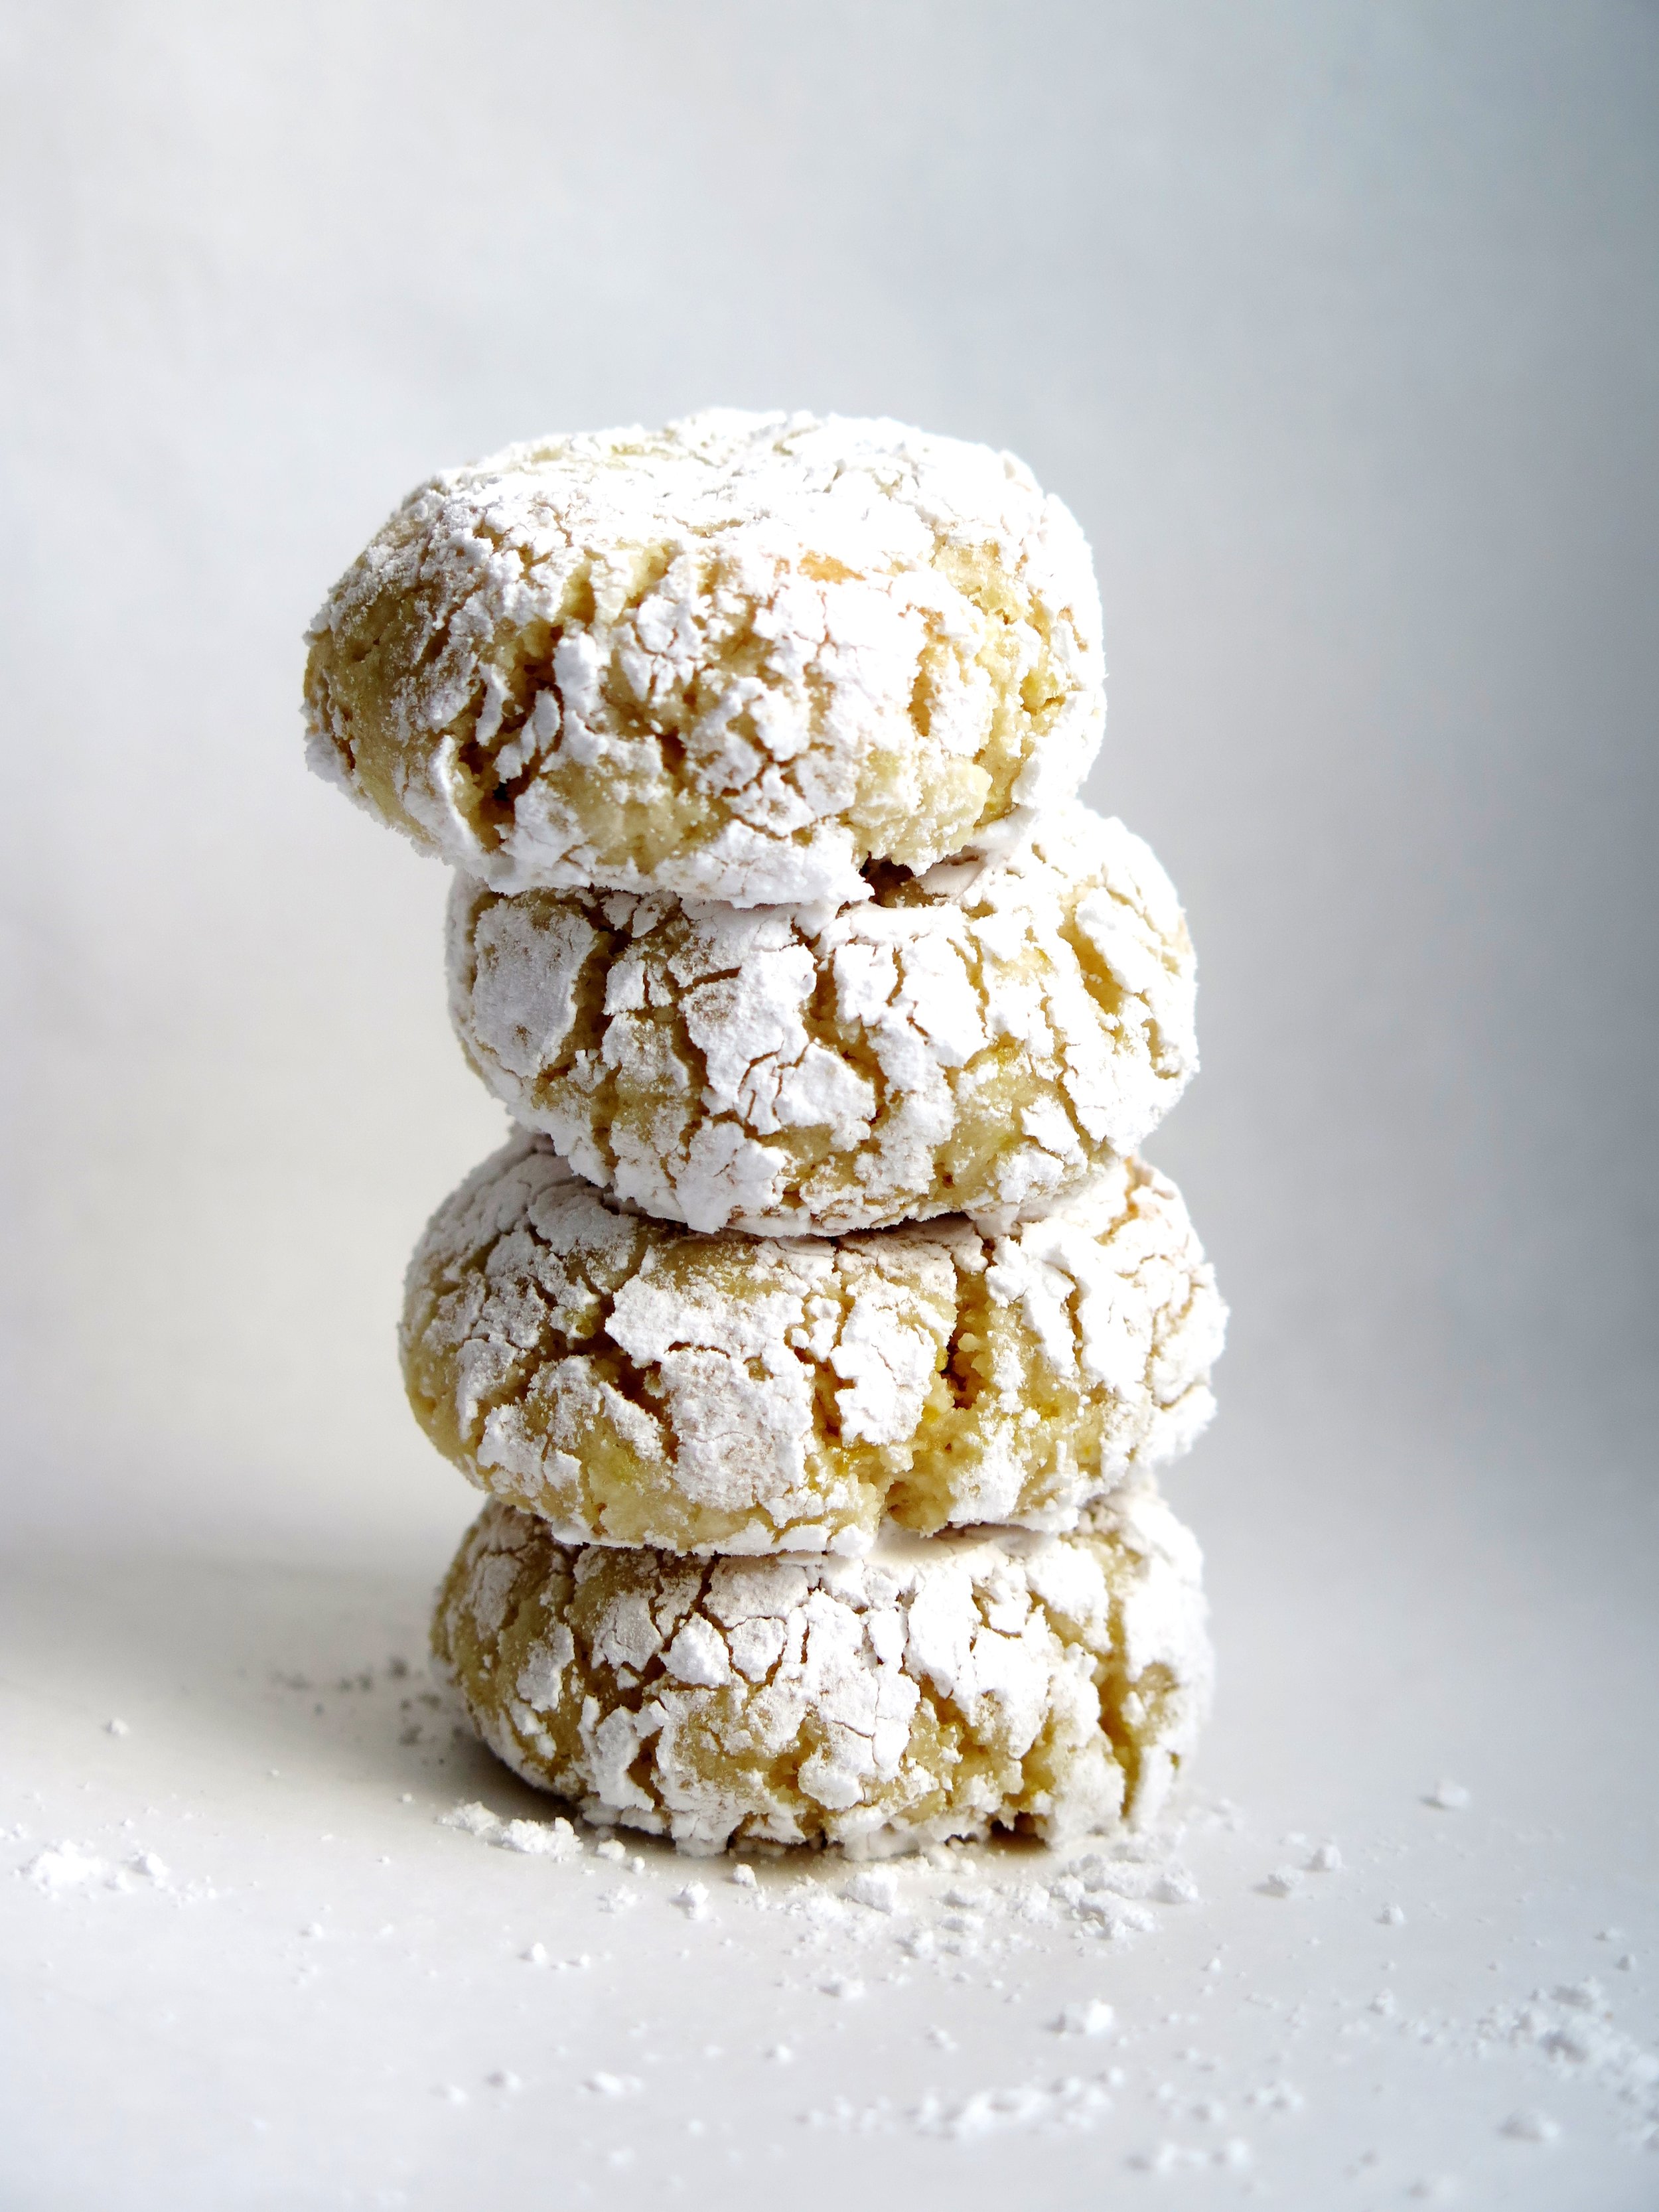
These are not those tooth-breaking, individually wrapped little rocks you might impulse buy at coffee shops. They’re soft, aromatic and chewy (and great for the dentally challenged).
 Amaretti are also perfect for coeliacs, and can make a wonderful dessert paired with ice cream and a tangy berry sauce (see recipe here).
 This recipe should be paired with my one for summer berry lemon curd tarts (see recipe here) which awkwardly leaves you with spare egg whites. Don’t waste them, make these instead –you won’t regret it…
Ingredients (makes 35 small cookies)
360g ground almonds
220g caster sugar
finely grated zest of 2 lemons
½ tsp salt
115g egg white (3 large eggs, approx.)
4 tsp honey
¼ tsp almond extract
100g icing sugar, sieved, for rolling
1 large baking tray lined with baking parchment
Method
1.) Preheat oven to 170˚C. In a large bowl mix together the ground almonds, sugar, lemon zest and salt, and set aside.
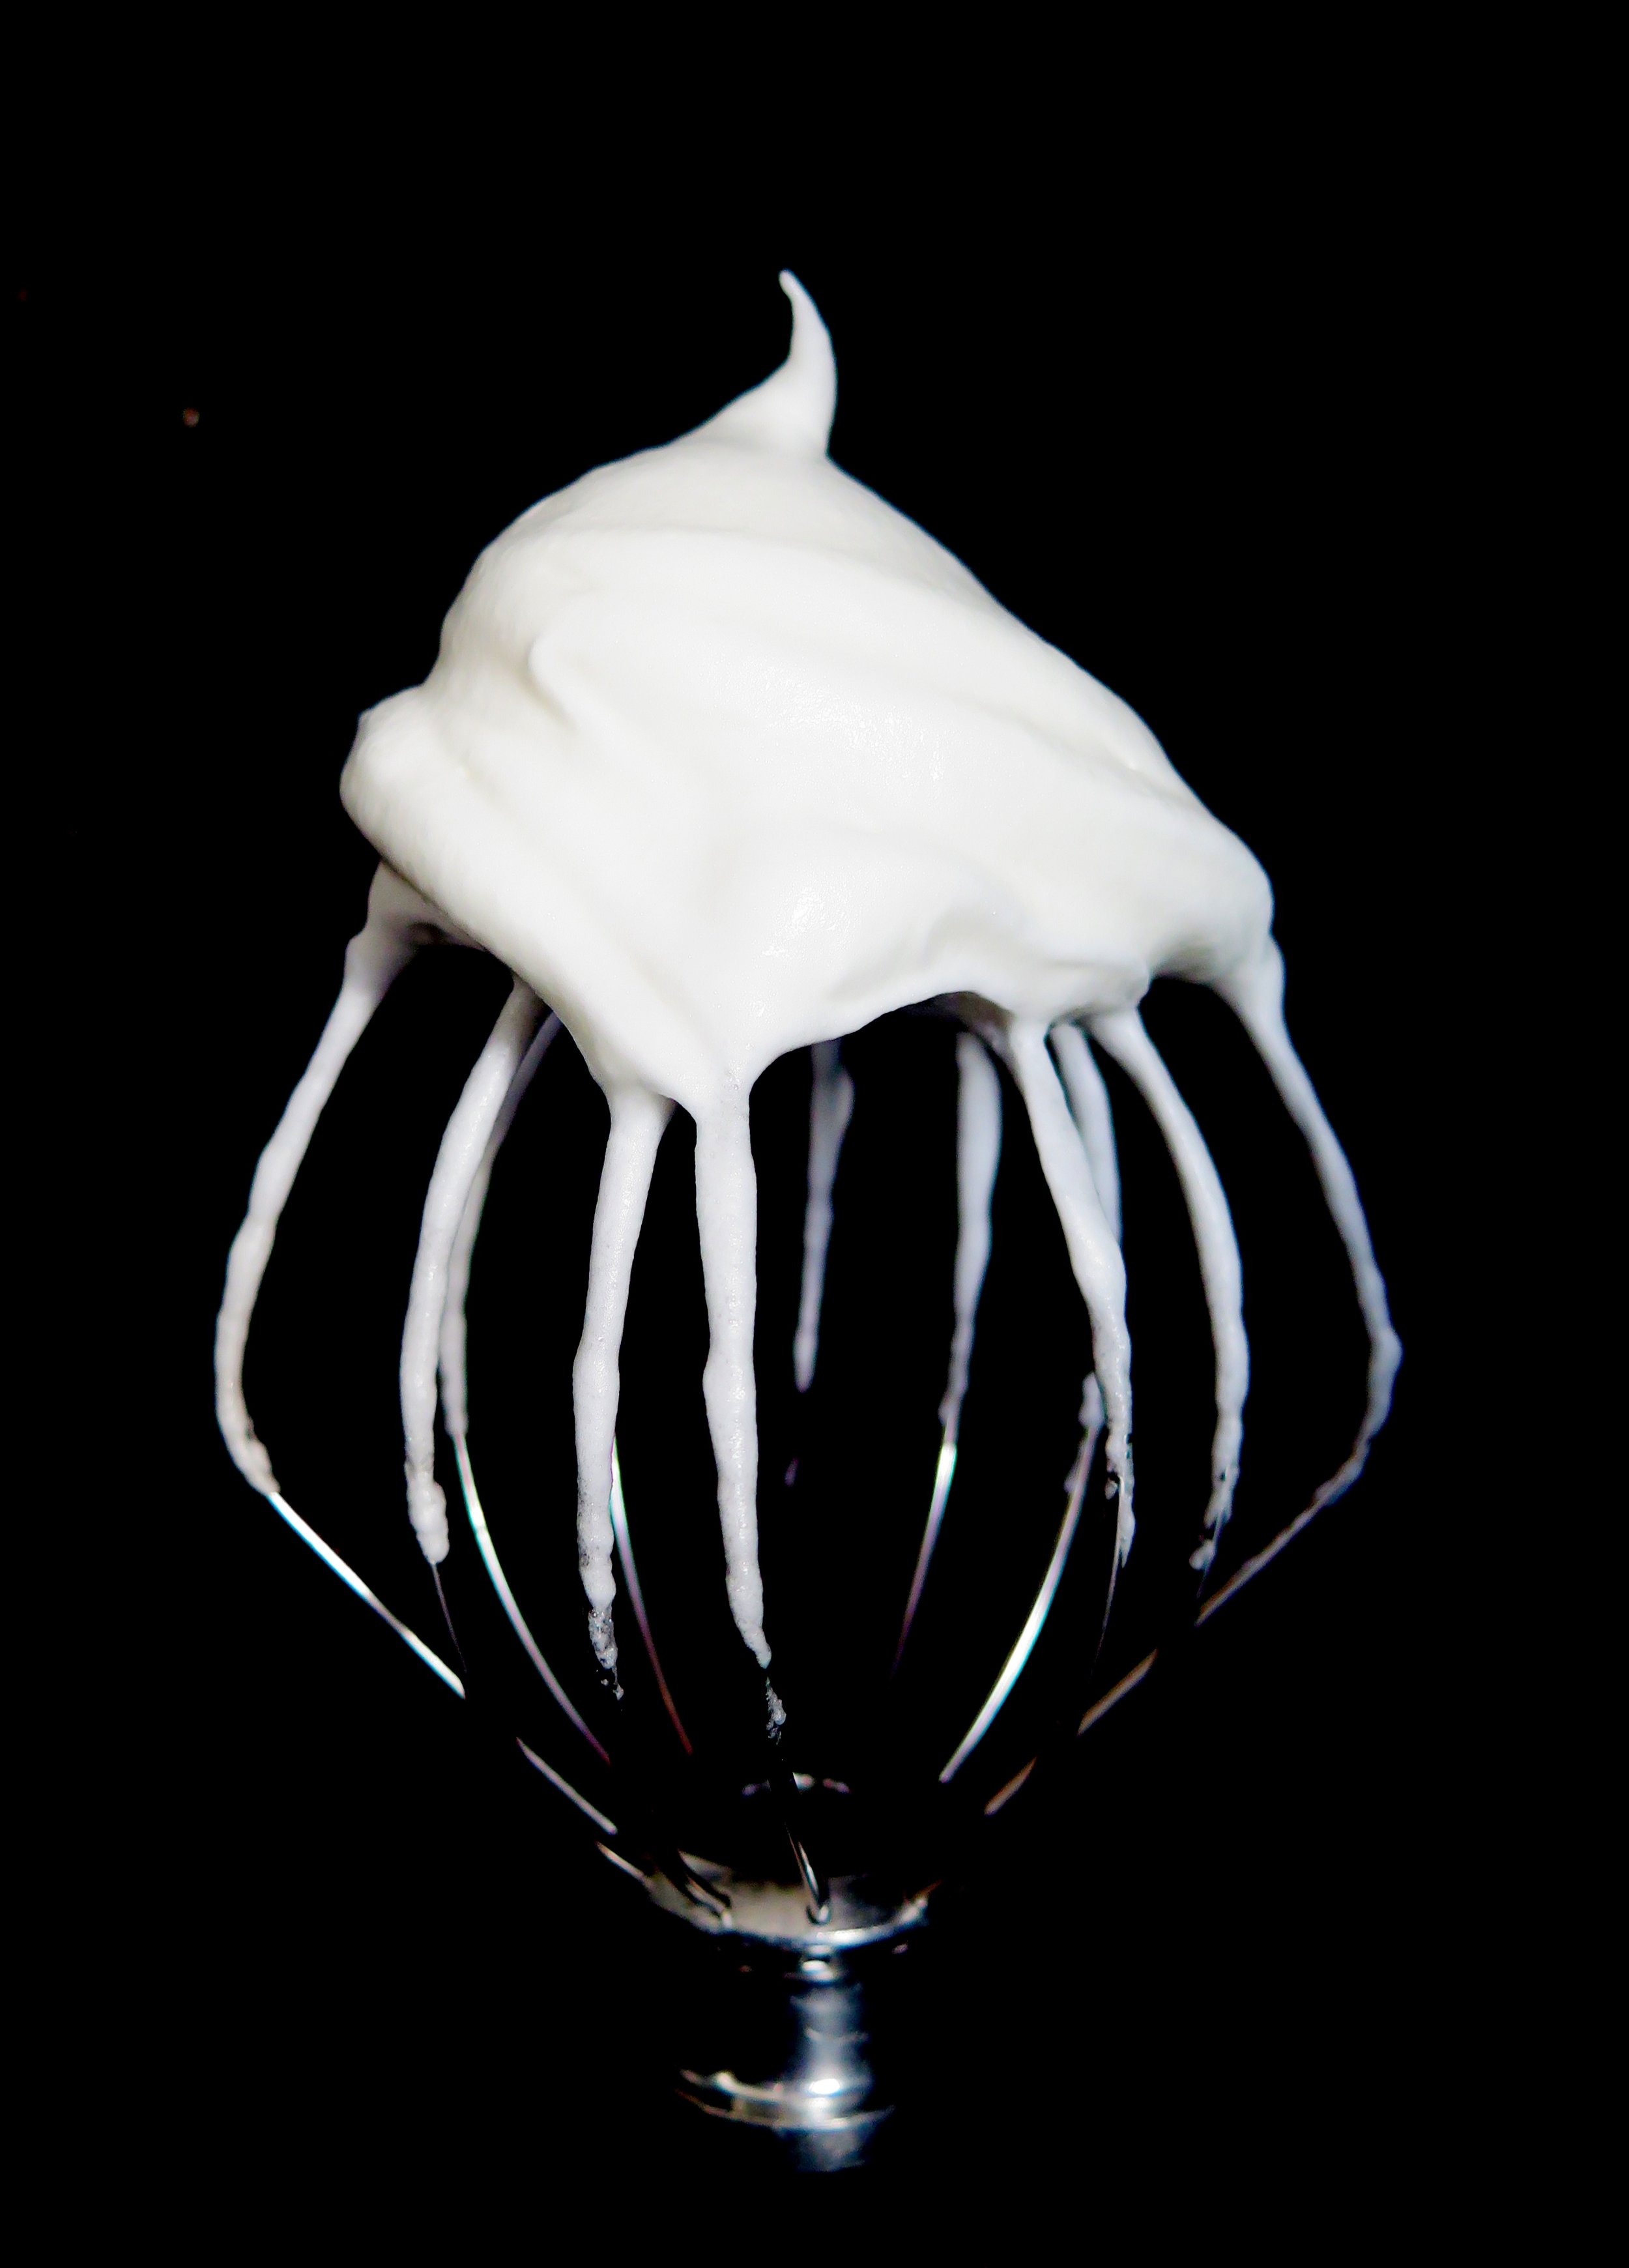
2.) Pour the egg whites into the bone dry and non-greasy bowl of an electric mixer. Whisk on high speed until soft and frothy peaks form. Pour the honey into the eggs and continue to whisk on a high speed until the peaks are glossy (see above photo). Sprinkle the almond extract into the eggs and whisk together very briefly at a low speed just to combine.
3.) Very gently fold the whisked egg white mixture into the dry ingredients. They will combine to form a soft and sticky paste.
4.) Using your palms, roll 20g at a time of the mixture into spheres (roughly 2.5cm in diameter), and then roll each generously in a bowl of icing sugar. Repeat and arrange on the tray, leaving at least 3cm between. Use the tines of a fork to slightly flatten the amaretti spheres. Place the tray in the oven to bake for 8-12 minutes until they are beginning to turn golden on the outside but are still soft inside. They will continue to cook as they cool.
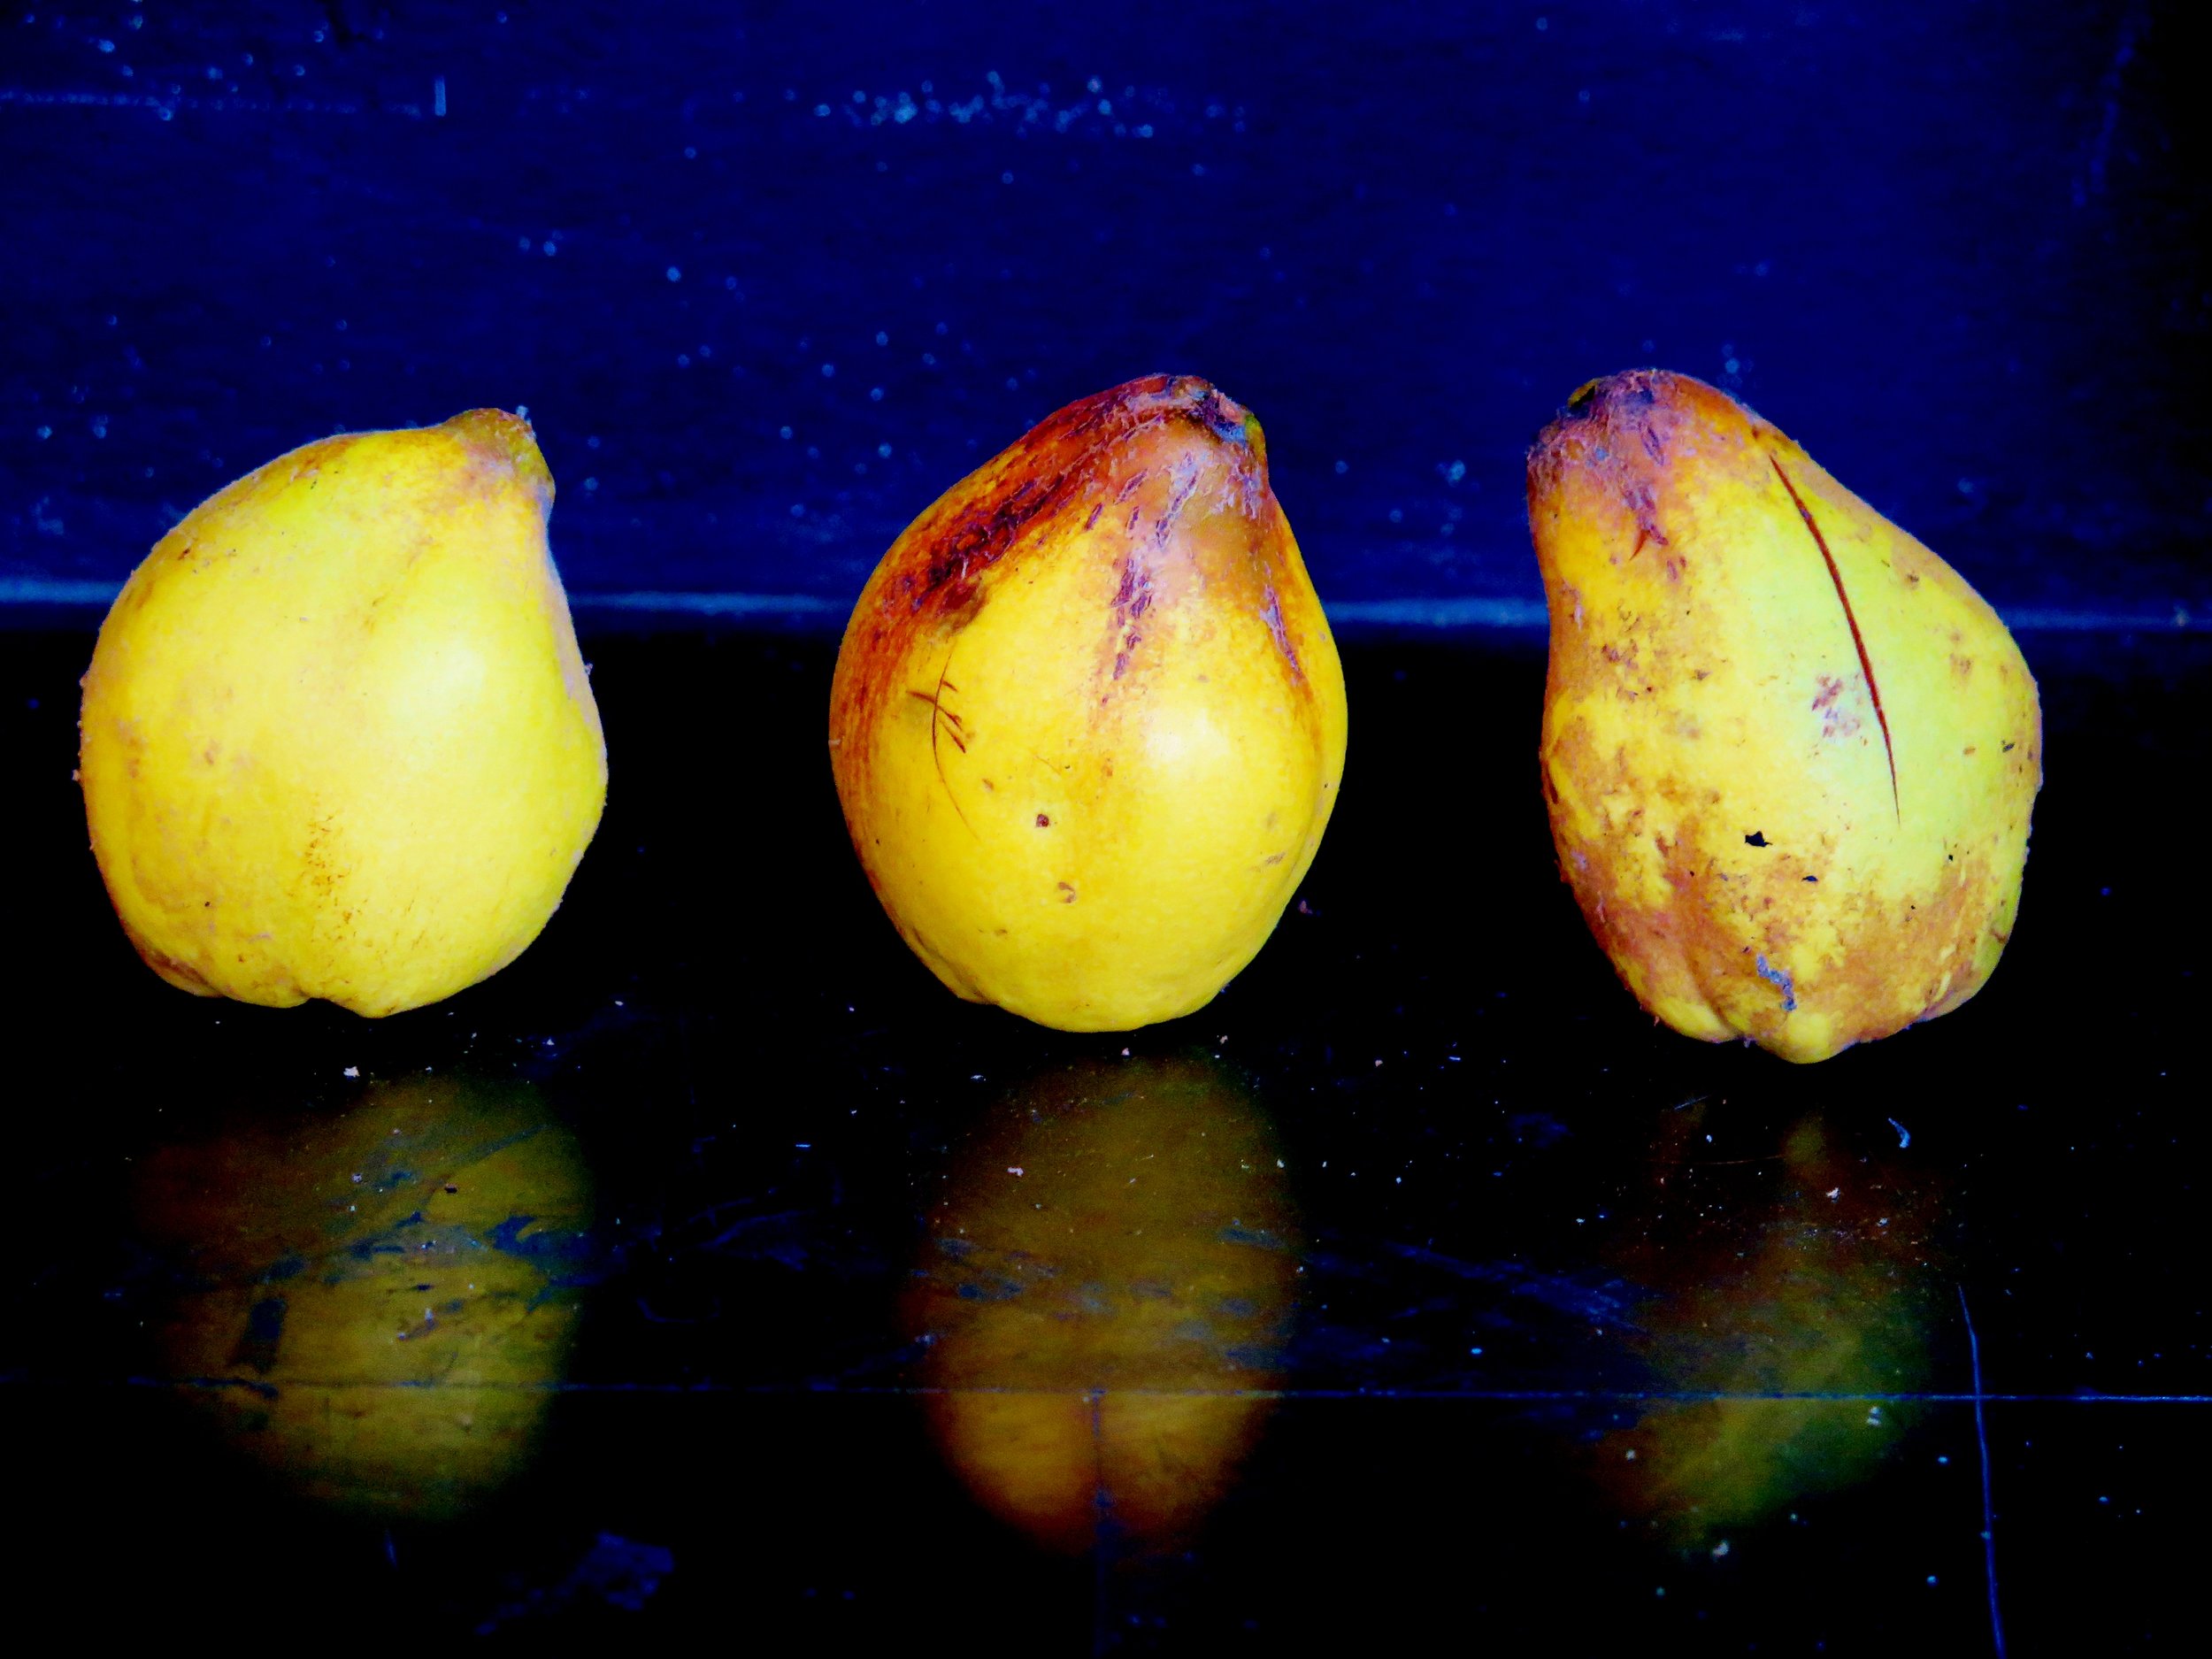
The scent coming from the paper bag was soft and sweet, and old fashioned rose-like, and when I turned out its contents, eight yellow, somewhat misshapen apple-pears tumbled out.
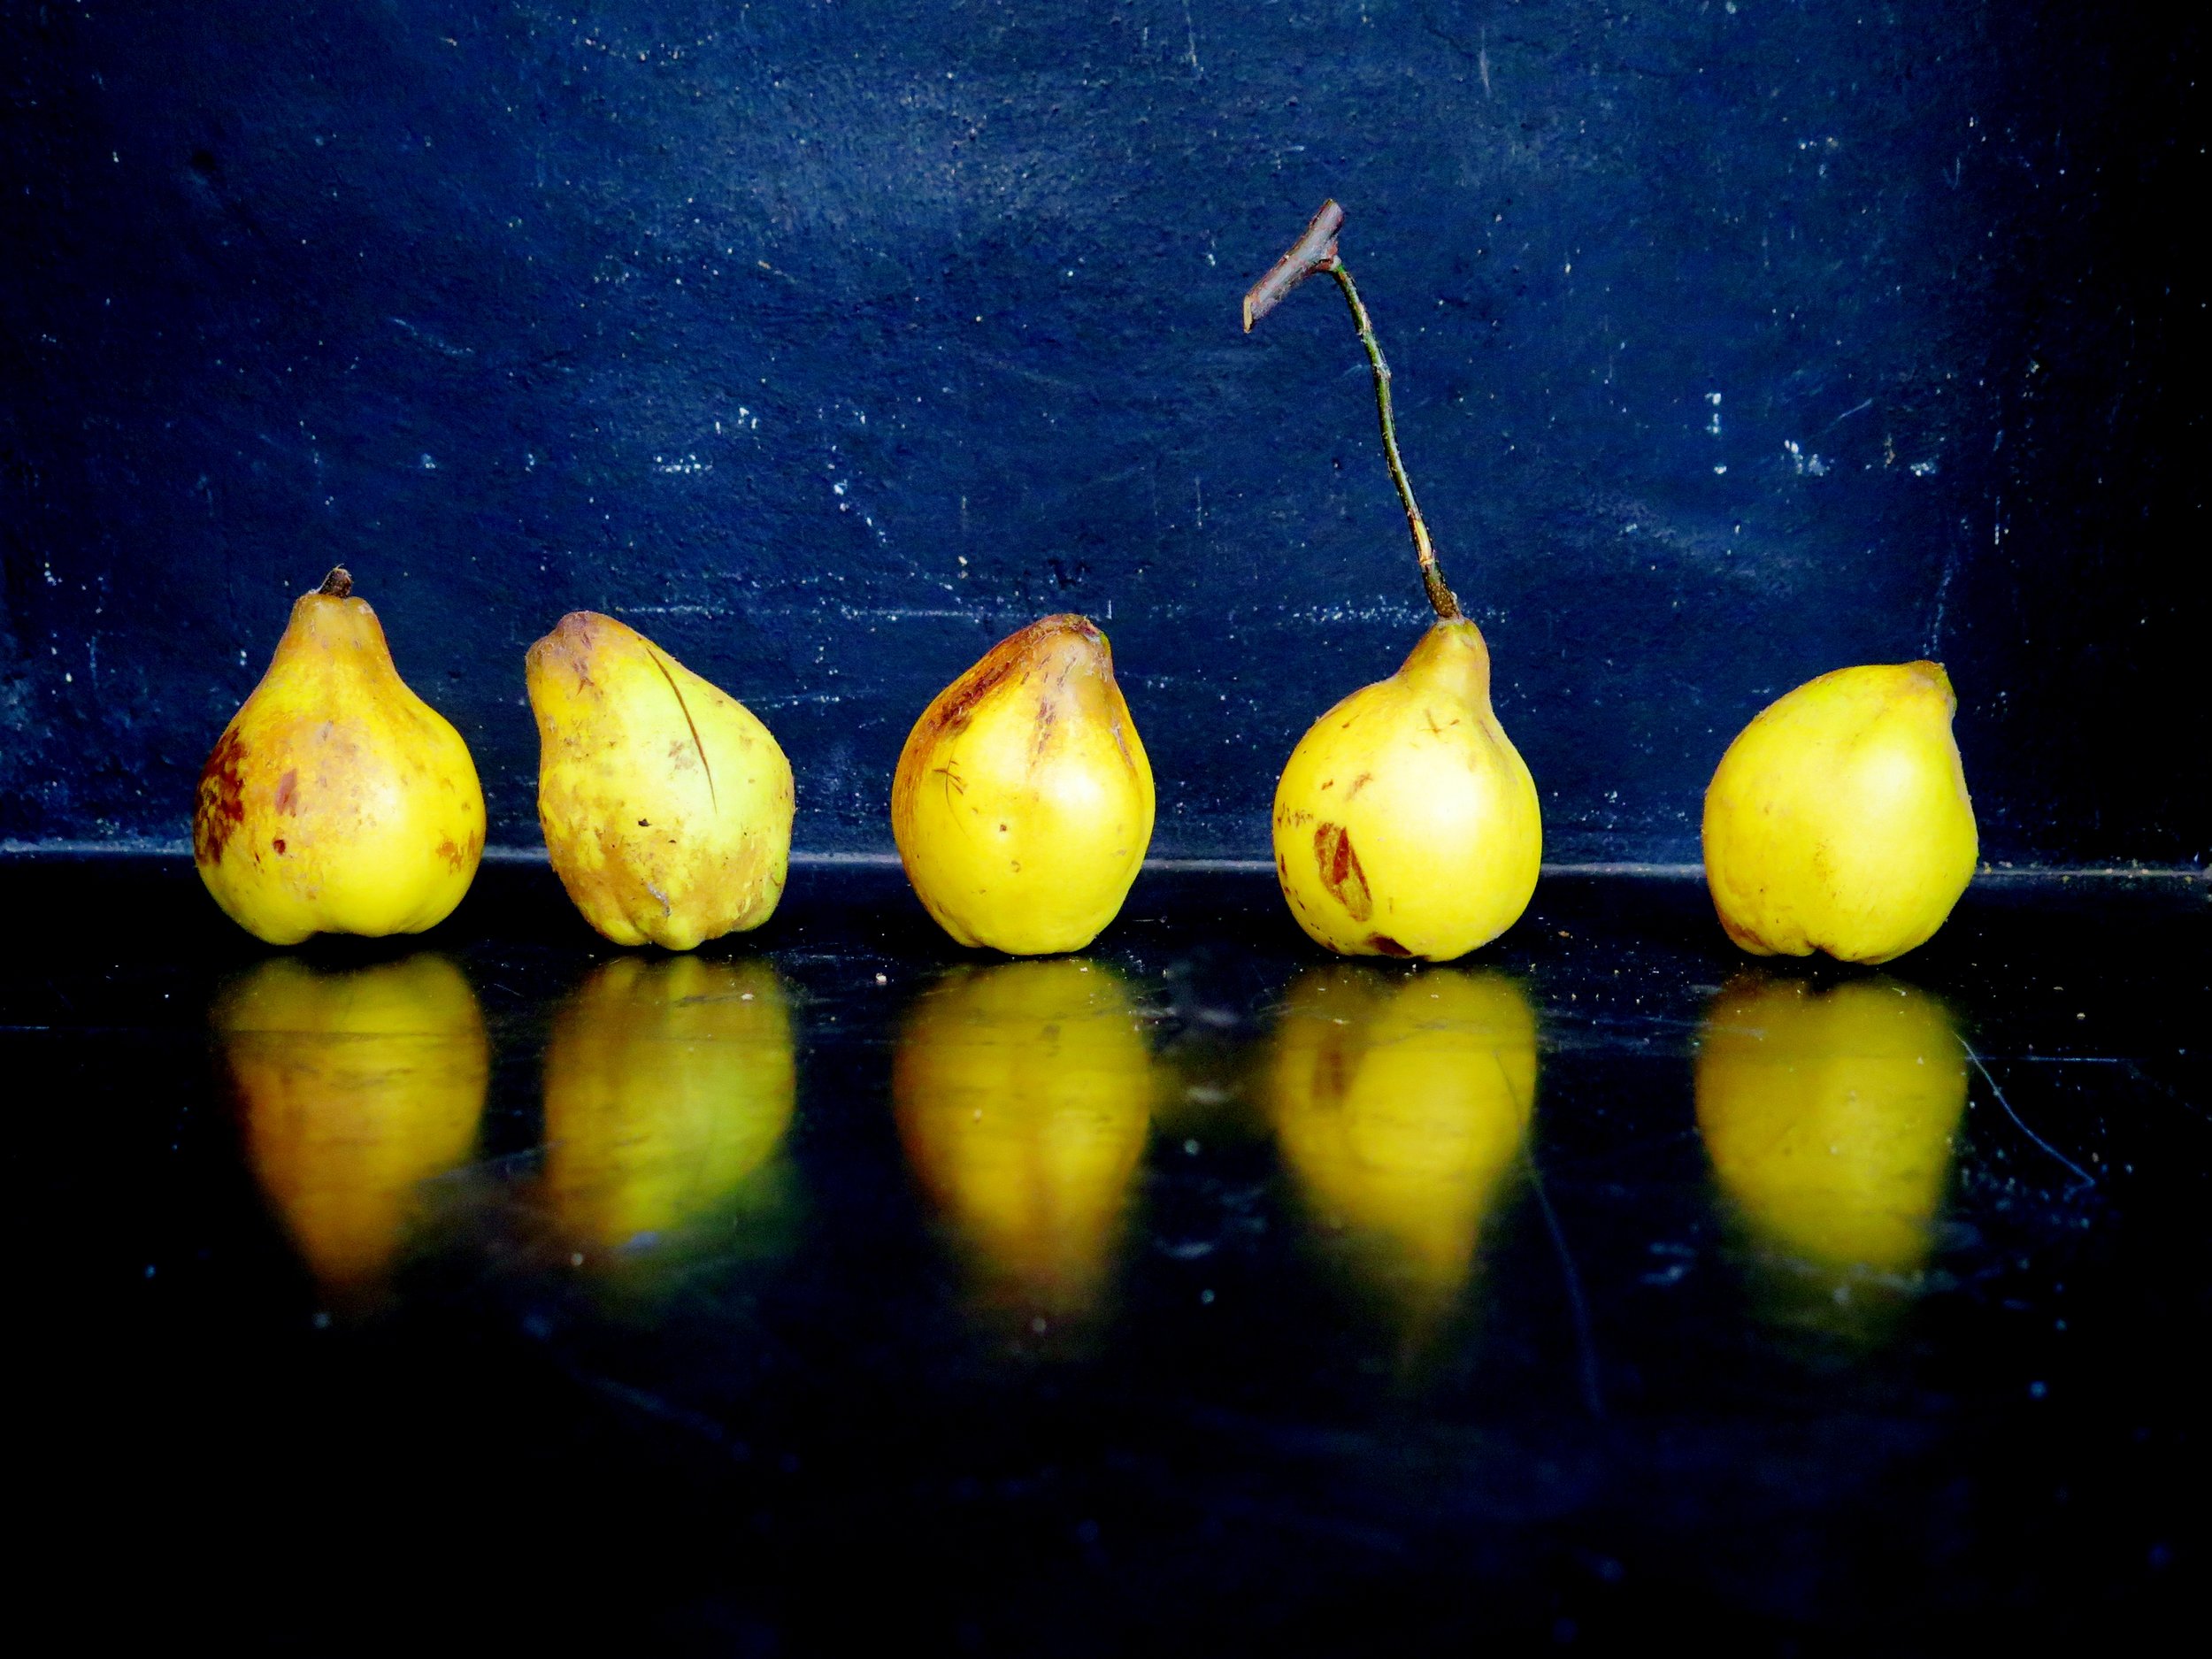
 These quinces were the unwanted fruit of an unappreciated tree in someone else’s garden. Beguilingly biblical in appearance, their uncompromising hardness metamorphoses into something utterly different after cooking.
 Originally referred to as the Kydonian melon, and mentioned in 6th Century BCE Greek poetry, the quinces we recognise today are believed to have been indigenous to Kydonia on the island of Crete. The Ancient Greeks dedicated the quince to Aphrodite, goddess of love and beauty, who was often represented with the golden apple of Hesperides in her right hand – that apple, in all likelihood, a quince. Indeed, quinces symbolised love and fertility, and Plutarch refers to the ancient wedding ritual whereby a bride would take a bite from a quince before retiring to the bridal chamber with her husband – possibly to freshen her breath, too.
 The path of the wedding procession of Helen and Menelaus was said to have been strewn with quinces, myrtle leaves and crowns woven from violets and roses. The fruit was also said by Pliny to have warded off the malign influence of the evil eye, and its medicinal value as an aid to digestion was also noted.
The Byzantines made wine from quinces as well as kydonaton, a thick quince jelly, probably the ancestor of French cotignac or condoignac, a delicacy made with honey, wine and spices that was considered a worthy gift for kings.
 Apicius, the first extant Roman cookbook writer, of the first century CE, preserved quinces whole in honey diluted with a spiced wine reduction, and also combined them with leeks, honey, and broth in hot oil in a dish known as Patina de Cydoniis. In the 4th Century CE, Palladius, an agriculturist and writer, composed a recipe for baked quince strips, possibly the first stirrings of membrillo, the Spanish quince gel that we know today.
During the 16th and 17th centuries, cooks in England prepared many variations of quince preserves which they called quidoniac, quiddony or paste of Genoa. Often the preserve paste was thick enough to be moulded into animal or flower shapes. Nowadays, many cultures use quinces in their cuisine: in India, a quince sambal is made by making a puree out of quinces, onions, chillies, orange juice and salt. In Iran, quinces are sometimes cored and stuffed with minced meat, and Moroccan tagines often include quince along with dried fruit and spices.
Despite its pertinence in history and mythology the quince has rather fallen out of fashion. Now the prized aphrodisiac and breath-freshener has been reduced to an unloved (except by the cognoscenti), knobbly peculiarity. I hereby am starting a quince appreciation campaign and when life gives you quinces, make membrillo, and with the membrillo make Tarta de Santiago.
Membrillo is the rose-tinted translucent and slightly grainy gel that miraculously results from boiling quinces with water, sugar and citrus. Its perfumed exoticness makes one think of orange groves and balmy breezes, and when combined with the citrus infused almond cake and pastry layers, one is transported right to the Alhambra.
Recipe
Ingredients
Pastry
150g white spelt flour (substitutable with any flour of your choice including gluten-free to create a gluten-free dessert)
40g caster sugar
1 ½ tsp ground cinnamon
½ tsp salt
Grated zest of ½ unwaxed orange
100g butter, roughly chopped into small cubes
1 egg yolk
25cm x 25cm square tin (or round tin with similar dimensions) at least 8cm deep, lined with greaseproof paper
Filling
250g quince paste (membrillo)
2 tbsp lemon juice
Grated zest of ½ unwaxed orange
Grated zest of ½ unwaxed lemon
65g ground almonds
Cake layer
150 ground almonds
100g caster sugar
1 tsp ground cinnamon
½ tsp salt
Grated zest of 1 unwaxed orange
Grated zest of 1 unwaxed lemon
150g butter, melted and allowed to cool slightly
100ml triple sec
3 eggs
Optional candied orange decoration
Follow instructions from my recipe for Citrus Syrup-Soaked Cake
Method
- In a blender, blitz together sugar, cinnamon, flour, salt and butter until the mixture resembles damp sand. Add in the egg yolk and blitz until the mixture comes together into dough. Flatten into a disc, wrap in greaseproof paper and chill in a freezer for 15 minutes or refrigerate for ½ hour.
- On a well-floured surface, roll the dough out to a 3mm thickness and transfer to the tin to line the base. Refrigerate while you prepare the filling.
- Preheat oven to 180°C. To make the filling, place the quince paste (membrillo), lemon juice and zest in a small pan over a medium heat and stir until smooth and fully combined. Remove from the heat and stir in the ground almonds. Remove the tin from the fridge and spread the quince mixture evenly over the pastry. Refrigerate once more.
- To make the cake layer, whisk together ground almonds, sugar, cinnamon, salt and zest in a bowl. In a separate bowl, whisk together melted butter, triple sec and eggs. Pour the wet ingredients into the dry and whisk until combined in a loose paste.
- Remove the tin from the fridge and pour the cake layer mixture over the quince layer. Bake in the preheated oven for 35-40 minutes until golden brown, springy to touch and a skewer comes out clean. Allow to cool before serving.
(Affectionately known as Froyo Yoyos)

If something becomes a fad, I usually try to avoid it. Cupcakes were once things of joy, their light, sweet, spongeyness perfuming the house with the scent of birthdays. And there was always the hope of left over icing, not to mention the ease with which one could convince oneself that the perfectly domed surface was in need of decapitation, just to preview the crunchy golden coated delicate sponge, just in case the cupcakes weren’t guest-worthy. But now those simple pleasures have been crushed for me as the once-a -year treat has lost its golden hued novelty.
The single-concept shops dedicated to cupcakes are now a graveyard for the dying fad. I walked past a well-known purveyor of cupcakes in the middle of an airless department store only last week, and watched as the woman behind the counter shuffled the gaudy treats into reverse rainbow order in an attempt to look busy.
Frozen yoghurt is no longer a novelty, but for me at least it has not yet lost its appeal. Some people (including me) are able to delude themselves that even with the marshmallow, cookie dough, caramel topping it’s a healthier version of their favourite ice cream.
When the clouds deigned to expose a sliver of sunlight for a short while on Saturday, I decided to indulge in a little frozen yoghurt.
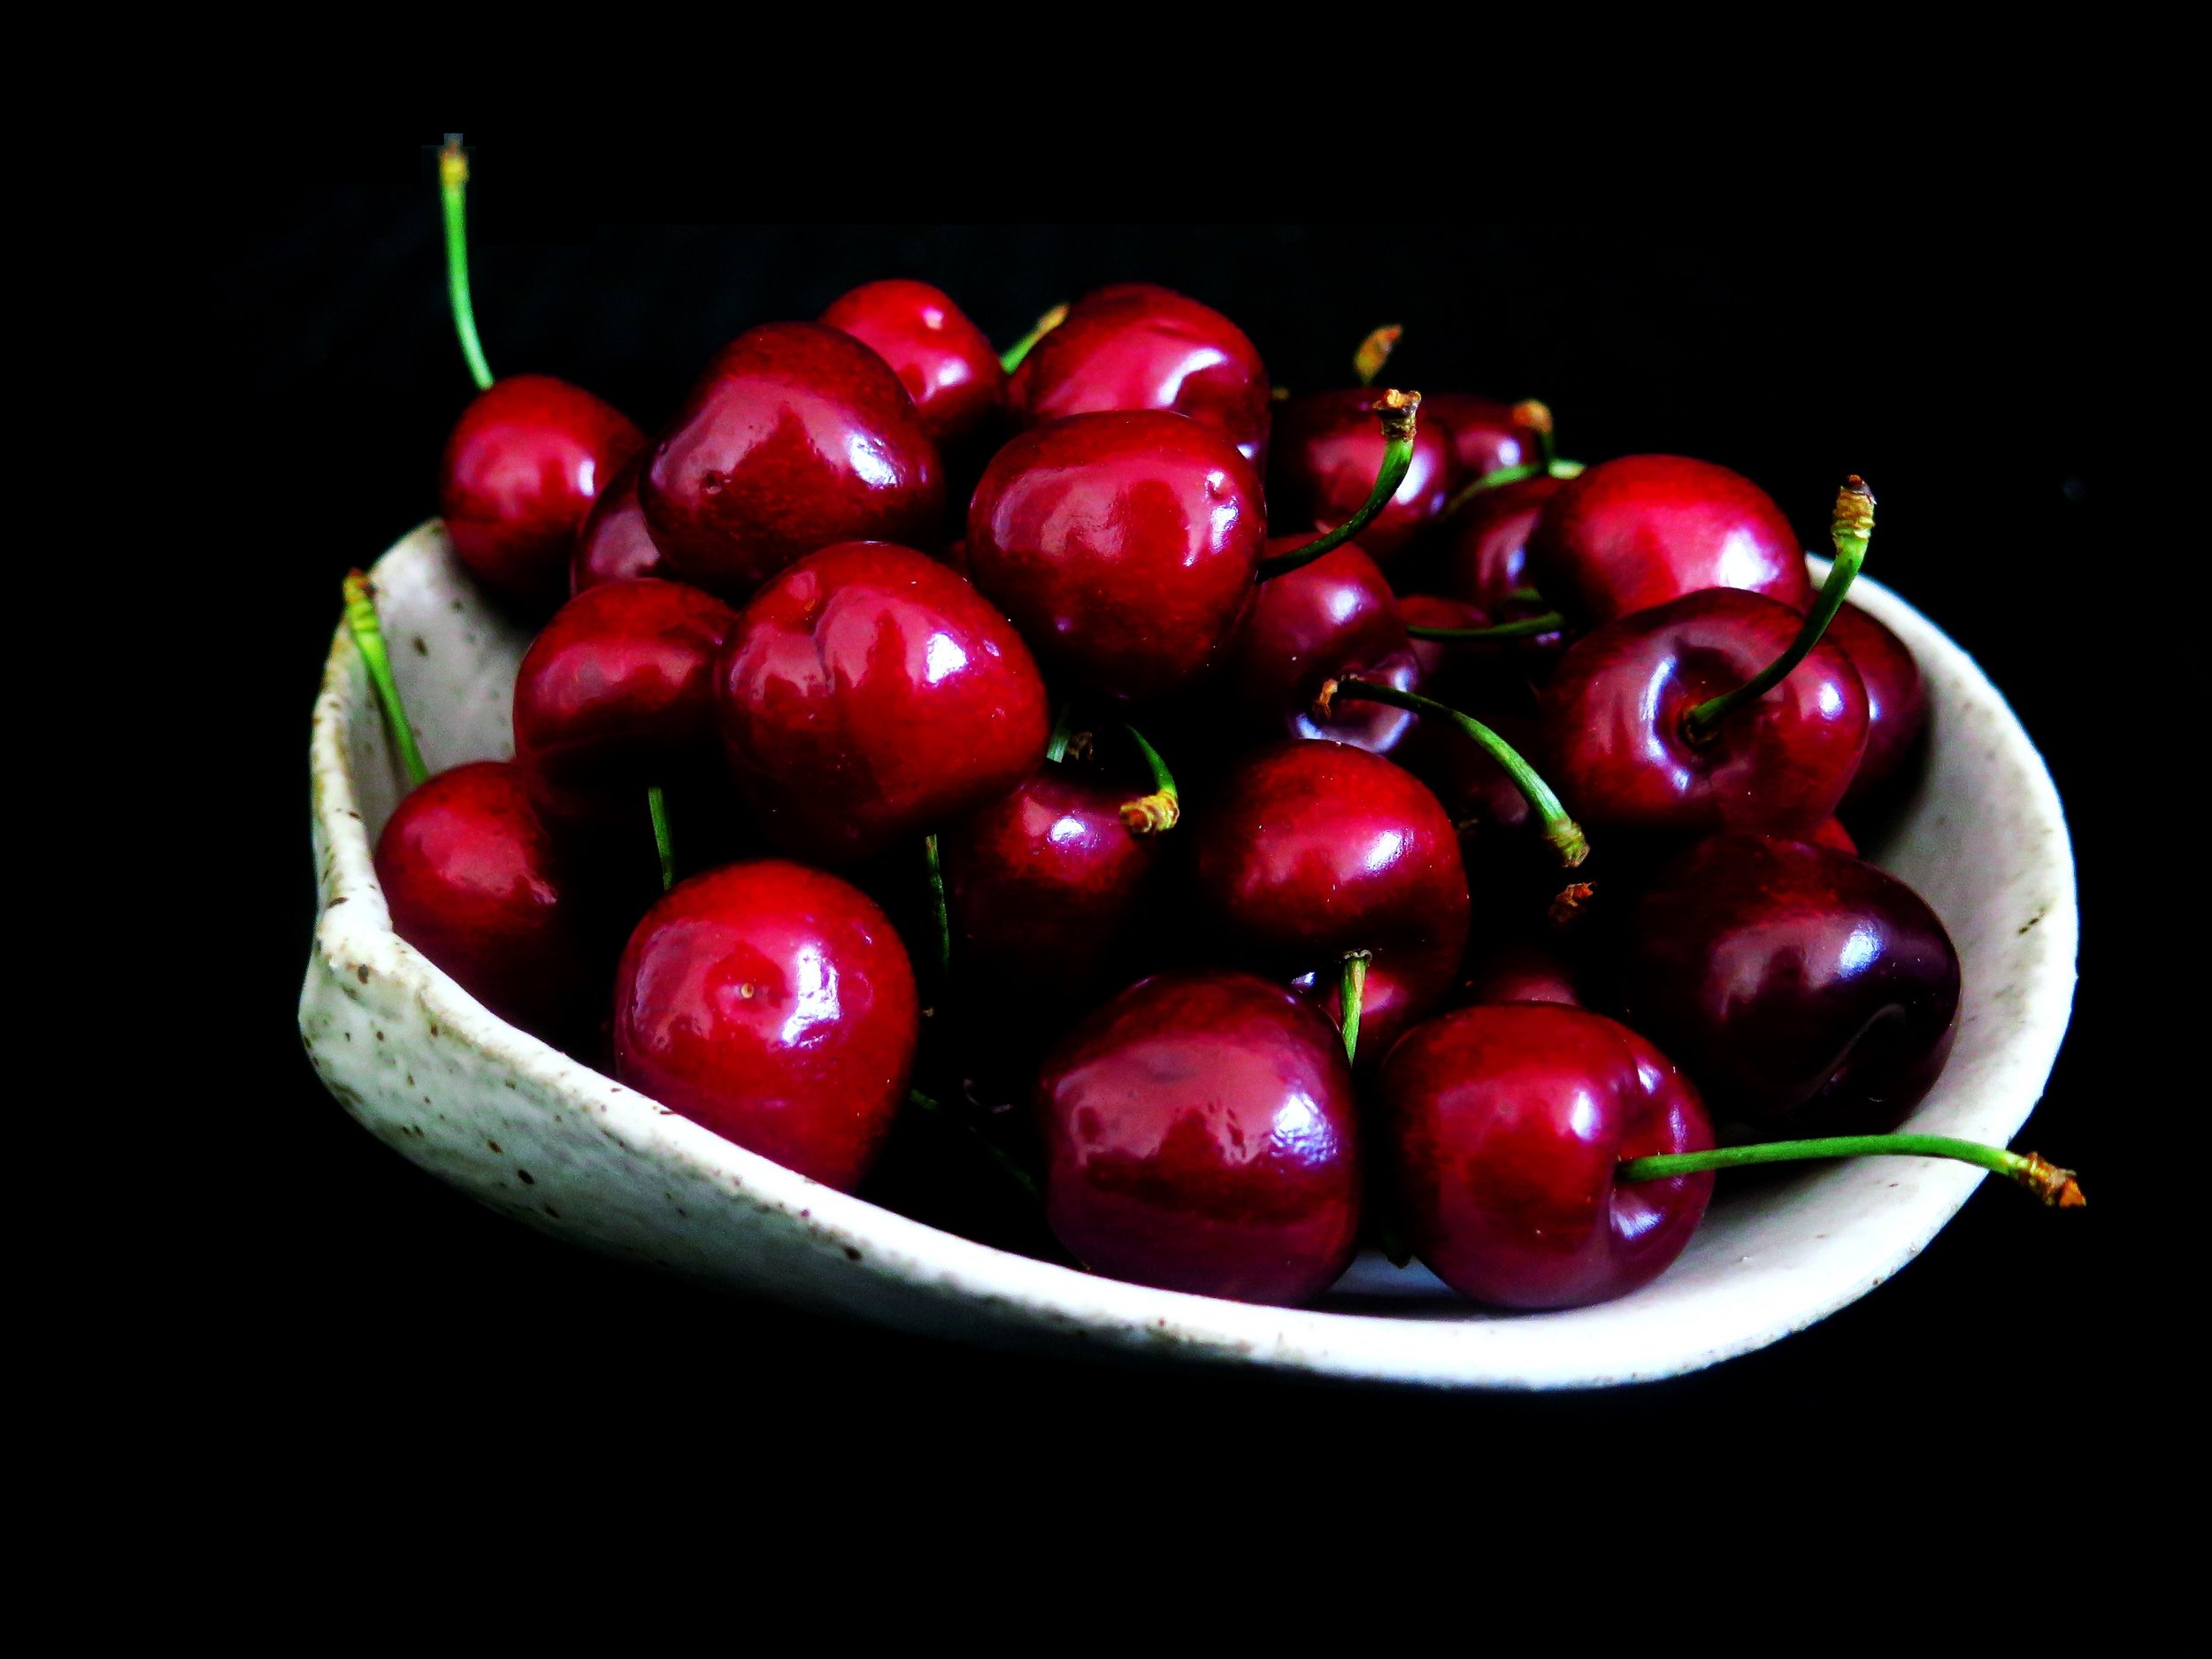
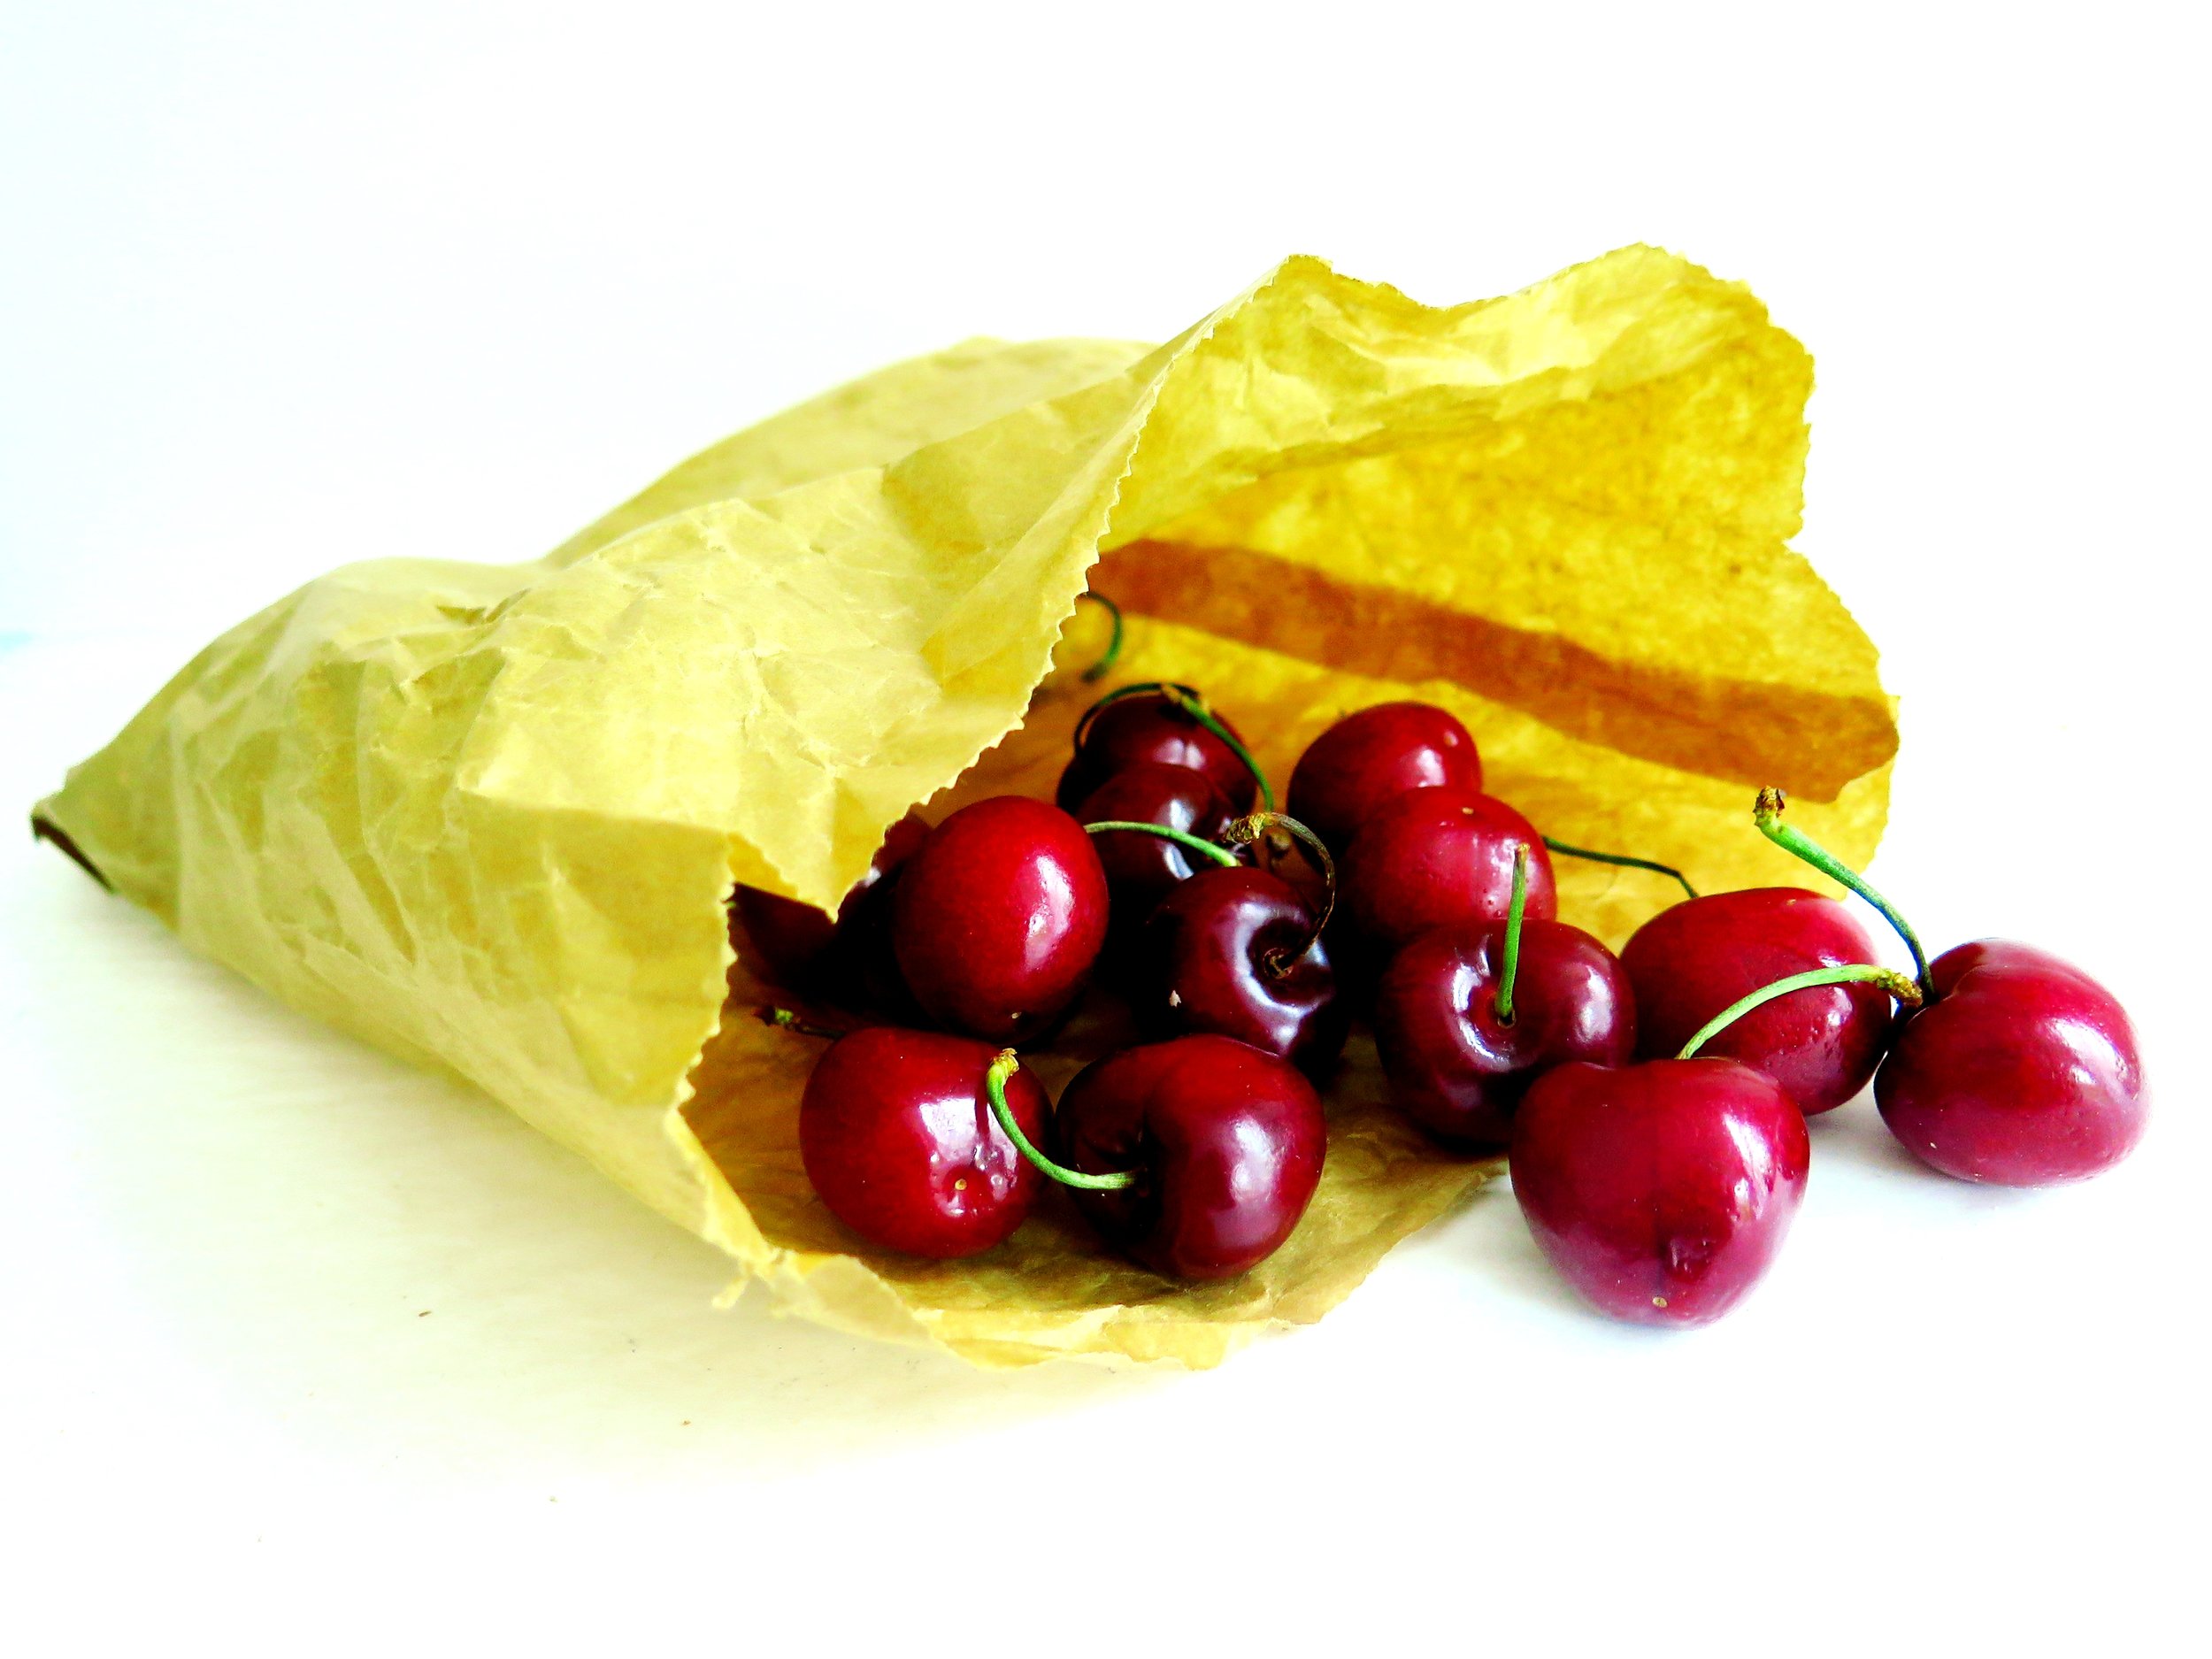
The cherries at my favourite fruit monger were so glossy and irresistibly crimson they were begging to be involved in my hoping-for-summer recipe. I combined them with yuzu juice for a touch of astringency to cut through the sweet creaminess of the yoghurt. Then, to add a childlike allure, I sandwiched the frozen yoghurt between two discs of biscuit which I’d infused with almond extract to bring out the cherry flavour further.
The yuzu juice provides a wonderfully tart citrusy note to the frozen yoghurt. If you can't find it, substitute it with lemon or lime.
I used an ice cream churner to make the frozen yoghurt smoother and the ice crystals finer, but if you don’t have one this stage can be skipped and the result will still be delicious.
Of course, the cherry and yuzu frozen yoghurt can be enjoyed sans biscuit. The biscuit is however, rather useful if you wish to turn it into a hand held treat, whether or not the sunshine lingers.
Ingredients (makes 8-10)
Cherry and Yuzu Frozen Yoghurt
375g cherries, halved and pitted
125g caster sugar
250g full fat natural yoghurt (don’t use Greek)
1 tsp yuzu juice
6 drops of almond extract
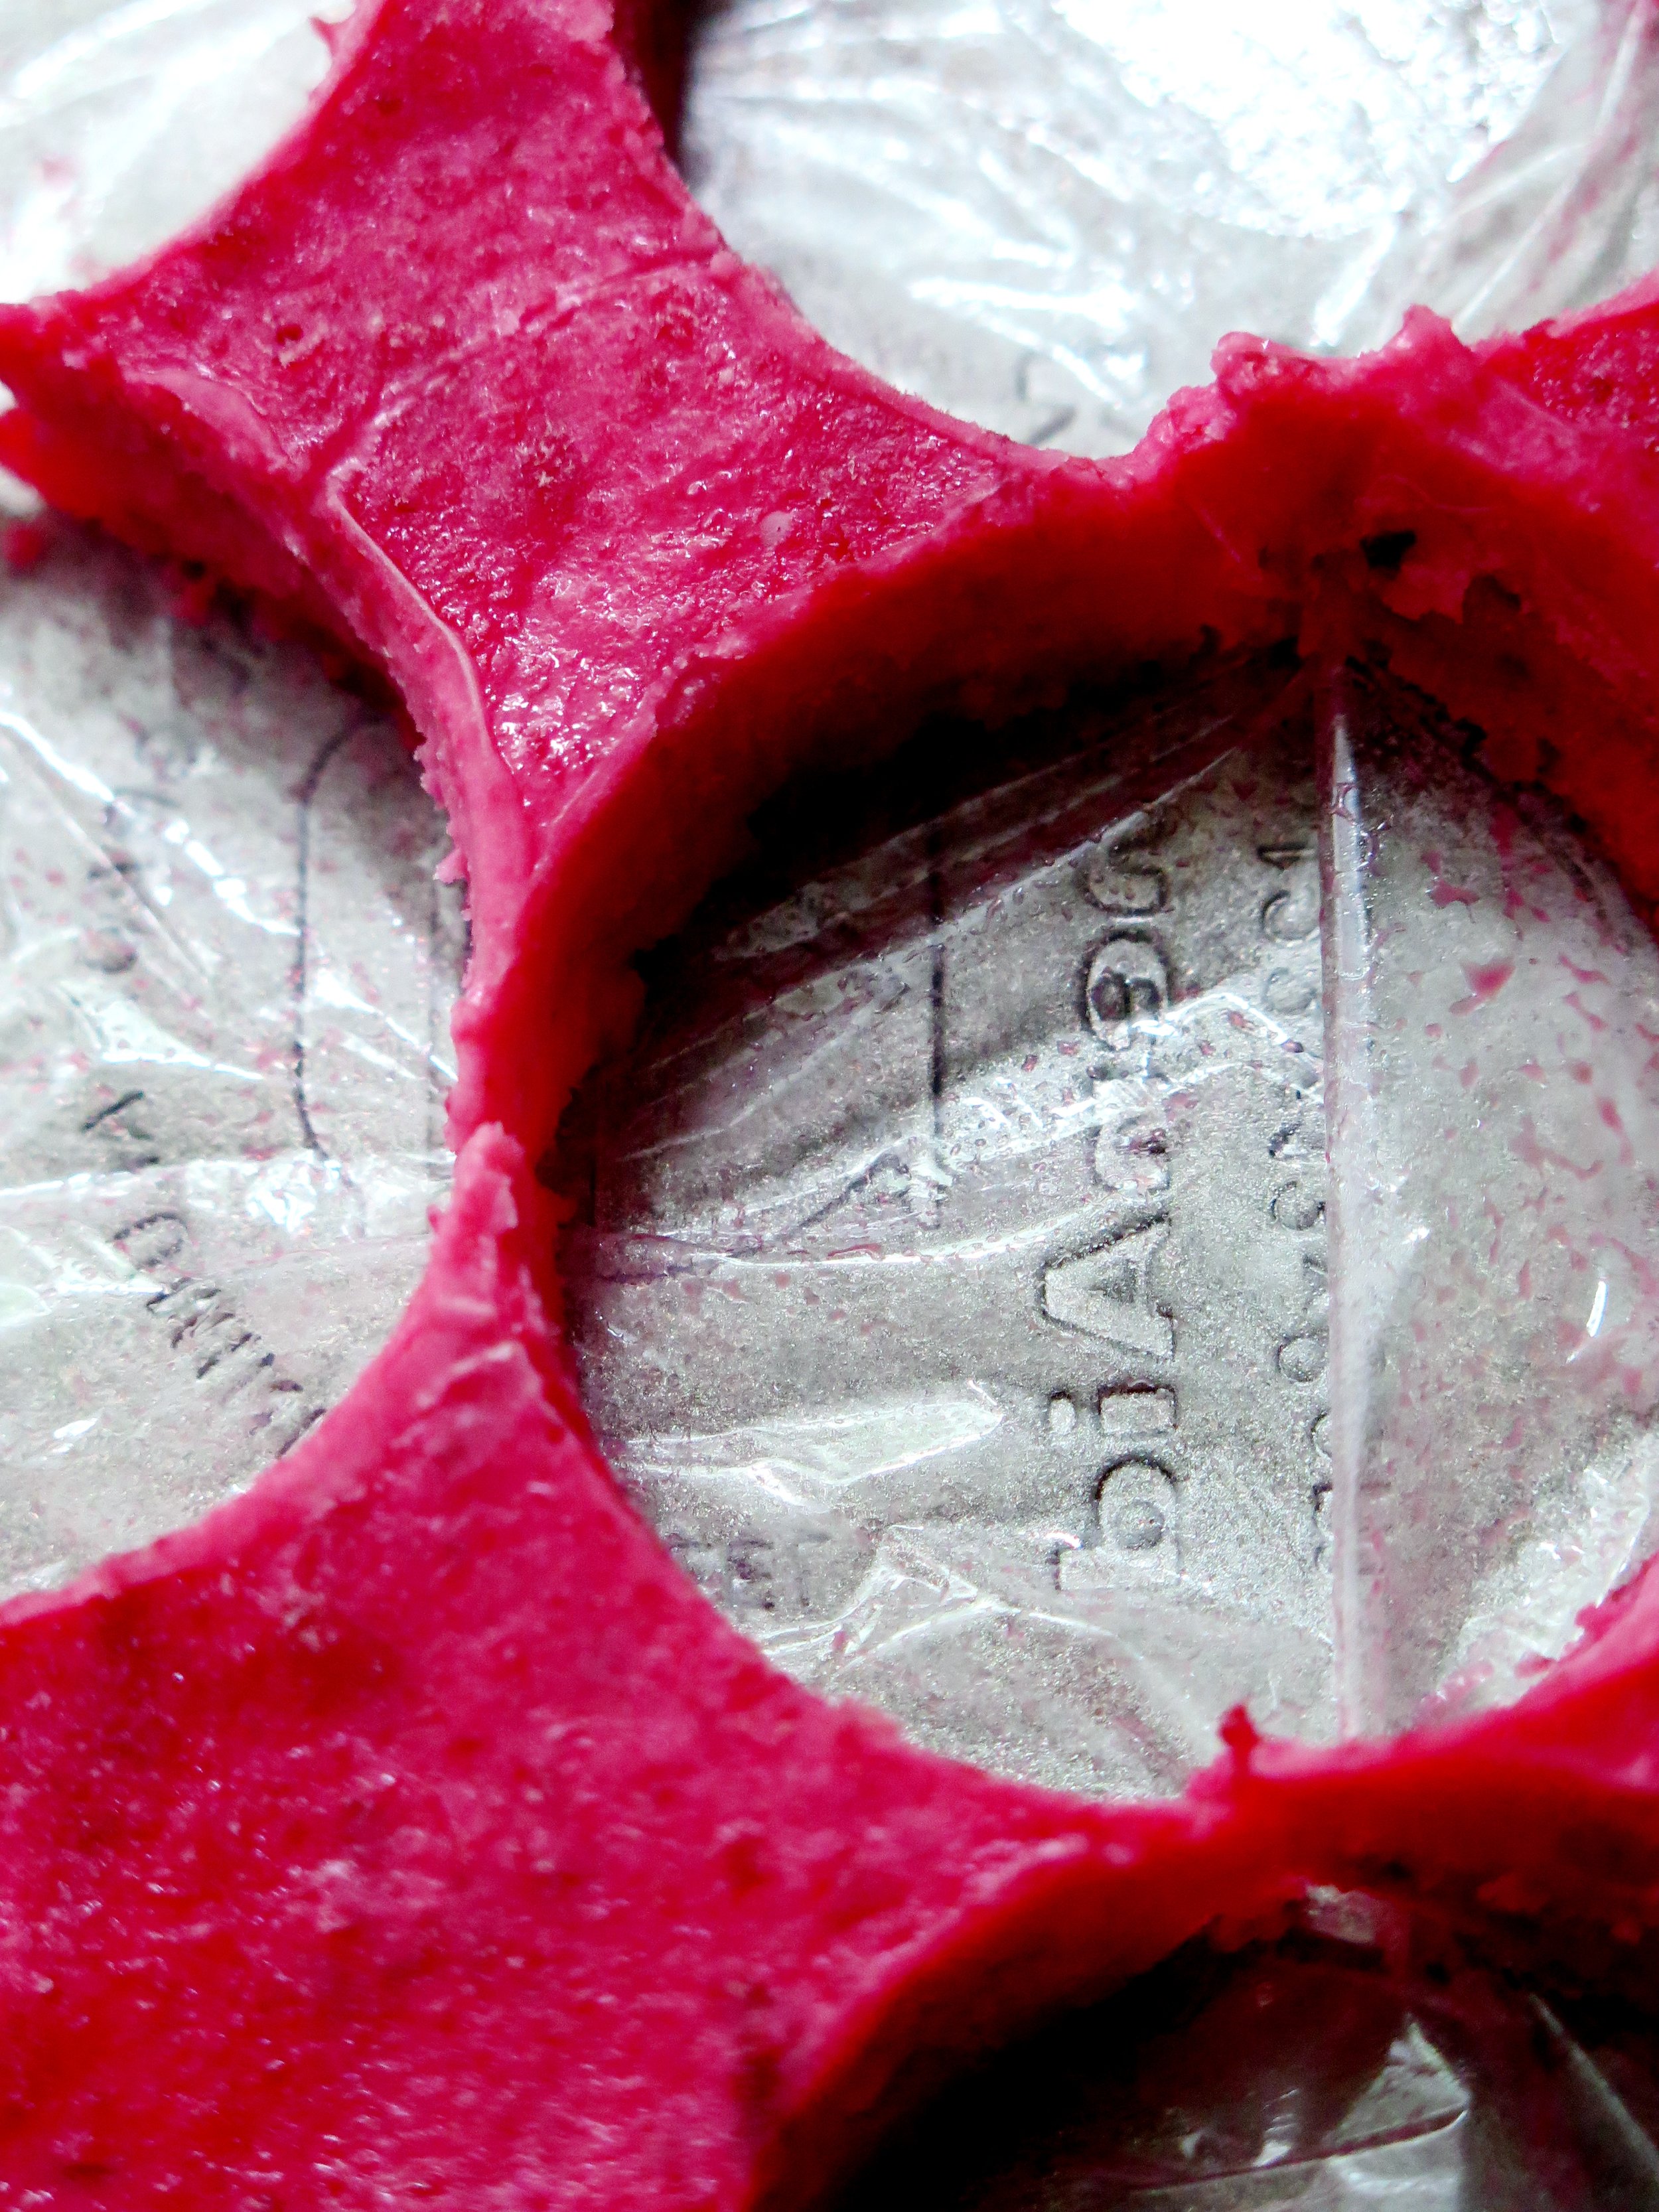
1 medium sized (18cm x 28cm approx.) loaf tin, lined with cling film
Almond Biscuit
160g butter, at room temperature
2 egg yolks
10 drops almond extract
210g plain flour
50g sugar
1tsp vanilla extract
¼ tsp salt
1 large baking tray lined with baking parchment
4.5/5cm circular cookie cutter or wine glass
Method
Cherry & Yuzu Frozen Yoghurt
- Place cherries and sugar in a small pan over a high heat. Stir occasionally to prevent sugar from burning. When enough liquid has run out from the cherries to coat the base of the pan and it begins to boil, reduce heat to medium. Allow to simmer for 10 minutes until the liquid from the cherries has reduced and is just slightly thicker than maple syrup.
- Allow the cherries and syrup to cool then blitz them together with the yuzu, almond extract and yoghurt until smooth. If you are using an ice cream maker, chill the mixture and then churn according to the manufacturer’s instructions. Otherwise, proceed to step 3.
- Pour the mixture into the cling film-lined loaf tin, and smooth the surface with a spatula. Place in freezer for 1-2 hours until solid.
Almond Cookies
- Beat the butter in a mixer (or by hand) until light and fluffy. Into this, beat the almond extract, vanilla extract and egg yolks.
- In a separate bowl, mix together flour, sugar and salt. Stir this into the butter mixture until a dough forms.
- Flatten the dough into a disk, wrap in baking parchment and place in freezer for 15 minutes (or fridge for 30 minutes).
- Preheat oven to 160˚C.
- On a floured surface, roll out the dough to 7mm thickness. Using the cookie cutter, cut the dough into the discs and place on lined tray.
- Bake for 7-10 minutes until cooked all the way through but still pale. Allow to cool.
Assembly
Remove the loaf tin containing the frozen yoghurt from the freezer. Using the cookie cutter, cut the frozen yoghurt into discs and sandwich each disc between two almond biscuits. Store these in an airtight container and return to the freezer until ready to serve.
 Last year I spent a week in the middle of nowhere, in freezing cold, exercising over 6 hours a day in mud/gales/snow/hail, under the supervision of ex-military trainers who pushed me physically beyond my limits until every last droplet of sweat had been purged. My fellow “bootcampers” included a fresh out of prison and rehab drug dealer/addict, a morbidly obese woman who refused to communicate with anyone, a creepy London shop owner, a z-list celebrity from a certain Chelsea based reality TV show, whose ego was undeservedly overblown, and some poor guy whose father had told him he was going on a spa retreat in Spain but despatched him instead into gruelling and bleak middle England.
Our diet was heavily regimented, too: no sugar, no caffeine, no alcohol, and nothing processed. Despite its virtuousness, it was delicious - fresh, wholesome and innovative - all cooked by an ex-OXO Tower chef. Admittedly, food is the first thing I think of when I wake up anyway, but this feeling became intensified at the camp, especially with a 6 o’clock alarm call, and two hours of torture before breakfast. No, it wasn’t a prison camp: I did this out of choice.
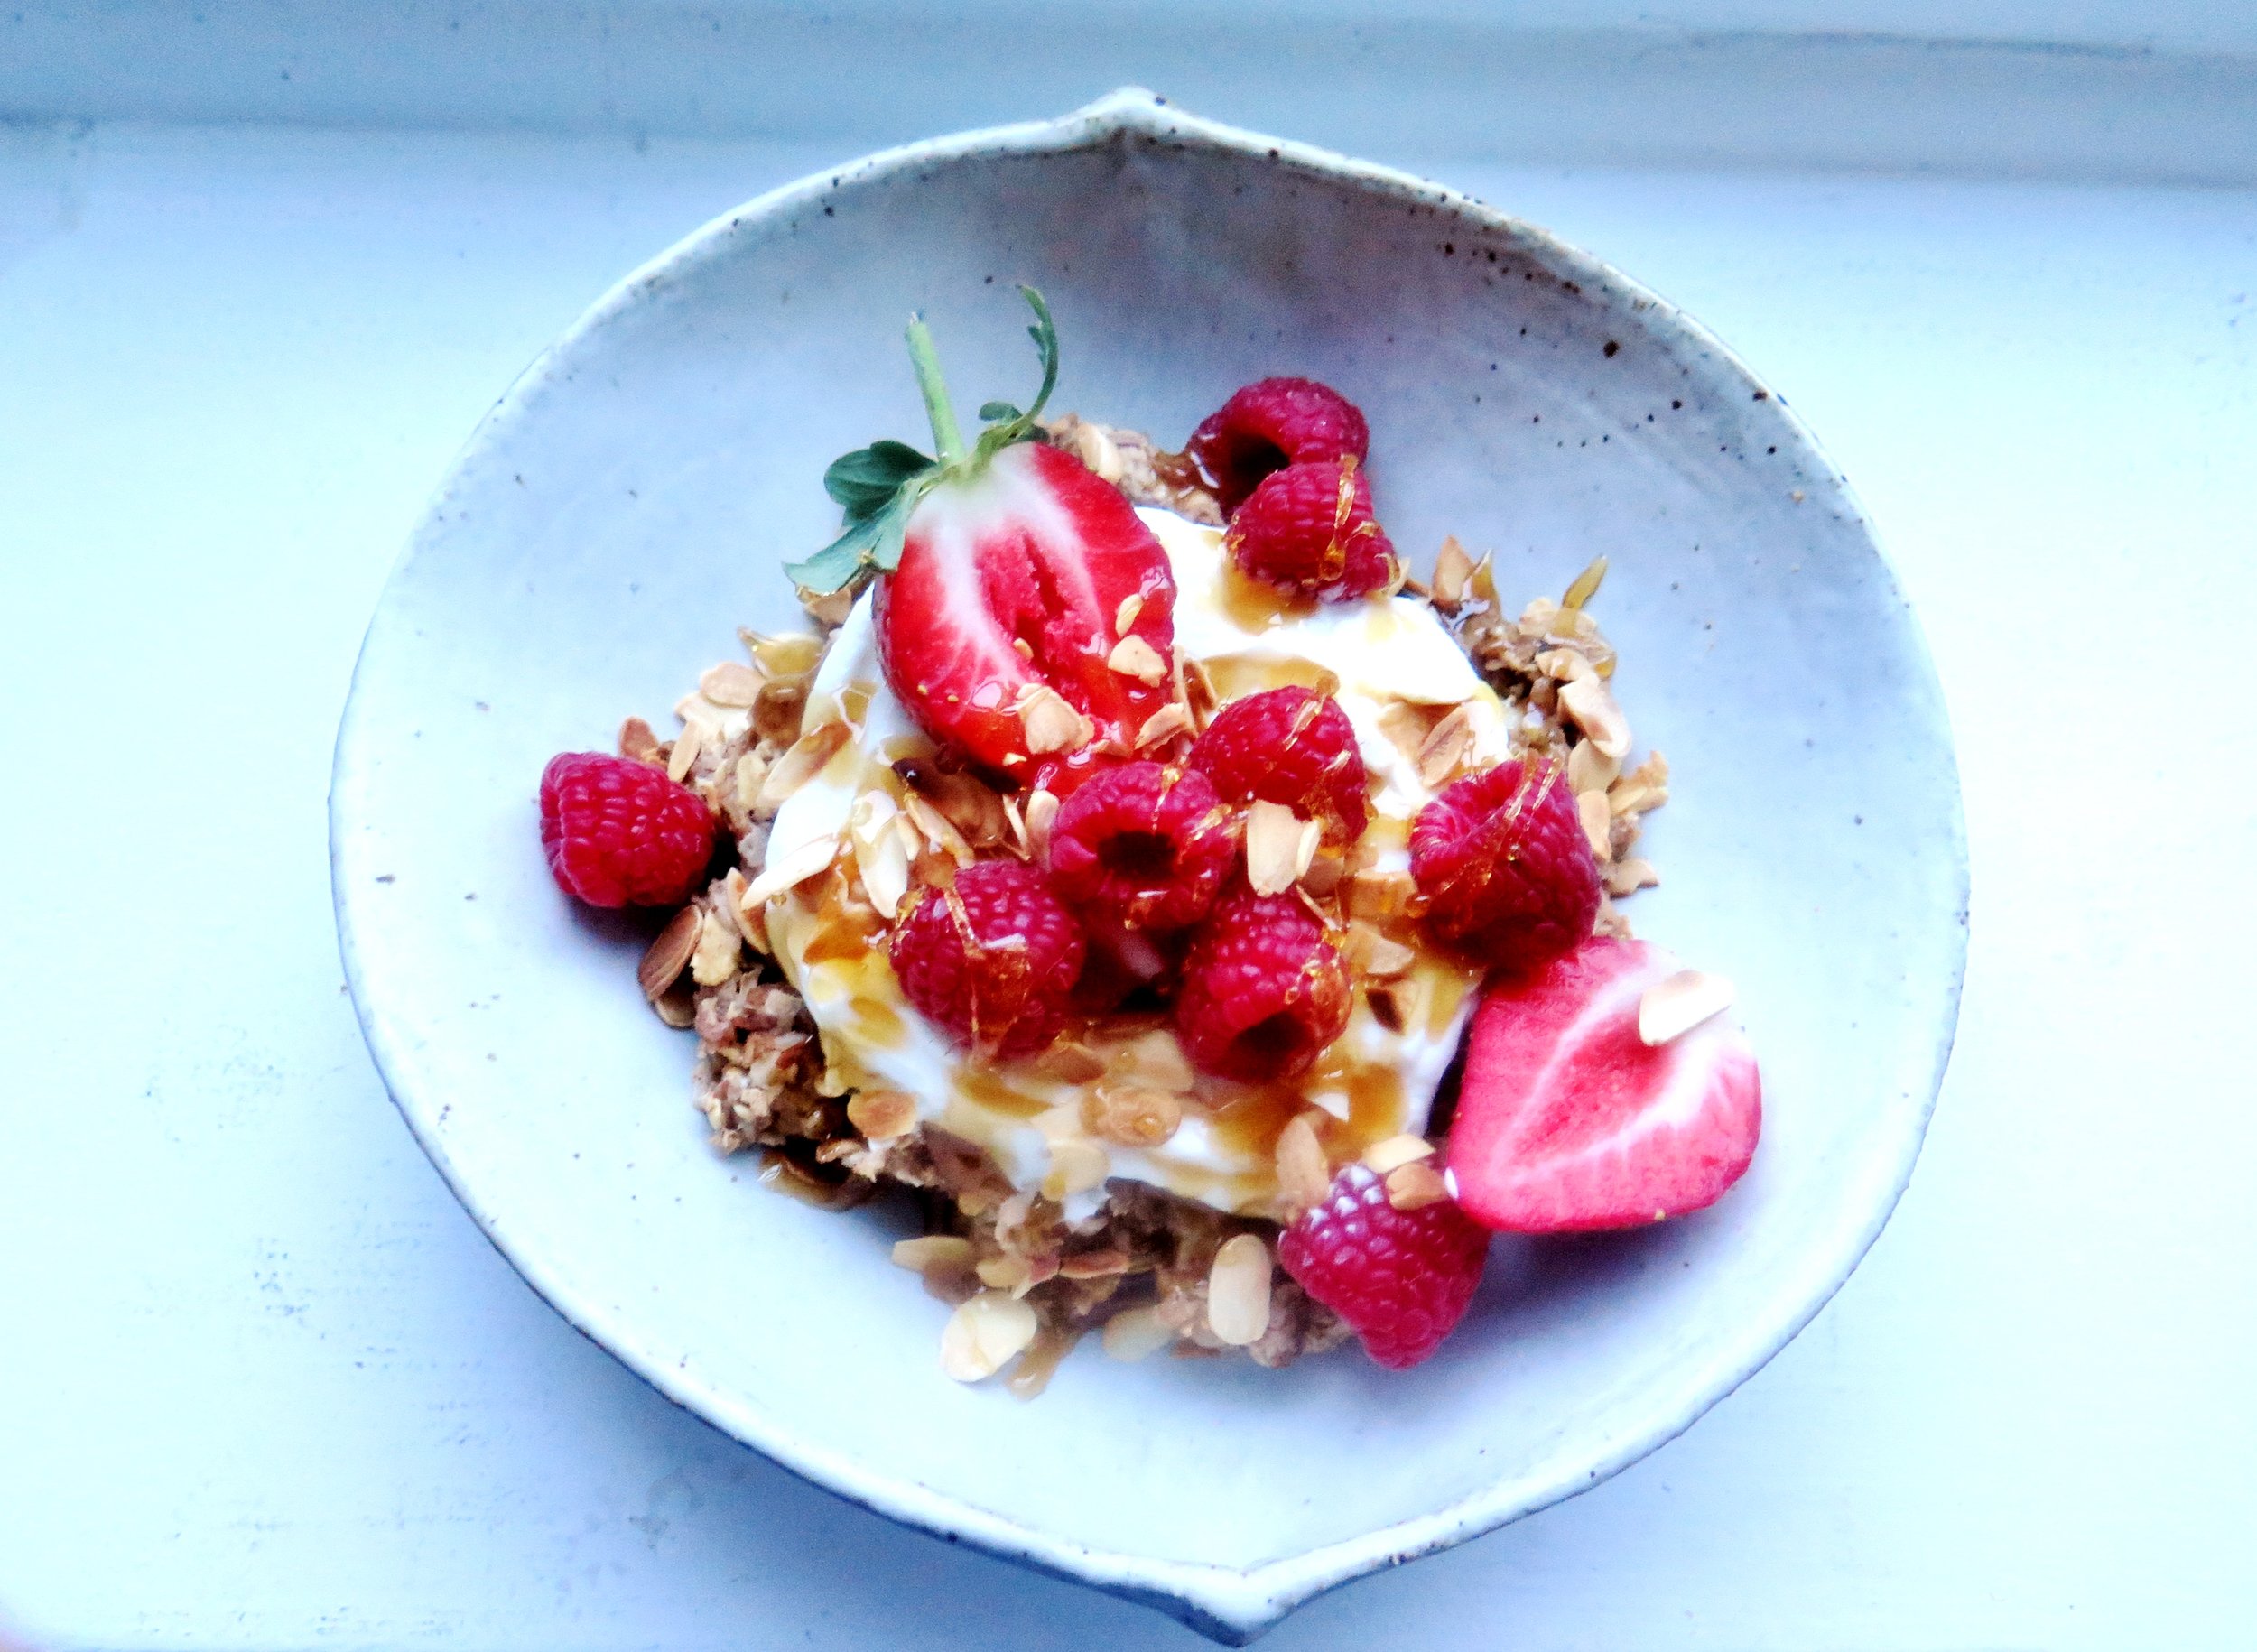
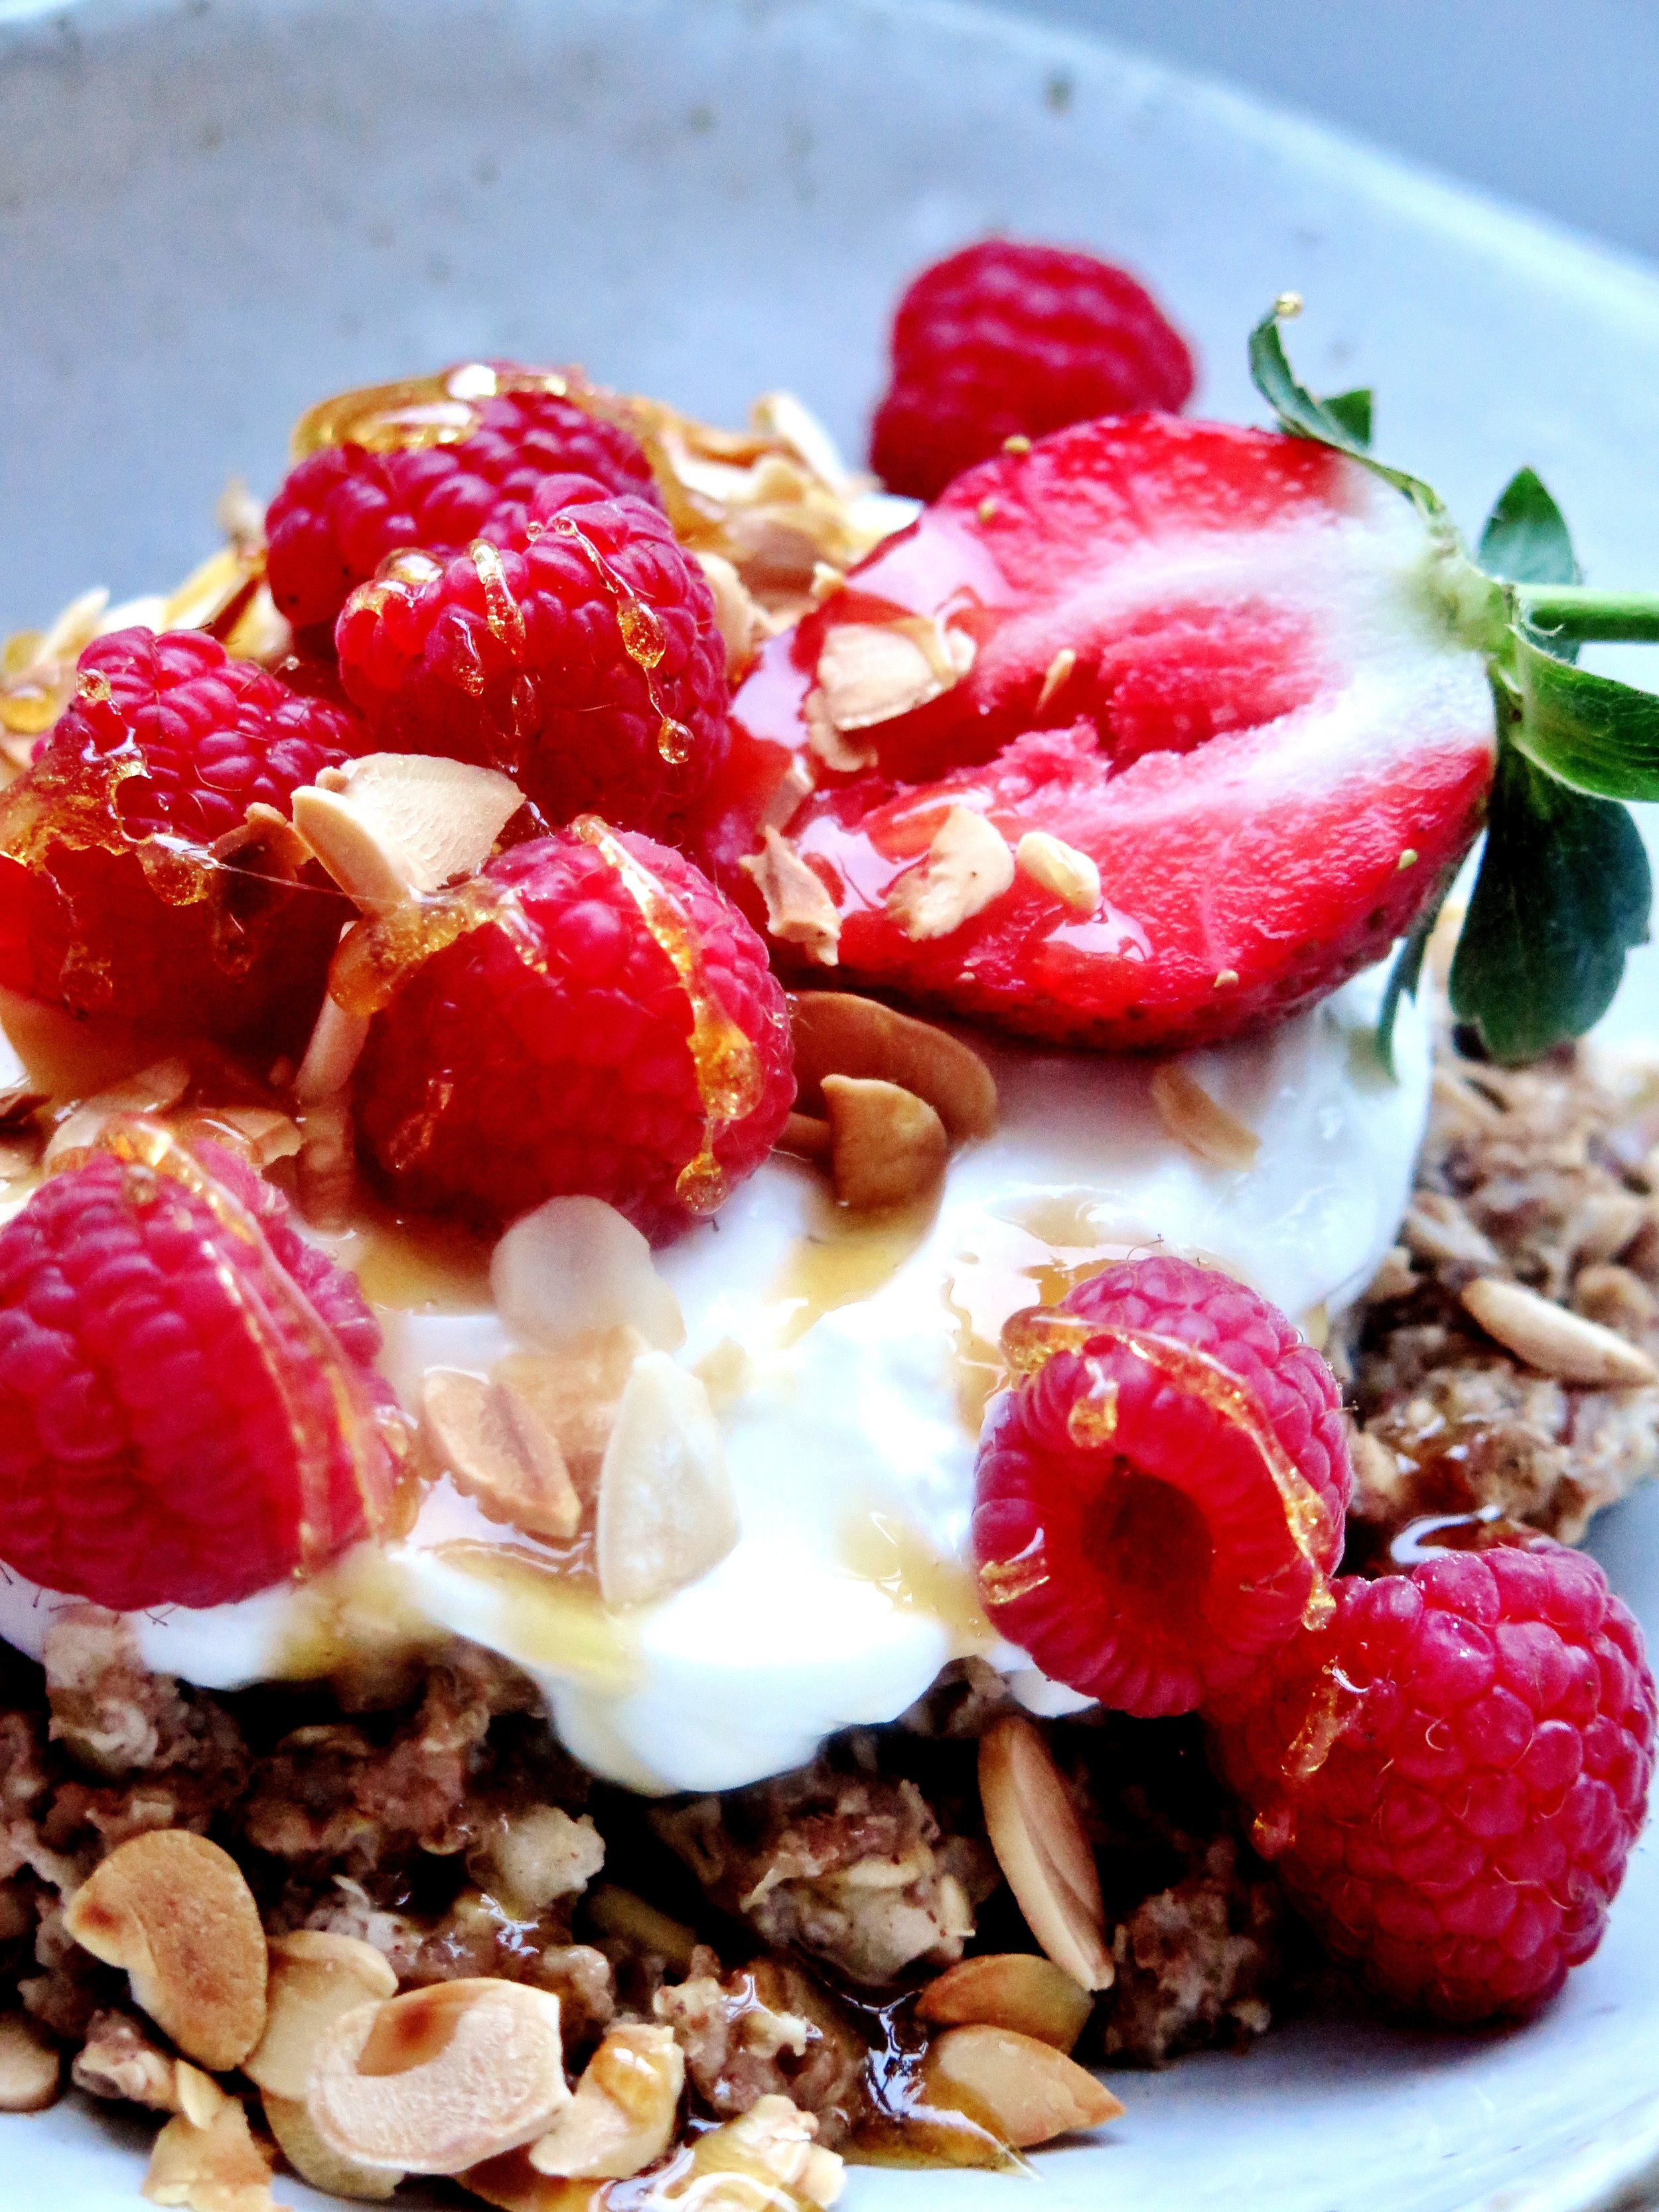
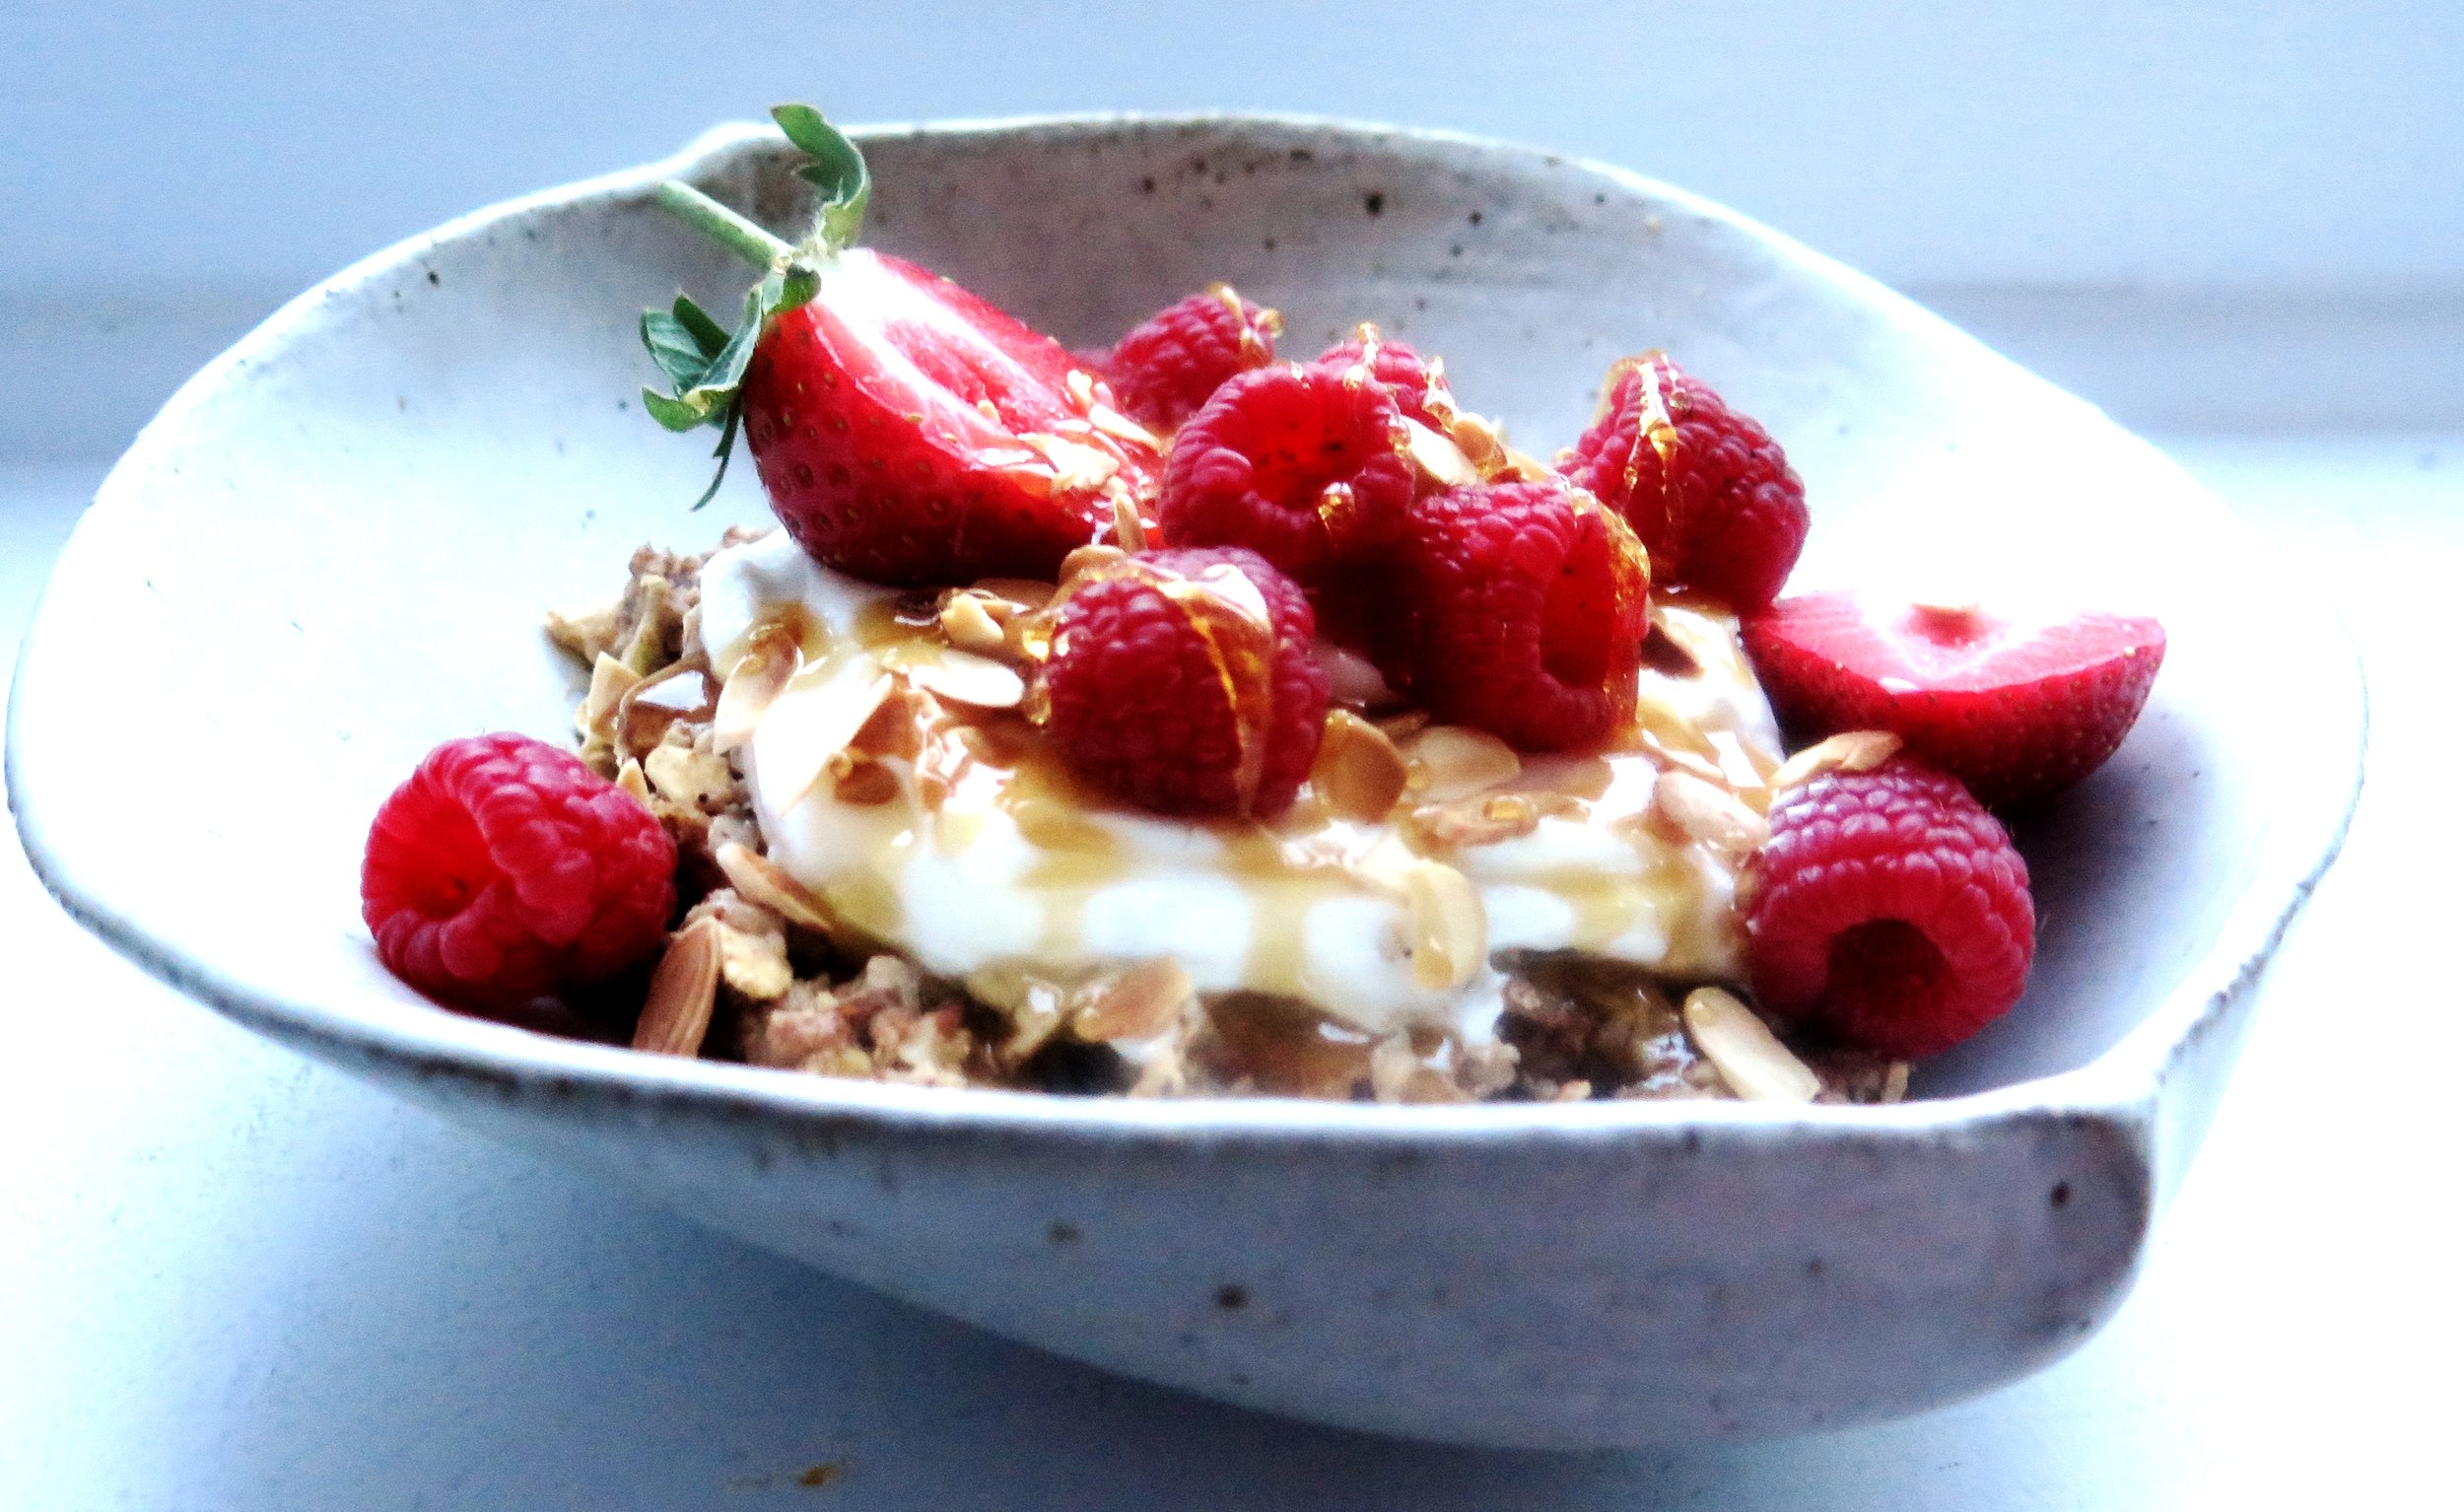
It was one of the only occasions when getting chummy with the chef didn’t reap any edible perks. I did , however, manage to glean the recipe for the breakfast highlight of the week: Bircher muesli. It traditionally has a fluid consistency and is made the night before to allow the oats to become plump with apple juice and yoghurt. This one breaks all the rules but is more delicious, healthier and a hundred times more convenient – most people (excluding me) spare little thought for breakfast, let alone prepare for it the night before.
This recipe is dairy-free and sugar-free simply because I think it’s delicious that way, but feel free to use dairy equivalents, and add some maple syrup if you’re that way inclined – it works equally well. It can also be made gluten-free – just use the appropriate muesli brand.
Ingredients (serves 2)
Muesli
2 cups sugar-free muesli
1 Braeburn apple, grated and sprinkled with 1 tsp lemon juice (this will prevent it oxidising and going brown)
¼ tsp vanilla bean paste
1 tsp cinnamon
¼ cup coconut yoghurt (or Greek yoghurt)
3 tbsp coconut milk (or dairy)
2 tbsp apple juice
(1 tbsp maple syrup – optional)
Topping
¼ cup coconut yoghurt
100g raspberries
A handful of strawberries
2 tbsp flaked almonds, toasted in a dry pan over a medium heat for a few minutes until pale brown
Method
- Stir together all topping ingredients. It should be of a thick consistency but feel free to add another splash of coconut milk if you prefer. Leave for 10 minutes to allow the muesli to absorb the flavours.
- Top with yoghurt, and scatter with berries and flaked almonds. Drizzle with maple syrup if you like.
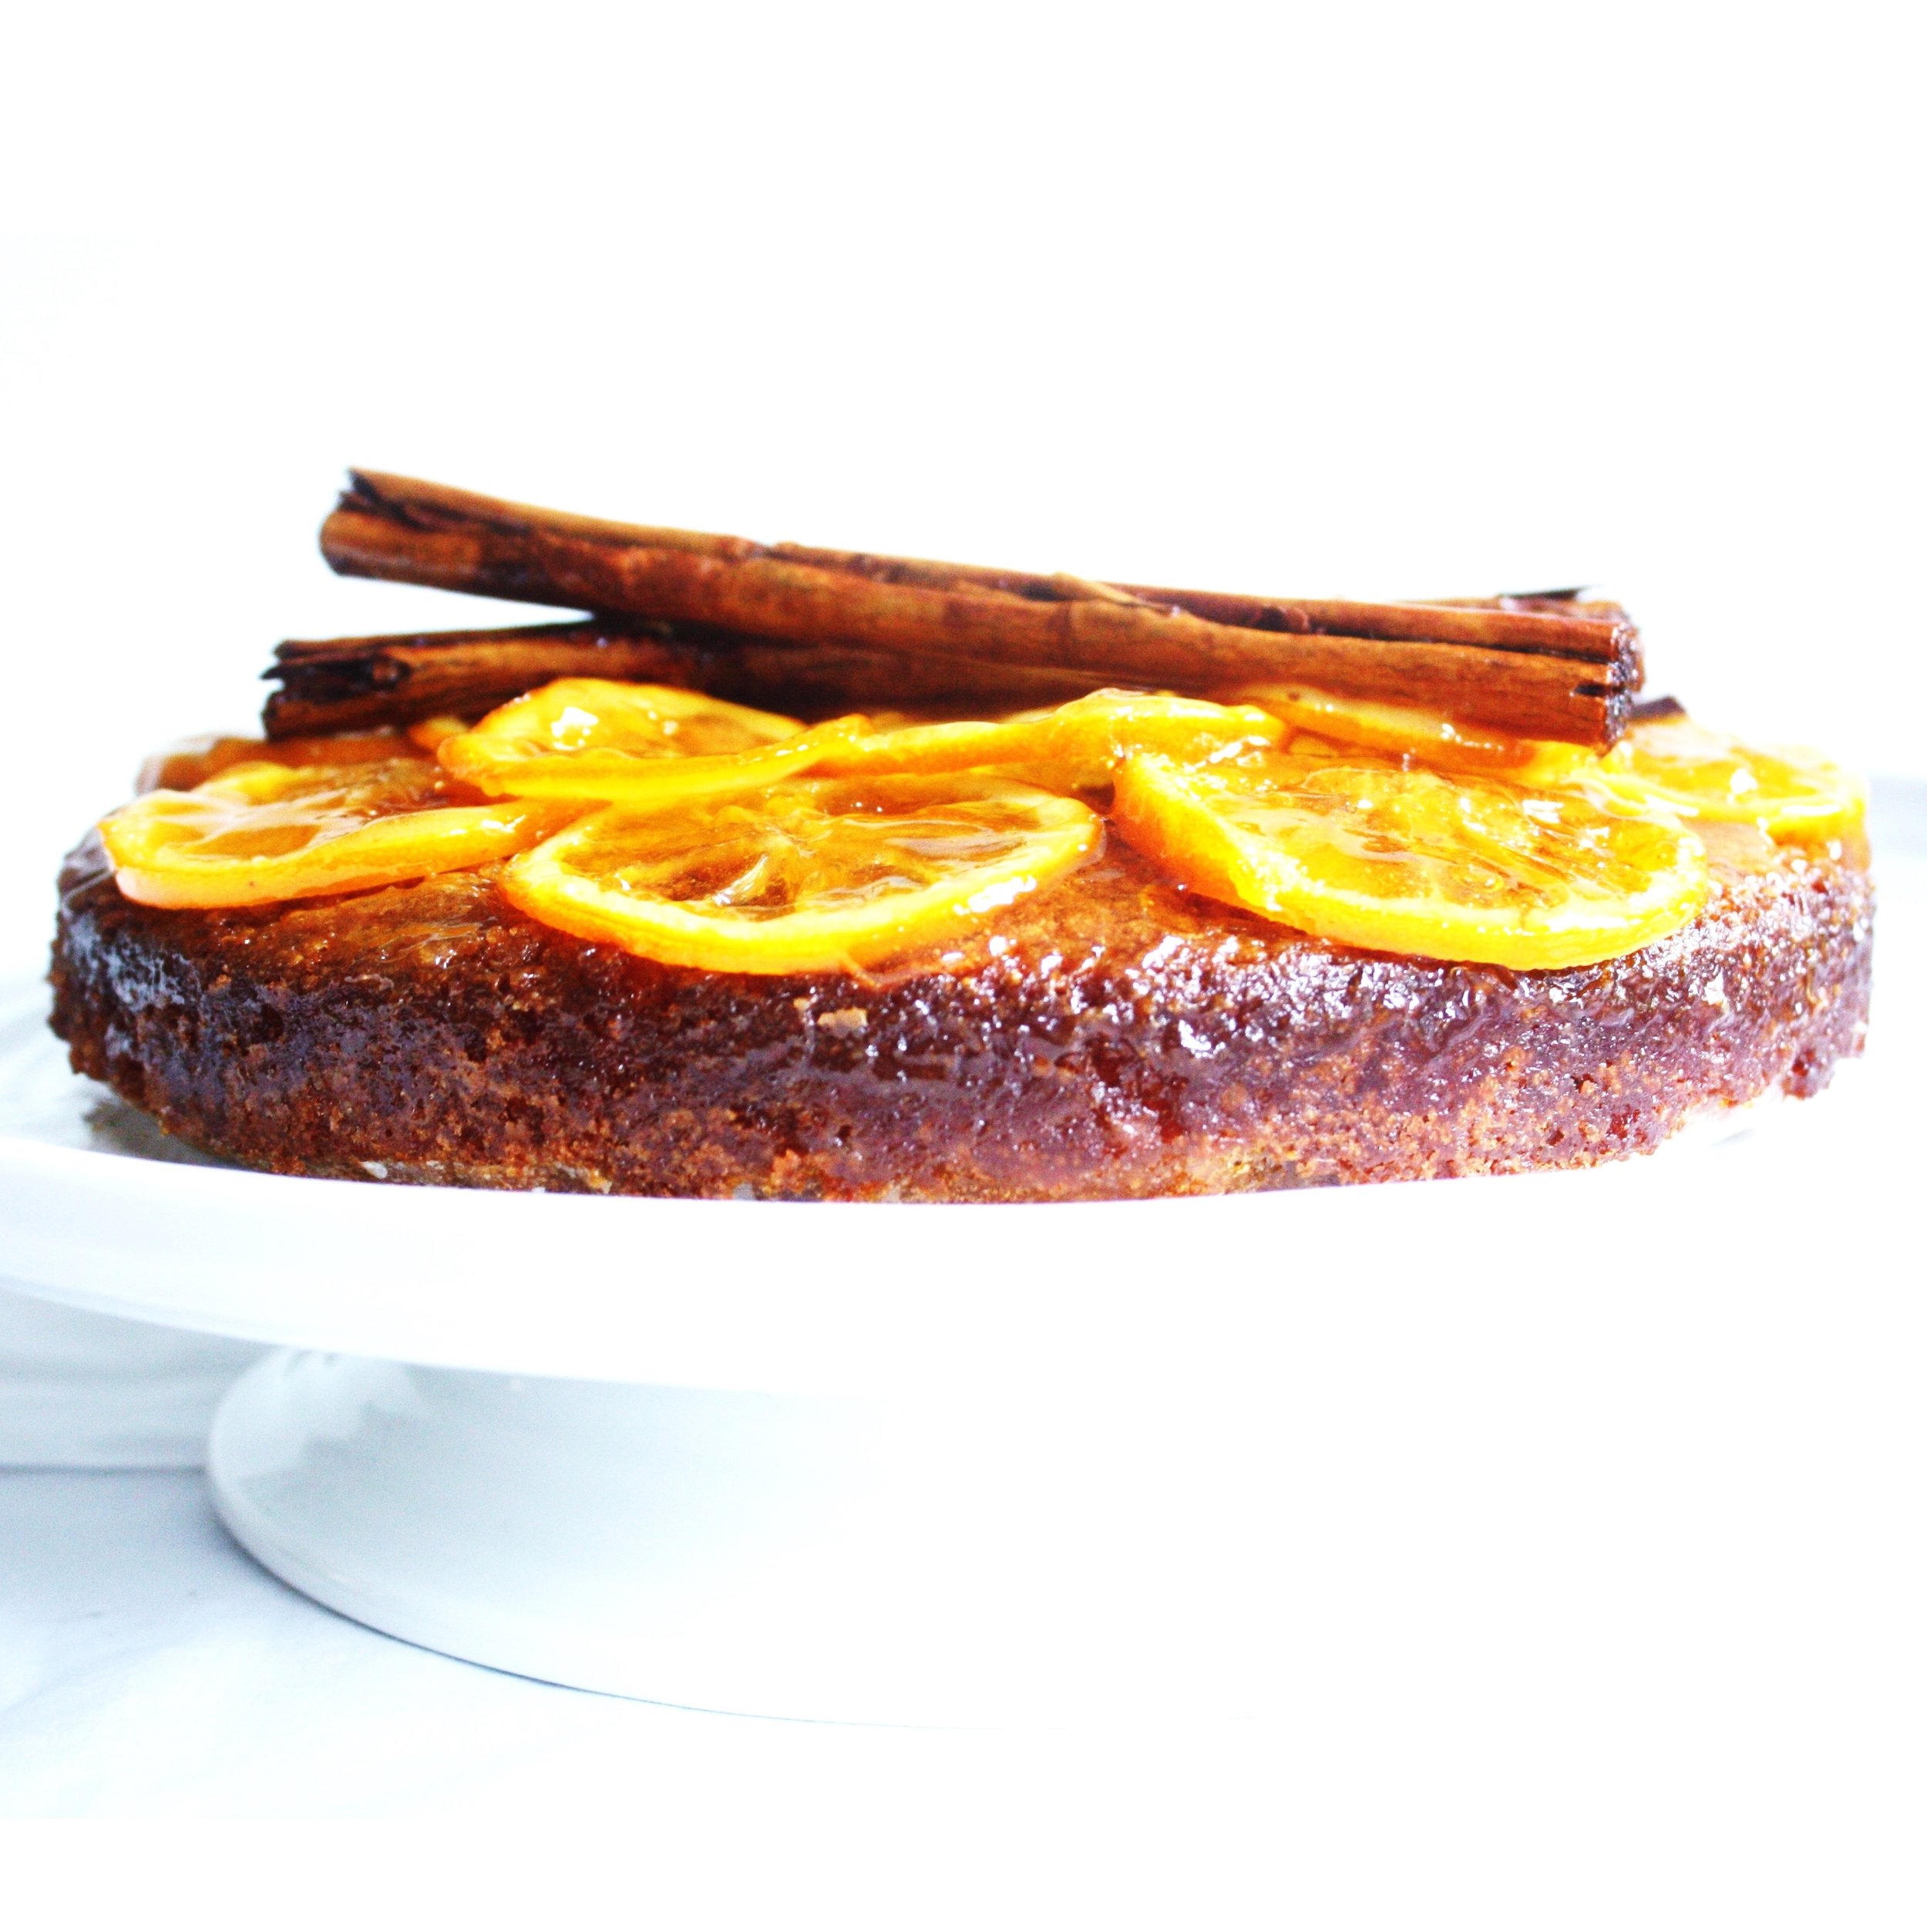
 This citrus syrup soaked almond cake takes me back to the Jemaa el-Fnaa, the central square of Marrakesh: the teeth pullers ready to pounce with their pliers, the snake charmers forcing a writhing snake scarf on your neck, and amongst this the orange juice vendors lined up, the citrus scents suffusing the air…
Incredibly easy and quick to make, this cake will last for several weeks if kept in a sealed container.
It can be made gluten free simply by using gluten-free bread crumbs.
The candied orange topping is optional.
Ingredients
Cake
50g stale/toasted white bread crumbs (gluten free can be used)
175g caster sugar
100g ground almonds
1 ½ tsp baking powder
200ml vegetable oil
4 eggs
Finely grated zest of 3 medium /2 large unwaxed oranges
Finely grated zest of 2 unwaxed lemons
1 tsp cinnamon (optional)
½ tsp vanilla extract
¼ tsp salt
Citrus syrup
Juice of 2 oranges
Juice of 1 ½ lemons
75g sugar
6 cloves
1 cinnamon stick
Optional Candied Orange
1 cup water
½ cup caster sugar
2 small unwaxed oranges sliced across the diameter 2mm thick
20cm diameter tin, lined with baking parchment
Method
Cake
- In a large bowl whisk together oil, eggs and orange and lemon zest until combined.
- In a separate large bowl mix all dry ingredients together.
- Pour wet mixture into dry and stir until combined. Pour into lined tin and place in cold oven & turn heat to 180˚C.
- Bake for 40-50 minutes or until skewer comes out clean.
Citrus syrup
- While cake is cooking pour all ingredients into pan & place on medium high heat. Stir until sugar has dissolved then let it simmer for 4 minutes until it has reduced slightly to a thin, non-viscose syrup.
- As soon as the cake is removed the oven stab it all-over with a skewer , don’t hold back. Pour the syrup over. It may initially look like it’s drowning, but it will rapidly be absorbed.
- Serve when cool.
Optional candied orange layer
- In a large frying pan stir together sugar and water until sugar has dissolved.
- simmer for 3 minutes then add orange slices. Don’t worry if they overlap.
- Simmer on medium-low heat for 15 minutes, or until the skin of the orange is translucent.
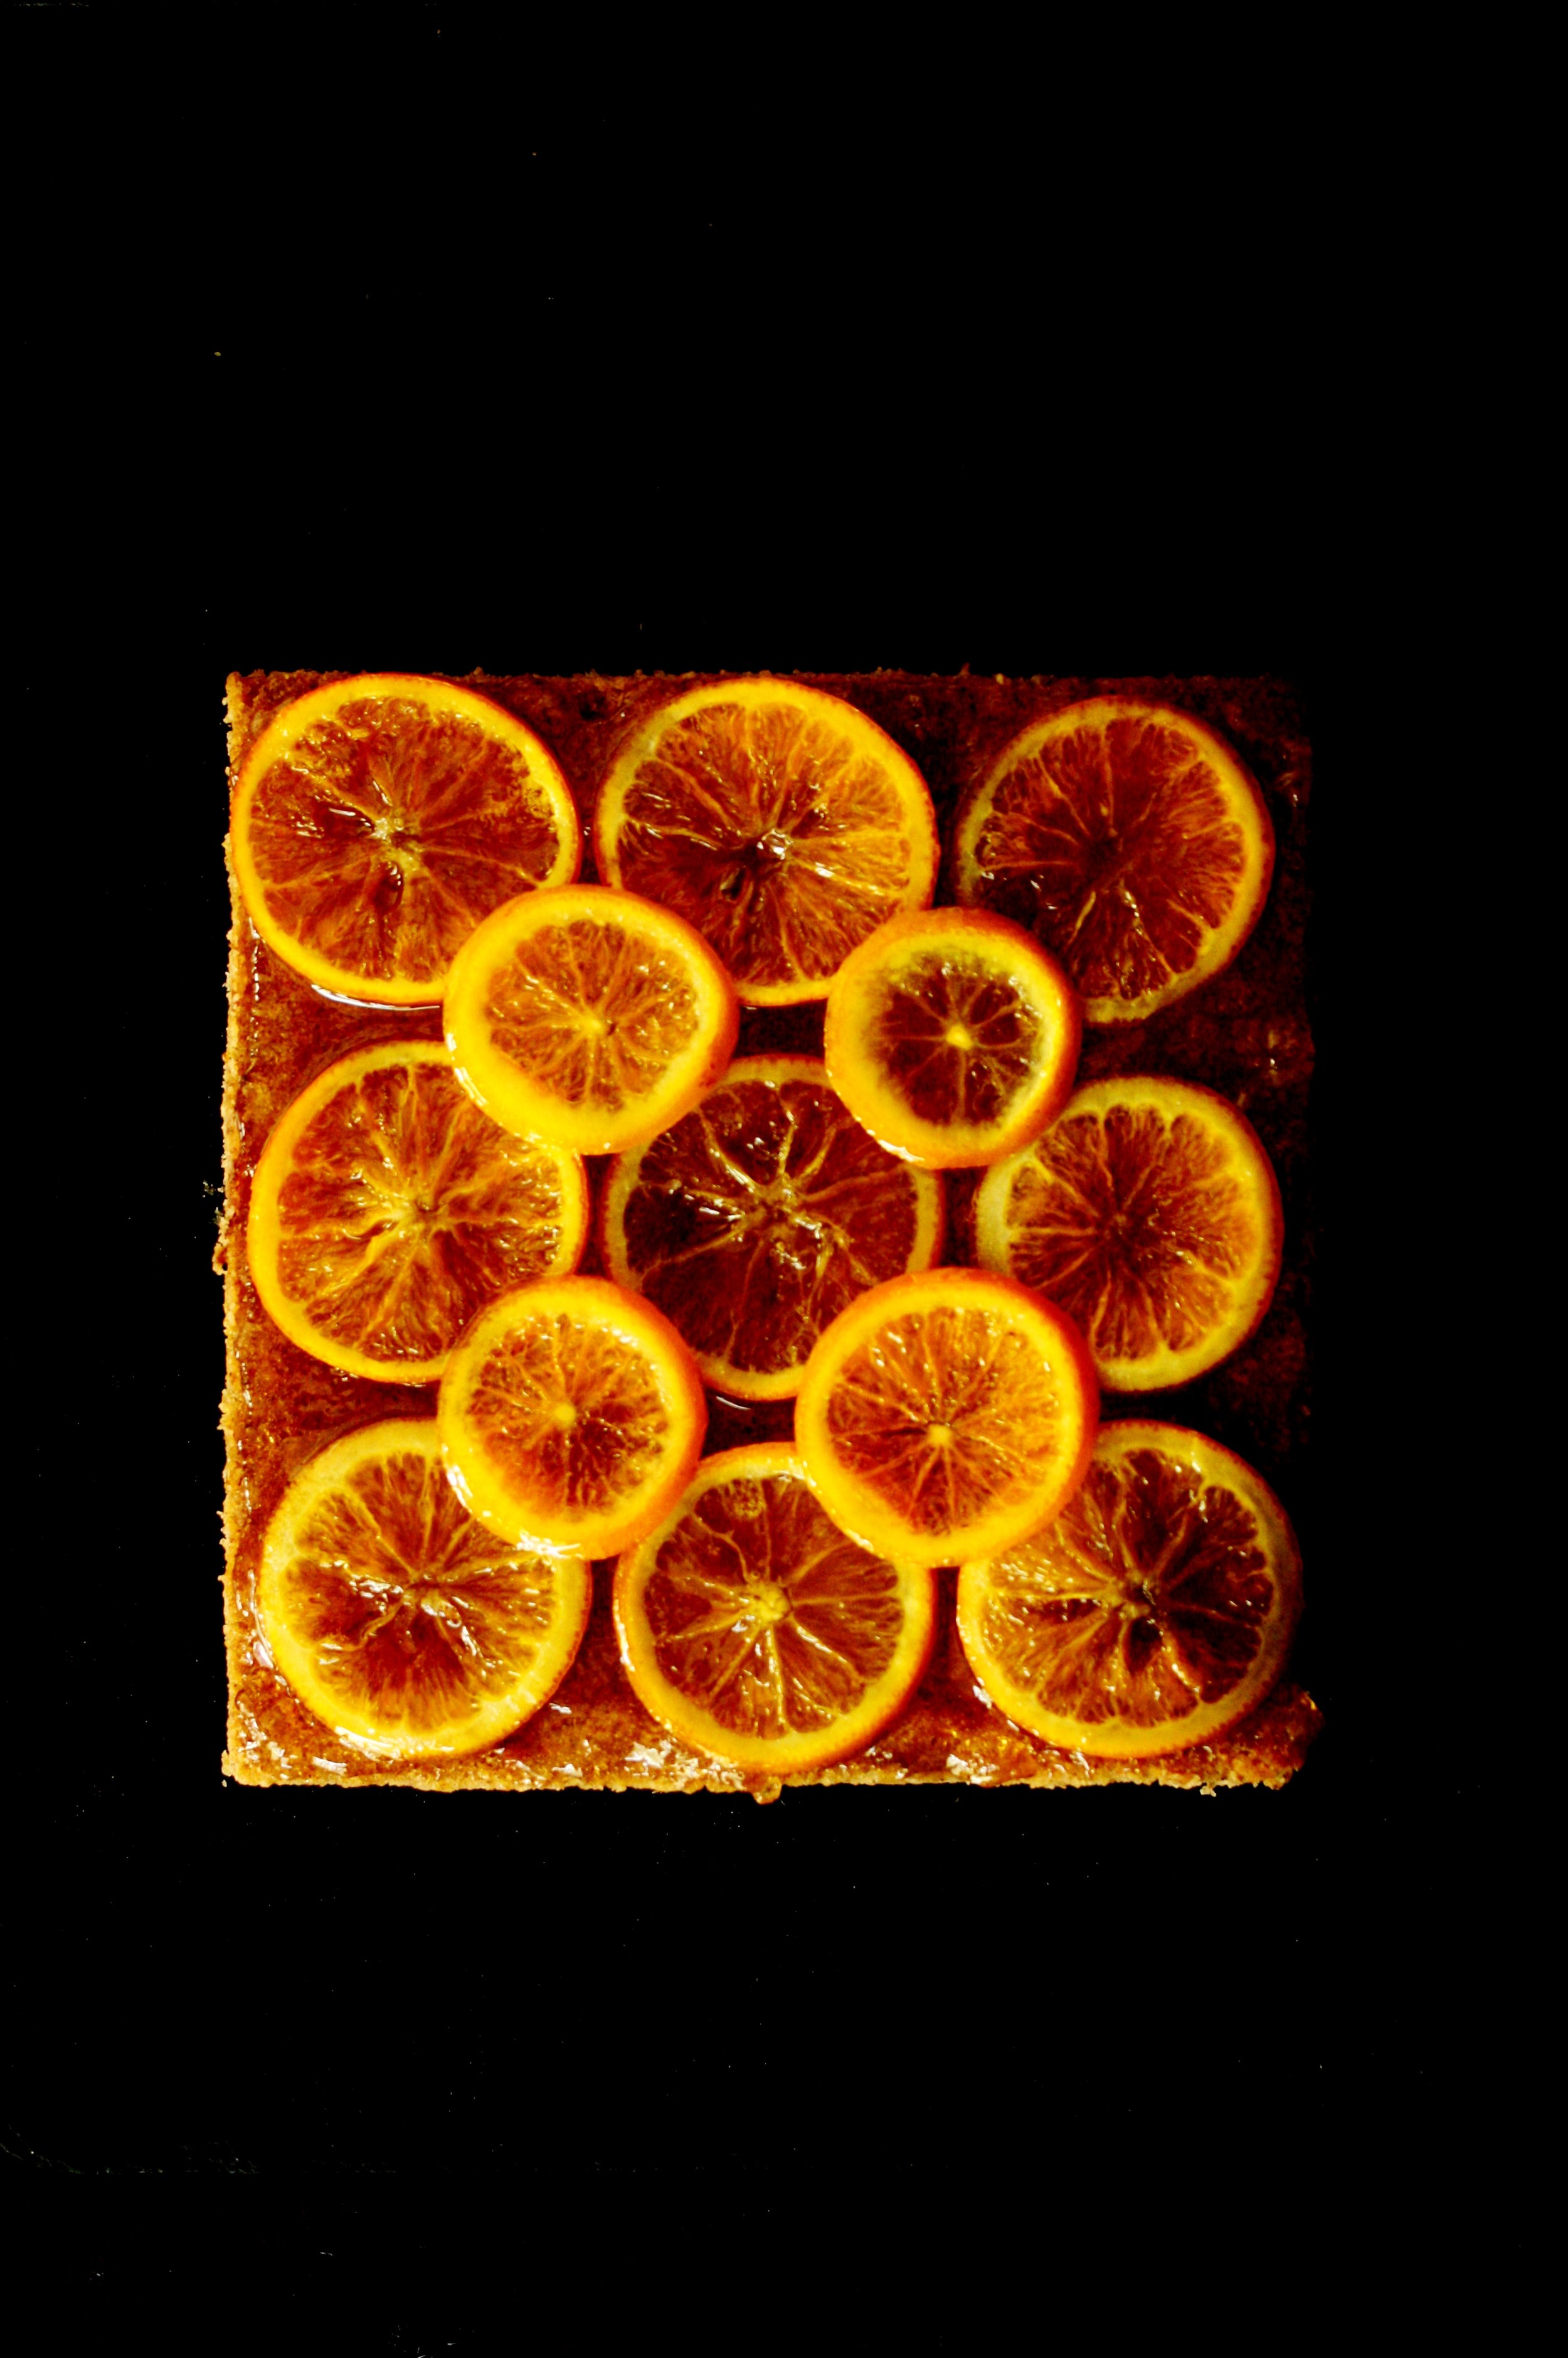
- Arrange as desired.
(recipe influenced by Sophie Grigson)

