Viewing entries tagged
celebrations

Triple Layer Chocolate, Coffee, Vanilla Cake

Comment

Triple Layer Chocolate, Coffee, Vanilla Cake

fullsizeoutput_848.jpeg
fullsizeoutput_809.jpeg

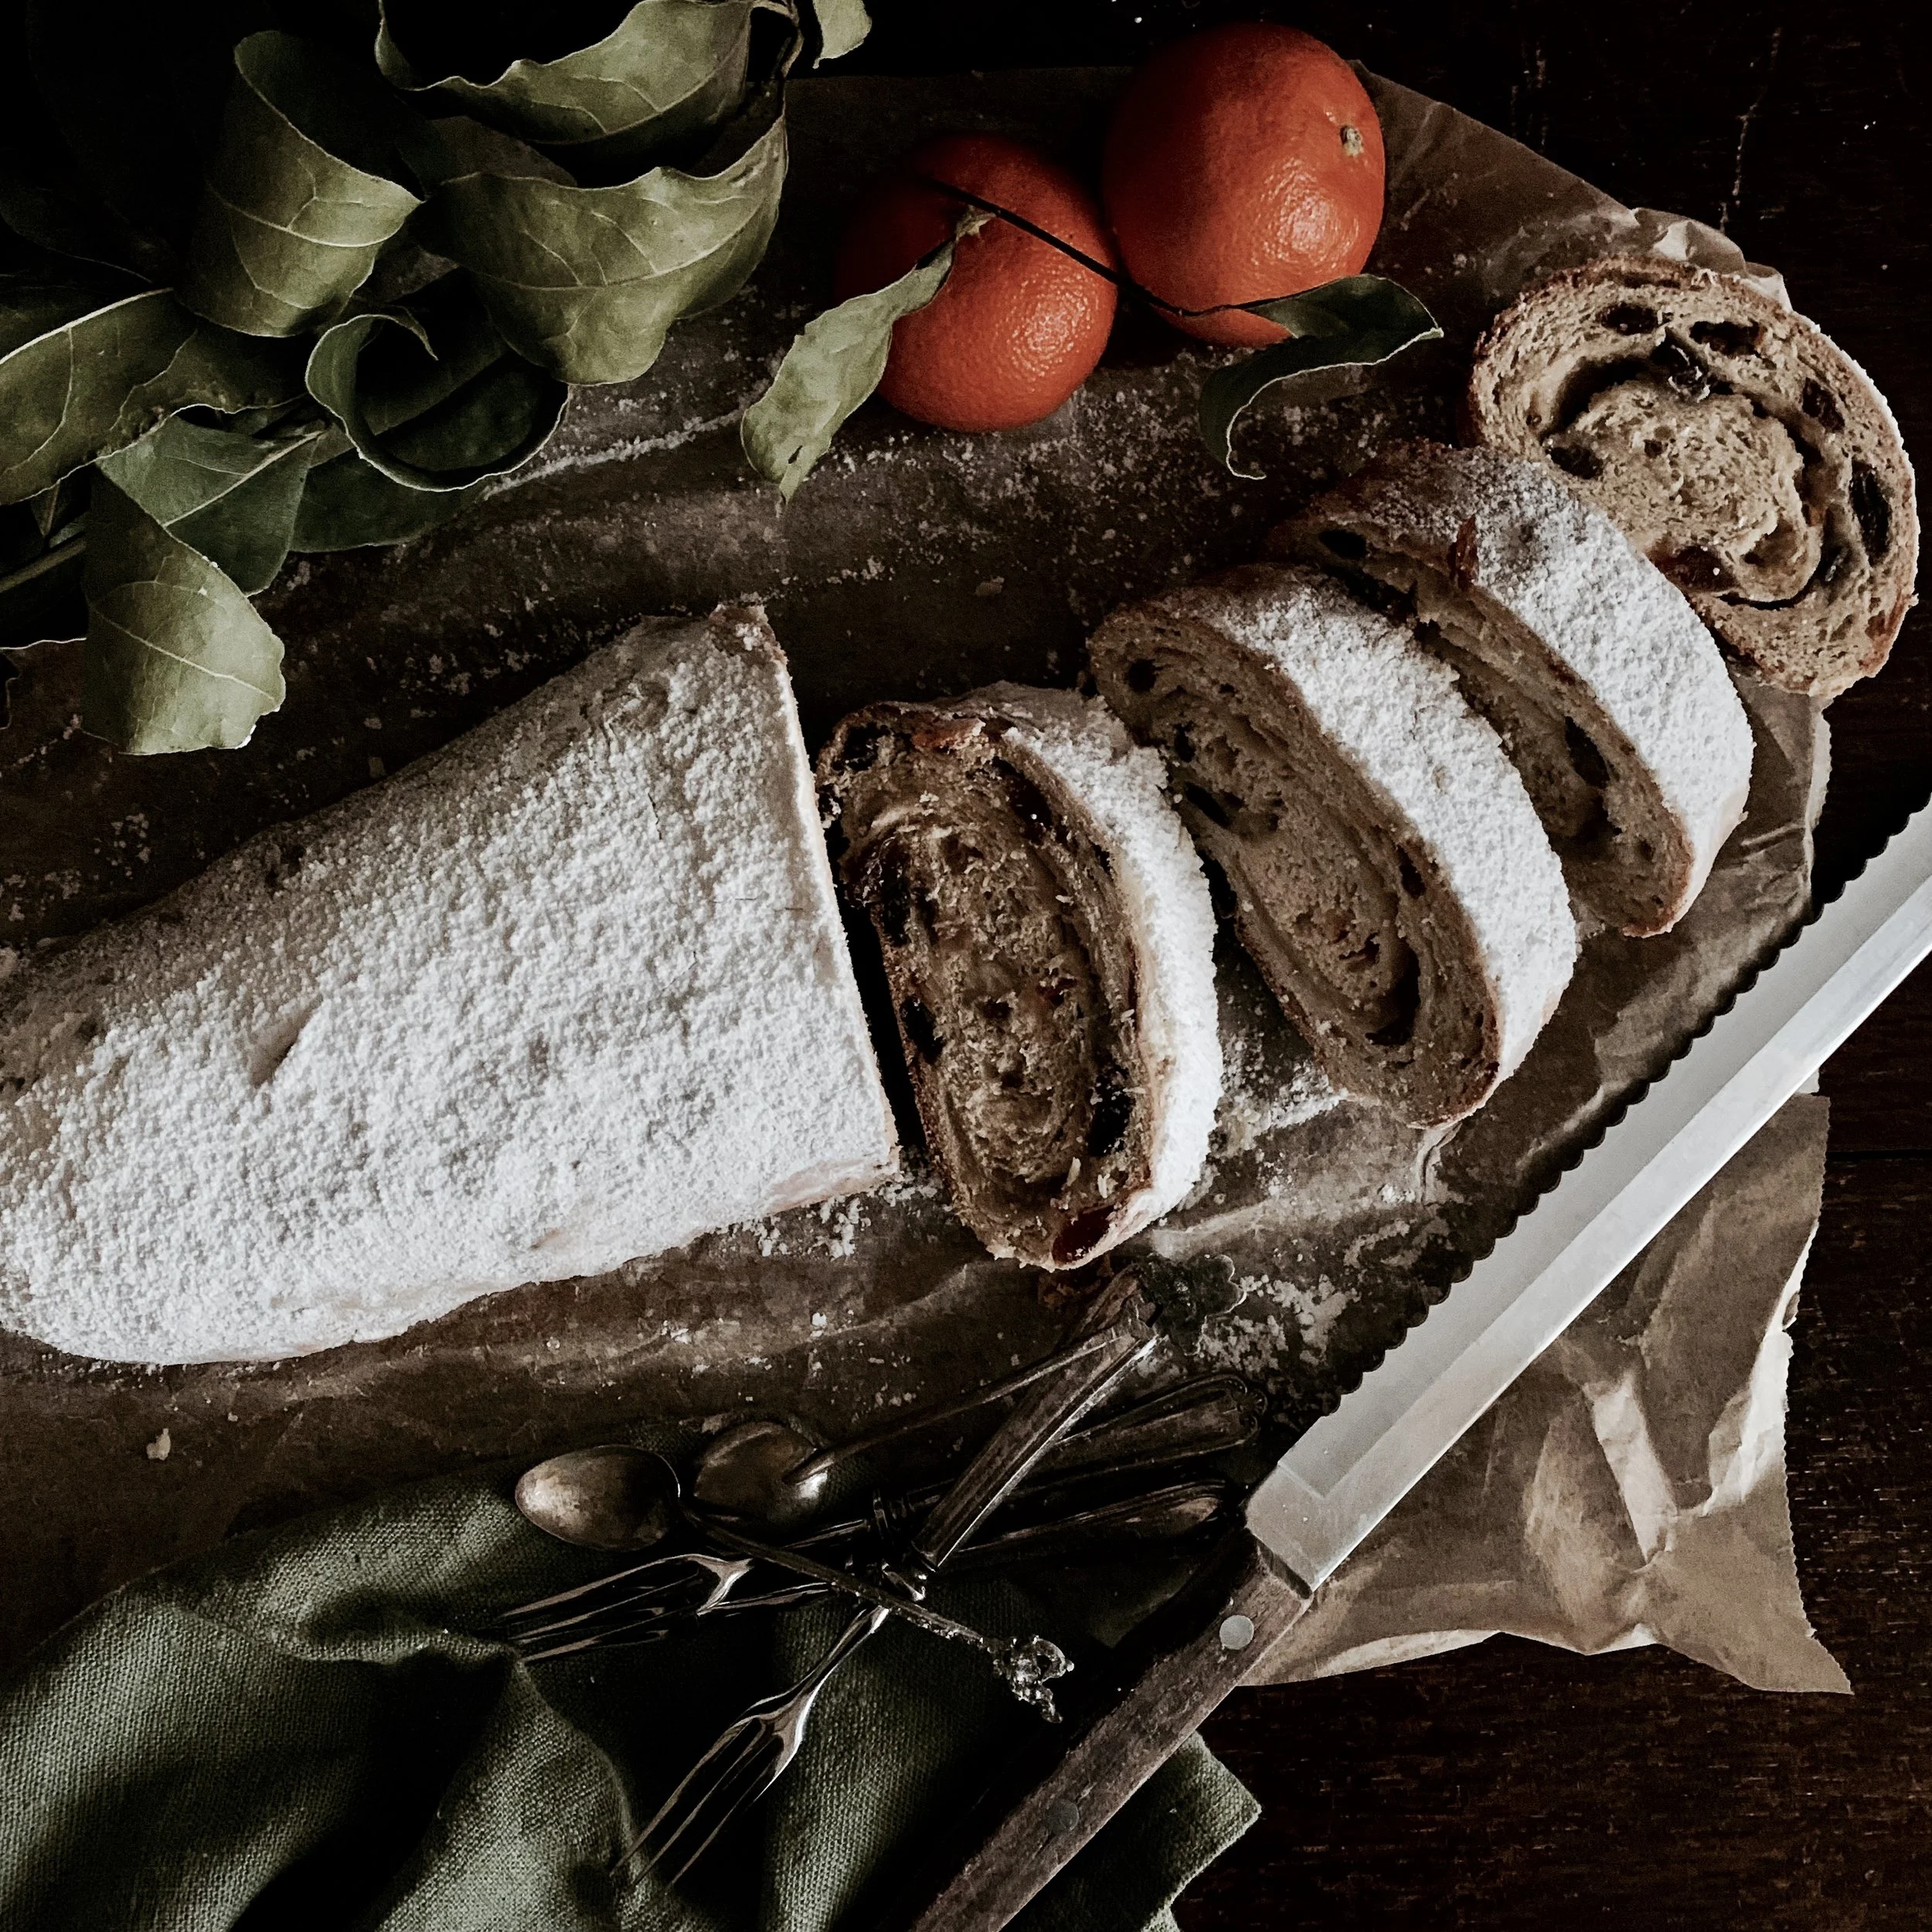
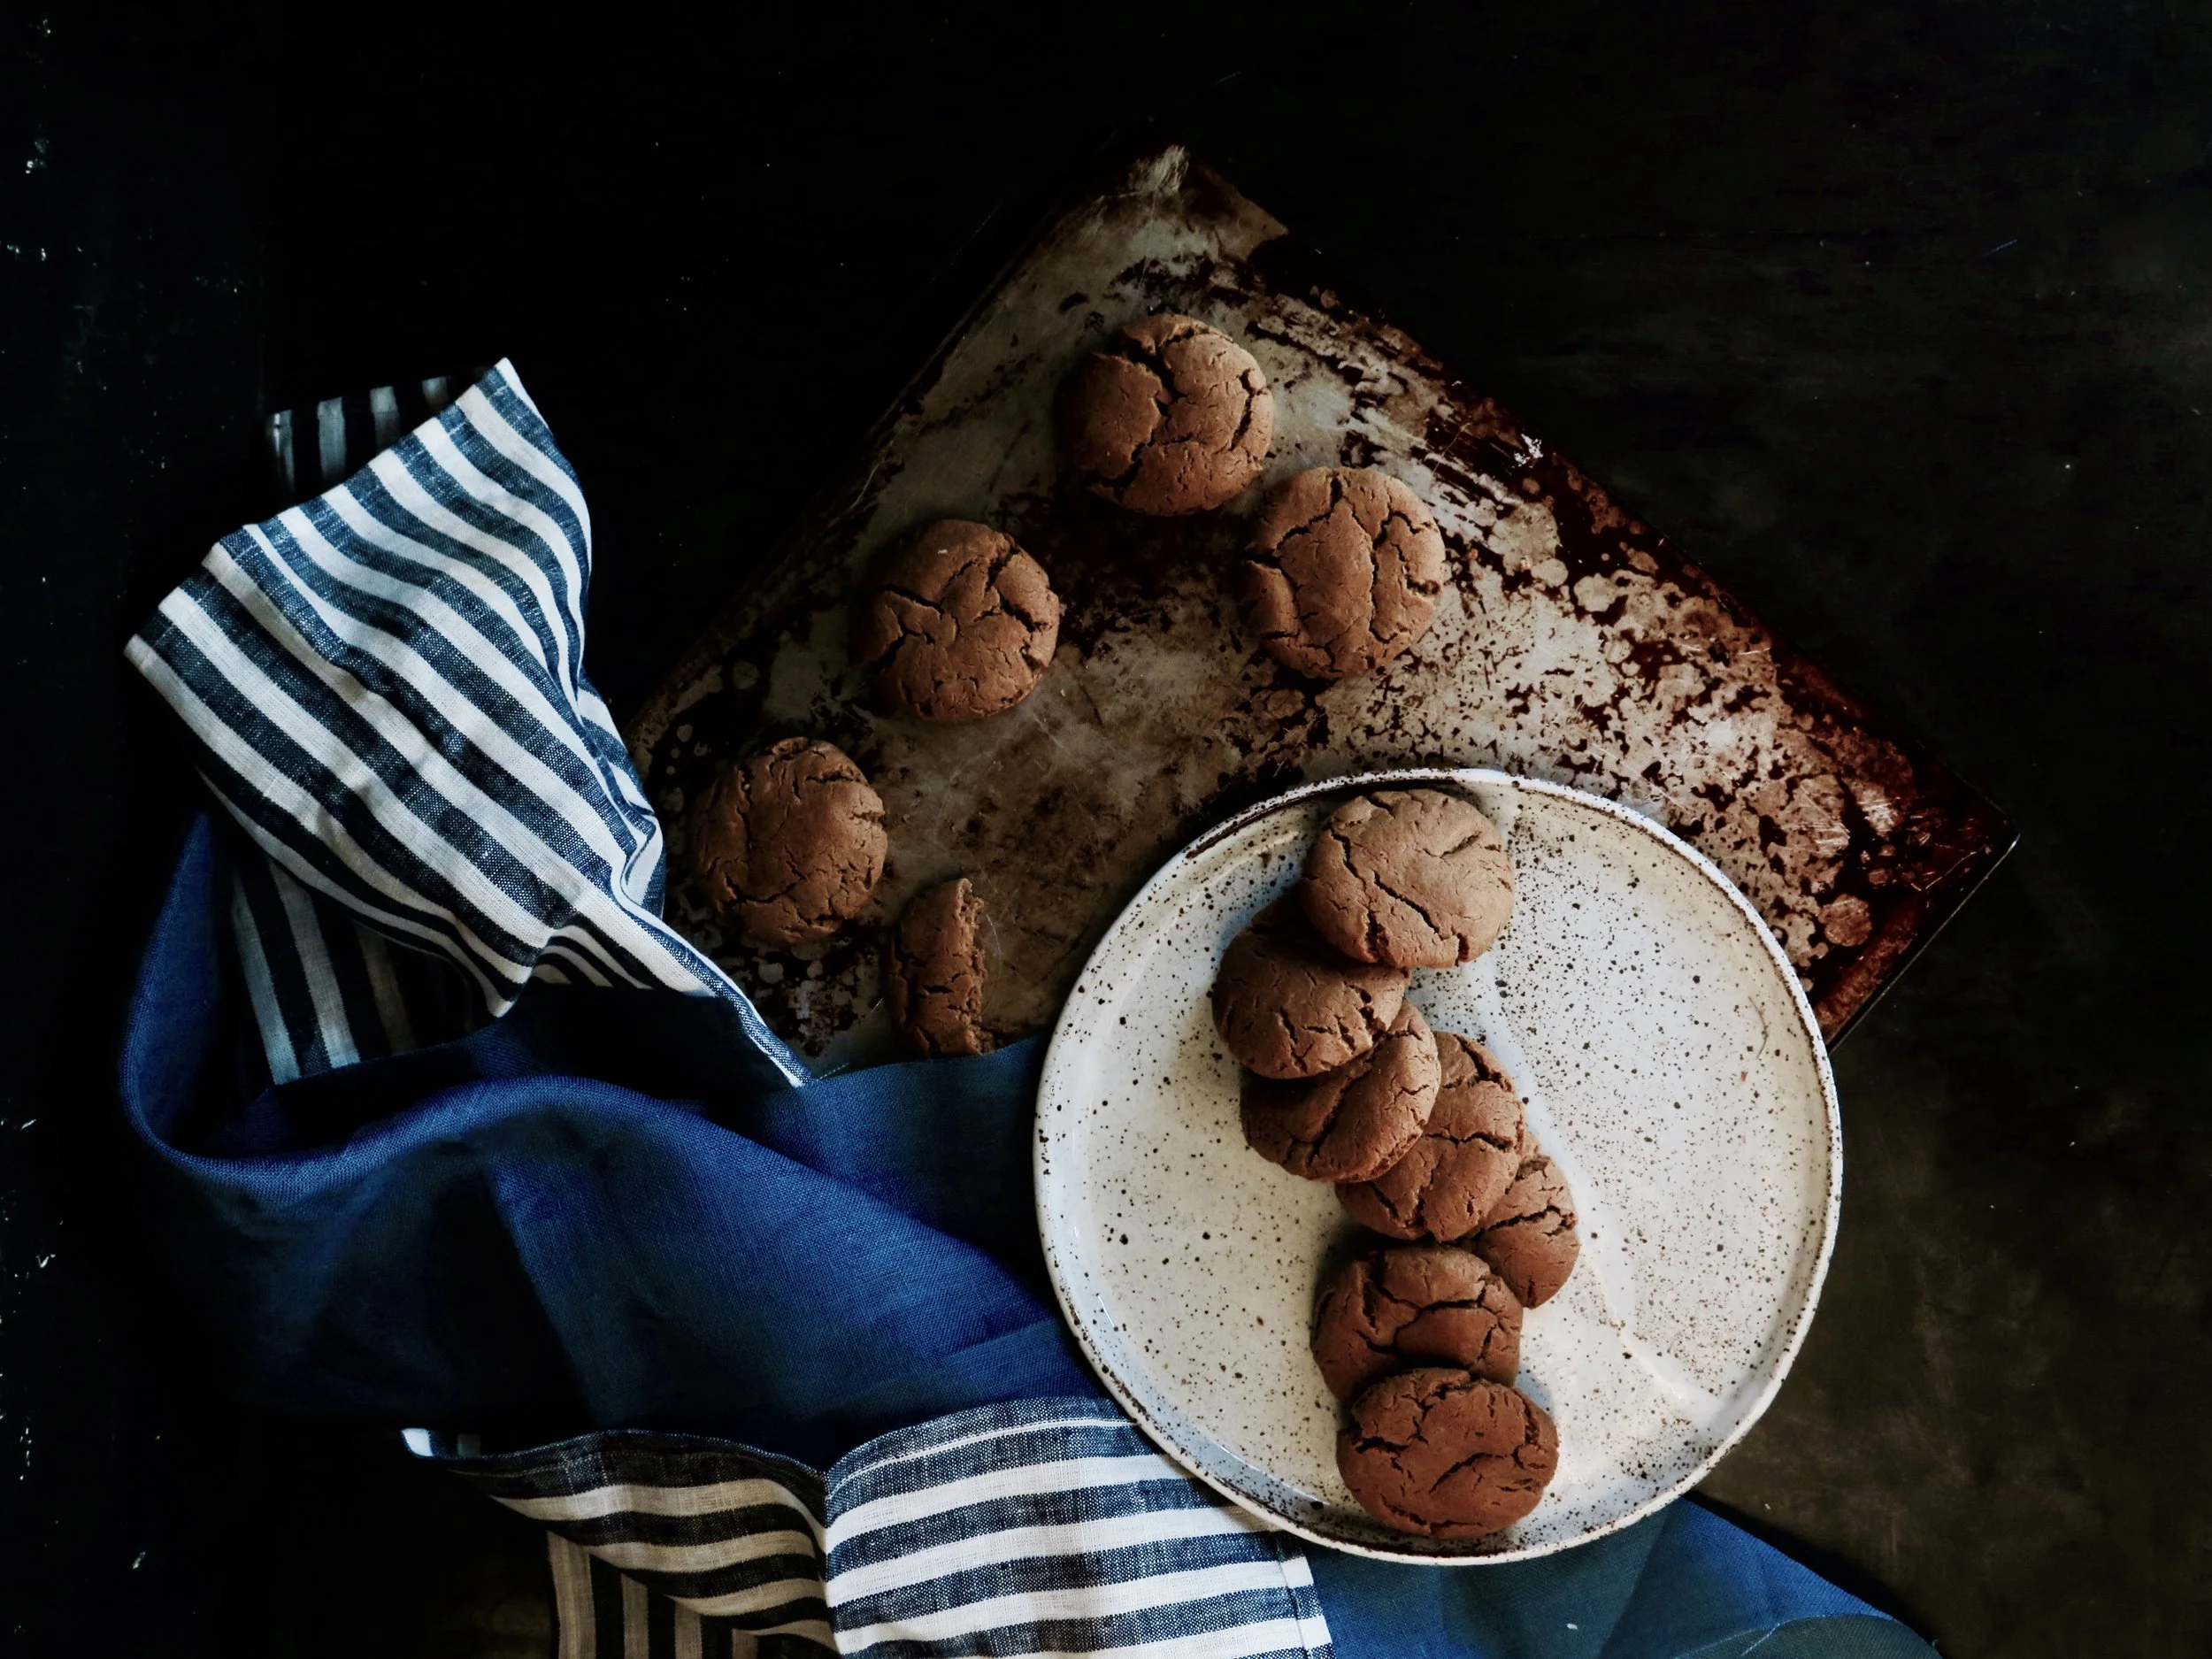
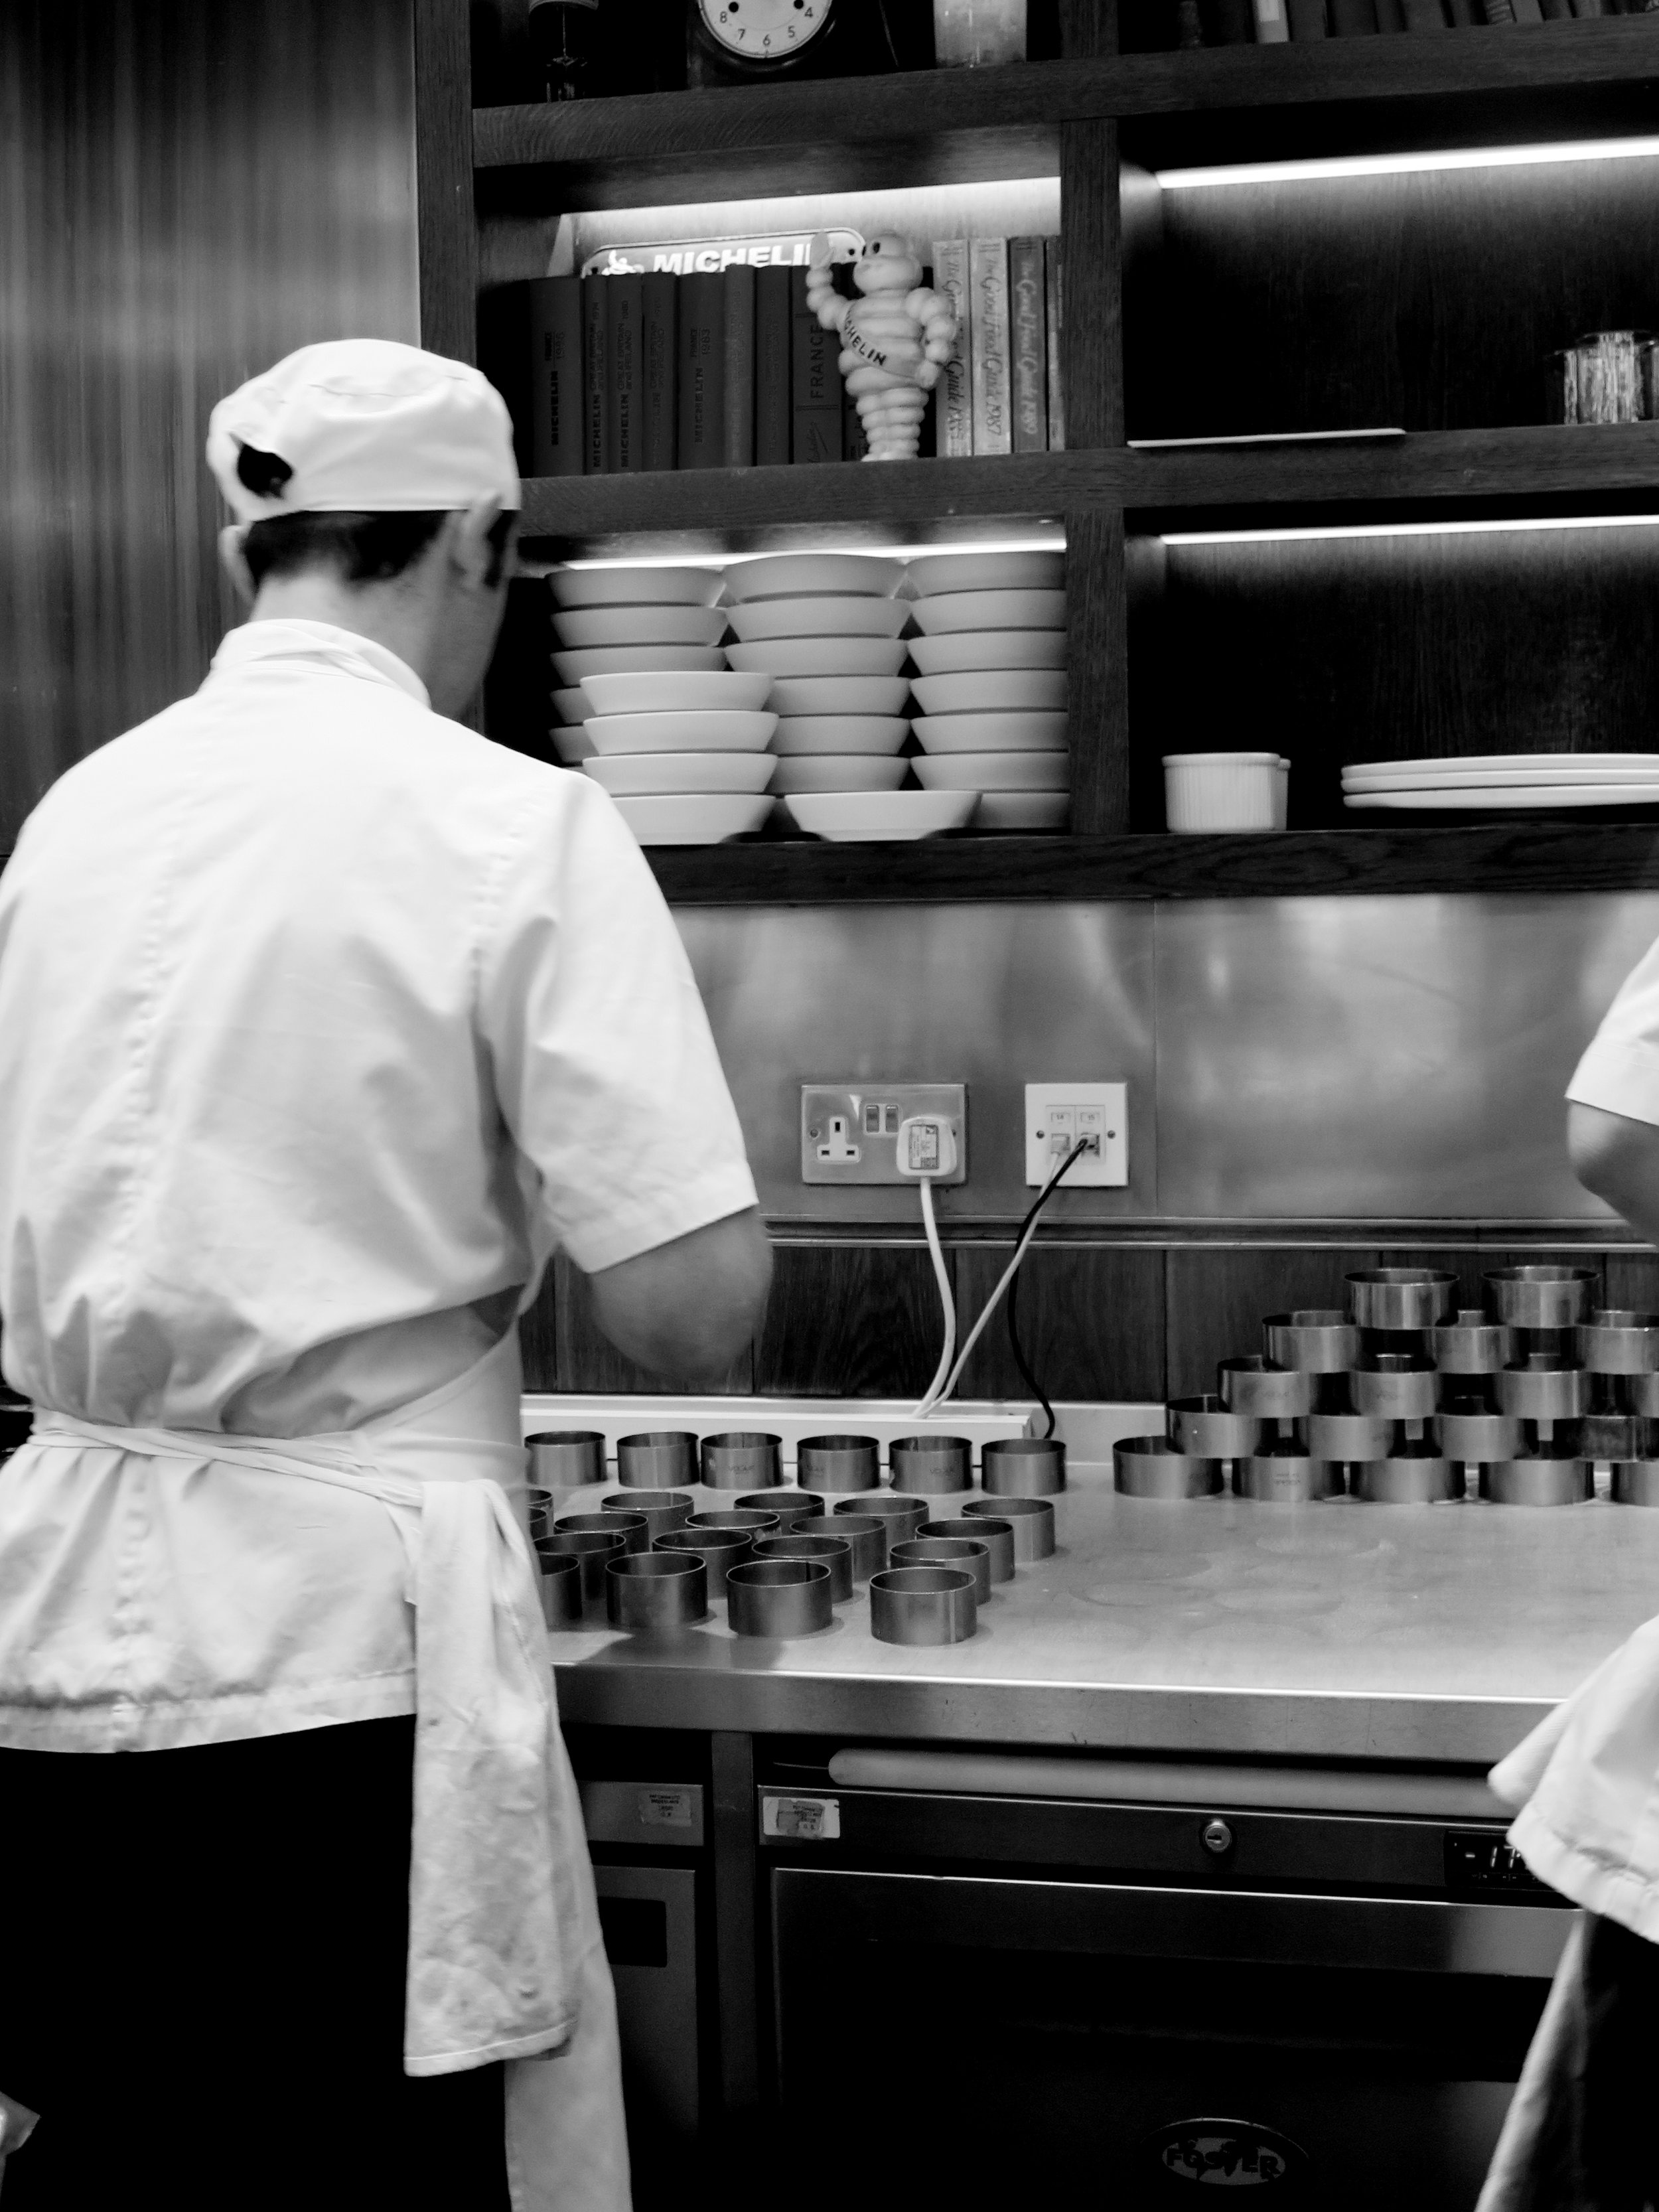
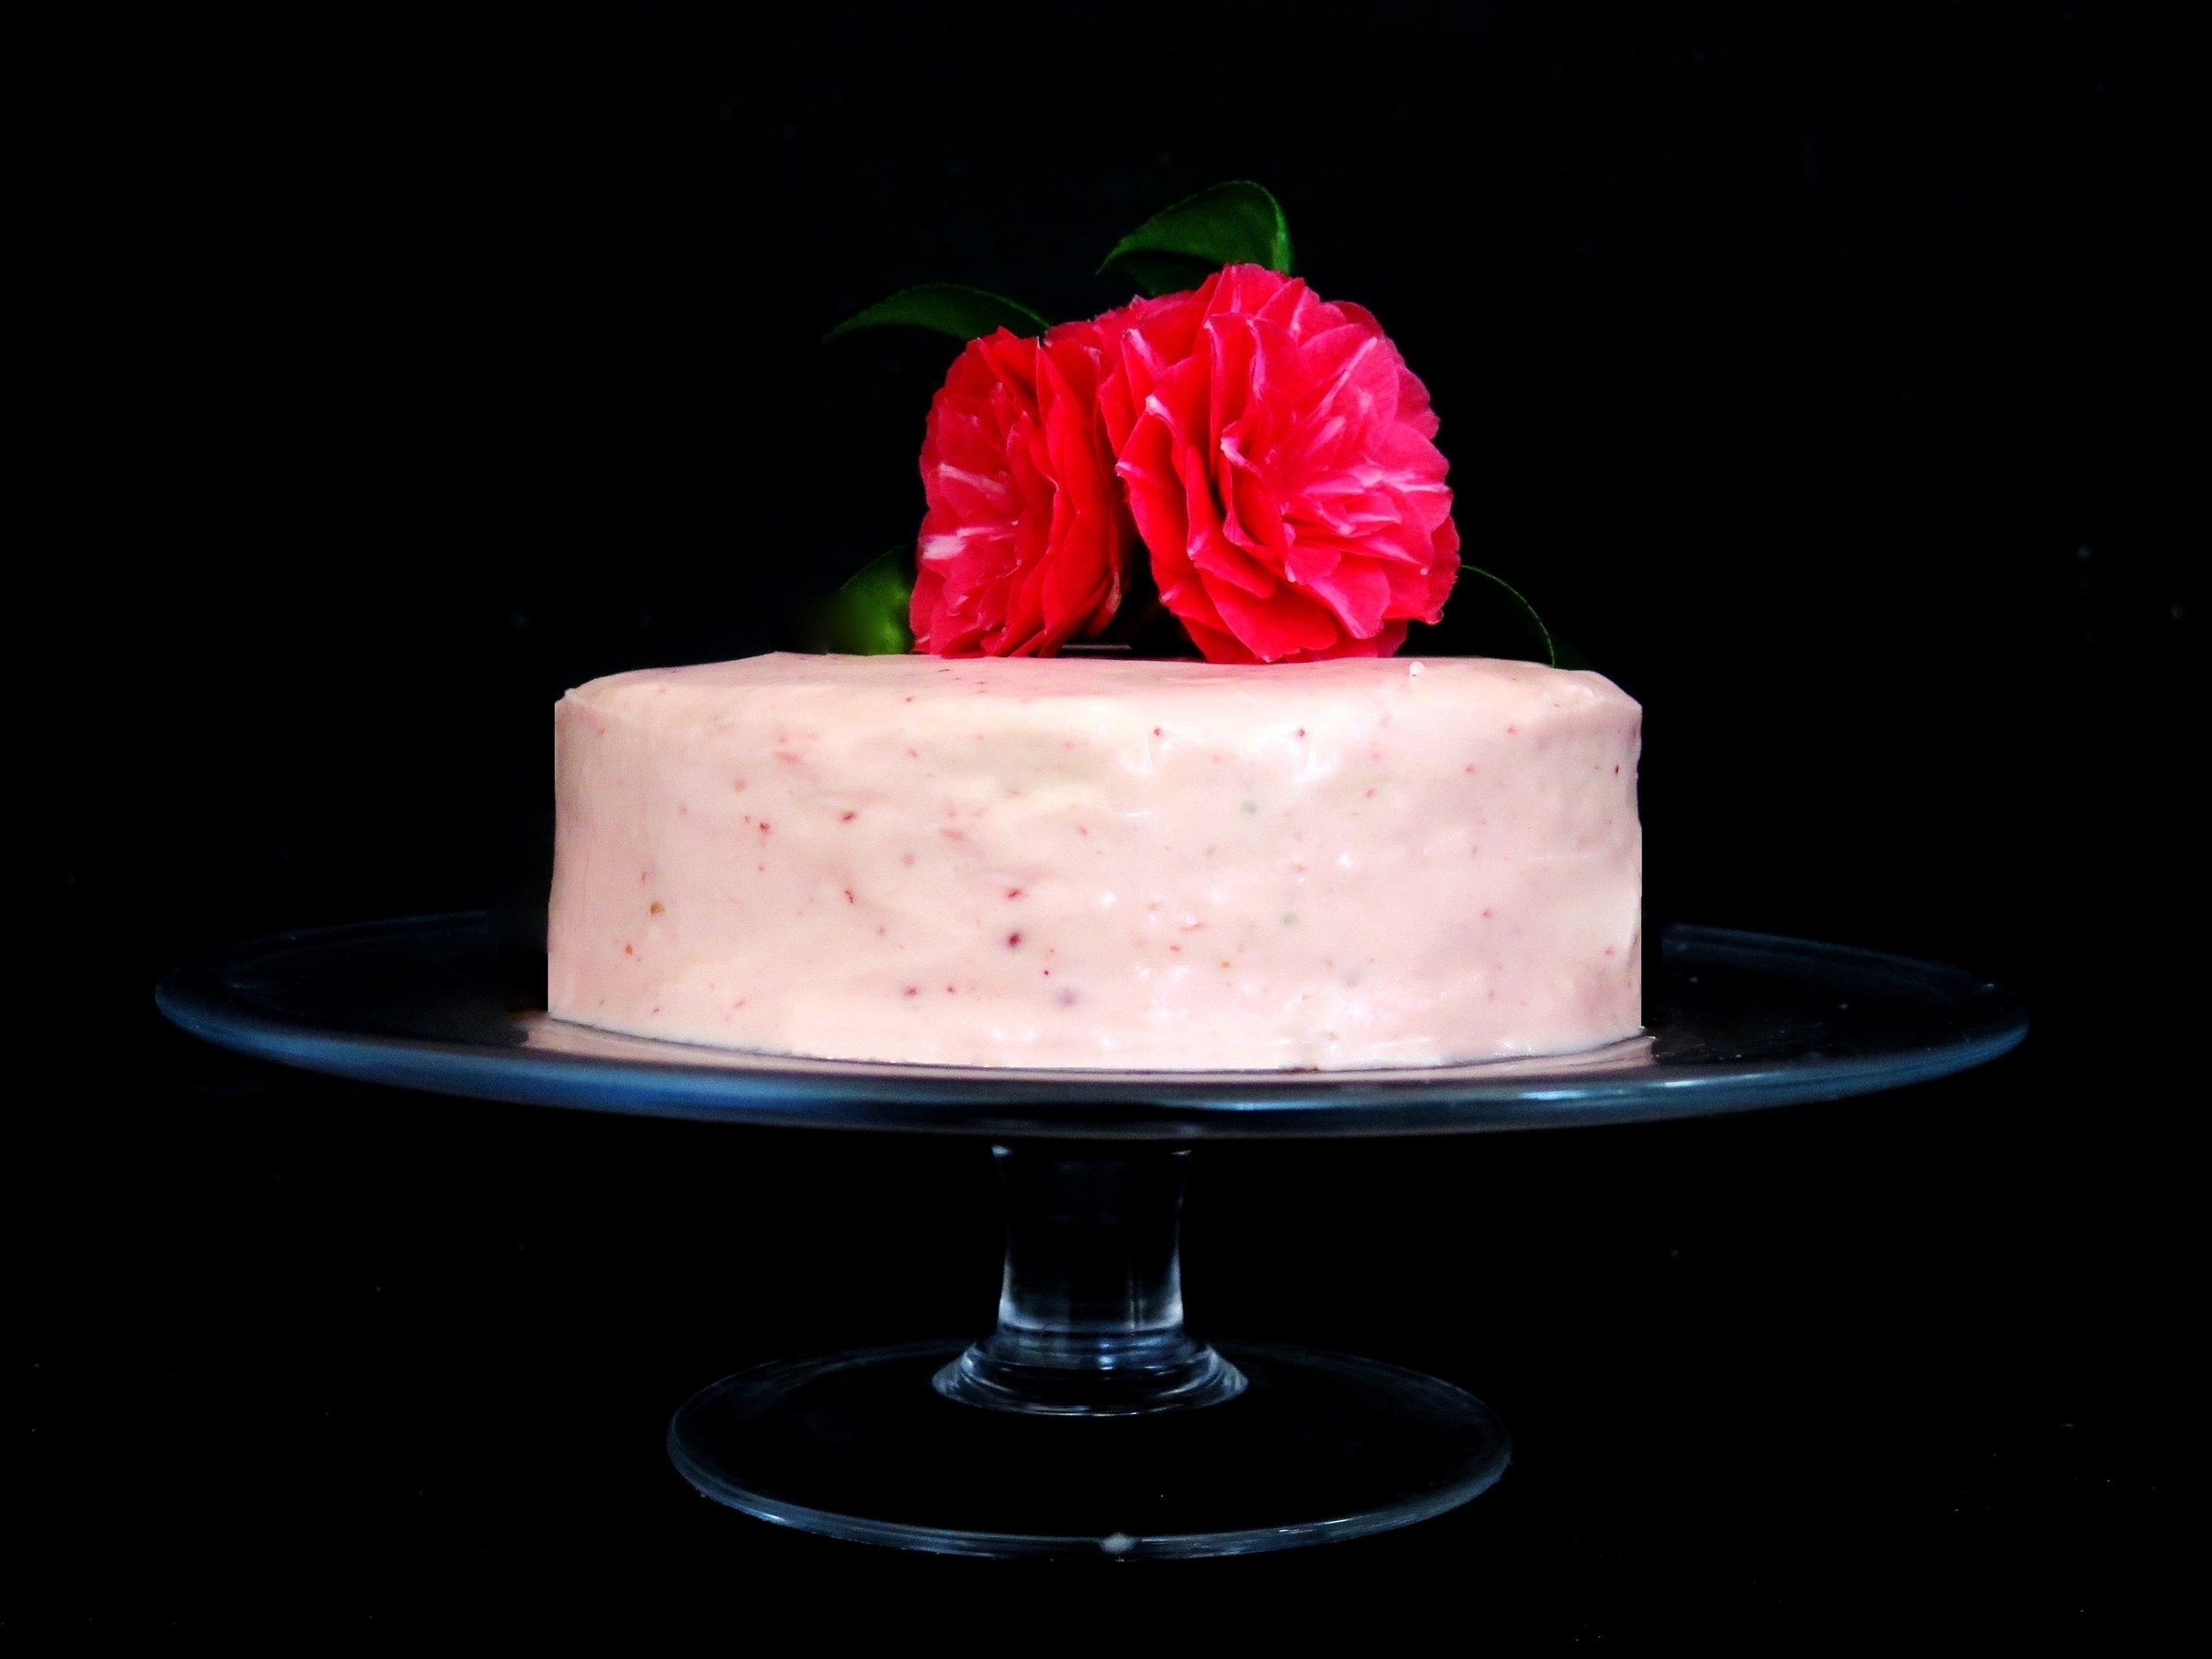
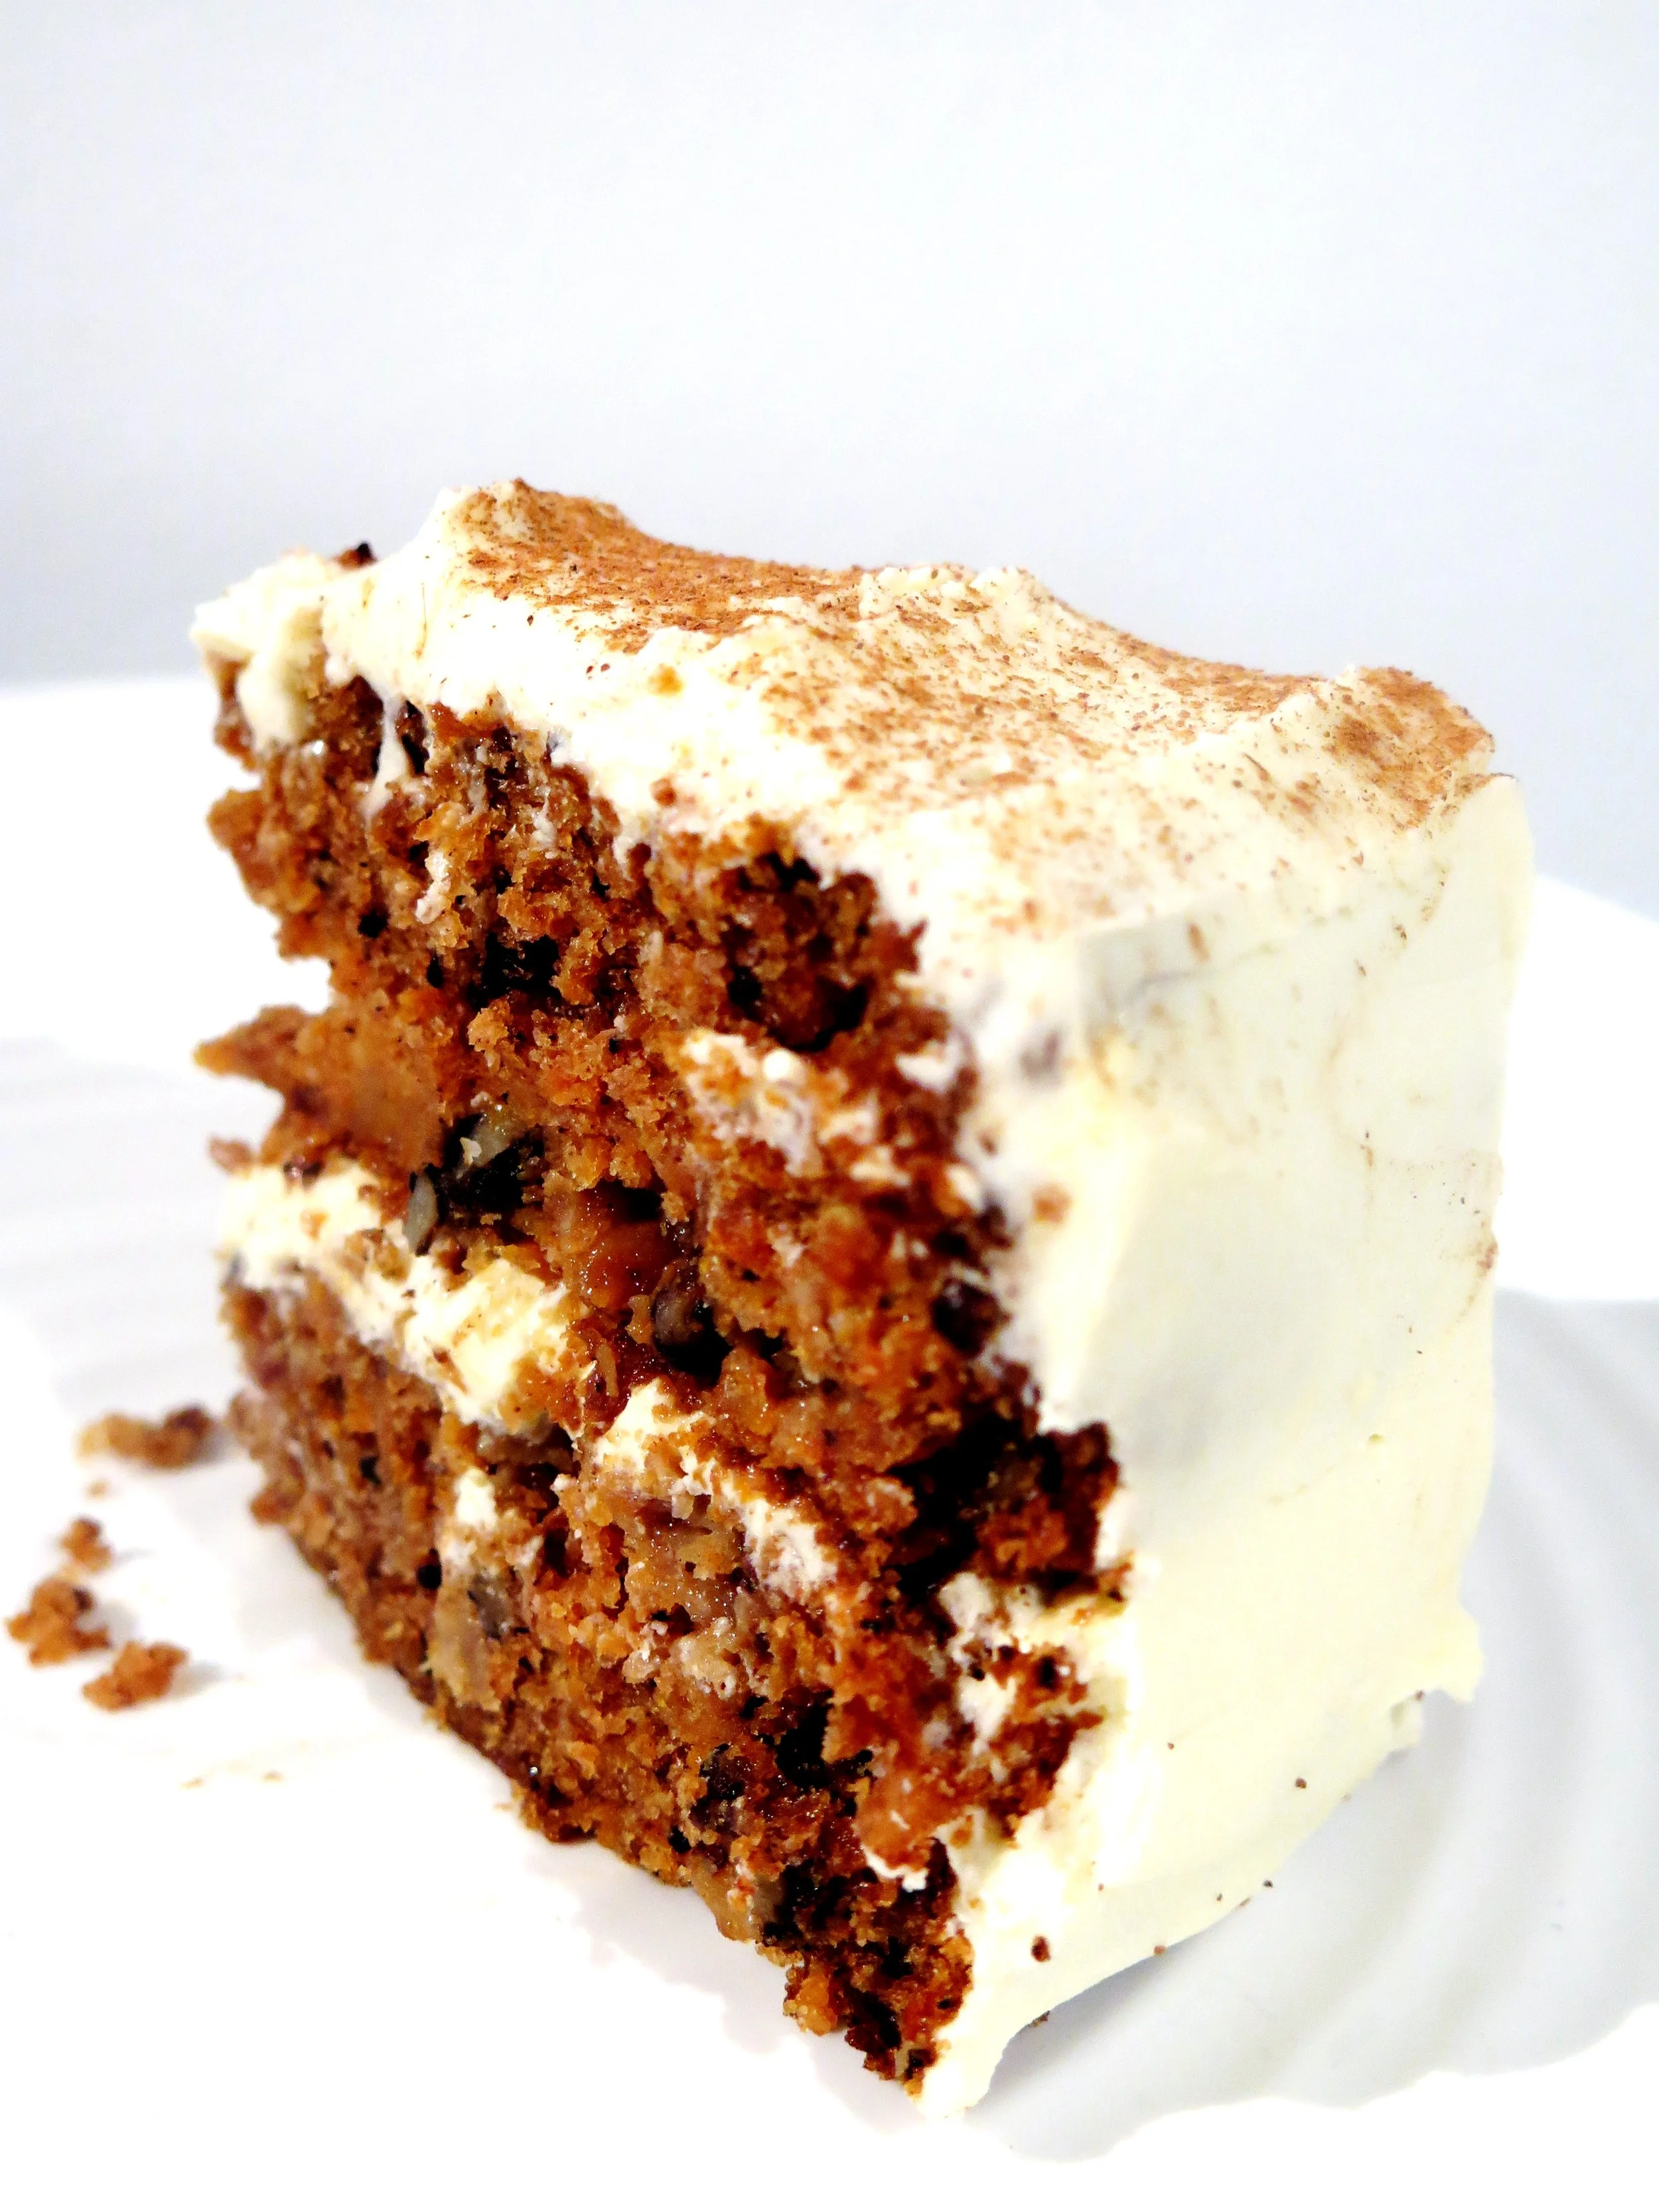
It’s on an almost daily basis that I find my thoughts converging on that scene in Matilda:  Bruce vs the chocolate cake – moist, dense, dark, and yes, revolting. It’s a tempting challenge, and only on a handful of occasions in my life have I come close to those chocolatey depths (or heights, depending on your perspective). 

fullsizeoutput_819.jpeg

The first time was at my 9th birthday party which took place in the civilized private room of a pottery painting shop, surrounded by friends from my all-girls school, all politely detailing their teacups with flowers, and hearts, and stars. The birthday cake arrived, tall and majestic, lavishly enrobed in sumptuous swathes of soft chocolate buttercream.

All I can say in mitigation of what was to come was that at least I waited until my slice was placed in a bowl. But then the urge became overpowering, and it was with unbridled joy that I plunged my face into my bowl and into the luscious embrace of the cake.

fullsizeoutput_886.jpeg
fullsizeoutput_832.jpeg

But my Bruce experiences don’t end there. I waited a further nine years until I was at university, when a five pence coin thrown into a neighbour’s dessert meant that it had to be devoured without cutlery. This was a curse to many, but an opportunity I wholeheartedly seized. Why waste time on cutlery when you can cut to the chase, pig-in-trough style, with an audience?  

fullsizeoutput_831.jpeg

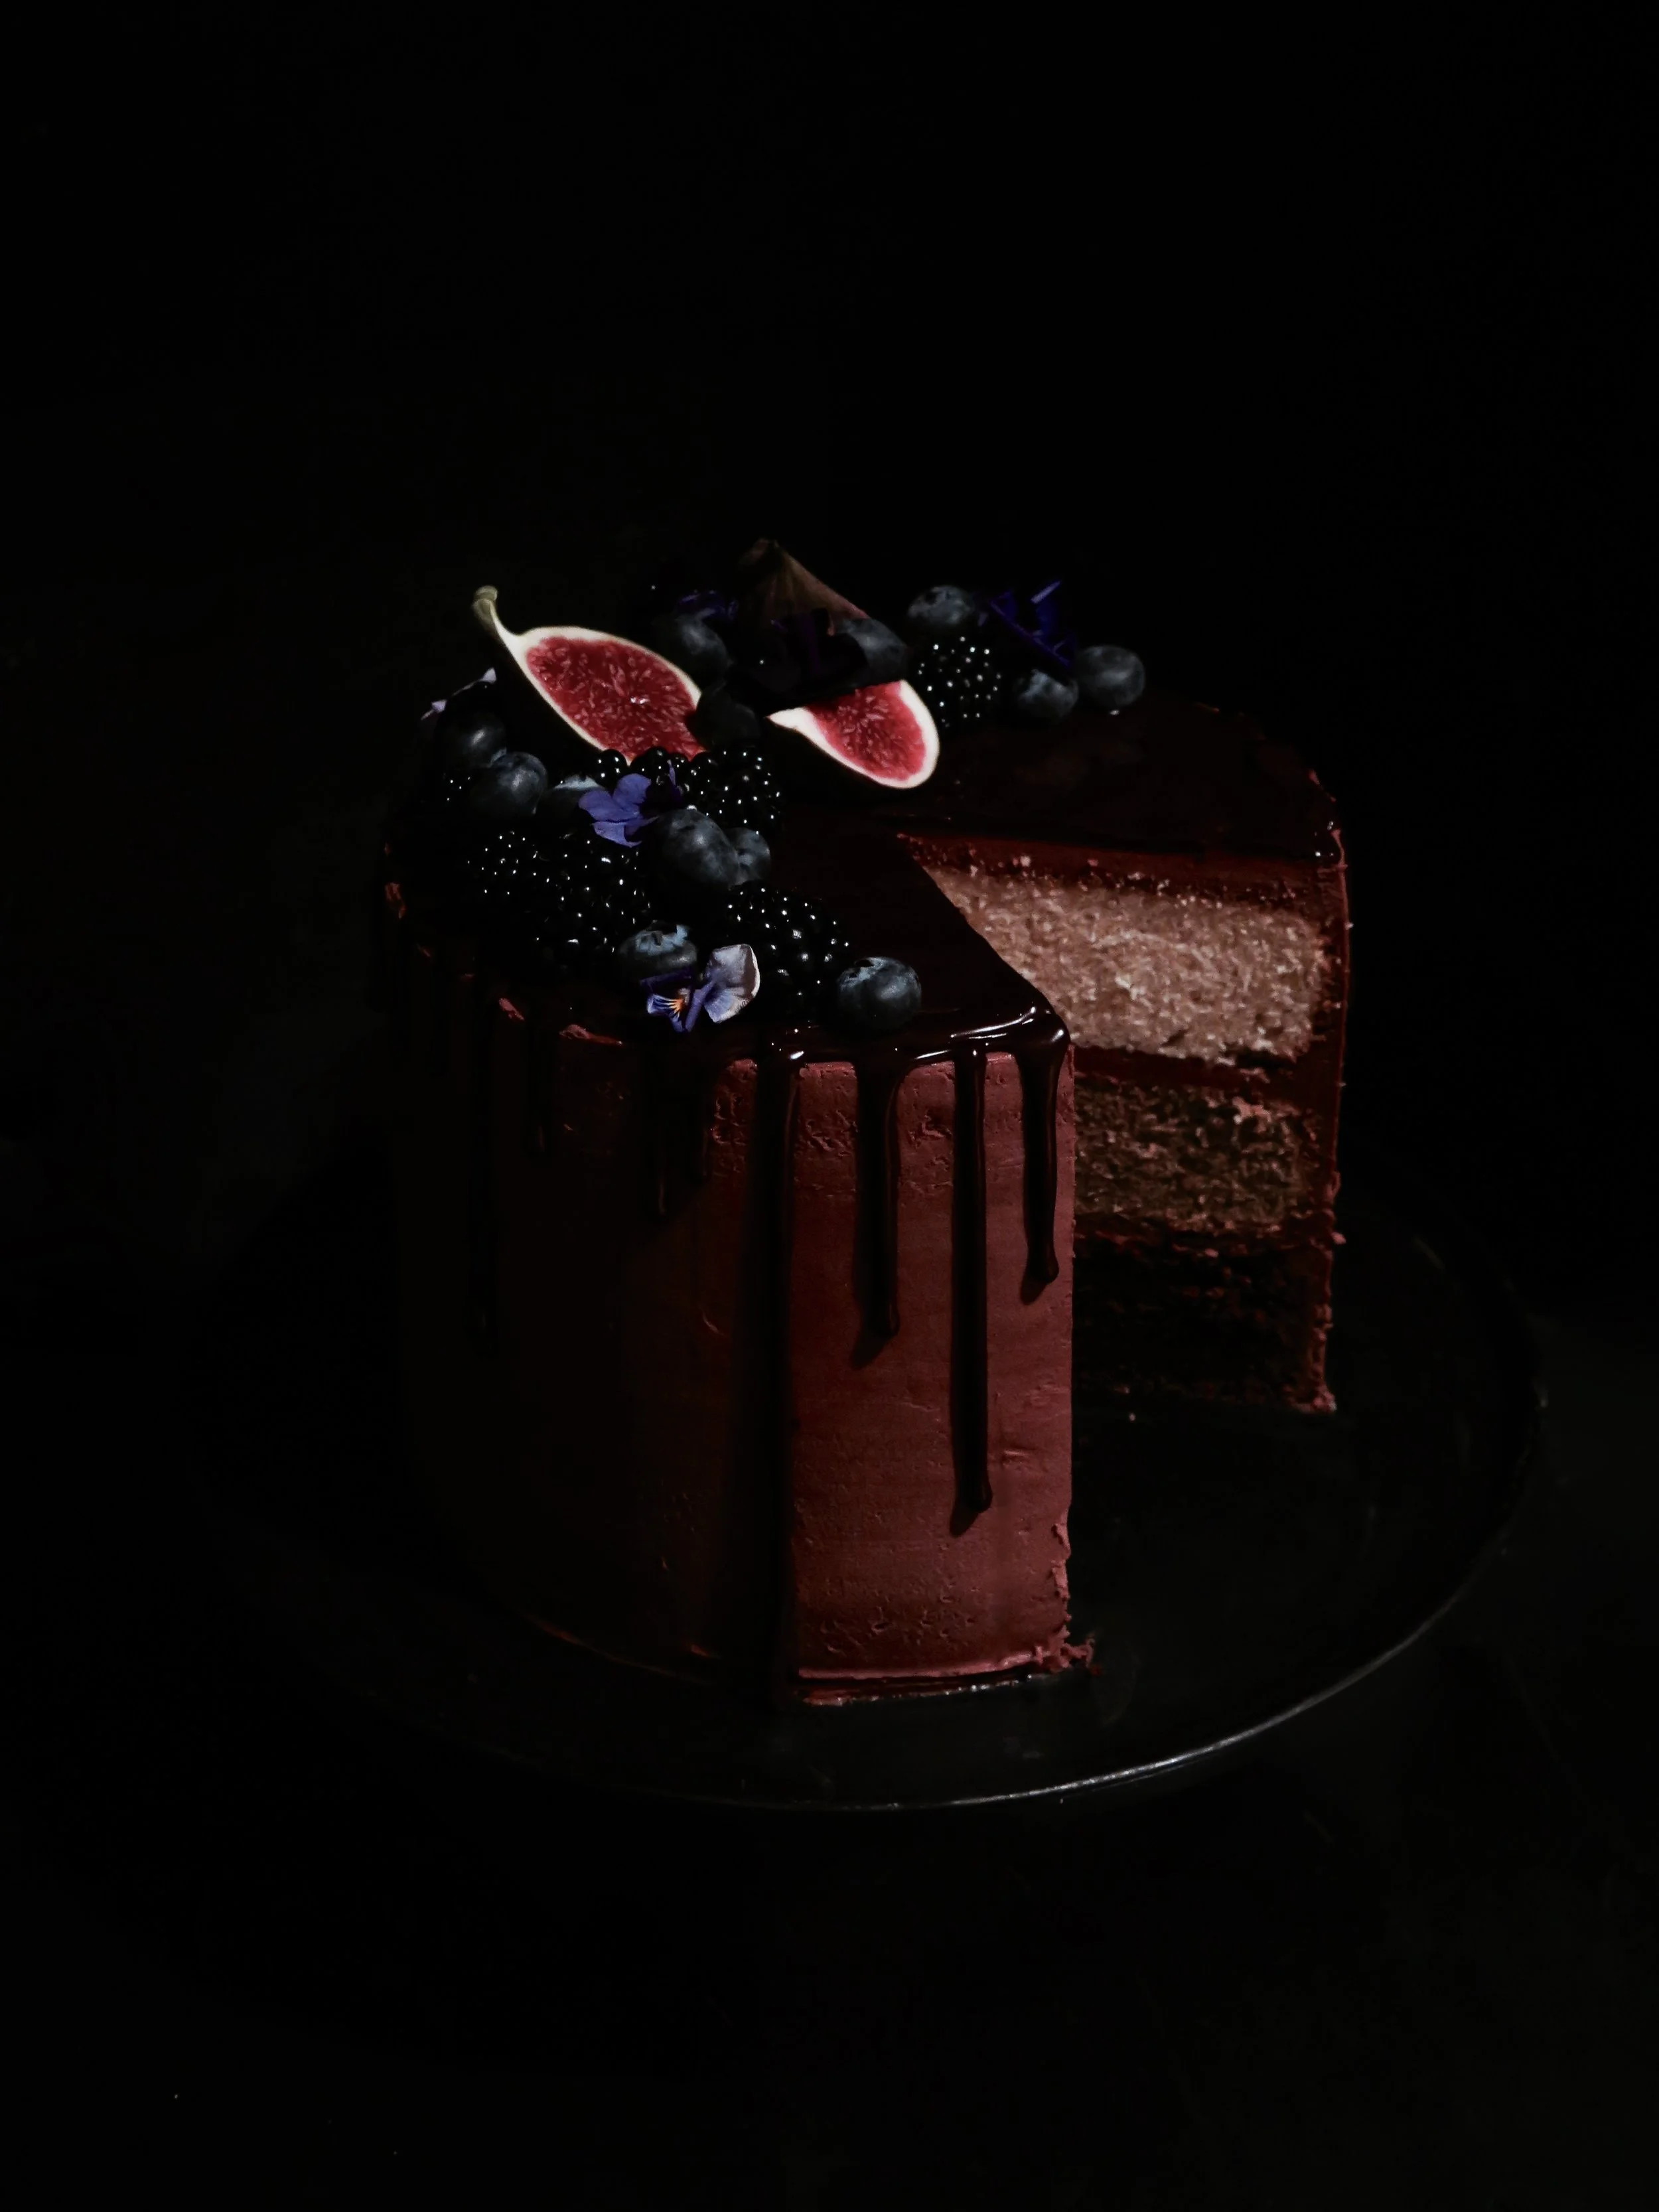
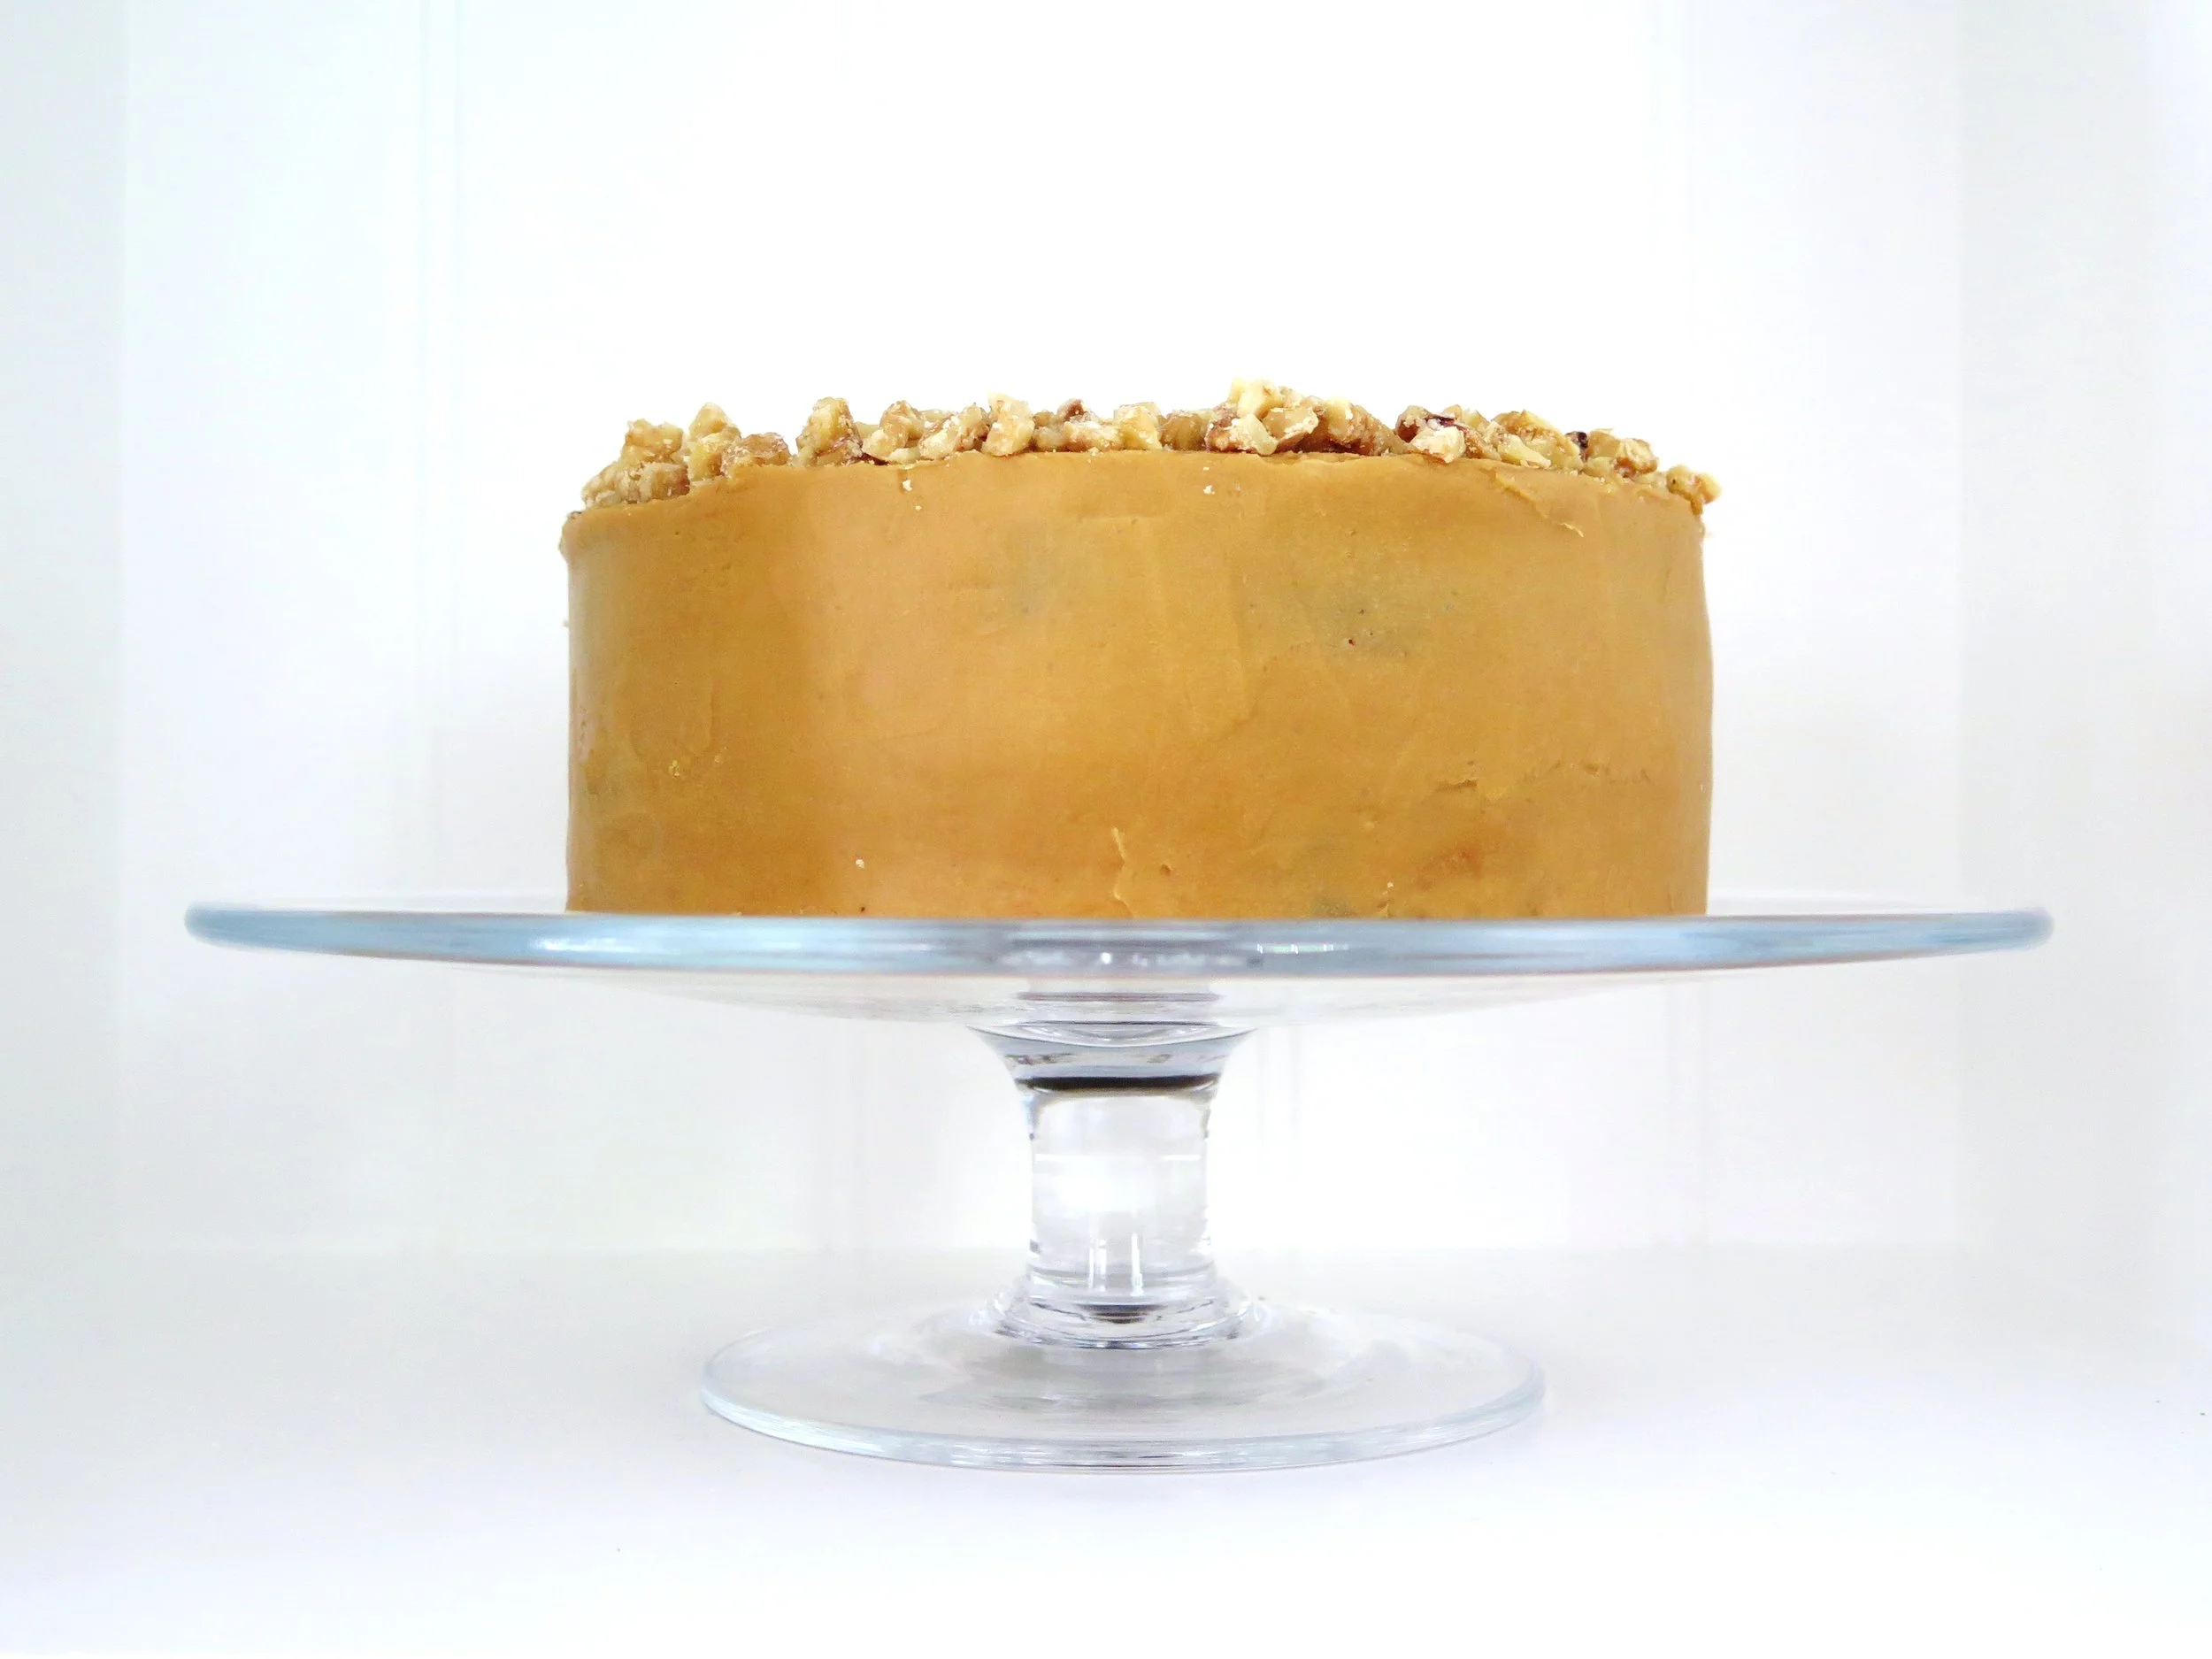
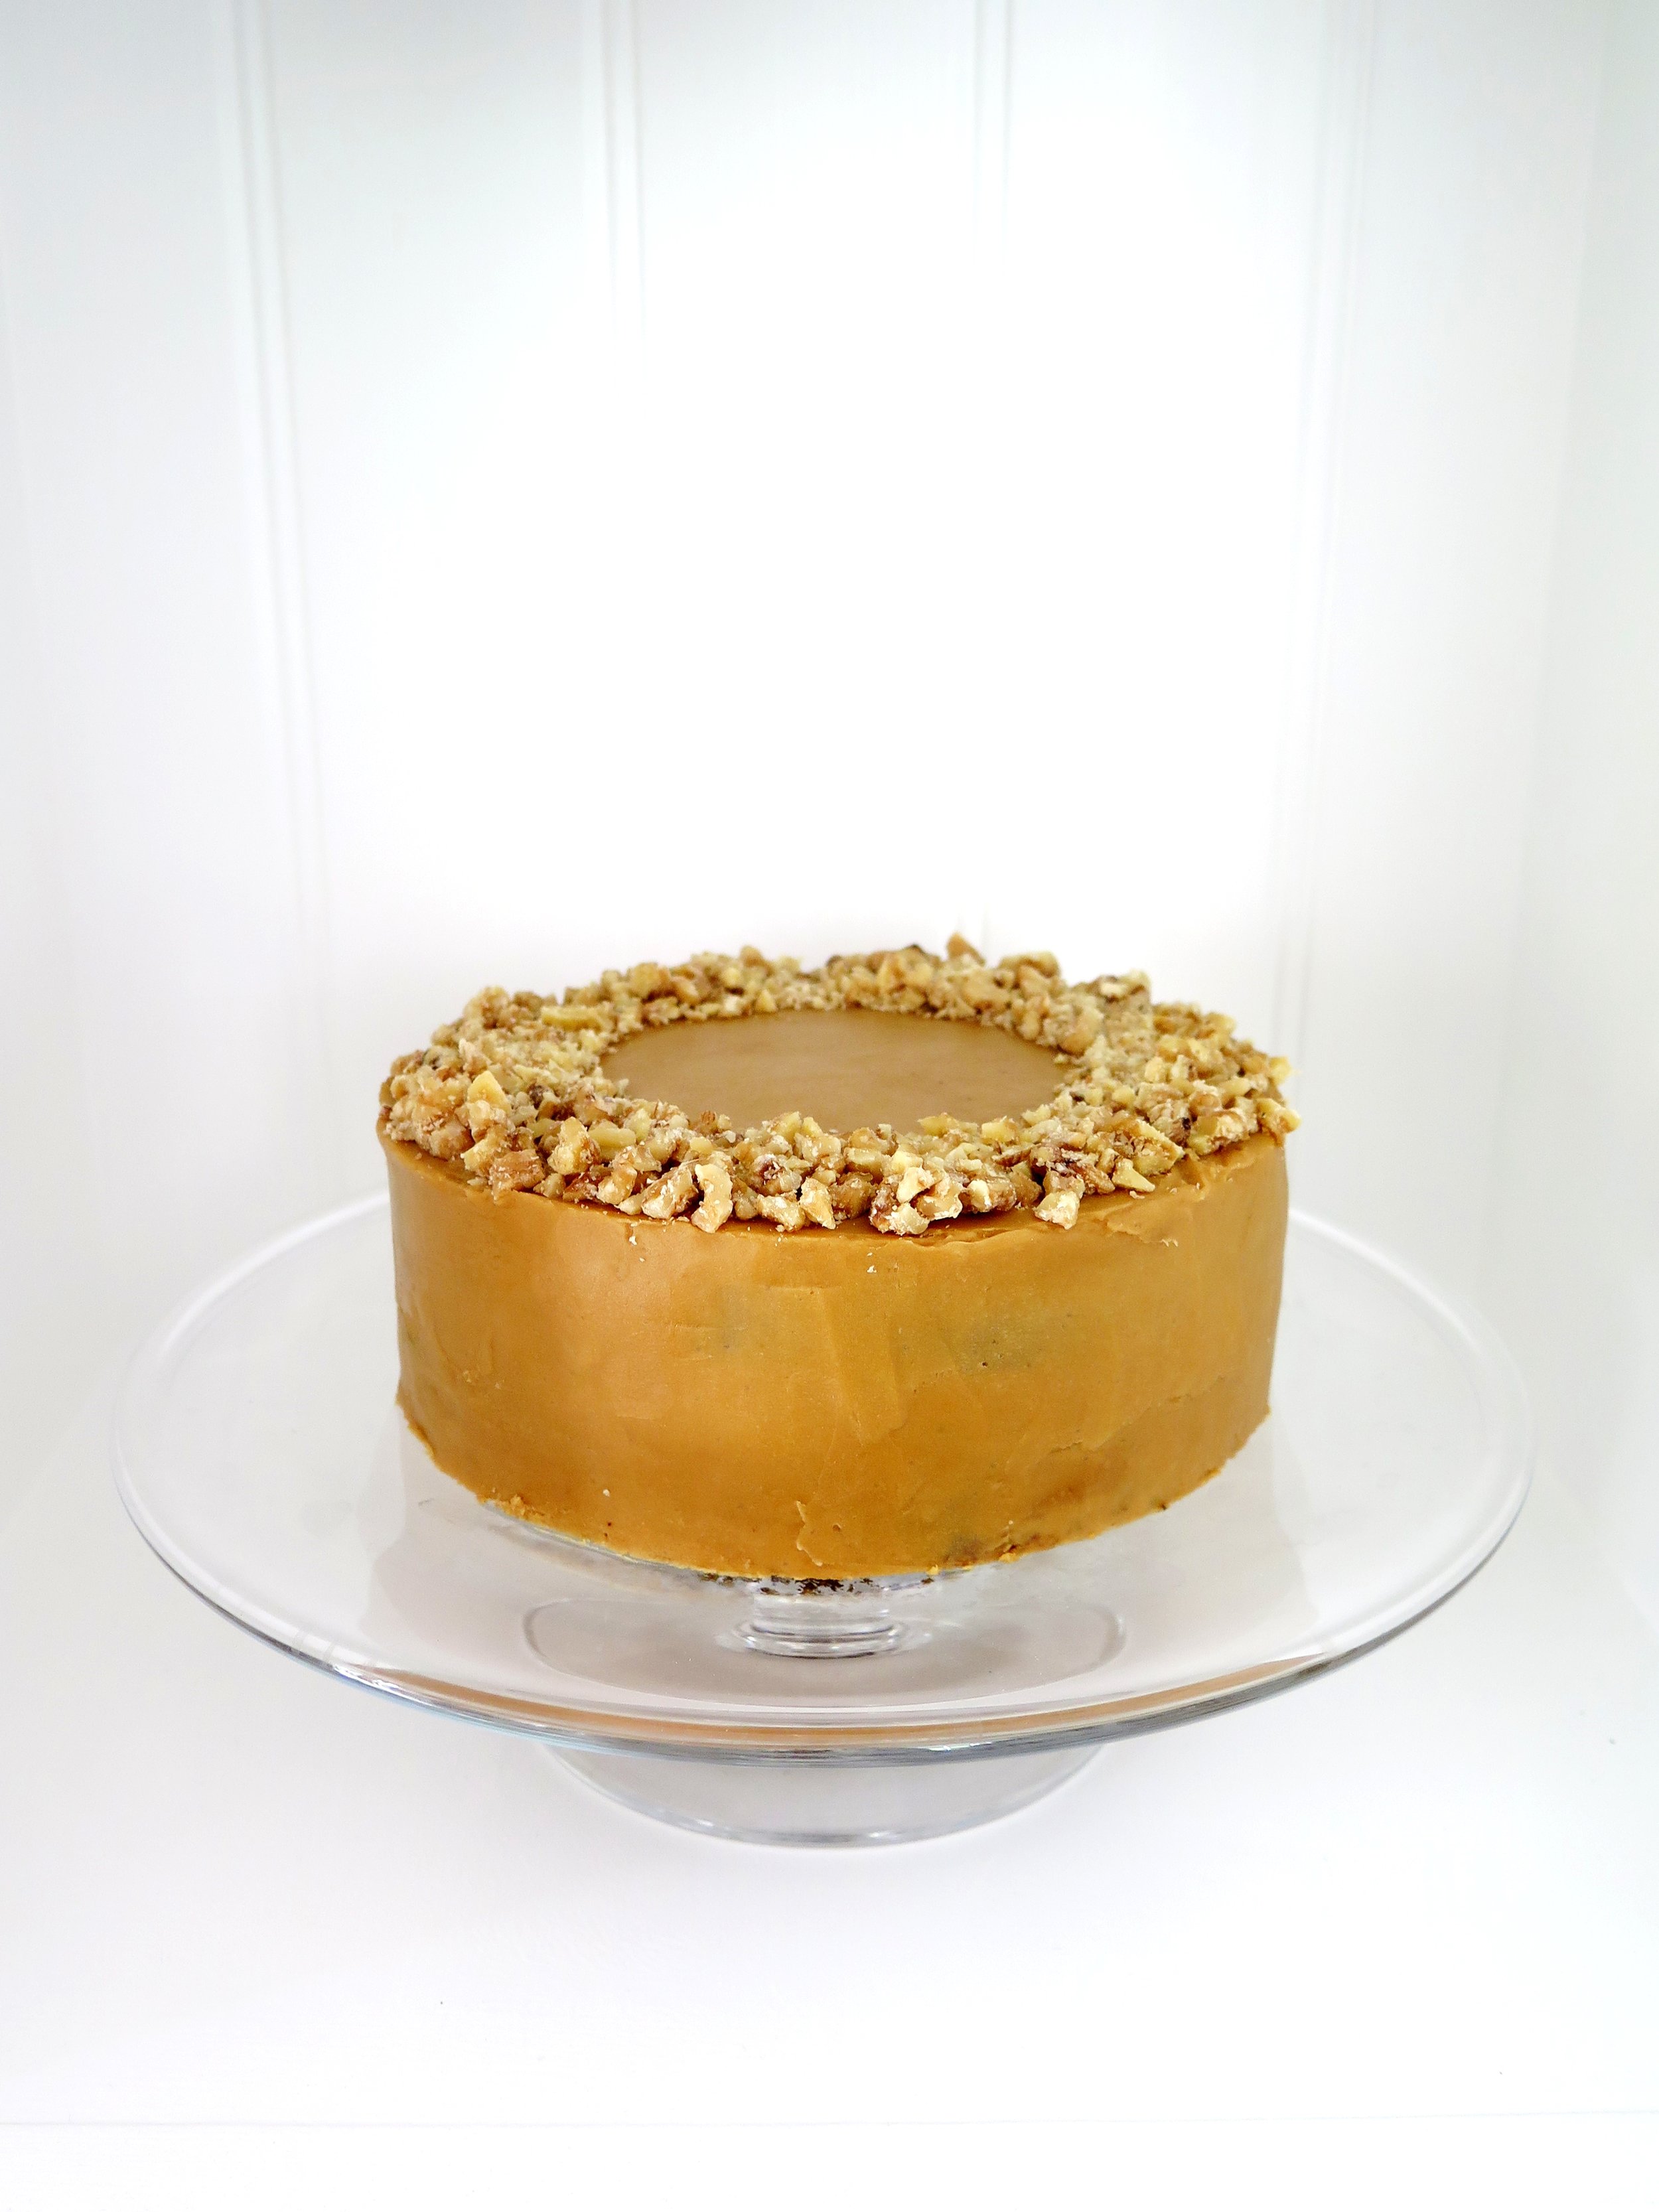
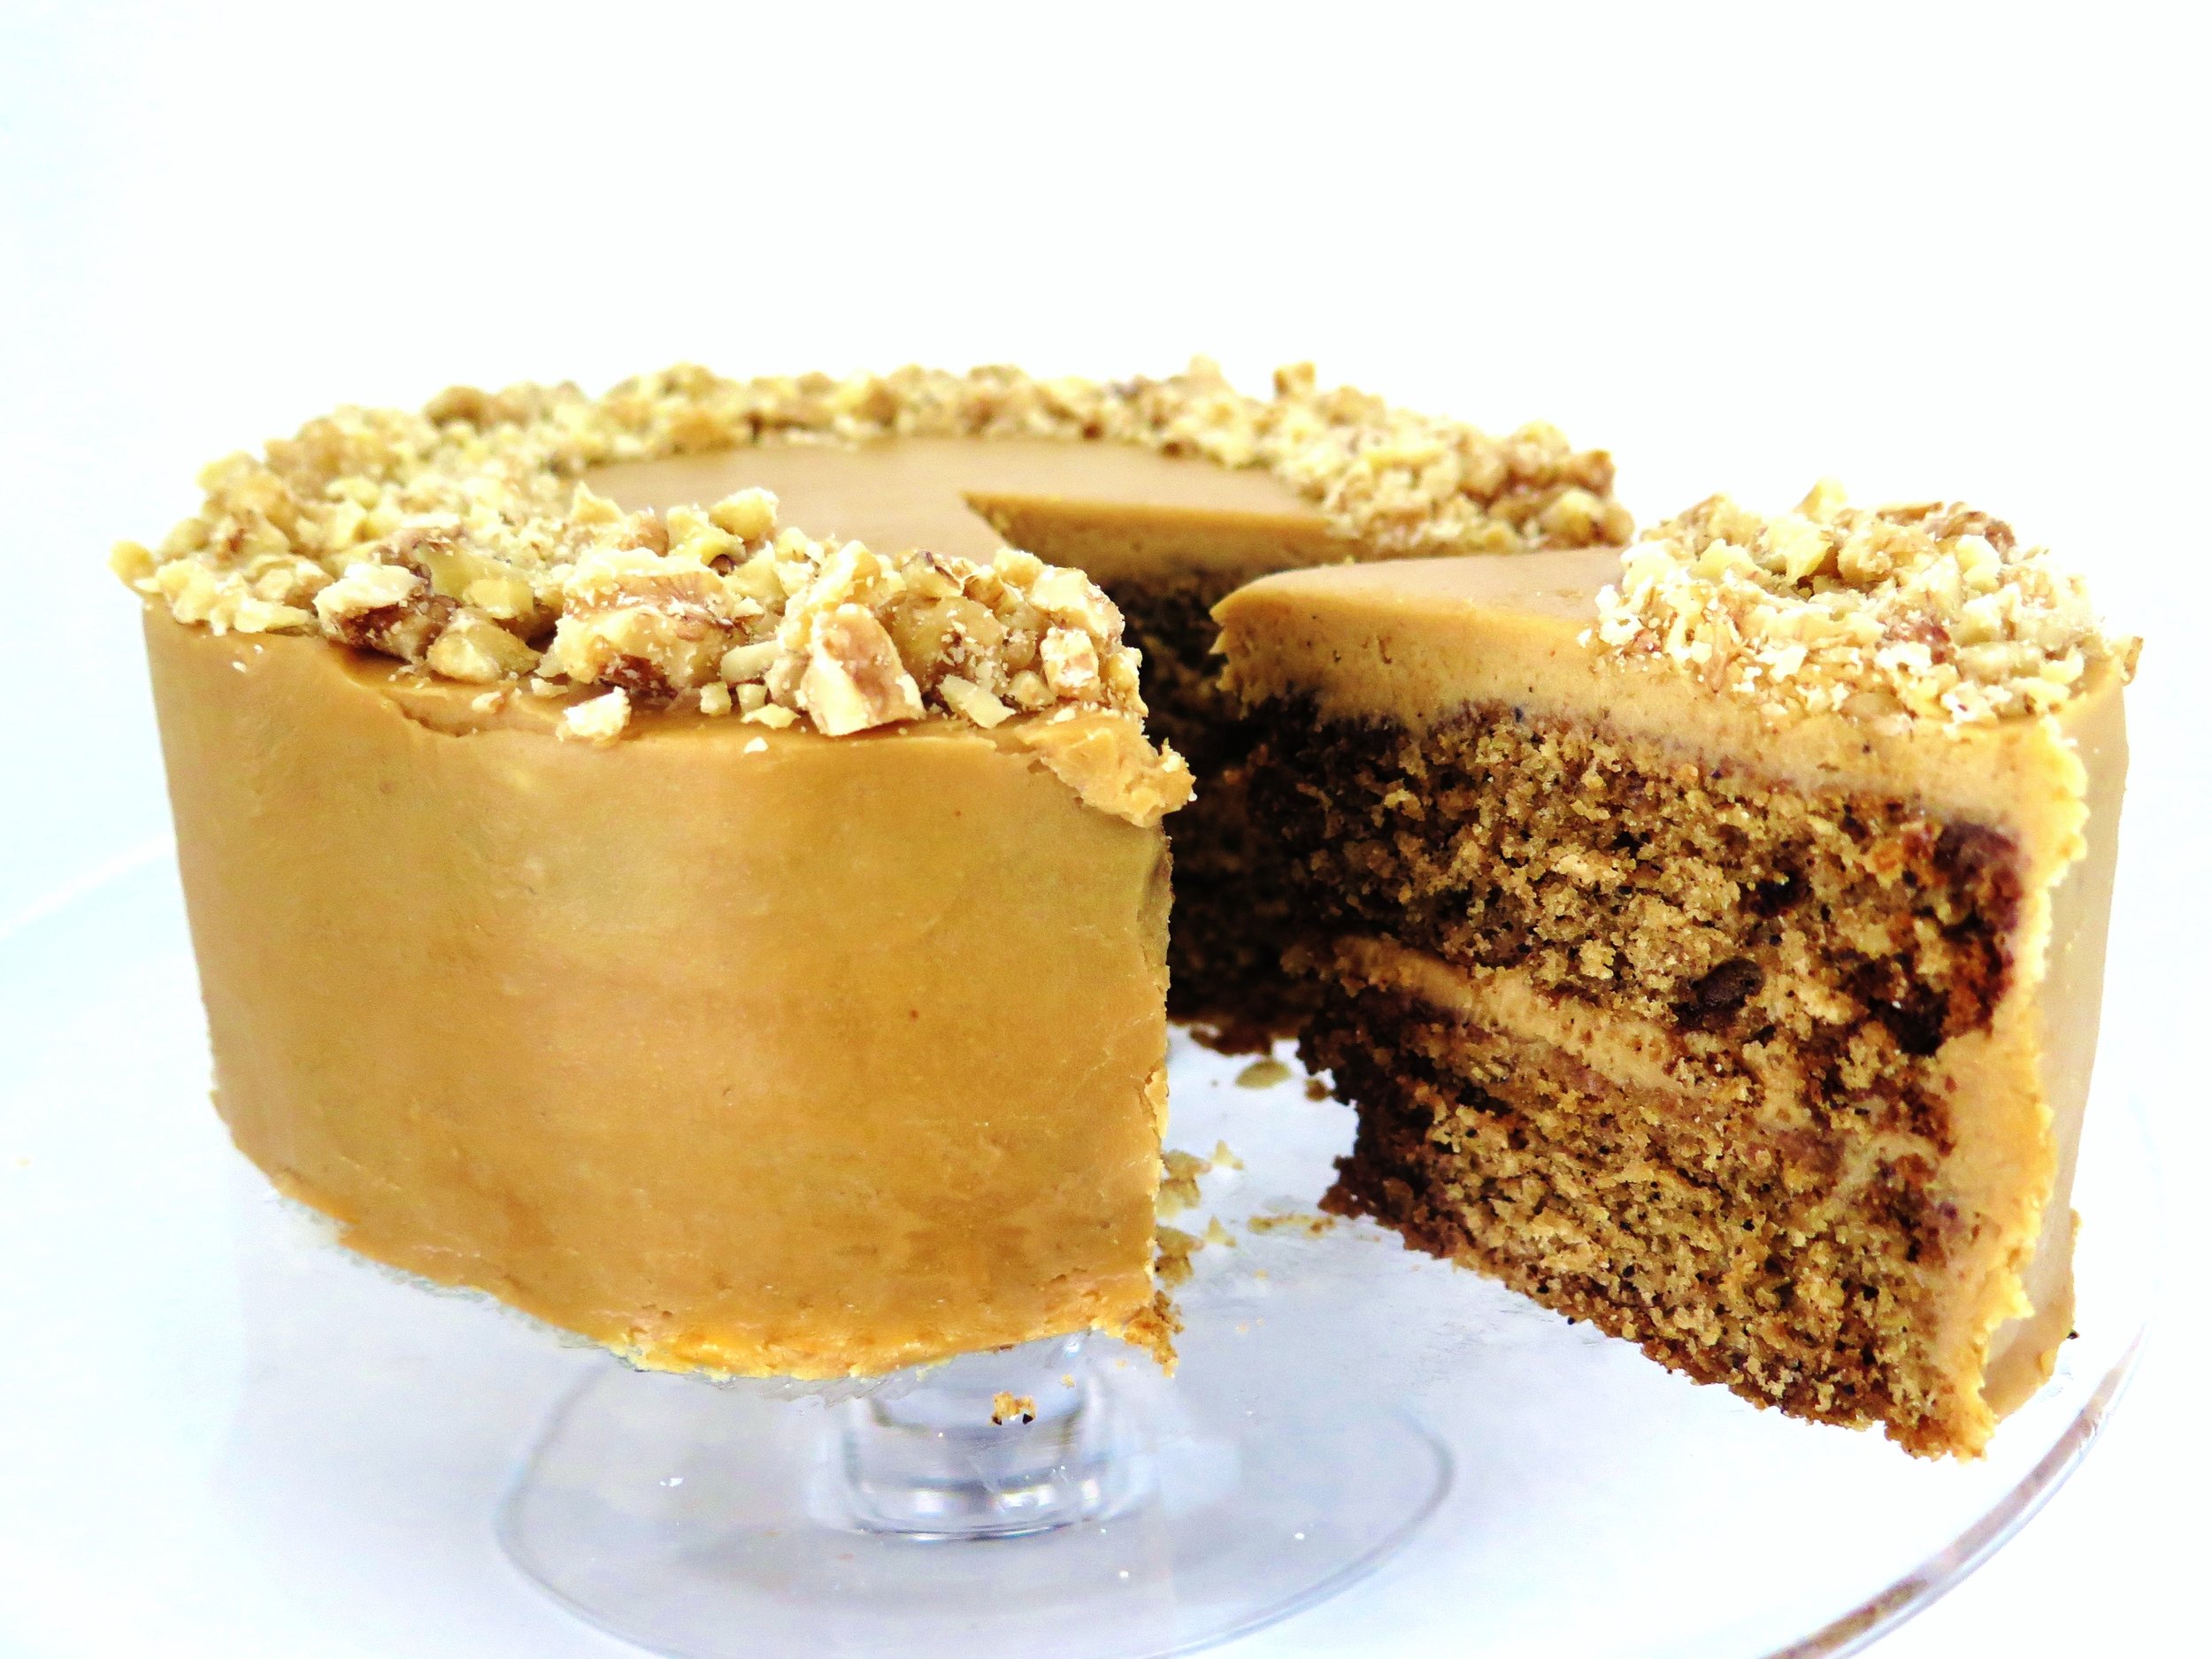
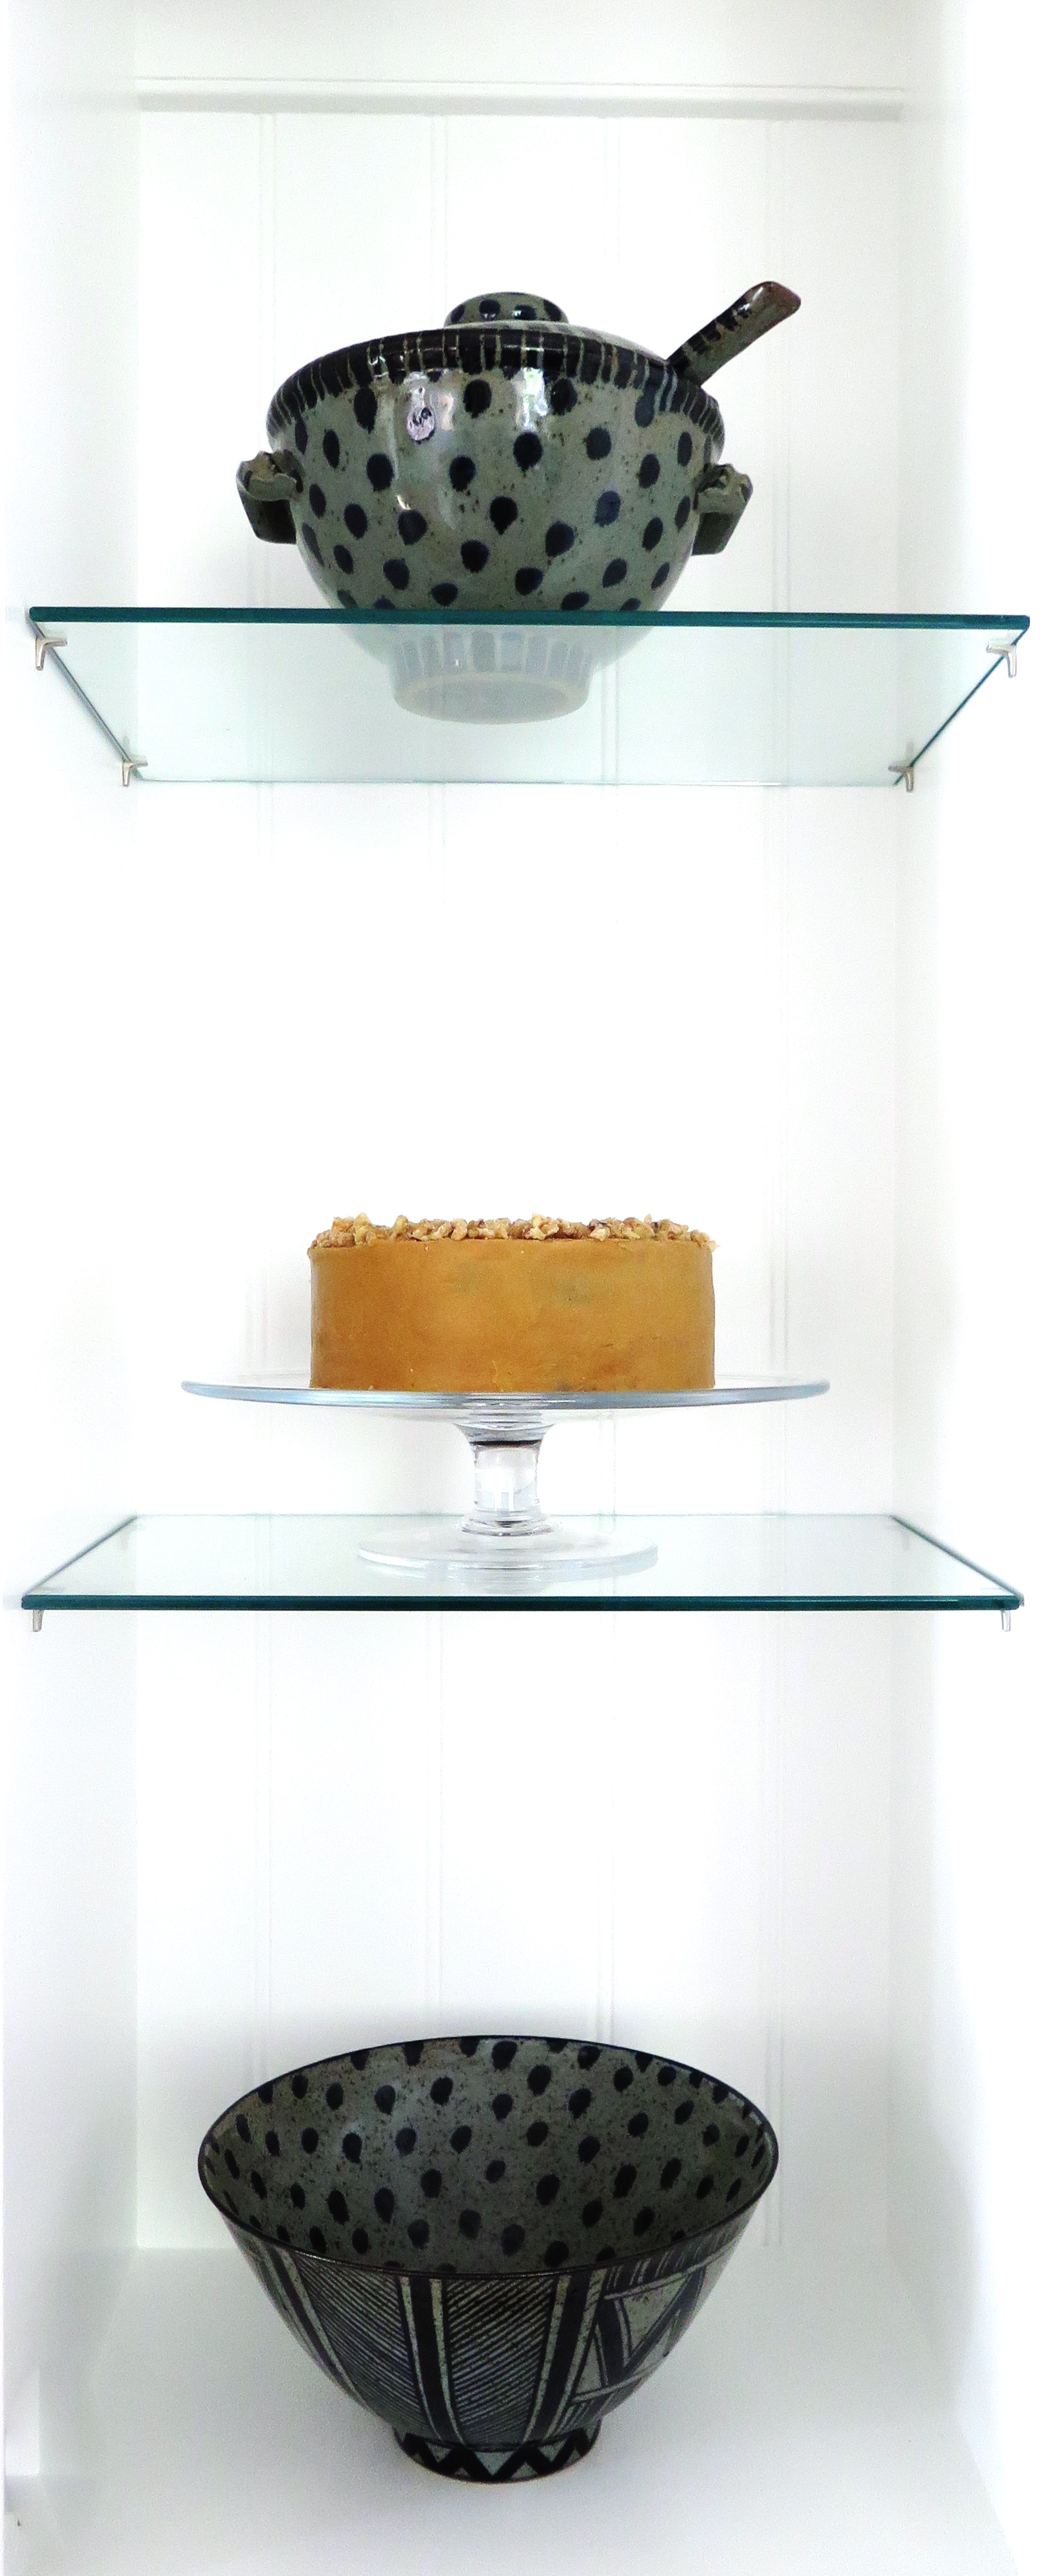
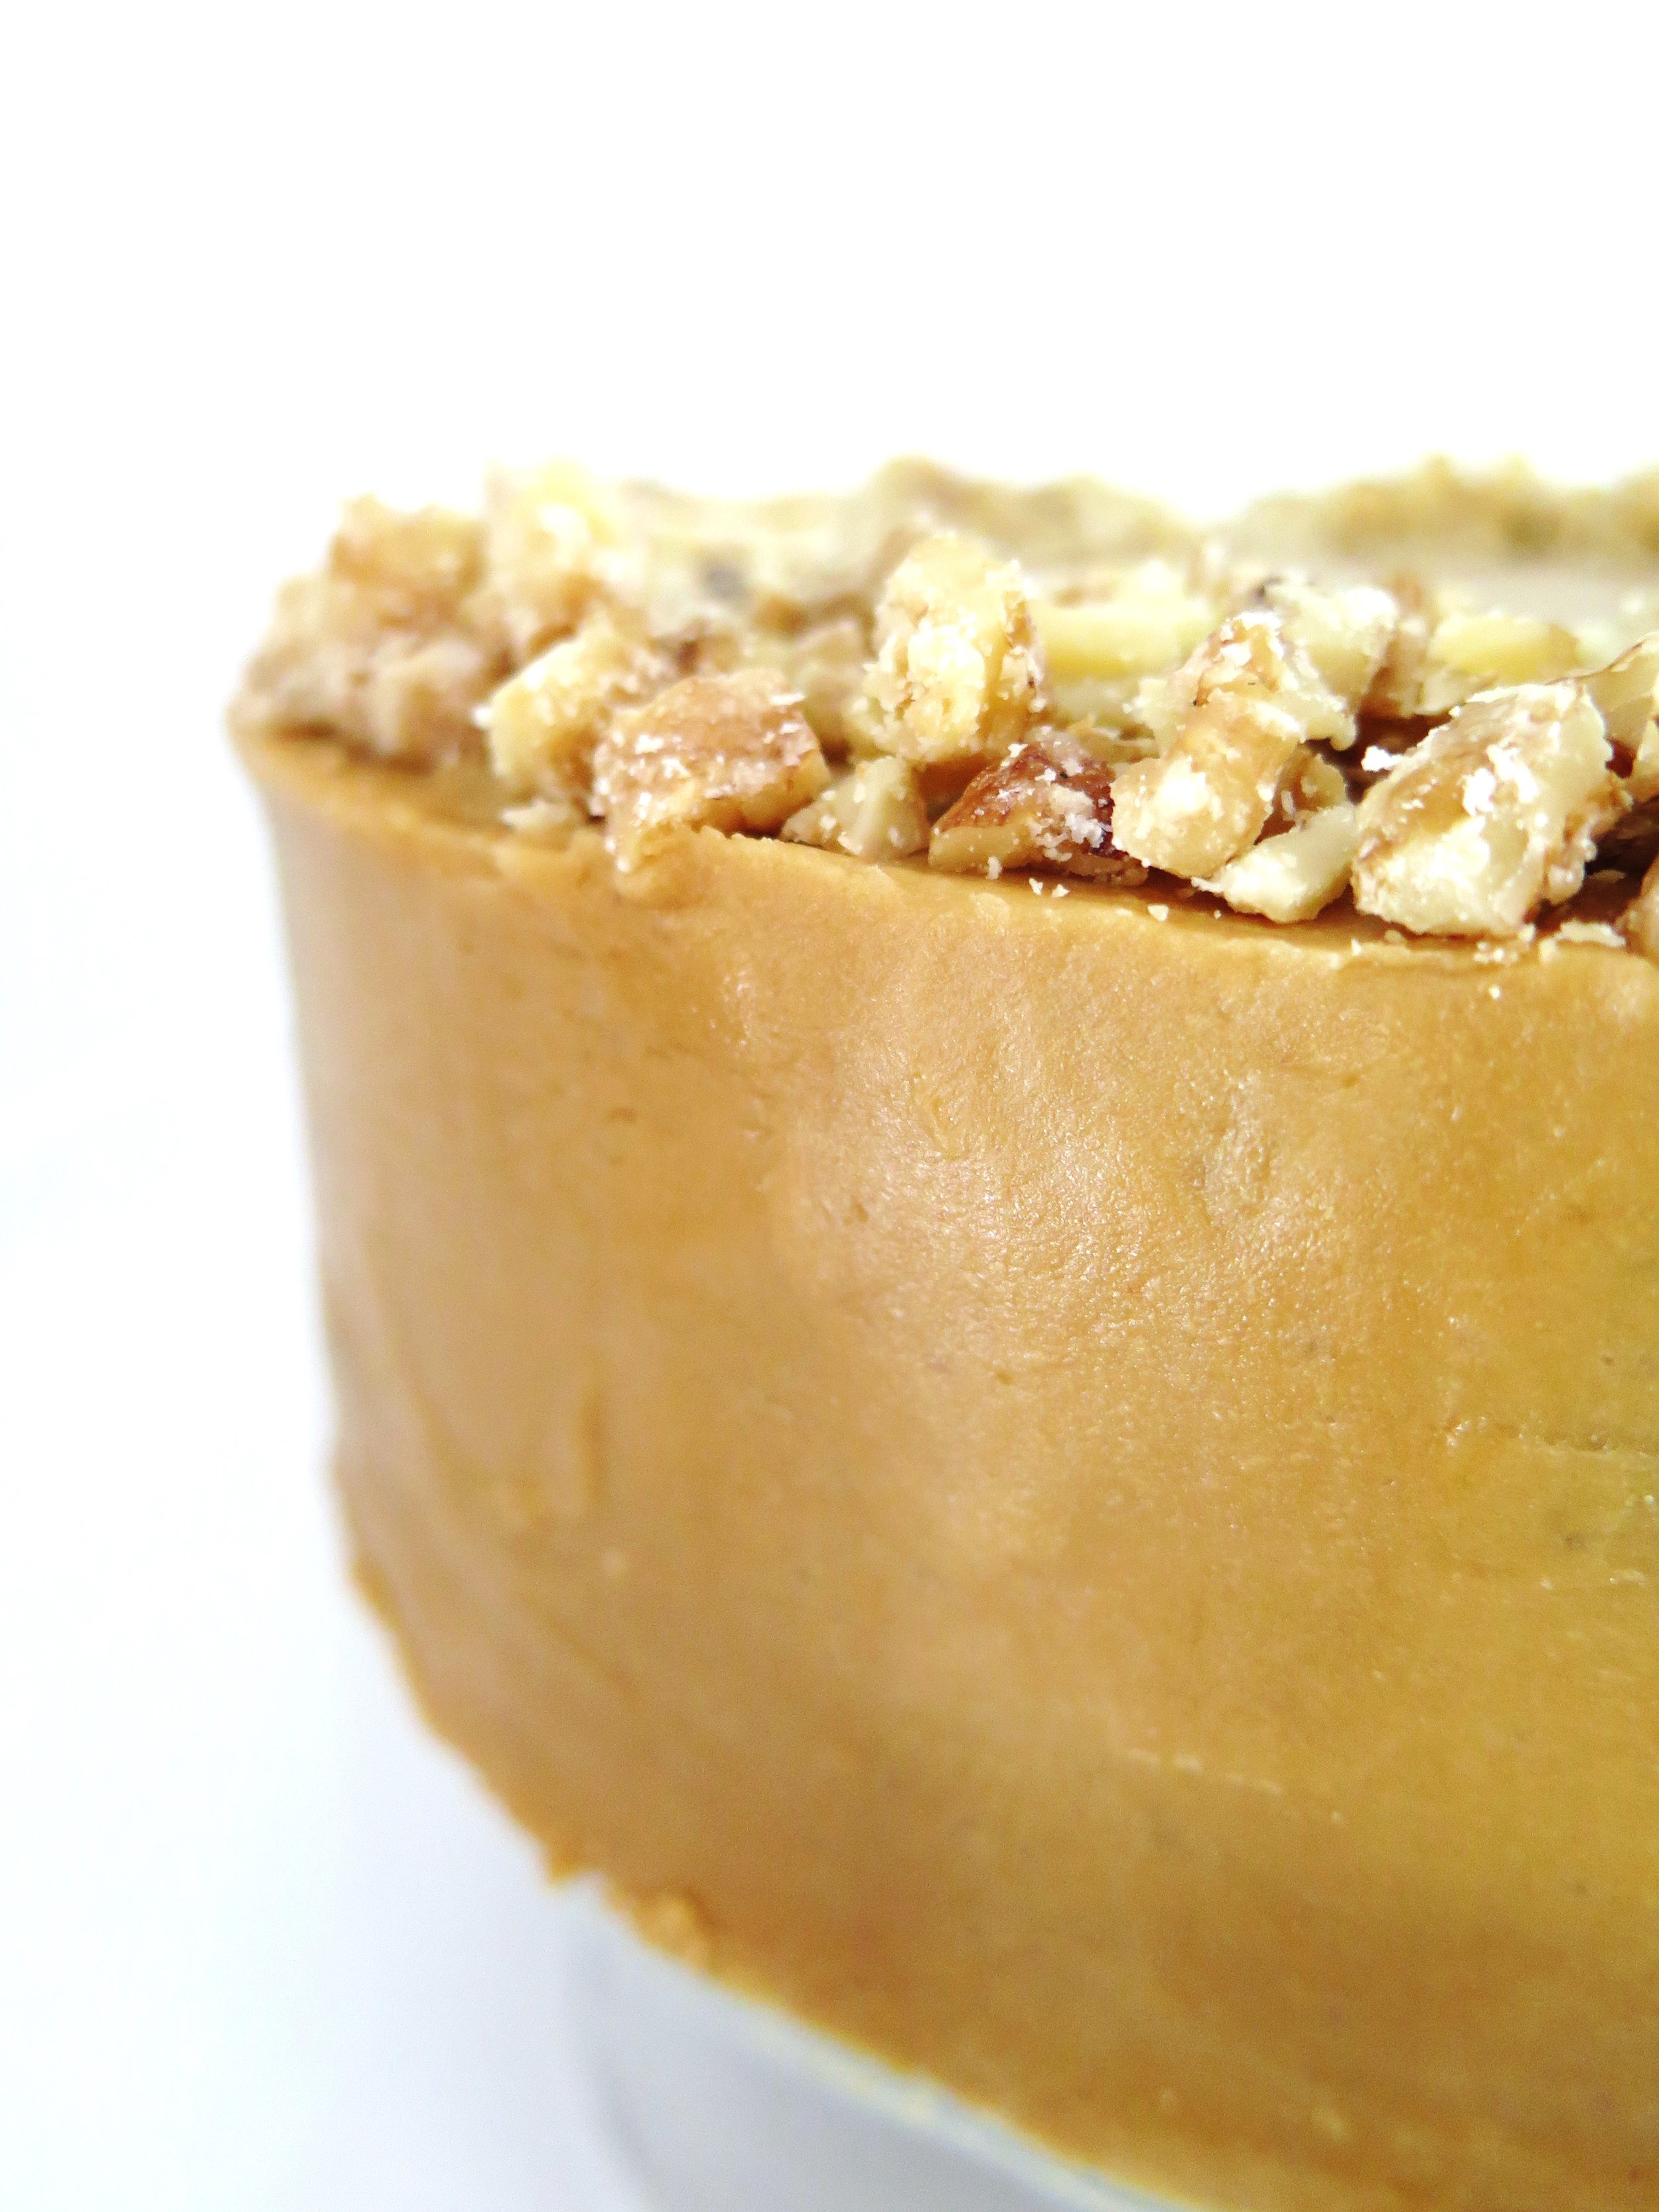
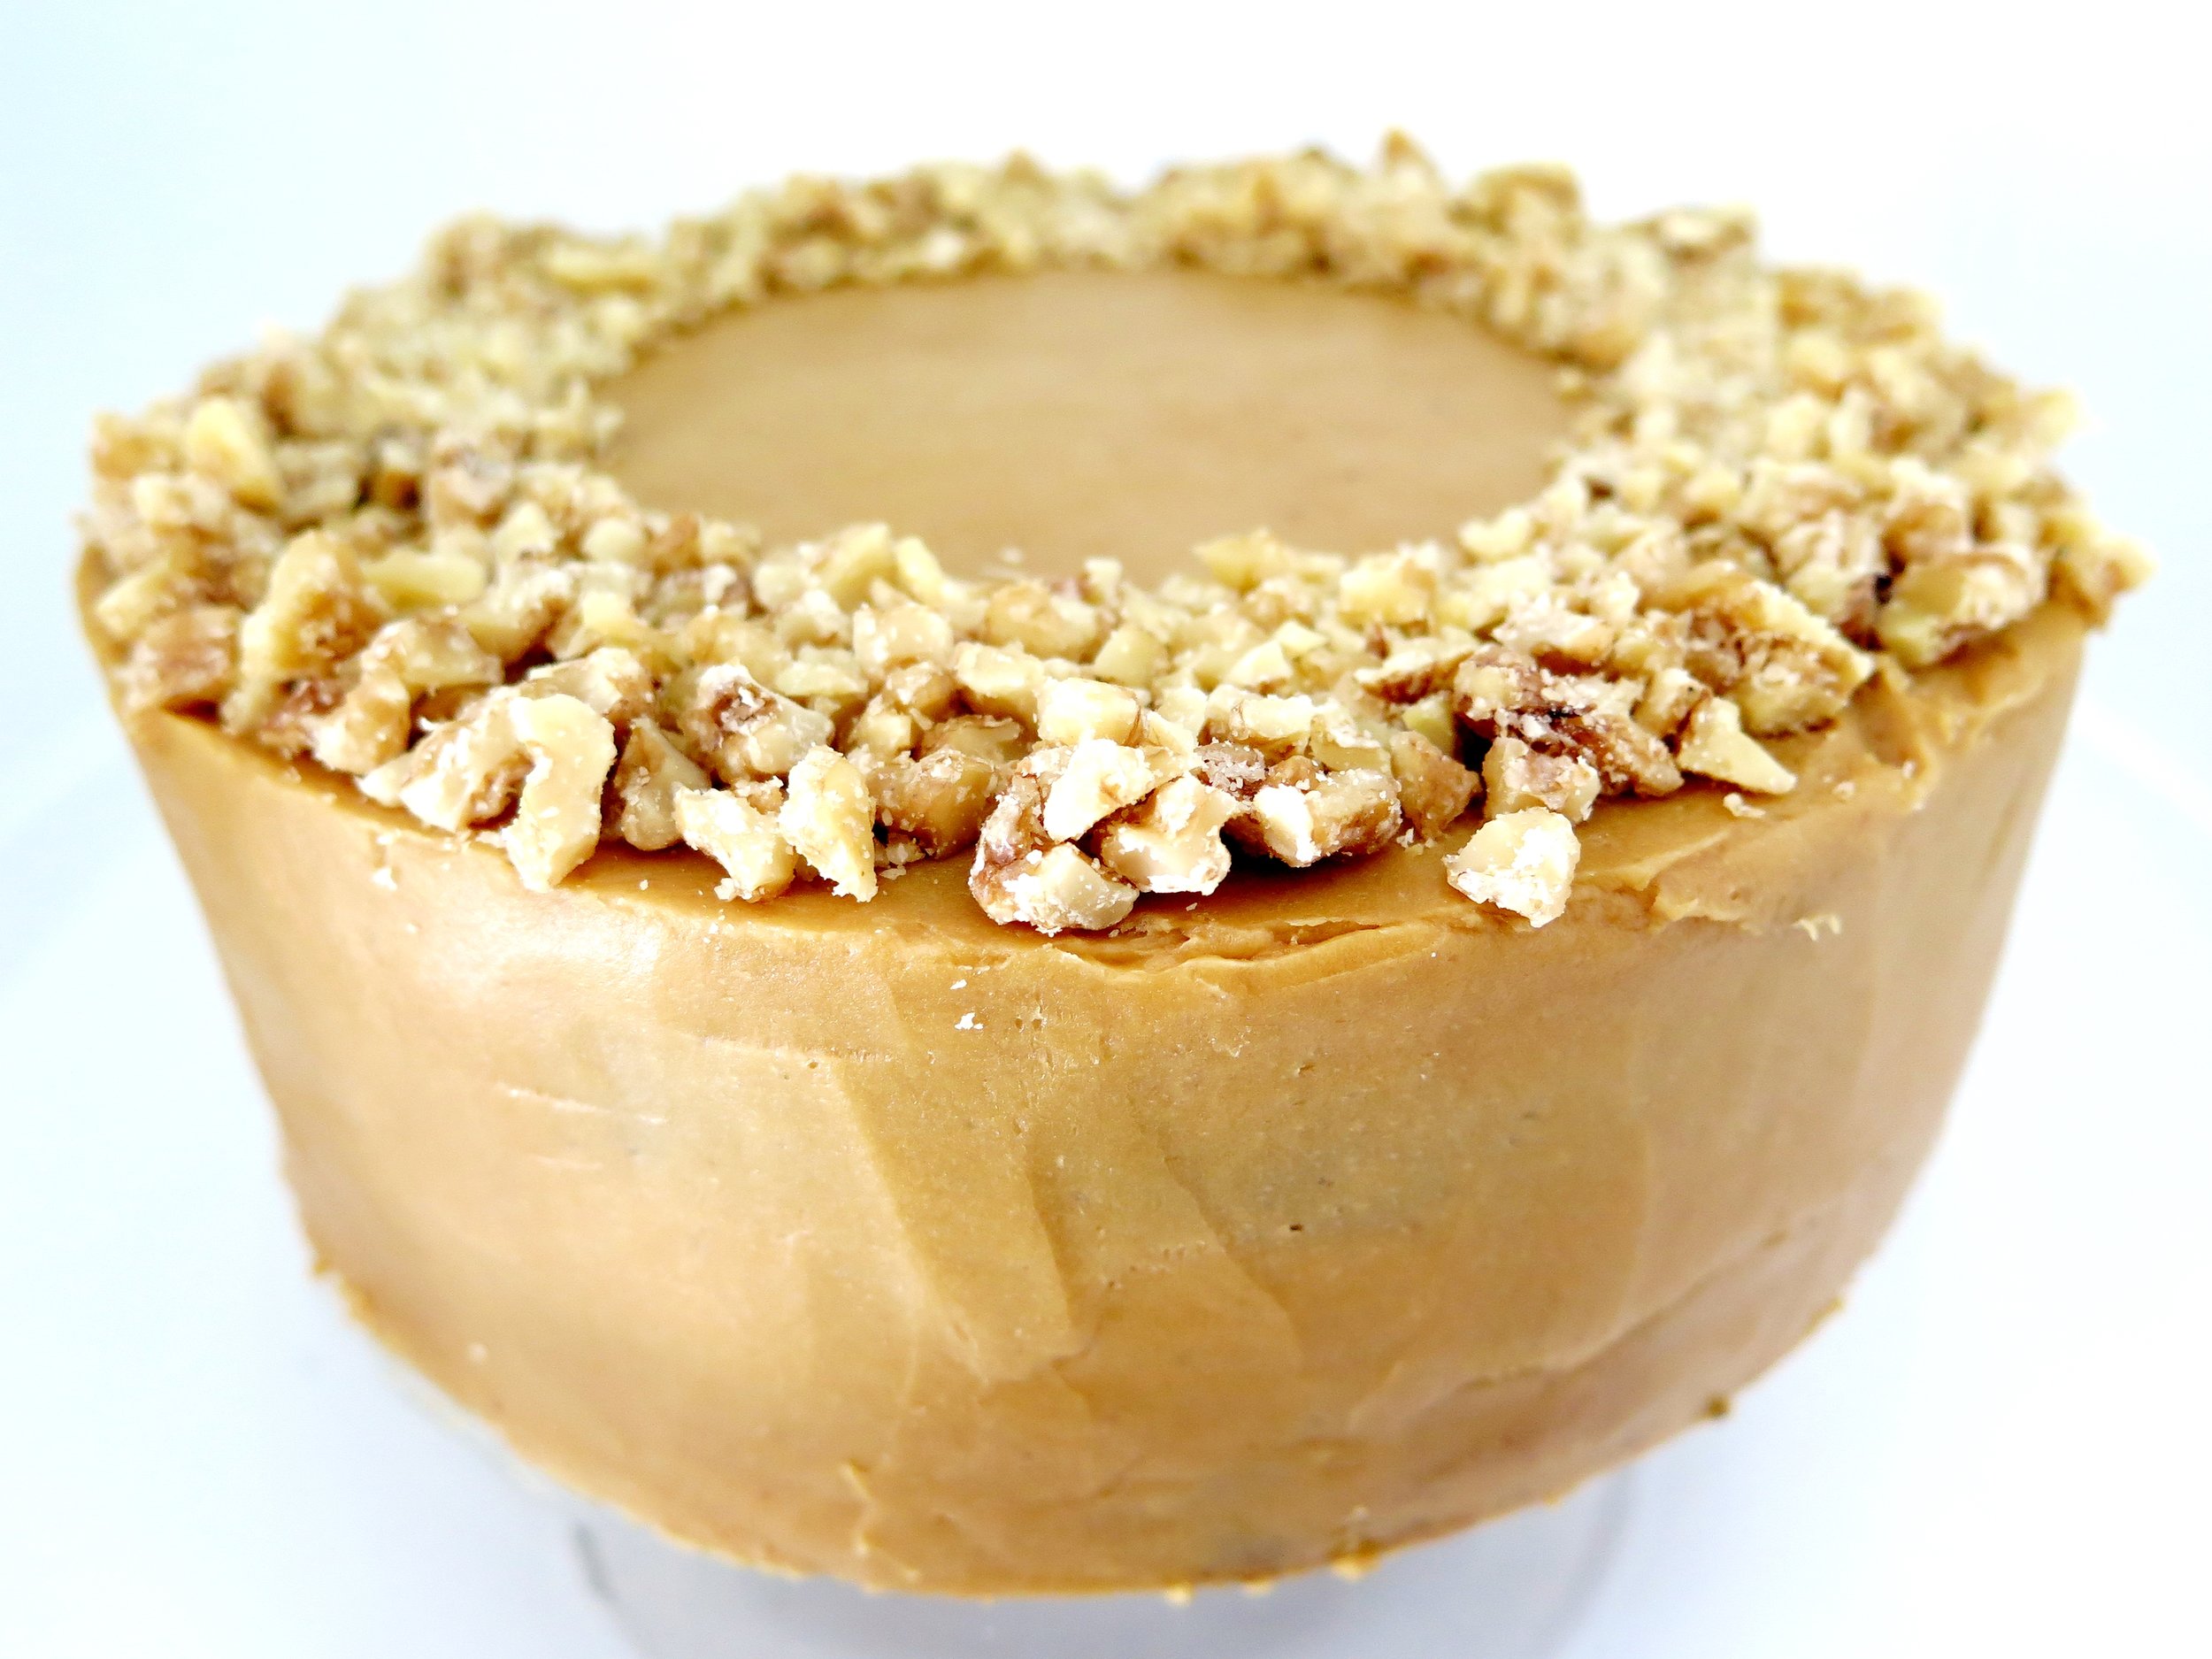
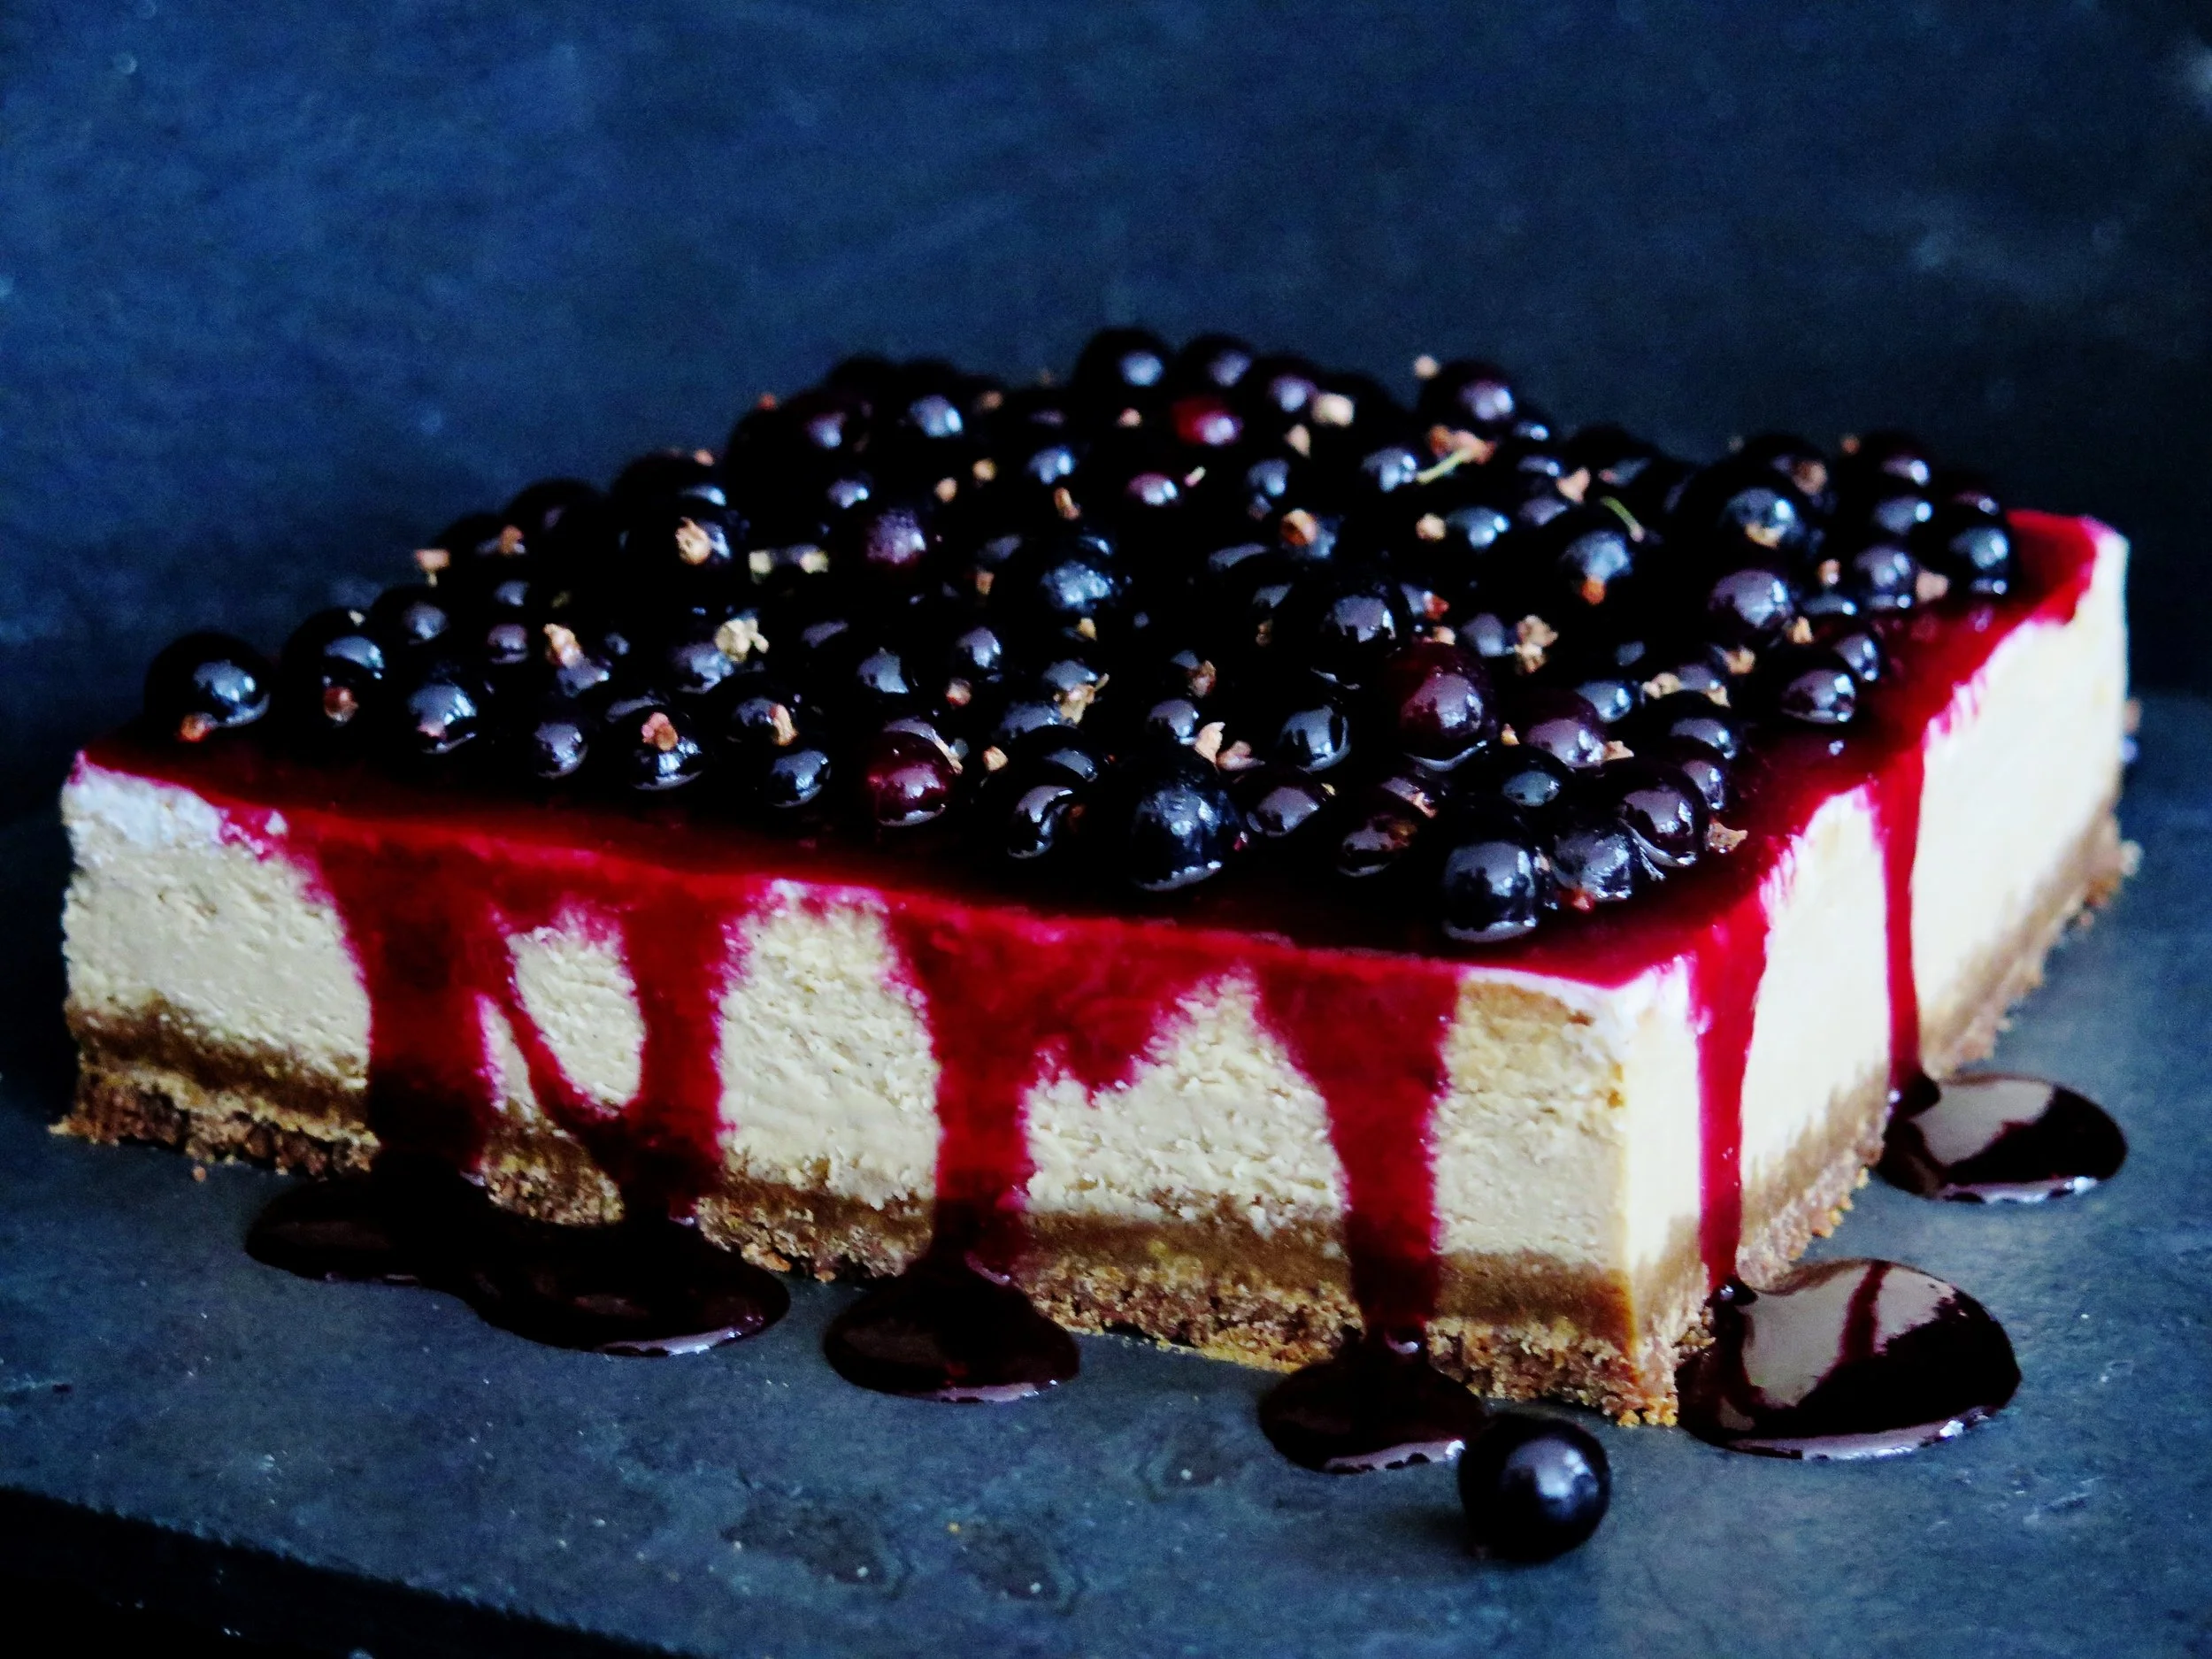
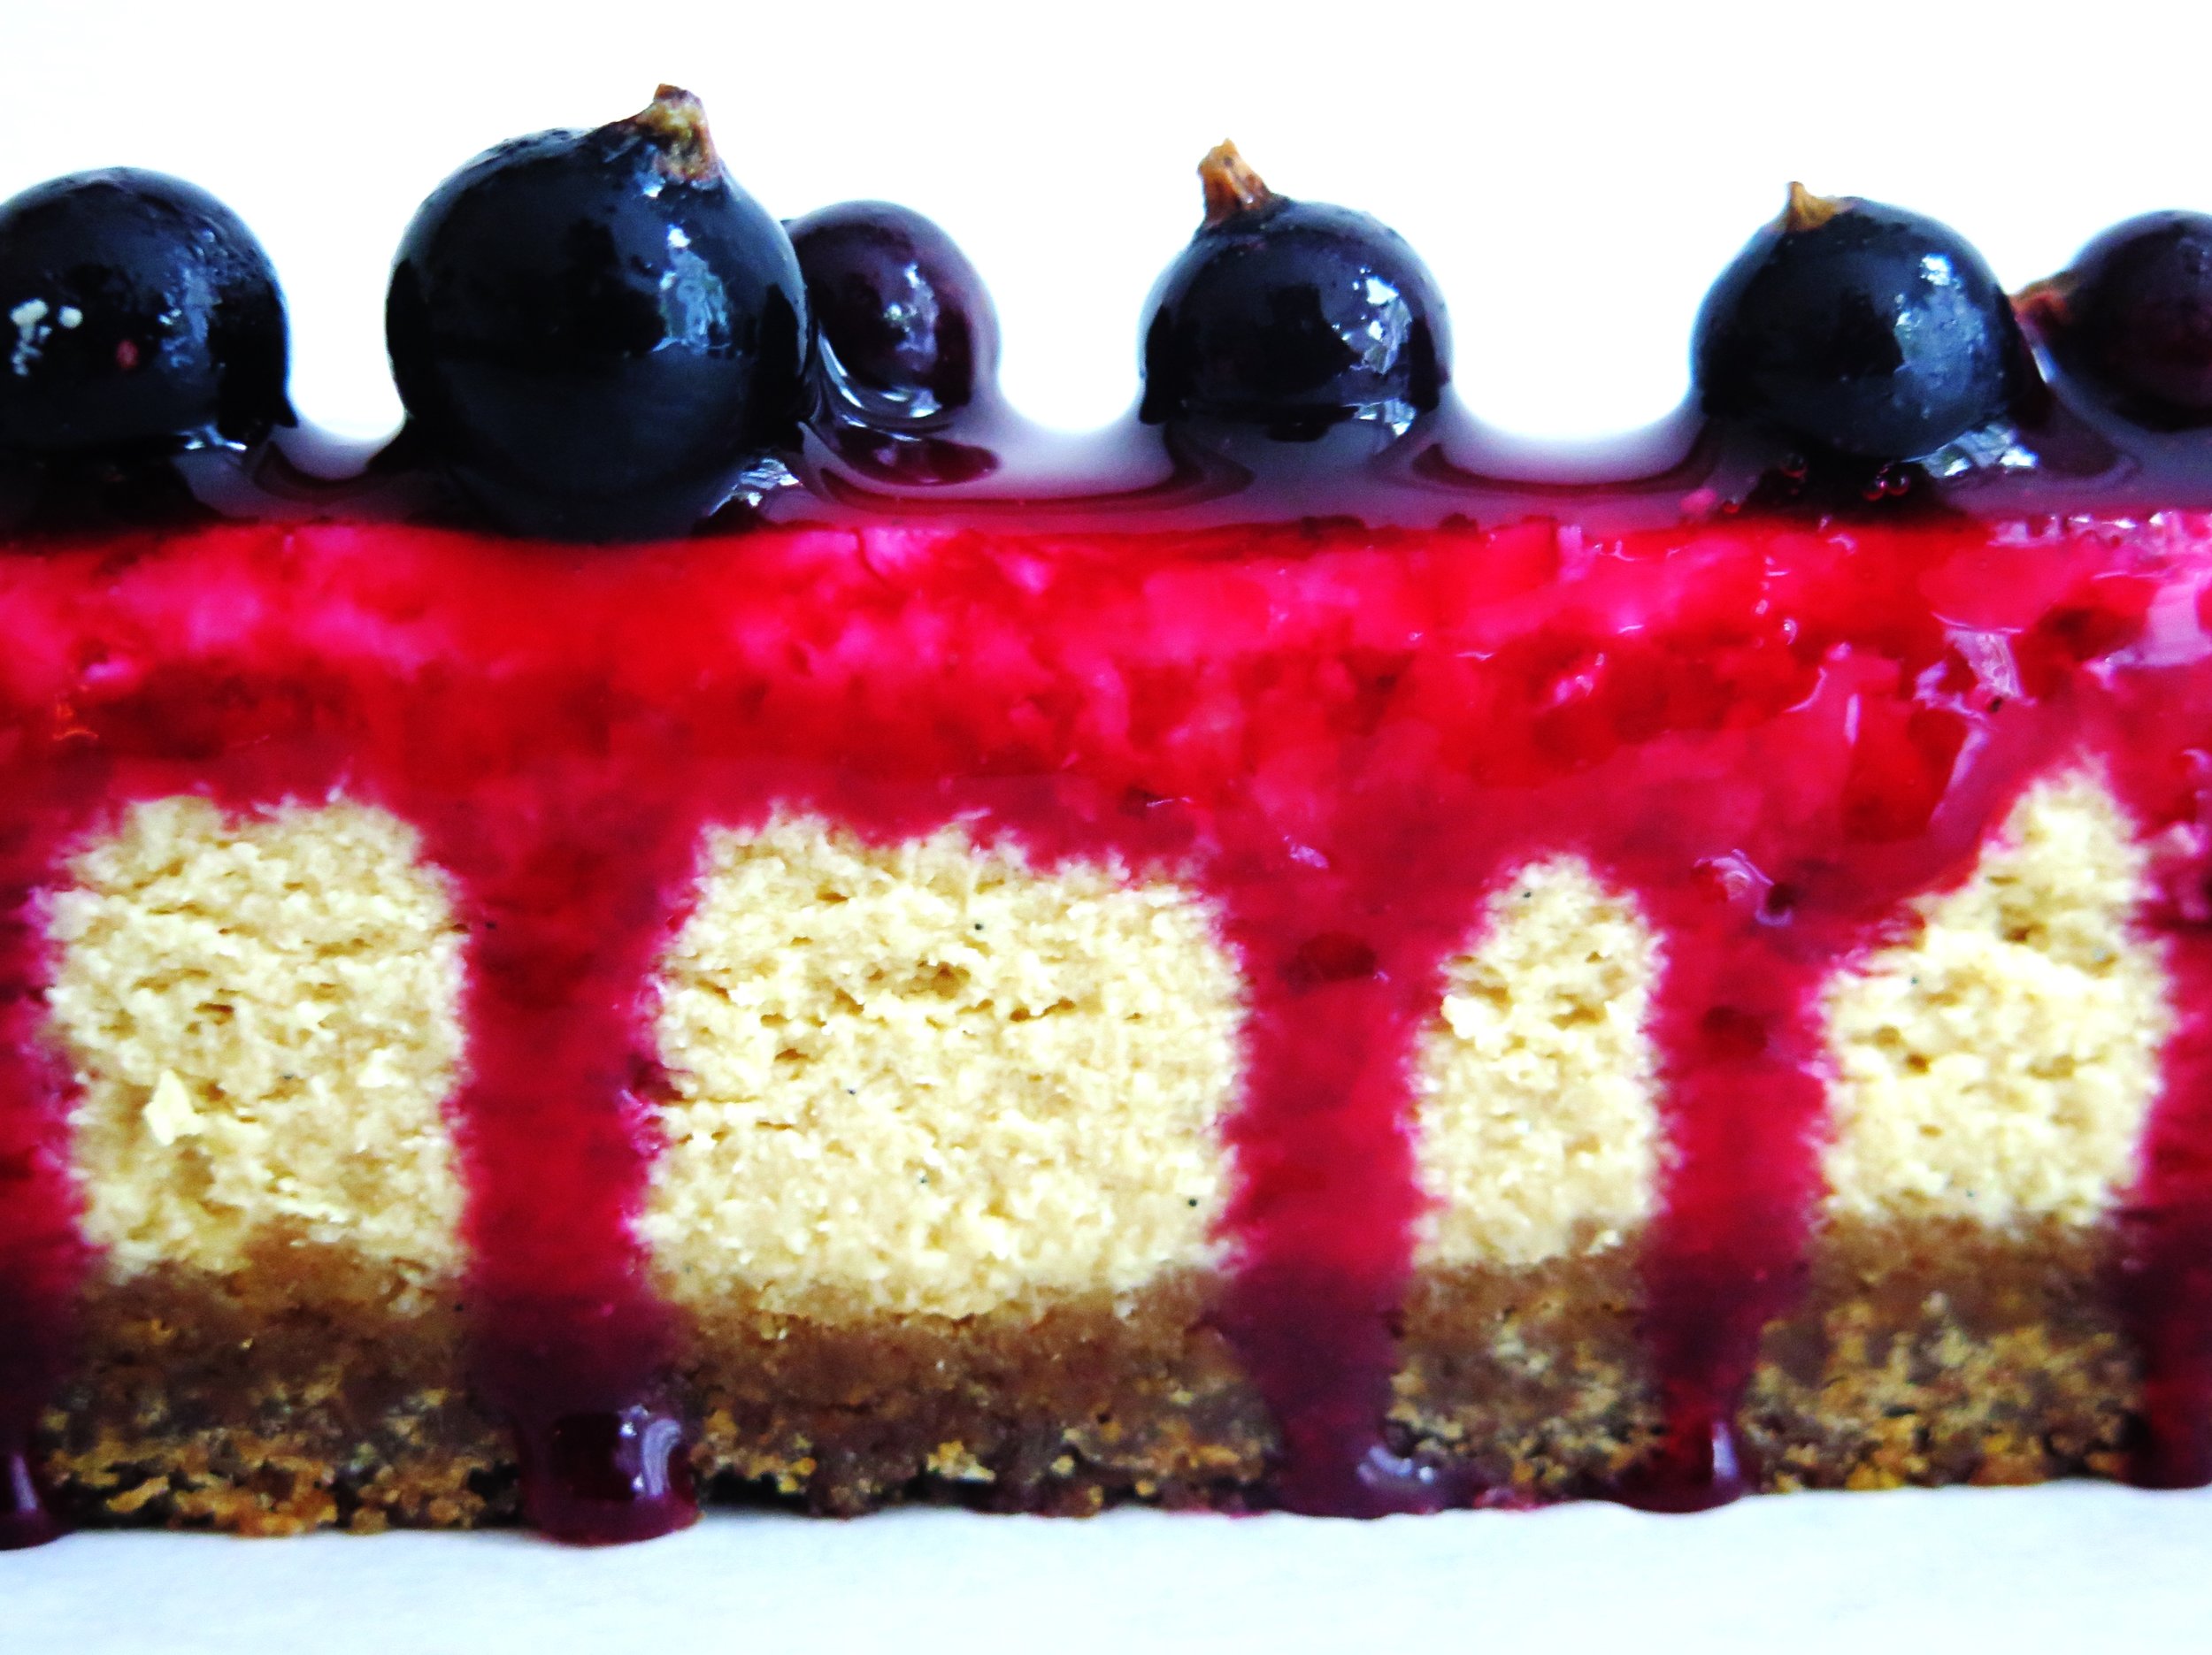
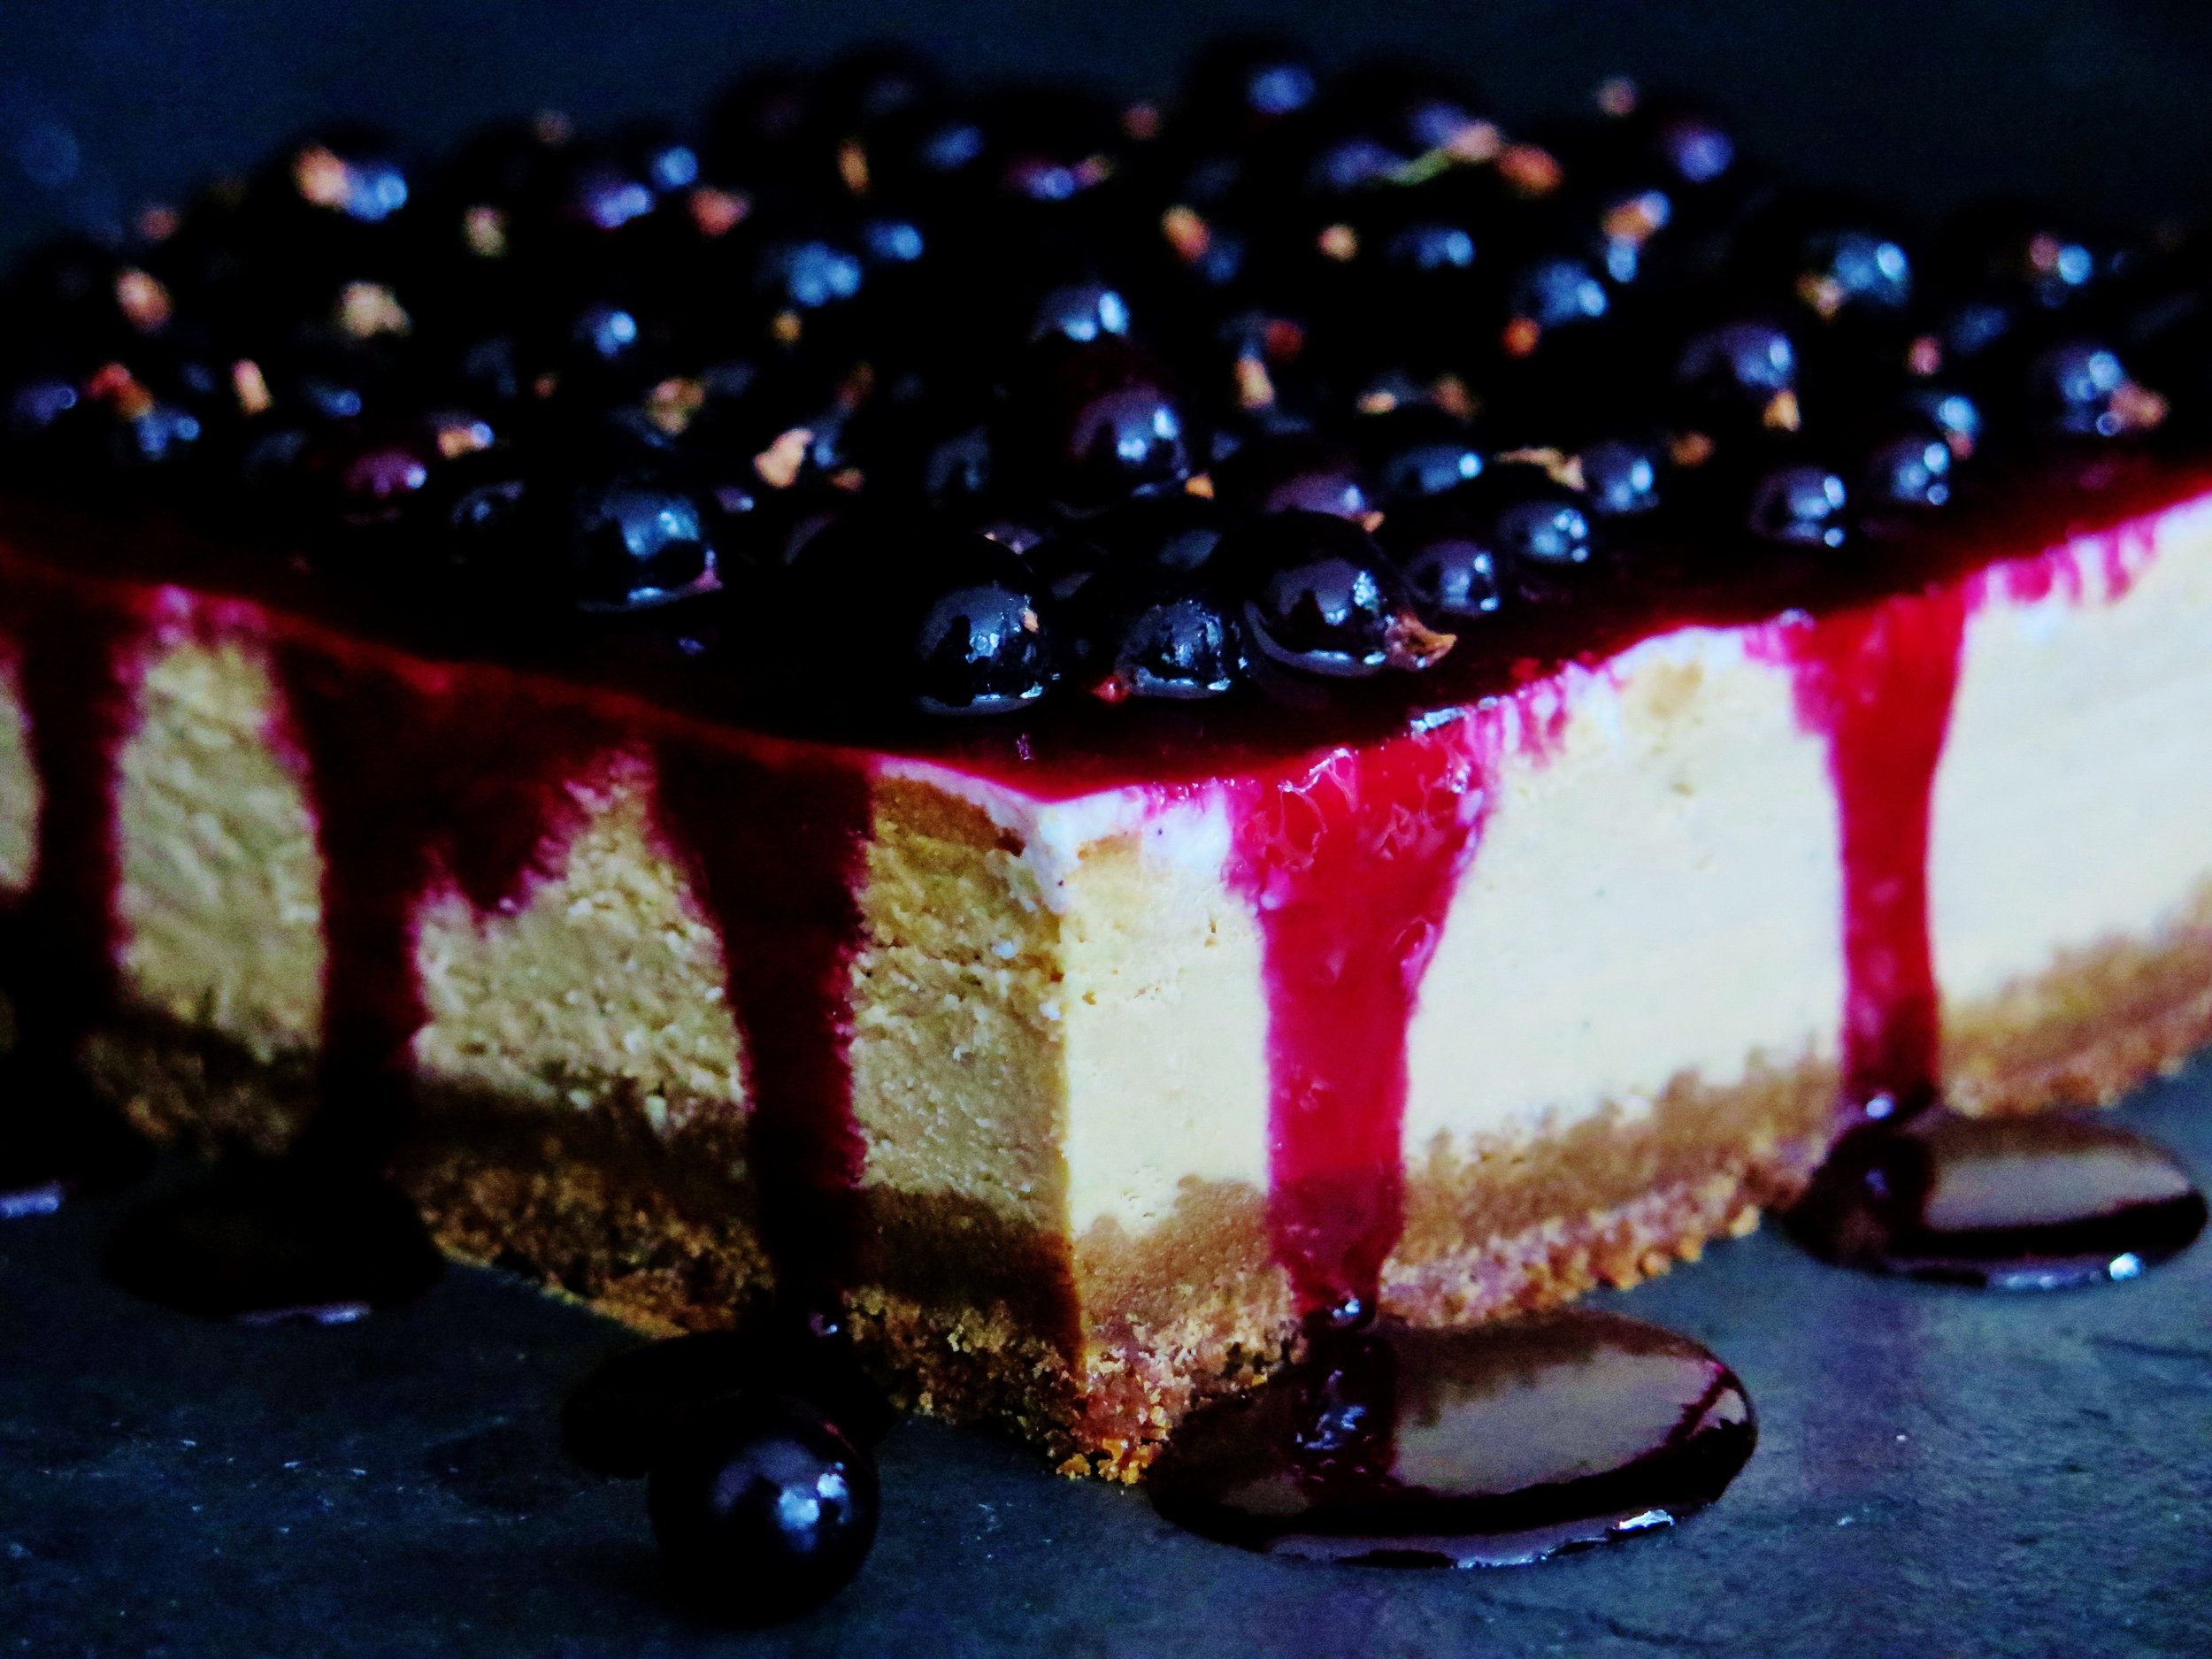
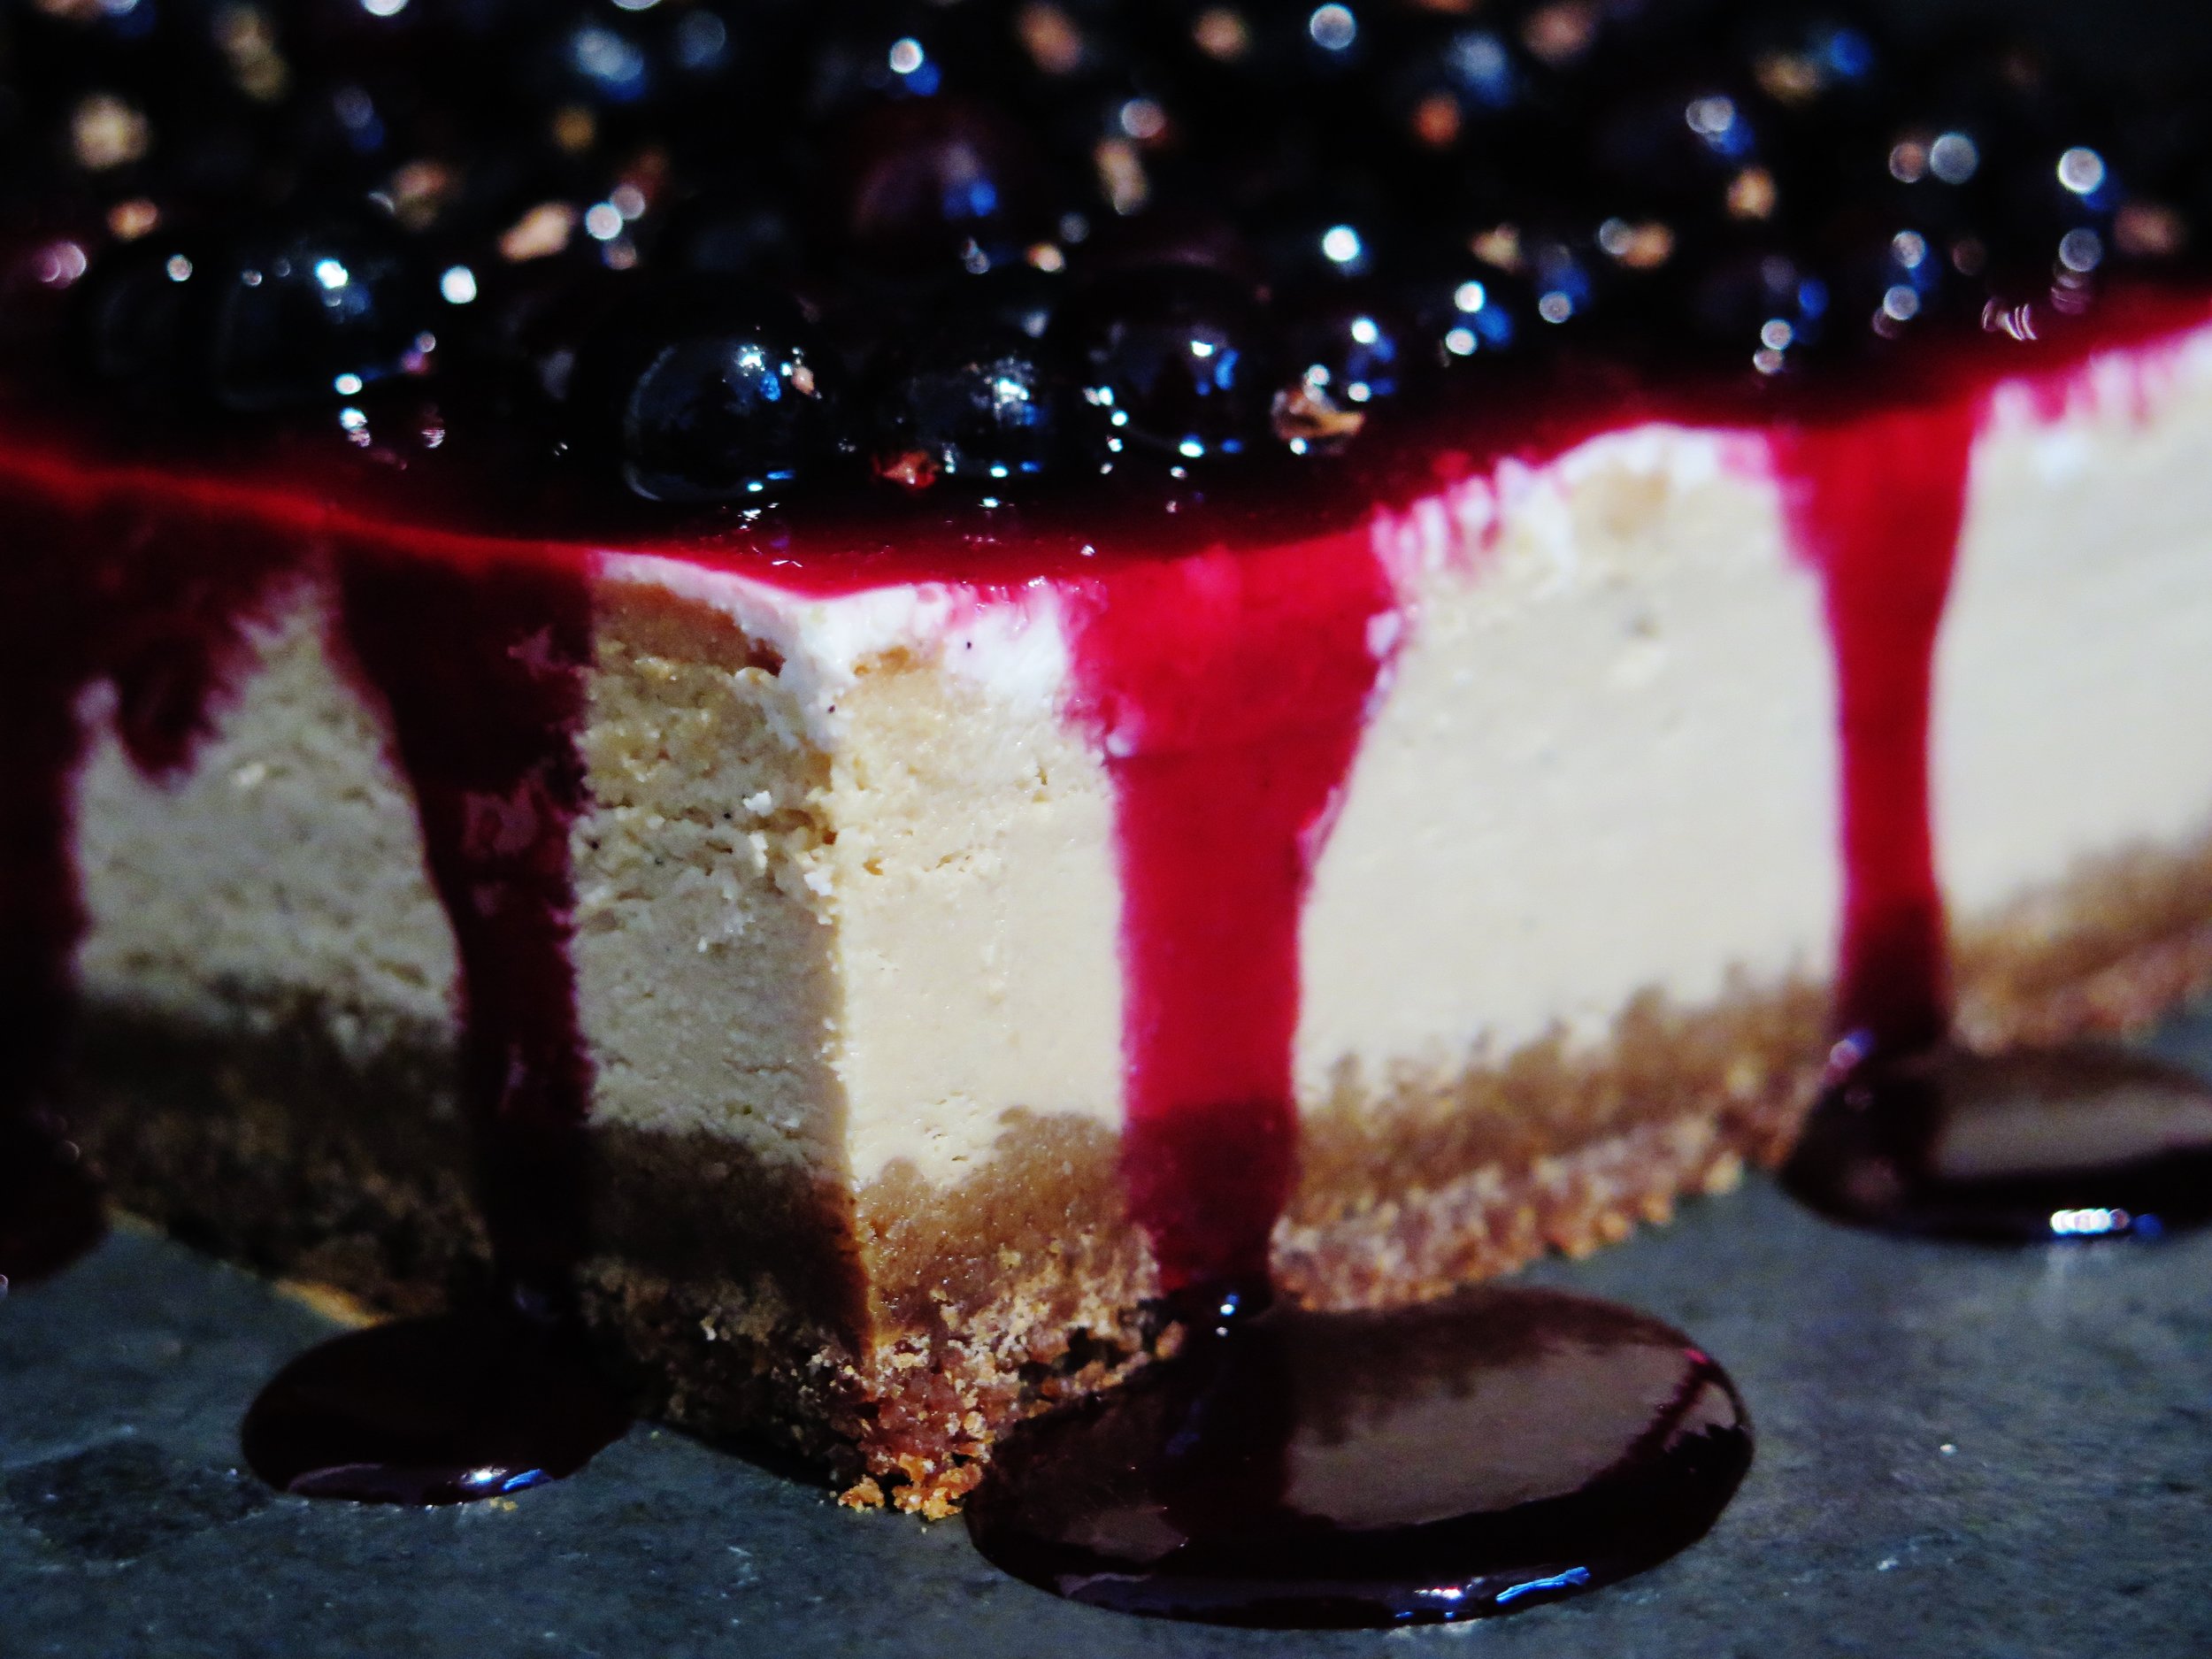
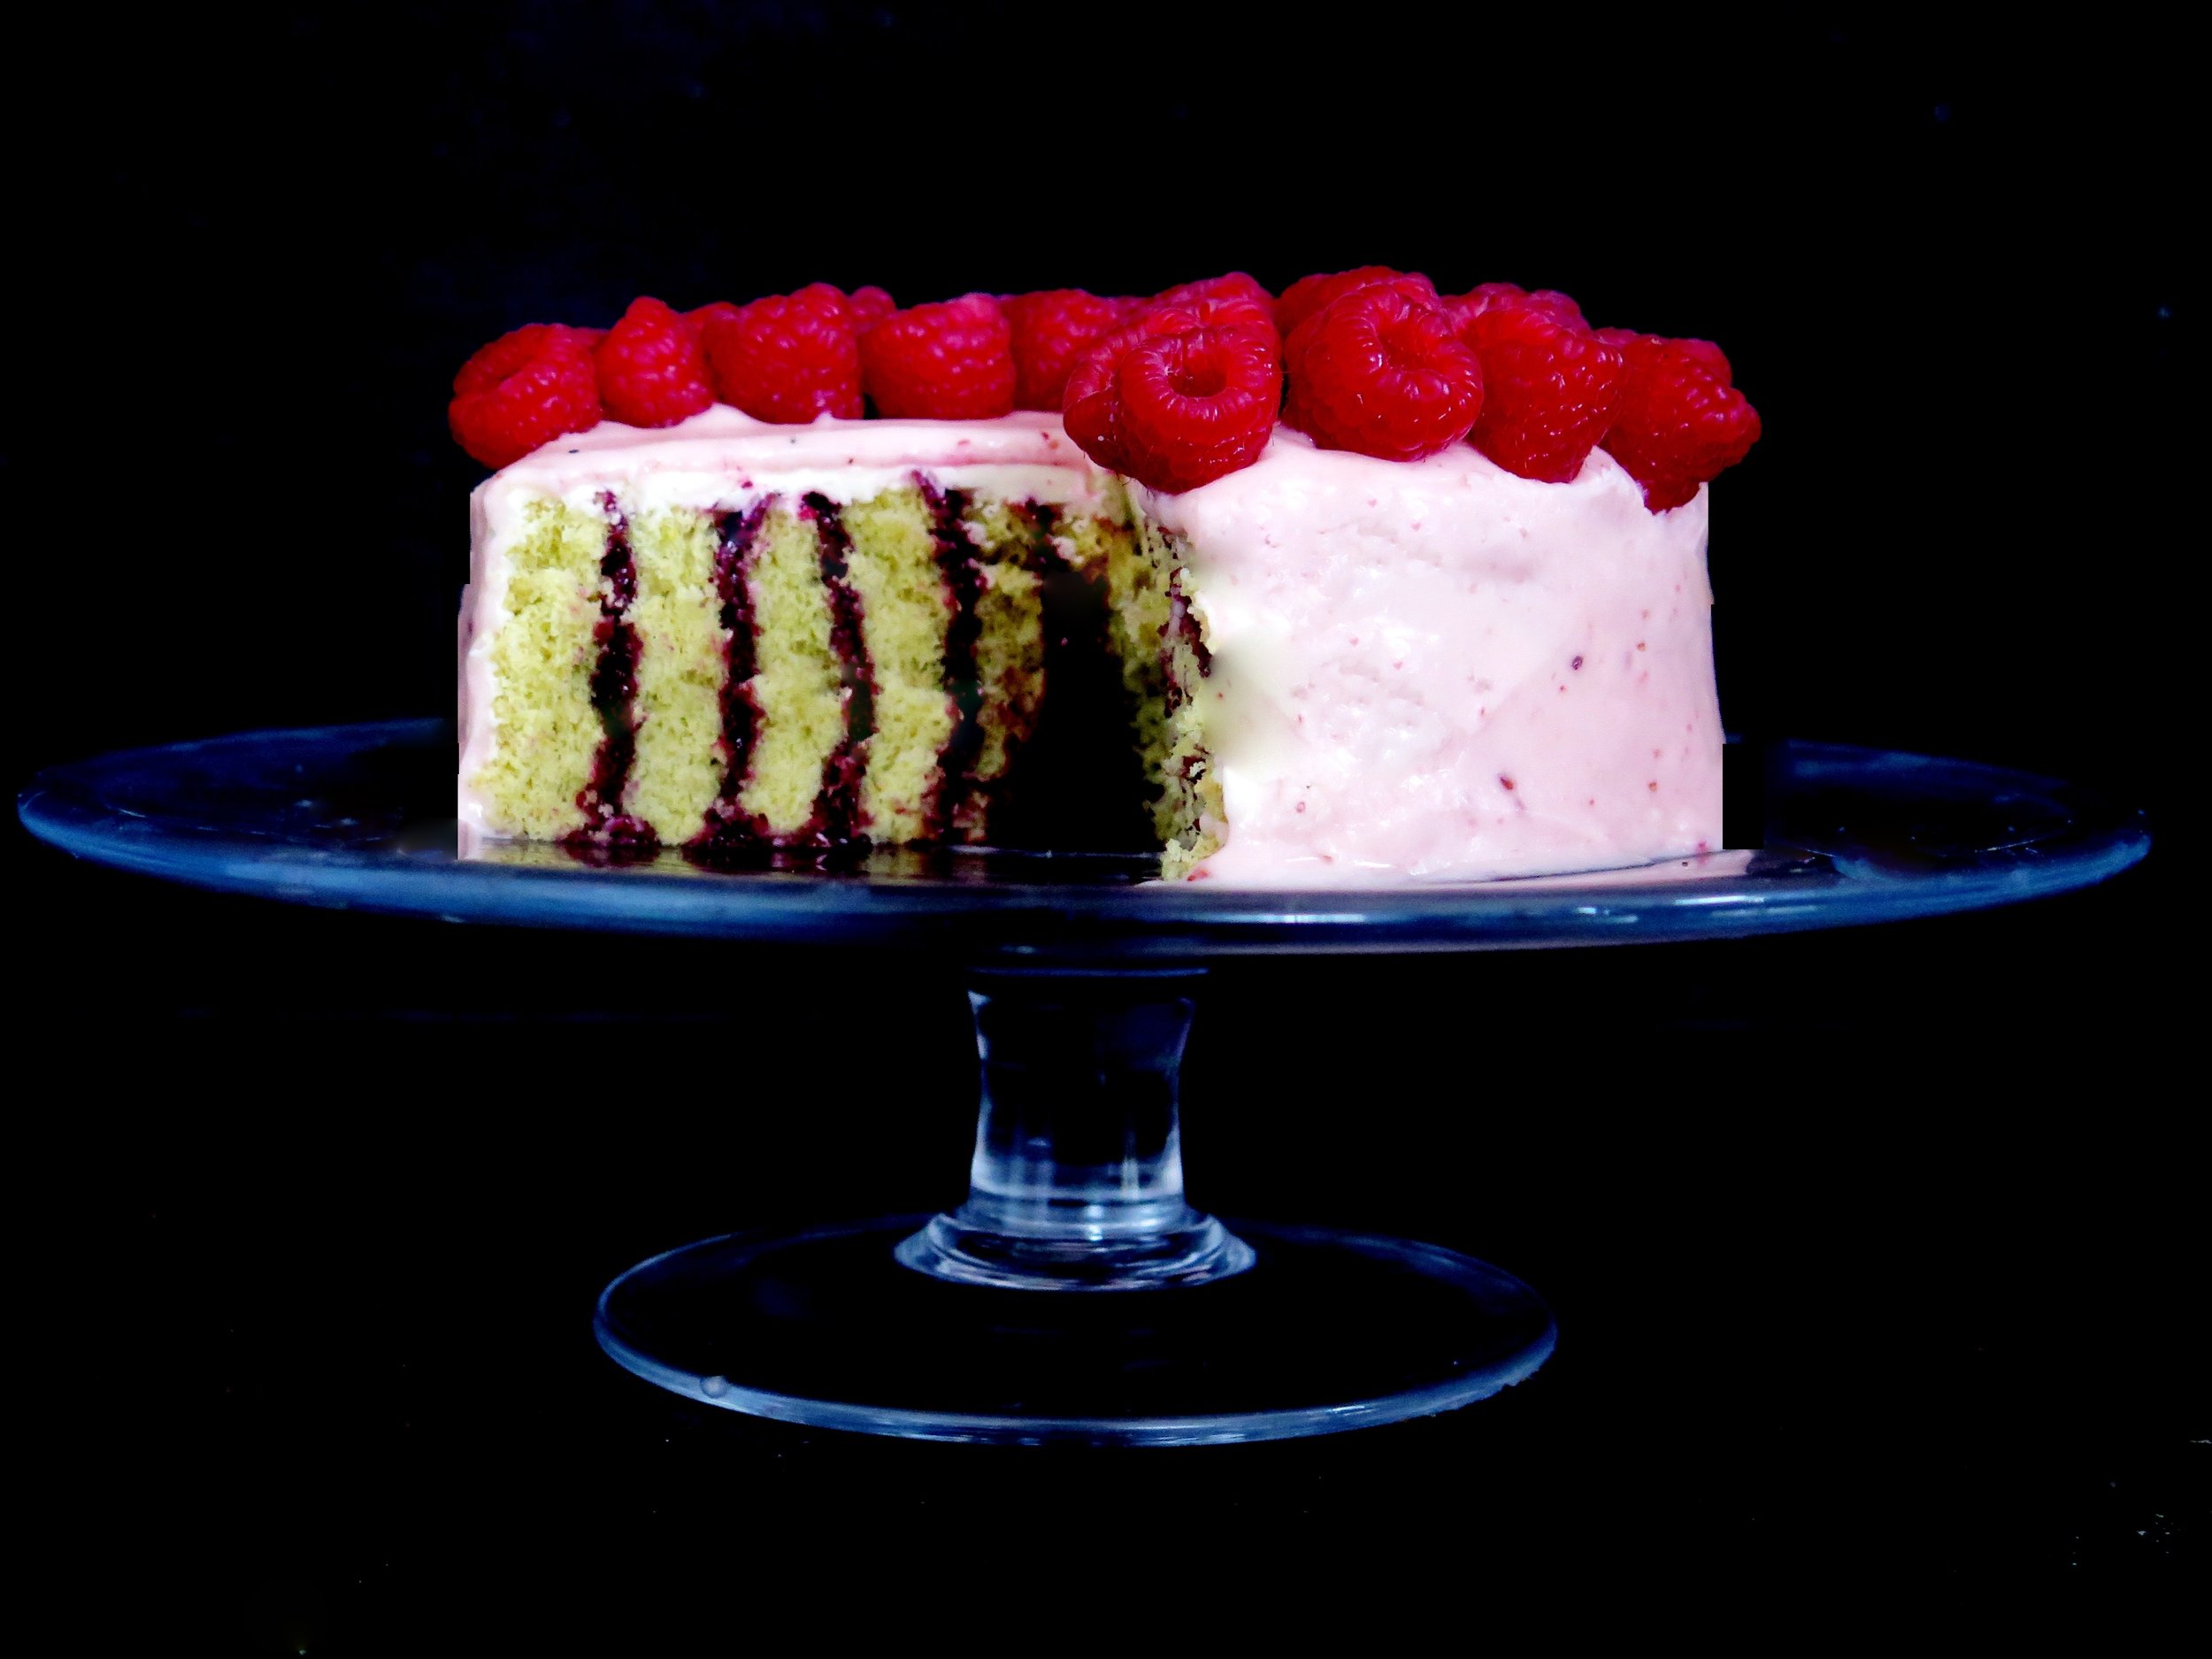
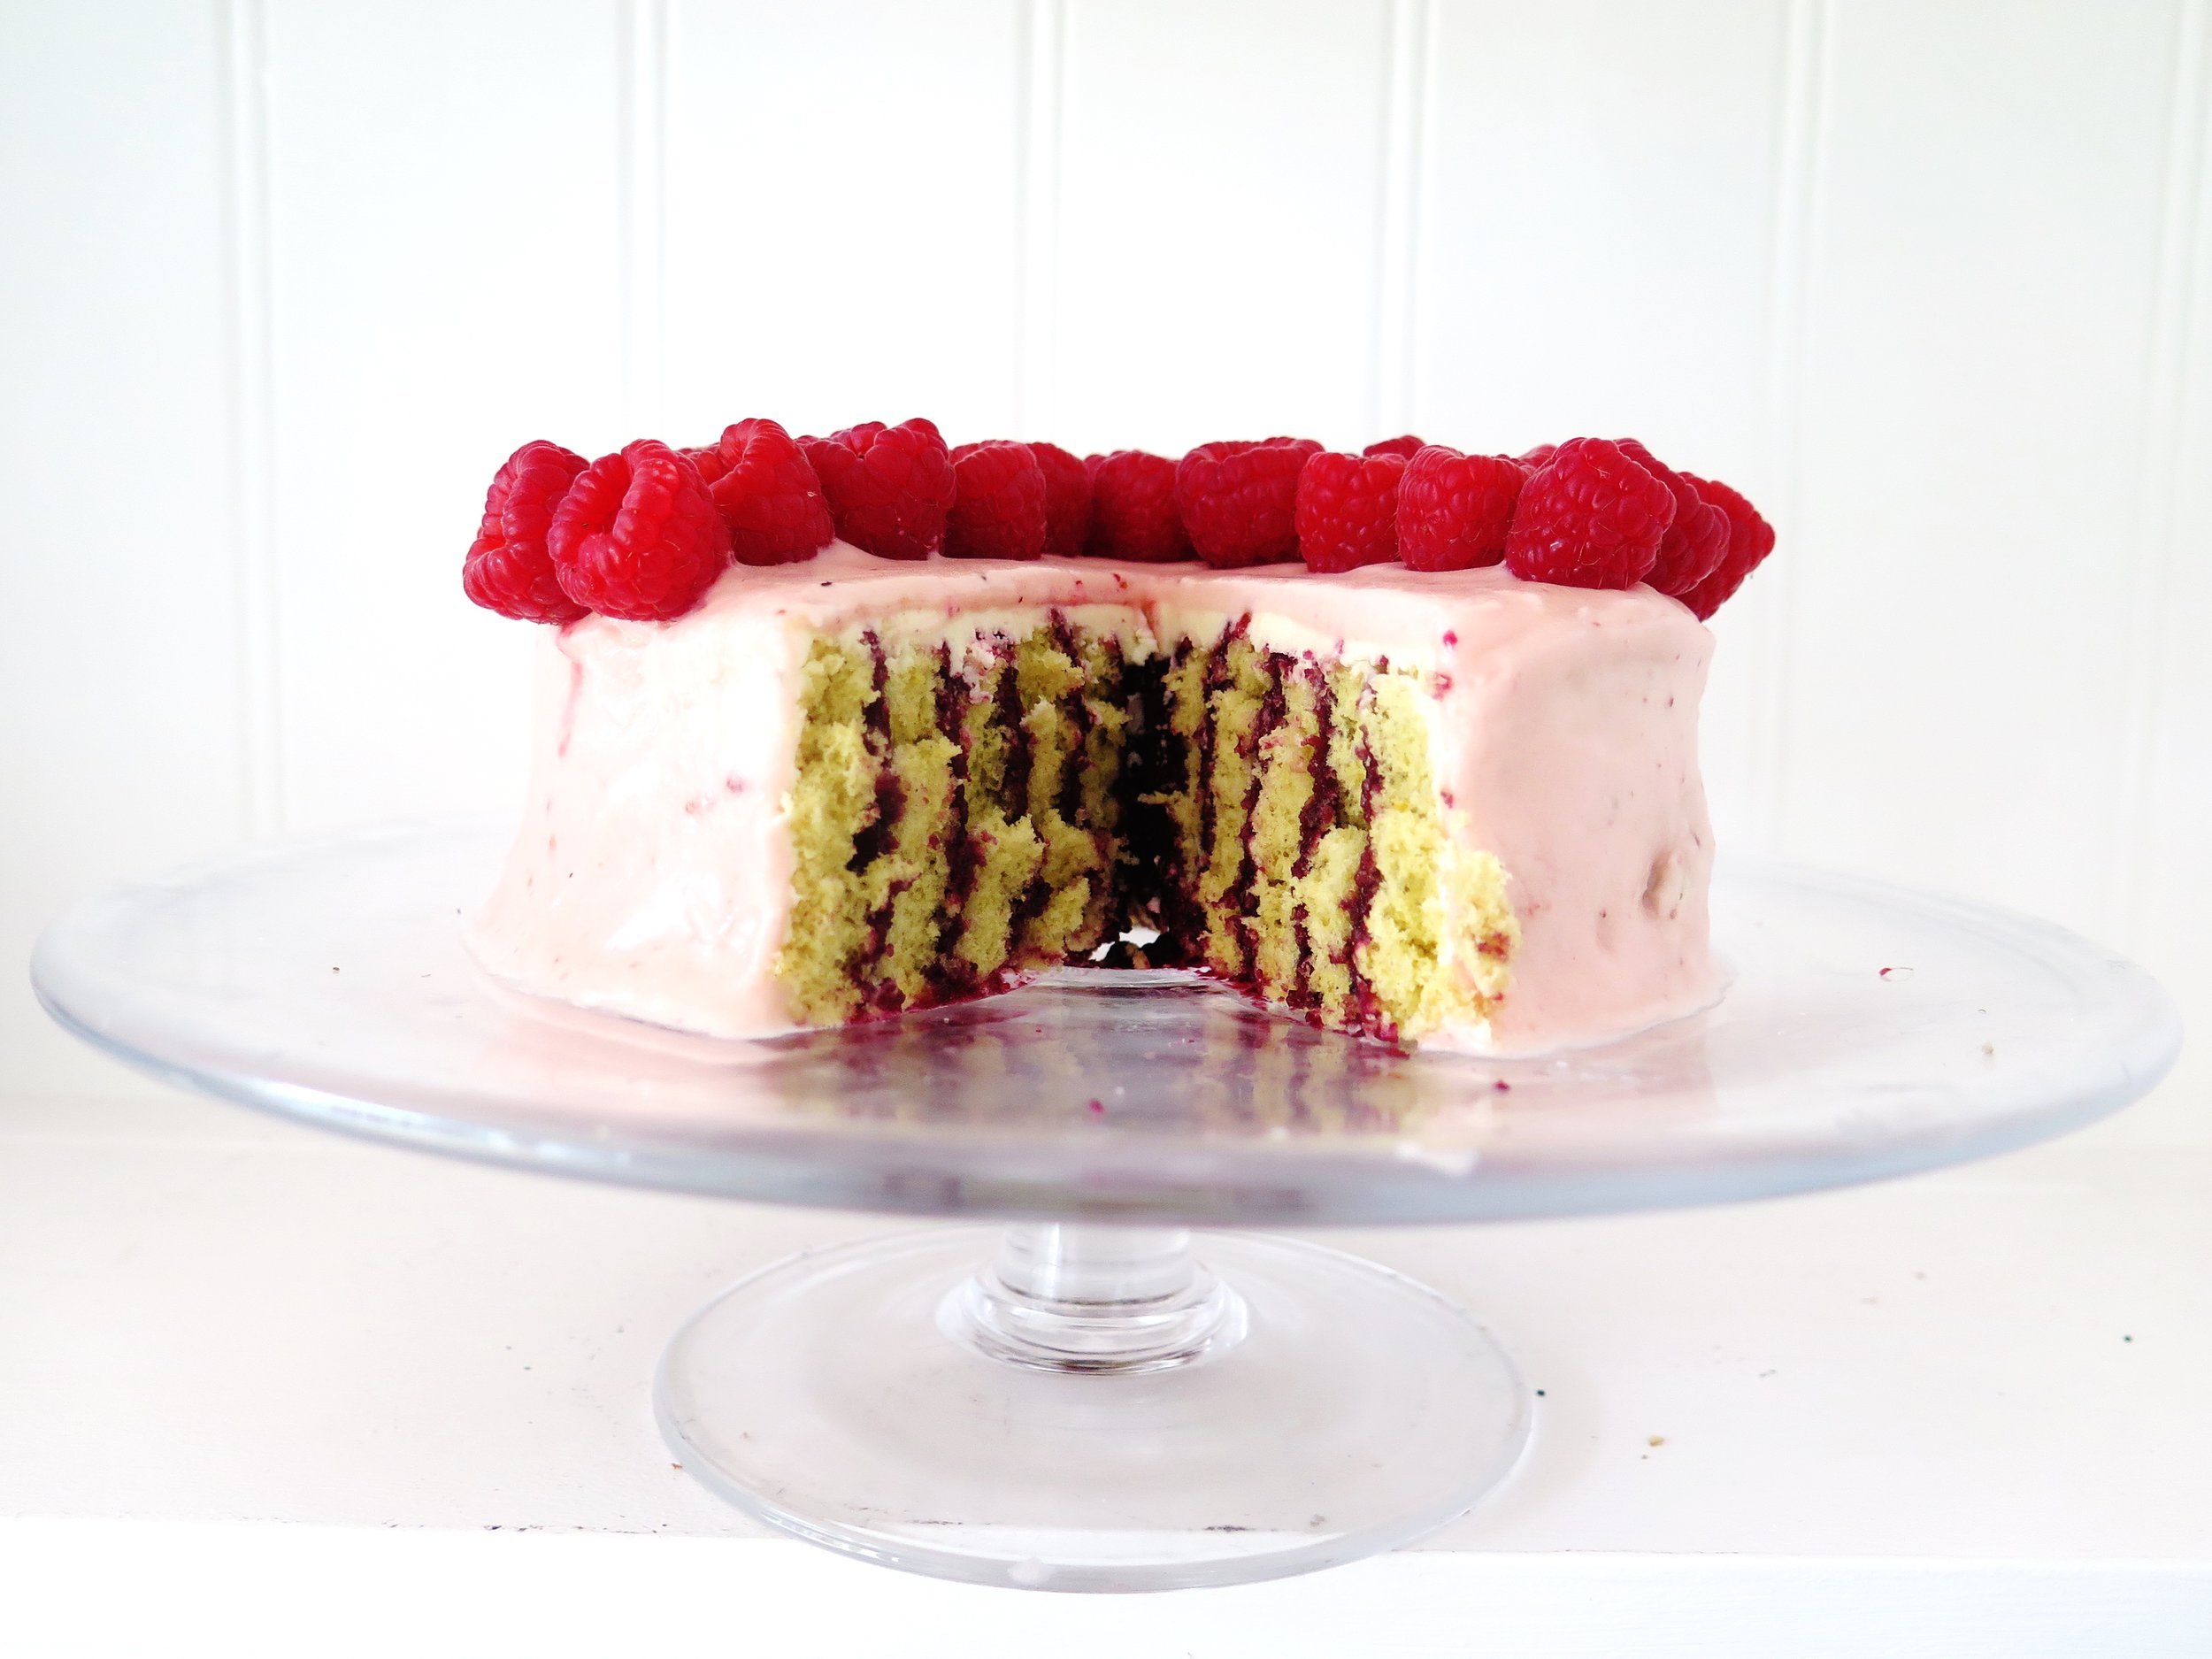
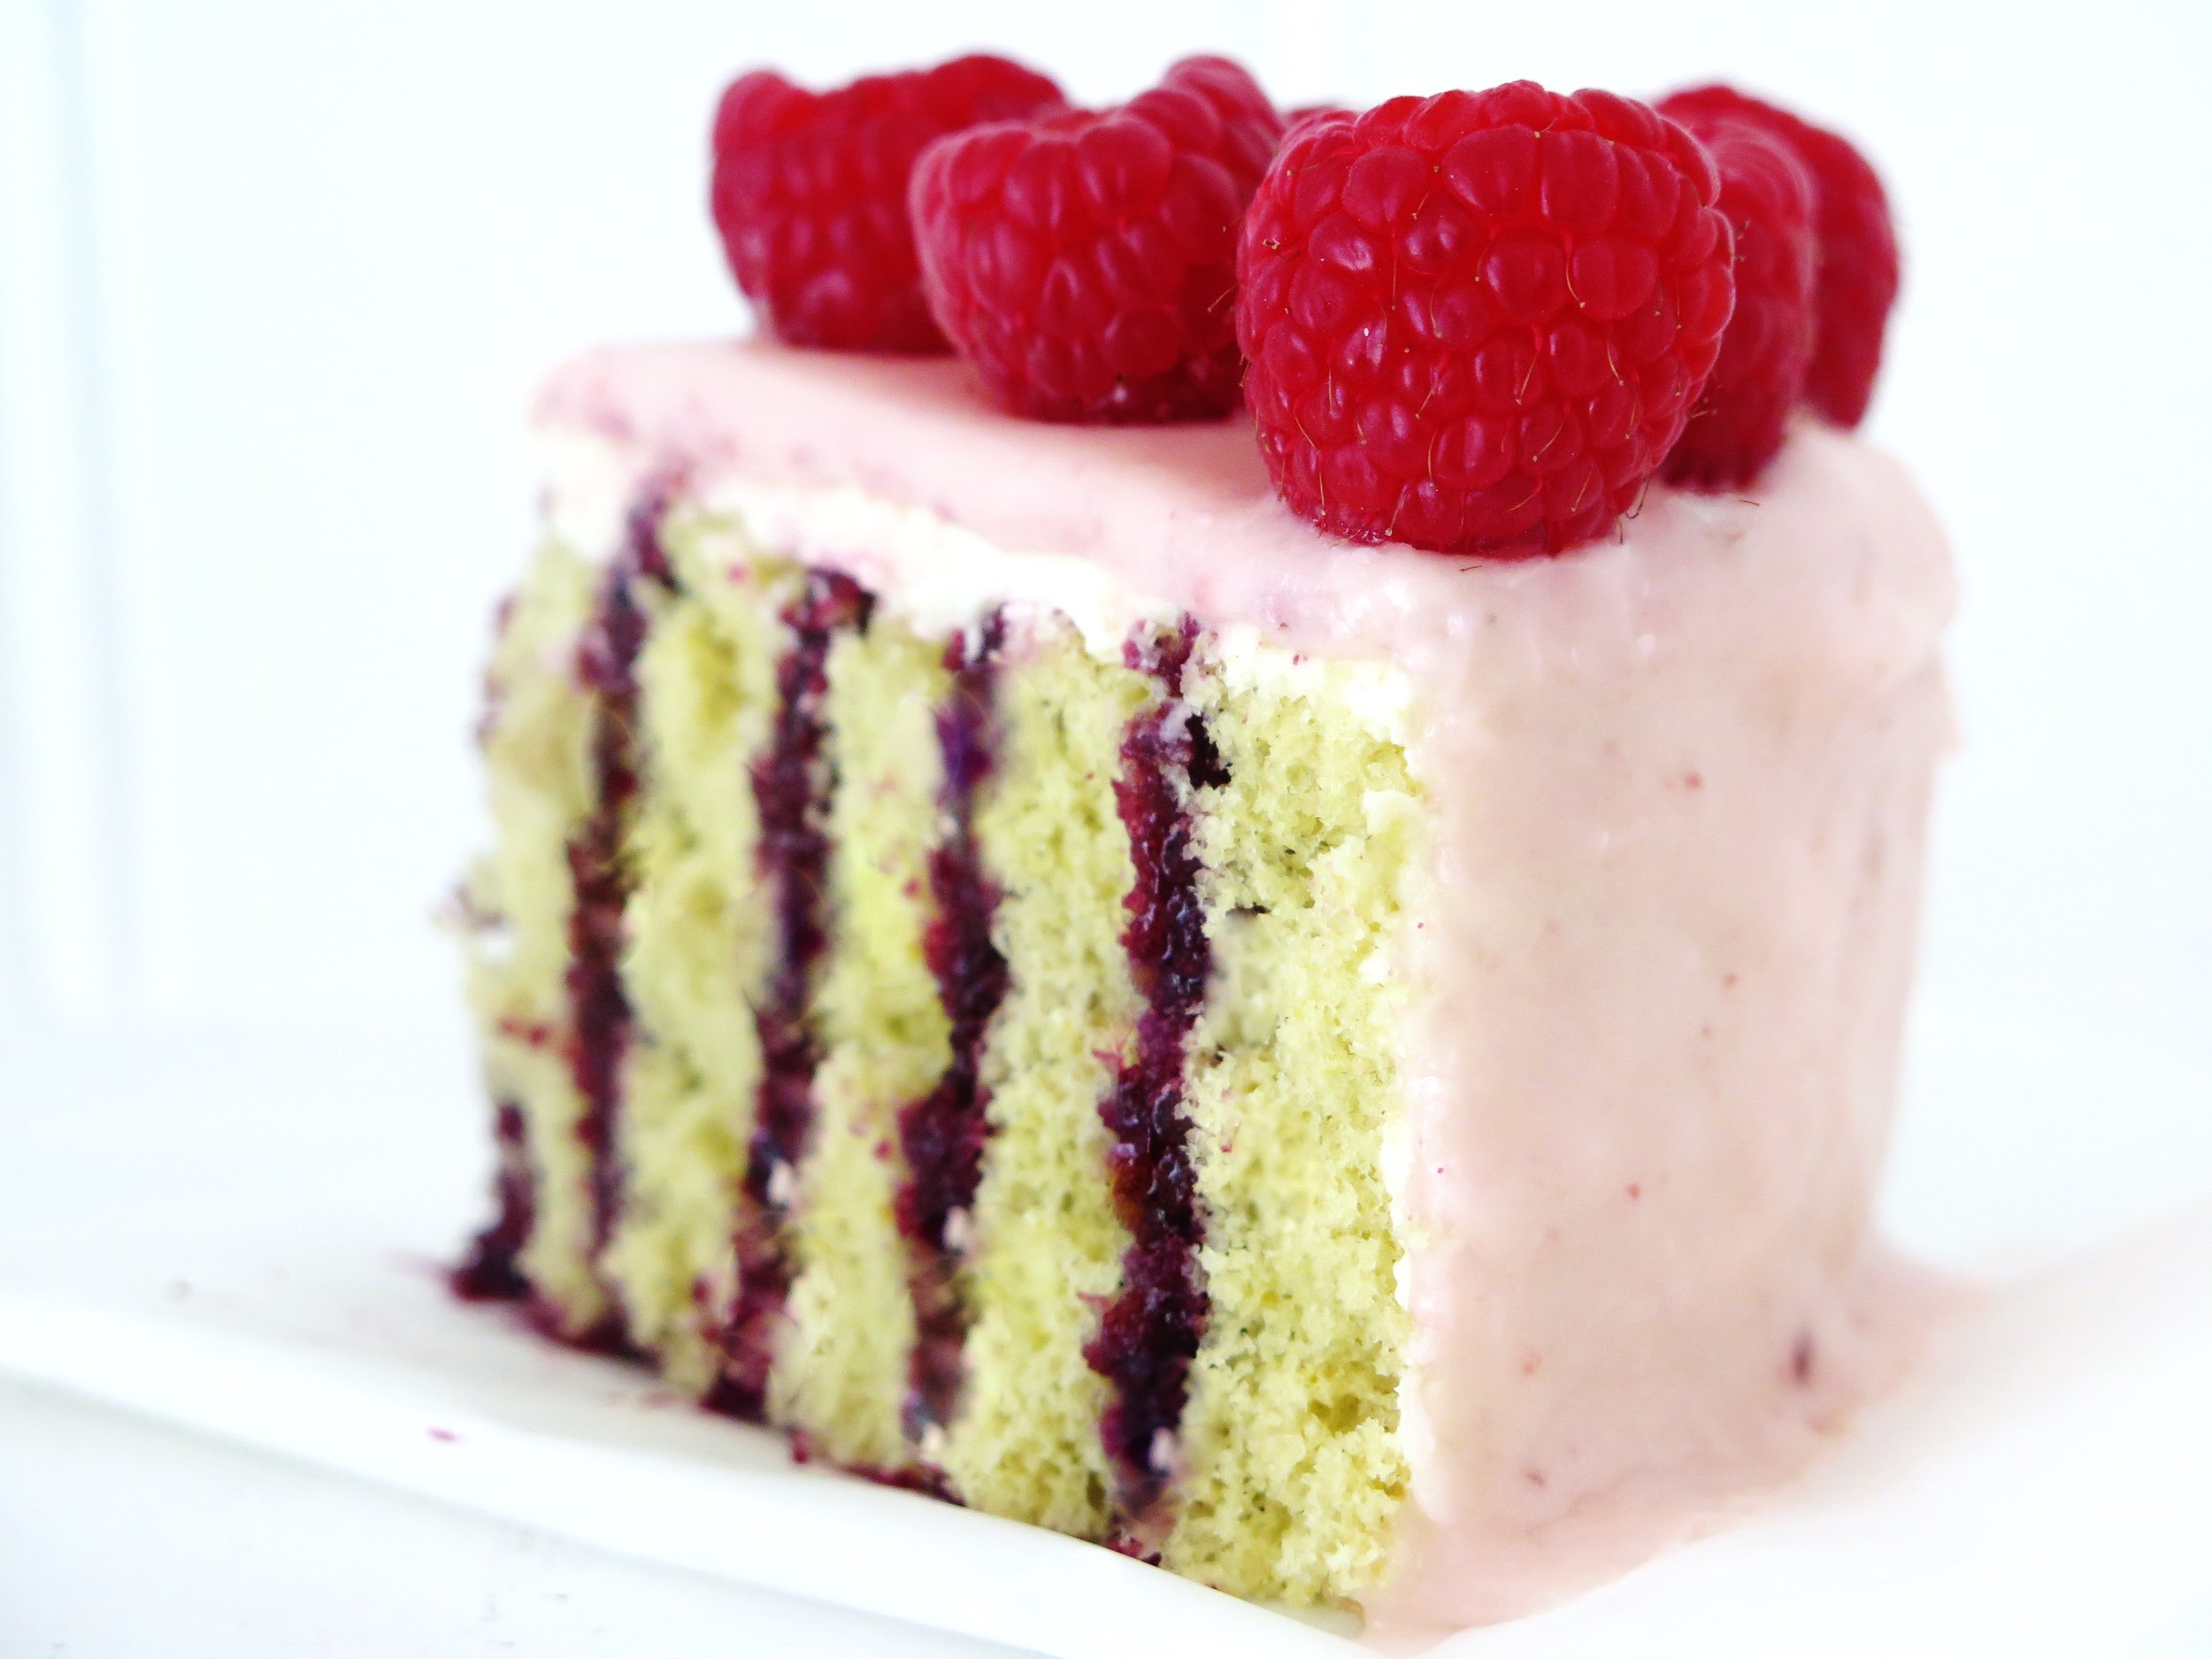
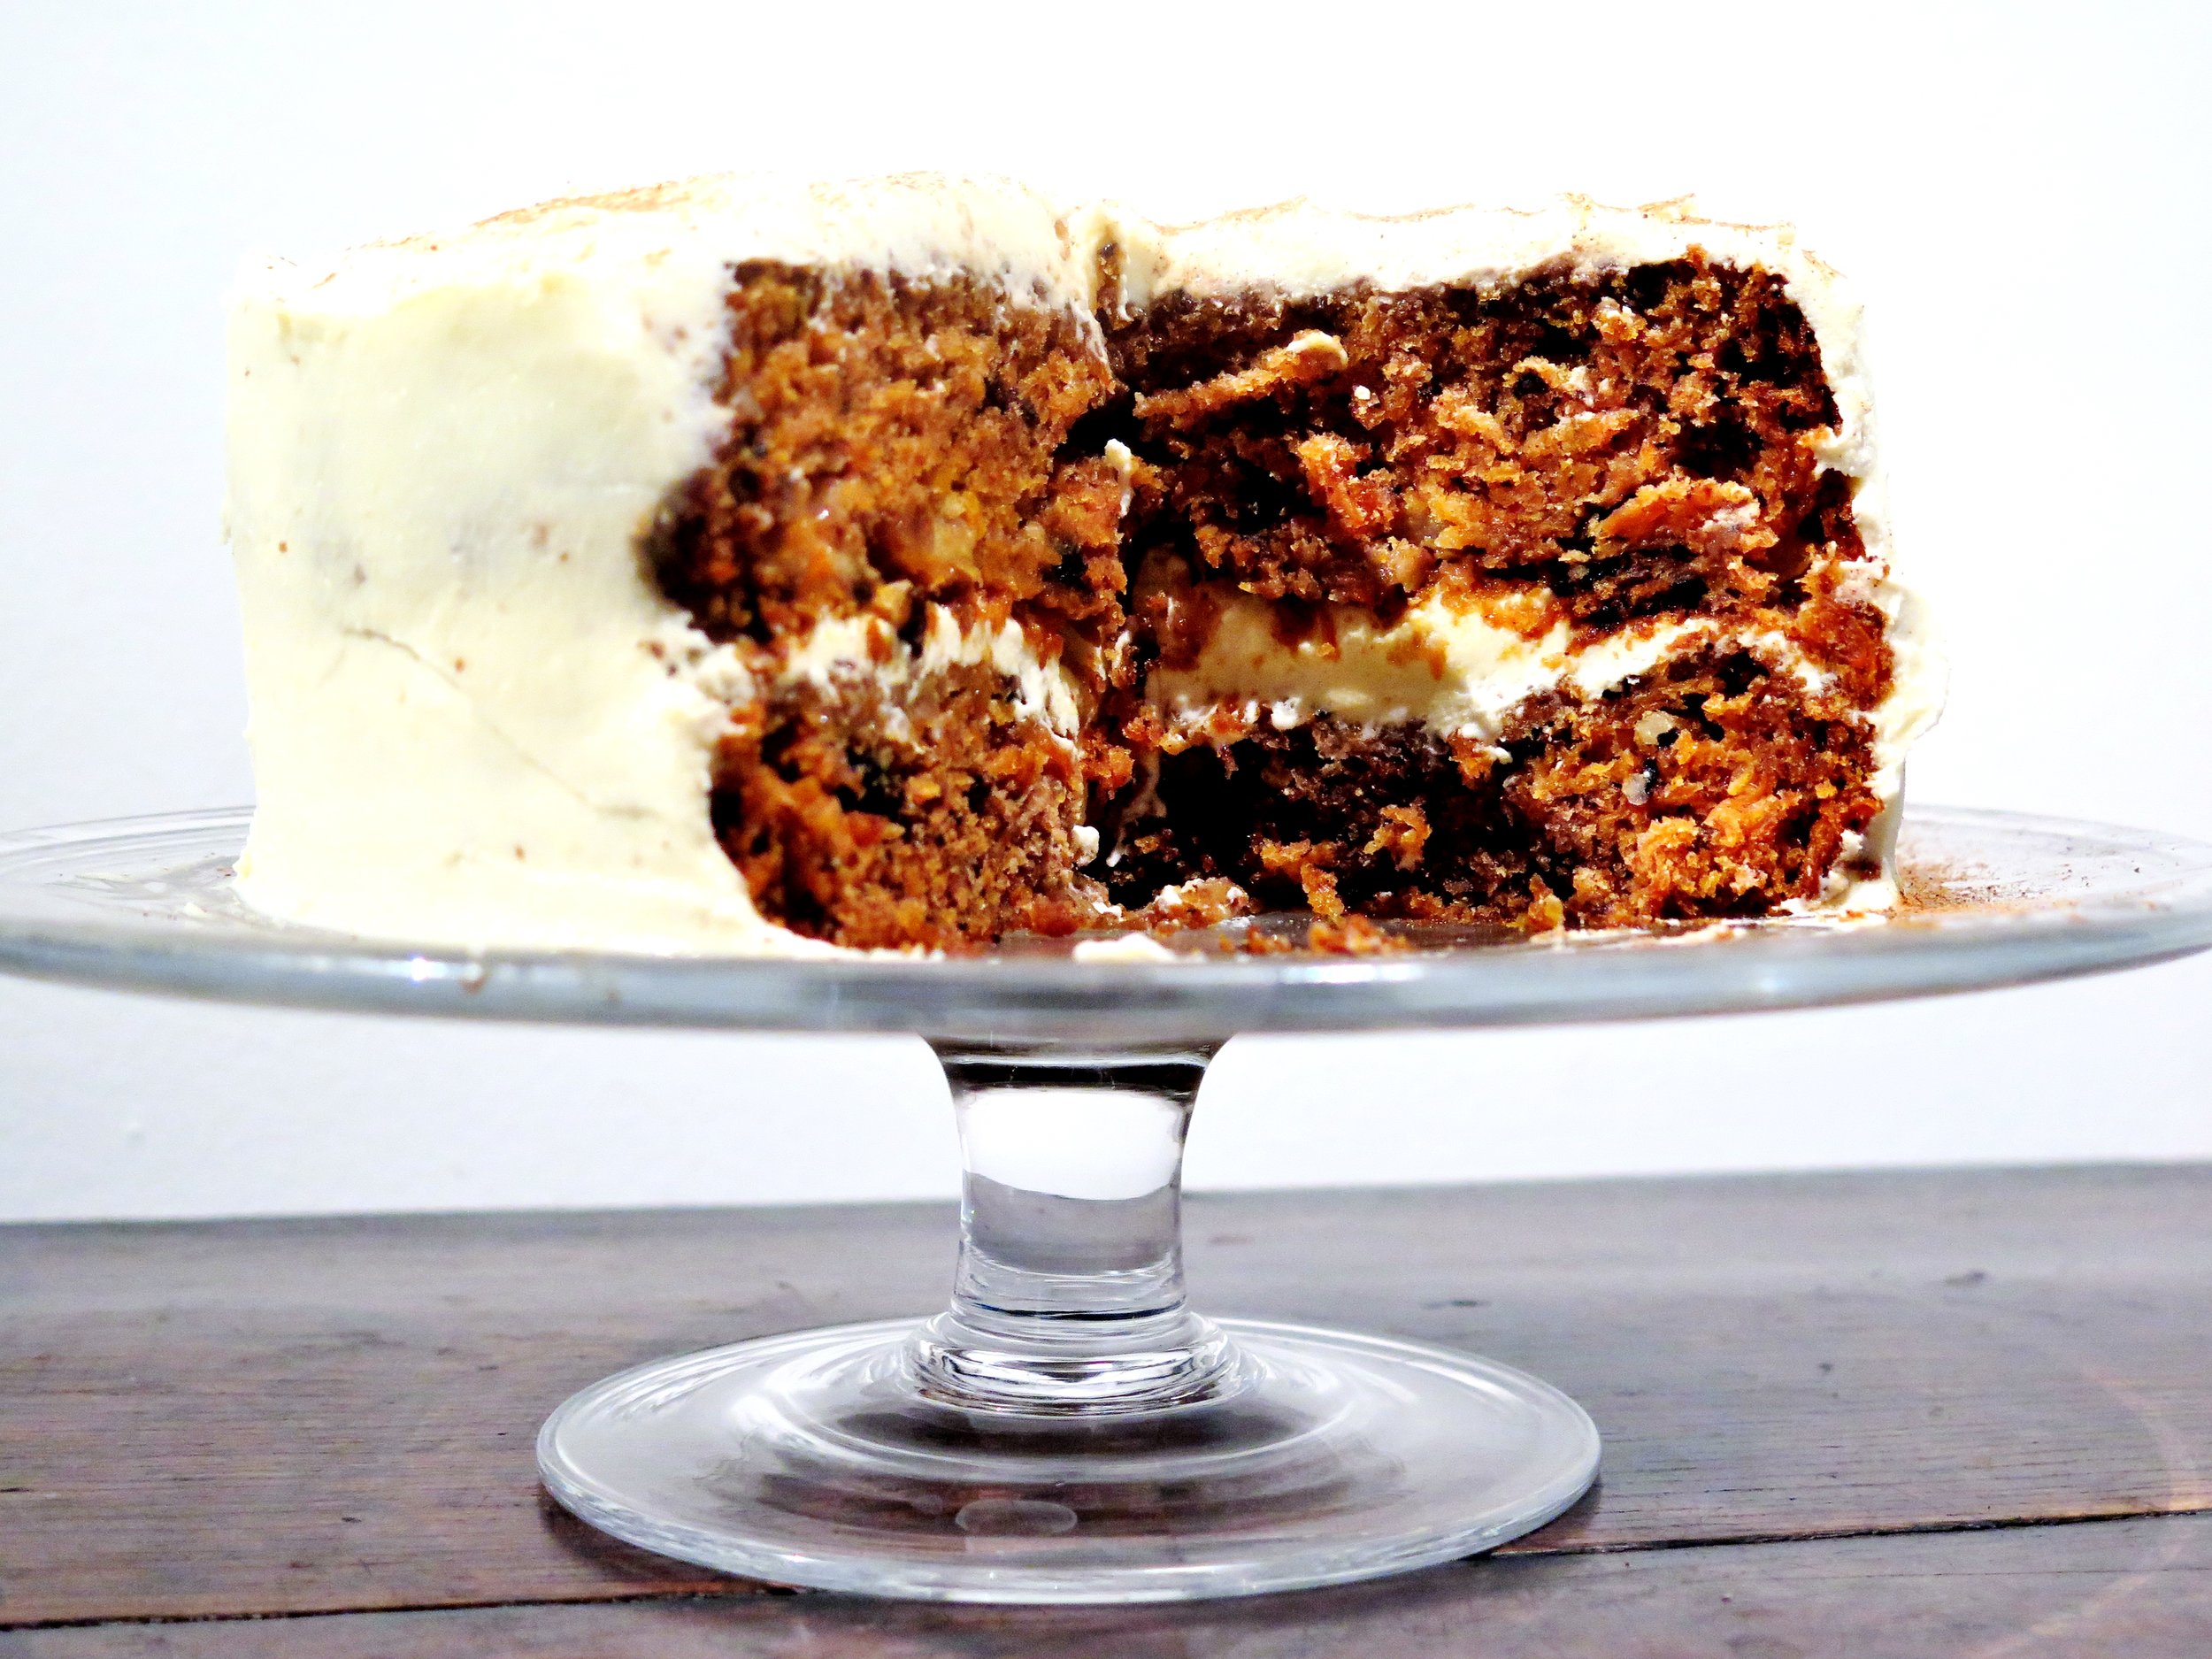
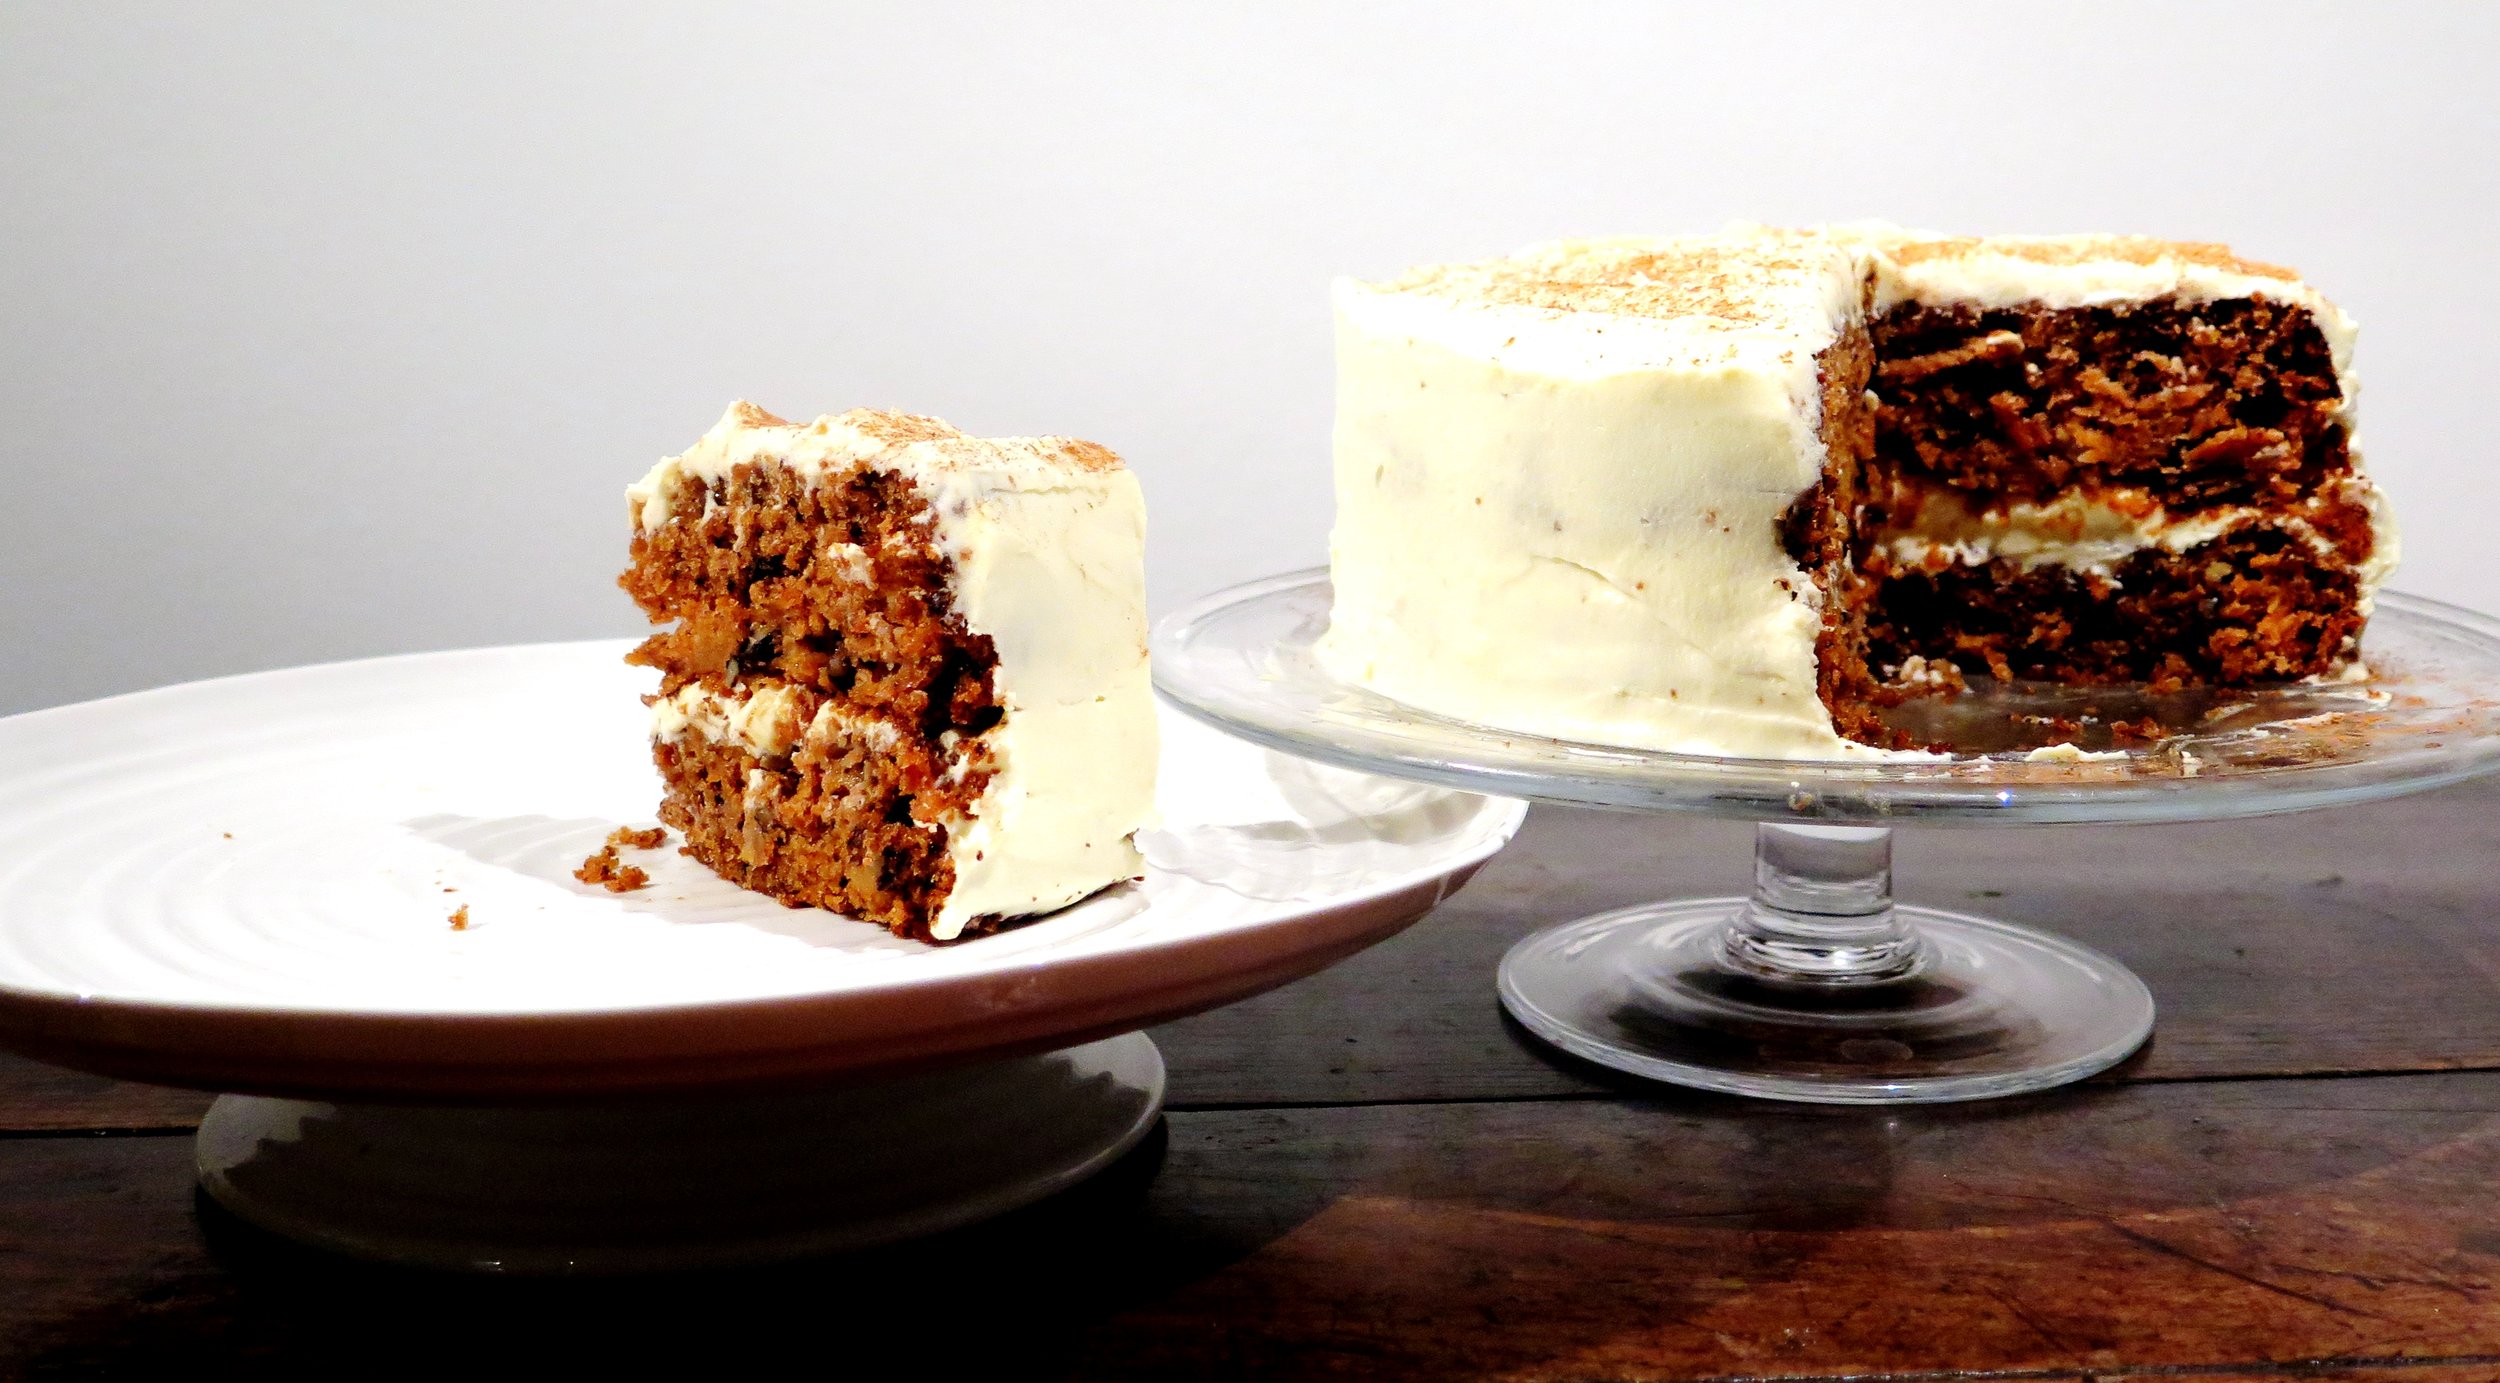
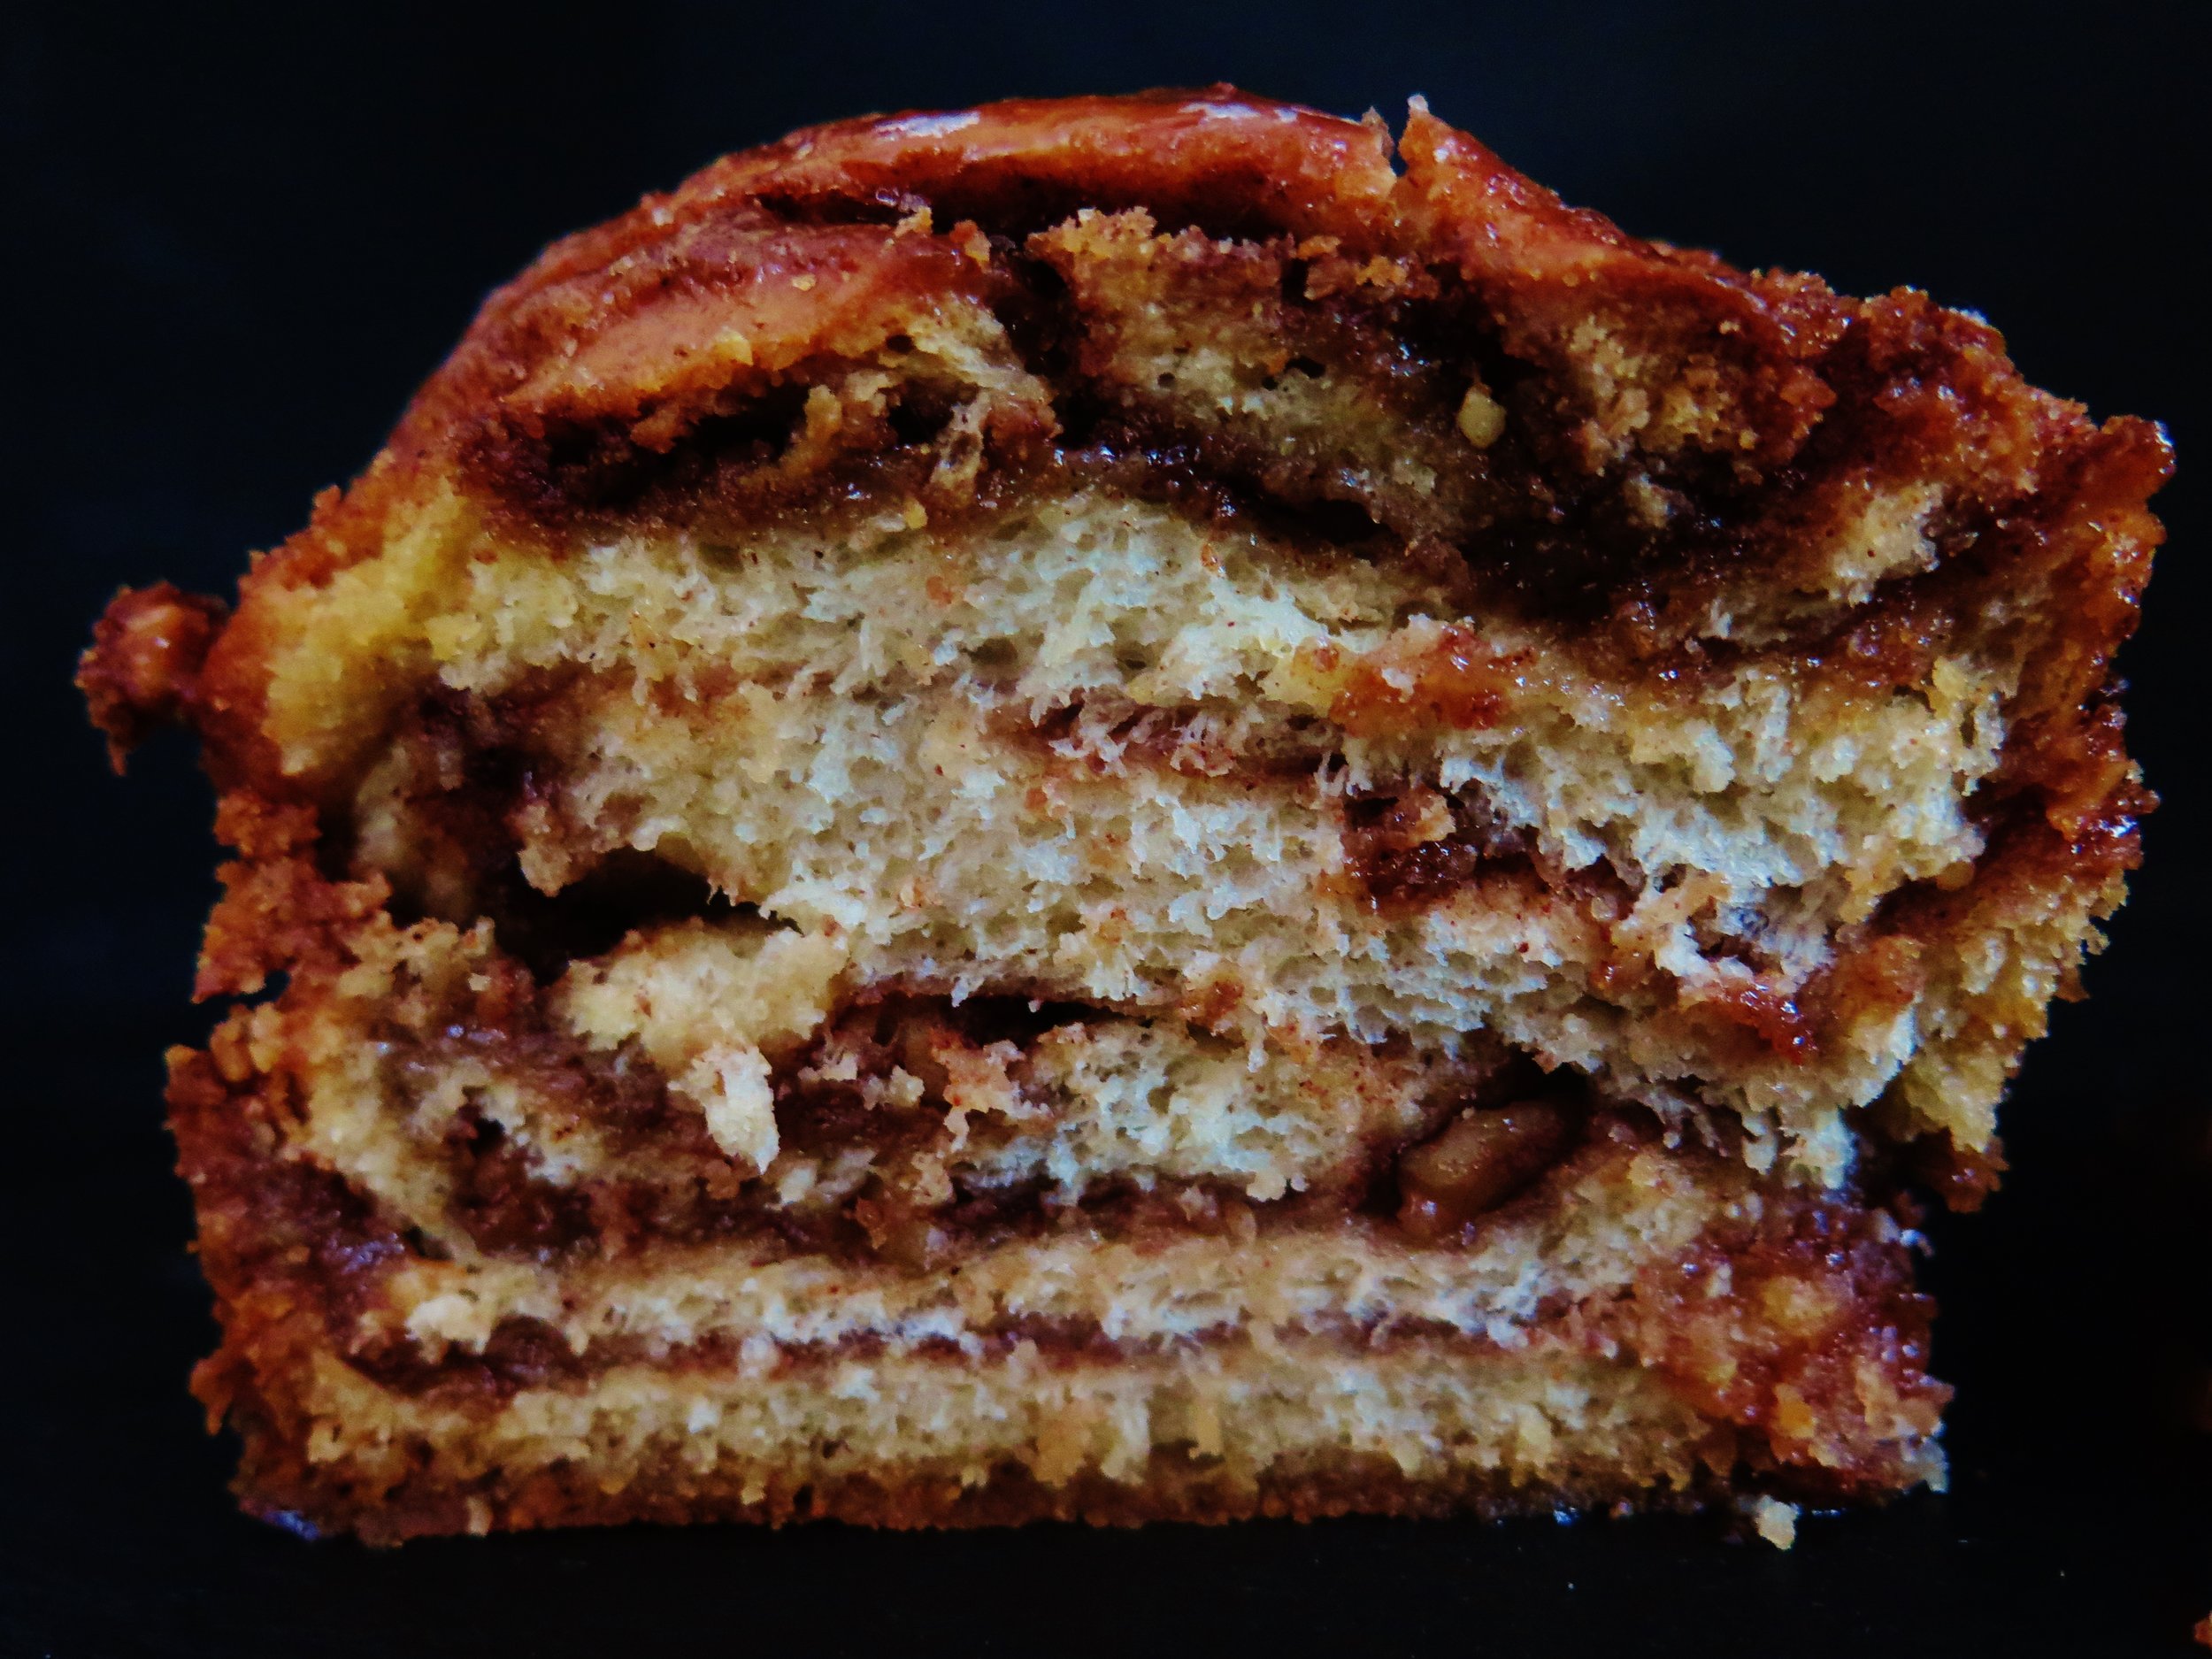
The desire was mostly satisfied then but I still dream up opportunities to replicate it. I imagine this cake would be peak territory for such caveman antics: a base layer of moist and rich chocolate cake (ticks the Bruce box), a golden middle tier of coffee cake, and a fluffy vanilla sponge top tier. The buttercream is deeply chocolatey with a pinch of salt to counteract the sweetness, and the cake is topped with a mirror ganache drip glaze (easier to do than you may think). Nigella famously writes in her recipe: “Feeds twelve, or one with a broken heart”. This feeds twenty, or one with an overpowering Man vs Food, Matilda’s Bruce desire.

fullsizeoutput_87c.jpeg
fullsizeoutput_859.jpeg

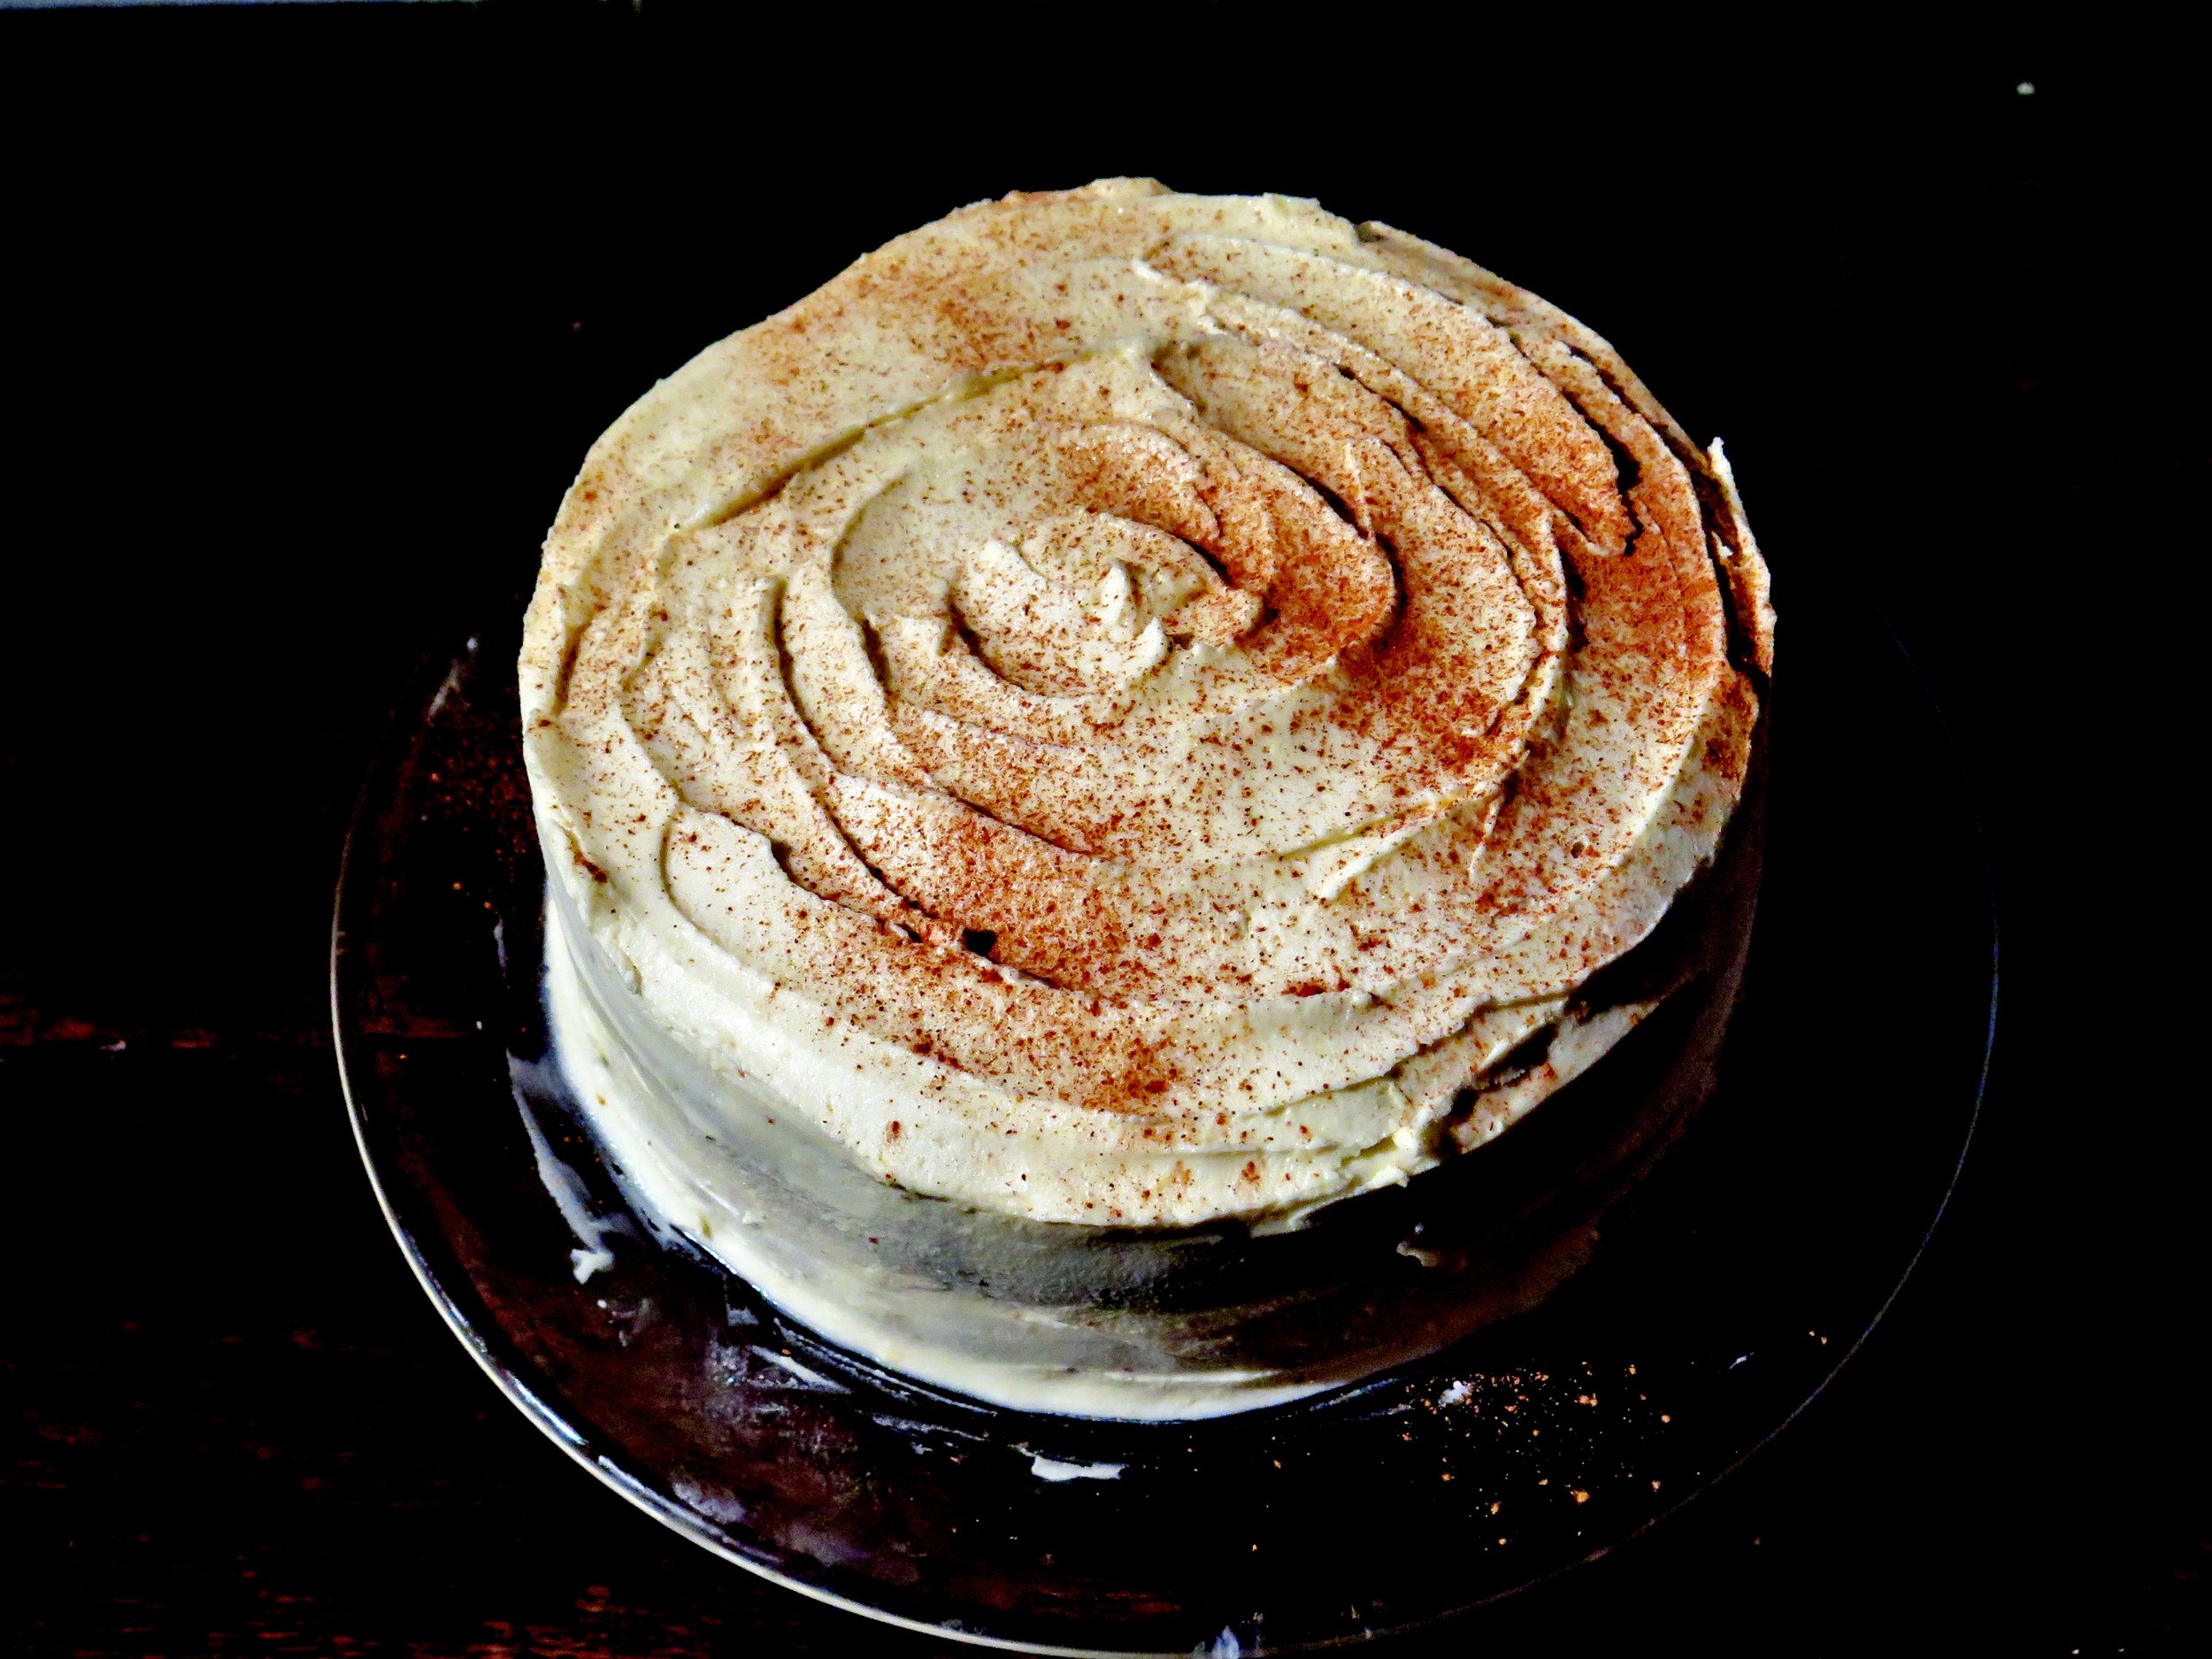
Although this cake has multiple elements and steps it is not difficult to carry out.

  •  If you wish to have all three layers identical, then just triple the quantity of one cake.
  • Feel free to experiment with buttercreams as well (for example, vanilla, coffee, or caramel). 
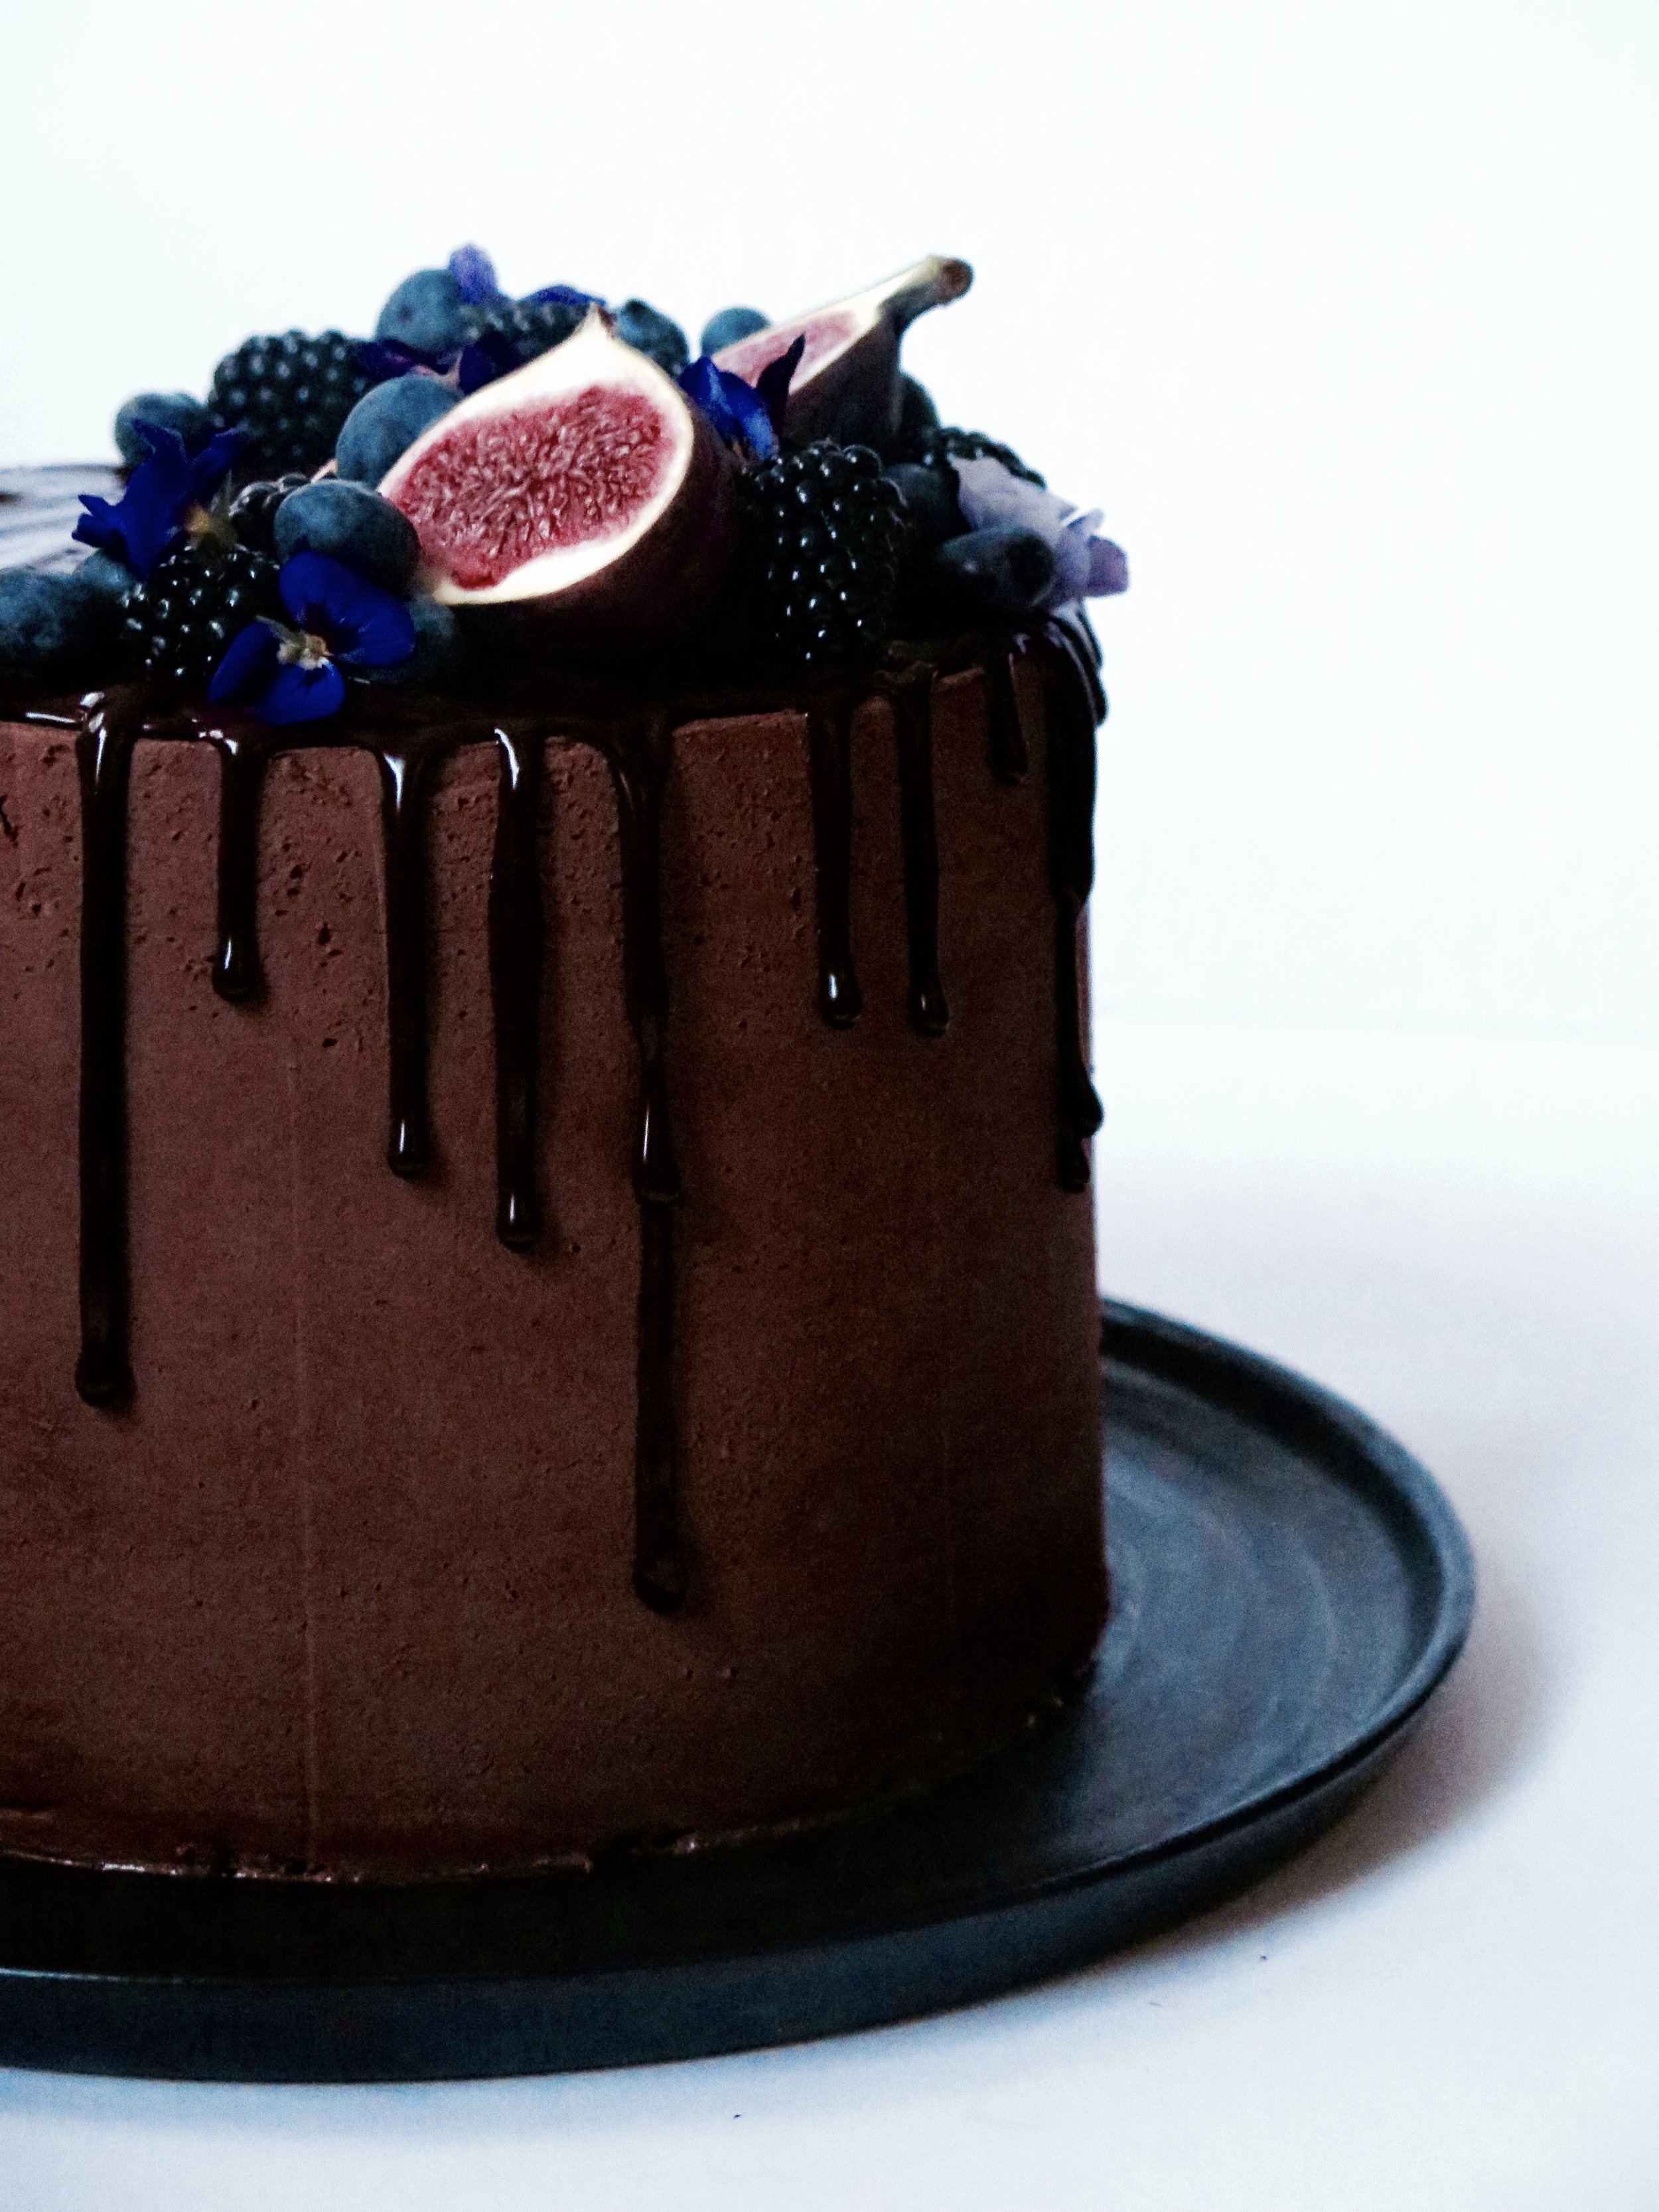
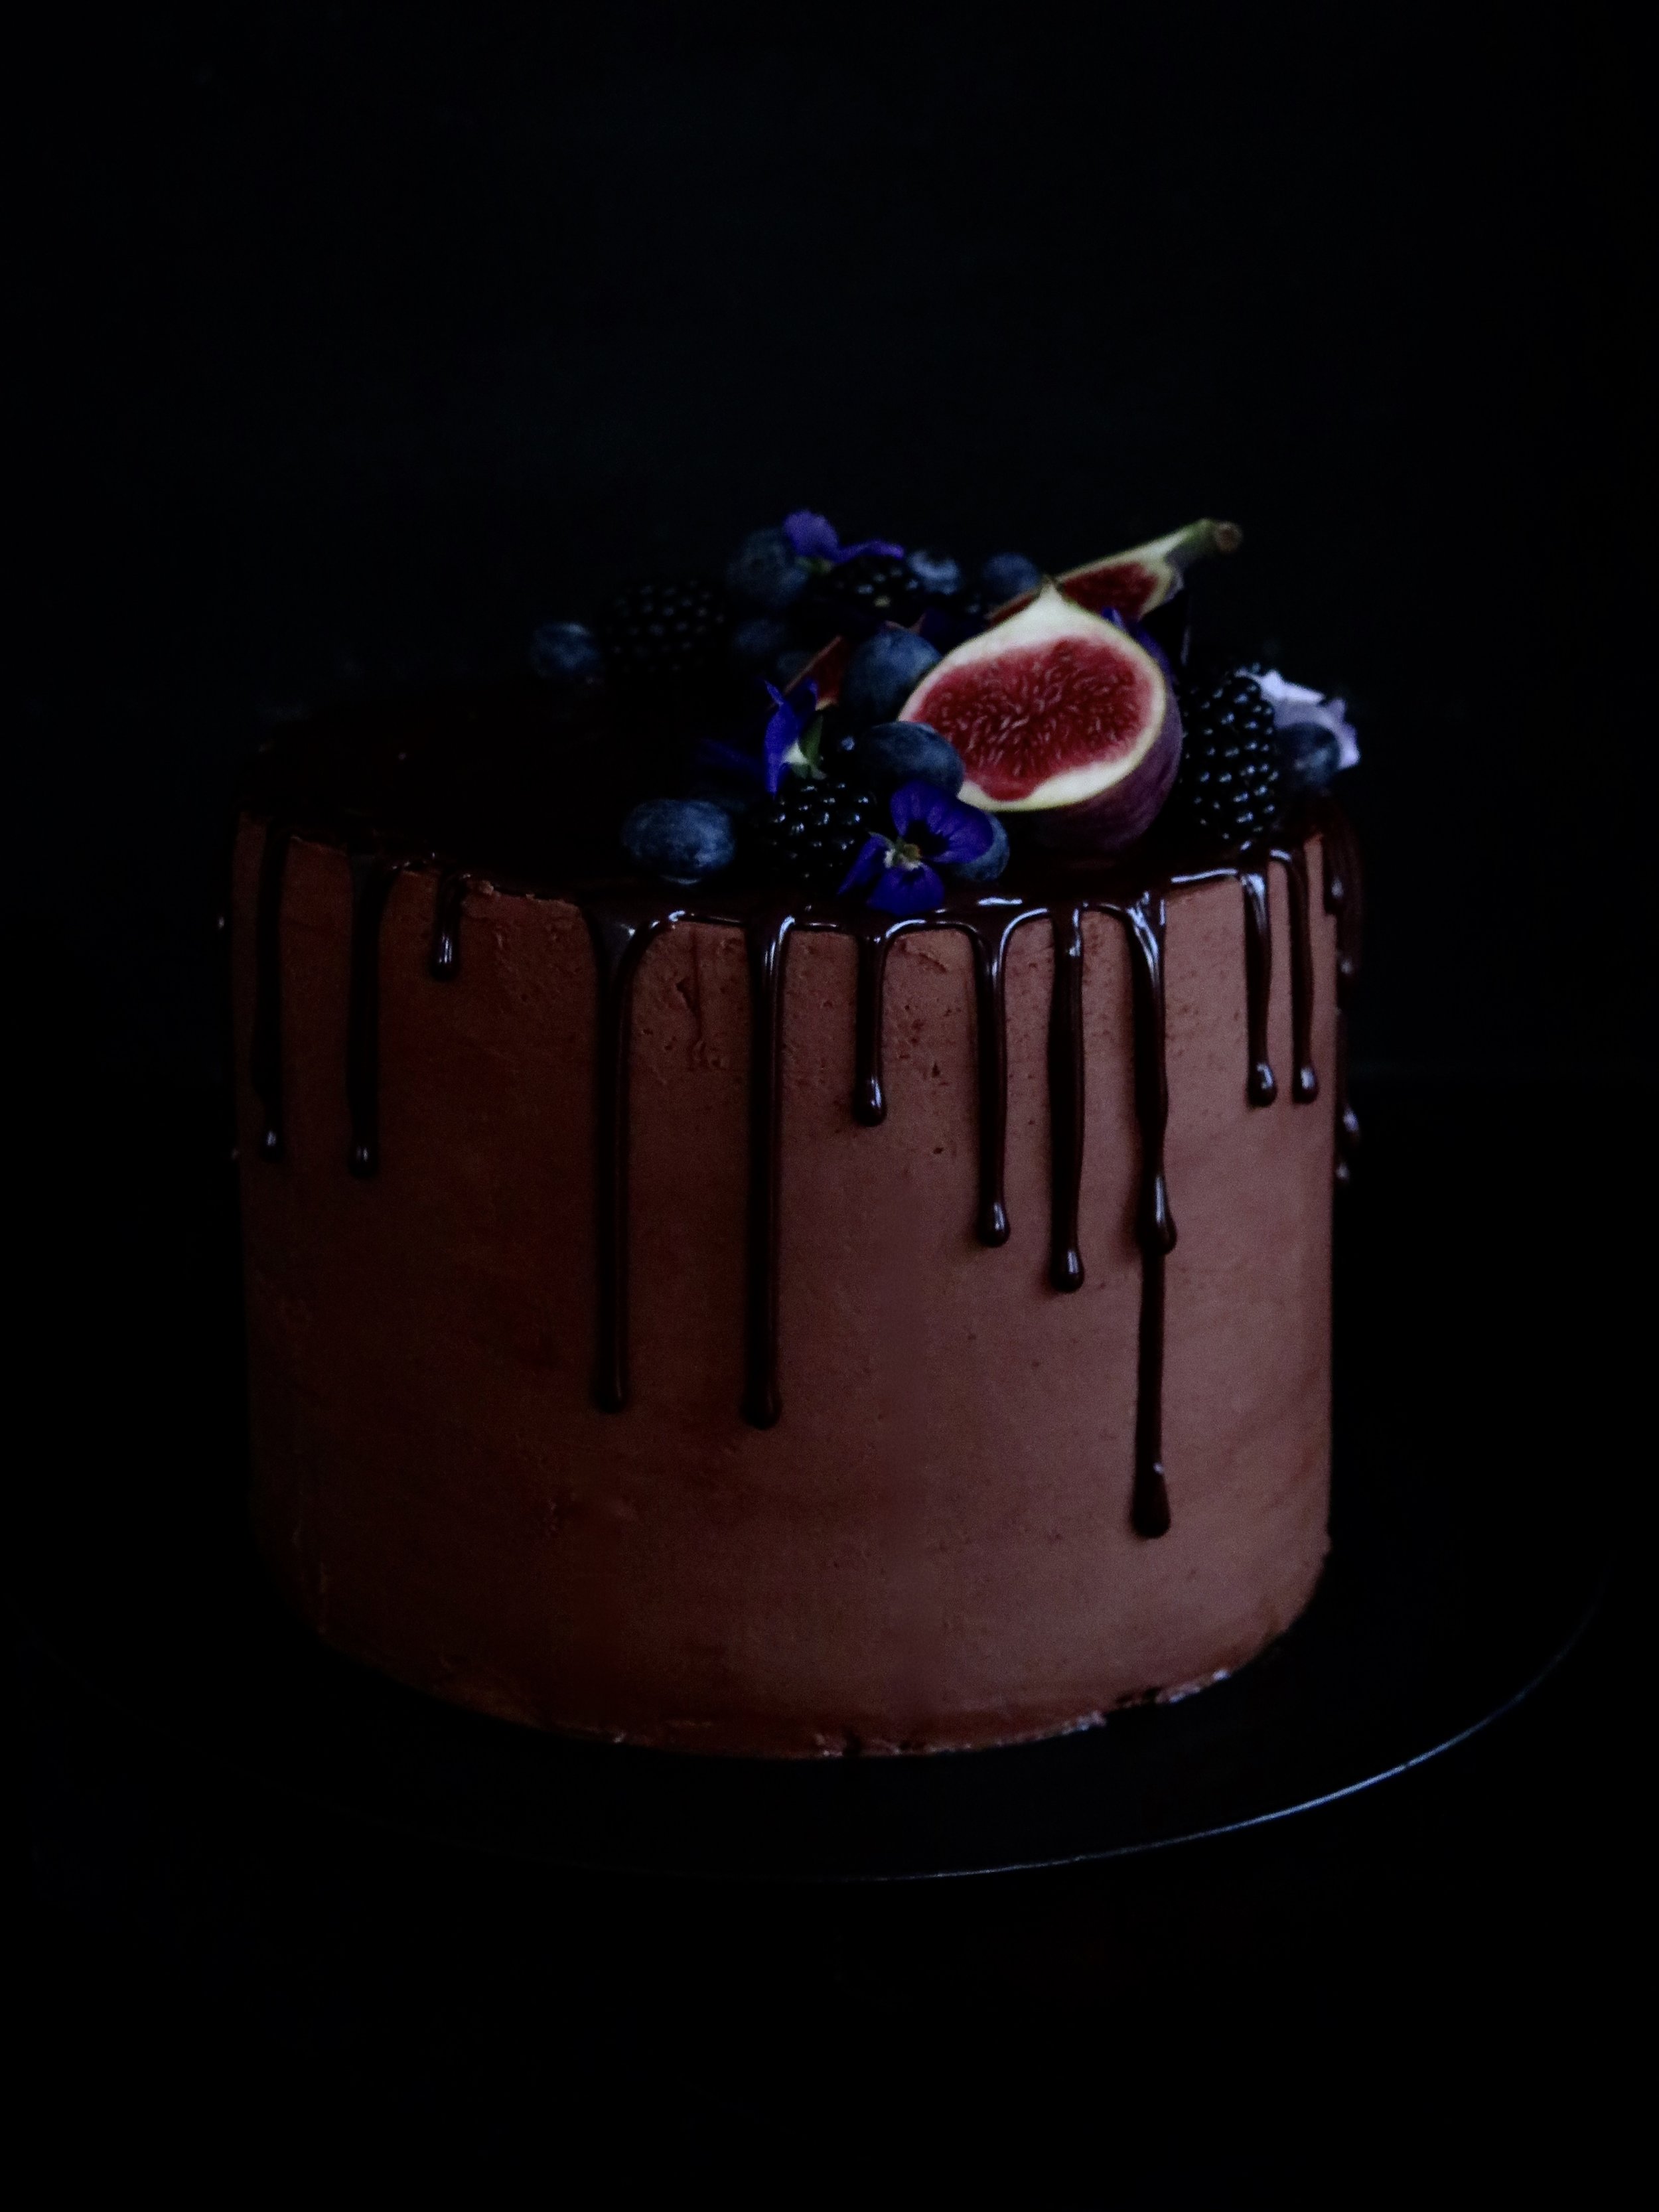
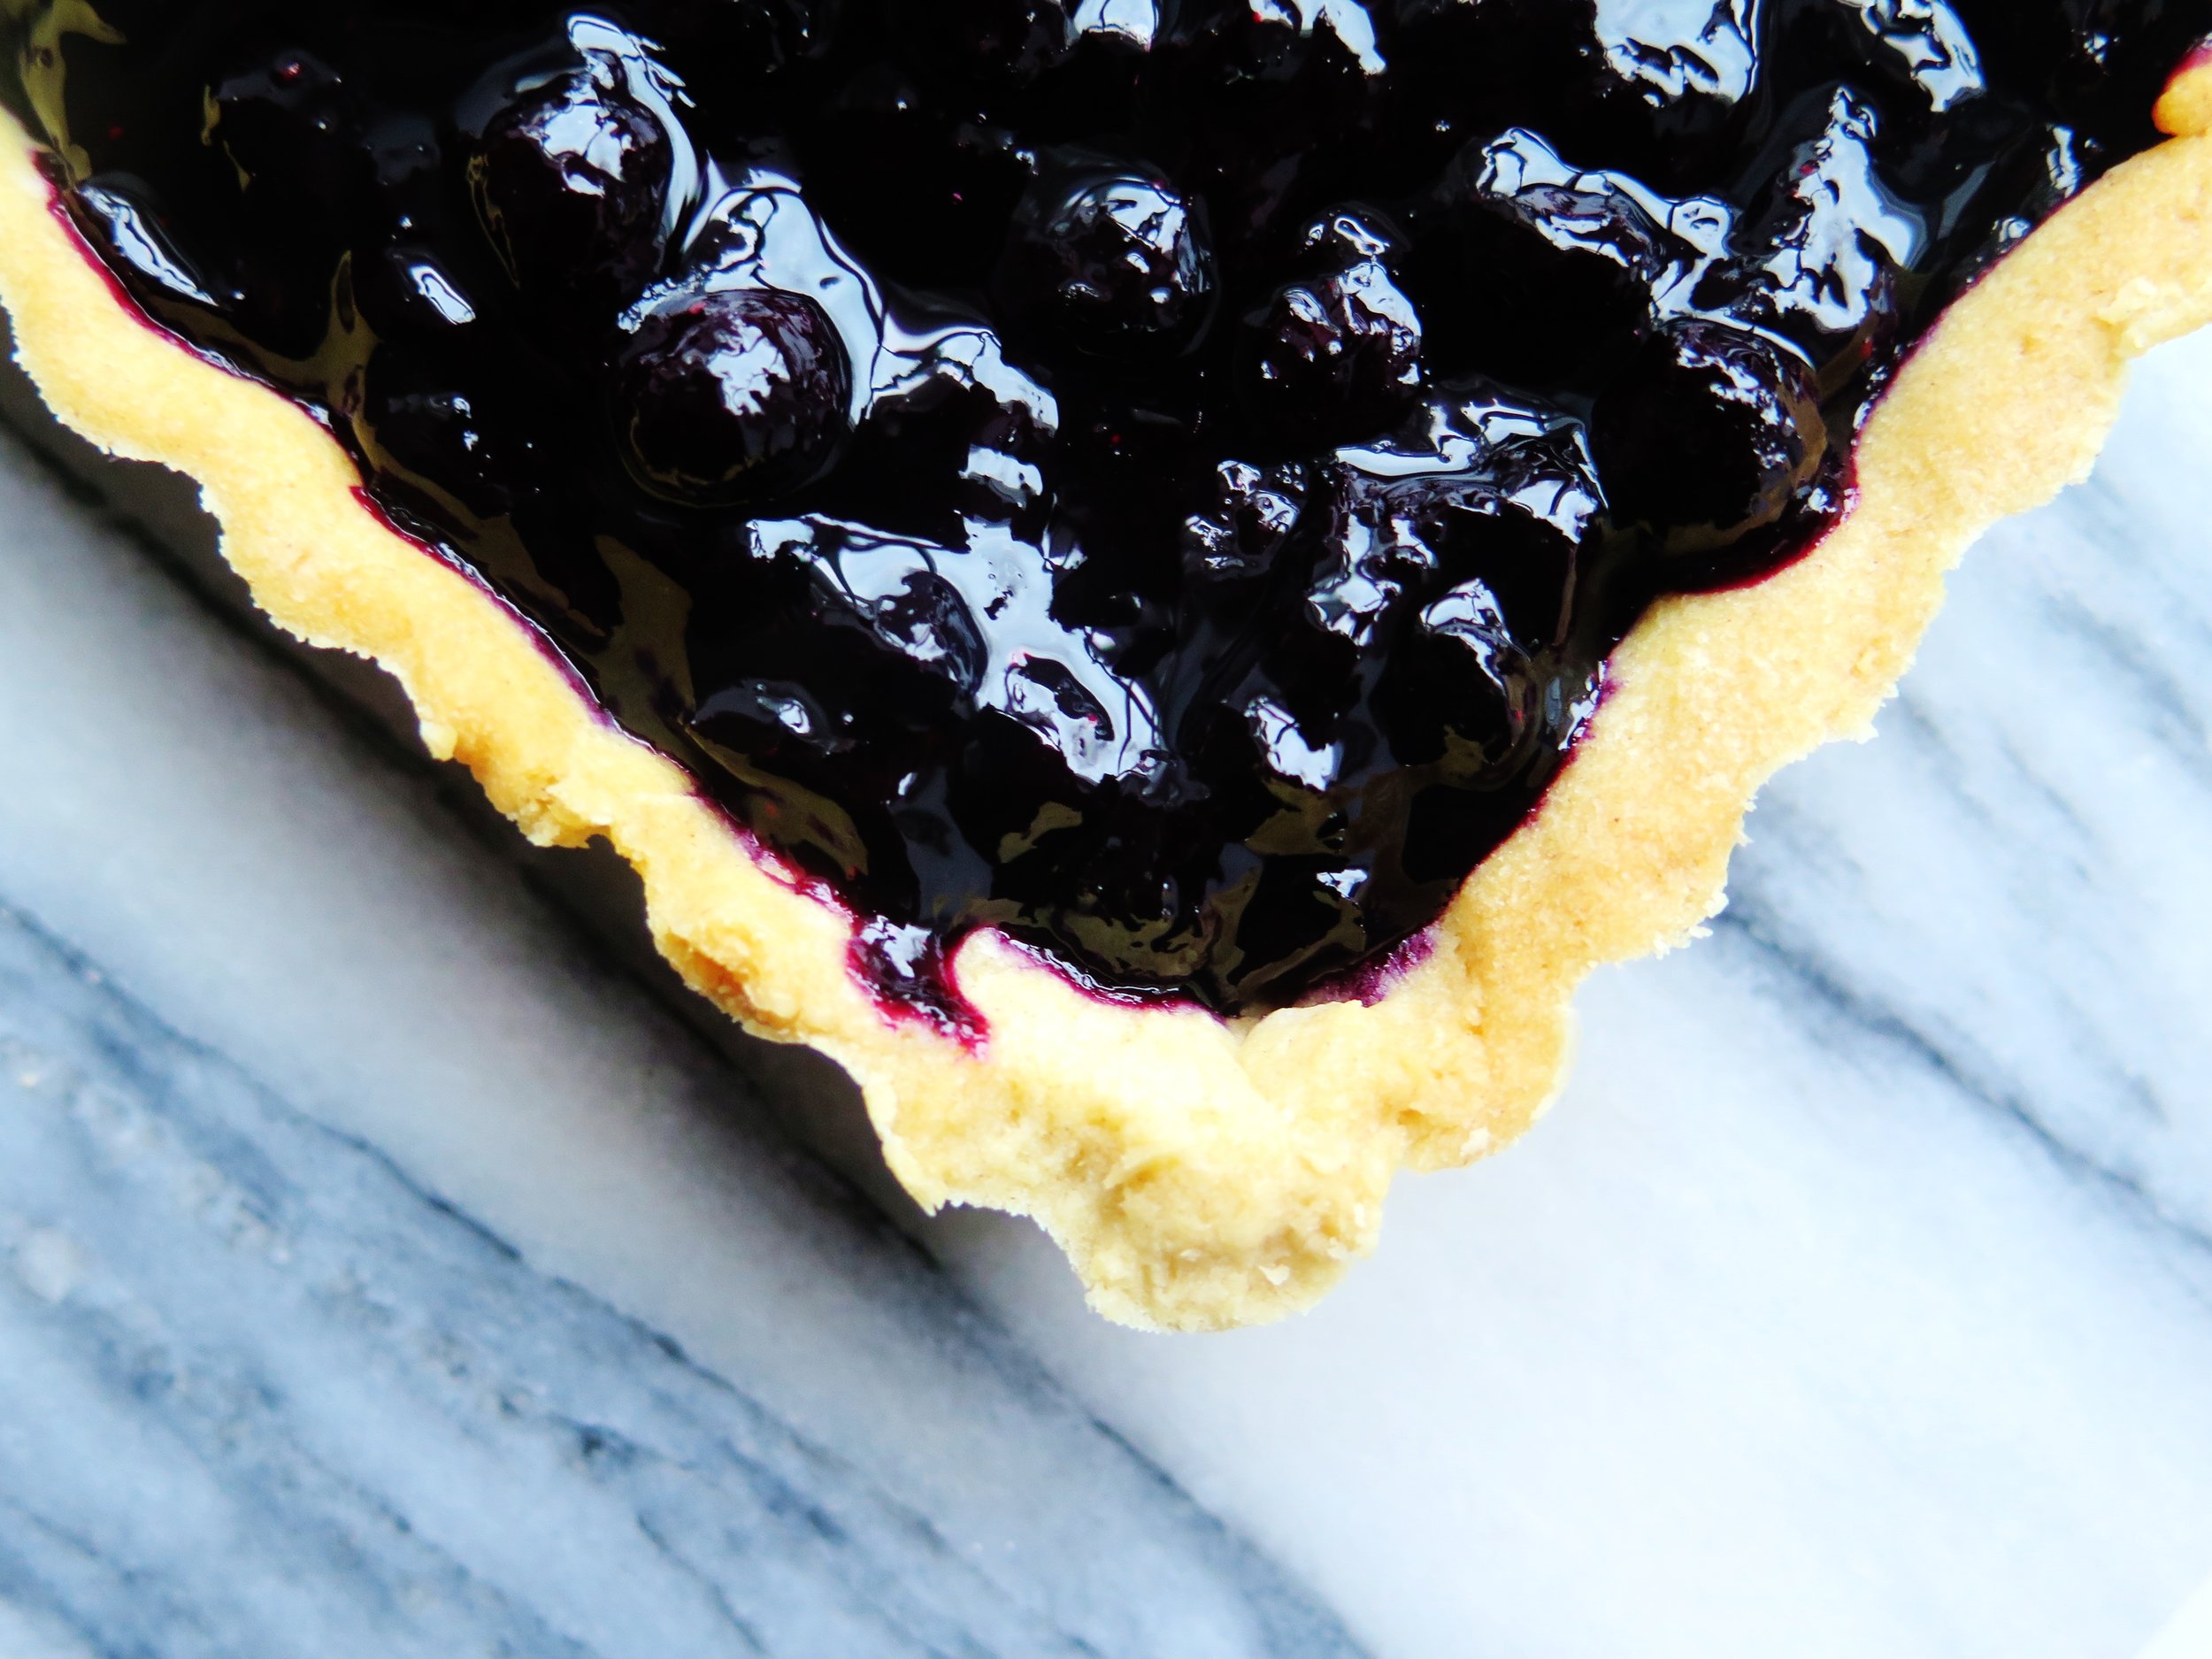
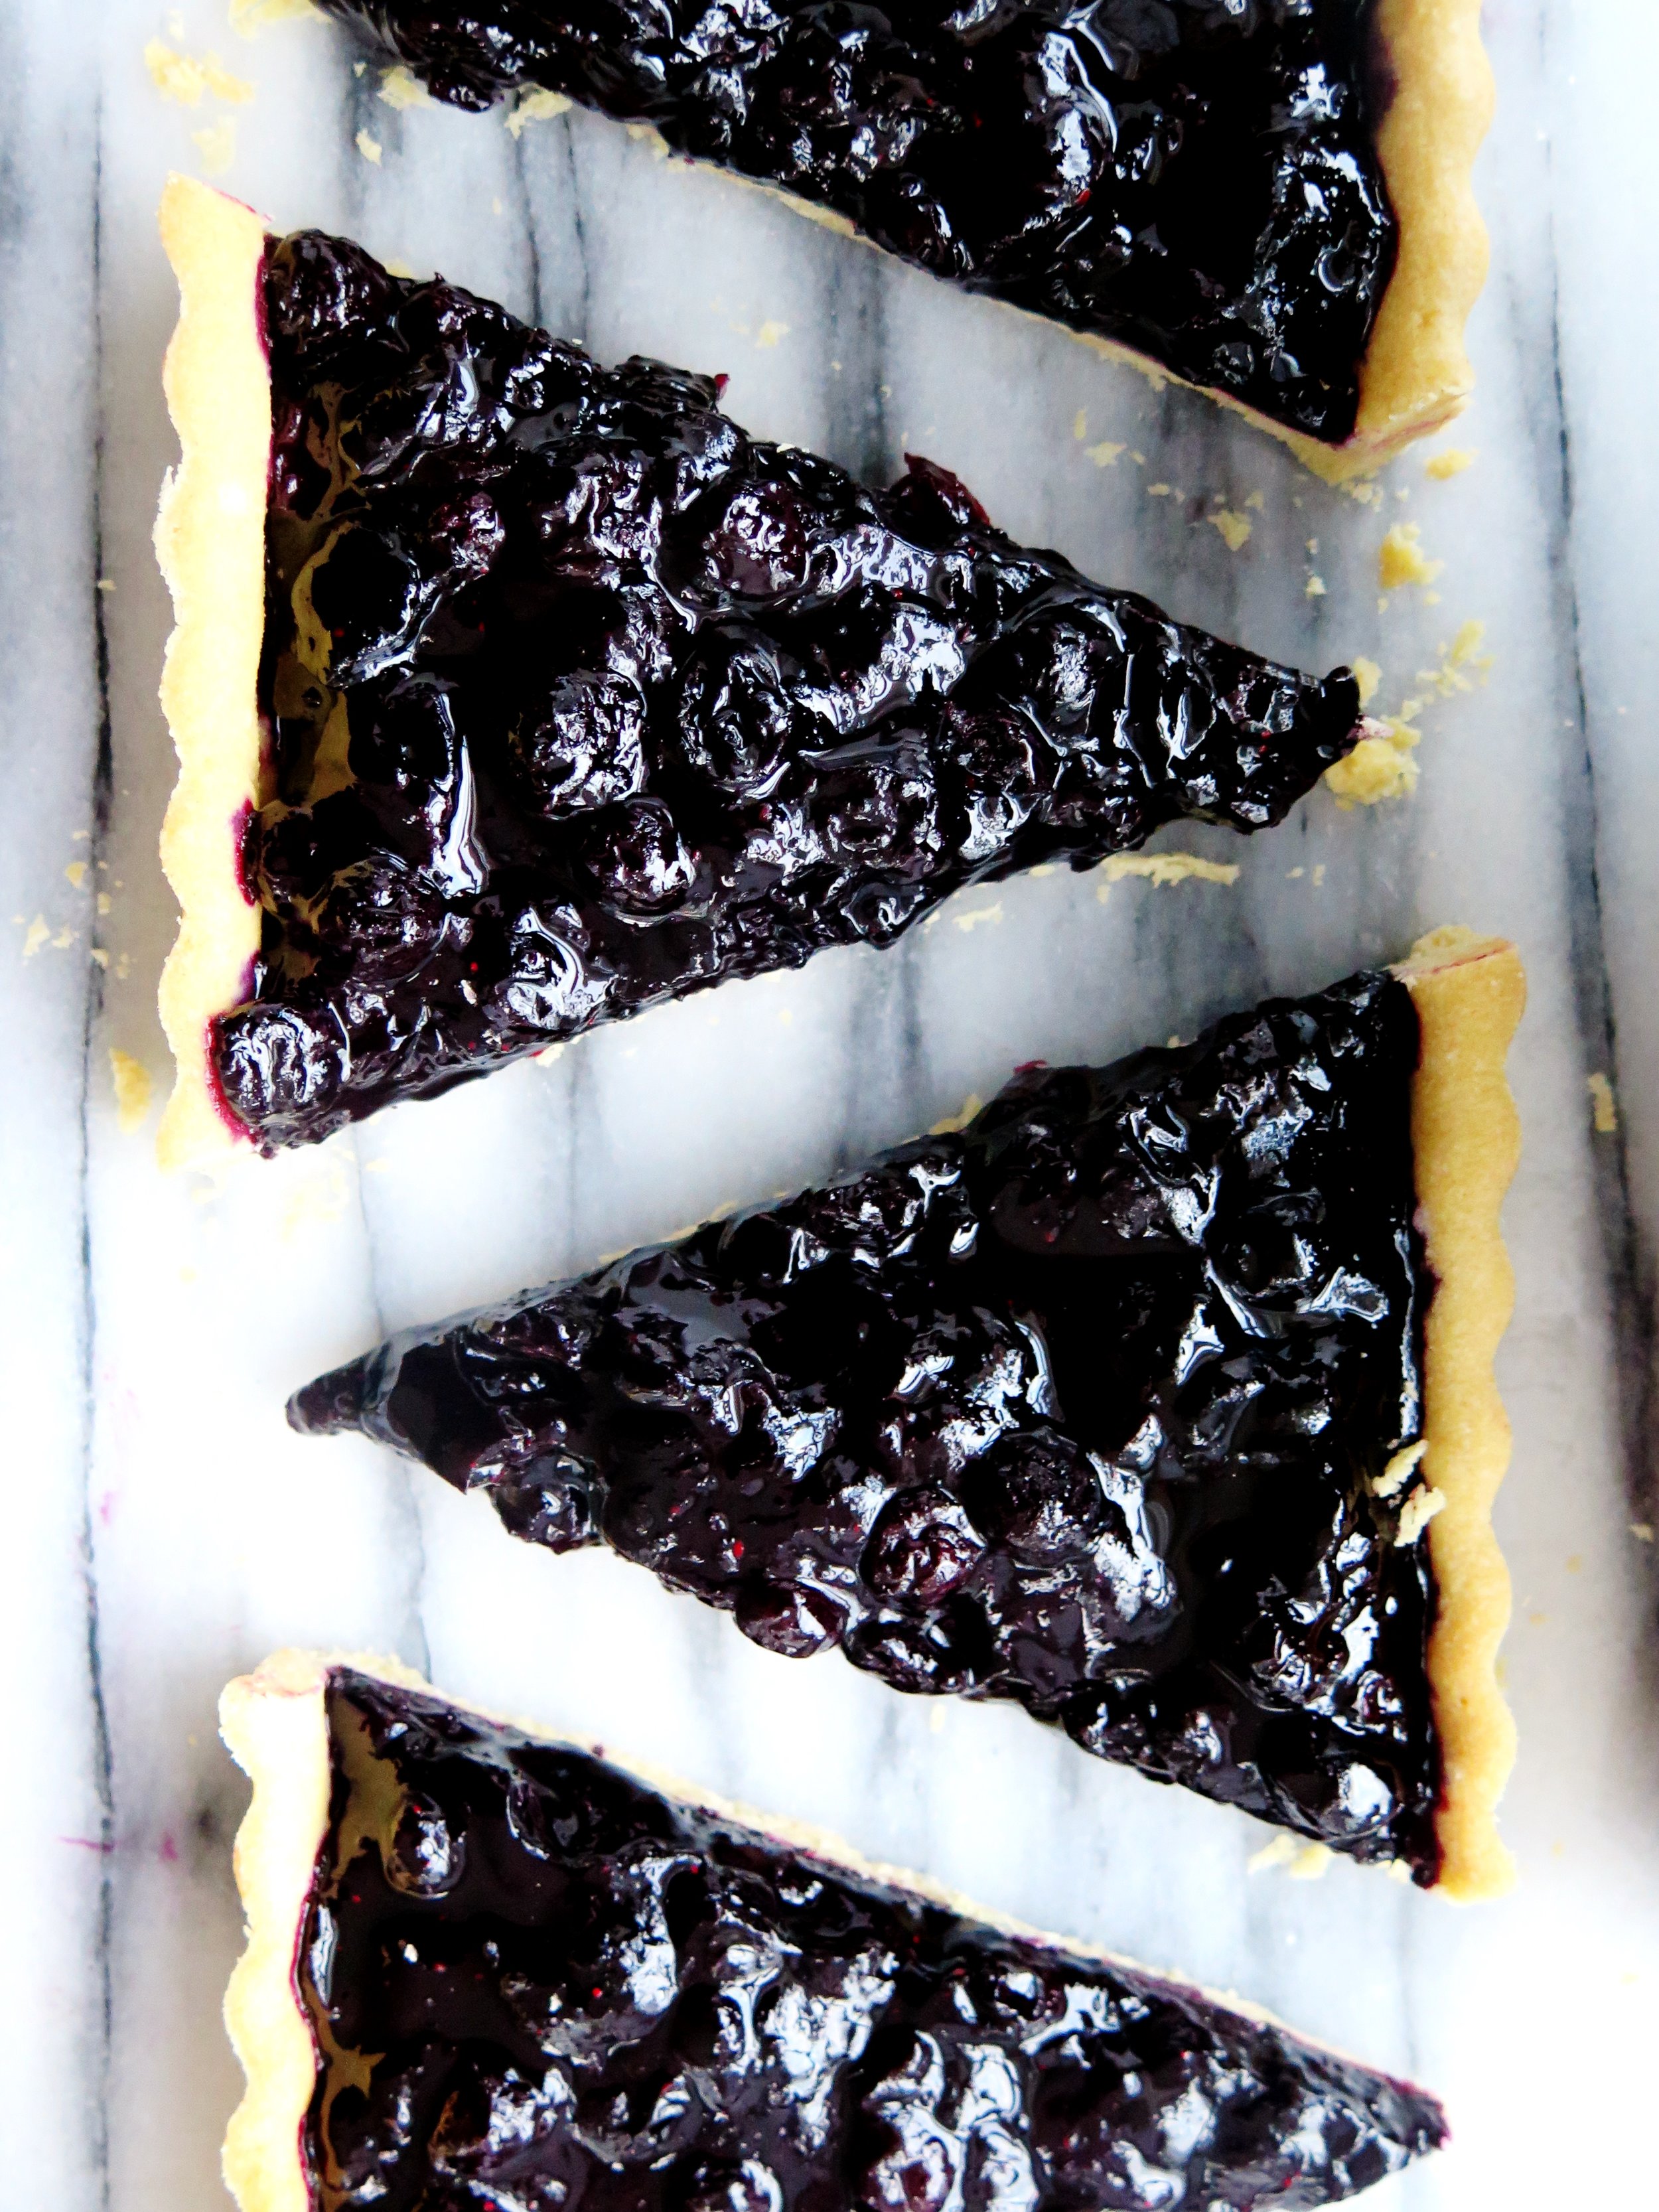
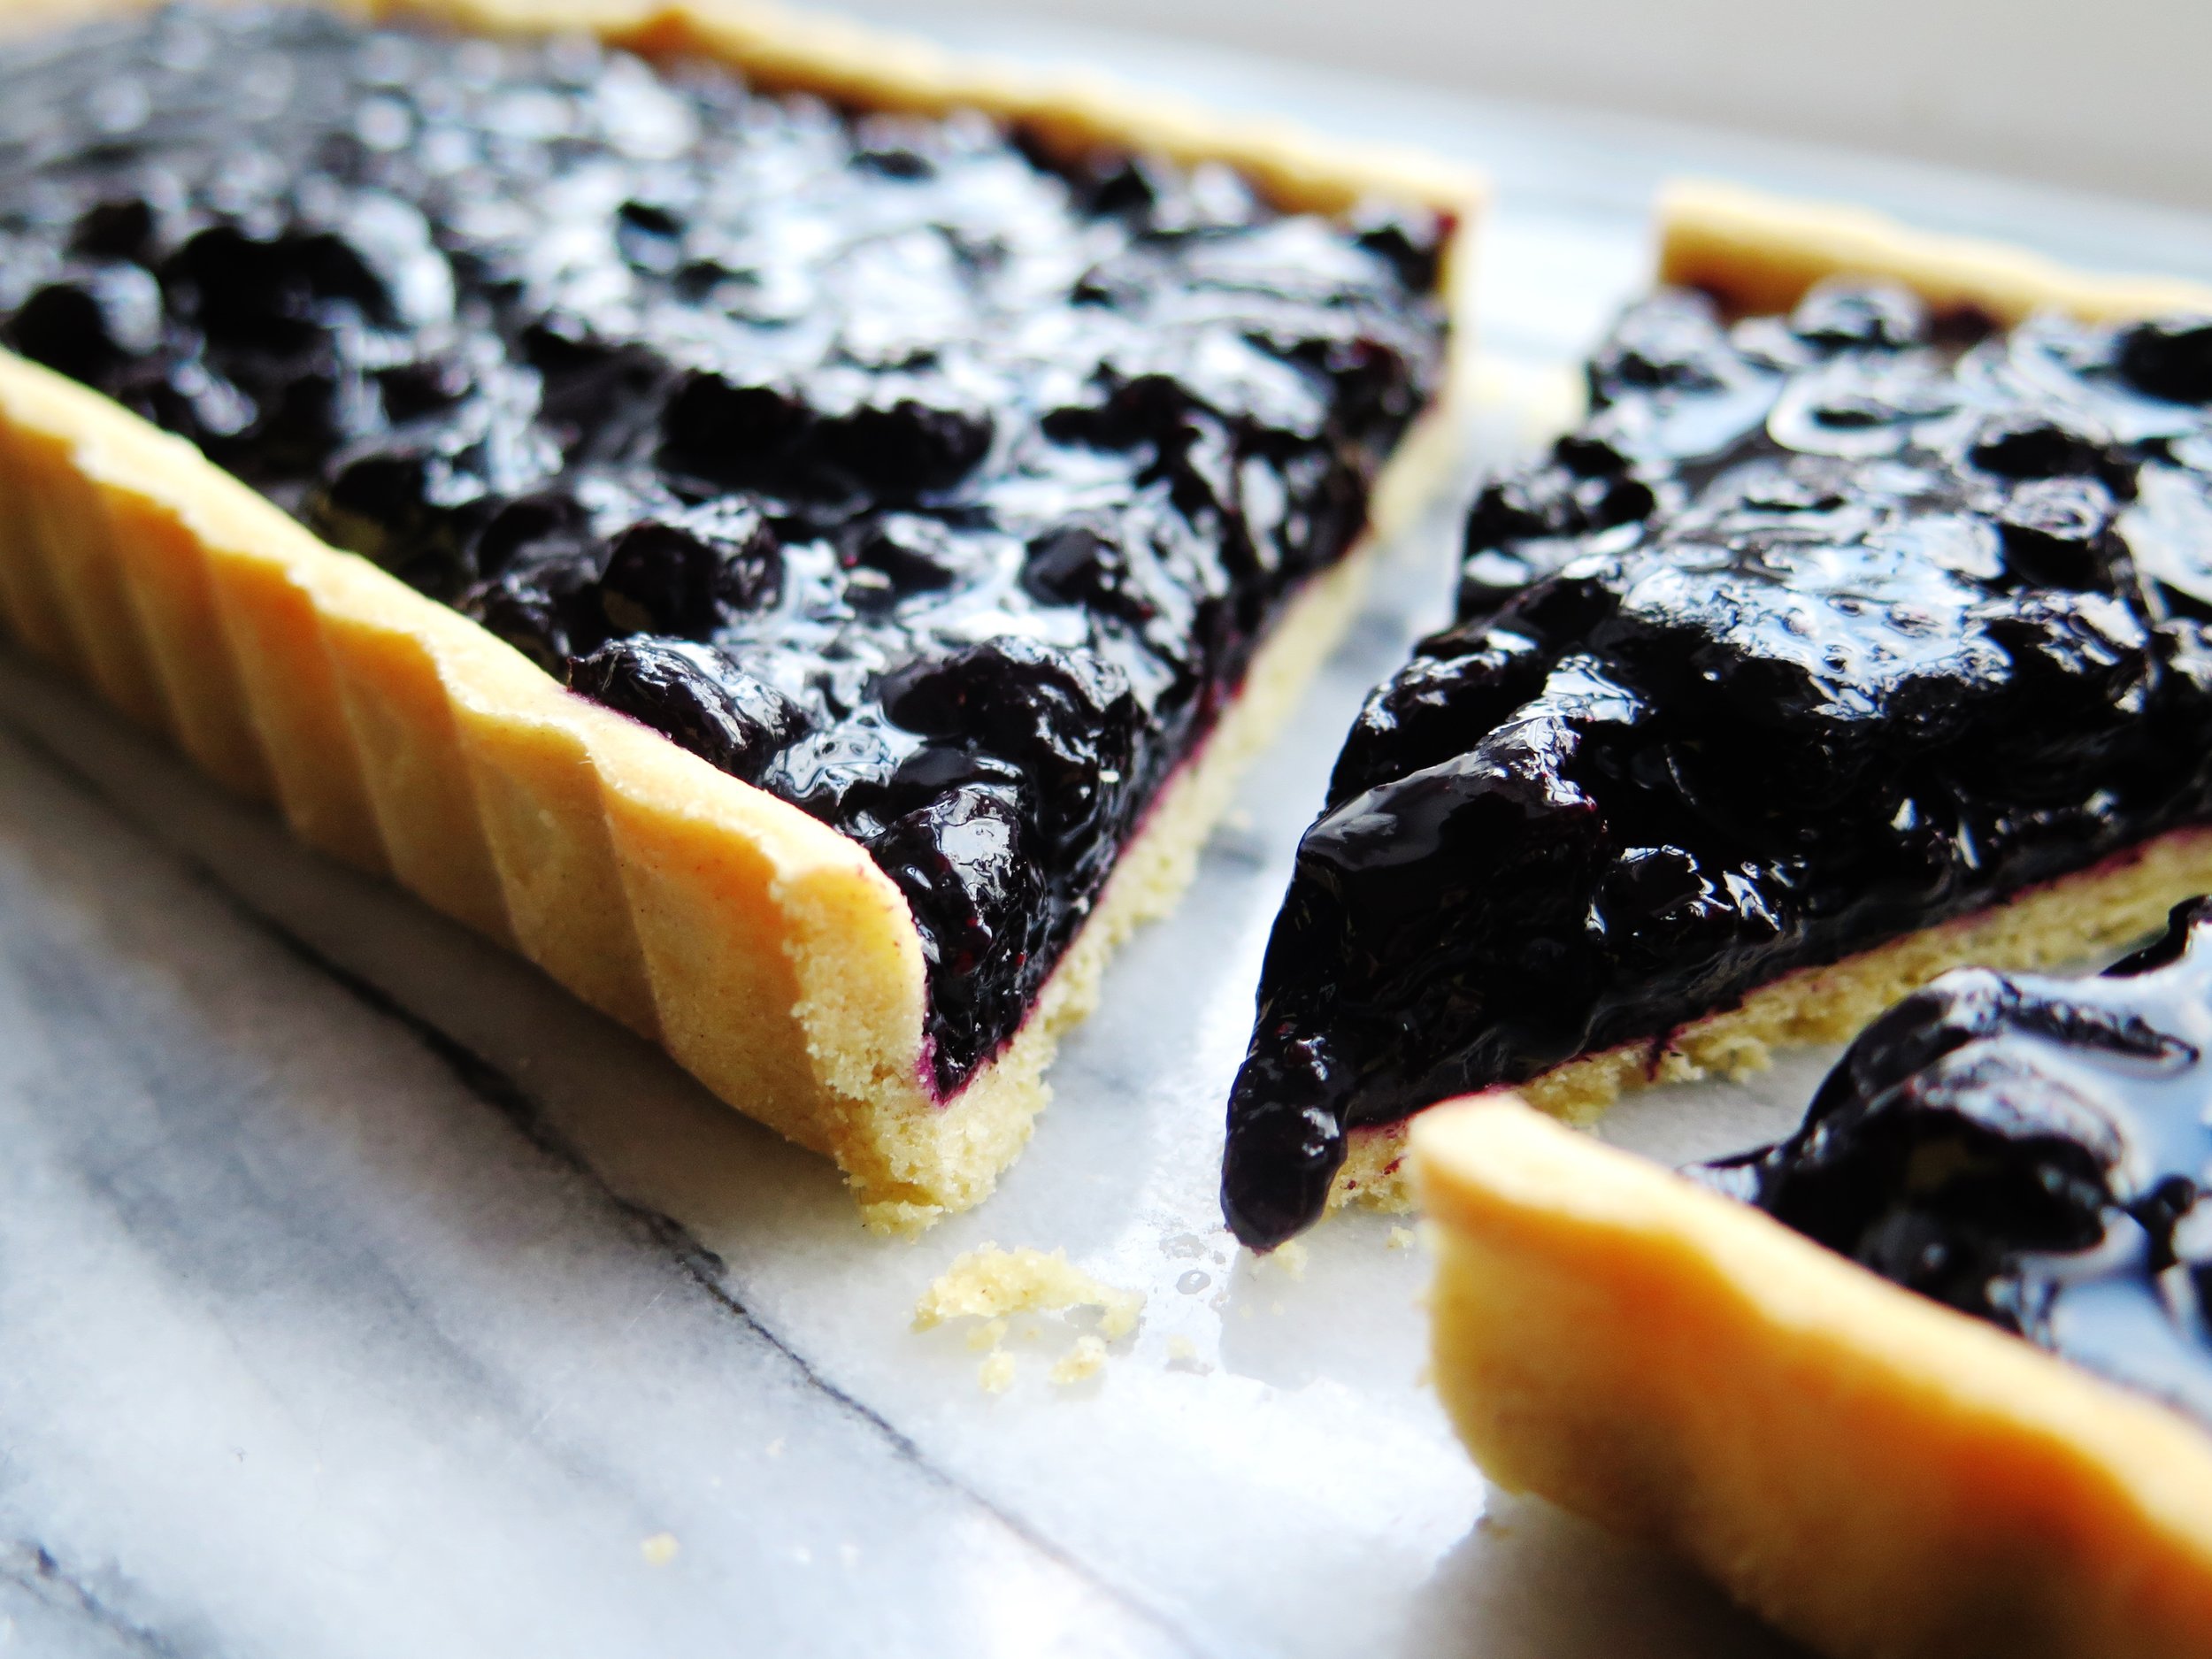
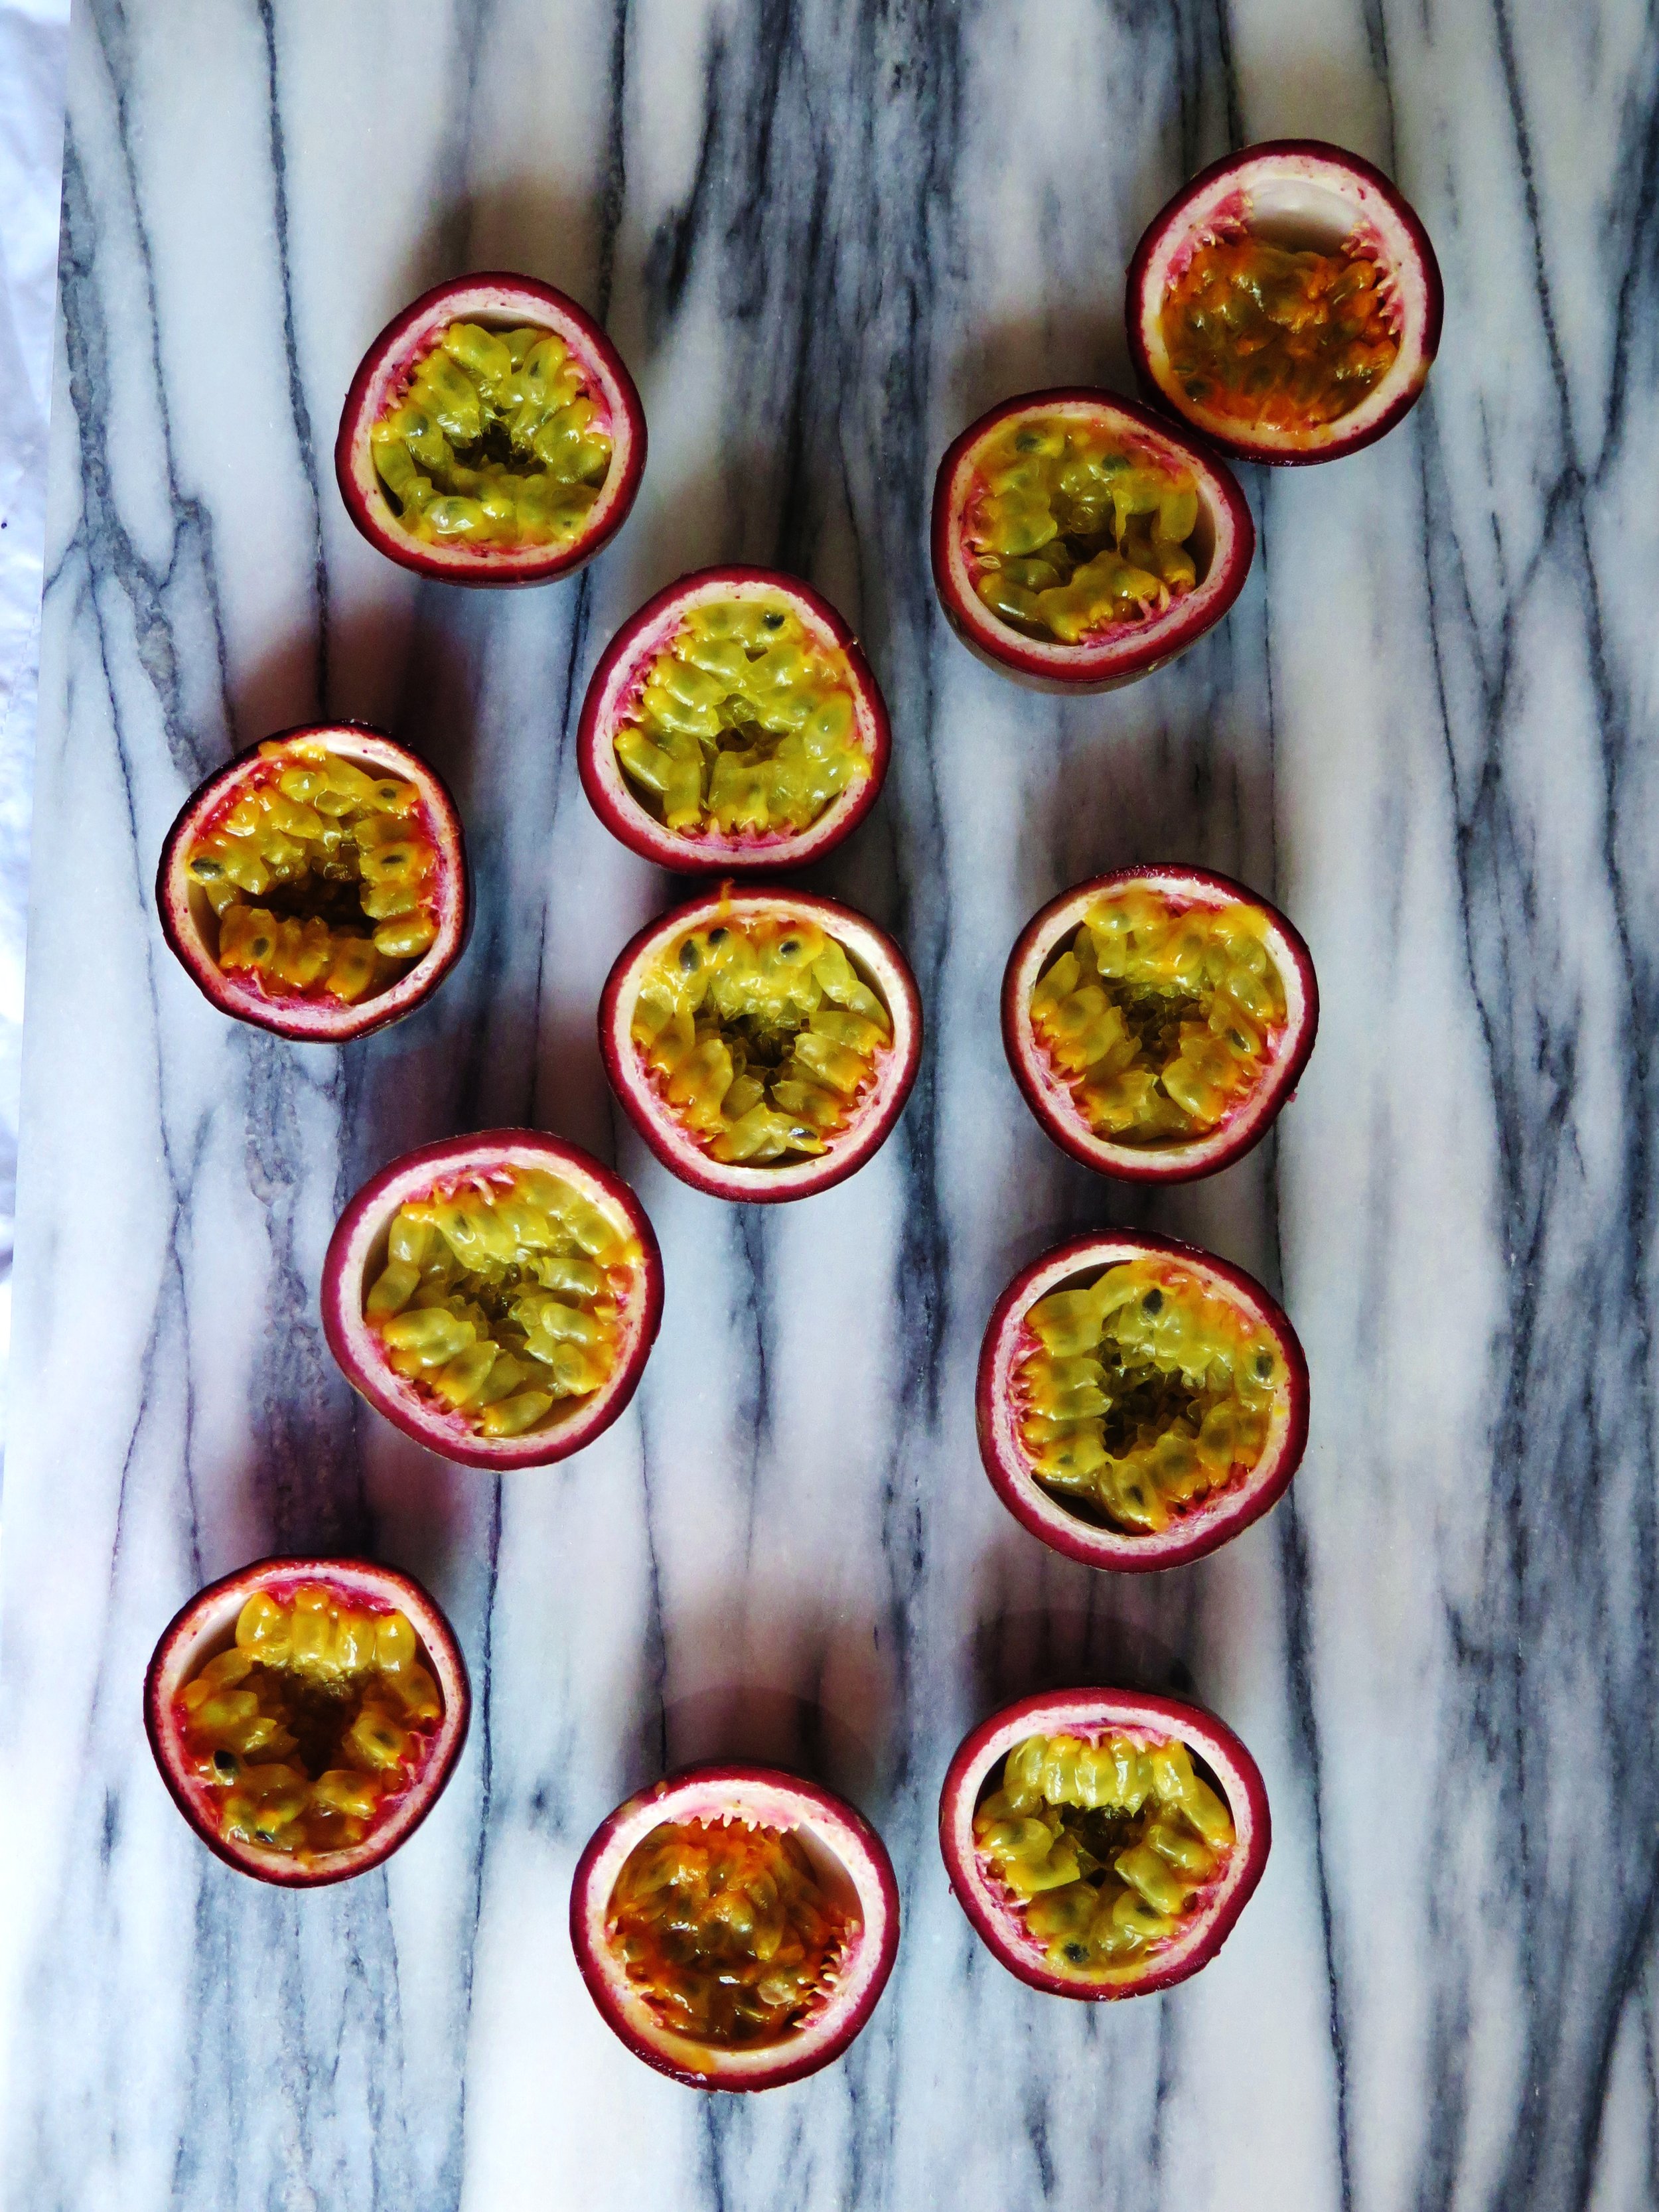
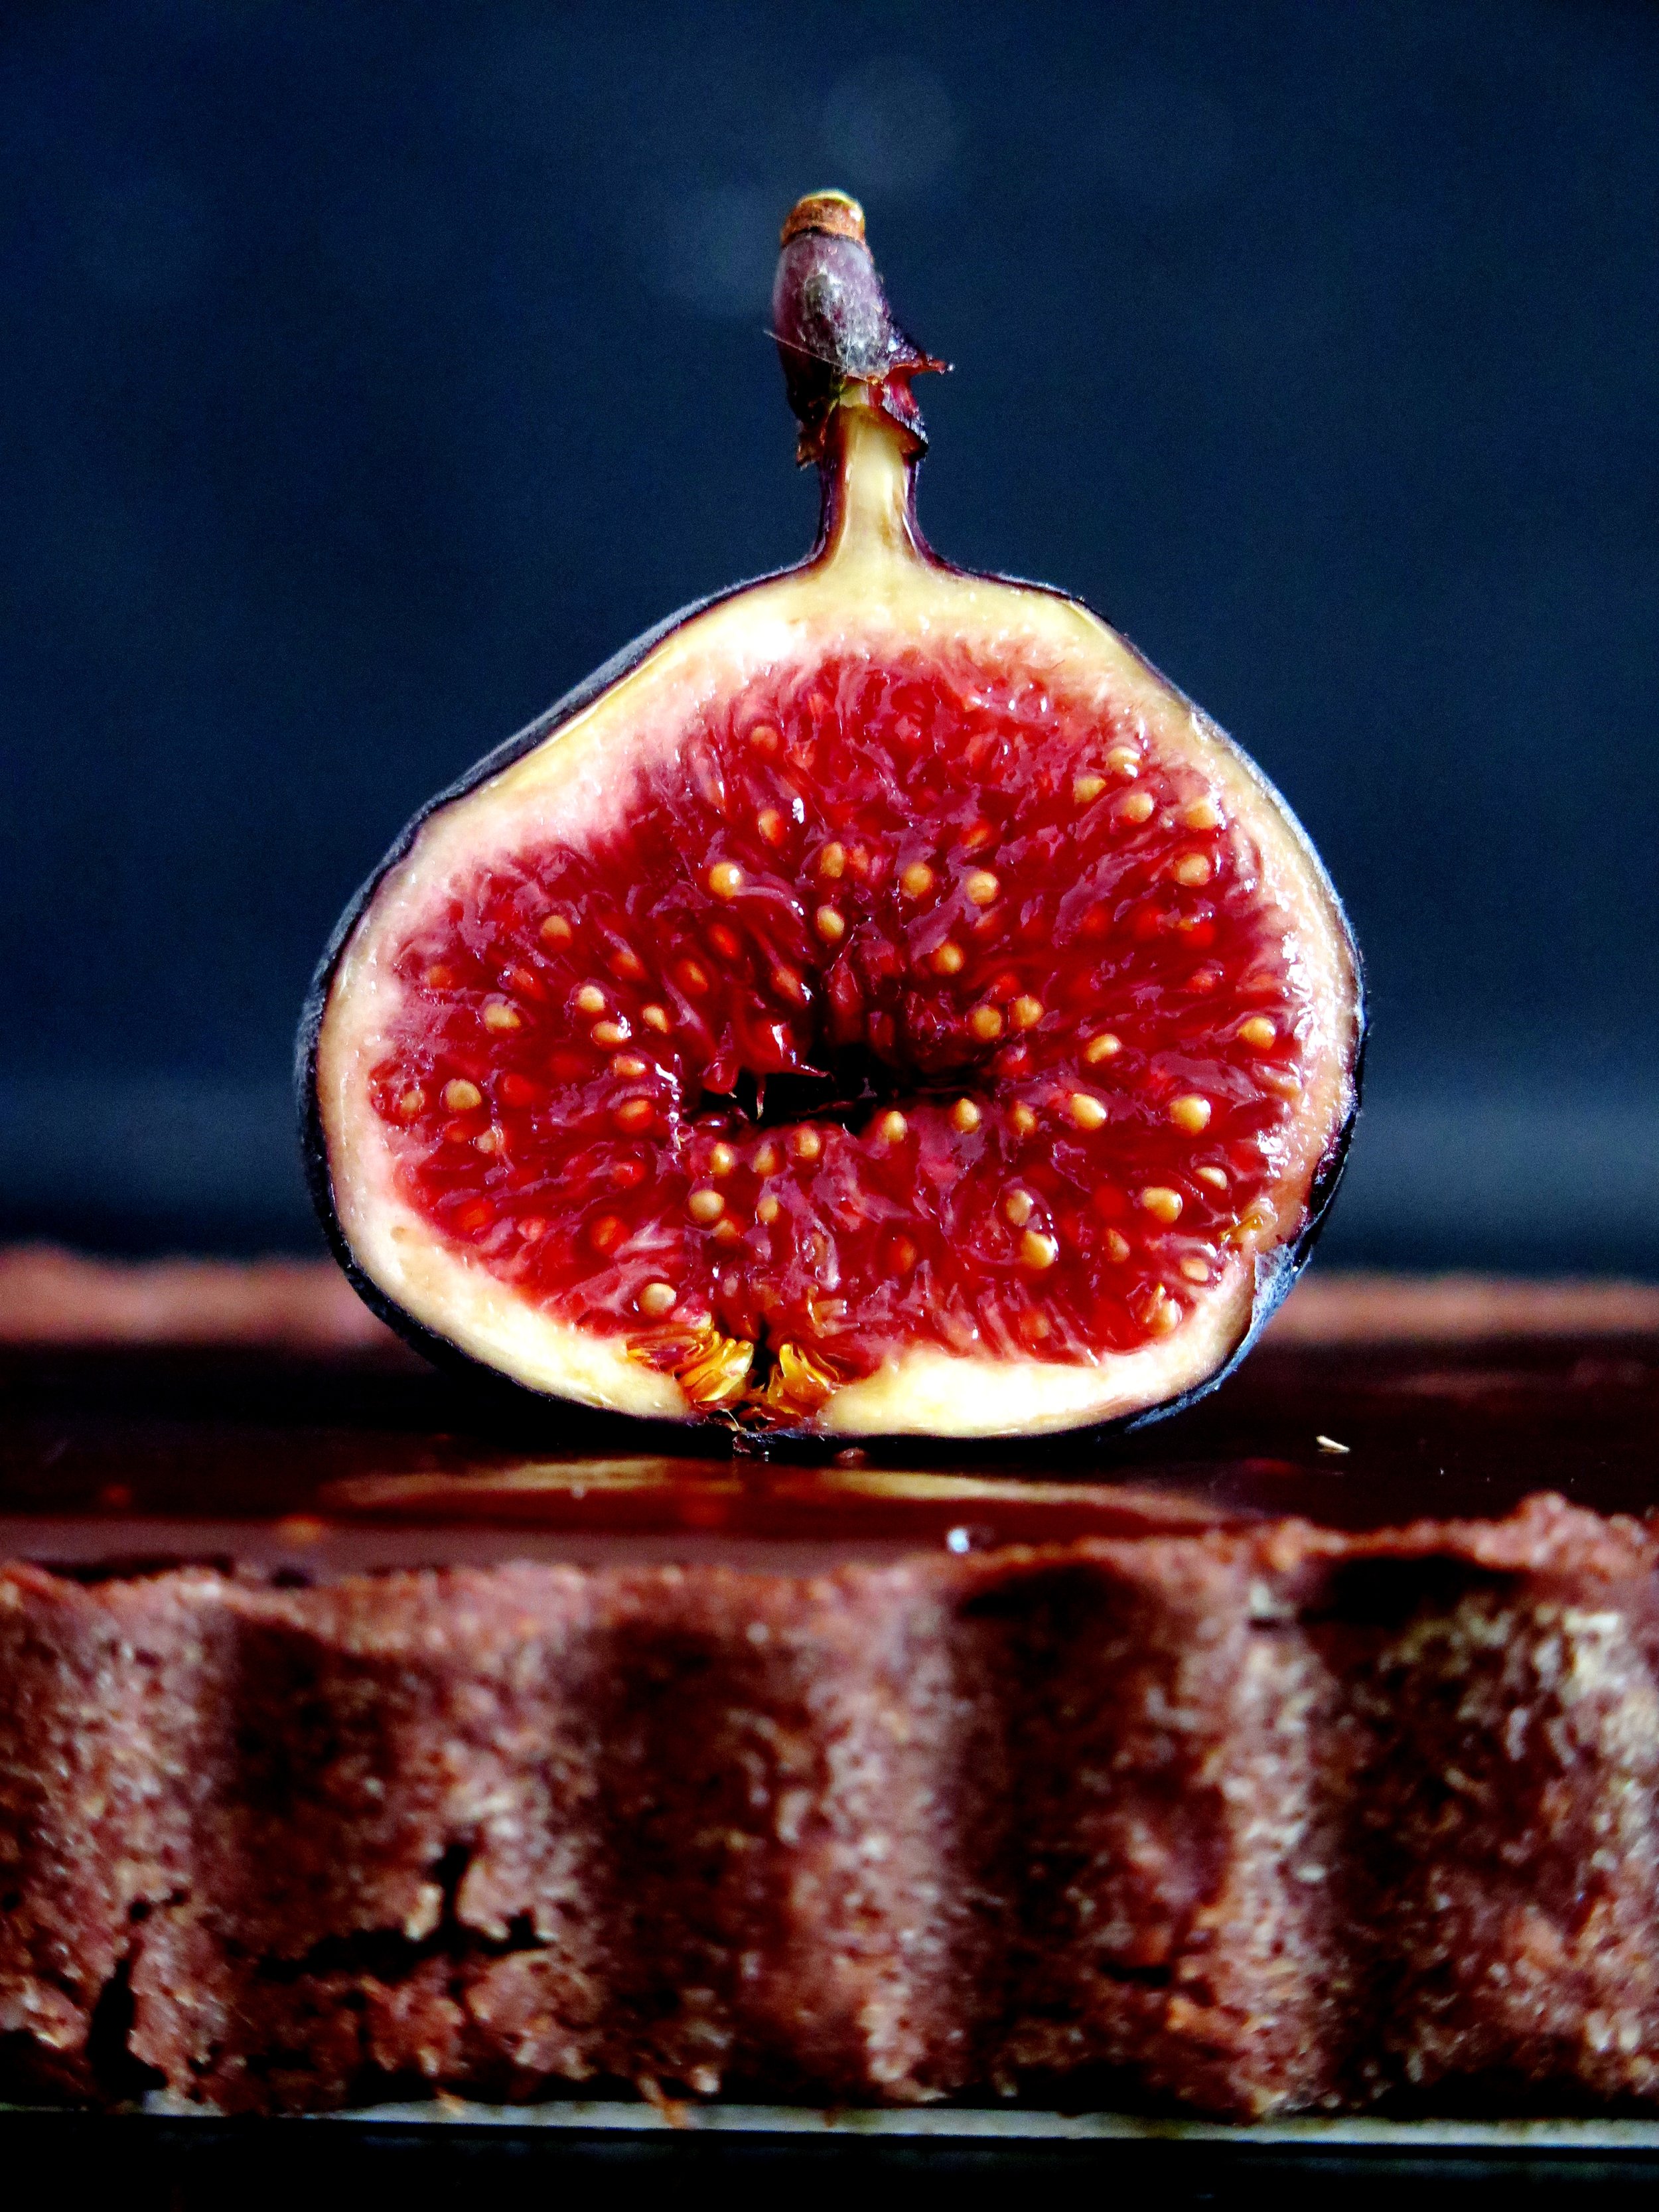
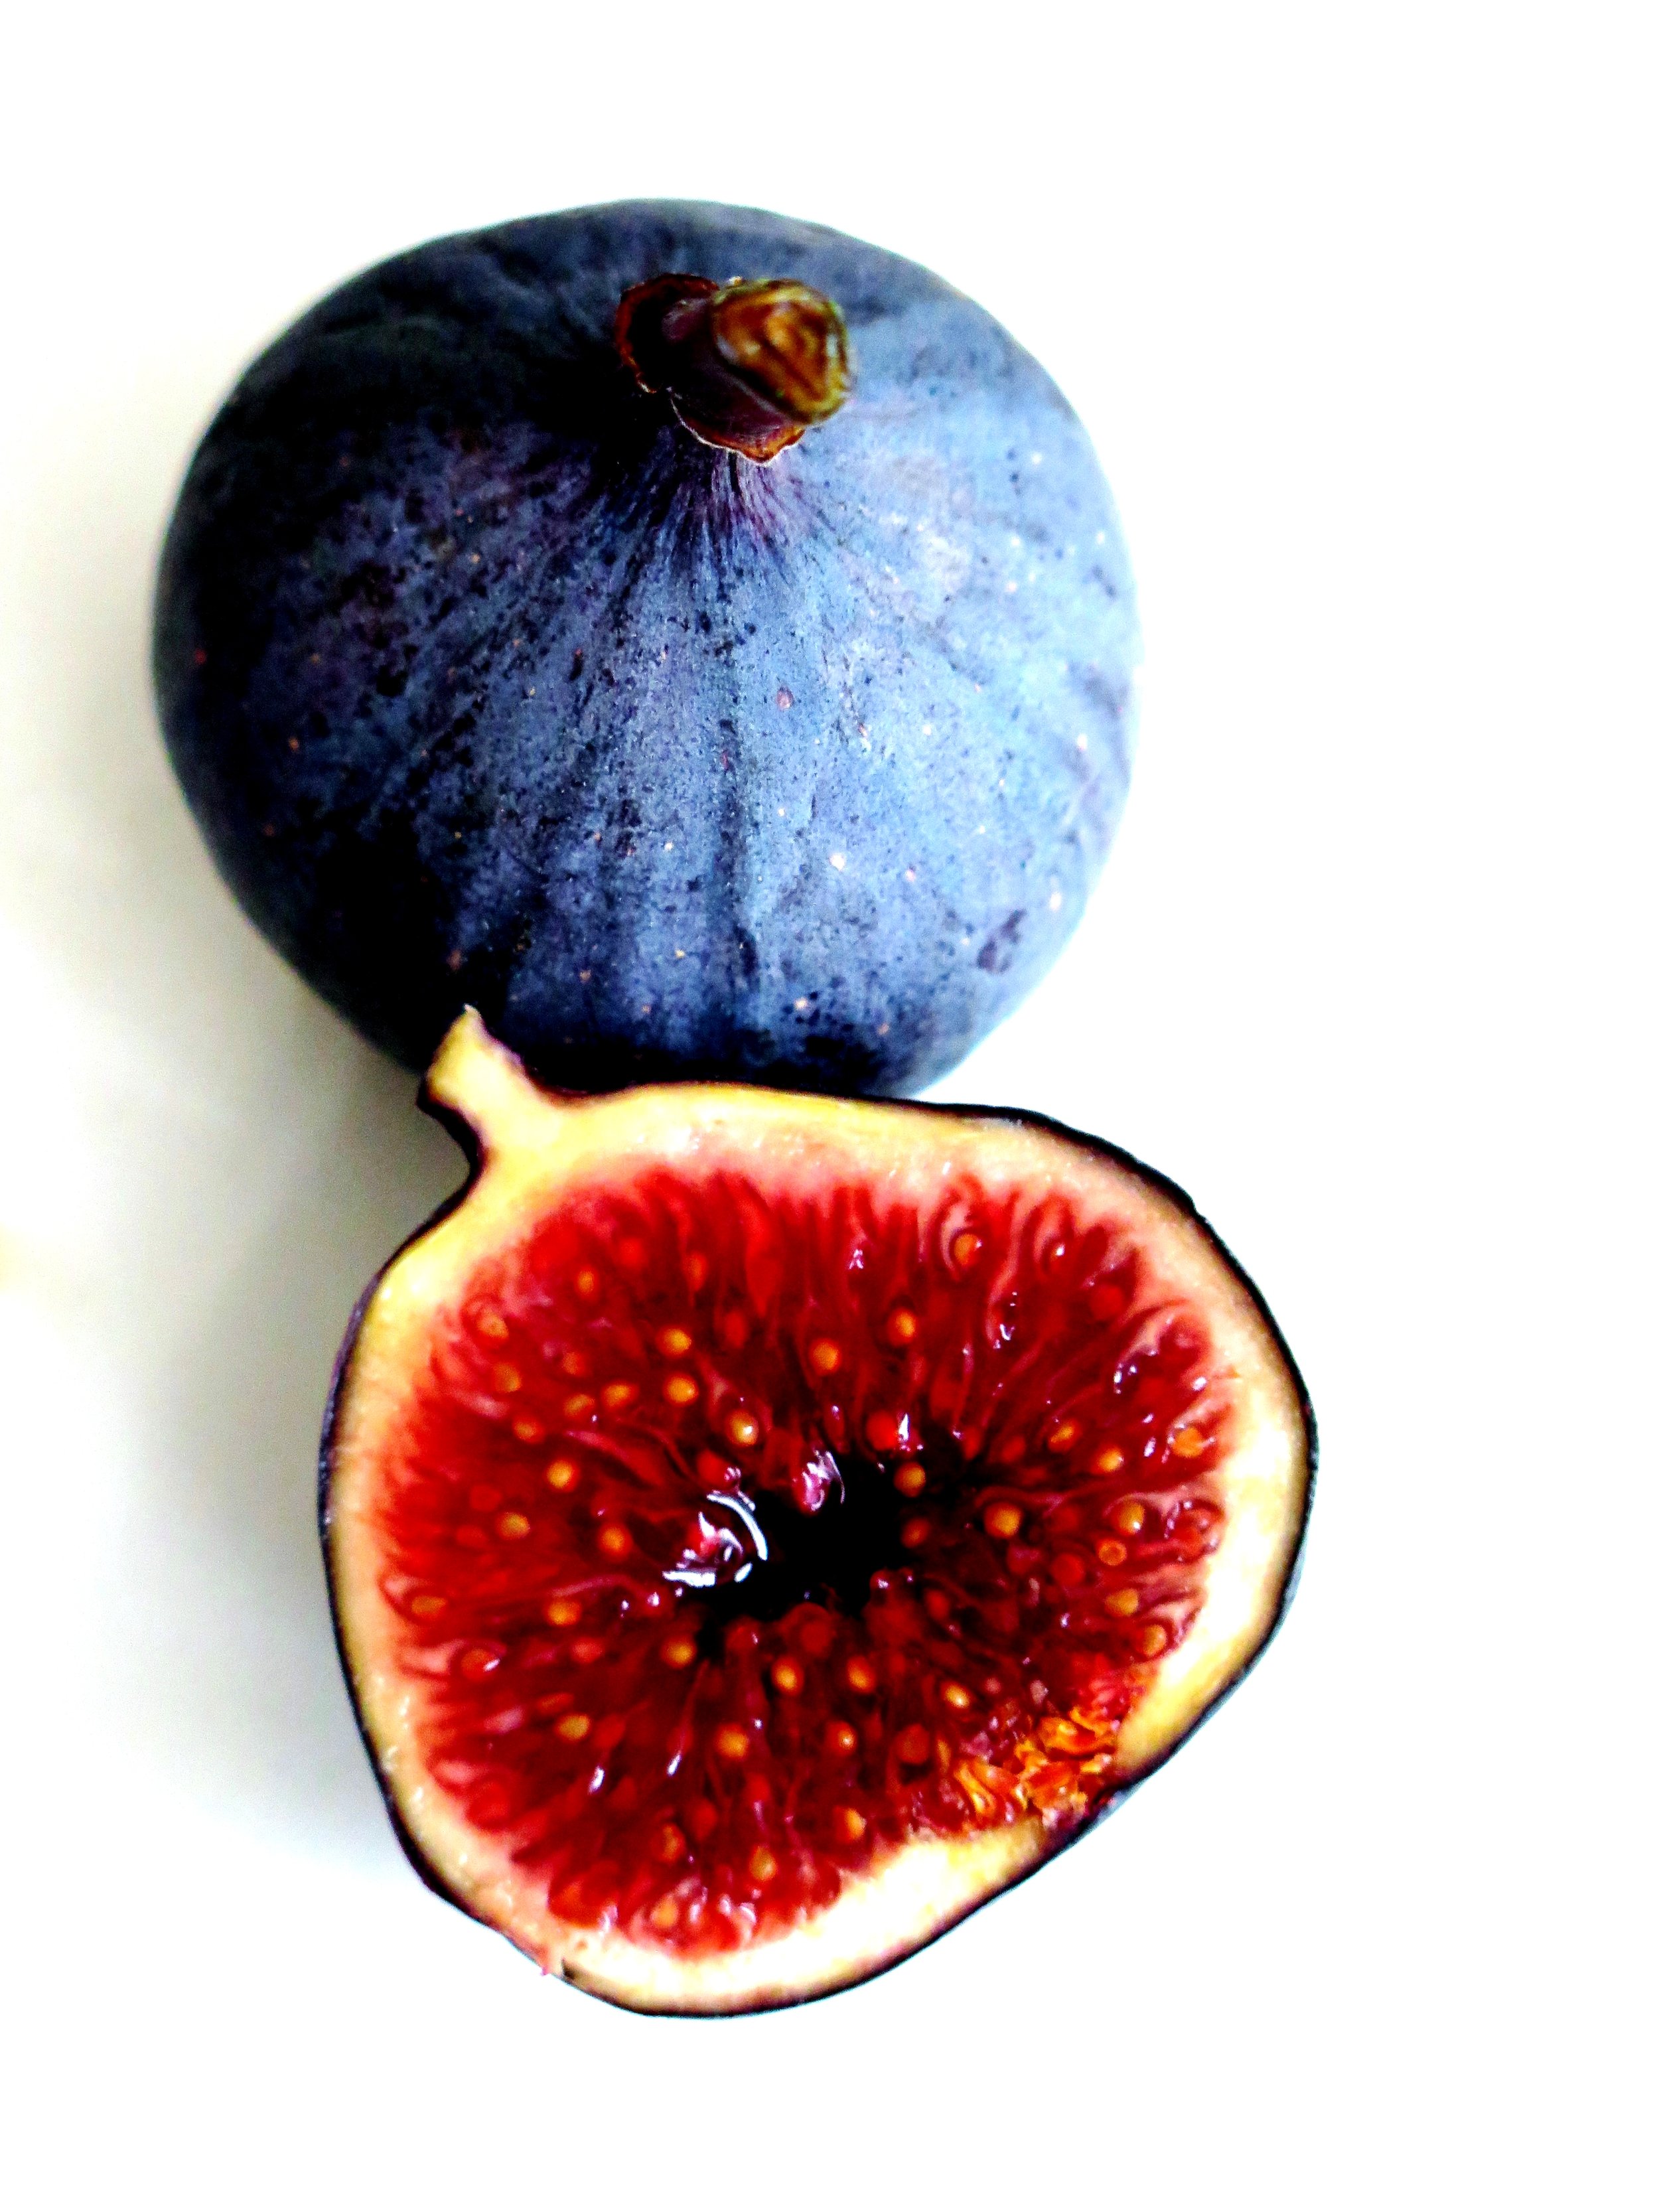
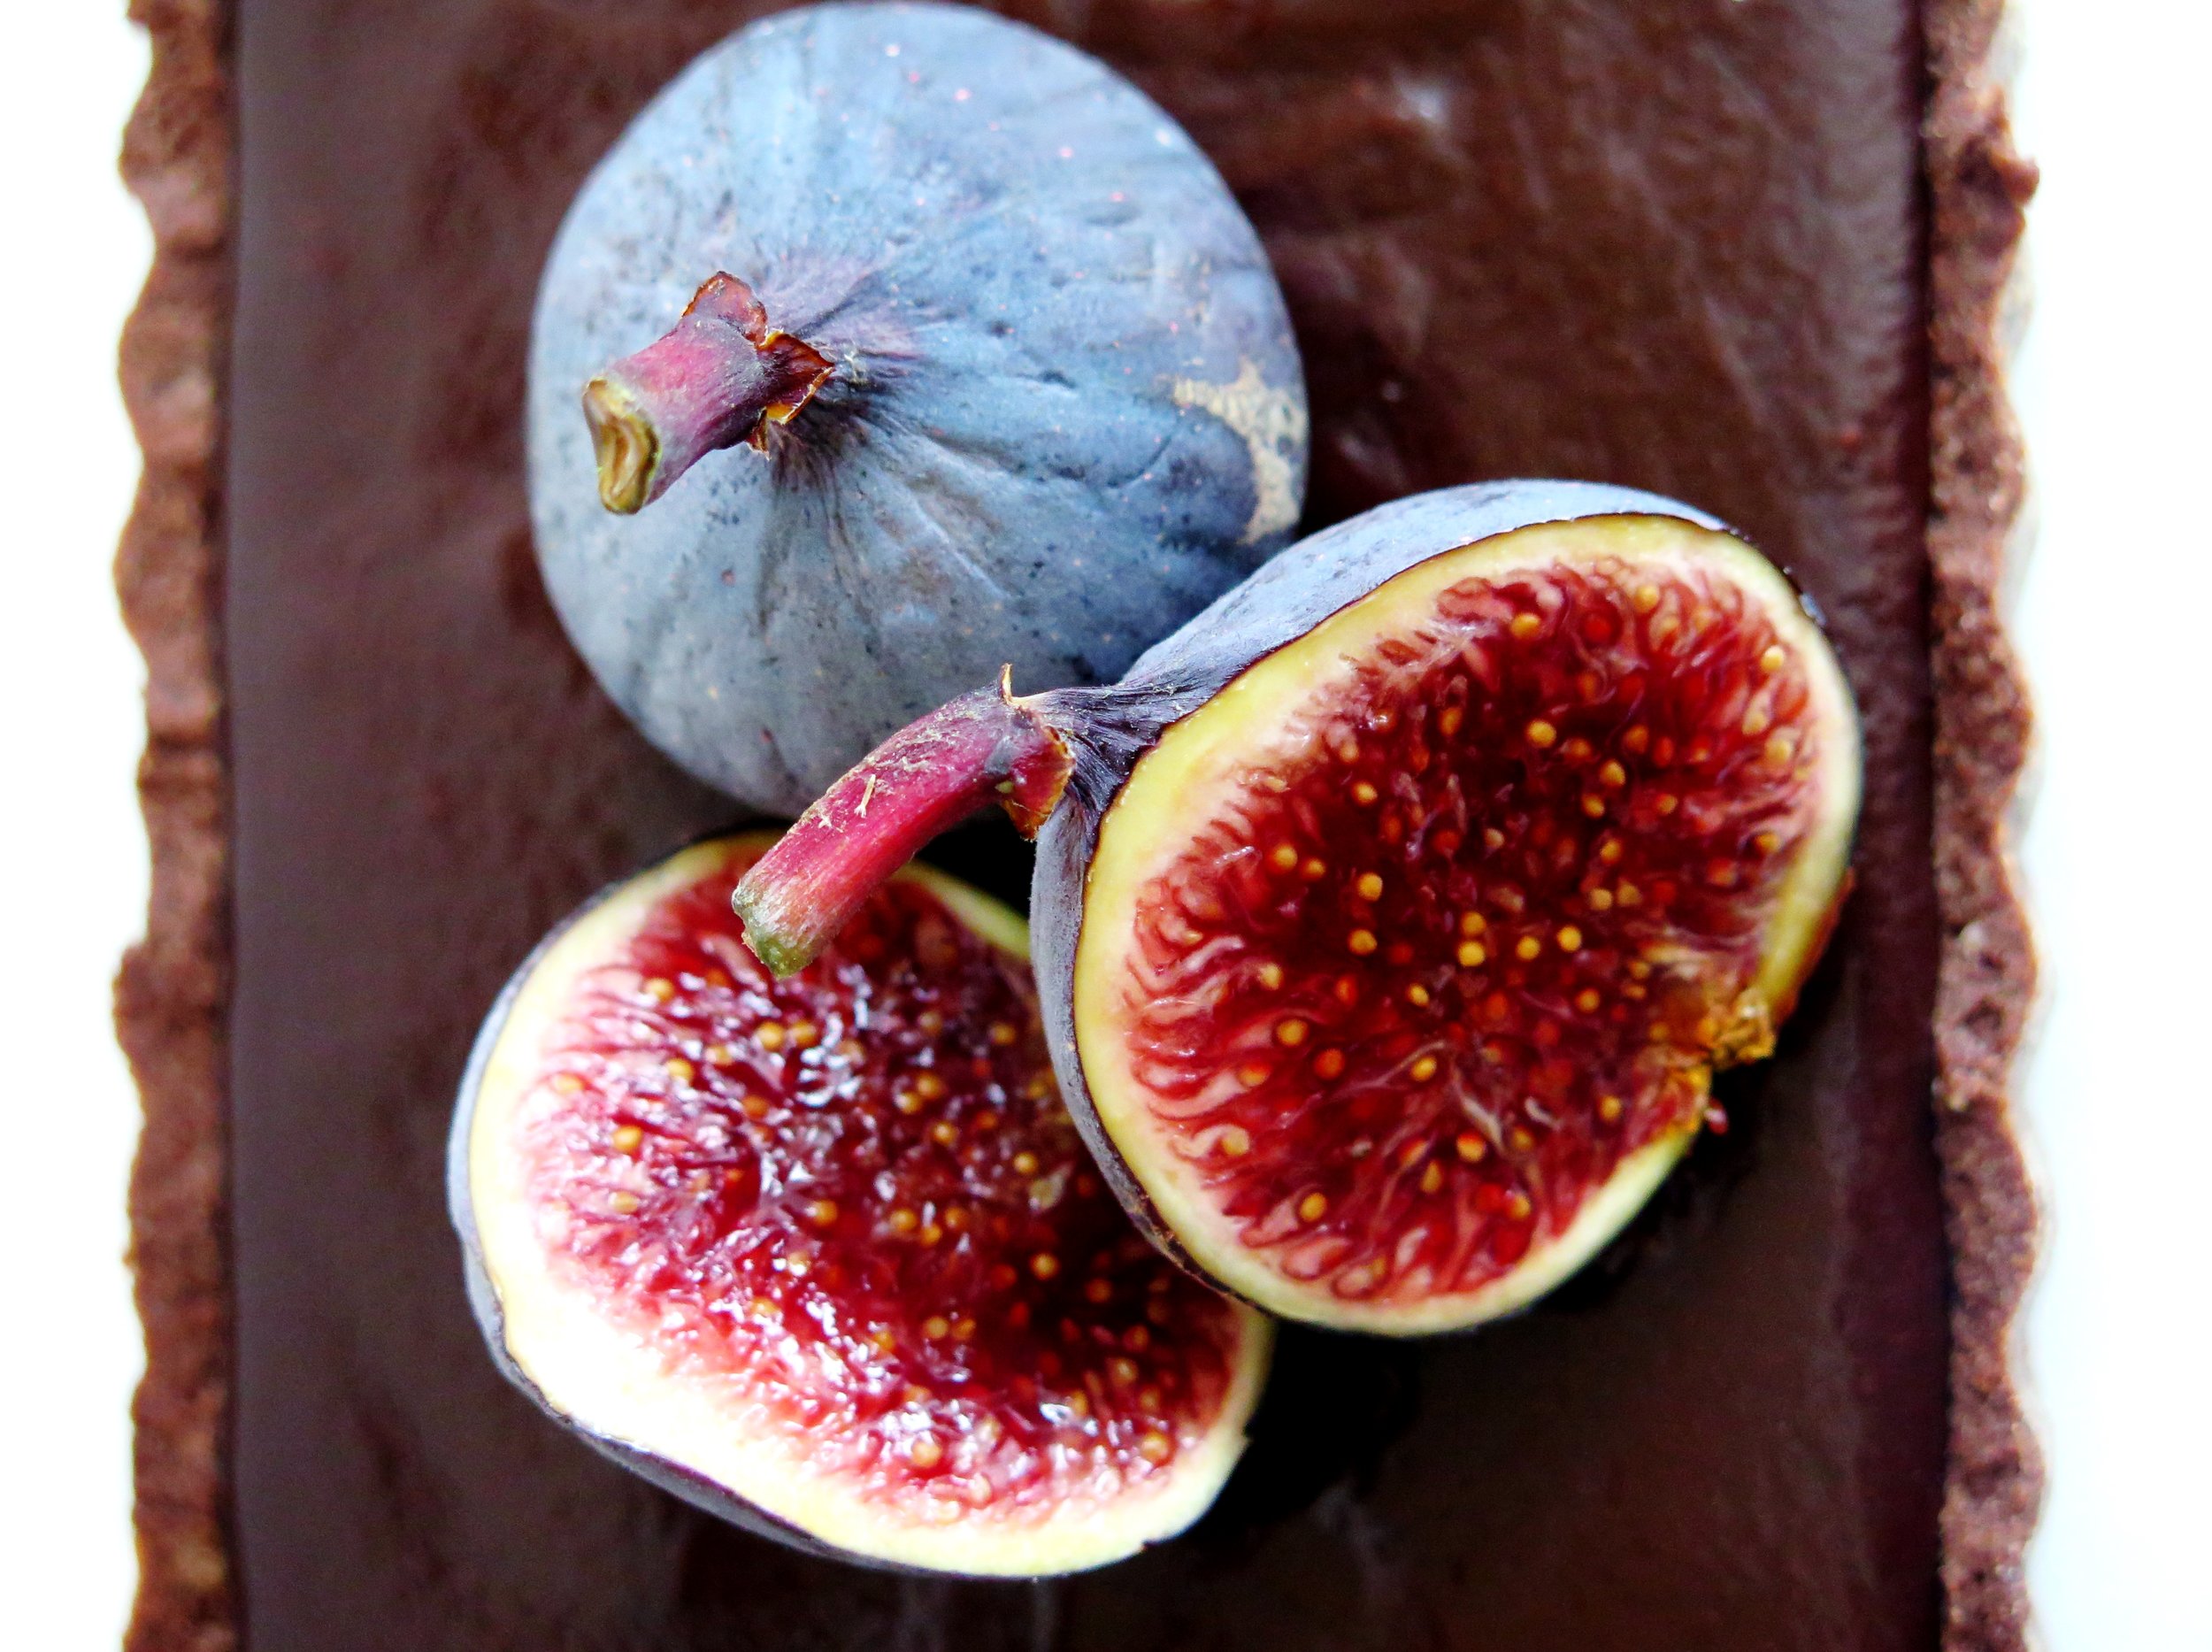
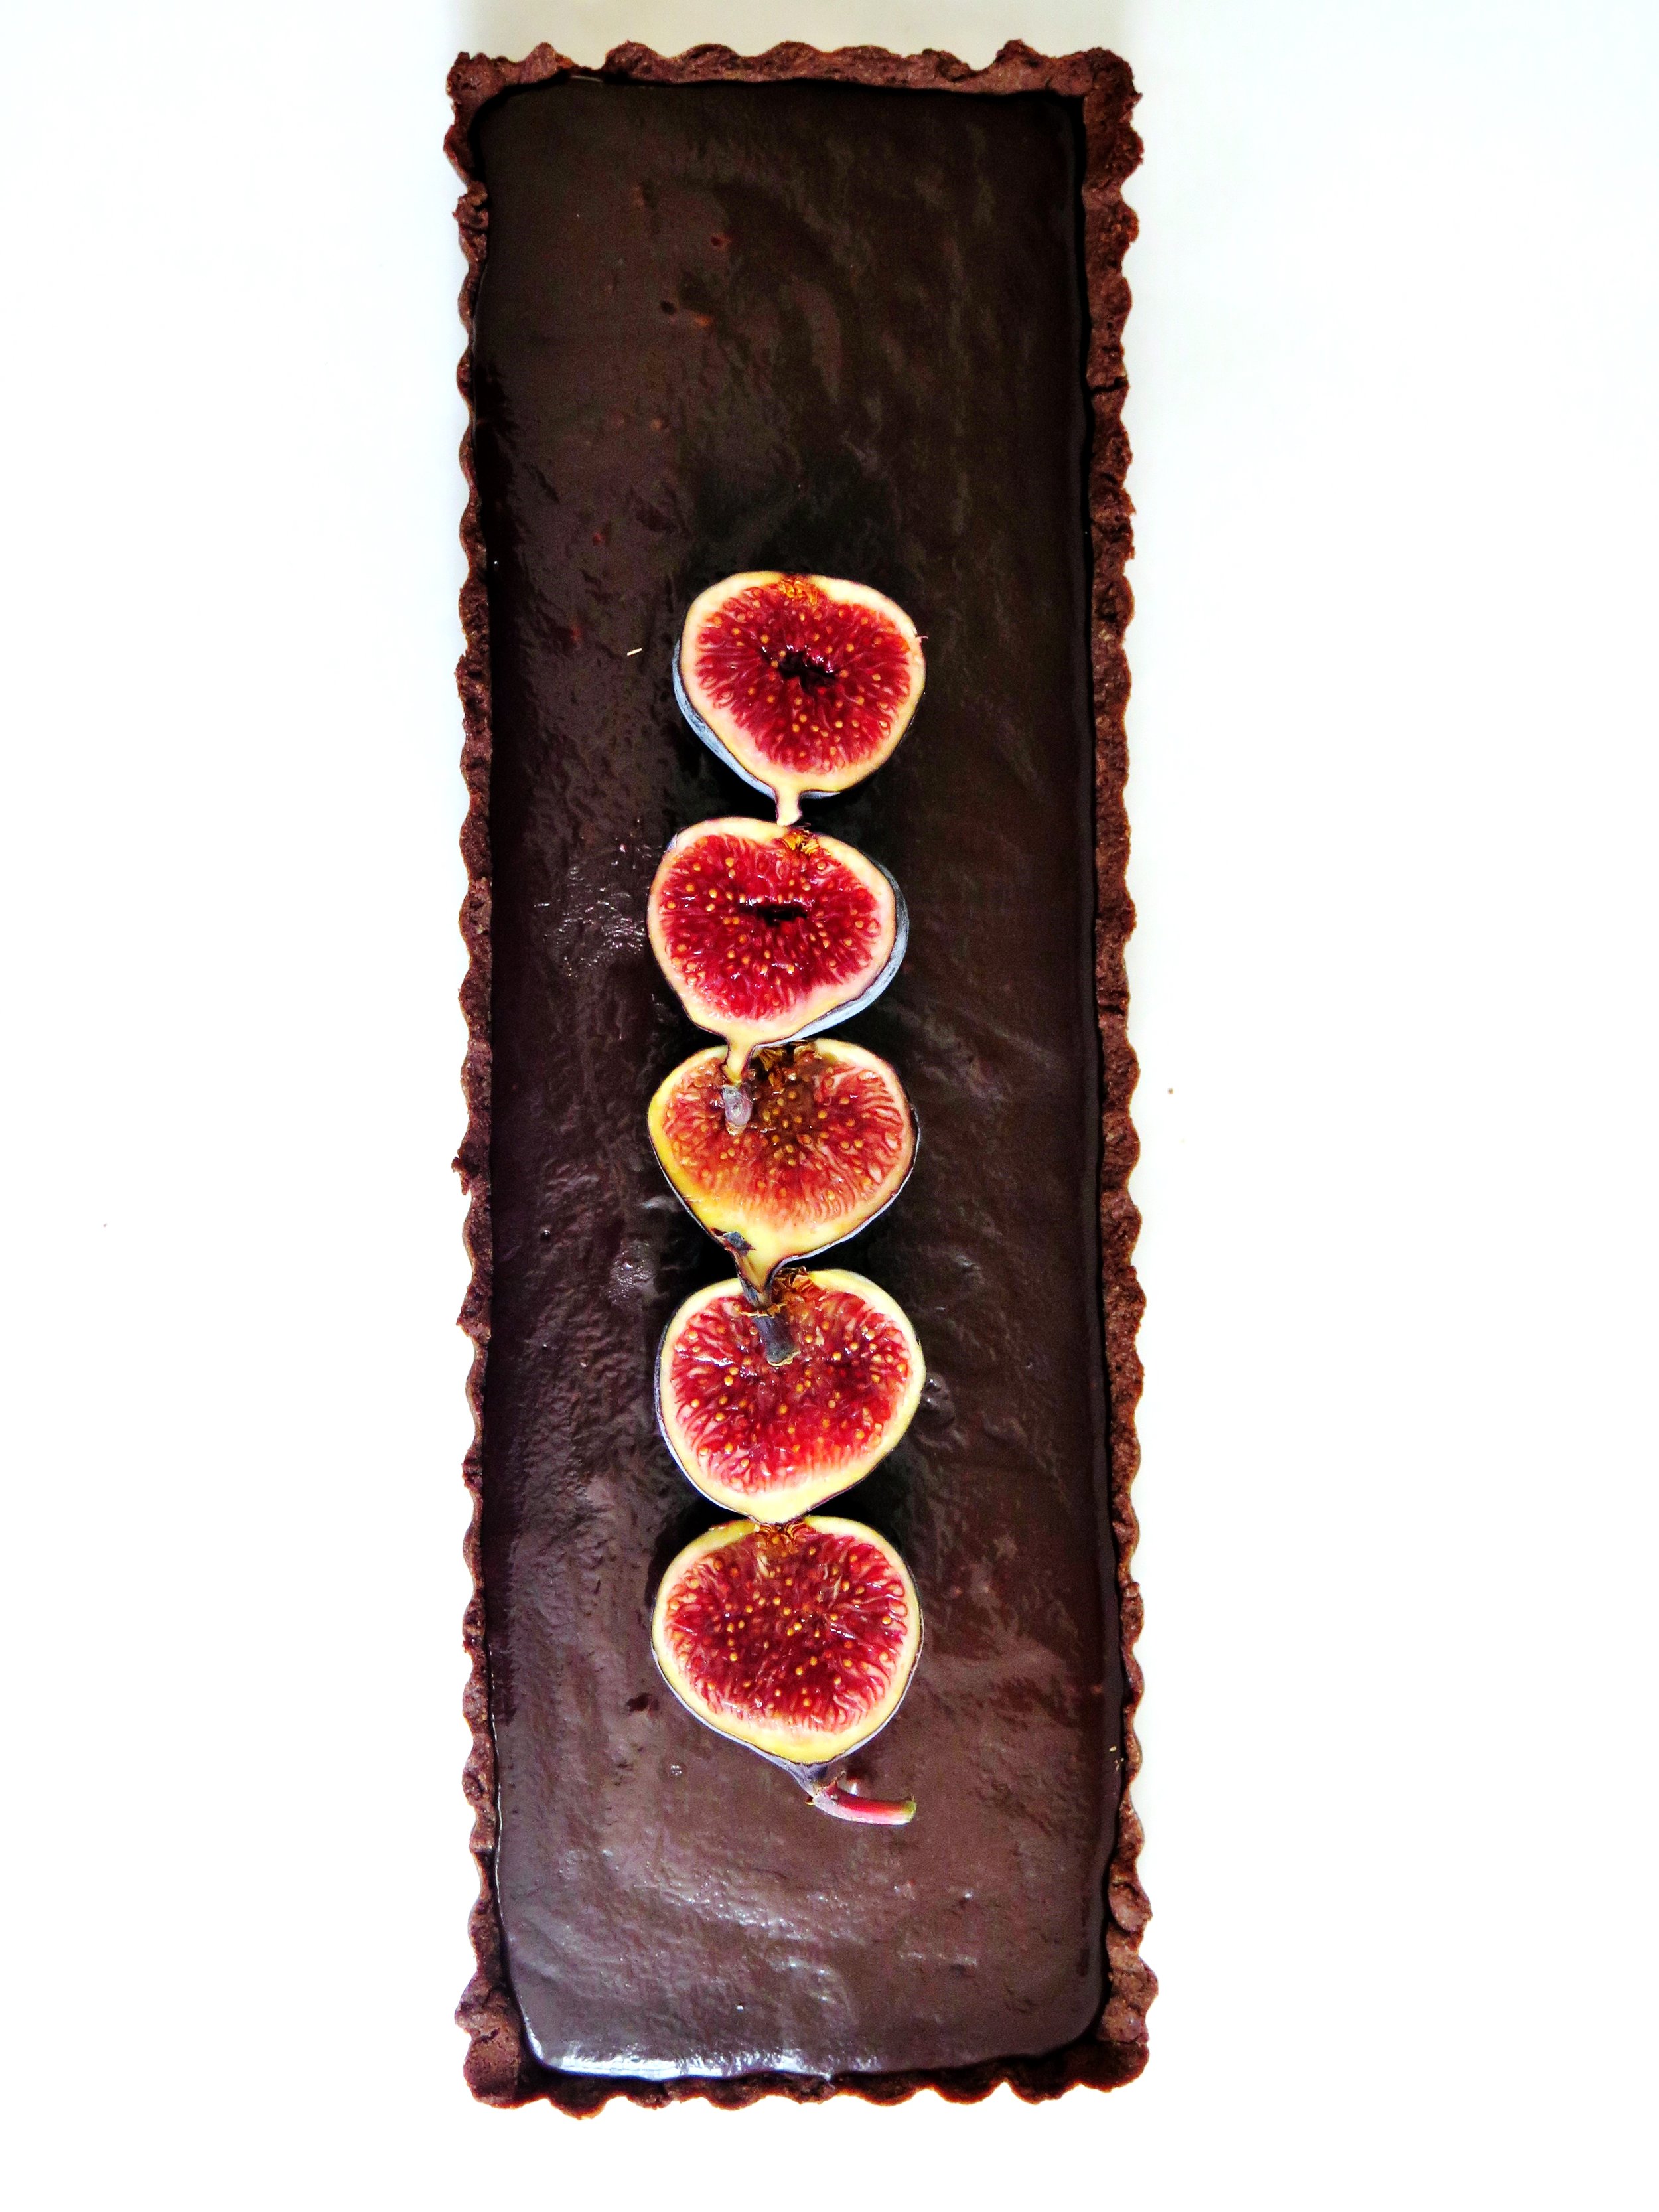
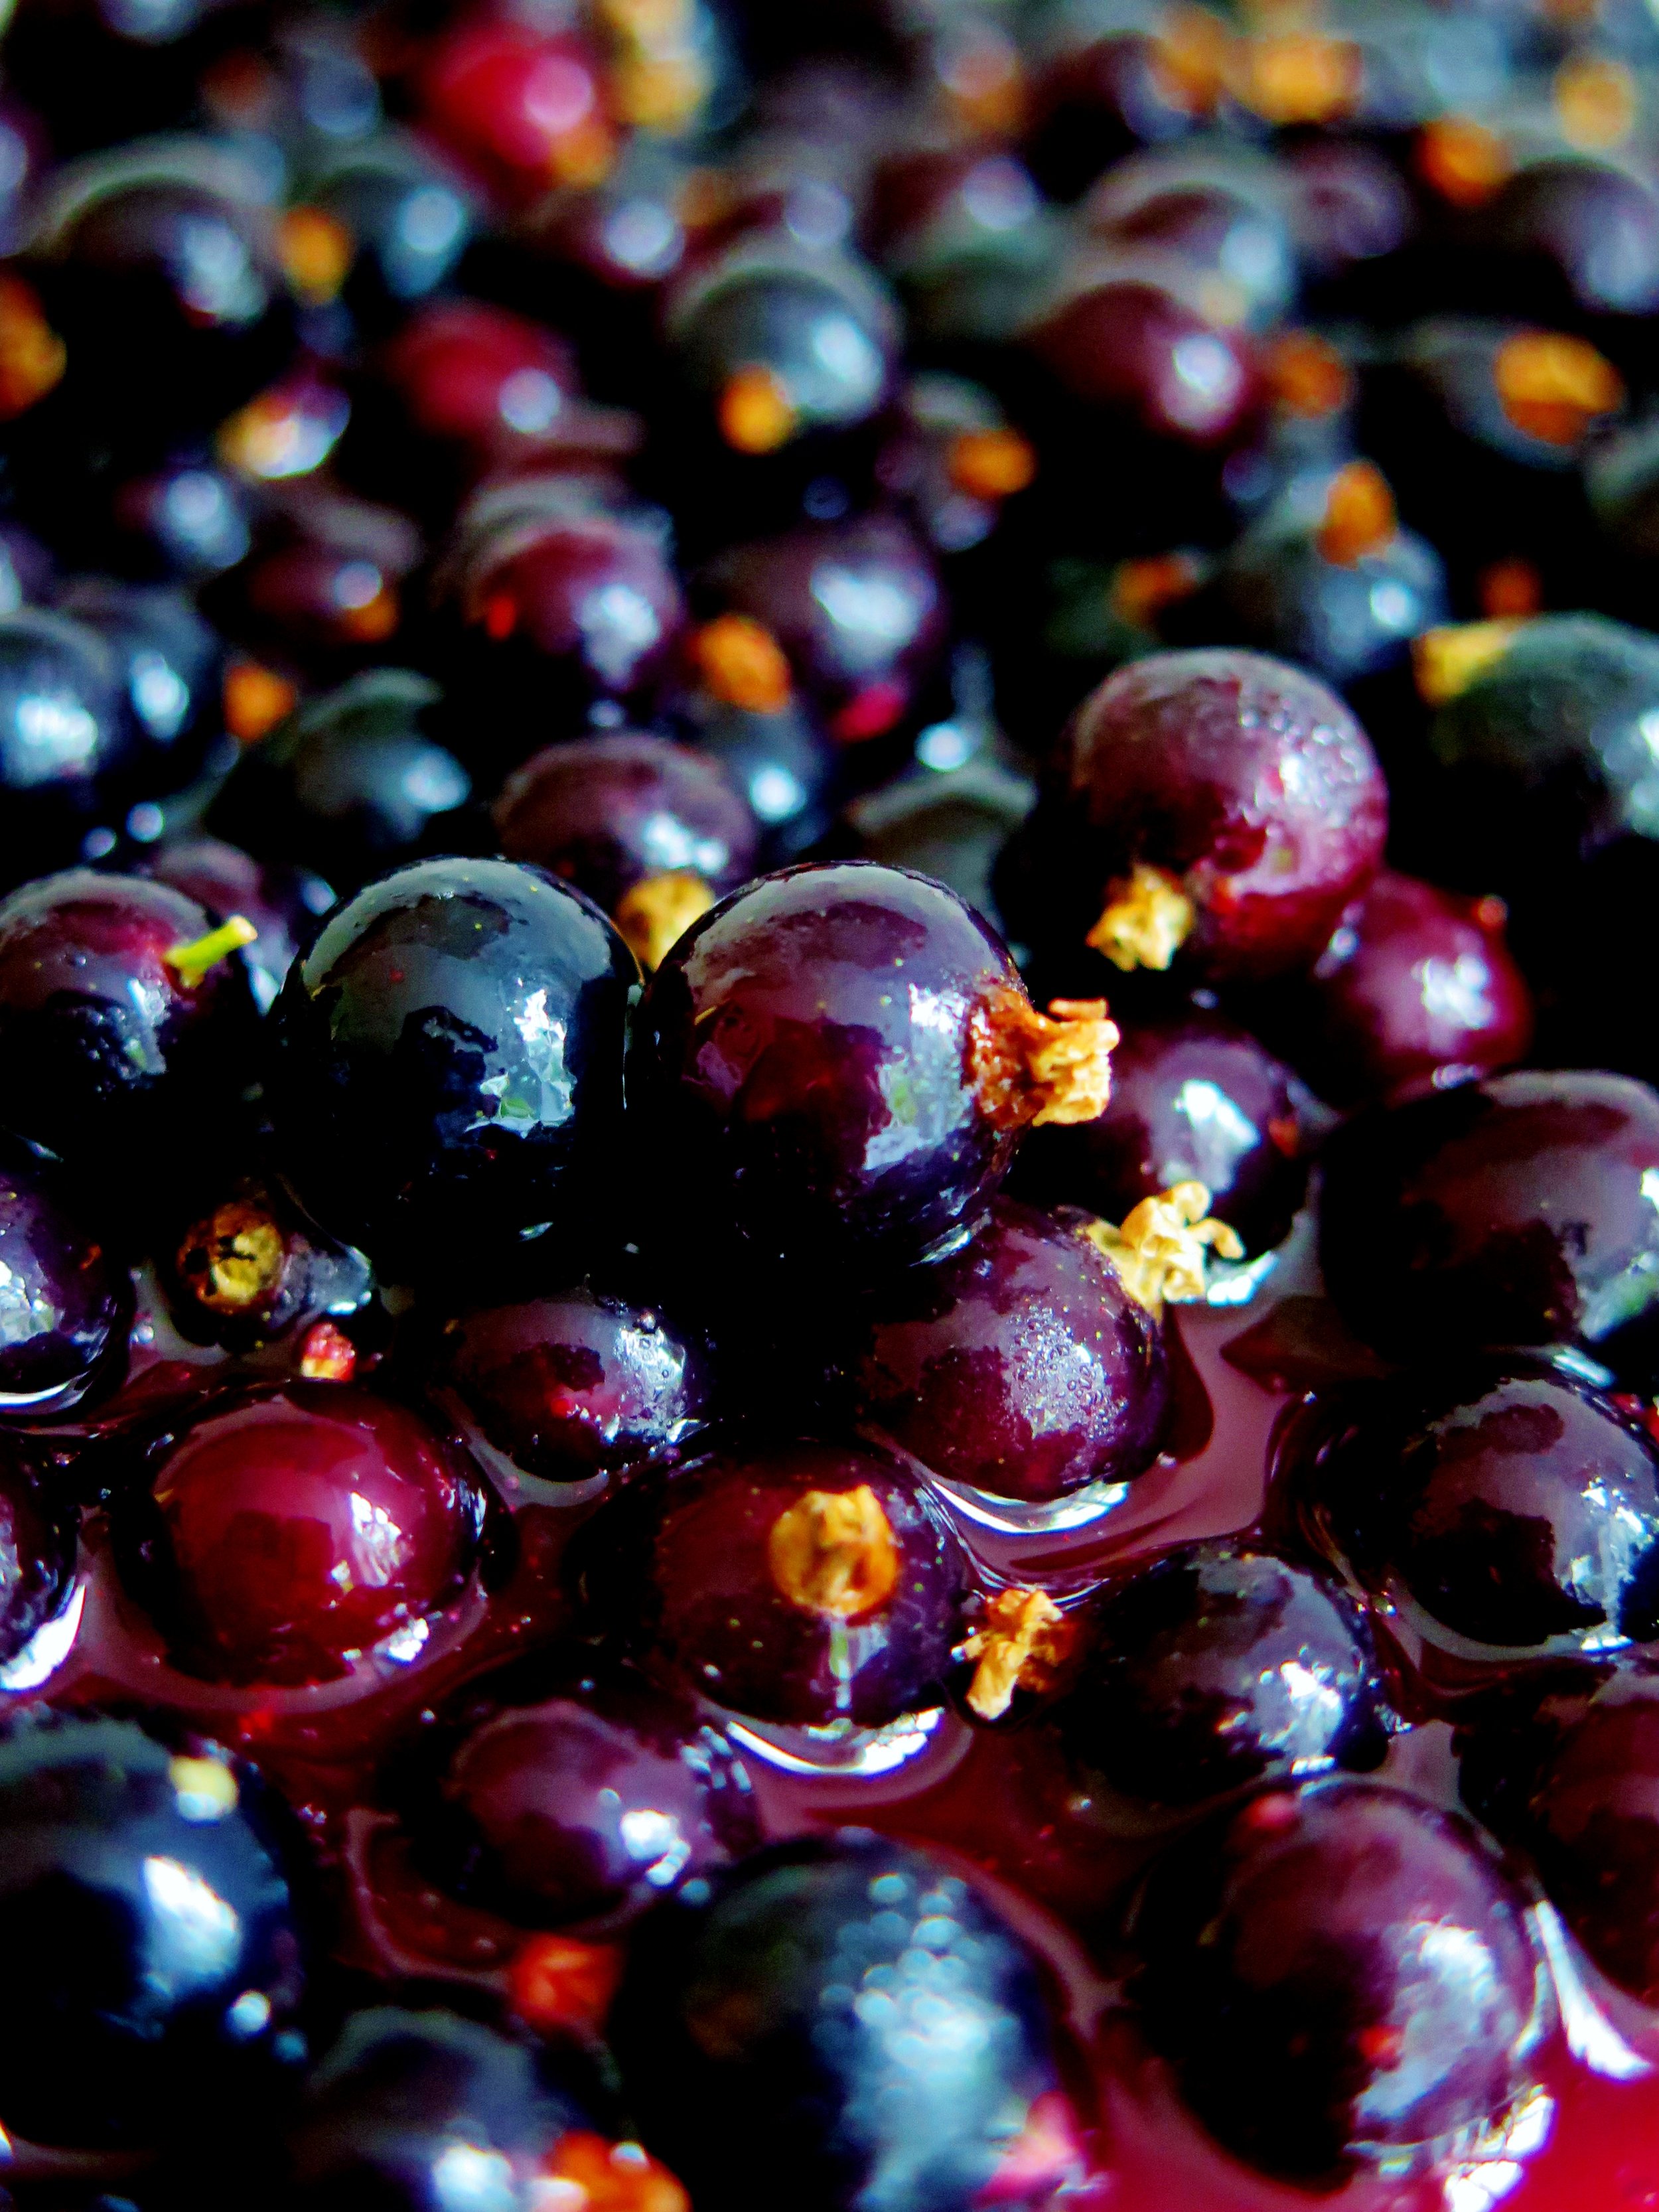
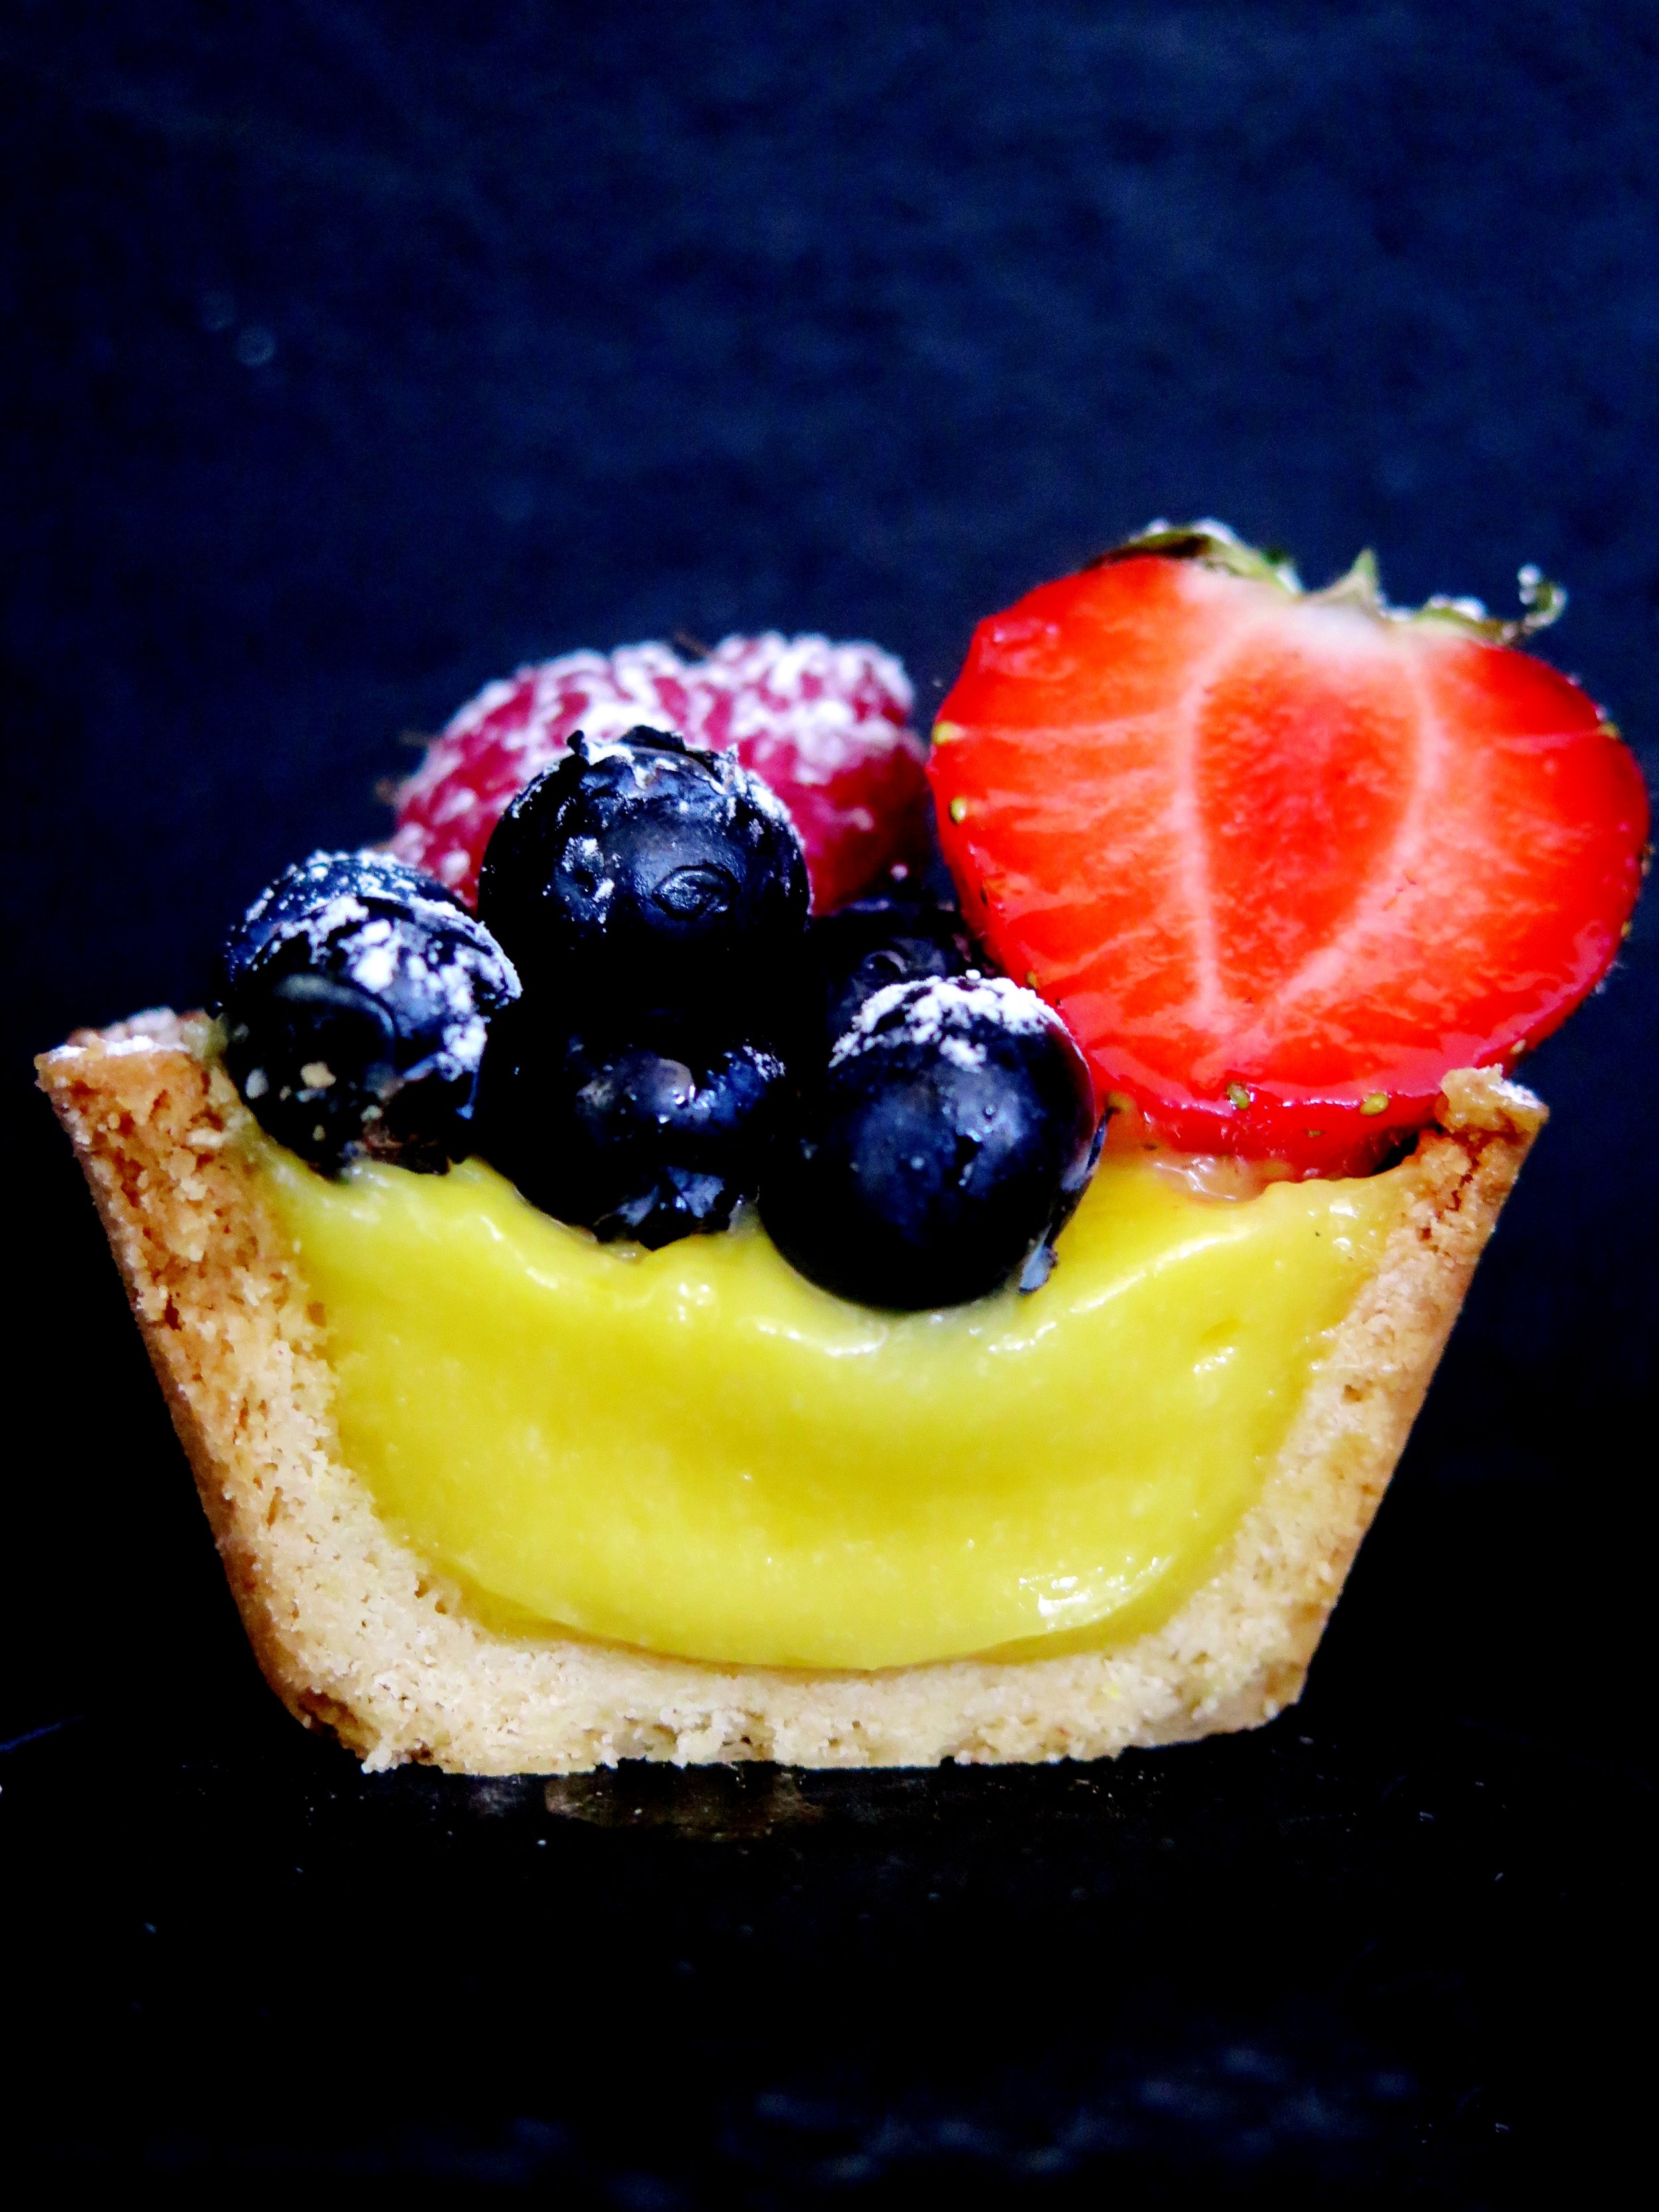
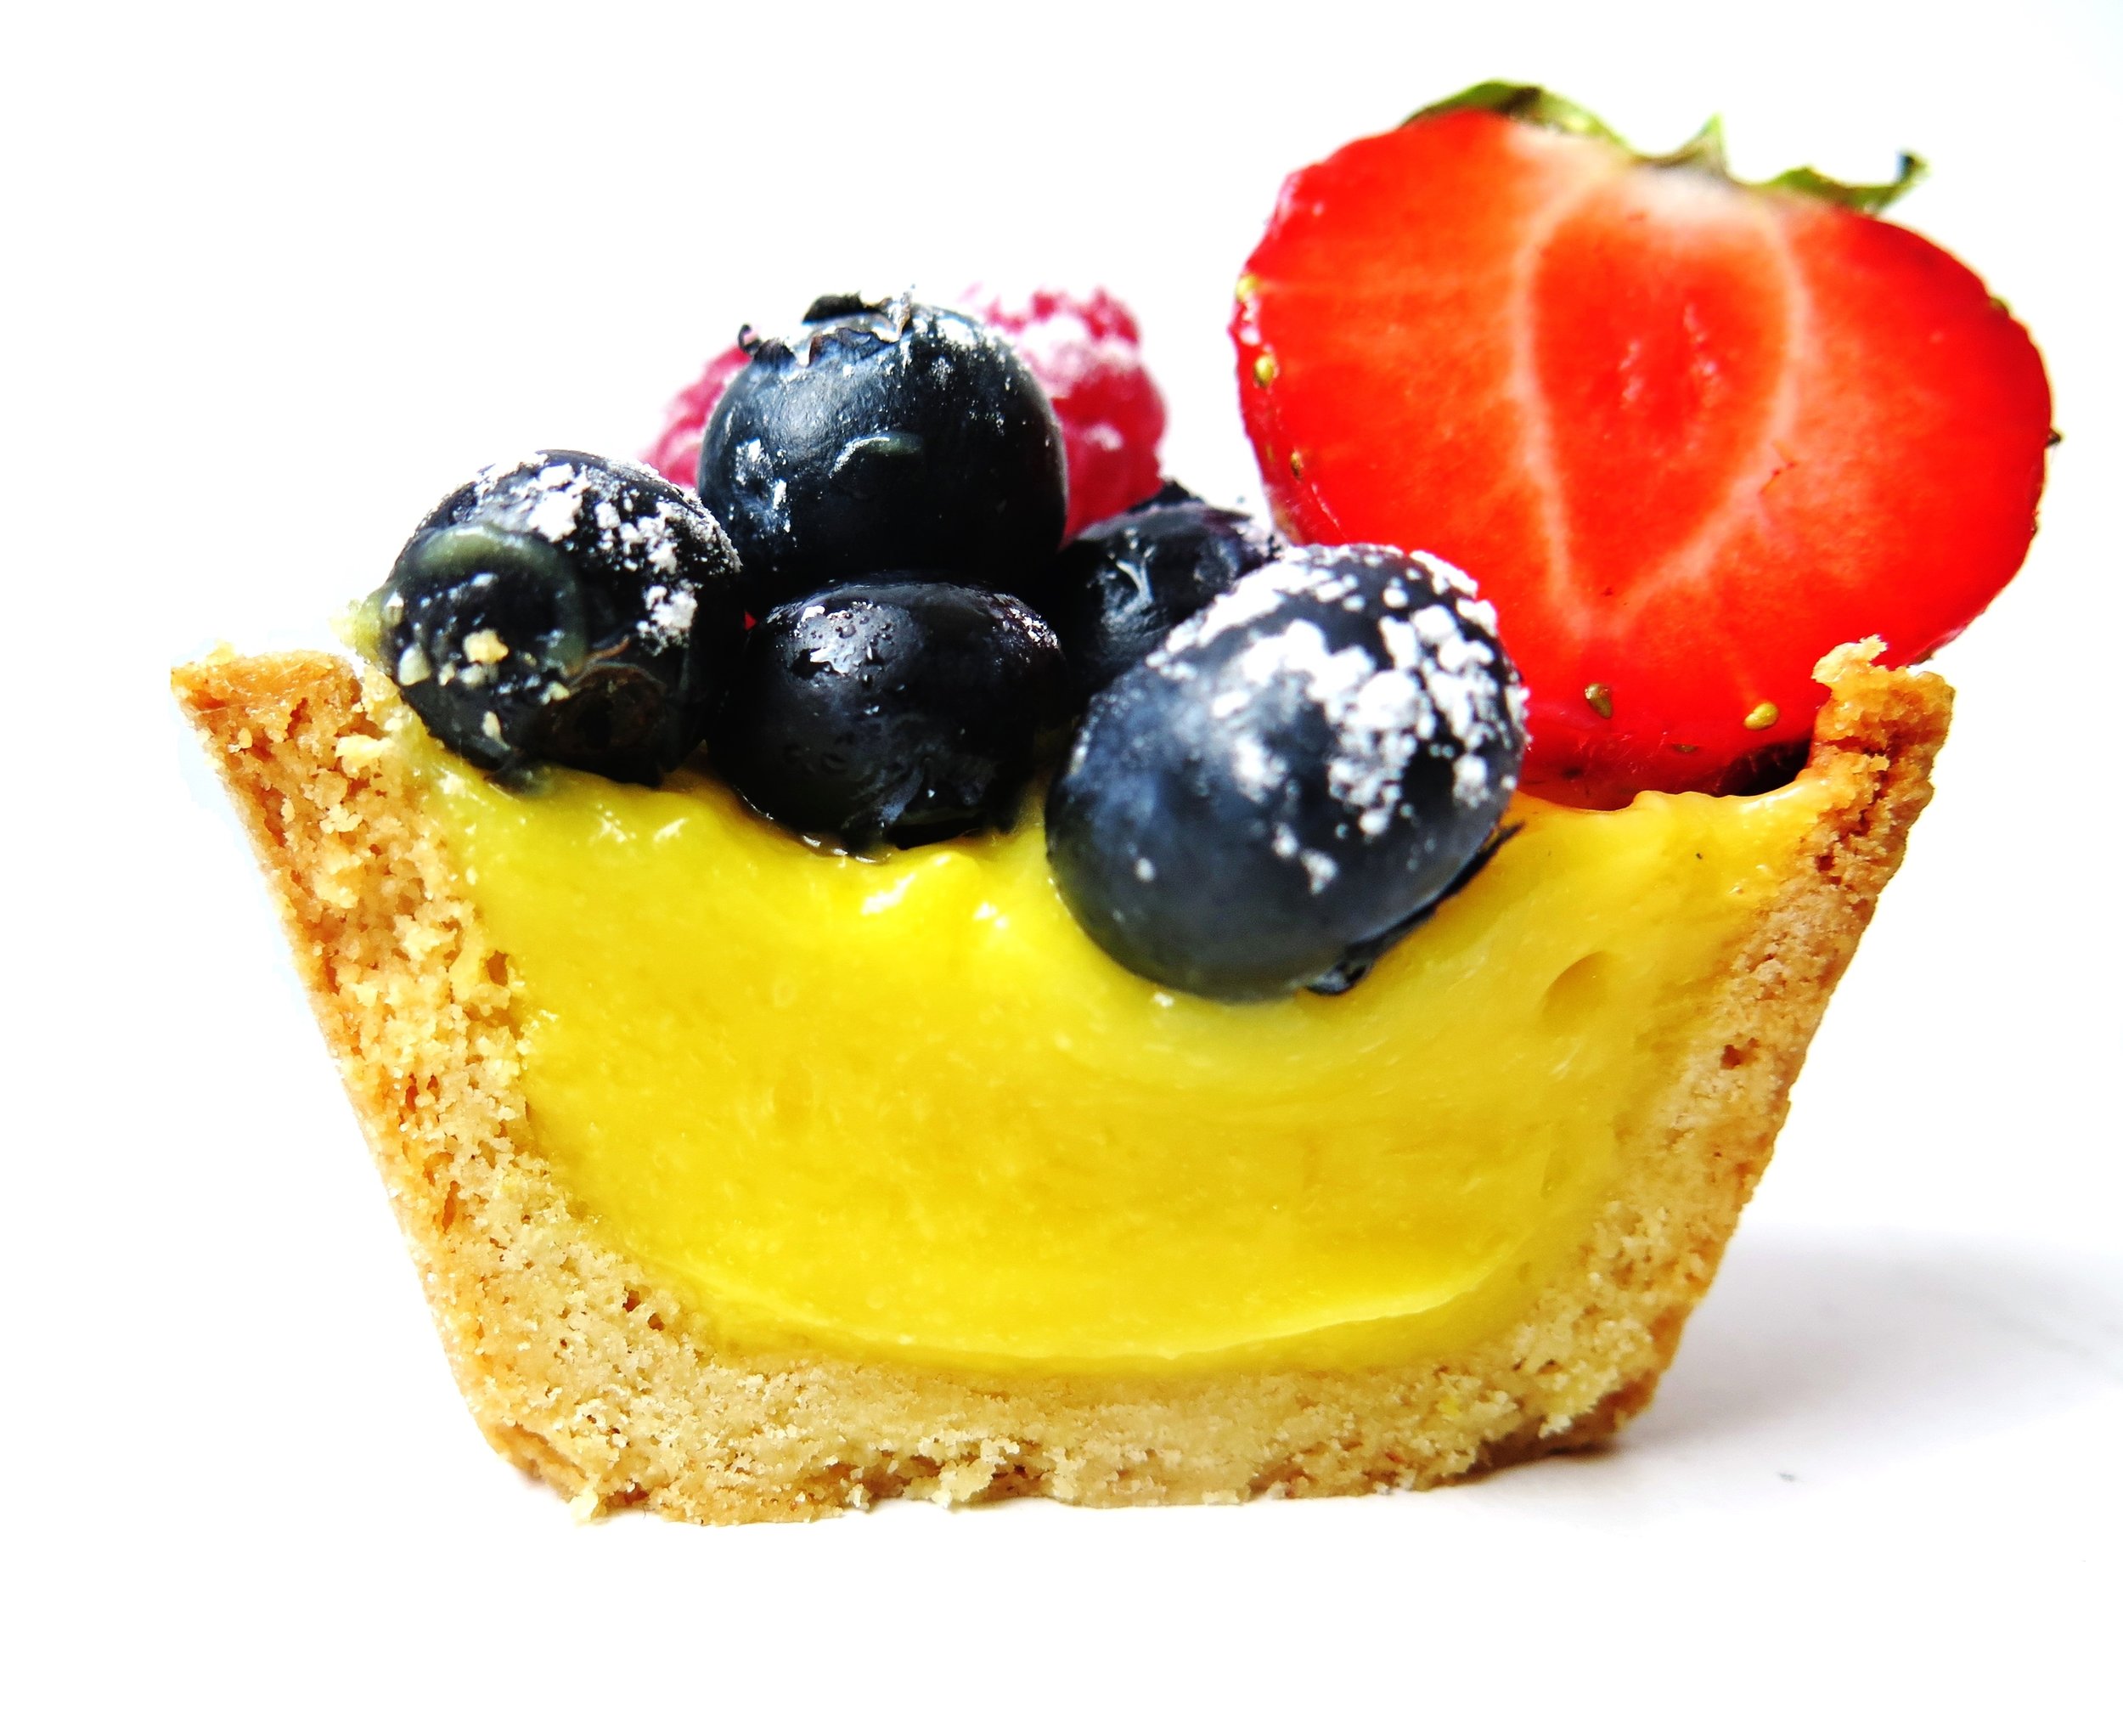
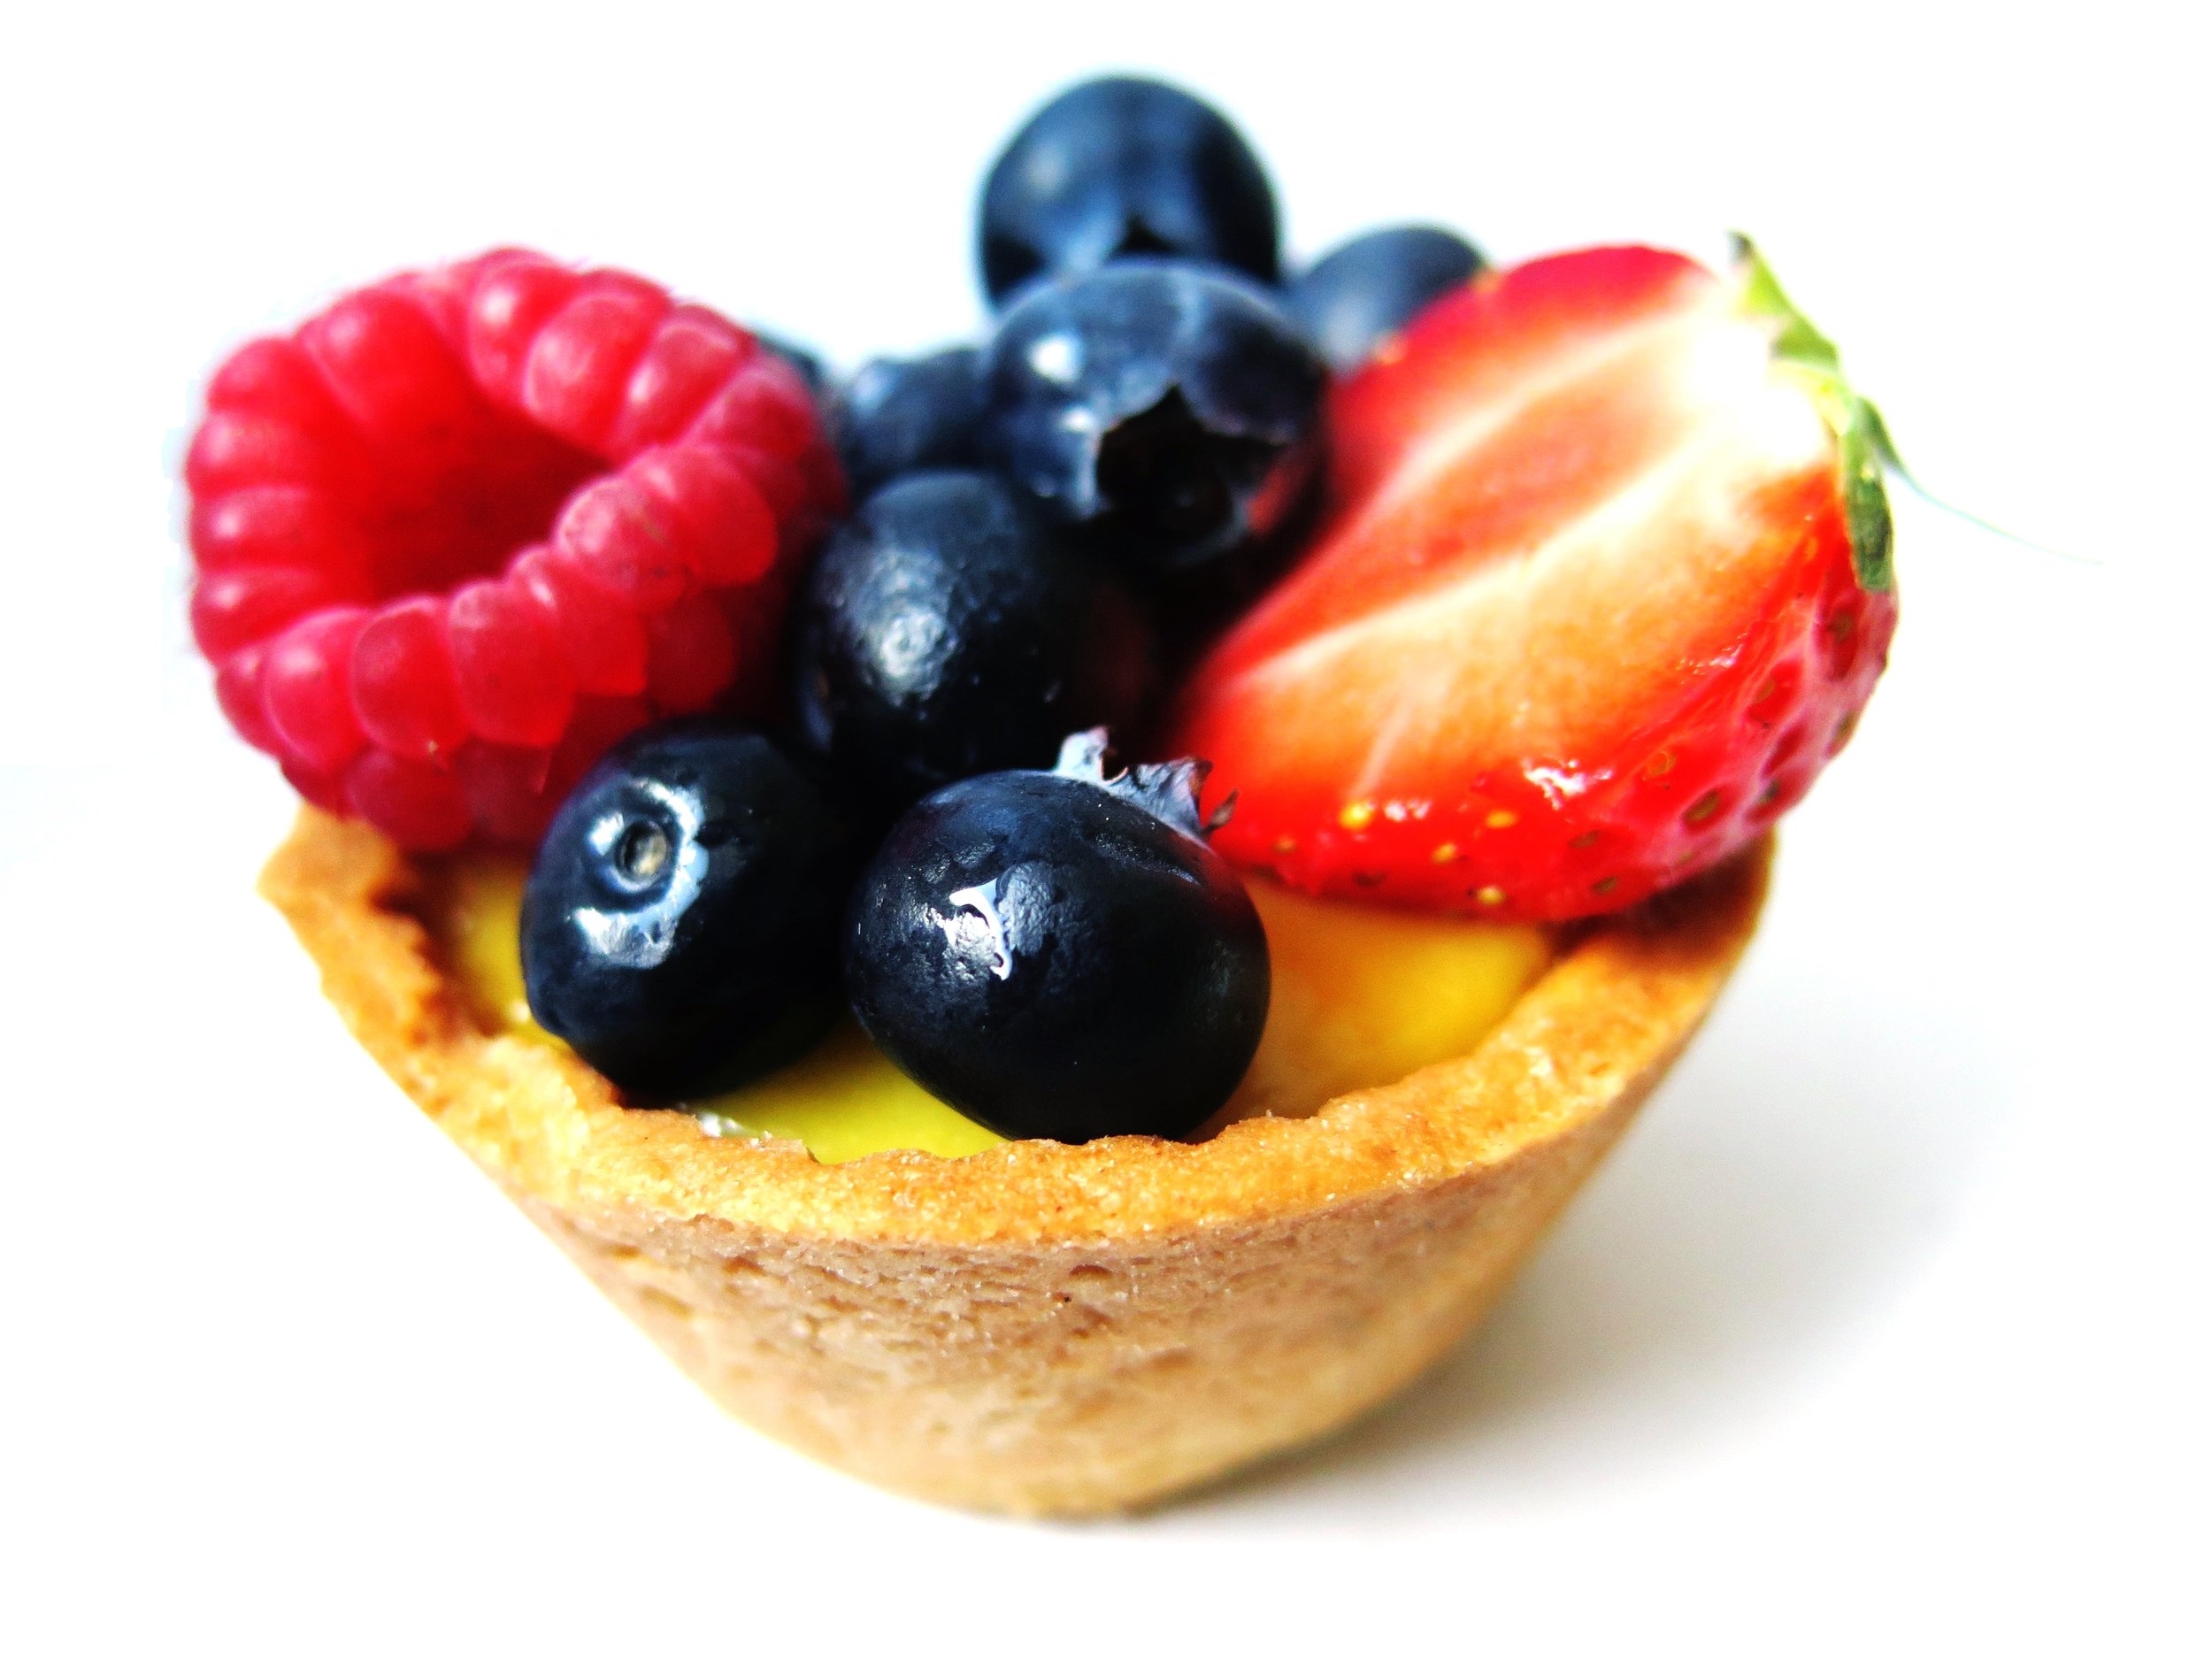
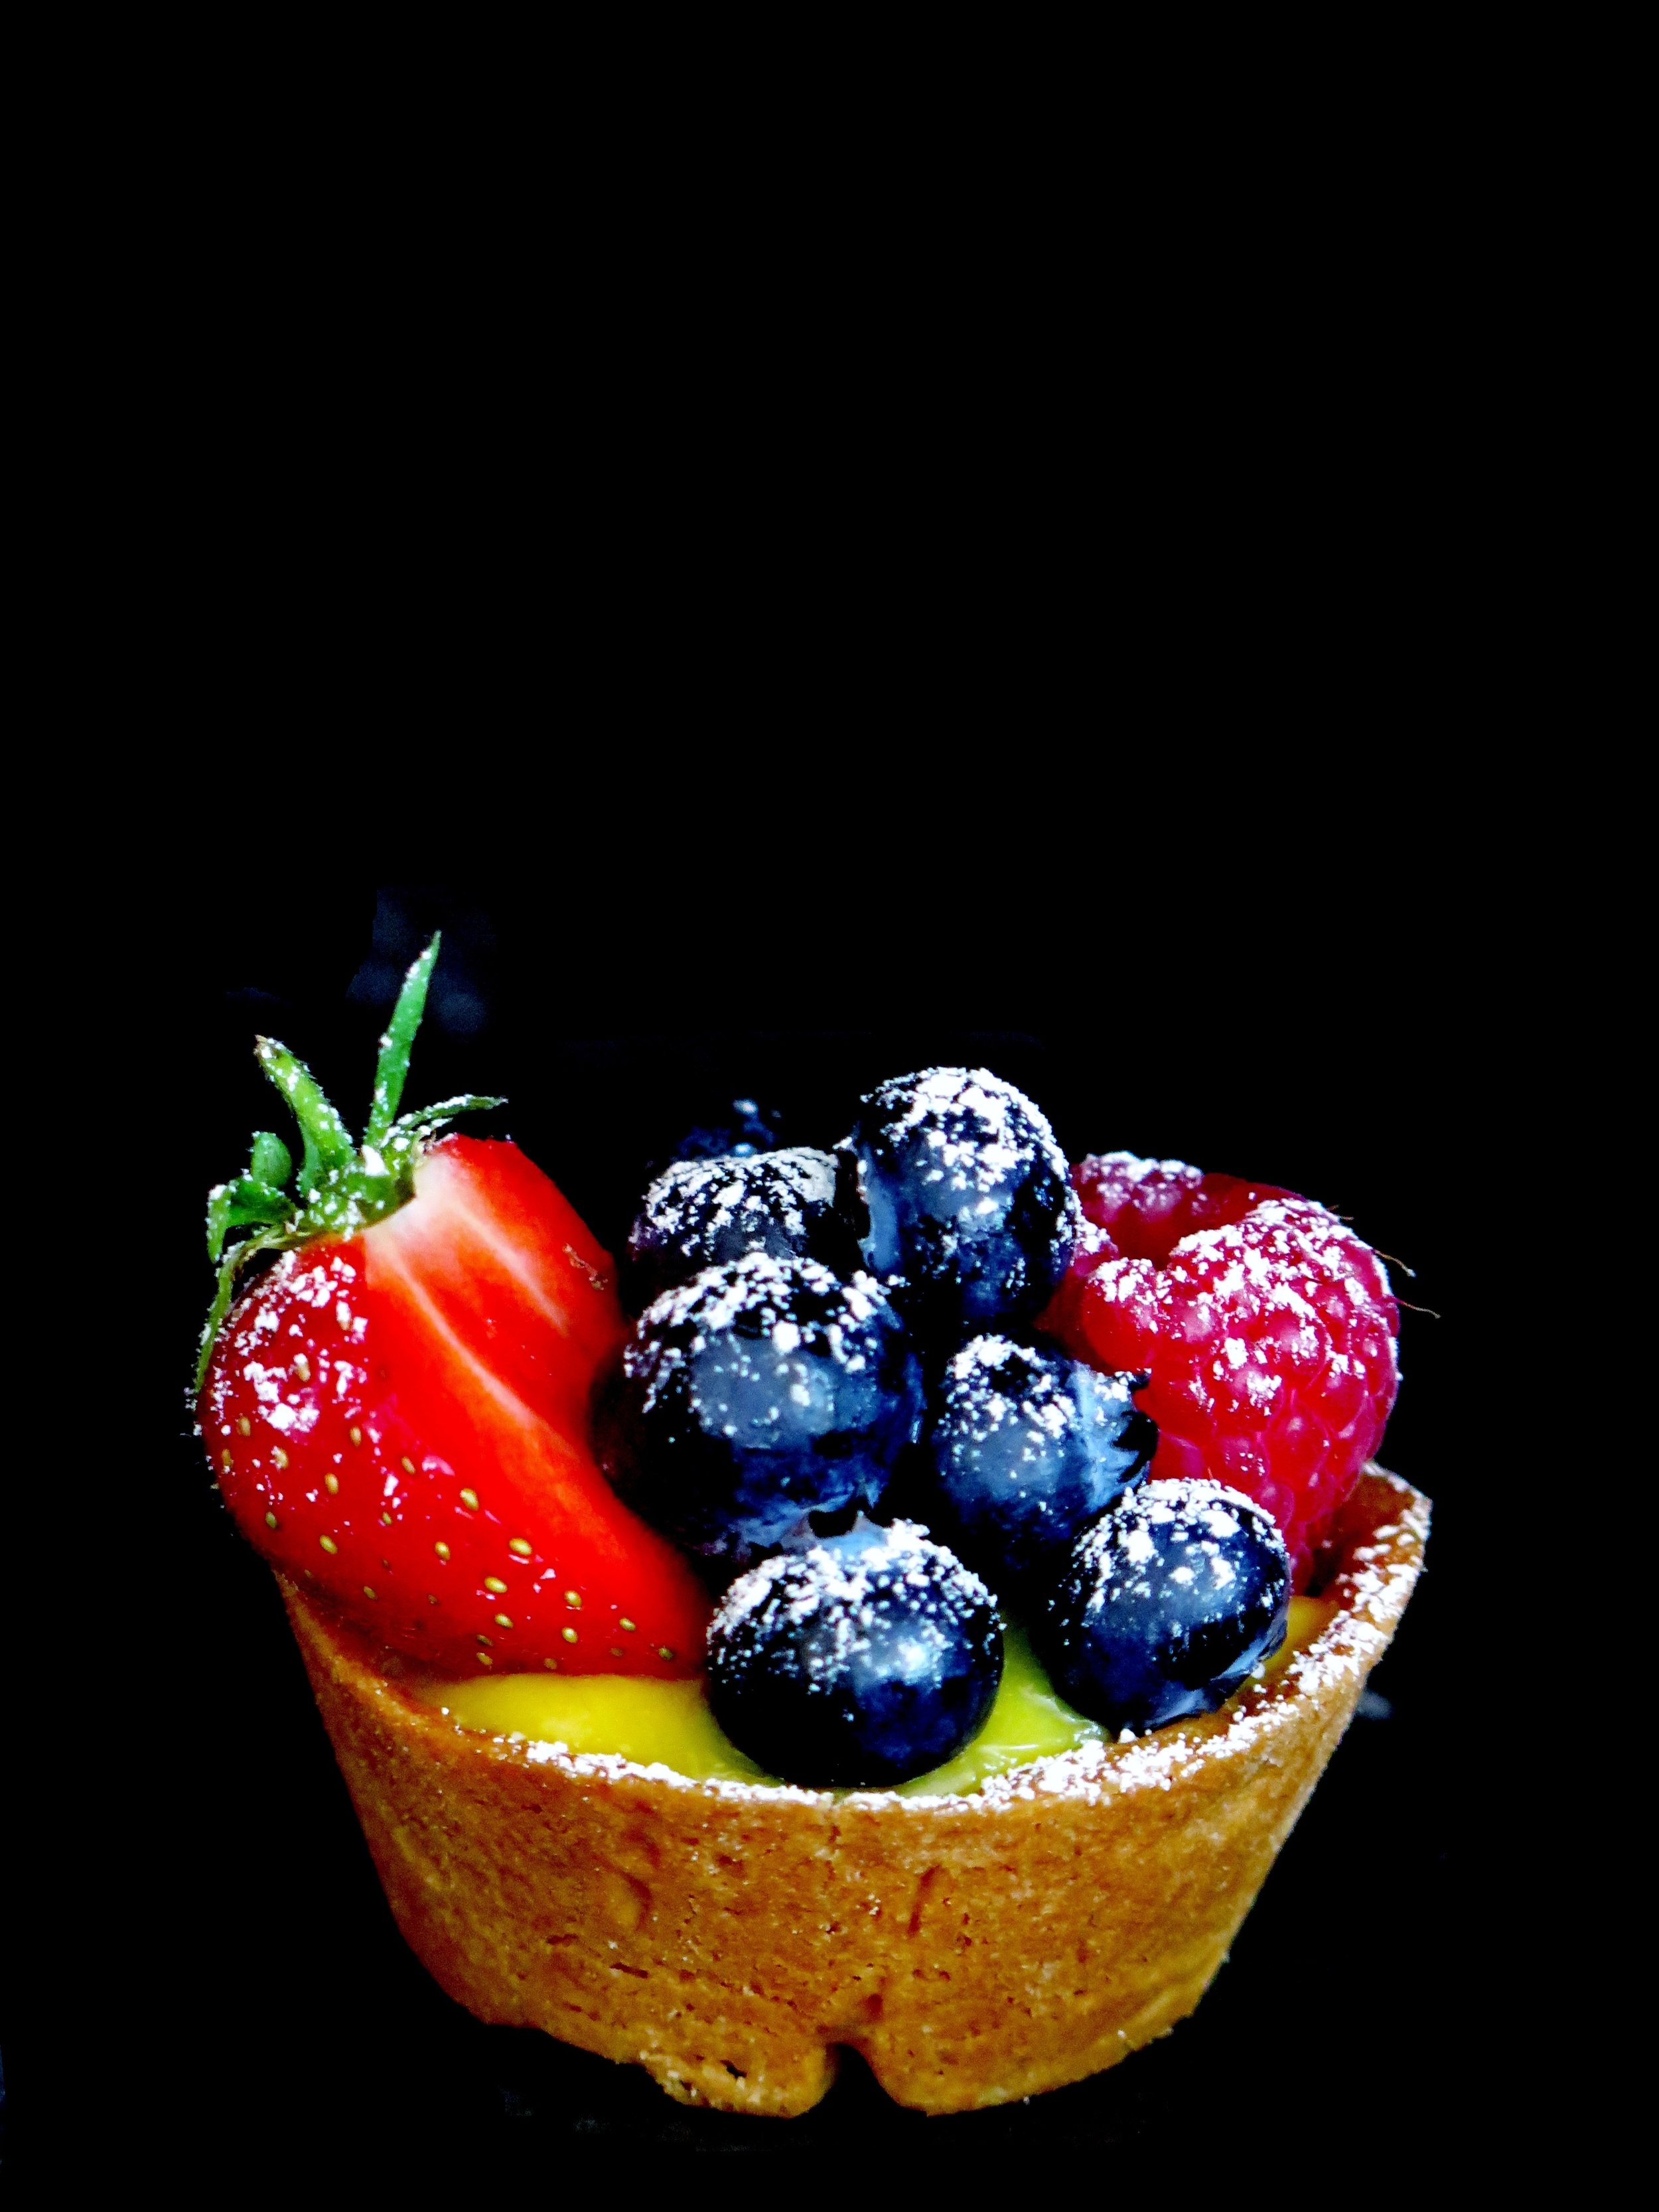
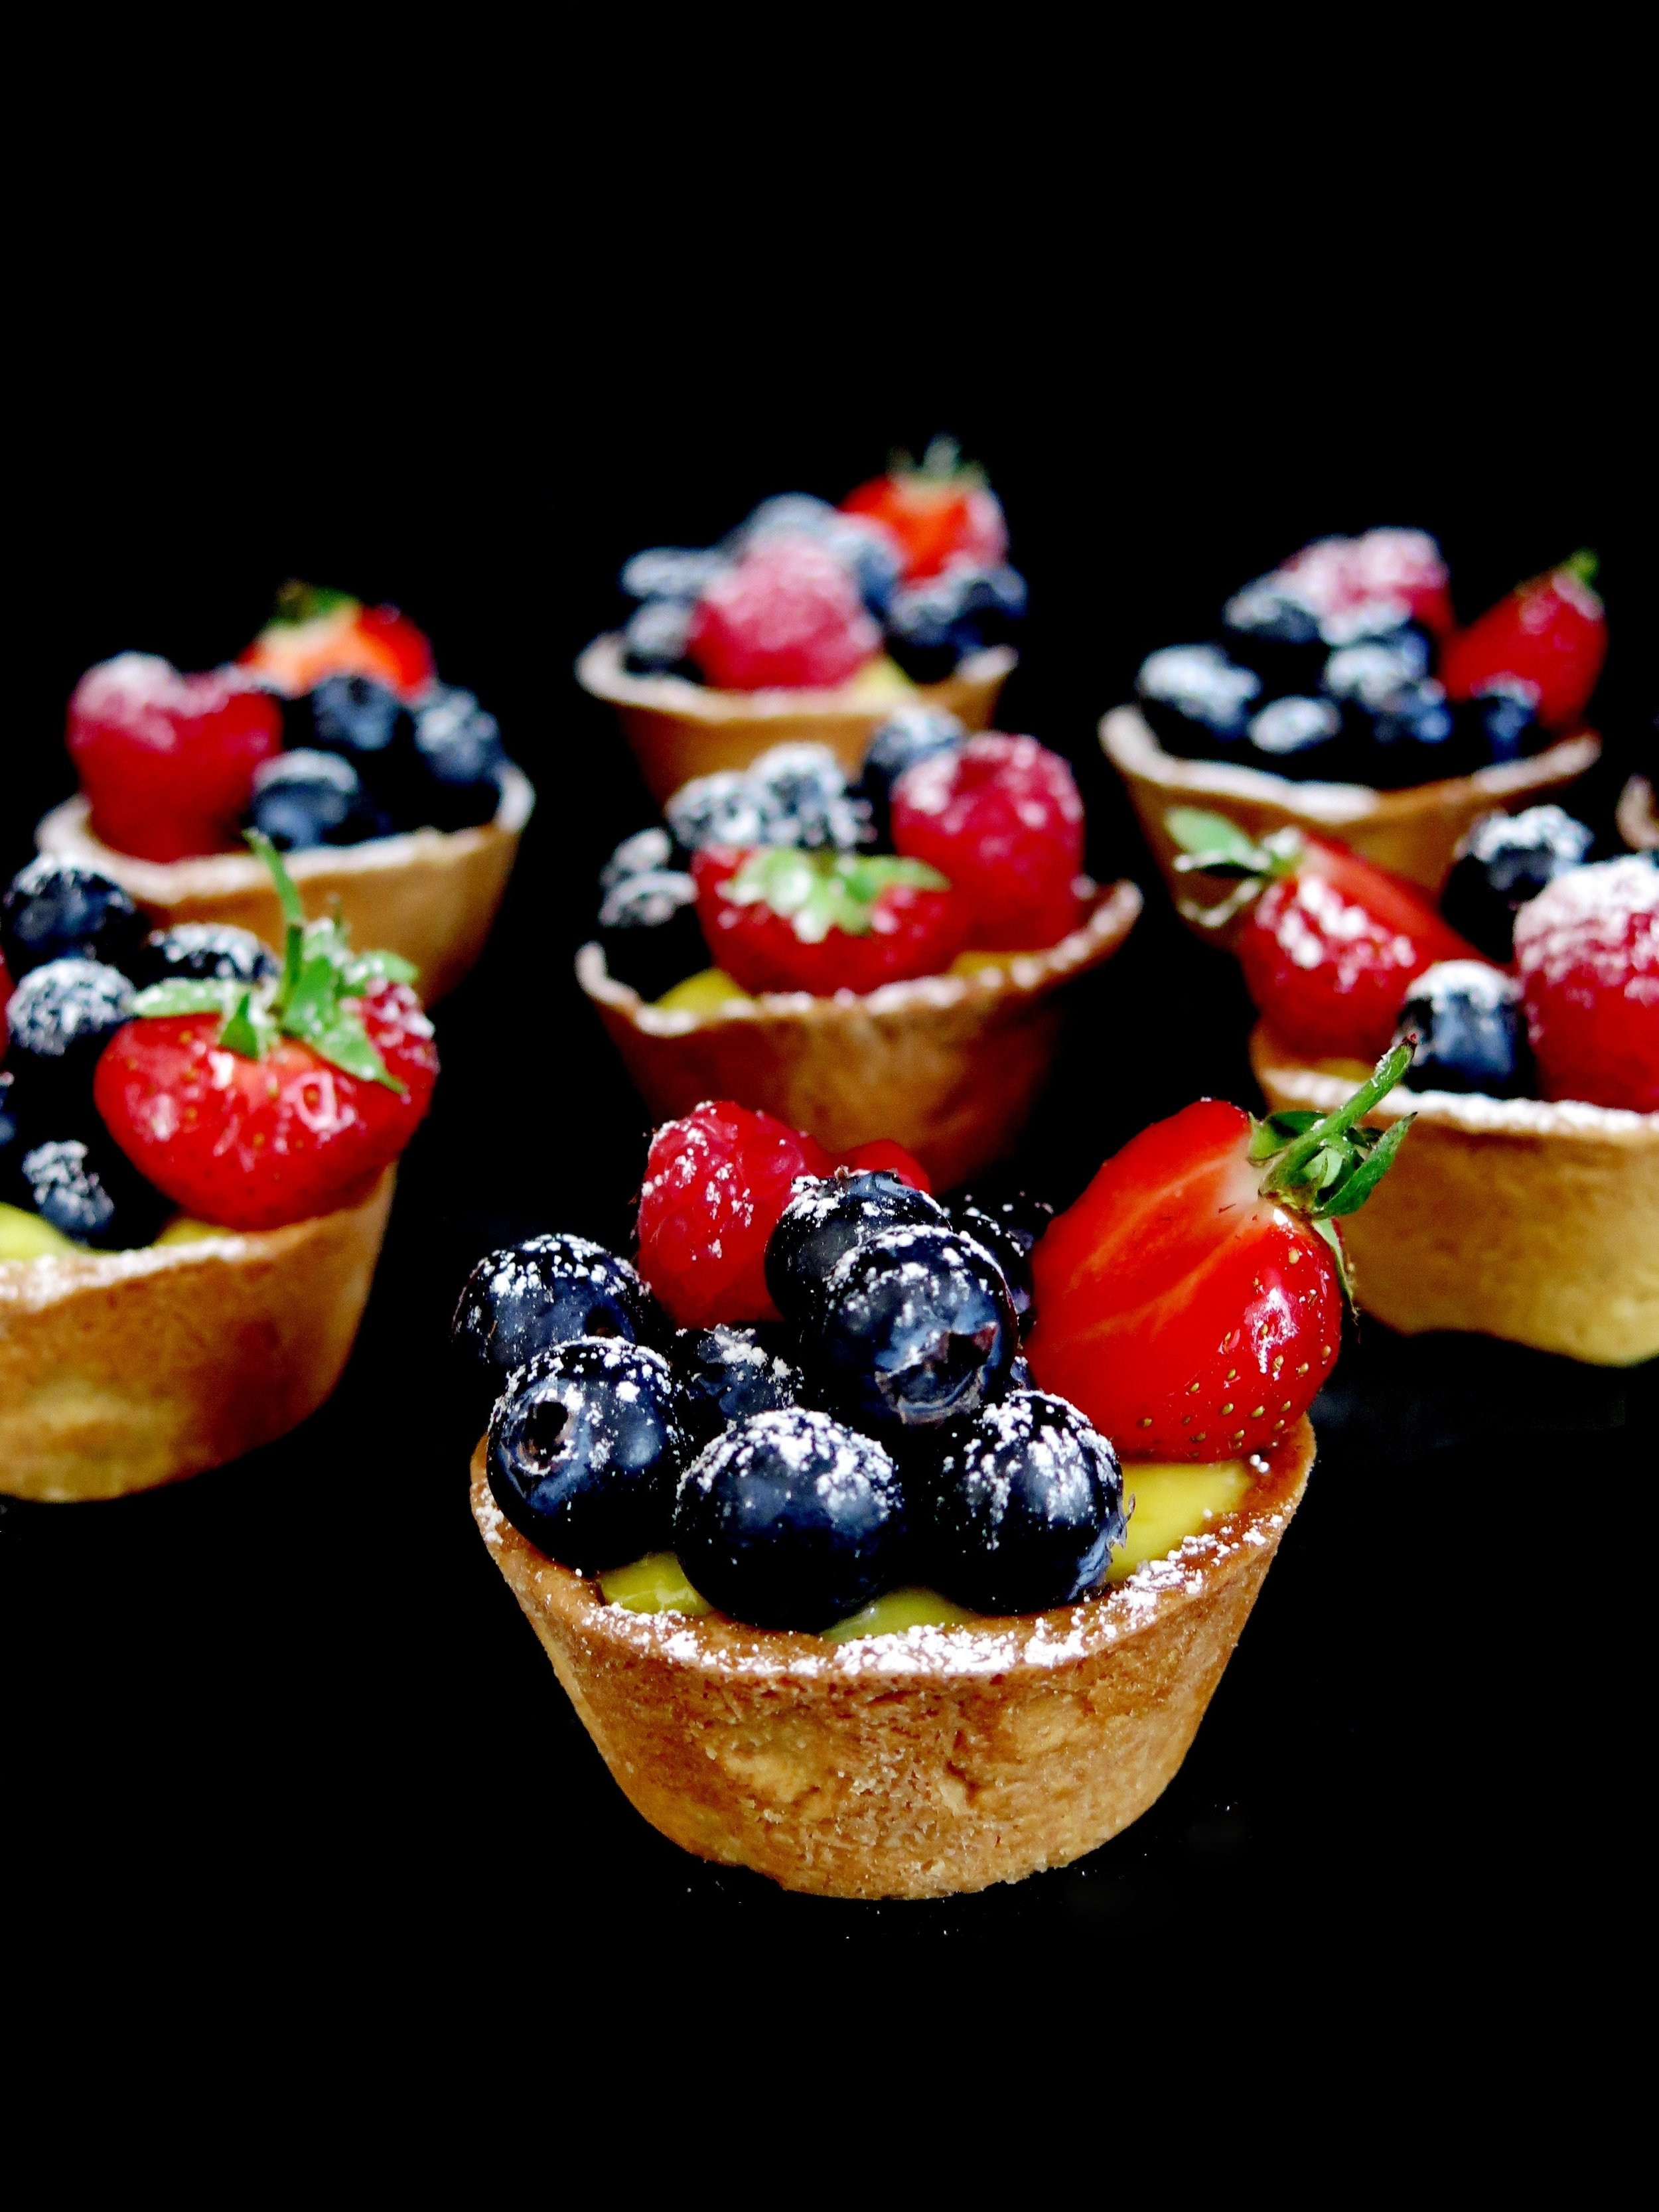
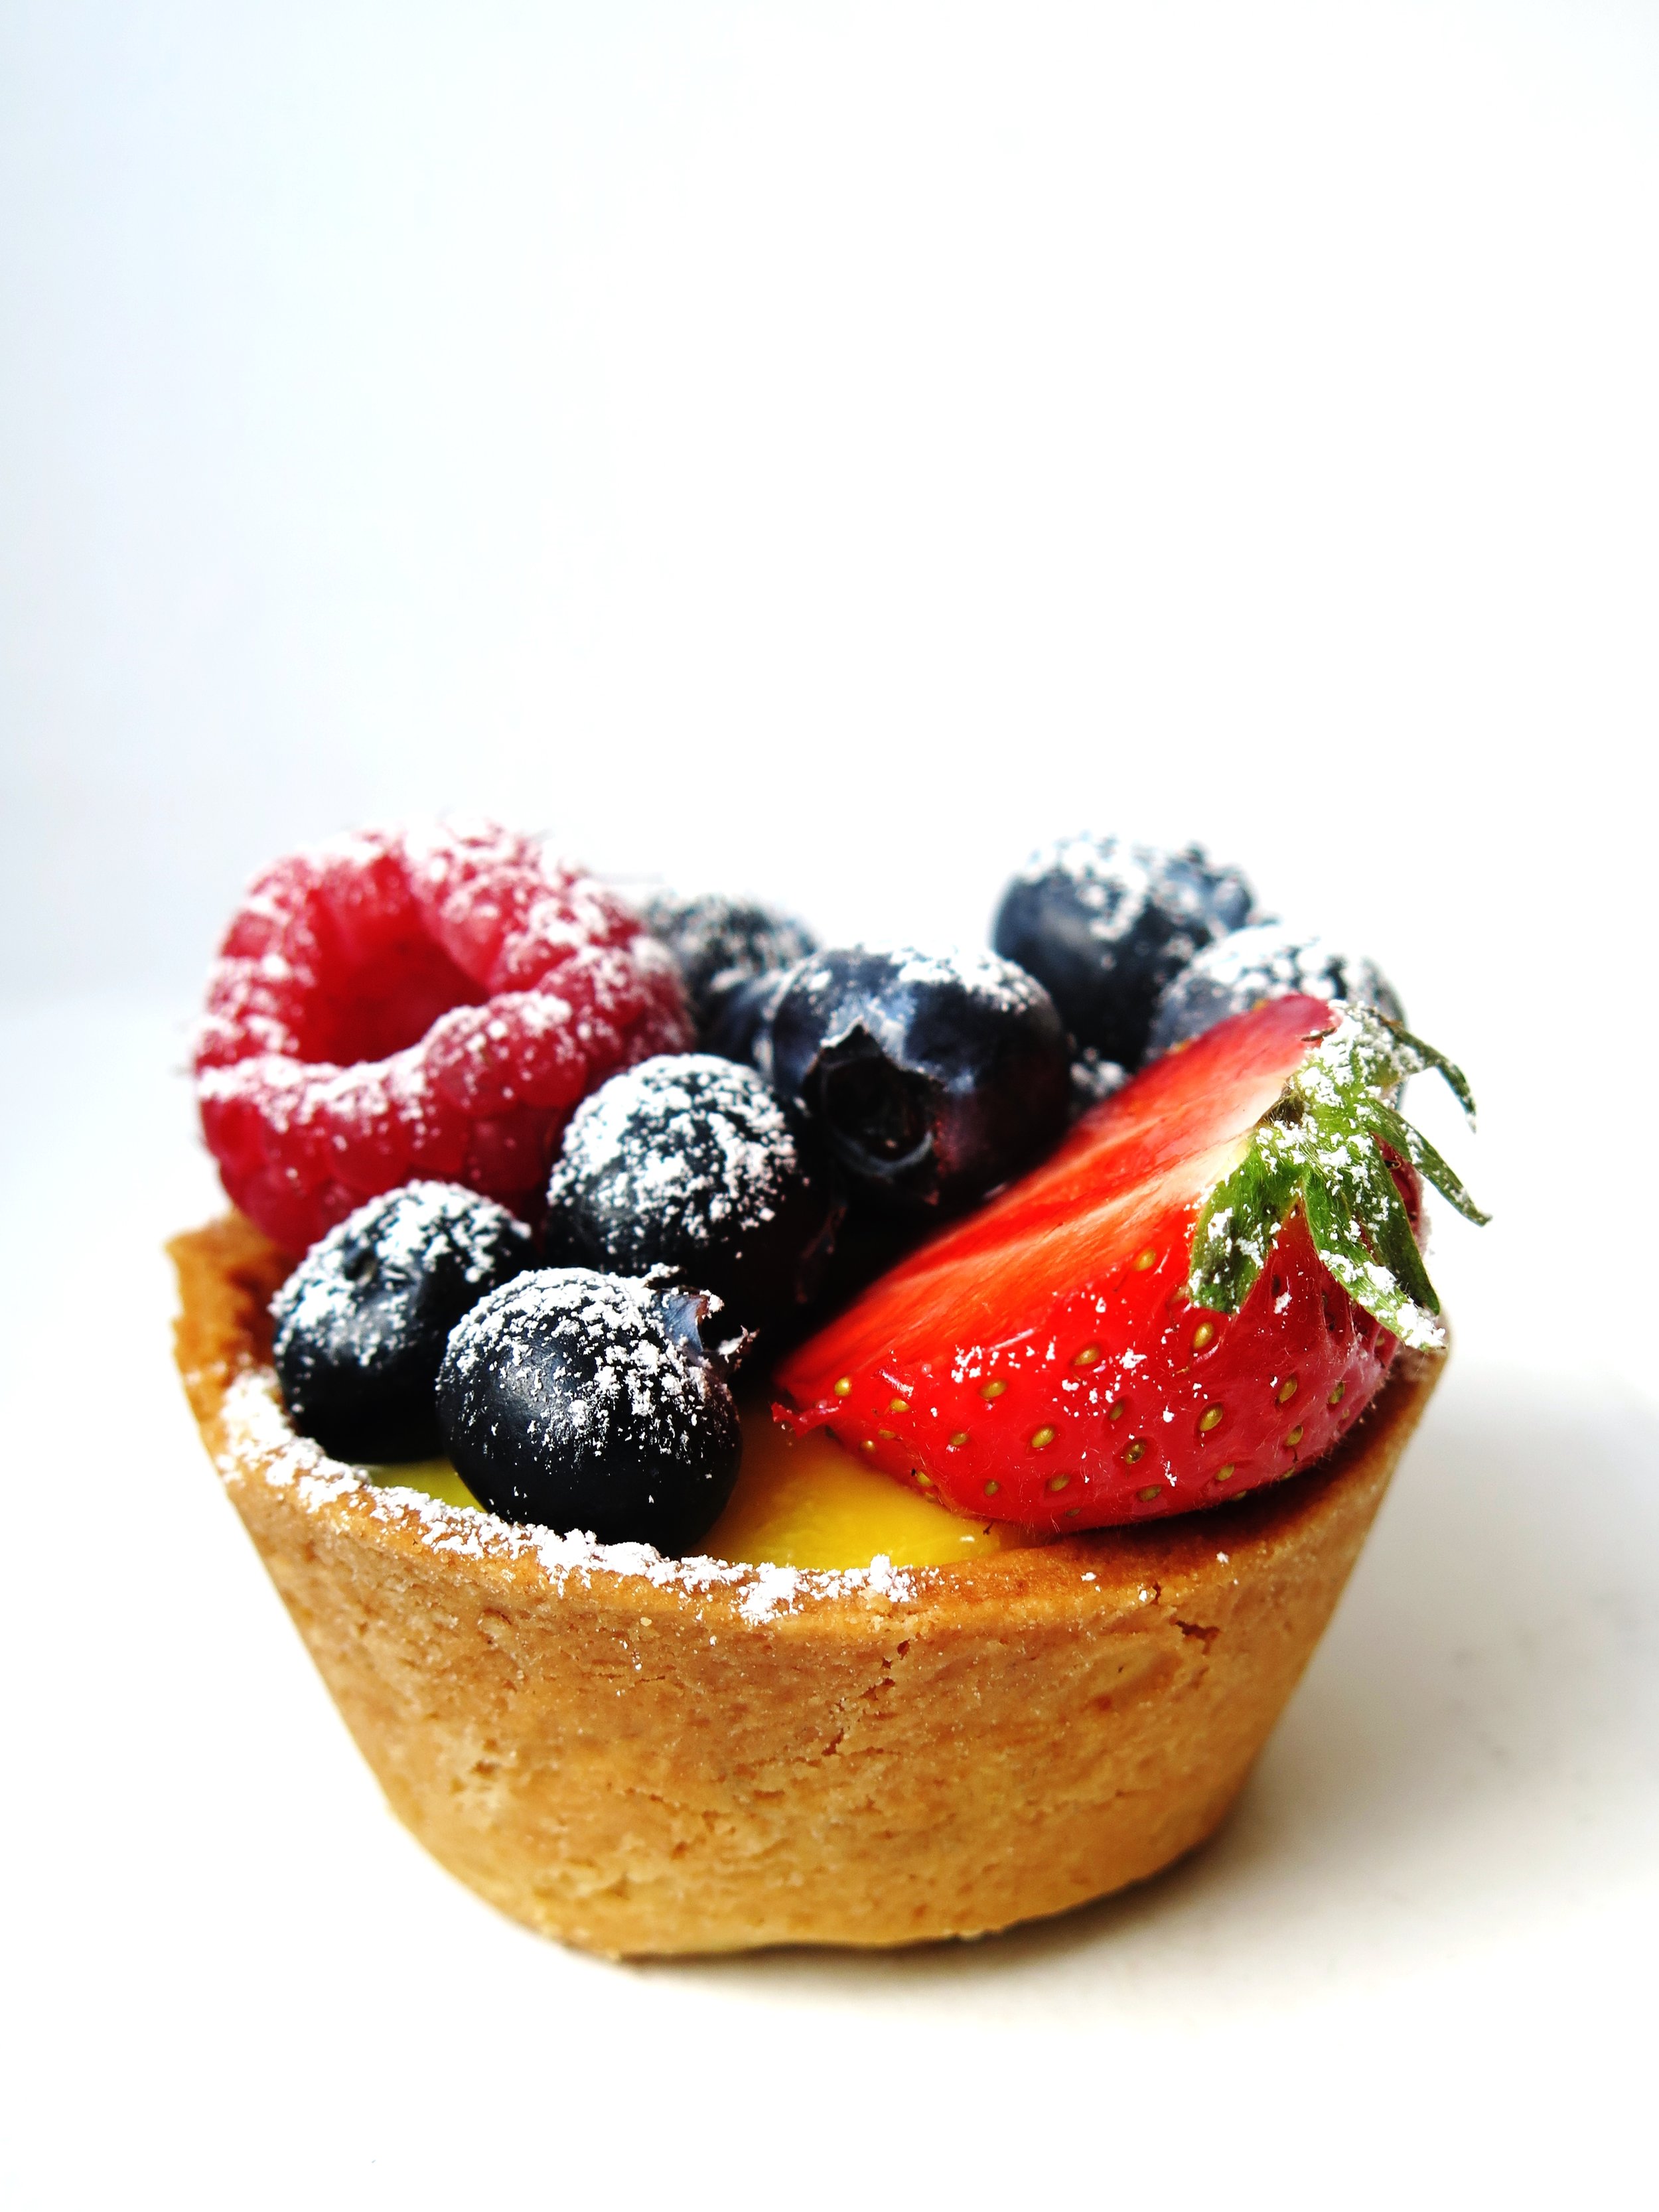
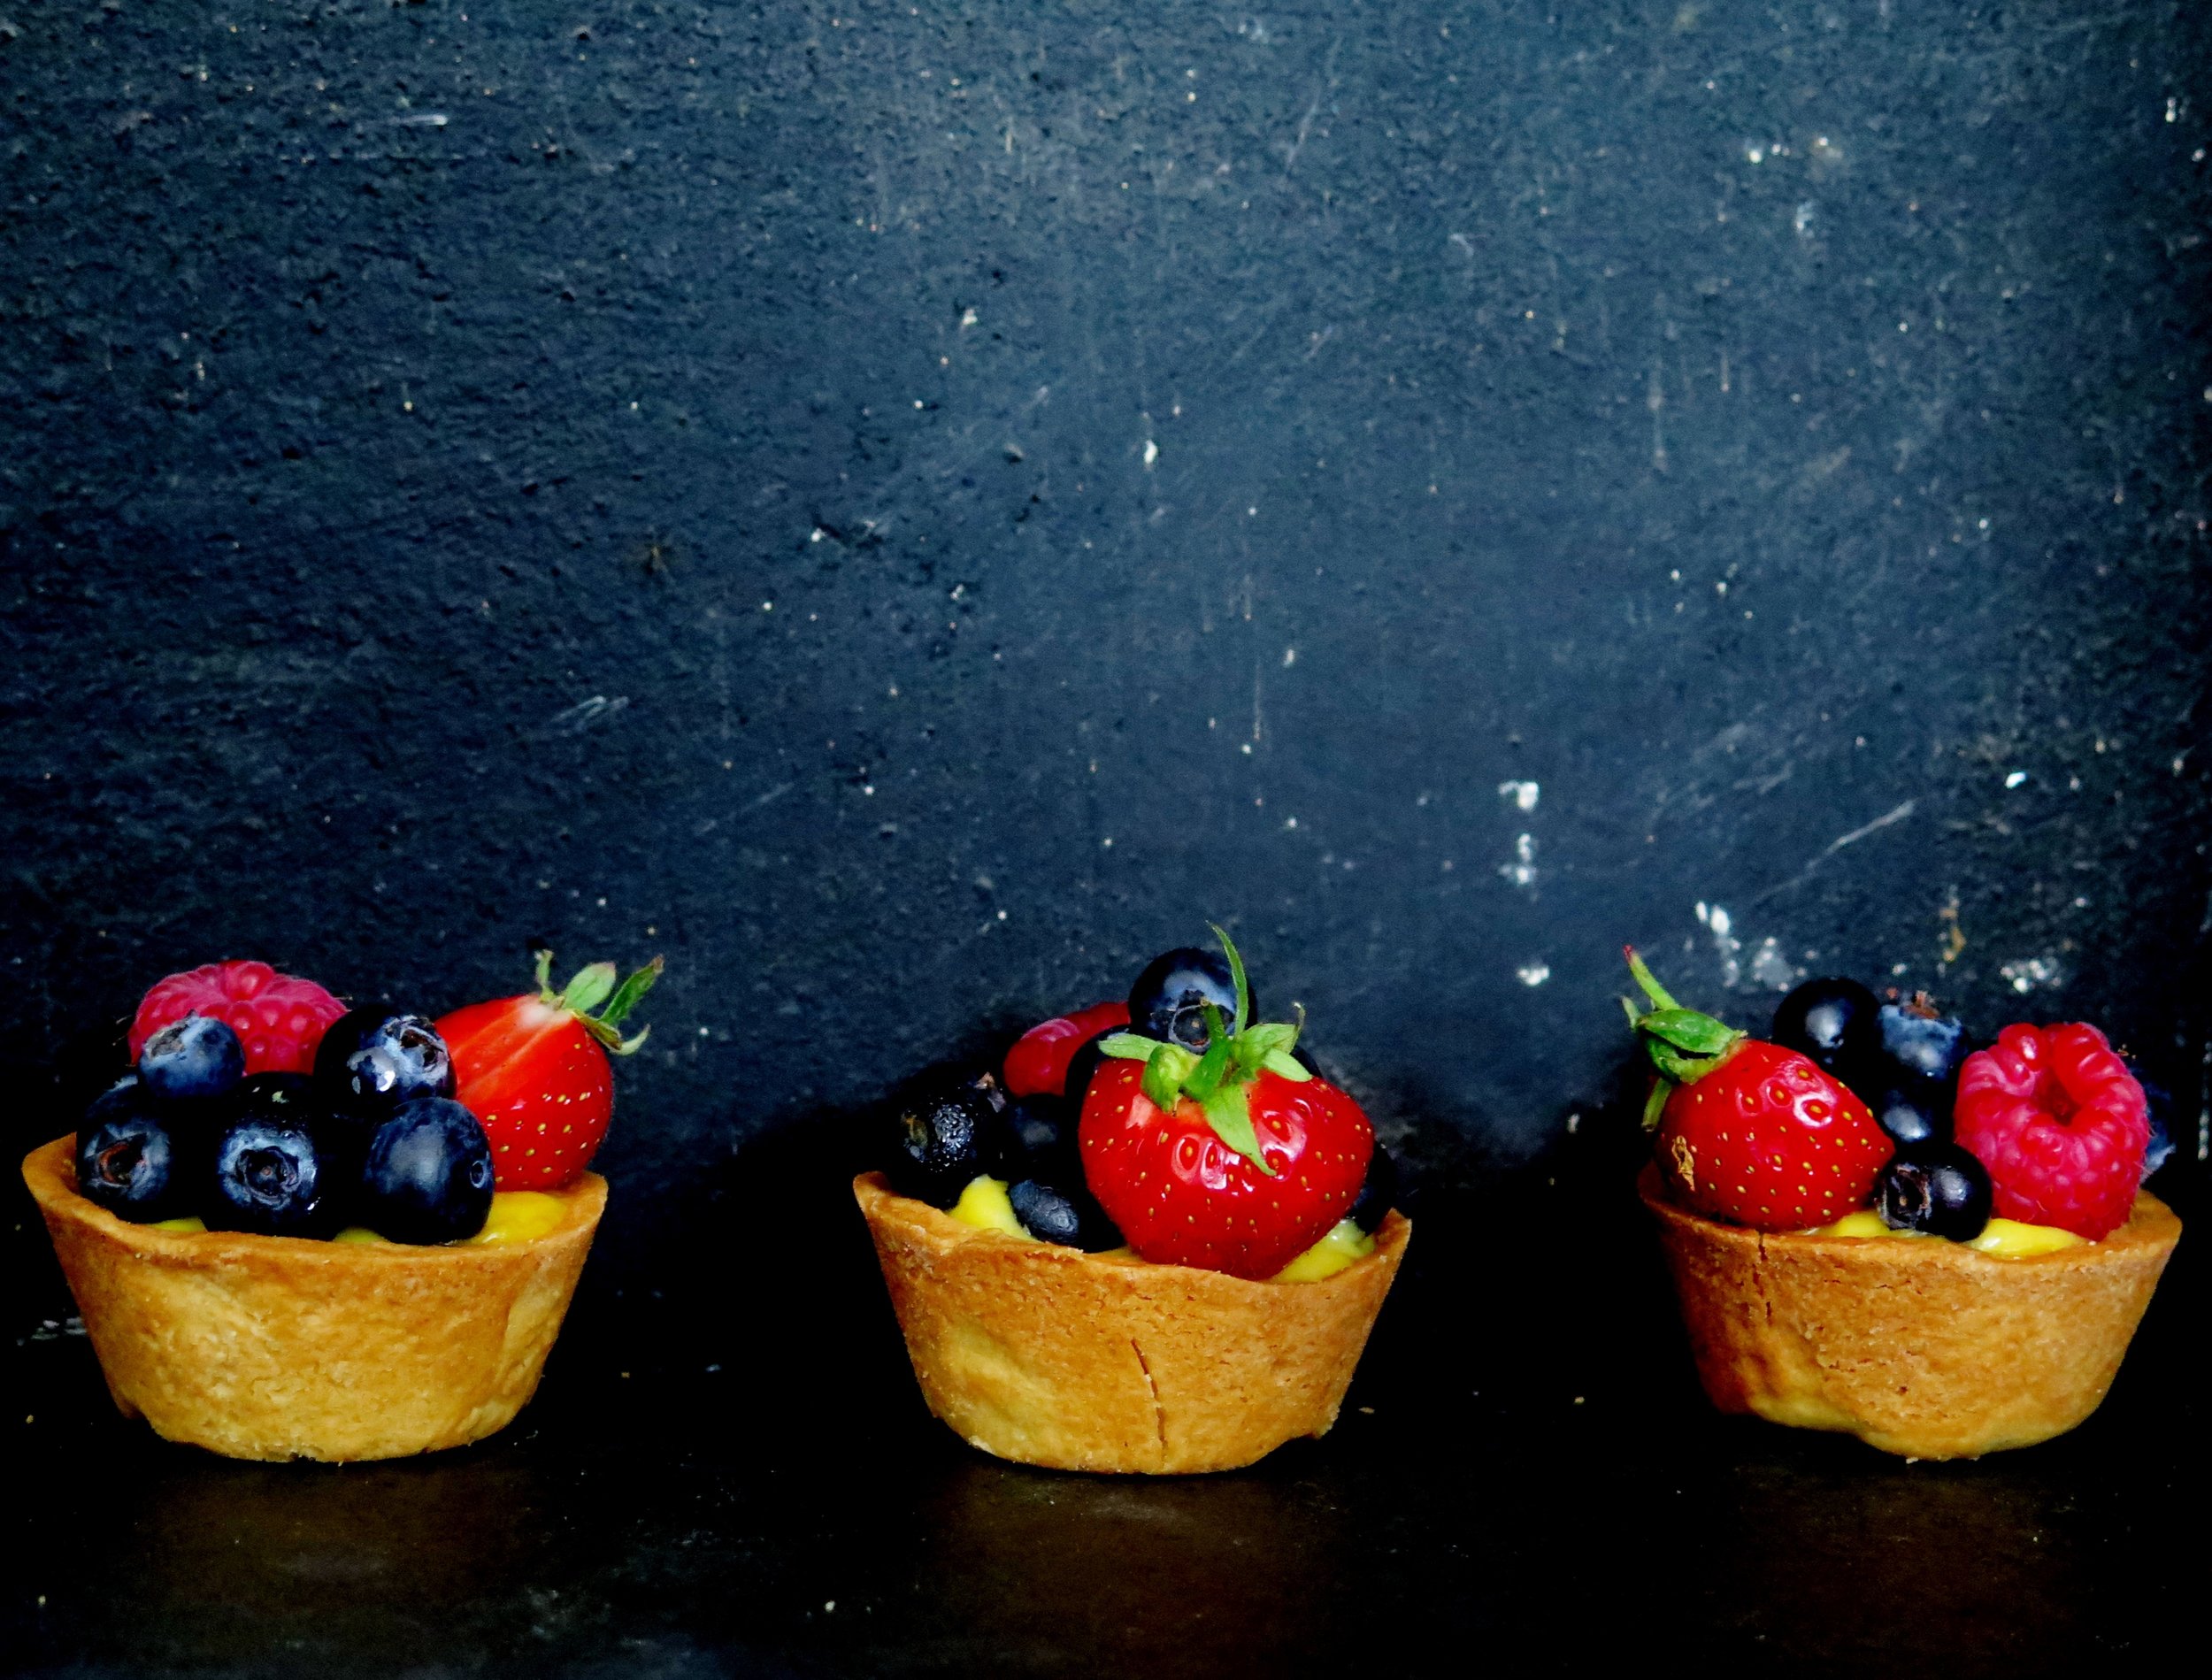
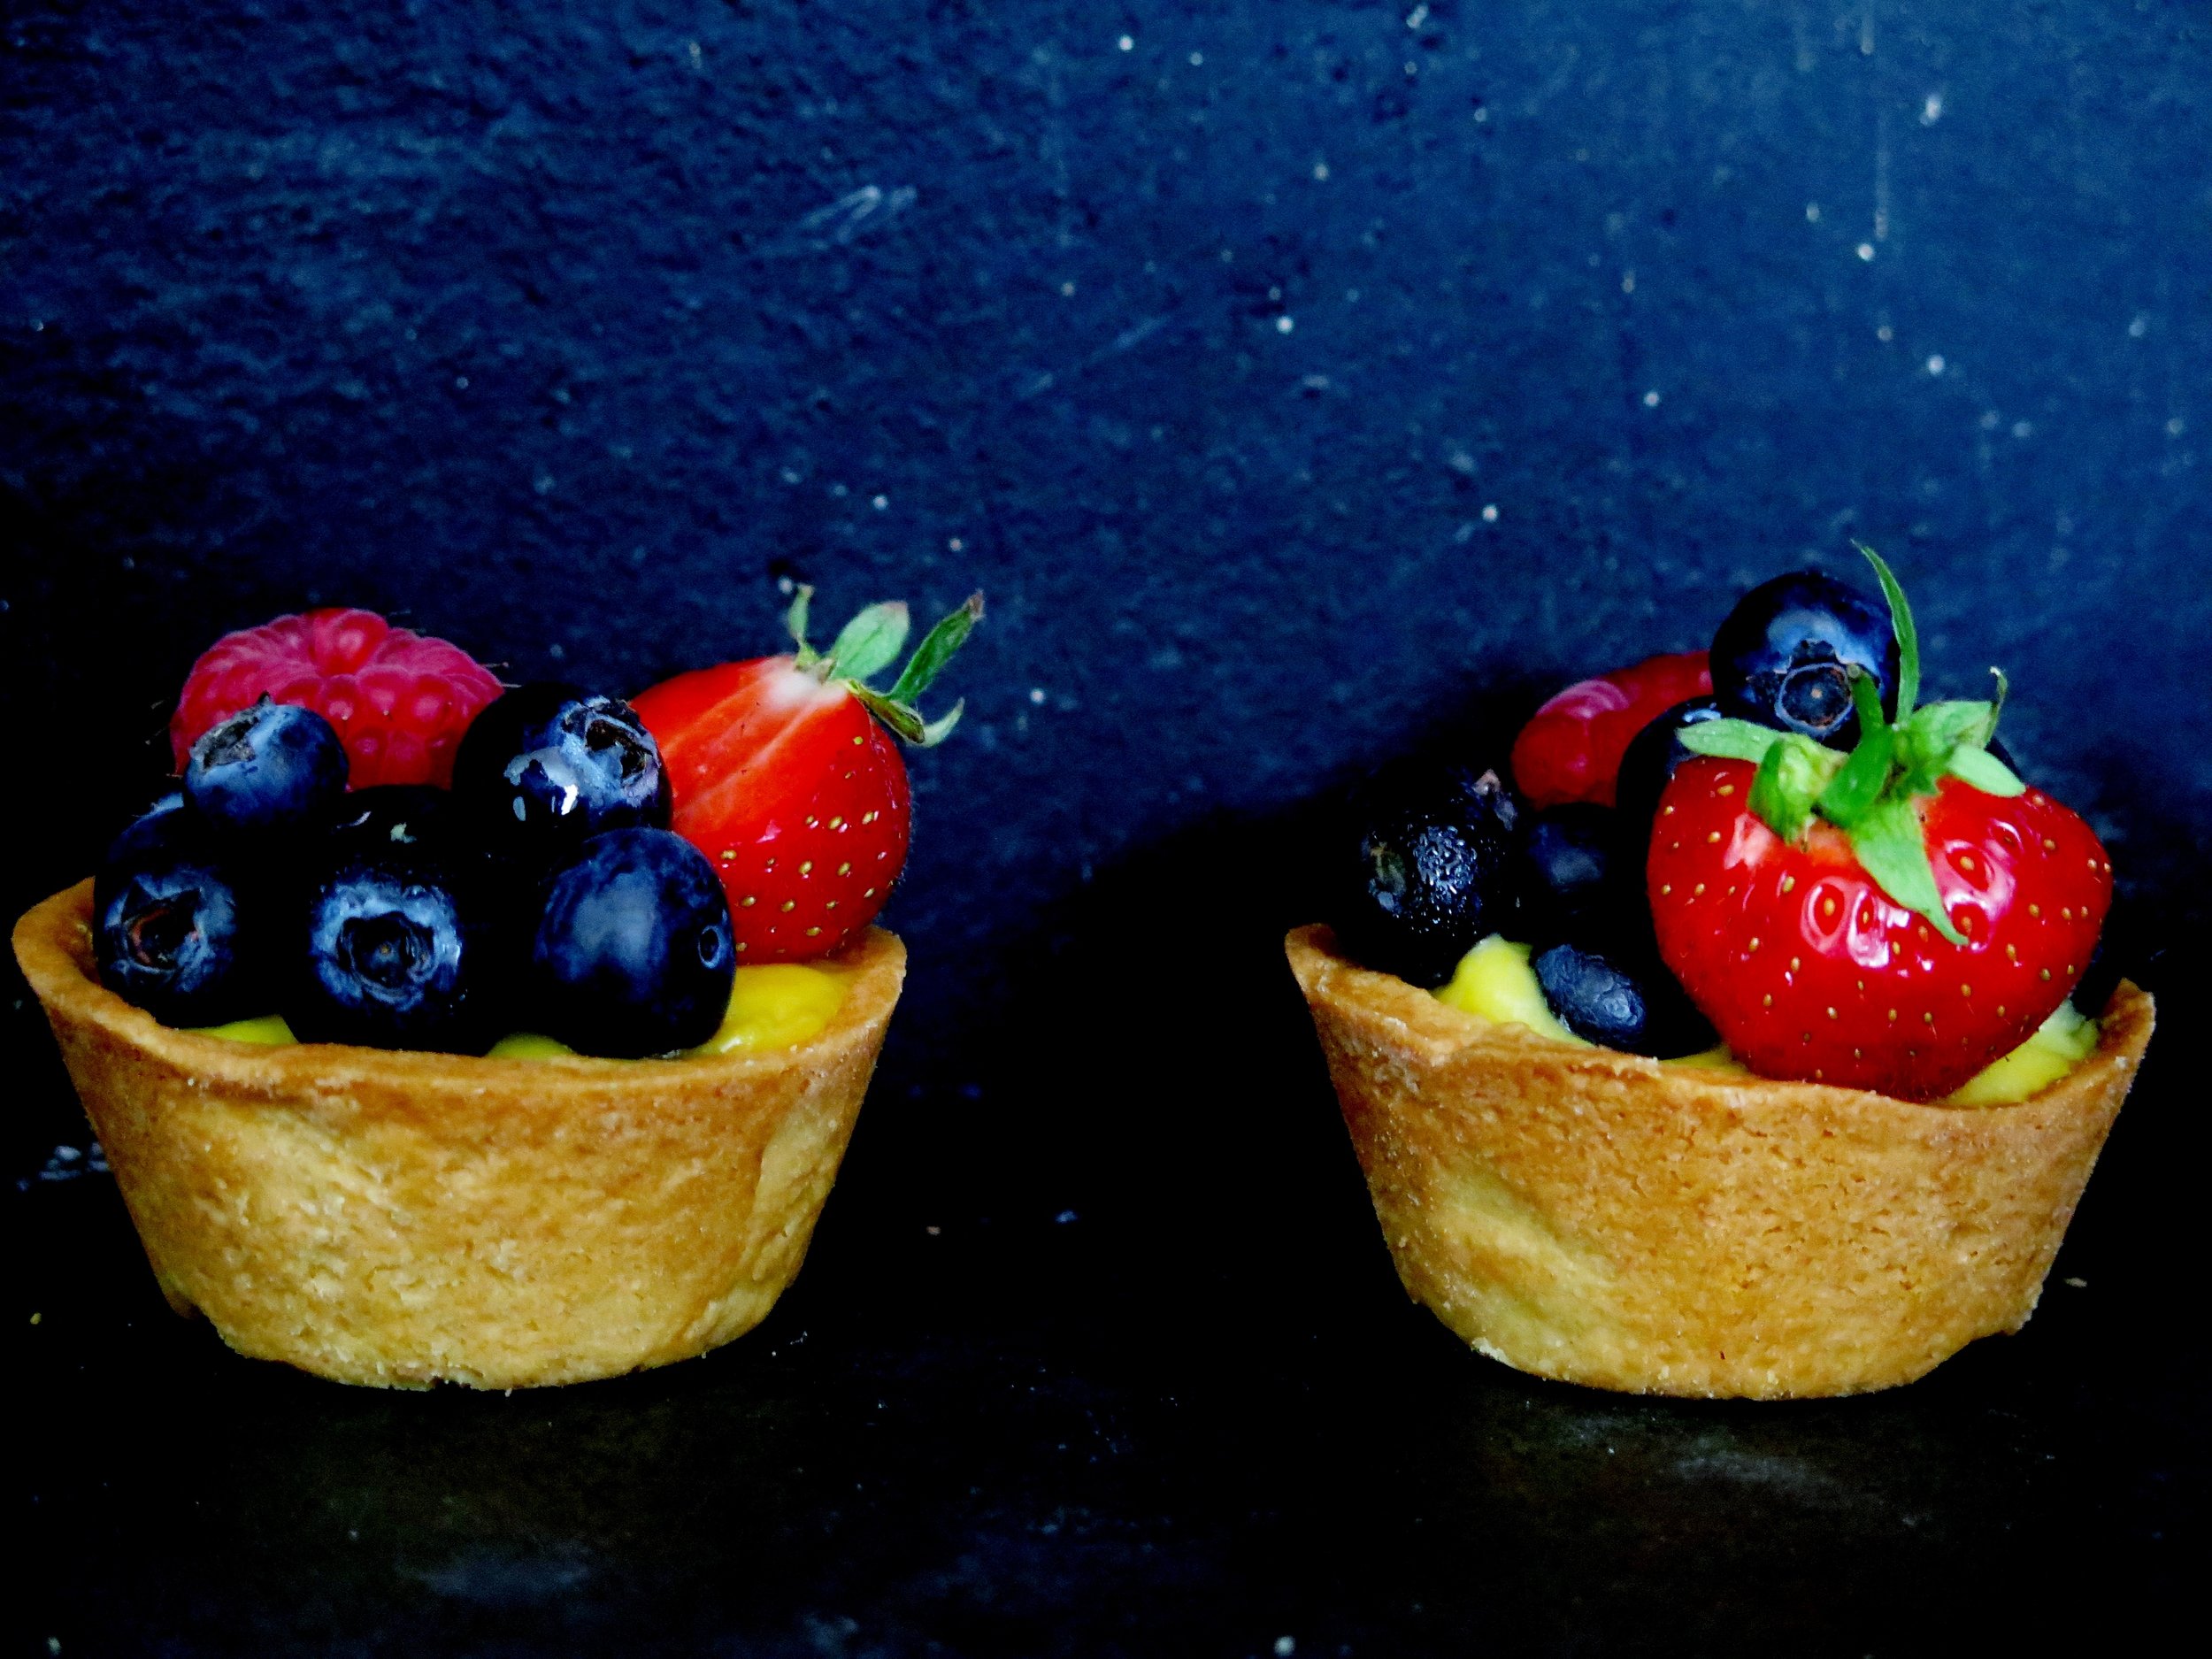
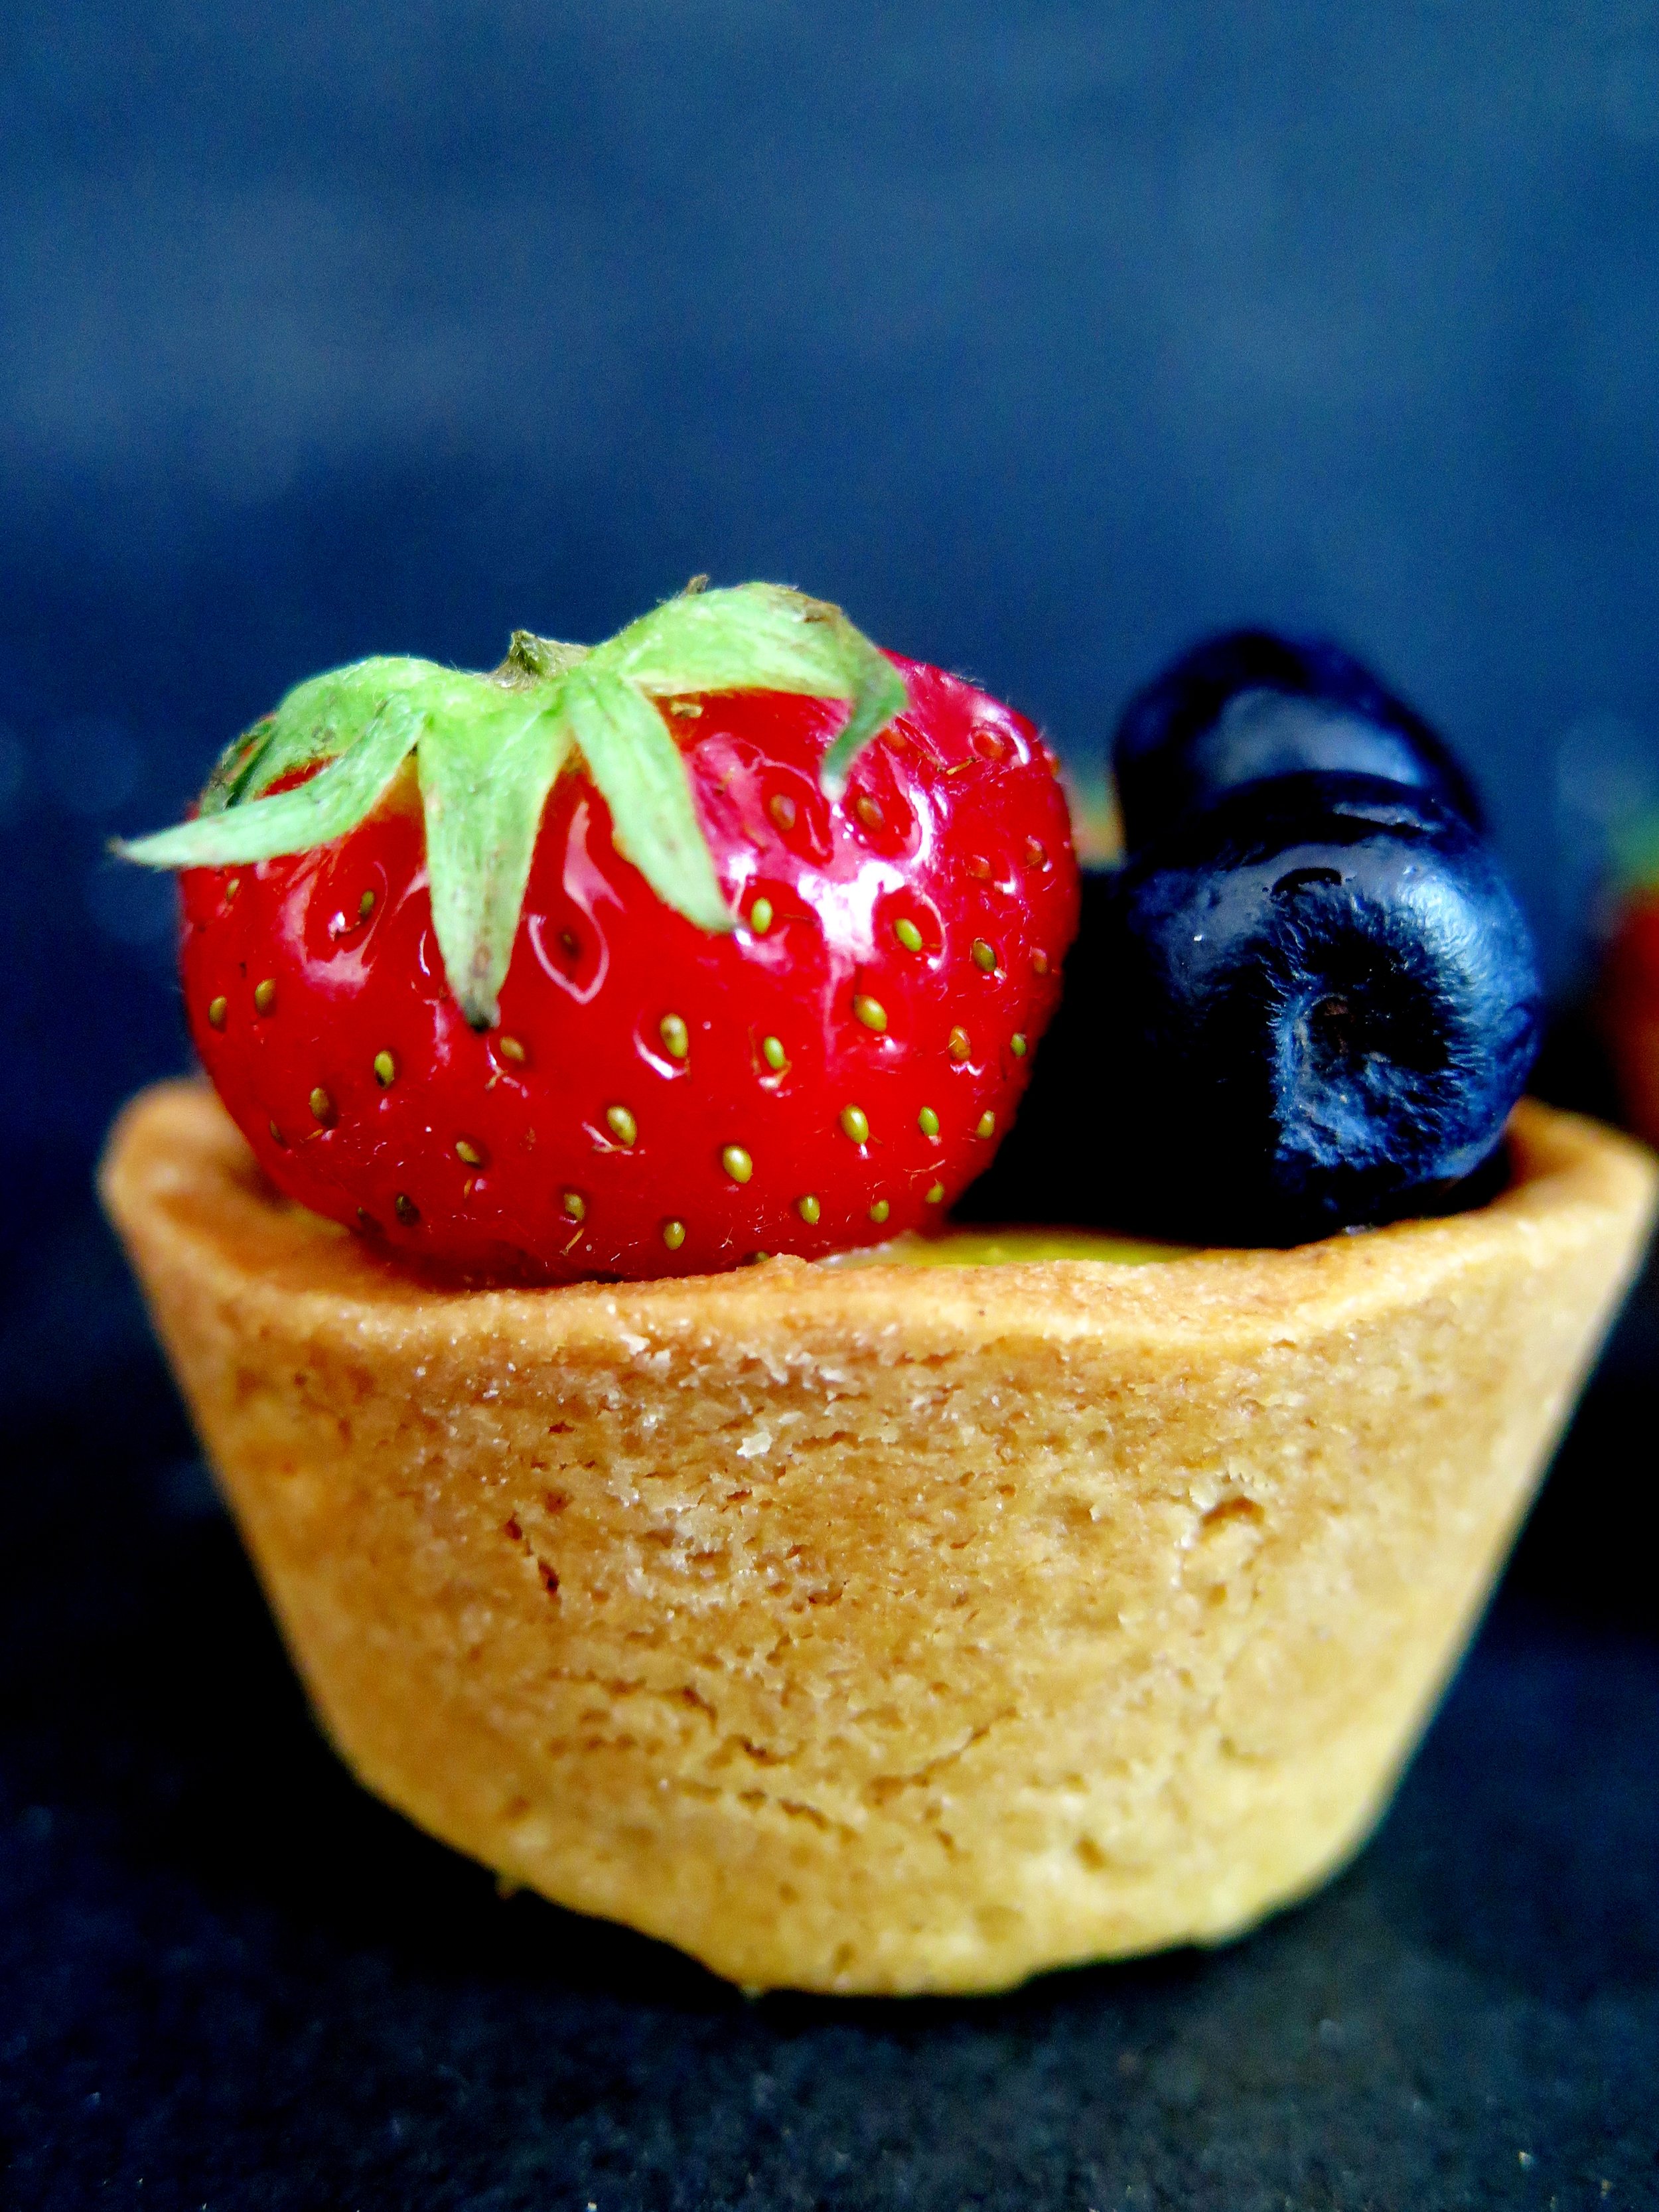
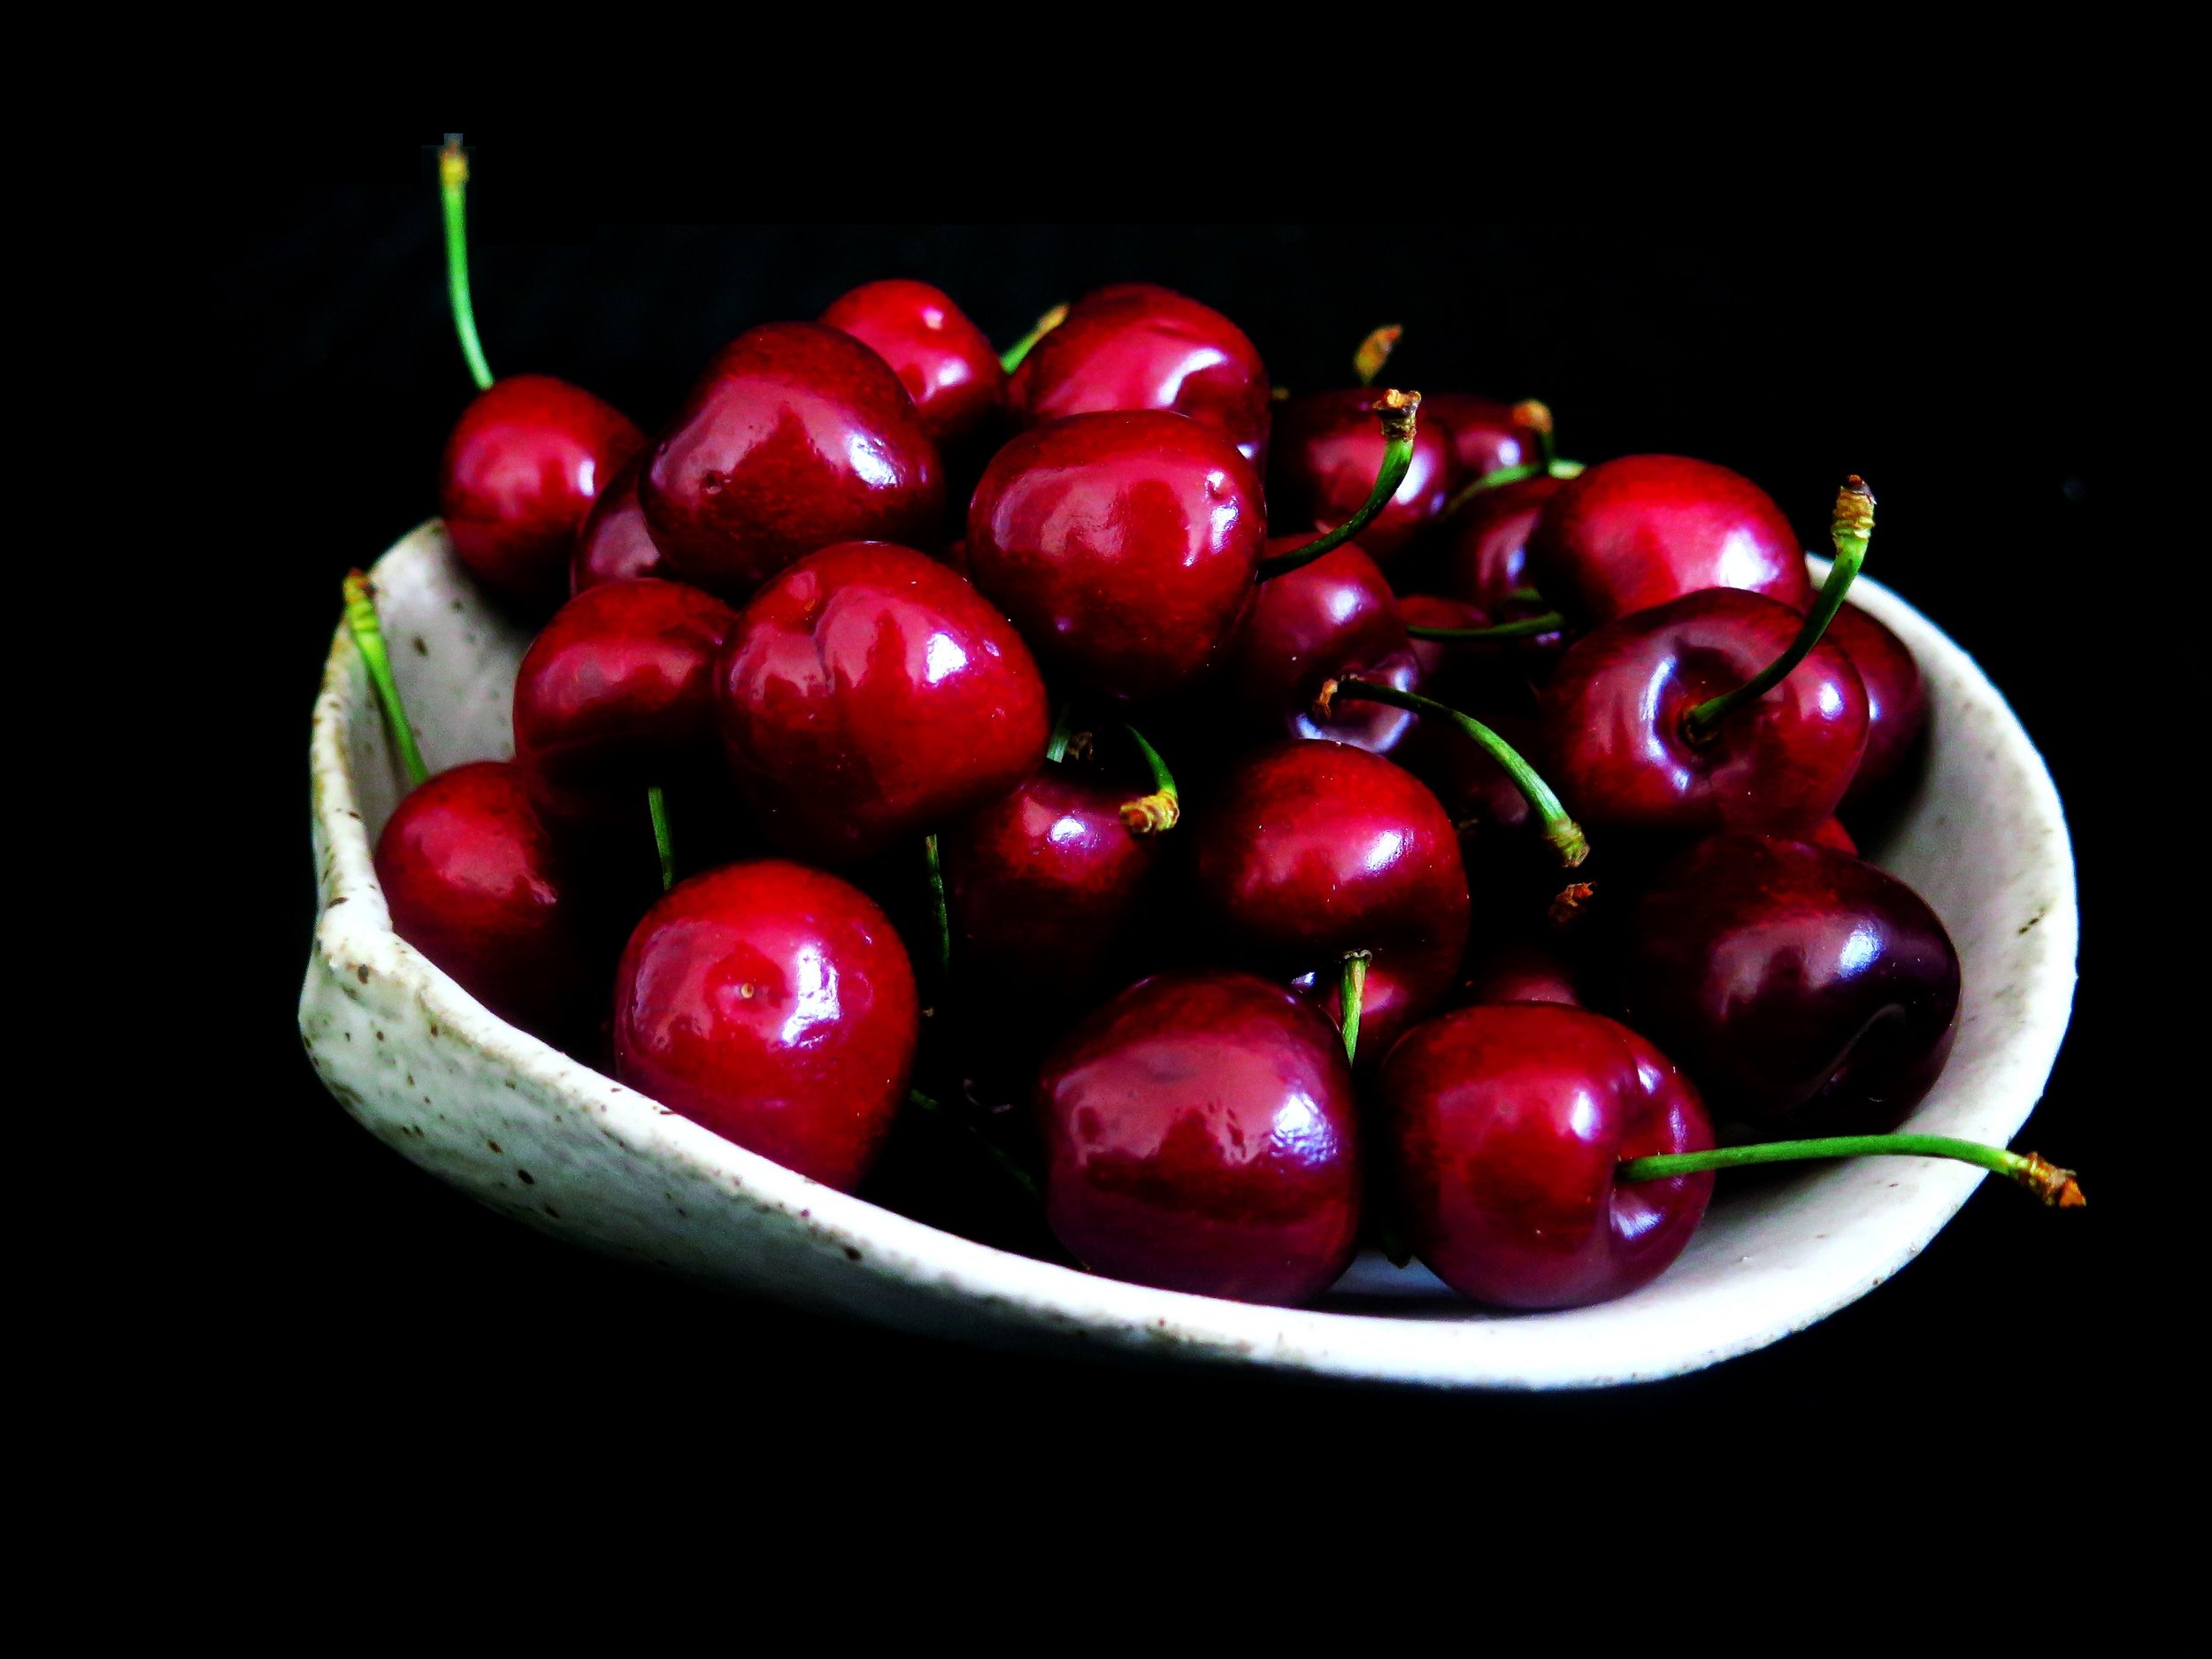
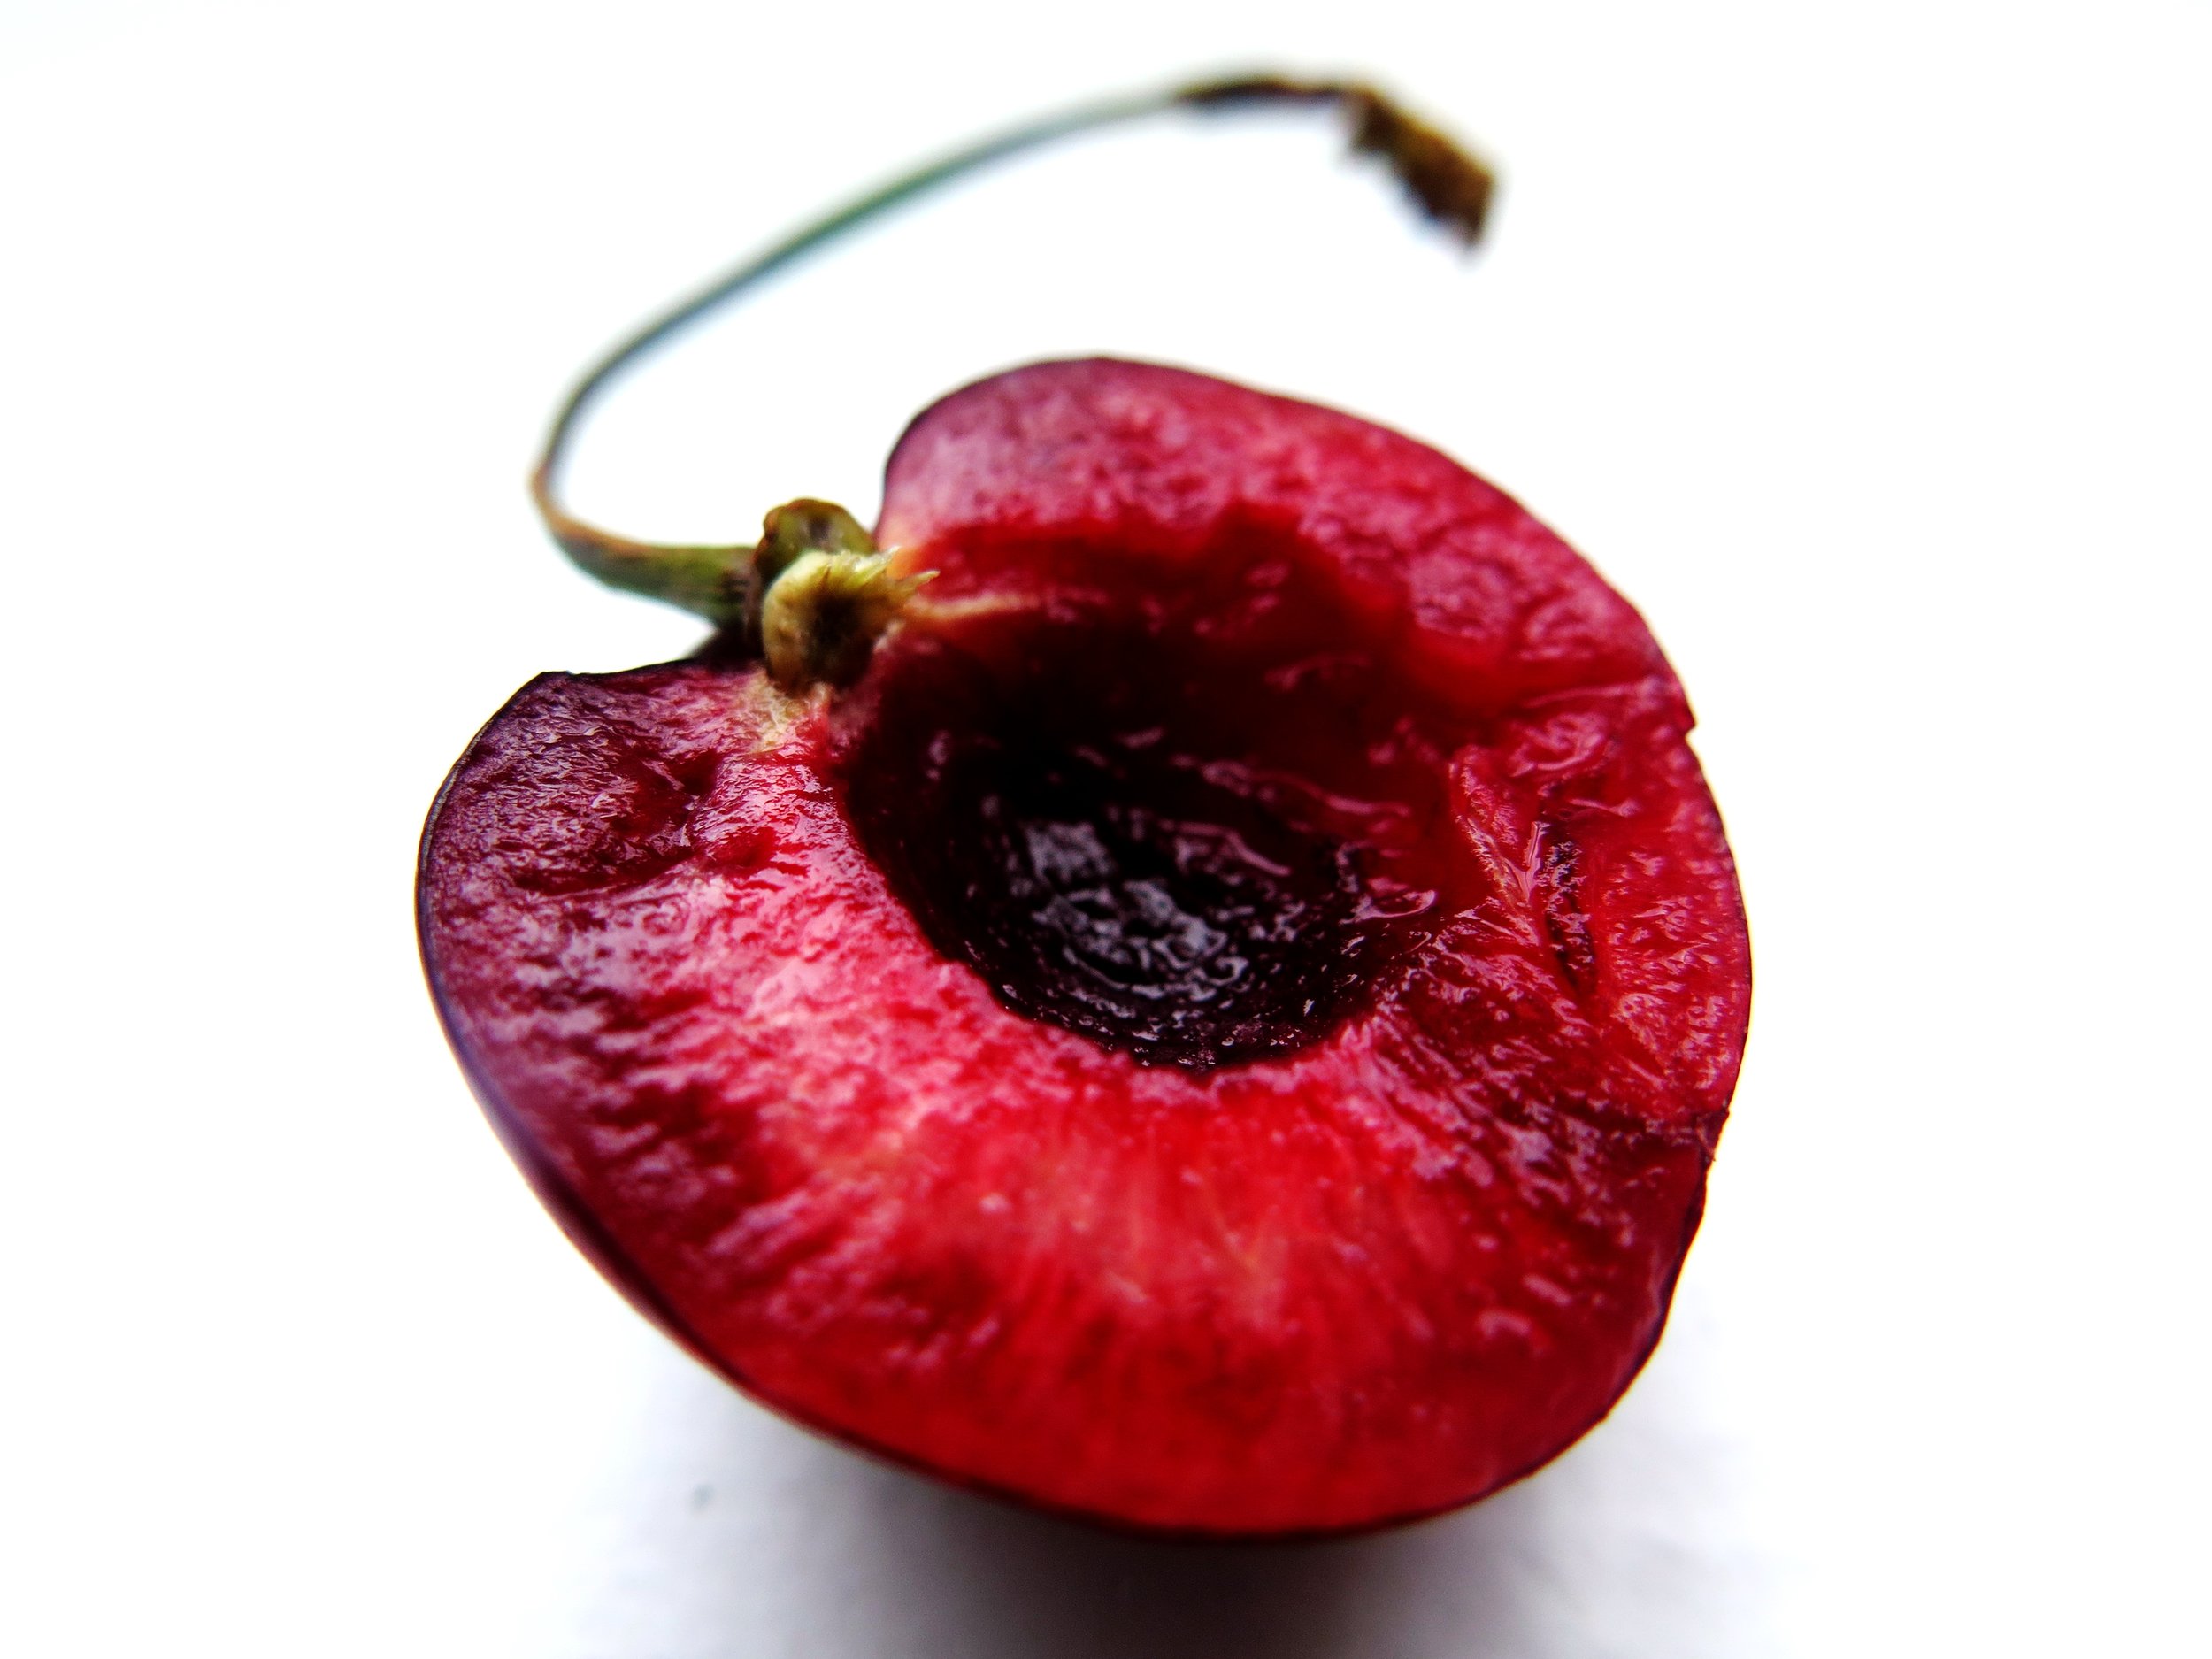
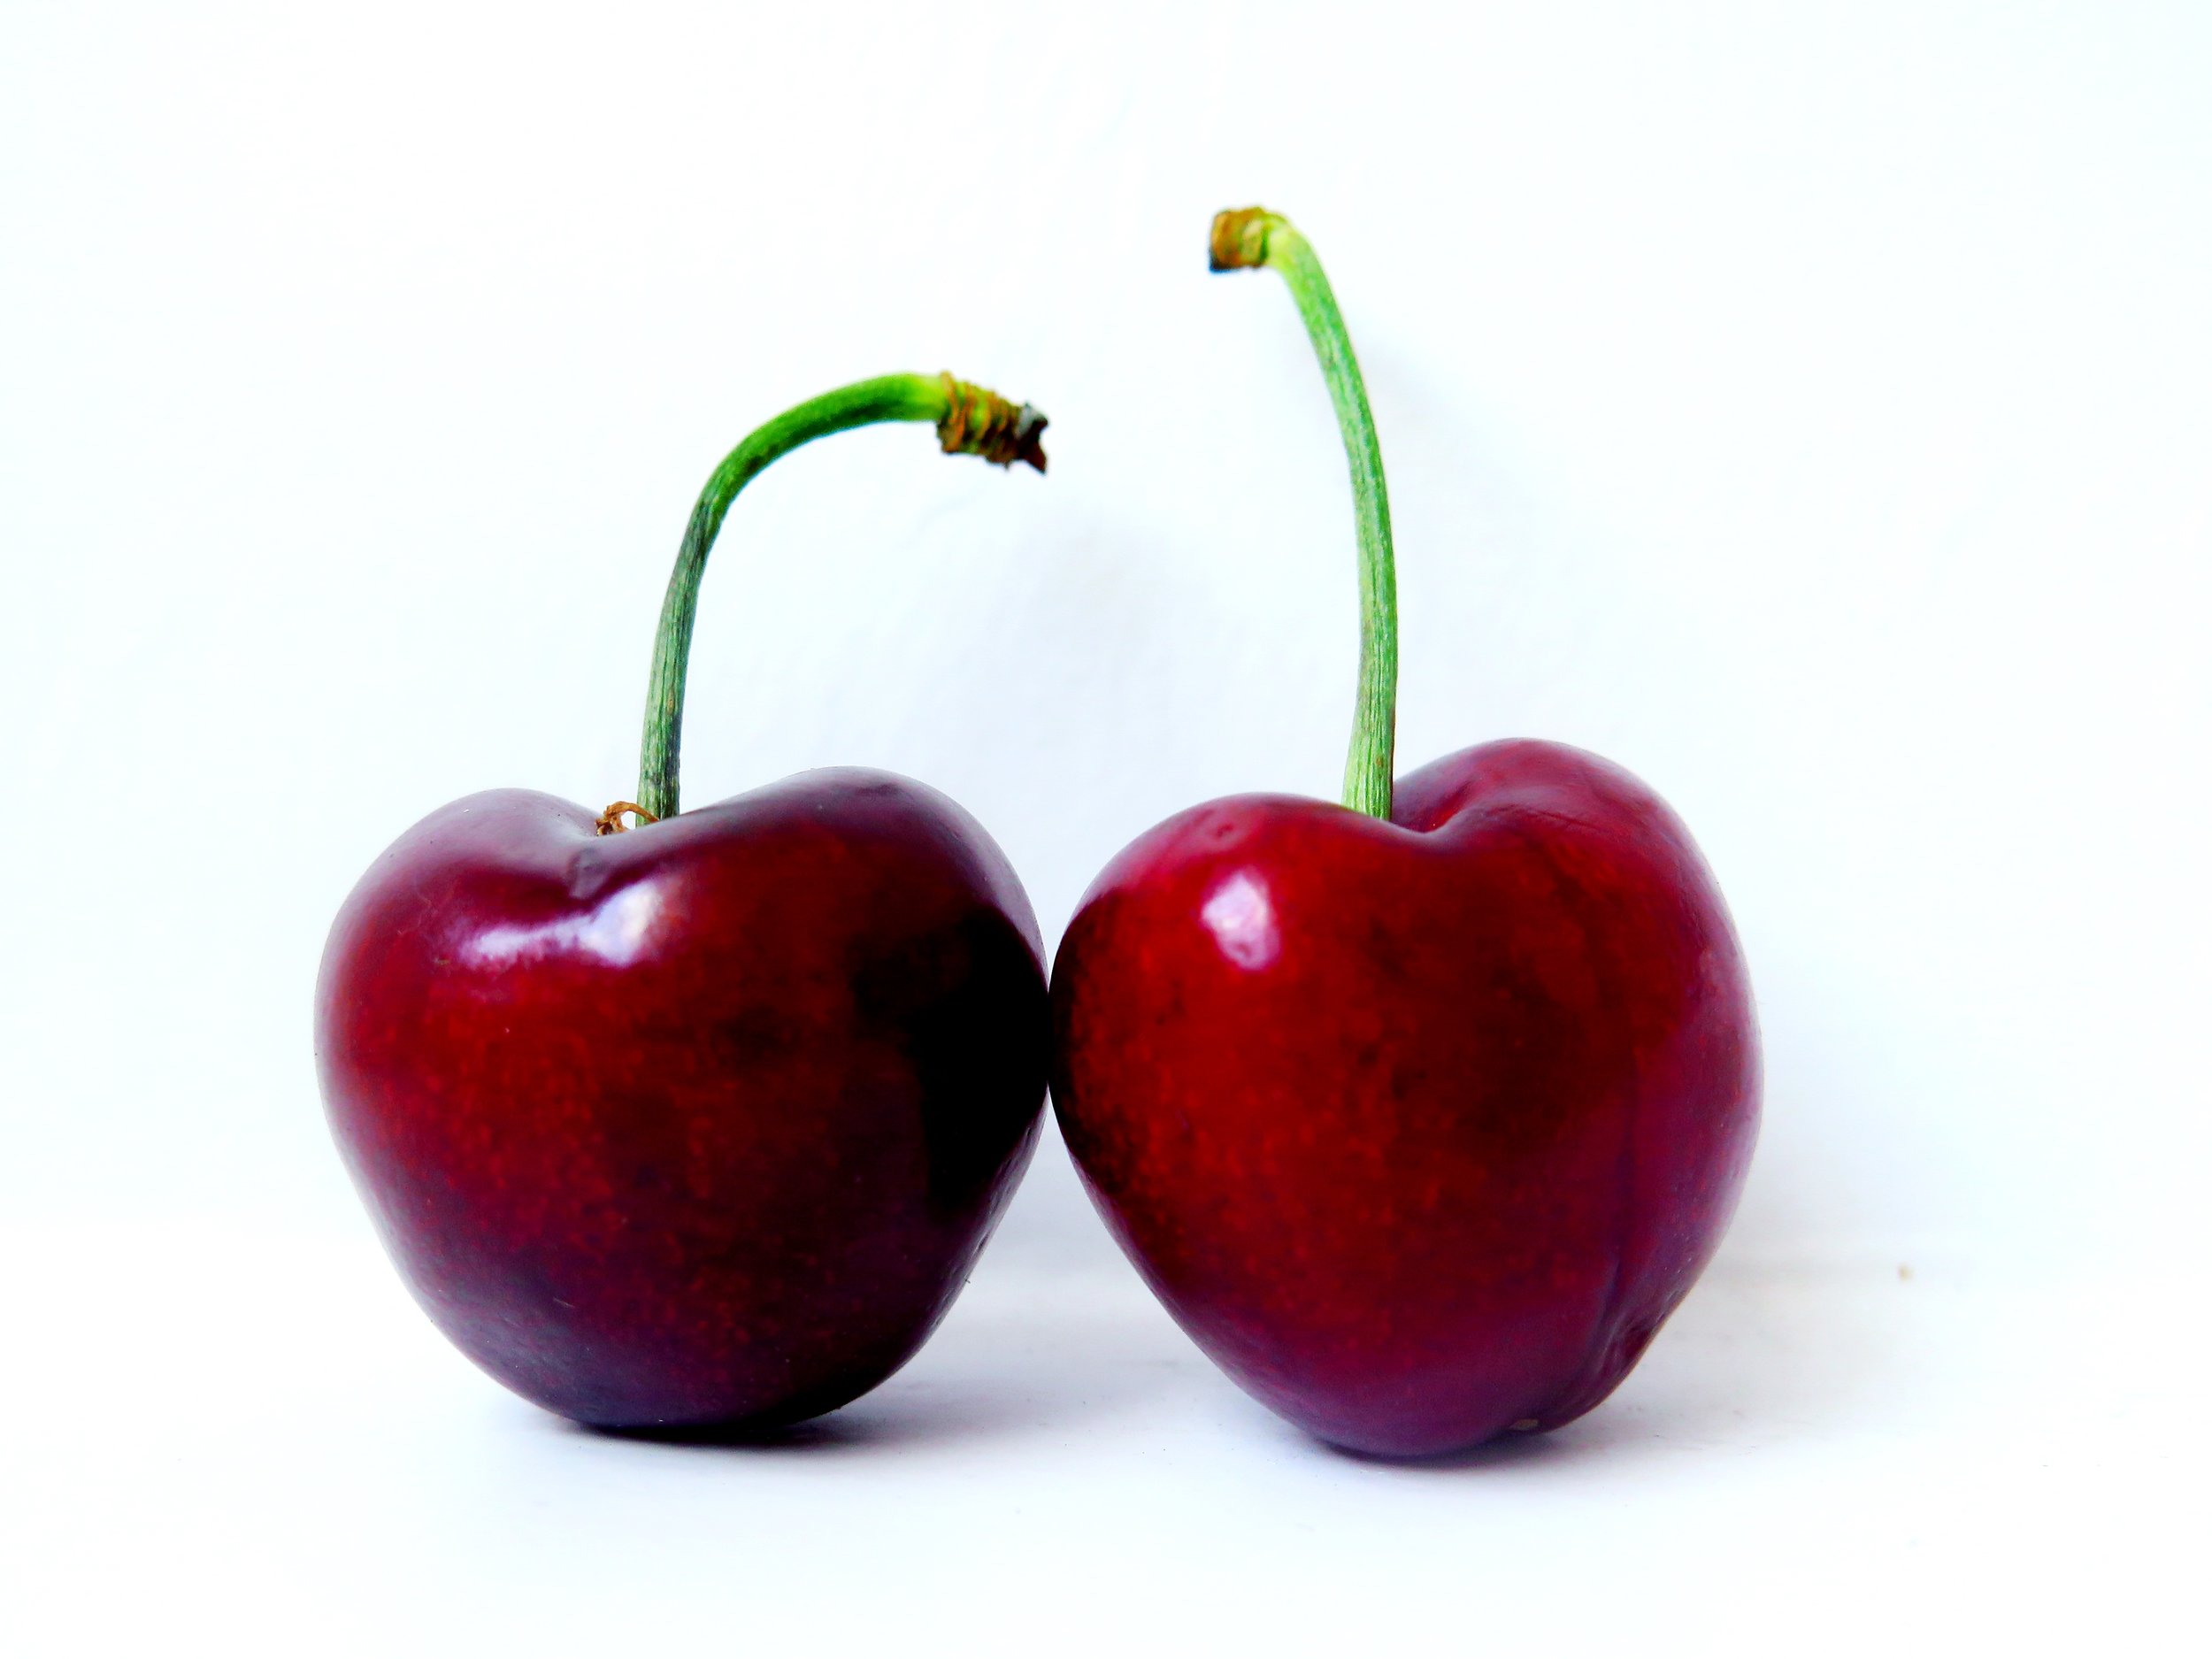
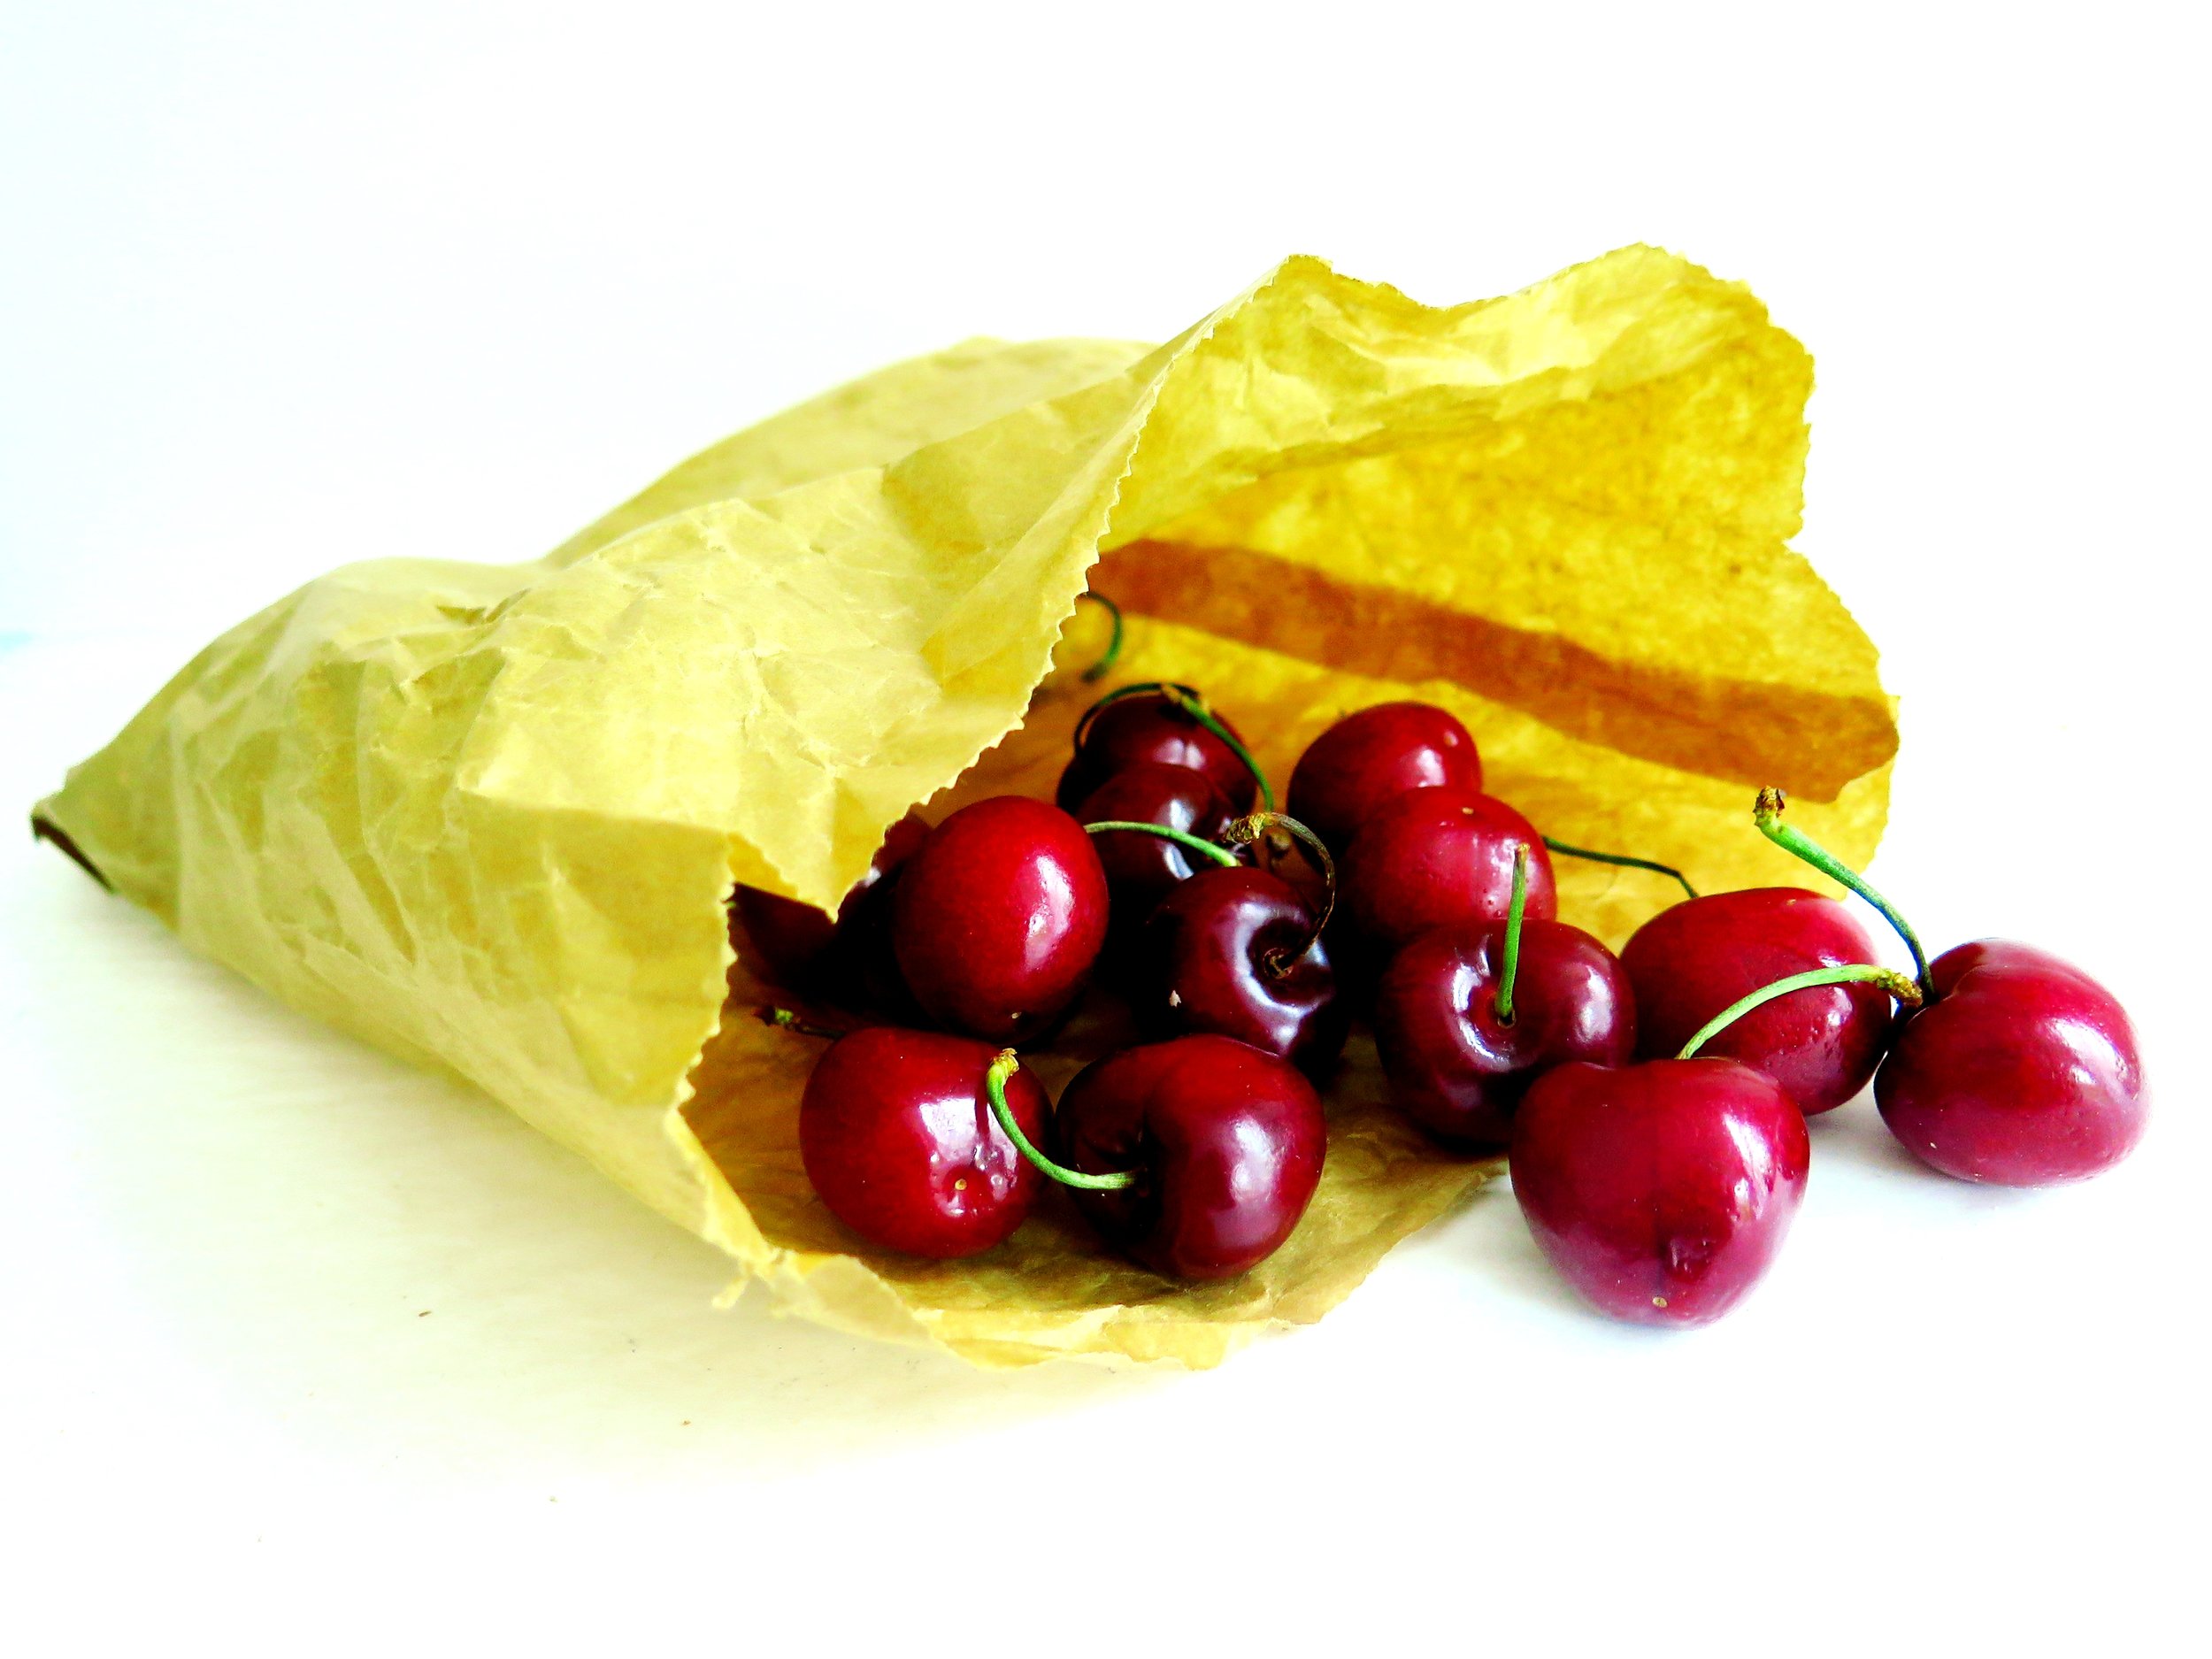
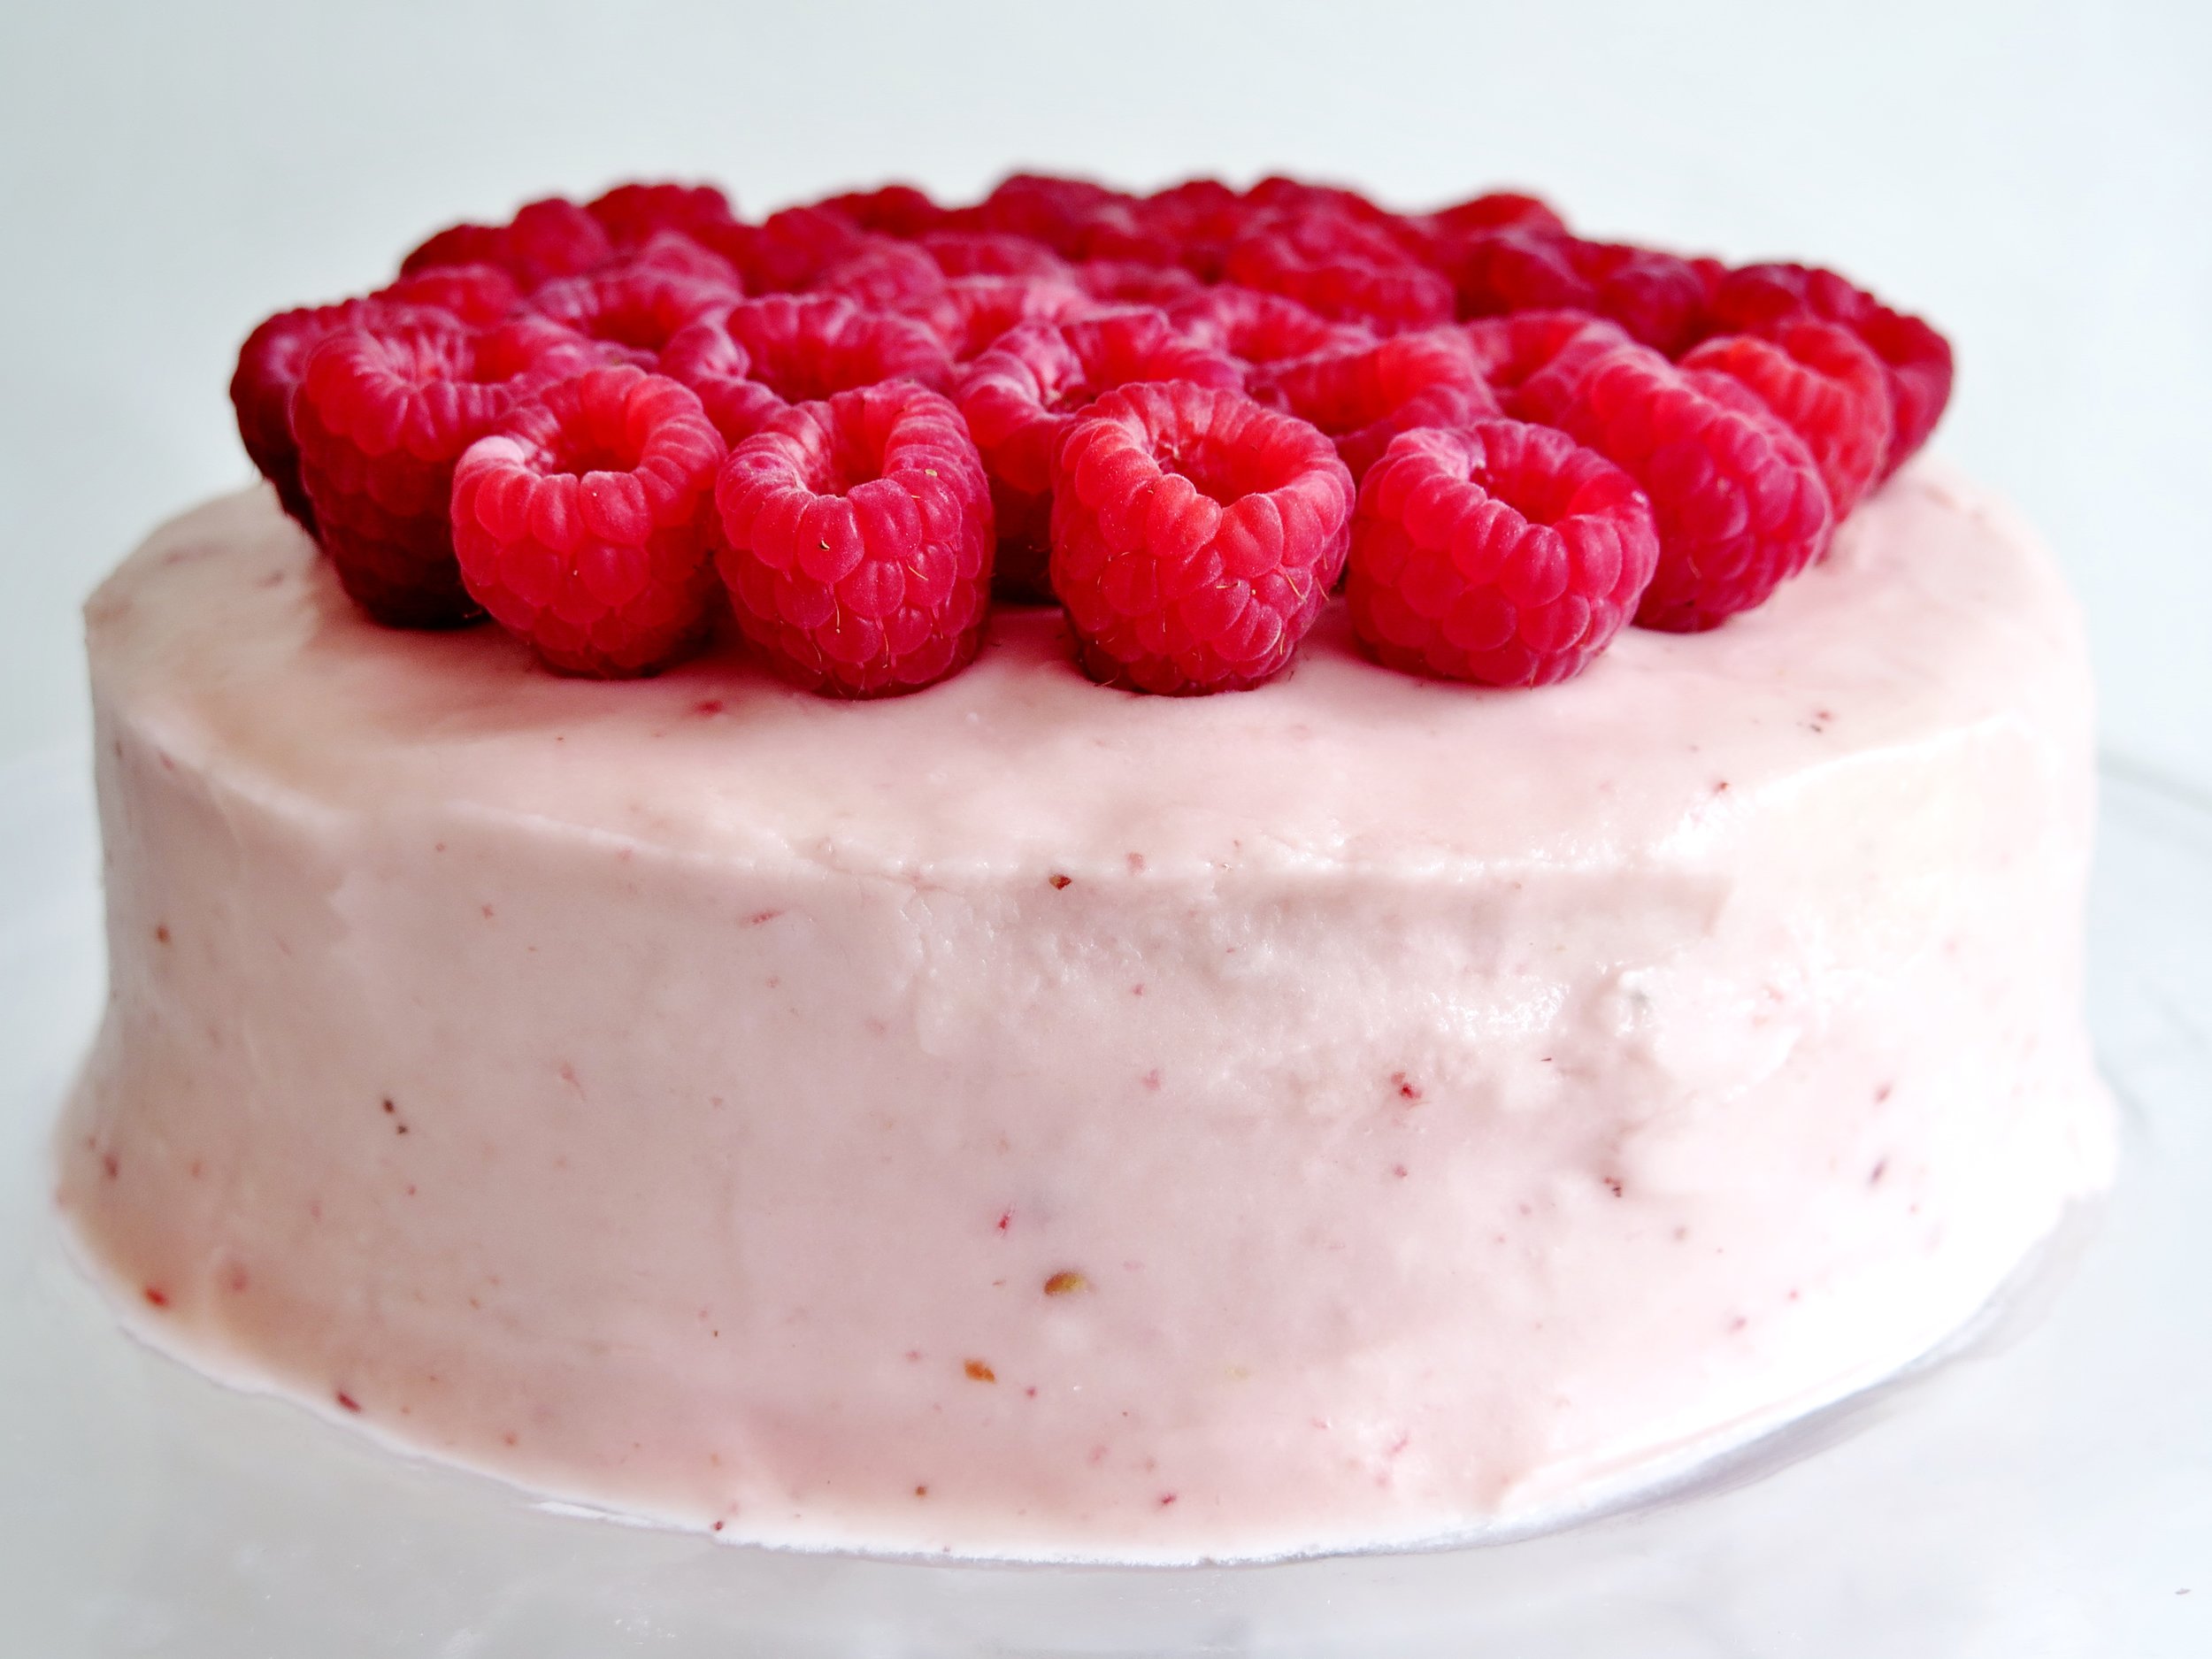
  • Additionally, I use dark fruits to decorate the cake, but you can keep it plain, or venture down more chocolatey routes. It is also delicious kept simple, without the mirror chocolate ganache.
  • This is effectively three cakes in one so you can just make one of the cakes, and make a third of the icing in which to cloak it.
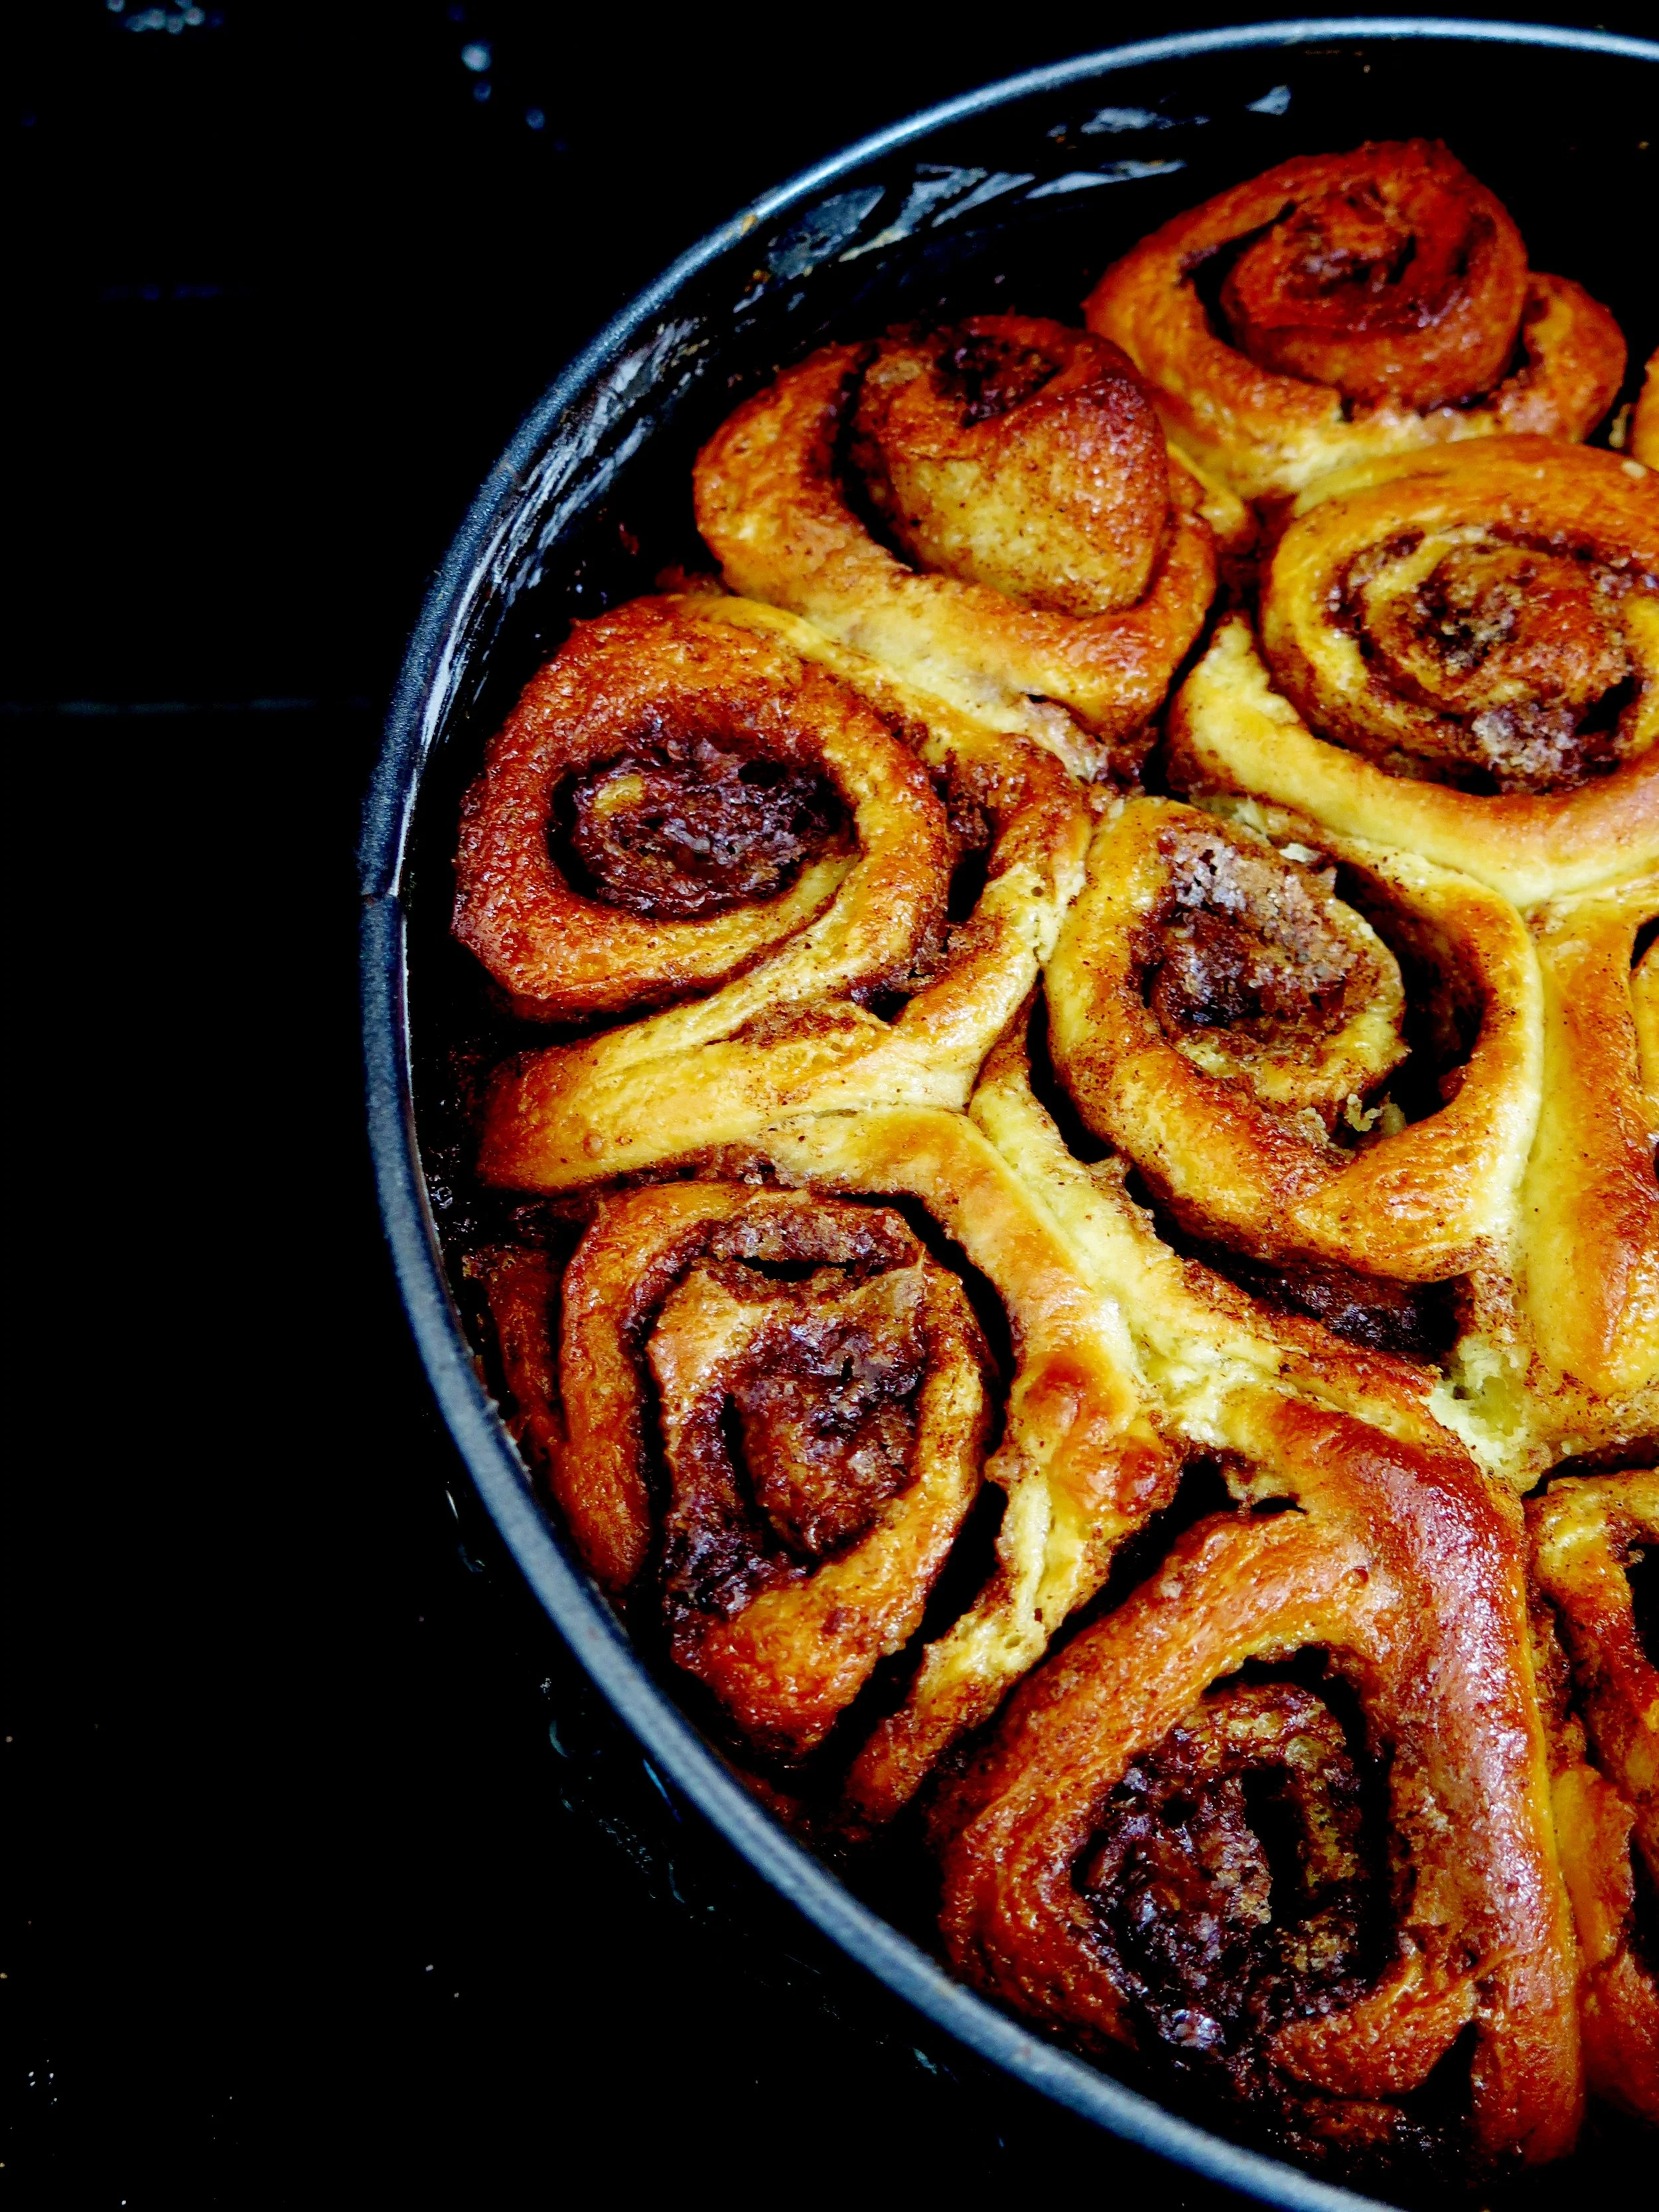
  • The chocolate cake recipe makes slightly more than necessary, hence the muffin cups into which the excess mixture is poured – a bonus in my book…

Ingredients

The vanilla and coffee cakes:

450g unsalted butter, at room temperature
450g caster sugar
2 tsp vanilla extract
4 tbsp milk
8 large eggs, at room temperature
450g self-raising flour, sieved
½ tsp salt
1 tbsp espresso powder, dissolved in 1 tsp boiling water

The chocolate cake:

400g plain flour
250g caster sugar
100g light muscovado sugar
50 high quality cocoa powder
2 tsp baking powder
1 tsp bicarbonate of soda
½ tsp salt
3 large eggs, at room temperature
140g soured cream
1 tbsp vanilla extract
175g unsalted butter, melted
125g corn or vegetable oil
300ml cold water

Salted cocolate buttercream:

250g high quality 70% dark chocolate
375g unsalted butter, at room temperature
680g icing sugar, sieved
½ tsp salt
4 tsp vanilla extract


Mirror chocolate ganache:

100g double cream
100g high quality 70% dark chocolate

Equipment:

3 (or 2 if you wash one up in between making vanilla/coffee and chocolate cakes) x 20cm diameter round cake tins, buttered, with the base lined with a circle of baking parchment
1 muffin tin with 5 muffin cases
piping bag fitted with a 2-3mm round nozzle


Method

The vanilla cake and the coffee cake:

1)    Preheat fan oven to 180C. In a large bowl with a spoon, or in a mixer fitted with the paddle, beat together butter and sugar for about 3 minutes until the mixture turns fluffy, soft and almost white. Beat in the vanilla and milk.  
2)    Then beat in one egg at a time alternating each egg with a tablespoon of flour. Don’t panic if it looks slightly curdled, as this is normal. Add in the rest of the flour and salt and, by hand, gently fold them into the mixture.
3)    Pour half the mixture into one of the lined baking tins – this is the vanilla cake. For the coffee cake, add in the dissolved espresso powder into the remaining mixture and fold in gently. Pour into the second baking tin and place both in the oven to bake for 30-40 minutes until golden on top and a skewer comes out clean. After 30 minutes, you may need to cover them with tinfoil to prevent the surface from burning. 
4)    Once cooked, remove from oven and place on a rack to cool.

The chocolate cake:

1)    Preheat fan oven to 180C. Into a large bowl, sieve all the dry ingredients and mix through. In a separate medium sized bowl, whisk together the eggs, soured cream and vanilla. 
2)    In a third, large bowl, either by hand or in a mixer fitted with the paddle, beat together oil, butter and water until combined. Into this bowl, pour the dry ingredients and fold gently to combine. Then pour in the egg, cream, vanilla mixture and fold gently together until smooth and just combined.
3)    Pour off 300g of the mixture into a separate bowl and divide equally between 5 muffin cases. Pour the rest of the mixture into the prepared cake tin. Place muffins and large cake in the oven. Bake the muffins for 20 minutes, and the large cake for 40-50 minutes until a skewer comes out clean. Check the large cake after 30 minutes, as you make need to cover it with tinfoil to prevent the surface from burning. Once cooked through, remove from the oven and place on a baking rack to cool.

The salted chocolate buttercream:

1)    Melt the chocolate in a bowl sitting on top of a pan of boiling water (don’t let the water touch the base of the bowl containing chocolate). Set the melted chocolate aside to cool slightly.
2)    In a mixer fitted with a paddle, or in a large bowl with a spoon, beat together the icing sugar and butter until combined. Pour in the melted chocolate, salt and vanilla, and beat once more until combined. 

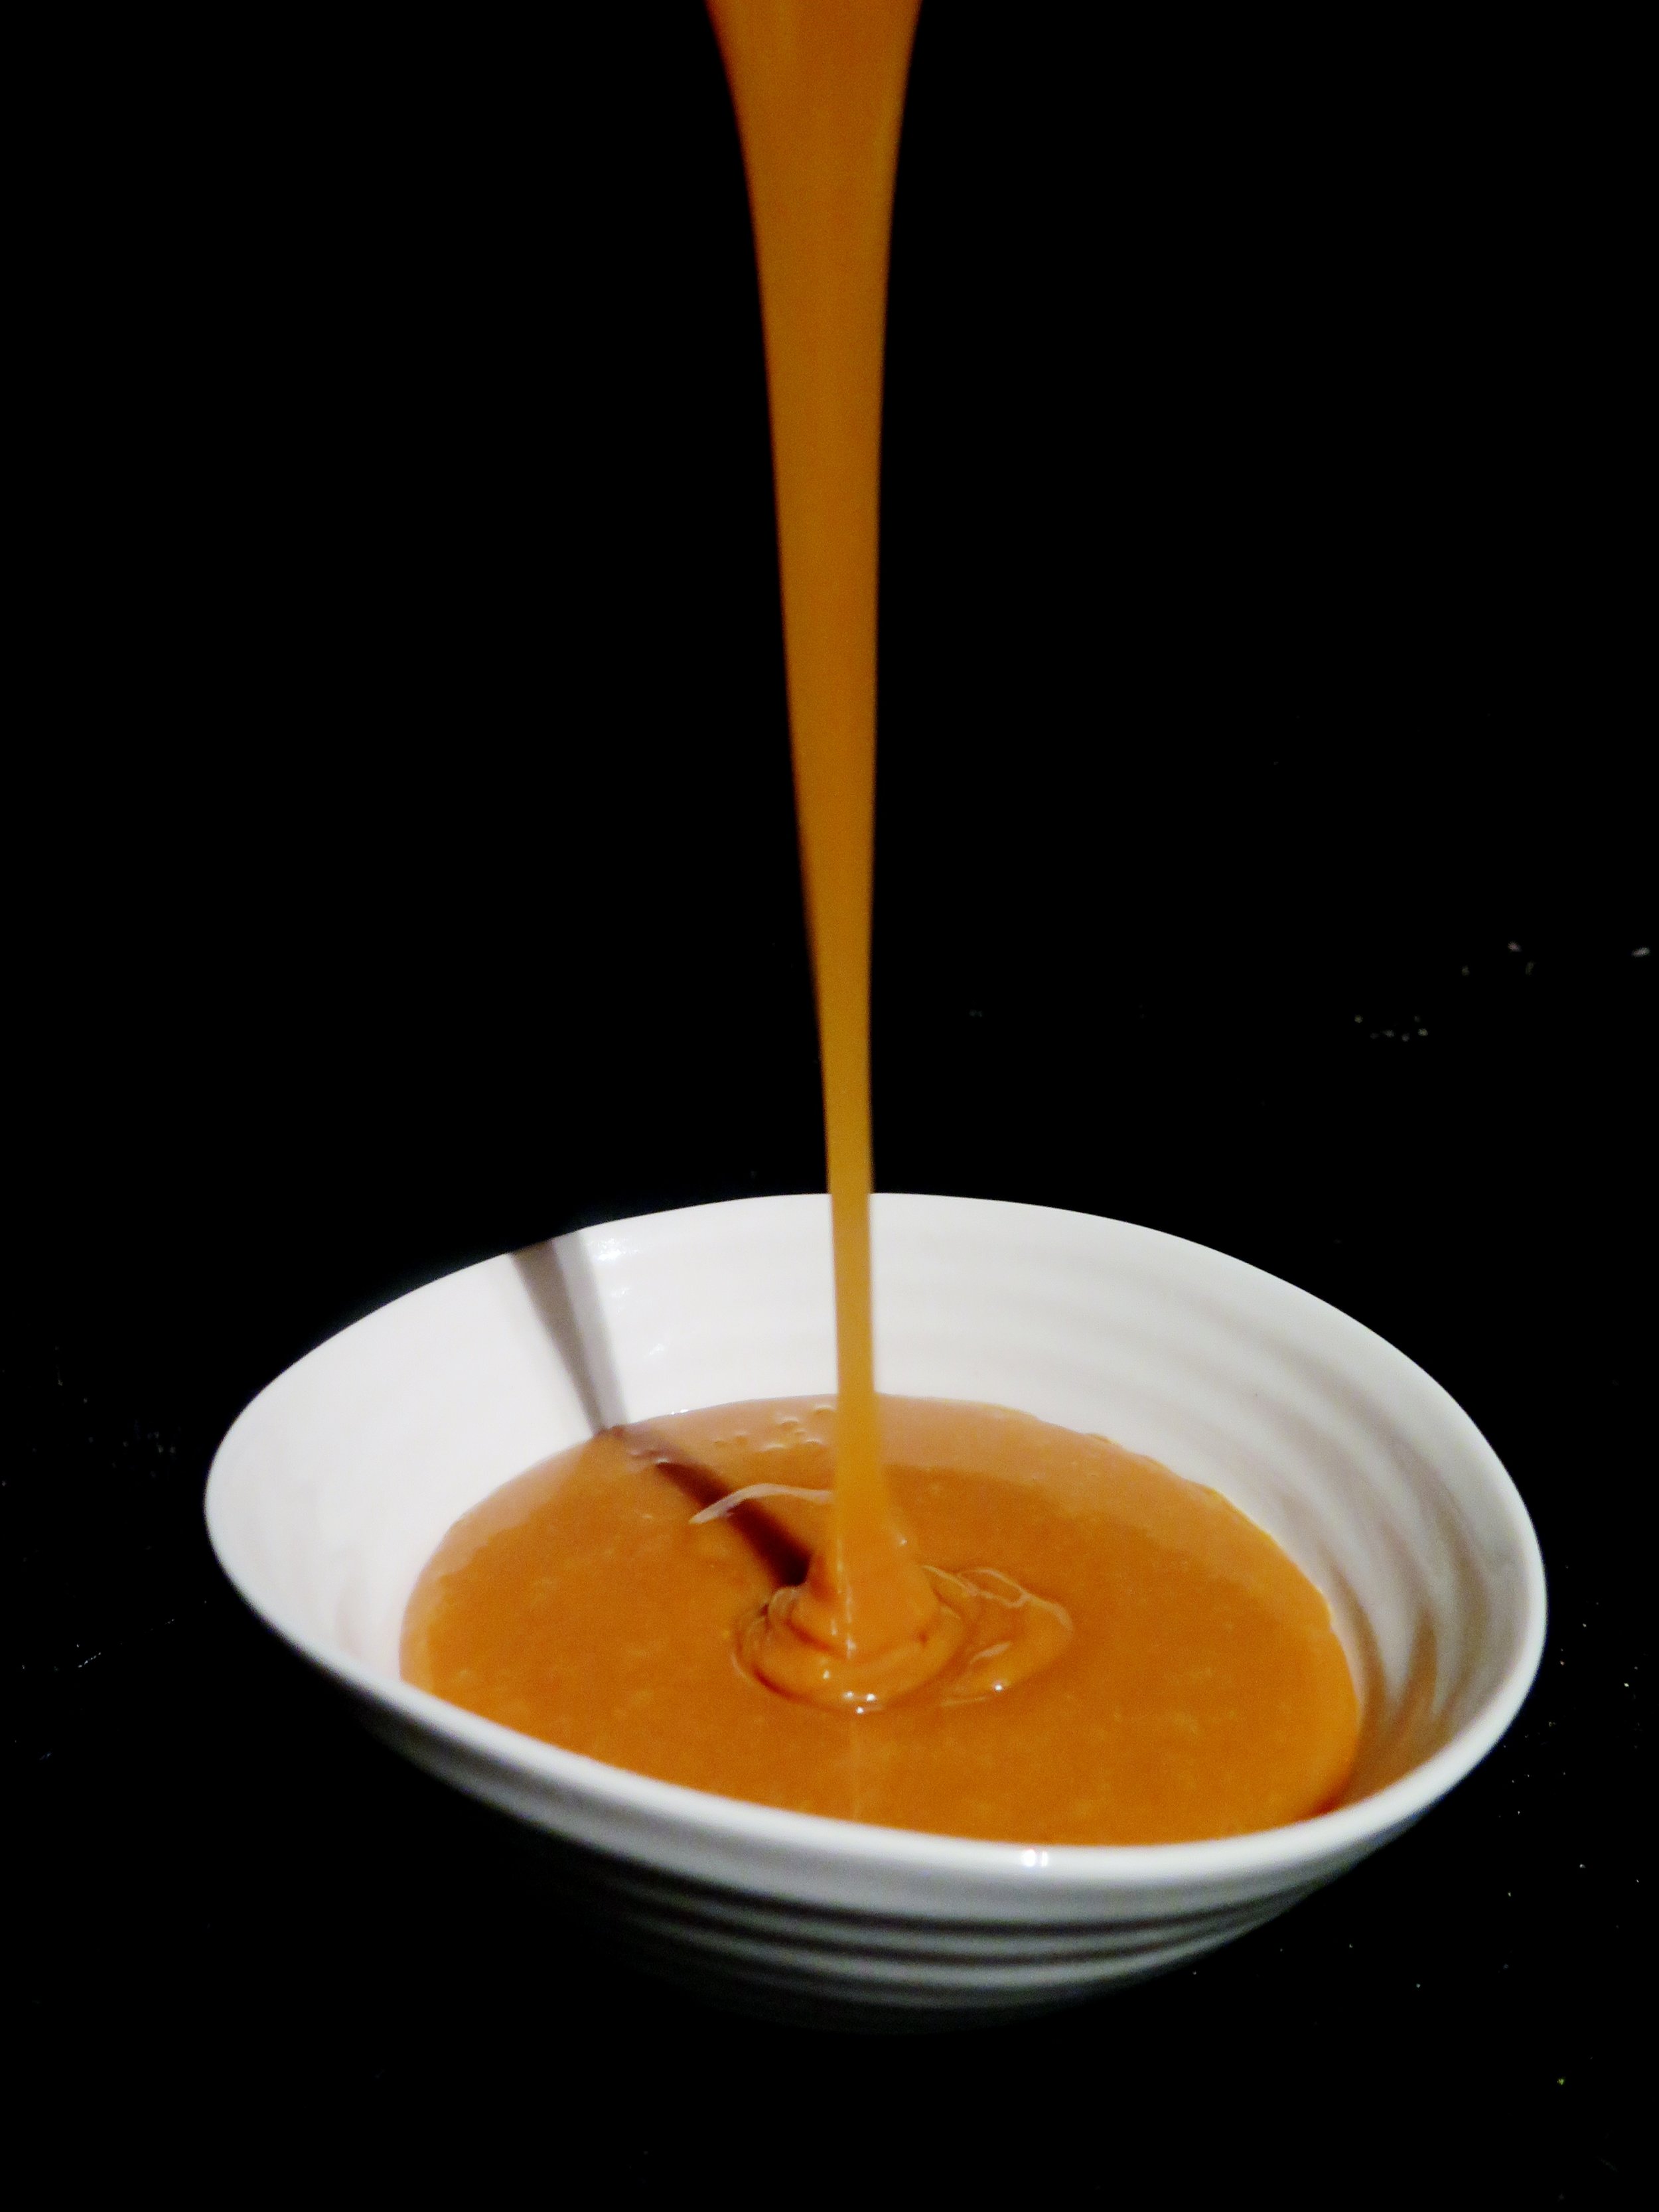
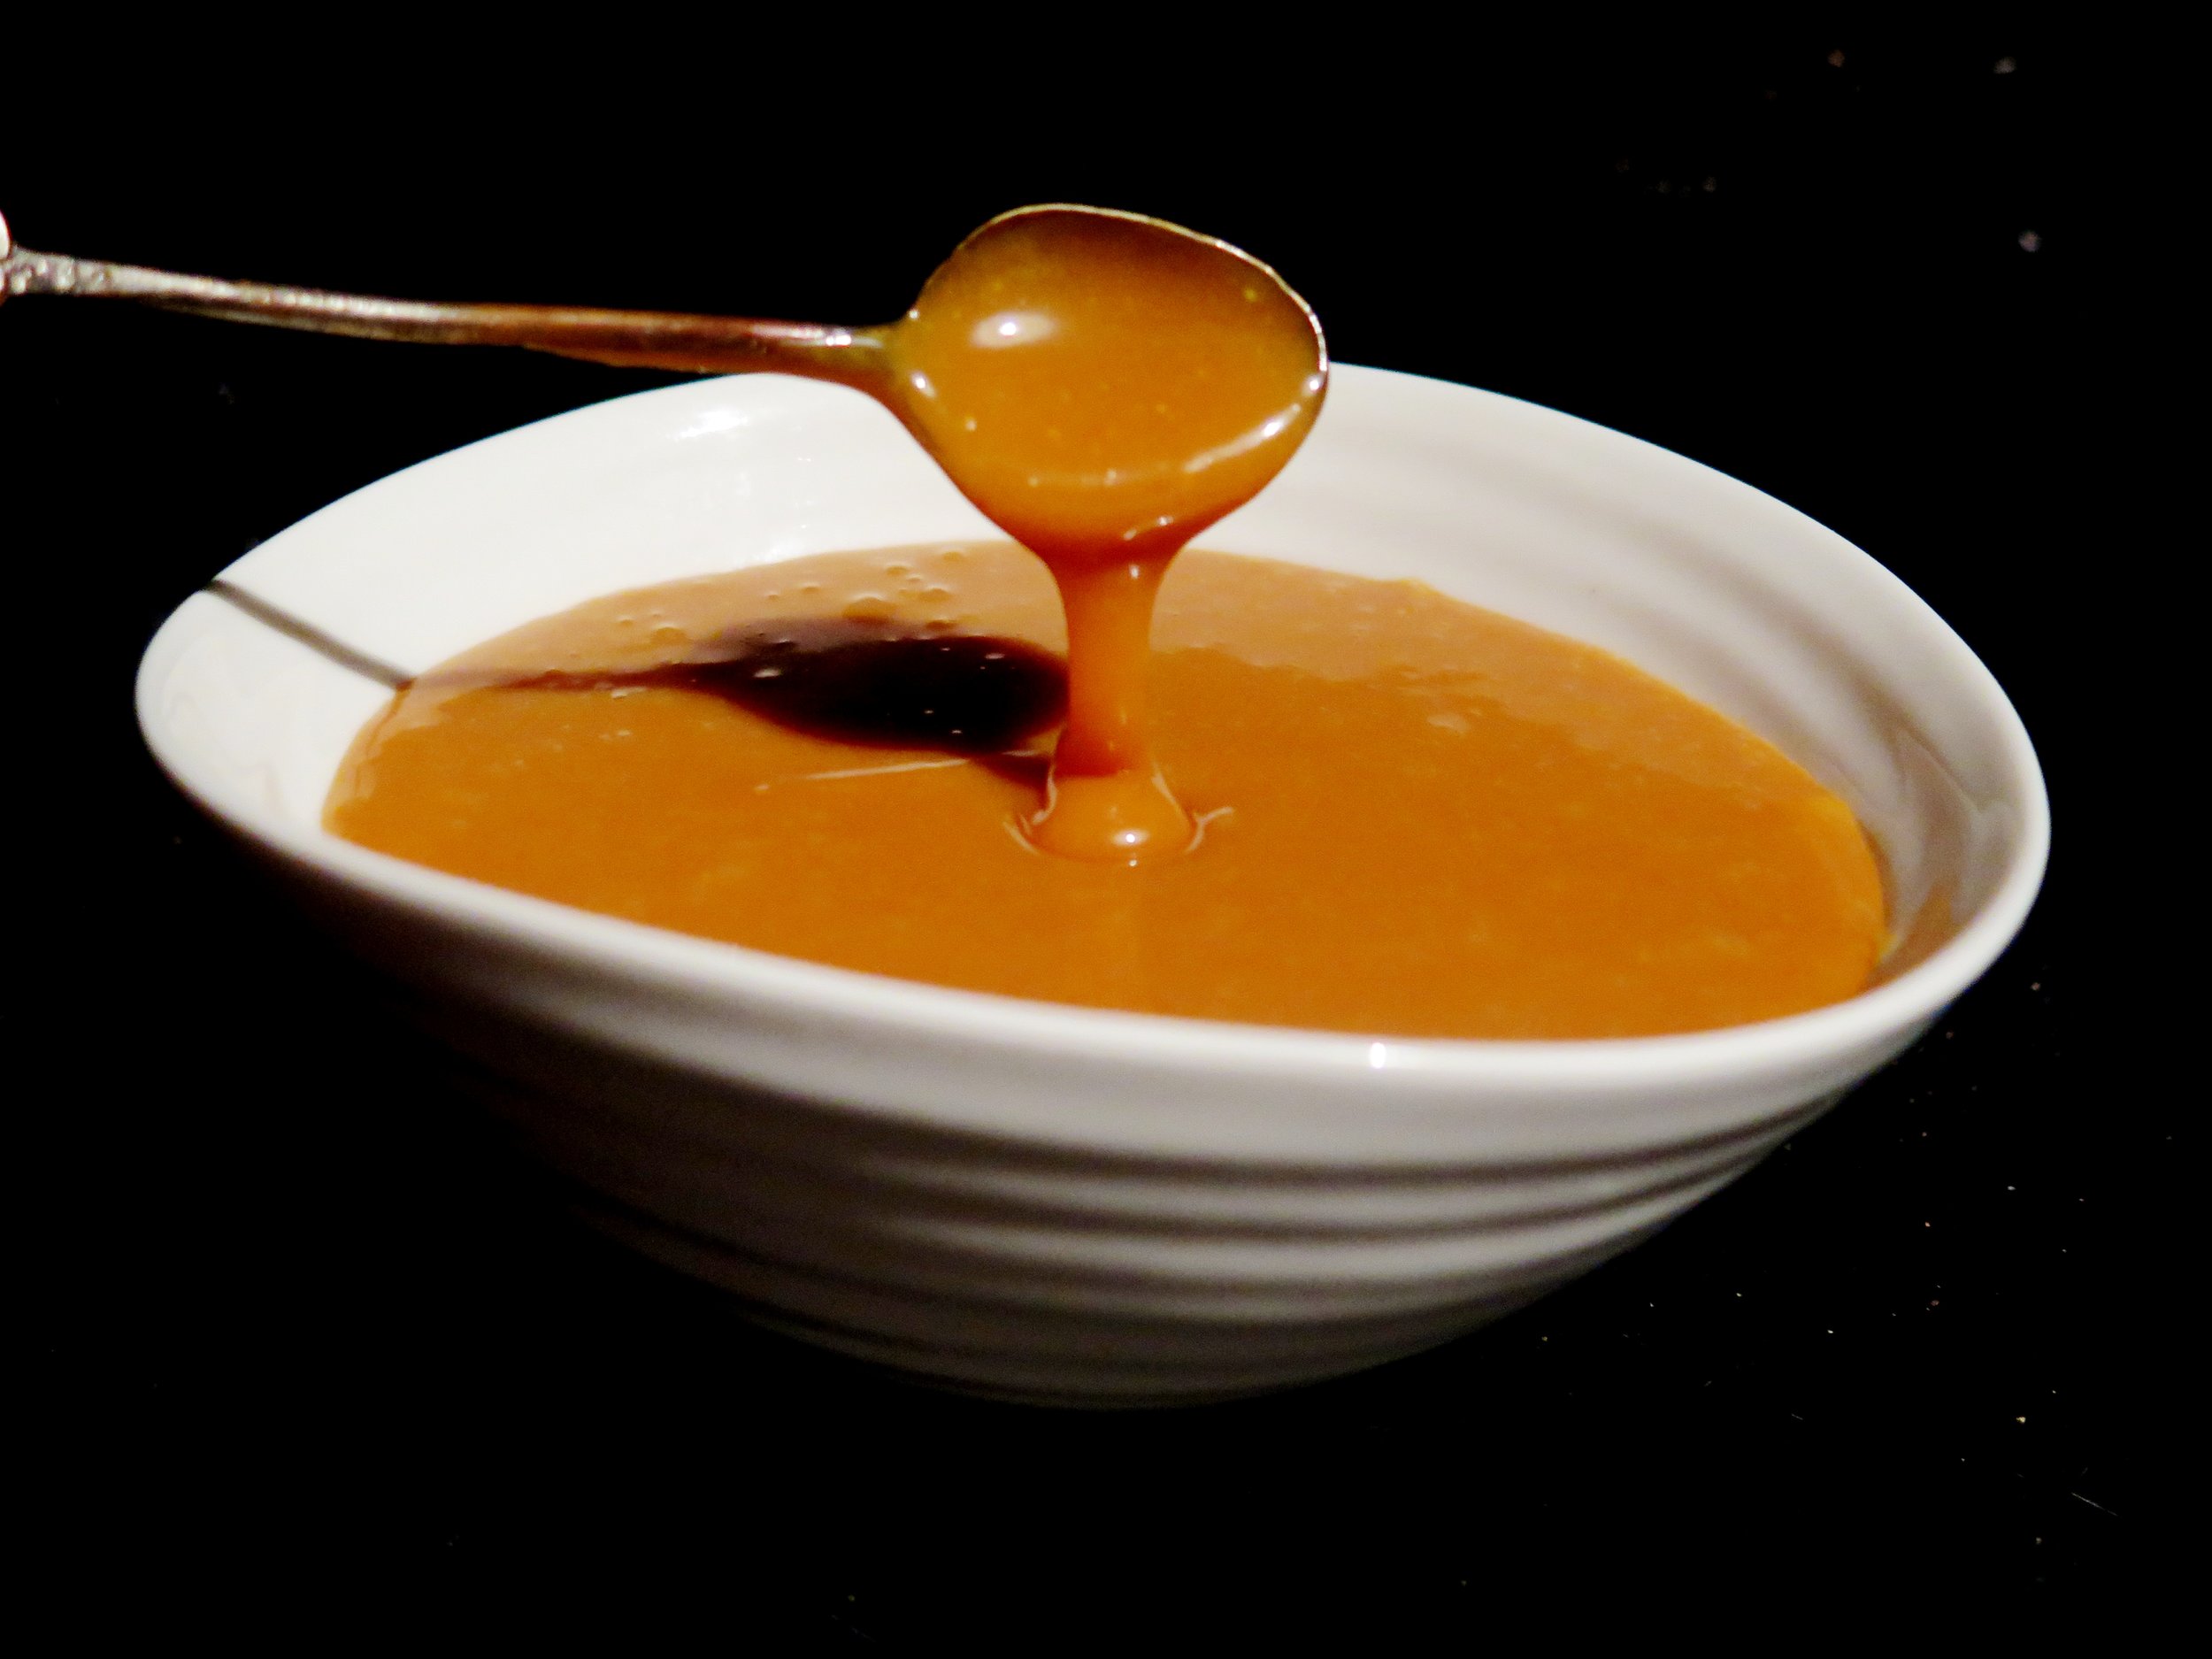
The chocolate mirror ganache:

1)    Make this only once the cake is iced. Heat the double cream in a small pan over a medium heat until it just begins to bubble. Remove from heat immediately and stir in the chocolate until it has melted and both combine into a glossy ganache.

Assembly:

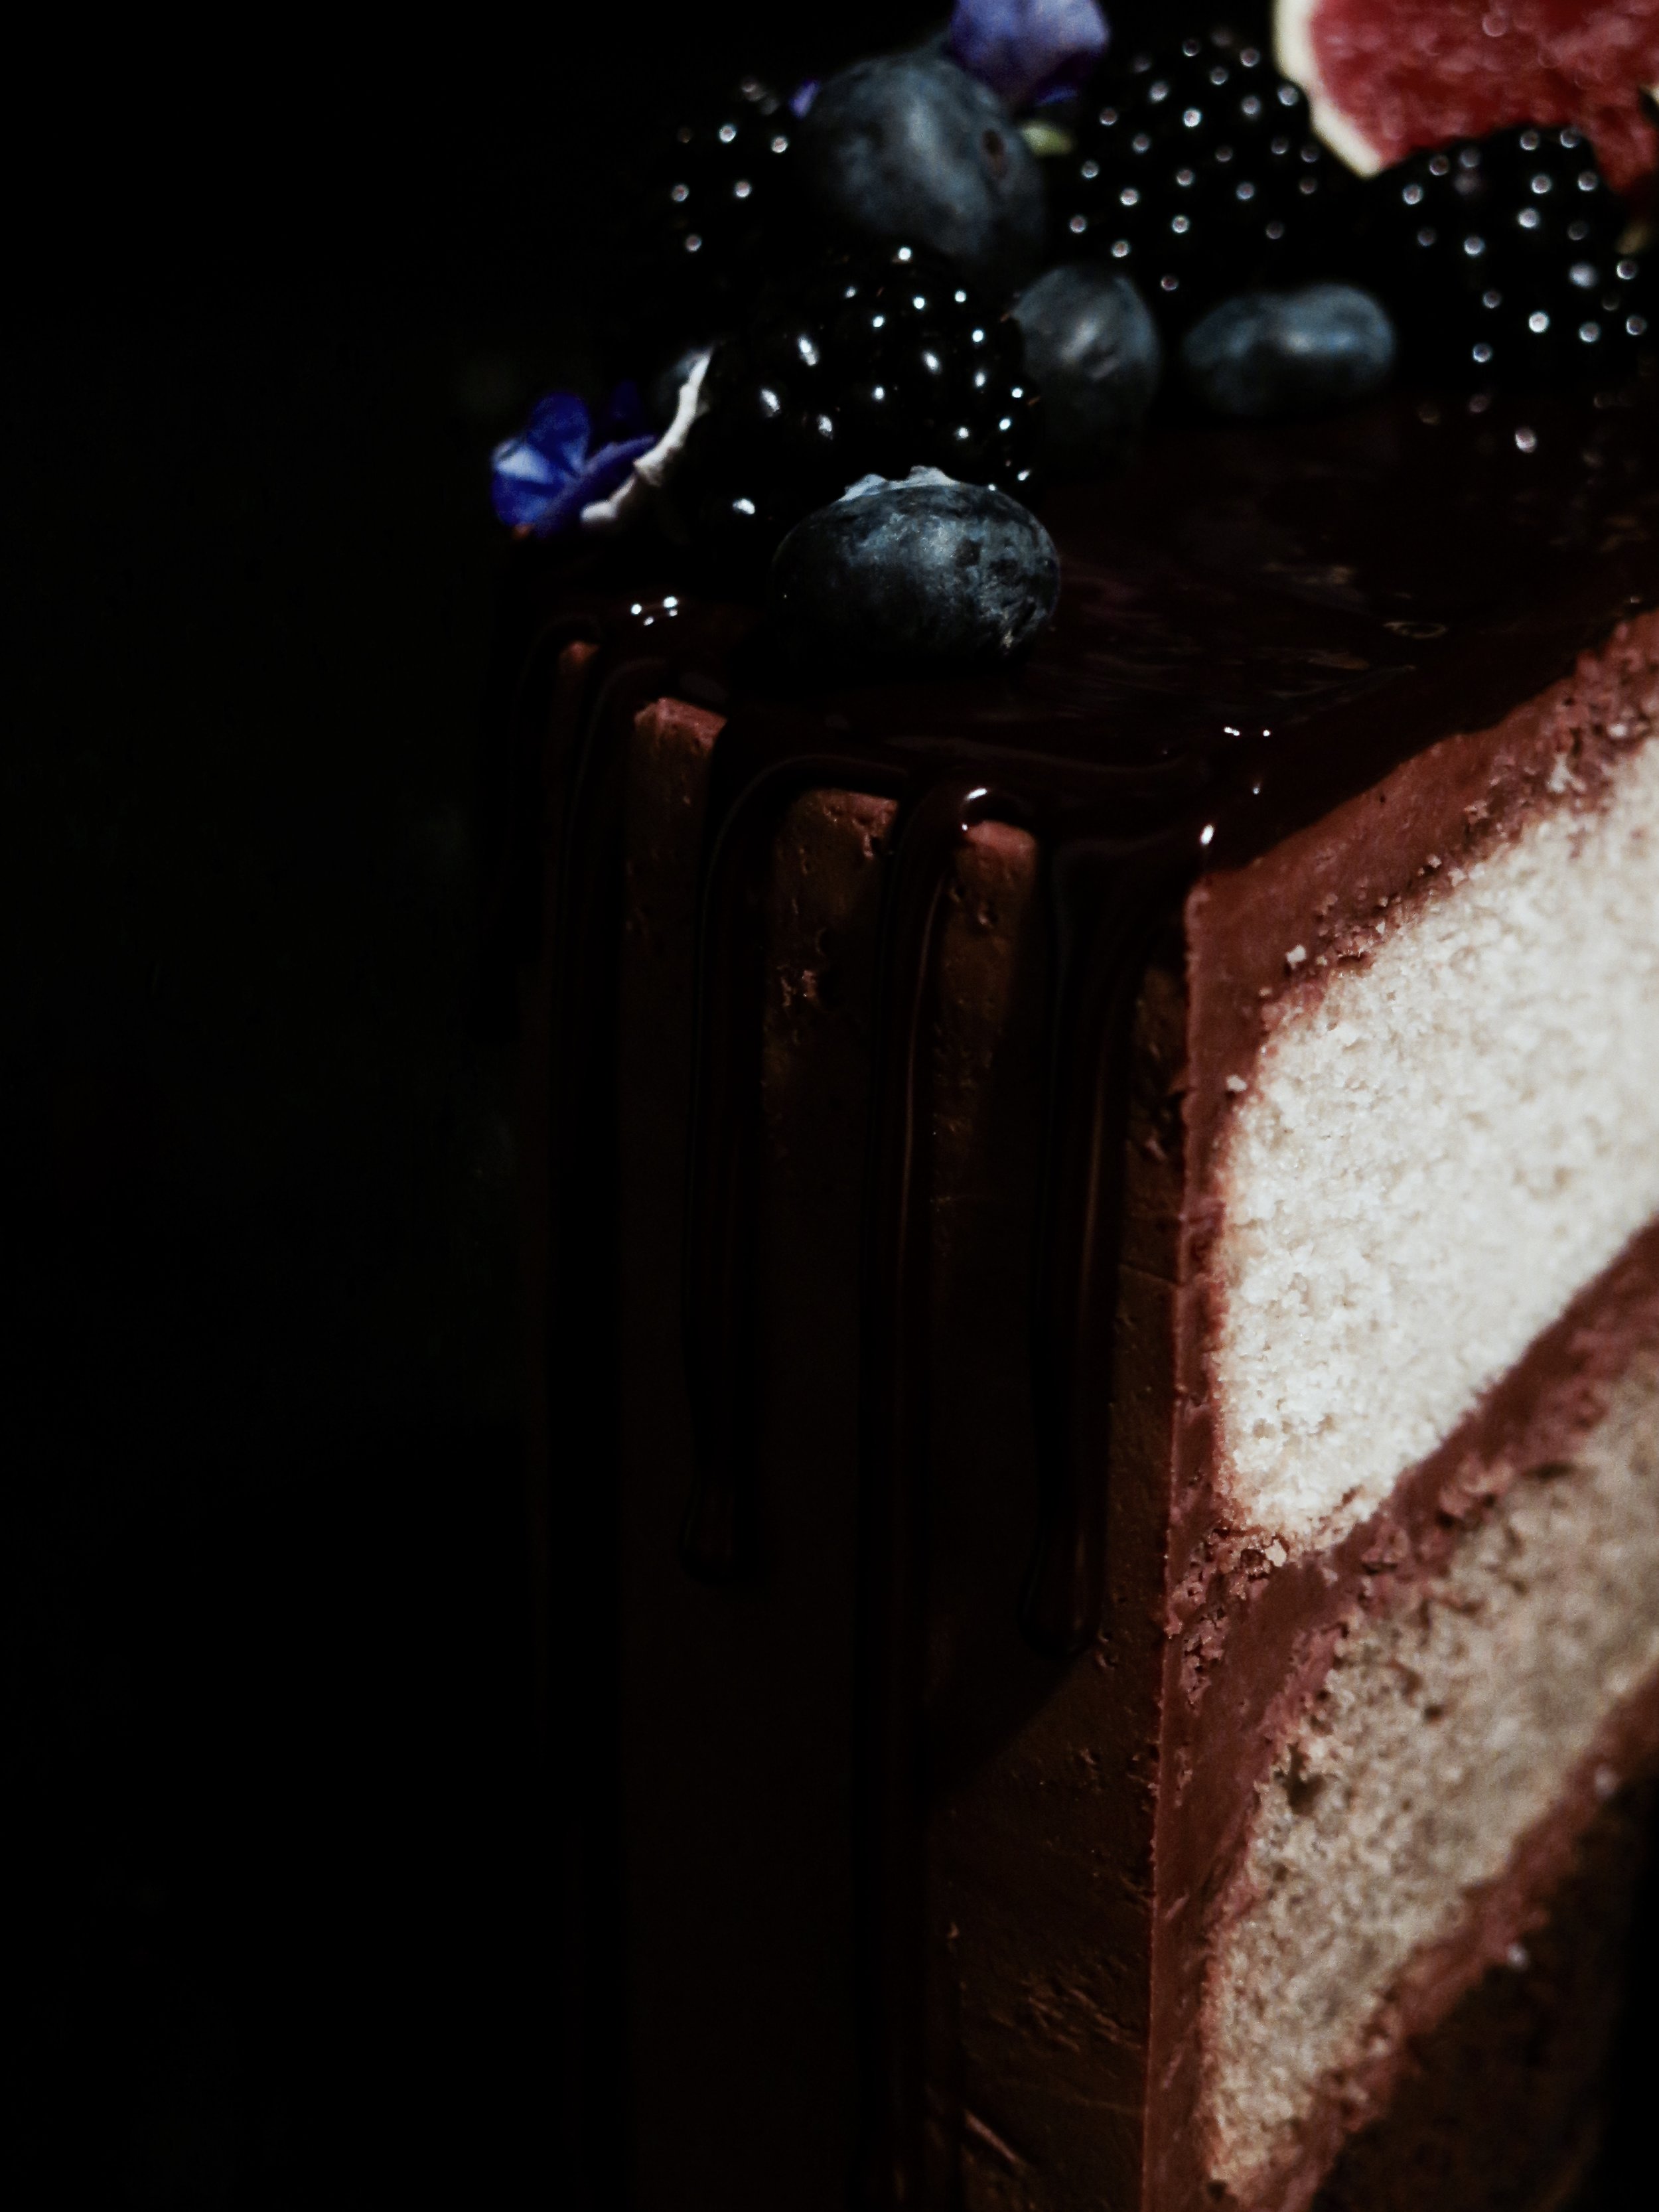
1)    The cakes should be of equal depth, so line the three cakes alongside each other and, with a long-serrated knife, slice the domes off each to make them even. I then place the cakes in the freezer for 10 minutes as it makes them easier to ice. 
2)    Place the chocolate cake on the stand on which you wish to serve the cake. This will be the bottom most layer. Place about a fifth of the icing mixture on top and spread it carefully with a spatula. Place the coffee cake directly on top and repeat, finally placing the vanilla layer on top. 
3)    At this point, if you are impatient, you can continue to ice the rest of the cake with the remaining buttercream, and proceed directly to stage 4.  If, however, you want to ice the cake perfectly, it is advisable to do a crumb layer. This involves placing another fifth of the buttercream on the top of the cake and using a spatula to spread it evenly in as thin layer as possible around the cake, coating and filling any irregularities or gaps so that the sides and top are totally smooth and flat. Once this is done, place the cake in the fridge for a further 30 minutes until the icing is slightly hard to the touch. Remove from the fridge, and place the remaining icing onto the top of the cake and use a spatula to spread it off the top and around the sides. I dip the spatula in hot water to help achieve a smooth result. Place the cake back in the fridge while making the ganache.
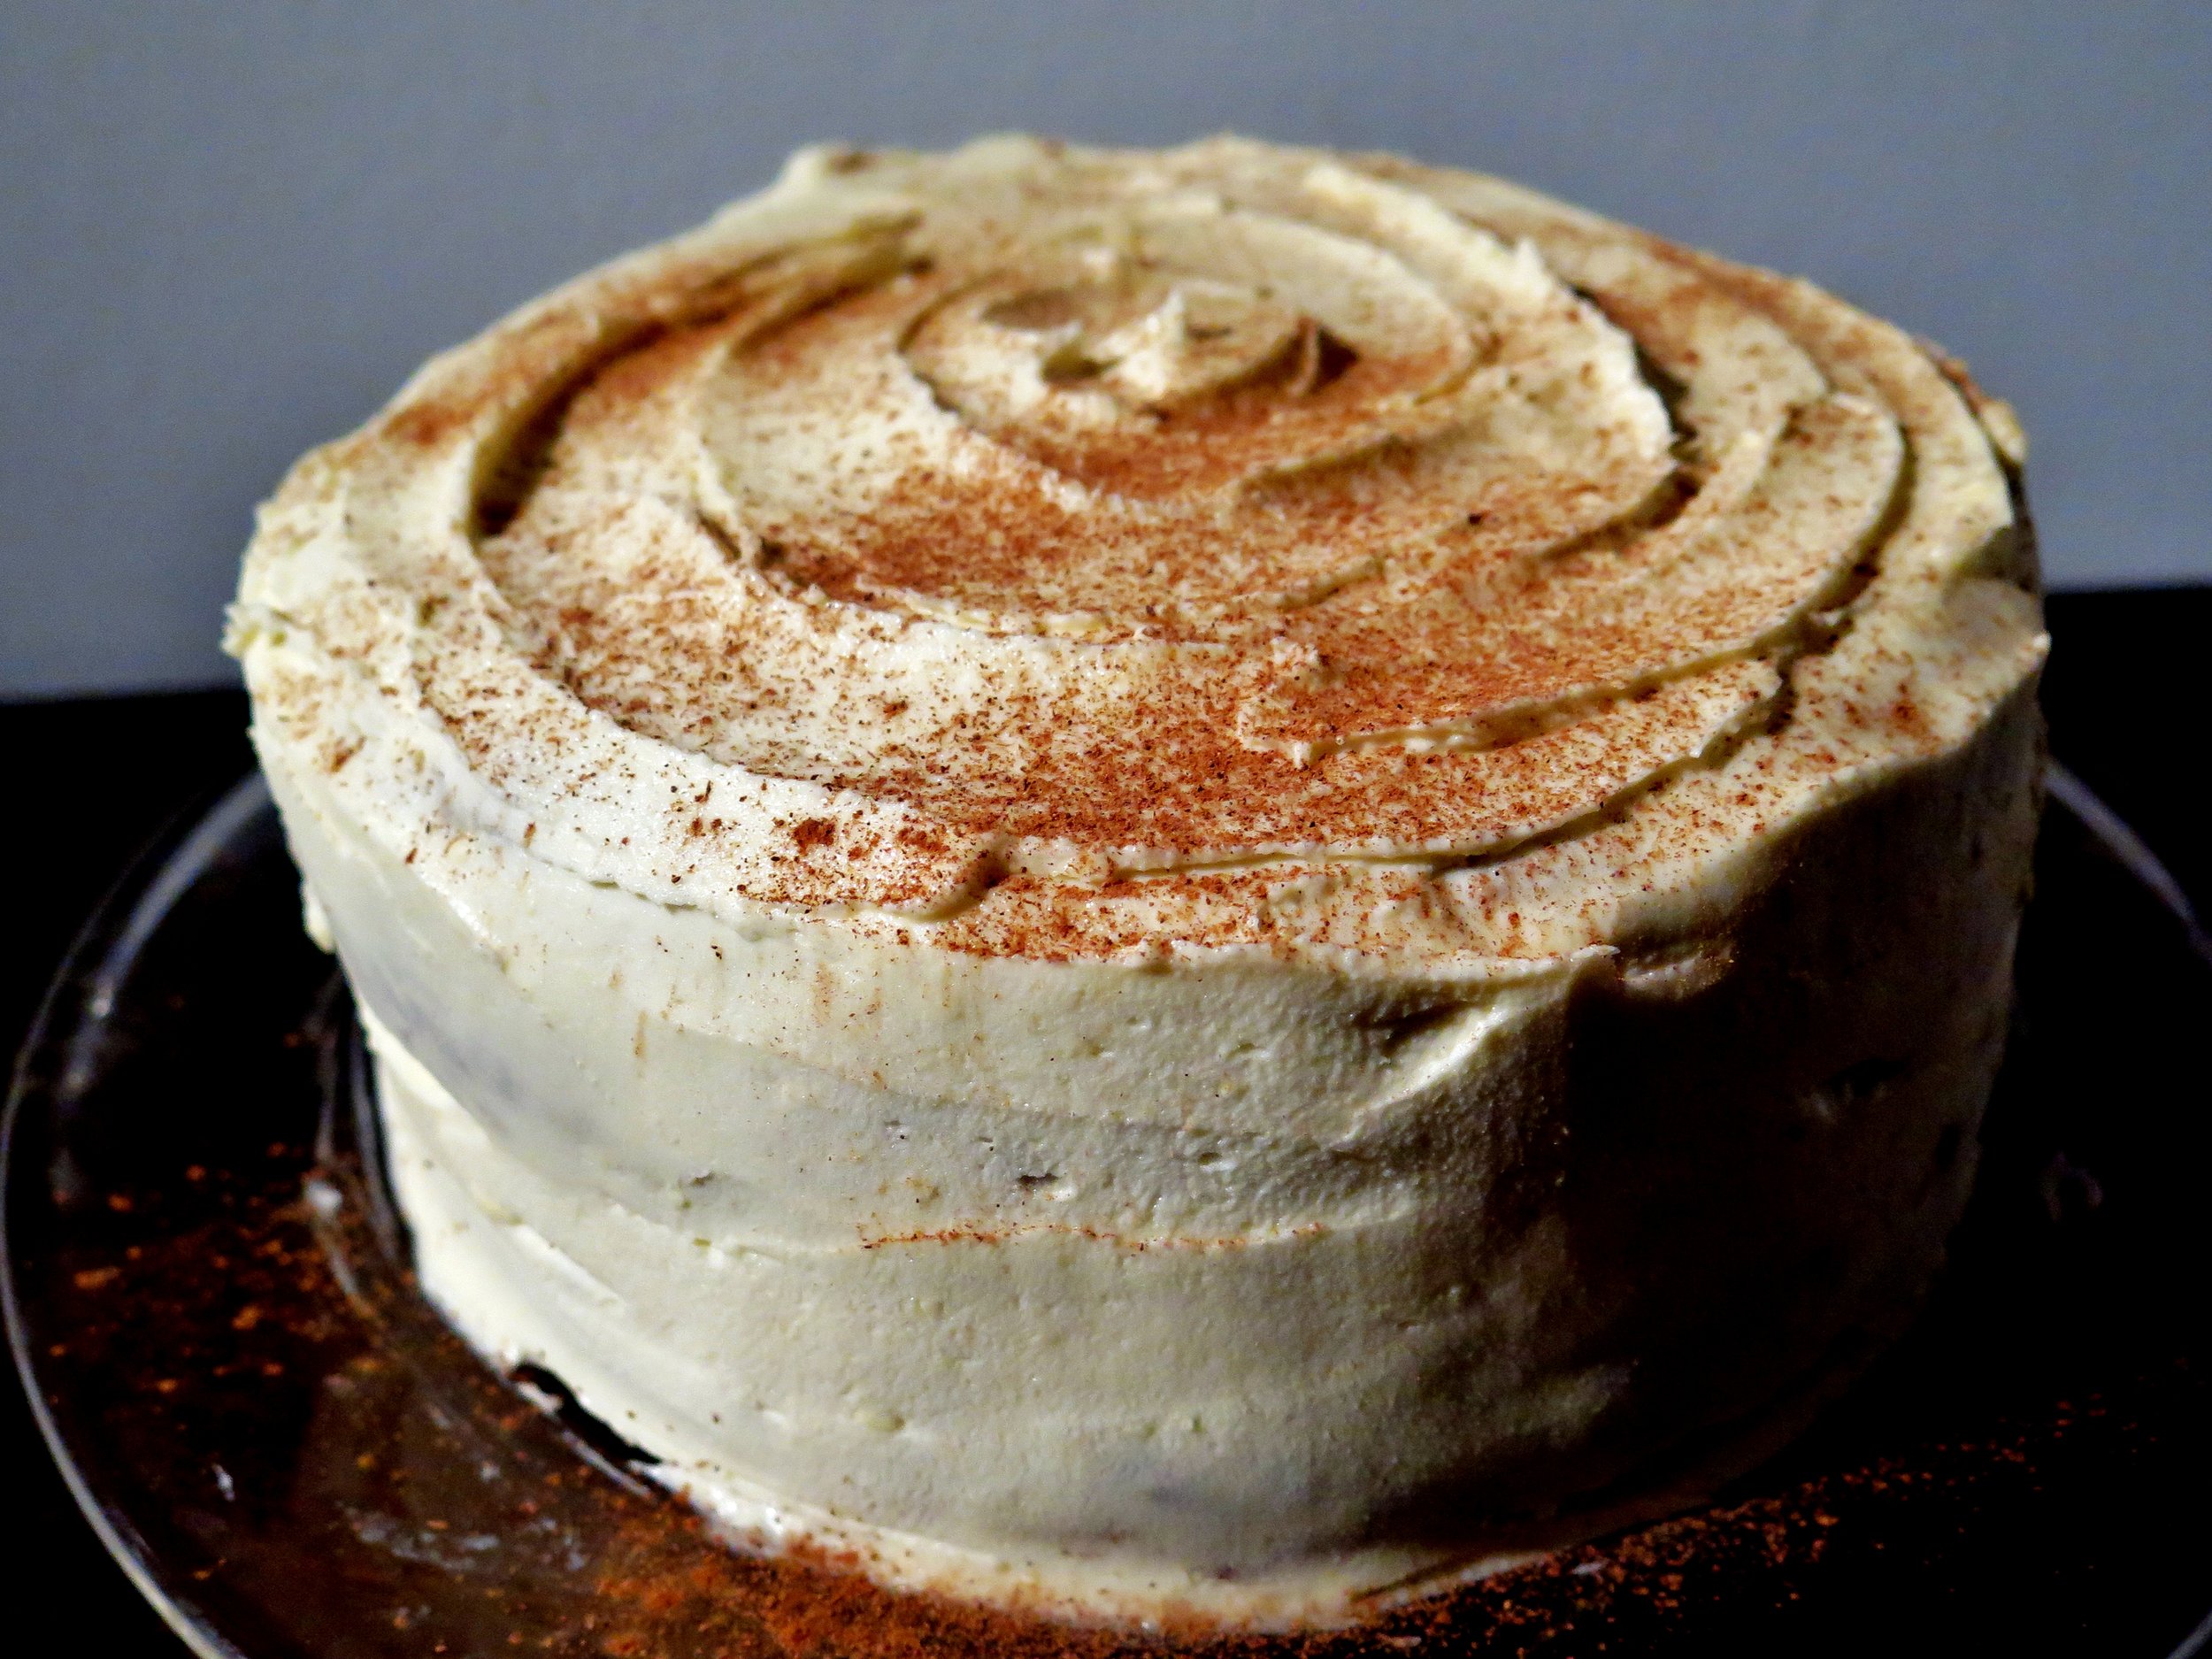
4)    Spoon a third of the ganache into the piping bag. Begin by drawing a line round the edge of the cake surface as a border. Then to make a drip, hold the piping bag very still with the nozzle pointing directly down, and put consistent pressure on the bag to allow the drop to fall from the edge down the side of the cake. Stop when the drip is nearly at the length you want. Continue along the edge of the cake making drips of different lengths. Once this is done, pour the remaining ganache onto the top of the cake and spread with a spatula to cover the surface. 
5)    Top with dark fruits or any decoration of choice, and serve. 

All cake recipes are adapted from Nigella Lawson’s Chocolate Fudge Cake and Victoria Sponge Cake recipes

fullsizeoutput_879.jpeg
fullsizeoutput_876.jpeg

HUNGRY FOR MORE?

Comment

Pollen Street Social Review

Comment

Pollen Street Social Review

IMG_5132.jpg

& a glimpse inside the kitchen...Pollen Street Social Review

Last week I went to a blind wine-tasting in a stuffy carpeted room on the top floor of a Mayfair pub. On the table, columns of bottles were massed, awaiting palatal analysis and identification.  One of the sweaty, post-work crowd sidled up to me and refused to leave my side the entire evening.  Not for any flattering reason: he had arrived drunk at the alcohol imbibition.  The sole potential benefit of his presence was his vaunted knowledge of wines, gained from downing over fifty years’ worth of ethanol. Wine after wine he sipped, swirled, glugged, holding each up to the window despite the fading light. Glass after glass he swigged and squirted from one side of his mouth to the other, patting his lips, flipping his tongue up to his palette  in order “to catch the aftertaste”, sucking and squelching.  “Taste the vanilla in that”, “feel the syrupy smoothness of this”, he said, nodding sagely.  1/9 of his answers were correct…

Pollen Street Social Review


To me, this is all a manifestation of the emperor’s new clothes syndrome which may sometimes be applied to Michelin-starred restaurants. Do I really want to dine on fussy little squiggles of substance that I have to chase with another globule of something or other so that the perfect scientific reaction can effervesce at the back end of my tongue?  However, Jason Atherton’s soon to be double Michelin-starred flagship is not in this category.  An idyll amongst the raucous, tourist-ridden bustle of Regent Street, Pollen Street Social sits opposite its sister restaurant, Little Social (see review here). Its style is unfussy, open, and clean, with attention to detail: even our bags were given individual stools.

Pollen Street Social Review


Before we had even turned the page of the menu, a selection of amuse bouches materialised: dainty sweet corn muffins topped with delicate swirls of dill and cucumber cream, beetroot and blackberry filled tuiles that burst with sweet vinegary freshness, and my favourite, a Jerusalem artichoke crème.  These were followed by cups of mushroom consommé topped with delicate parmesan foam, salty and meaty while being vegetarian.

Pollen Street Social Review

To start, I chose the neeps and tatties in a mushroom ragout- a wonderful coil of tender turnip ribbons generously grated with umami Berkswell cheese.  I could have easily devoured my dining companions’ portions as well.

Pollen Street Social Review Pollen Street Social ReviewPollen Street Social ReviewOut of the whirr and buzz there then appeared the sprightly figure of Tiziano, the junior manager, who filled the room with his energy and excitable charm. He whisked me off to view the upstairs kitchen and the pass – a dark, orange- lit forge, tantalisingly situated behind glass.

Pollen Street Social Review


Pollen Street Social Review

Pollen Street Social Review

Pollen Street Social ReviewPollen Street Social ReviewIt was sprung with energy but, unlike the amped up drama so often portrayed on TV, it was at the same time controlled and calm. Whilst fixing plates, advising chefs on the pass, and approving the dishes that flowed past us on wooden board, Dale (Head Chef) talked me through the dishes.

Pollen Street Social Review

Our main courses were served as soon as I returned to my seat: the juiciest of chicken breast with a skin so crisp that even I (spurner of skin) couldn’t resist – its earthy savouriness was contrasted with the little pops of peas and broad beans, underpinned once more by the seasonal buttery, almost molten, girolles. The wild garlic flowers added to the dish with their fresh savouriness. My dining companions’ lamb and gnocchi dishes were also successes, although if there were any criticism it would be the mushroom theme that was developing throughout the vegetarian dishes – a non fungi fan would have had difficulty.  In addition, my companion found some of the mushrooms somewhat too heavily salted.

Pollen Street Social Review


Pollen Street Social ReviewPollen Street Social ReviewWe decamped to the dessert bar to watch the pastry chefs practising their craft. First, a palate cleanser which was one of the highlights of the meal, straddling the line between savoury and sweet, and without risking losing stomach room for dessert: light yogurt foam with fairy-thin shards of meringue and a verdant and astringent basil sorbet.

Pollen Street Social Review

Pollen Street Social ReviewPollen Street Social ReviewPollen Street Social ReviewWe watched as cylinders of tempered chocolate were filled with an aerated milk mousse and crumbled sticky and crunchy caramelised puffed rice.  A chocolate disc was delicately placed on top like a lid, and adorned with a gold leaf foil, and then accompanied by a rocher of honey ice cream.  My dining companions' poached berries with lime and cream cheese sorbet with honey sugar tuile were also a hit. These were chased by a velvety chocolate mousse, and an almond and cherry financier, and a passion fruit and blood orange pâté de fruit, as well as a hazelnut crème entremets for the road…just in case.

Pollen Street Social Review

Pollen Street Social ReviewPollen Street Social ReviewDelicious, unfussy, comfortable and exciting – this is one of the finest dining experiences I have had in the last few years.  And I can say that without any fear of an emperor’s new clothes diagnosis.

Food: 9.5/10

Ambience: 8/10

Service: 10/10

Price: ££££

Loos: 9/10

Pollen Street Social Review

Comment

Triple Coffee & Caramelised Walnut Cake

1 Comment

Triple Coffee & Caramelised Walnut Cake

IMG_4523.jpg

 How to bake and stay (reasonably) in shape. Triple Coffee & Caramelised Walnut Cake

I am often asked how it is that I am not obese.  I am by no means super skinny, but people wonder how I avoid rolling around the place when I am seemingly baking the whole time and have little resistance to delicious things.  So, here’s my secret.  Have a go.

Triple Coffee & Caramelised Walnut Cake


What I need: a running machine; a radio; an oven; a timer

Triple Coffee & Caramelised Walnut Cake

What I do:

Pour the batter into the cake tin, lovingly smooth the surface over with a spatula. One lick of the spatula before it goes in the sink (just a little indulgence). Carefully open the oven door, and bend down slowly so that the batter remains level.  Place the cake tin tenderly on the rack. Set the oven timer.  22 minutes.  Then GO.

Triple Coffee & Caramelised Walnut Cake

Run up the stairs, two at a time.  That’s one minute either side to rush back down.  Turn up the radio. Leap on to the treadmill, and run. 10 mph minimum. 20 mins to go.  Sweat, pound, sweat.  15 mins.  Beyoncé’s screaming.  Oven beeps.  Run back down (Beyoncé’s mumbling). Open oven door, skewer the cake.  Damn - not cooked. Rip out a sheet of tin foil. Cover the cake.  Burn hand.  Set timer: 7 mins more.  Repeat process until skewer comes out clean.  Place cake on rack and allow to cool.

Stretch and shower.

Hover over the cake with a knife.

Triple Coffee & Caramelised Walnut Cake

You can make the cake sans-icing by simply halving the recipe and, before serving, dusting with a little icing sugar.Triple Coffee & Caramelised Walnut Cake


Ingredients

Cake

200g butter, at room temperature

170g caster sugar

30g light brown muscovado sugar

2 tbsp ground coffee

¼ tsp salt

70g toasted walnuts, ground to a fine sand

4 large eggs, beaten

1 tsp vanilla extract

1 ½ tsp instant coffee, dissolved in as little hot water as possible to make a smooth paste

240g self-rising flour, sieved

2 x 8 inch cake tins, greased and with bases lined with a circle of baking parchment


Coffee Syrup

40g golden syrup

50g caster sugar

2 tbsp instant coffee

100ml boiling water


Coffee Icing

300g butter, at room temperature

450g icing sugar

1 ½ tsp vanilla

2 tbsp instant coffee dissolved in as little hot water as possible to make a smooth paste

¼ tsp salt


Caramelised walnuts

60g walnuts

2 tbsp caster sugar

3 tbsp water

Method

  1. Preheat oven to 180˚C. Using an electric mixer, or with a vigorous hand, in a large bowl beat together the butter, caster sugar, muscovado, ground coffee and salt until light and fluffy.
  2. In a separate bowl, beat together the eggs, vanilla and dissolved instant coffee. Beat this into the butter-sugar-coffee-salt mix.  Once combined, stir in the ground walnuts.
  3. Finally, gently fold the sieved flour into the mixture, being careful not to overbeat. Divide the mixture between the two tins and place in the oven to bake for 25 minutes (checking after 20) or until a skewer comes out clean.
  4. While the cakes are baking, make the coffee syrup. Dissolve the instant coffee in the water and pour into a small pan along with the syrup and sugar.  On a medium high heat, stir until the sugar has dissolved, then allow to simmer for 5 minutes or until it thickens slightly to the consistency of maple syrup.
  5. Remove cakes from oven. Stab them all over with a cake tester or skewer, and spoon the syrup equally over the two cakes.  Set aside on a rack and allow to cool.

Icing

  1. Beat together butter and icing sugar. Once combined, beat in the vanilla, coffee and salt.
  2. Remove the cakes from tins, place one on the serving plate and spread ¼ of the icing on its surface. Place the other cake on top and spread the icing evenly over the cake.

Caramelised Walnuts

  1. In a shallow pan, over a medium-high heat, stir together water and sugar until the sugar has dissolved. Then pour in the walnuts, and continue to stir and coat them until all the water has evaporated.  Decant them on to a sheet of baking parchment, and allow them to cool.
  2. Once cool, chop roughly, and scatter as desired over the cake.

Triple Coffee & Caramelised Walnut Cake

1 Comment

Spiced Blueberry Tart

1 Comment

Spiced Blueberry Tart

IMG_4374i.jpg

Is it just me, or is anyone else sick of logging on to Facebook, innocently hoping to drain away half an hour of one’s day (minimum) by looking at pictures of people one may or may not have half met once trying to prove how much fun they are having by posting pictures of themselves with friends/family, strained smiles stretched across their faces, and who are clearly not that immersed in the fun as they have had to spend half an hour trying to get one decent picture out of the hundred they’ve taken to emblazon it across their Facebook wall and maybe, just maybe, turn it into a cover photo?

And then – BAM - your gaze is diverted,

and you are staring down into the depths of a garishly coloured plastic bowl filled with some unidentifiable artificial gunk, pink fleshy hands massaging some other substance into it to form some putty-like emulsion which is then mushed and squeezed and squidged into a plastic mould, whizzed up, and extruded through a bag and…… oh look, it’s that Gooey Oreo, Jellied Eel and Green Marshmallow Mini Coffee Cup that “you’ve always wanted to make for your slumber party with the gals”.

Here’s an antidote.  It is simple yet sophisticated, humble yet sumptuous, tangy but not cloyingly sweet, and light yet not so light when you’ve had 4+ pieces….

Ingredients

Pastry

200g white spelt flour (can be substituted with plain flour)

100g butter, roughly cubed

2 tbsp icing sugar

¼ tsp salt

1 small egg, beaten

12 x 36cm tart tin, greased and dusted with flour

Blueberry filling

800g frozen blueberries

250g caster sugar

1 tsp cinnamon

½ tsp nutmeg

2 tbsp cornflour

Zest of ½ medium sized orange

Method

  1. Place flour, butter, icing sugar and salt in a food processor, and blitz until it resembles damp sand. Pour in the beaten egg, and pulse until the mixture combines to form a soft dough.  Remove from the processor, wrap in baking parchment and place in the fridge for half an hour (or freezer for 10-15 minutes) – this will prevent the dough from shrinking when it bakes.
  2. Preheat the oven to 180˚C. Lightly dust a surface with flour and roll out the dough in a rough rectangle to 0.5cm thickness. Roll the pastry around a rolling pin and transfer to the tin, pressing it into the fluting (if, indeed, your tin is fluted). Run a knife along the top edge of the tin to remove excess pastry. Prick the base of the pastry a few times with a fork, and place back in the fridge for 30 minutes (or freezer for 10 minutes).
  3. Prepare the pastry for blind baking by lining the inside with a sheet of tin foil and filling it with baking beads to weigh it down while it bakes and to prevent it from shrinking. Place in the oven for 15-20 minutes until the pastry is dry and beginning to turn golden.  If it is cooking too slowly, you can remove the beads and tin foil after 15 minutes and continue to bake.  Remove from oven and set aside to cool.
  4. To make the spiced blueberry filling, place a large pan over a high heat and pour in all the ingredients. Stir continuously until the sugar is dissolved in the juice that runs off the blueberries. When the mixture begins to boil, reduce the heat to medium-high and allow to simmer for 20-30 minutes, stirring occasionally to prevent it from catching, until the liquid is almost completely reduced and with the viscosity somewhere between a syrup and a jam. Allow to cool to room temperature, then pour into the pre-baked pastry case.
Spiced Blueberry Tart

1 Comment

Passion Fruit & Coconut Truffles

Comment

Passion Fruit & Coconut Truffles

IMG_4223.jpg

Passion Fruit & Coconut Double Chocolate Truffles IMG_4217

My household has recently been beset by a typical problem. My mom rather enjoys pressing the "+”button when ordering from Ocado.  Whereas last week this resulted in a glut of cherries, this week it was passion fruit.   Even after days of bisecting the plum-coloured orbs and slurping up the tangy yellow spawn (sans spoon, and only in the most ladylike way, obviously), the supply remained steady.

IMG_4163

IMG_4135

IMG_4237Clearly, truffles were the solution.  Most truffle recipes create a molten ganache centre by simply combining melted chocolate with the flavour/ingredient of choice and a dribble of cream.  Easy?  Perhaps.  Zero depth of flavour? Indeed.  I make a caramel base to add a darker, nuttier complexity.

IMG_4215

This is poured over the dark chocolate to melt it, and the golden toasted coconut is then swirled in with the fresh and tangy passion fruit juice.

IMG_4126

I recommend using good quality dark chocolate – the results are worth it.  The tangy molten ganache is then frozen, later to be formed into spheres.  These are encased in a crisp white chocolate and coconut shell to add a touch of sweetness and contrast of textures.

IMG_4225

The name “passion fruit” does not, as you might assume, come from any aphrodisiac qualities of the fruit.  Rather, it comes from the shape of flower which resembles a crown like that that of thorns around Jesus’ head – thus, passion derives from the "passion of Christ”.  Indeed, these truffles are rather ambrosial – you could even say that eating them is a religious experience.

IMG_4219

IMG_4157


Ingredients (makes 50 - halve if strapped for time)

For the Ganache

150g 70% dark chocolate (good quality)

150g caster sugar

150g double cream

10g unsalted butter

10g light brown muscovado sugar

½ tsp salt

70g desiccated coconut

8 passion fruits, sieved to extract about 90ml of juice.

100g icing sugar, sifted


Large tray lined with baking parchment


For the shell

500g white chocolate

200g desiccated coconut

Pair of surgical gloves (optional)

  1. Chop the dark chocolate roughly, and set it aside in a large heatproof mixing bowl.
  2. To toast the coconut (70g), place a medium frying pan over a medium-high heat, pour the coconut in and stir continuously for 5 -8 minutes until the coconut turns a light golden colour. Add this to the dark chocolate.
  3. Place the caster sugar in saucepan over medium high heat, and when it starts to melt, stir gently with a spatula to avoid the sugar burning around the edges. Push unmelted sugar into the already caramelised sugar to aid the caramelising process.
  4. Once the sugar has turned a rich, dark gold colour, while still on the heat, pour in the cream, whisking all the time. If clumps form, don’t panic: keep whisking over medium low heat, and they will eventually melt.
  5. Once the lumps have dissolved, whisk in the muscovado sugar, butter, vanilla and salt and stir the bubbling mixture on a medium heat for another 2 minutes.
  6. Pour the hot mixture into the bowl of chopped dark chocolate and coconut and stir immediately until all the chocolate has melted and the caramel and chocolate are fully combined. Pour the passion fruit juice into the mixture, and stir to combine fully. Pour this into a shallow tray, and place in the freezer for an hour to set slightly.
  7. Once it has become slightly more solid, remove the tray of mixture from the freezer. Use a teaspoon to scoop out dollops, and roll each between the palms of your hands to form 2cm diameter spheres. Roll the spheres in the icing sugar to coat them finely, and then place them on a baking tray with space around each sphere to avoid their sticking together. Once all the mixture has been rolled into spheres, place the baking tray in the freezer for half an hour or until the spheres are firm and cold to touch. You may need to do this in batches as the ganache mixture melts very quickly.
  8. Break half the white chocolate (250g) into pieces and place in a bone-dry, heatproof bowl (any drop of water will make the chocolate seize). Place the bowl over a pot of boiling water (without the boiling water touching the base of the heatproof bowl), and stir occasionally until the chocolate is melted.
  9. Remove the dark chocolate spheres from the freezer, and one at a time, skewer with a toothpick and coat by spooning the melted white chocolate over each frozen chocolate sphere. Remove the skewer, replace the coated truffle on the baking tray, and replace in the freezer for 10 minutes for the first layer to set.

Melt the rest of the white chocolate (using the same method as before), and place the desiccated coconut (200g) in a bowl. Remove the truffles from the freezer. If you don’t want to get too messy, wear surgical gloves to do this stage. With one hand, roll the truffle in the melted white chocolate. Then, drop it into the coconut and with your other hand roll it to coat it. Once the batch is complete, place back in the freezer for a minimum 10 minutes to set.

IMG_4216


Comment

Double Chocolate Salted Caramel Tart

5 Comments

Double Chocolate Salted Caramel Tart

IMG_3775.jpg

I never caught on to the Disney hype – I endured a few of the films when I was younger but was never enthralled by its saccharine princesses and unrealistic princes. I rejected the dressing up stage of childhood, and have none of the nostalgia that is awakened in many when hearing or singing the songs.  My only knowledge of Lion King is from Cindies (arguably the stickiest night club in Cambridge) which is played for 30 seconds without fail every Wednesday evening to excite the Disney addicts and to jolt inebriated students out of their drunken kisses.

What I did love was the sugar-glazed brutality of the original Charlie and the Chocolate Factory film.

I adored the Chocolate Room, and my six year old self spent a lot of time fantasising about edible wallpaper and edible TV adverts. However, the first scene, where Augustus Gloop falls into the ‘chocolate’ river, is almost too painful to watch.

It was concocted using 150,000 gallons of water, real chocolate and real ice cream, yet despite its authenticity, its watery thinness is more the stuff of sewers than of dreams.

If I were going to bathe in chocolate it would need to be velvety, glossy and thick… and after 15 years of dwelling on this I’ve come to terms with the fact that this tart is probably the closest I will get to doing that.

Double Chocolate Salted Caramel Tart

Ingredients

Chocolate pastry

225g plain flour

30g cocoa

150g unsalted butter, chopped into cubes

110g white caster sugar

3 egg yolks

¼ tsp salt

1 tsp vanilla extract

1 tbsp ice water

baking beads/uncooked rice/dry beans

4 fresh figs, halved (optional)

12 x 36cm tart tin, greased and dusted with flour

Salted caramel chocolate ganache

300g 70% good quality dark chocolate

300g white caster sugar

300ml double cream

20g light brown muscovado sugar

20g butter

1tsp vanilla extract

1 tsp salt

Pastry Method

  1. Preheat the oven to 200˚C
  2. Blitz all the ingredients in a blender. Pulse until into turns into a damp sand texture. Tip out on to a surface and press it so that it clumps together into dough.   Wrap the dough in baking parchment and put it in the fridge for an hour, or in the freezer for 15 minutes.
  3. Dust a surface with flour and roll the pastry out in a rectangle to a thickness of 0.5cm. Any excess can be frozen and used within 2 months. Transfer the pastry to the greased and floured tin to line it. Don’t panic if it crumbles in the transition, just patchwork it together in the tin. Place a sheet of baking parchment or tin foil over the pastry, and fill it with the baking beads to weigh it down to prevent the pastry from shrinking as it cooks.
  4. Place it in the oven to bake for 10 minutes. Remove from the oven and remove the baking parchment and baking beads. Reduce the oven temperature to 150˚C, and place the pastry back in to bake for a further 10-15 minutes until it is fully cooked. Set aside to cool.

Salted Caramel Chocolate Ganache Method

  1. Chop the dark chocolate roughly, and set it aside in a heatproof mixing bowl.
  2. Place the caster sugar in a saucepan over medium high heat and, when it starts to melt, stir gently with a rubber spatula to avoid it burning around the edges. Push any unmelted sugar into the already caramelised sugar to aid the caramelising process.
  3. Once the sugar has turned a rich, dark gold colour, while still on the heat, pour in the cream whisking all the time. If clumps form, don’t panic: keep whisking over medium low heat, and they will eventually melt.
  4. Once the lumps have dissolved, whisk in the muscovado sugar, butter, vanilla and salt, and stir the bubbling mixture on a medium heat for another 2 minutes.
  5. Pour the mixture into the bowl of chopped dark chocolate and stir immediately until all the chocolate has melted and the caramel and chocolate are fully combined.
  6. Pour into the tart shell, smooth the surface over with a palate knife, and place this in the fridge for an hour (or freezer for half an hour) to set. Decorate with sliced figs to serve.
Double Chocolate Salted Caramel Tart

5 Comments

Quick Asparagus & Parmesan Pizza

2 Comments

Quick Asparagus & Parmesan Pizza

IMG_2242.jpg

Quick Asparagus & Parmesan Pizza Pizza is in his DNA.  Five generations of golden, thin, crispiness. One recipe.

Quick Asparagus & Parmesan Pizza

The pizza oven is raging, rapidly devouring its feed of dry wood and spitting out sweet nutty smoke.

Quick Asparagus & Parmesan Pizza


He comes every summer in his Ape brimming with plump mushrooms of dough.

Quick Asparagus & Parmesan Pizza

A light sprinkle of flour on a wooden board, and he gets to work.

Quick Asparagus & Parmesan Pizza

With wrist flicks and little rotations the round becomes a disc, airborne momentarily to ensure evenness.

Quick Asparagus & Parmesan Pizza

A careful spiral of passata with the back of a spoon,

Quick Asparagus & Parmesan Pizza

a shower of mozzarella,

Quick Asparagus & Parmesan Pizza

and a scattering of whatever’s in the garden: fiori di zucchini, melanzane, pepperoncini…

Quick Asparagus & Parmesan Pizza

The flurry of flour continues into the night.

Quick Asparagus & Parmesan Pizza

The dinner table is a moderation-free zone.

Quick Asparagus & Parmesan Pizza

He only stops when even the strictest of eaters has lost count of the number of pizzas (not slices) he/she has consumed, and physical incapacity is the only limitation.

Quick Asparagus & Parmesan Pizza

He doesn’t even really stop there: a couple more are sent to the table per domani.

Quick Asparagus & Parmesan Pizza

A pizza “hangover” ensues along with the inevitable promises of “never again” “not for another year”.

Quick Asparagus & Parmesan Pizza

But as soon as I hit London soil again I want to relieve that pizza-lover’s fantasy and so I make these.

Quick Asparagus & Parmesan Pizza

They’re crisp, thin, verdant, and fresh.

Quick Asparagus & Parmesan Pizza

I don’t believe in barren crusts or meanness so the ingredients are abundant and go right up to and beyond the edge of the base.

Quick Asparagus & Parmesan Pizza

I use spelt instead of plain flour (as usual) to reduce the GI level and add a nuttier more complex flavour to the dough.

Quick Asparagus & Parmesan Pizza

The added bonus of this recipe is that it is ridiculously quick.  Kneading is kept to a minimum (5 minutes) and the rising time is the shortest you’ll ever find for pizza dough – ½ hour.

Quick Asparagus & Parmesan Pizza

The balsamic-maple reduction is optional but I include it to add extra caramelised sweetness, extra tang and a touch of drama.

Quick Asparagus & Parmesan Pizza

Quick Asparagus & Parmesan Pizza

Quick Asparagus & Parmesan Pizza


Ingredients – makes 4 pizzas

Base

250ml warm water

3 tsp dried yeast (fast active yeast)

500g white spelt flour

1 ½ tsp salt

1 tbsp olive oil


Topping

750g asparagus

30g garlic cloves, peeled and crushed

1 tbsp olive oil

1 1/4 tsp salt

Grated zest of ½ lemon

A few grinds of Pepper

400g mozzarella (4 balls), chopped finely into cubes

100g parmesan, grated

3 spring onions, thinly sliced

Small bunch of chives, finely chopped

2 red chillies (optional), finely sliced


2 large baking trays or 4 medium baking trays, greased and dusted with flour


Maple Balsamic Reduction (optional)

120ml balsamic vinegar

2 tsp maple syrup


Method

  1. Heat oven to 120˚C for 5 minutes then switch it off.
  2. In the bowl of a mixer (or large bowl if making by hand) pour in warm water and sprinkle yeast over it. Allow to stand for 5 minutes for the yeast to activate.
  3. Stir in flour, salt and oil. Knead by hand for 5 minutes on a lightly floured surface, or in a machine fitted with a dough hook for 5 minutes until the dough is smooth and when you press your thumb into it, it bounces back up.
  4. Divide dough into two and place each half in a lightly oiled bowl. Cover with cling film and place in warmed oven.  Allow to rise for 30 minutes or until doubled, then remove from oven and preheat it to its highest temperature, usually 250˚C.
  5. While the dough is rising, use a vegetable peeler to shave the asparagus: place the asparagus flat on a surface, and holding it at the woody end, shave it from above the woody end to the top of the spear. I sometimes use the ends to make a stock for asparagus risotto.
  6. Place the ribbons in a bowl and mix with garlic, oil, salt, lemon zest and pepper.
  7. Once risen, divide each half into two and roll out each quarter into a 0.5cm thick disc. Place on tray and scatter each disc with mozzarella, parmesan, and shaved asparagus.  Bake in oven for 15-20 minutes until golden and bubbling.
  8. Once baked, scatter with spring onions, chives, and chillies, if using. Drizzle with balsamic reduction, if desired, and serve immediately.


Maple Balsamic reduction

  1. Boil balsamic and maple syrup together over a high heat for about 5 minutes until it thickens slightly to consistency more like that of pure maple syrup. Allow to cool for 1 minute, and drizzle over pizzas.

Quick Asparagus & Parmesan Pizza

Adapted from The Smitten Kitchen Cookbook

2 Comments

Caramelised White Chocolate Cheesecake

5 Comments

Caramelised White Chocolate Cheesecake

IMG_1368-Copy.jpg

  Caramelised White Chocolate Cheesecake with Salty-Sweet Fudgy Biscuit Base & Blackcurrant Glaze

Caramelised White Chocolate Cheesecake


I’m at risk of sounding like one of those mindless click-bait buzzfeed articles when I say this, but I mean ever word: you’ve been eating white chocolate incorrectly your whole life.

Caramelised White Chocolate Cheesecake


Would you believe me if I told you that the innocent Milky Bar Kid’s saccharine white cocoa butter chocolate has a deeper, darker, more seductive side?

Caramelised White Chocolate Cheesecake

The corruption process is simple.  All you need is:

- heat

- good quality white chocolate

-a tray

Caramelised White Chocolate Cheesecake

After about 20 minutes, the heat will begin to convert the pool of glossy molten cocoa butter into white chocolate’s luscious evil sister.  I dare you to try it.

Caramelised White Chocolate Cheesecake

It’s pretty sublime on its own but, if you can resist eating it all, it works deliciously well in a cheesecake.  I pair it with a fudgy, salted, graham cracker-style base and an astringent blackcurrant glaze to cut through the sweetness.

Caramelised White Chocolate Cheesecake

Often cheesecakes call for a base simply made out of crushed store-bought cookies.  I’m no stranger to doing this myself, but I’m always left with a pang of guilt for cheating.  Not only does homemade biscuit base taste better, it’s chemical-free and you have much more control over the flavour balance – this one’s especially fudgy.

Caramelised White Chocolate Cheesecake

However, if you’re feeling lazy you can make the base using 400g digestive biscuits blitzed into crumbs with the 120g browned melted butter.  If you are a coeliac just use gluten-free digestive biscuits.

Caramelised White Chocolate Cheesecake

You can also use non-caramelised white-chocolate.  It will still taste delicious, just not anywhere near as ambrosial.

Caramelised White Chocolate Cheesecake

If you can’t get hold of any blackcurrants, feel free to use fresh or frozen raspberries or redcurrants instead.

Caramelised White Chocolate Cheesecake

This is best made the day before serving and kept in the fridge overnight.  In fact, the fridge works wonders.

Caramelised White Chocolate CheesecakeCaramelised White Chocolate Cheesecake

Ingredients

Salty-sweet, fudgy biscuit base

200g white spelt flour

60g light muscovado sugar

1 tsp bicarbonate of soda

1 tsp salt

60g unsalted butter, diced

70g clear honey

4 tsp vanilla extract

120g unsalted butter, for melting

Large baking tray, lined with baking parchment

20cm square tin (or round with similar capacity), lined with baking parchment

Caramelised white chocolate filling

300g good quality white chocolate, broken into pieces

180ml double cream

500g full fat cream cheese, at room temperature

100g caster sugar

4 eggs, at room temperature

1 tbsp vanilla bean paste (or the seeds of 1 vanilla pod)

Bone dry baking tray (preferably non-stick)

Sour cream topping

220ml sour cream

40g icing sugar, sifted

Blackcurrant glaze

200g blackcurrants

80g caster sugar

3 tbsp water

100g fresh blackcurrants to decorate (optional)

Method

Salty-sweet fudgy biscuit base

  1. Preheat the oven to 180˚C. Pour flour, sugar, bicarb, salt and diced butter into a blender and blitz until the mixture resembles damp sand. Alternatively, use your fingers to rub the butter into the other ingredients.
  2. Whisk together the honey, vanilla and milk. Stir this into the dry mixture to combine and form a paste-like dough.
  3. Spread the dough on to the baking tray in an even 0.5cm thick layer. Bake in the oven for 15-20 minutes until golden brown and cooked through.  If it doesn’t become dry and brittle after cooling, bake for a further 5 minutes.
  4. Brown the 120g of butter for melting by placing it in a pan over medium heat and allowing it to turn a golden brown before setting it aside to cool.  It should give off a wonderfully nutty aroma.
  5. Crumble the baked biscuit into a blender with the browned melted butter, and pulse until it turns to damp sand-like consistency. Tip this out into the lined cake tin and press down to form an even layer.  Place in freezer to set.

Sour cream topping

  1.    Whisk together sour cream and icing sugar until smooth. Store in the fridge until ready to use

Caramelised white chocolate filling

  1. Preheat the oven to 130˚C. Pour broken white chocolate on to the tray and place in the oven. Every 10 minutes remove the chocolate from the oven, stir with a bone dry utensil, and place back in the oven.  After about 30-40 minutes it will have taken on a beautiful honeyed caramel tone.    As ovens vary in character and different chocolate brands vary in ingredient quality, it may take longer.  The chocolate may also seize.  Don’t panic if this happens: just keep going until it turns golden (I’ll explain how to proceed with this in the next step).
  2. Increase the oven temperature to 160˚C. Place the double cream in a small pan over a high heat. Once it begins to boil, remove from the heat and pour into it the caramelised white chocolate.  Stir to combine until smooth. If the chocolate did seize in the oven, it will be lumpy.  If this is the case, pour the lumpy cream and chocolate mixture in a blender and blitz until completely smooth.  If a few recalcitrant lumps remain, simple sieve them out.
  3. Either using a stand mixer fixed with the beater or a hand held whisk, beat the cream cheese together with the caster sugar until completely soft and smooth. Beat in the cream and white chocolate caramel.  In a separate bowl, whisk together the eggs and vanilla.  Pour this into the cream cheese mixture and beat until completely smooth and glossy.
  4. Remove the cake tin with the biscuit base from the freezer, and pour into it the filling mixture. Bake in the oven for 1 ½ hours, checking after 45 minutes.  If it begins to go brown, cover with tin foil and continue to bake for the full time.
  5. Keeping the oven on, remove the cheesecake from the oven and allow it to cool for 10 minutes. Spread the sour cream topping in an even layer over the surface of the cake. Place the cheesecake back in the oven, switch off the oven and leave its door slightly ajar while the cheesecake sets inside for a further 1 ½ hours.
  6. When the cheesecake reaches room temperature, remove from the oven, cover the cake tin with cling film, and place it in the fridge to allow it to set over night, or place it in the freezer for a couple of hours.

Blackcurrant glaze

  1. Place 200g blackcurrants, caster sugar and water in a small pan over a high heat and stir until the sugar is dissolved. When it begins to boil, reduce heat slightly and allow it to simmer for 5-10 minutes or until it thickens to a viscosity like that of maple syrup.  Strain the mixture through a sieve and place the liquid back in the pan to simmer for a further 3 minutes.
  2. Allow the syrup to cool slightly then carefully pour it over the chilled cheesecake. Scatter with fresh blackcurrants and serve.

Caramelised White Chocolate Cheesecake

5 Comments

Scott's - Review

1 Comment

Scott's - Review

IMG_1229.jpg

Scott's - Review And then there is the ramasse-miettes:  I love the scrape of the metal across the tablecloth sweeping away evidence of earlier greed, heralding a new course winging its way across from the kitchens, and reassuring one that the meal isn’t over yet.  I love, too, the re-laying of the tablecloth – a delicate procedure, in which the fresh tablecloth, crackling with starch, is laid across the table while the old cloth is simultaneously peeled back without allowing a crude sliver of the denuded table to be seen - comparable in some ways to a very discreet changing of a baby’s nappy.

There is no such pleasure in a flimsy sheet of paper scrunched up after each course to be replaced with another.  Fine if I’m going to Wagamama, or a corrugated iron hipster hotspot.  Not fine if I’m dining at a refined and traditional Mayfair institution - in this case, Scott’s - and paying commensurate prices .

Scott's - Review


Scott's - Review

I imagine the oyster bar, the focal point of the room, might be appropriate for a boring date.  The whizzing by of waiters bearing stunned seafood reclining on ice crystal cairns would provide enough distraction to fill any chasms of silence.  The menu, like many of Richard Caring’s establishments, is extensive and  includes a well-trawled ocean’s section, but it is somewhat less inspired than Le Caprice.

Scott's - Review

To start, I ordered the hot-smoked salmon: flushed and delicately flaky pieces were nestled in a tangle of pea shoots and broad beans, tied together with a green goddess dressing - a pretty dish, notwithstanding the potency of the tarragon in the dressing.  My dining companion enjoyed his chargrilled squid with quinoa, spicy sausage and rocket.

Scott's - Review

Seared sea bass with lemon and herb butter followed.  I am still tormented by this mis-decision. Why when there was miso-blackened salmon did I choose the least interesting thing on the menu?  I blame the yuzu cocktail.  The fish was fresh and cooked well, but with the bar set high by the exquisite cod with duck broth at Little Social (see review here), my expectations were not met.

Scott's - Review

The obligatory chips were chunkier relatives of Le Caprice’s, but good nonetheless.

Scott's - Review


Scott's - ReviewBaked chocolate fondant with cherries and ripple ice cream did not disappoint. Rich and molten, it was the kind of voluptuous confection that invokes an Augustus Gloop-like desire to bathe in it.

Scott's - Review

Three hours into the meal I expected what has now become an almost universal occurrence: the arrival of a bill-pushing waiter, willing one to leave.  Much to my delight, this did not occur - so Scott’s definitely gets bonus points for service.  In terms of gastronomy, Scott’s was unadventurous, good quality, unfussy and well balanced.

Food: 7/10

Service: 8.5/10

Ambience: 7/10 (9.5/10 if there were tablecloths)

Loos: 9/10

Price: ££££

Suitable for: Smart dates, celebrations, business lunches, seafood lovers

Click to add a blog post for Scott's on Zomato

Square Meal

1 Comment

Summer Berry Lemon Curd Tarts

8 Comments

Summer Berry Lemon Curd Tarts

IMG_1078.jpg

Summer Berry Lemon Curd Tarts I endured school lunches for four years and then abandoned them. Waking up twenty minutes early to throw together a packed lunch seemed worth it at the time.  My school lunches weren’t even bad.  In fact, they were probably rather good – good enough to avoid having Jamie Oliver sniff his way into our school kitchen in pursuit of good TV.

IMG_1007

What turned me (and my stomach) resided in the stainless steel vats adjacent to the desserts:  pools of lurid yellow purulence (custard).

Summer Berry Lemon Curd Tarts


Notwithstanding my decade old aversion, I decided to venture into custard territory last week.  And I found my cure: lemon curd-filled tarts.

Summer Berry Lemon Curd Tarts

Summer Berry Lemon Curd Tarts


Made using both lemon juice and zest, paired with a lemon-infused tart shell, and partnered with fresh berries, these make a tangy and refreshing summer dessert.

Summer Berry Lemon Curd Tarts

Summer Berry Lemon Curd Tarts


I use spelt flour in the pastry to add extra nuttiness and depth of flavour.  It also has a lower GI than wheat flour.   However, if you can't find it, you can substitute plain flour.

IMG_1038


IMG_1021 Summer Berry Lemon Curd Tarts

Summer Berry Lemon Curd Tarts

Summer Berry Lemon Curd Tarts Summer Berry Lemon Curd Tarts Ingredients (makes 12)

Lemon tart shells

360g white spelt flour  (substitute with plain flour if unavailable)

110g icing sugar

Finely grated zest of 1 lemon

¼ tsp salt

190g cold unsalted butter, roughly chopped into small cubes

1 egg yolk

1 tsp vanilla extract

2 tbsp cold water


A 10cm pastry cutter

1 12-hole cupcake tin, greased with butter and then placed in fridge to chill

Baking beads or rice to weigh down the pastry while it bakes

12 cupcake cases


Lemon Curd

Finely grated zest of 4 lemons

200 ml lemon juice (4-6 lemons)

200g caster sugar

4 medium eggs

4 medium egg yolks

180g unsalted butter

1 baking tray with lipped sides

200g blueberries

150g strawberries

150g raspberries

Icing sugar for dusting


Method

Lemon pastry tart shells

  1. Blend together flour, sugar, lemon zest and salt in a food processor, and add in butter, pulsing to combine until the mixture resembles damp sand. Alternatively, if working manually, mix together the dry ingredients in a large bowl and rub the butter in with your fingers.
  2. Pour the egg yolk, vanilla and water into the mixture and pulse/stir until the mixture just comes together. Flatten the pastry dough into a disc , wrap in baking parchment/cling film and chill in the fridge for an hour, or freezer for 20 minutes.
  3. Preheat the oven to 150˚C.
  4. On a floured surface, roll half the dough out to the thickness of 2 or 3 mm, and cut the pastry into discs using the pastry cutter. Gently press the pastry discs into the prepared cupcake tin.  You will find that there is some dough left over.  This can be frozen for about a month.
  5. Set the cupcake cases into the pastry shells and fill them with the baking beads/rice to weigh the pastry down and prevent it from losing its shape during the bake.
  6. Bake in the oven for about 20-25 minutes until golden and firm to touch. If they have not turned golden by this point, remove the baking beads/rice and cupcake cases and bake for a further 5-10 minutes.  Remove from the oven and set aside to cool.  These can be made 2 or 3 days in advance and kept in an airtight container until you are ready to use them.

Lemon curd

  1. Place lemon zest, juice, sugar, eggs, egg yolks and half the butter in a saucepan over a medium-high heat and whisk continuously while the ingredients cook together.  When the mixture has thickened slightly and threatens to stick to the bottom of the pan, reduce the heat and continue to whisk for another couple of minutes until thickened, whisking all the while.  Off the heat, whisk in the remaining butter until thoroughly combined.  It should be smooth and glossy.
  2. Sieve the curd over the baking tray, and spread it out with a spatula so that only a thin layer coats the tray. Cover the surface of the lemon curd with baking parchment or cling film and place the tray in the fridge for a minimum of half an hour or until it has cooled and become slightly firmer.  Alternatively, place the tray in the freezer for 20 minutes.

Assembly

Arrange the pastry shells on a serving plate and spoon in the lemon curd (roughly 3 tsp per case). Top generously with the berries and dust with icing sugar just before serving.  They can be kept in the fridge for up to 6 hours before serving; longer than that they tend to become soggy.

Summer Berry Lemon Curd TartsSummer Berry Lemon Curd Tarts

8 Comments

Brown Butter Brioche Cinnamon Buns

2 Comments

Brown Butter Brioche Cinnamon Buns

IMG_0348.jpg

Brown Butter Brioche Cinnamon Buns

When I was six I experienced peak cinnamon bun.  In the middle of a farmers’ market in Toronto I was handed a parcel wrapped in brown paper.  Inside was a glistening golden sticky buttery cinnamon swirl - a full face experience, and well worth it.  Ever since then I’ve been looking for one to mirror its spiced perfection, but my quest continues to this day.  To the untrained/inexperienced/non-cinnamon obsessed palate a cinnamon bun is just a cinnamon bun.  Wrong.

Brown Butter Brioche Cinnamon Buns

My gluttonous many-year quest has allowed me to sample the many different types:  there is the American gloopy, slightly under baked, doughy, cream cheese-coated type.  This can be found in a ubiquitous American chain (at particular low points during my degree I used to linger outside the Cambridge branch just to catch the cinnamon perfumed scent).

Brown Butter Brioche Cinnamon Buns


At the opposite end of the scale there’s the more refined flaky and French variety which is unsatisfyingly mild in terms of cinnamon flavour if you’re an obsessive like me.

Brown Butter Brioche Cinnamon Buns


Somewhere in between the two is the Nordic variety, cardamom and cinnamon infused, with a delicate dough (my trip to Norway this summer will be dedicated to experiencing as many of these as possible).

Brown Butter Brioche Cinnamon Buns   My own recipe falls somewhere in the middle of the 3 varieties.  The brioche dough is soft and light on the inside and crisp on the outside, the browning of the butter in the filling adds a nutty richness, and the muscovado sugar makes the bun moister and adds greater depth of flavour than plain caster sugar.  As the buns cook, the sugar cinnamon filling caramelises slightly at the base adding a moreish stickiness.

Brown Butter Brioche Cinnamon BunsAlthough the brioche dough requires starting the evening before, don’t let it stop you from making these.  They are, in fact, incredibly easy and quick to make.  It’s also rather lovely going to bed knowing that a cinnamon bun awaits you the next day…

Brown Butter Brioche Cinnamon Buns


Brown Butter Brioche Cinnamon Buns


Ingredients

Brioche

1 ½ tsp active dried yeast

3 tbsp lukewarm water

285g strong white bread flour

¾ tsp salt

40g caster sugar

3 medium sized eggs + 1 to paint the buns

115g cold unsalted butter

Cinnamon Filling

90g butter

160g light brown muscovado sugar

3 tbsp cinnamon

½ tsp salt


1 round 9 inch tin, greased and dusted with flour


Method

  1. In large bowl stir together yeast and water until the yeast has dissolved. Leave in a warm place for 5-10 minutes until the yeast is activated and the mixture begins to go slightly frothy.
  2. Add in the flour, salt, sugar and eggs and mix until thoroughly combined and the dough is smooth and sticky. If you are using a Kitchen Aid, as I do, fit it with the paddle and mix.
  3. Stirring continuously (or with the machine on a medium-high speed) add in the butter bit by bit, waiting until it is fully combined before adding more. Once the butter is fully combined, keep mixing until the dough is smooth and shiny. This will take about 8-10 minutes.
  4. Placed dough in a lightly greased bowl, cover with cling film, and place in fridge overnight or for minimum 8 hours.
  5. The next day make the cinnamon filling by placing the butter in a pan over a medium heat. Once it has melted, leave it on the heat for another minute until it goes golden in colour and has a rich, nutty aroma. Mix the sugar, salt and cinnamon with the butter to form a paste and set aside to cool.
  6. Remove the dough from the fridge and, on a board dusted with flour, roll it out to a rectangle of roughly 30cm by 38cm and to a 3/4cm thickness. Spread the cinnamon filling evenly over the rectangle.
  7. With long side of the rectangle closest to you (i.e. landscape as opposed to portrait), roll the dough from the long side to the other long side tightly, like a scroll. With the seam side down, slice the roll into 12 even slices. Arrange the slices spiral side up in the prepared tin, cover with a tea towel, and allow to rise for an hour in a warm place.
  8. Preheat the oven to 180˚C. To give the buns a beautiful golden shine, beat the egg and brush a thin layer over them.
  9. Place the tin in the oven and allow to bake for about 20-30 minutes until the surface is a golden brown and a skewer comes out clean. If it looks a little too dark early on in the bake, cover with tin foil. Once cooked, place on a wire rack to cool (or eat immediately).

Brown Butter Brioche Cinnamon Buns

2 Comments

Cherry & Yuzu Frozen Yoghurt Almond Cookie Sandwich

10 Comments

Cherry & Yuzu Frozen Yoghurt Almond Cookie Sandwich

IMG_6945.jpg

(Affectionately known as Froyo Yoyos) Cherry & Yuzu Frozen Yoghurt Almond Cookie Sandwich

If something becomes a fad, I usually try to avoid it.  Cupcakes were once things of joy, their light, sweet, spongeyness perfuming the house with the scent of birthdays.  And there was always the hope of left over icing, not to mention the ease with which one could convince oneself that the perfectly domed surface was in need of decapitation, just to preview the crunchy golden coated delicate sponge, just in case the cupcakes weren’t guest-worthy.  But now those simple pleasures have been crushed for me as the once-a -year treat has lost its golden hued novelty.

Cherry & Yuzu Frozen Yoghurt Almond Cookie Sandwich

The single-concept shops dedicated to cupcakes are now a graveyard for the dying fad.  I walked past a well-known purveyor of cupcakes in the middle of an airless department store only last week, and watched as the woman behind the counter shuffled the gaudy treats into reverse rainbow order in an attempt to look busy.

Cherry & Yuzu Frozen Yoghurt Almond Cookie Sandwich

Frozen yoghurt is no longer a novelty, but for me at least it has not yet lost its appeal.  Some people (including me) are able to delude themselves that even with the marshmallow, cookie dough, caramel topping it’s a healthier version of their favourite ice cream.

Cherry & Yuzu Frozen Yoghurt Almond Cookie Sandwich

When the clouds deigned to expose a sliver of sunlight for a short while on Saturday, I decided to indulge in a little frozen yoghurt.

Cherry & Yuzu Frozen Yoghurt Almond Cookie Sandwich


Cherry & Yuzu Frozen Yoghurt Almond Cookie Sandwich

The cherries at my favourite fruit monger were so glossy and irresistibly crimson they were begging to be involved in my hoping-for-summer recipe.  I combined them with yuzu juice for a touch of astringency to cut through the sweet creaminess of the yoghurt. Then, to add a childlike allure, I sandwiched the frozen yoghurt between two discs of biscuit which I’d infused with almond extract to bring out the cherry flavour further.

Cherry & Yuzu Frozen Yoghurt Almond Cookie Sandwich

The yuzu juice provides a wonderfully tart citrusy note to the frozen yoghurt.  If you can't find it, substitute it with lemon or lime.

Cherry & Yuzu Frozen Yoghurt Almond Cookie Sandwich

I used an ice cream churner to make the frozen yoghurt smoother and the ice crystals finer, but if you don’t have one this stage can be skipped and the result will still be delicious.

Cherry & Yuzu Frozen Yoghurt Almond Cookie Sandwich

Of course, the cherry and yuzu frozen yoghurt can be enjoyed sans biscuit.  The biscuit is however, rather useful if you wish to turn it into a hand held treat, whether or not the sunshine lingers.

Cherry & Yuzu Frozen Yoghurt Almond Cookie Sandwich

Cherry & Yuzu Frozen Yoghurt Almond Cookie Sandwich


Ingredients  (makes 8-10)

Cherry and Yuzu Frozen Yoghurt

375g cherries, halved and pitted

125g caster sugar

250g full fat natural yoghurt (don’t use Greek)

1 tsp yuzu juice

6 drops of almond extract

1 medium sized (18cm x 28cm approx.) loaf tin, lined with cling film


Almond Biscuit

160g butter, at room temperature

2 egg yolks

10 drops almond extract

210g plain flour

50g sugar

1tsp vanilla extract

¼ tsp salt

1 large baking tray lined with baking parchment

4.5/5cm circular cookie cutter or wine glass


Method

Cherry & Yuzu Frozen Yoghurt

  1. Place cherries and sugar in a small pan over a high heat. Stir occasionally to prevent sugar from burning.  When enough liquid has run out from the cherries to coat the base of the pan and it begins to boil, reduce heat to medium.  Allow to simmer for 10 minutes until the liquid from the cherries has reduced and is just slightly thicker than maple syrup.
  2. Allow the cherries and syrup to cool then blitz them together with the yuzu, almond extract and yoghurt until smooth. If you are using an ice cream maker, chill the mixture and then churn according to the manufacturer’s instructions.  Otherwise, proceed to step 3.
  3. Pour the mixture into the cling film-lined loaf tin, and smooth the surface with a spatula. Place in freezer for 1-2 hours until solid.

Almond Cookies

  1. Beat the butter in a mixer (or by hand) until light and fluffy. Into this, beat the almond extract, vanilla extract and egg yolks.
  2. In a separate bowl, mix together flour, sugar and salt. Stir this into the butter mixture until a dough forms.
  3. Flatten the dough into a disk, wrap in baking parchment and place in freezer for 15 minutes (or fridge for 30 minutes).
  4. Preheat oven to 160˚C.
  5. On a floured surface, roll out the dough to 7mm thickness. Using the cookie cutter, cut the dough into the discs and place on lined tray.
  6. Bake for 7-10 minutes until cooked all the way through but still pale. Allow to cool.

Assembly

Remove the loaf tin containing the frozen yoghurt from the freezer. Using the cookie cutter, cut the frozen yoghurt into discs and sandwich each disc between two almond biscuits.  Store these in an airtight container and return to the freezer until ready to serve.

Cherry & Yuzu Frozen Yoghurt Almond Cookie Sandwich

10 Comments

Little Social - Review

9 Comments

Little Social - Review

IMG_5694.jpg

Little Social - Restaurant Review I’d like to be able to write how the waiter’s grime-rimmed thumbnail, with which he had just gouged something sinister out of his ear, nudged against the contents of the plate; how a glistening black hair, half submerged in the dish’s paludinal liquid, entangled itself with the semi-solid floating gelatinous elements; how the plate’s arrival was preceded by the fragrance similar to that of water left stagnant in a vase until the stems of the decaying plant have become slimy, and a beige skin has formed on the surface; how I lifted a debris-encrusted spoon of the liquid into my mouth only for my taste buds to be assaulted by the week-long damp cloth- tasting infusion.

But I can’t.

Little Social - Restaurant Review


Little Social - Restaurant Review

Because Little Social is impeccable. Nestled in a slither of a side street, it is an Elysium secluded from the tourist-thronged pavements of Regents St.  Jason Atherton’s classic French bistro interior strikes a harmonious balance between refined elegance and comfortableness.  Johannes, soon-to-be manager, glides around the room attentively, infusing it with his charm.  The menu is French inspired Modern European with subtly innovative twists and combinations.

Little Social - Restaurant Review

Little Social - Restaurant Review

Always lured by the umami perfume of truffles, I ordered the Burrata, pear quince, truffled honey and pickled walnuts - a decadent combination that I imagine would have gone down very well at a lavish Roman banquet.  Burrata is the queen of soft cheeses, and I’ve had the misfortune to witness numerous acts of treason committed against it by a number of restaurant kitchens.  This was not the case at Little Social. Rich, latticed, and butter-soft, the cloud of burrata melted on the palate, while the truffle infusion added a kick of savoury to the sweet decadence.

Little Social - Restaurant Review

The pear quince exceeded the expectation provided by the modest menu description: some slices were poached – soft, spiced and near caramelised, some were lightly macerated – sweet with a little more texture, and some were left fresh, adding a crispness to the dish.  This sweetness was cut through by the astringent balsamic reduction and pickled walnuts.

Little Social - Restaurant Review

I had carved out a path of indulgence in the menu but my dining companion opted for a lighter course: salad of baby carrots, avocado, fennel, clementines and coriander.  I’ve ordered this several times before and it tastes and looks like summer: vibrant, fresh, crunchy, creamy and tangy, it is a well-balanced dish.


Little Social - Restaurant Review

For main, I ordered roasted Cornish line-caught cod, Asian spiced cauliflower and aromatic duck broth.

Little Social - Restaurant Review

The cod was so tender it almost anticipated the arrival of my fork. The cauliflower was done in two ways: florets, and a delicately spiced textured puree, both of which complemented the fish.  The broth imbued the other elements with its contrasting smoky savouriness.

Little Social - Restaurant Review

My dining companion’s choice of the risotto of wild mushrooms, parmesan & wild garlic proved that the vegetarian options are in no way neglected.


Little Social - Restaurant Review

At this point in the review I would love to furnish you with an opportunity for schadenfreude.  Alas I cannot.  I can’t even say that I had the misery of having to wait a long time to return to Little Social as I returned a week later.  On my birthday, I turned down the prime opportunity to sample another of London’s fine dining establishments, and I even eschewed my traditional birthday cake.  Some might think this decision radical and rash, but the reason lay in the heart of Little Social’s pastry kitchen.

Little Social - Restaurant Review

Deep russet brown, glistening, sticky, oozing, sweet, crisp, buttery, crunchy with a caramel darkened to sultry, sweet, savoury and nutty depths, just approaching the perilous realm of burnt: the tarte tatin can only be compared to Hephaestus’ offerings to the gods.

Little Social - Restaurant Review

The crisp meringue with Gariguette strawberries, lime Chantilly, fraises des bois and elderflower sorbet was also delicious.

Little Social - Restaurant Review

A perfectly formed orb of crisp meringue contributed texture and sweetness to the smooth tangy sorbet and berry interior, making it a delightfully elegant and refreshing dessert.

Little Social - Restaurant Review

You may be unsettled by the fact that there were no faults.  I strained to find even the finest of hairline cracks in the restaurant’s performance, reliving the meal in my head, scrutinising the individual elements.  I even went back a second time to check.  And checking yet again, and again,  would be no Sisyphean task.

Little Social - Restaurant Review


Food: 10/10

Service: 10/10

Ambience: 9/10

Service 10/10

Loos: 8/10

Suitable for: smart dates, business lunches, birthdays, family, friends, pre-theatre dining, vegetarians


Square Meal

Little Social on Urbanspoon

9 Comments

Stripy Lemon & Raspberry Cake - Recipe

21 Comments

Stripy Lemon & Raspberry Cake - Recipe

IMG_5587.jpg

Stripy Lemon & Raspberry Cake This stripy lemon and raspberry cake speaks for itself: elegant and refined on the outside, yet quirky on the inside - great if you feel like a change from the usual, and you’re in the mood for something fun.

Stripy Lemon & Raspberry Cake


Stripy Lemon & Raspberry Cake

Unlike most layer cakes, the stripes are vertical.  This makes it both superficially pleasing and more delicious - more stripes = more sumptuous raspberry compote...

Stripy Lemon & Raspberry Cake


Please don’t be intimidated by the lists of ingredients and the recipe.  It really is a lot easier  and quicker than you may think: the stripes are formed by baking the sponge in a baking sheet, spreading the cooked surface with the raspberry compote, cutting it into strips, and rolling them, one strip after the other, swiss roll-like, into a ‘log’.

Stripy Lemon & Raspberry Cake

The sponge is light and lemony, the raspberry compote is tart and moreish, and the icing is infused with berries to provide a little summery freshness.

Stripy Lemon & Raspberry CakeStripy Lemon & Raspberry CakeStripy Lemon & Raspberry CakeStripy Lemon & Raspberry CakeStripy Lemon & Raspberry CakeStripy Lemon & Raspberry CakeStripy Lemon & Raspberry CakeStripy Lemon & Raspberry Cake

Ingredients

Cake

120g plain flour

1 tsp baking powder

¼ tsp salt

3 large eggs

140g caster sugar

Zest of 1 lemon

½ tbsp. water


Baking sheet 38x25x2.5 cm, lined with baking parchment and covering both the base and shallow sides.

Additional baking parchment


Raspberry compote

200g raspberries fresh or frozen, but if using frozen, defrost before use

40g caster sugar

2 tsp vanilla extract

2 tbsp water

150g raspberry jam

2 tbsp corn flour

½ tsp lemon juice


Crumb coating (optional – but makes icing easier and adds extra tanginess and interest to the cake)

75g icing sugar, sieved

50g butter at room temperature

2 tsp lemon juice


Berry-infused cream cheese icing

25g red berries (raspberries and redcurrants work well, and you can use frozen), blitzed until smooth to make a puree

½ tsp lemon juice

75 g cream cheese, at room temperature (essential)

50g unsalted butter, softened to the point that it is threatening to turn into liquid

300g icing sugar, sieved


Method

Raspberry compote

  1. Place frozen/fresh raspberries, sugar, vanilla extract, and water in a saucepan over high heat and stir until the sugar has dissolved. Simmer for 5 minutes or until the texture is slightly syrupy.
  2. Stir in the raspberry jam and corn flour, and boil for a further 2 minutes. Remove from heat.
  3. Blitz the mixture together with the lemon juice in a blender until smooth.

Lemon Sponge Cake

Stripy Lemon & Raspberry Cake

  1. Preheat oven to 220˚C.
  2. Beat together eggs and sugar for about 5 minutes until pale and custard-like (I find it easier to use an electric mixer).
  3. Fold into the wet mixture the sifted flour and baking powder, lemon zest, salt and water. Stir as little as possible and with a light hand so as to keep the mixture airy.
  4. Pour the mixture into the lined baking sheet and spread it out in an even layer right up to the edges of the tray. Place in the centre of the oven, and bake for 4-5 minutes until golden brown and a skewer comes out clean.
  5. While the cake is still warm from the oven, flip it upside down on to a large sheet of baking parchment. Carefully peel off the parchment layer on which it was baked.
  6. Spread the compote evenly over the lemon sponge, and slice lengthways (i.e. from short side to short side) into 4 equal strips of cake.
  7. Begin with one strip and roll into a coil. Place the edge of the roll next to the edge of the second strip and continue to roll.  Continue with the remaining strips until a large spiral is formed.  Place the ‘log’ spiral side up on a plate or cake stand.

Lemon crumb coating (optional, but makes icing the cake easier, and adds extra tanginess and interest)

  1. Beat together icing sugar, lemon and butter until creamy and spread in a thin layer over the top and sides of the cake. Place in the fridge for half an hour, or the freezer for 10 minutes.

Berry-infused cream cheese icing

  1. Beat the butter until completely smooth, then beat in the cream cheese. Stir in the berry puree and lemon juice, before beating in the icing sugar.
  2. Spread evenly over the cake using a spatula. Decorate with berries, or as desired.


Stripy Lemon & Raspberry Cake


21 Comments

Spring at Somerset House - Restaurant Review

2 Comments

Spring at Somerset House - Restaurant Review

IMG_1967.jpg

Spring Restaurant - Review The architecture of Somerset House is majestic and heavy, with its rather hefty air of hard work and gravity still redolent of the government offices it used to accommodate.  But march through the entrance and turn right and along the frowning edifices, and you will find yourself in Spring – and an atmosphere so utterly opposite it might make you gasp.

Spring Restaurant - Review

Airy, high-ceilinged and painted in pastel shades of green and blue, the dining room really is spring-like in feel.

Spring Restaurant - Review

The various light fittings remind one of frog spawn or aubergines or berries, and the origami petals arranged in gently dispersing circular dandelion drifts on the walls imbue the restaurant with a spirit of lightness.

Spring Restaurant - Review

Spring Restaurant - Review

The attire of the staff has provoked much comment: there seems to be a nautical/operating theatre theme.  I liked the waiters’ striped t-shirts, and while I wasn’t convinced by the tents worn by the women at reception, their colours nevertheless worked together.  However, the woman whom I took to be the maître d’ was, on the other hand, wearing a dark forest green skirt and top combination that did not harmonise with the other staff members’ apparel, and looked both sombre and dowdy.

Spring Restaurant - Review

The menu is not long and there were elements that required explanation.  Our waitress, who bore a striking resemblance to Toulouse Lautrec’s La Goulue – appropriately for someone working in a restaurant with its potential for gluttony – and a haughty self-importance to match, made us feel a bit reticent about asking too many questions.  She defrosted a little as the meal progressed.

Spring Restaurant - Review

Spring Restaurant - Review

I’m not usually one to order fruit juice, but the pistachio and apple was too good a combination to pass up.  It was sublime too – freshly puréed apple with the warmth of roasted pistachios and just a hint of aniseed.  One retro rhubarb-striped glassful is simply not enough.

Spring Restaurant - Review


Spring Restaurant - Review

To start, I had a salad of fennel, blood orange, hazelnuts and radicchio.  The plating was refined and elegant as you would expect from an establishment so concerned with its aesthetic.  I have a weakness for blood oranges too, so this went down well, and the combination of flavours was refreshing.  This dish, however, was listed rather deceitfully under mains, and unless you’re on a 5:2 diet, it is only substantial enough to pass as a starter.

Spring Restaurant - Review

I followed the salad with sea bass with Jerusalem artichokes and black olive dressing.  All the pressure points of cooking fish well had been thoroughly met, and with flair: the skin was crisp to the point of shattering, and the flesh melted away with minimal cutlery usage.  Tender and perfectly seasoned and combined with the salty crushed olives and tomatoes and crunchy-skinned Jerusalem artichokes, this dish was worth its significant price.

Spring Restaurant - Review

Spring Restaurant - Review

My dining companion ordered the fillet of beef with farro, cavolo nero and shredded radicchio.  The beef was generously portioned and a fine cut, but it was slightly under seasoned.  The farro with pea purée made up for its rather un-photogenic appearance in flavour.

Spring Restaurant - Review

The salad of grilled lamb, chickpeas, radicchio and chilli jam was good without being outstanding, and the vegetarian onion squash with cime di rapa and chilli butter was also flavourful, albeit on the small side - despite our waitress’s assurance that it was a main course. Surprisingly, vegetarians are not abundantly catered for.

Spring Restaurant - Review

Spring Restaurant - Review

The rhubarb element of the winter rhubarb ice cream with meringue and candied ginger dessert looked uncannily like the floor tiles of the women’s loos.  This lavatorial reminder didn’t manage to put me off – it takes a lot more than that.  The ice cream was tangy and tart and contrasted well texturally with the good, but quite ordinarily so, meringue.  The ginger was a wonderful addition titillating the palate whenever a piece found its way on to the spoon.

Spring Restaurant - Review

I enjoy most types of dessert but I am more inclined towards those with substance, which the hazelnut and pear tart with crème fraiche and espresso went some way towards satisfying.  The pastry was lovely and crumbly and suffused with hazelnuts but slightly on the dry side.  The pears were delicious, too.  However, the almost invisible dots of expresso powder were not enough to substantiate the menu’s claim to its existence.

Spring Restaurant - Review

The dark chocolate honeycomb petit fours were a nice touch at the end to accompany our fresh mint teas and coffees.

Spring Restaurant - Review

I’m always sad when a good meal comes to an end, and Spring was indeed a good meal with some especially outstanding dishes.  The service was ok without being exceptional (by the end of the meal the waitress had half-smiled once) while the interior is ethereally beautiful – almost a reason to go in itself.

Spring Restaurant - Review

Food: 8/10

Ambience: 10/10

Service: 6/10

Loos: 9/10

Price: ££££/££££

Suitable for: smart dates, celebrations, family, business lunches, healthy eating


Square Meal

Spring at Somerset House on Urbanspoon

2 Comments

Sumptuous Carrot Cake - Recipe

Comment

Sumptuous Carrot Cake - Recipe

Sumptuous Carrot Cake - Recipe

Moist, juicy, dense, fruity, this is the queen of all carrot cakes. I have now abandoned all previous carrot cake recipes in favour of this one

.

Ingredients

Cake

4 large eggs

350g caster sugar

225ml vegetable oil (or any other flavourless oil)

1 tbsp vanilla extract

300g plain flour

2 tsp baking powder

2 tsp bicarbonate of soda

2 tsp cinnamon

½ tsp salt

500g carrots, peeled and grated (about 5 carrots)

200g pineapple chopped roughly into 1cm cubes, and 2 tbsp fresh pineapple juice (you can squeeze it yourself)

zest of 1 orange

juice of ½ orange

100g walnuts, toasted and roughly chopped

2 x 20cm round tins, buttered and with base lined with baking parchment

Icing

200g butter, at room temperature

500g full-fat cream cheese, at room temperature

200g icing sugar, sieved

Method

Cake

  1. Preheat oven to 170˚C.
  2. In a large bowl, whisk together eggs and sugar until smooth, resembling a thin custard. Whisk in oil and vanilla extract.
  3. In a separate bowl, sieve together flour, baking powder, bicarbonate of soda, cinnamon and salt. Gently fold these dry ingredients into the egg mixture.
  4. Stir grated carrots, chopped pineapple, pineapple juice, orange zest, orange juice and chopped walnuts into the mixture. Divide mixture between the tins and place in middle of the oven to bake for 40-50 minutes until a skewer comes out clean.
  5. Allow to cook on a wire rack, then wrap in tin foil/cling film and place in fridge overnight. This is to aid the icing process.  If you don’t have the luxury of time, place cakes in the freezer for half an hour before icing.

Icing

  1. Beat the butter in the bowl of a stand mixer until soft, creamy and shiny. Add in cream cheese and sieved icing sugar and continue beating until completely smooth.  If the mixture is of an almost runny consistency, place in fridge for half an hour.
  2. Sandwich the two cakes together using a quarter of the mixture. Use the rest to coat the top and sides.  Chill in the fridge before serving.  Keeps well for several days in the fridge.

Adapted from Gail’s Artisan Bakery Cookbook

Comment

Rabbit Restaurant Review

2 Comments

Rabbit Restaurant Review

IMG_9513.jpg

Rabbit - Culina Restaurant Review Are you going on a ‘detox’?

Now that the last of the dregs of turkey/mince pie/stuffing/Christmas pudding/trimmings have finally disappeared, all that is left is a memory solidified in the form of a protuberant belly.  Guilty already, or made to feel guilty about not feeling guilty, the media are swooping in with various juice cleanse, carb-less, gluten-free ‘detoxes’ which guarantee a temporary weight loss by simply starving the body.  The word ‘detox’, however, means absolutely zero.  To quote Edzard Ernst, Emeritus Professor of Complementary Medicine at Exeter University: “there are two types of detox: one is respectable and the other isn’t. The respectable one is the medical treatment of people with life-threatening drug addictions. The other is the word being hijacked by entrepreneurs, quacks and charlatans to sell a bogus treatment that allegedly detoxifies your body of toxins you’re supposed to have accumulated”.

Rabbit - Culina Restaurant Review

So, if you’re minded to eat healthily after all the excess, then good quality, wholesome food is a much more sustainable way to go. Eating at Rabbit, the sister restaurant of The Shed, seems to fit in well with this philosophy. That’s not to say that I didn’t succumb to excess whilst there, and nor is it so worthy that eating there becomes an endurance test.

Rabbit - Culina Restaurant Review

Rather, the ethos behind the restaurant is creating interesting, innovative and tasty recipes using seasonal and fresh local produce.  The diner is reminded of this by the rustic outdoorsy interior, a bushy fox tail suspended above the open kitchen which brings you closer to nature whether you like it or not.

Rabbit - Culina Restaurant Review

Whilst deciding what to order for our degustation my dining companion and I ordered a couple of “mouthfuls”: beetroot crisp, goat’s cheese, with pear jam:

Rabbit - Culina Restaurant Review

And a mushroom marmite éclair.

Rabbit - Culina Restaurant Review

As I noted in my most recent recipe, I had been averse to goat’s cheese after I overdosed when I was seven - until Rabbit cured me with the beetroot crisp.  My dining companion was a marmite loather but it was incorporated so beautifully into the rich earthy truffleness of the éclair that he too overcame his dislike.

Still poring over the menu the couple at the adjacent table came to our aid, and very enthusiastically.  So enthusiastic, in fact, that they admitted to having worked their way through every dish and would happily do an encore.  They even donated the remainder of their butter with the instruction to slather it on whatever we could.  One we had paired it with the freshly baked wild yeast bread it we began to understand the couple’s eagerness to share the joy.  Freshly whipped, lightly salted and garlicky with finely chopped shallots:

Rabbit - Culina Restaurant Review

The menu is simply divided into slow cooking and fast cooking.  Although innovative in its layout, it was a little confusing regarding the size of the dishes, how many to order, and what the ideal dish pairings were.  Both of the waitresses were absolutely delightful: friendly, informative and attentive without being intrusive, they guided us through the menu.

Our fast cooking dishes arrived first:

Rabbit - Culina Restaurant Review

Brussels sprout, hazelnut, cheddar, and apple salad.  The cheddar, as a rather unusual ingredient, drew me to the salad.  It tied the ingredients together with its palate tickling savouriness.

Rabbit - Culina Restaurant Review

The quail with roasted barley, turnip, shallot, and chickweed was also a success flavour-wise in its succulent sweet stickiness.  I did, however, face an unwelcome surprise when I crunched down hard on a concealed bone…

Rabbit - Culina Restaurant Review

Next to arrive in the flurry of dishes was grilled venison, onion squash, honey, pumpkin seeds, and reindeer moss.

Rabbit - Culina Restaurant Review

Once again chef Oliver Gladwin’s creativity and sensitivity to ingredients shone through.  The venison was perfectly pink, tender and complemented both visually and in flavour by the smooth onion squash puree.

Rabbit - Culina Restaurant Review

The last of our main courses was the slow cooked black winter truffle, wild mushroom ragu with celeriac and sage oil.

Rabbit - Culina Restaurant Review

The deep rich narcotic aroma of truffle preceded the dish’s arrival.  Nor was its perfume illusory. The sage leaves were crisp to the point that they shattered against the other elements.  The wild mushrooms were comfortingly meaty, chewy and luscious, and the puree of celeriac, so often dismissed as an ingredient, was sumptuous and creamy with a subtle tang of lemon. This is a dish that would unite meat lovers and vegetarians in perfect ambrosial harmony, and so good my dining companion and I were left fighting over the last mushroom- definitely one of my top dishes in London.

Rabbit - Culina Restaurant Review

For dessert my dining companion ordered the magnum vienetta parfait: velvety ice cream rippled with layers of slated butterscotch and dark chocolate.  It was with great reluctance that he allowed me to try it.

Rabbit - Culina Restaurant Review

I was obliged by my maple syrup obsession to have maple syrup pudding, preserved plum, rum, and buttermilk.

Rabbit - Culina Restaurant Review

This was intelligently assembled with the sourness of the buttermilk ice cream slicing through the sweetness of the pudding element.  I would have liked a little more maple syrup on the plate, but as I’m an addict of the stuff it could just be me.  The plums were a little under-ripe, too, but I imagine when they’re in season this dessert really comes into its own.

Rabbit - Culina Restaurant Review

All in all, dining at Rabbit was a wonderful experience: great service, a tastefully playful rustic atmosphere, and innovative, fresh, flavourful, high quality cuisine.  Ignore the detox lies, simply eat well – Rabbit is a great place to do just that (unless you find yourself eating the whole menu as the couple adjacent to me did, clearly easily done).

Food: 9/10

Price: ££££

Ambience: 8.5/10

Service: 10/10

Loos: 7/10

Suitable for: casual dates, celebrations, brunch, dinner, family, friends, vegetarians, vegans


Rabbit on Urbanspoon


Square Meal

2 Comments

The Ivy Market Grill - Review

Comment

The Ivy Market Grill - Review

IMG_8741.jpg

The Ivy Market Grill - Culina Sophia restaurant review 
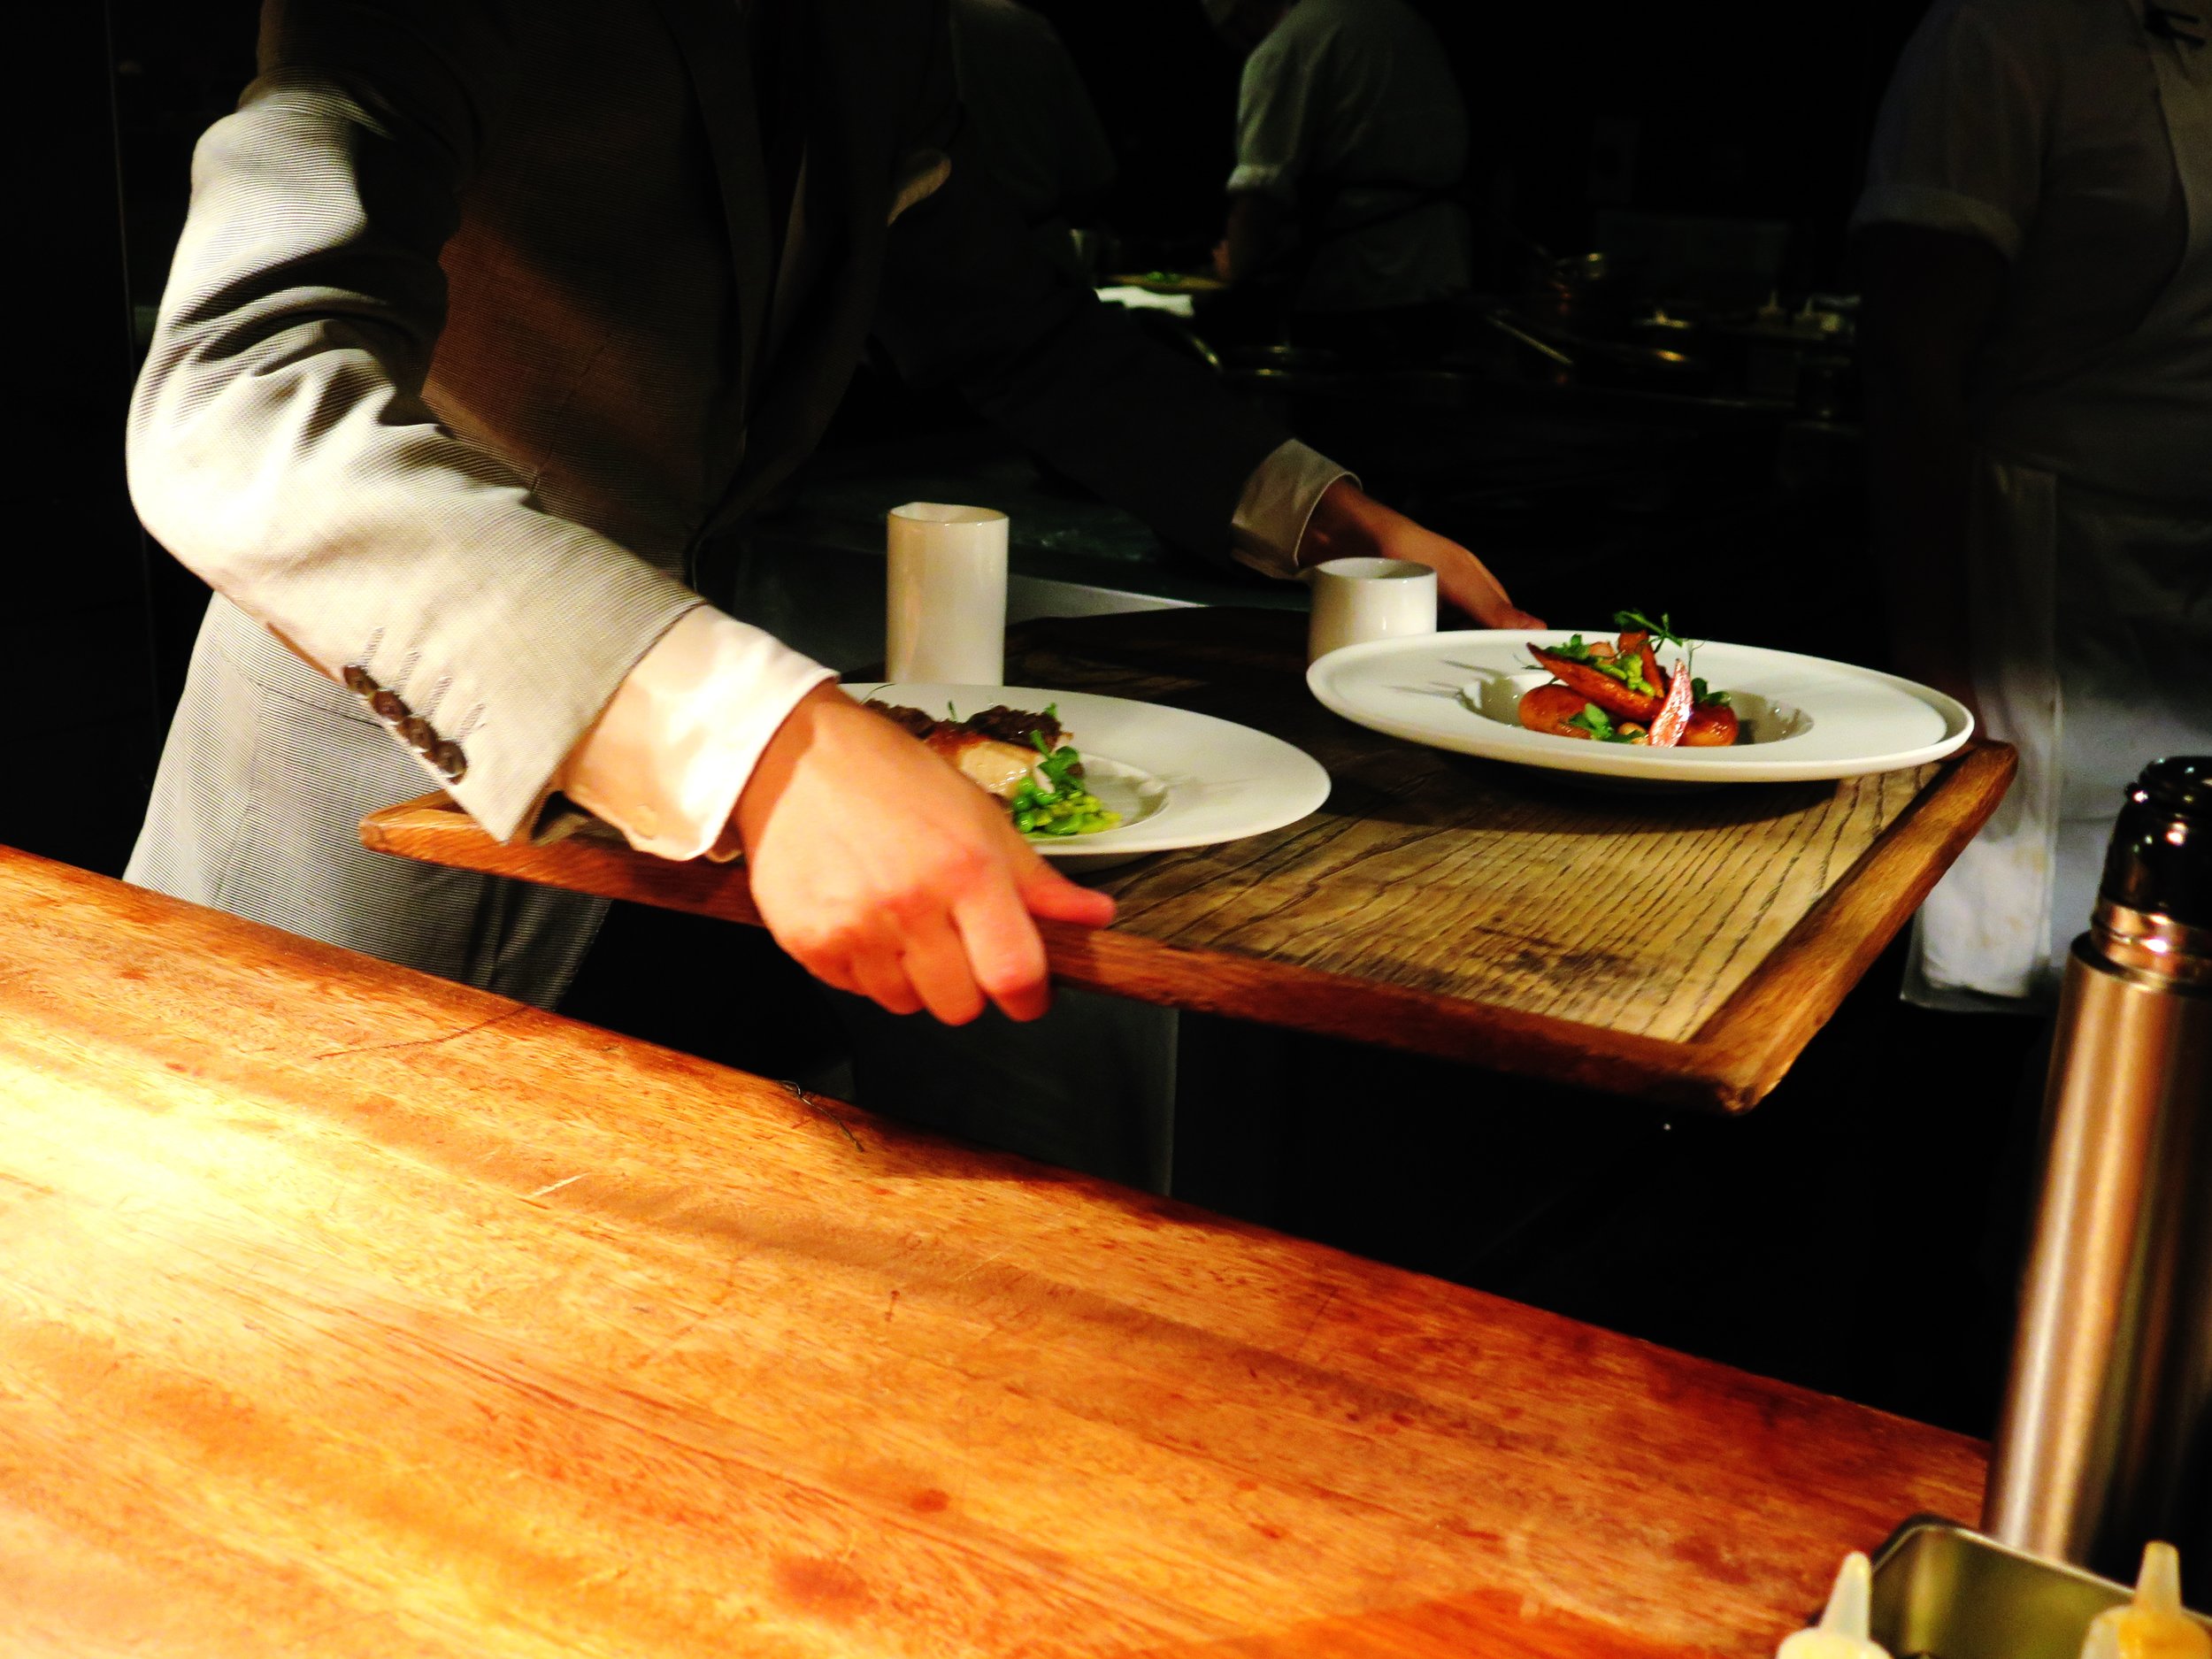
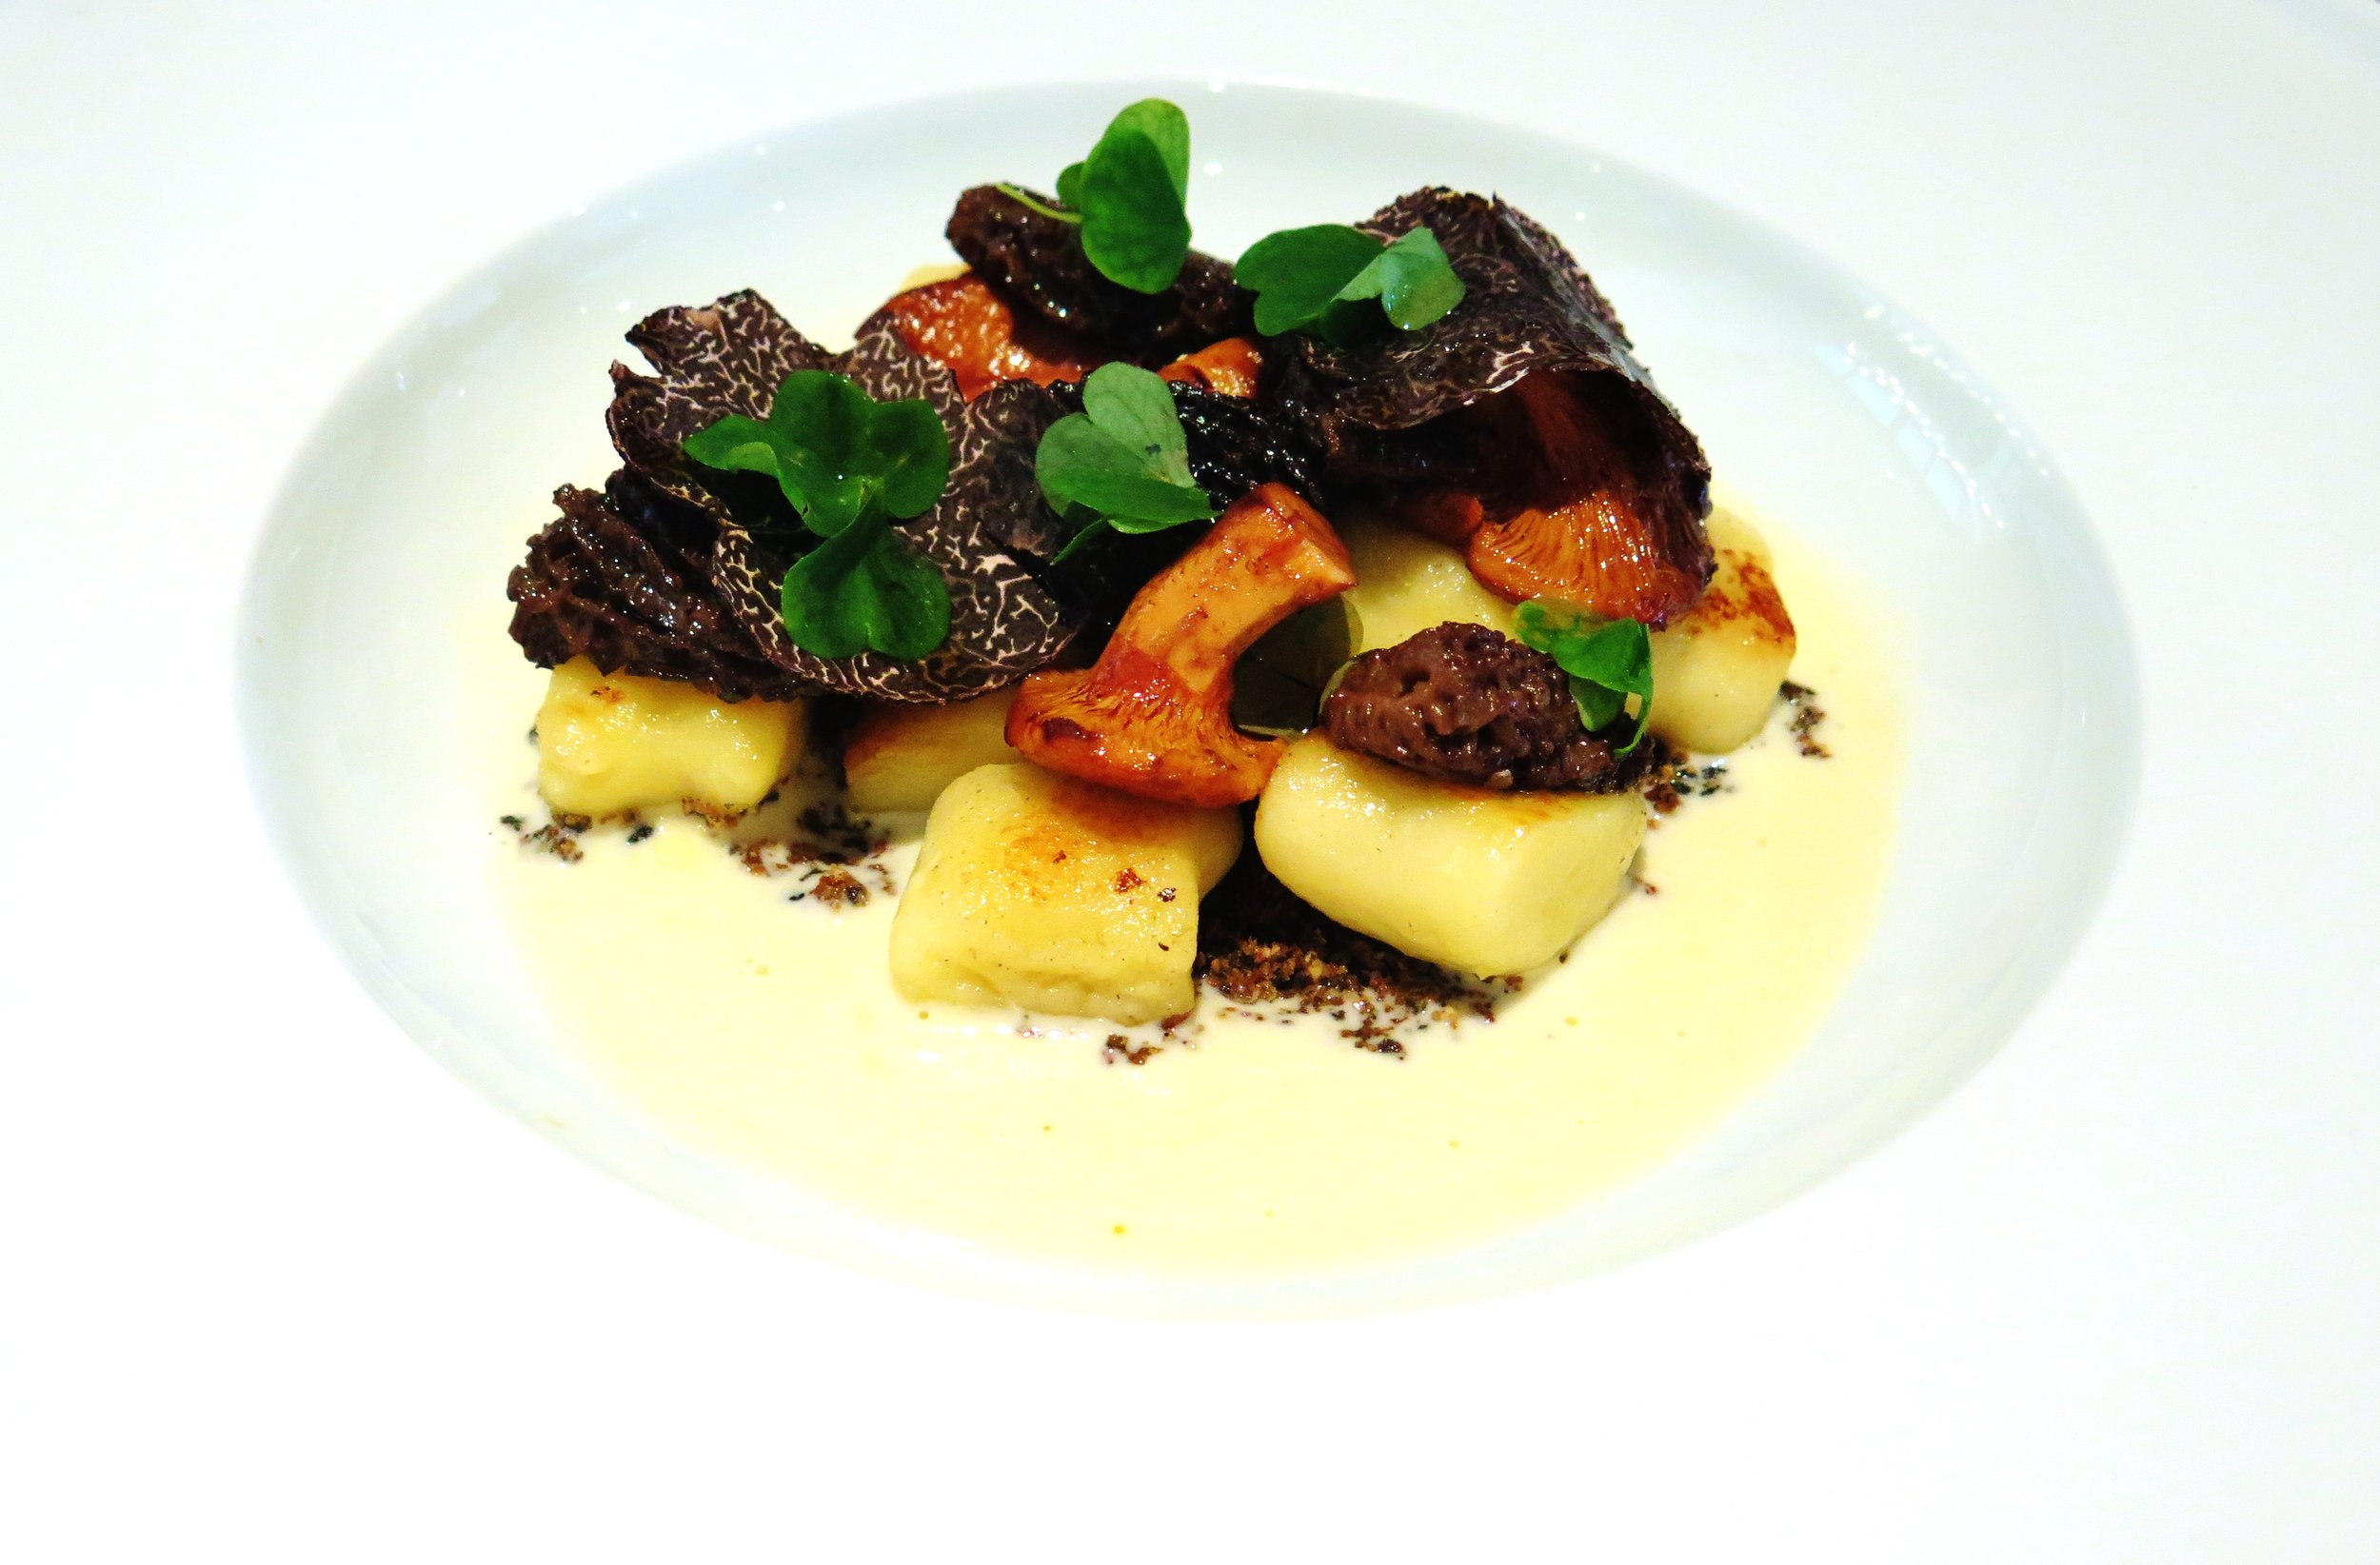
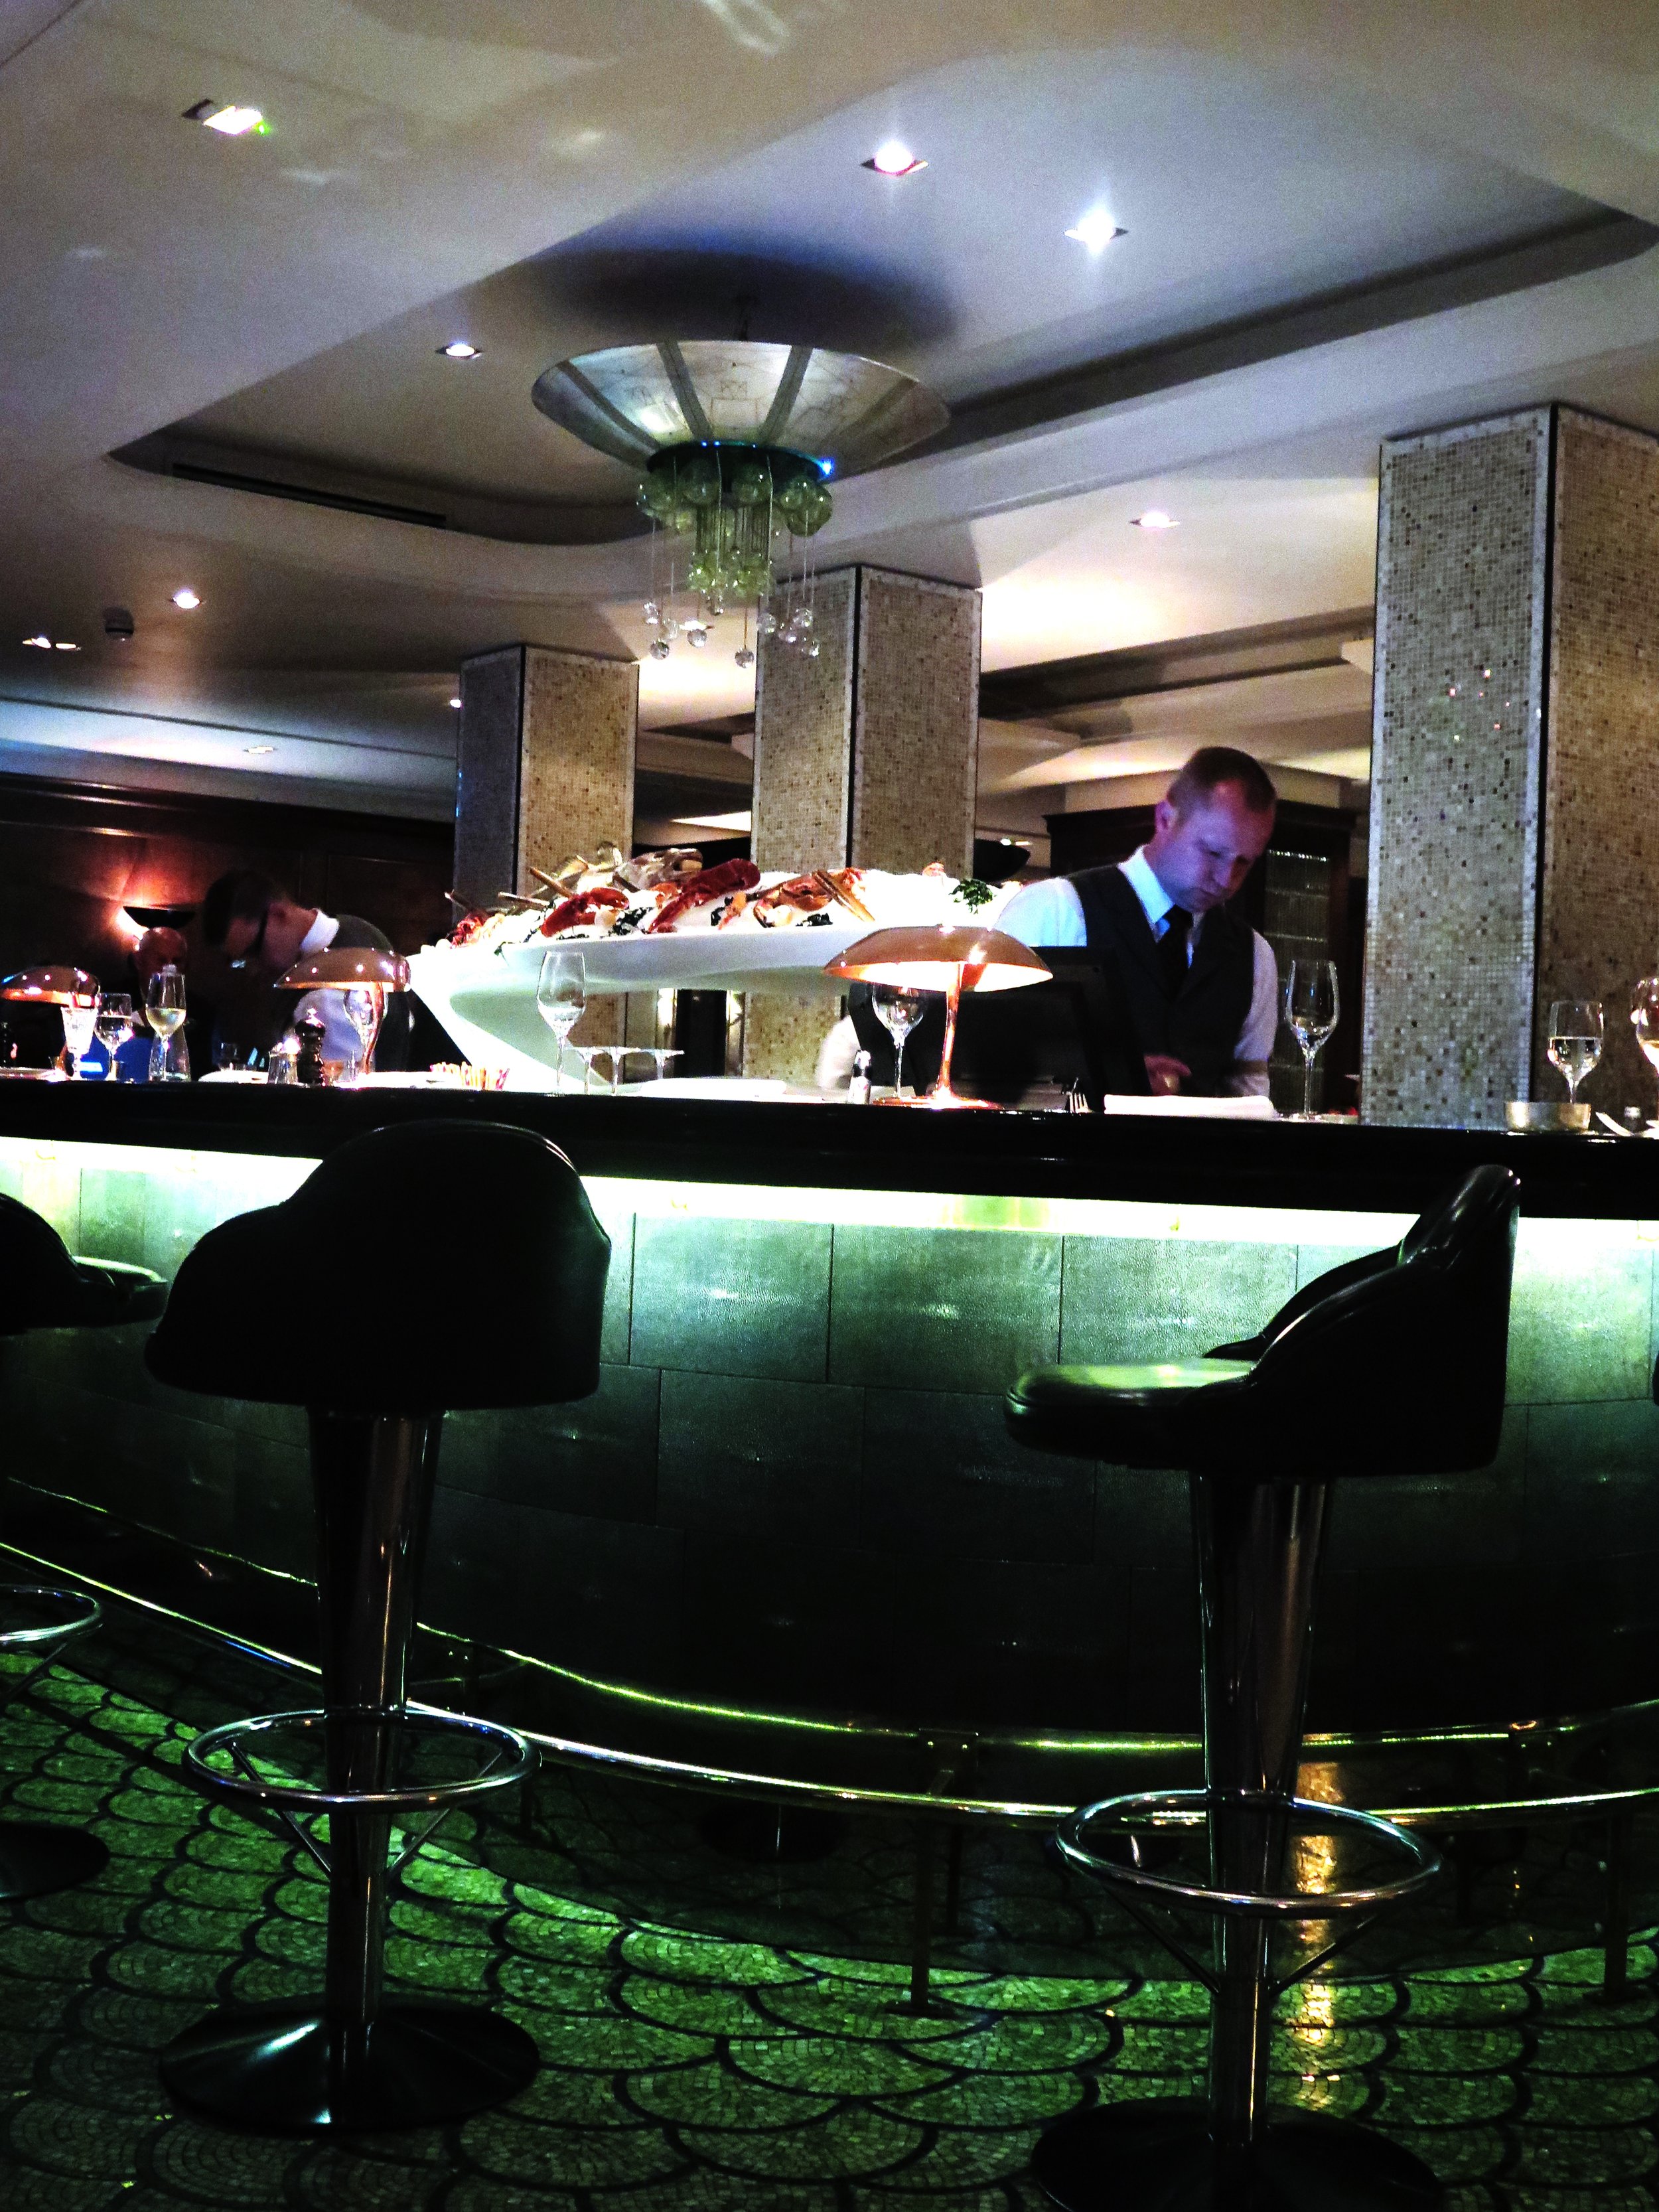
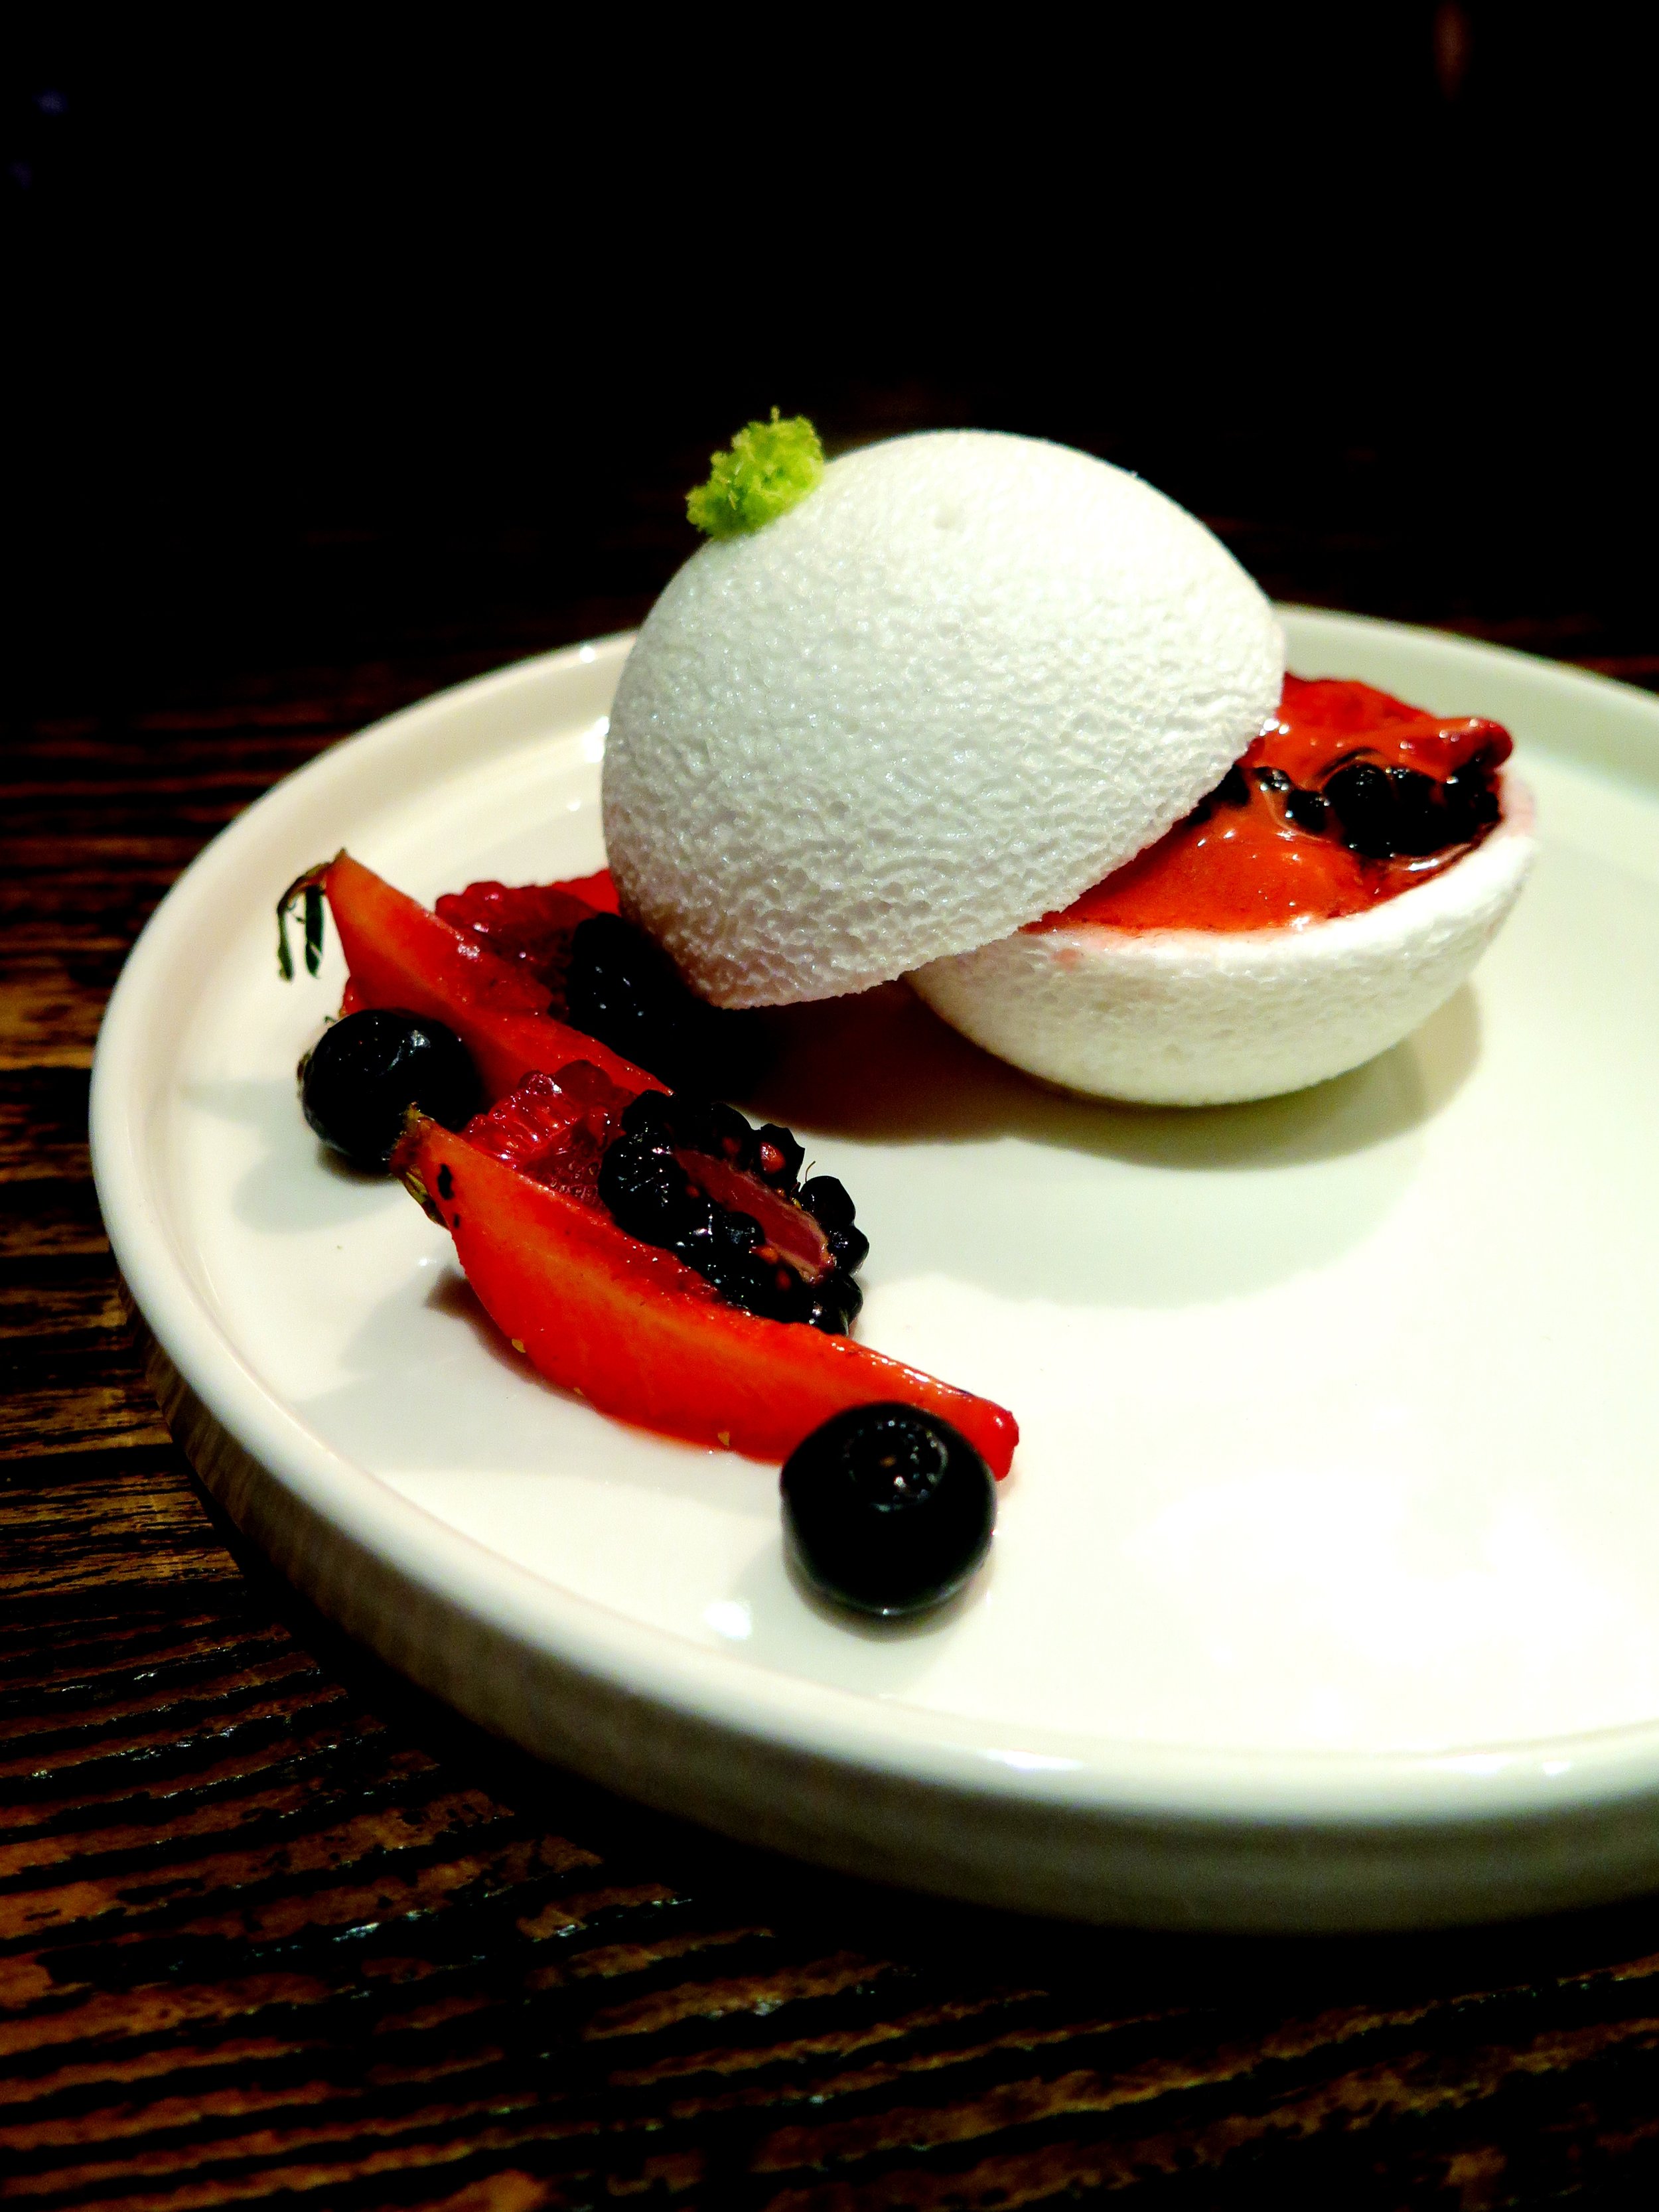
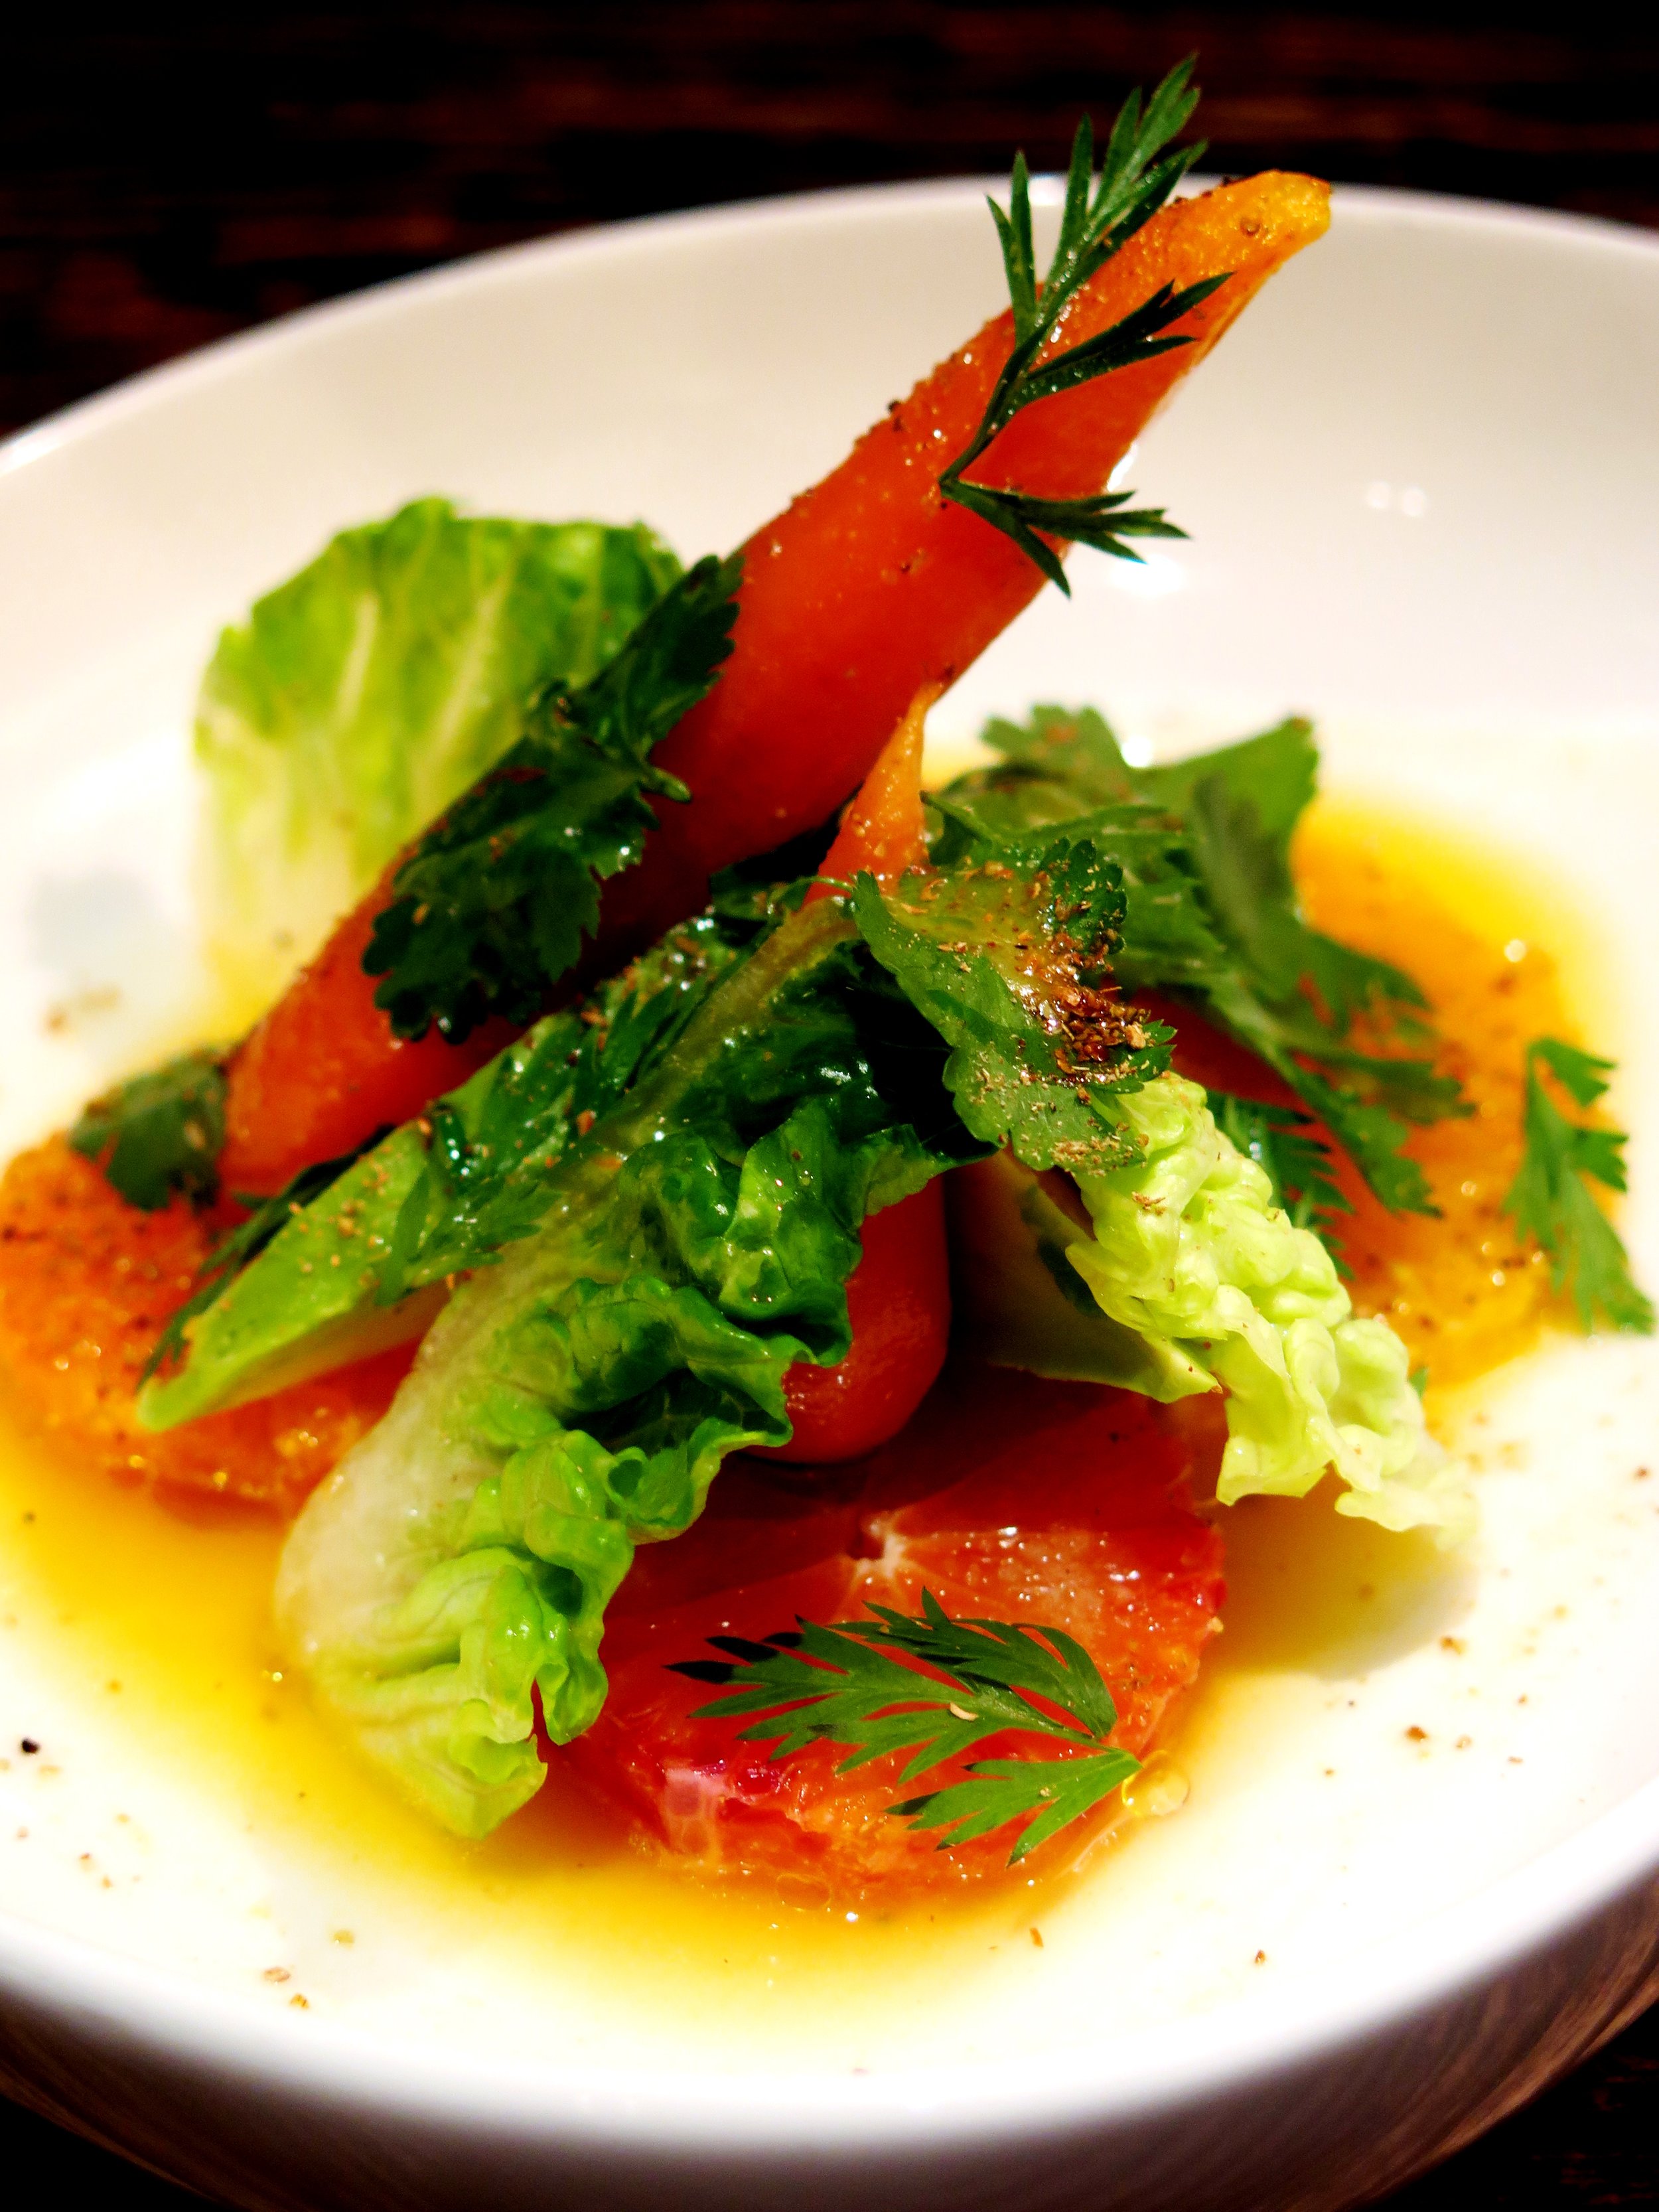
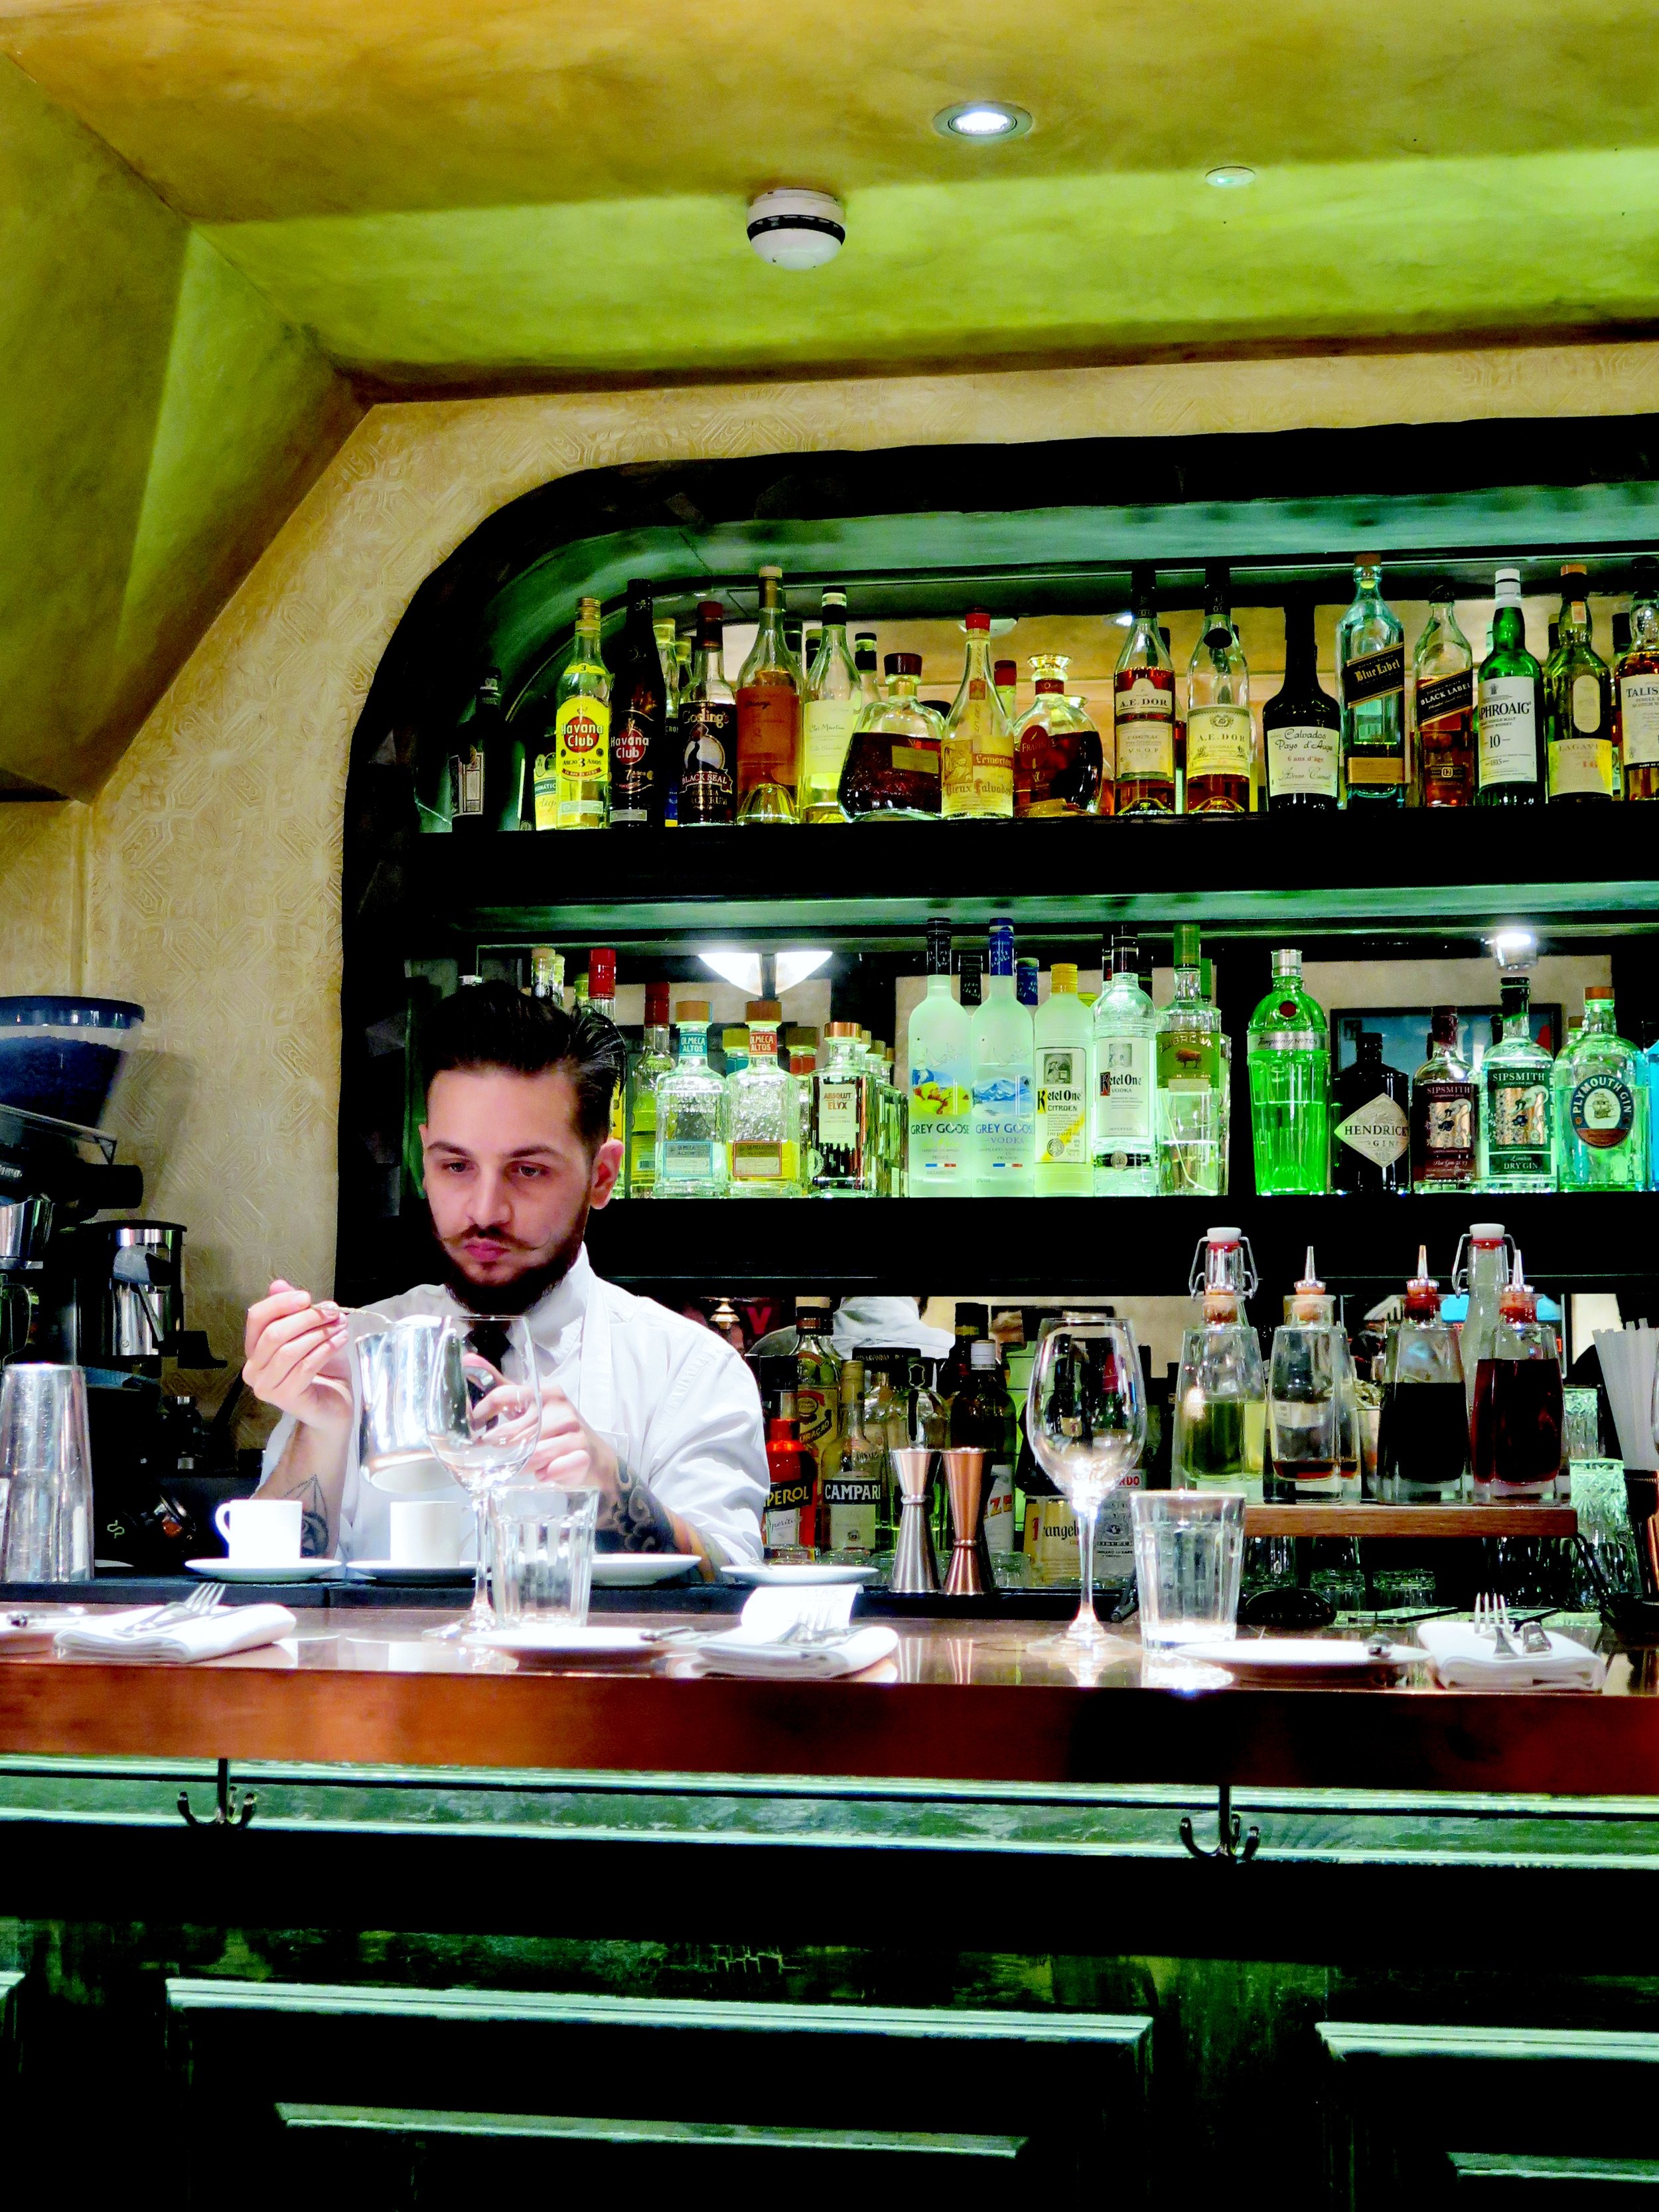
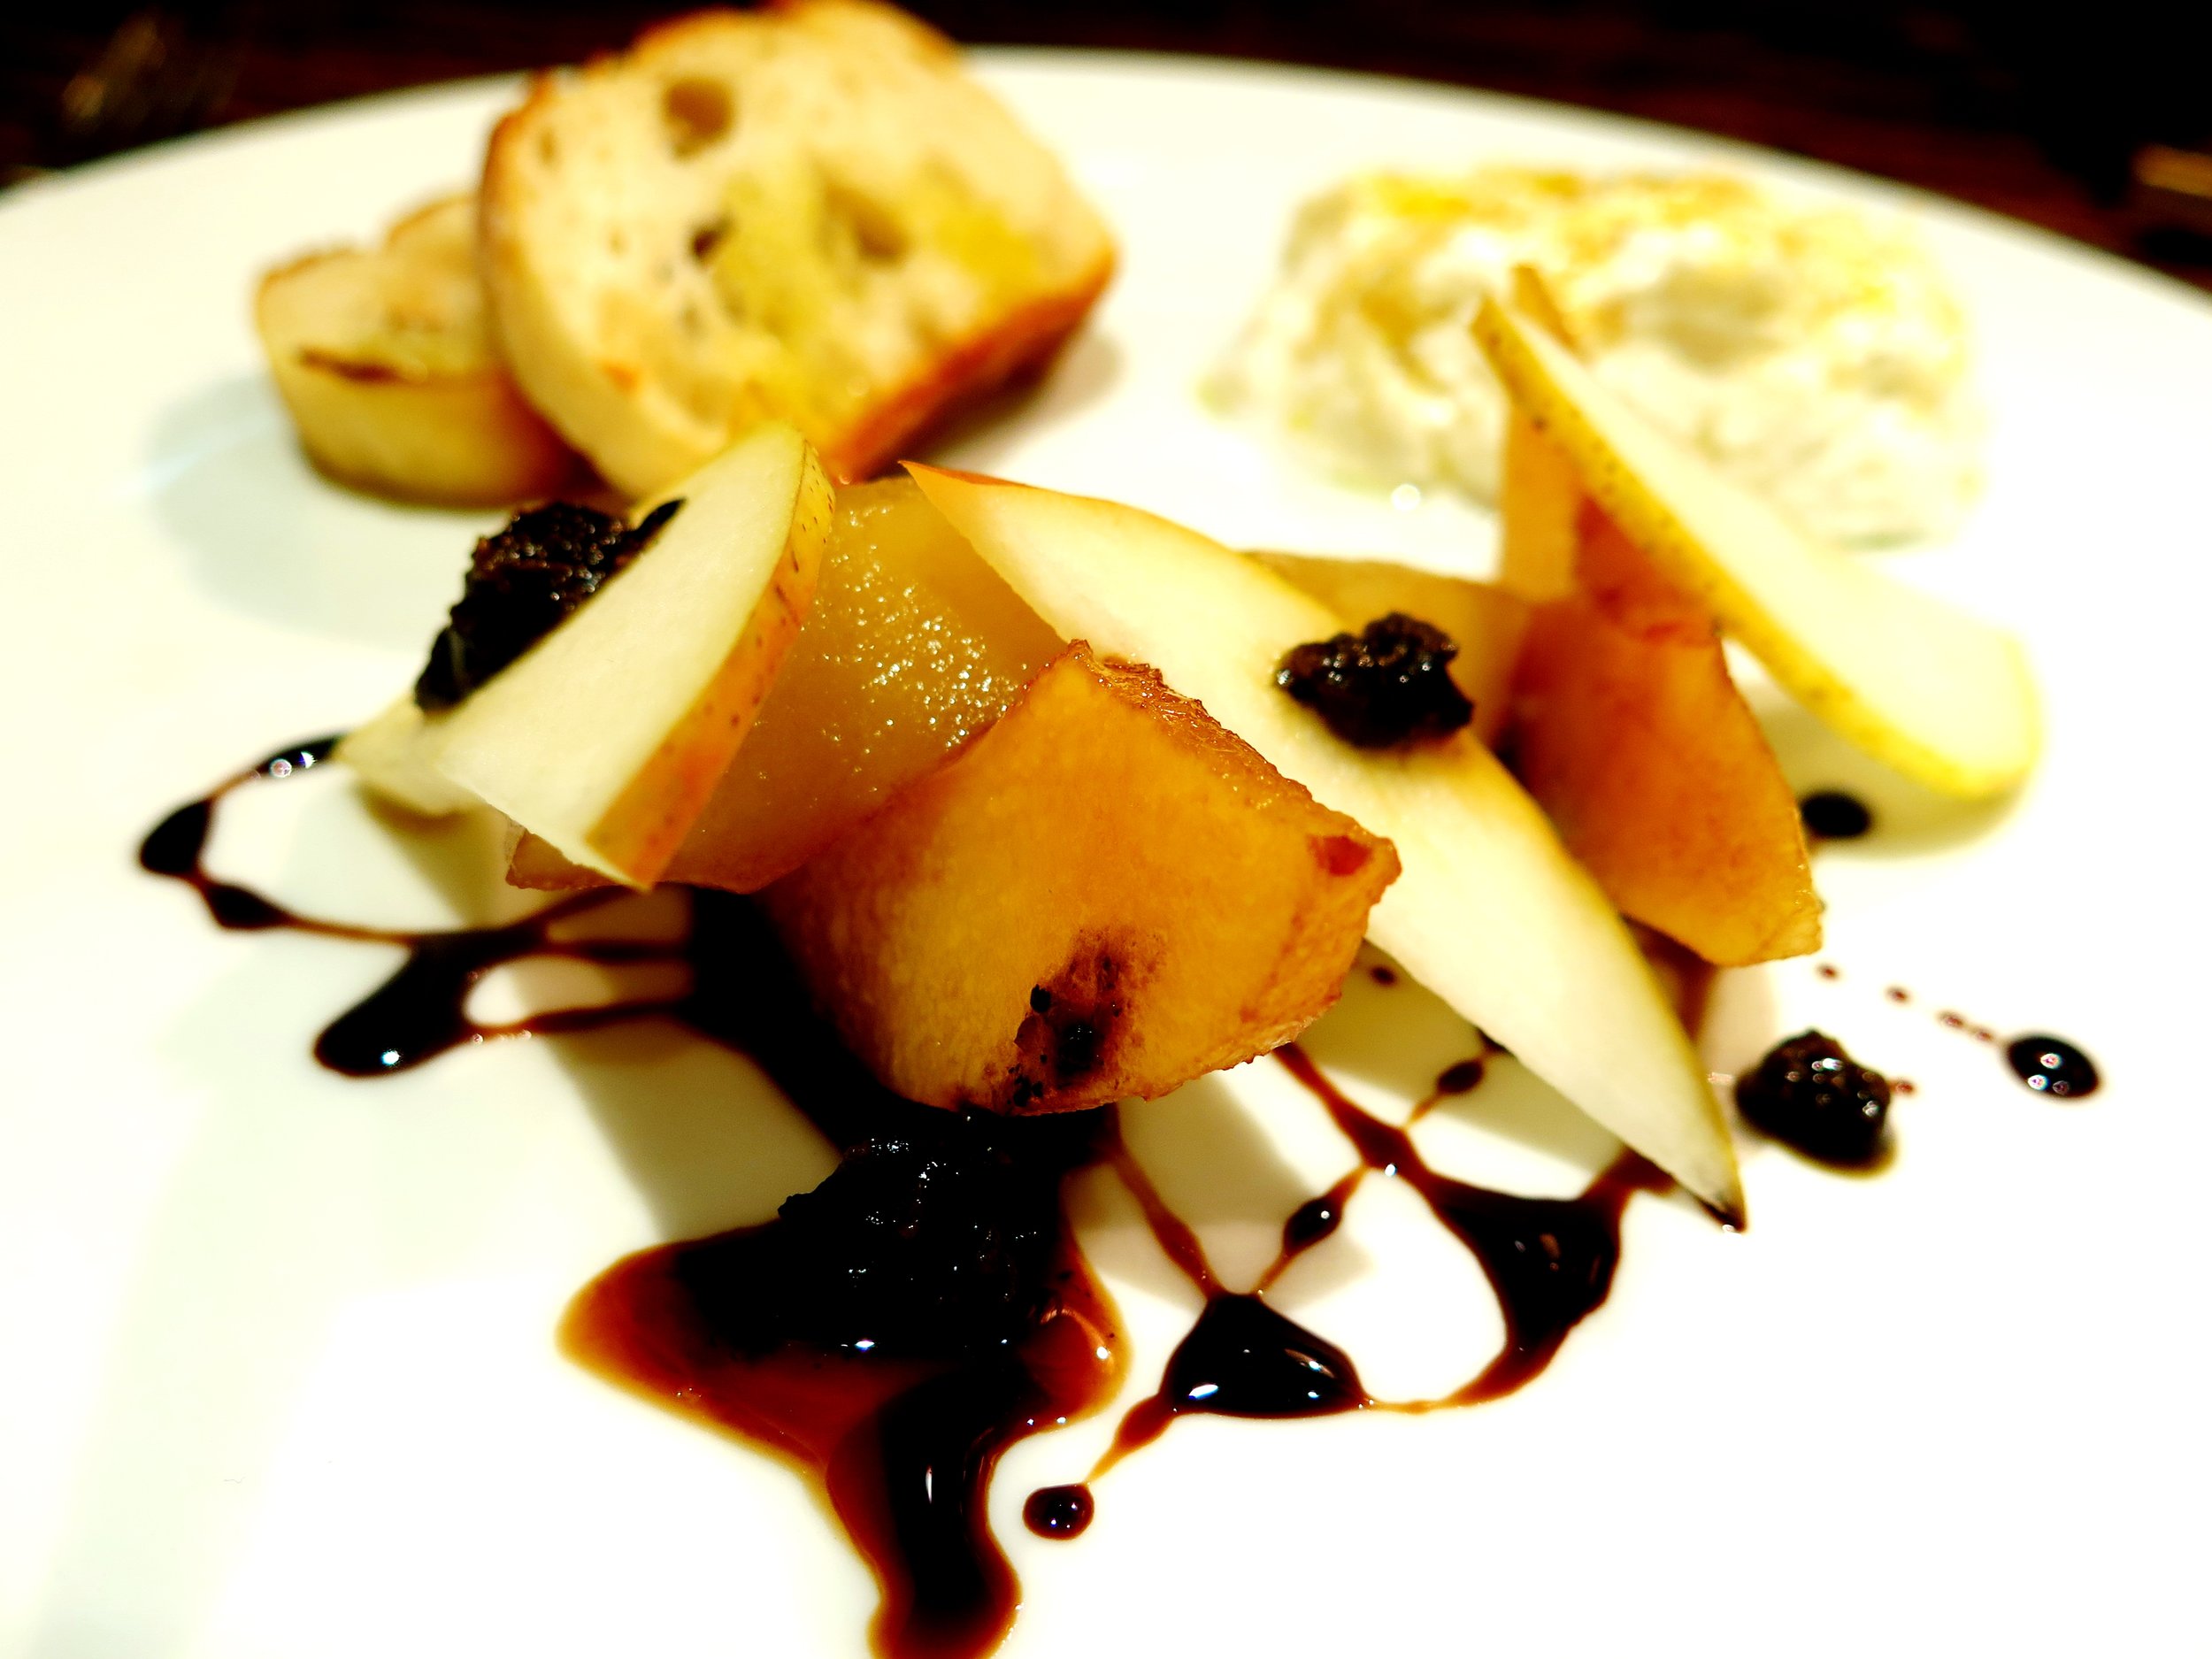
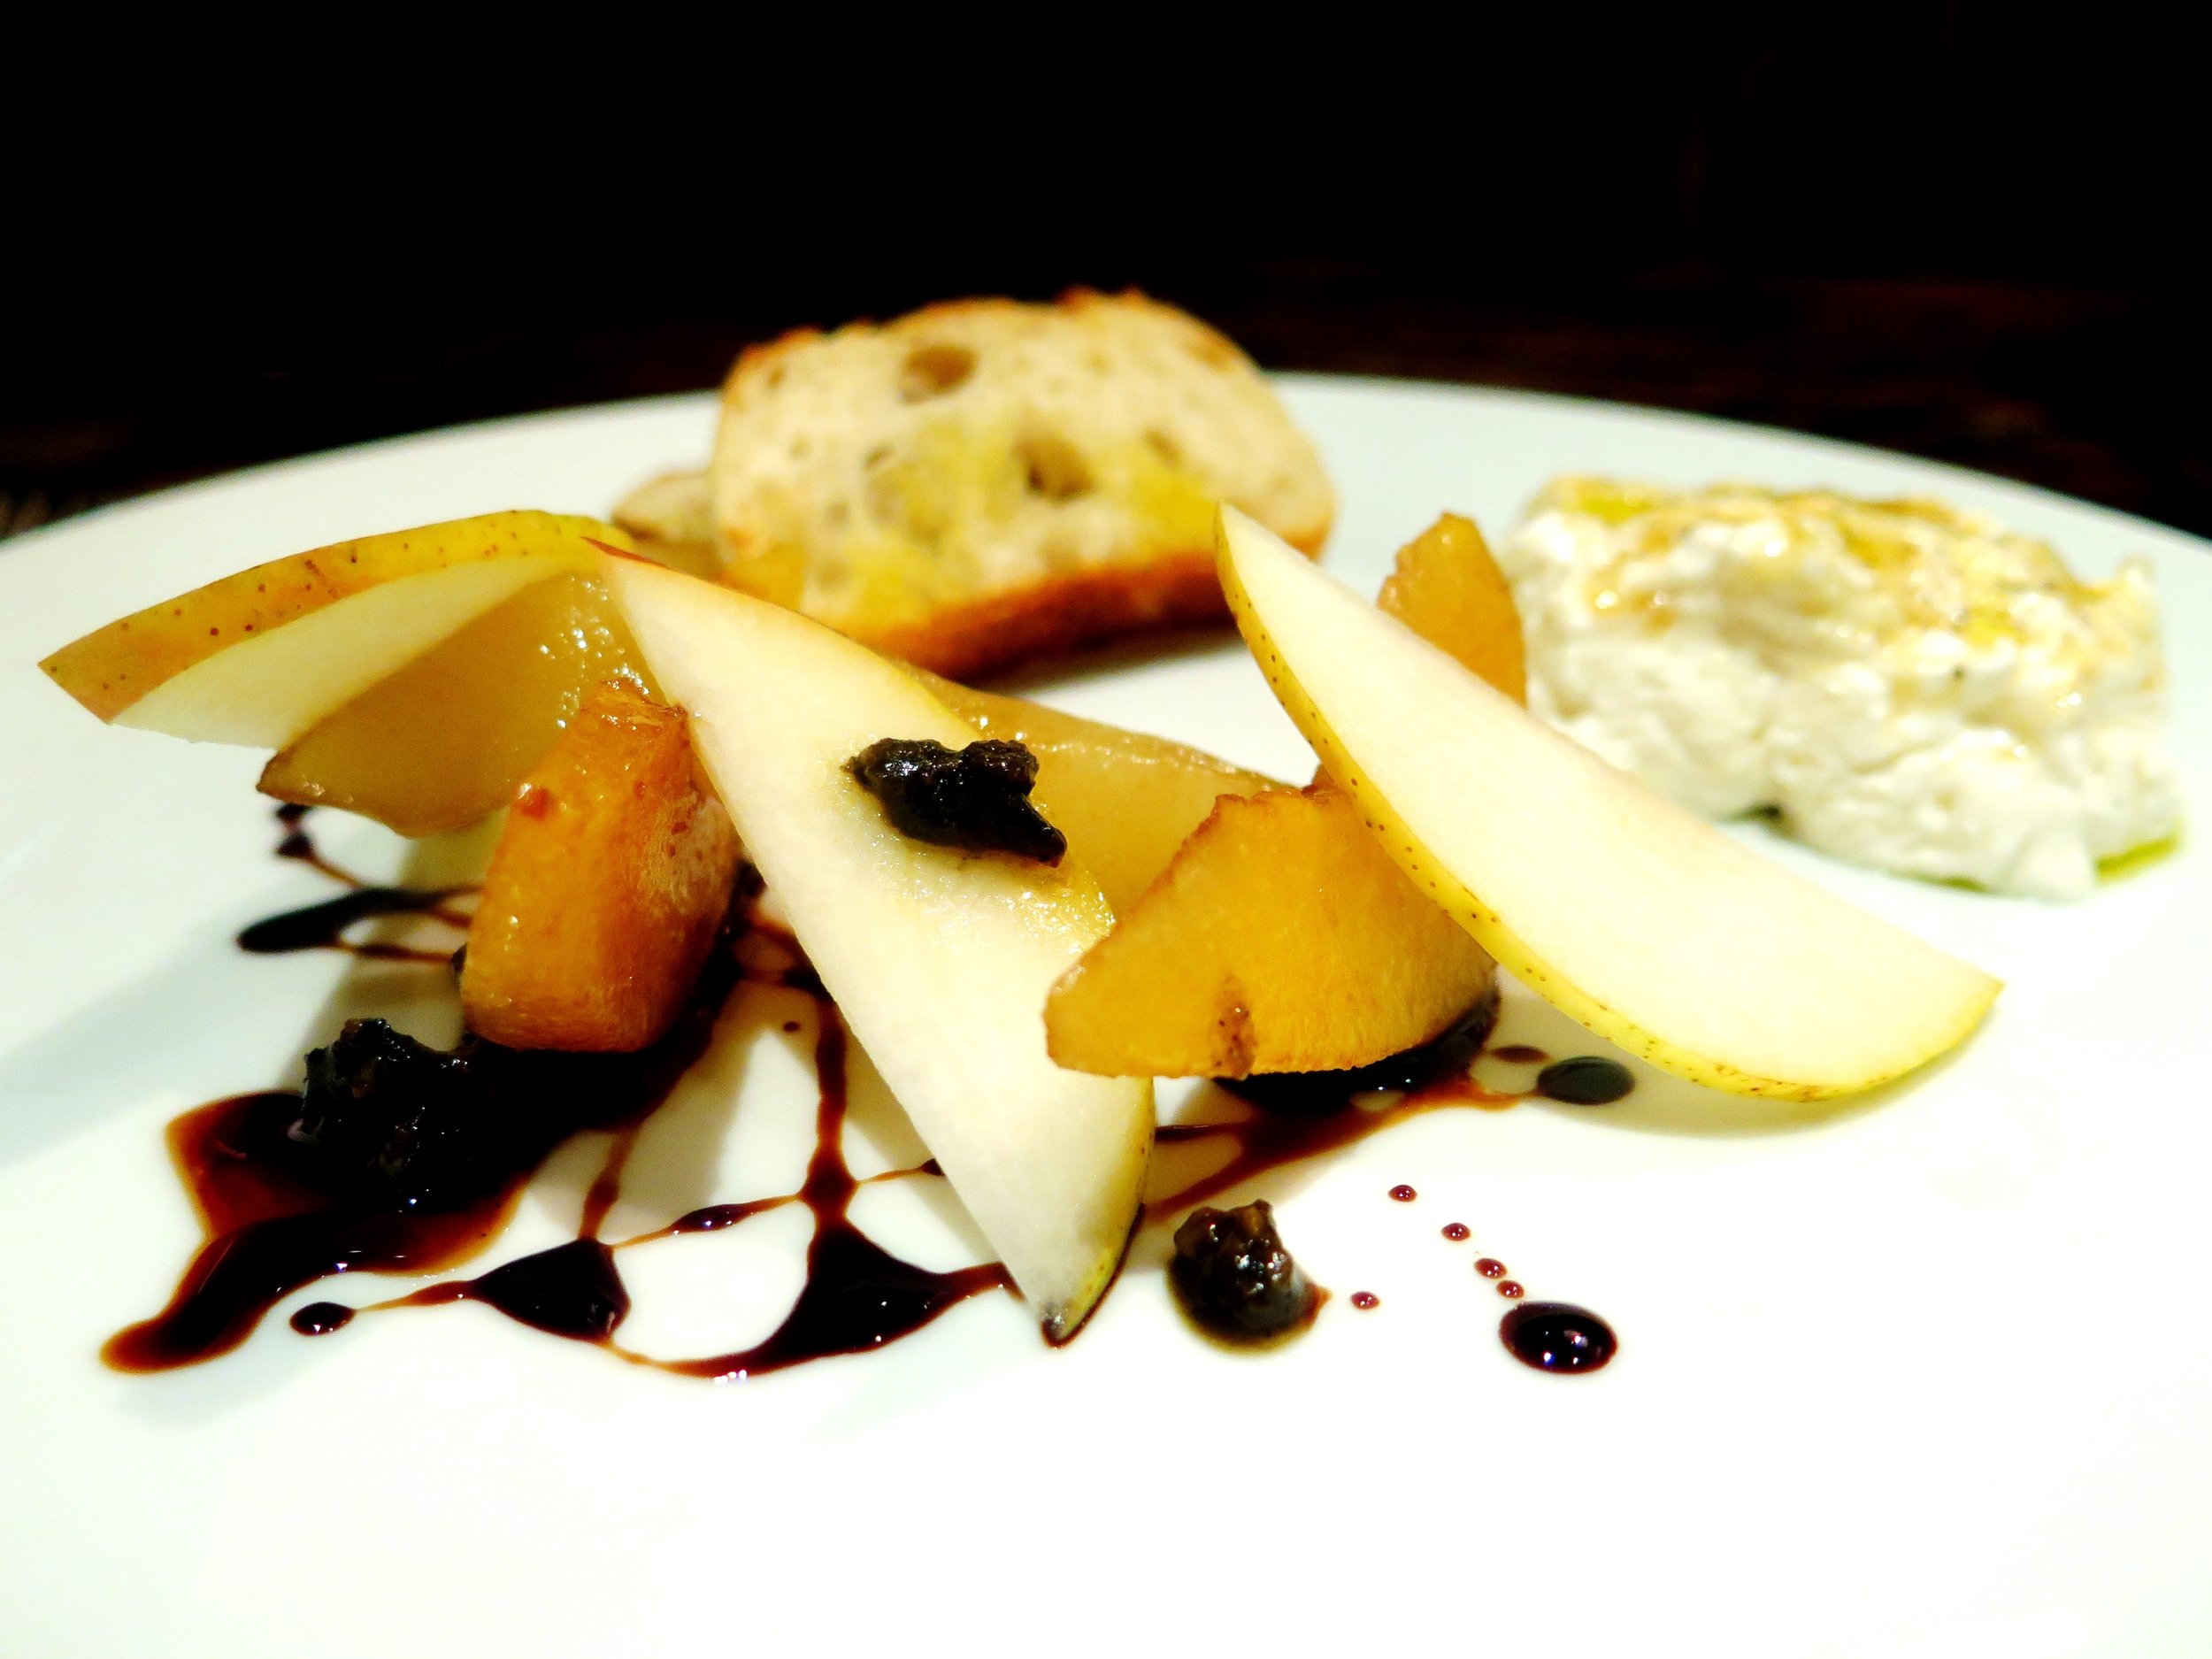
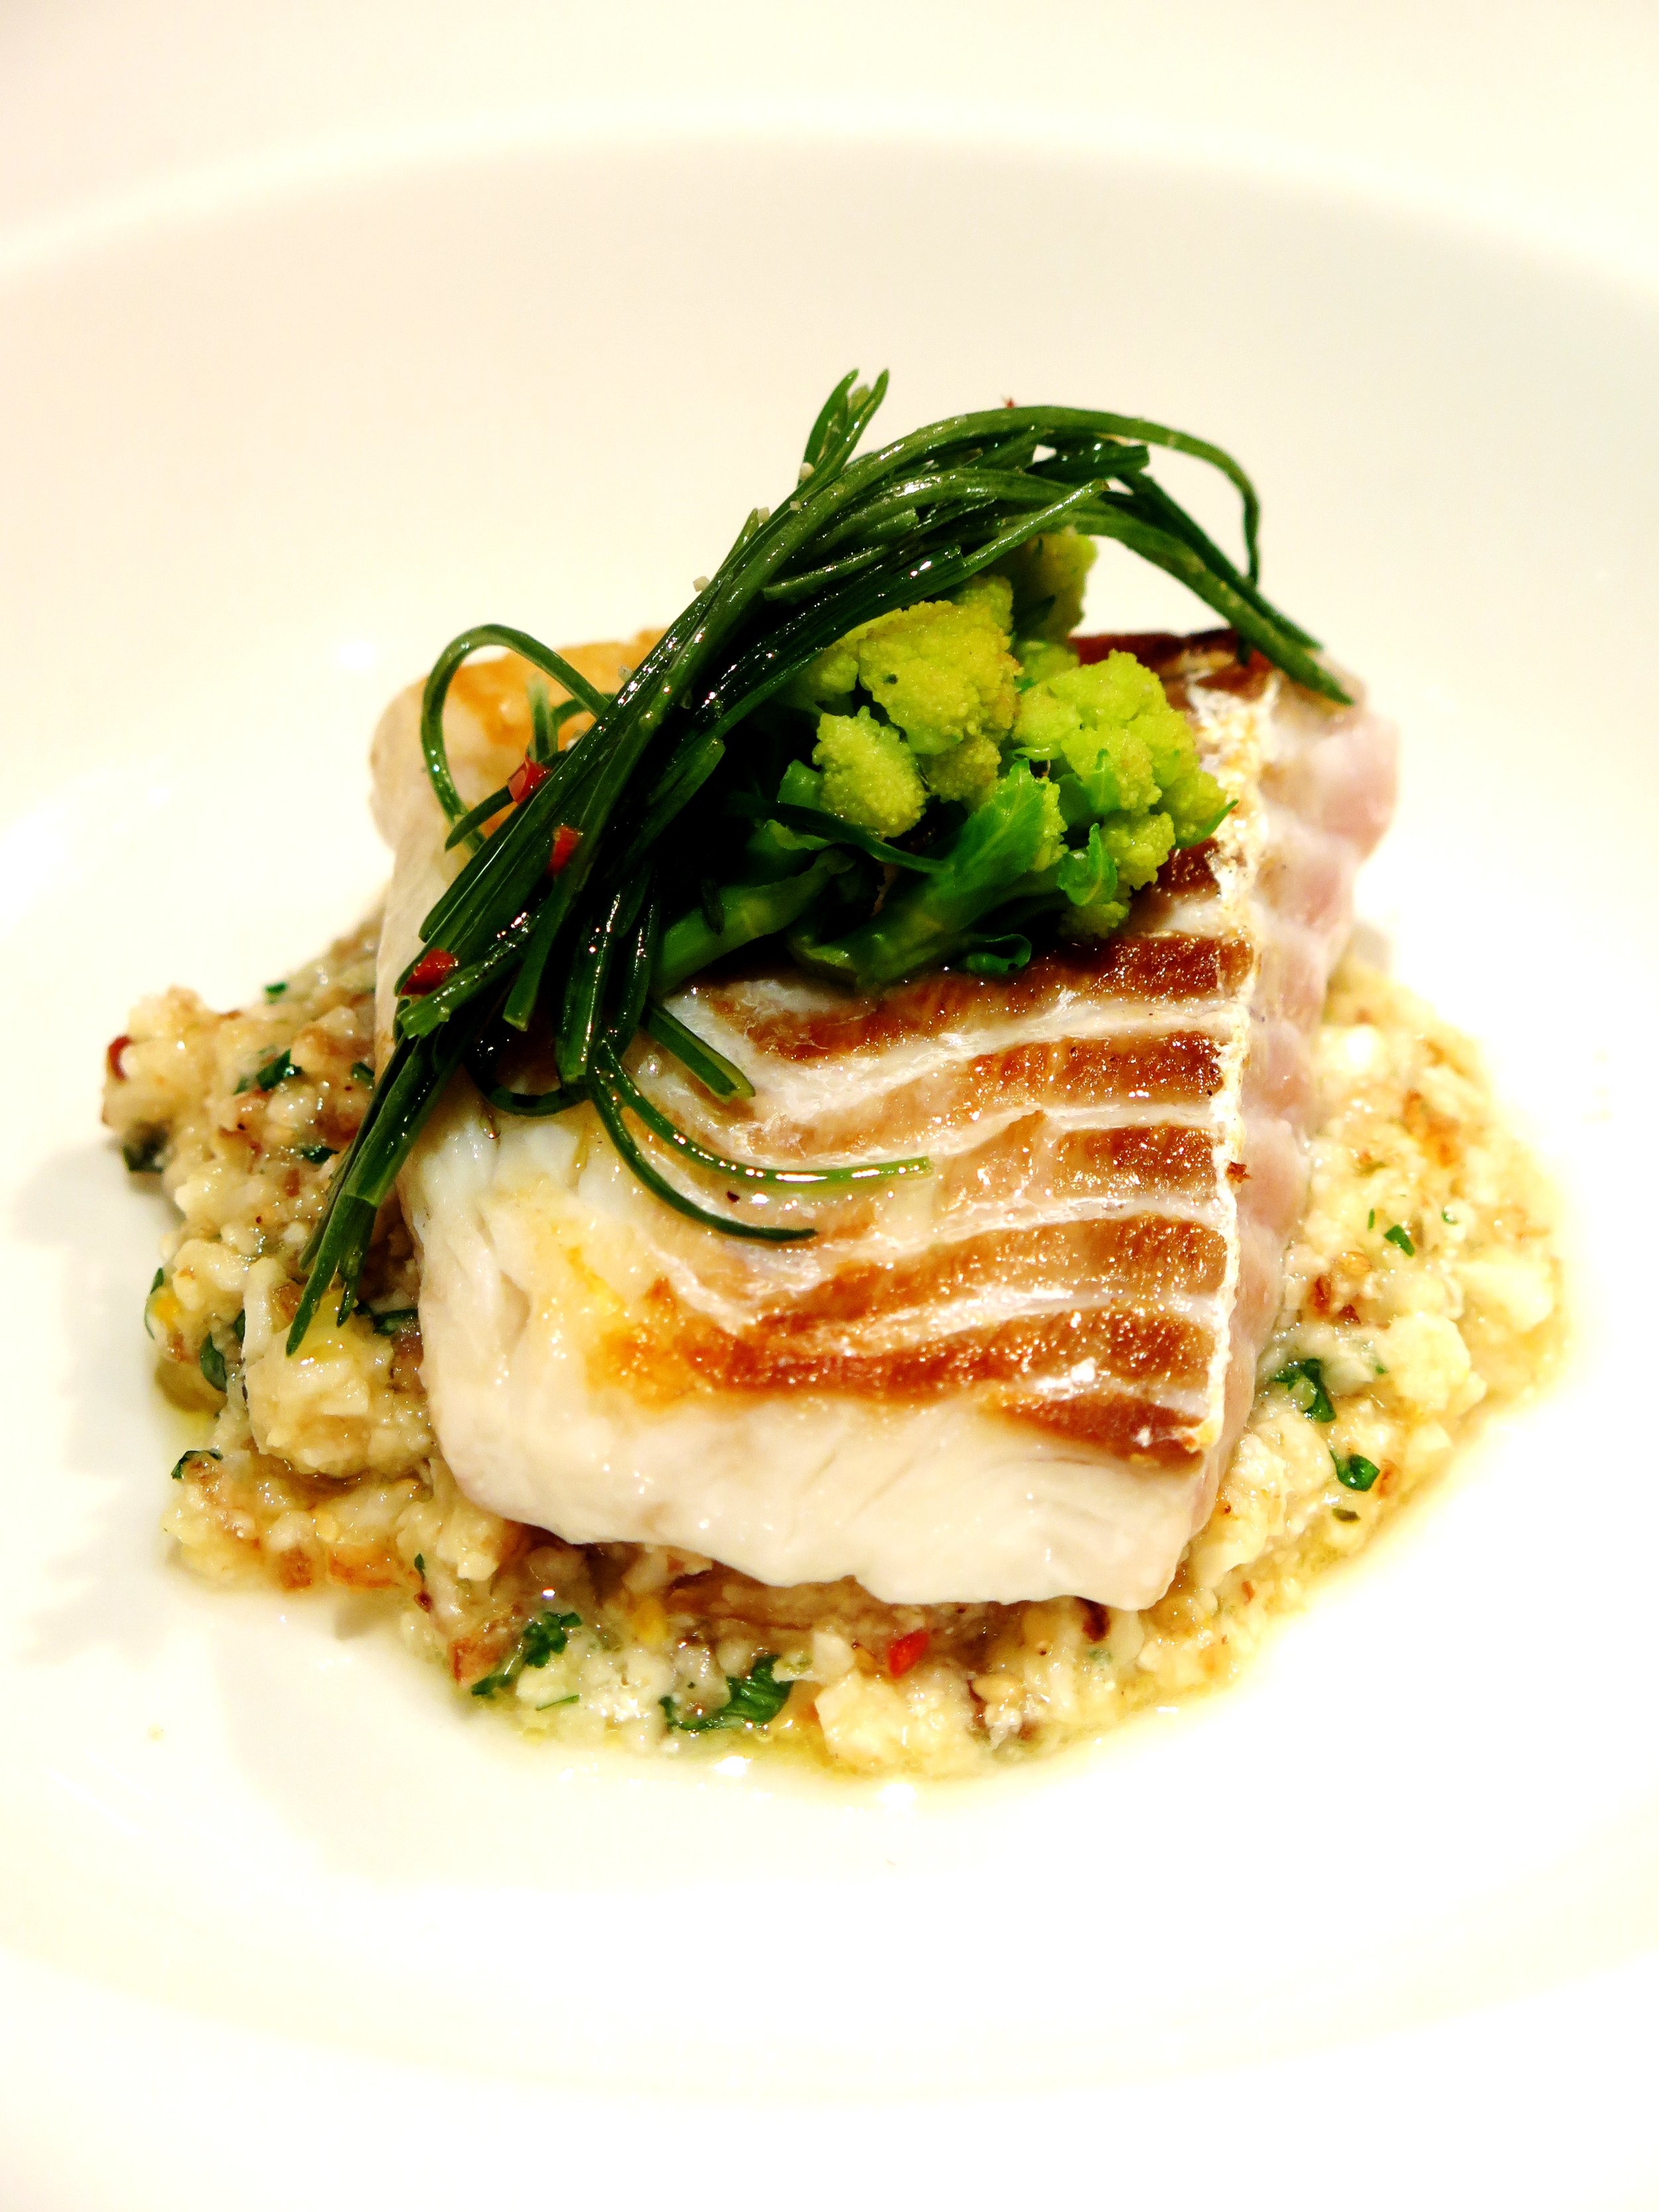
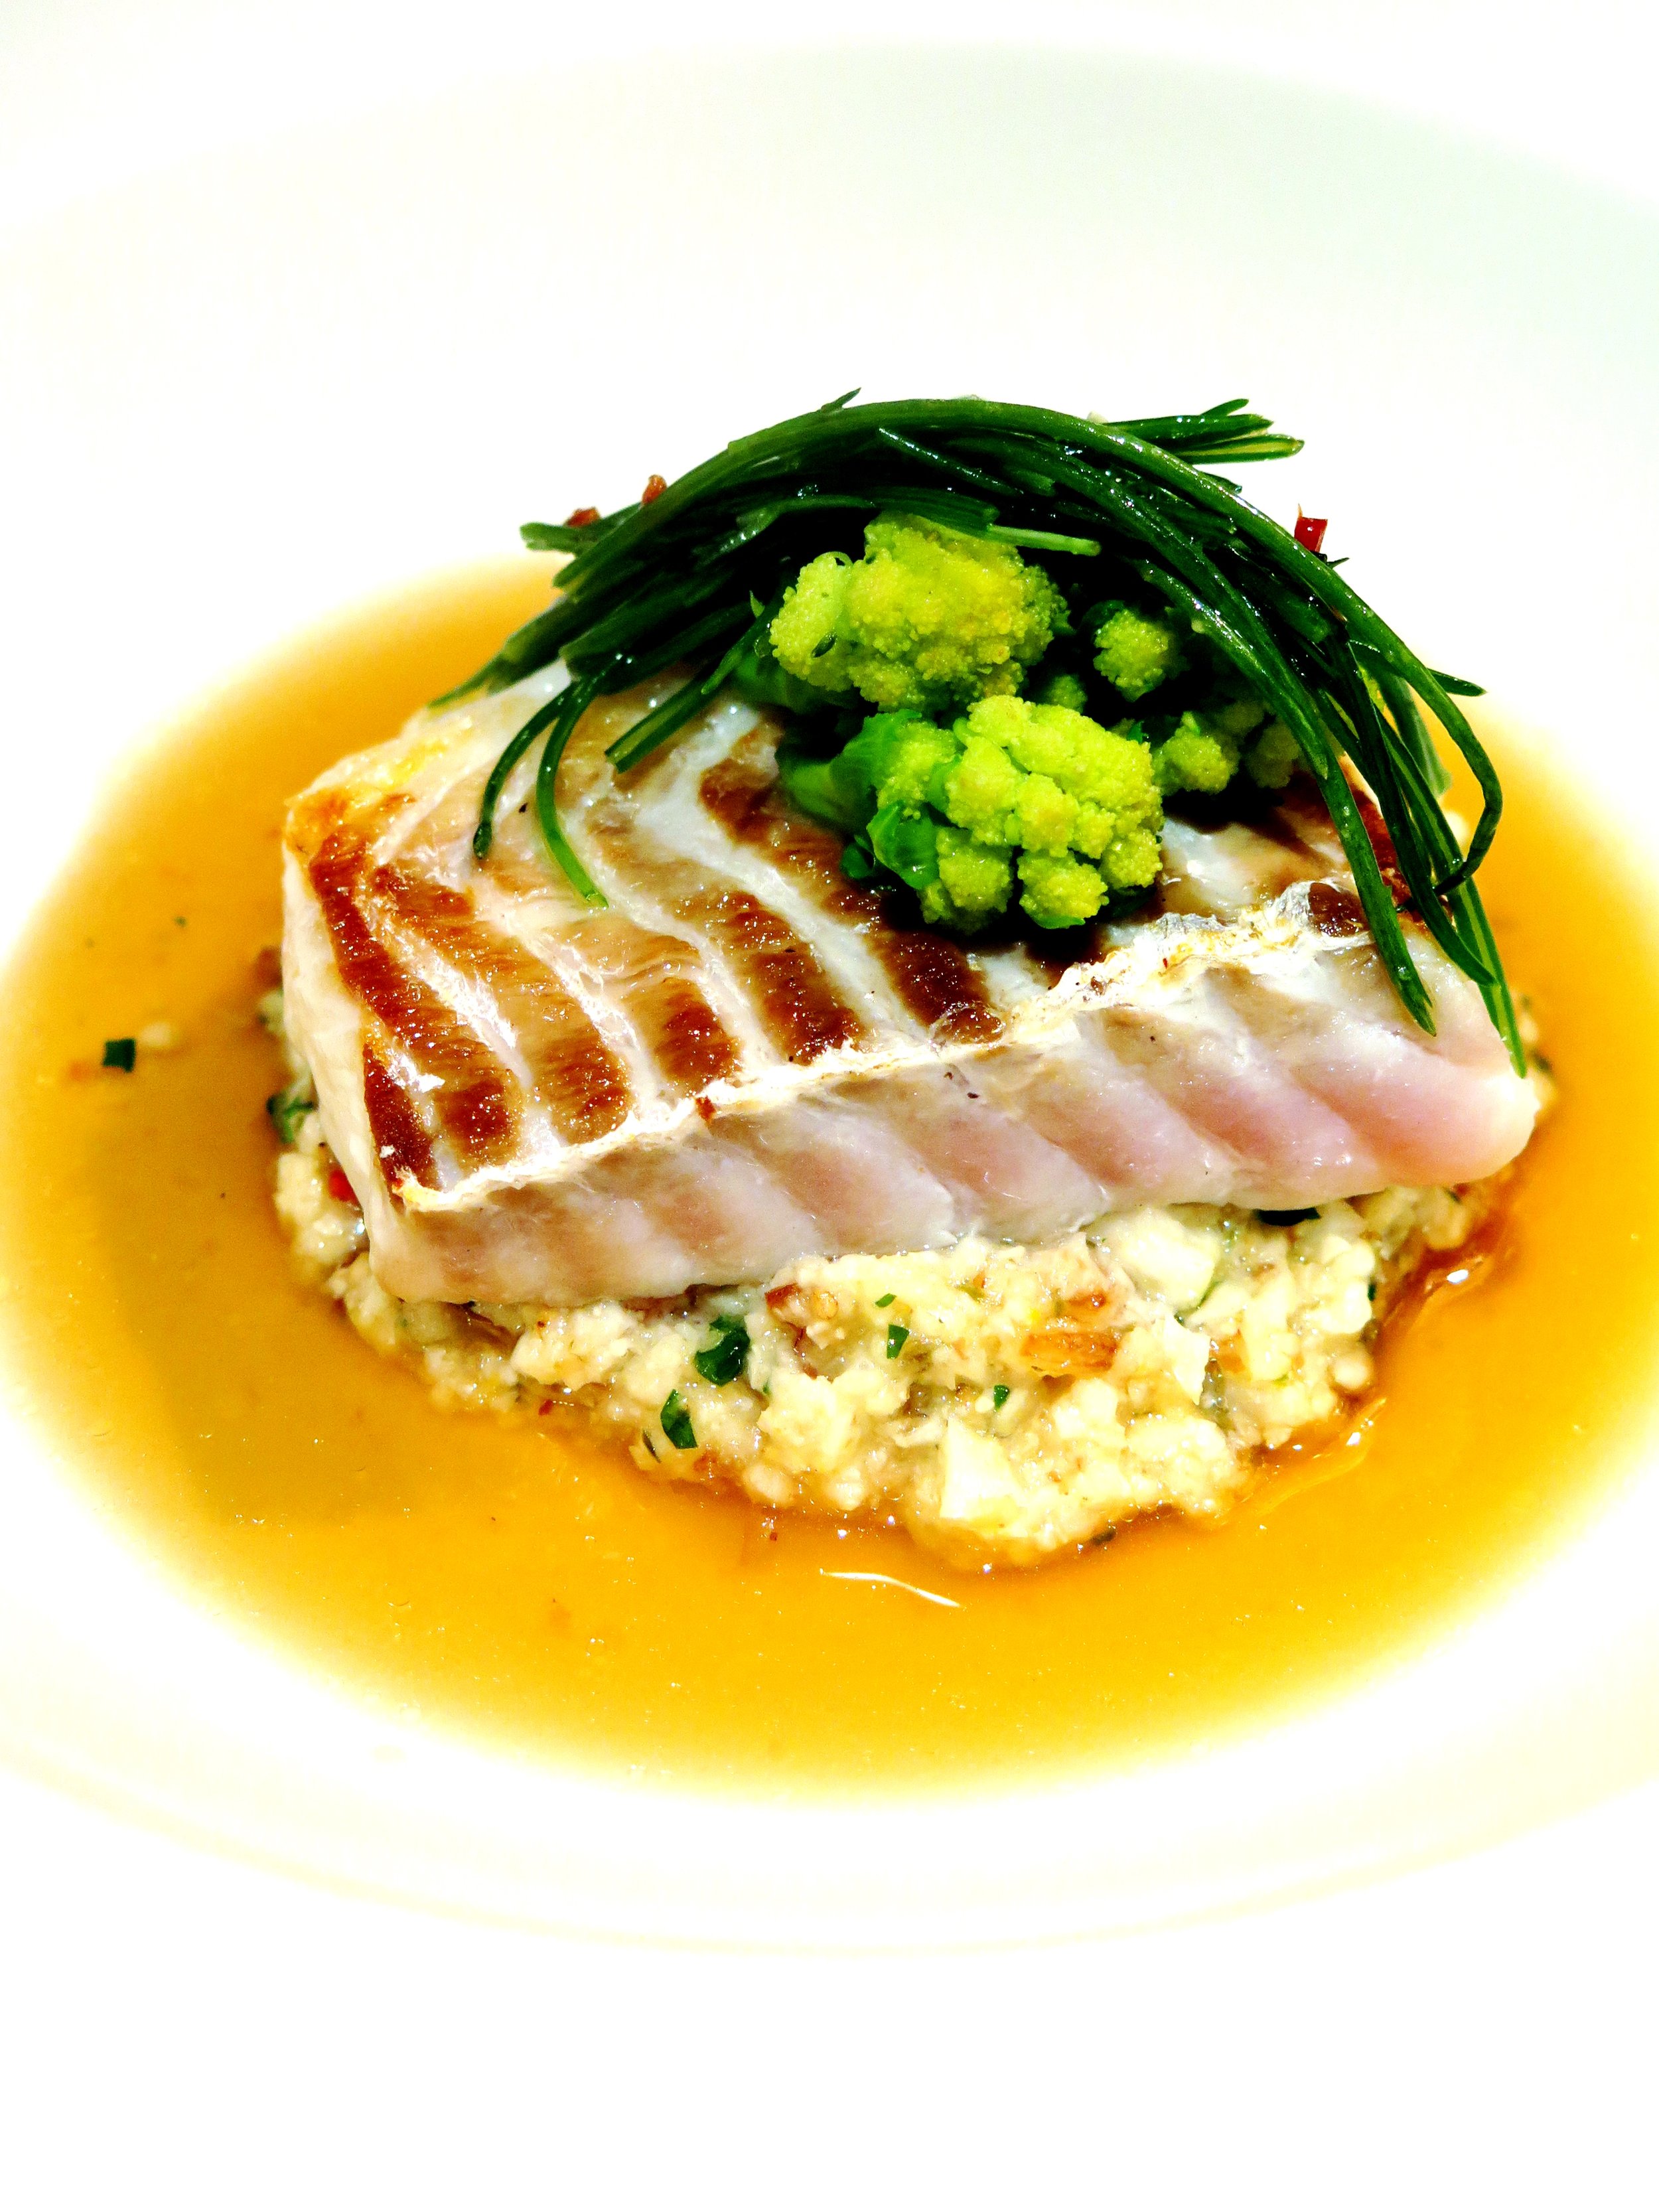
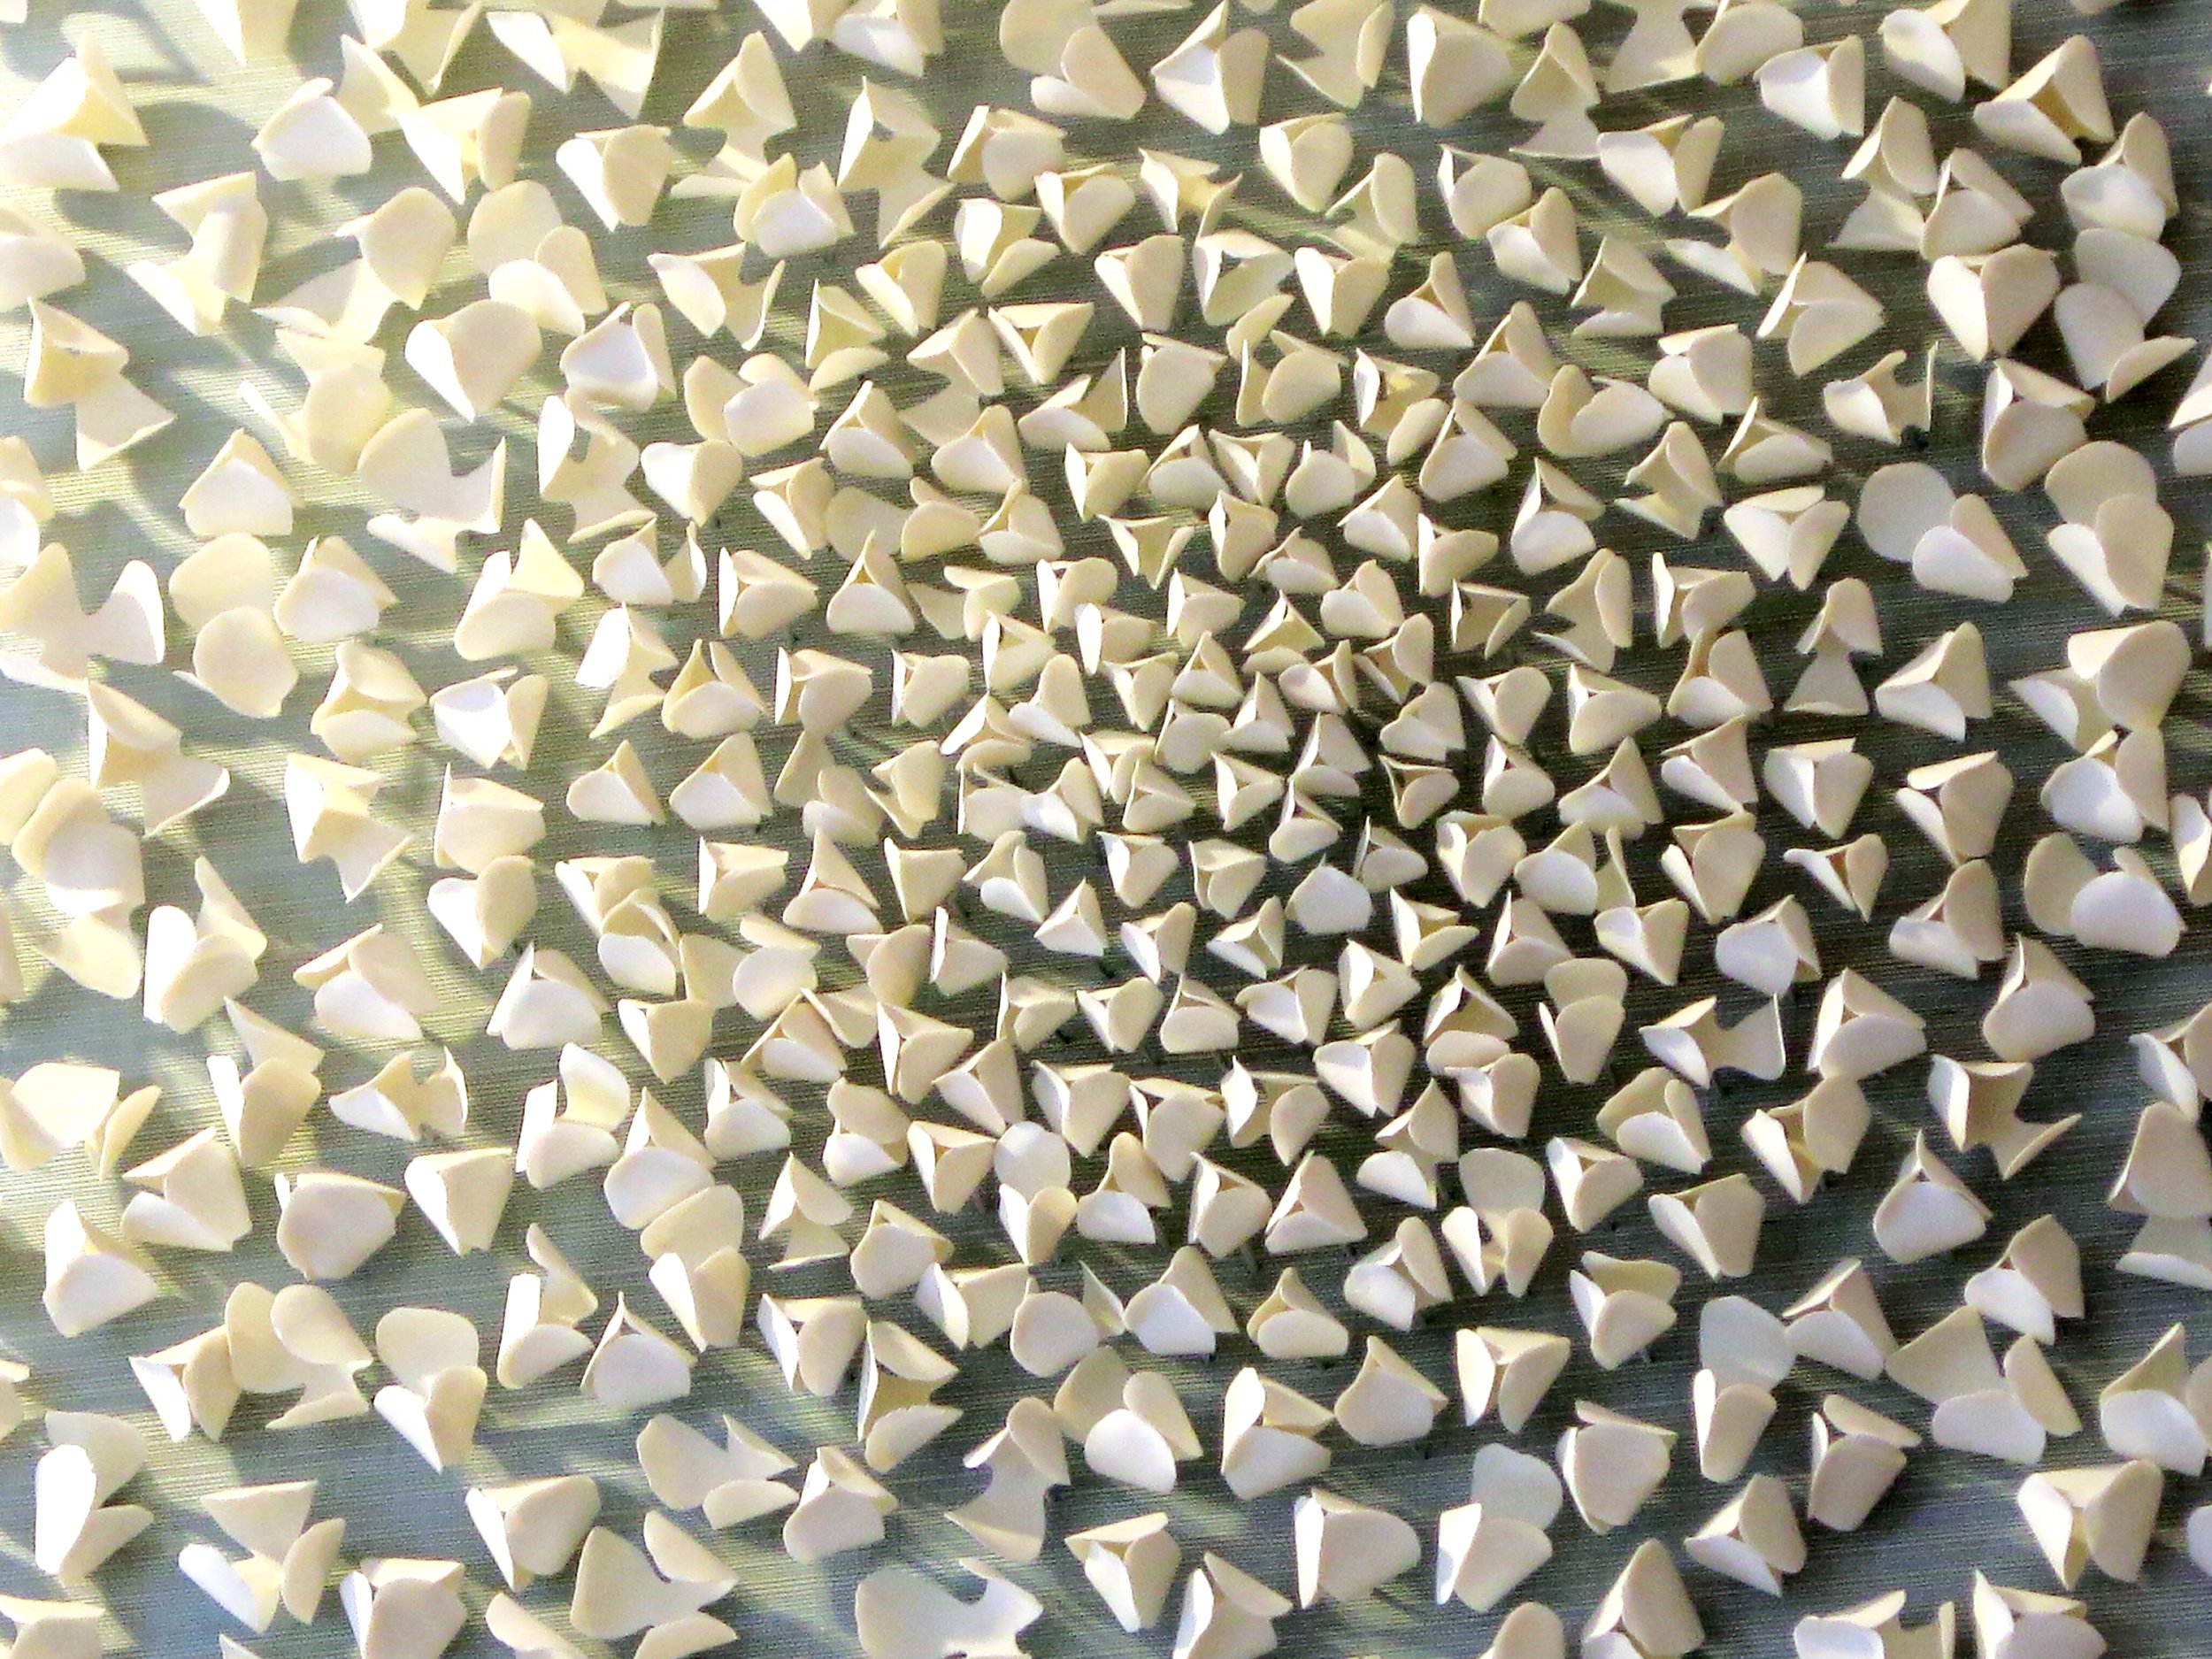
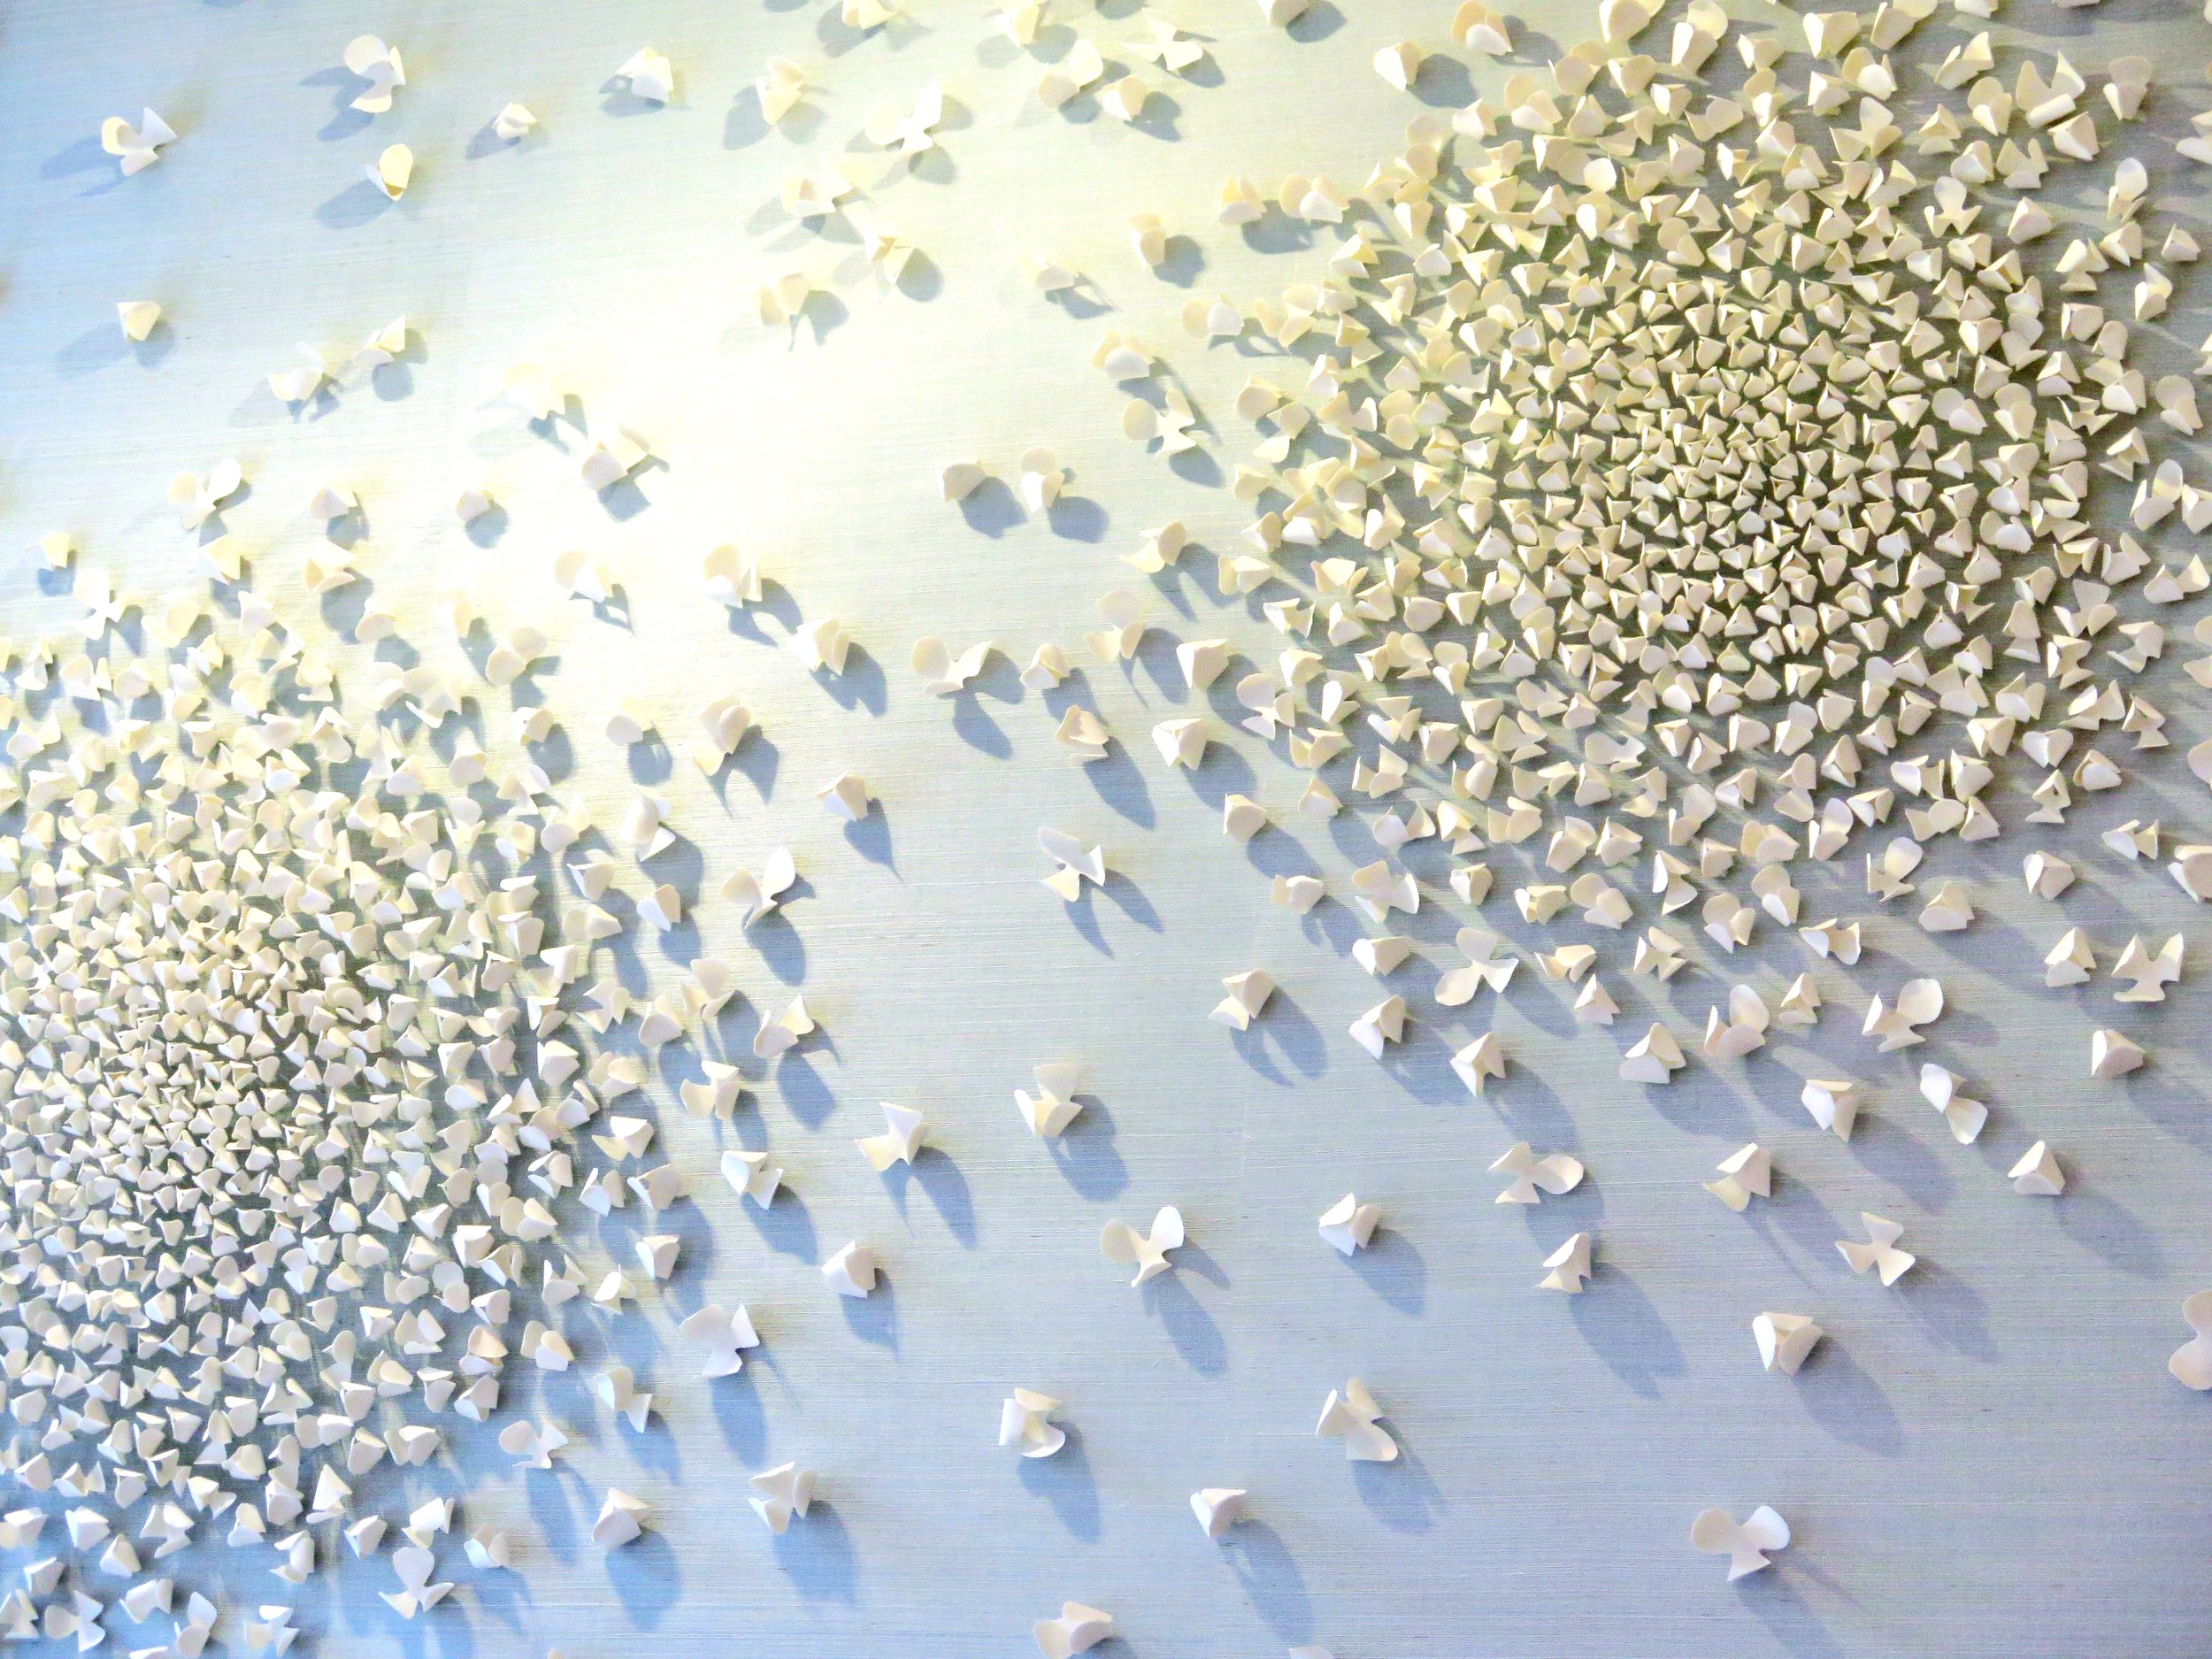
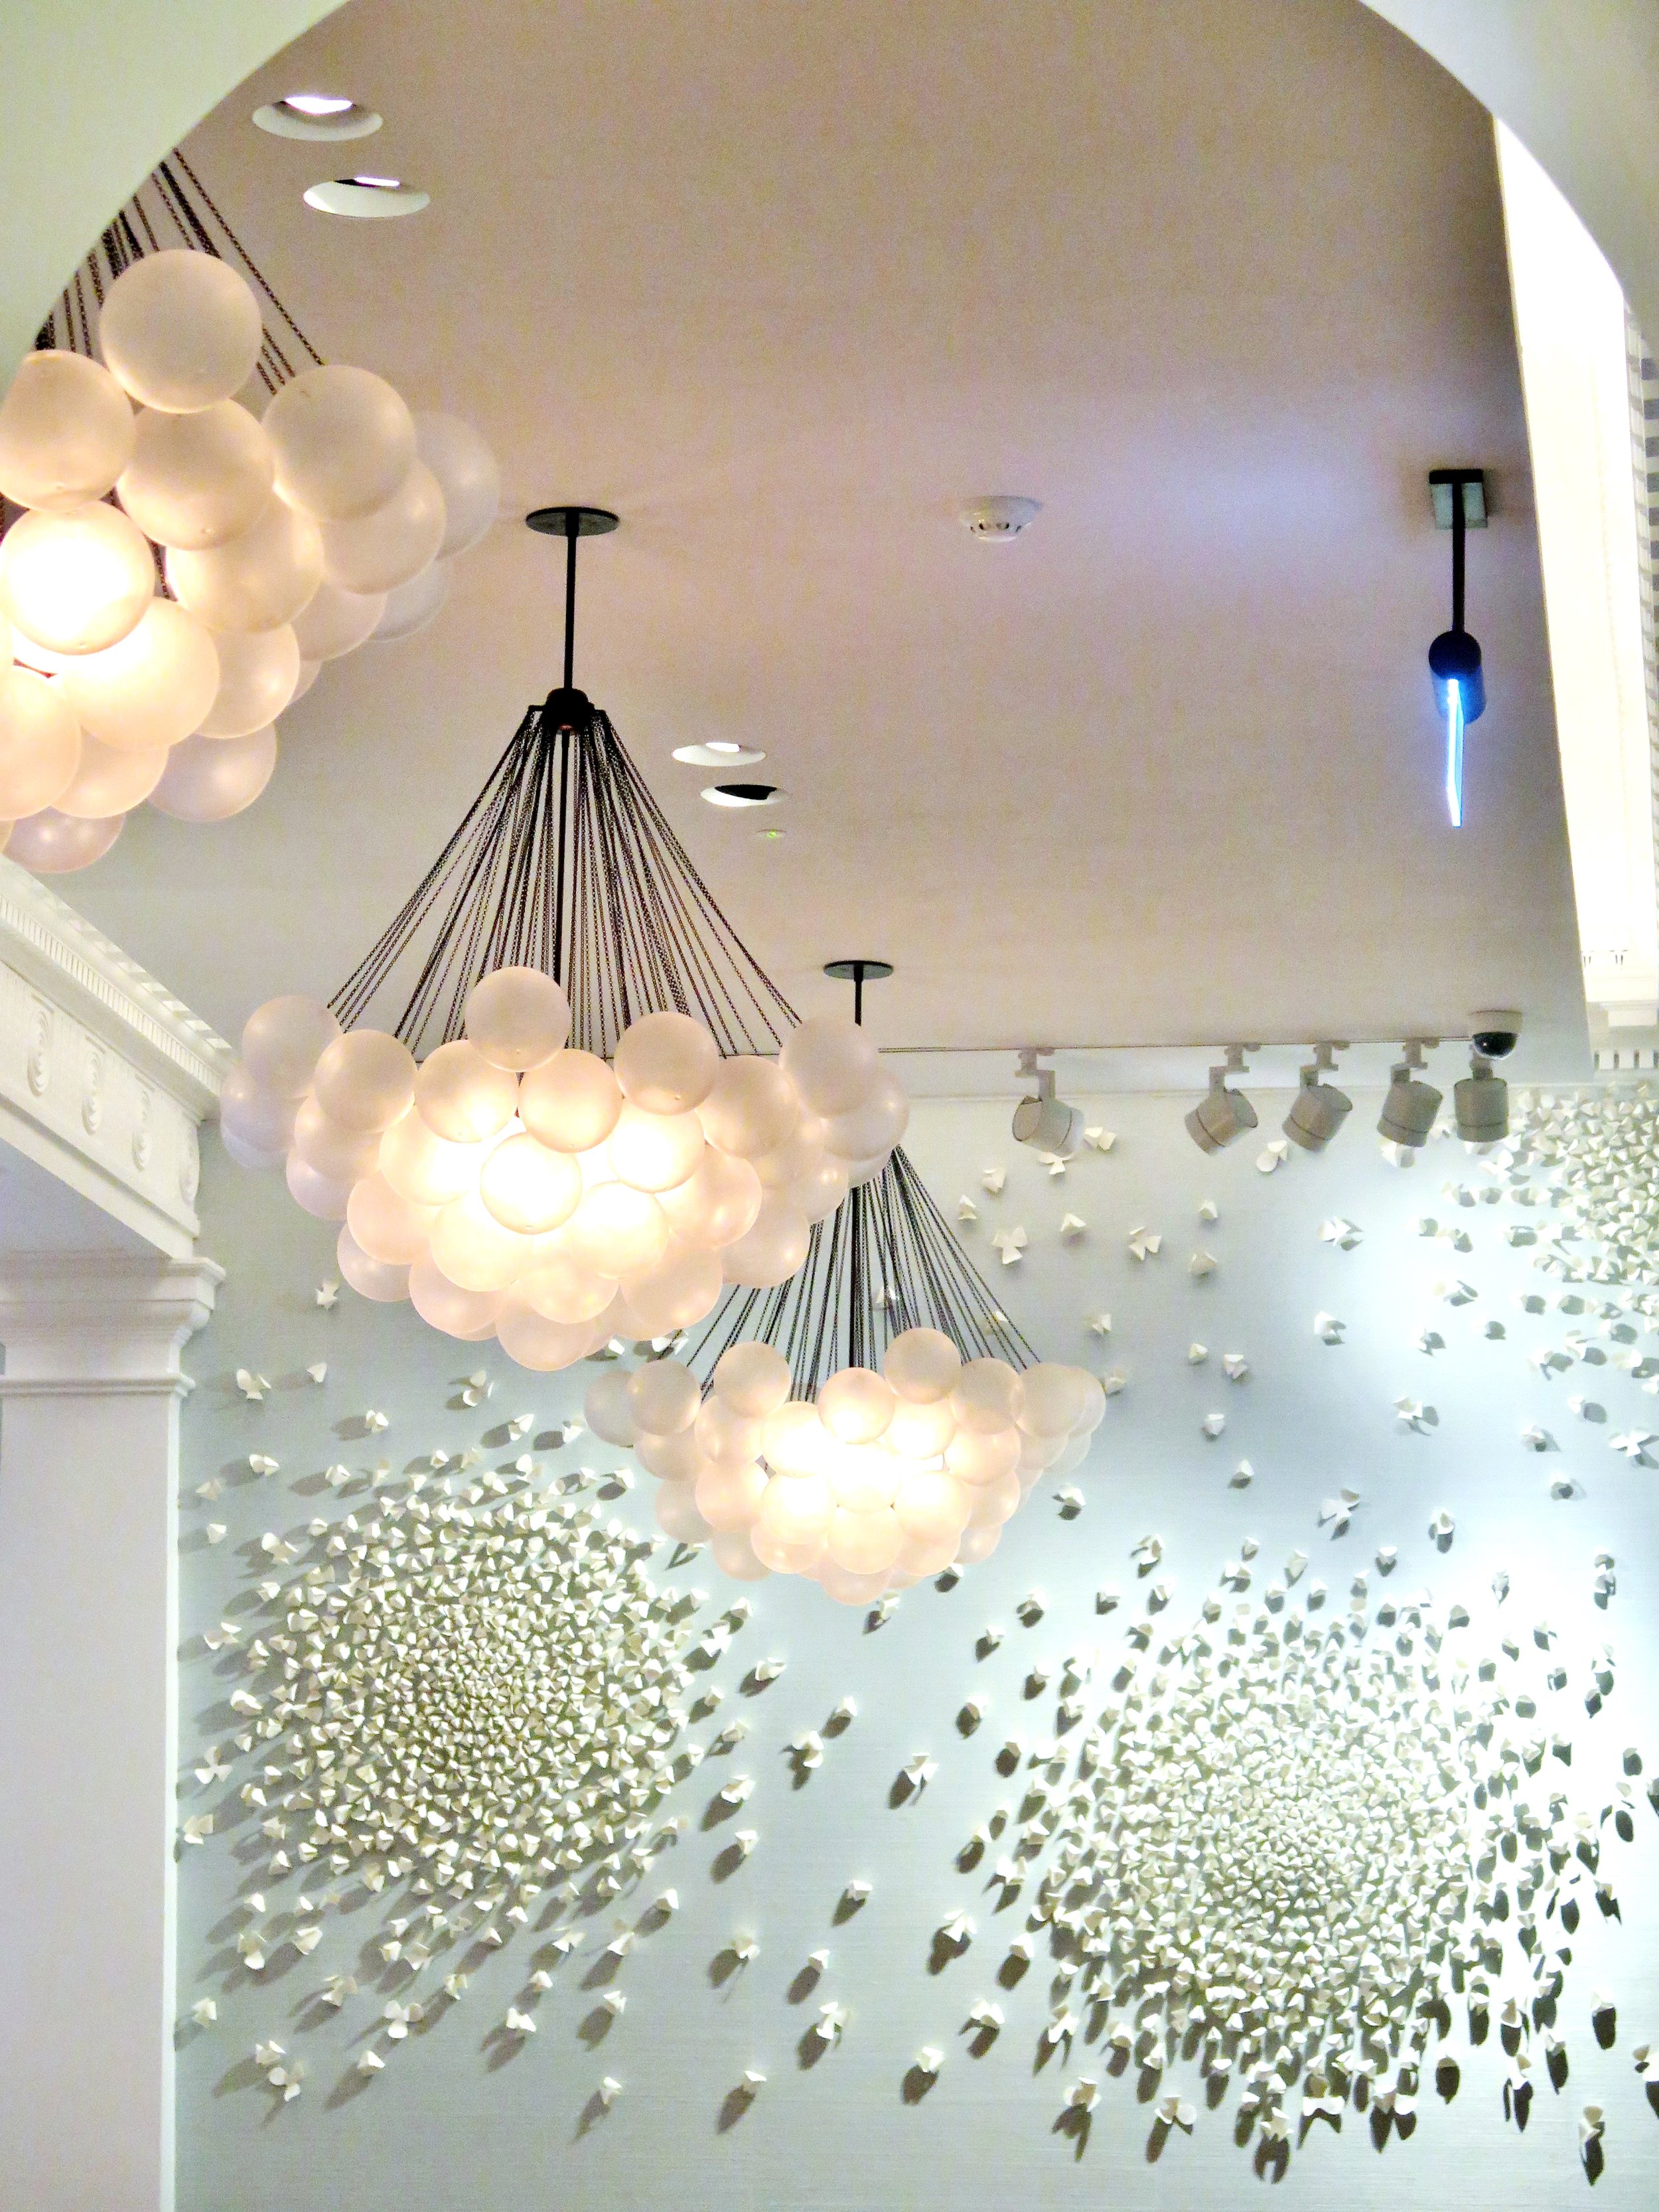
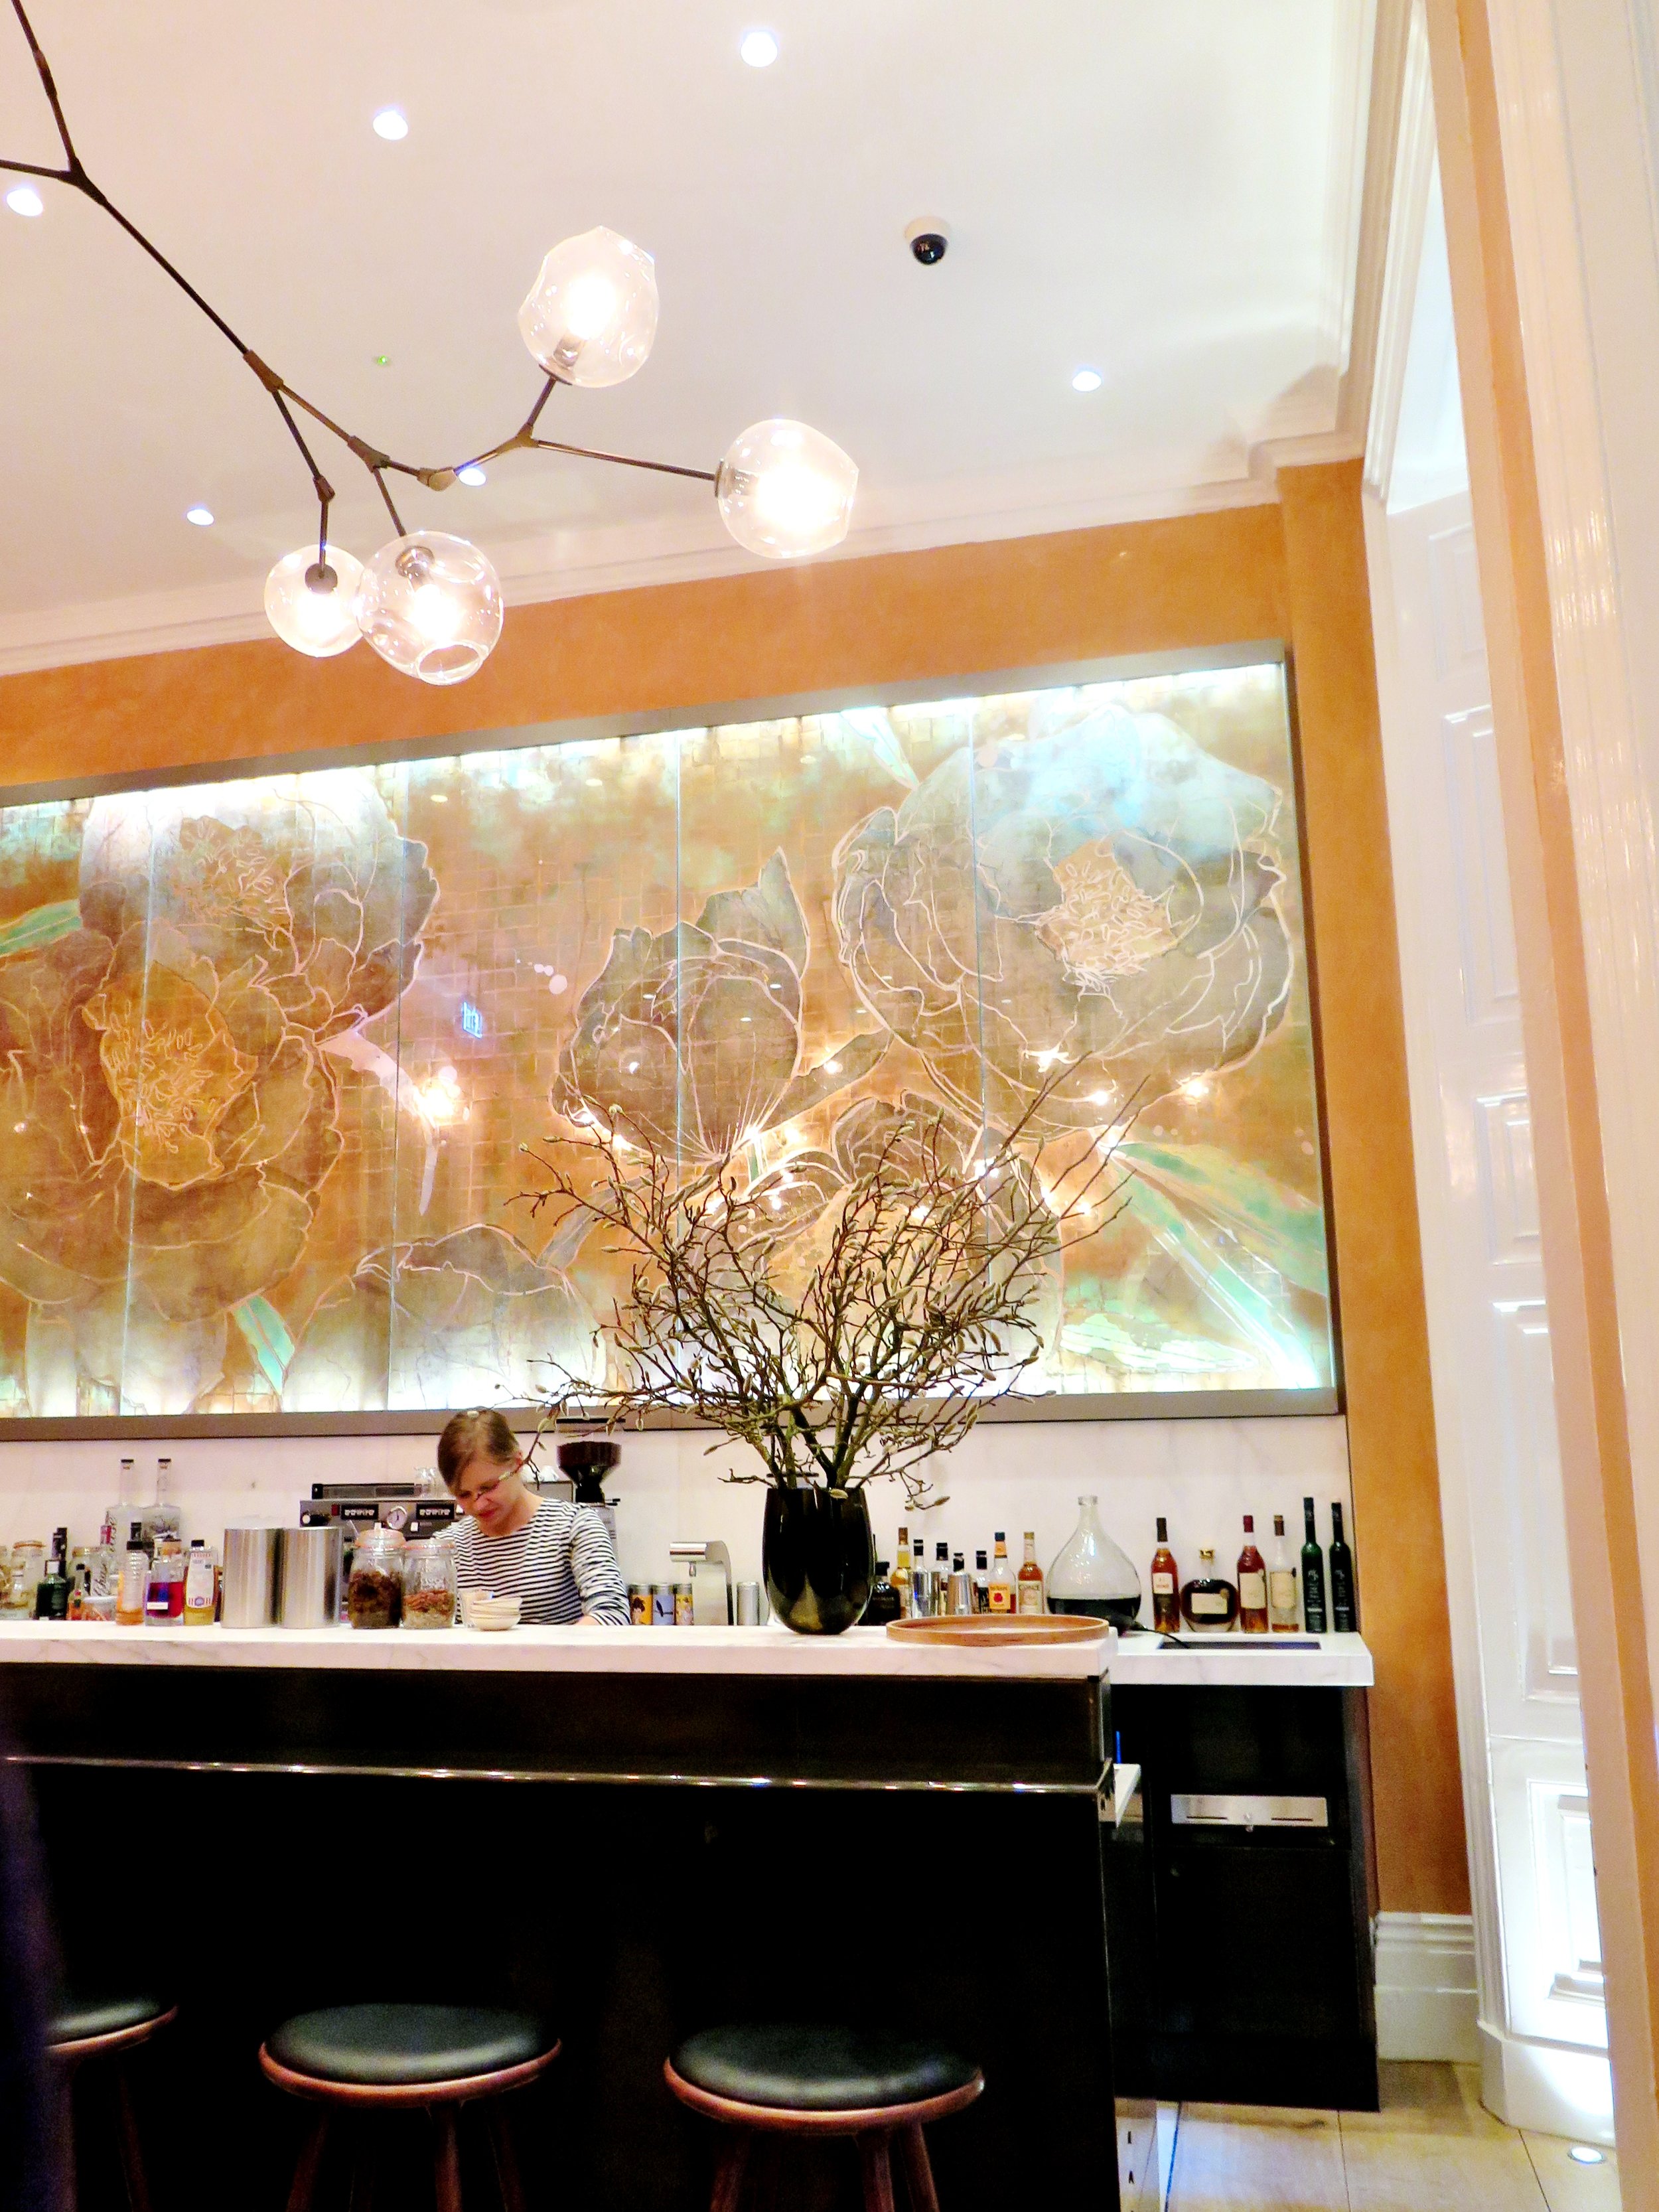
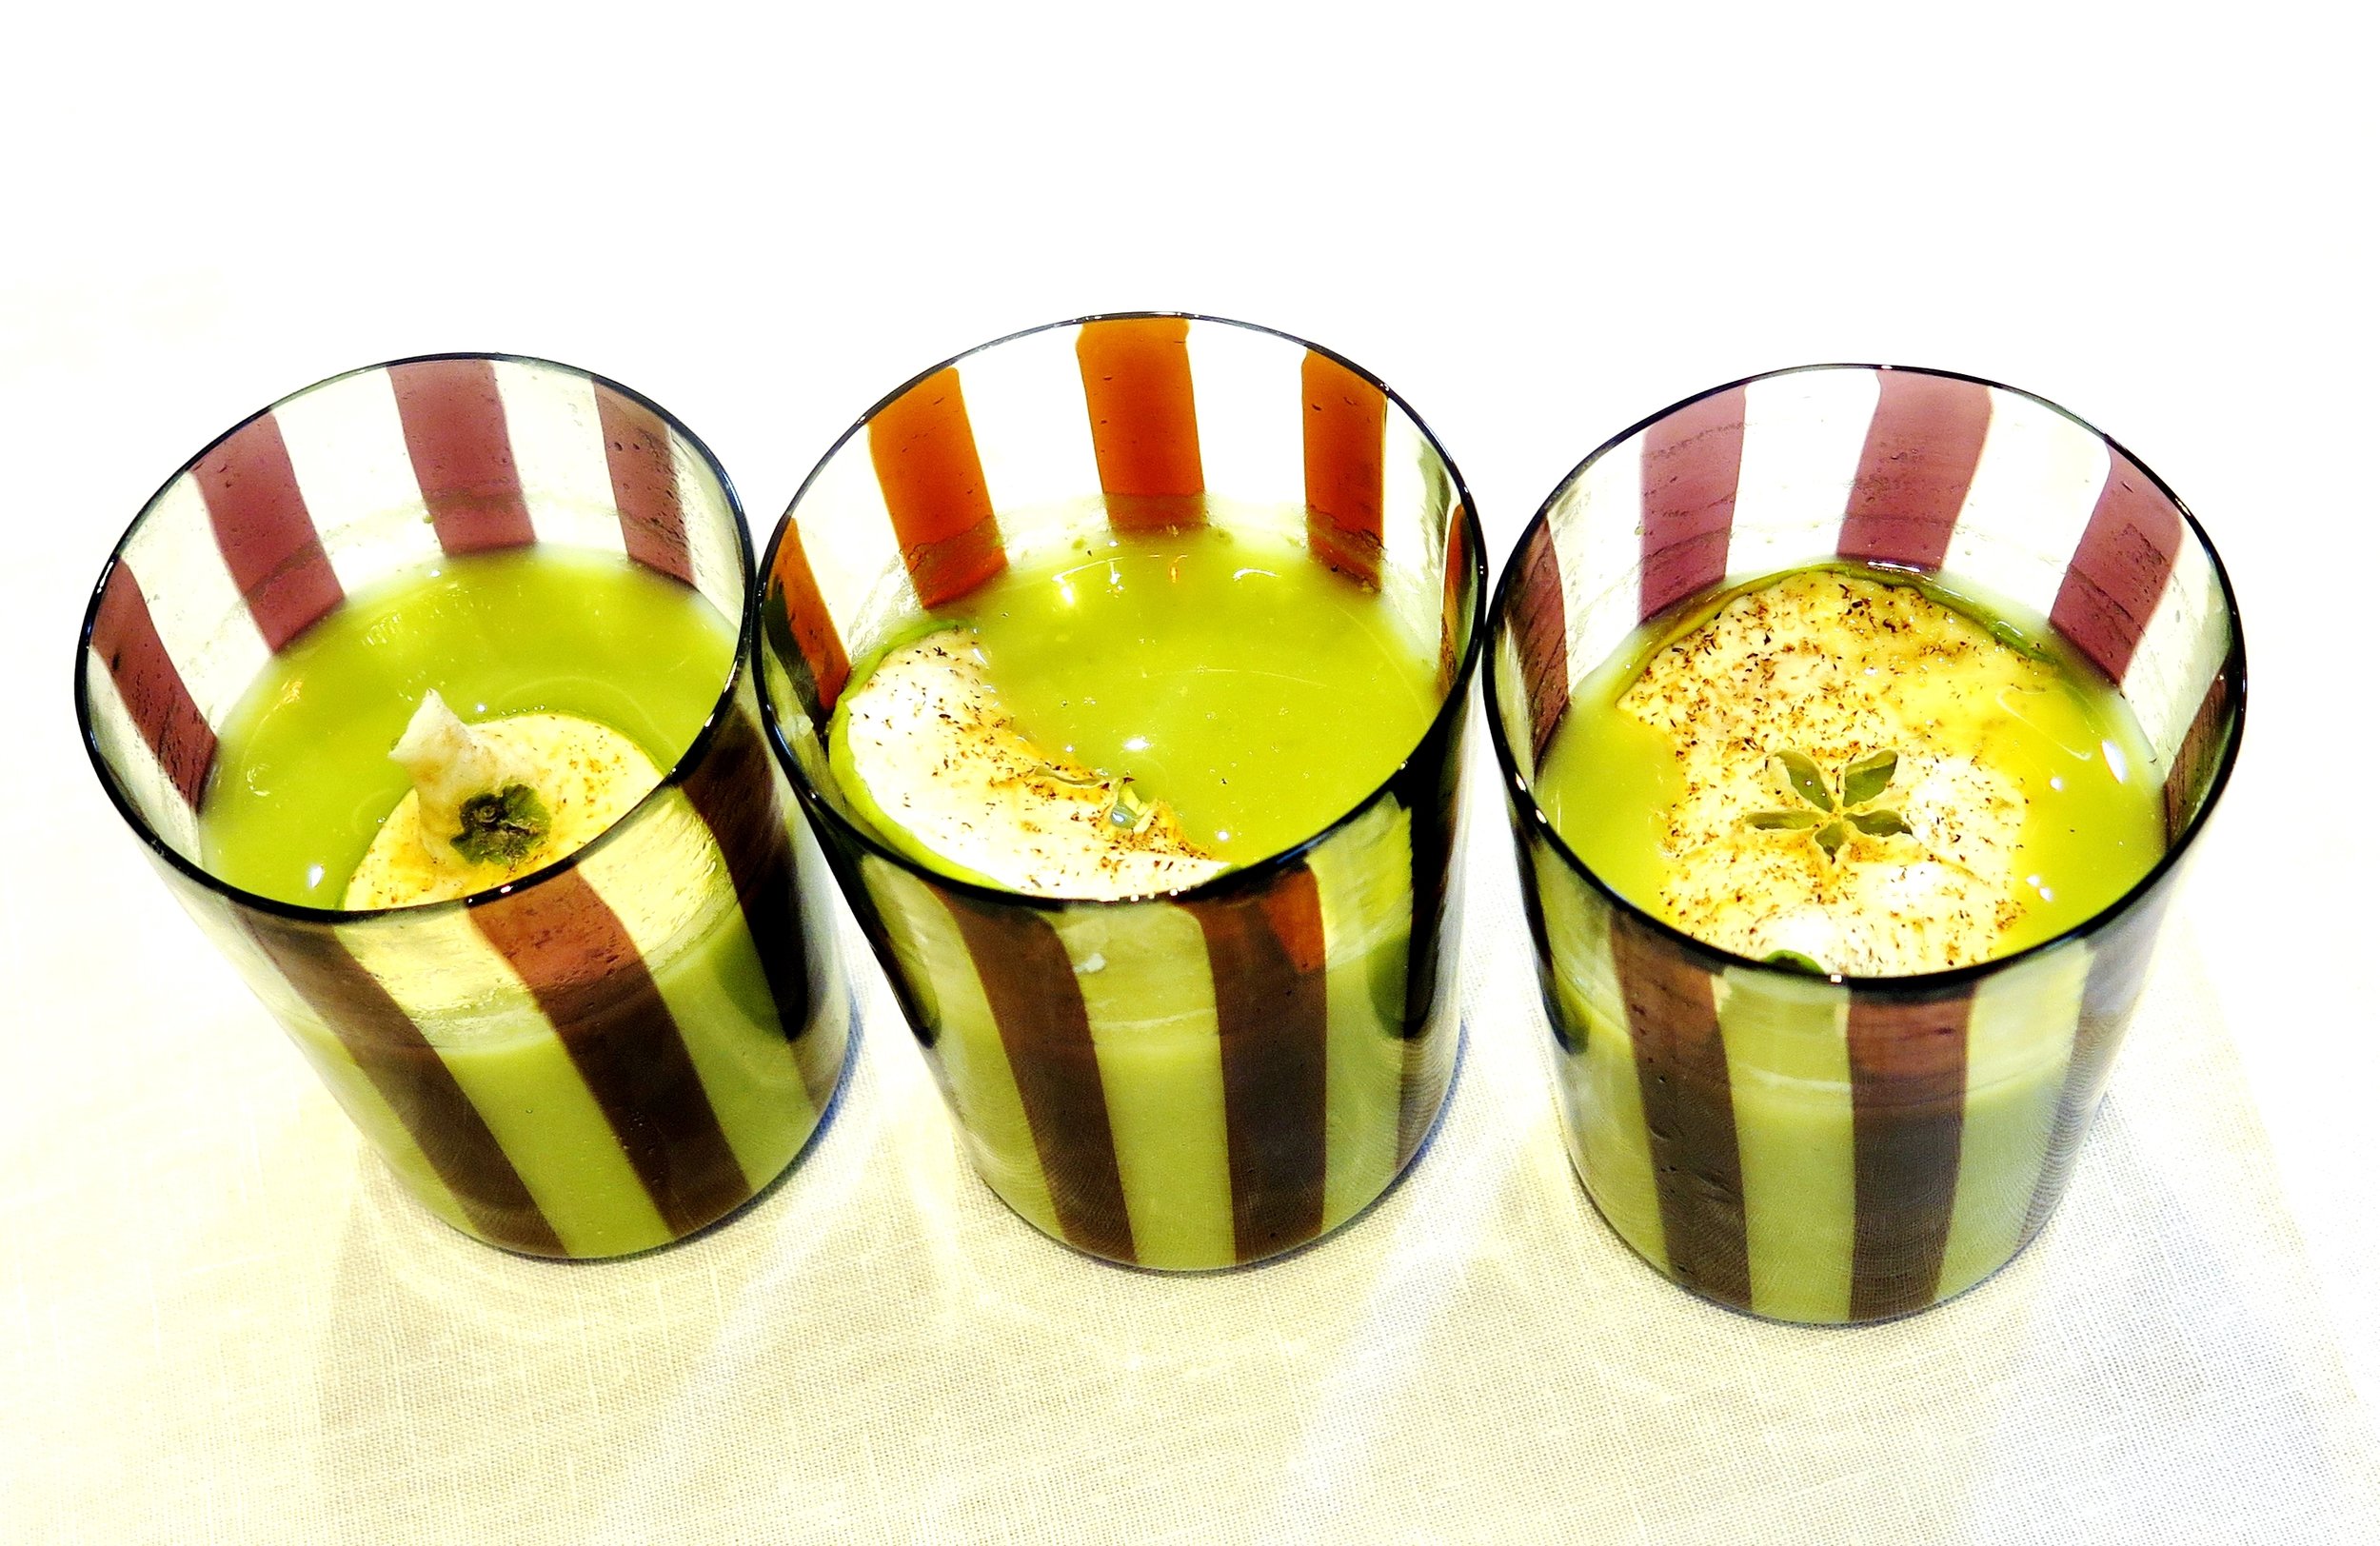
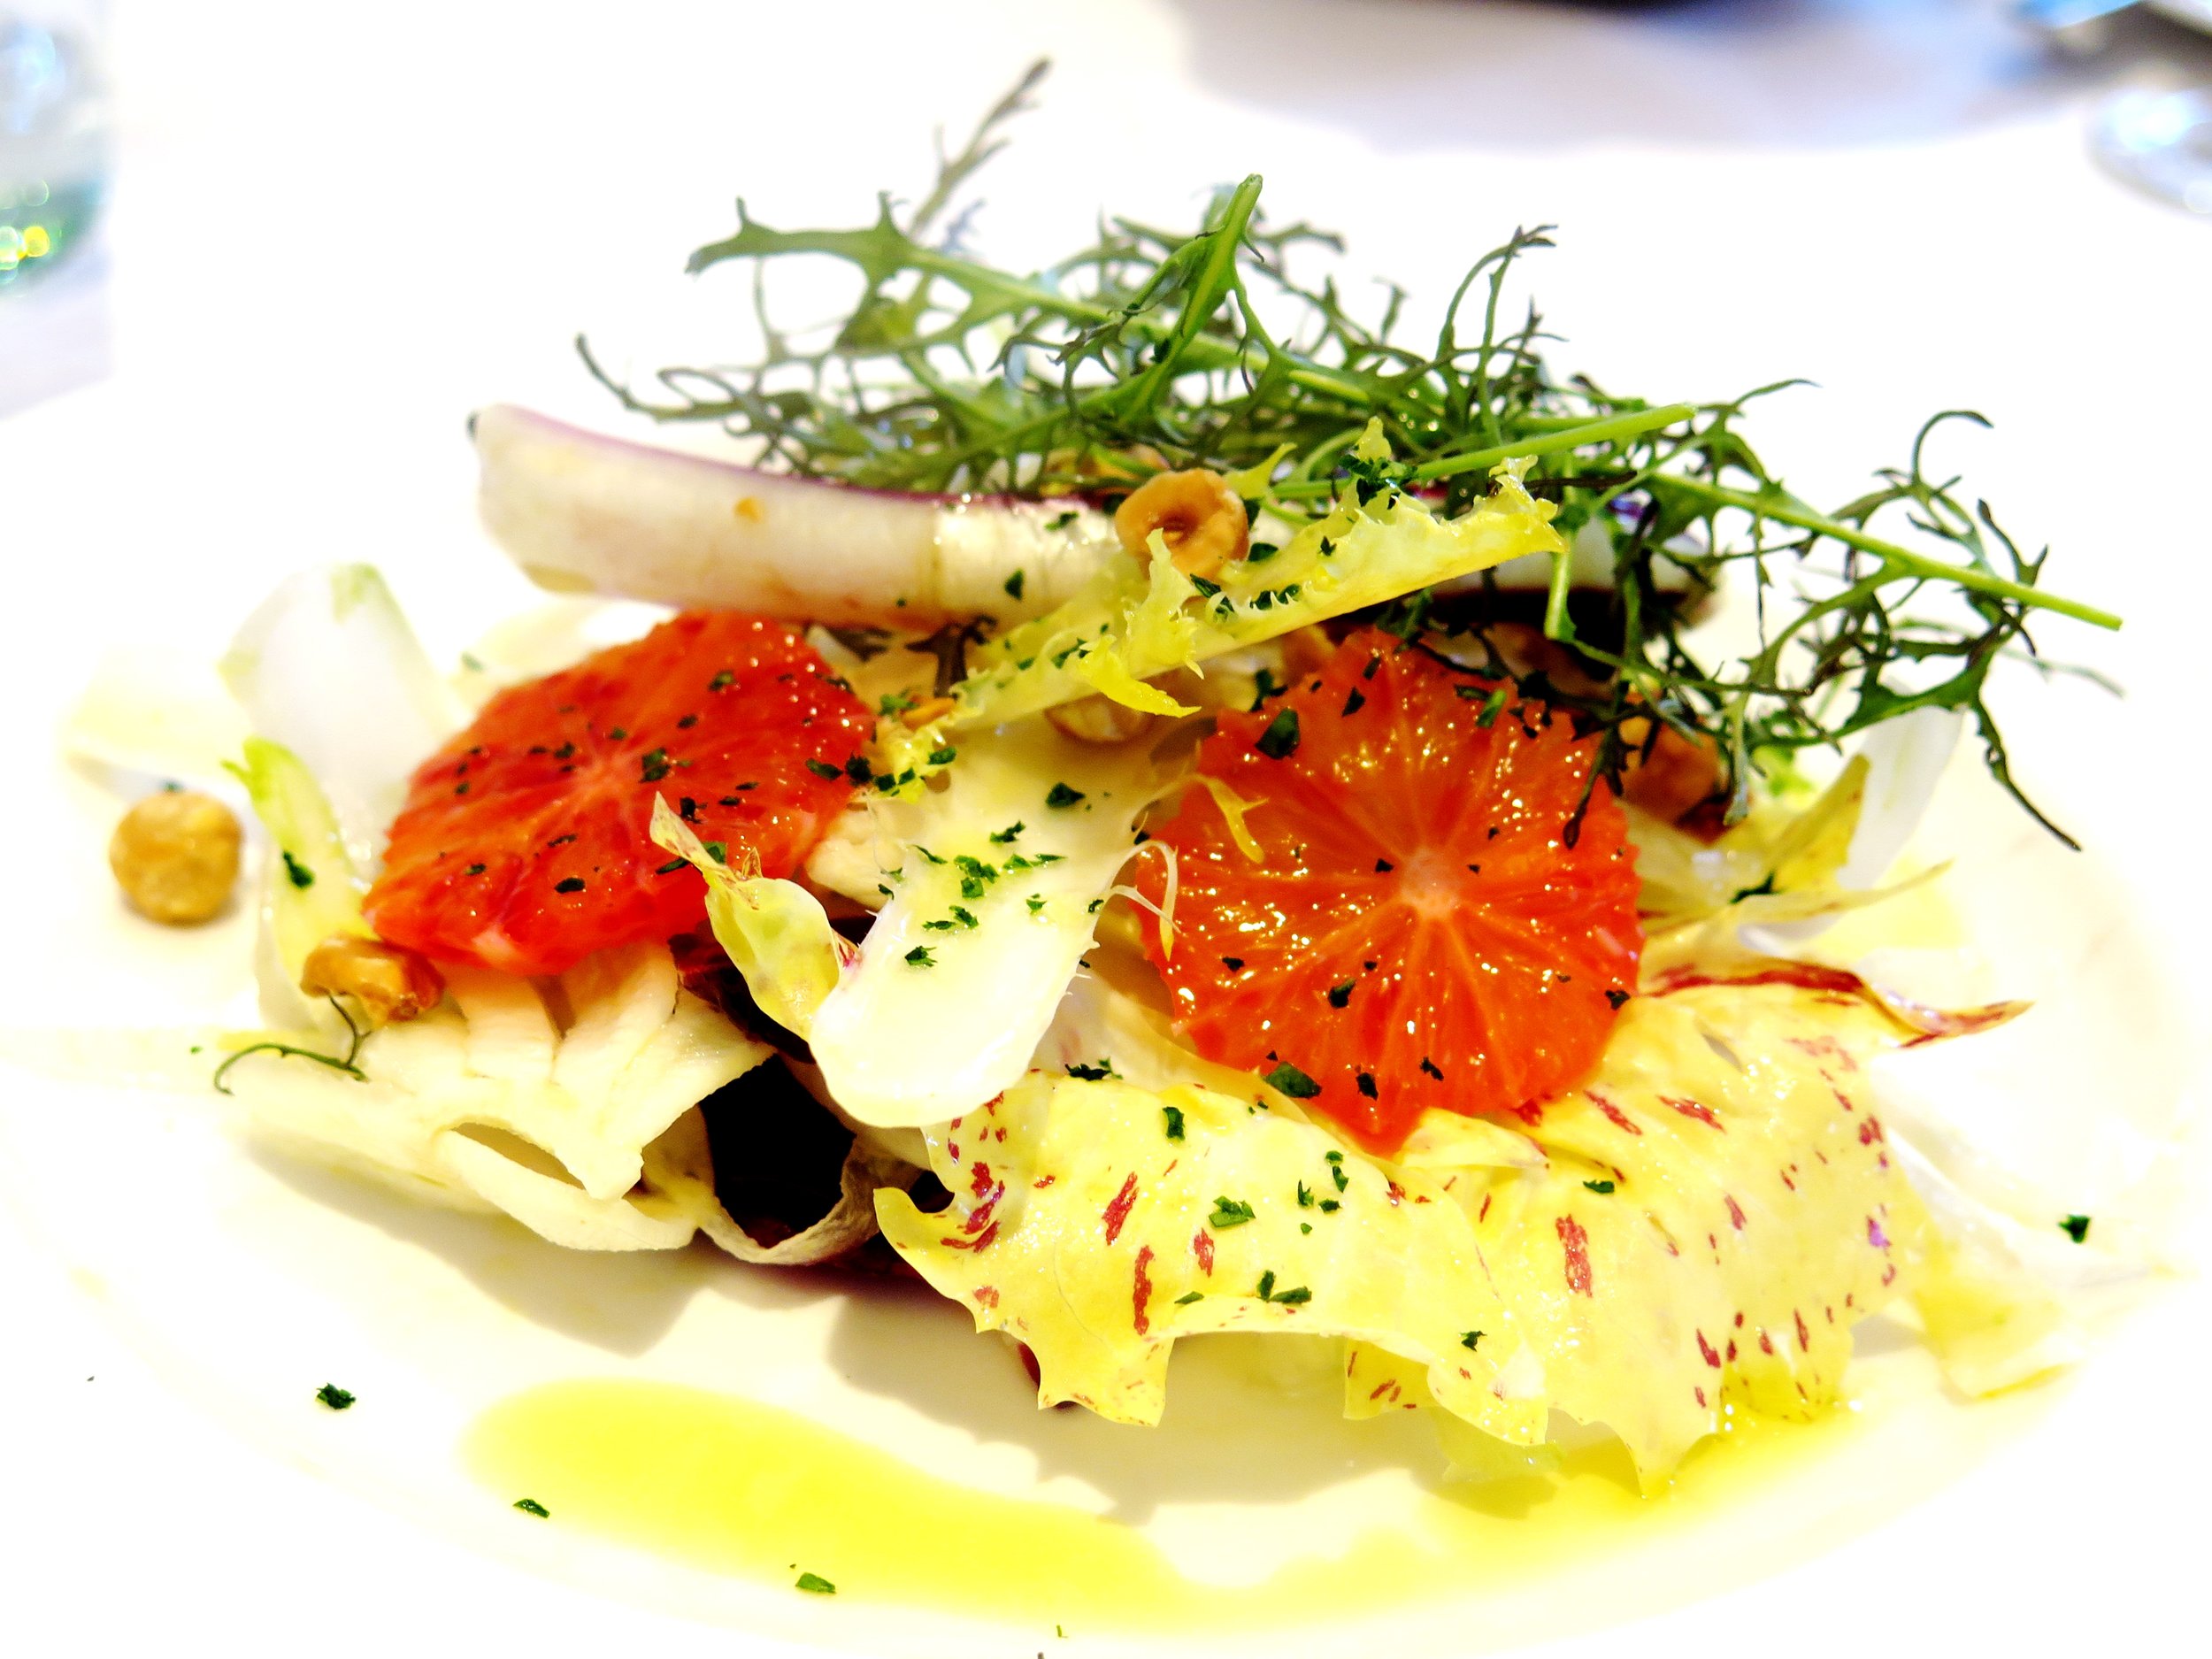
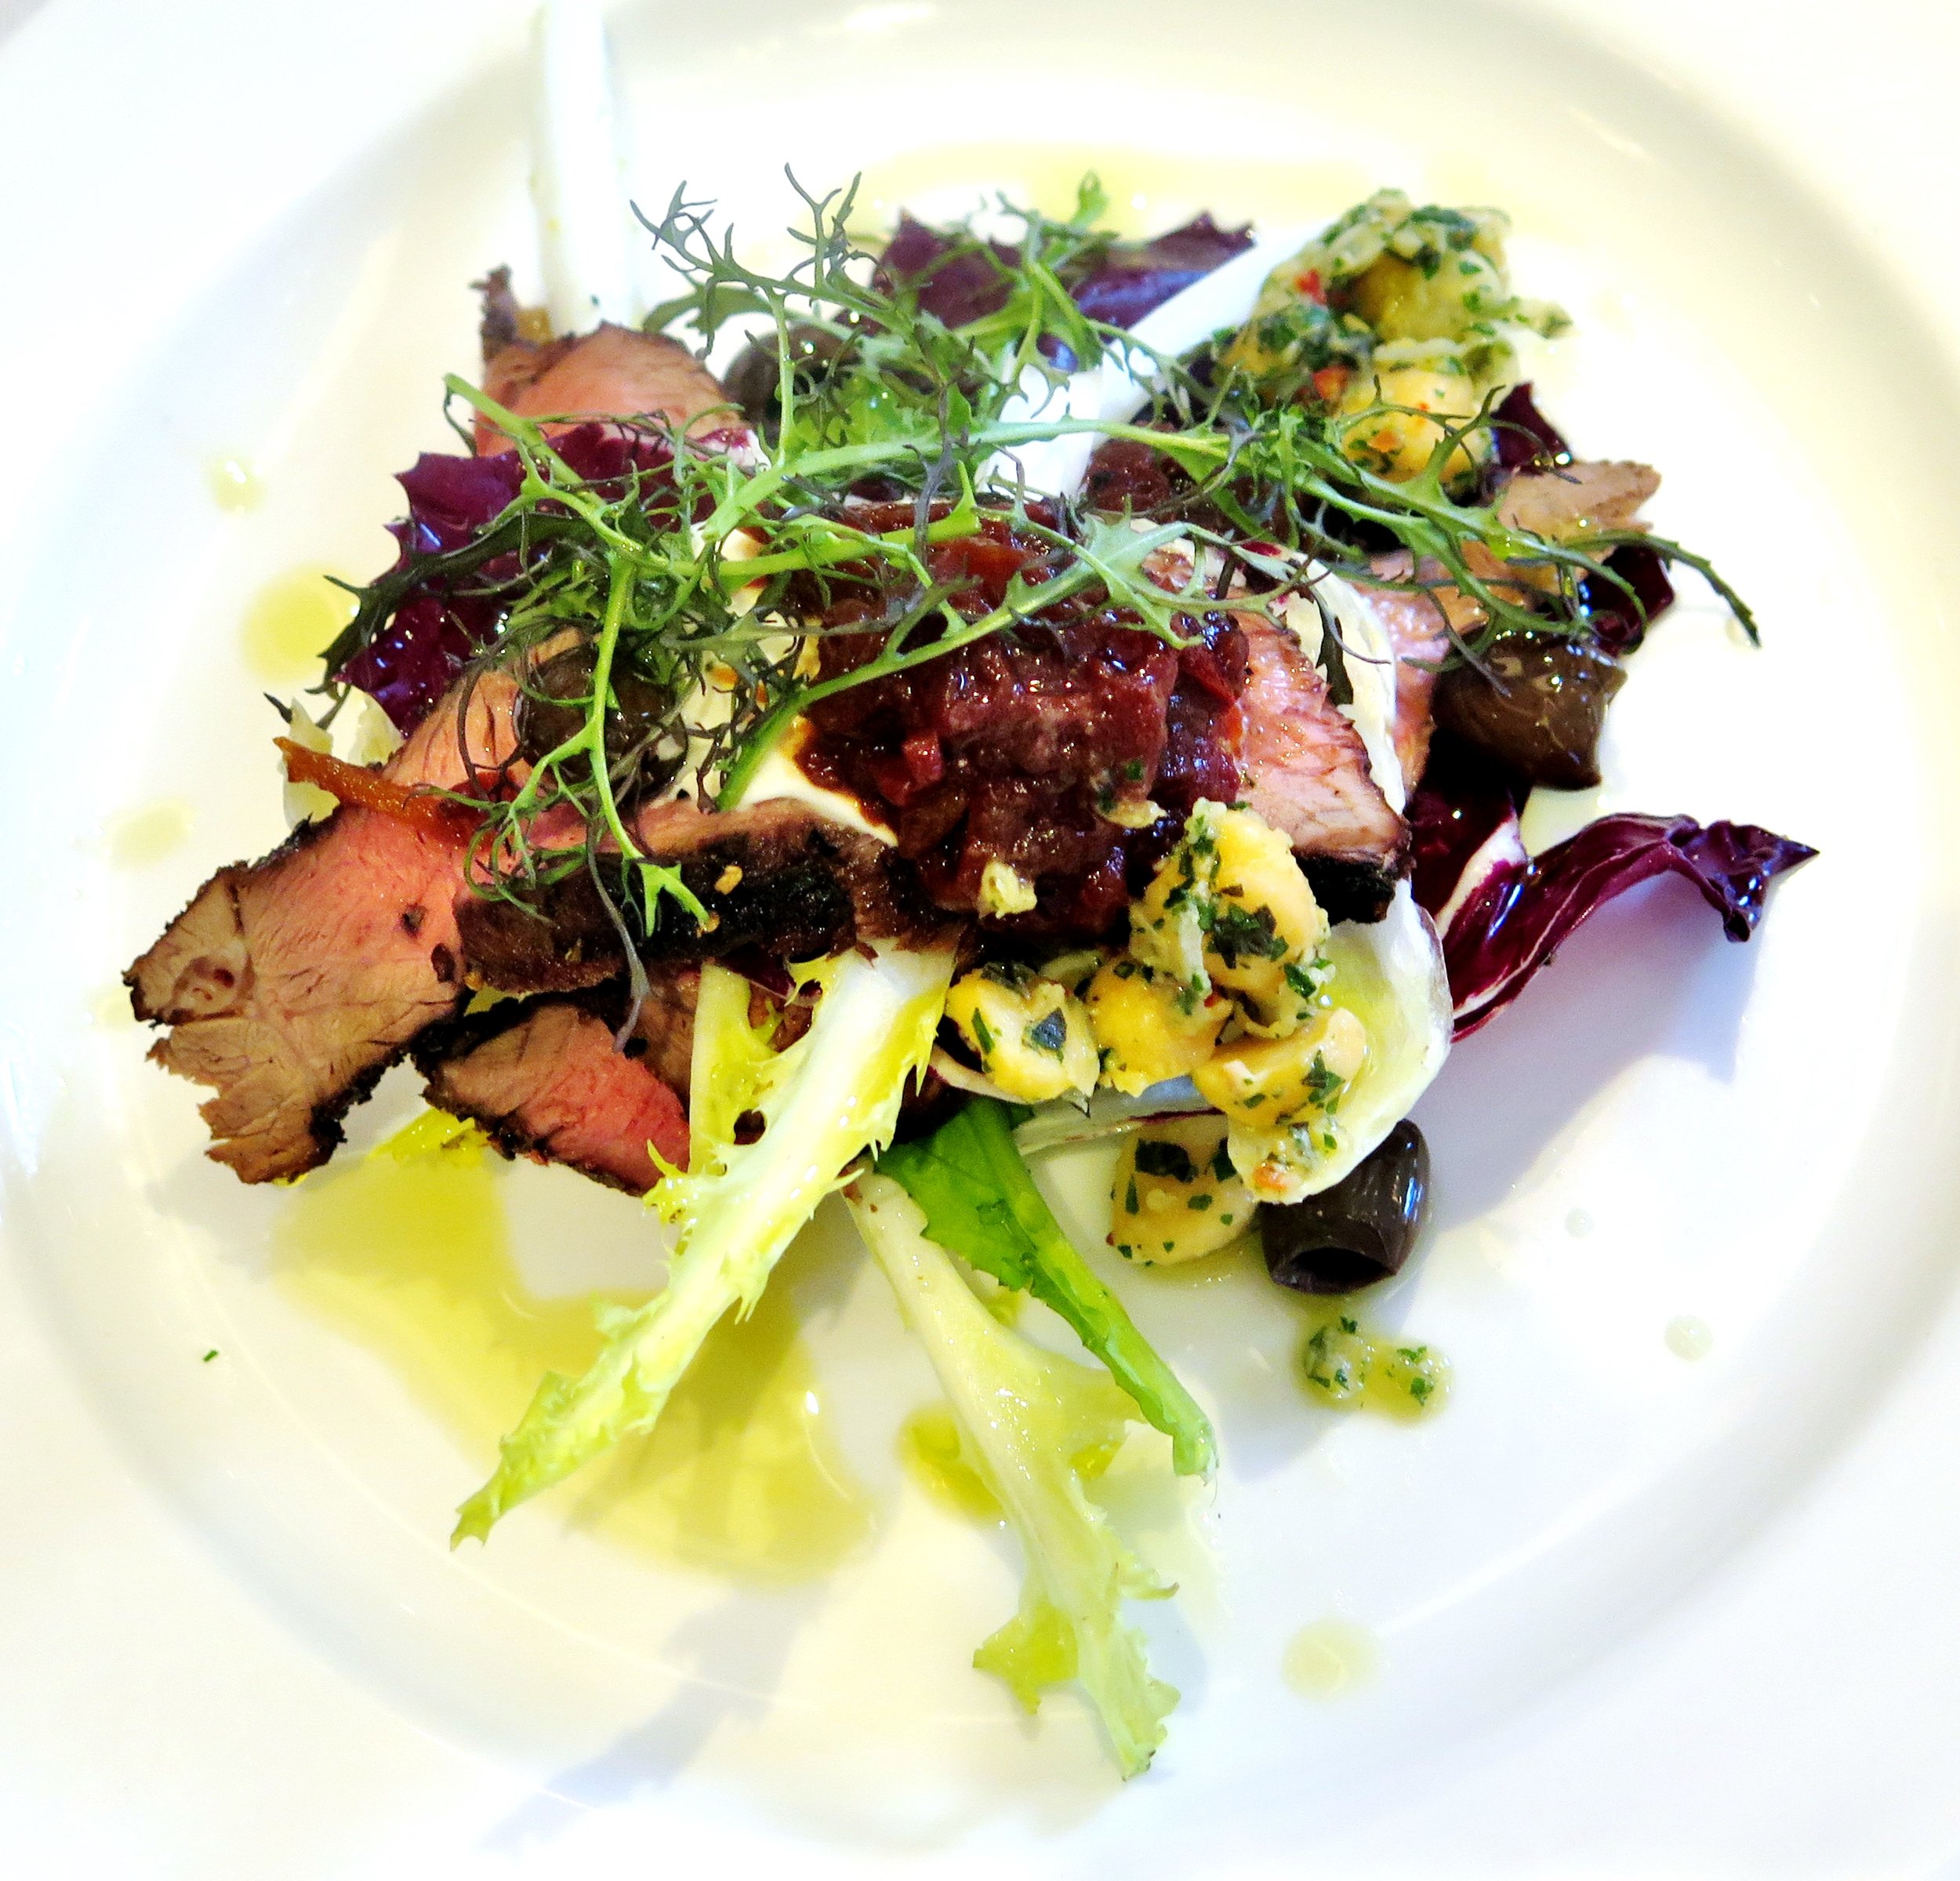
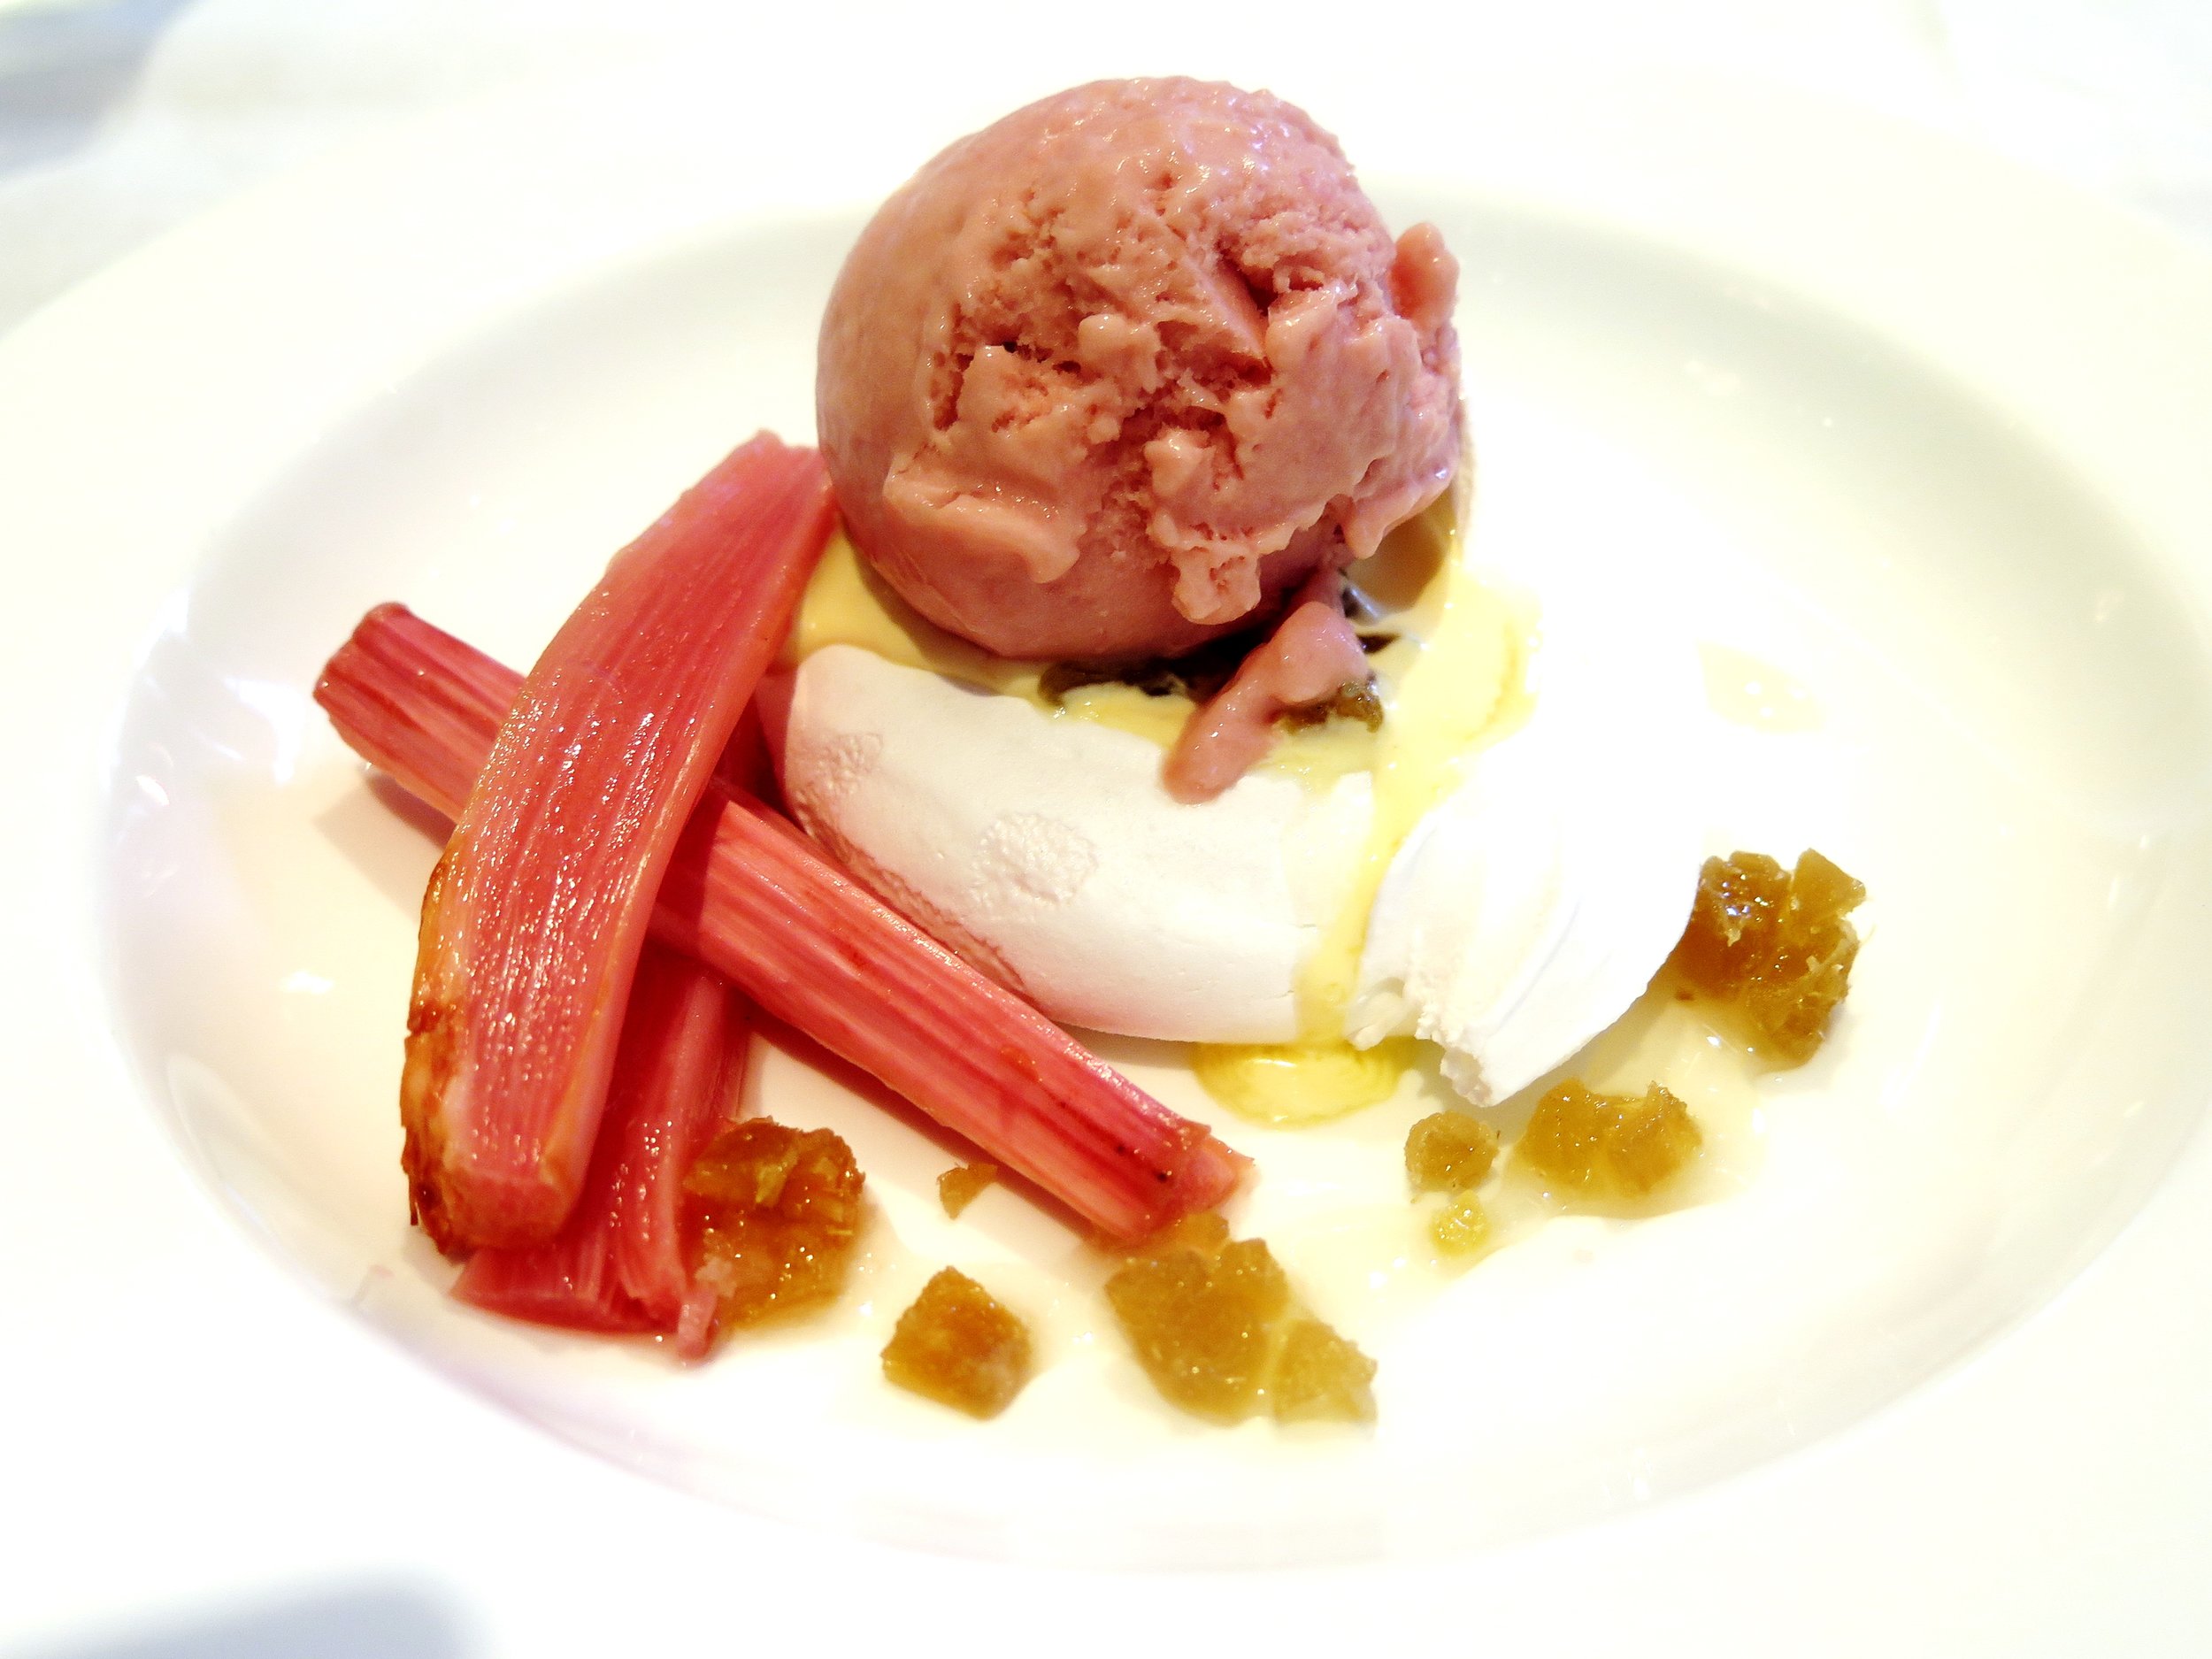
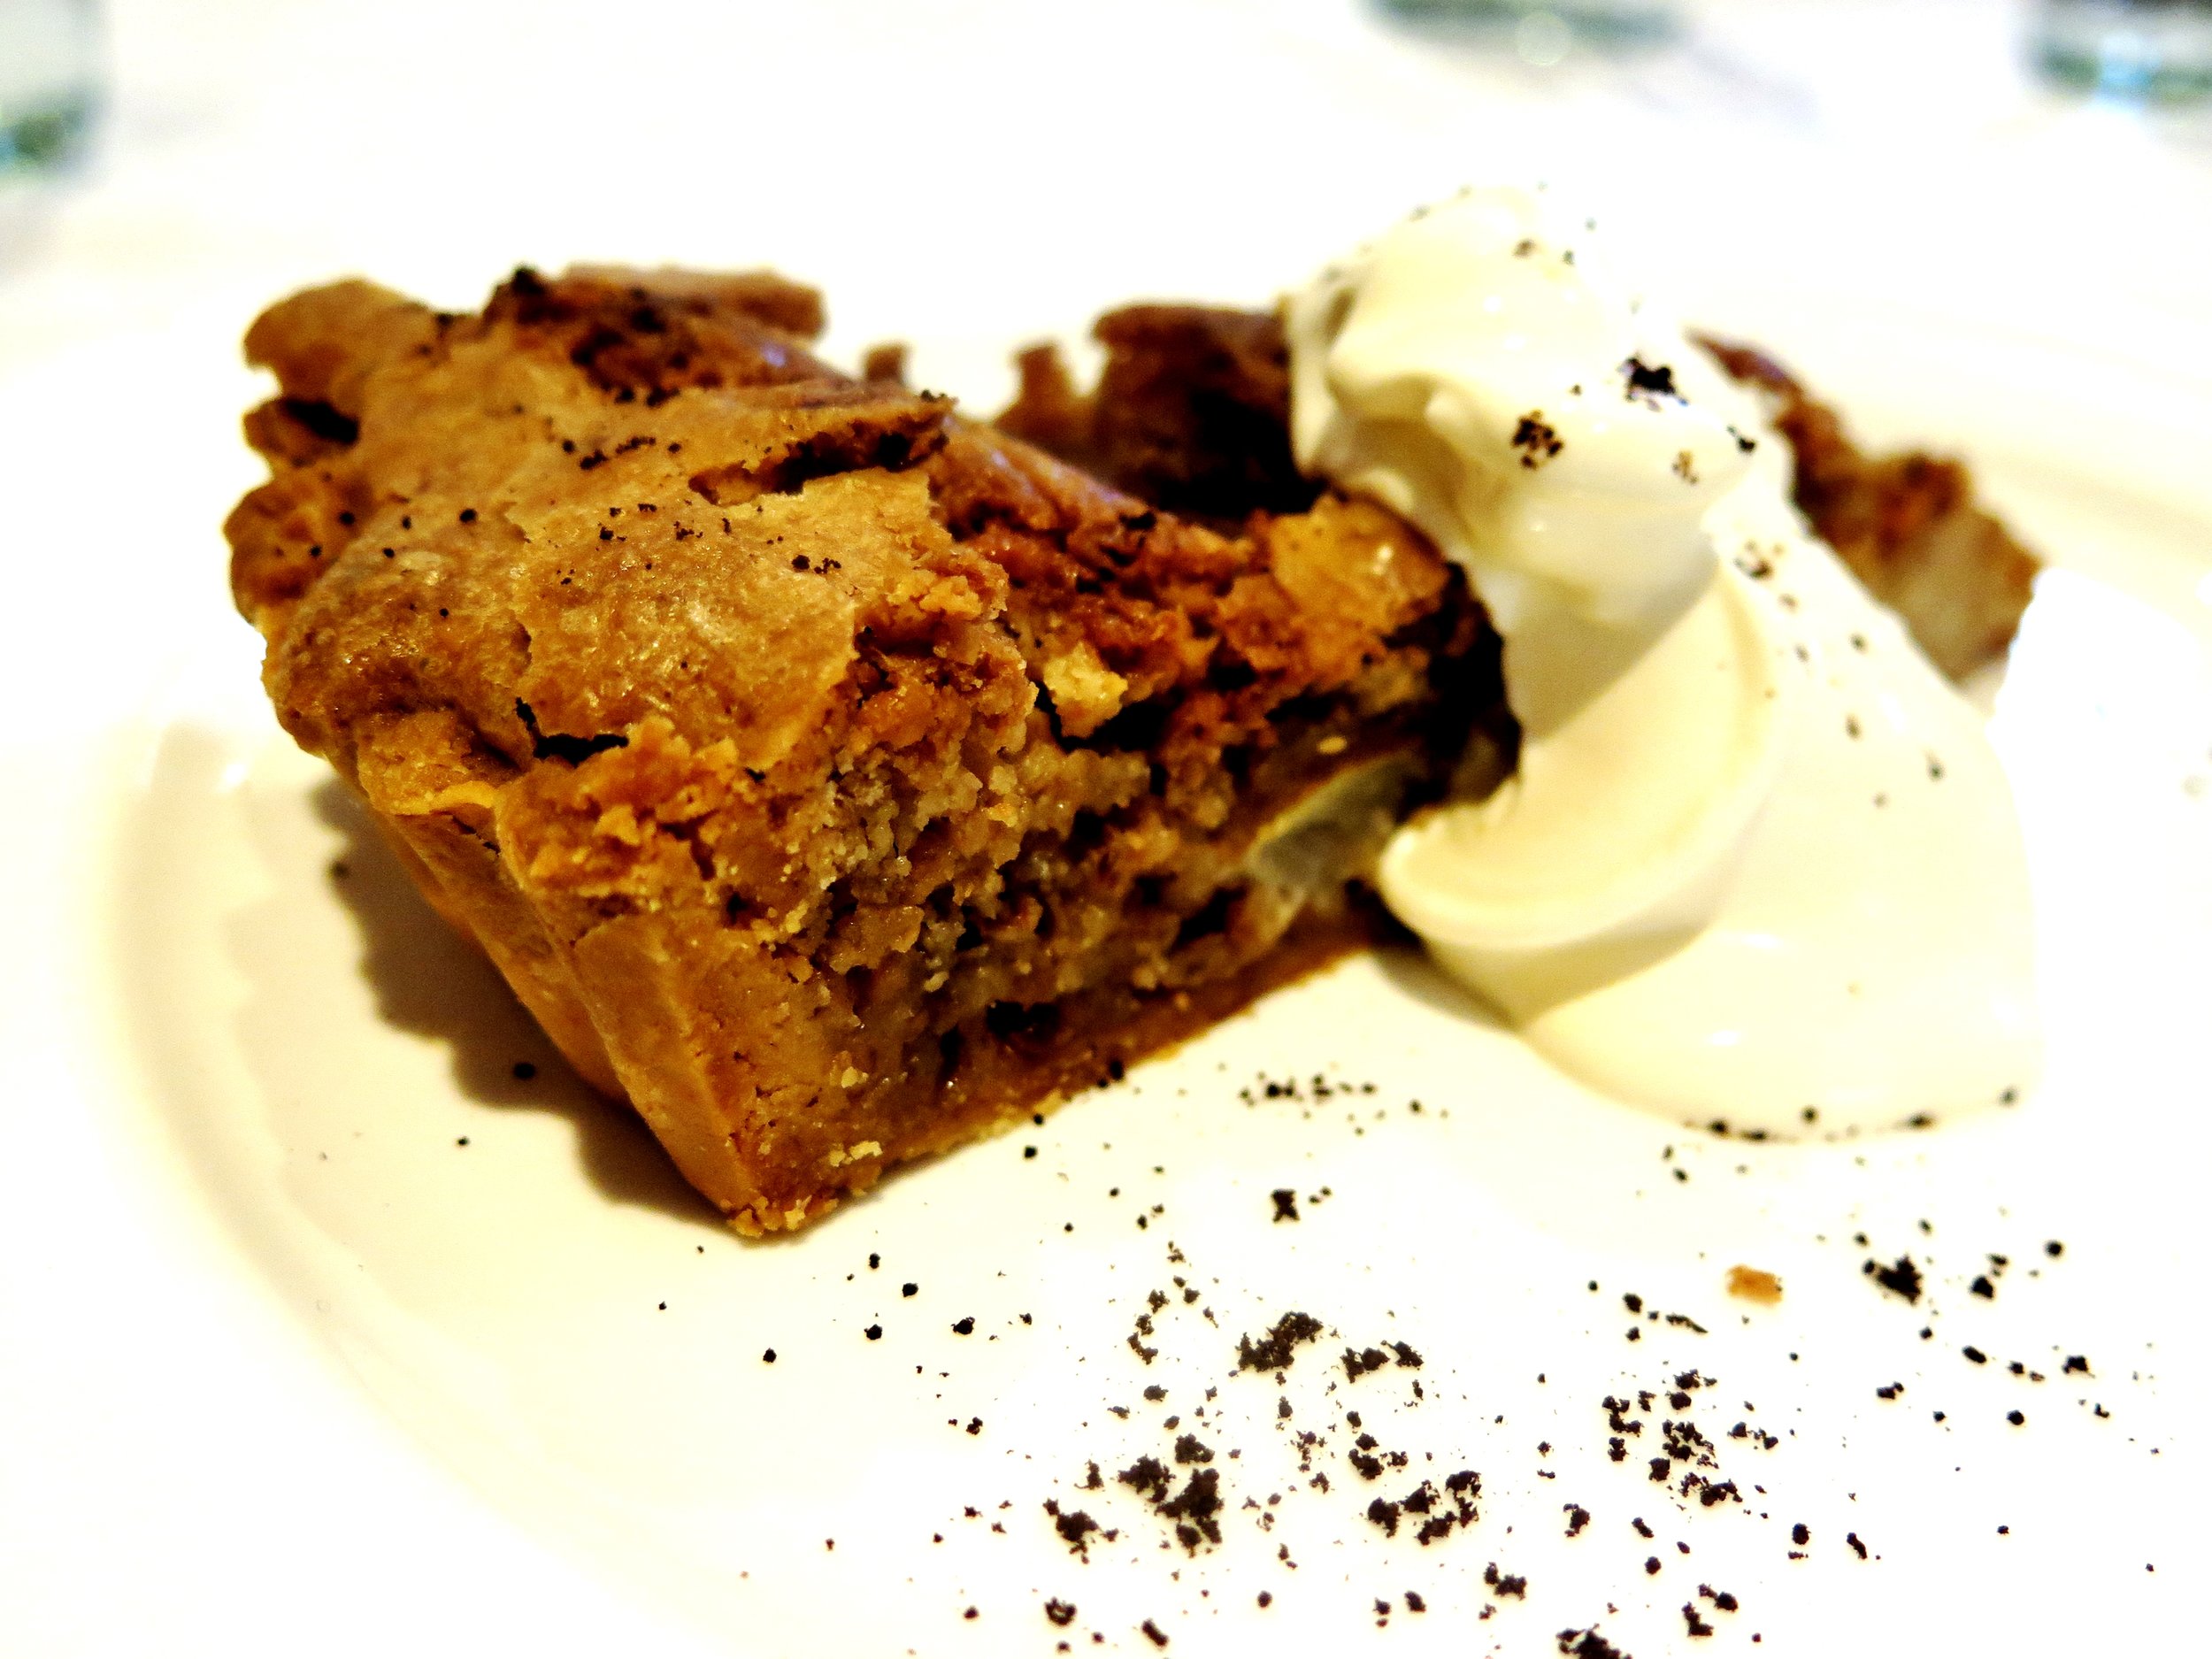
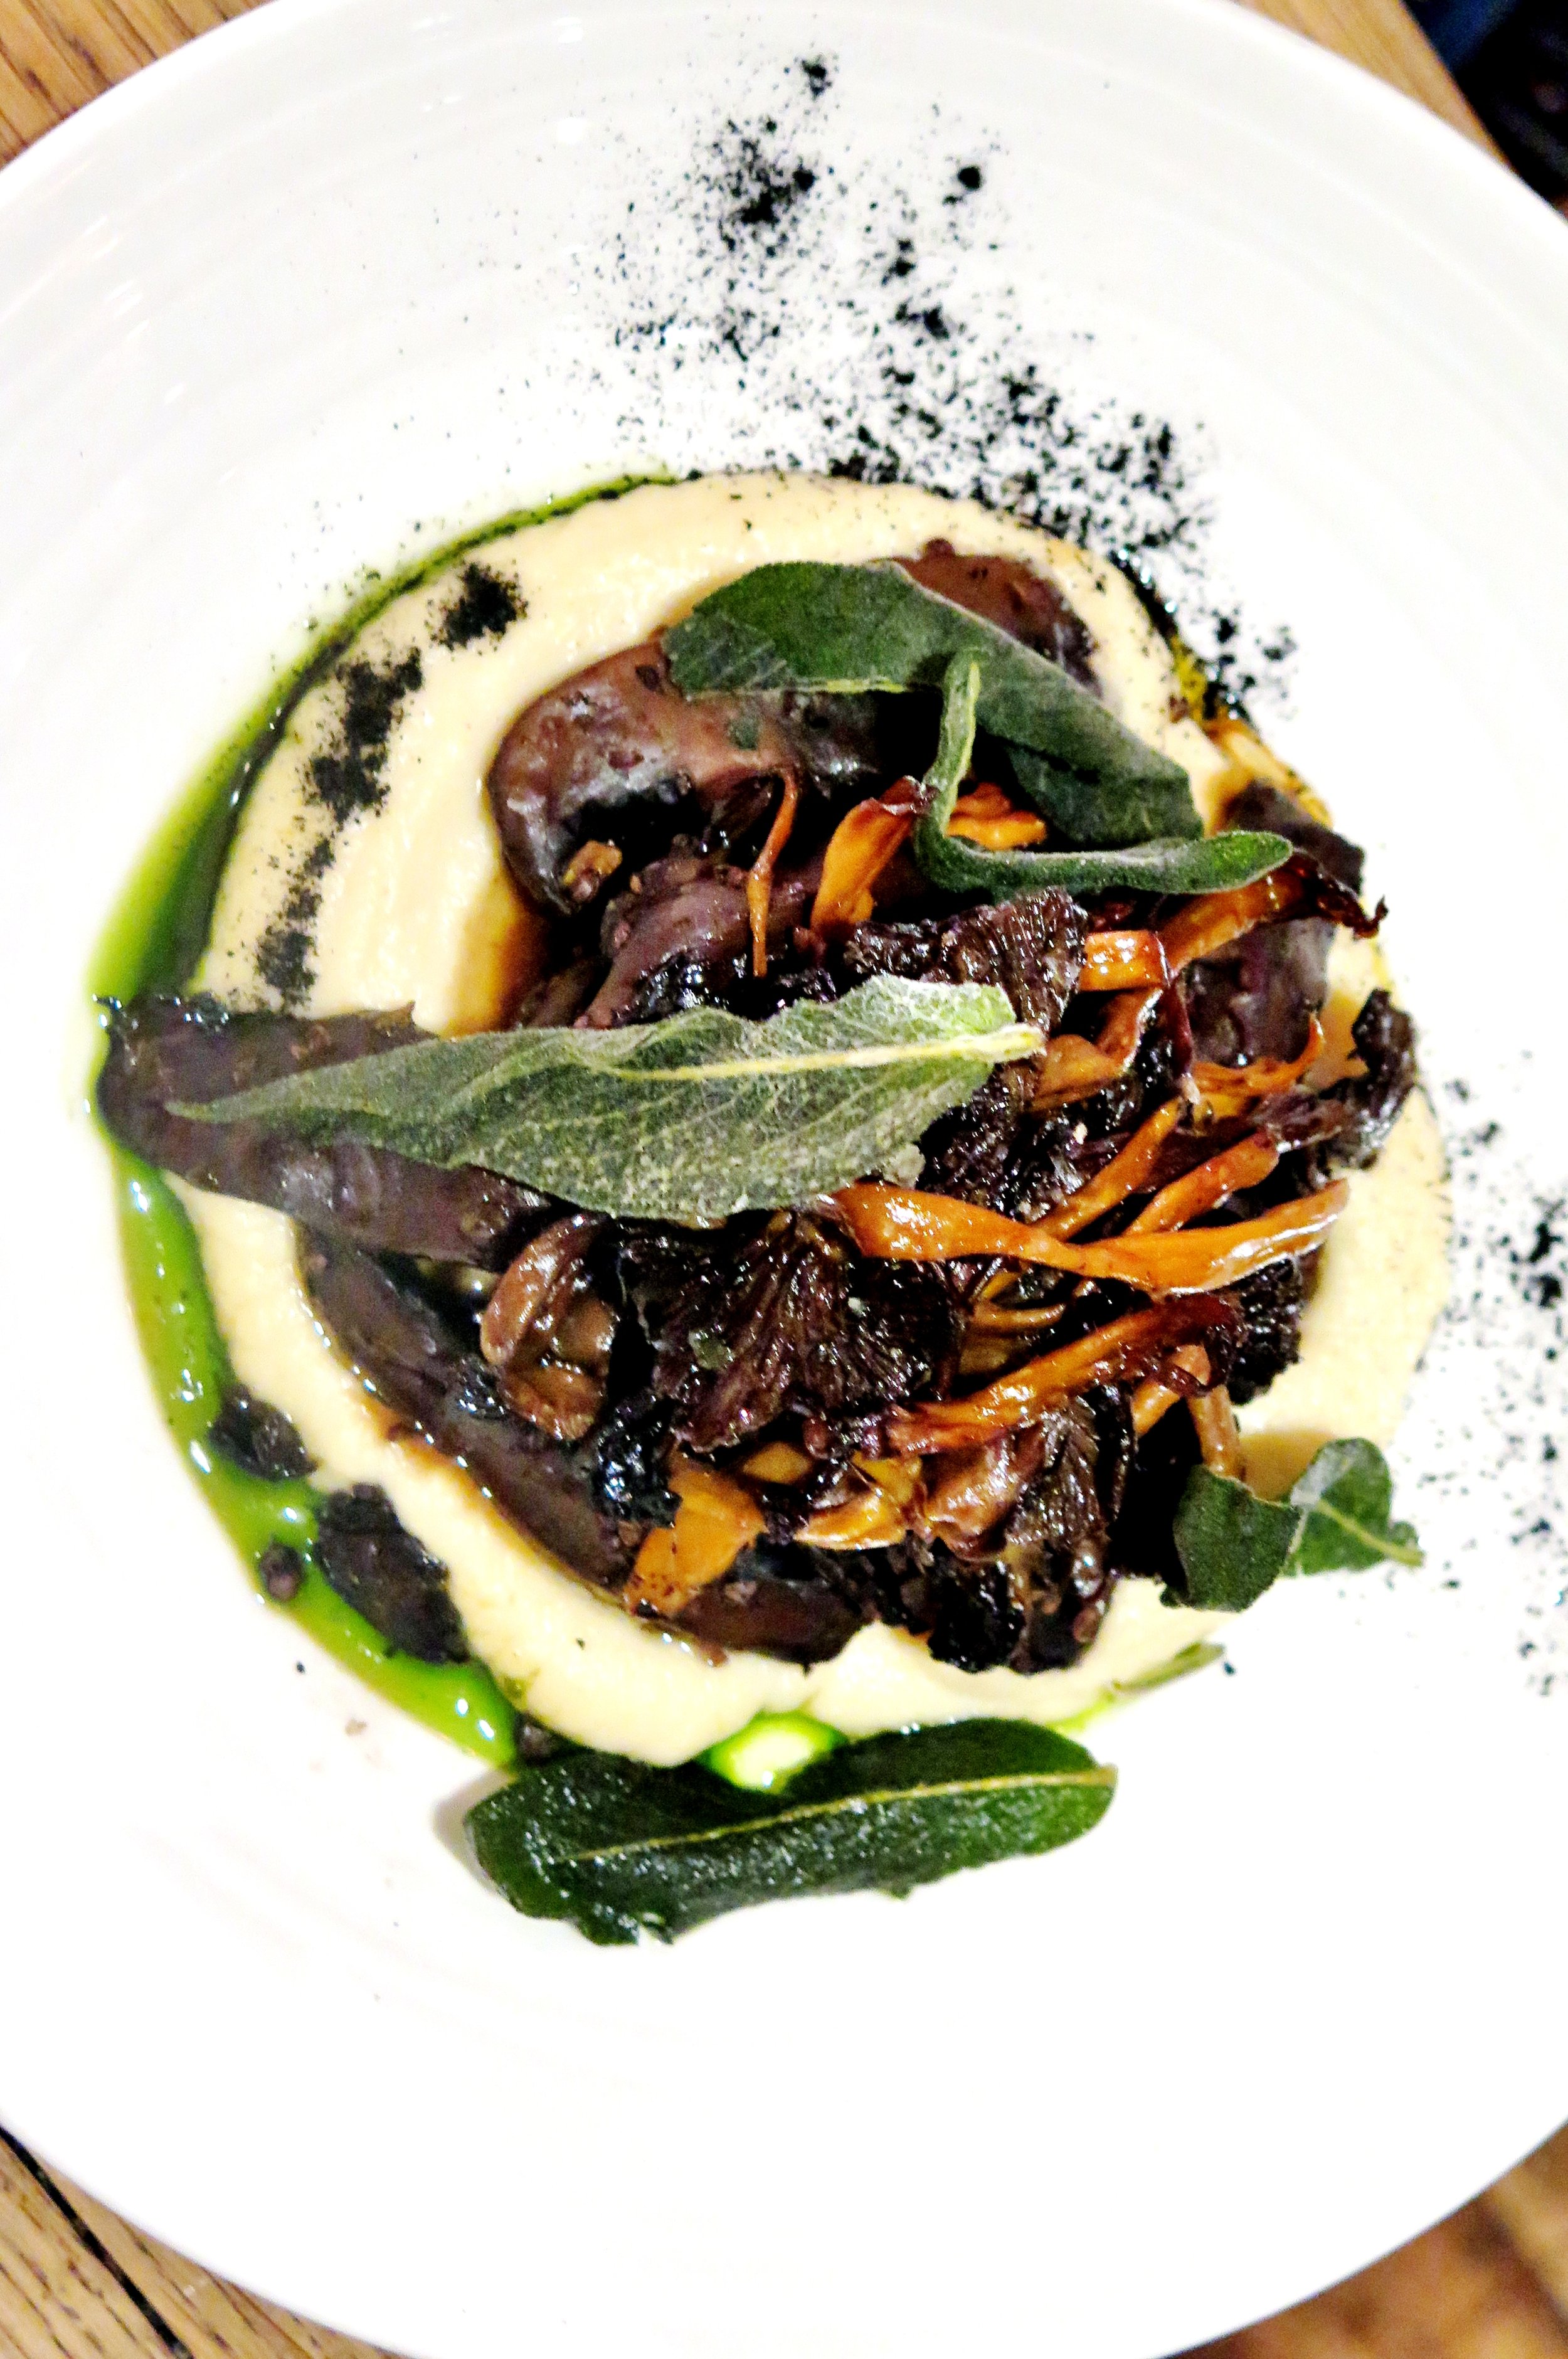
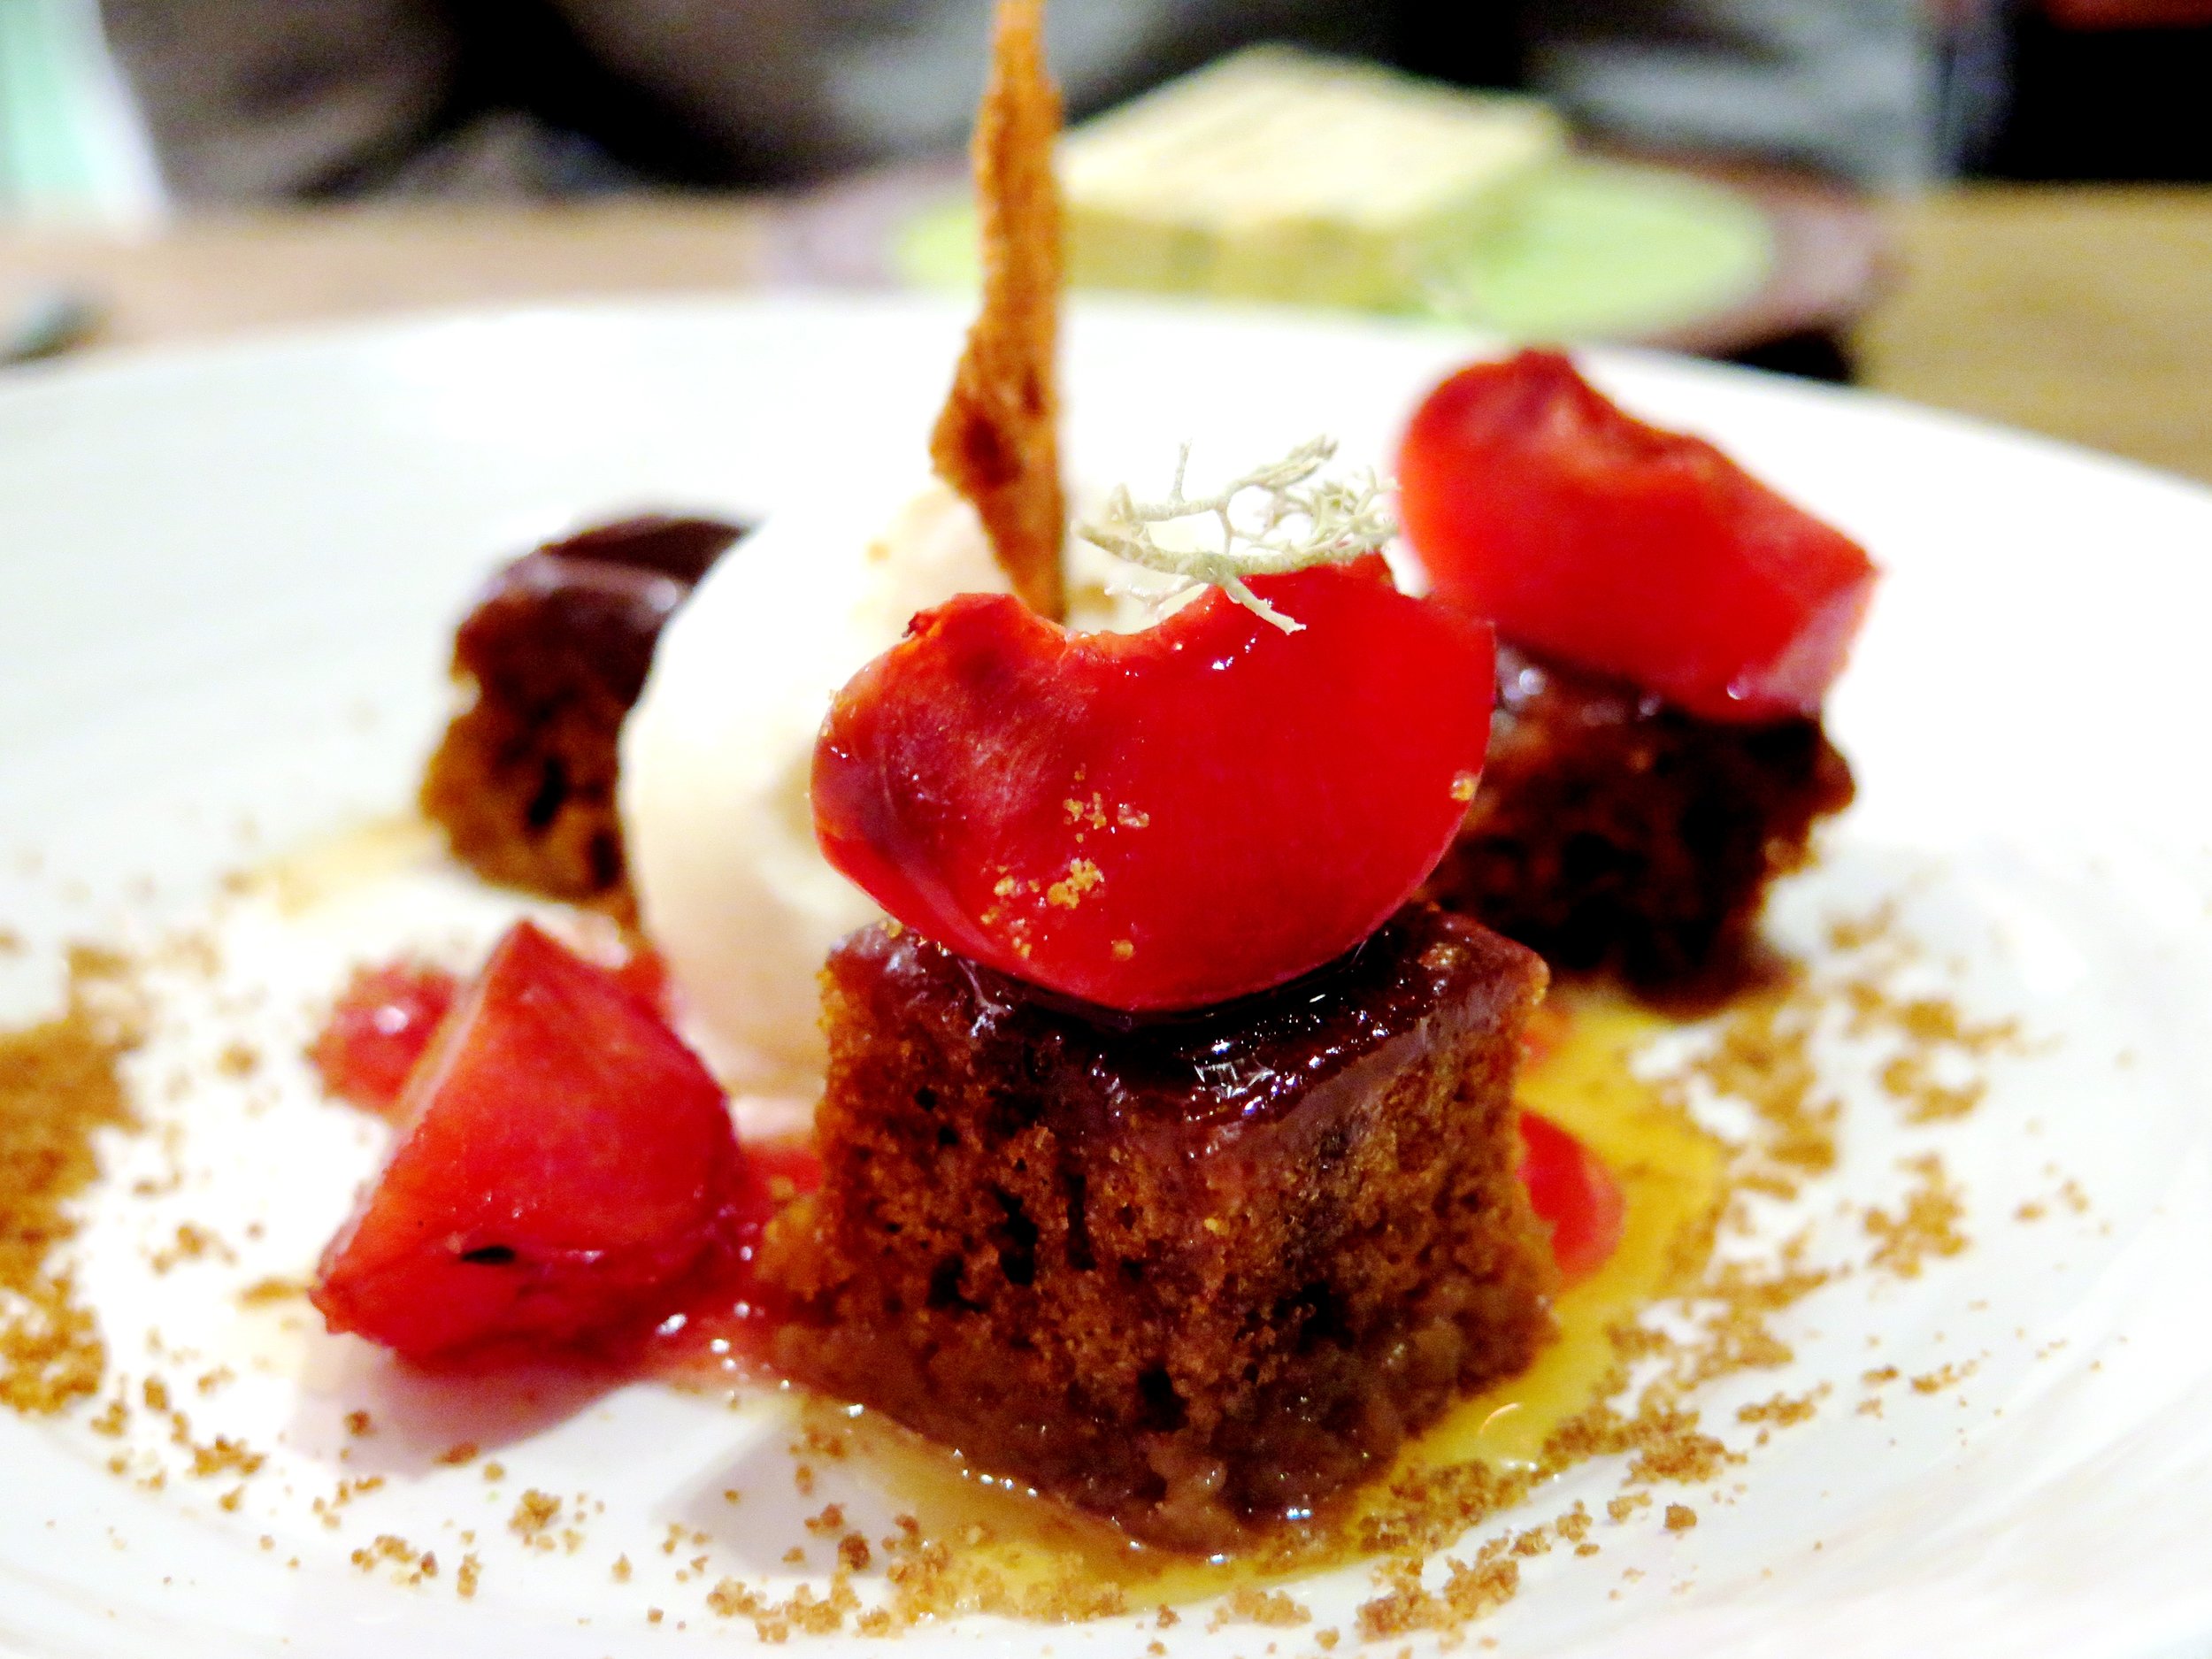
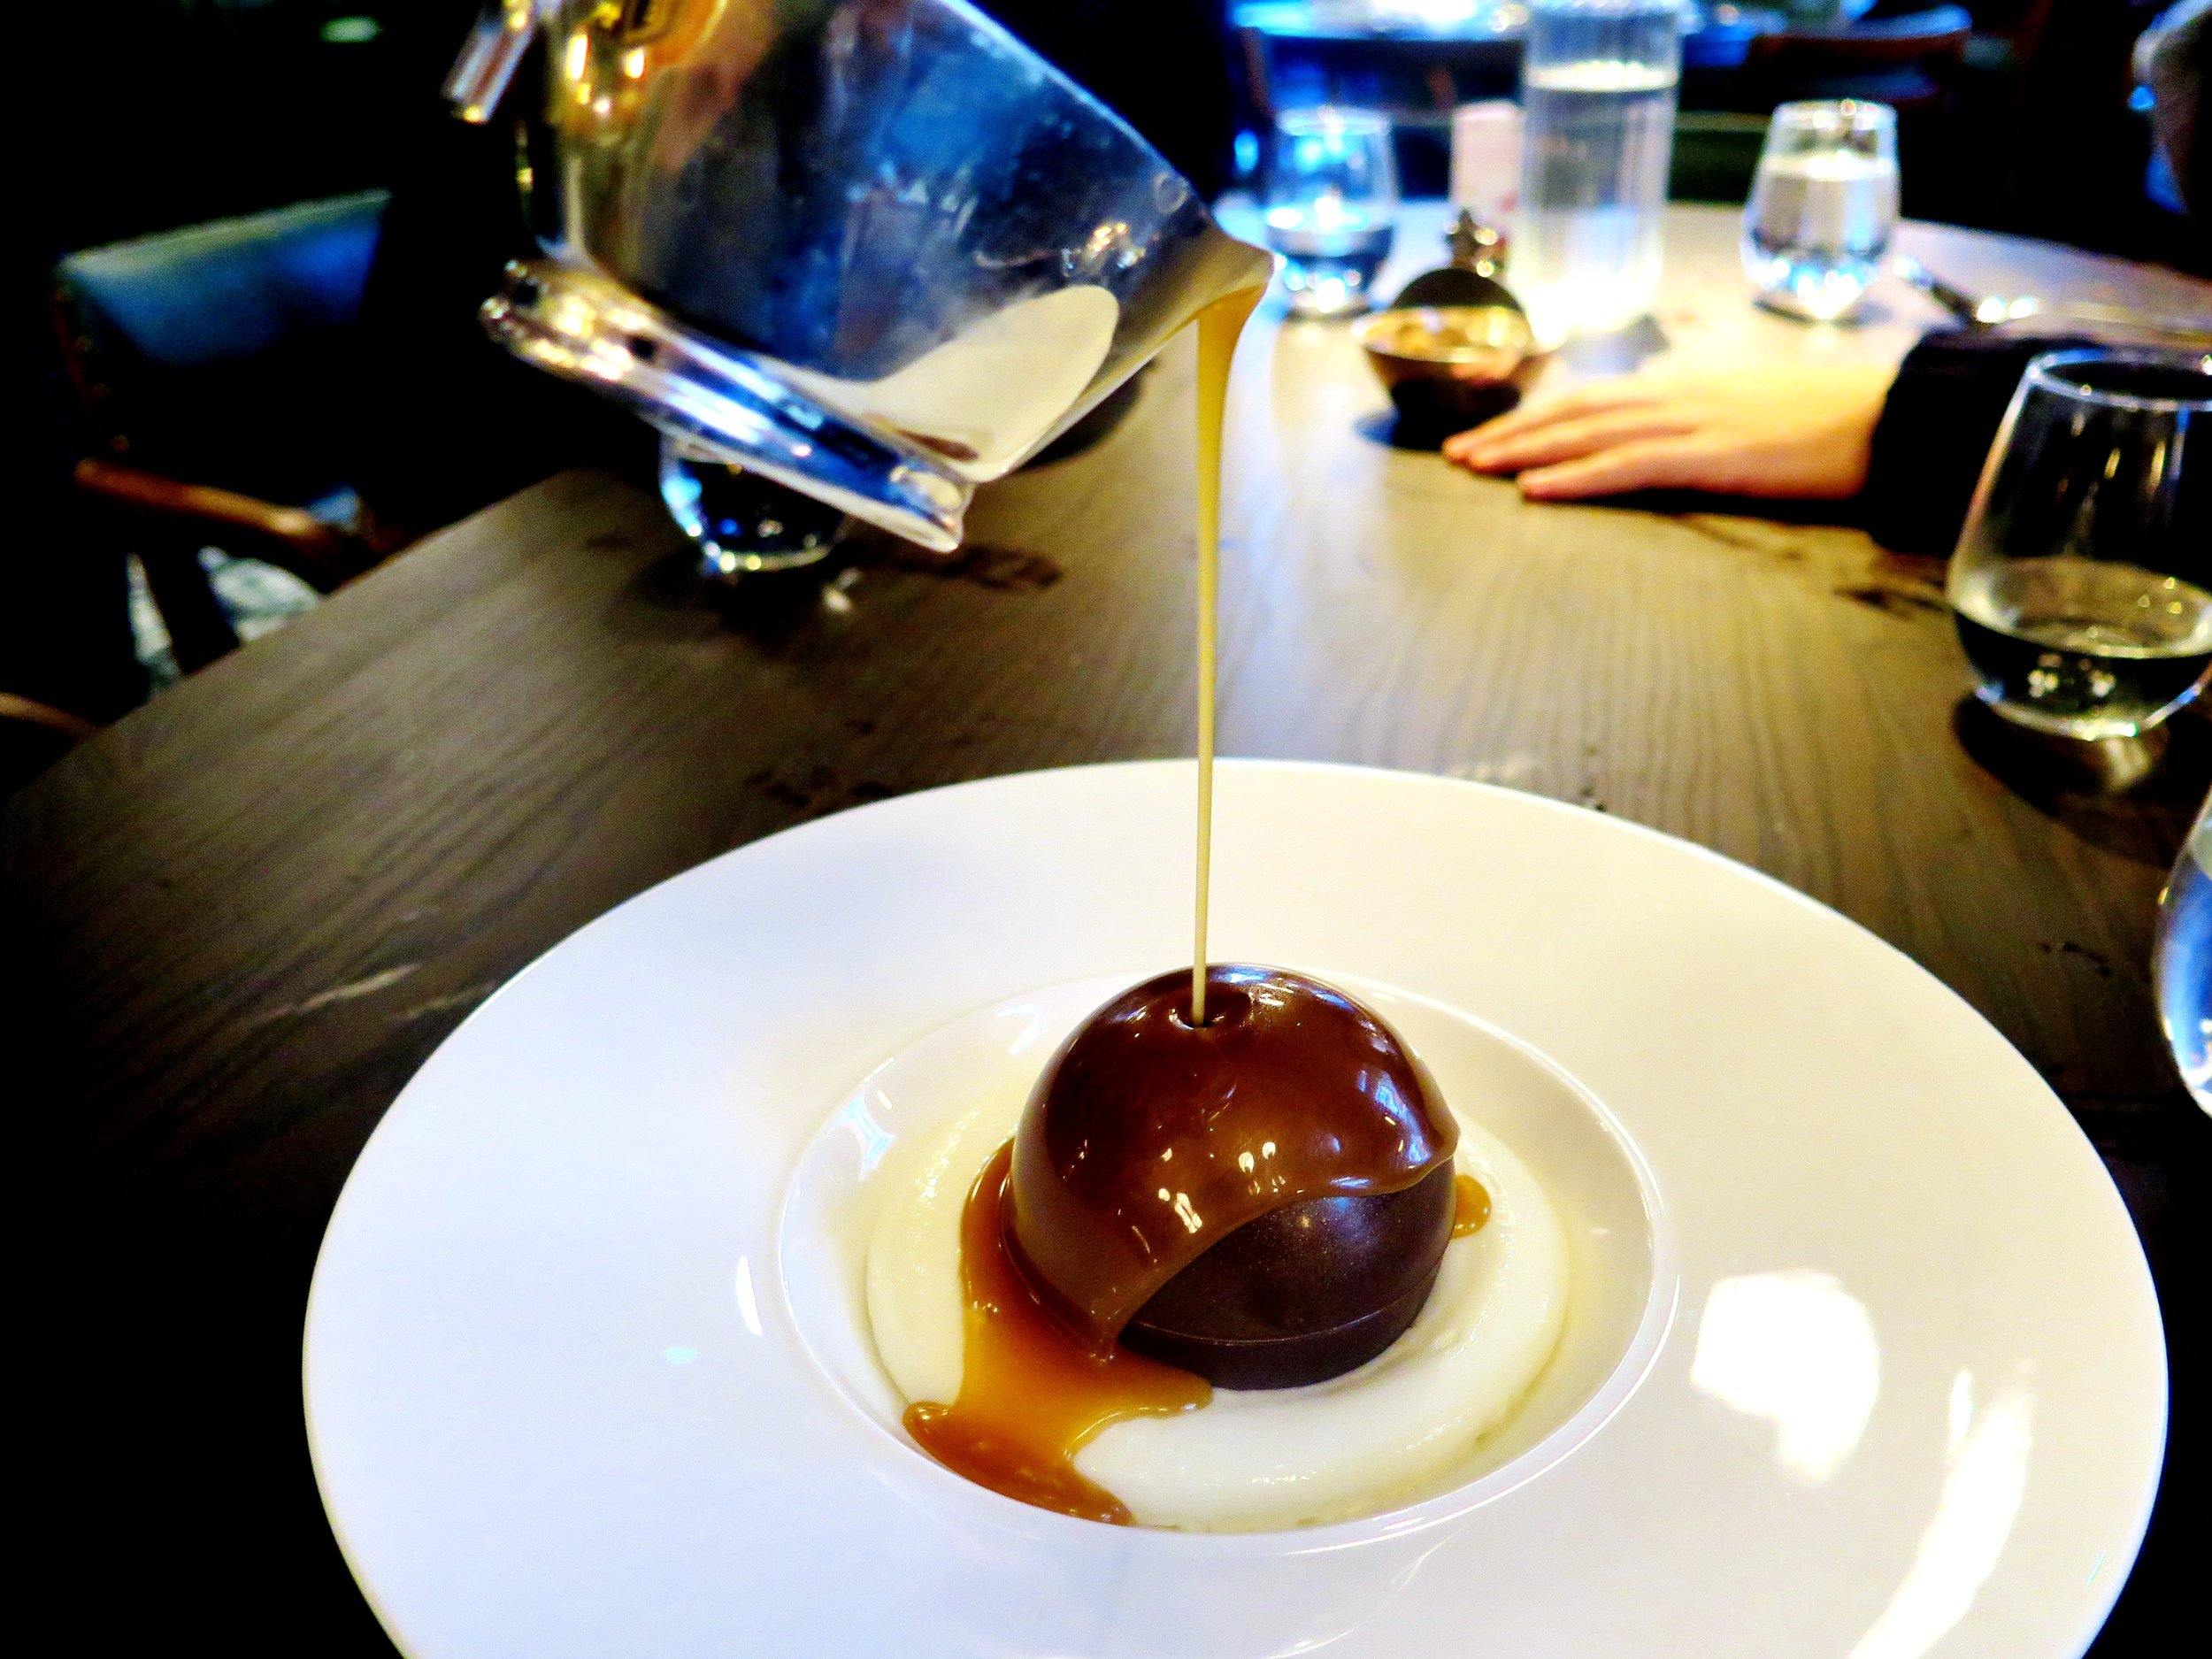
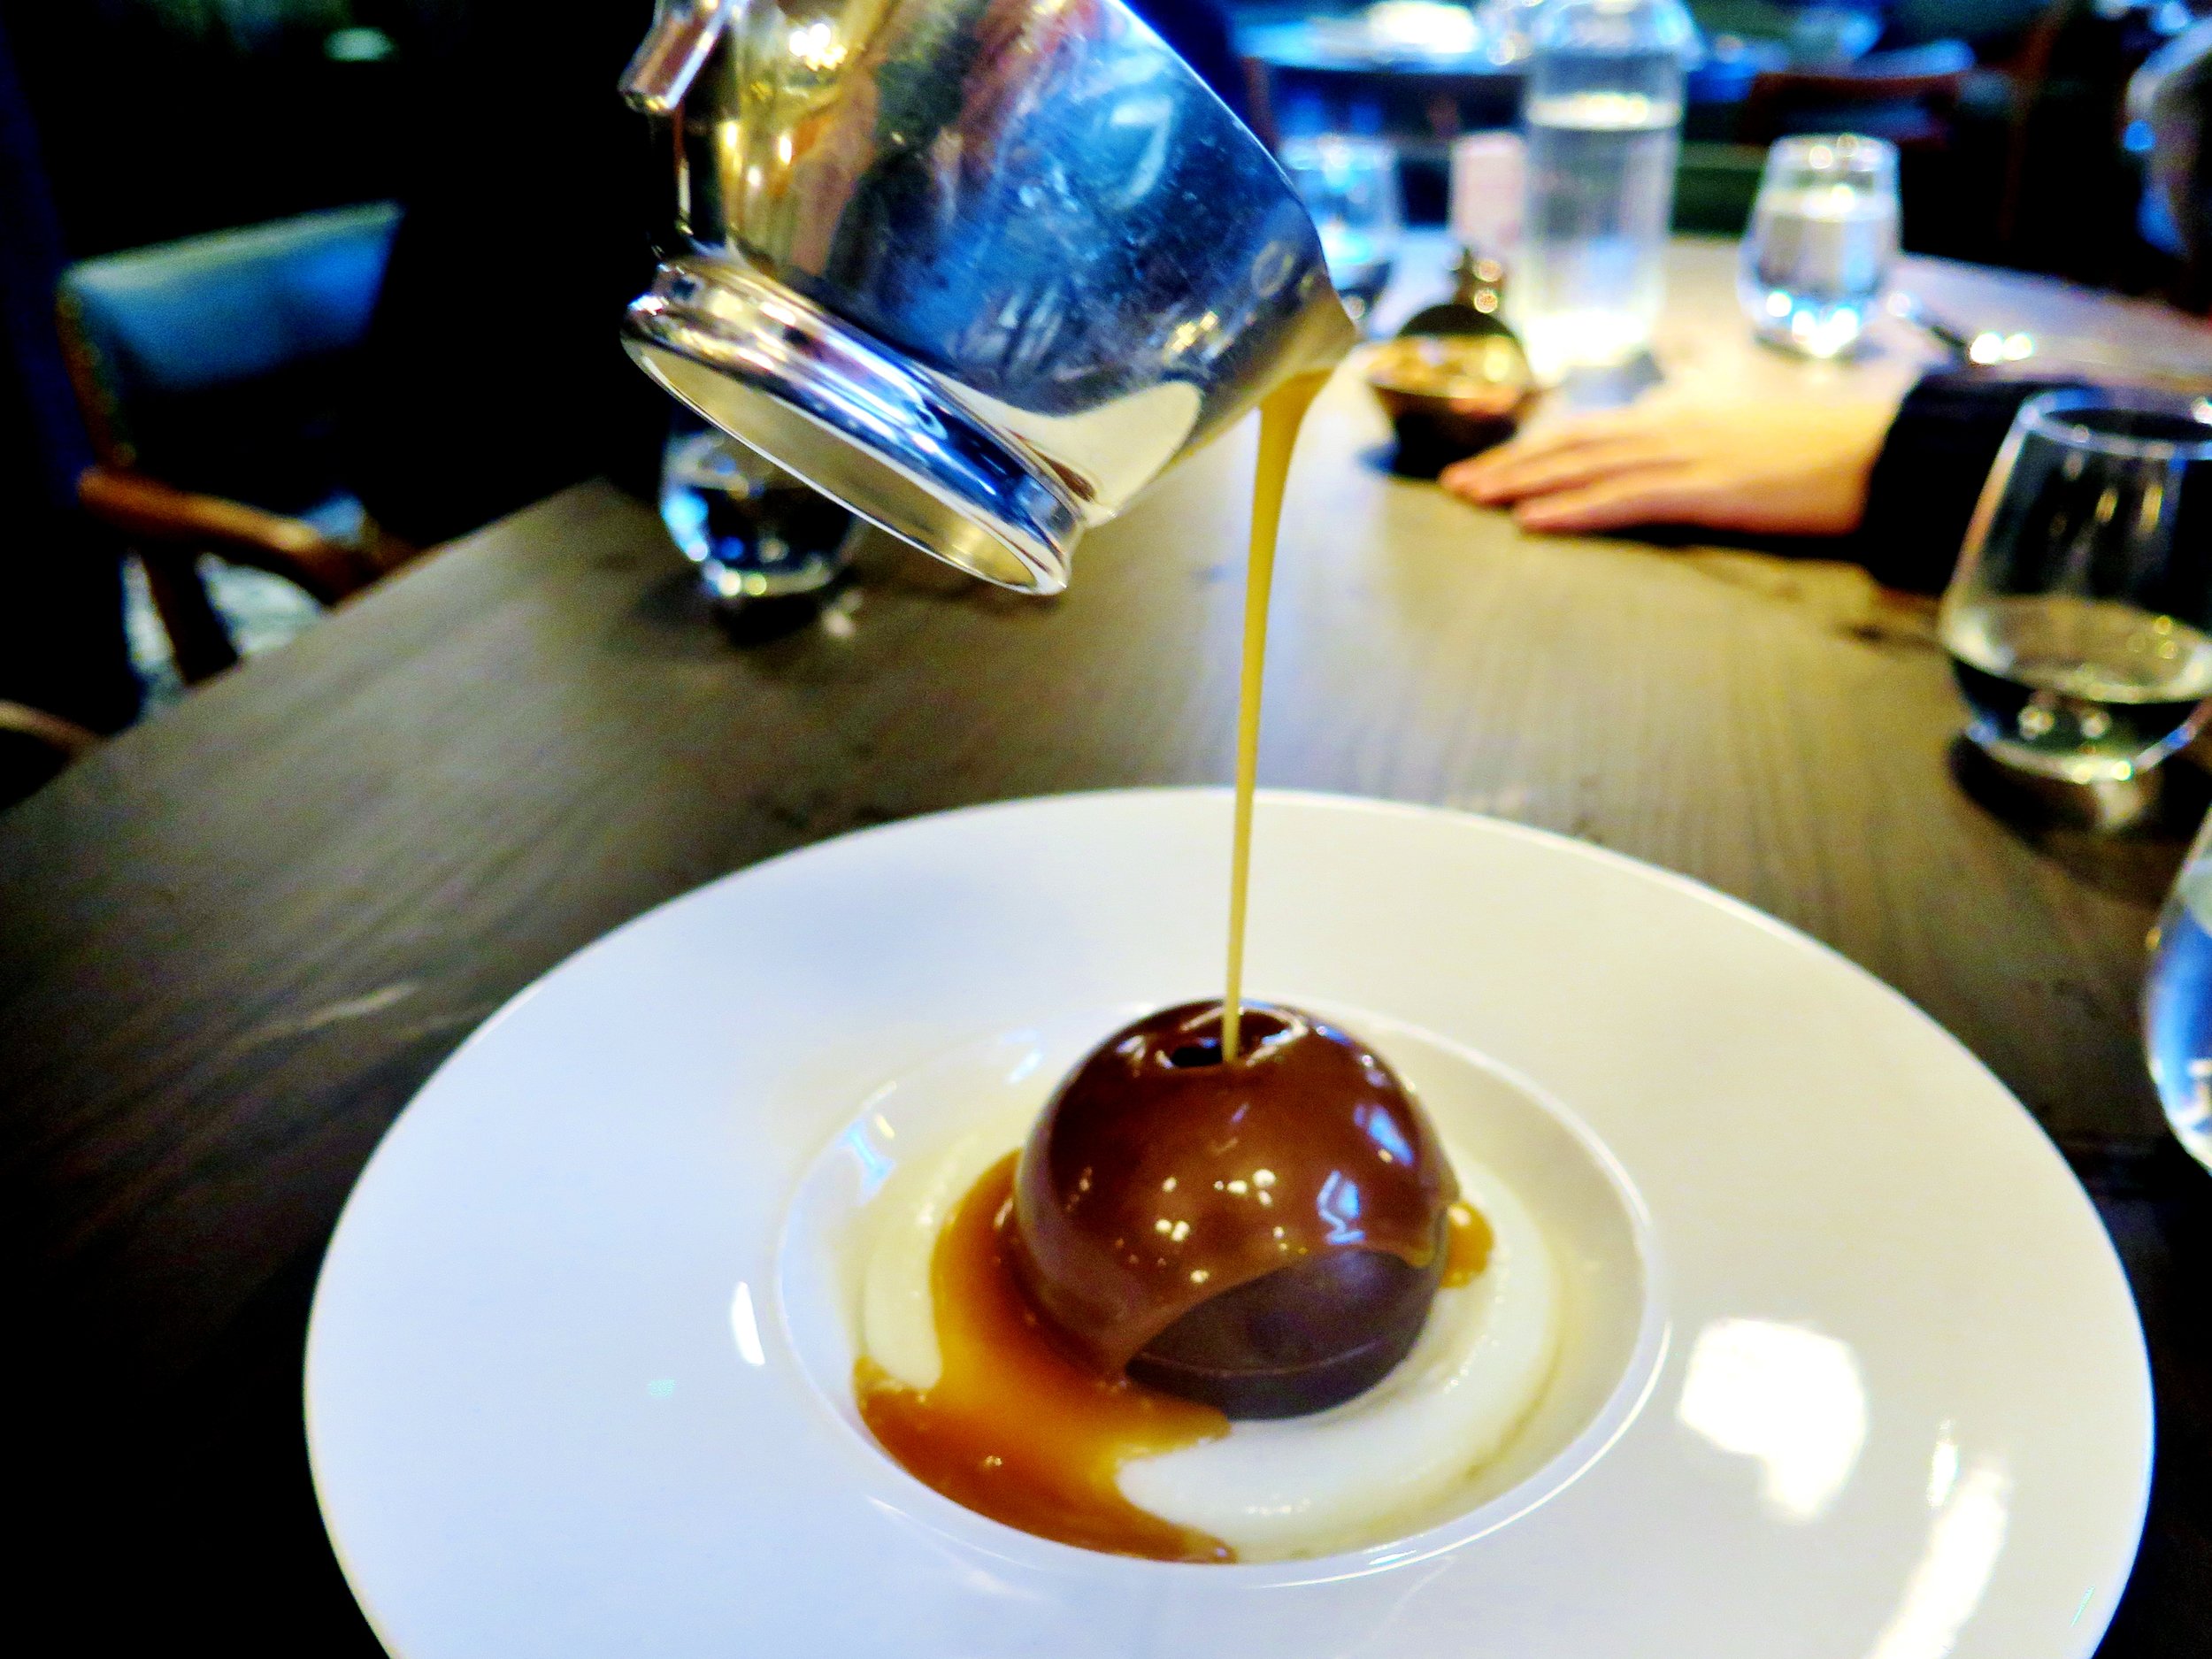
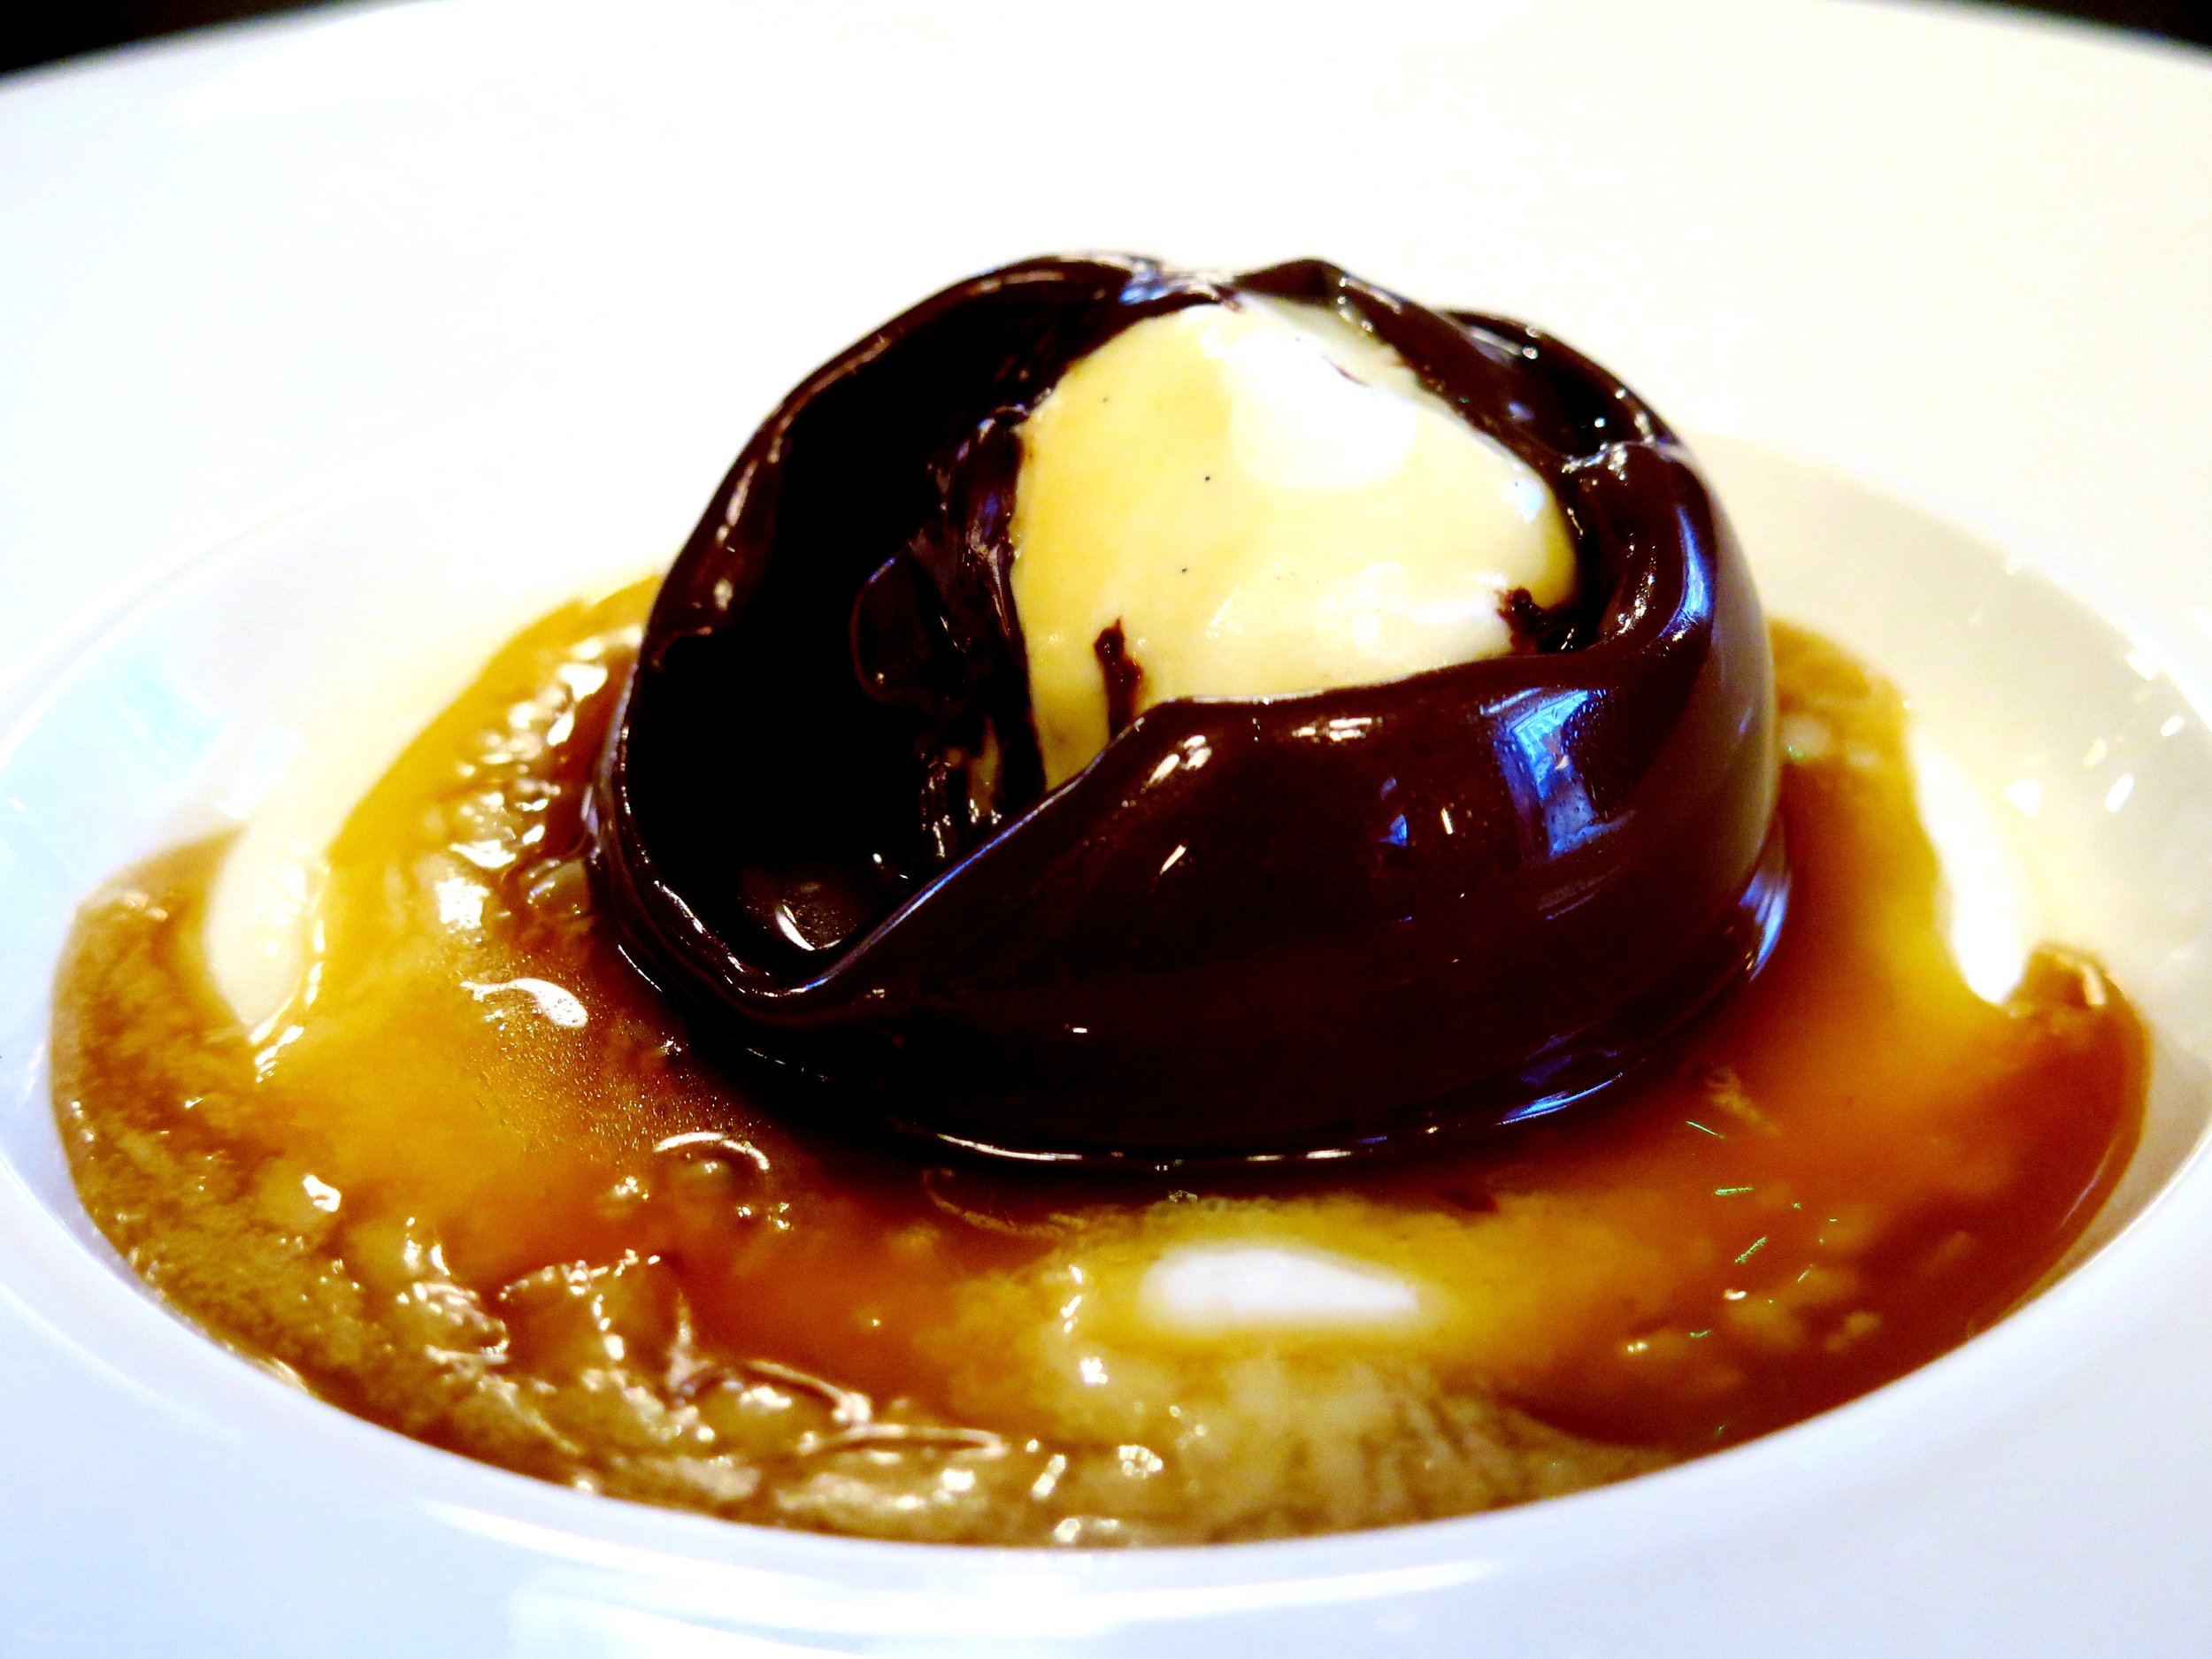
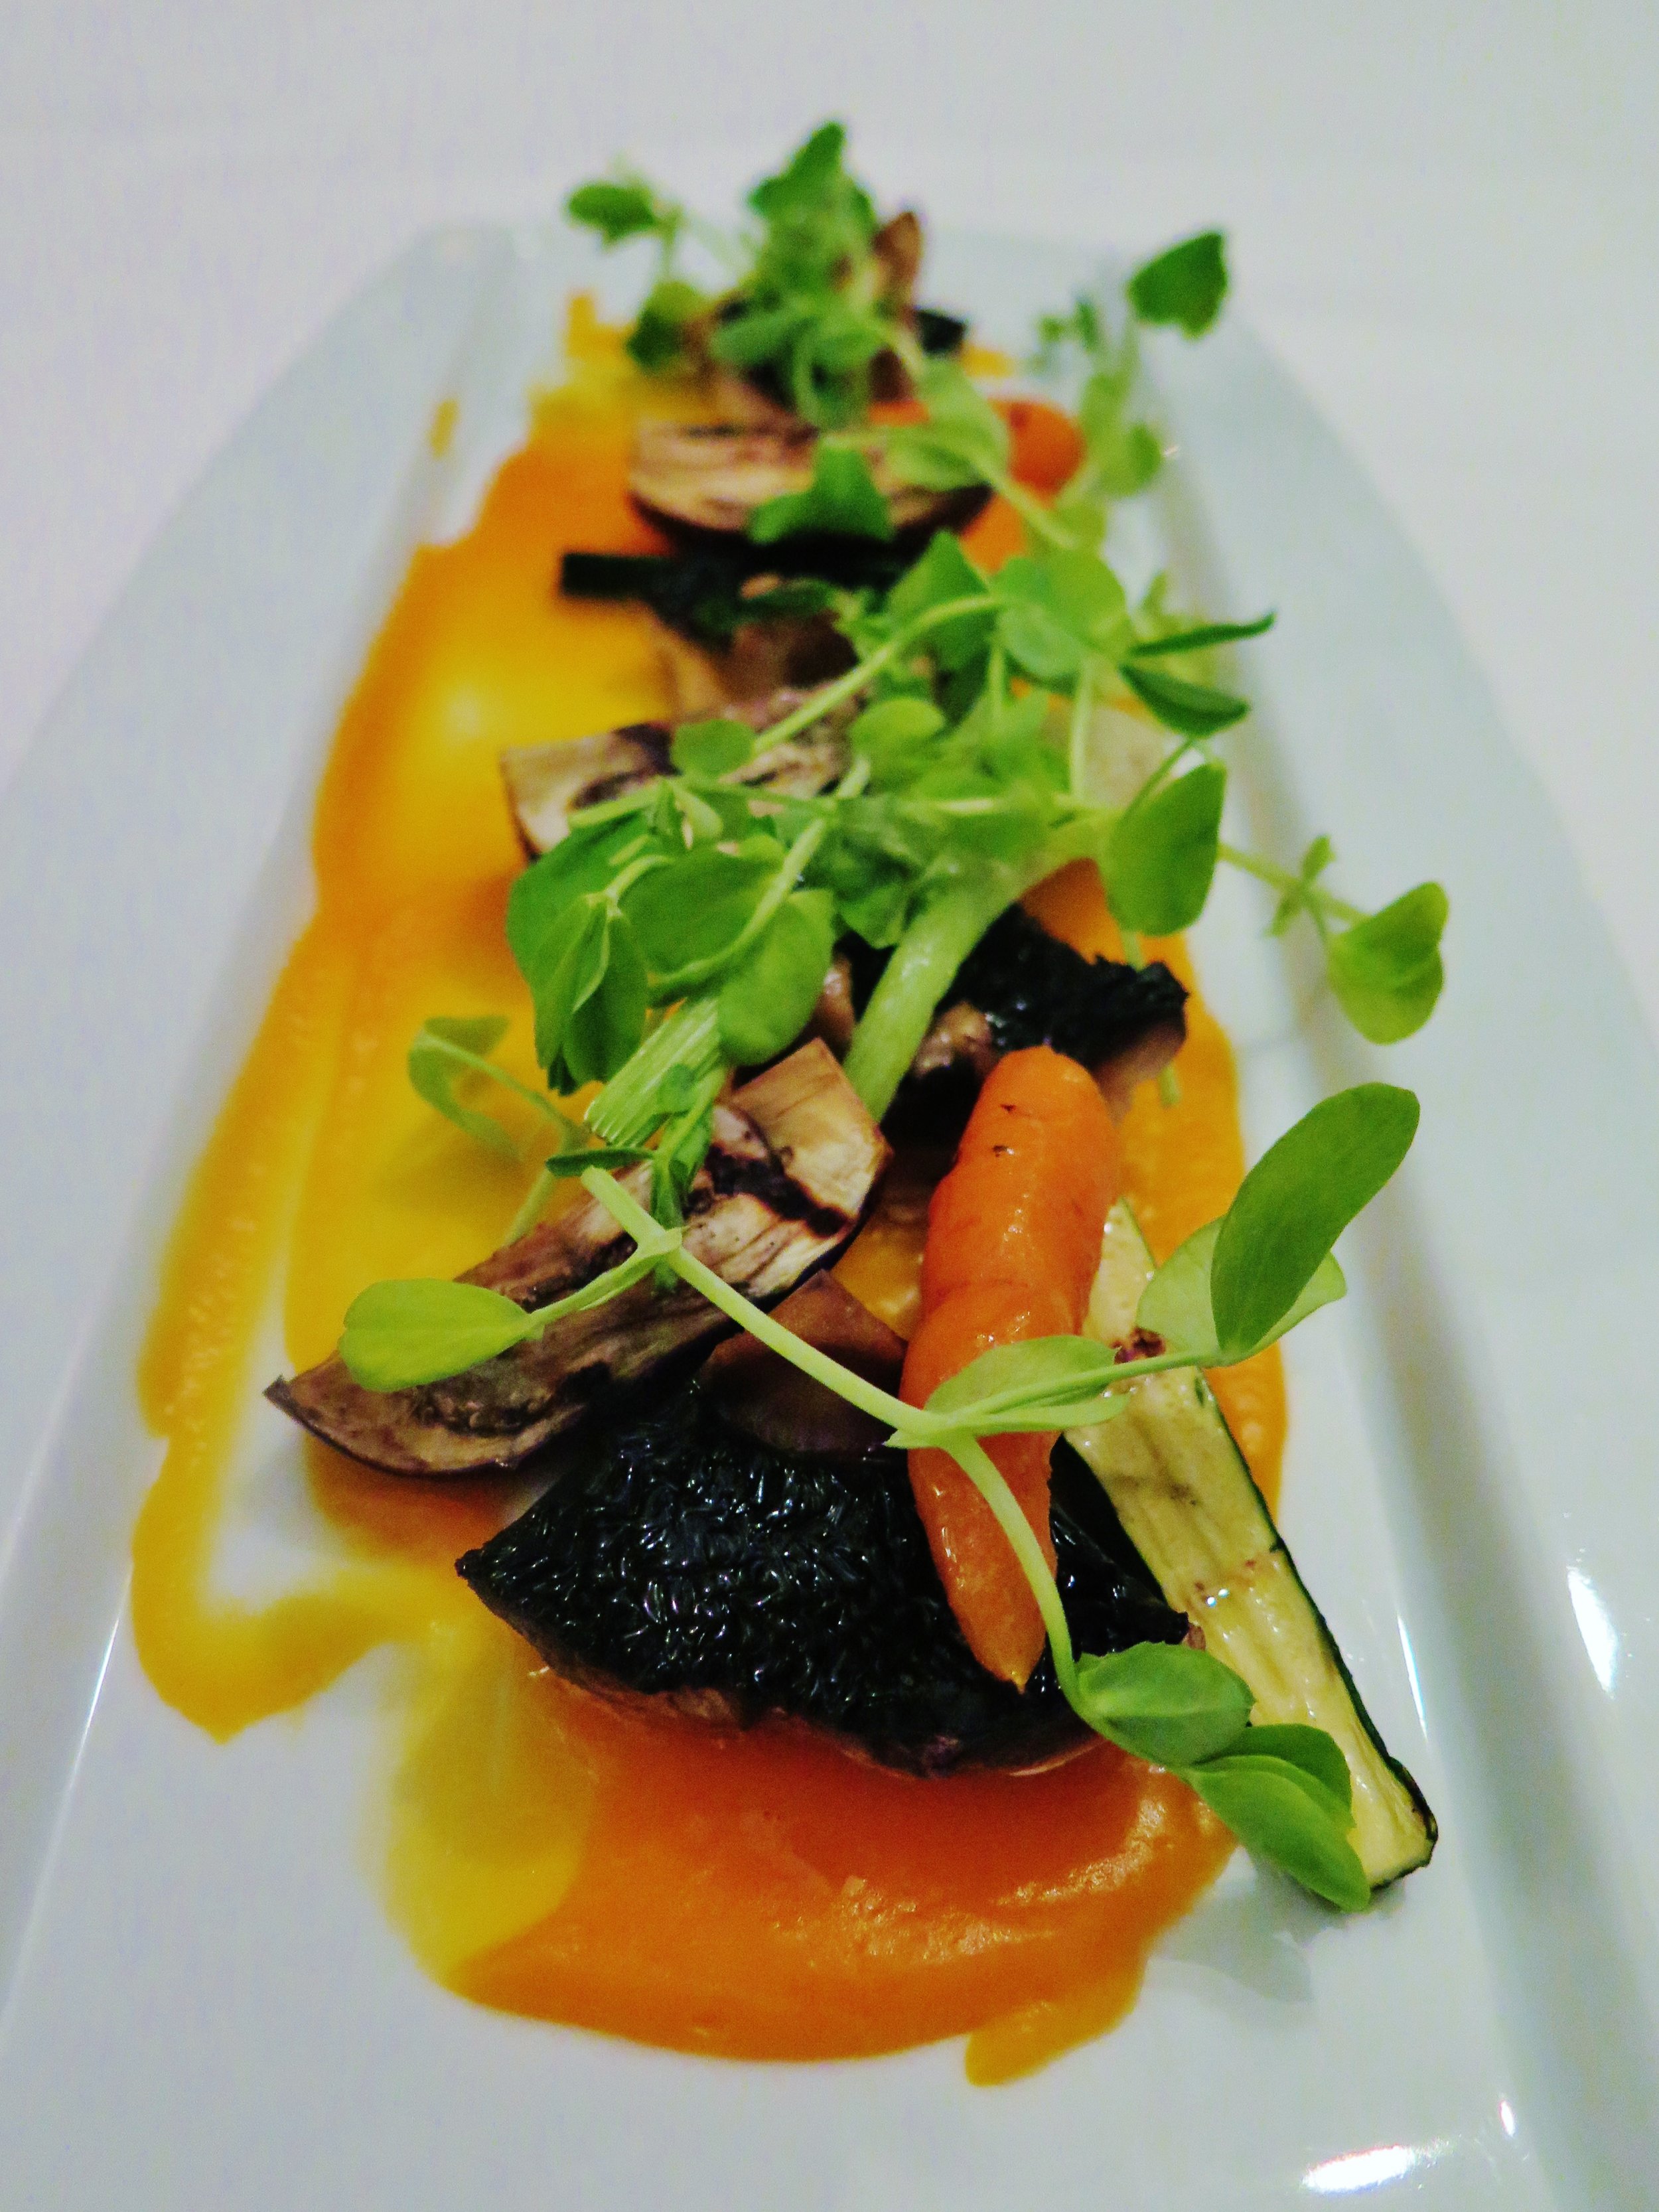
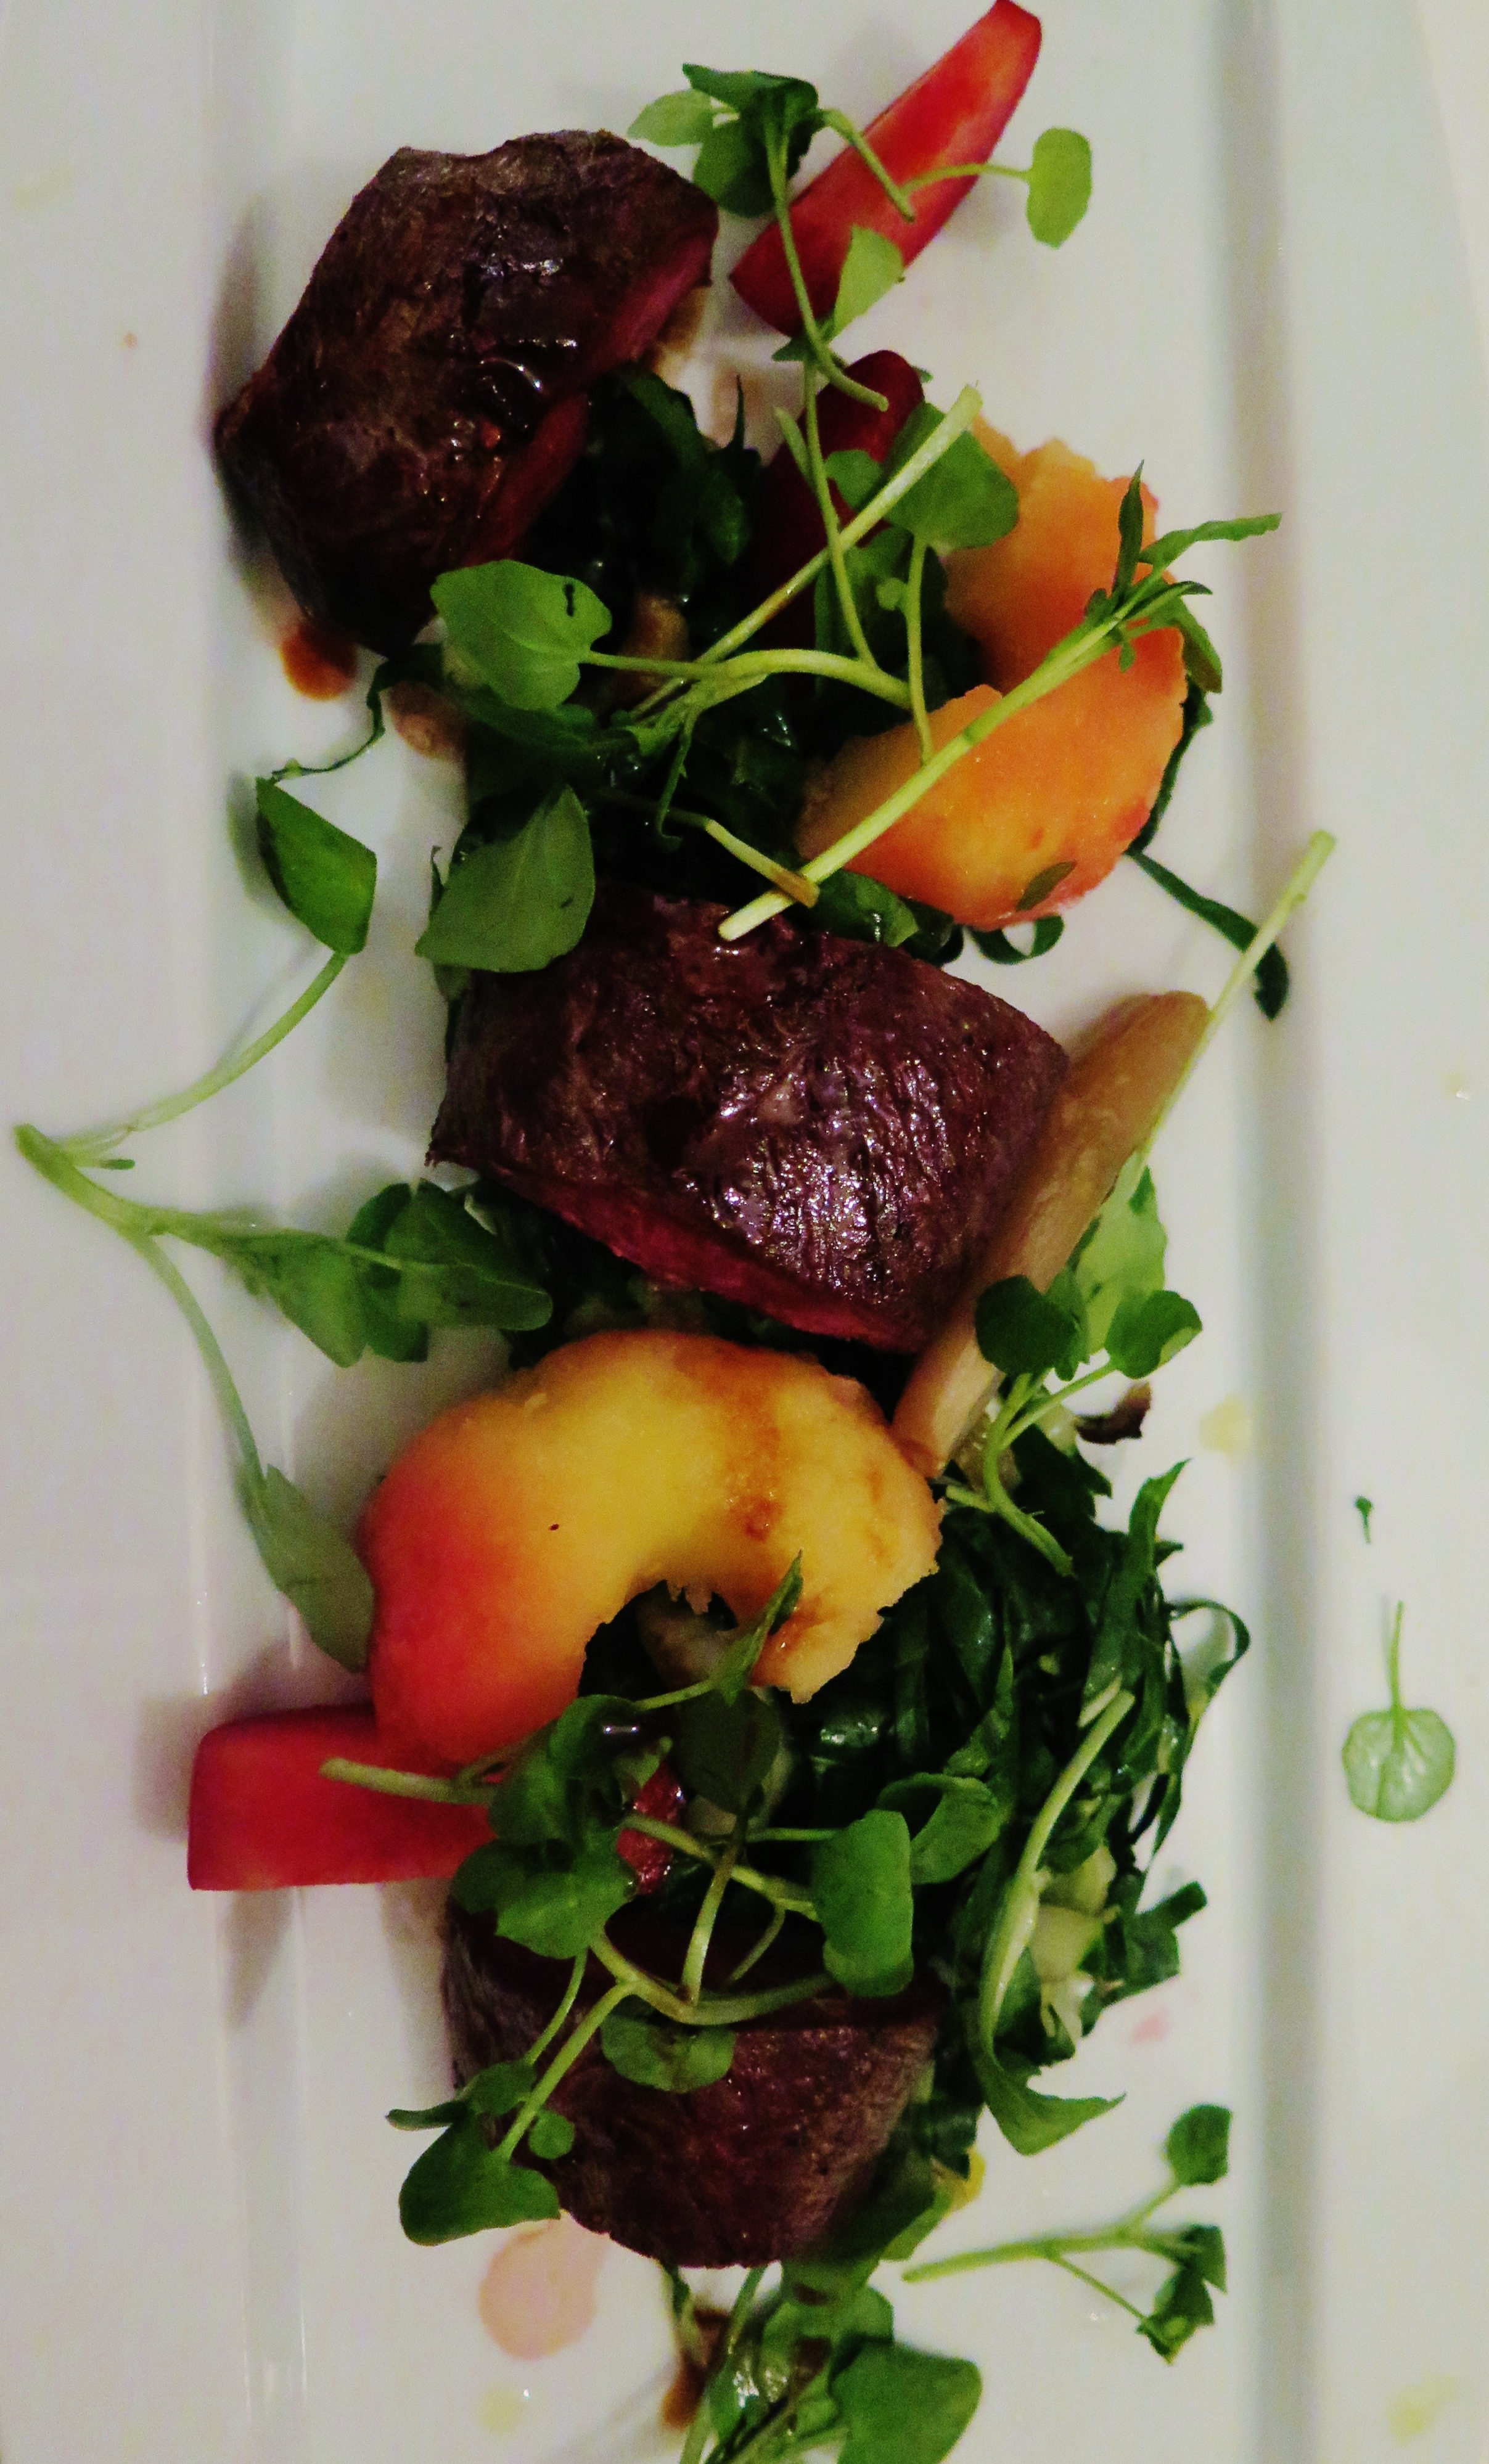
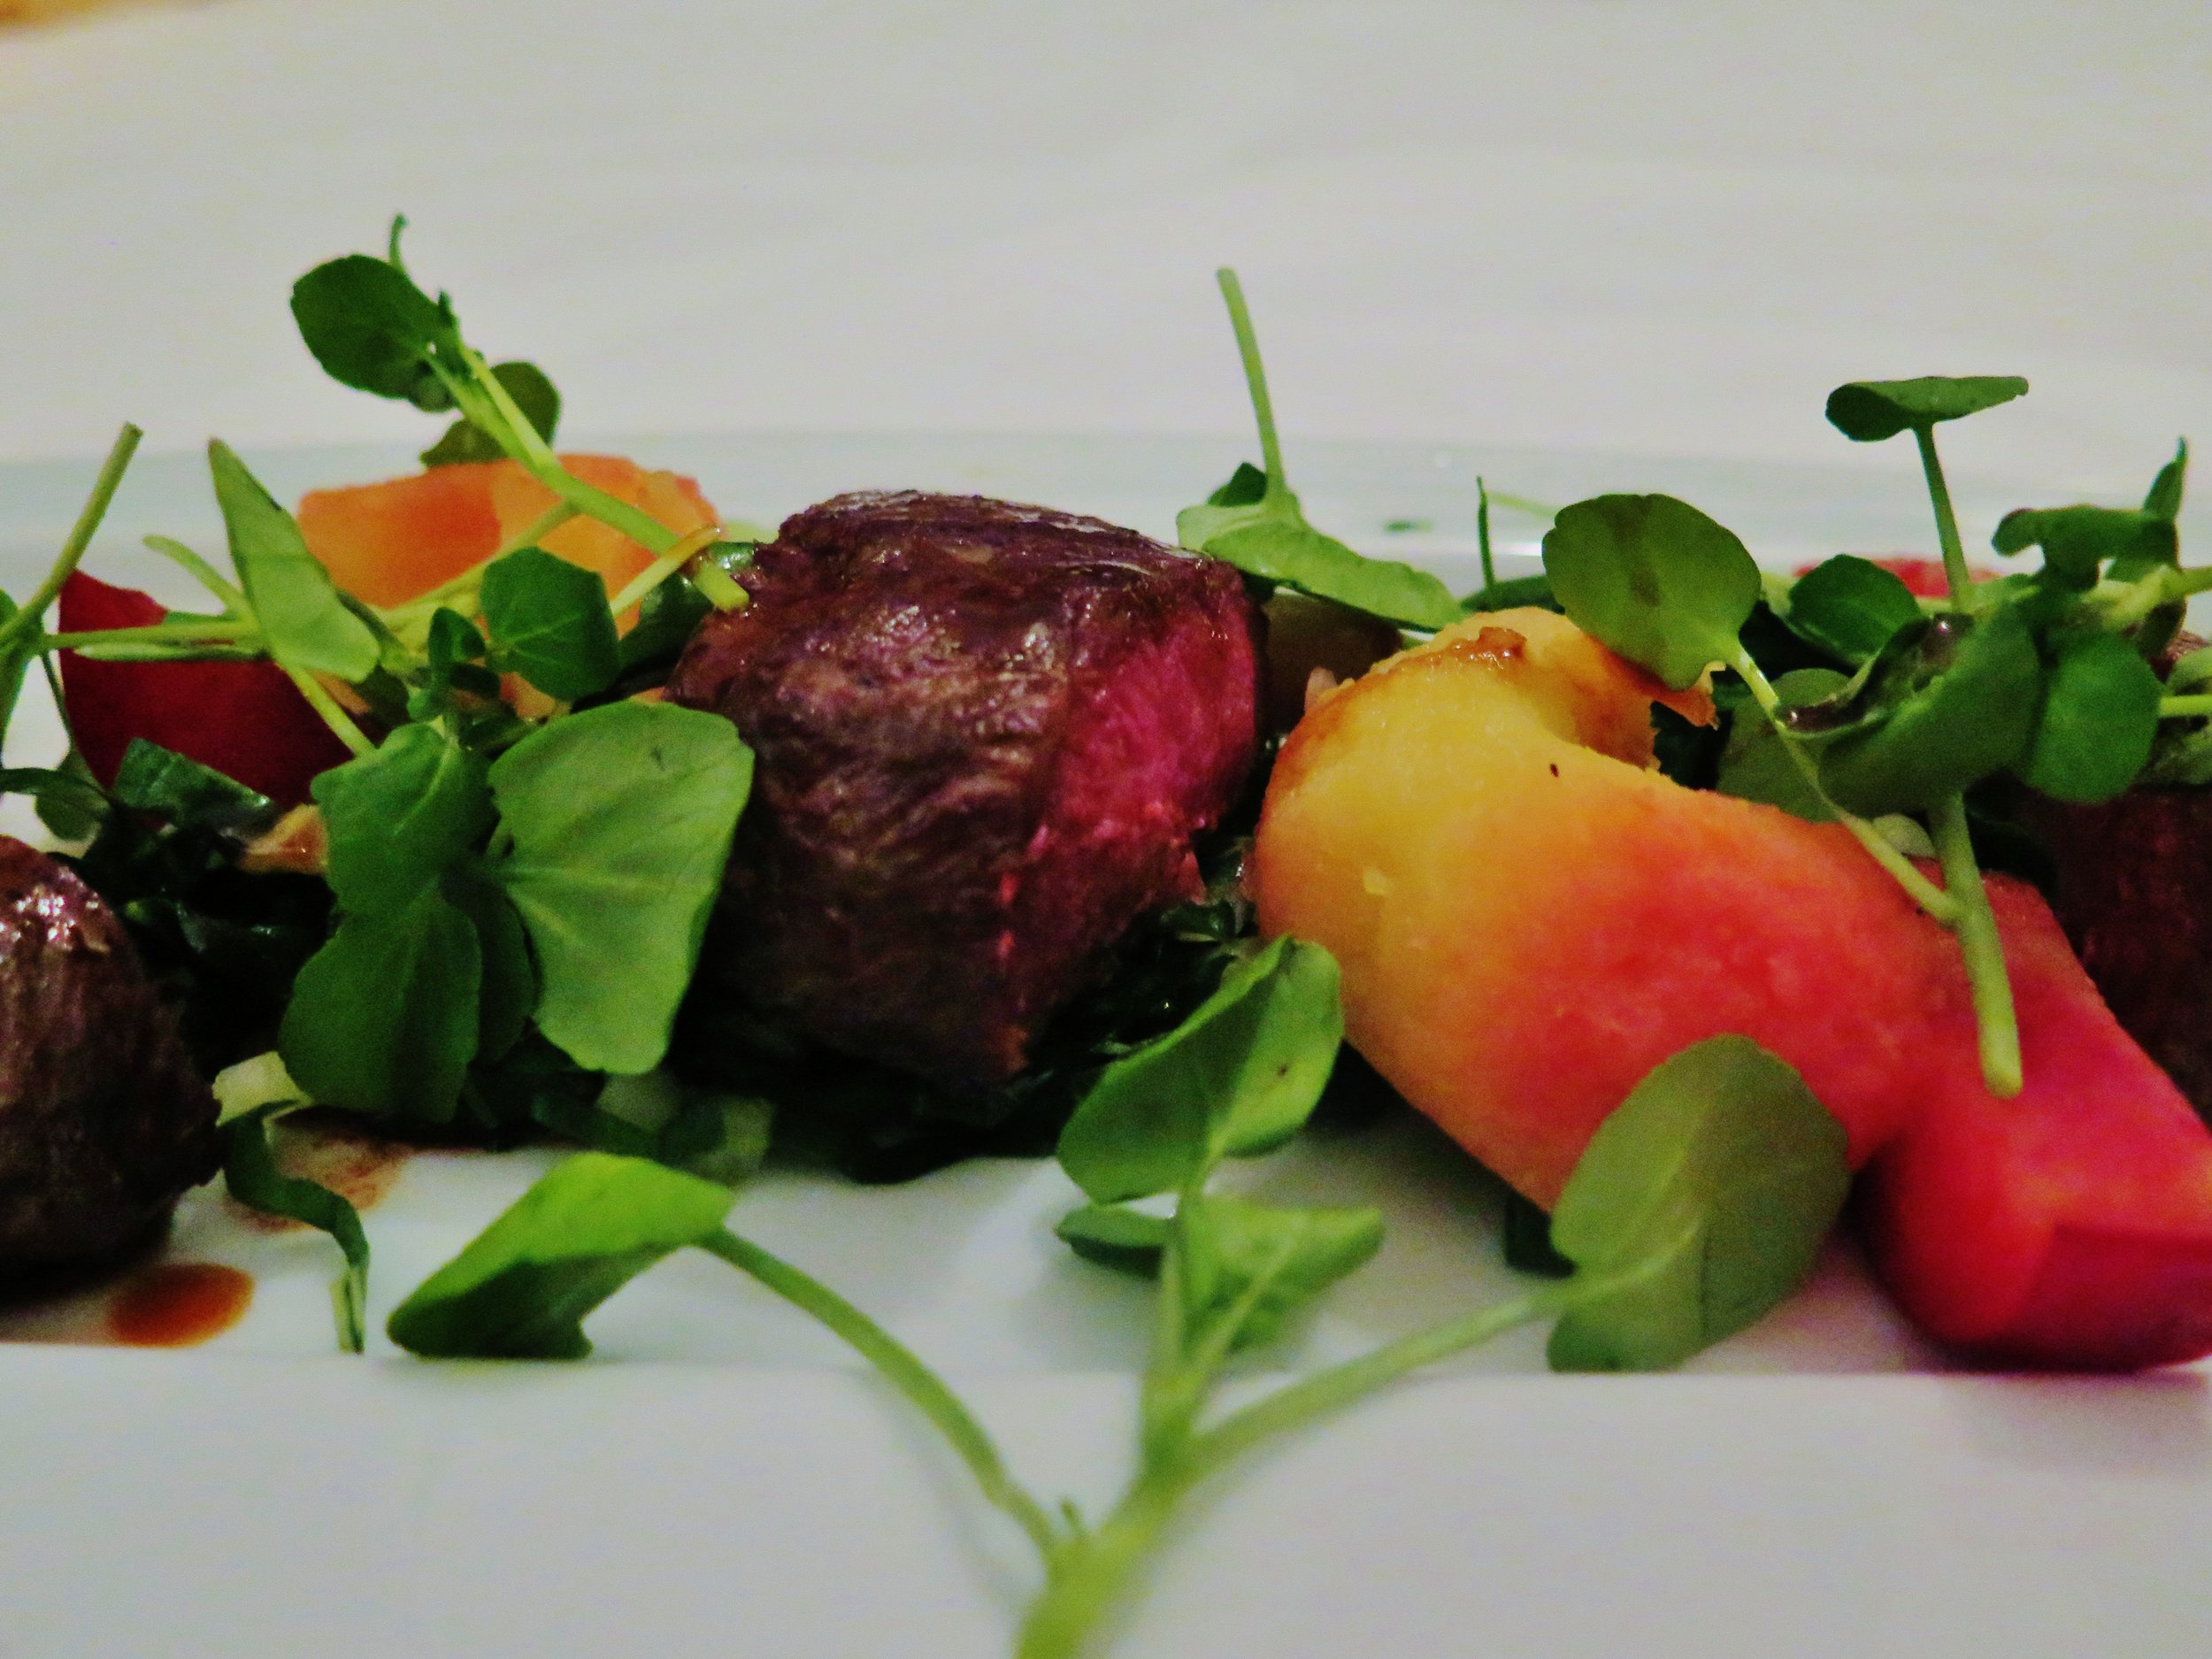
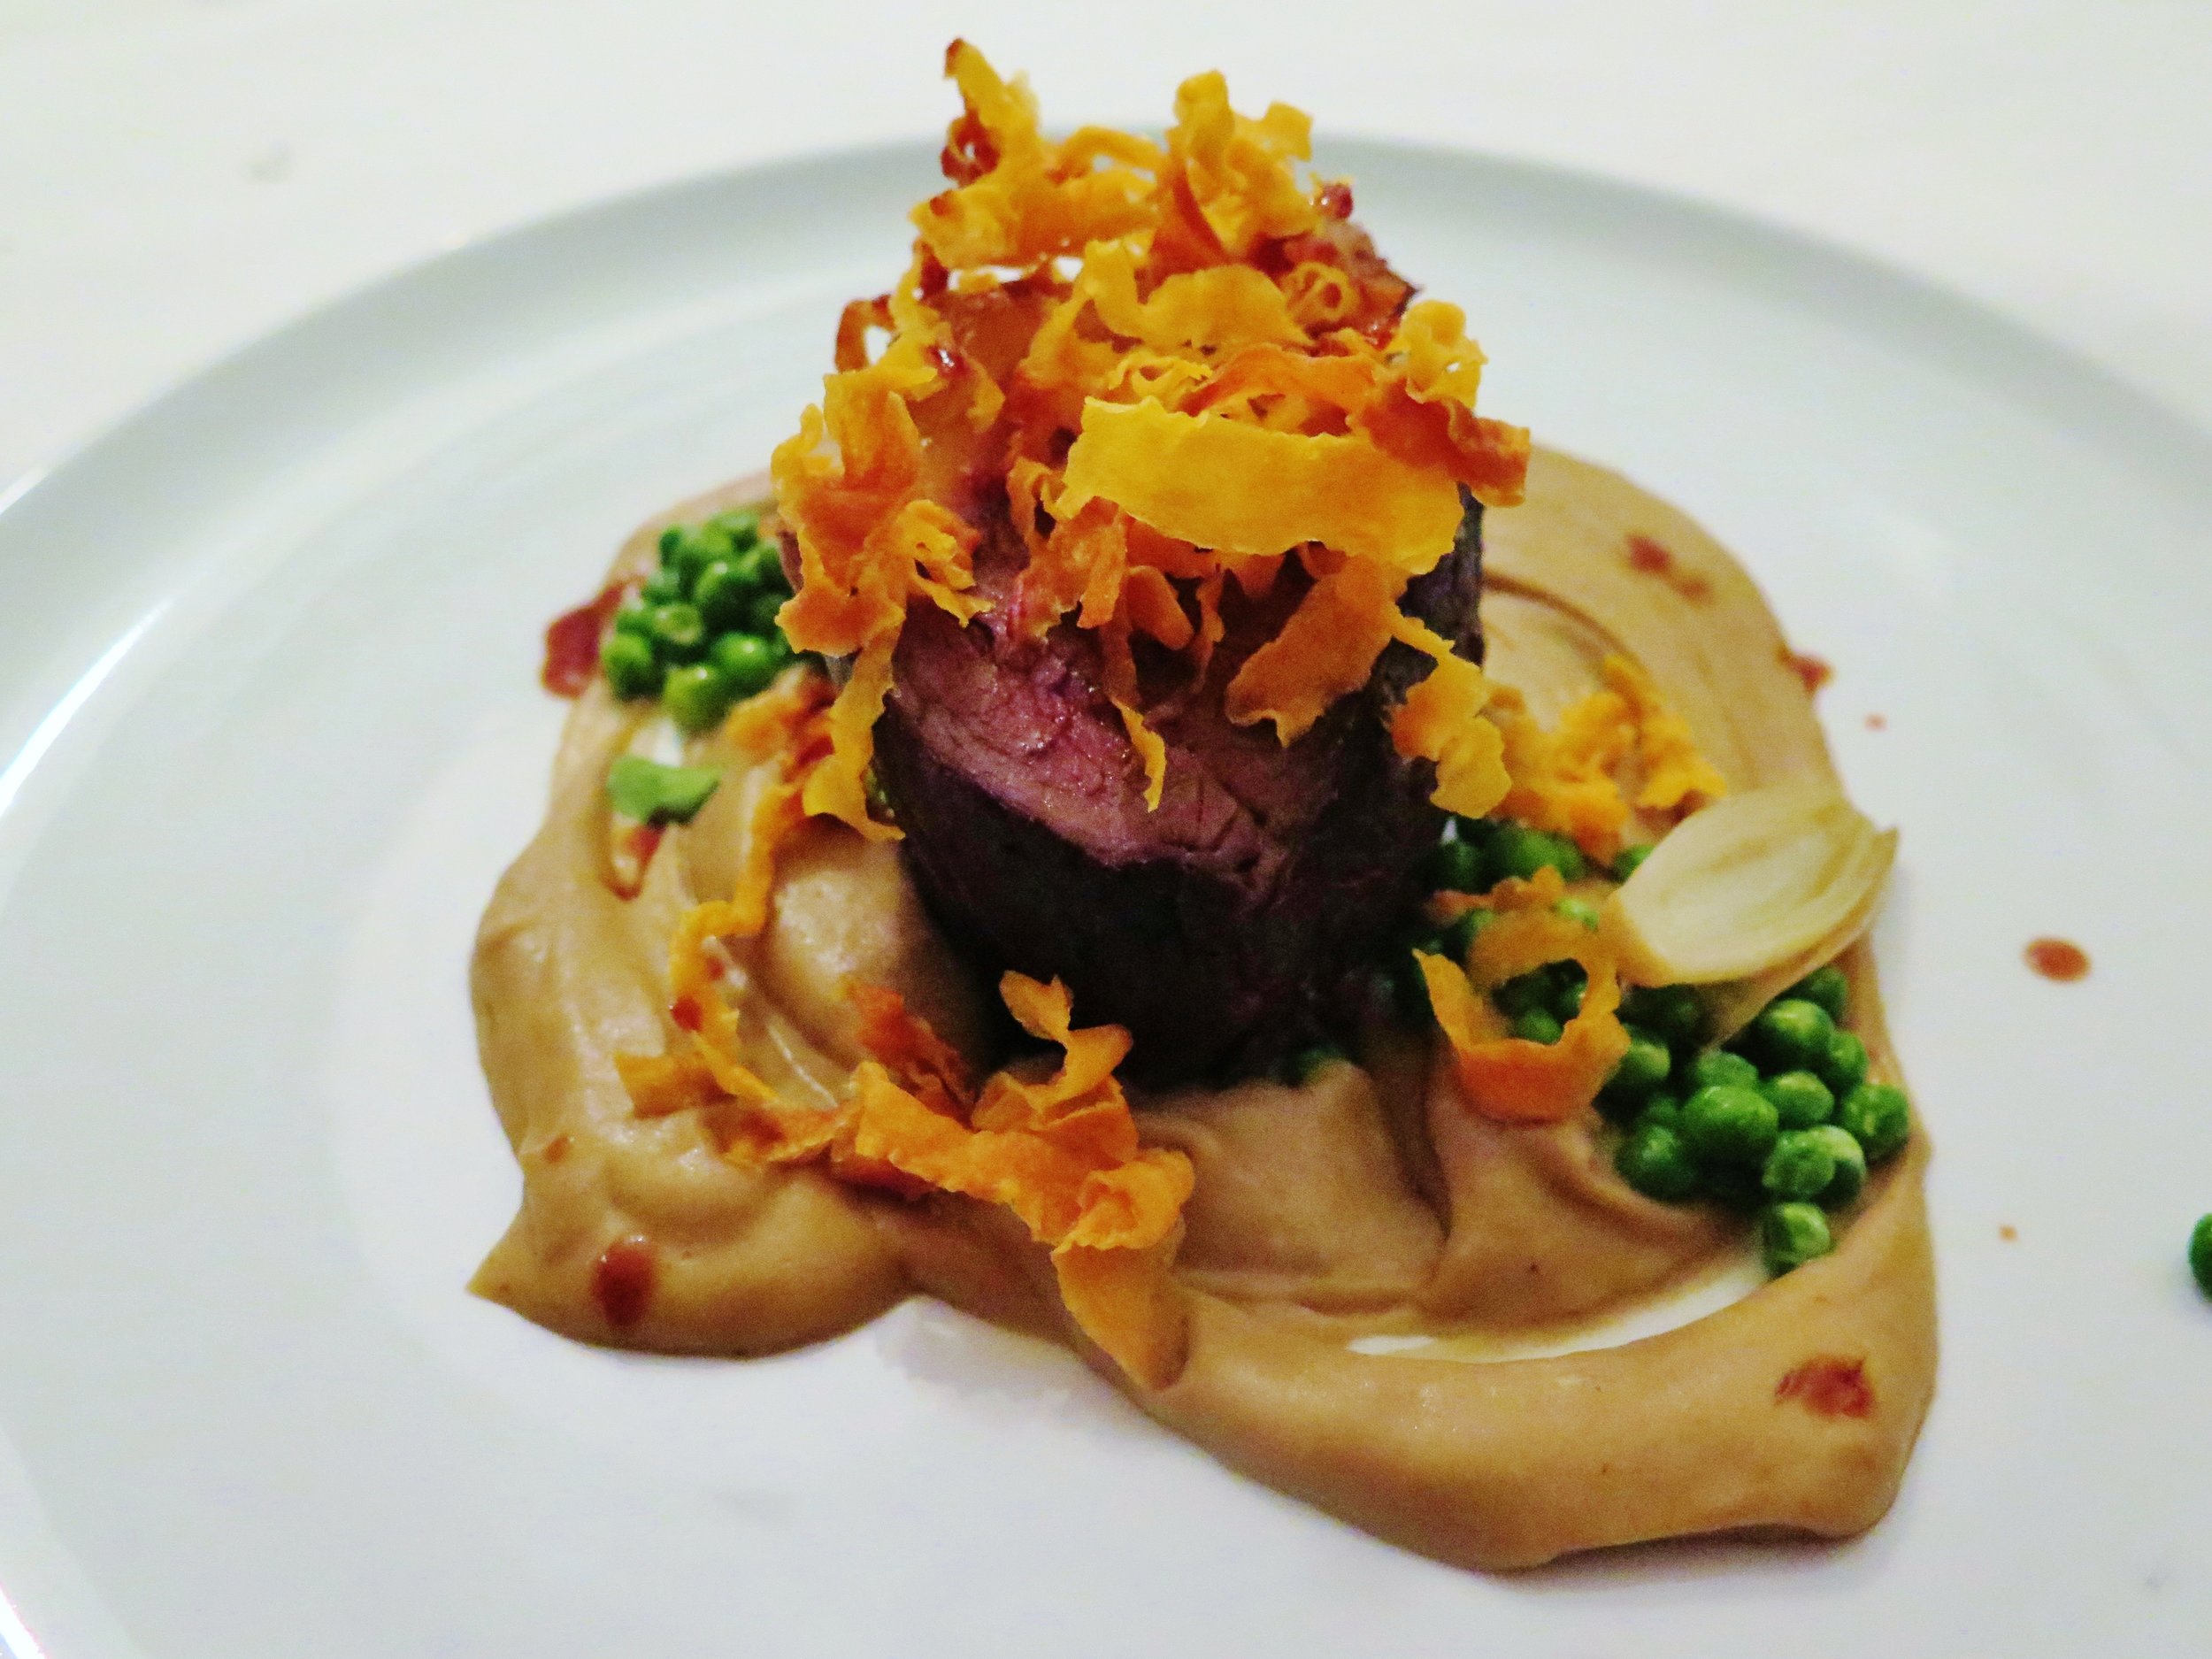
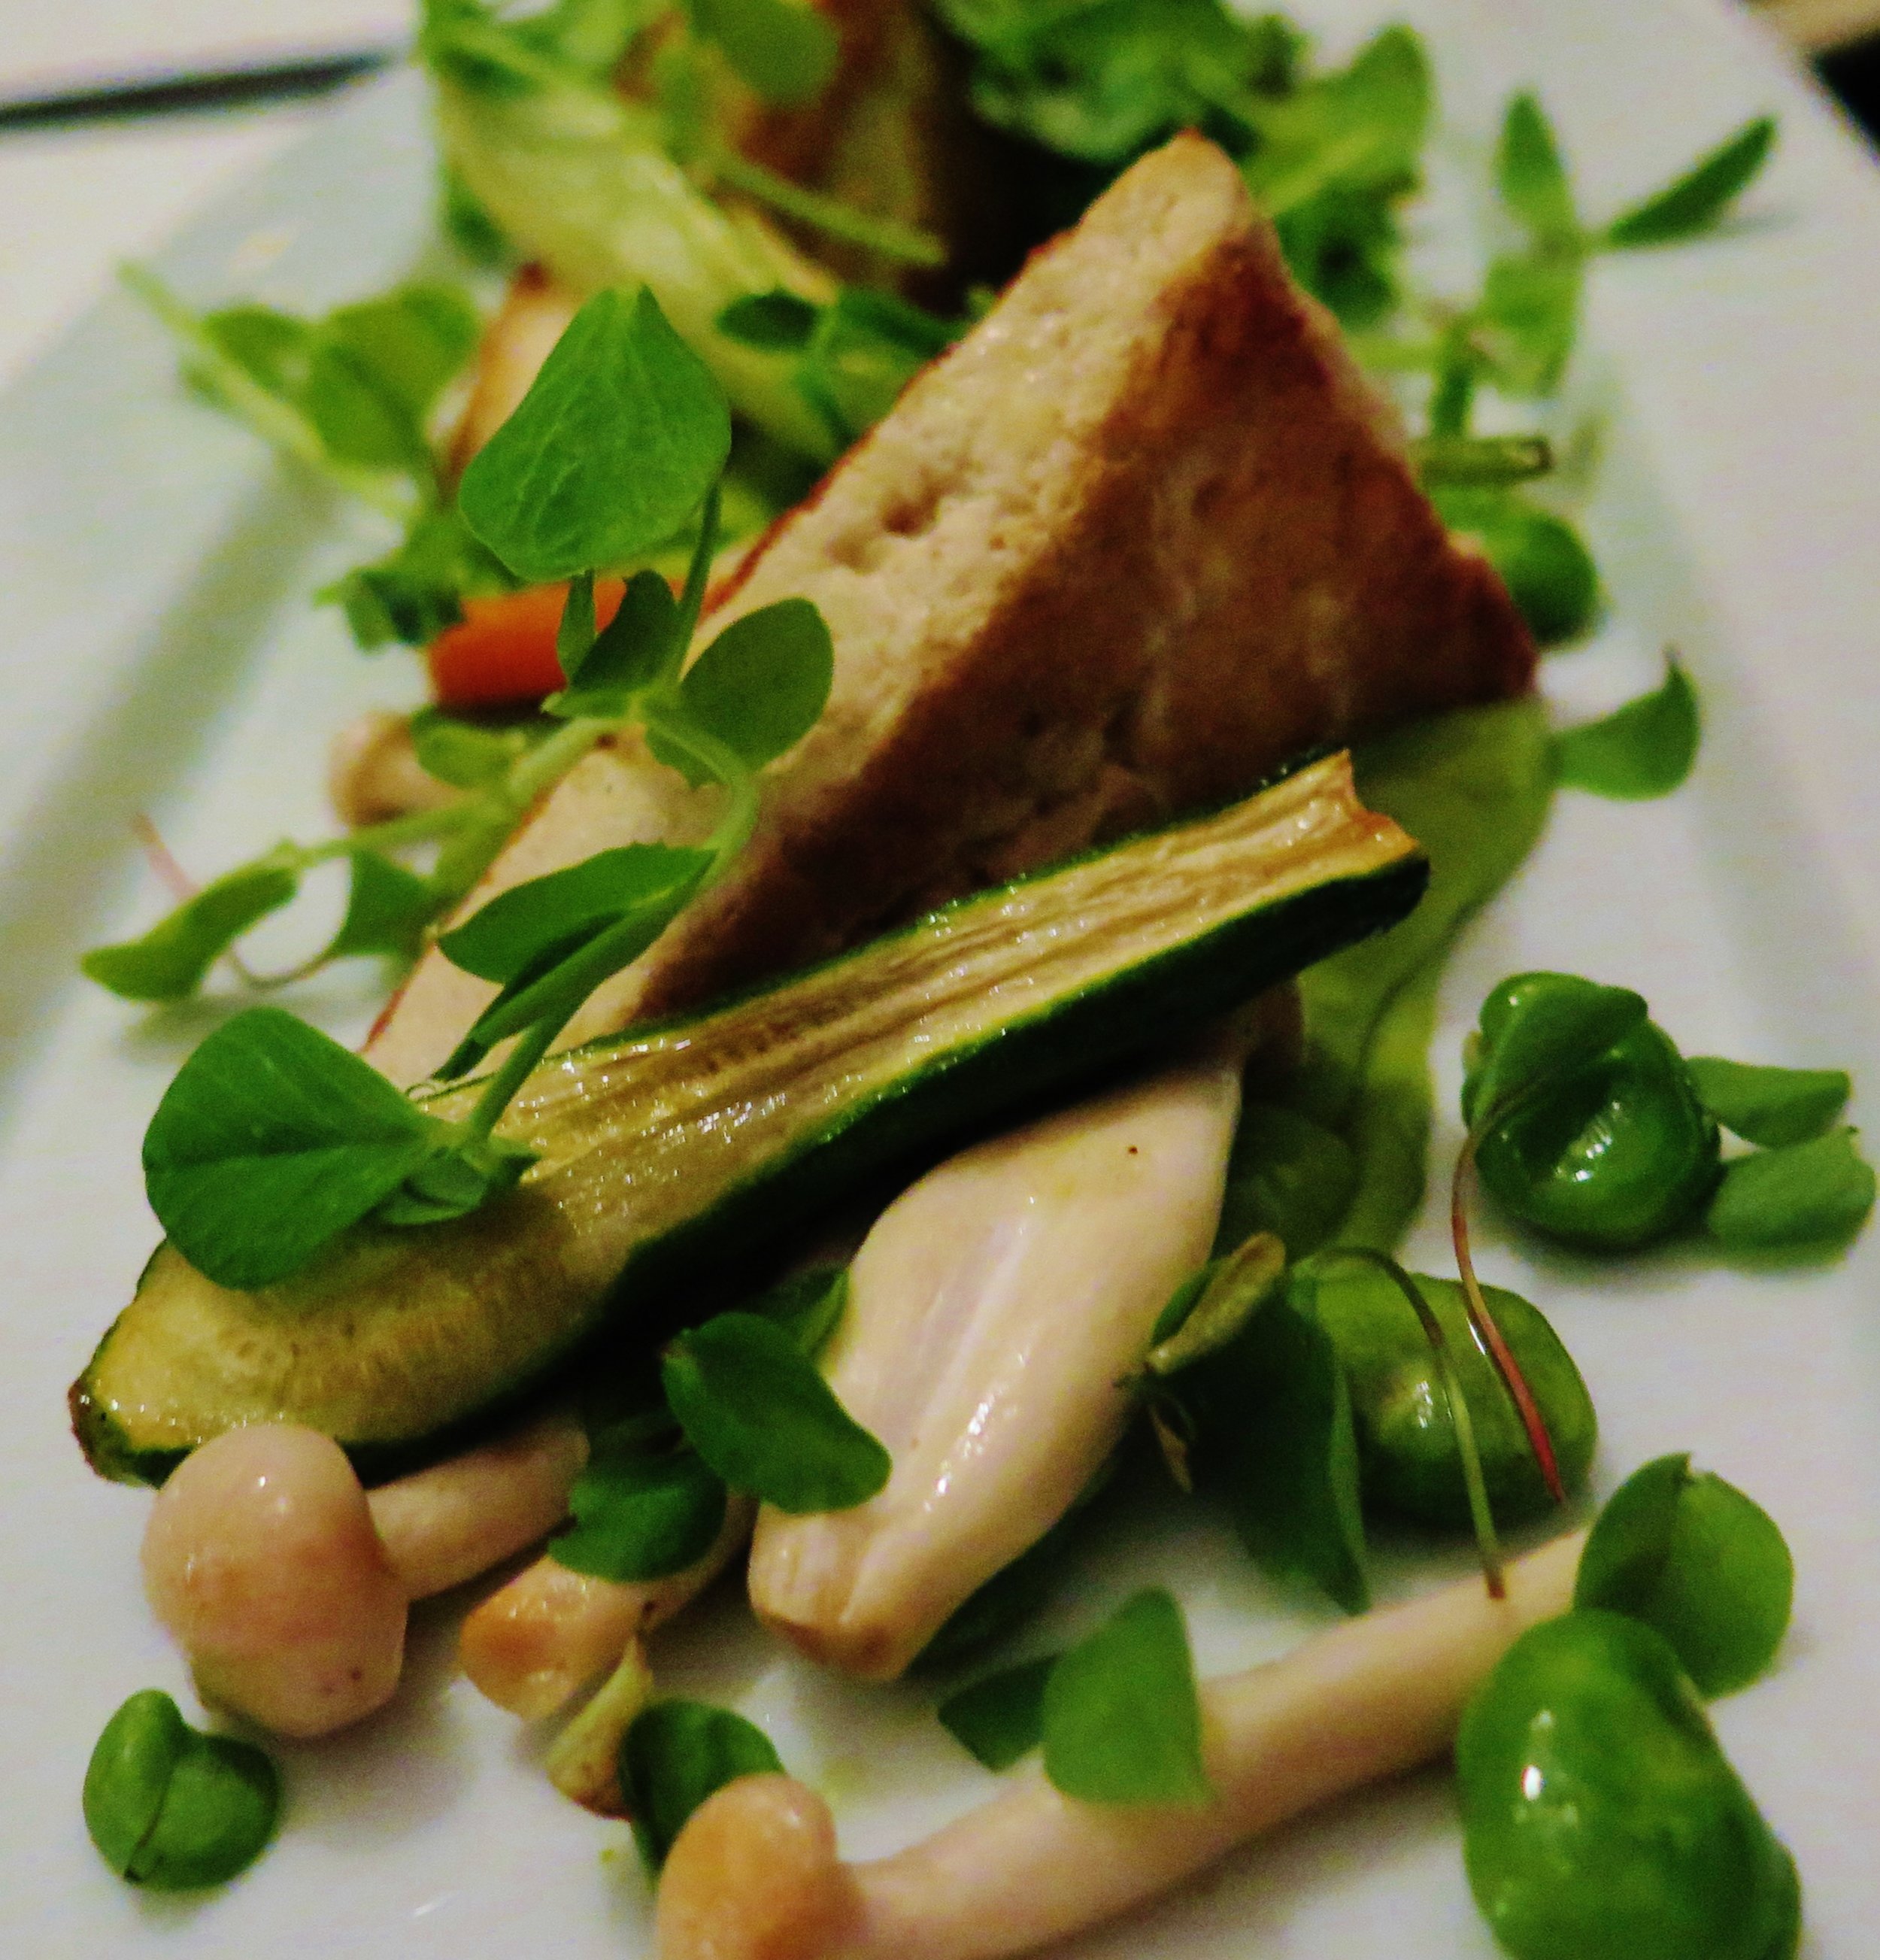
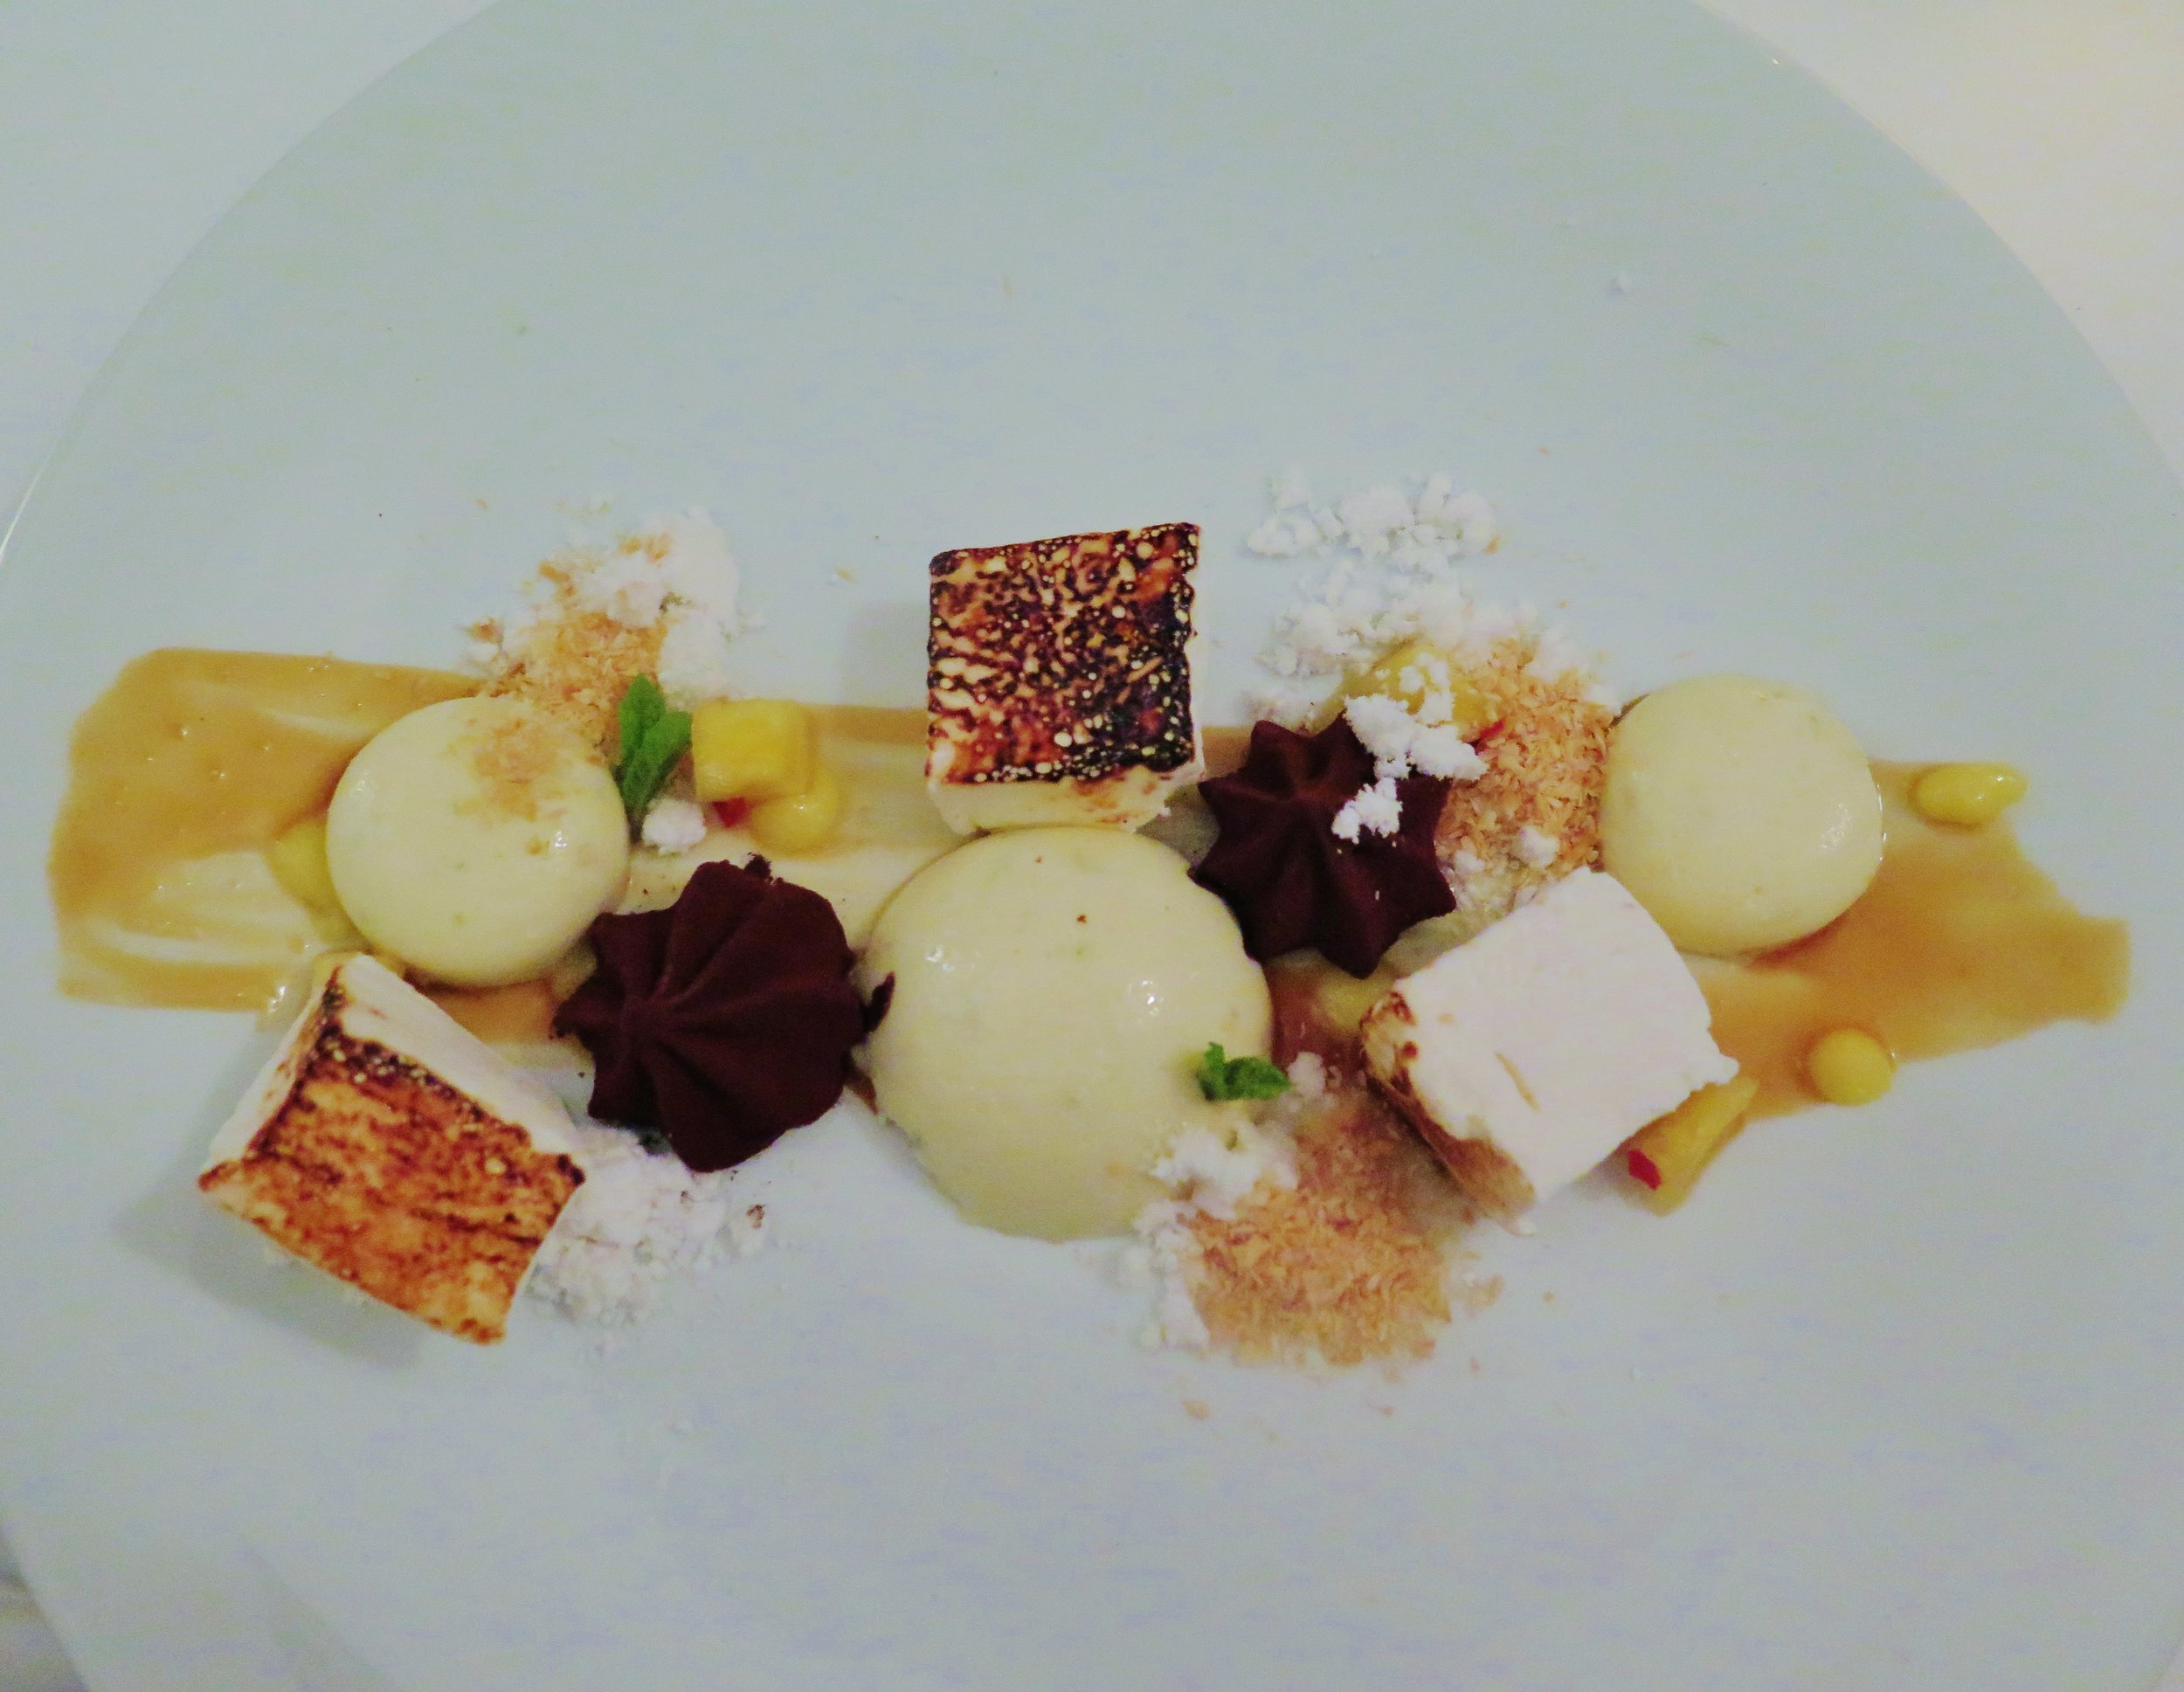
Twelve hours of starvation, a 5.30 wake up and, waiting for me, a pair of over-sized nappy-esque translucent paper knickers.   Having first been warned of the potential risk of losing sensation in my mouth possibly forever, I was then choked by a mask pumping sickly sweet anaesthetic into my lungs, and my jaw was ripped into. Drilled brutally into five pieces and followed by a thorough excavation, there was not even a remote chance of the tooth fairy visiting to collect my wisdom tooth. The drugs they gave me were stomach-writhingly potent – strong enough to crush even my most resilient characteristic: hunger. Still, the thought of lunch the next day at Richard Caring’s freshly opened Ivy Market Grill, sister of London establishment, The Ivy, was enough to keep me going. IMG_8721 The timing couldn’t have been worse: by Sunday morning my face had swollen to such an extent that I had to perfect a combo of Quagmire of Family Guy, and Debbie from The Wild Thornberrys, the Debbie hair curtain deployed to conceal the Quagmire jawline. The menu which I had pored over numerous times in admiration was restricted dramatically – only food that could fit through the 0.5cm letterbox that my mouth had become was a possibility. I was also doubled over in pain from the stomach-eroding drugs the doctor had supplied.IMG_8759 Battling valiantly through all these obstacles, I made my way to Covent Garden.   Following the success of Caring’s all-day restaurant chain, Côte, another all-day brasserie must have appeared to be a logical step. With its grand Parisian brasserie feel, elegant yet comfortable, the verbal and physical resonances of its well-established Soho sister are evident. IMG_8748 To start: pumpkin with black truffle soup (I only just resisted asking for a straw). It was presented with the flourish and drama one would expect at a top end location – a neatly balanced pumpkin ravioli surmounting pumpkin puree scattered with crunchy toasted pumpkin seeds was flooded with a sweet and truffle-rich pumpkin soup. IMG_8733 I have yet to visit a restaurant with any pumpkin dish rivalling those of Caecilius, a host featured in the epigrams of Latin poet, Martial, who pushes the gourd creatively to its very limits (see below) . The Ivy Market Grill - Culina Sophia restaurant review I long to try the thousand variations-on-a-pumpkin degustation that Caecilius prepares, but have so far been let down by London restaurants in this respect. Clearly, I shall have to honour the Roman myself. In the case of the Ivy Market Grill, pumpkin four ways went some of the way both in texture and flavour. The Ivy Market Grill - Culina Sophia restaurant review I tried some of my dining companion’s winter salad (shaved apple, hazelnuts, golden raisins and celery with a stilton dressing) albeit a pathetically small mouthful with obvious constraints applying. It, too, was highly refined, refreshing both to look at and in its sweet salty flavour. The Ivy Market Grill - Culina Sophia restaurant review The Ivy Market Grill - Culina Sophia restaurant review At this point I realise the review should be dedicated to the dentally challenged with whom I now sympathise. Alongside its impressive vegetarian selection, I also deem the restaurant false–tooth friendly. The risotto was perfectly al dente (or more appropriately alla mancanza di dente), the flavours well balanced – umami with comforting autumnal warmth. The portion was on the generous side too. The Ivy Market Grill - Culina Sophia restaurant review The roasted heritage carrots with parsley were delicious: perfectly honeyed and tender. The Ivy Market Grill - Culina Sophia restaurant review One of my companions ordered the zucchini fritti, which I managed to taste. Thin and crisp and ridiculously light, one day I’ll return for more. The Ivy Market Grill - Culina Sophia restaurant review The chargrilled Banham half chicken, with maître d’hôtel butter and thick cut chips was also a hit according to my dining companions, as was the baked open ravioli with spinach, peas, broad beans, creamed ricotta and basil. The Ivy Market Grill - Culina Sophia restaurant review The Ivy Market Grill - Culina Sophia restaurant review The Ivy Market Grill - Culina Sophia restaurant review Unfortunately, the quinoa, avocado and mixed leaves making up the salad element of the grilled chicken salad were overly salted, but our waitress, Alexandra, was quick to make up for the error.   With the quality of food otherwise good, I can only imagine that this was a first week opening blip. Dessert ensued.   And, naturally, I ordered the melting chocolate bombe. Soft and soupy, it complied with the surgeon’s orders exactly. The thick, hot and rich salted caramel melted the chocolate exterior, drenching the plate with milk foam, vanilla ice cream and honeycomb. The surprise element, popping candy, kept me entertained for a while. The Ivy Market Grill - Culina Sophia restaurant reviewThe Ivy Market Grill - Culina Sophia restaurant reviewThe Ivy Market Grill - Culina Sophia restaurant reviewThe Ivy Market Grill - Culina Sophia restaurant reviewThe Ivy Market Grill - Culina Sophia restaurant review The Ivy Market Grill - Culina Sophia restaurant review The Ivy Market Grill - Culina Sophia restaurant reviewThe Ivy Market Grill - Culina Sophia restaurant review I never usually seek out sorbet at a restaurant but I couldn’t refuse when my dining companion offered me some of his - doctor’s orders of course. The blood orange was sublime, the flavour both acutely sharp and sweet.The Ivy Market Grill - Culina Sophia restaurant review The Ivy Market Grill - Culina Sophia restaurant review The Ivy Market Grill - Culina Sophia restaurant review Refined flavours, unfussy food, delightful served, and a warm, comfortable atmosphere, the Ivy Market Grill does not, in my opinion, dilute the brand; rather it strengthens it. It’s an all-day restaurant, and yes, I would happily spend all day dining there.


Martial, Epigrams XI.XXXI. On Caecilius. Caecilius, a very Atreus of gourds, tears and cuts them into a thousand pieces, just as if they were the children of Thyestes. Some of these pieces will be placed before you to begin with as a relish; they will appear again as a second course; then again as a third course. From some he will contrive a dessert; from others the baker will make mawkish patties, cakes of every form, and dates such as are sold at the theatres. By the art of the cook they are metamorphosed into all sorts of mincemeat, so that you would fancy you saw lentils and beans on the table; they are also made to imitate mushrooms and sausages, tails of tunnies and anchovies. This dextrous cook exhausts the powers of art to disguise them in every way, sometimes by means of Capellian rue. Thus he fills his dishes, and side dishes, and polished plates, and tureens, and congratulates himself upon his skill in furnishing so many dishes at the cost of a penny.


Food: 8.5/10 Price: ££££ Ambience: 7/10 Service: 9/10 Loos: 7/10 Suitable for: smart dates, celebrations, brunch, afternoon tea, all-day dining, family, friends, pre-theatre dining, Square Meal Ivy Market Grill on Urbanspoon

Comment

Portal

Comment

Portal

IMG_6403.jpg

Portal Restaurant Review Portal is exactly what it says on the tin – a portal into a hidden space. Its chic matte black and green brick exterior, tardis-like, opens up to a beautiful glassed in courtyard. It's not very well known, but I’m pretty sure there’s a good reason for this: everyone is keeping it a secret, and so should you. You’re not going to want to compete with your friends for a table here.

Portal Restaurant Review With its serene black and white format and the floor-to-ceiling glass panes, Portal does urban chic very well. As we were a group of 12, I booked the private room (which seats 14). Wine-lined, and with a sliding glass door, you can converse audibly with your dining companions.

Portal Restaurant Review

I’ve been known to punch (accidentally) the odd stranger whilst taking my coat off or putting it on. With wine bottles as a substitute the situation was rather more precarious: I narrowly missed bringing down the entire row of 2003 Quinta do Portal ‘Auro’…

Portal Restaurant Review

Very rarely is the bread worth mentioning in a restaurant, but Portal is a cut above many: served freshly baked in engraved wine boxes along with peppery olive oil it would be hard even for the most resolute gluten-free fad enthusiast to resist.

Portal Restaurant Review

Portal Restaurant Review

Please don’t think I’m a bore, but the tap water is also worth noting: sweet, cold and crisp, and flavoured with sliced cucumber and fresh mint. And like the dining scene in Philemon and Baucis, my glass seemed to replenish itself. Attention to detail is what marks the good from the great, and Portal is definitely closer to the latter.

Portal Restaurant Review The amuse bouche was cream of gazpacho with parmesan shavings. Spoons were hard at work to scrape every last scrap of this with its fresh, spicy and bold flavours.

Portal Restaurant Review After some studious analysis of the modern Portuguese menu, I plumped for grilled vegetables with carrot and ginger puree - maybe not the most adventurous starter to choose, but I’m always on the lookout for good vegetarian food. If a meat-orientated restaurant takes its time to conjure up a good vegetarian dish then it is a true sign of its quality, rearing its head above all the meat-crazed restaurants on the scene at the moment.

Portal Restaurant Review

Clean and modern presentation was consistent throughout the meal, and Portal is definitely not shy with its green garnishes. The purée was warming and smooth, but unfortunately the carrots were a little underdone, and unusually for a restaurant, there wasn’t enough salt to draw out the earthy root vegetable sweetness.

Portal Restaurant Review

Portal Restaurant Review

Luckily, I turned carnivore for the next course: the duck breast with apple, chard and summer cup reduction.

Portal Restaurant Review

Sweet, juicy, tender, succulent, cooked to the perfect shade of blush, this was the wagyu of the duck world.

Portal Restaurant Review

The red of the apples added drama to the plate, and they too were cooked to perfection with their creamy combination of sweet and sour. With all elements so beautifully in sync with their bold simplicity, this dish is a reason in itself to visit Portal.

One of my dining companions ordered the sirloin, aubergine puree, shallots and peas. The downside of the private room is that it’s impossible to get to the other side of the table fast enough to assuage severe food envy.

Portal Restaurant Review

Inevitably it was excellent…or so I was told.

Portal Restaurant Review The Dover sole, cauliflower purée, smoked pork belly and lemon foam also went down very well.

Portal Restaurant Review Sadly, however, the vegetarian option of tofu, broad bean and shimeji fell short. My dining companion had to resort to self-seasoning - a drastic action and a real shame.

Portal Restaurant Review

A bottle of white and of red in (both delicious), dessert was definitely necessary.  I ordered the fruit salad, and no, this is not a cop-out. Portal’s fruit salad makes up for its healthiness with visual decadence. It happens also to be delicious as the fine slicing contributes to appreciation of the fruits’ flavour.

Portal Restaurant Review It would have been sacrilegious not to try Portal’s pasteis de nata, accompanied by cinnamon ice cream: fine crisp pastry with a burnished gold custard filling – traditional and very good. And I’m an ardent fan of cinnamon, so the ice cream was highly pleasing too.

Portal Restaurant Review

Portal Restaurant Review

A full stomach hindered my speed in getting to the other desserts (I had to pass the camera round), but they were thoroughly enjoyed.

Coconut and Lime Mousse, Pineapple Coulis, Marshmallow and Miso Sauce:

Portal Restaurant Review

Pudim Abade de Priscos and Strawberries:

Portal Restaurant Review

Portal Restaurant Review

We finished the meal with a round of fresh mint tea, and delicate and zesty lemon curd tartlets.

Portal Restaurant Review If you’re looking for the best duck in London, an urban chic oasis in the heart of the city, and delicious food with a Portuguese slant, go to Portal. Just don’t tell too many people.

Food: 8.5/10

Price: ££££

Ambience: 9.5/10

Service: 9/10

Loos: 9/10

Suitable for: smart dates, celebrations, business lunches, family, friends, private dining, chef's table


Portal on Urbanspoon

Square Meal

Comment

Top 10 London Brunch Spots

2 Comments

Top 10 London Brunch Spots

IMG_5560.jpg

Top 10 London Brunch Spots 
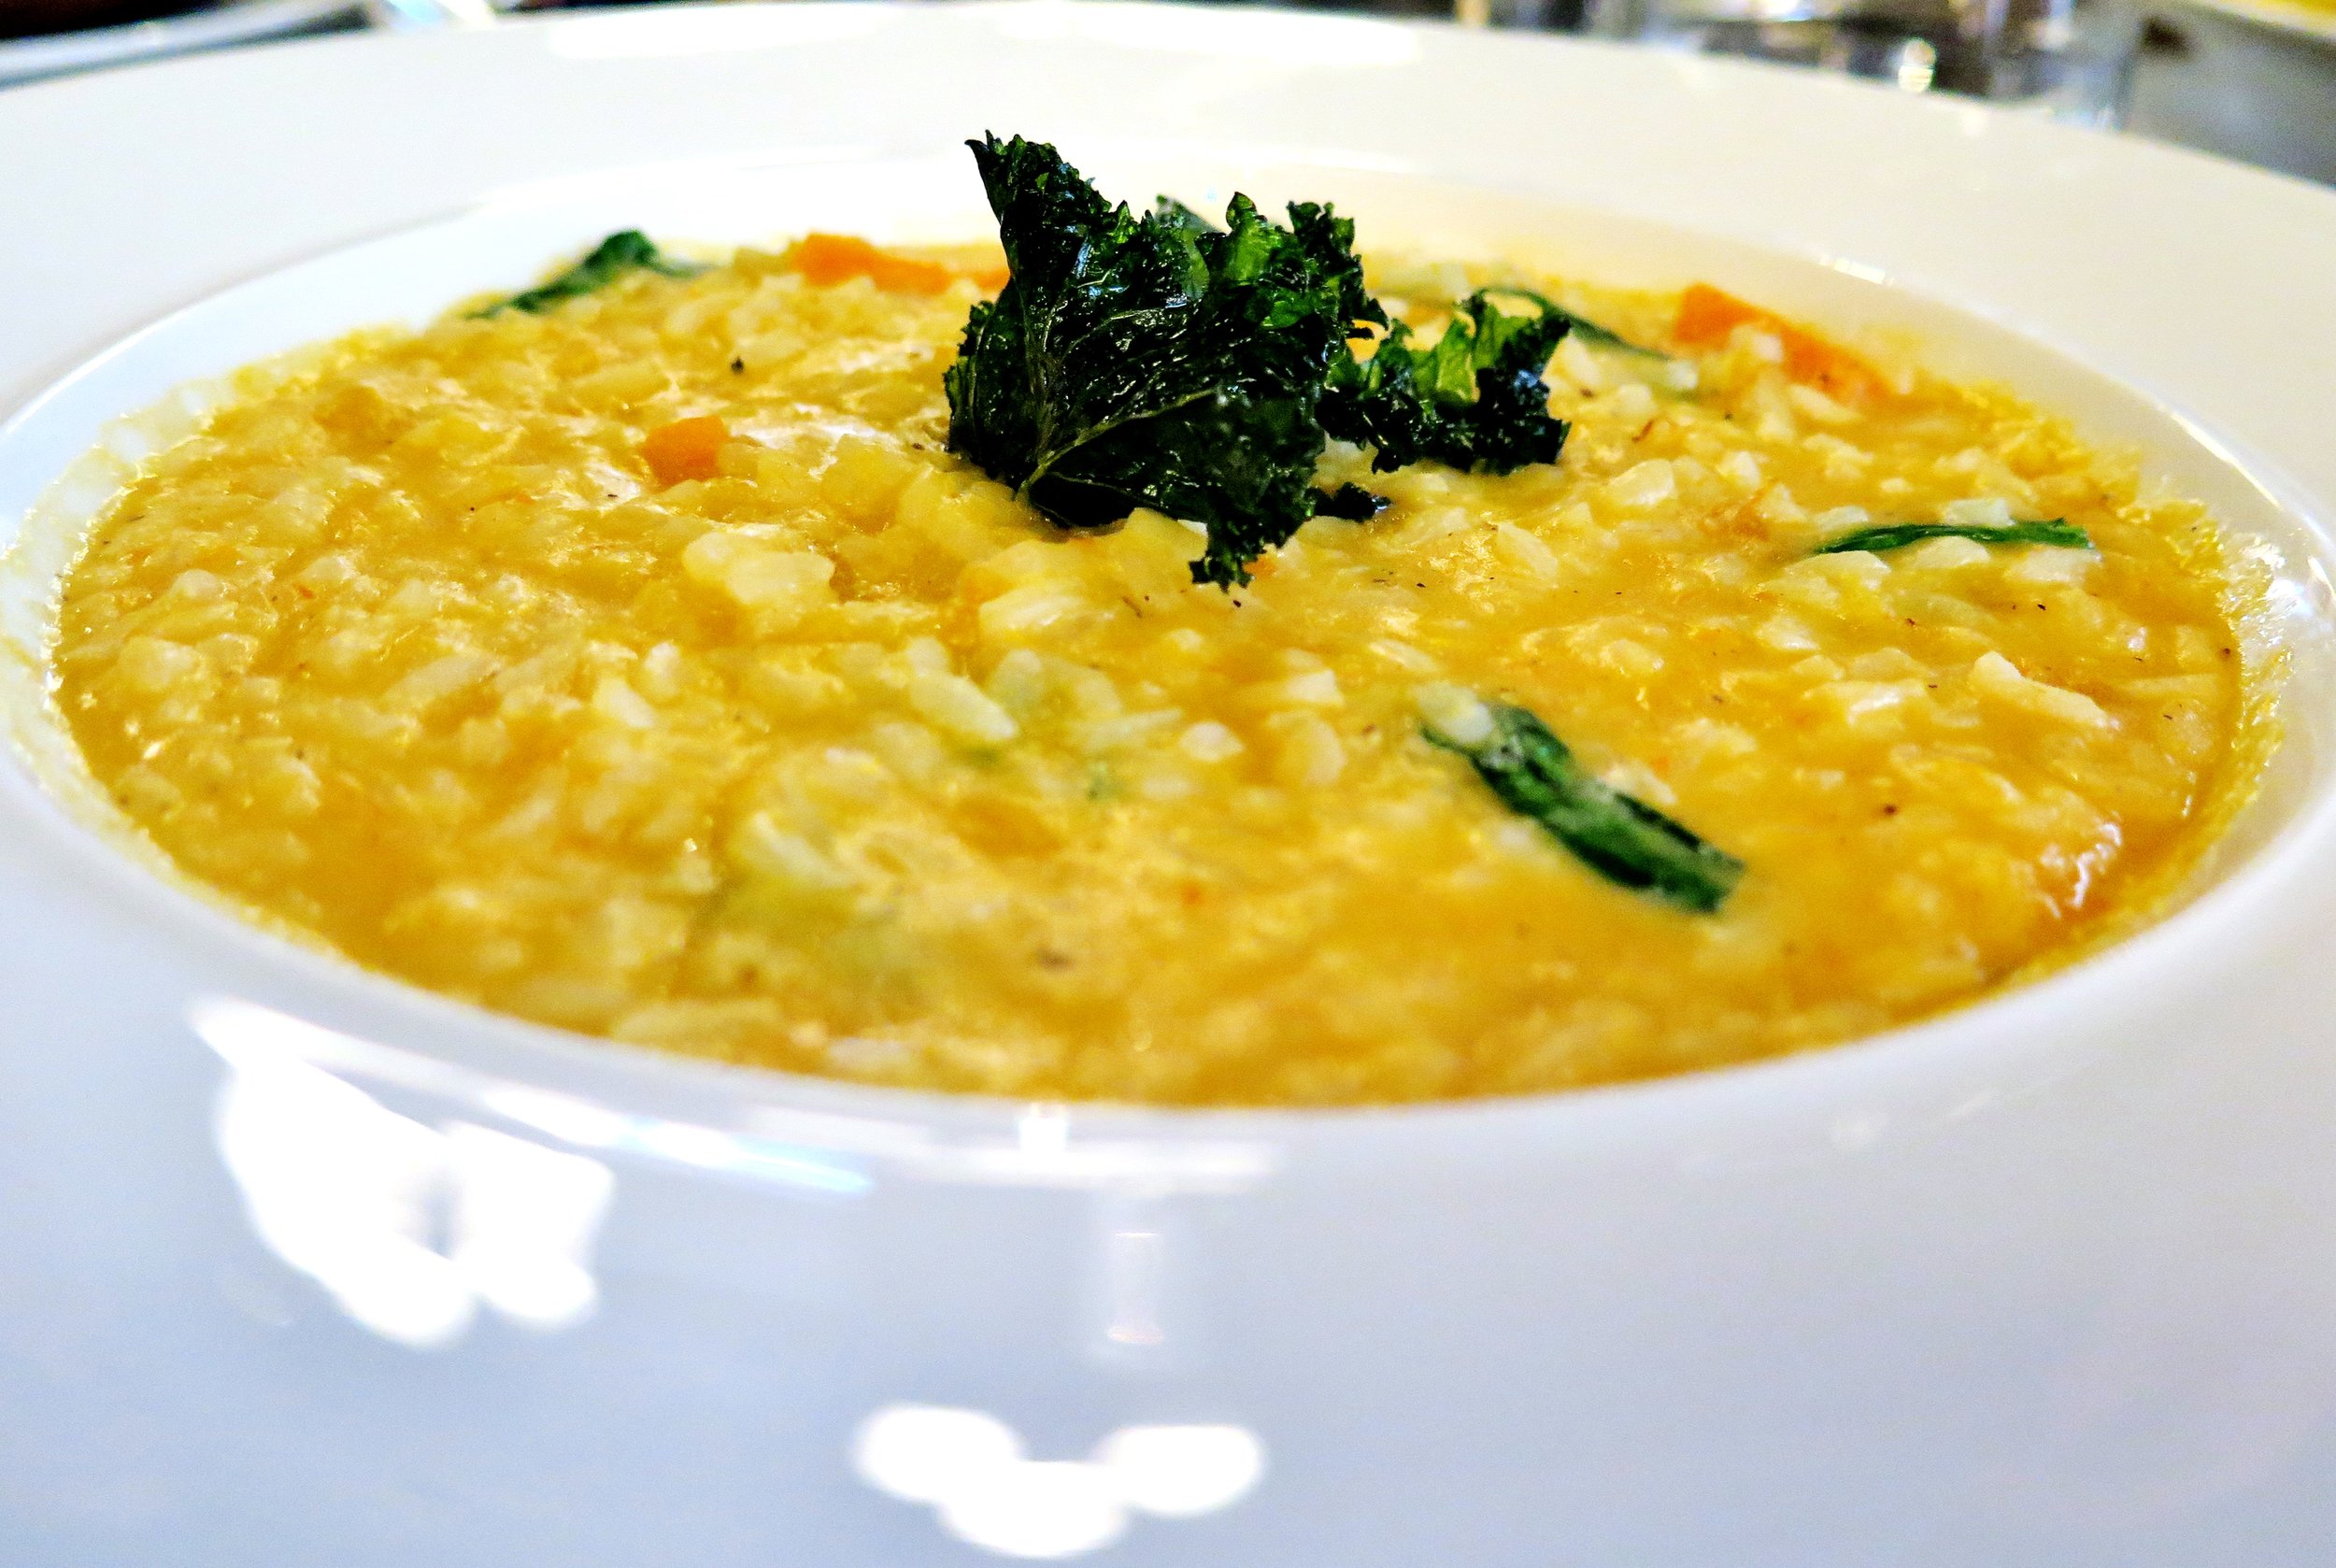
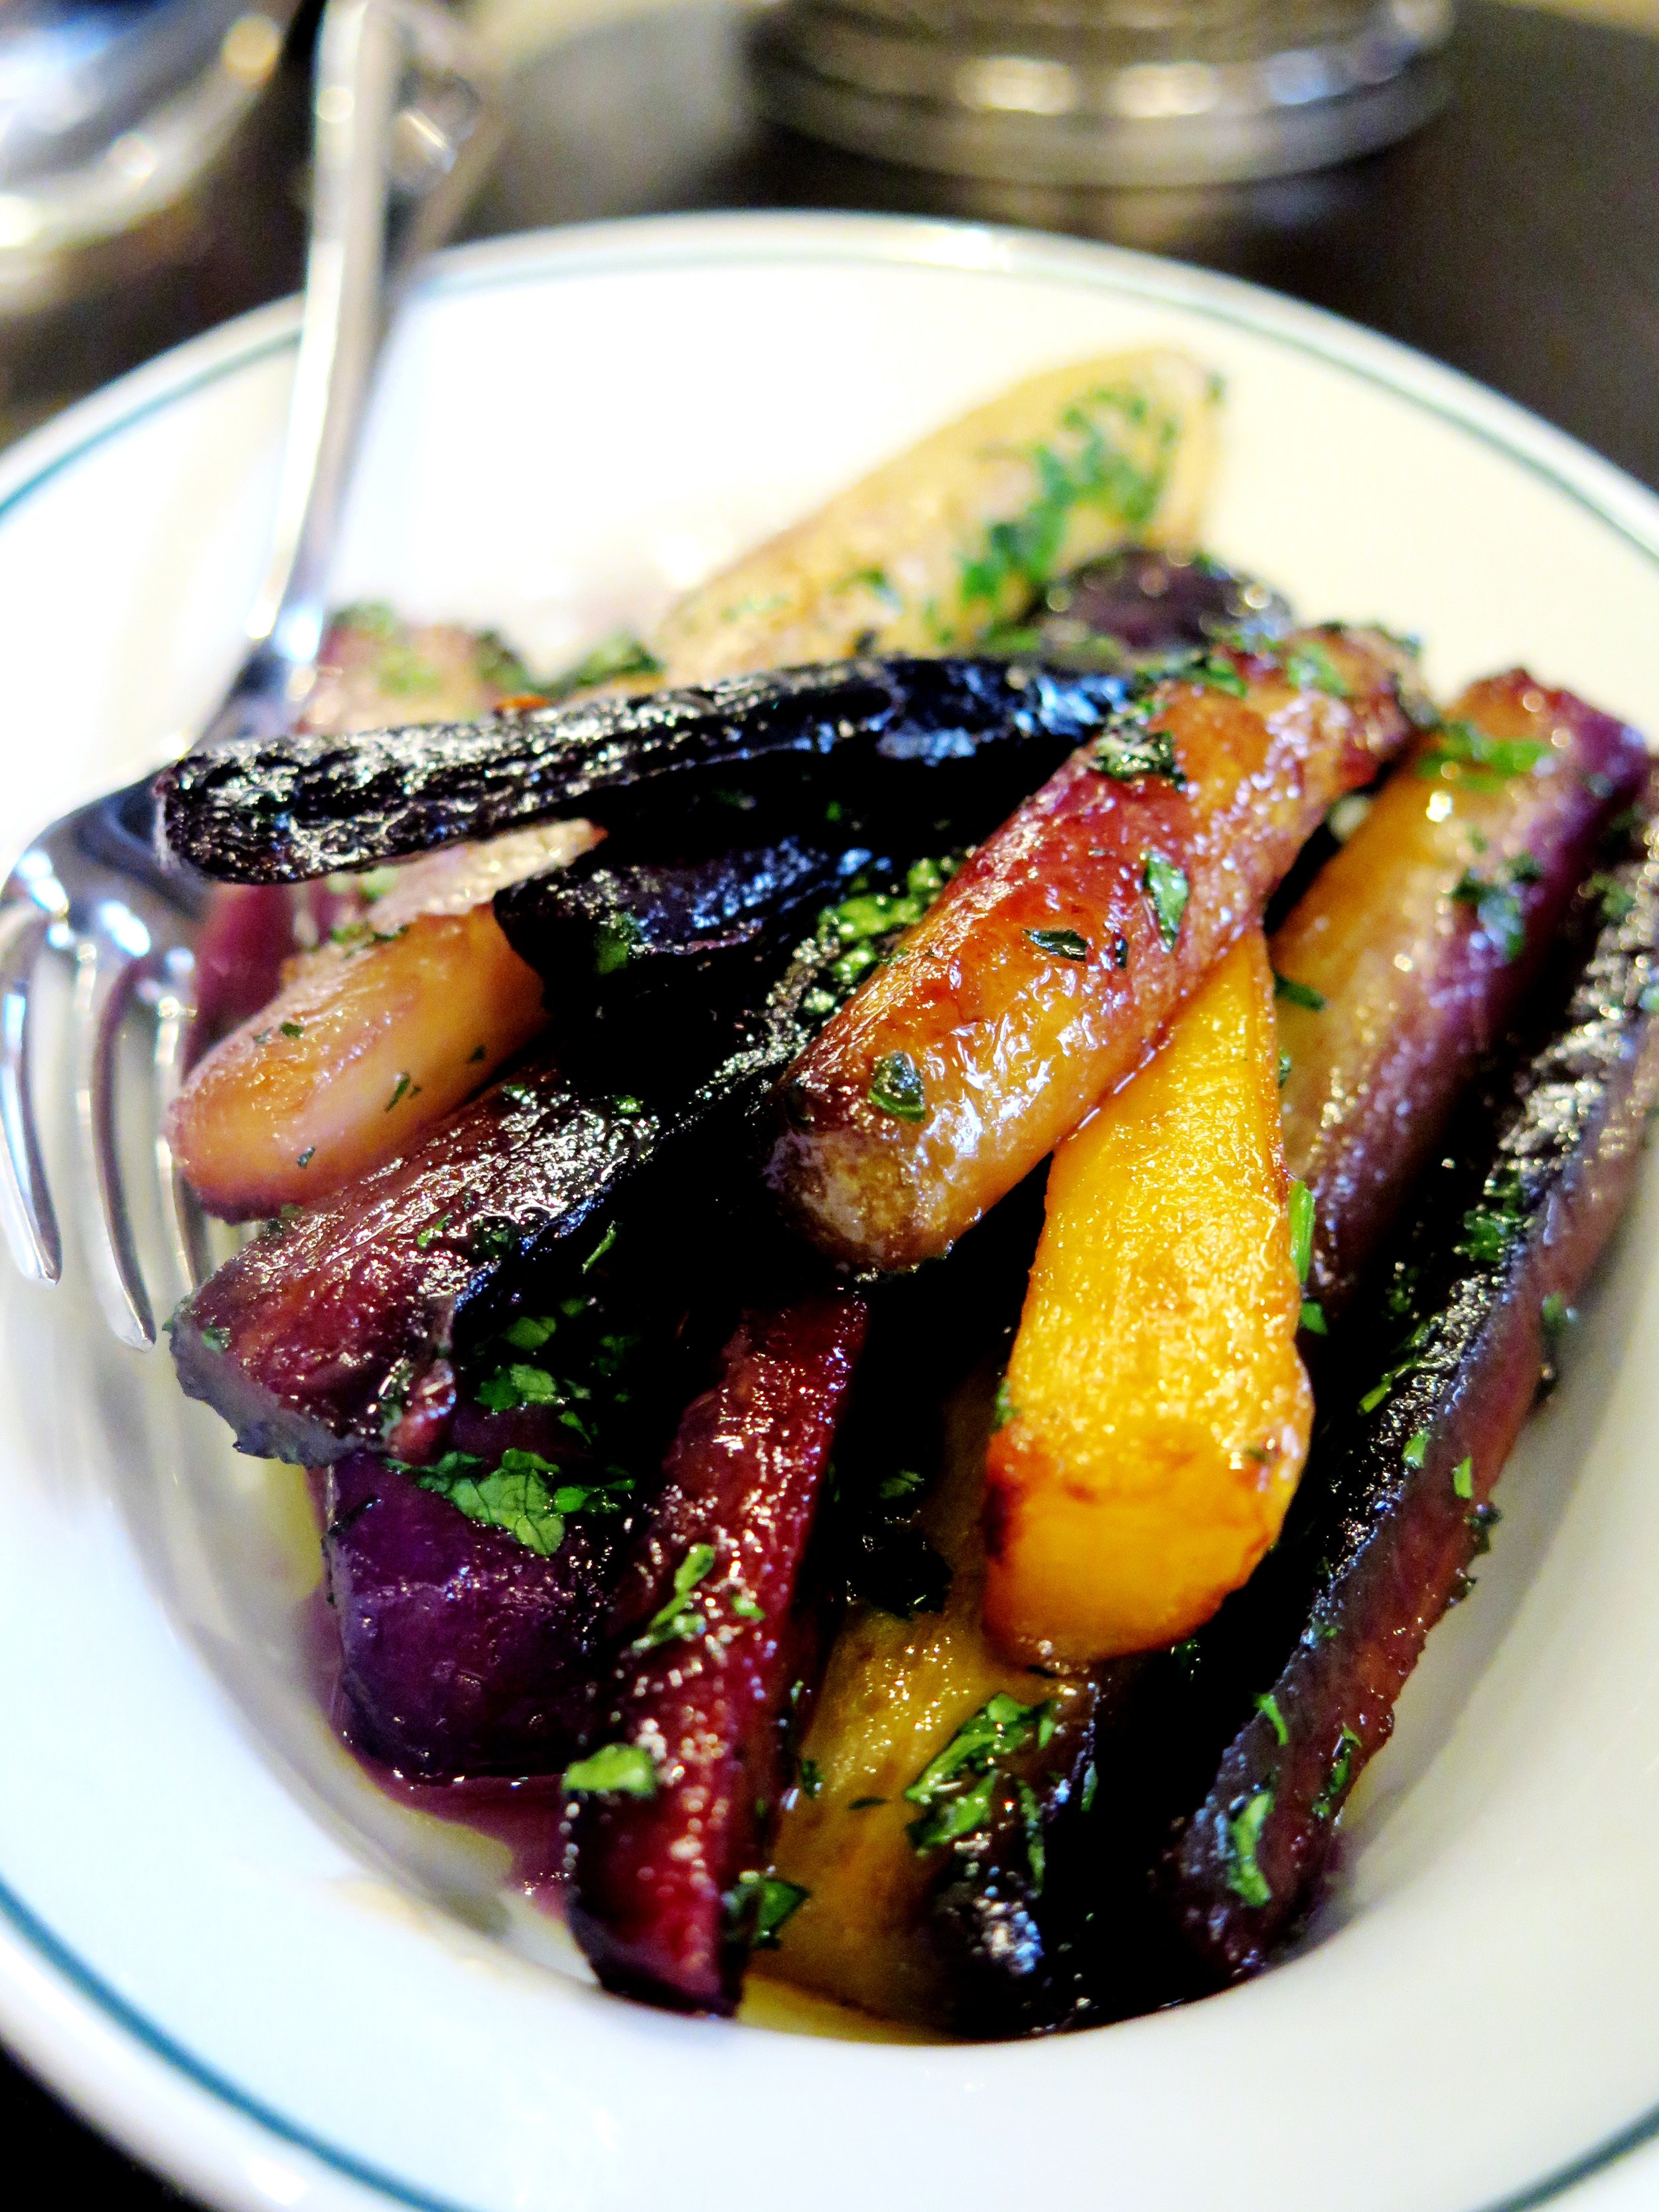
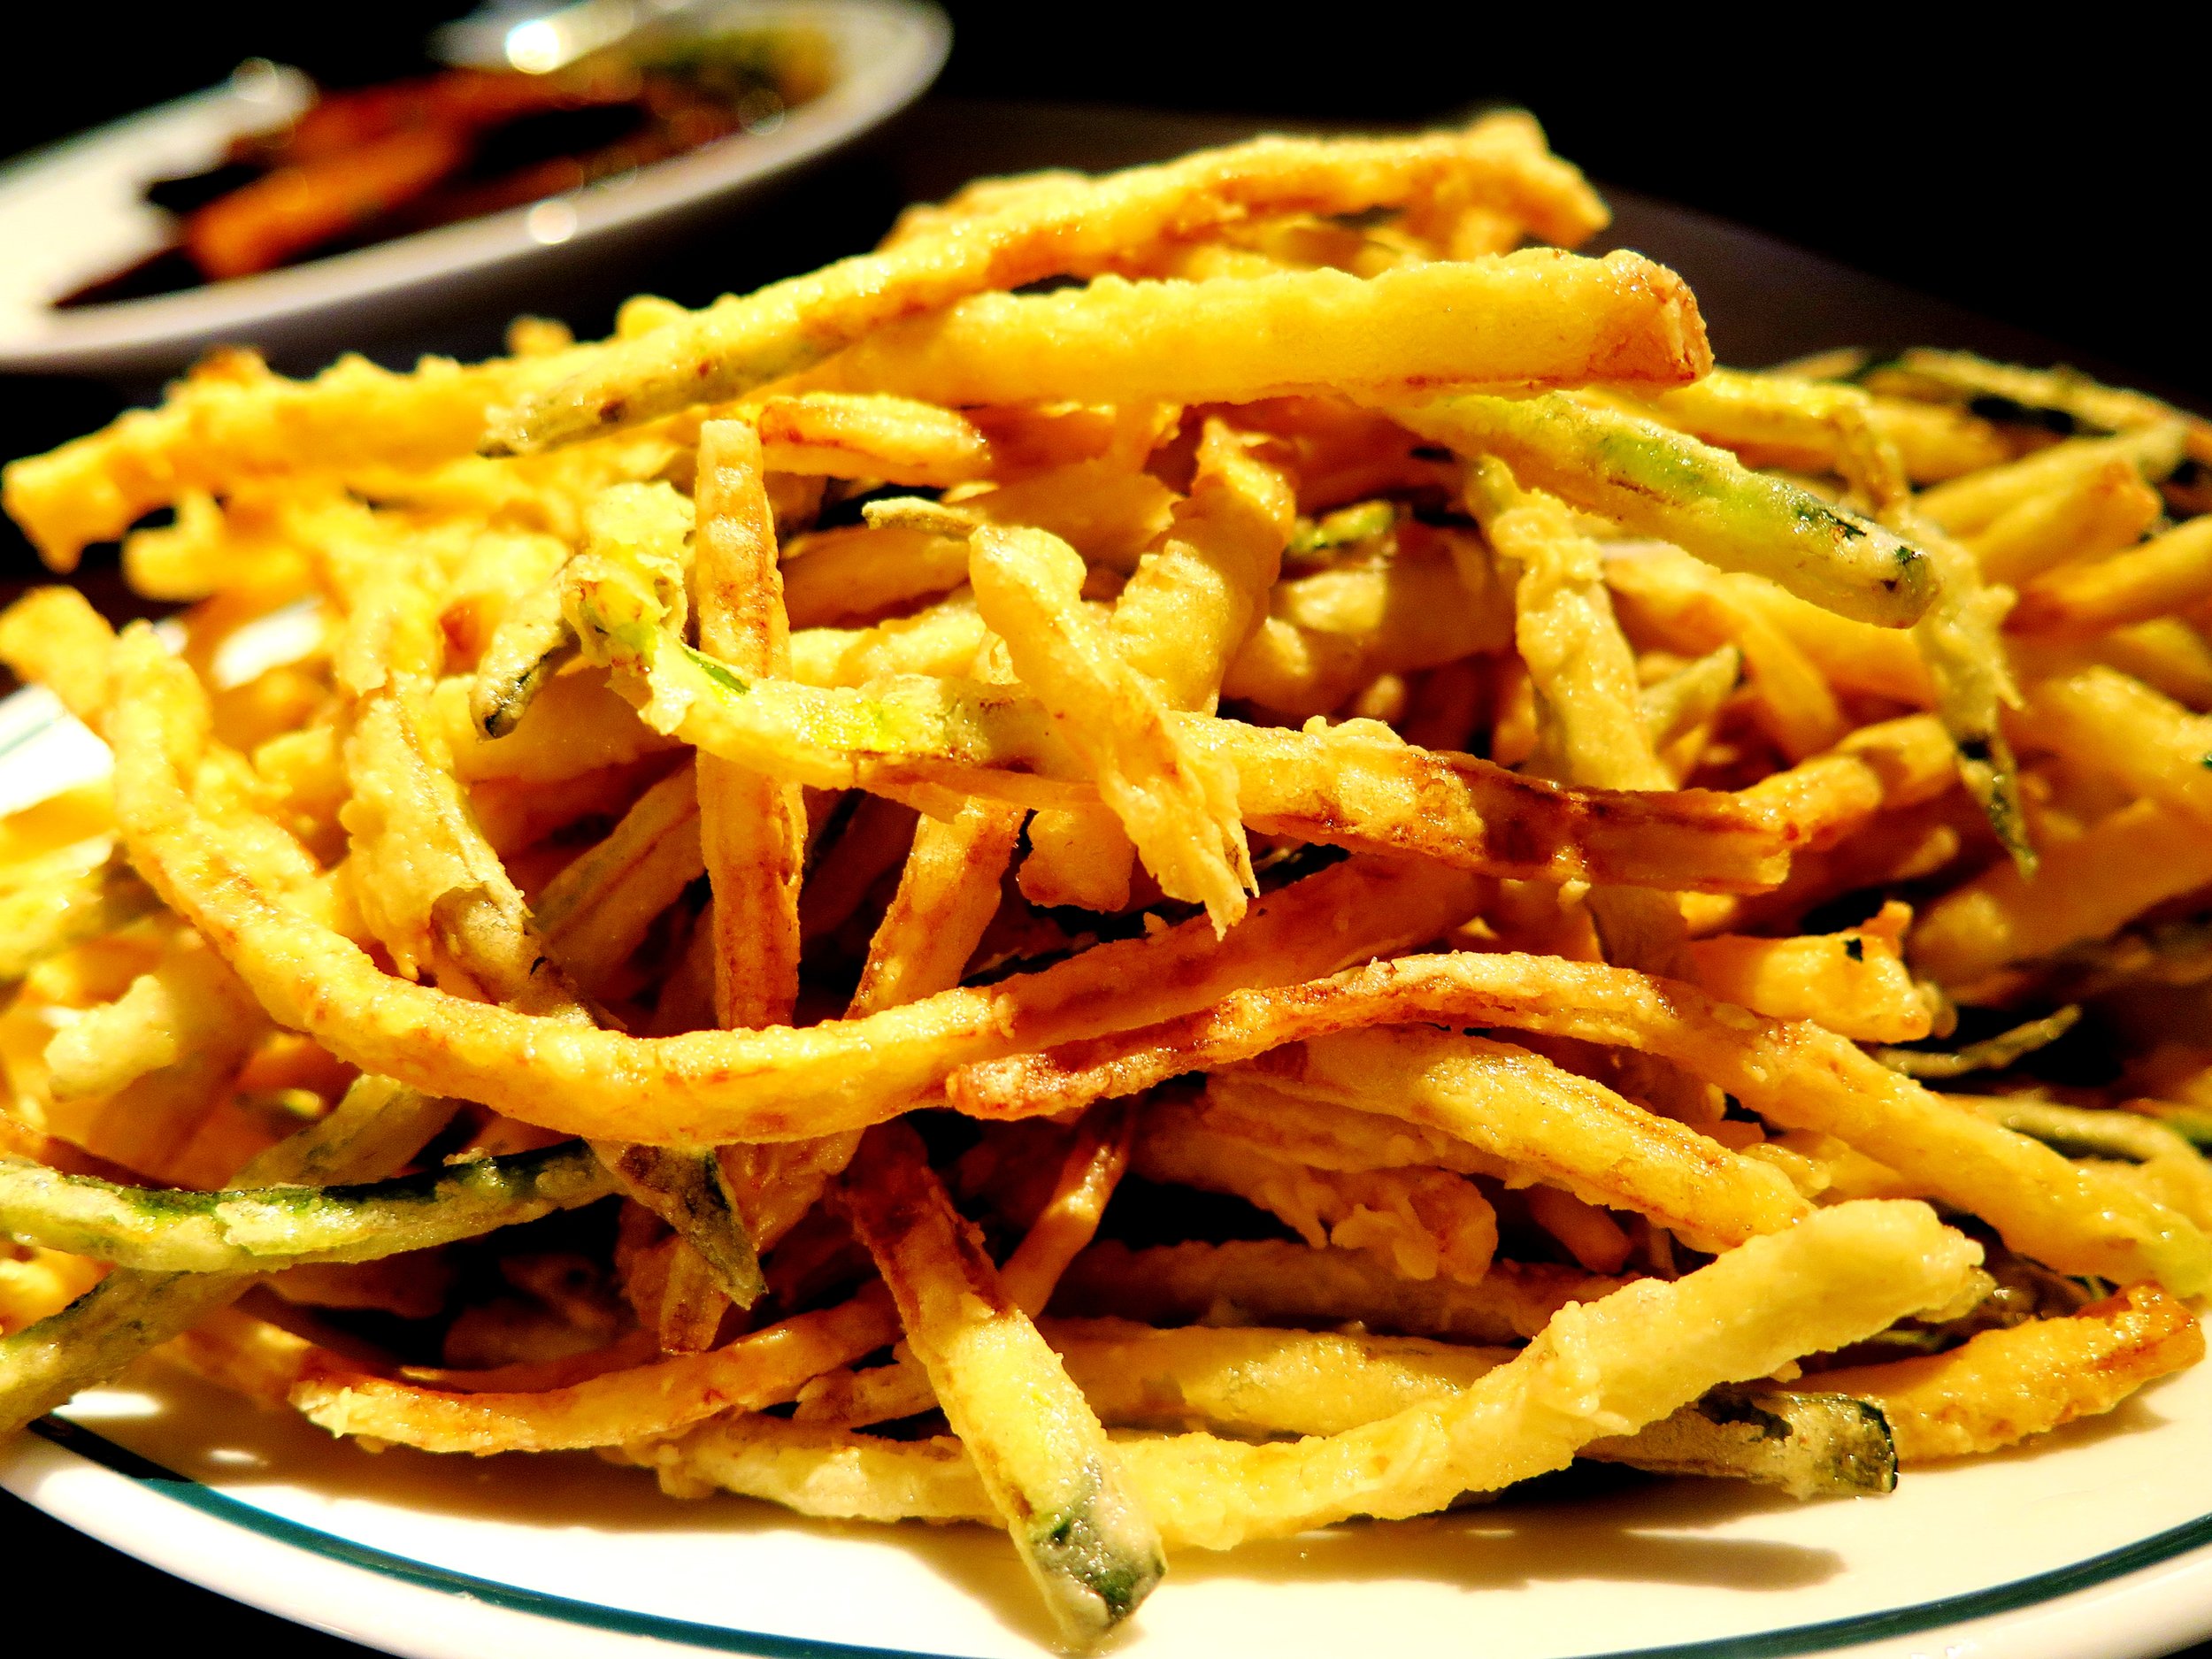
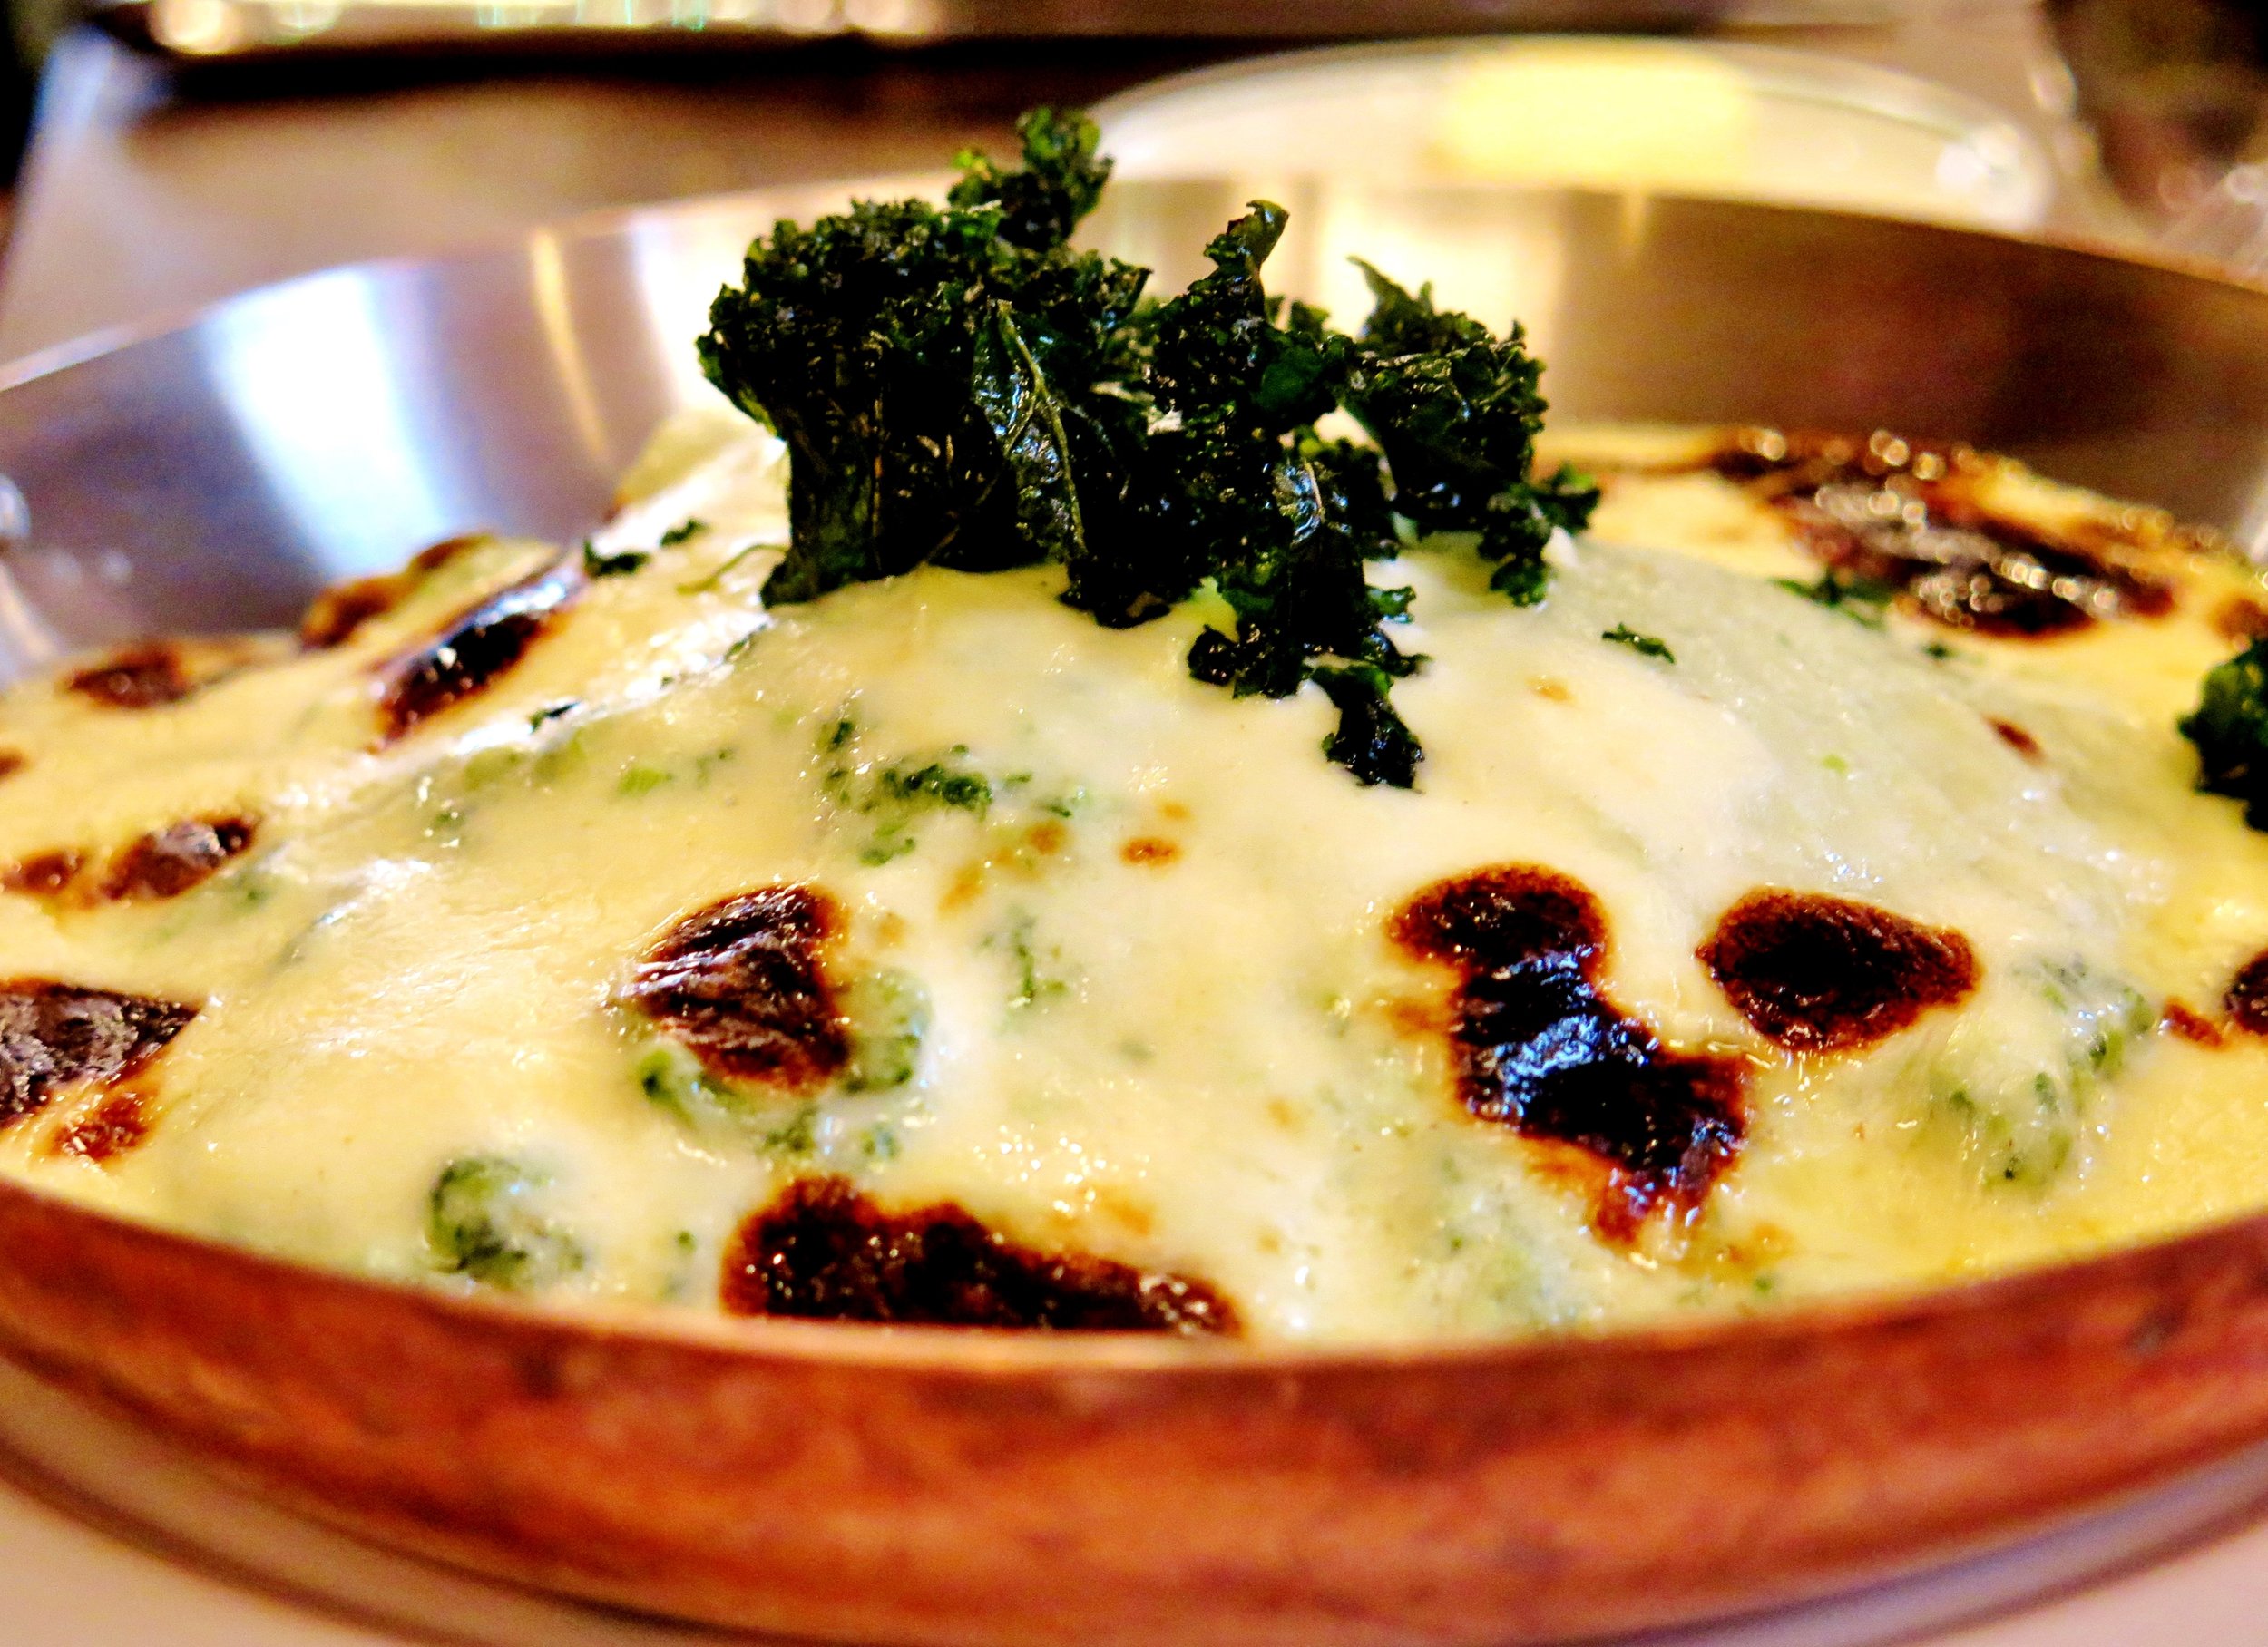
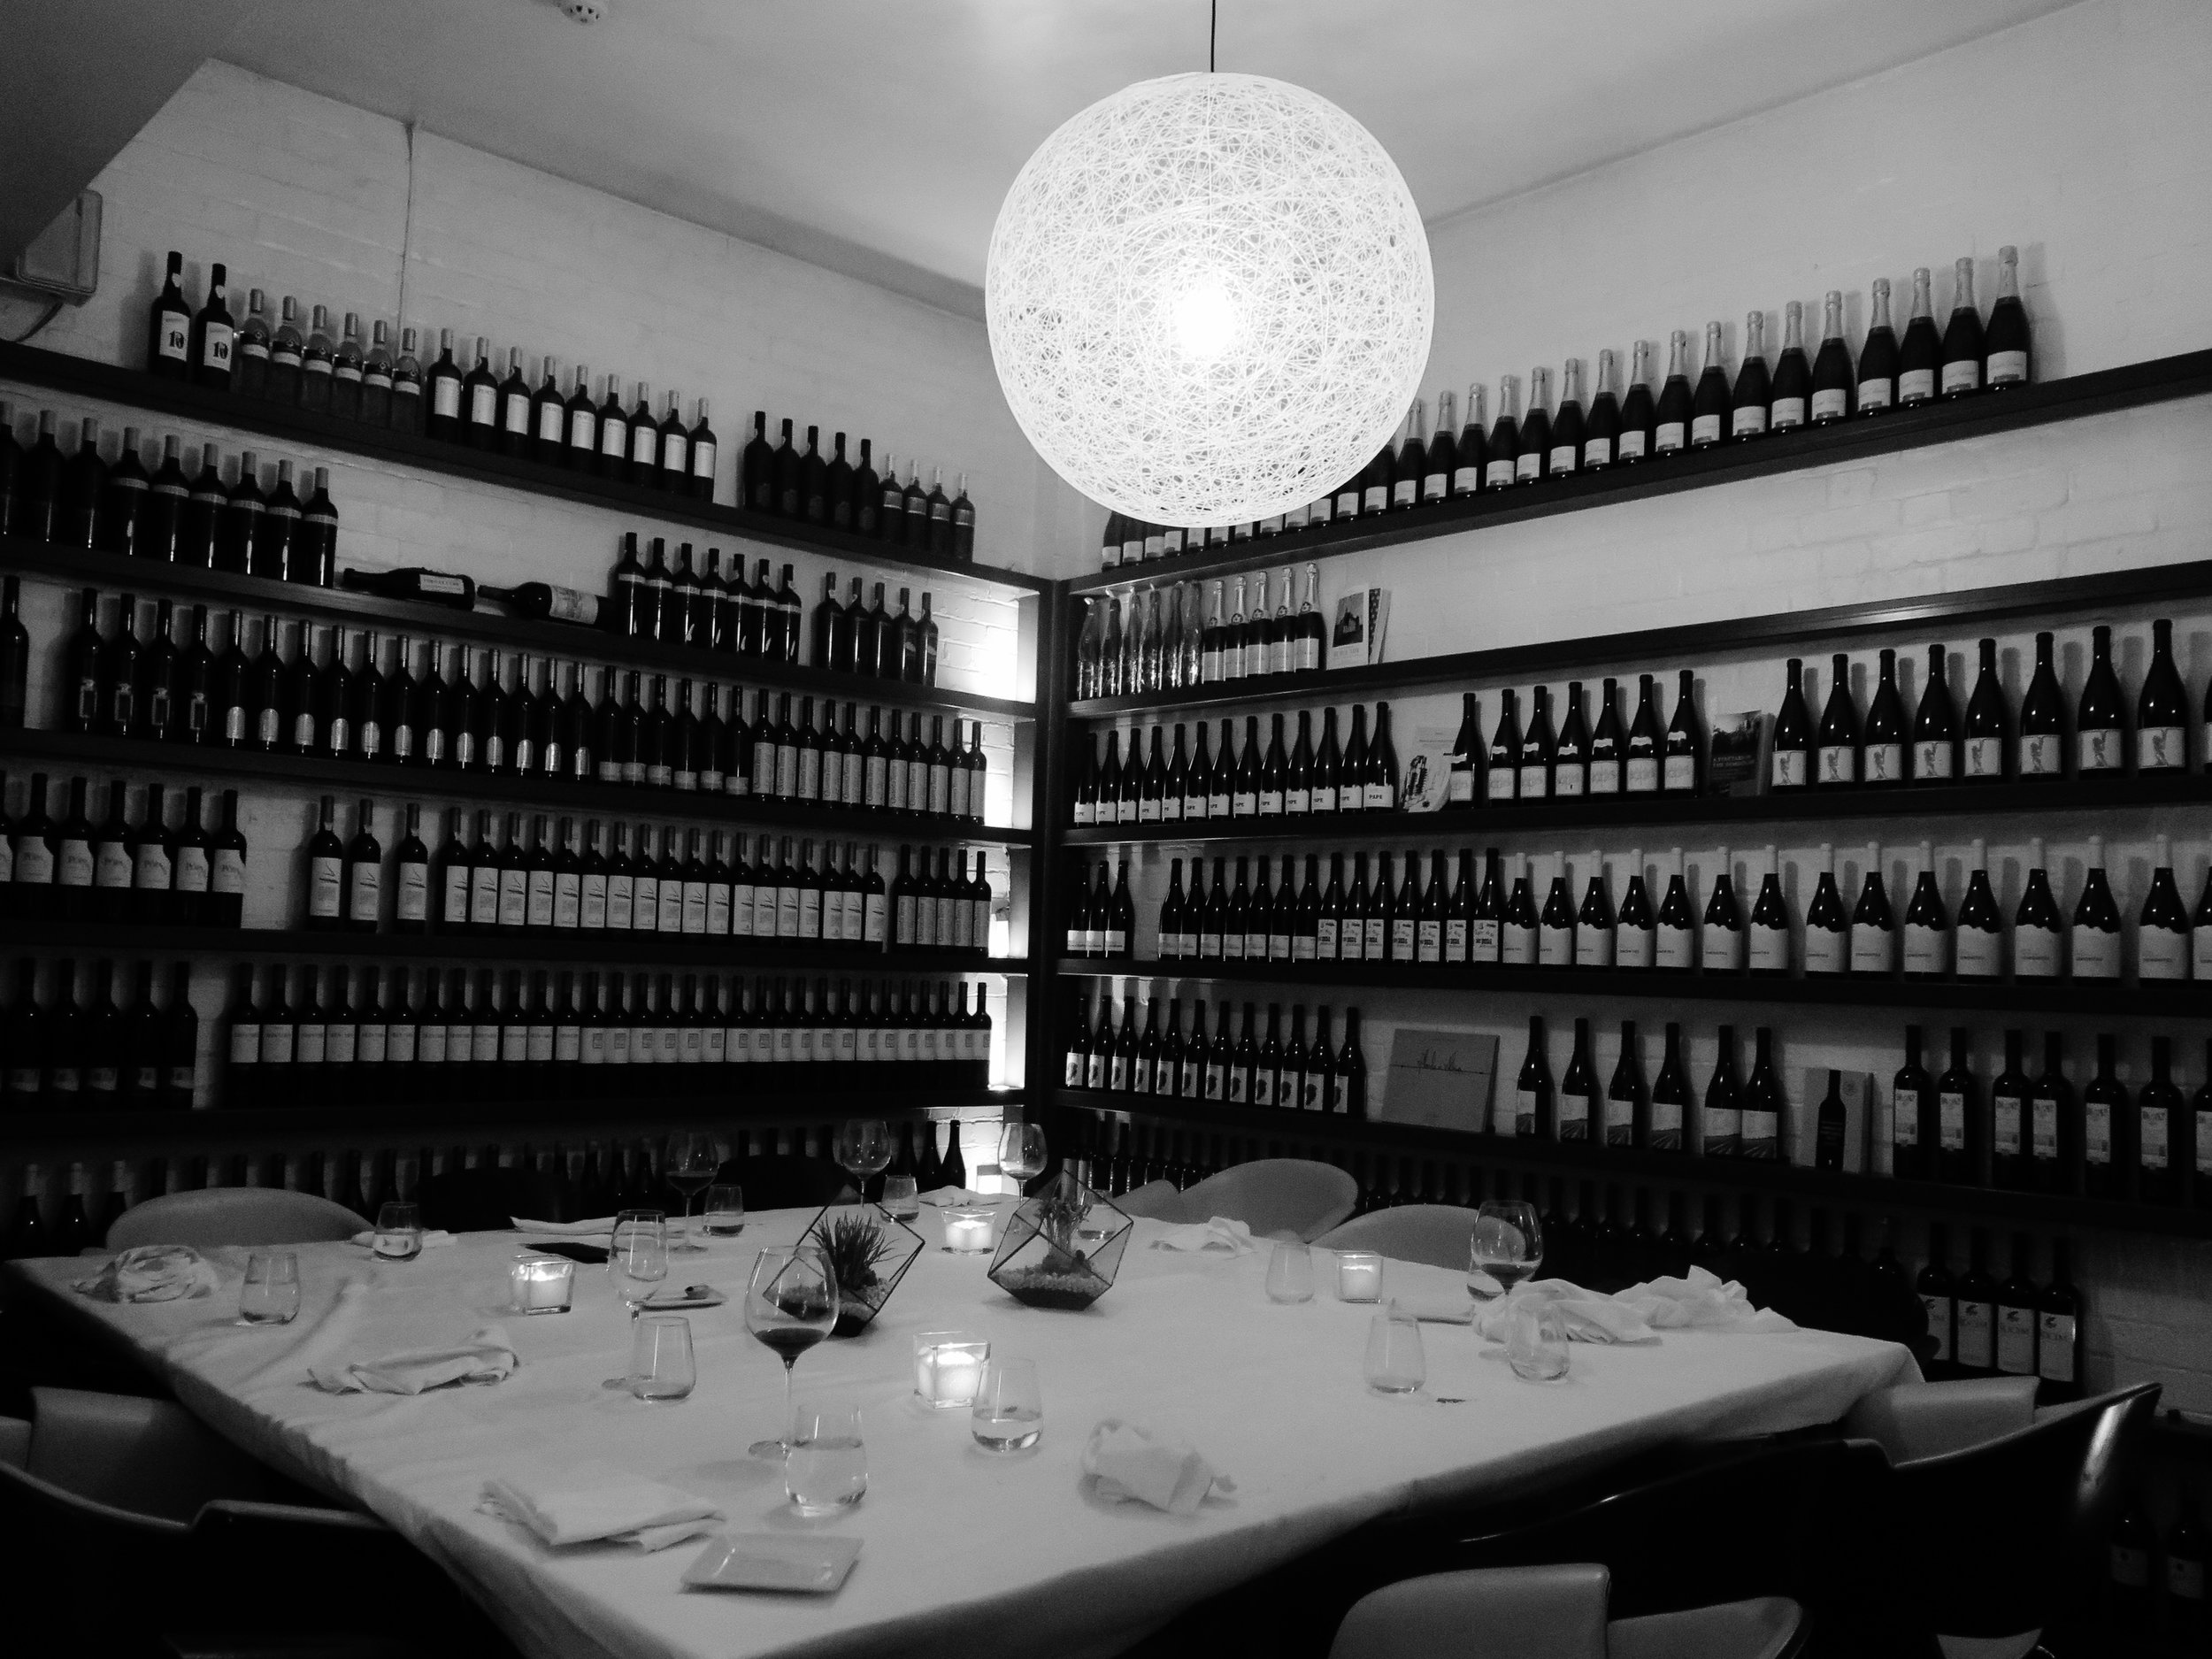
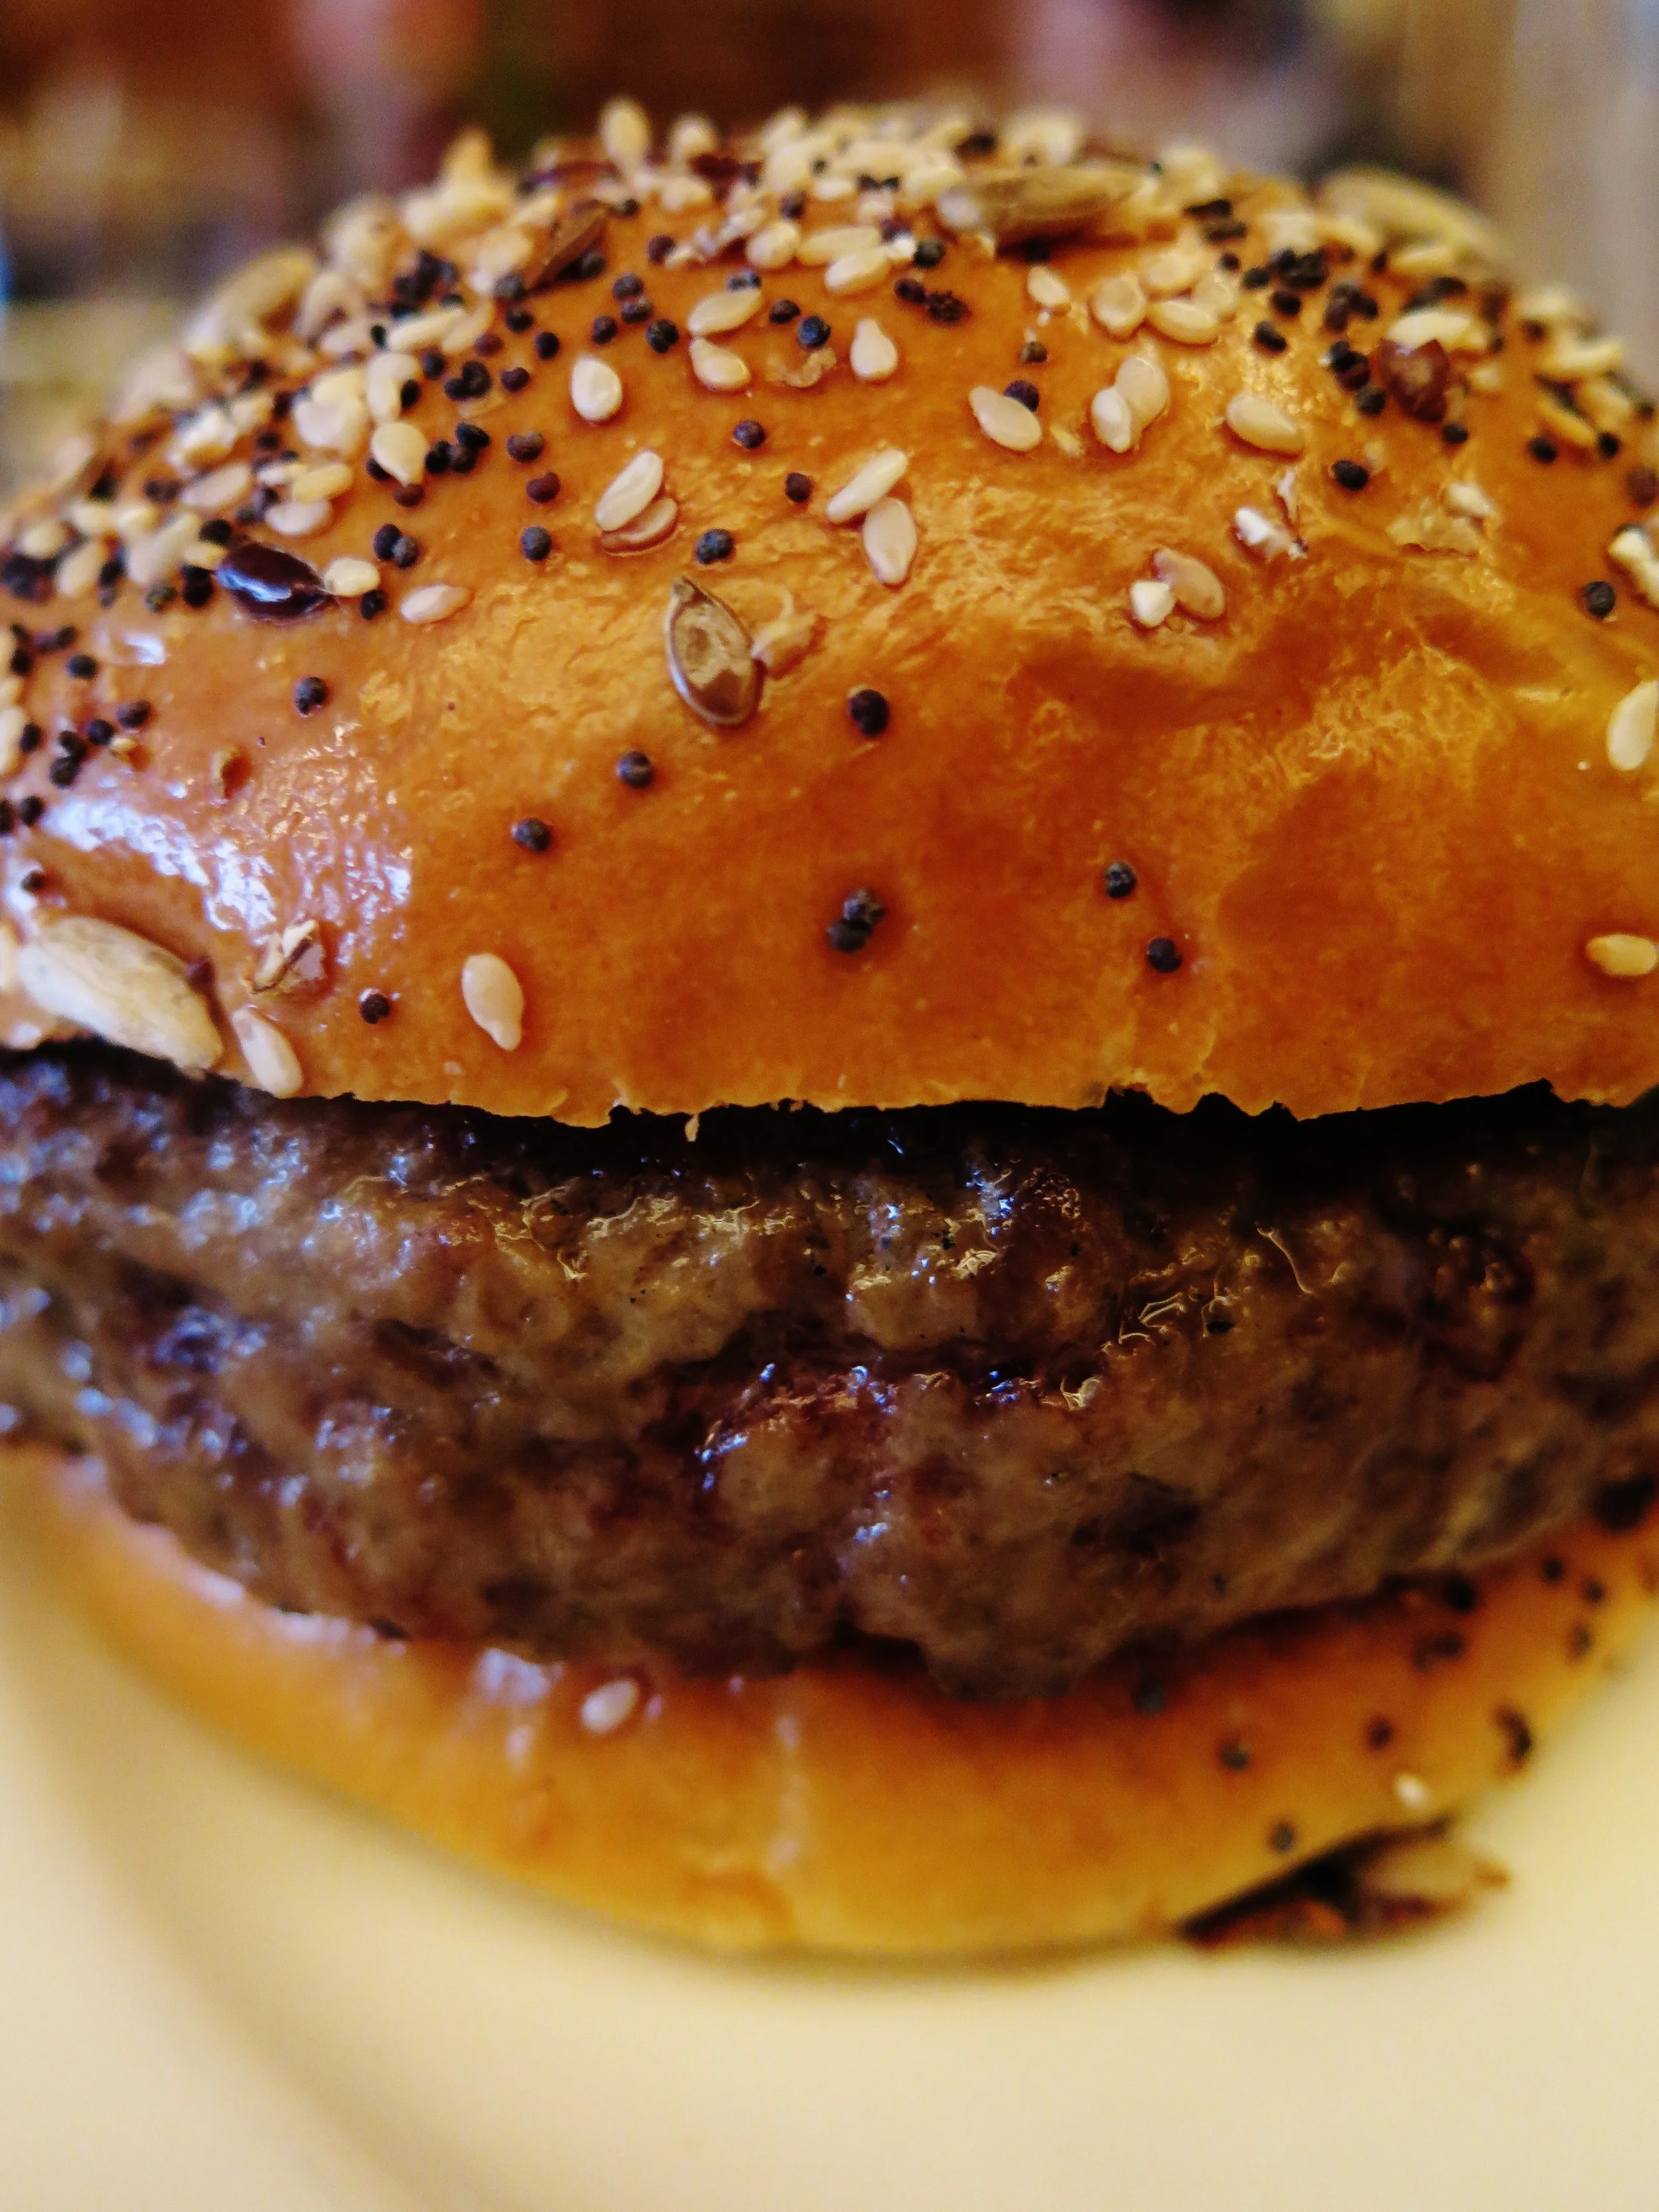
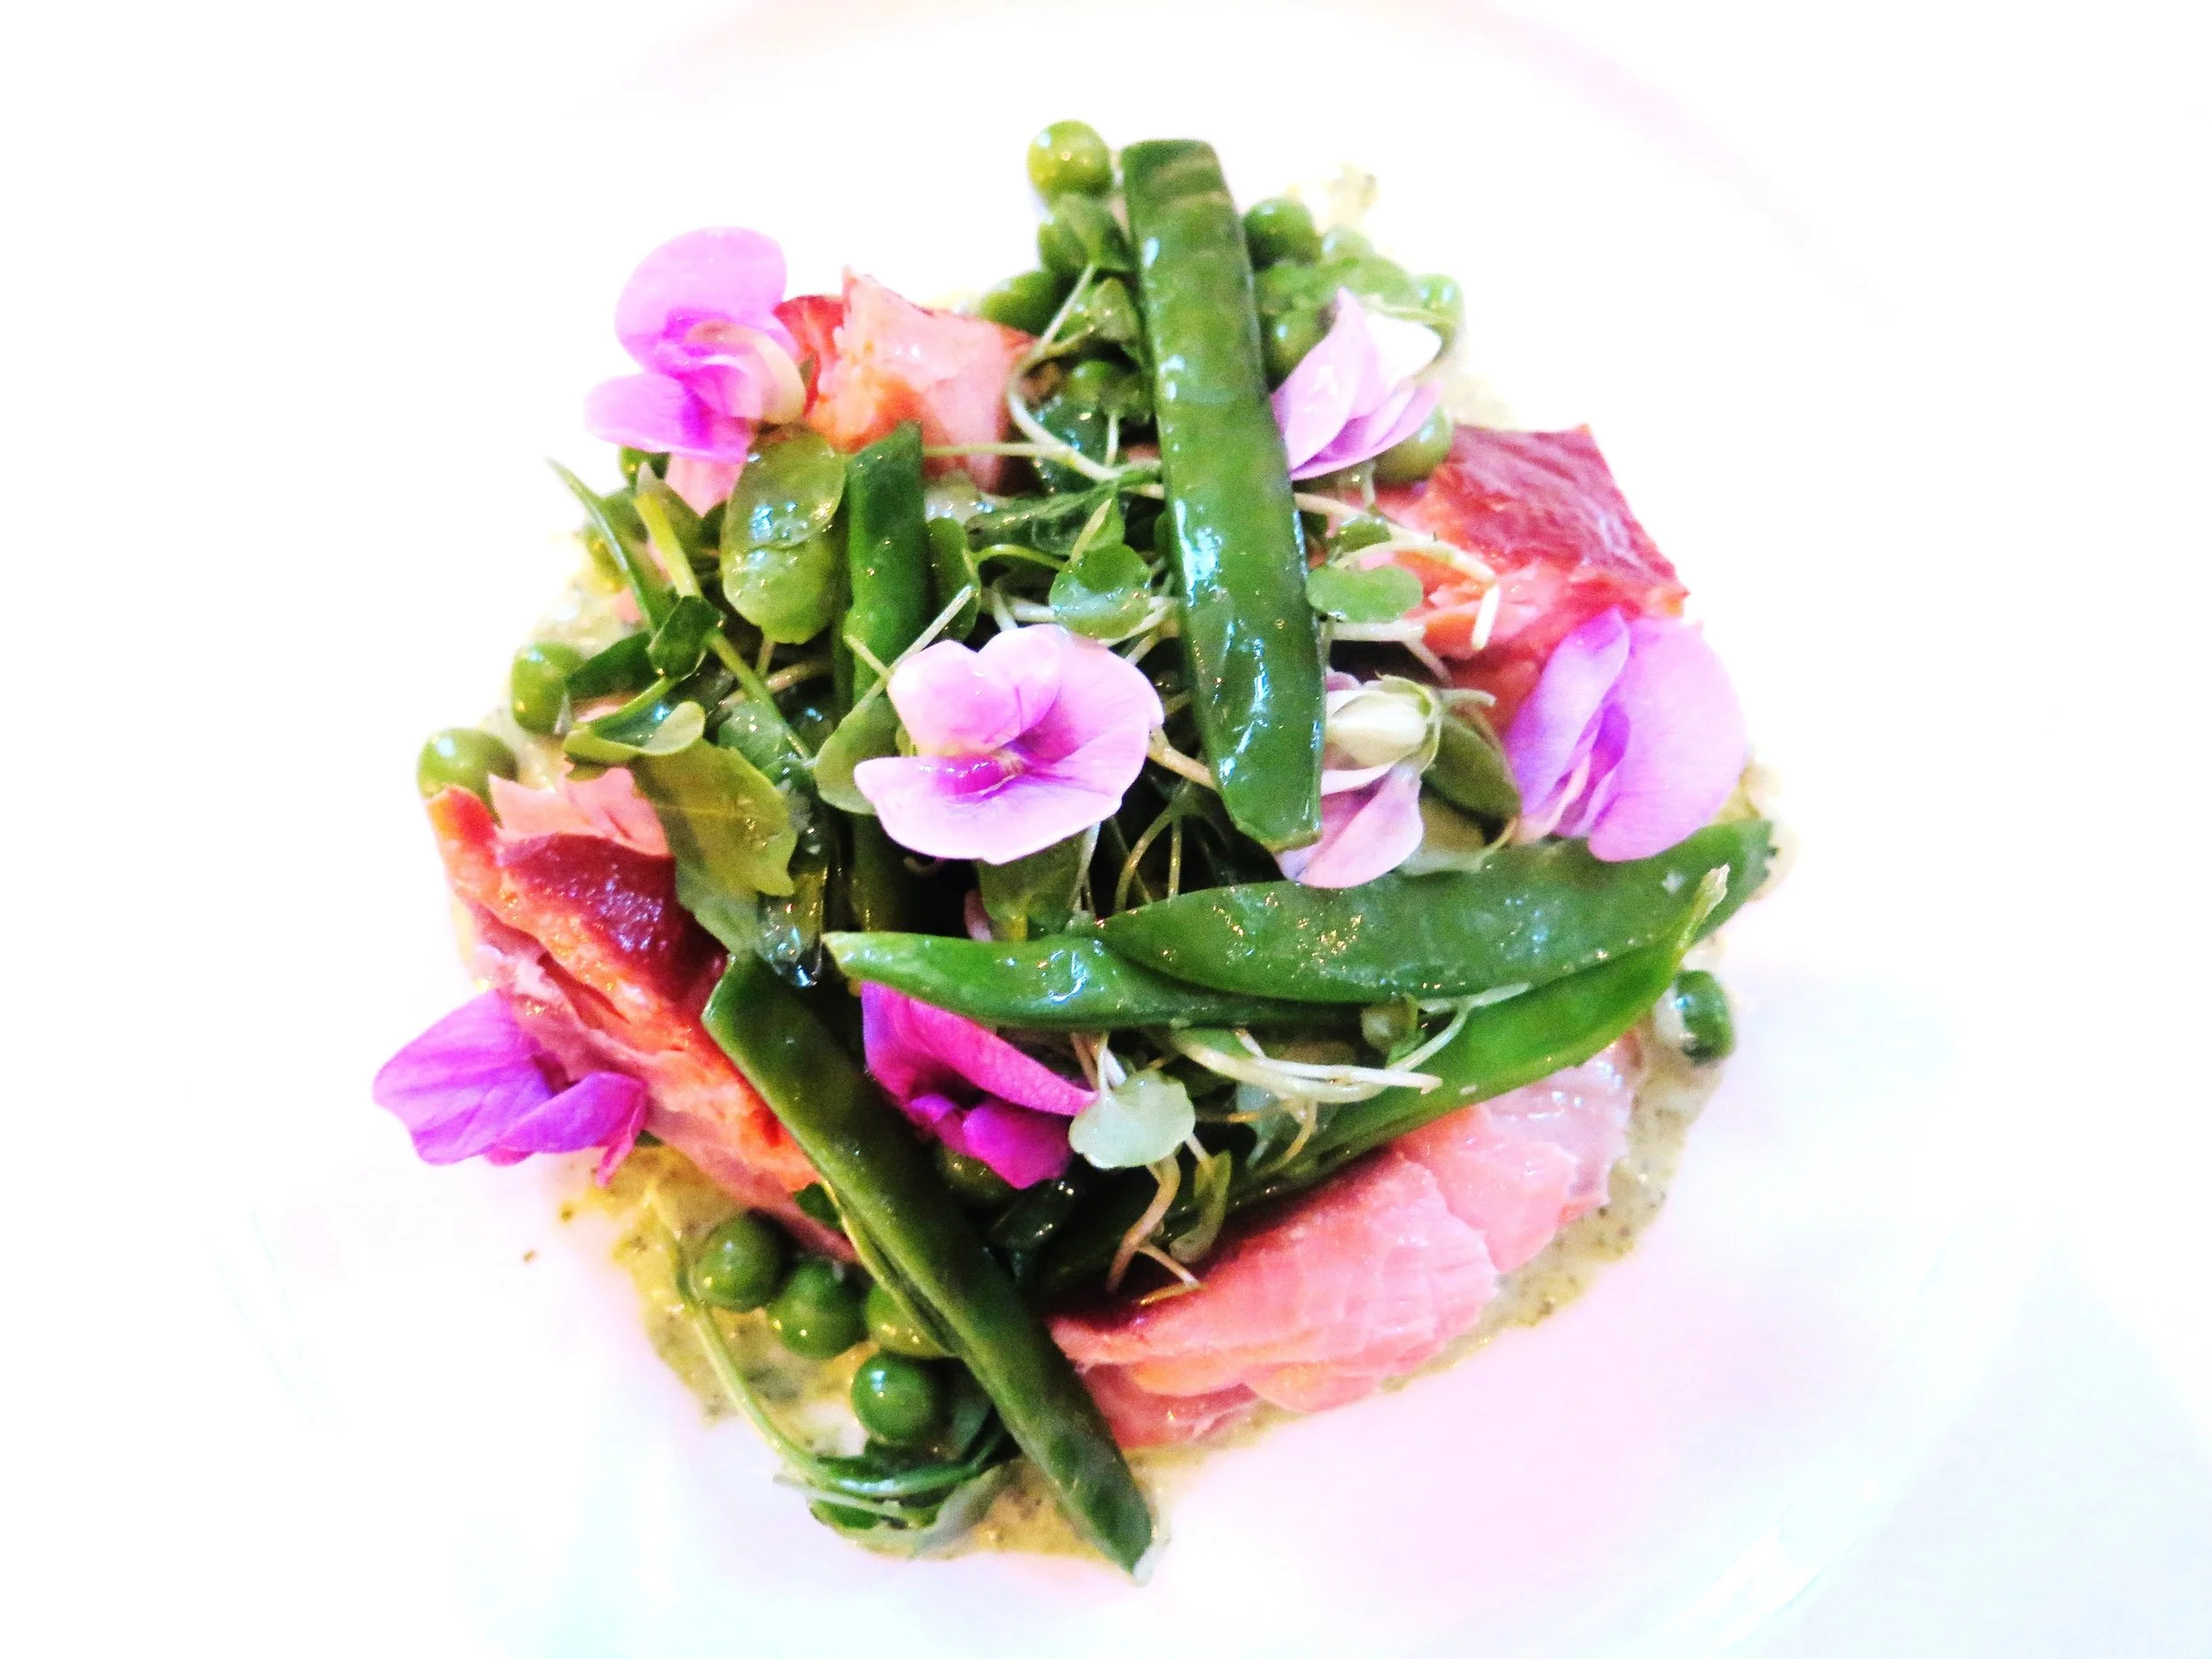
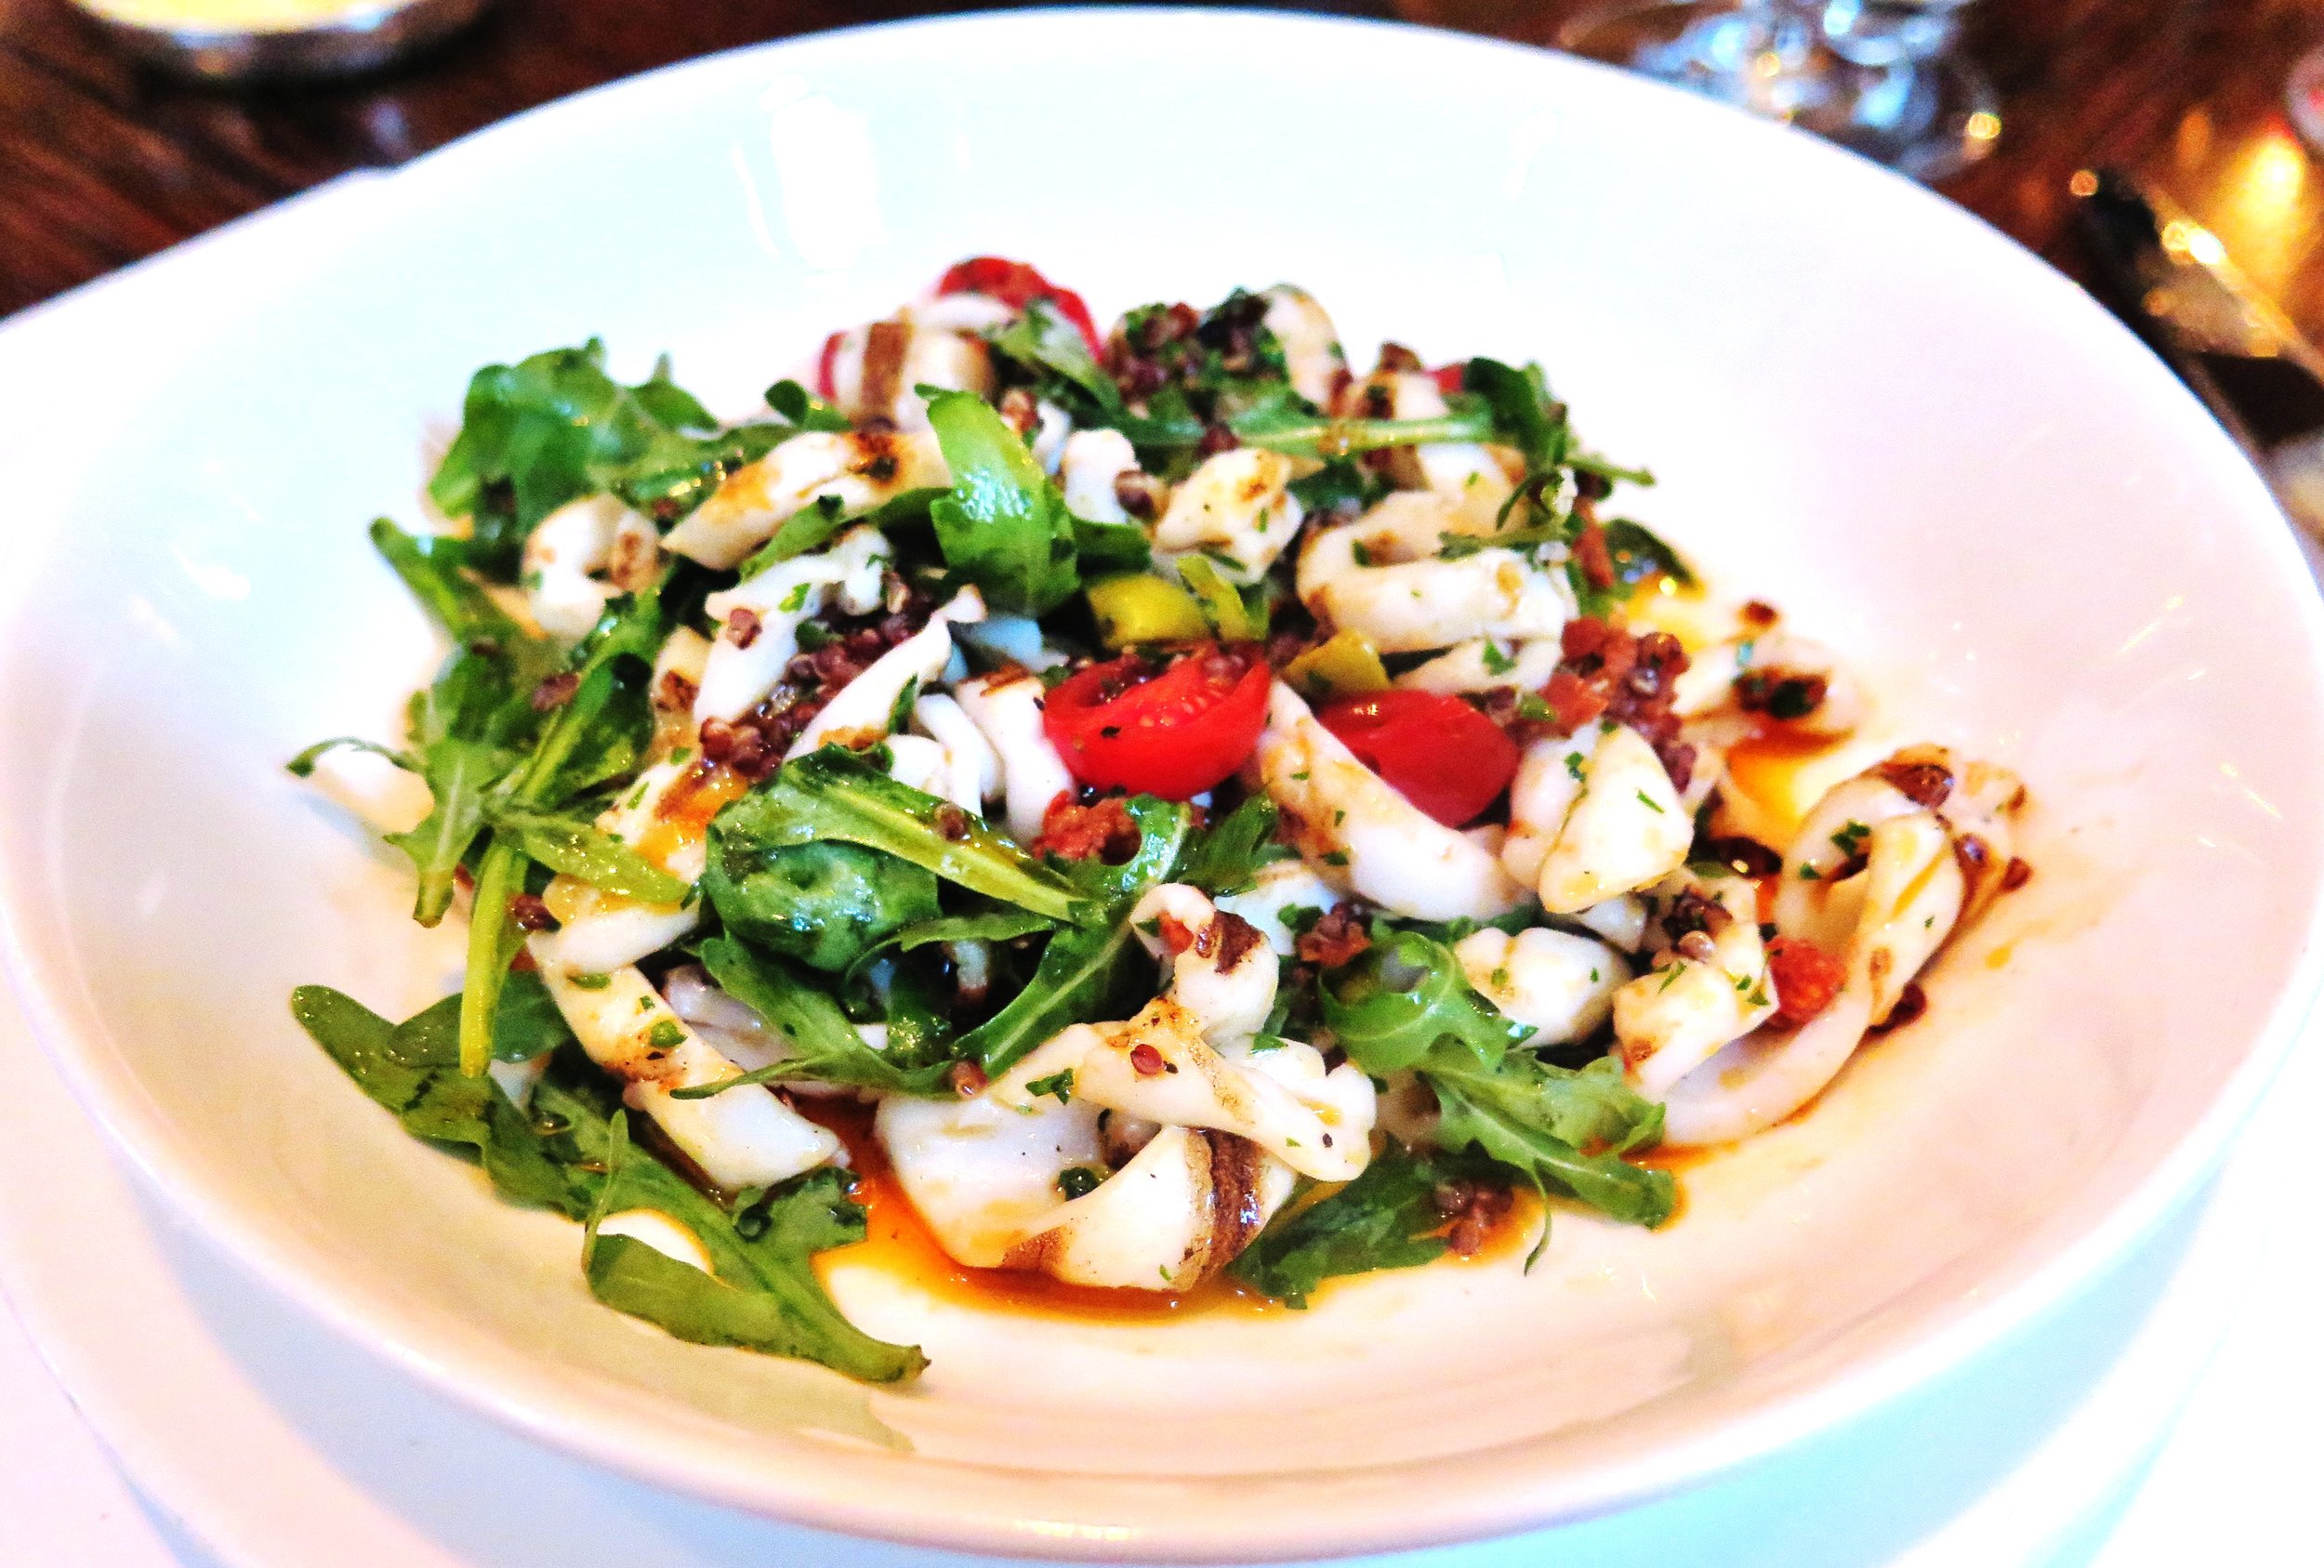
I love brunch – it’s the best part of every meal combined in one…  I’ve compiled a list of my current top 10 London brunch spots (with a few extras as I found it so hard to choose).  It's in alphabetical order rather than in order of preference, ranging between good value and expensive, relaxed and formal, and may well change over time as I continue my culinary conquest of London.


 Top 10 London Brunch Spots

Avenue

Description:  Modern American cuisine in a spacious and glamorous setting.

Good for: family, friends, celebrations, glamour, diet friendly cuisine, vegetarians, large groups

Dish to try: The Avenue Brunch Burger

Price range: ££

Cuisine style: Modern American

Formality: smart/casual

Location: Green Park

Website: http://www.avenue-restaurant.co.uk

Top 10 London Brunch Spots


Berners Tavern

Description: a recent Jason Atherton venture, Modern European style cuisine in a grand setting

Good for: family, friends, celebrations, glamour, vegetarians, large groups

Dish to try: hazelnut waffles, berries & cream

Price range: £££

Cuisine style: Modern European

Formality: smart/casual

Location: Tottenham Court Road

Website: http://www.bernerstavern.com

Top 10 London Brunch Spots

Bill’s

Description:  robust comfort food in a rustic-chic setting

Good for: family, friends, vegetarians, good value, large groups, relaxed atmosphere

Dish to try: Bill’s vegetarian breakfast - poached free range eggs, tomatoes, hummus, mushrooms & guacamole, sweet chilli sauce, basil & toast

Price range: ££

Cuisine style: British

Formality: casual

Location: Covent Garden,  Soho, Wellington Street,  Holborn, Borough Market,  Islington, Shoreditch, Kensington High Street, Battersea, Westfield, Hammersmith,  Putney, Chiswick,  Wimbledon, Ealing, Richmond

Website: http://www.bills-website.co.uk

 Top 10 London Brunch Spots

Christopher’s

Description: refined Modern American cuisine in an elegant setting with a dramatic spiral staircase

Good for: family, friends, celebrations, glamour, diet friendly cuisine, vegetarians, large groups

Dish to try: warm brioche French toast, roast peach, vanilla mascarpone & maple syrup

Price range: ££

Cuisine style: Modern American

Formality: smart/casual

Location: Covent Garden

Website: http://www.christophersgrill.com

Top 10 London Brunch Spots

Gail’s Artisan Bakery

Description:  chic English bakery chain with artisanal breads, and sumptuous cakes

Good for: family, friends, vegetarians, relaxed atmosphere

Dish to try: apple crumble cake

Price range: ££

Cuisine style: British

Formality: casual

Location: Barnes, Battersea, Belsize park, Bloomsbury, Chiswick, Crouch End, Dulwich Village, Exmouth Market, Fulham Road, Hampstead, King's Road, Notting hill, Queen's Park, Seymour Place, Soho, South Kensington, St John's Wood

Website: http://www.gailsbread.co.uk

 Top 10 London Brunch Spots

Grain Store

Description:  eclectic Modern European vegetarian-focused cuisine in an airy, urban chic environment

Good for: family, friends, diet friendly food, vegetarians, vegans, innovative cuisine, buzz, large groups, relaxed atmosphere

Dish to try: sweet potato doughnuts filled with citrus curd, dill and vodka ice cream

Price range: ££

Cuisine style: eclectic Modern European

Formality: casual

Location: King’s Cross

Website: http://www.grainstore.com

 Top 10 London Brunch Spots

J+A Café

Description:  healthy and wholesome home-cooked Irish food in a hidden courtyard in the city.

Good for: family, friends, vegetarians, buzz, relaxed atmosphere

Dish to try: Irish cheese plate -Cashel Blue, Gubbeen, Cooleney Camembert with Soda Bread + Ballymaloe Tomato Relish

Price range: ££

Cuisine style: Irish

Formality: casual

Location: Clerkenwell

Website: http://www.jandacafe.com

 Top 10 London Brunch Spots

Le Caprice (see my review here)

Description:  Modern European cuisine in a classically elegant setting

Good for: family, friends, celebrations, glamour, vegetarians, buzz

Dish to try: heritage beets, crispy goat's cheese, truffle honey dressing

Price range: £££

Cuisine style: Modern European

Formality: smart/casual

Location: Green Park

Website: http://www.le-caprice.co.uk

 Iced berries, Le Caprice - an off-the-menu secret dessert

Momo

Description:  Moroccan and French cuisine in a glamorous Arabian lounge

Good for: family, friends, celebrations, glamour, vegetarians, innovative cuisine, large groups

Dish to try: everything, especially the full Moroccan breakfast: poached free range egg with batata hara, merguez, turkey bacon, coco beans in charmoula sauce, garlic mushroom stuffed tomato

Price range: ££

Cuisine style: French Viennoiserie meets Moroccan

Formality: smart/casual

Location: Oxford Circus

Website: http://www.momoresto.com

 Top 10 London Brunch Spots

Riding House Café

Description:  brasserie style comfort food as well as healthy alternatives in a quirky urban chic setting

Good for: family, friends, celebrations, diet friendly cuisine, vegetarians, vegans, buzz, large groups, relaxed atmosphere

Dish to try: macaroni cheese fritter, leeks, tomato & caper dressing

Price range: £££

Cuisine style: Modern brasserie

Formality: casual chic

Location: Oxford Circus

Website: http://www.ridinghousecafe.co.uk

Top 10 London Brunch Spots

The Breakfast Club

Description: generous American style cuisine in a nostalgic rustic environment

Good for: family, friends, vegetarians, good value, buzz, relaxed atmosphere

Dish to try: the all American - pancakes, eggs, sausage, home-style fried potatoes, streaky bacon and maple syrup

Price range: ££

Cuisine style: American diner

Formality: casual

Location: Soho, Angel, Hoxton, Spitalfields, London Bridge, Battersea Rise

Website: http://www.thebreakfastclubcafes.com

Top 10 London Brunch Spots

The Wolseley

Description:  classical brasserie cuisine in one of the most glamorous settings in London

Good for: family, friends, celebrations, glamour, vegetarians, buzz, large groups

Dish to try: Wolseley fishcake with poached egg

Price range: £££

Cuisine style: classic brasserie

Formality: smart/casual

Location: Green Park

Website: http:// www.thewolseley.com

Top 10 London Brunch Spots

2 Comments