Viewing entries tagged
cream

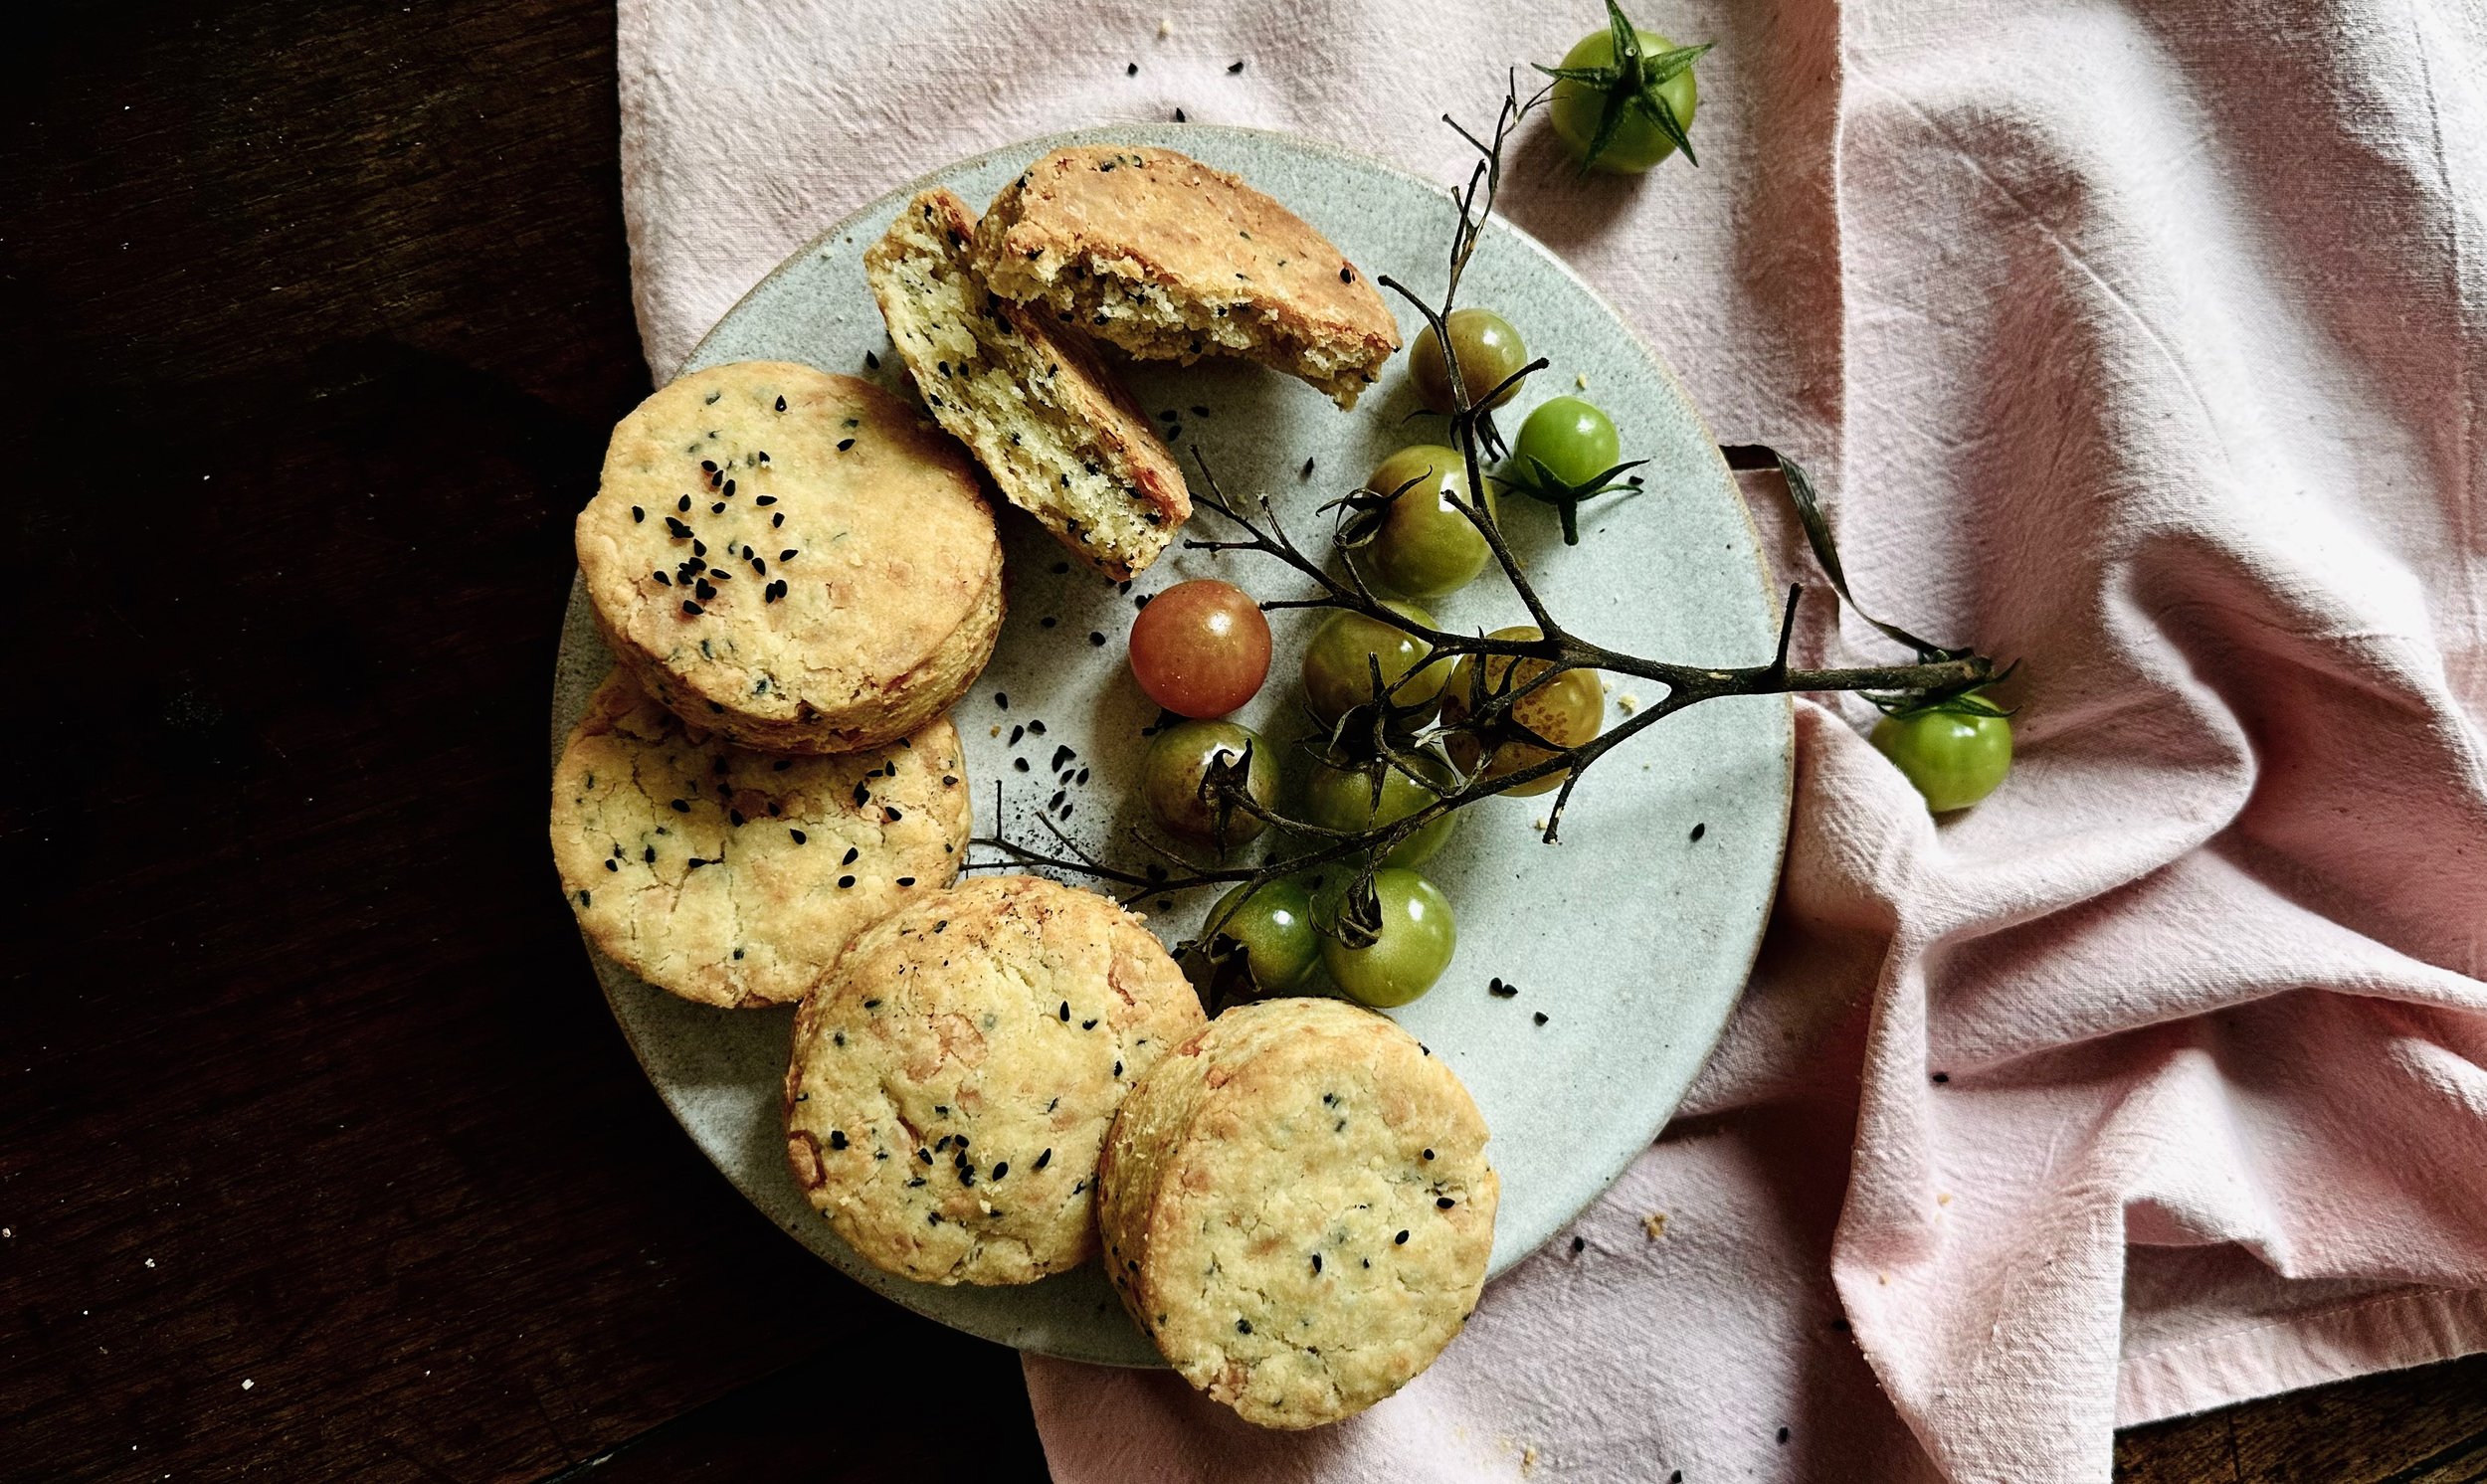
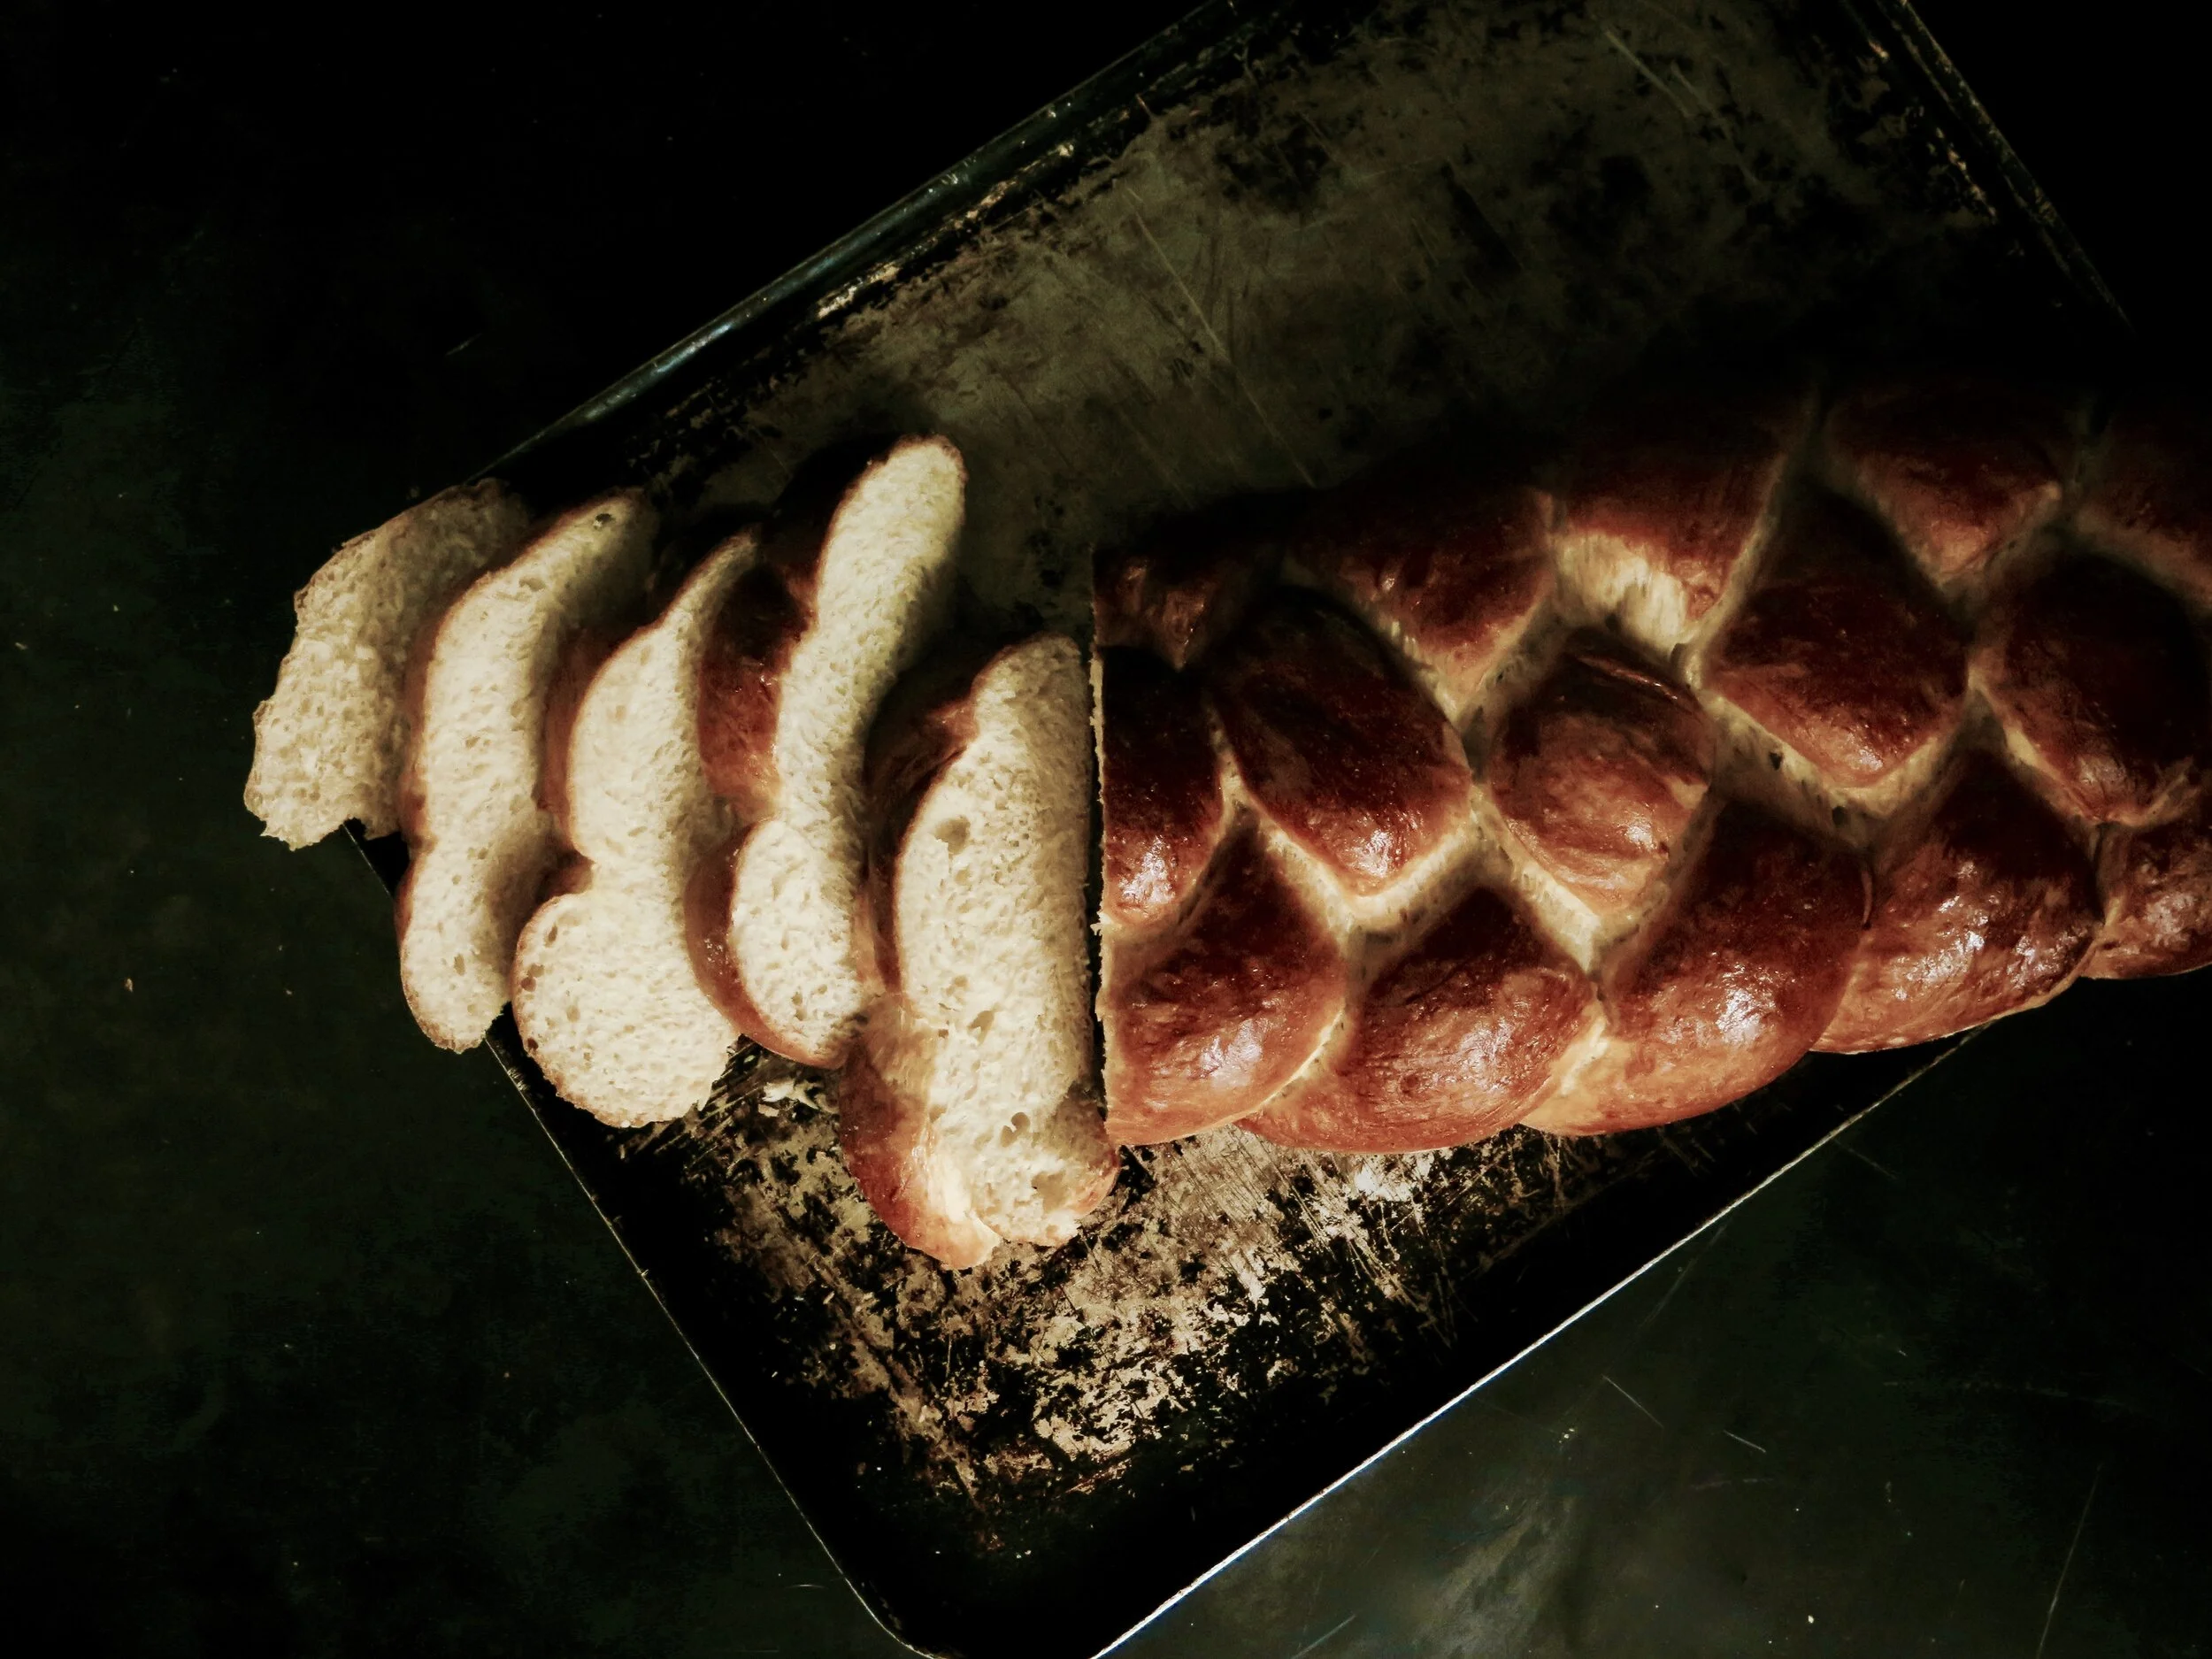
Triple Cheese & Nigella Seed Biscuits

Comment

Triple Cheese & Nigella Seed Biscuits


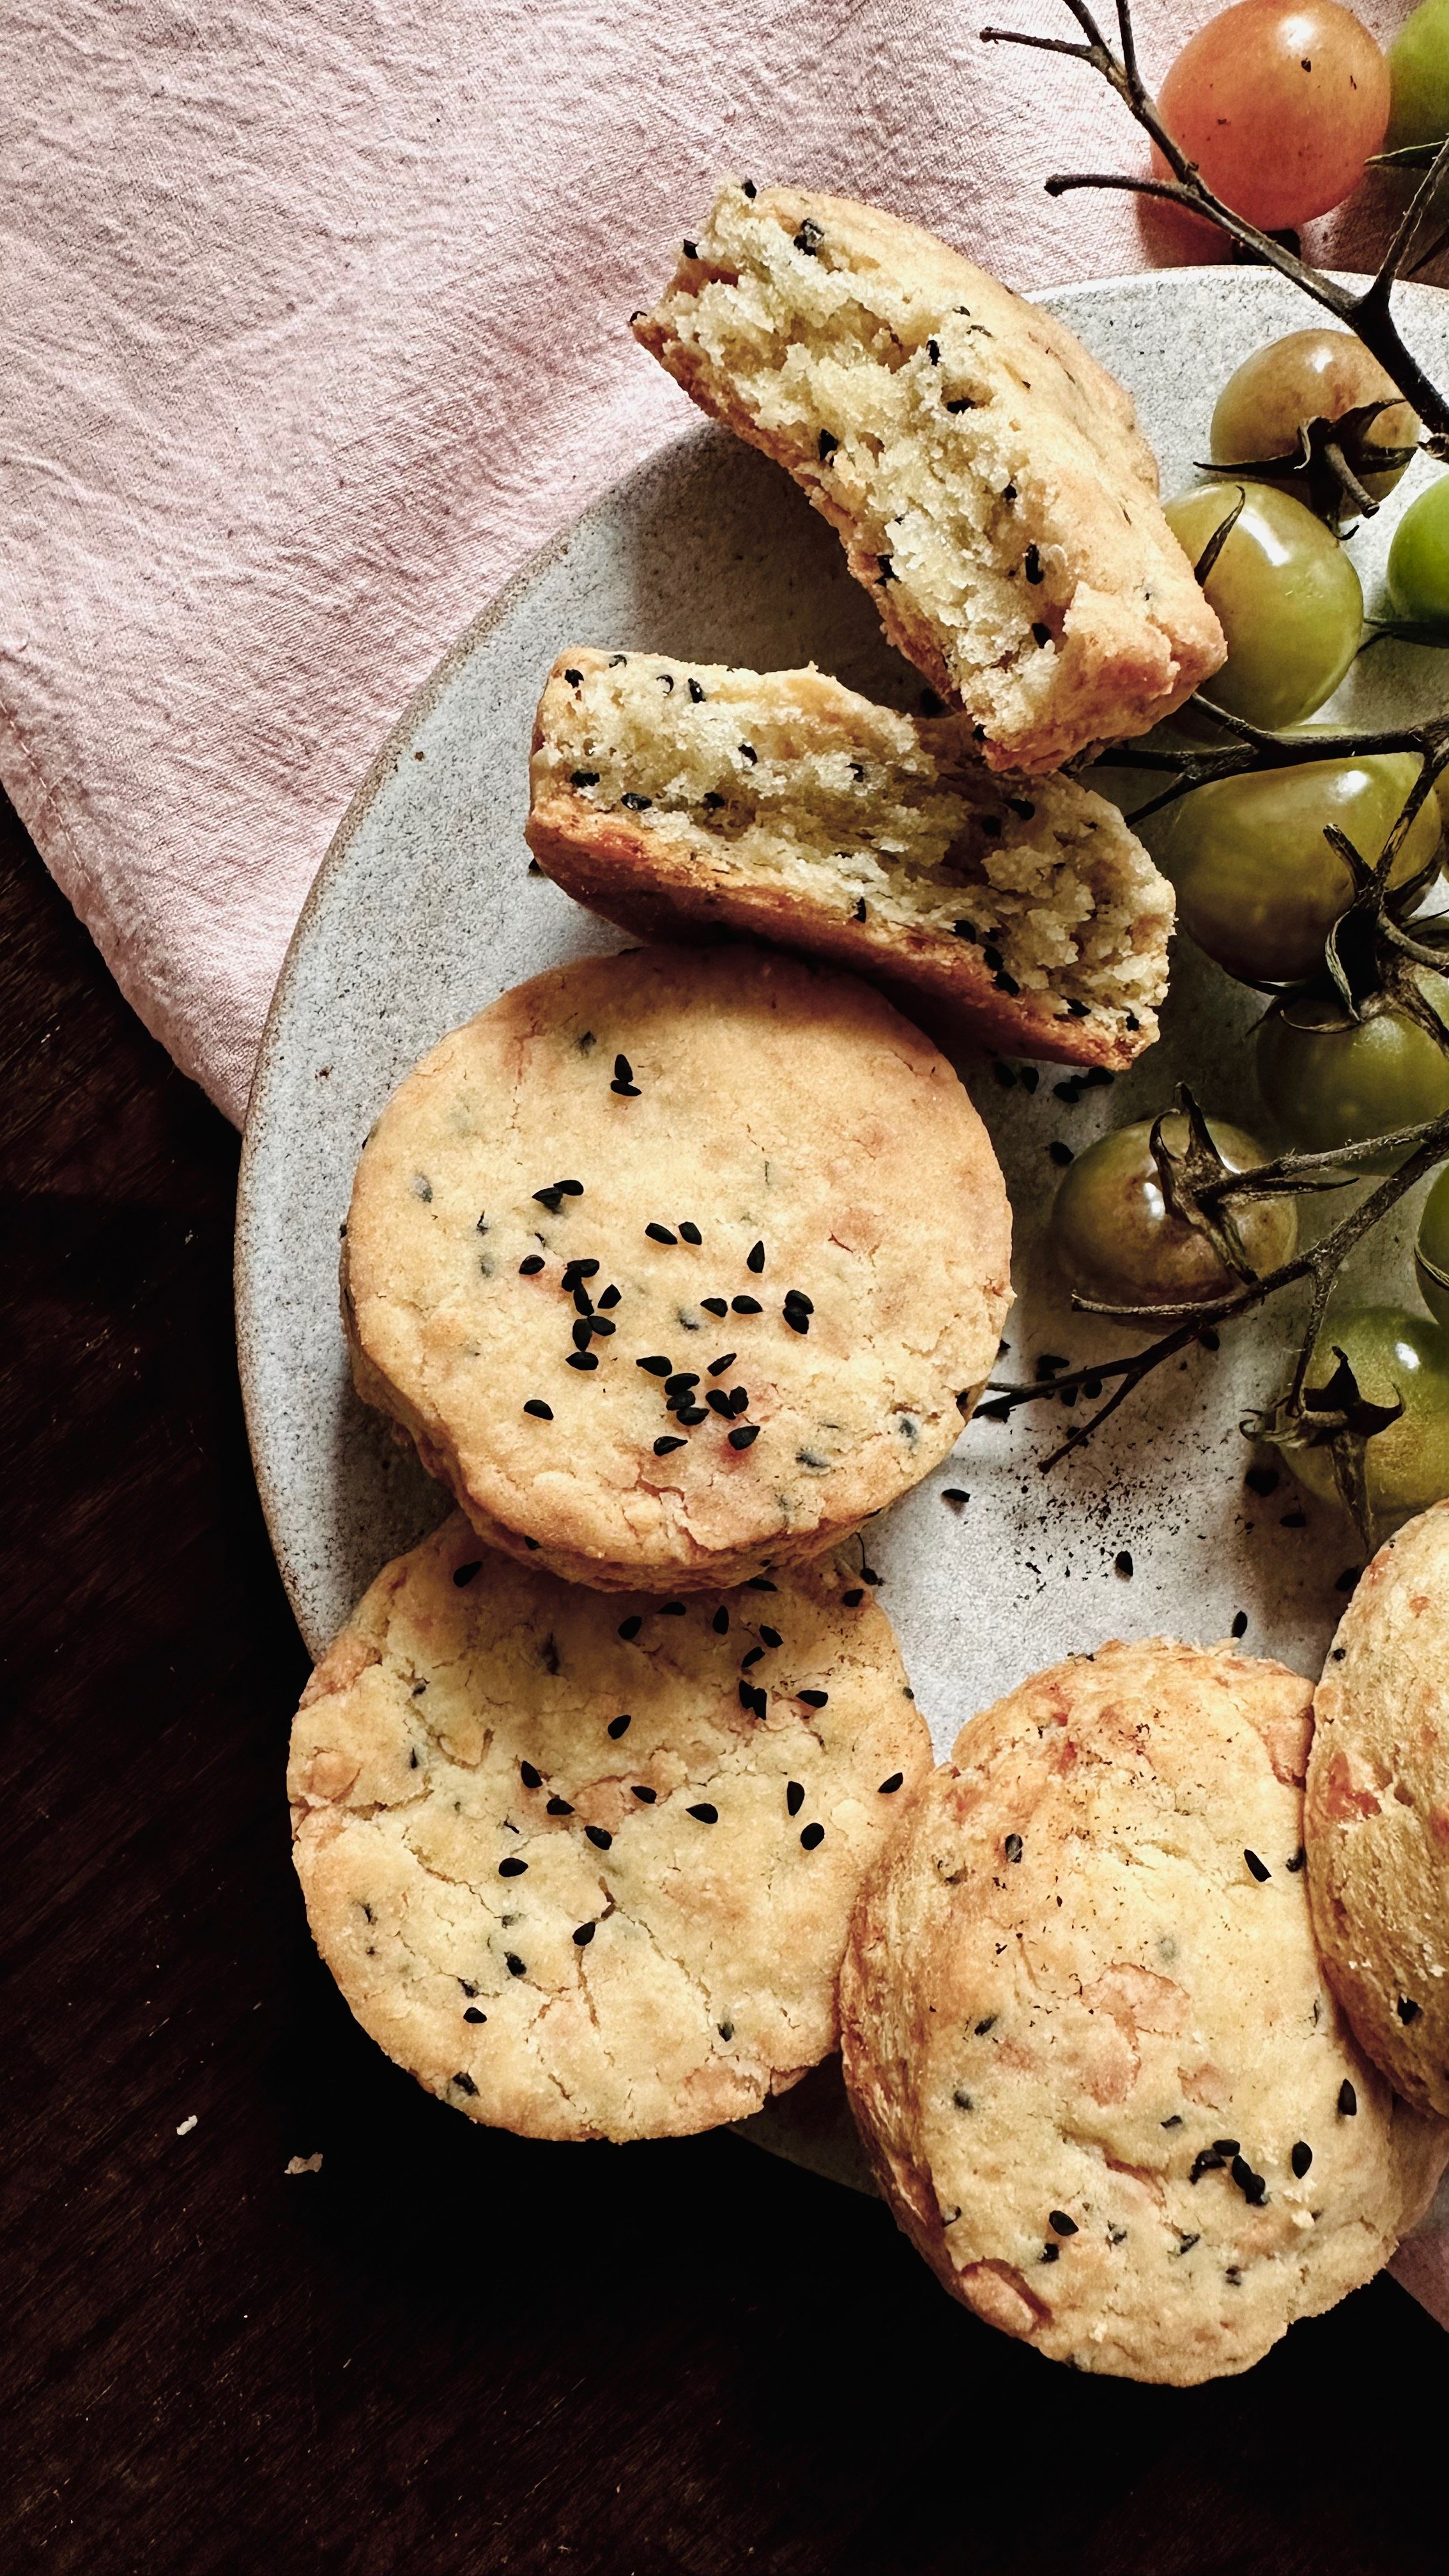
These exist in that tender interior, crunchy exterior, no-man’s-land between a scone, and a biscuit. I tried something similar at a hotel in Turkey, where at daily afternoon tea they produced thick, golden and extremely savoury kashar cheese cookies. As kashar cheese is a little harder to get here in the UK, I subbed in a mix of mozzarella, pecorino and feta, and they turned out beautifully. They’re umami, and slightly salty, and the cheese caramelises on the outside in a way that’s reminiscent of a toasted cheese sandwich.

They’re extremely easy to whip up, and work perfectly as a savoury treat at afternoon tea, accompanying a bowl of soup, or with cheeses, membrillo paste and a handful of fresh baby tomatoes.


TRIPLE CHEESE & NIGELLA SEED BISCUITS

RECIPE – MAKES 12


Ingredients


150g butter, very cold/frozen

75g fresh mozzarella

75g semi-stagionato pecorino (or parmesan, if you can’t get hold of pecorino)

60g feta

1 ½ tsp double cream (or milk if you don’t have any double cream to hand)

250g plain flour

10g nigella seeds

½ tsp salt

½ tsp baking powder

¼ tsp caster sugar


large baking tray, lined with baking parchment

6cm diameter cookie cutter (feel free to use a different size if you want larger/smaller cookies, but bear in mind the baking time will reduce for smaller cookies)


Method


1)    Preheat oven to 200°C.

2)    Take the mozzarella and press it between two pieces of paper towel to squeeze out as much liquid as possible.

3)    Using the coarse side of a cheese grater, grate the cold/frozen butter, mozzarella, pecorino and feta into the bowl of an electric stand mixer or a large bowl if making by hand. The cheeses may crumble a little unevenly but don’t worry too much about striving for perfection, they just need to be broken down into small pieces. Add in the double cream and stir together.

4)    In a separate medium sized bowl, whisk together the flour, nigella seeds, salt, baking powder and caster sugar until evenly mixed.

5)    Pour the dry ingredients into the bowl containing the cheeses. If using an electric stand mixer, fit it with the paddle and mix on a low-medium speed until the mixture just comes together. If making it by hand, stir with a wooden spoon until a crumbly dough is formed. Take care not to over mix as this will stimulate the gluten in the flour, and break down the butter too much, making the cookie tougher and less tender. If the mixture is too dry (climate/room temperature can affect this), add in a tiny bit more double cream but be careful not to add too much – the dough should be slightly crumbly.

6)    Lightly dust a clean surface/board with flour. Tip the cookie dough on to the surface and pat it together until it forms a disc. Roll it out to an even thickness of 1.5cm. Then use the cookie cutter to stamp out the circles. Place them on the baking tray at least 4cm apart (they won’t spread much).

7)    Place in the oven and bake for 12-15 mins, until the top and base are golden and crunchy. You can serve these warm or cool. NB, they keep for up to 3 days stored in an airtight container at room temperature. Or you can freeze them for up to 6 months in an airtight container.


Triple cheese and nigella seed biscuits recipe

 HUNGRY FOR MORE?

Comment

Cherry Vanilla Victoria Sponge Cake

Comment

Cherry Vanilla Victoria Sponge Cake

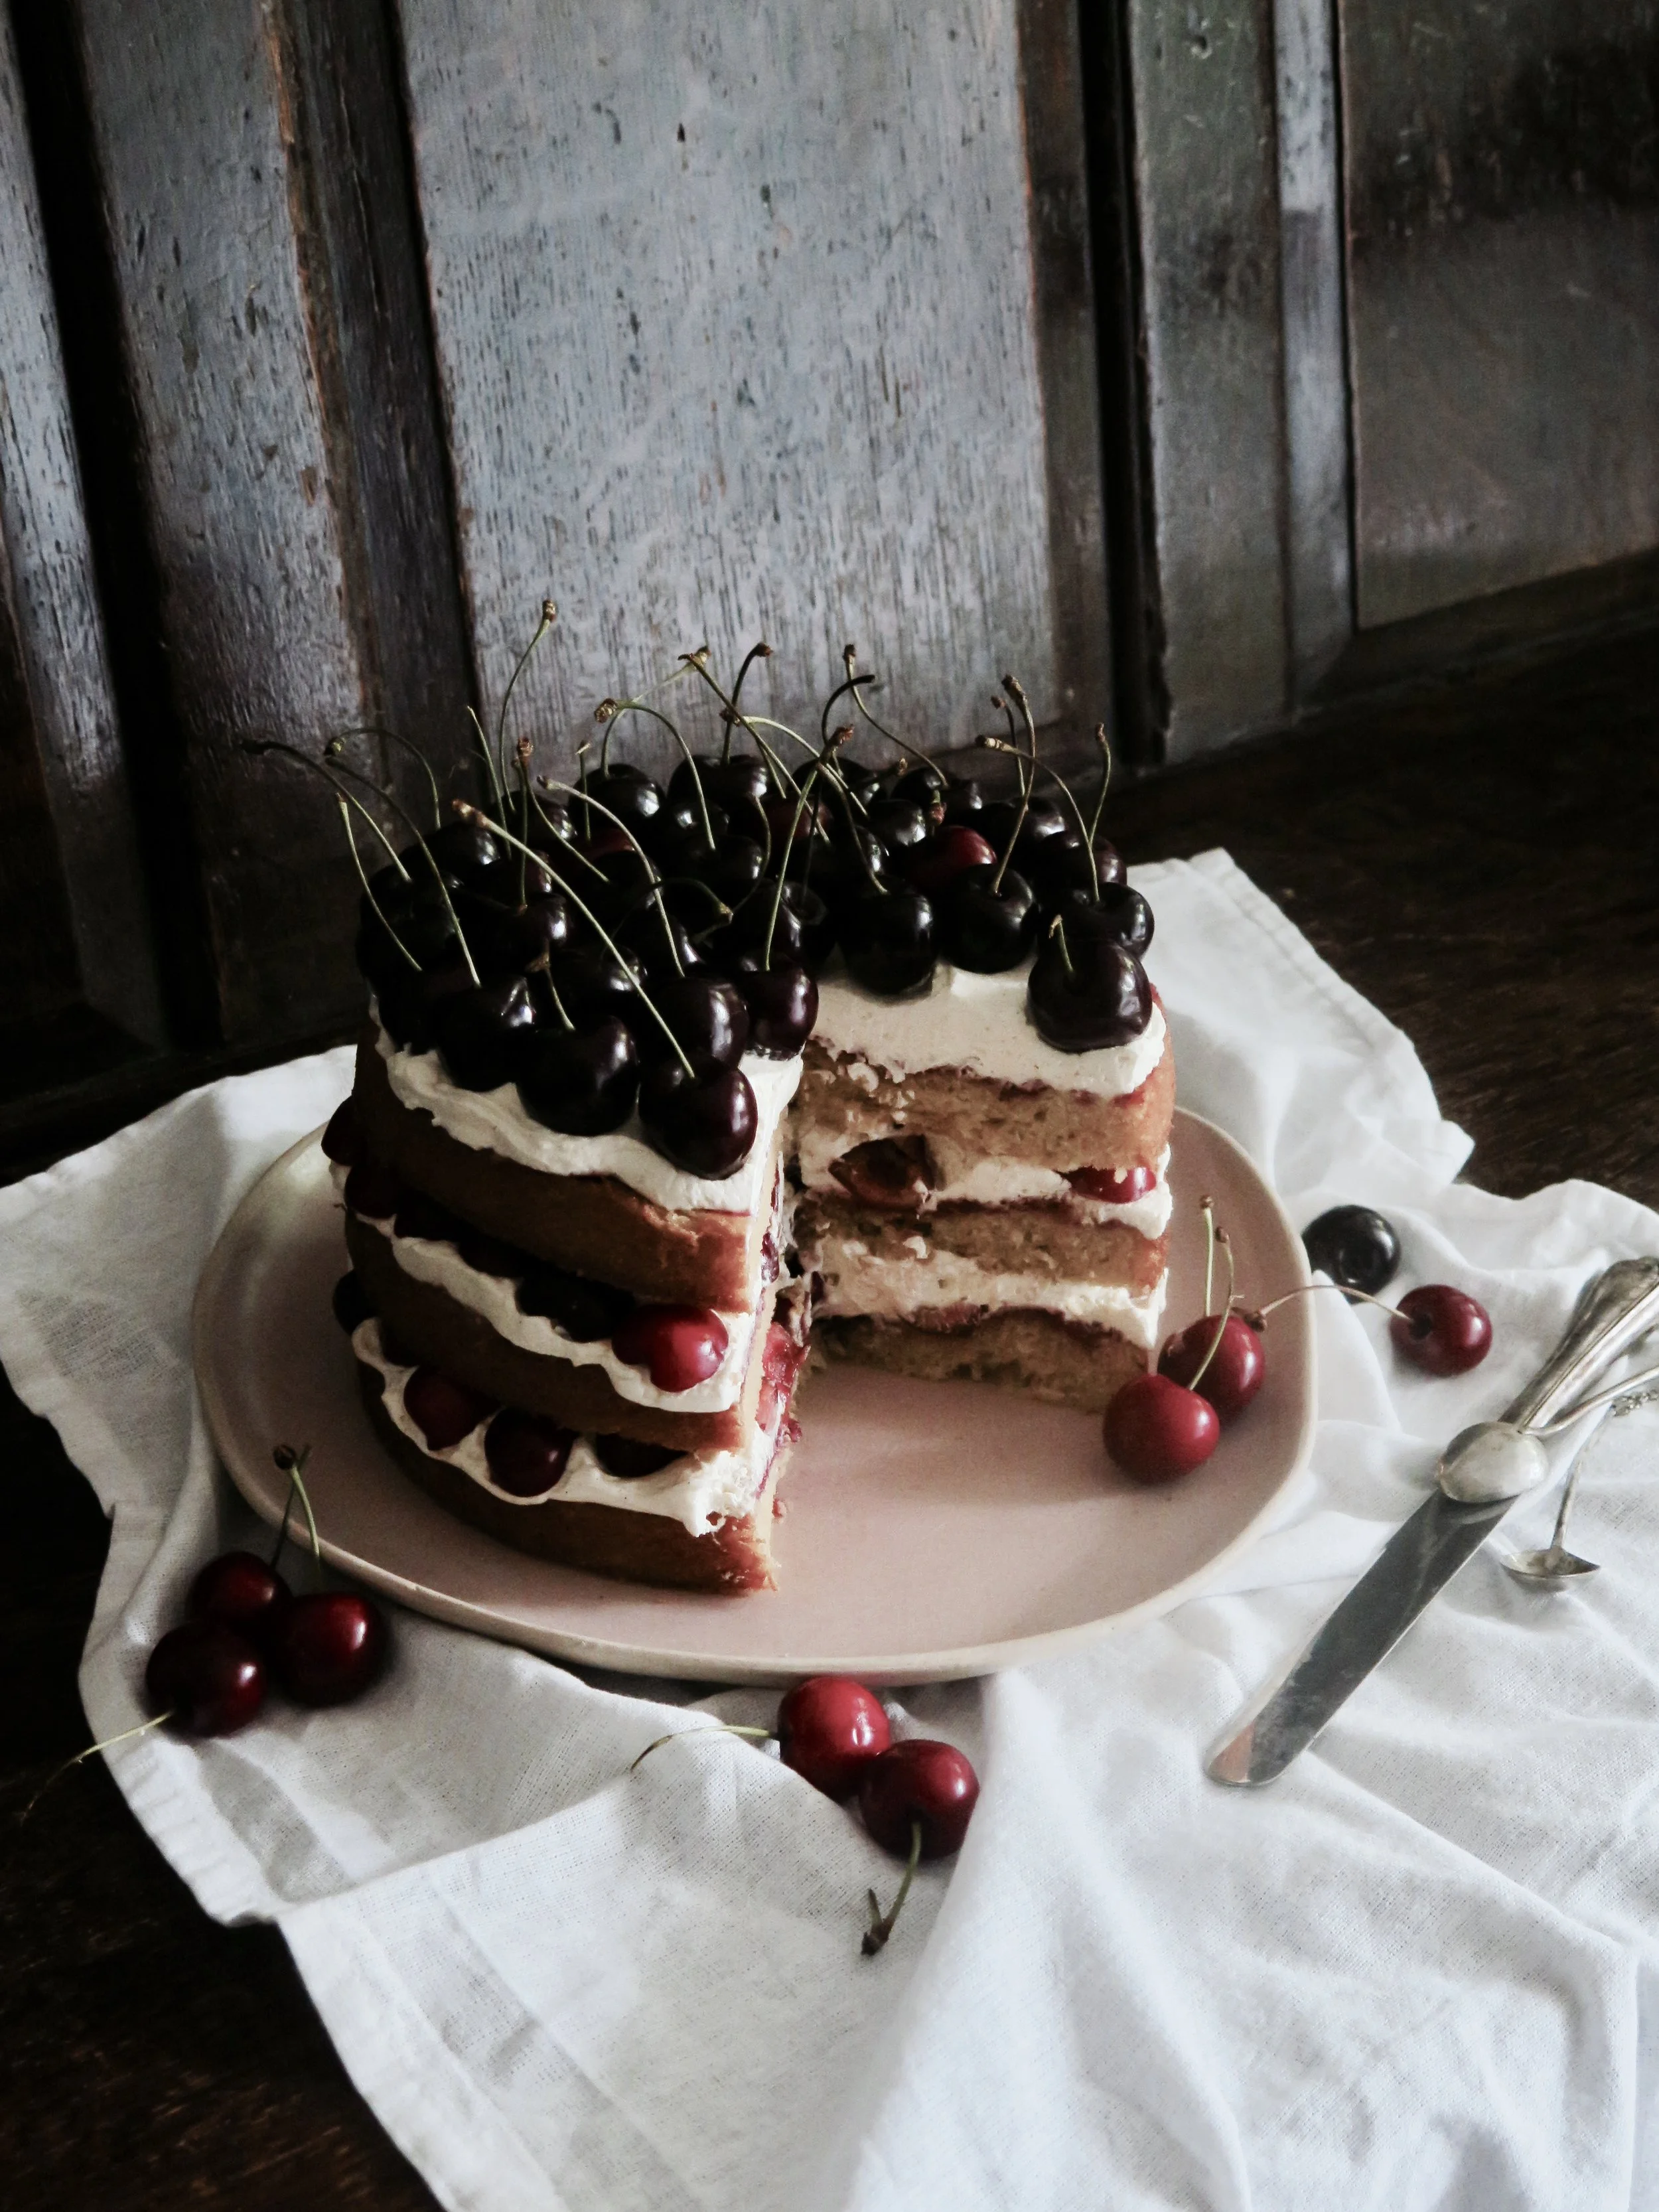
This the perfect non-picnic picnic cake. It’s light with a cloudy vanilla sponge, and laced with fresh cherries which burst in your mouth and whose astringency perfectly cut through the smooth rich vanilla-cream. I keep the cherries fresh and unadulterated so as to keep the cake not too sweet, with a hint of cherry jam just to counter too much acidity.

Comment

Salted Caramel & Peanut Chocolate Tart

Comment

Salted Caramel & Peanut Chocolate Tart

I wanted chocolate. I wanted peanuts. I wanted caramel. And so came together three revered ingredients to make this simple but deeply luscious dessert. I admit to a glimmer of inspiration from the Season 11 contestant of RuPaul’s Drag Race contestant, the drag queen with the moniker Silky Nutmeg Ganache. But apart from that, I attribute this recipe to greed.

Comment

Spelt Scones & Damson Jam

Comment

Spelt Scones & Damson Jam

fullsizeoutput_8bb.jpeg

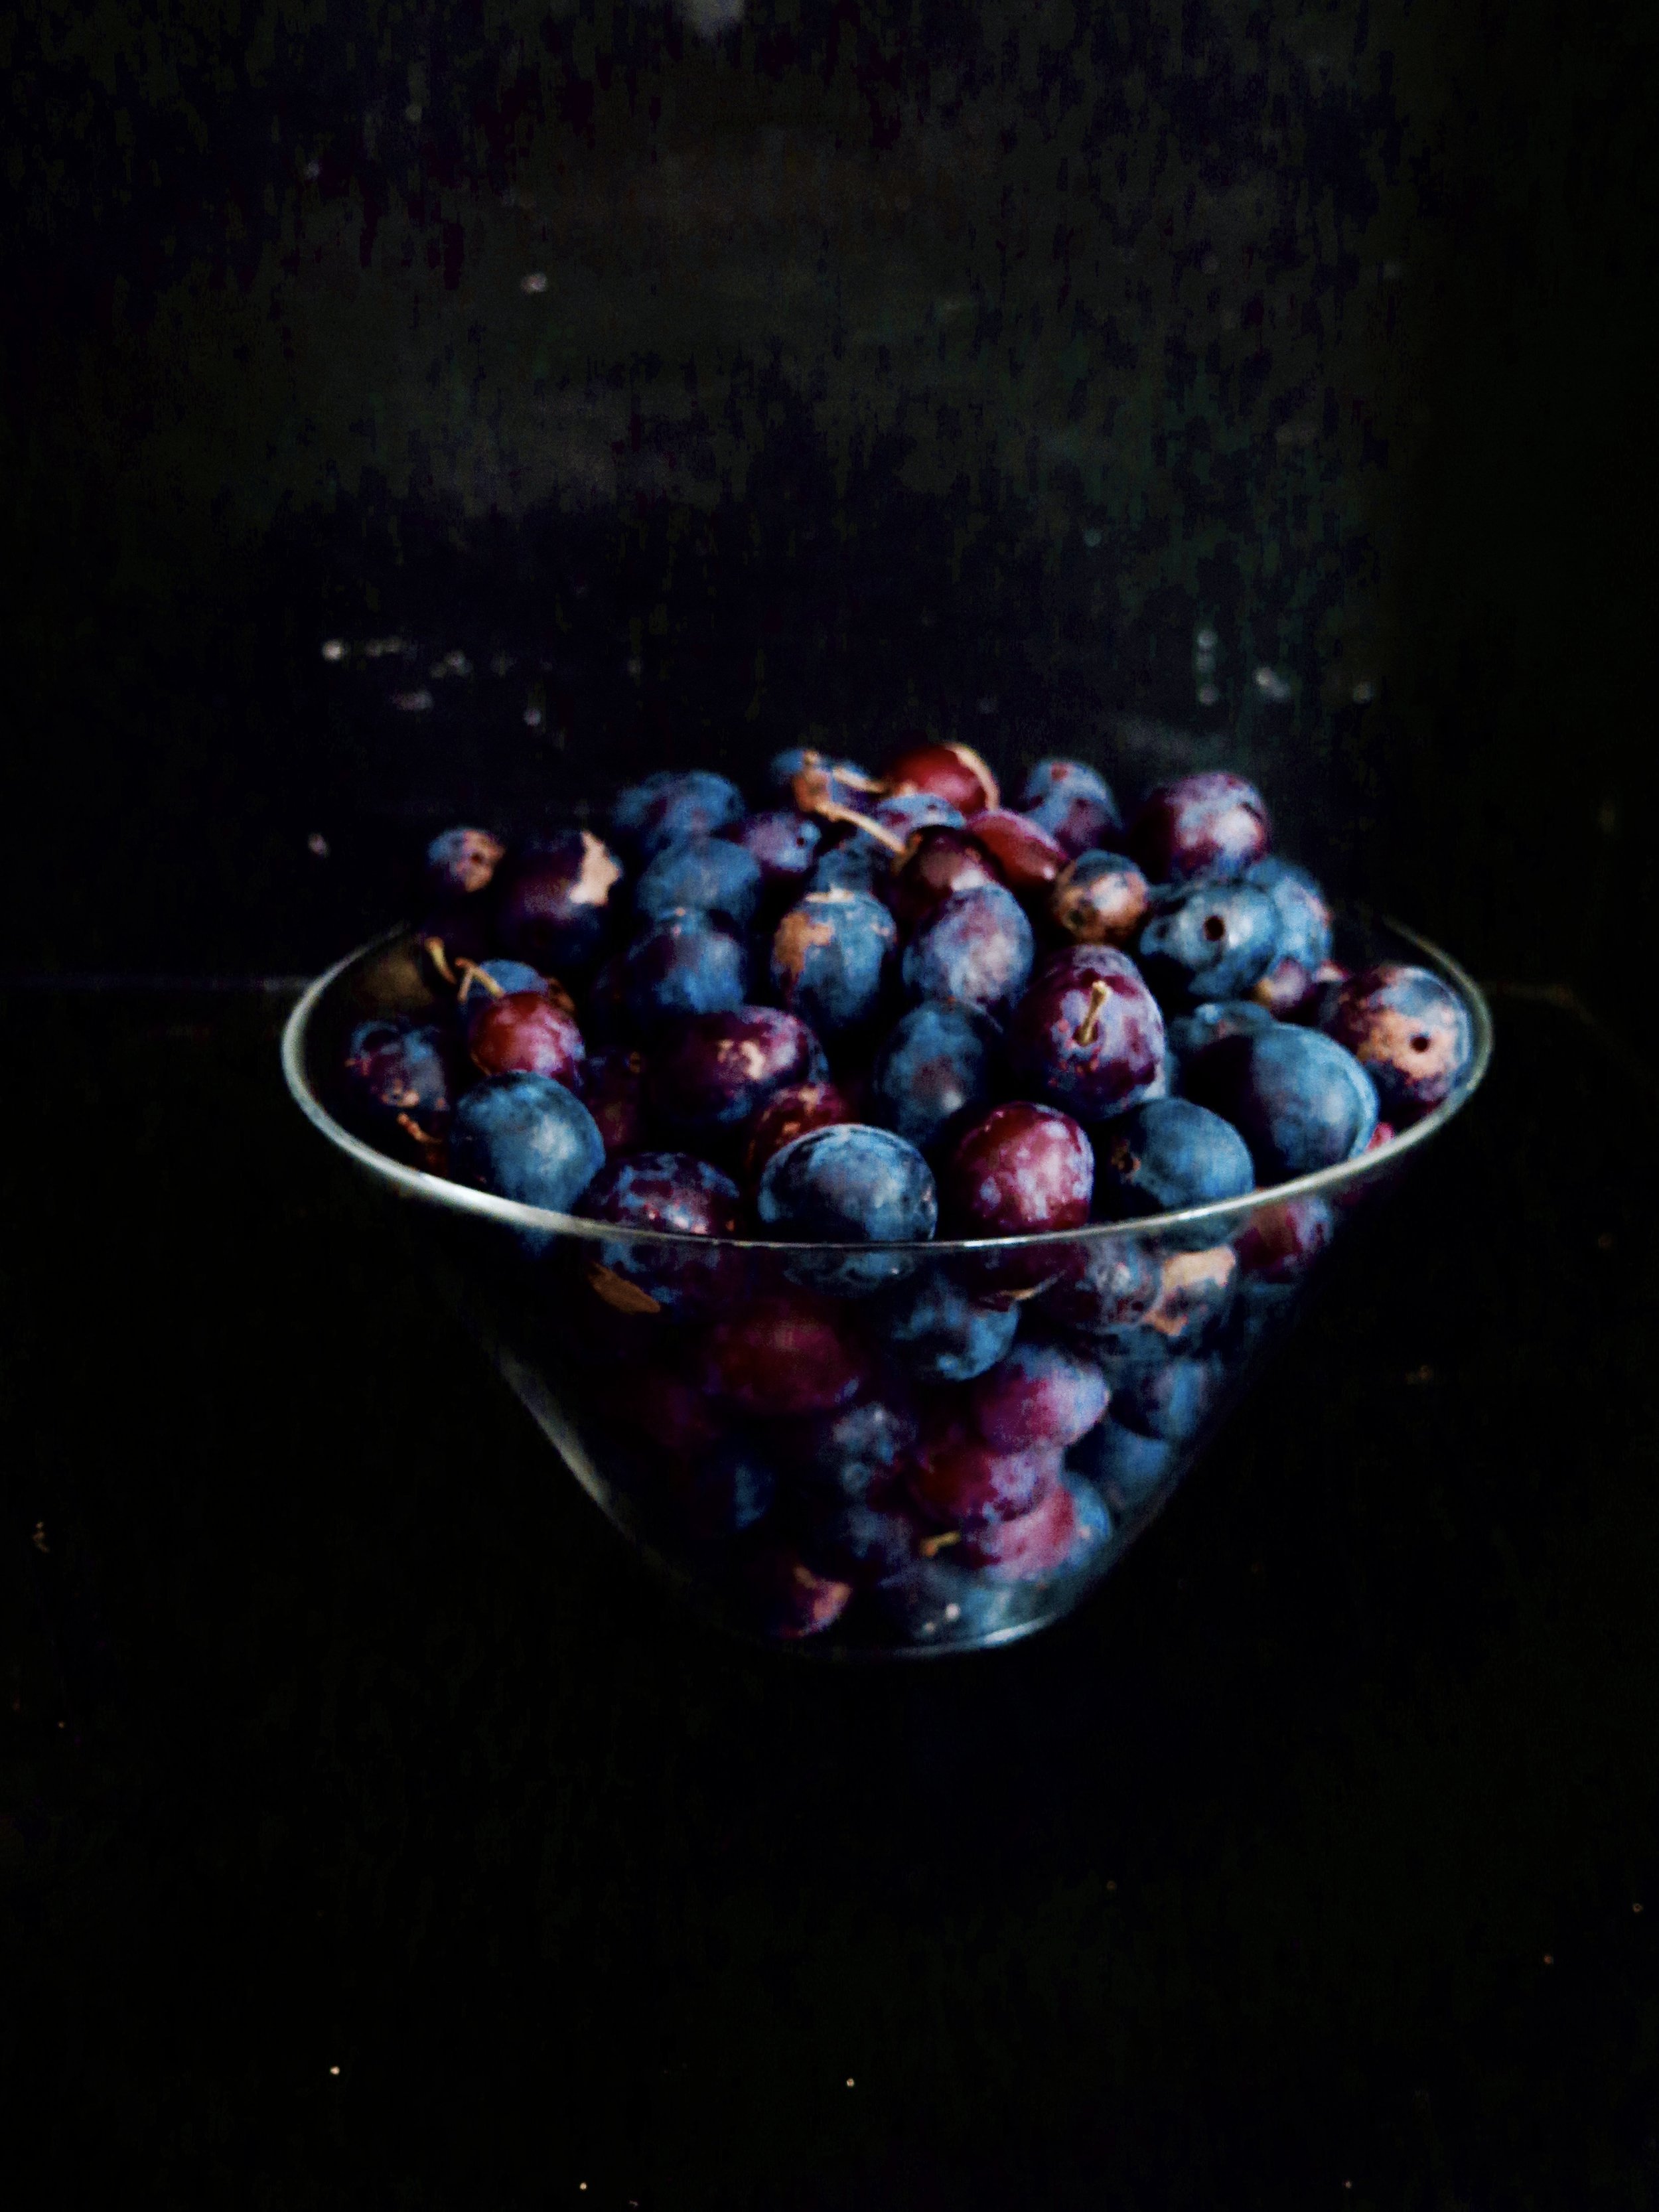
Adorned with dew drops of glaucous fruits, the damson tree was innocent in its fairy tale perfection. Plump and firm, tart and succulent they were ideal contenders for picking. There seemed at first glance to be very few, but as the minutes rolled by, our bags heavier and the ladder creaking, the tree continued to proffer its bounty. The result: 6kg of damsons and a swollen stomach from ones that never quite made it into the bag.

fullsizeoutput_8ff.jpeg
fullsizeoutput_8b5.jpeg

Our supply of sugar rather pitiful in the wake of the unsurpassed abundance, I heaved an Olympian quantity back from the supermarket. The one bag that decided to split has left a coating of sticky grit on any coins that I dig out of the corners of my bag.  

fullsizeoutput_8c5.jpeg

Then on to the stove went the damsons, the heated sugar and a touch of water. They blistered, bubbled and broke out of their skins. The stones rose to the surface like witches on trial and had to be picked out one by one. Meanwhile the mixture boiled and thickened, giving off a foamy pink effervescence that I carved off as it supposedly tastes slightly bitter (although I rather enjoyed spooning it directly into my mouth). Then as it reached its rich amethyst depths and a satisfying viscose texture, I took it off and poured it into the sterilised jars: therapeutic and deeply satisfying…the first-time round.

fullsizeoutput_8ac.jpeg
fullsizeoutput_93a.jpeg

But as I tried to leave the kitchen I was bludgeoned with another 3kg worth of damsons. I was pelted, too, with threats of waste and rotting fruit if I didn’t make jam immediately. The kitchen became heated with the upset from my father who had cultivated and nurtured the tree for years.

fullsizeoutput_920.jpeg
fullsizeoutput_915.jpeg

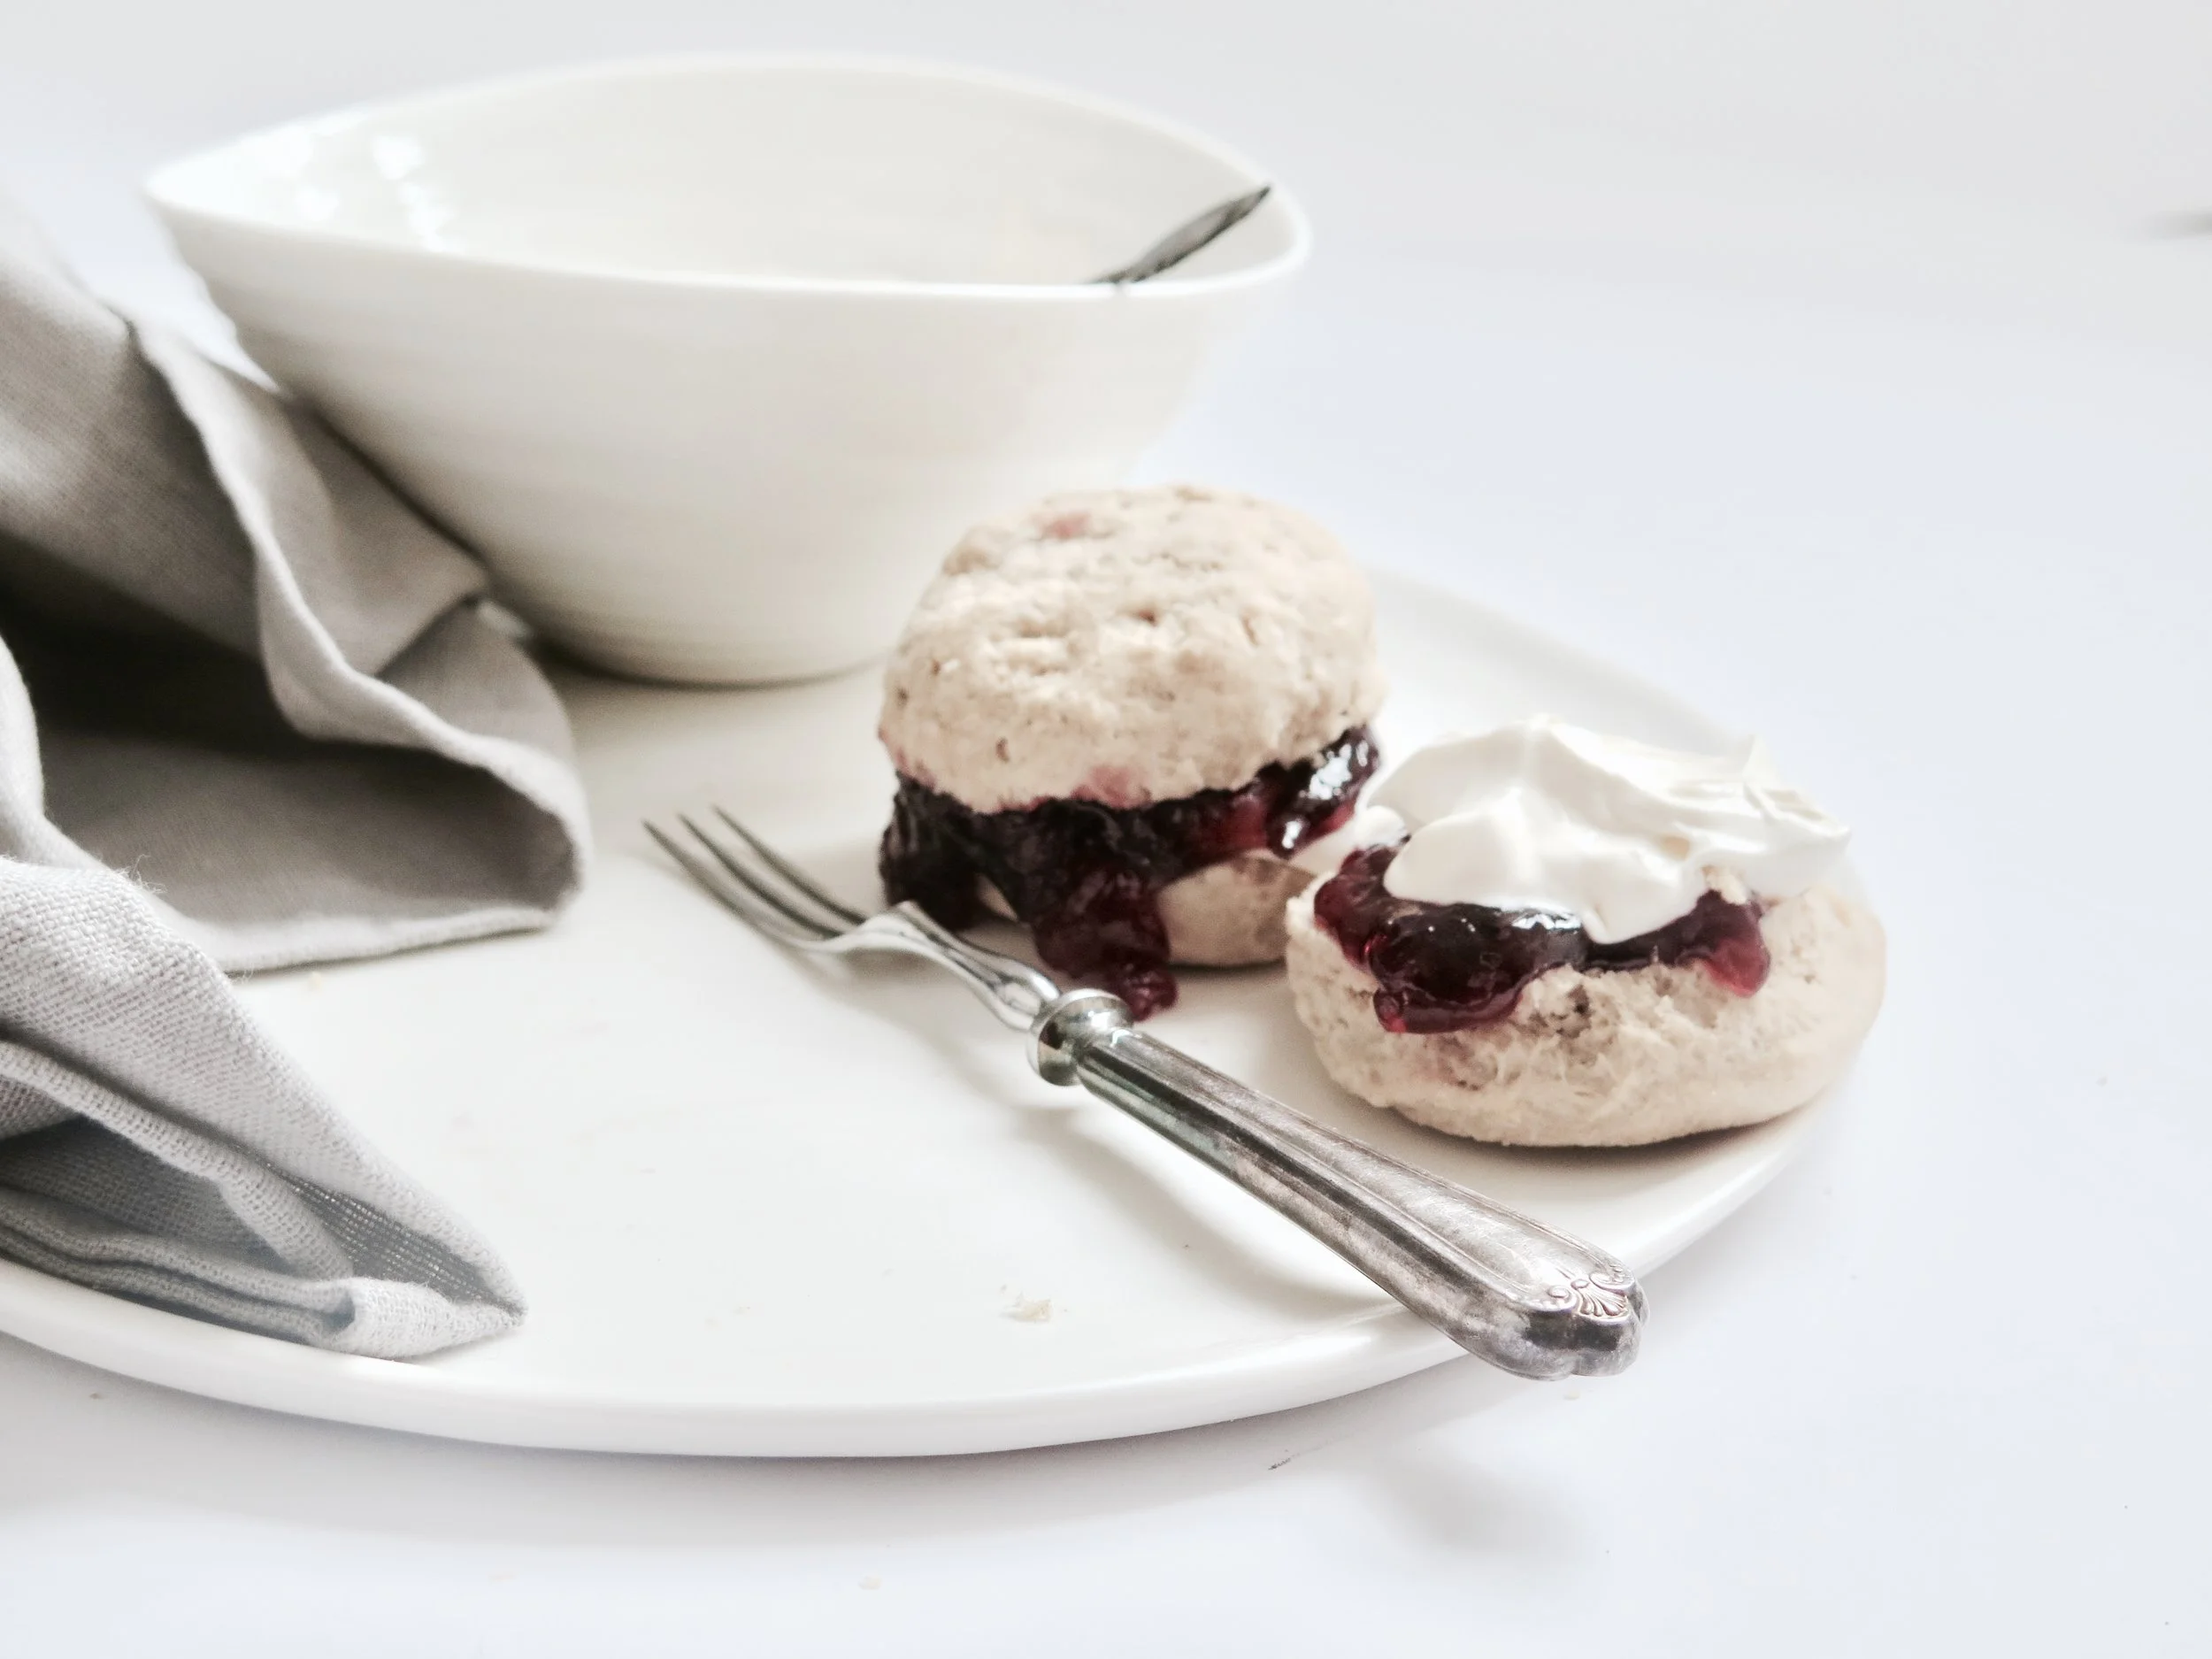
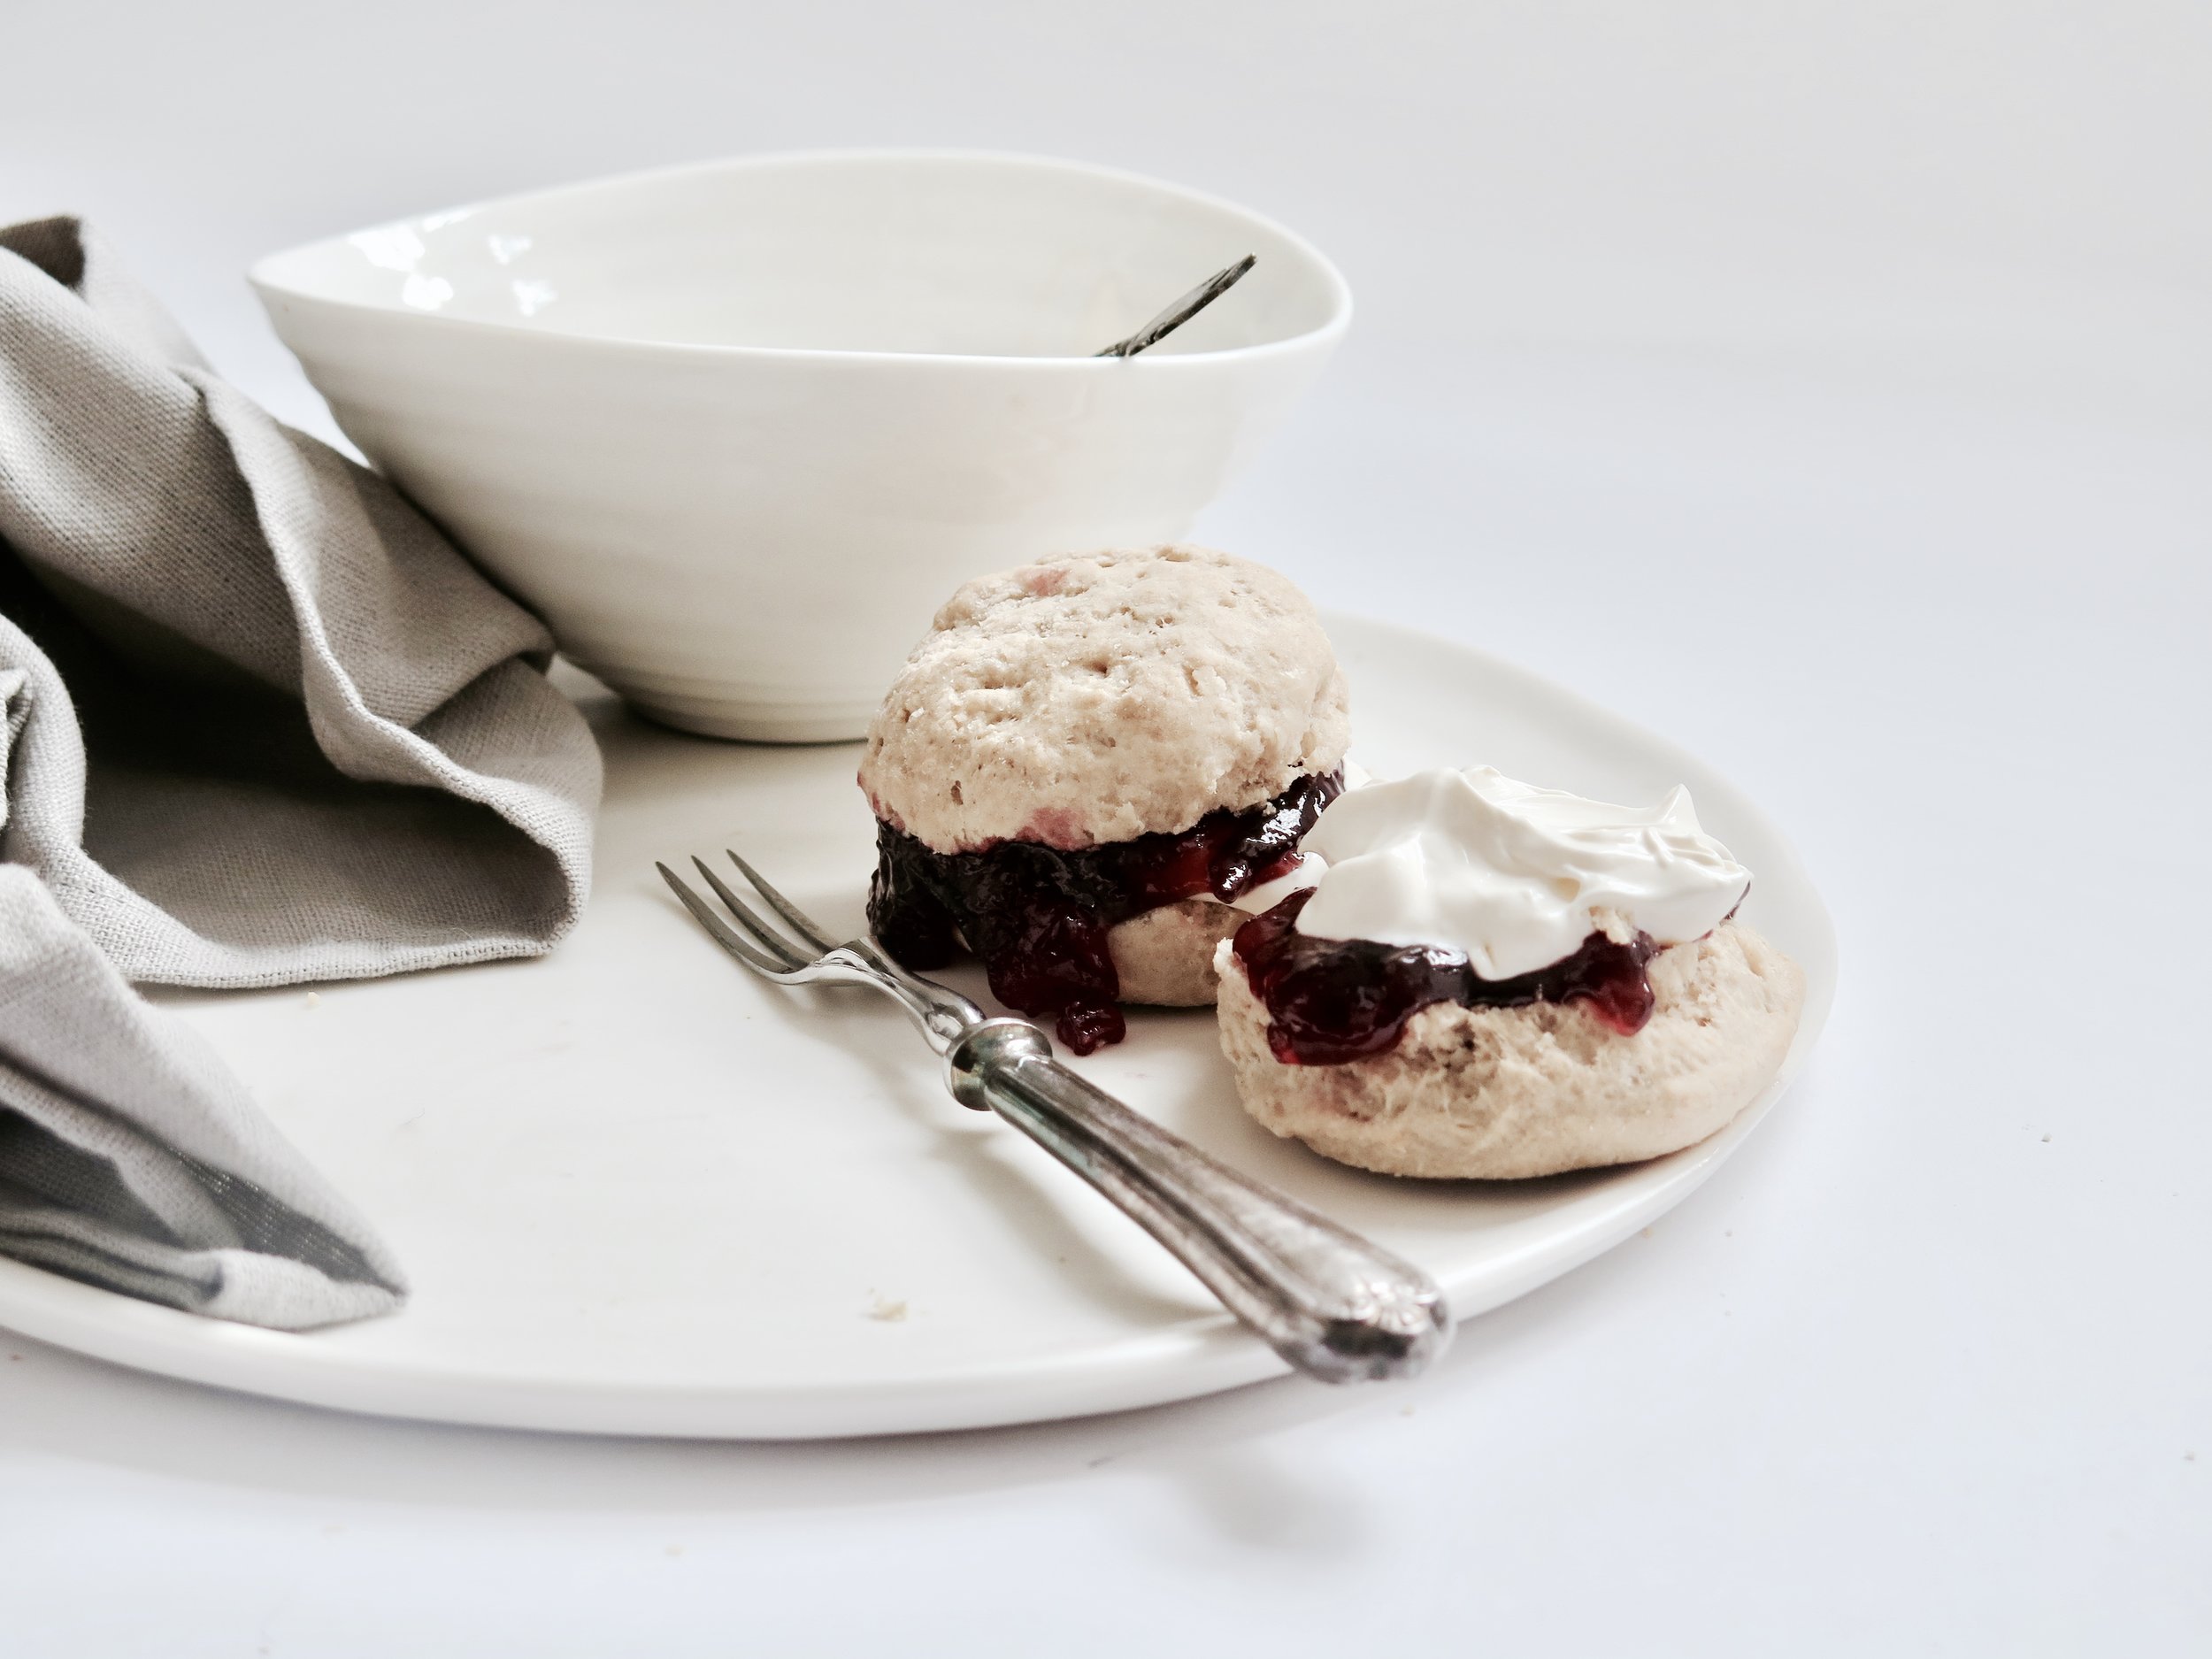
So, I gave in and became a slave to the damson tree once more, boiling, straining, stirring pouring. And now we have half a fridge thronging with jar upon jar of jam. And what does one do when he or she has a year’s supply of jam? Well, I find eating it straight from the jar perfectly acceptable, but others need a medium as an excuse. So I made scones. These are not the dry, stale and overly sweet ones that leave you desperately seeking a currant to relieve you from the accumulating doughy mass at the top of your palate. These are soft, light, moist and crumbly. Rustic in shape, they are best eaten immediately or on the same day (though it is unlikely they will survive longer). 


fullsizeoutput_90c.jpeg
fullsizeoutput_8fa.jpeg

Spelt Scone Recipe – makes 12

500g white spelt flour (can be substituted with plain)

4 ½ tsp cream of tartar

2 tsp bicarbonate of soda

(optional: 2 tbsp sugar if would like them sweet)

1/2 tsp salt

125g cold unsalted butter, diced

300ml milk

1 egg, beaten, for egg wash


6cm round cookie cutter

Large baking sheet, lined with baking parchment


Method

1)    Preheat the oven to 220°C.

2)    Into a large bowl sift all the dry ingredients. Add in the butter and with fingertips rub it into the dry ingredients until like damp sand. Pour in the milk and very gently fold in until just combined (there may still be pockets of flour).

3)    Turn the dough out onto a floured surface and knead it lightly for about 10 seconds. Roll out to a 3cm thickness and then cut out as many scones as possible. Lightly re-knead the scraps of dough and roll out once more to cut out the last remaining scones.  Space them out on the tray and blush with the beat egg. Place in oven to bake for 8-10 minutes until they are shiny and golden.

Damson Jam Recipe (makes about 3kg, 9 jars)

NB. This recipe can be adapted for any number of damsons by maintaining the ratio

2kg damsons (slightly under-ripe and not too soft)

2kg sugar

200ml water

9 jam jars, sterilised

Method

1)    Pour sugar into an over proof dish and place in oven heated to a low temperature (around 120°C) while the damsons are prepared. Place a couple of small plates into a fridge to cool – these will be used to check the jam’s consistency later.

2)    Grease a large stainless-steel pot with butter to prevent the fruit from sticking. Then pour in the damsons and water and stew over a medium-low heat, stirring gently until the damsons’ skins break. Pour in the warmed sugar and stir over medium-low heat until the sugar has dissolved.

3)    Increase the heat to medium-high and allow to boil (controllably), stirring occasionally to prevent the fruit from sticking. After a few minutes, as the fruits break down, a pink foam will rise to the surface. Using a slotted spoon, siphon this off into a bowl. If some remains it won’t ruin the jam, it just doesn’t taste as pure as the rest. Then, as the stones begin to rise up, siphon off those too.

4)    After about 15 minutes of boiling, when all the stones have been removed, pour a teaspoon of the liquid onto a cold plate. Let it sit for about a minute then tilt the plate, if the liquid is no longer watery, with a viscosity between a sauce and a jam, and wrinkles when pushed with the finger, it is set. For the more scientifically-minded, it should be 105°C on a sugar thermometer. Pour the jam into the sterilised jars and allow to come to room temperature before sealing them with lids.

fullsizeoutput_908.jpeg

HUNGRY FOR MORE?


Comment

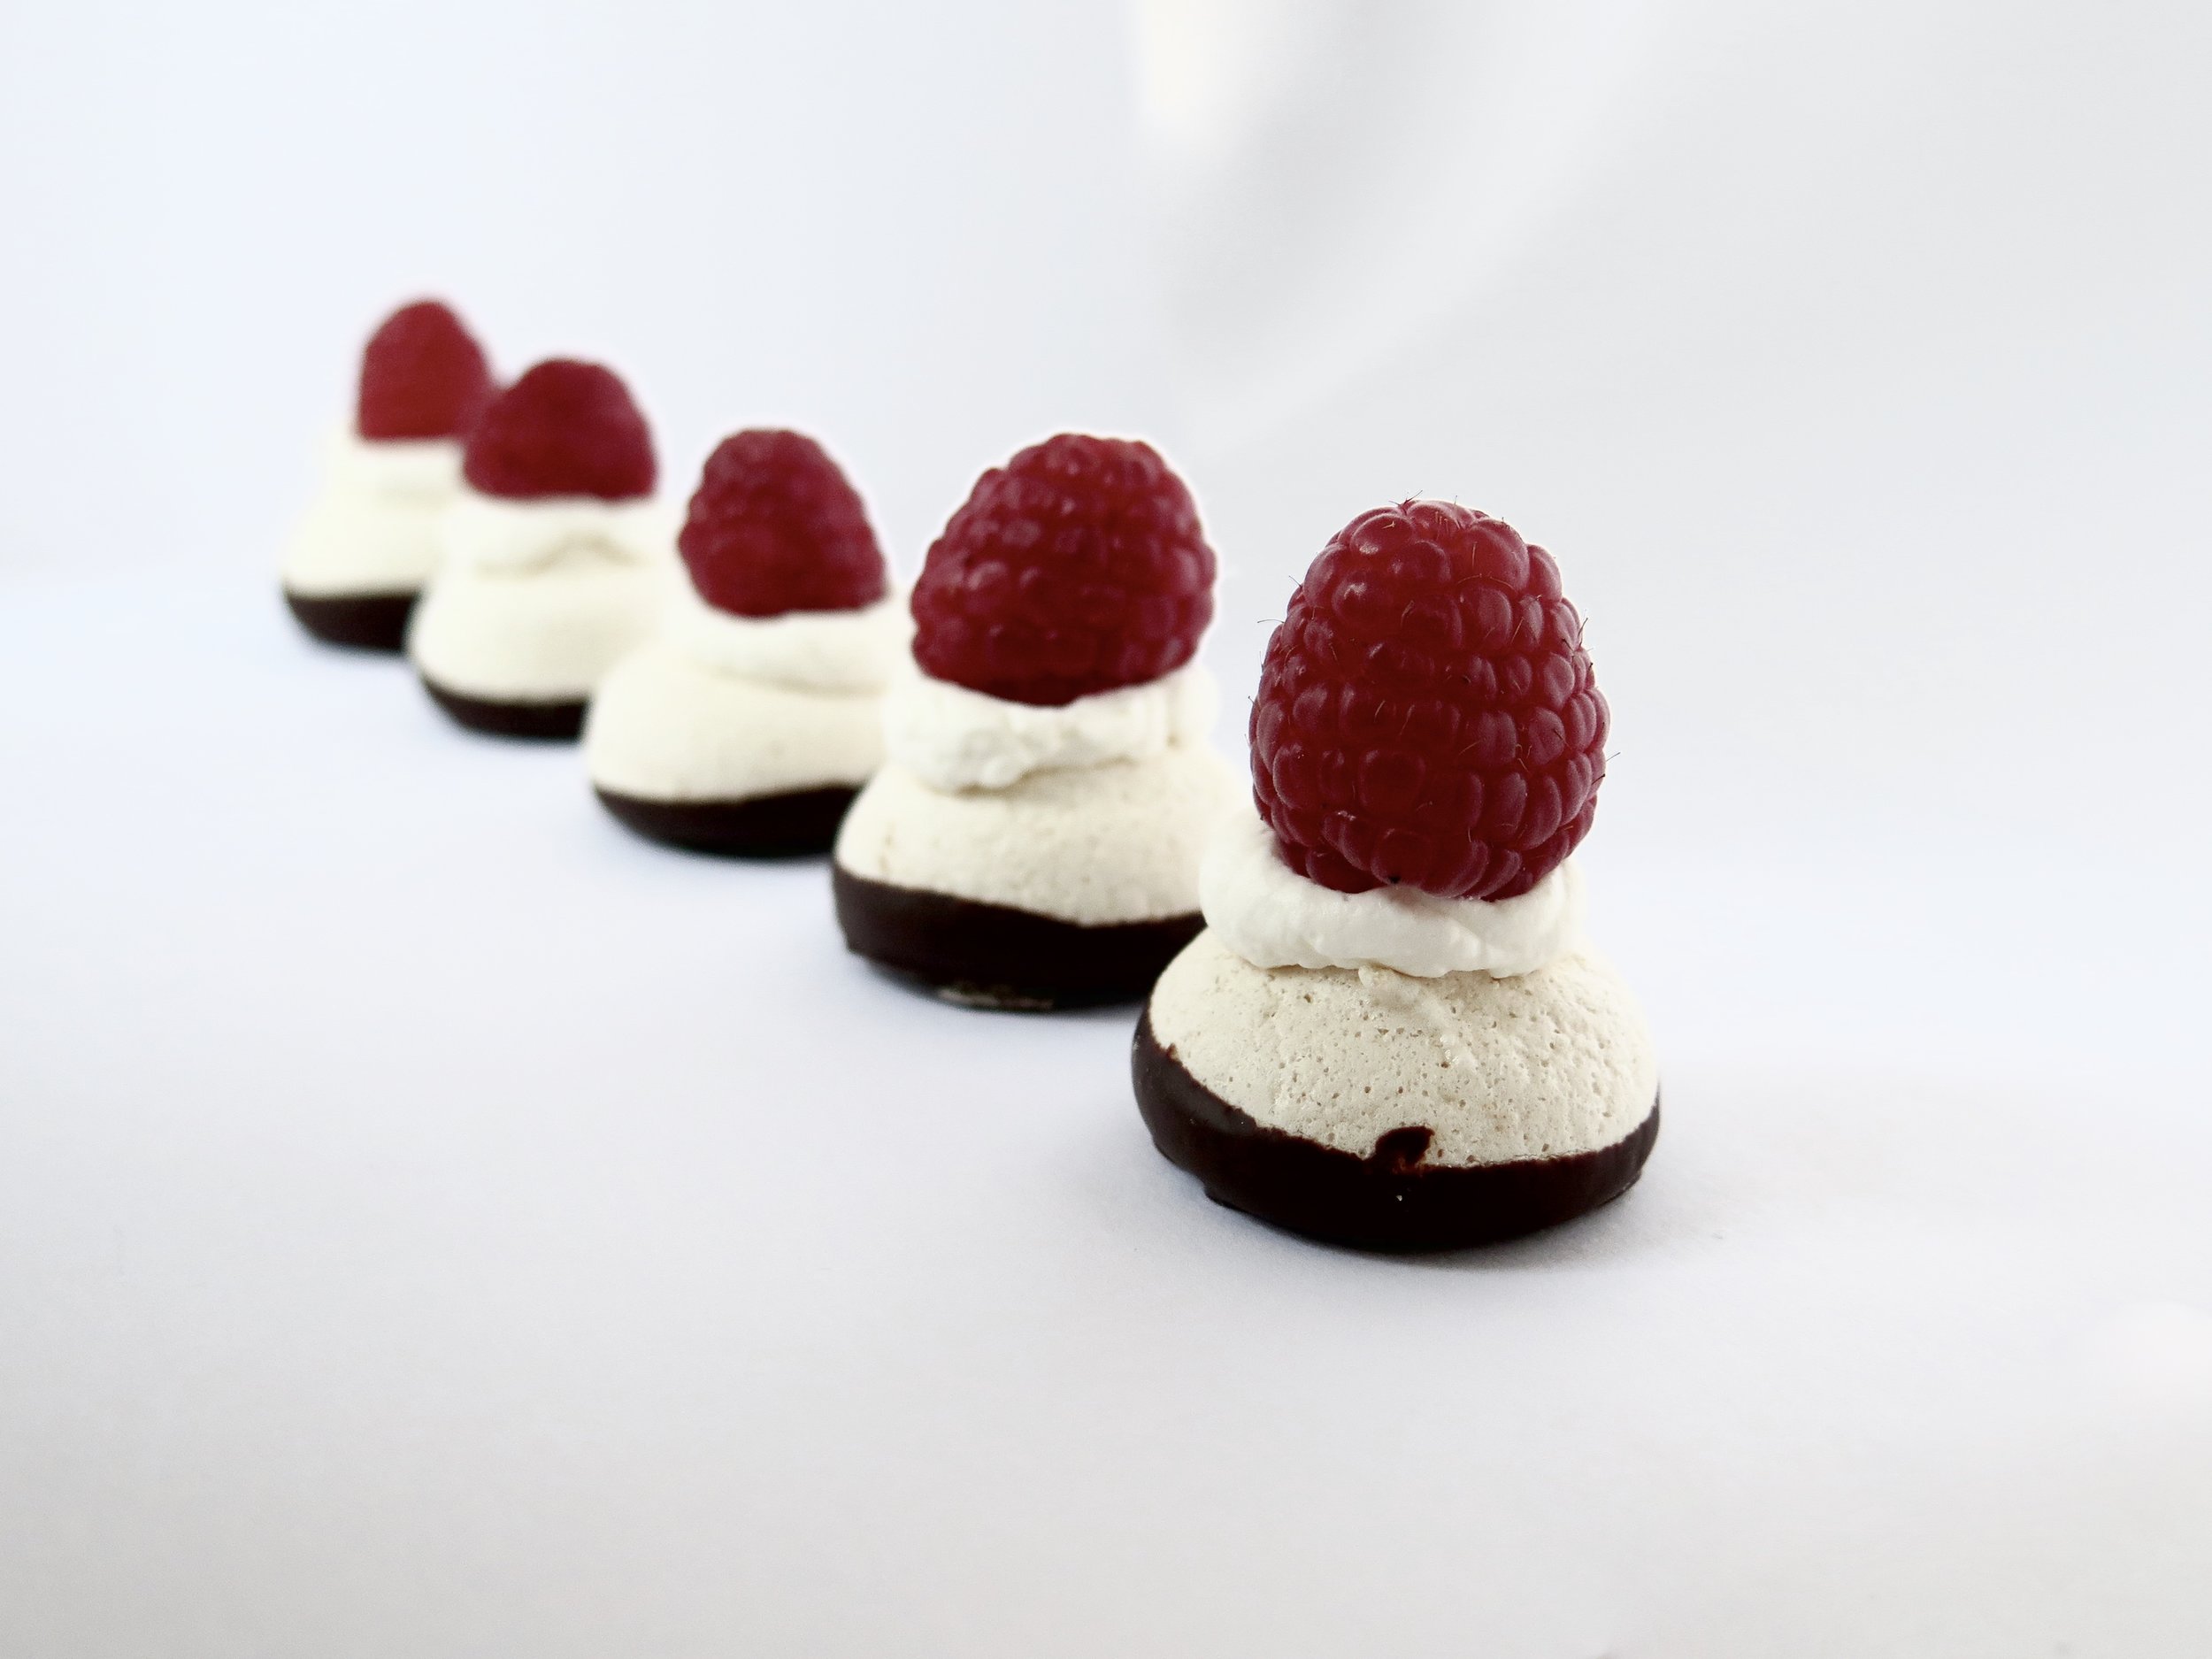
MINI CHOCOLATE & RASPBERRY MERINGUES

Comment

MINI CHOCOLATE & RASPBERRY MERINGUES

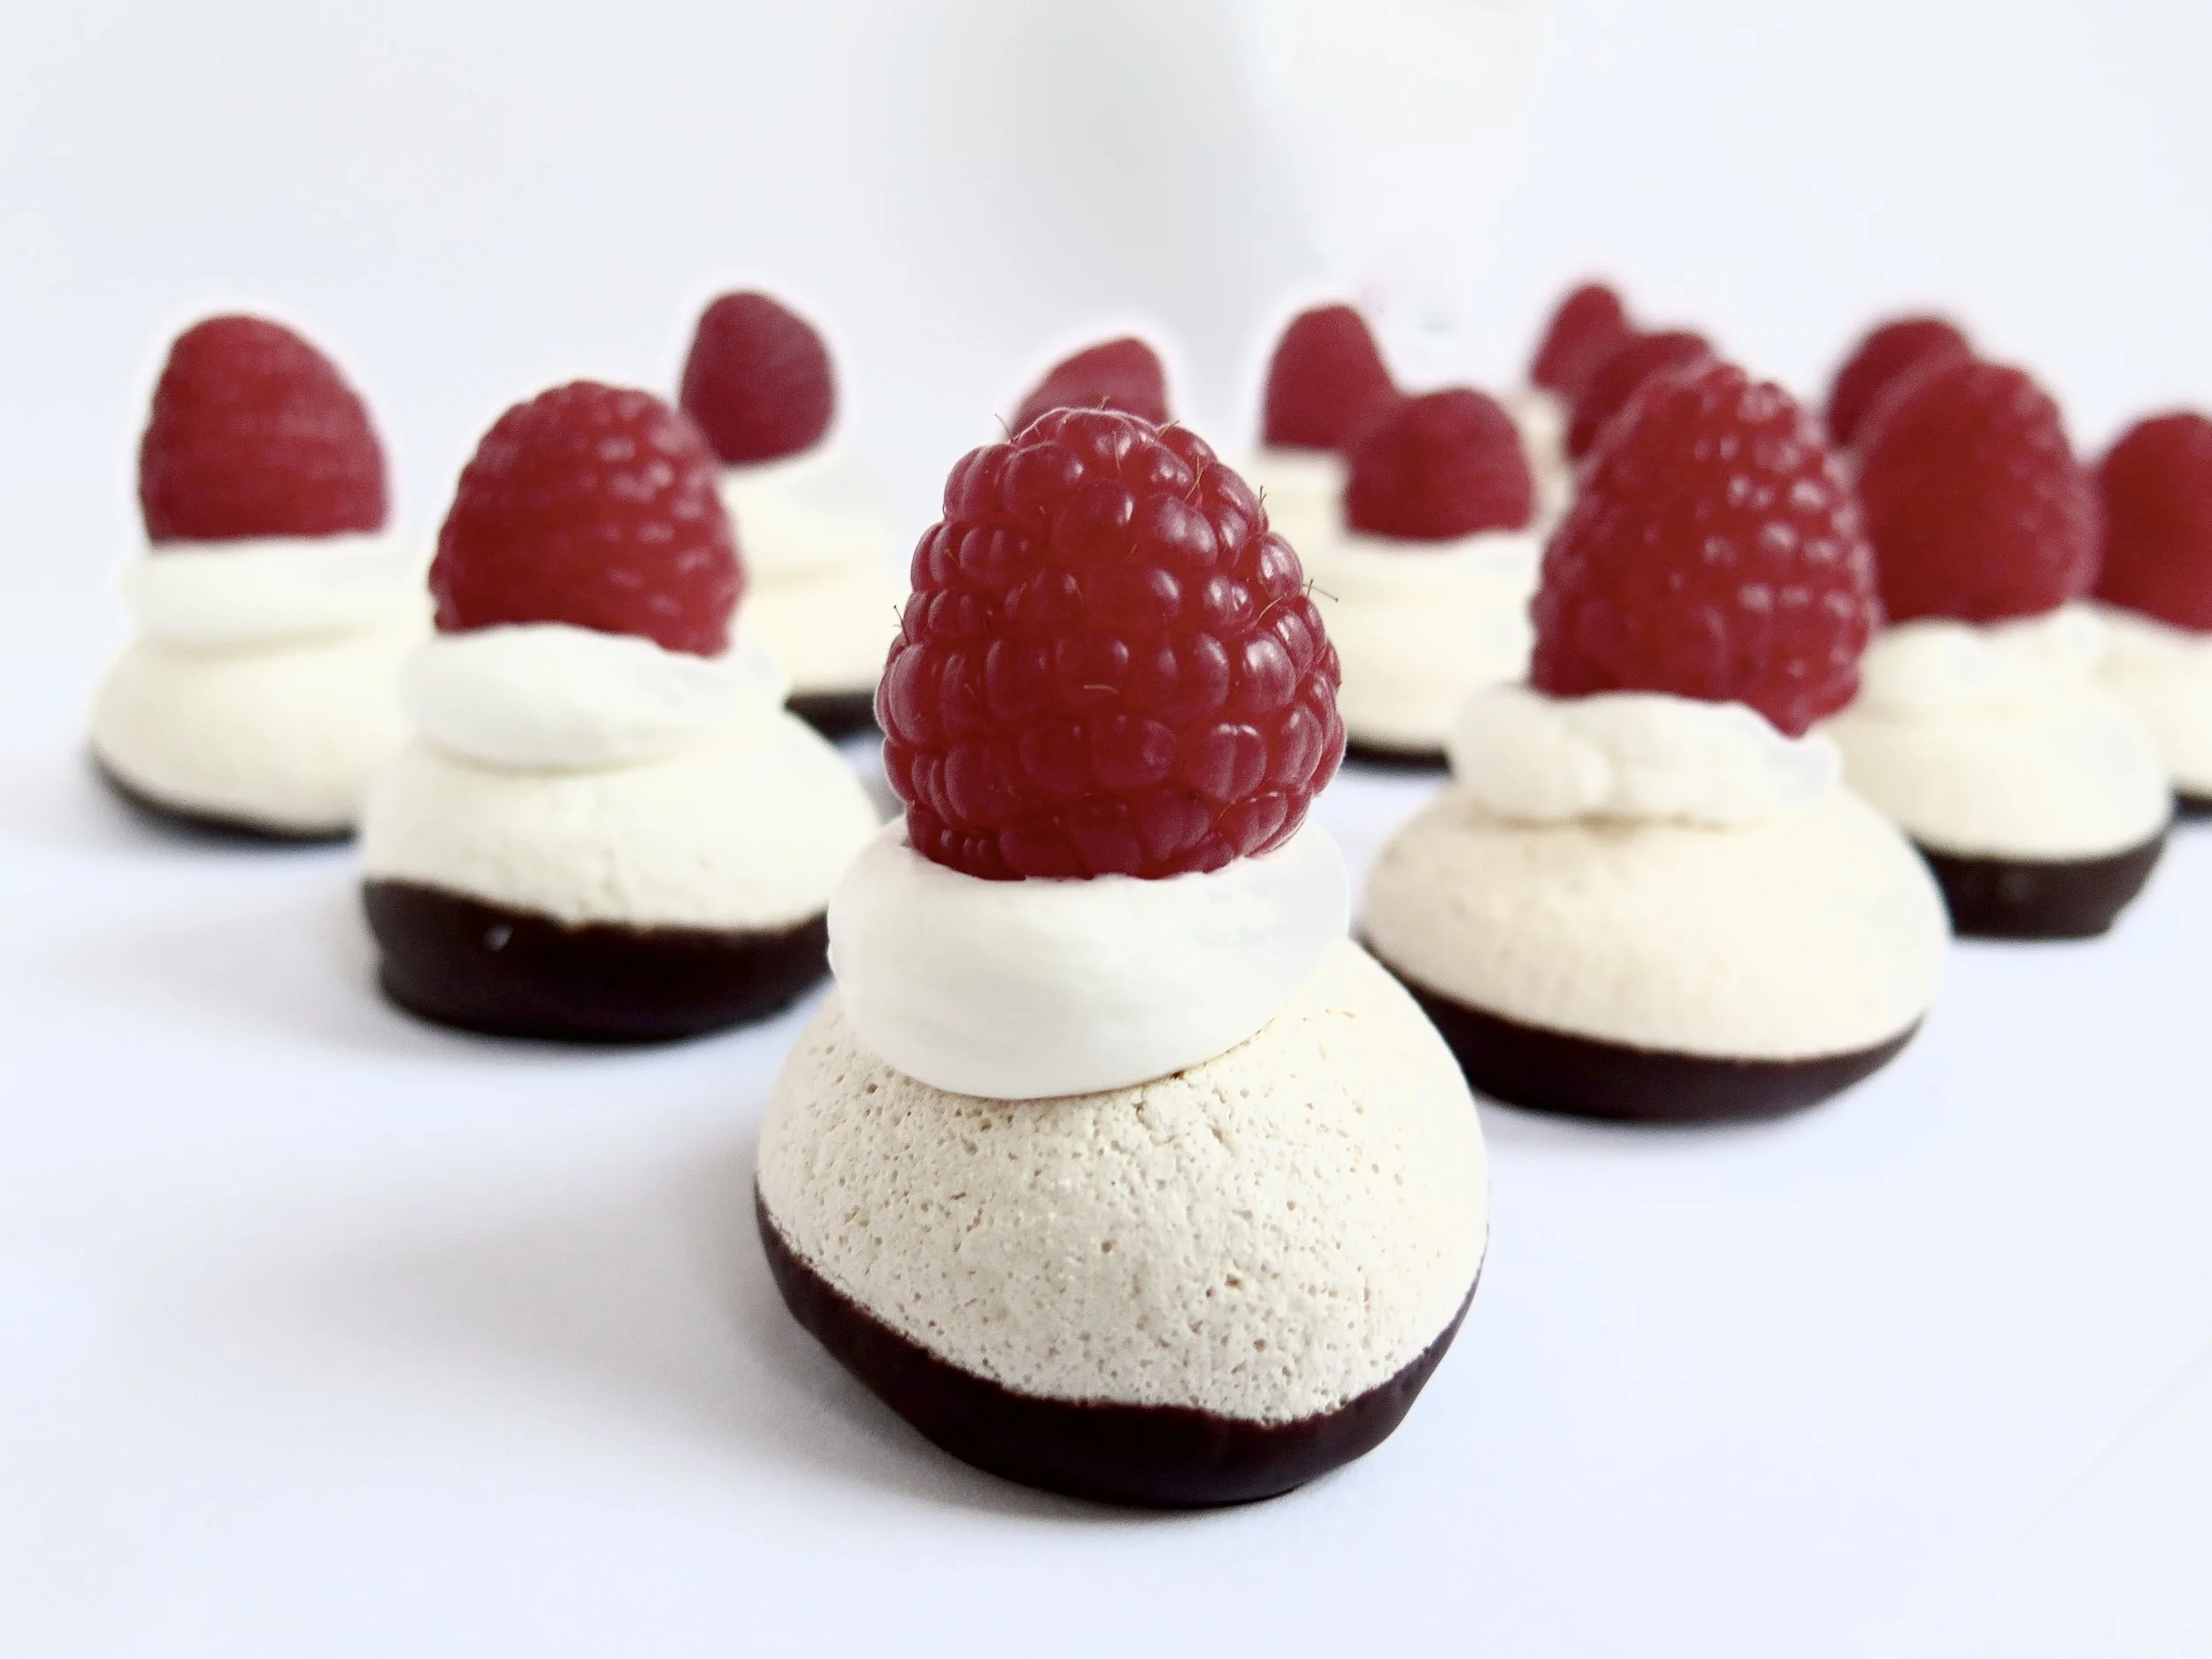
Mini Chocolate & Raspberry Meringues

According to most newspapers, January should be the month of indulgence deprivation. With the weather cold, grey and bleak, we’re being told that now is the time to eliminate everything that affords even a hint of pleasure. I admit that it may be time for me to cut down on the panettone habit: I caught myself tearing off fleecy chunks of the ambrosial, yellow, sultana-studded fluff and crowding my mouth until it overflowed. 

Mini chocolate & raspberry meringue

My brother actually created a time-saving method which anticipated the bolus of food that would develop in the gullet by compressing the panettone in his hands first before devouring. I was impressed.

Mini chocolate & raspberry meringue

Fortunately, but lamentably, my mother prevented me from importing from Italy to England the 5 kg of panettone that I’d bought (with the pretence of giving as gifts). To cope with the withdrawal symptoms, I made these instead.  

Mini chocolate & raspberry meringue

I refuse to deprive myself of pleasure - these can be a happy halfway house. So numerous that they can be popped into the mouth in one without anyone noticing that the supply has been reduced, so light that they can be enjoyed without having to loosen waistbands to accommodate them, and so small that they make gorgeous bejewelled petit fours at dinner parties without the guilt attached, in my case, to eating an entire pavlova.  

Mini chocolate & raspberry meringue
Mini Chocolate & Raspberry Meringues

The dark chocolate base adds a touch of sophistication and slight bitterness to undercut the sweetness, and the raspberry provides that much needed astringency to cut through it. Crunch, creaminess, chocolate and tang, all in one mouthful – who needs 5kg of panettone? 

Mini Chocolate & Raspberry Meringues

Ingredients

(makes 70 mini meringues - halve the recipe if you would like fewer)

90g egg white (the whites of 3 large eggs)

175g caster sugar

150g good quality dark chocolate (70%)

200ml double cream

350g raspberries (approximately 1 per meringue)

30g icing sugar (optional)

2 large baking sheets lined with baking parchment

A piping bag fitted with a round 1cm nozzle to be used twice: first to pipe the meringue, and then the cream.  It can be marginally larger or smaller than 1cm. If you lack a piping bag, you can use a freezer bag and cut off a corner to replicate a 1 cm sized nozzle.

Method

  1. Preheat oven to 130°C. Pour egg whites into an electric mixer fitted with a whisk and whisk on high speed until soft peaks form.  It should be foamy in appearance.
  2. Switch the speed to medium-high and pour in caster sugar one tablespoon at a time. Once each tablespoon has dissolved into the mass of egg white, add the next. Keep whisking until the meringue forms hard peaks and is glossy i.e. the meringue should hold its shape when drawn into peaks with a spoon and the tracks of the whisk are visible in its surface.
  3. Spoon the meringue mixture into the piping bag.  Holding the nozzle at a right angle to the baking parchment, pipe 3cm diameter sized meringue peaks onto the parchment in rows, leaving 3cm between each one (they expand slightly as they bake). Place in the oven and cook for 45 minutes, checking after 30 minutes. Once cooked, switch the oven off and allow to sit for another 15 minutes in the oven. They should remain pale and be crisp on the outside and slightly soft in the centre. Remove cooled meringues from the oven, and set them aside.
  4. Break the chocolate into pieces and place in a bowl over a pot of simmering water. Don't allow the water to touch the base of the chocolate bowl. Don't melt the chocolate directly in a pan on the stove as this causes it to seize. Allow to melt, stirring occasionally until glossy and smooth. Remove from the heat. Lightly holding the meringues at the sides with thumb and forefinger, dip the base of each meringue into the molten chocolate so that it coats the base and up to 1cm on the sides of the meringue. Place the dipped meringues back on to the baking parchment. Once the whole batch is coated, place the tray in the freezer for 10 minutes to allow them to set.
  5. In an electric mixer fitted with a whisk (or by hand if you’re feeling strong), whisk the cream until thickened. The tracks of the whisk should be visible and it should hold light peaks. Spoon the cream into a piping bag and pipe about a teaspoon of cream on to each meringue. Place a raspberry on each cream peak, face down. Sieve icing sugar over, if desired, and serve. 
  6. Best eaten on the day but the meringues without topping can be kept in an airtight container for a couple of weeks in a cool dry cupboard, and for a month in the freezer.
Mini Chocolate & Raspberry Meringues

HUNGRY FOR MORE?

Comment

Caramelised White Chocolate Cheesecake

5 Comments

Caramelised White Chocolate Cheesecake

IMG_1368-Copy.jpg

  Caramelised White Chocolate Cheesecake with Salty-Sweet Fudgy Biscuit Base & Blackcurrant Glaze
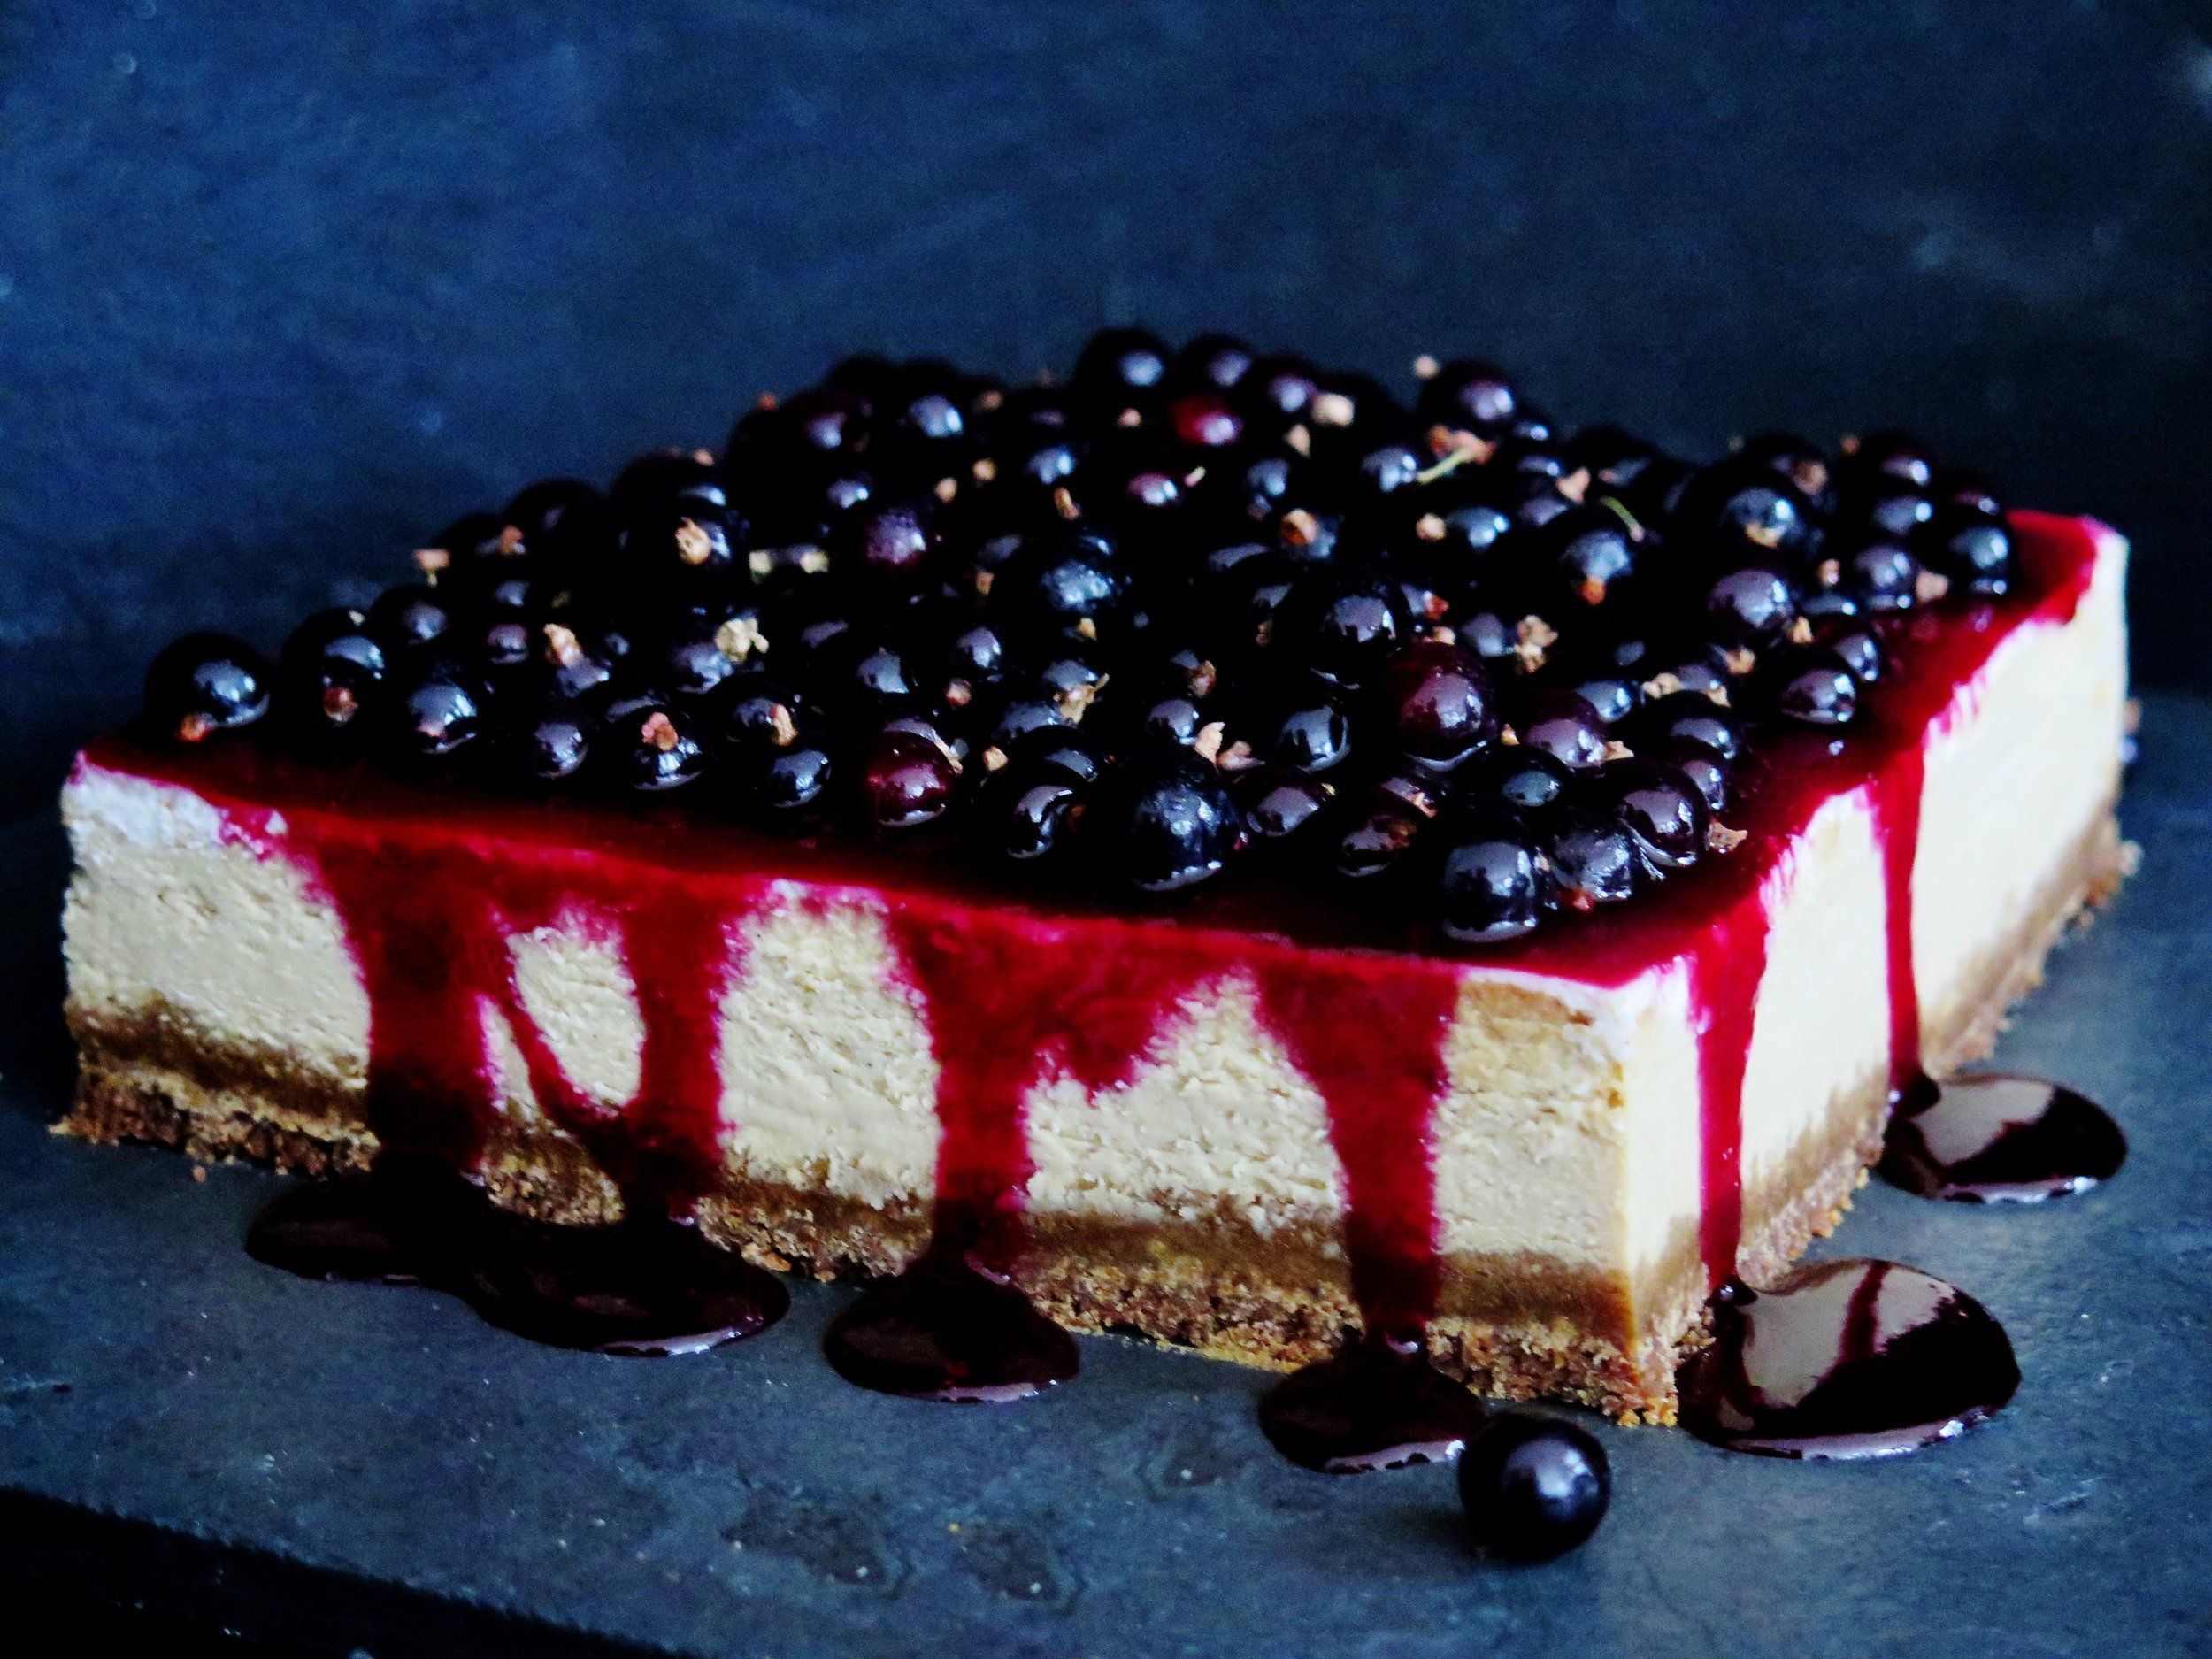
Caramelised White Chocolate Cheesecake


I’m at risk of sounding like one of those mindless click-bait buzzfeed articles when I say this, but I mean ever word: you’ve been eating white chocolate incorrectly your whole life.

Caramelised White Chocolate Cheesecake


Would you believe me if I told you that the innocent Milky Bar Kid’s saccharine white cocoa butter chocolate has a deeper, darker, more seductive side?
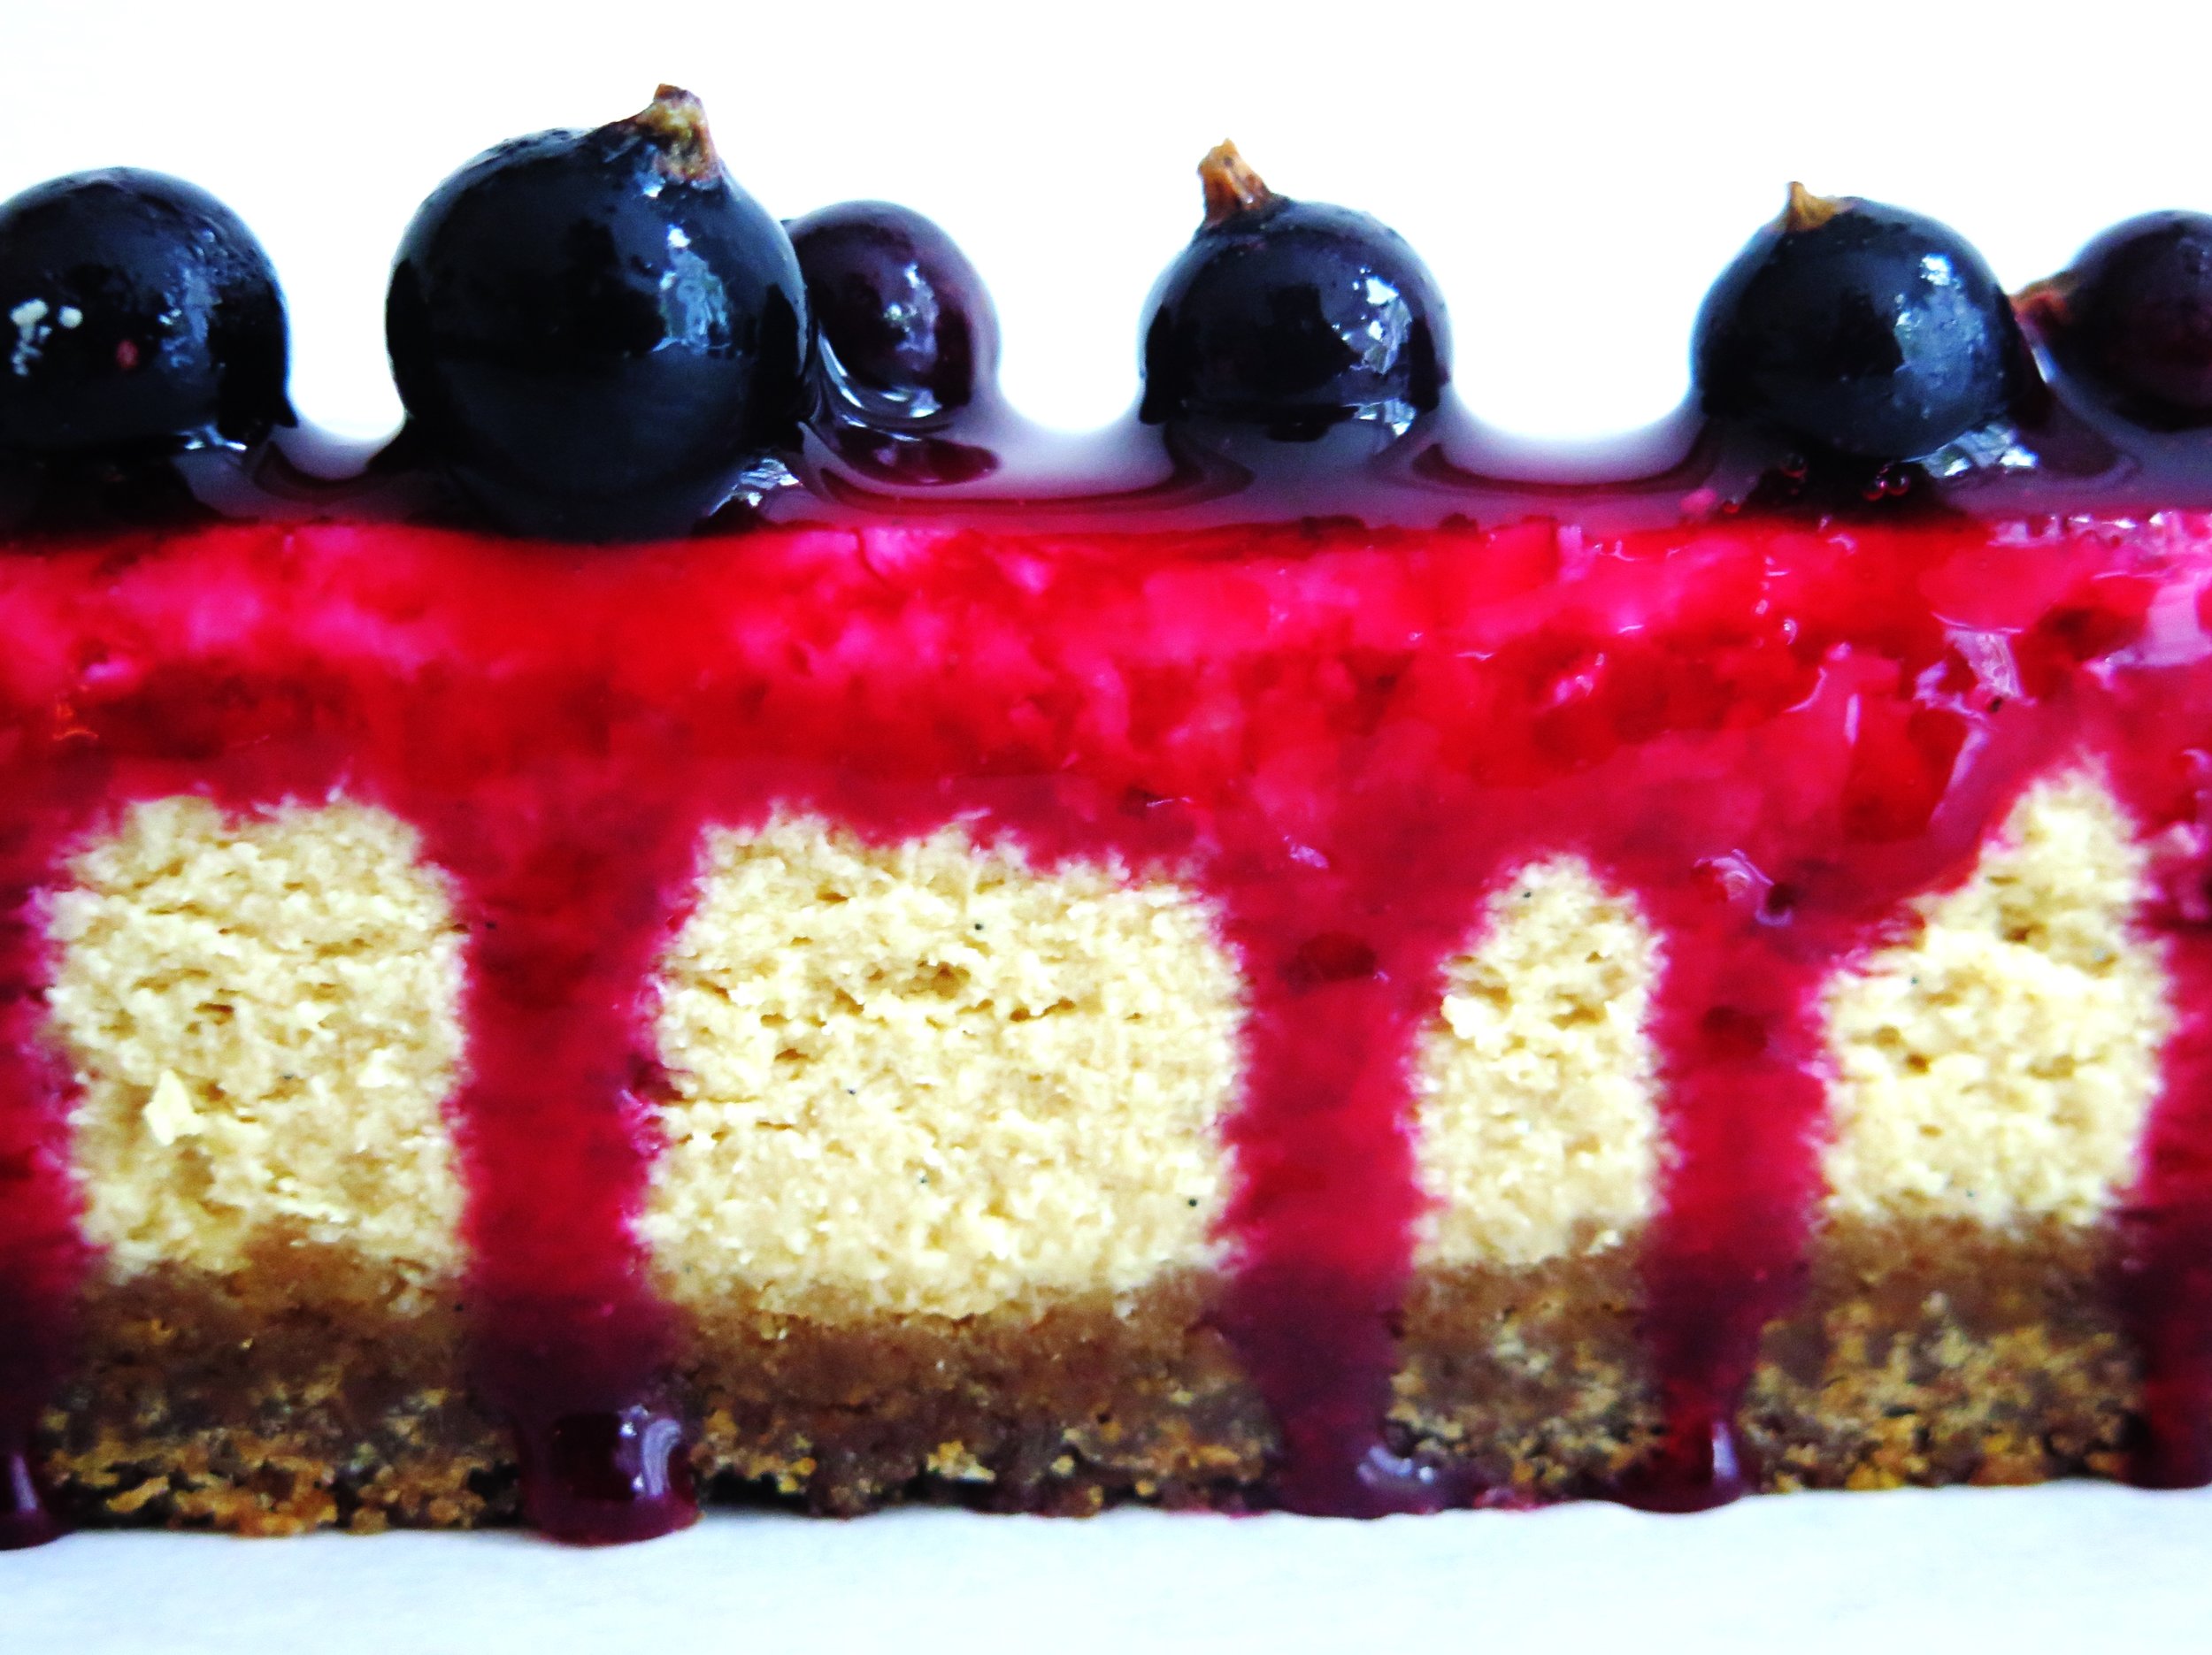
Caramelised White Chocolate Cheesecake

The corruption process is simple.  All you need is:

- heat

- good quality white chocolate

-a tray

Caramelised White Chocolate Cheesecake

After about 20 minutes, the heat will begin to convert the pool of glossy molten cocoa butter into white chocolate’s luscious evil sister.  I dare you to try it.
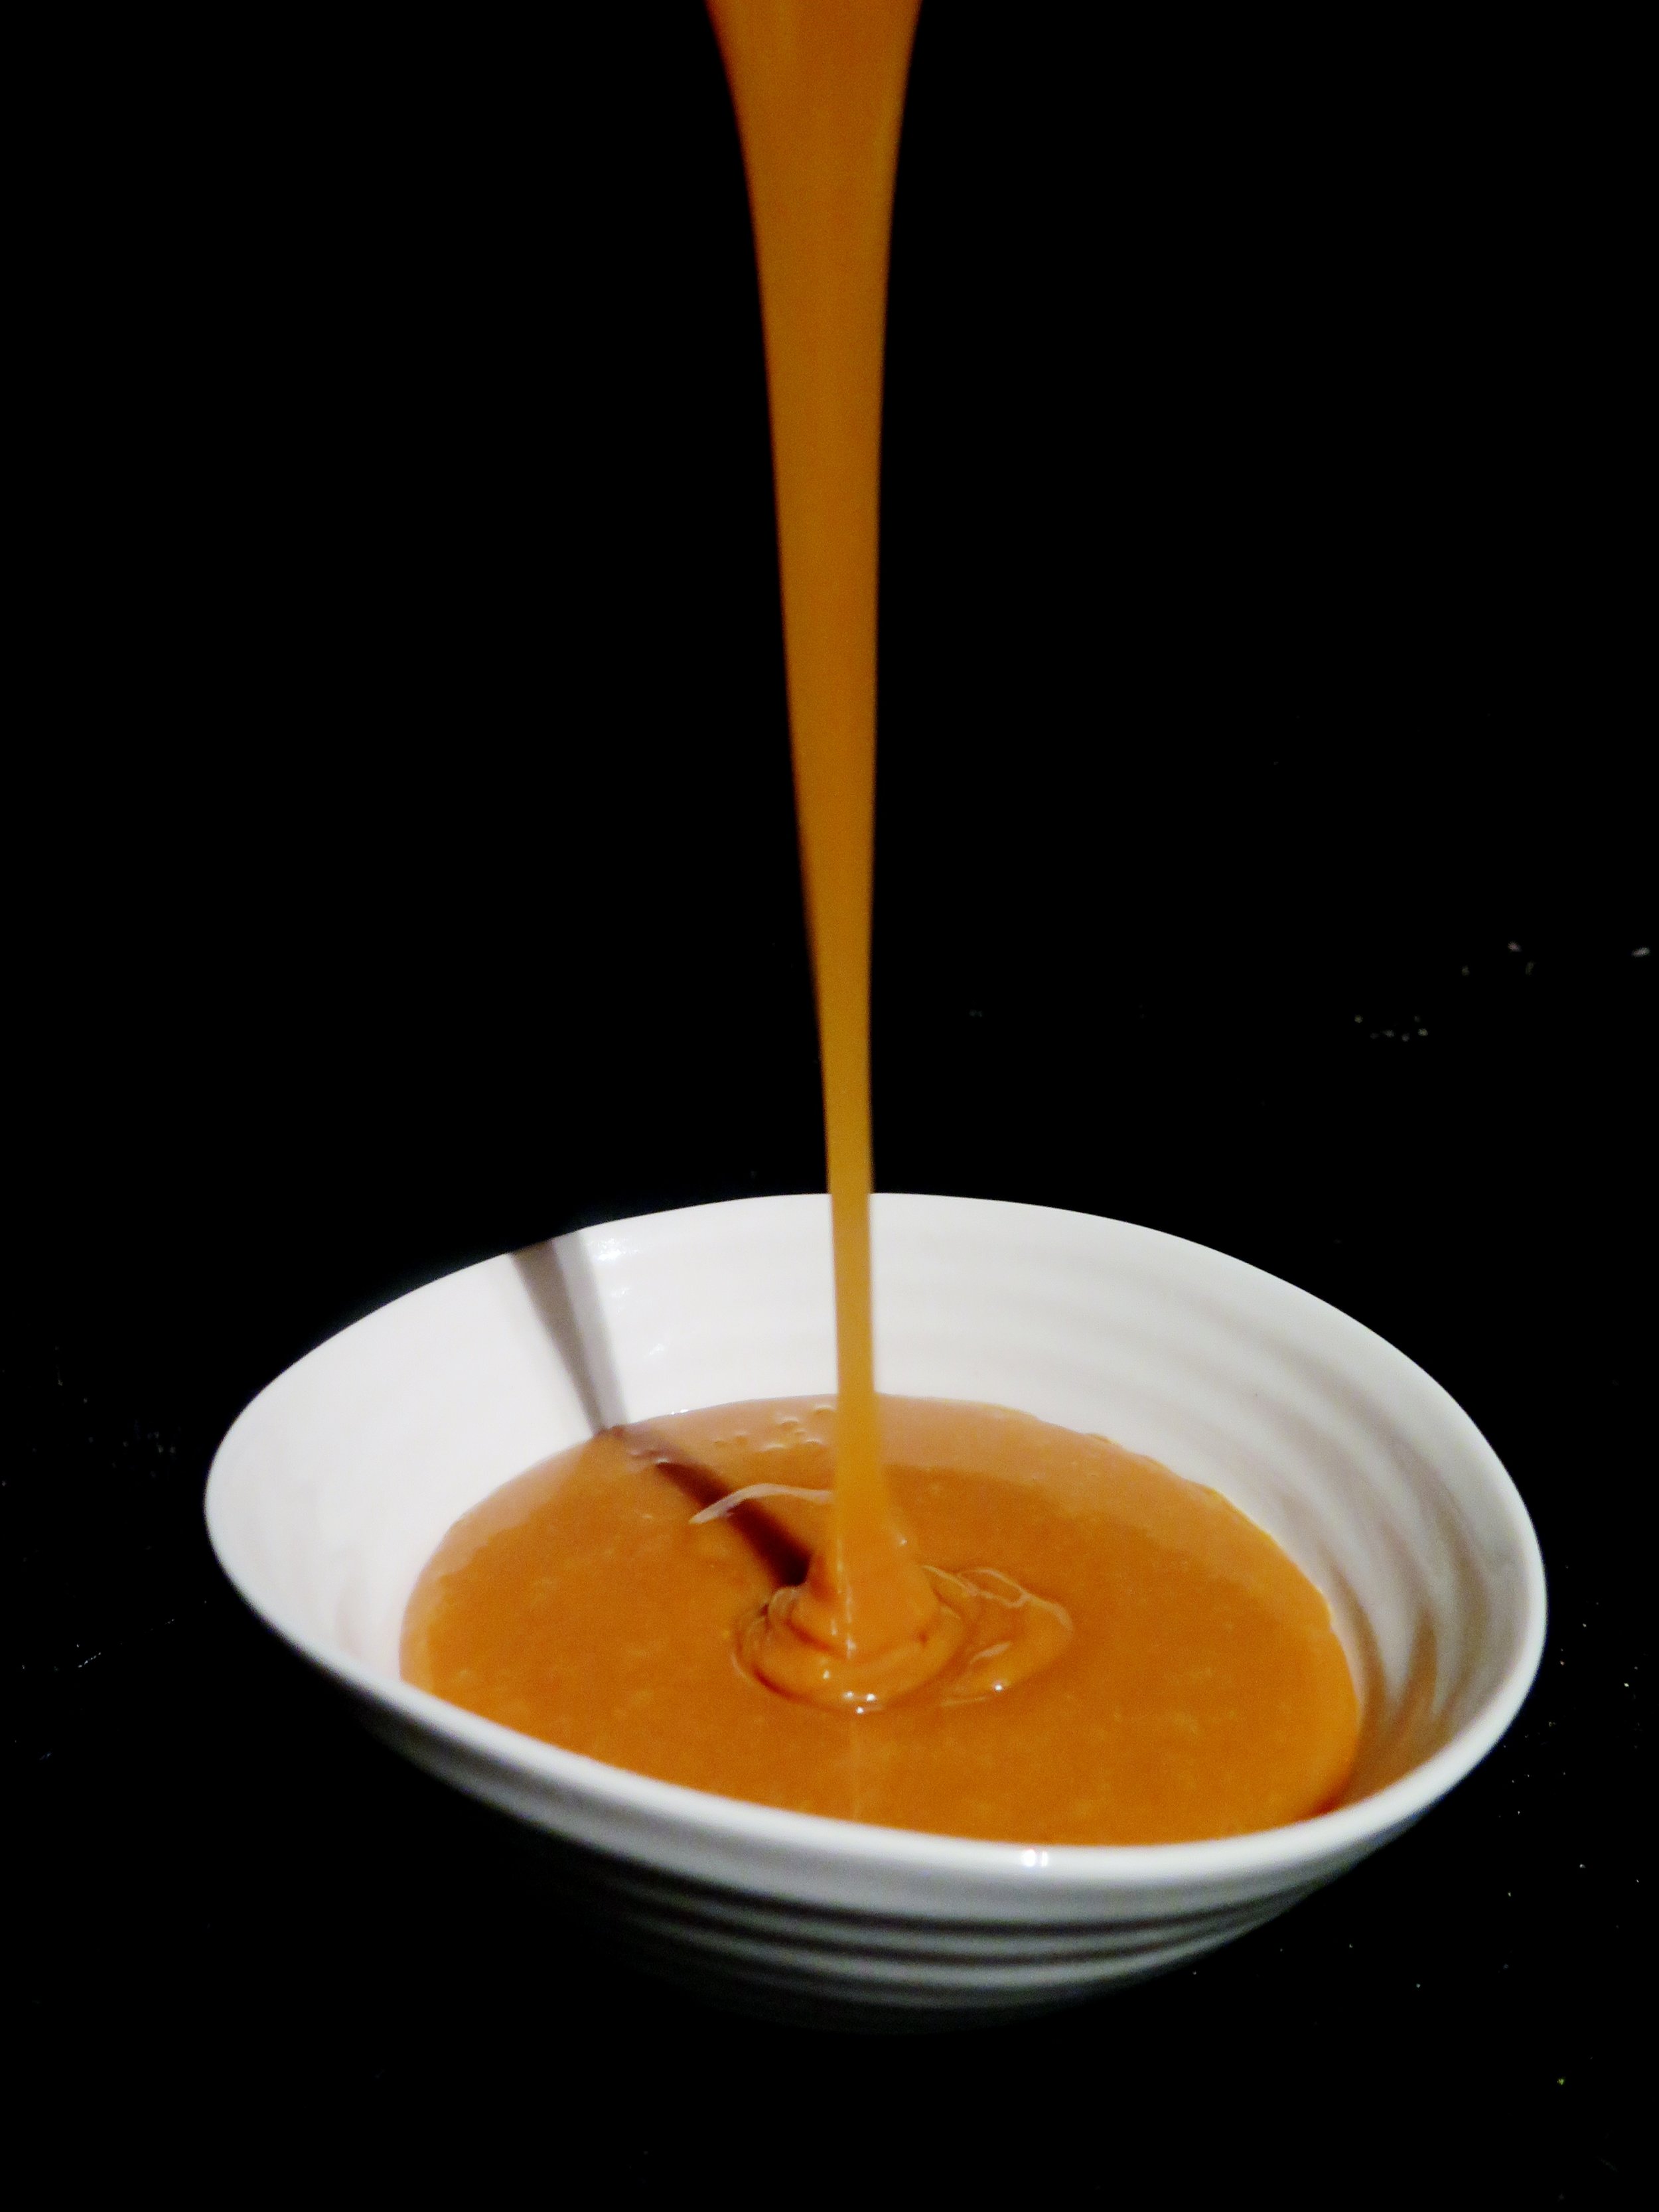
Caramelised White Chocolate Cheesecake

It’s pretty sublime on its own but, if you can resist eating it all, it works deliciously well in a cheesecake.  I pair it with a fudgy, salted, graham cracker-style base and an astringent blackcurrant glaze to cut through the sweetness.

Caramelised White Chocolate Cheesecake

Often cheesecakes call for a base simply made out of crushed store-bought cookies.  I’m no stranger to doing this myself, but I’m always left with a pang of guilt for cheating.  Not only does homemade biscuit base taste better, it’s chemical-free and you have much more control over the flavour balance – this one’s especially fudgy.

Caramelised White Chocolate Cheesecake

However, if you’re feeling lazy you can make the base using 400g digestive biscuits blitzed into crumbs with the 120g browned melted butter.  If you are a coeliac just use gluten-free digestive biscuits.

Caramelised White Chocolate Cheesecake

You can also use non-caramelised white-chocolate.  It will still taste delicious, just not anywhere near as ambrosial.
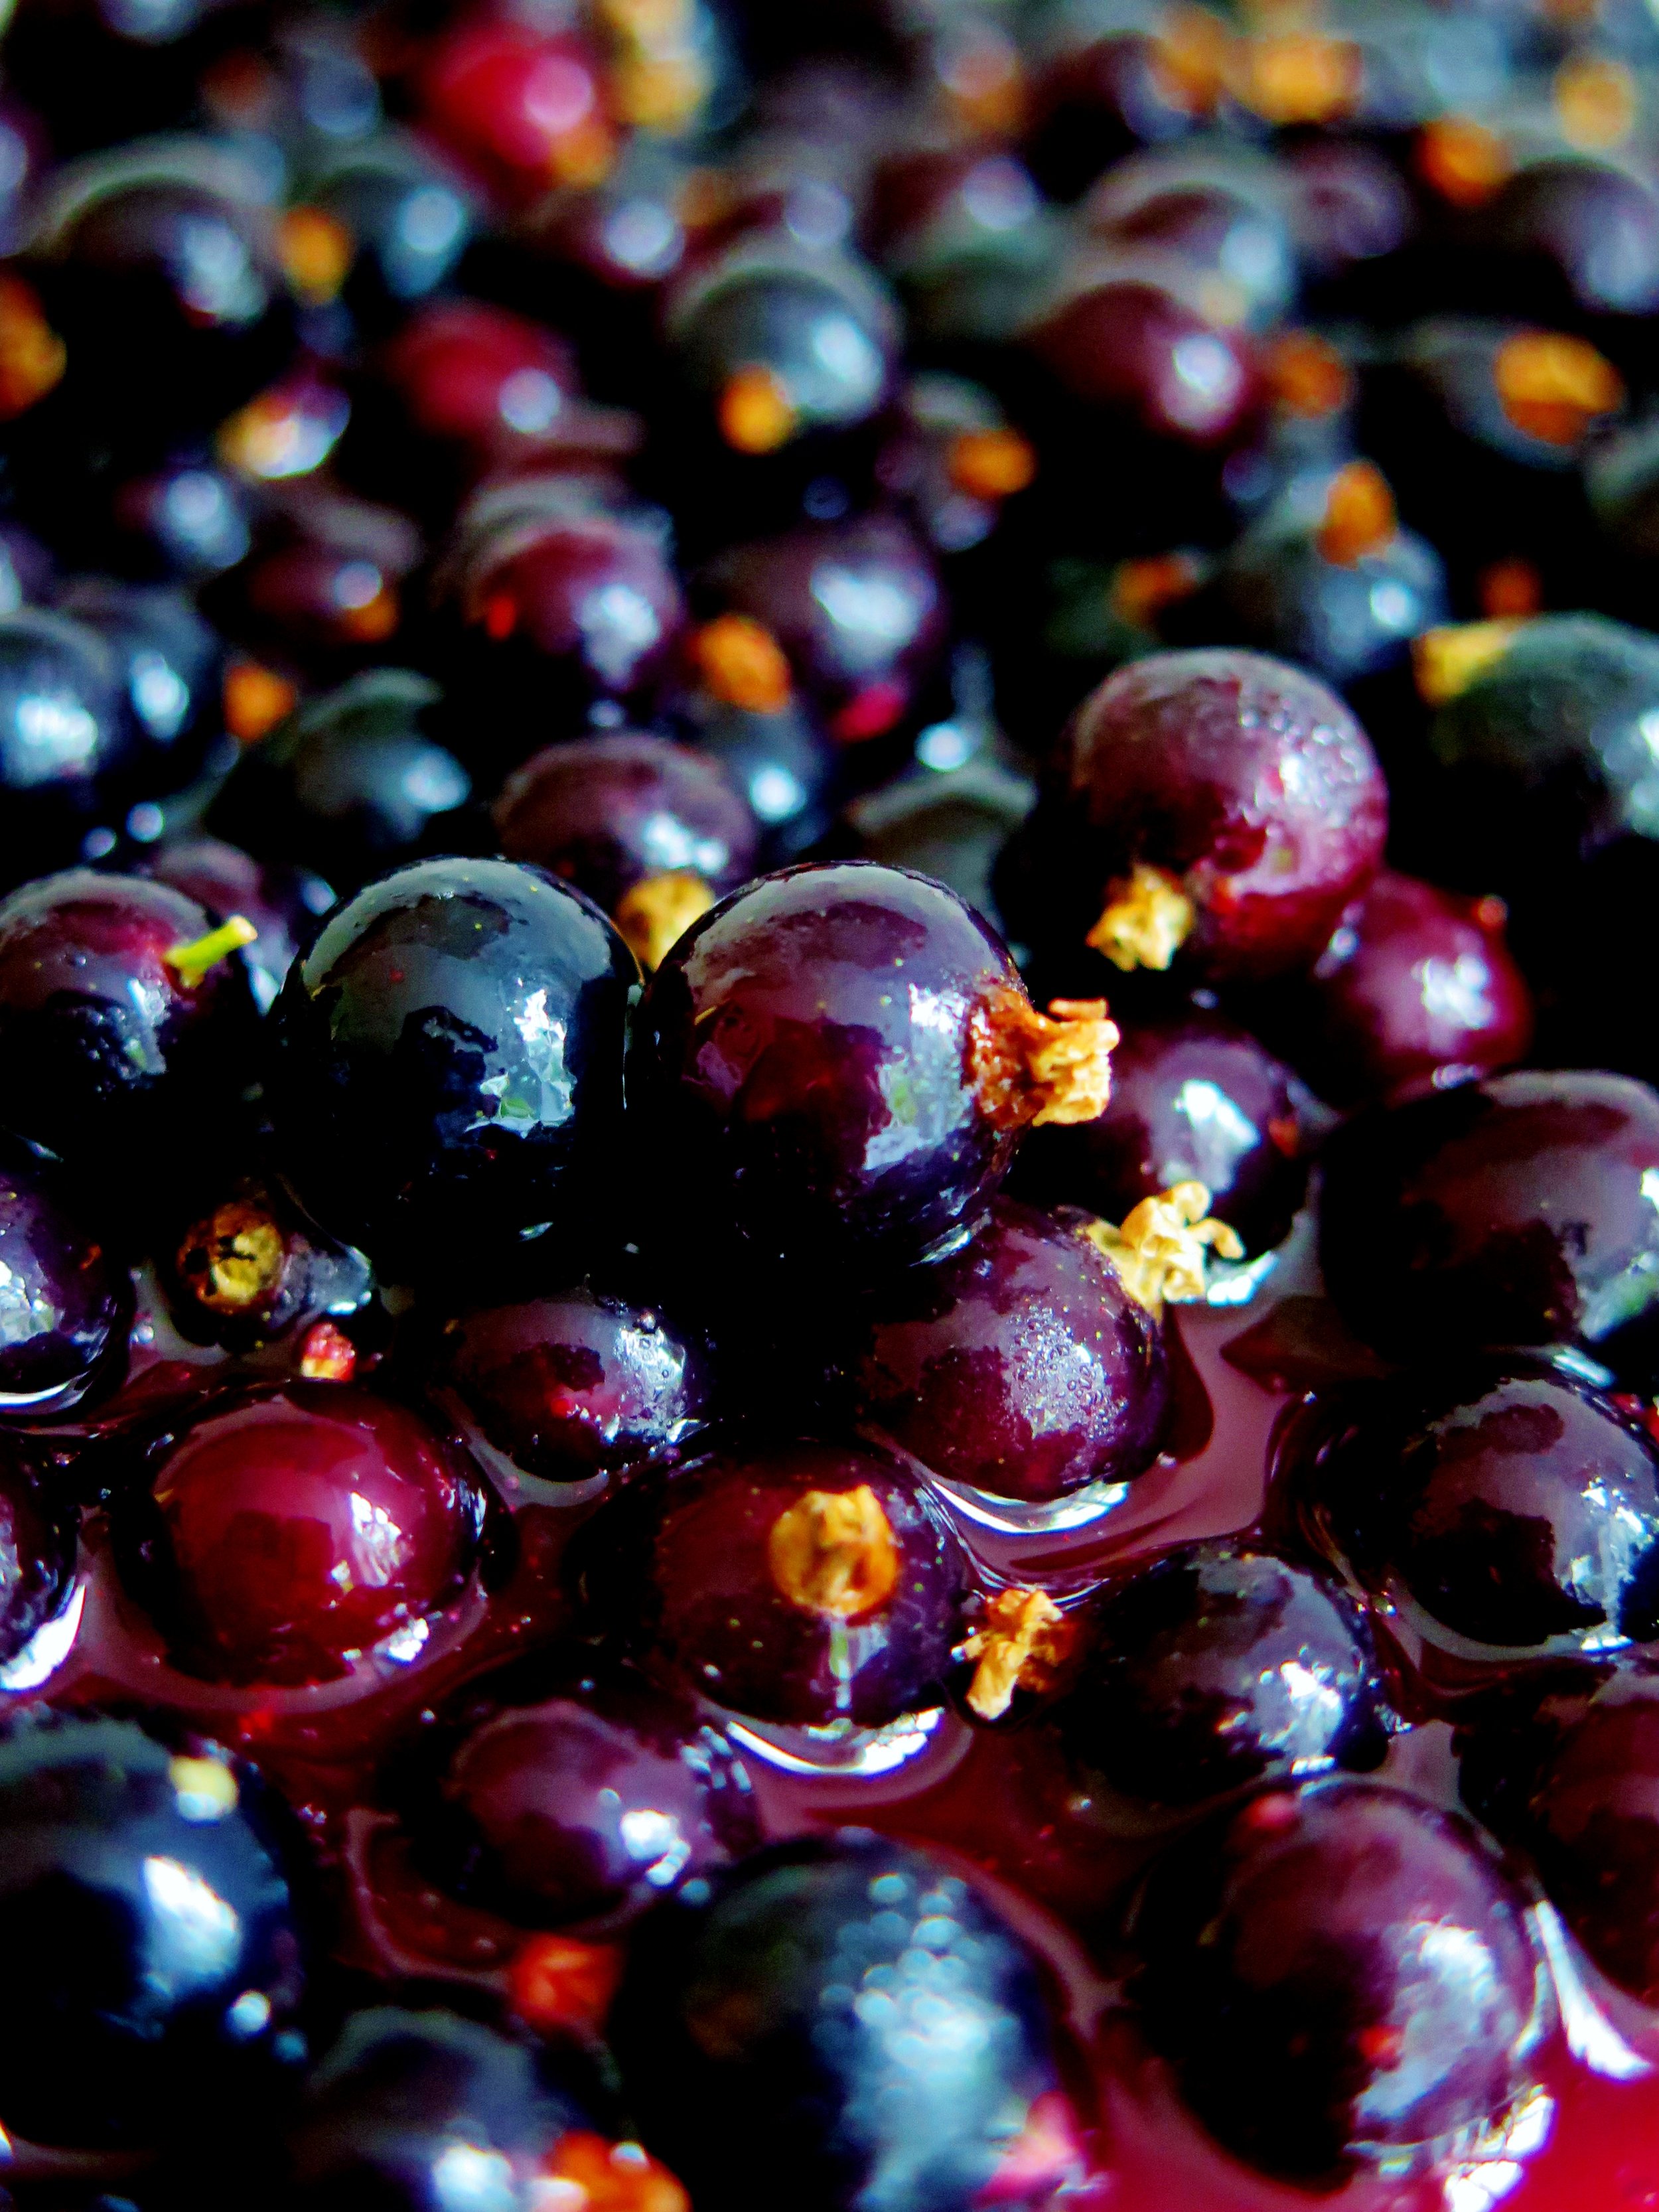
Caramelised White Chocolate Cheesecake

If you can’t get hold of any blackcurrants, feel free to use fresh or frozen raspberries or redcurrants instead.
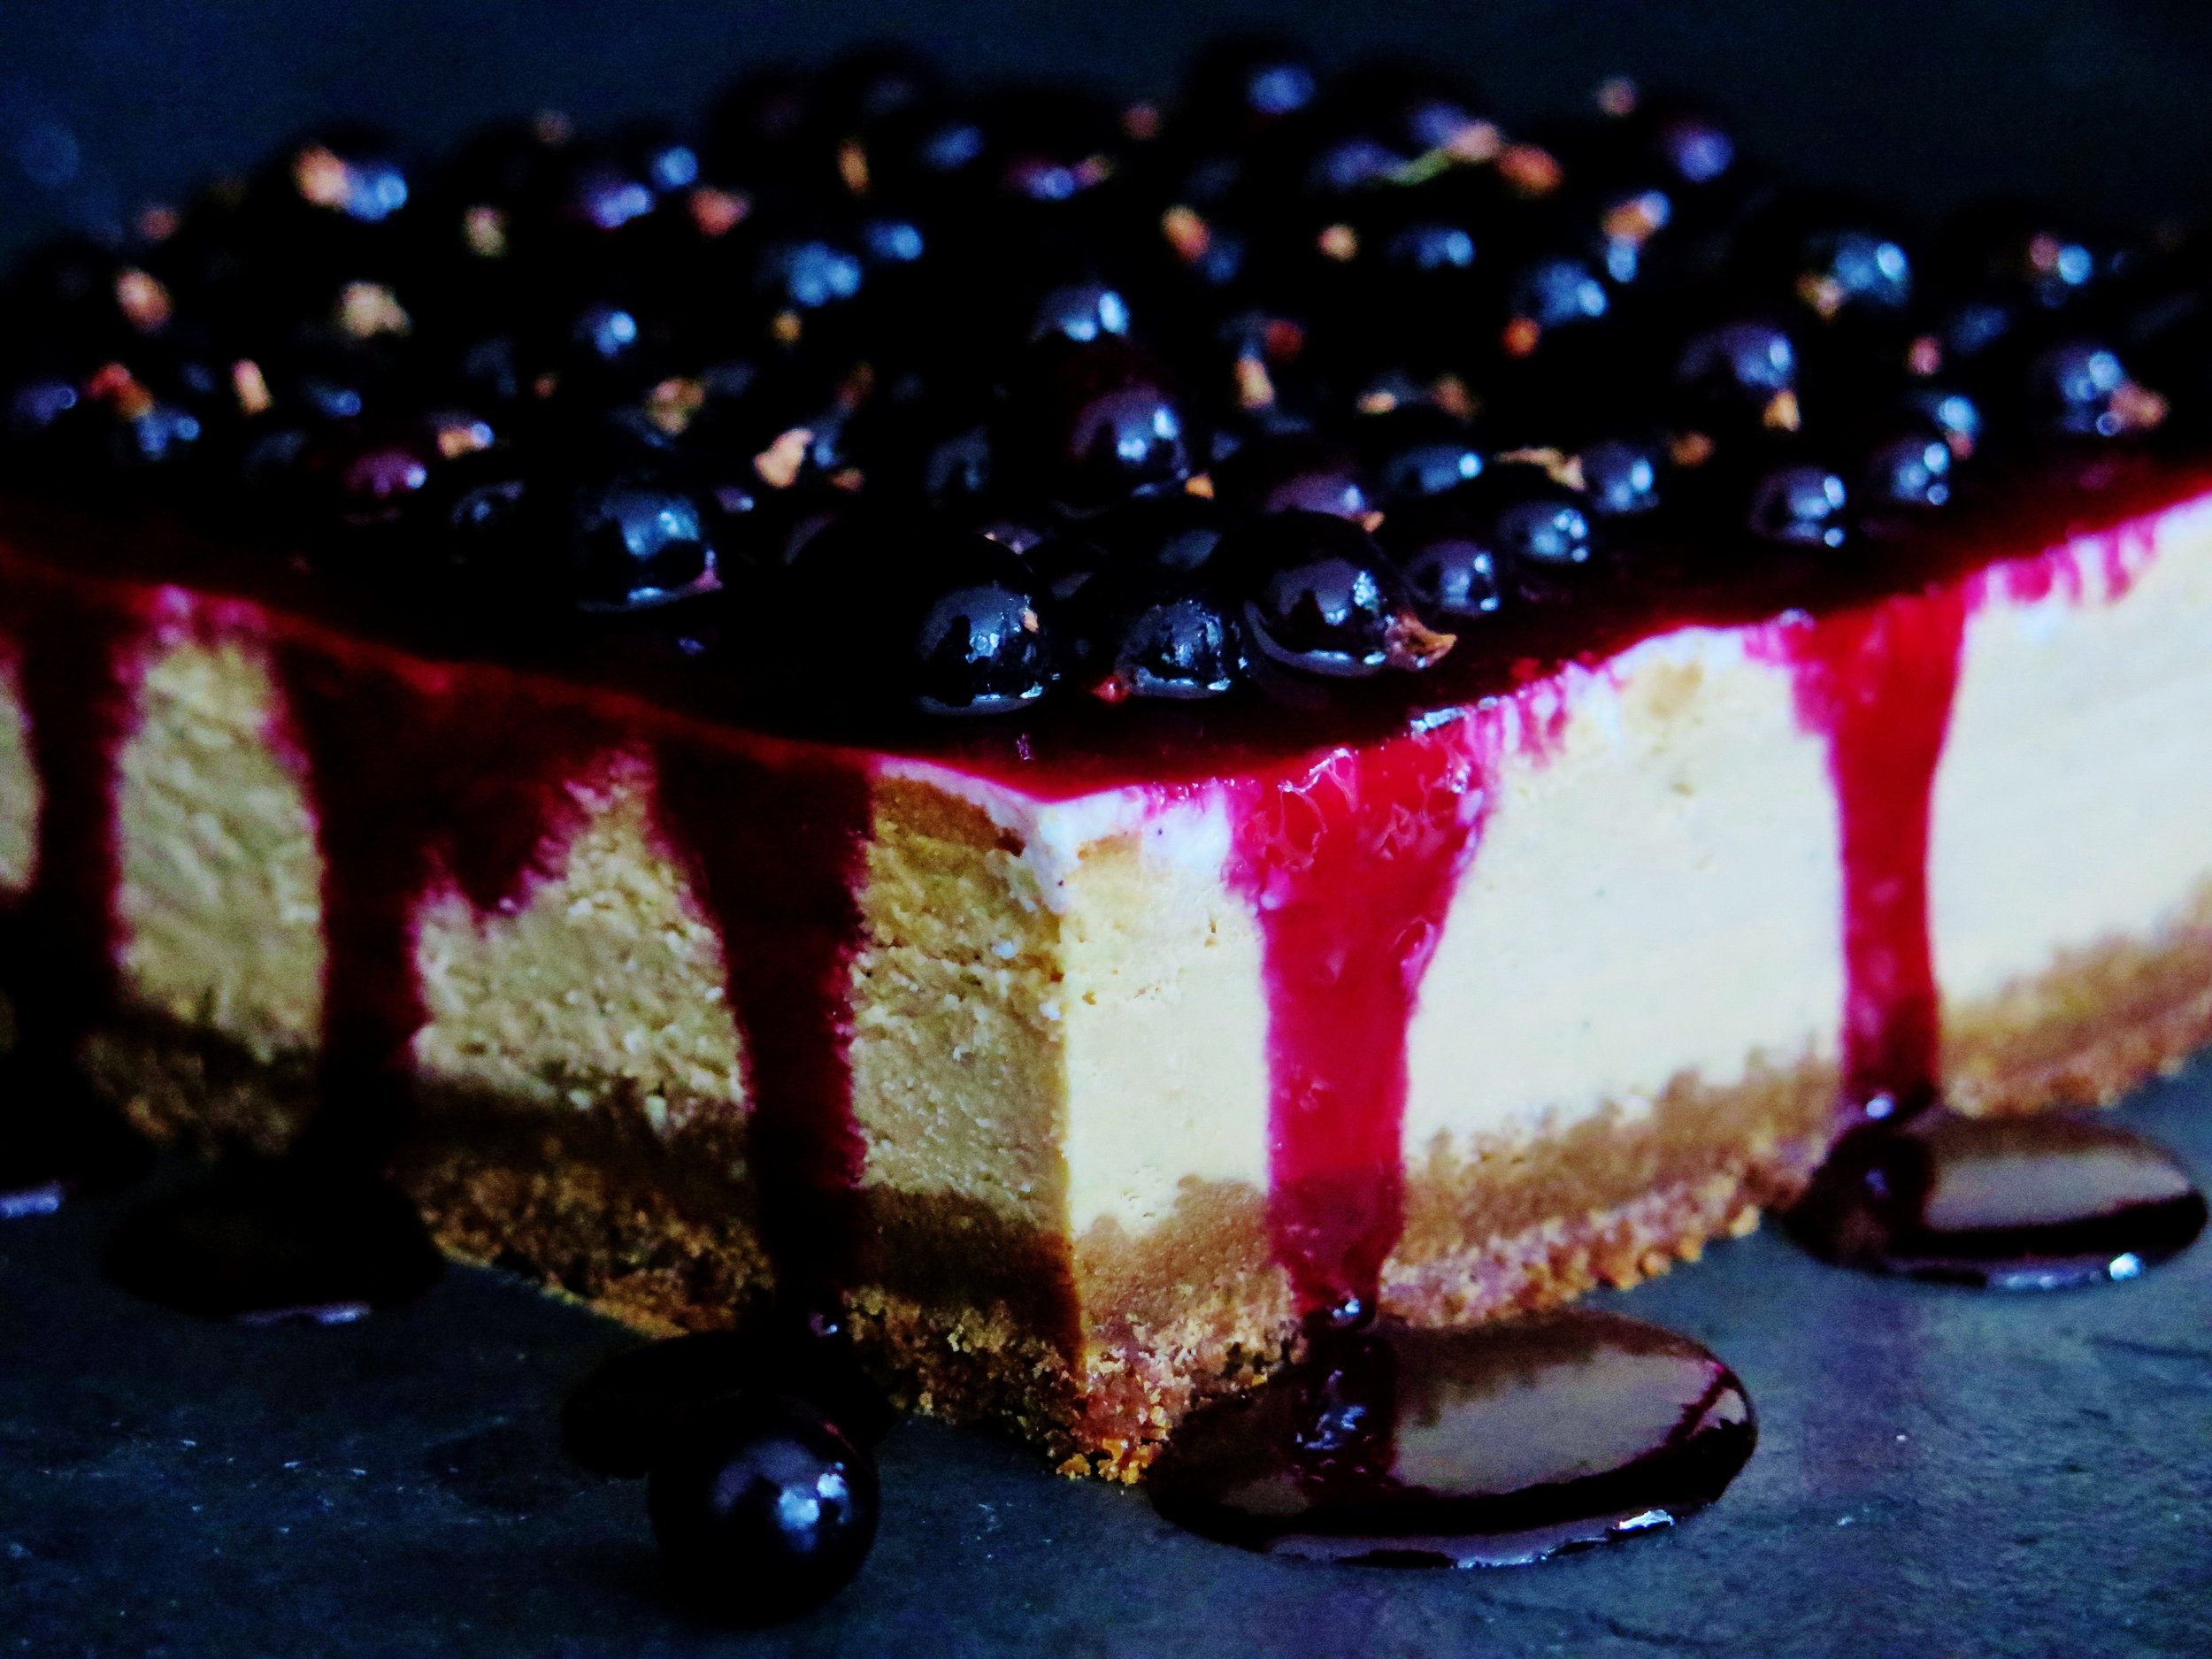
Caramelised White Chocolate Cheesecake

This is best made the day before serving and kept in the fridge overnight.  In fact, the fridge works wonders.
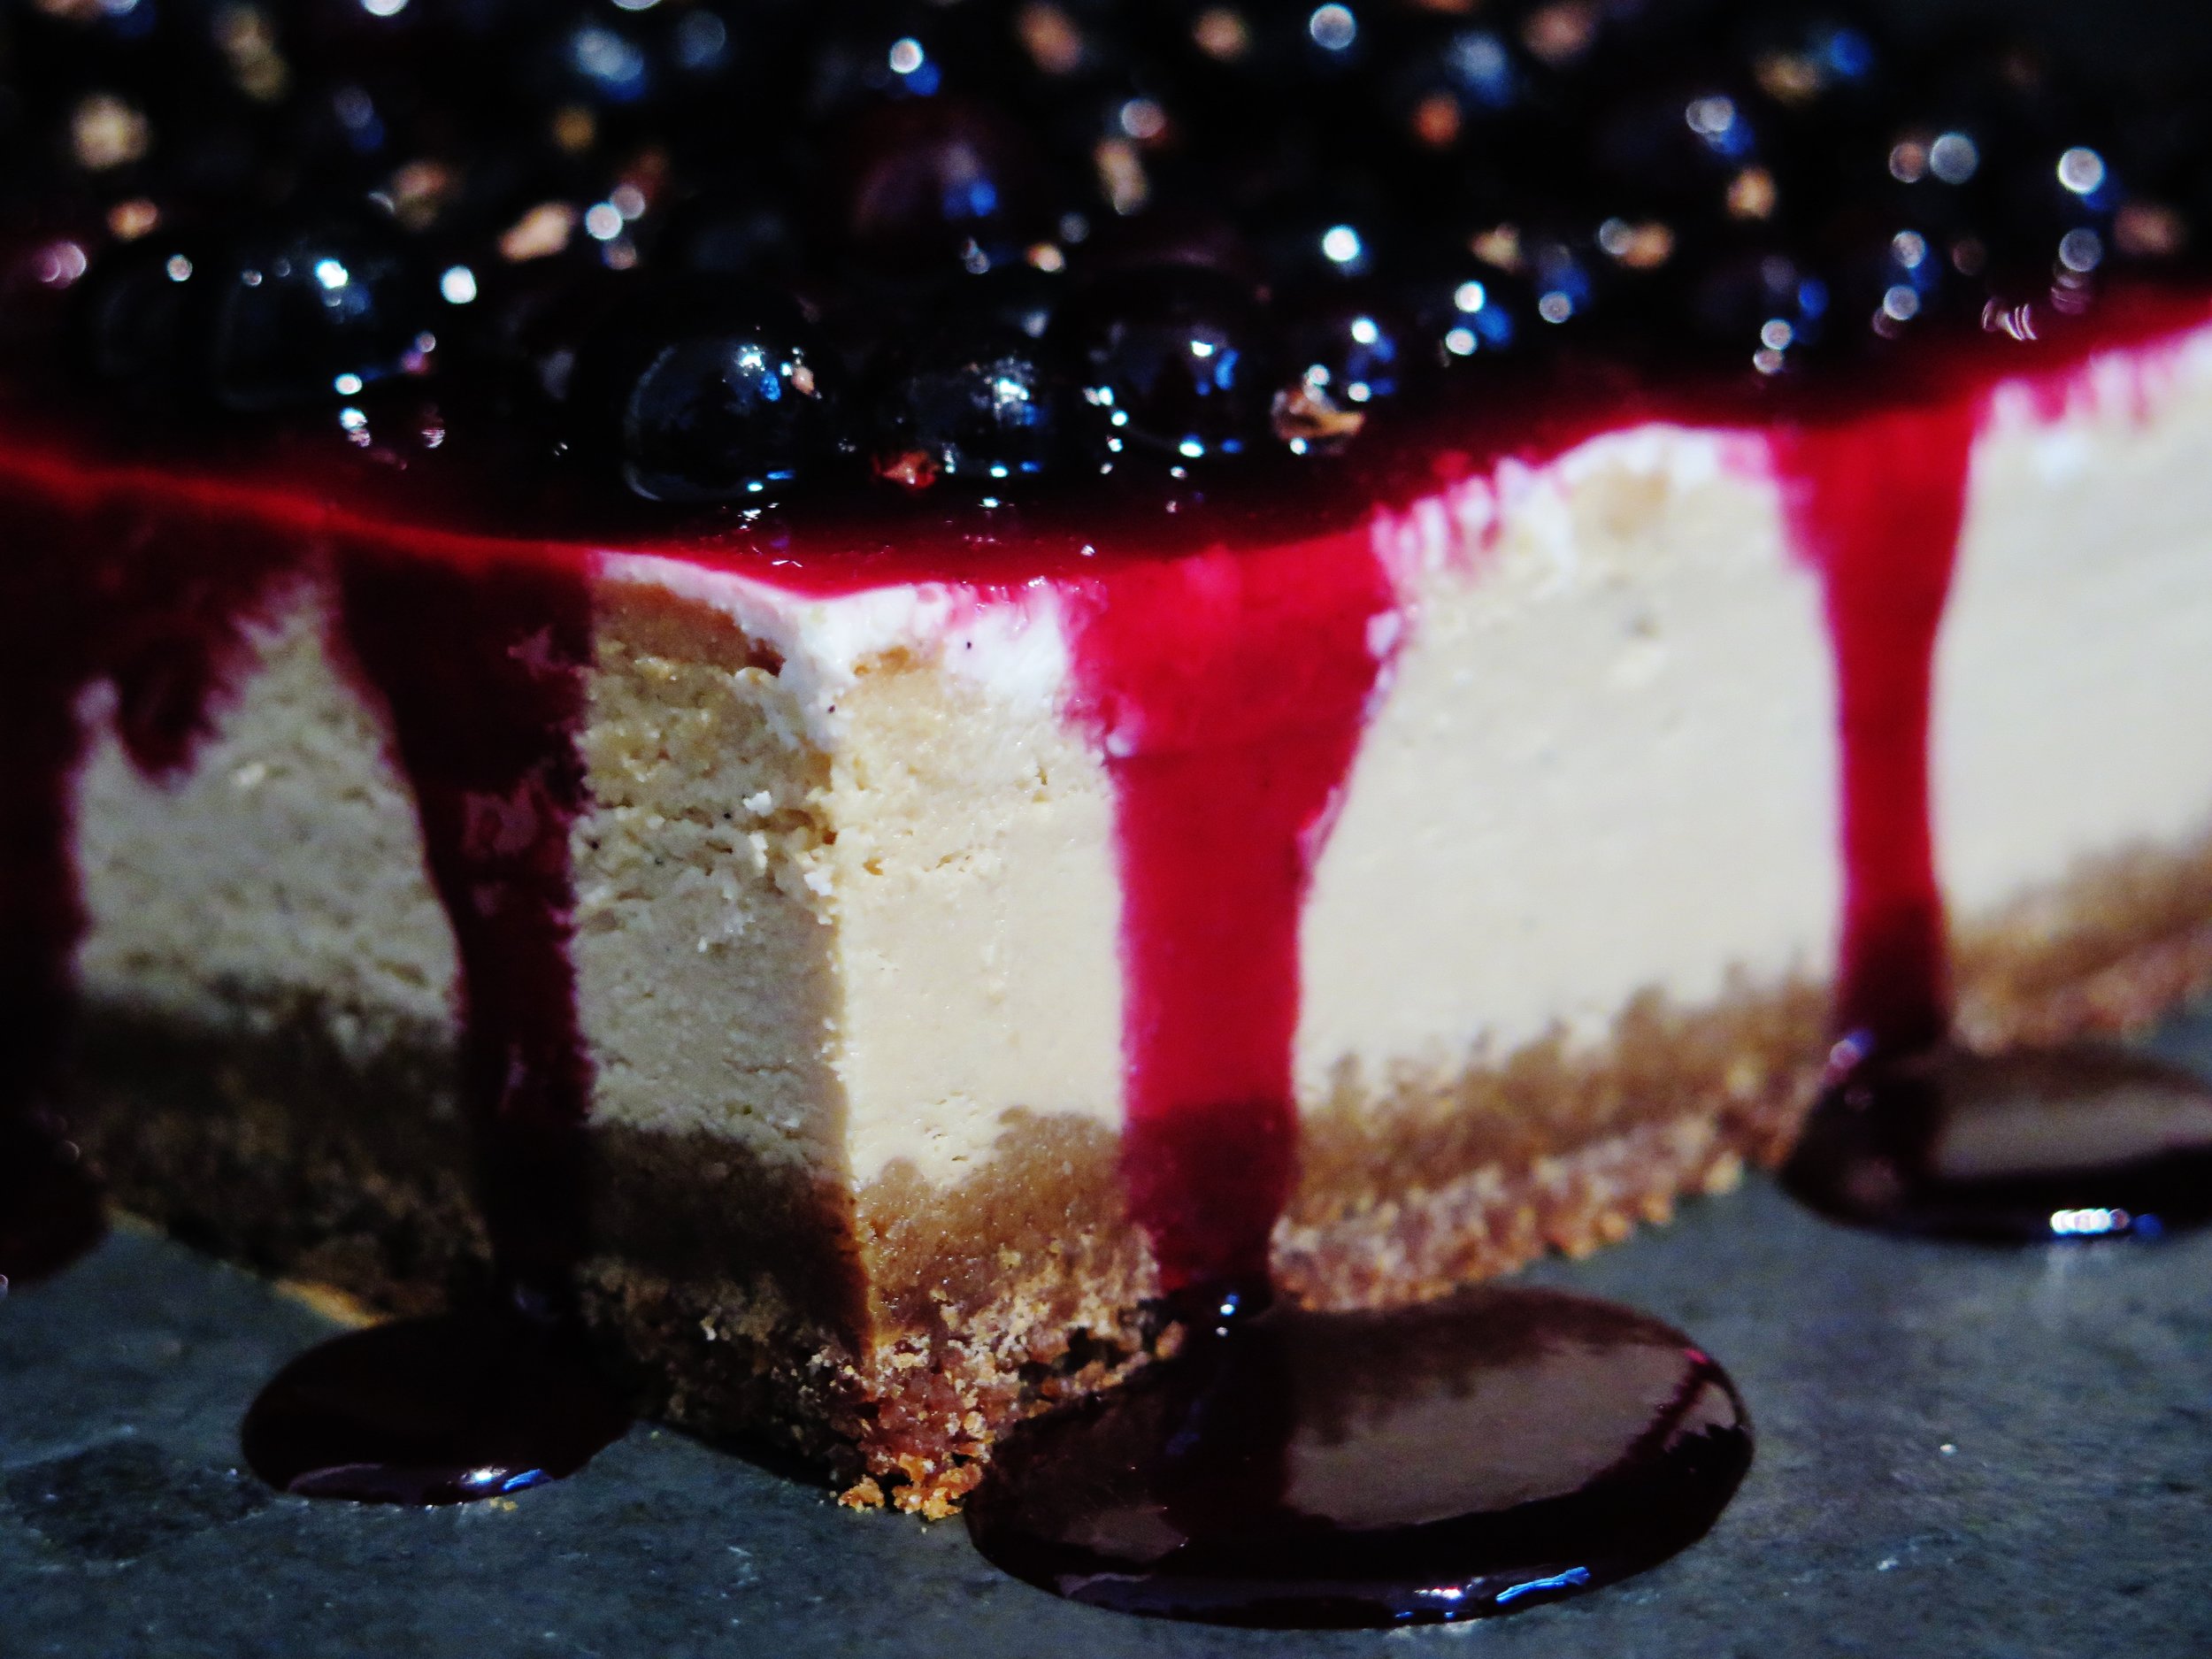
Caramelised White Chocolate CheesecakeCaramelised White Chocolate Cheesecake

Ingredients

Salty-sweet, fudgy biscuit base

200g white spelt flour

60g light muscovado sugar

1 tsp bicarbonate of soda

1 tsp salt

60g unsalted butter, diced

70g clear honey

4 tsp vanilla extract

120g unsalted butter, for melting

Large baking tray, lined with baking parchment

20cm square tin (or round with similar capacity), lined with baking parchment

Caramelised white chocolate filling

300g good quality white chocolate, broken into pieces

180ml double cream

500g full fat cream cheese, at room temperature

100g caster sugar

4 eggs, at room temperature

1 tbsp vanilla bean paste (or the seeds of 1 vanilla pod)

Bone dry baking tray (preferably non-stick)

Sour cream topping

220ml sour cream

40g icing sugar, sifted

Blackcurrant glaze

200g blackcurrants

80g caster sugar

3 tbsp water

100g fresh blackcurrants to decorate (optional)

Method

Salty-sweet fudgy biscuit base

  1. Preheat the oven to 180˚C. Pour flour, sugar, bicarb, salt and diced butter into a blender and blitz until the mixture resembles damp sand. Alternatively, use your fingers to rub the butter into the other ingredients.
  2. Whisk together the honey, vanilla and milk. Stir this into the dry mixture to combine and form a paste-like dough.
  3. Spread the dough on to the baking tray in an even 0.5cm thick layer. Bake in the oven for 15-20 minutes until golden brown and cooked through.  If it doesn’t become dry and brittle after cooling, bake for a further 5 minutes.
  4. Brown the 120g of butter for melting by placing it in a pan over medium heat and allowing it to turn a golden brown before setting it aside to cool.  It should give off a wonderfully nutty aroma.
  5. Crumble the baked biscuit into a blender with the browned melted butter, and pulse until it turns to damp sand-like consistency. Tip this out into the lined cake tin and press down to form an even layer.  Place in freezer to set.

Sour cream topping

  1.    Whisk together sour cream and icing sugar until smooth. Store in the fridge until ready to use

Caramelised white chocolate filling

  1. Preheat the oven to 130˚C. Pour broken white chocolate on to the tray and place in the oven. Every 10 minutes remove the chocolate from the oven, stir with a bone dry utensil, and place back in the oven.  After about 30-40 minutes it will have taken on a beautiful honeyed caramel tone.    As ovens vary in character and different chocolate brands vary in ingredient quality, it may take longer.  The chocolate may also seize.  Don’t panic if this happens: just keep going until it turns golden (I’ll explain how to proceed with this in the next step).
  2. Increase the oven temperature to 160˚C. Place the double cream in a small pan over a high heat. Once it begins to boil, remove from the heat and pour into it the caramelised white chocolate.  Stir to combine until smooth. If the chocolate did seize in the oven, it will be lumpy.  If this is the case, pour the lumpy cream and chocolate mixture in a blender and blitz until completely smooth.  If a few recalcitrant lumps remain, simple sieve them out.
  3. Either using a stand mixer fixed with the beater or a hand held whisk, beat the cream cheese together with the caster sugar until completely soft and smooth. Beat in the cream and white chocolate caramel.  In a separate bowl, whisk together the eggs and vanilla.  Pour this into the cream cheese mixture and beat until completely smooth and glossy.
  4. Remove the cake tin with the biscuit base from the freezer, and pour into it the filling mixture. Bake in the oven for 1 ½ hours, checking after 45 minutes.  If it begins to go brown, cover with tin foil and continue to bake for the full time.
  5. Keeping the oven on, remove the cheesecake from the oven and allow it to cool for 10 minutes. Spread the sour cream topping in an even layer over the surface of the cake. Place the cheesecake back in the oven, switch off the oven and leave its door slightly ajar while the cheesecake sets inside for a further 1 ½ hours.
  6. When the cheesecake reaches room temperature, remove from the oven, cover the cake tin with cling film, and place it in the fridge to allow it to set over night, or place it in the freezer for a couple of hours.

Blackcurrant glaze

  1. Place 200g blackcurrants, caster sugar and water in a small pan over a high heat and stir until the sugar is dissolved. When it begins to boil, reduce heat slightly and allow it to simmer for 5-10 minutes or until it thickens to a viscosity like that of maple syrup.  Strain the mixture through a sieve and place the liquid back in the pan to simmer for a further 3 minutes.
  2. Allow the syrup to cool slightly then carefully pour it over the chilled cheesecake. Scatter with fresh blackcurrants and serve.
Caramelised White Chocolate Cheesecake

5 Comments