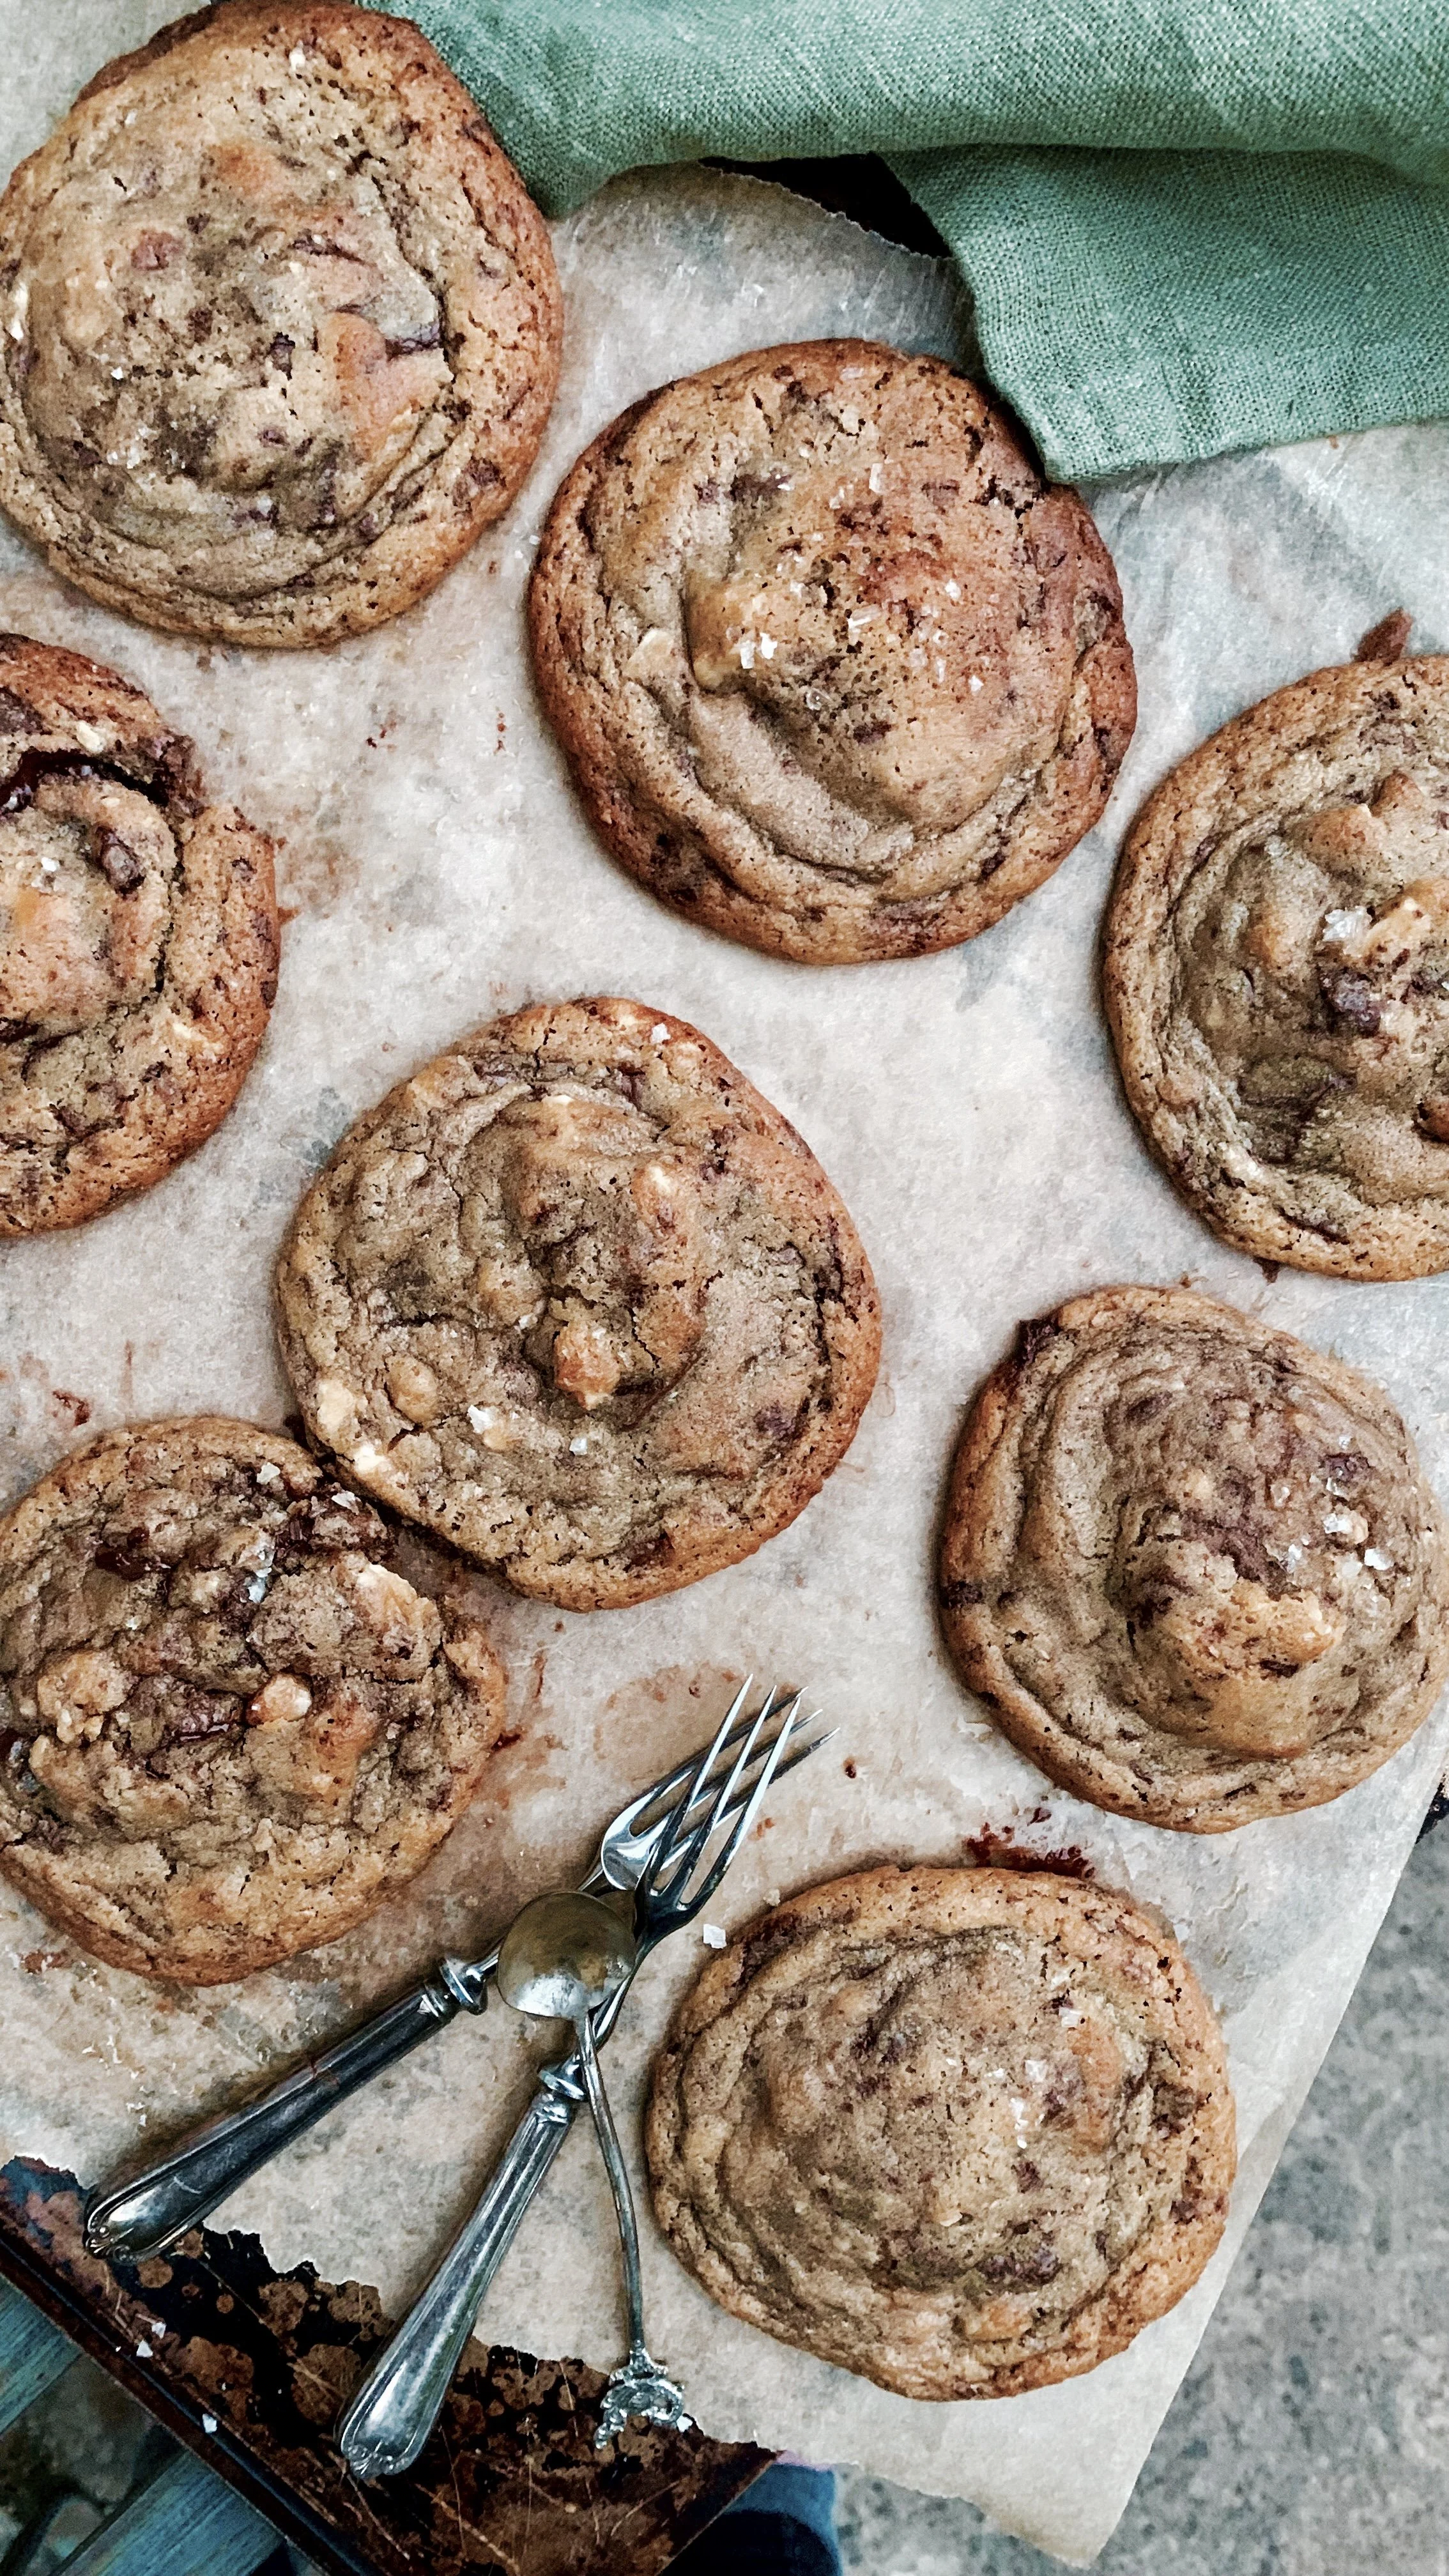
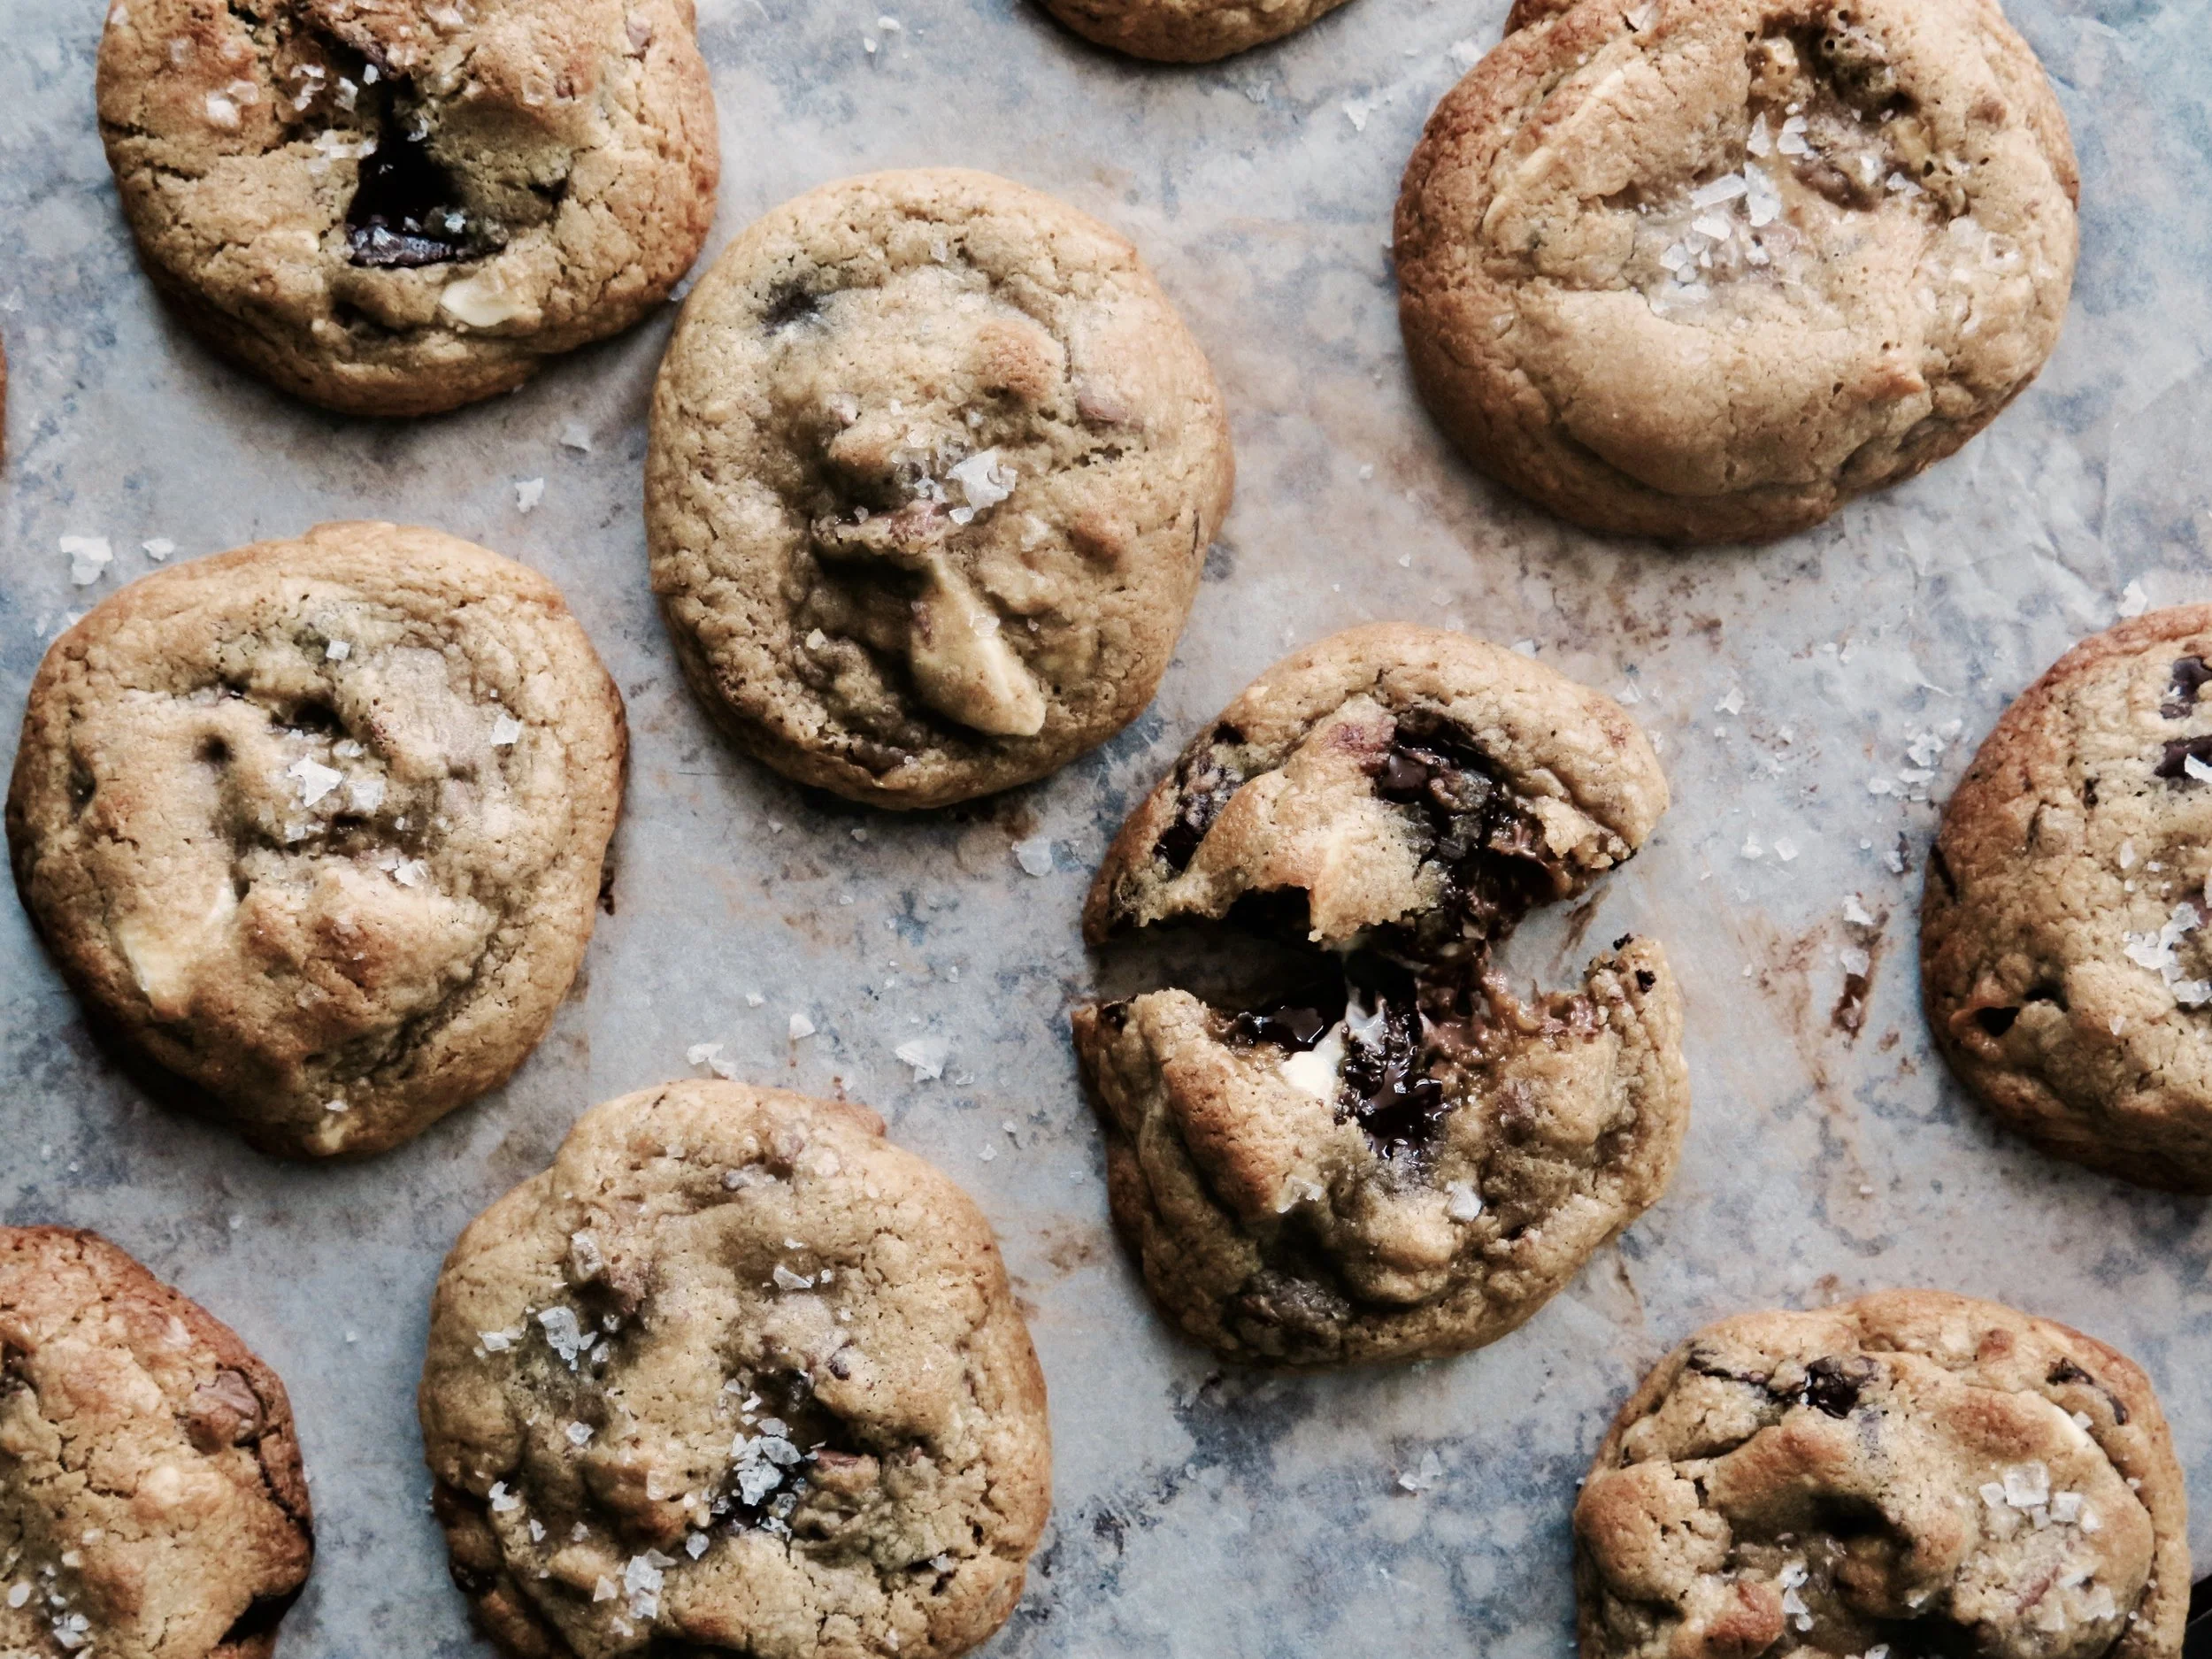
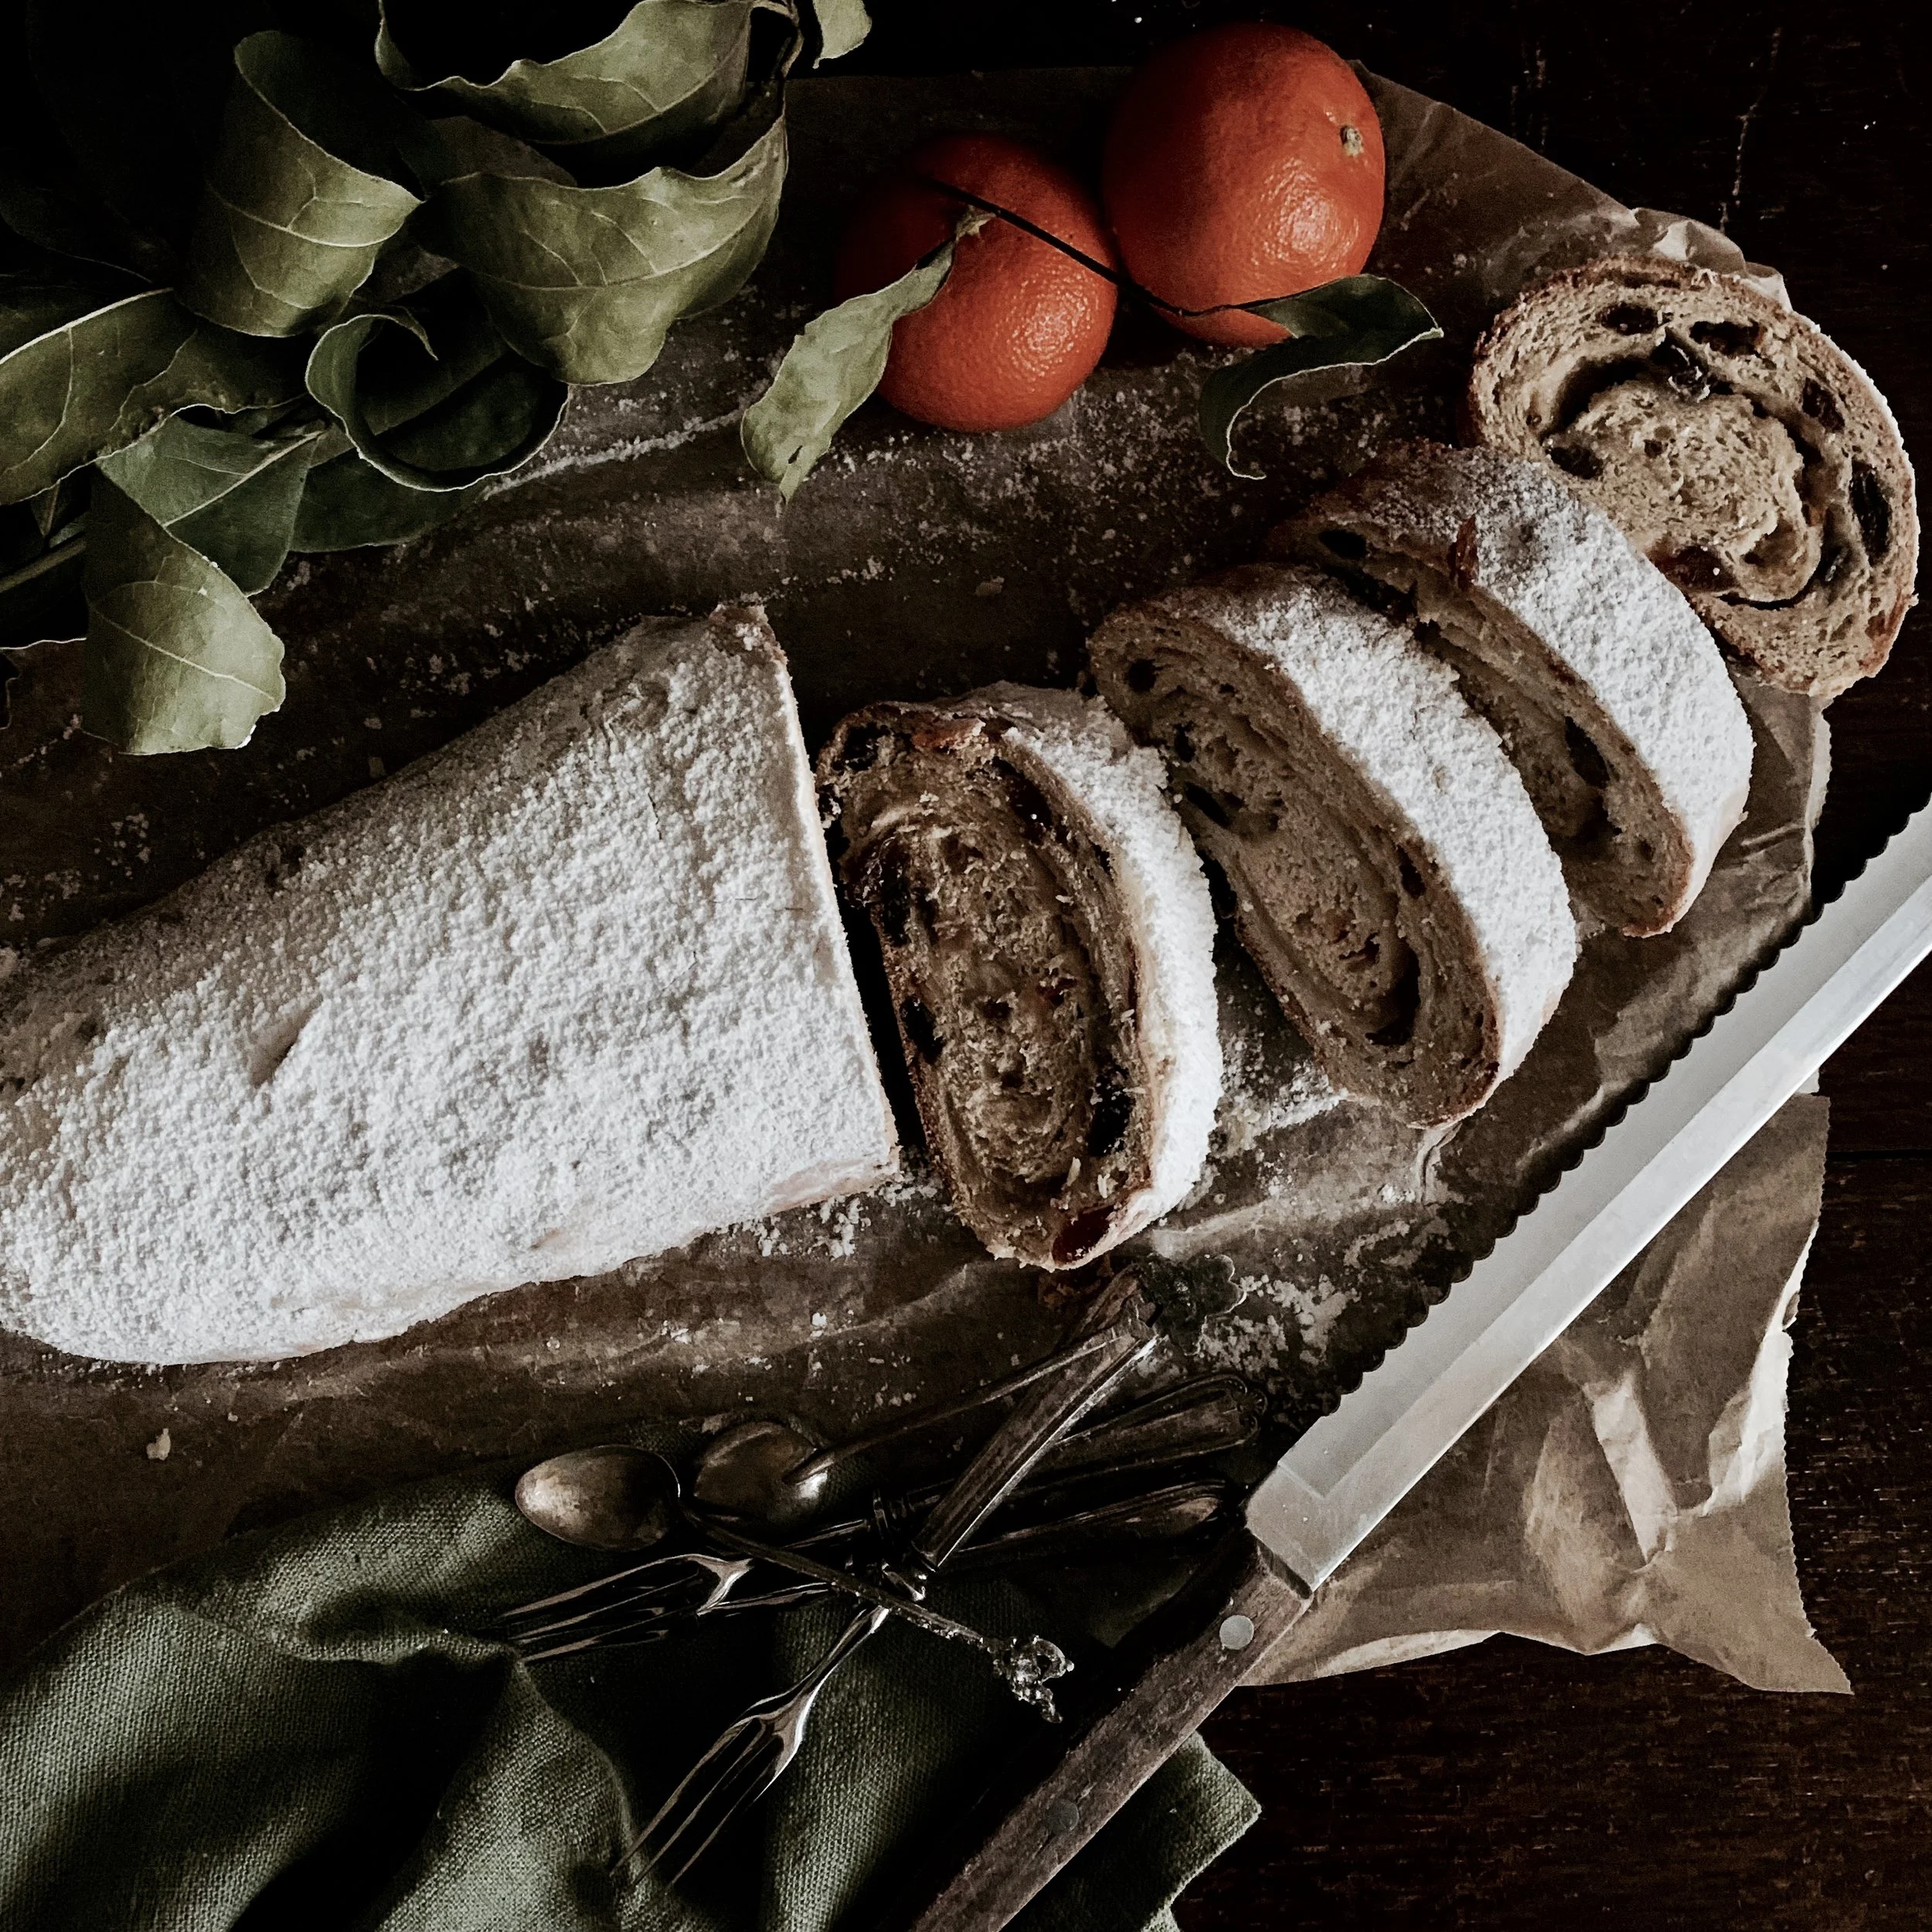
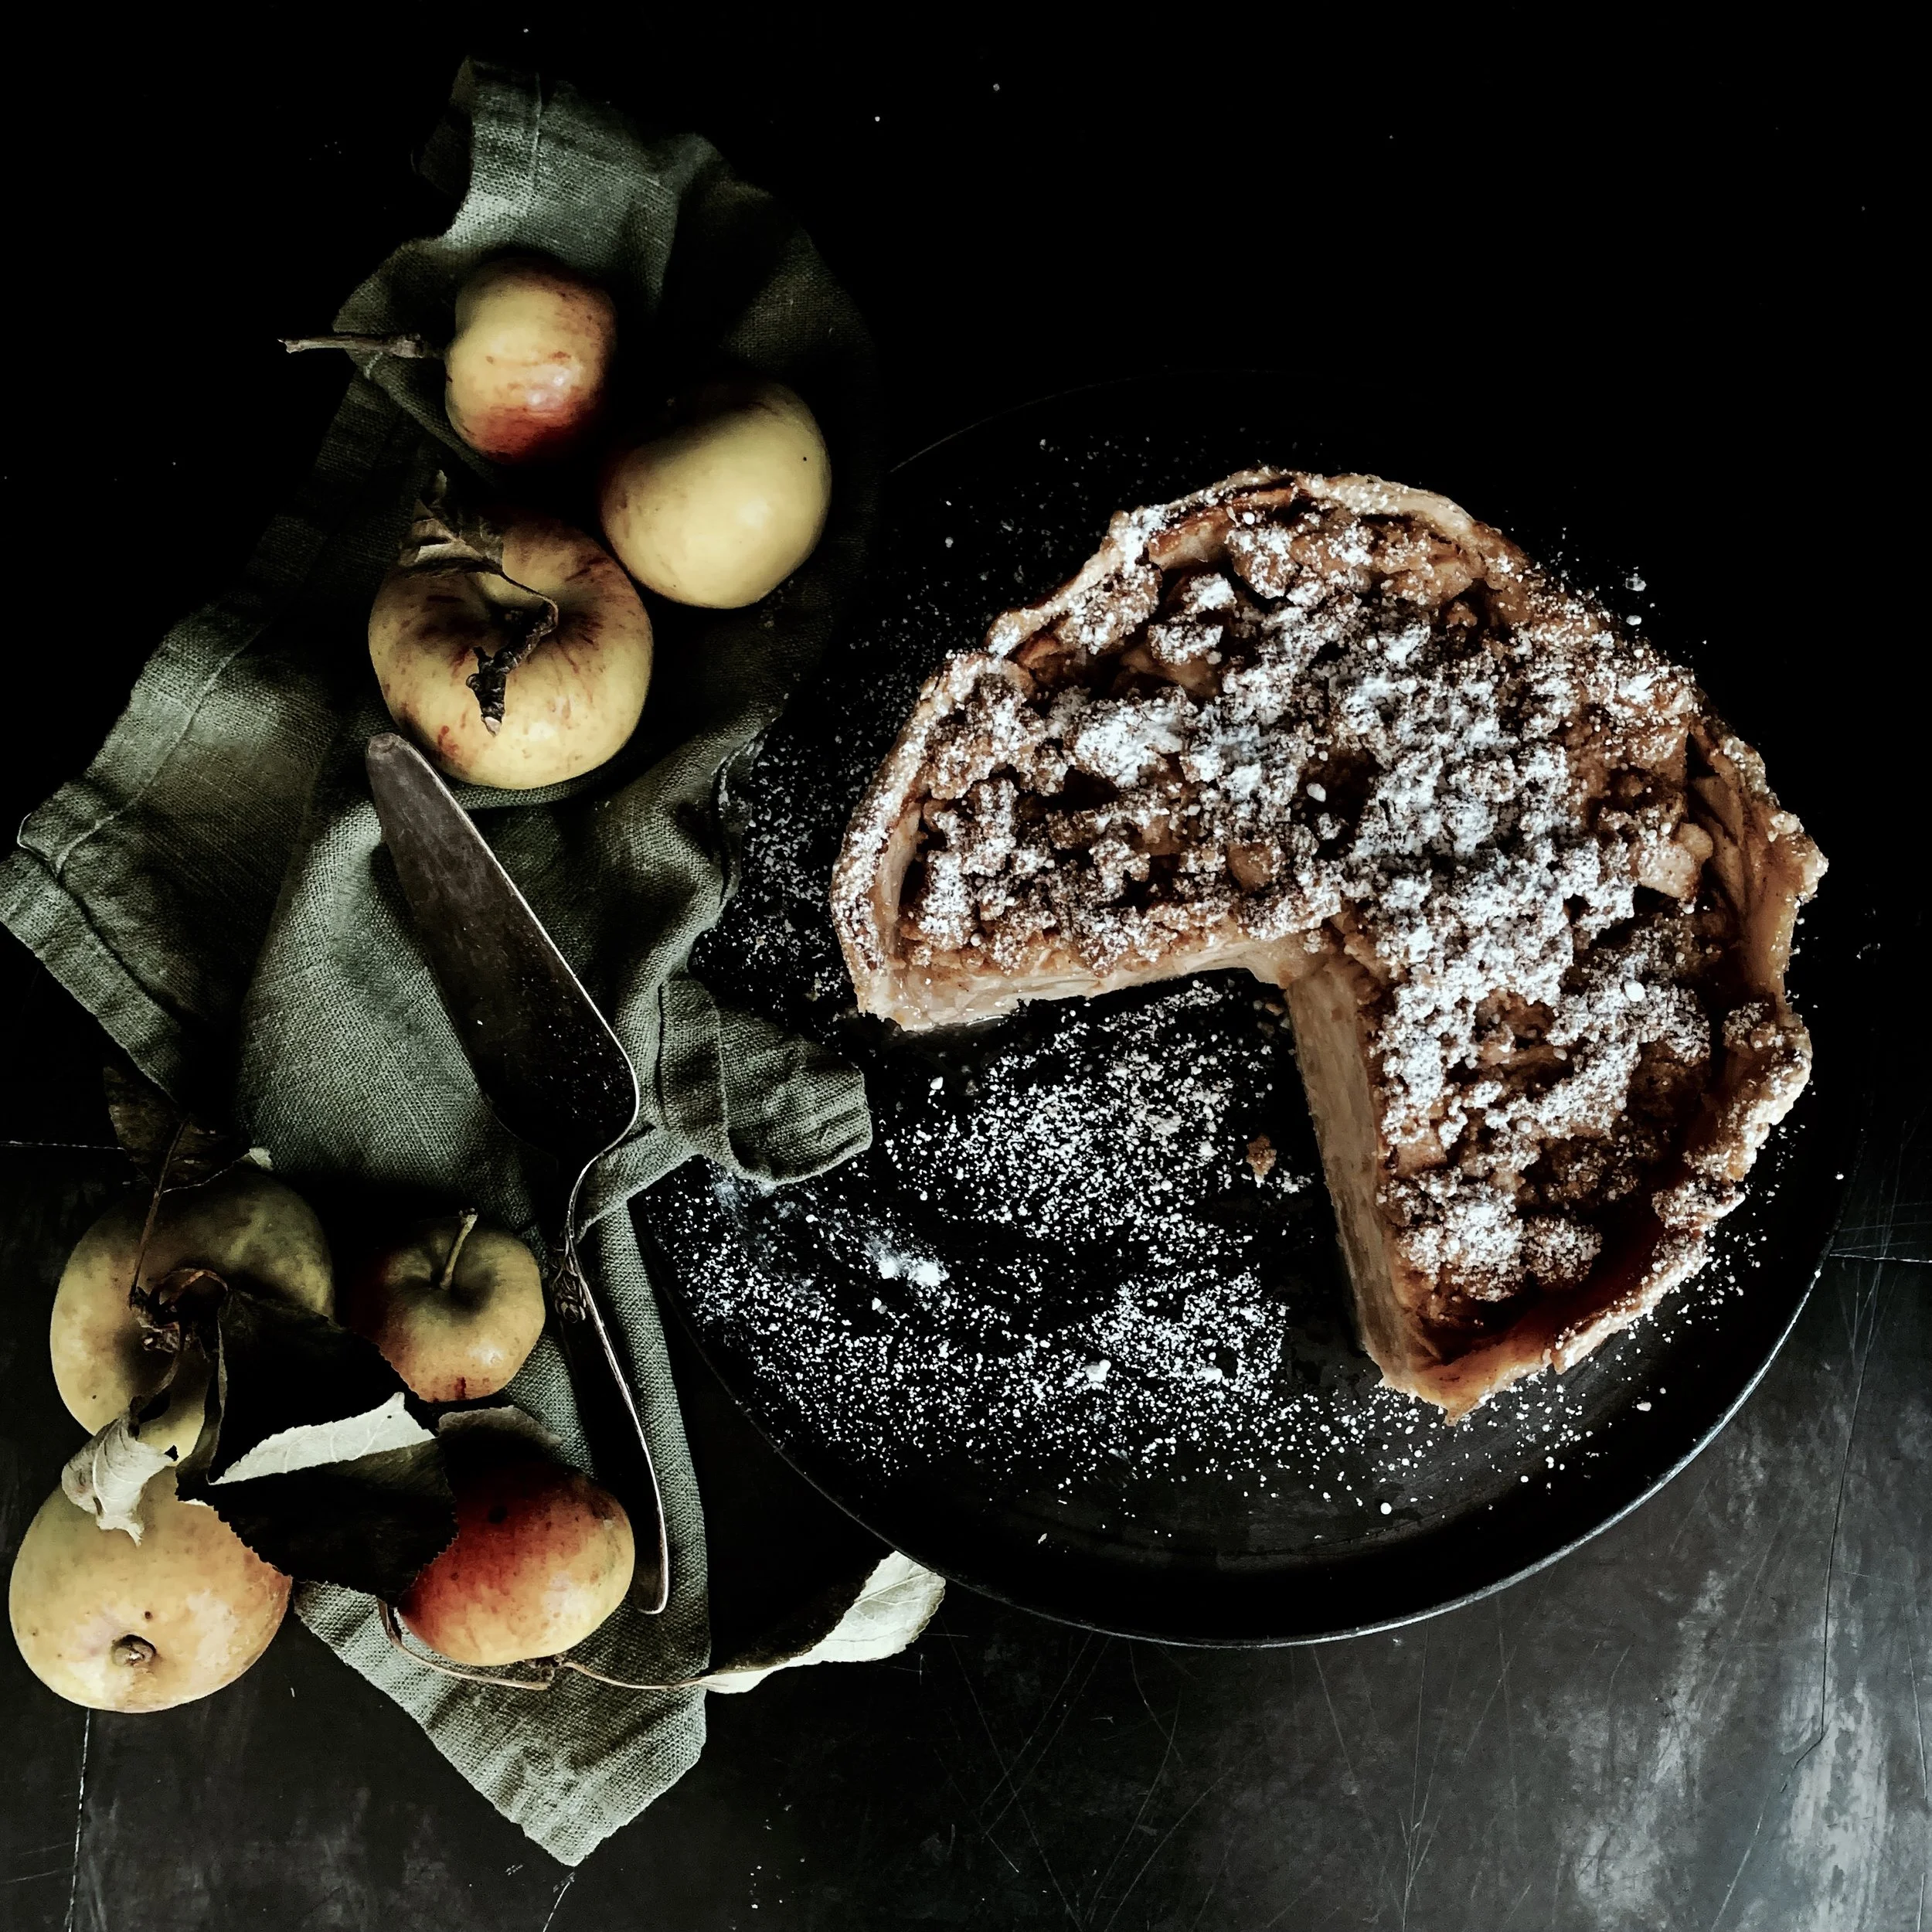
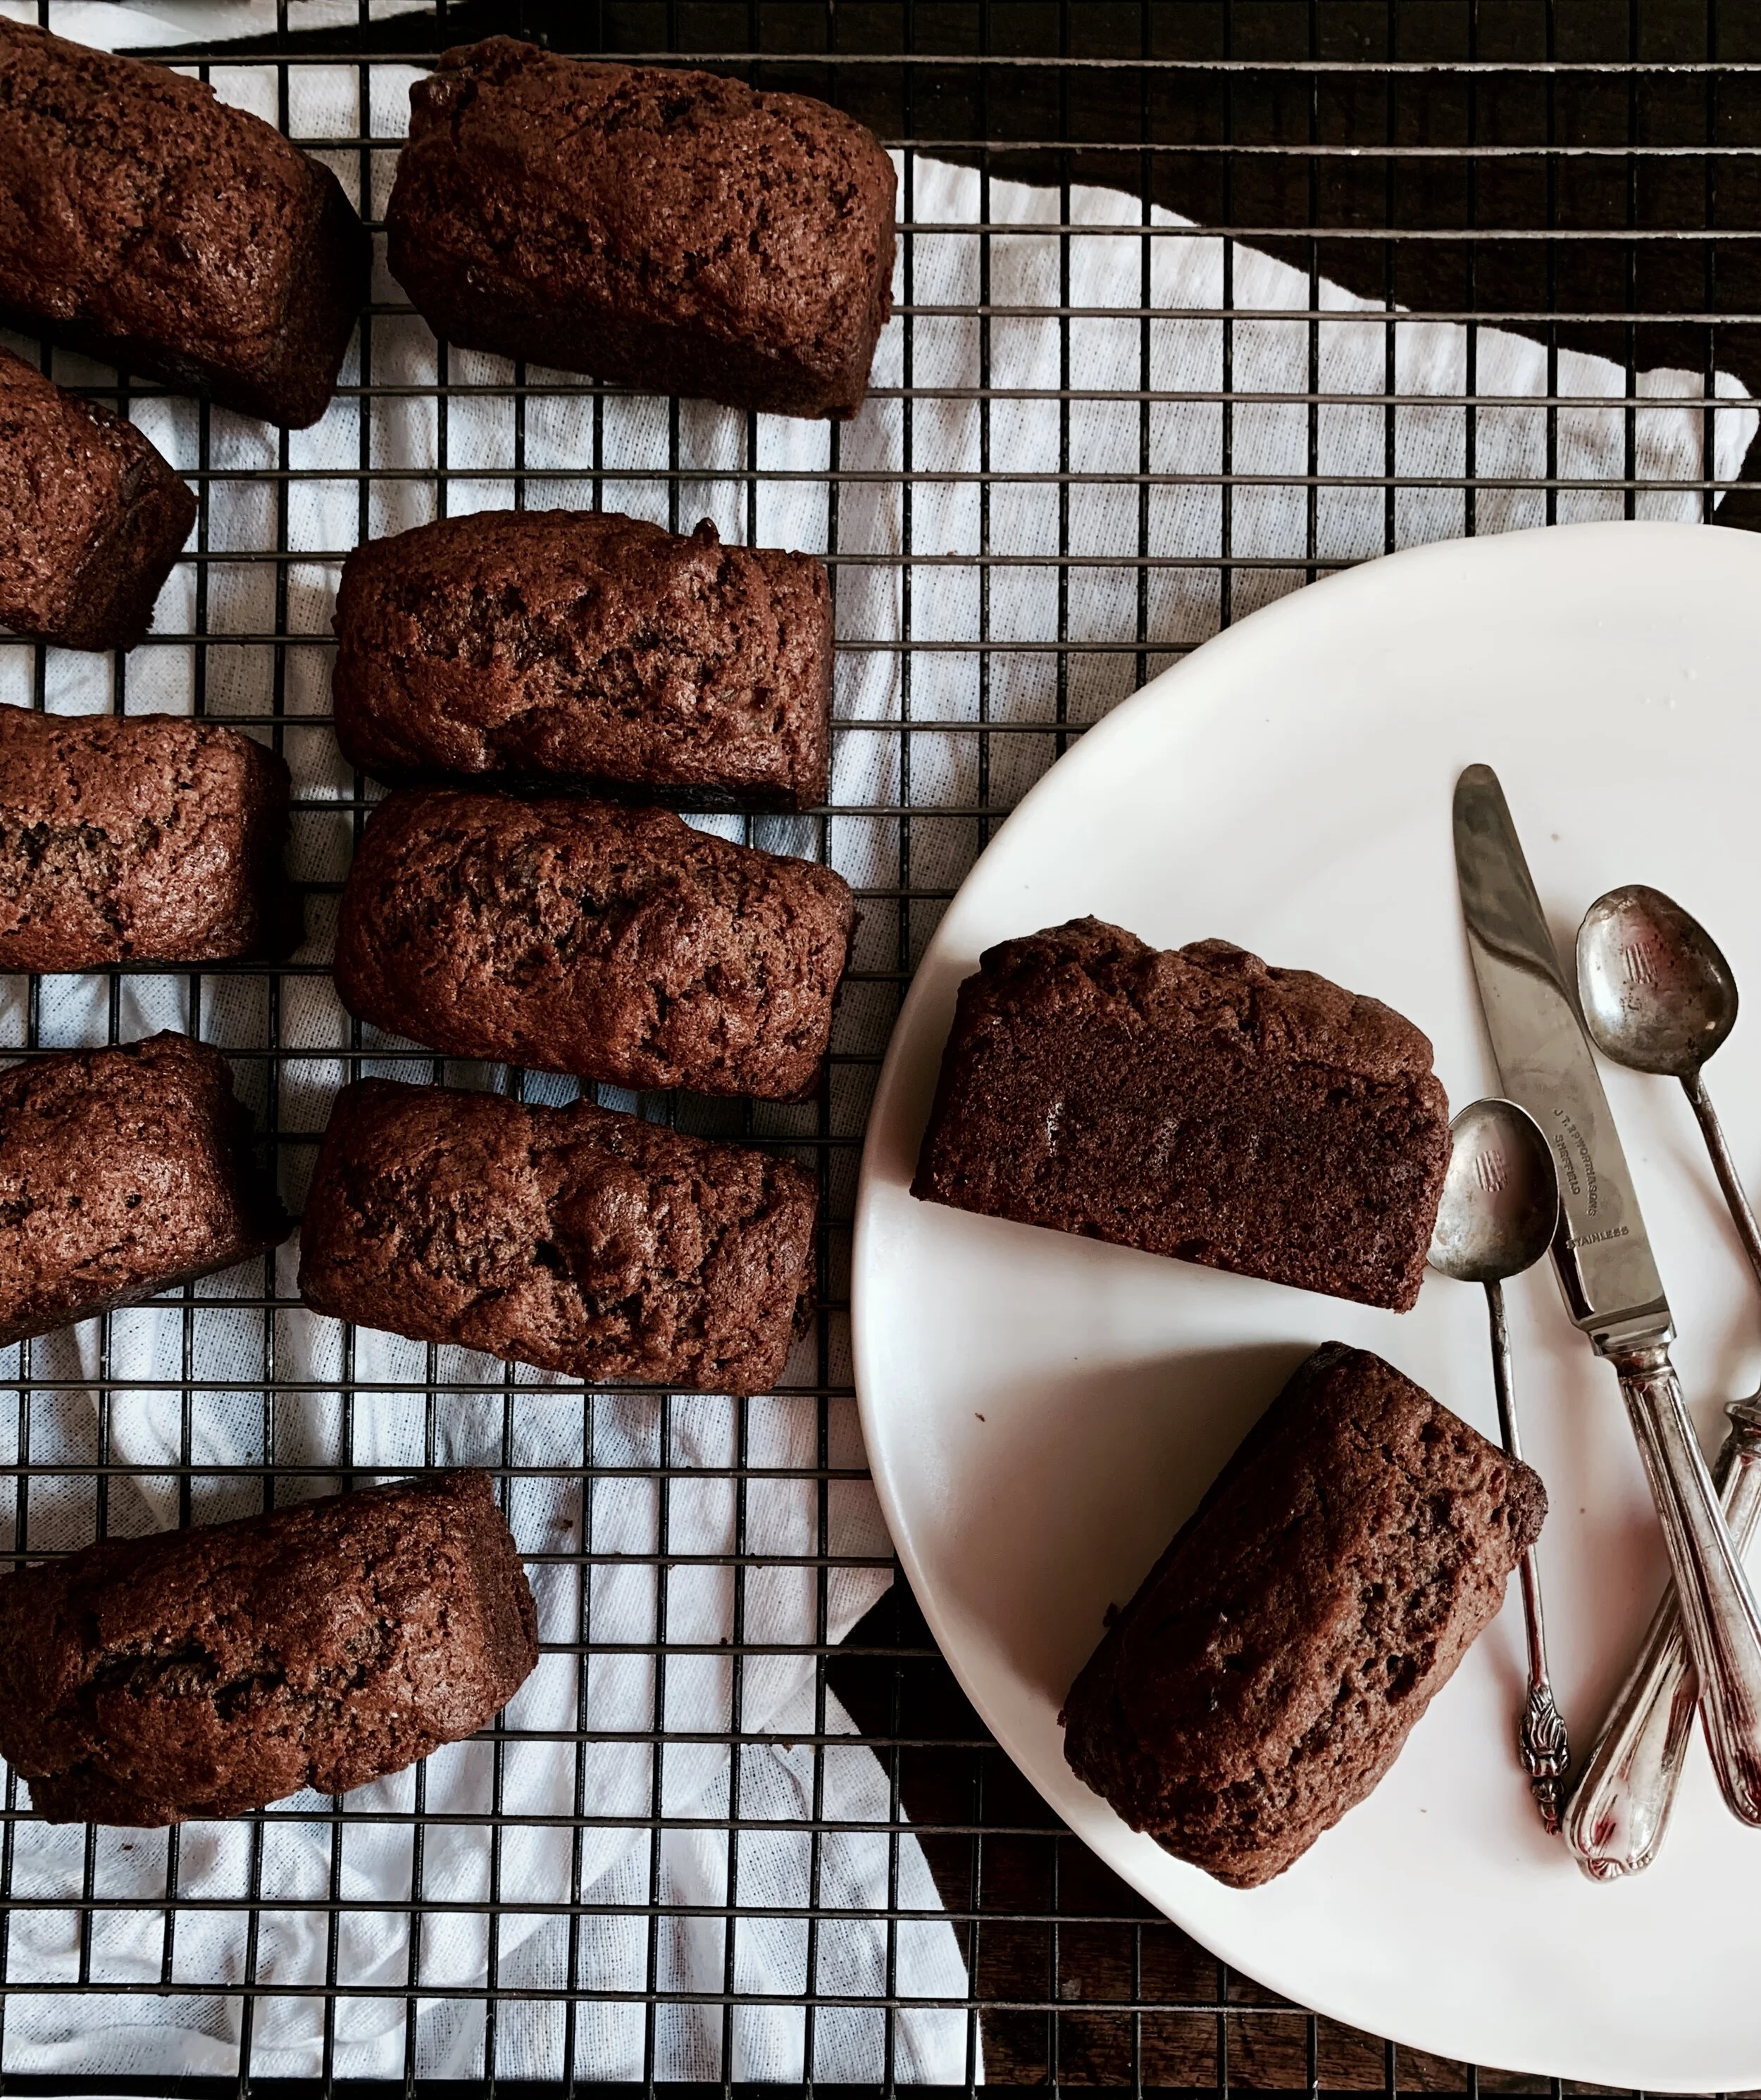
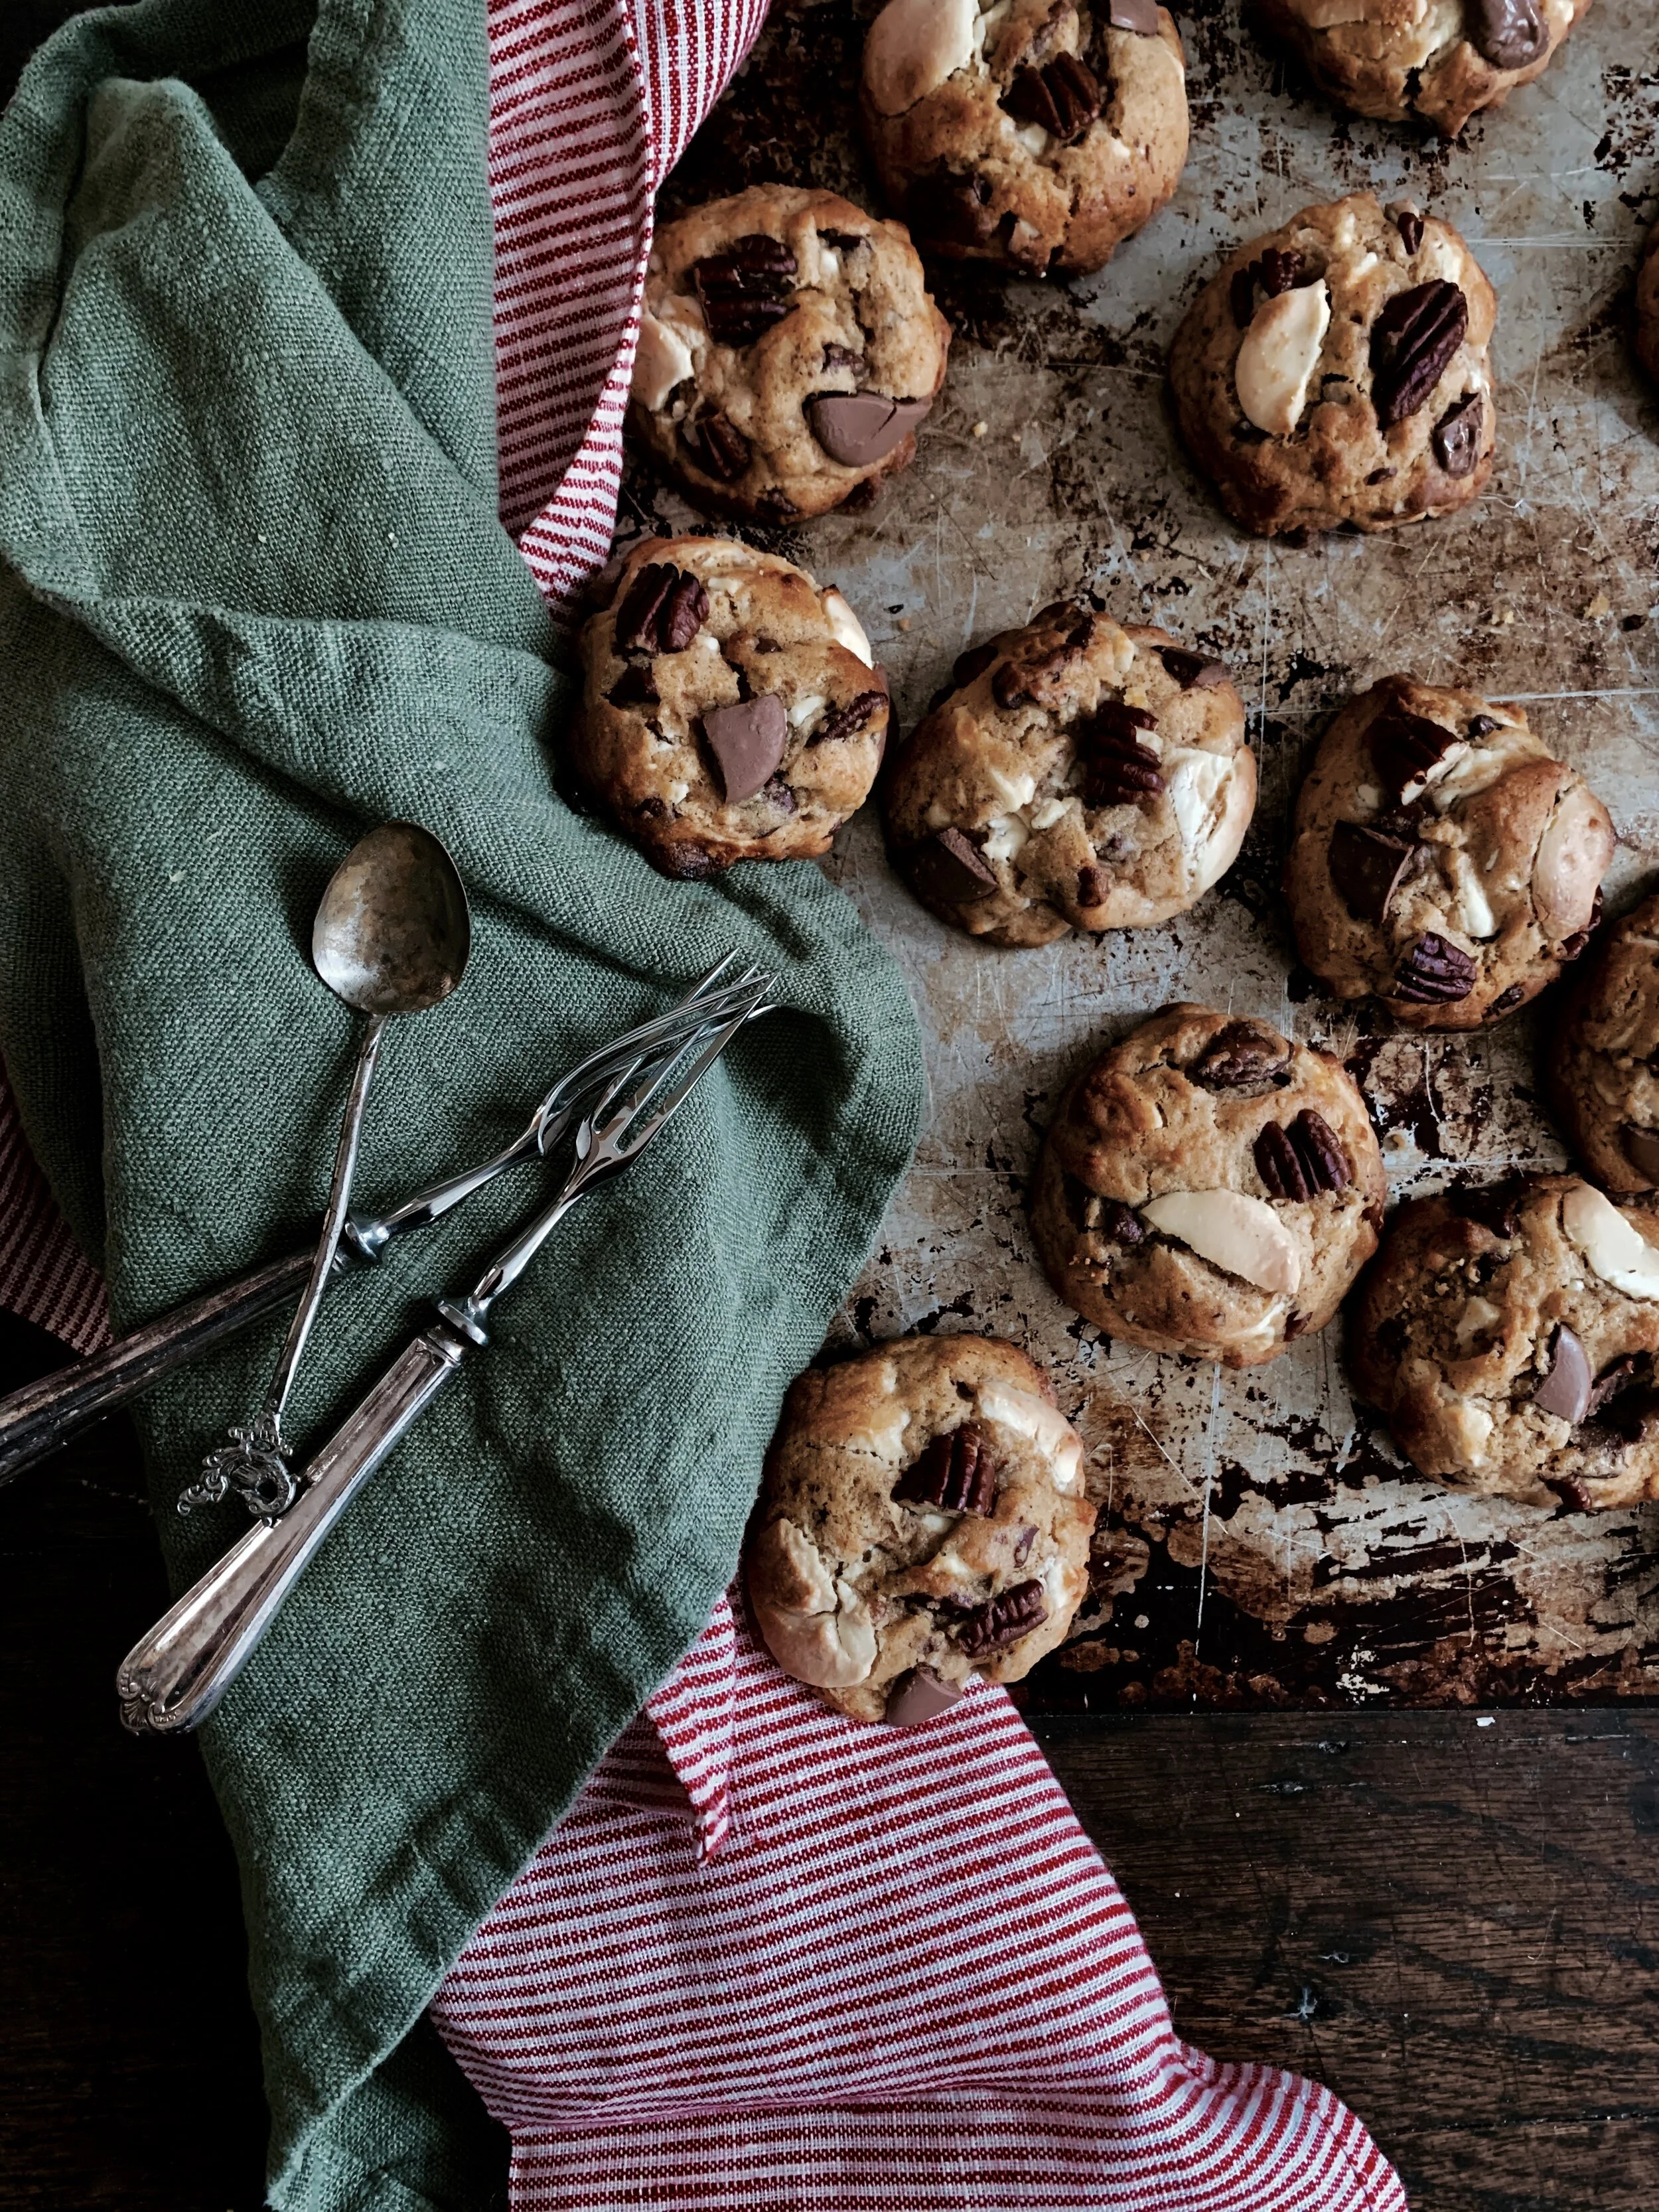
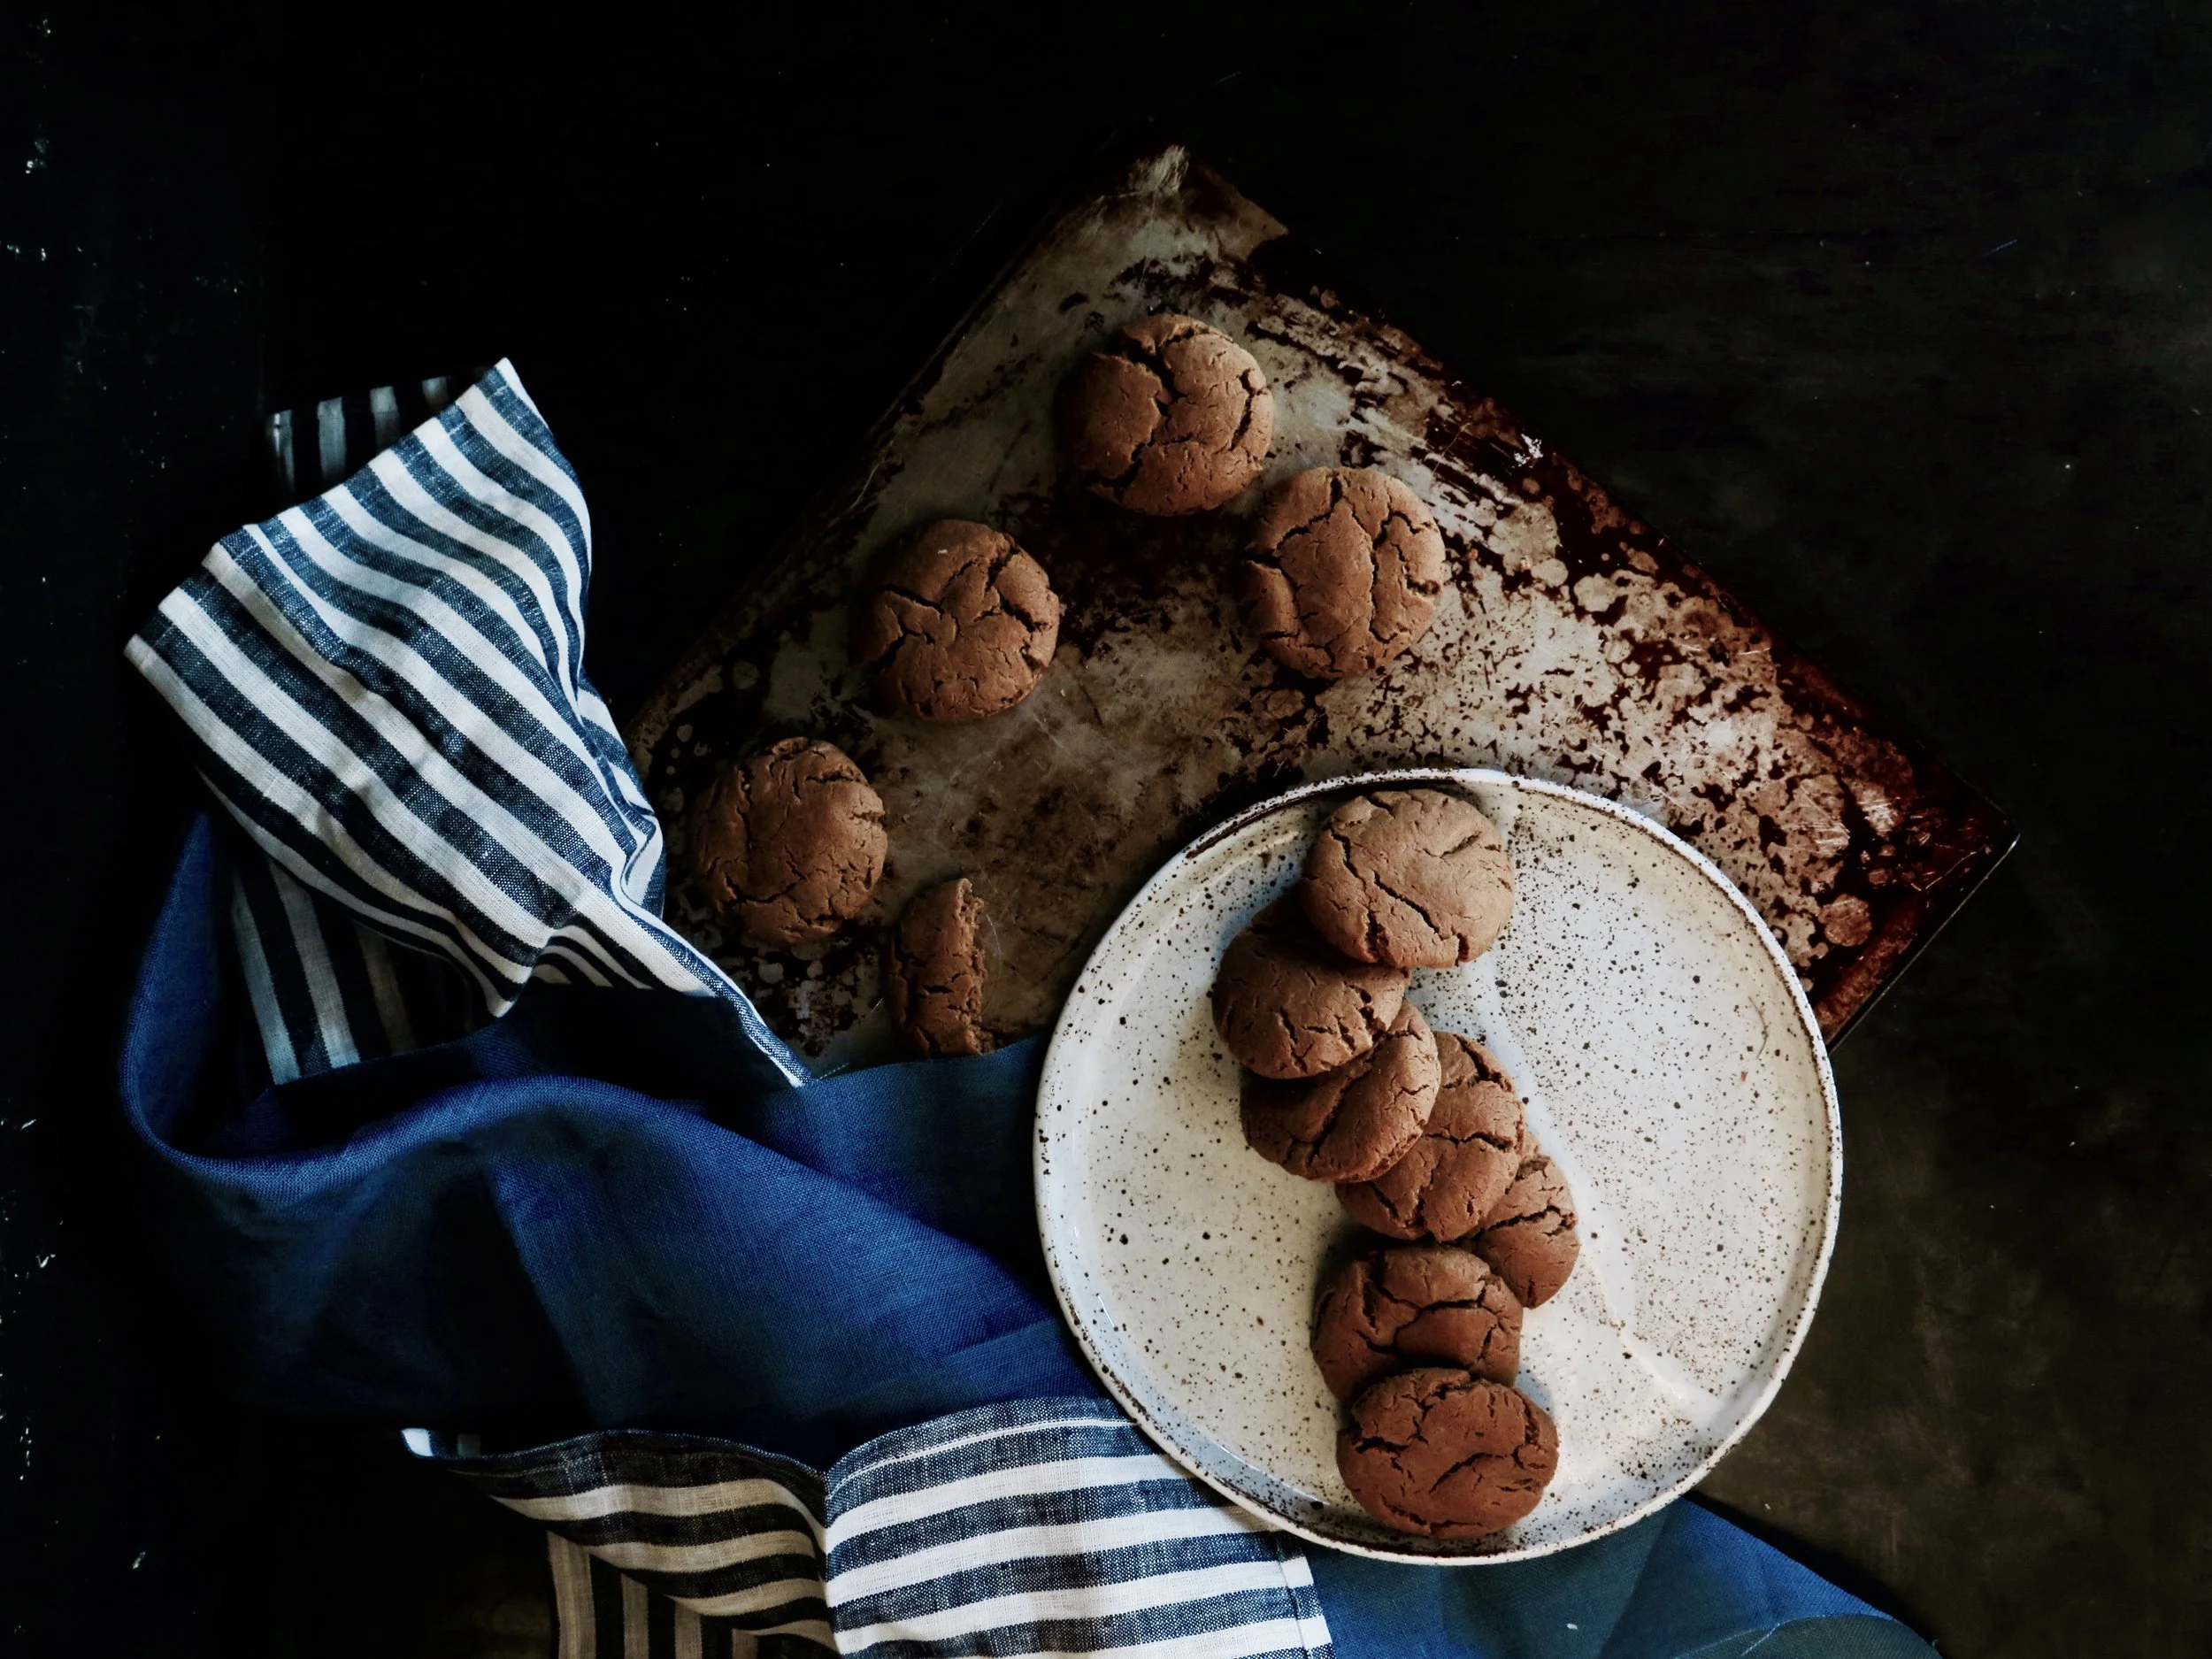
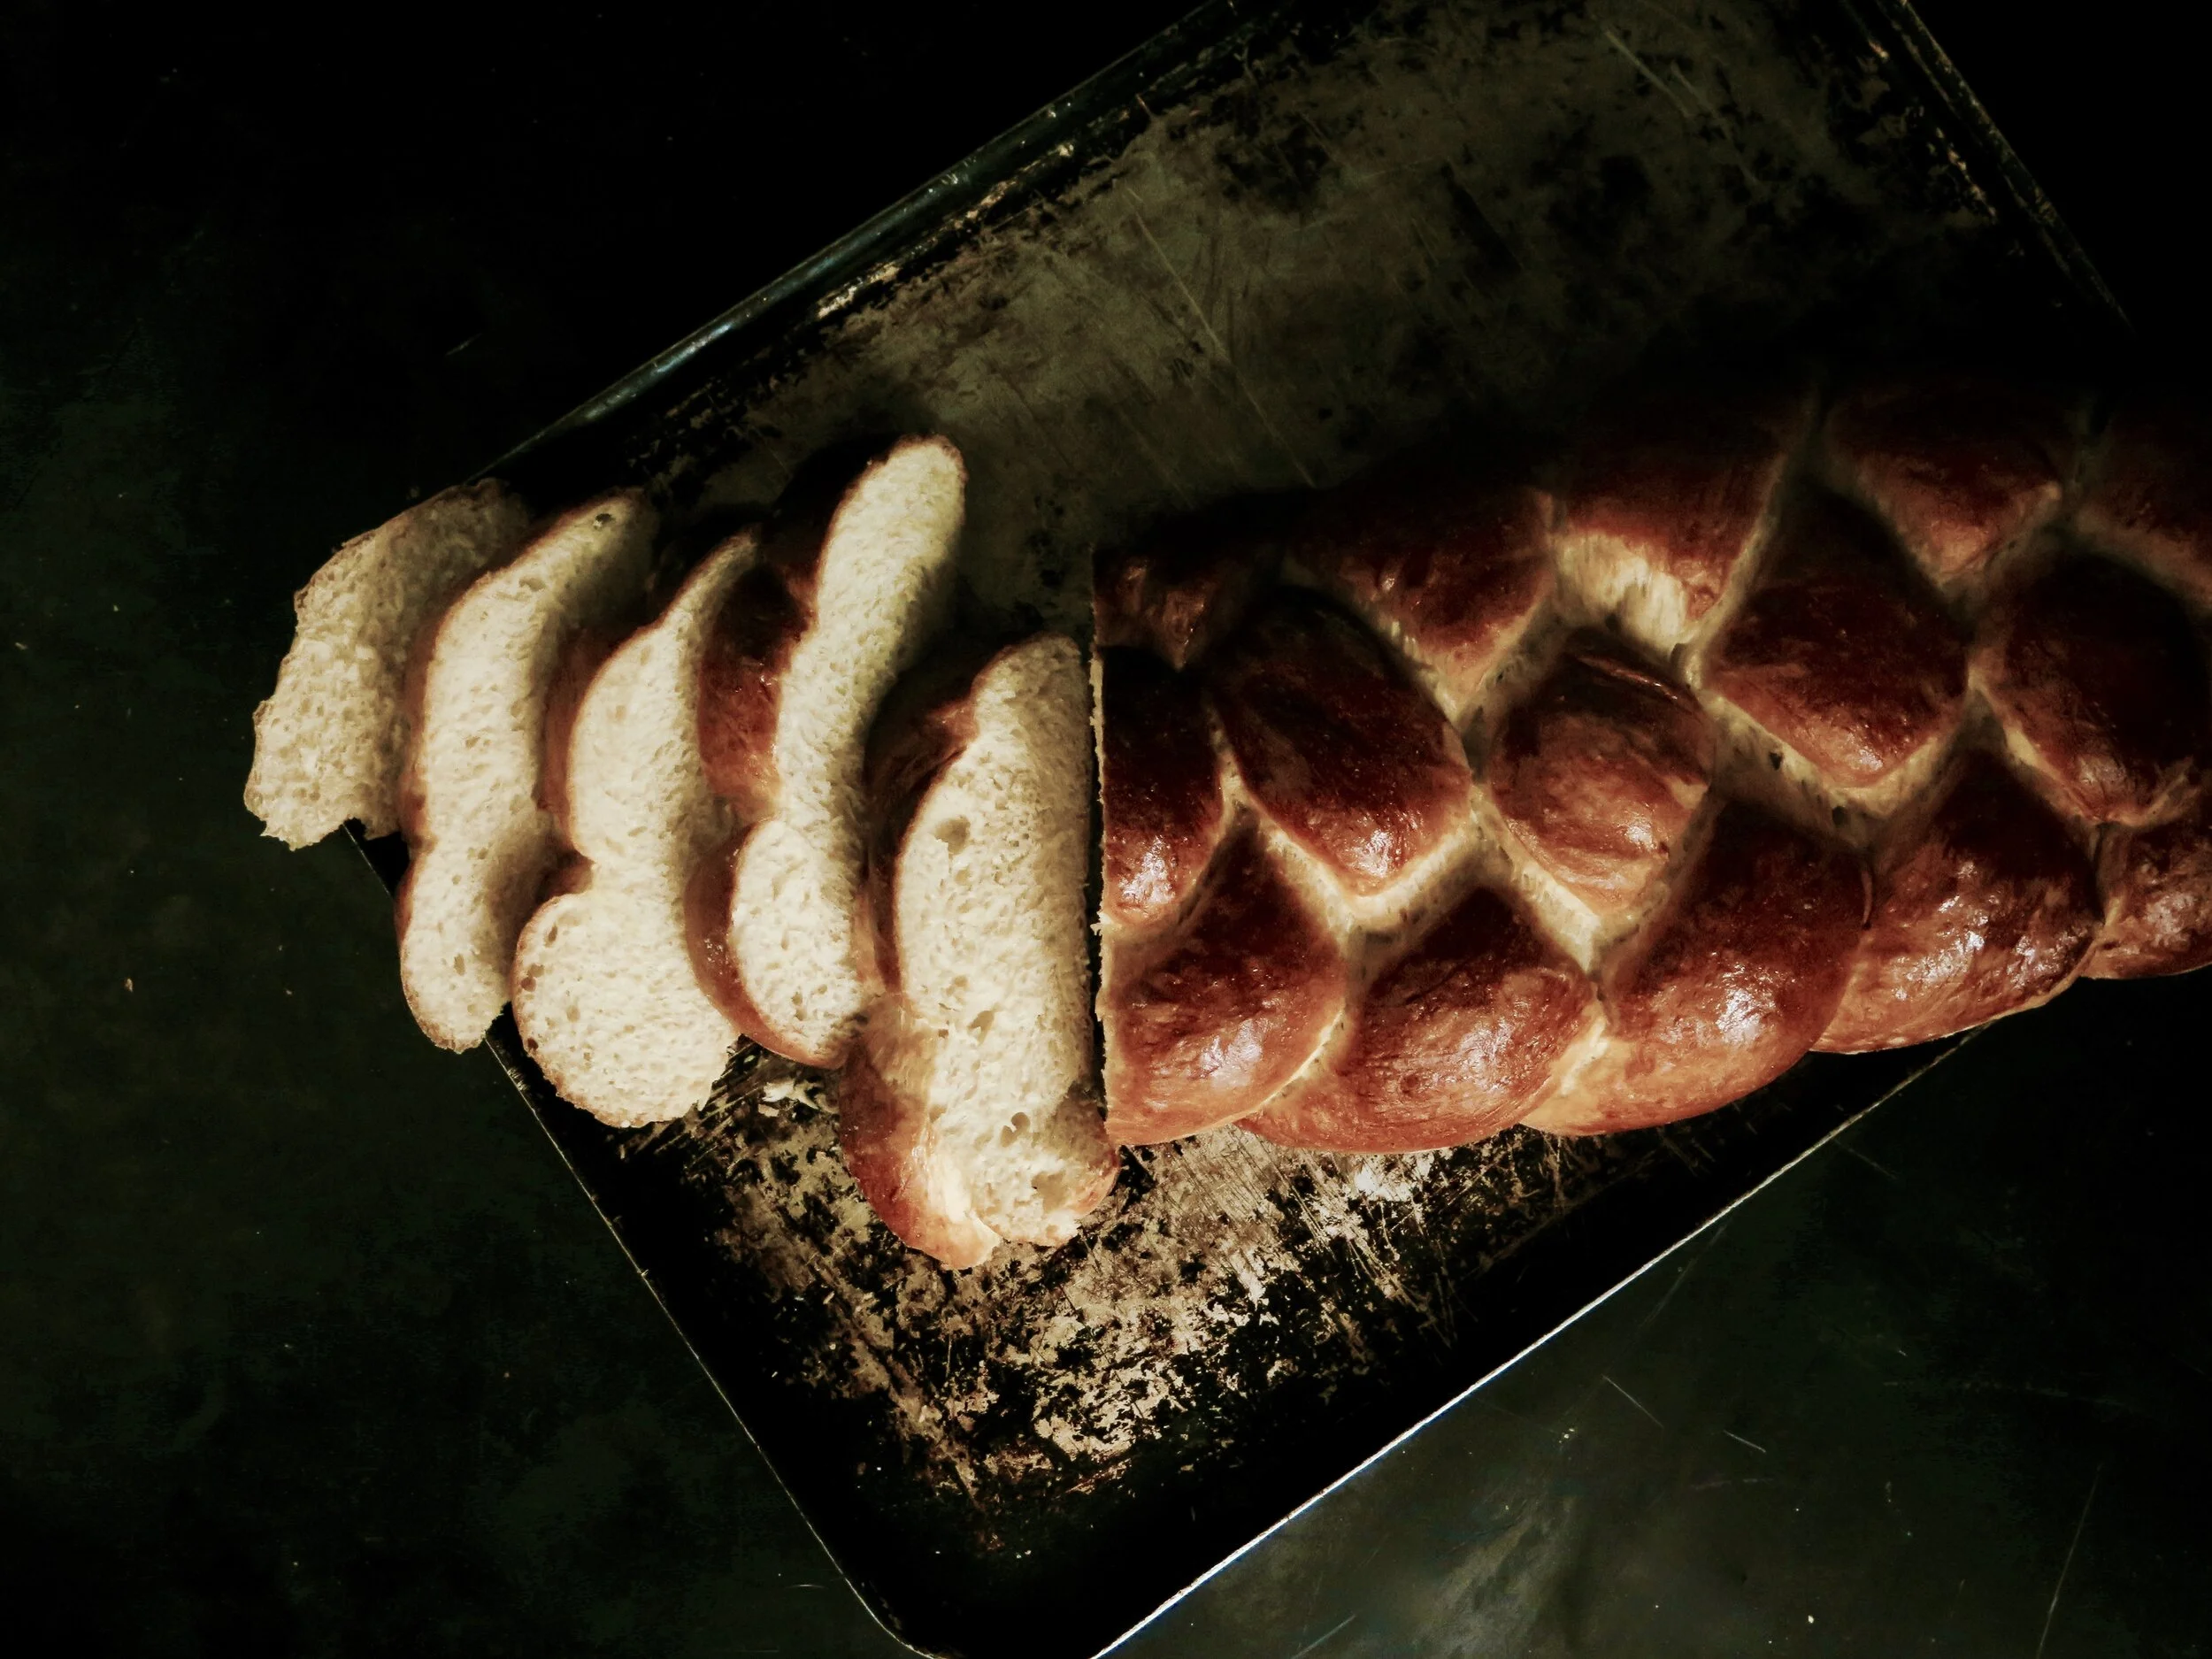
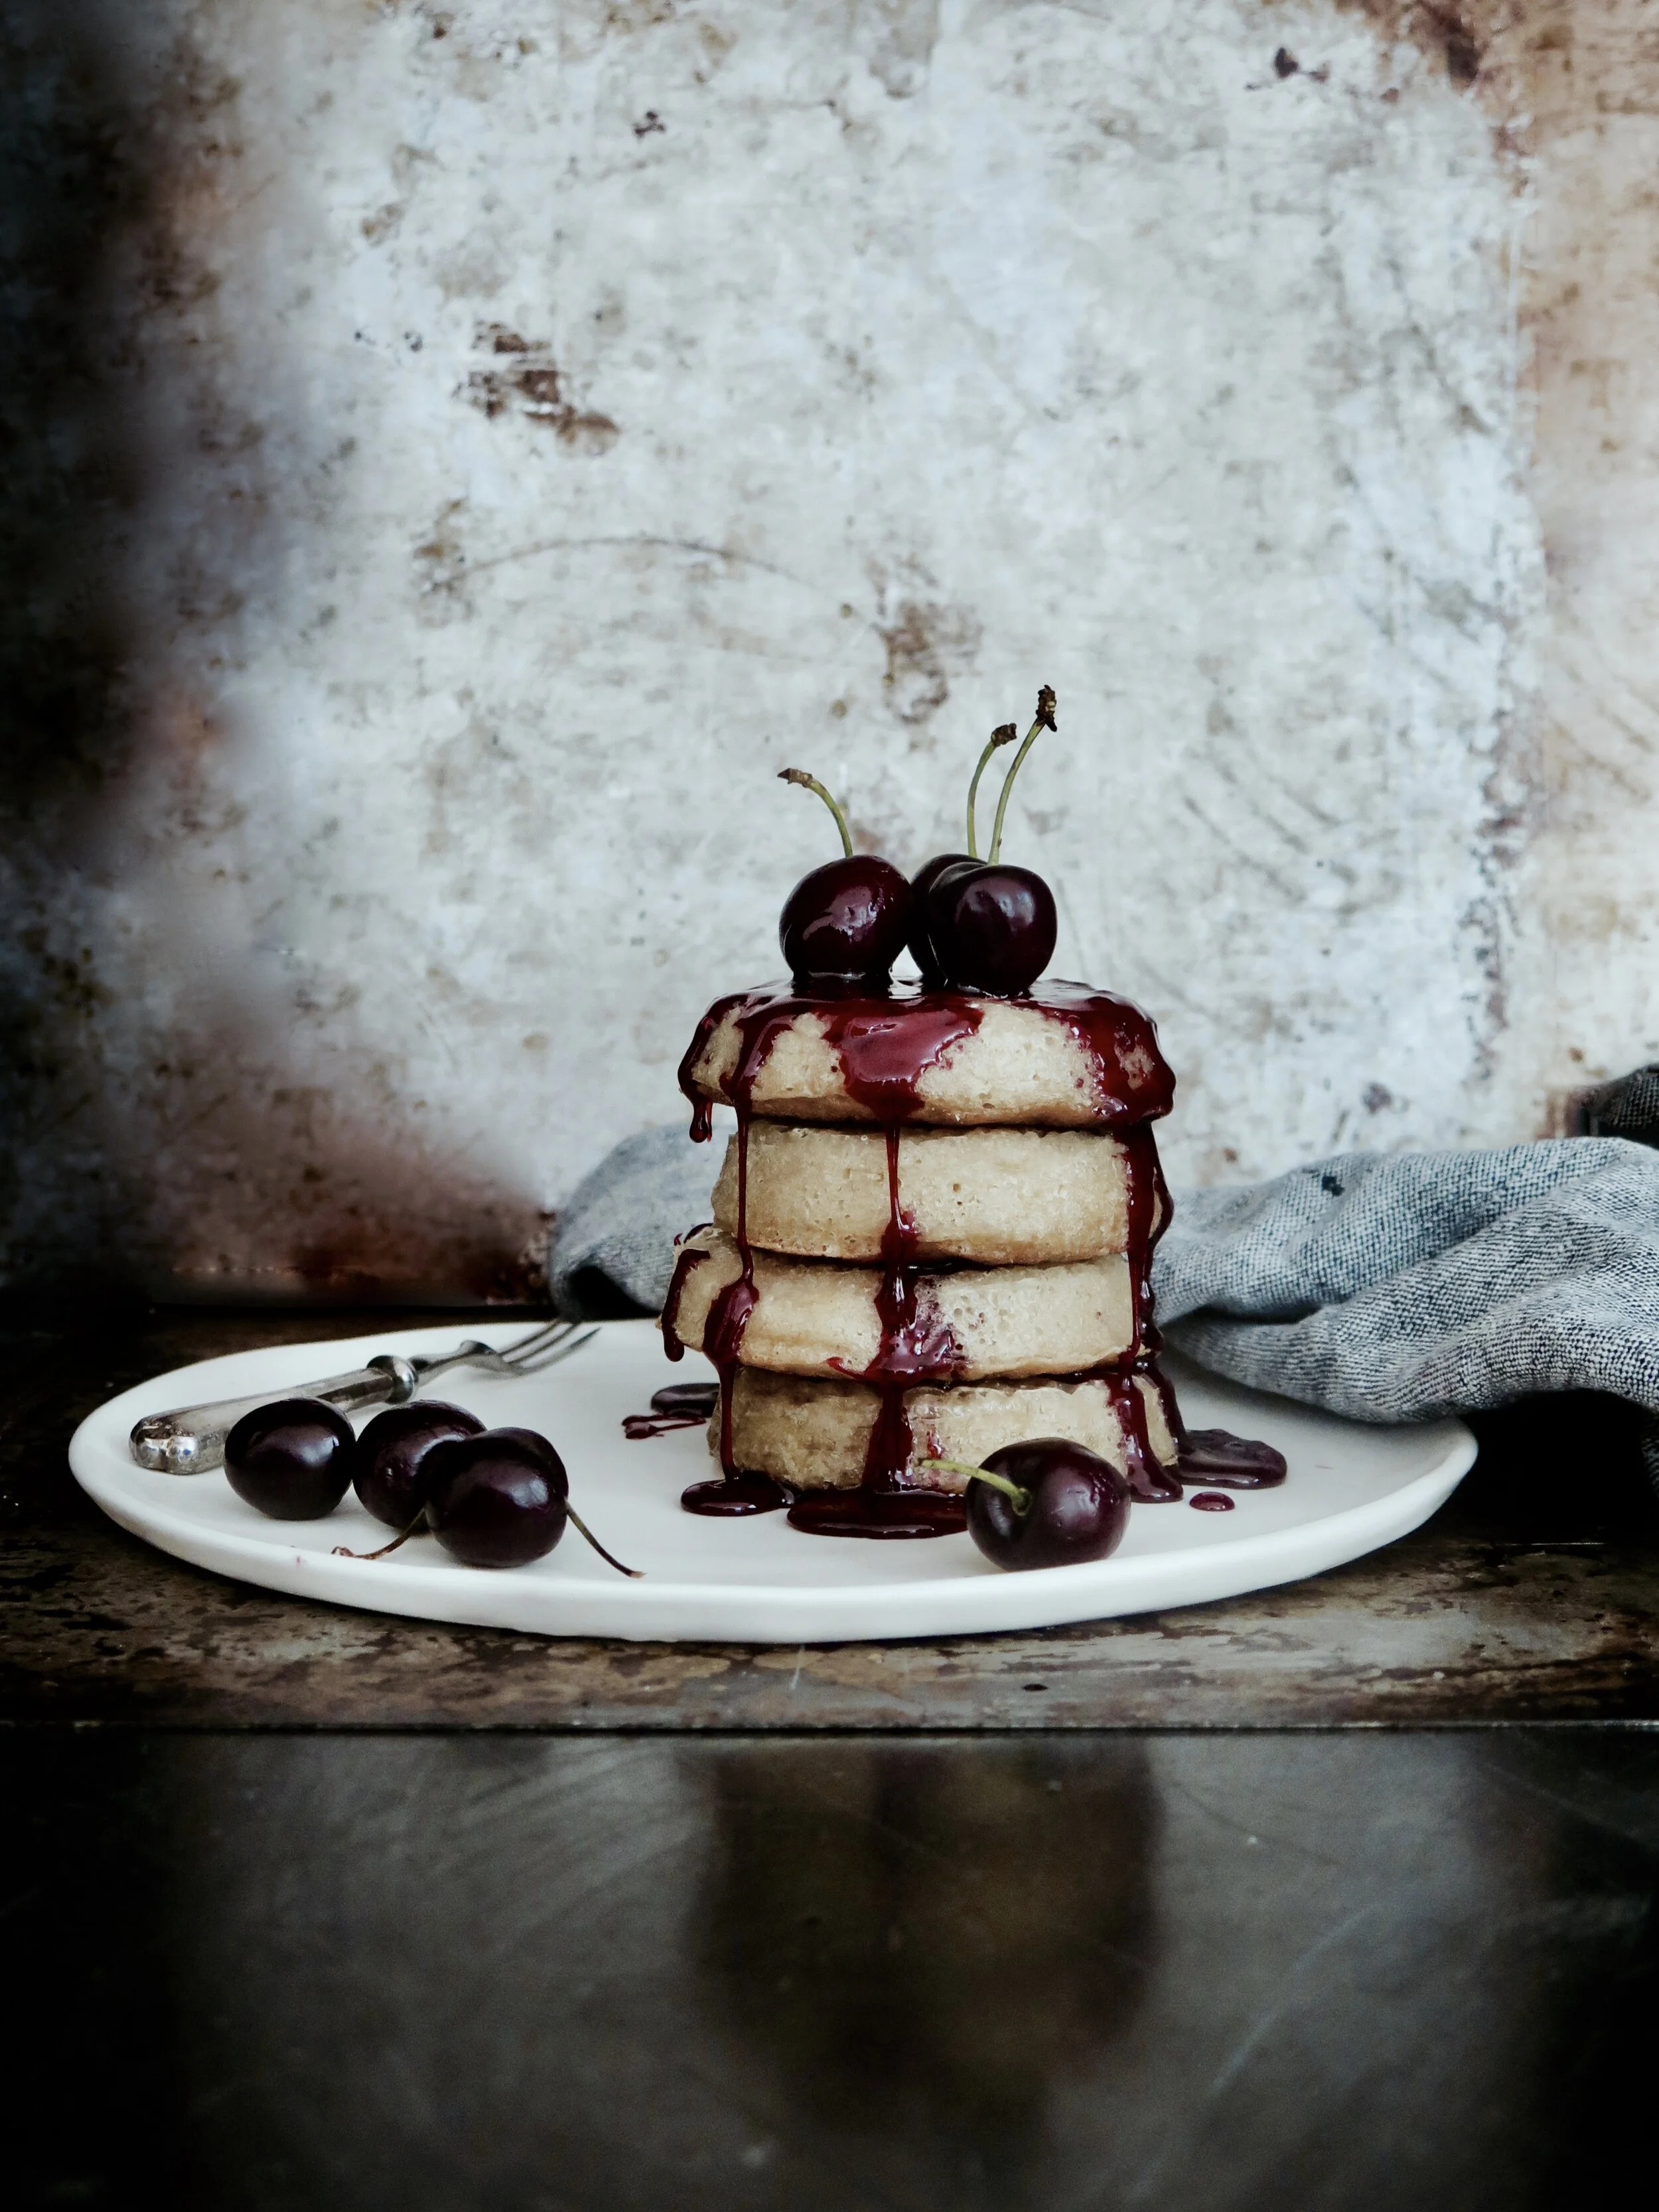
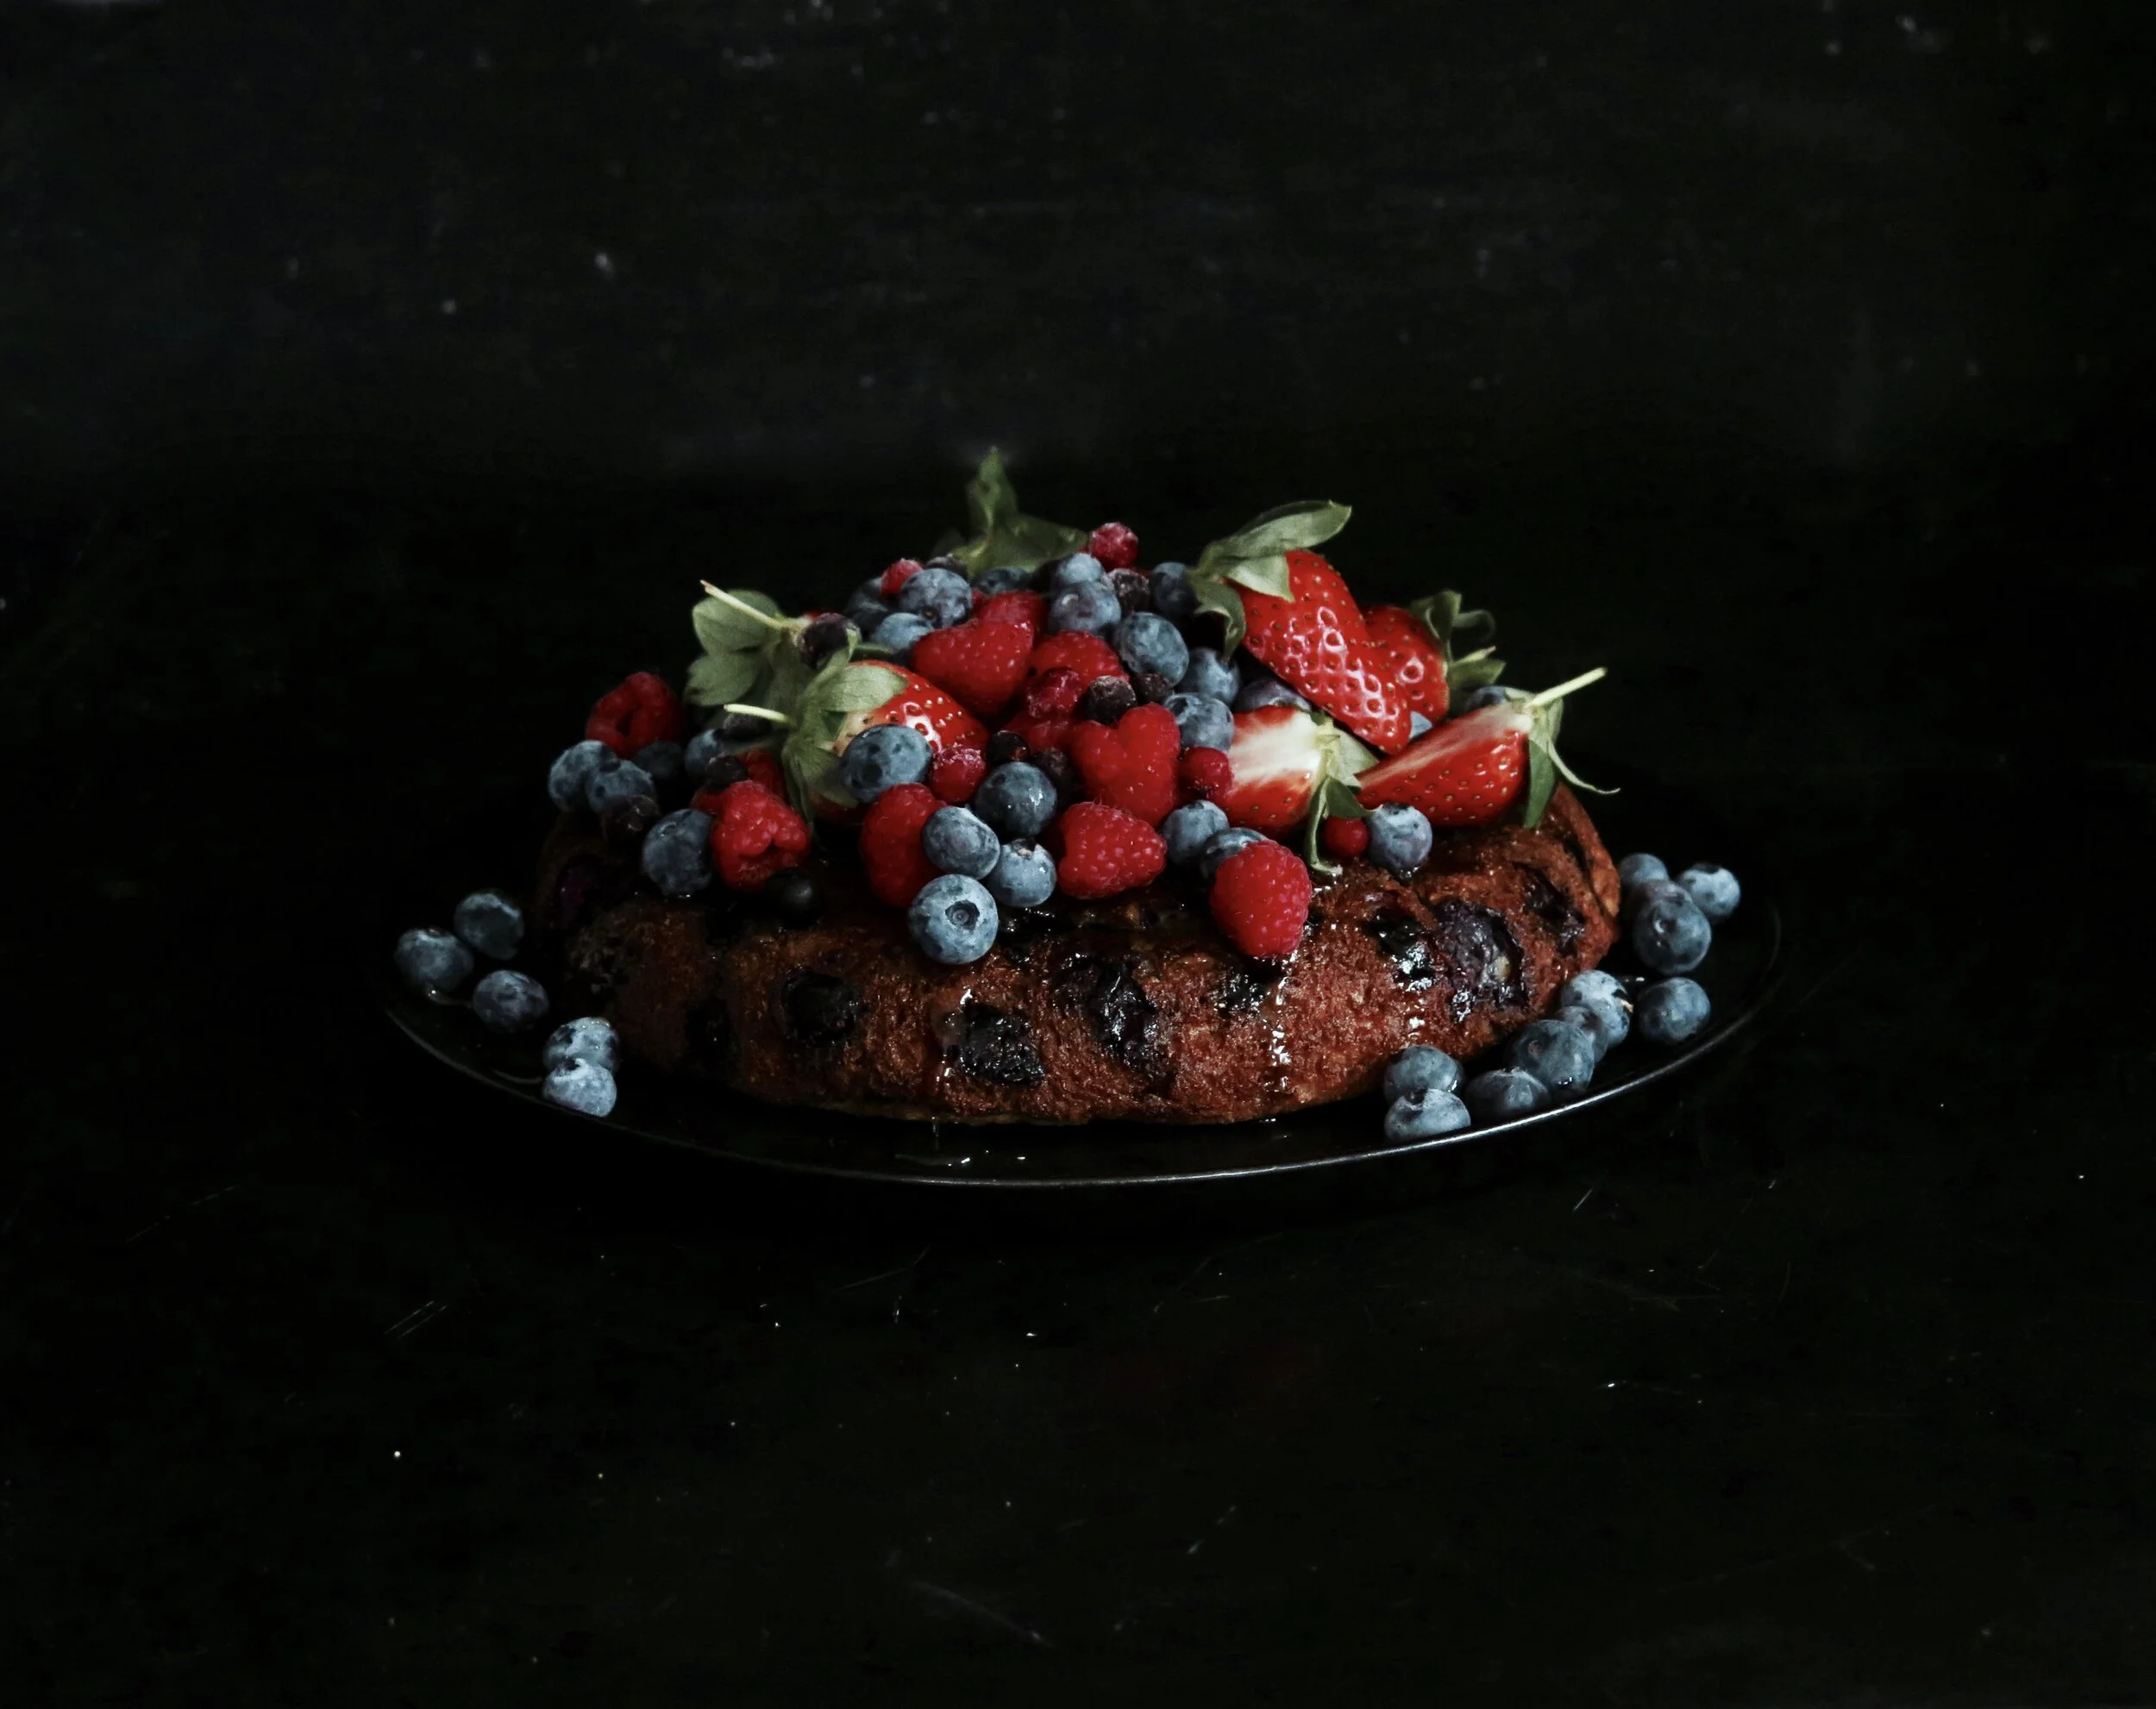
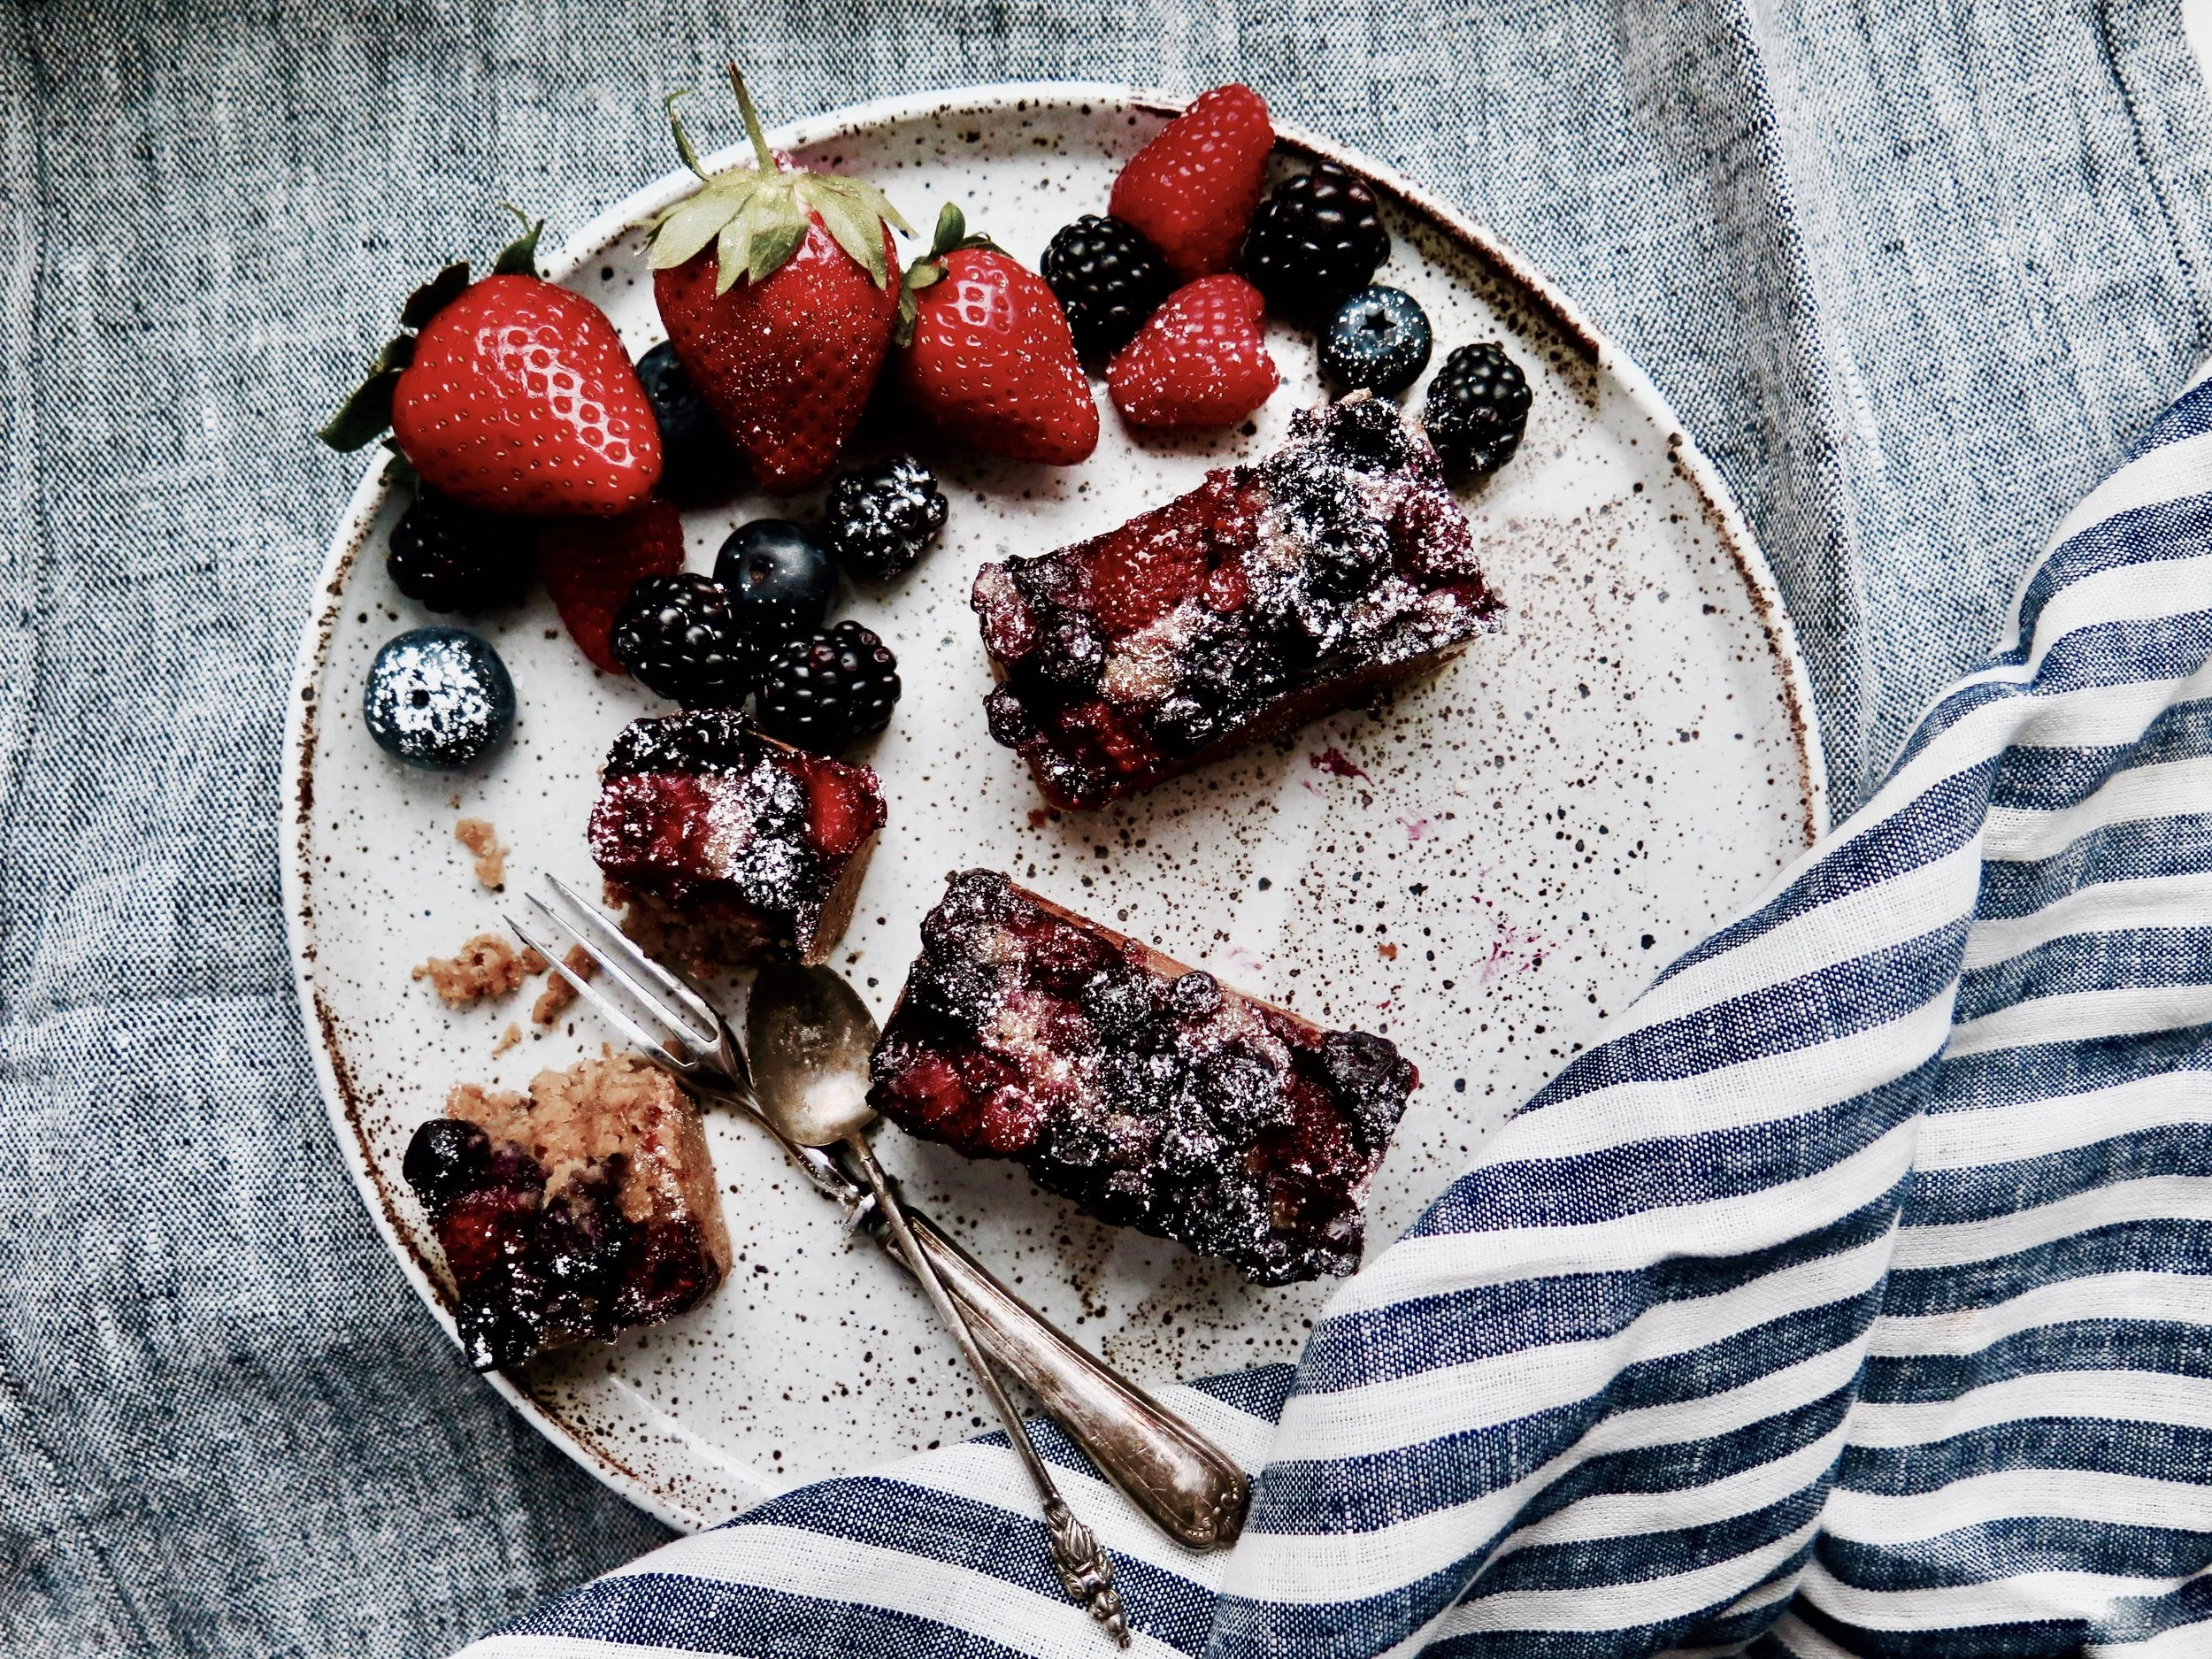
These are slightly different from my other cookie recipes – they’re NYC-style: enormous, and molten and tender, to the point where they very nearly collapse when lifted. They’re saturated with chocolate and have the delicious crunch of walnuts and a touch of sea salt to counteract their sweetness.
Viewing entries tagged
dark chocolate
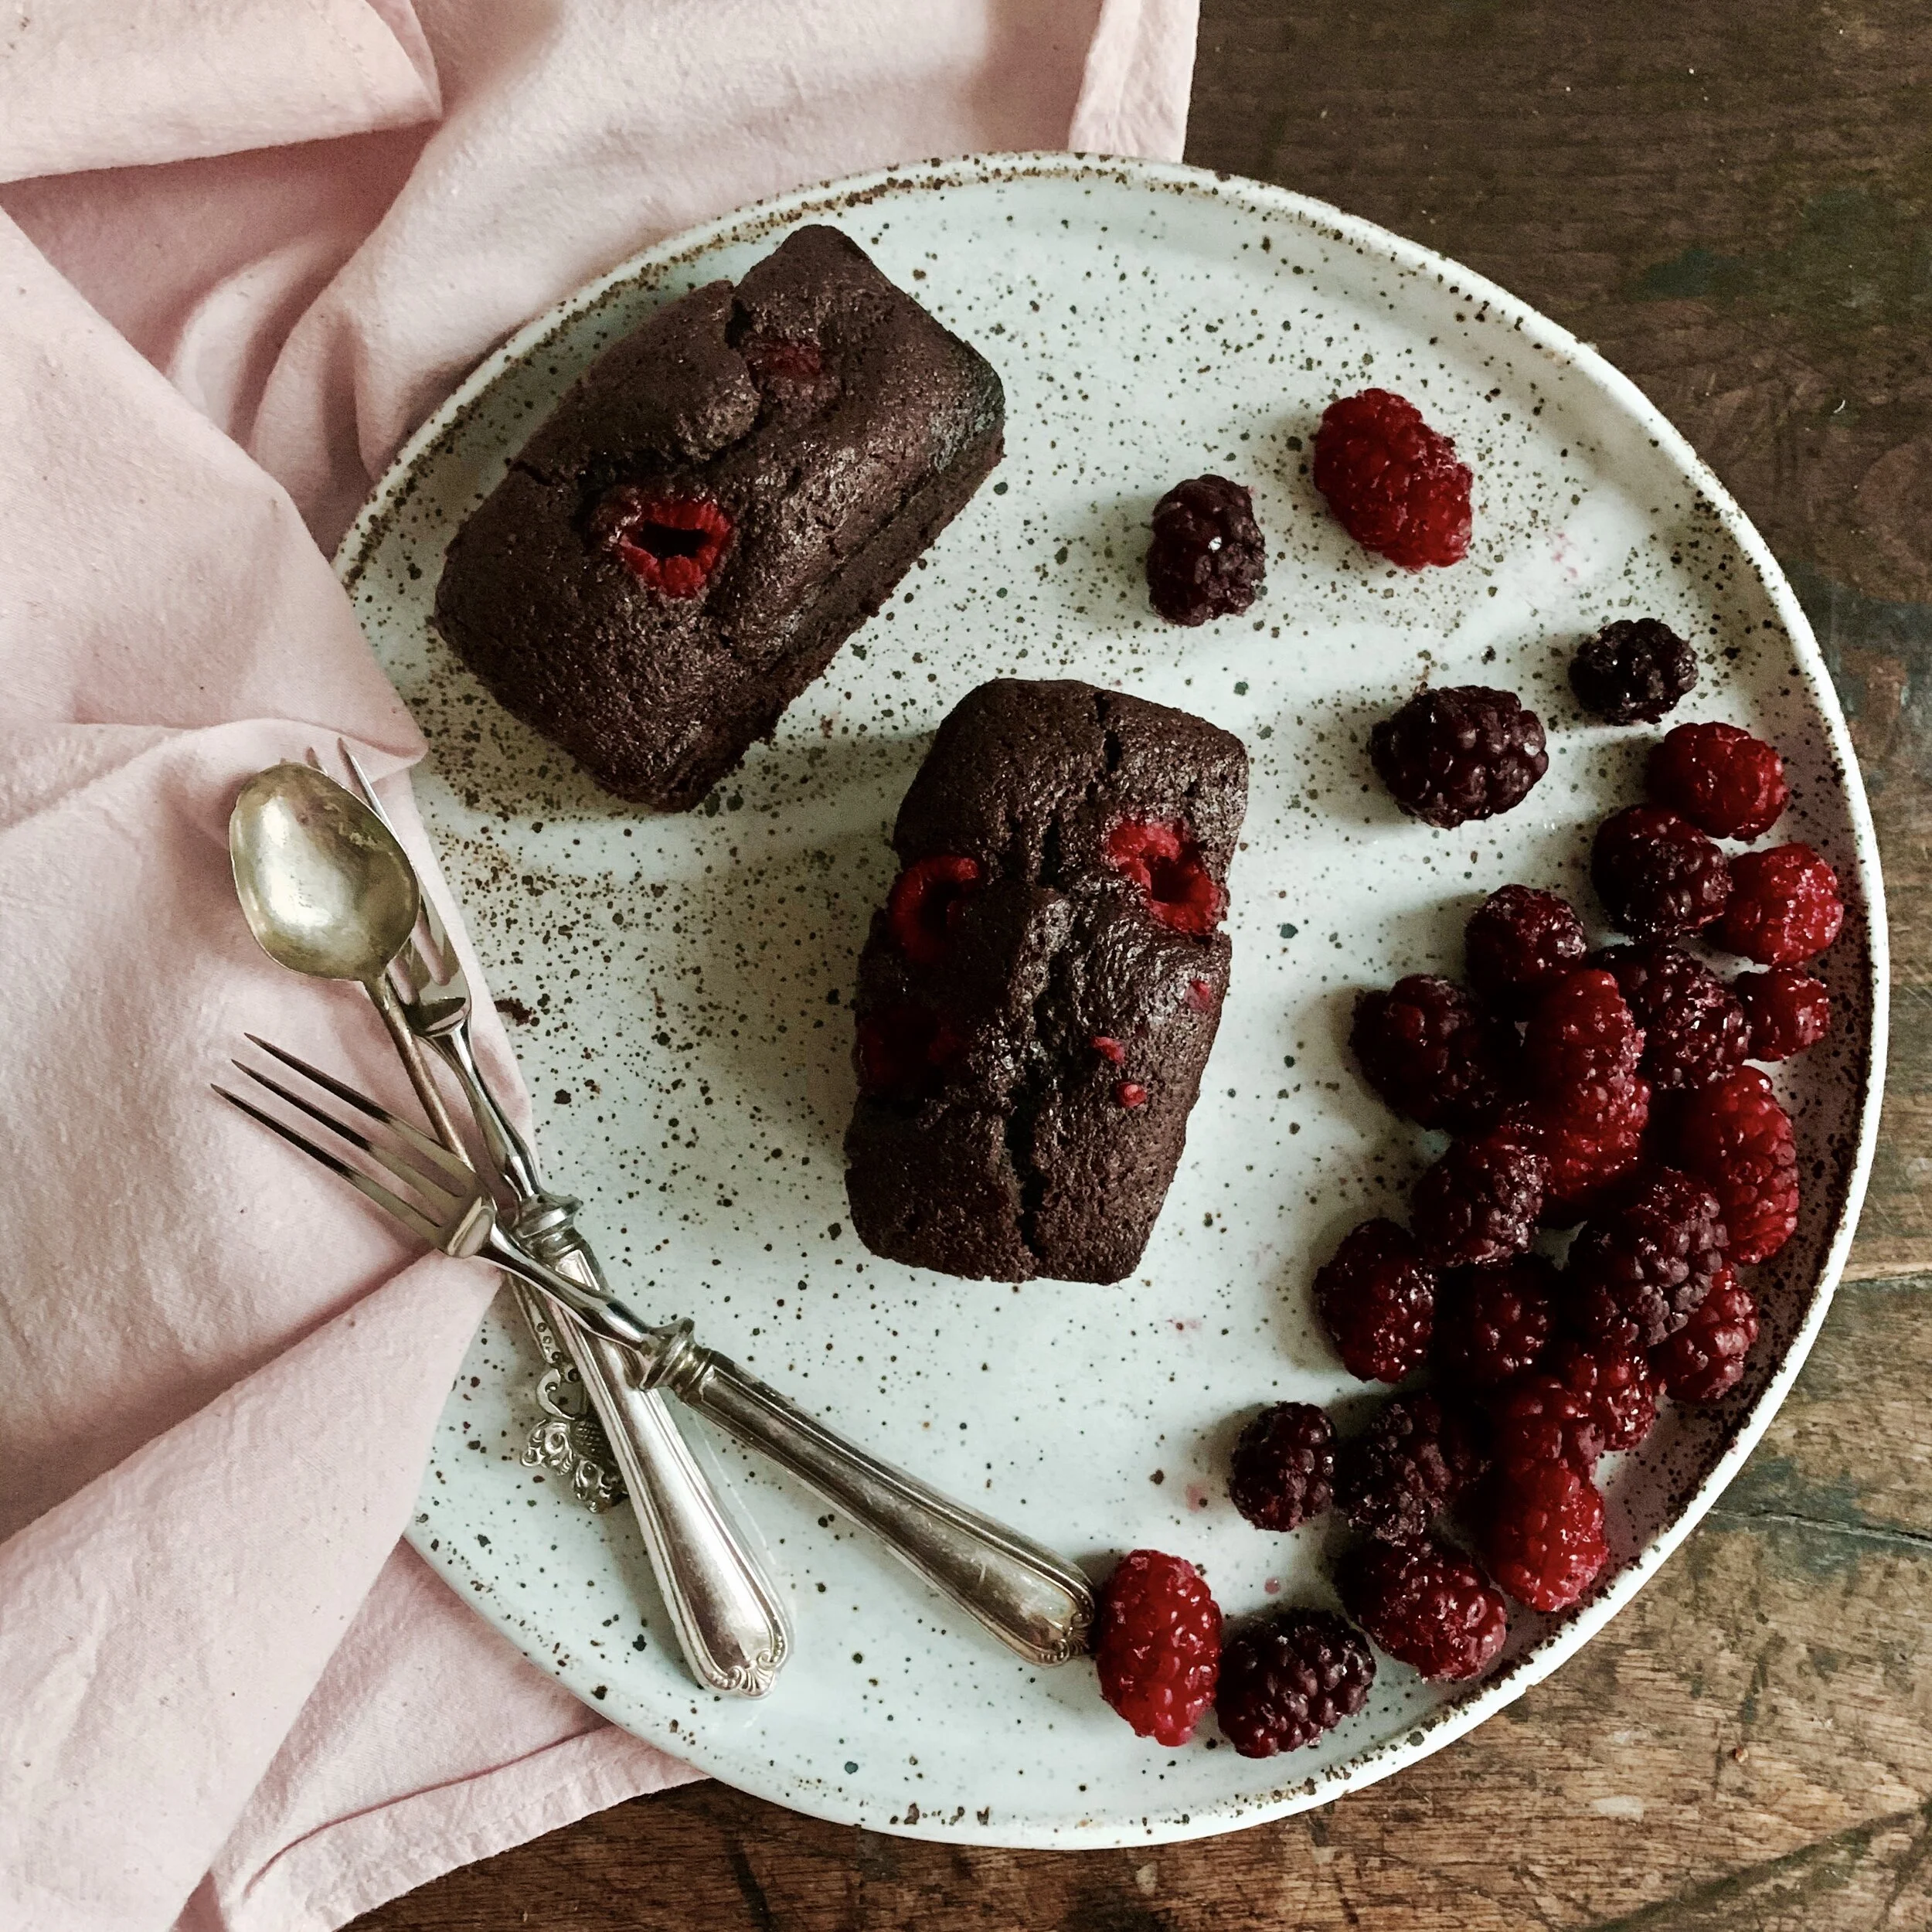
The cake is tender and chocolatey and, when cut open, reveals a molten centre. The raspberries add that vital fresh astringency to cut through the sweetness and make a second piece impossibly hard to resist.
Once again, this recipe comes with a disclaimer that despite being vegan, the cake does not vaguely taste “vegan”.
if I have a vegan chocolate cake, it needs to meet or surpass its non-vegan equivalent in taste, in texture and in appearance.
And, it most certainly cannot have any weird artificial or suspicious gunk holding it together.
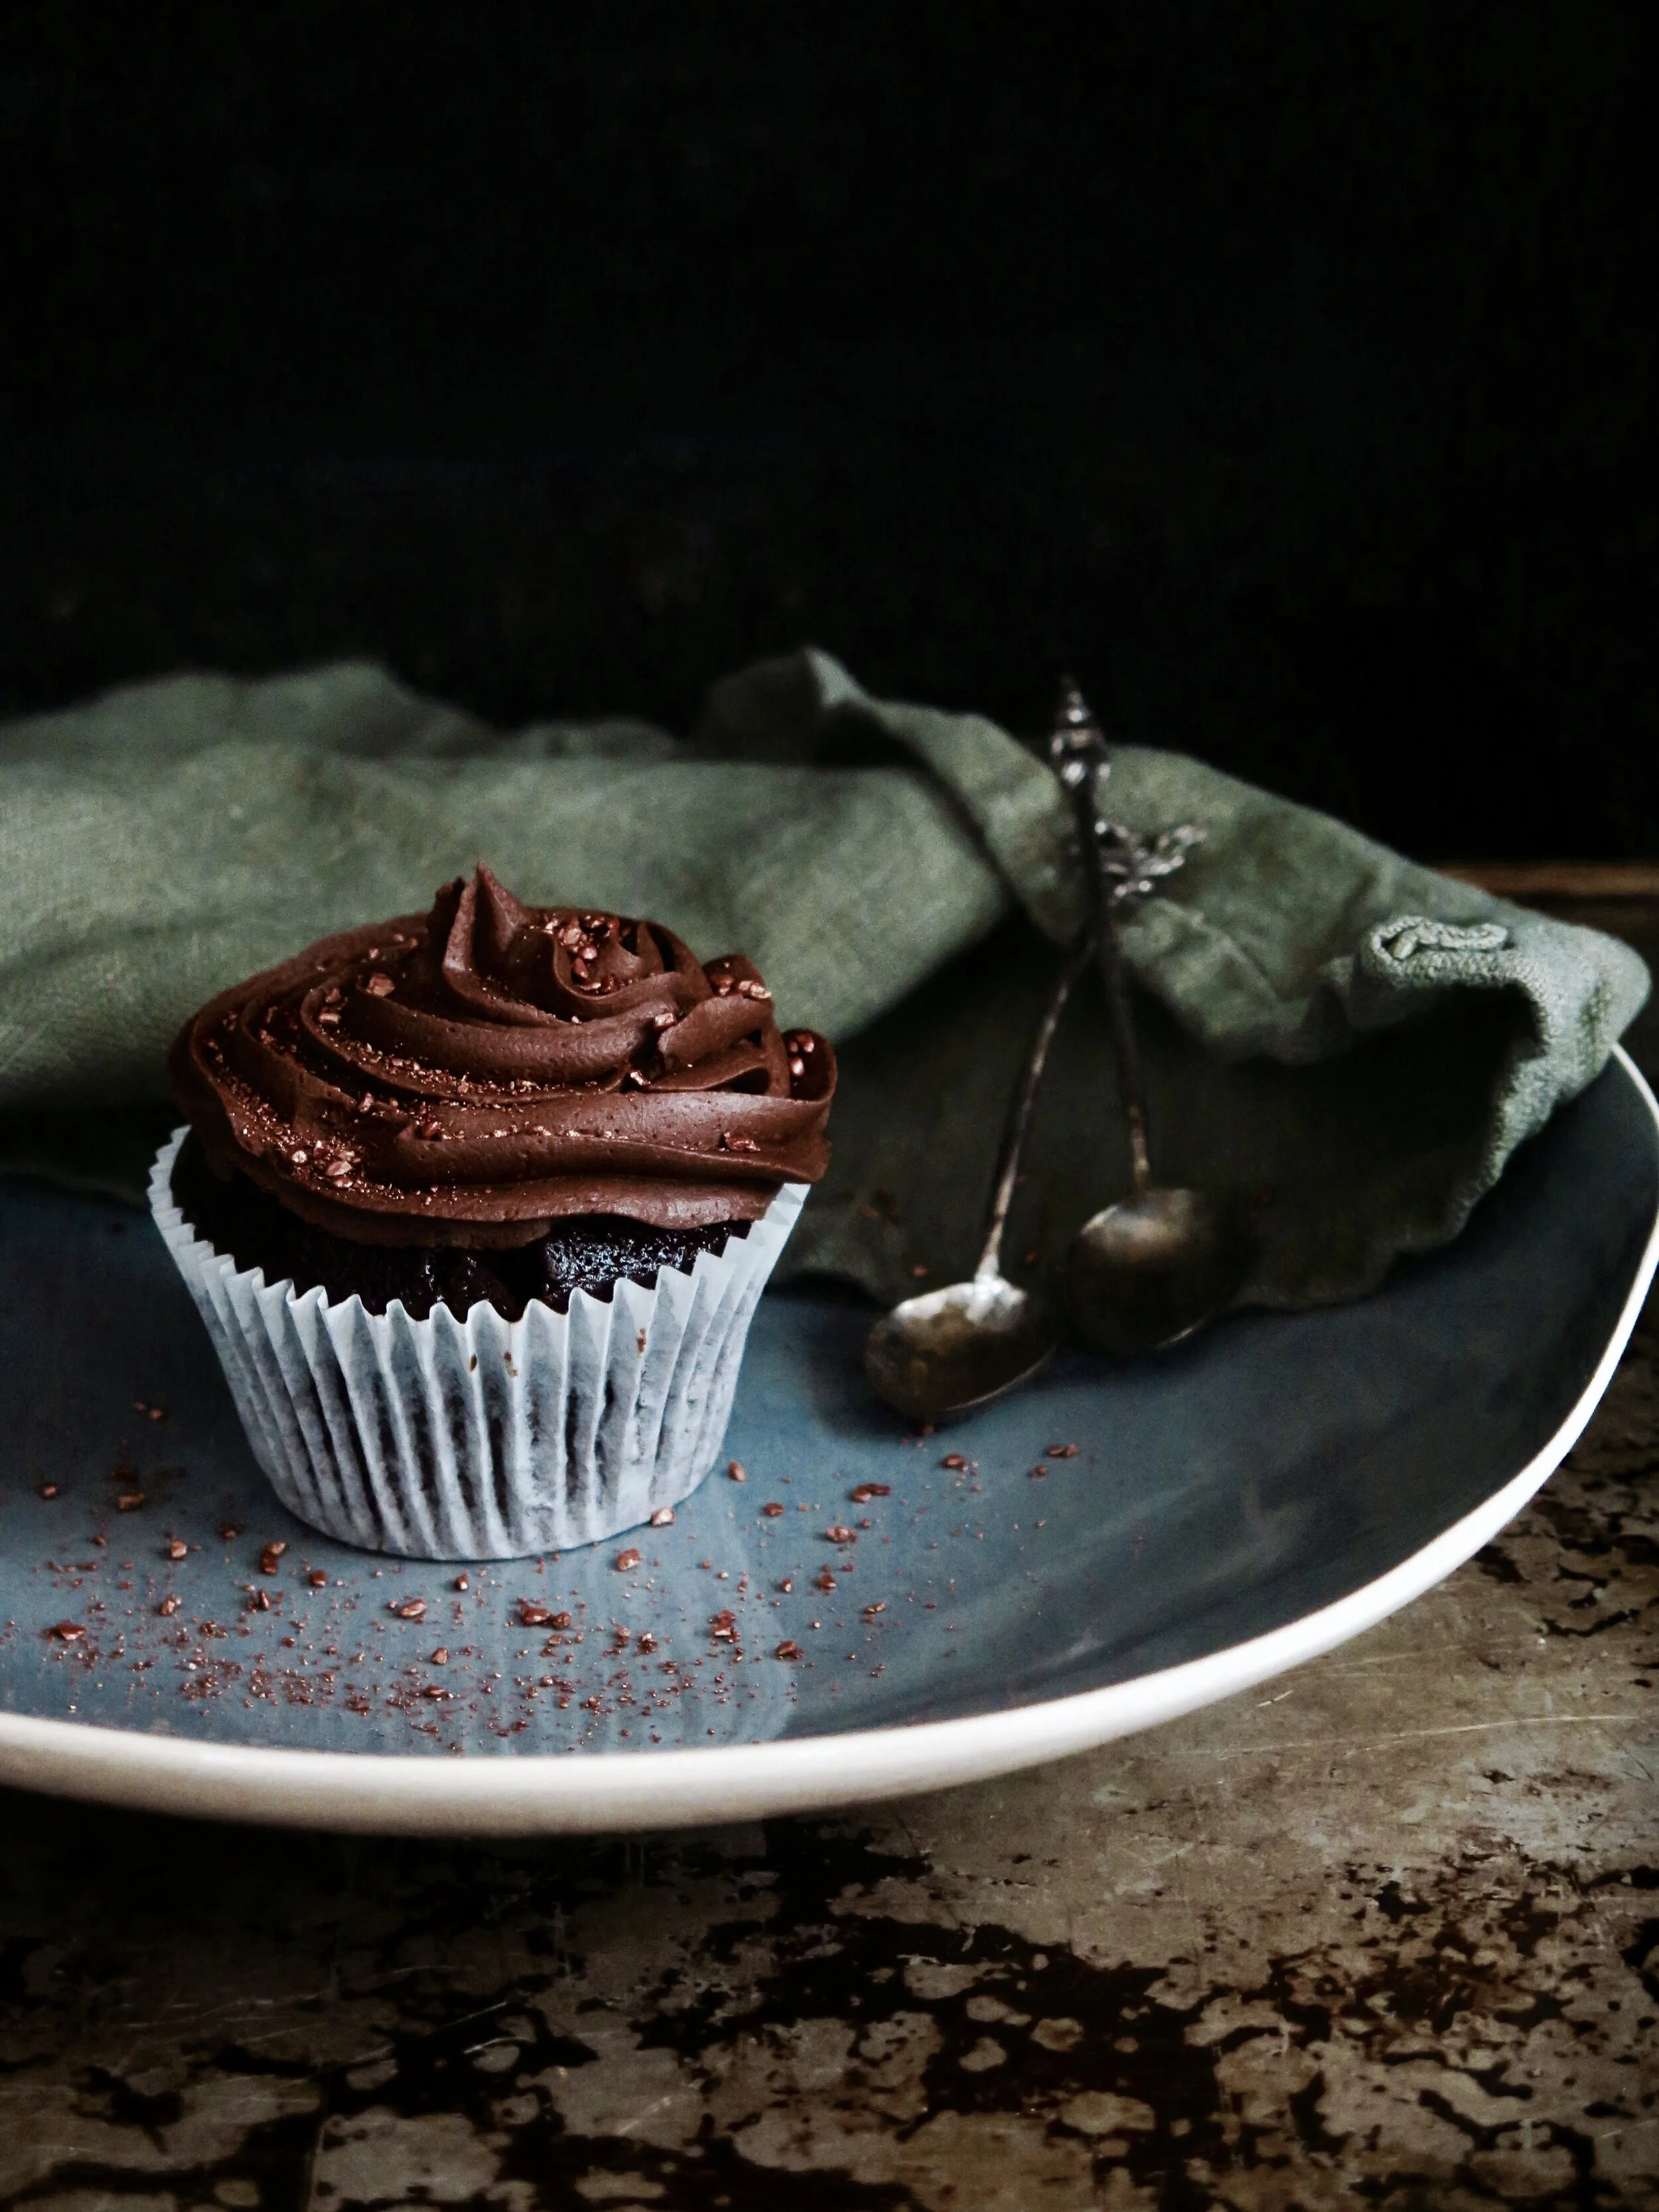
Anyway, I stumbled across a basic recipe online: it came out disturbingly black, and tasted acrid. And I tried an online vegan icing recipe: it was revoltingly oily, and tear-inducingly bitter. So, I’ve chopped and changed and adjusted and refined, and this is the result: cupcakes that are juicy, fluffy, tender, and moist, with a smooth, creamy chocolatey icing.
They are so good that I guarantee no one will guess they’re vegan.
In my dictionary definition of cookie, I’m going to be demanding. It needs to be thic(ccc)k so that each mouthful contains some of the promised flavours, be they chocolate, nut, or candy. I want it crisp on the outside so that when broken, it gives way to a chewy cookie-dough goo. If there’s chocolate or caramel, they need to be molten. They also need to have enough salt to balance the sweetness and add depth of flavour.
And, after years of trials, the quest to create the perfect cookie becoming increasingly Sisyphean, I’ve done it. And you need to make them ASAP.
I wanted chocolate. I wanted peanuts. I wanted caramel. And so came together three revered ingredients to make this simple but deeply luscious dessert. I admit to a glimmer of inspiration from the Season 11 contestant of RuPaul’s Drag Race contestant, the drag queen with the moniker Silky Nutmeg Ganache. But apart from that, I attribute this recipe to greed.
It’s on an almost daily basis that I find my thoughts converging on that scene in Matilda: Bruce vs the chocolate cake – moist, dense, dark, and yes, revolting. It’s a tempting challenge, and only on a handful of occasions in my life have I come close to those chocolatey depths (or heights, depending on your perspective).
The first time was at my 9th birthday party which took place in the civilized private room of a pottery painting shop, surrounded by friends from my all-girls school, all politely detailing their teacups with flowers, and hearts, and stars. The birthday cake arrived, tall and majestic, lavishly enrobed in sumptuous swathes of soft chocolate buttercream.
All I can say in mitigation of what was to come was that at least I waited until my slice was placed in a bowl. But then the urge became overpowering, and it was with unbridled joy that I plunged my face into my bowl and into the luscious embrace of the cake.
But my Bruce experiences don’t end there. I waited a further nine years until I was at university, when a five pence coin thrown into a neighbour’s dessert meant that it had to be devoured without cutlery. This was a curse to many, but an opportunity I wholeheartedly seized. Why waste time on cutlery when you can cut to the chase, pig-in-trough style, with an audience?
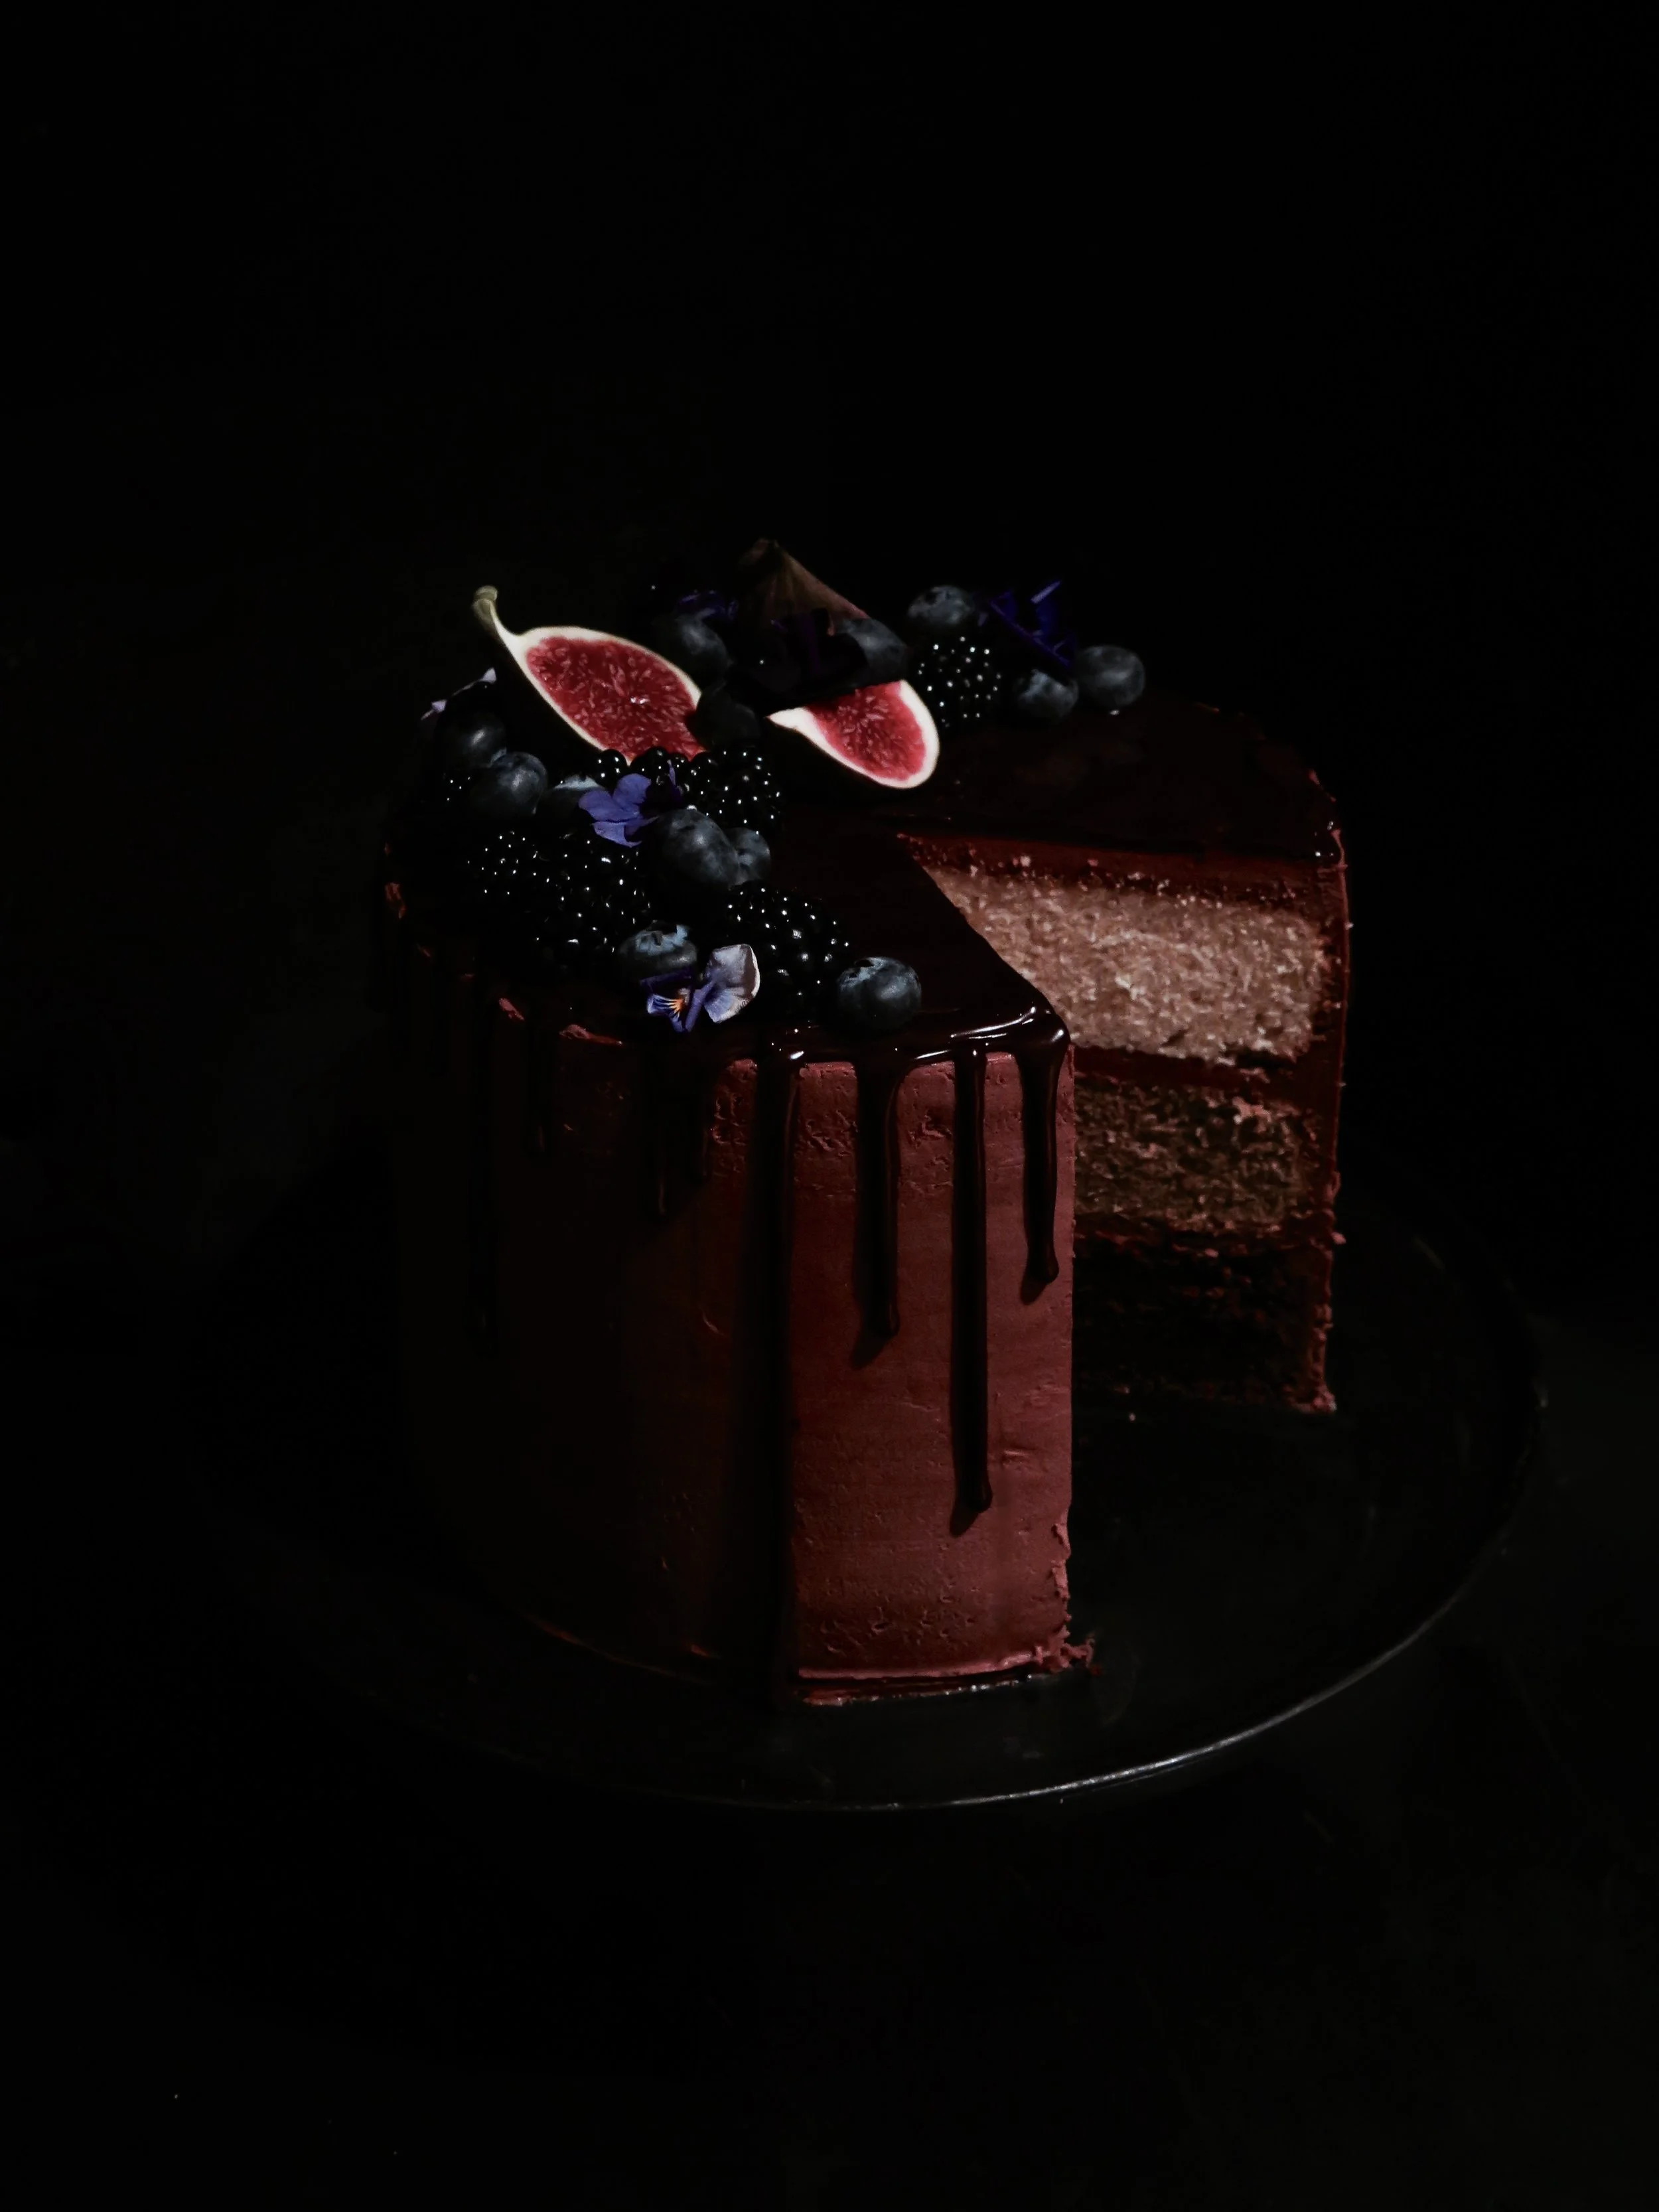
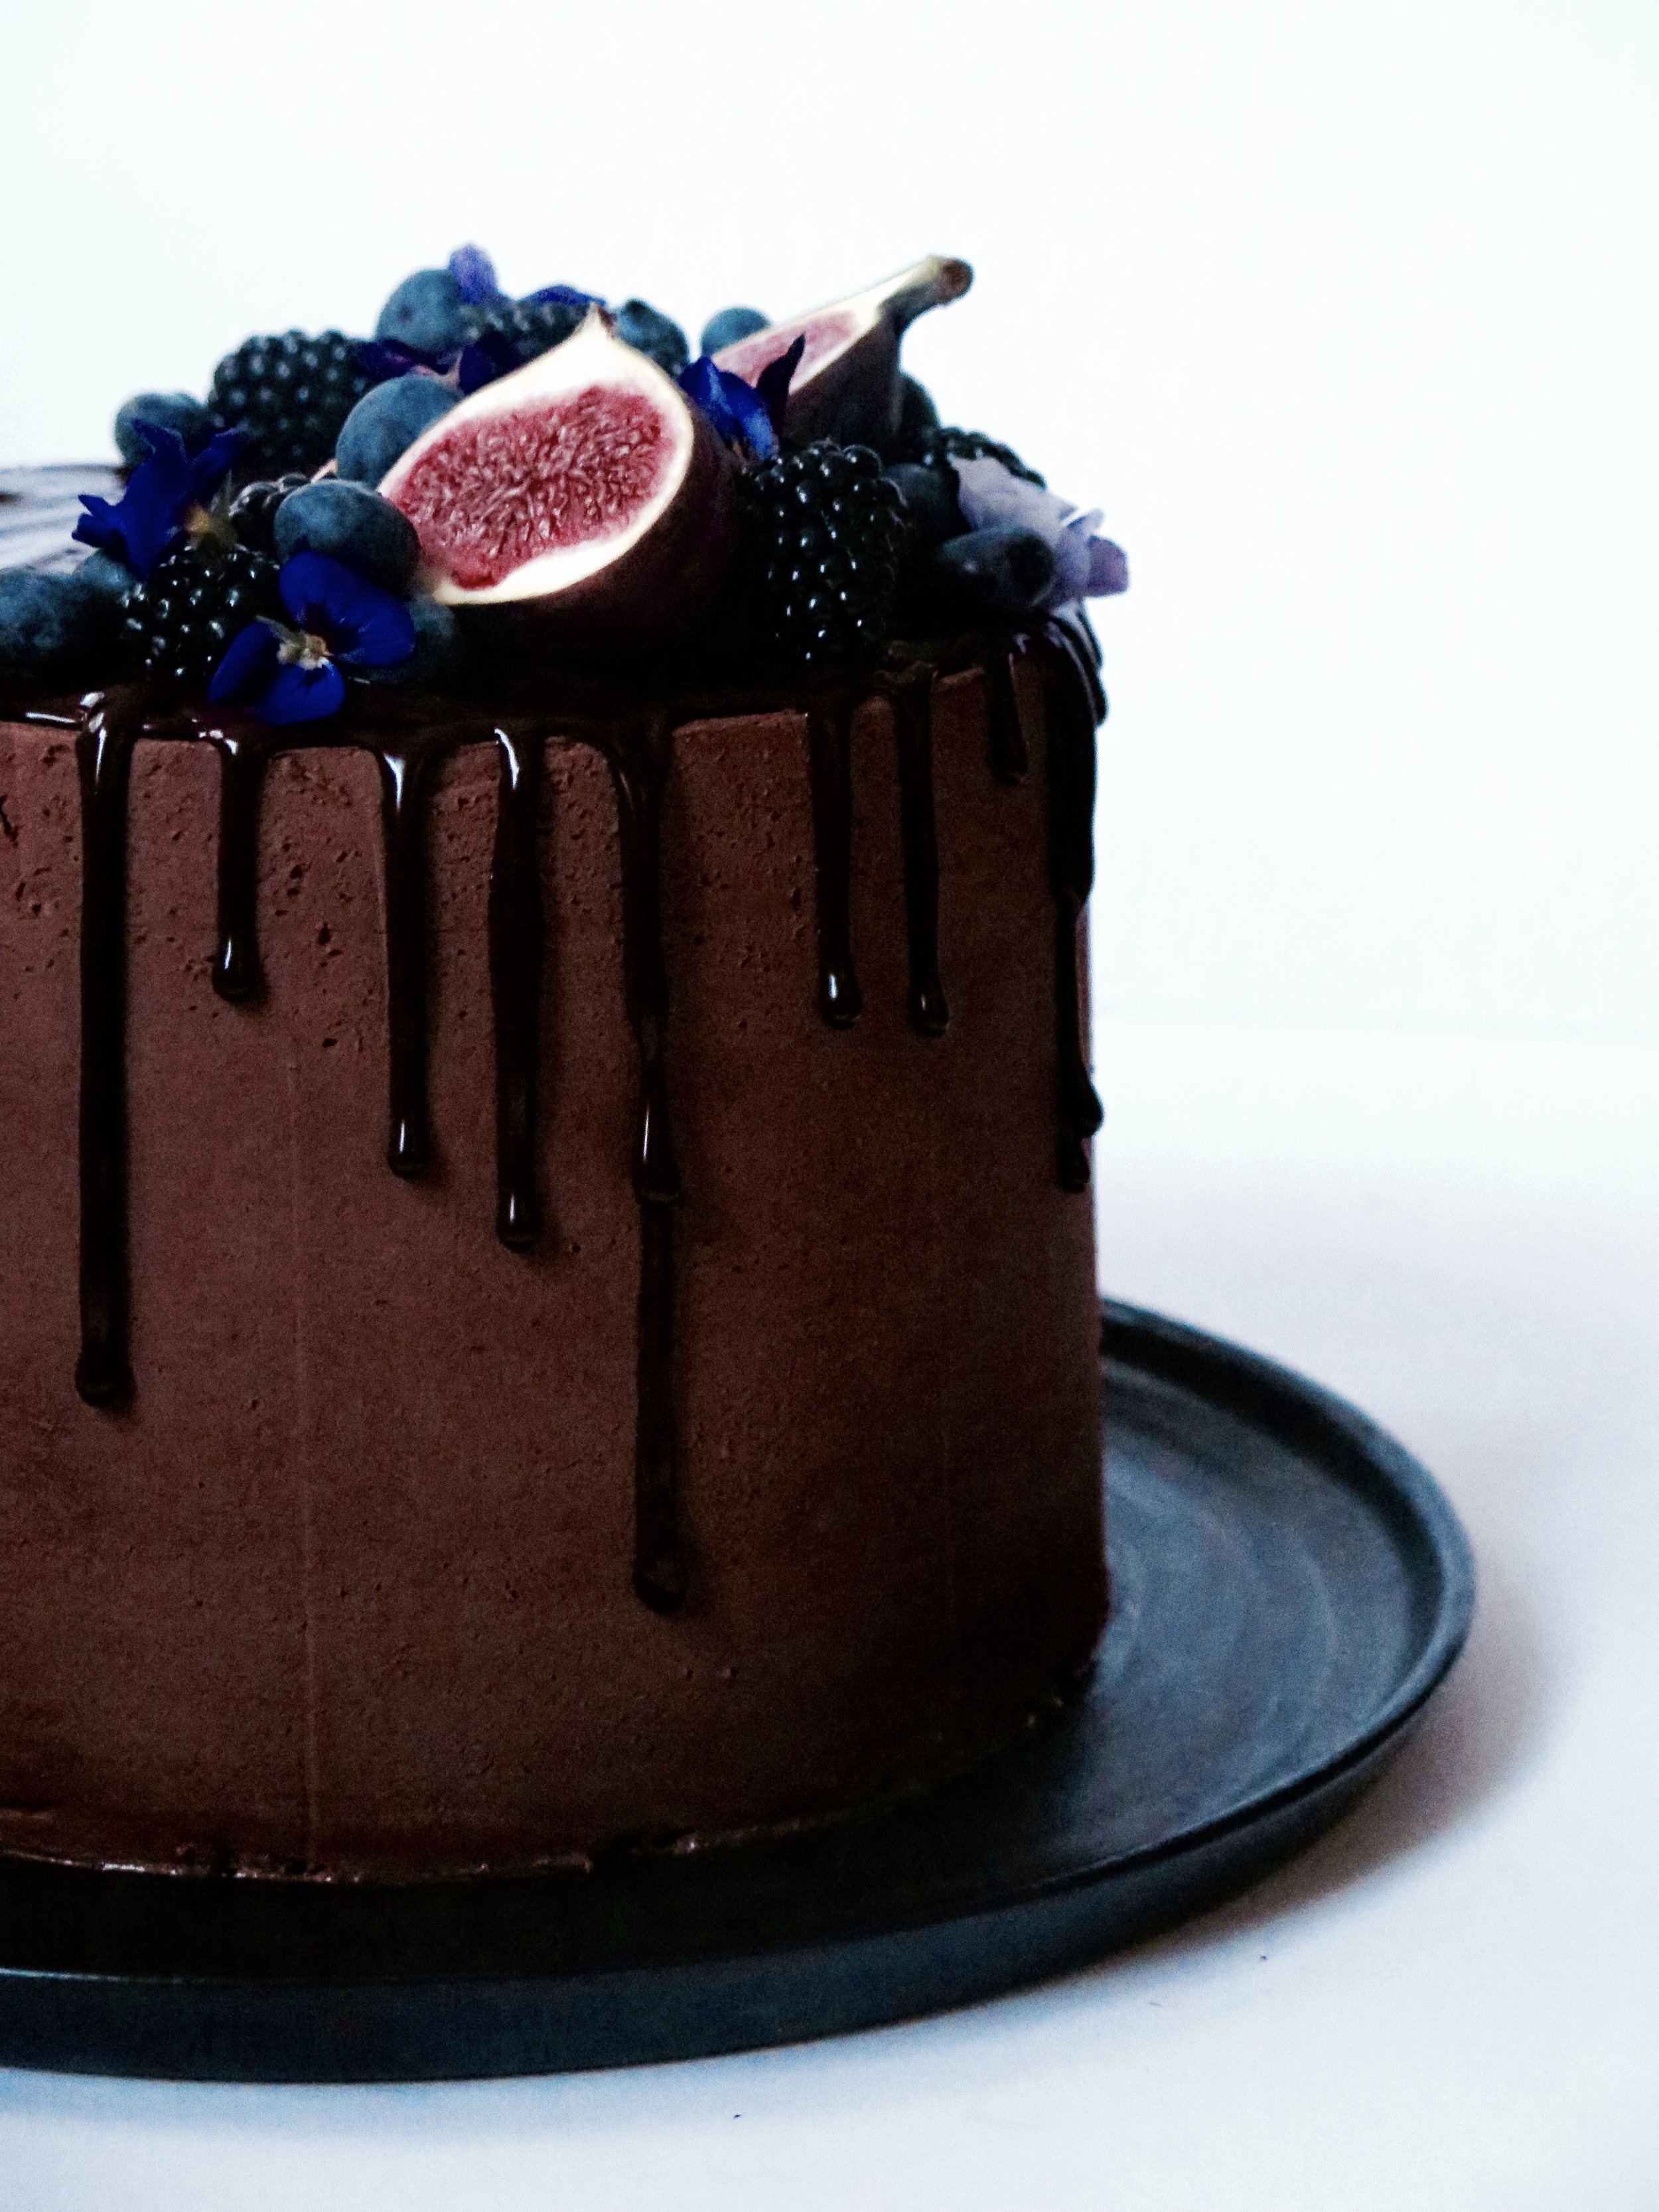
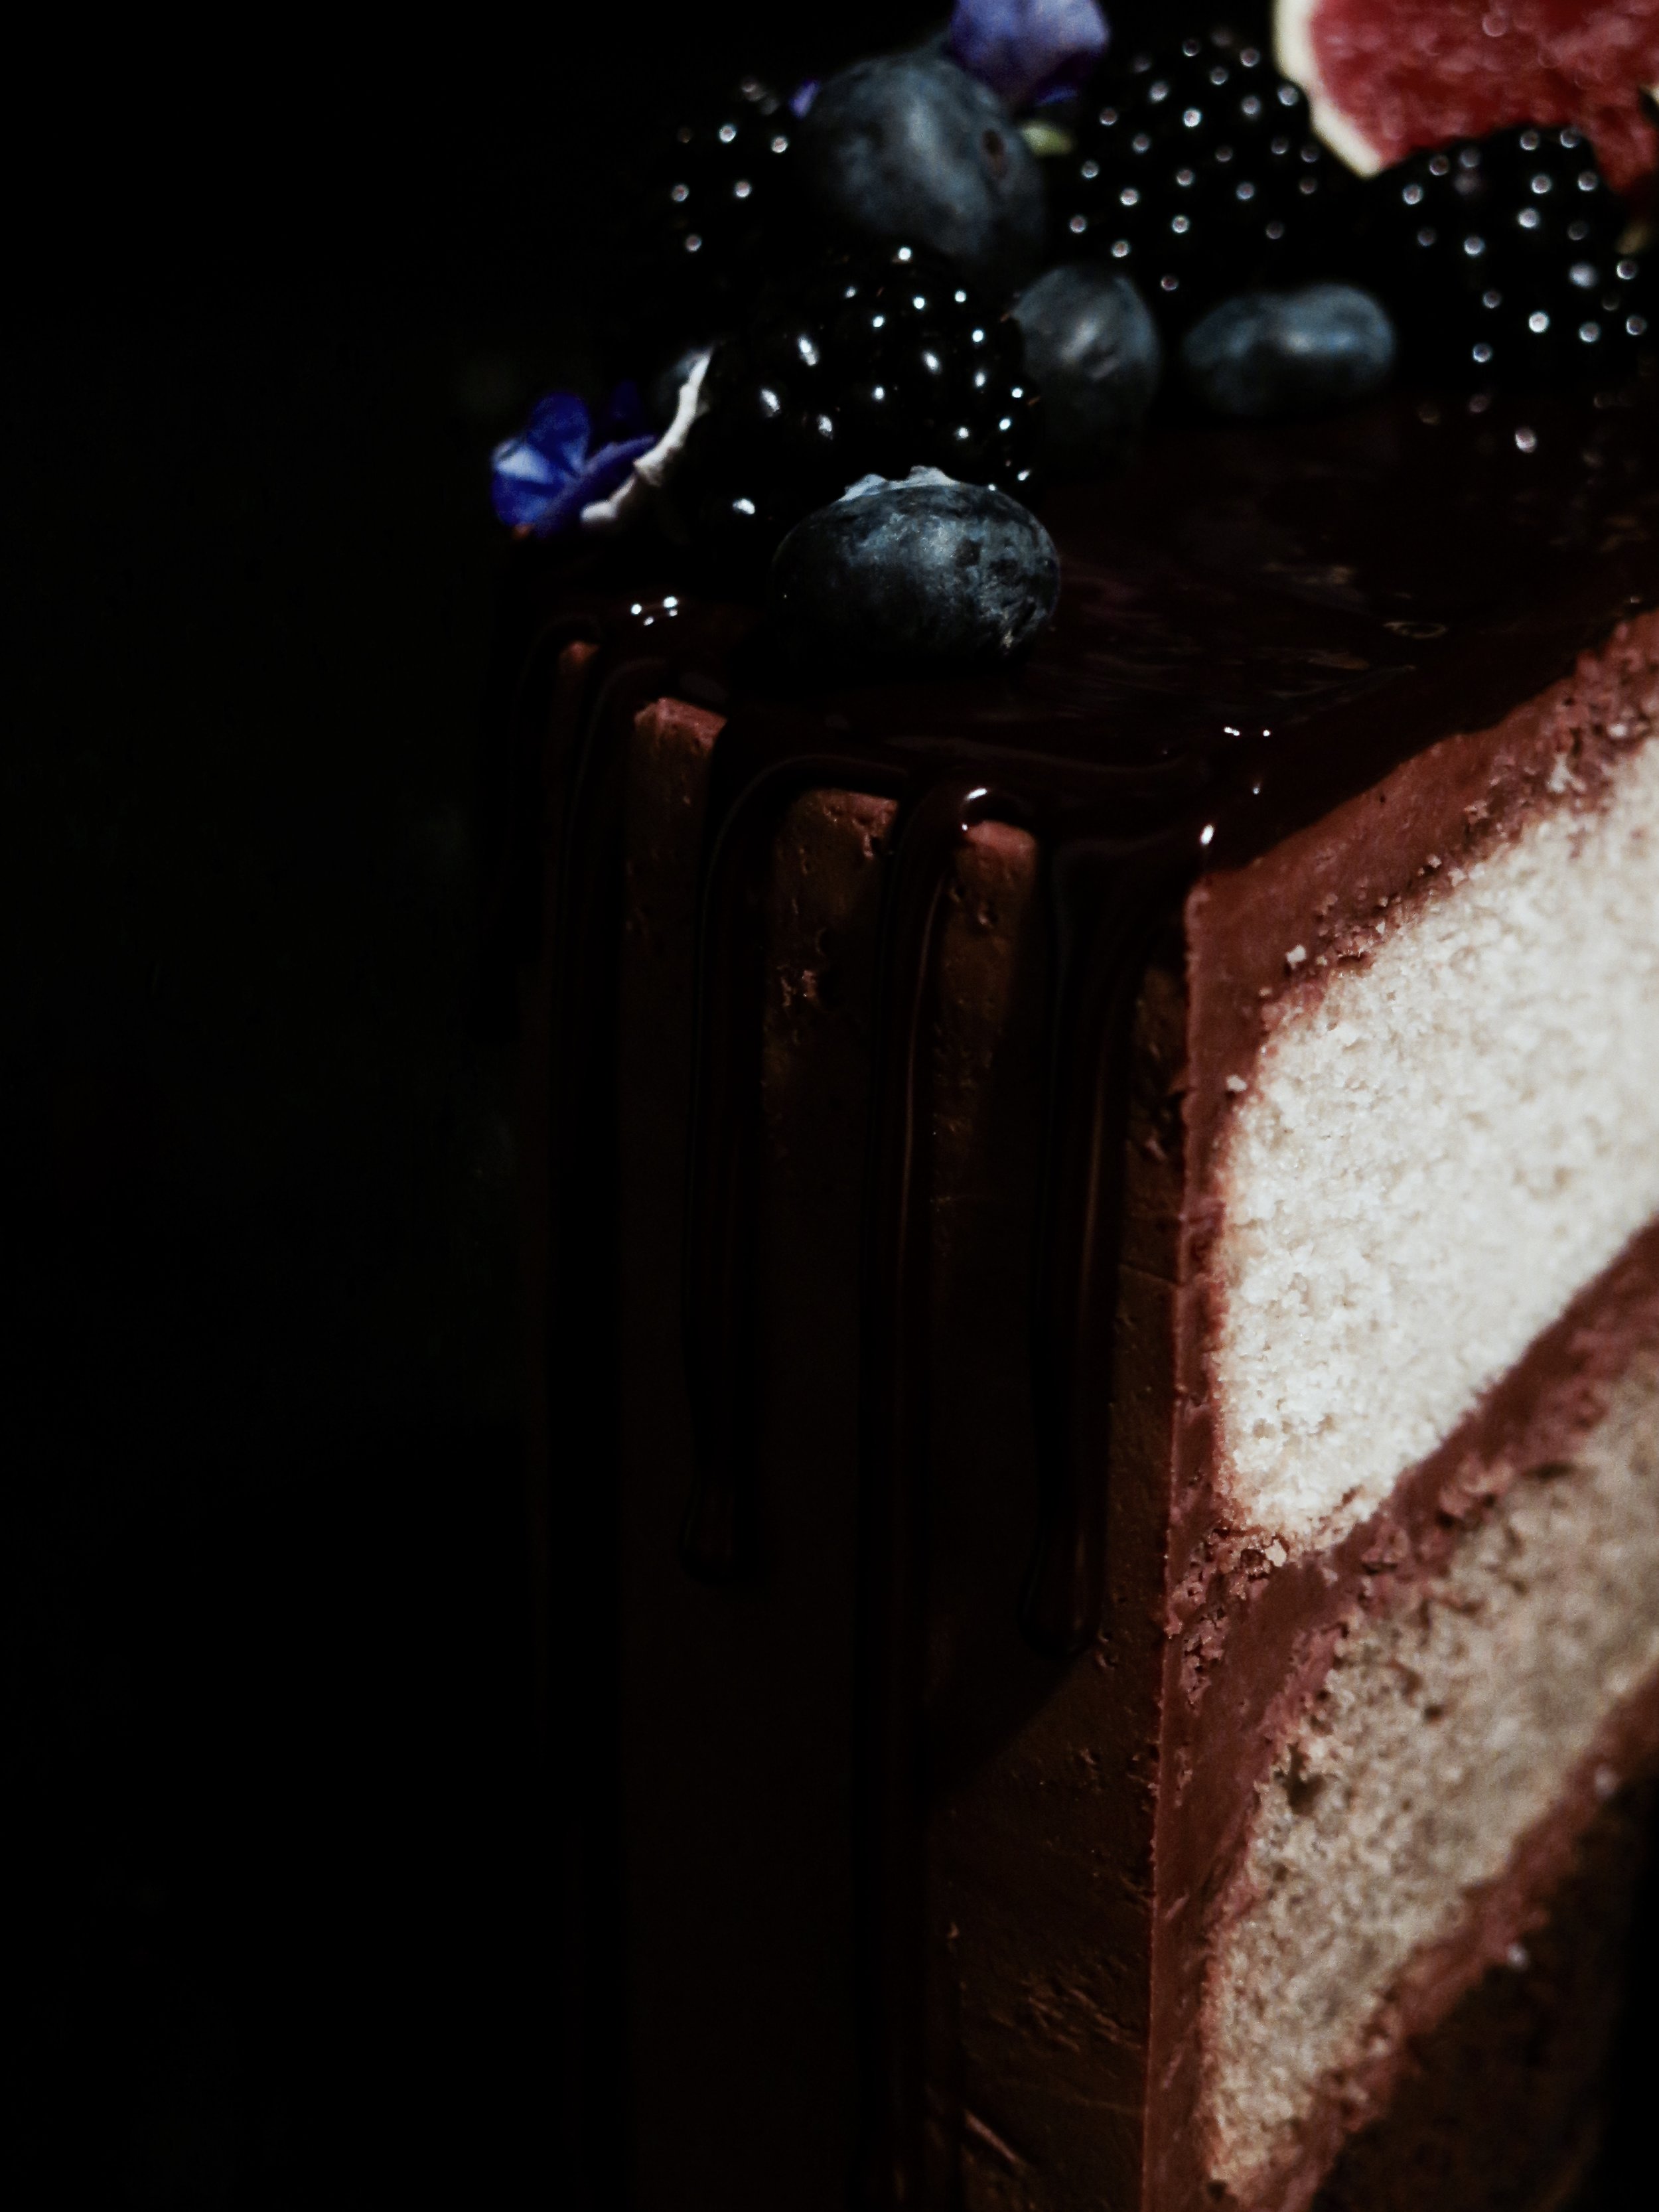
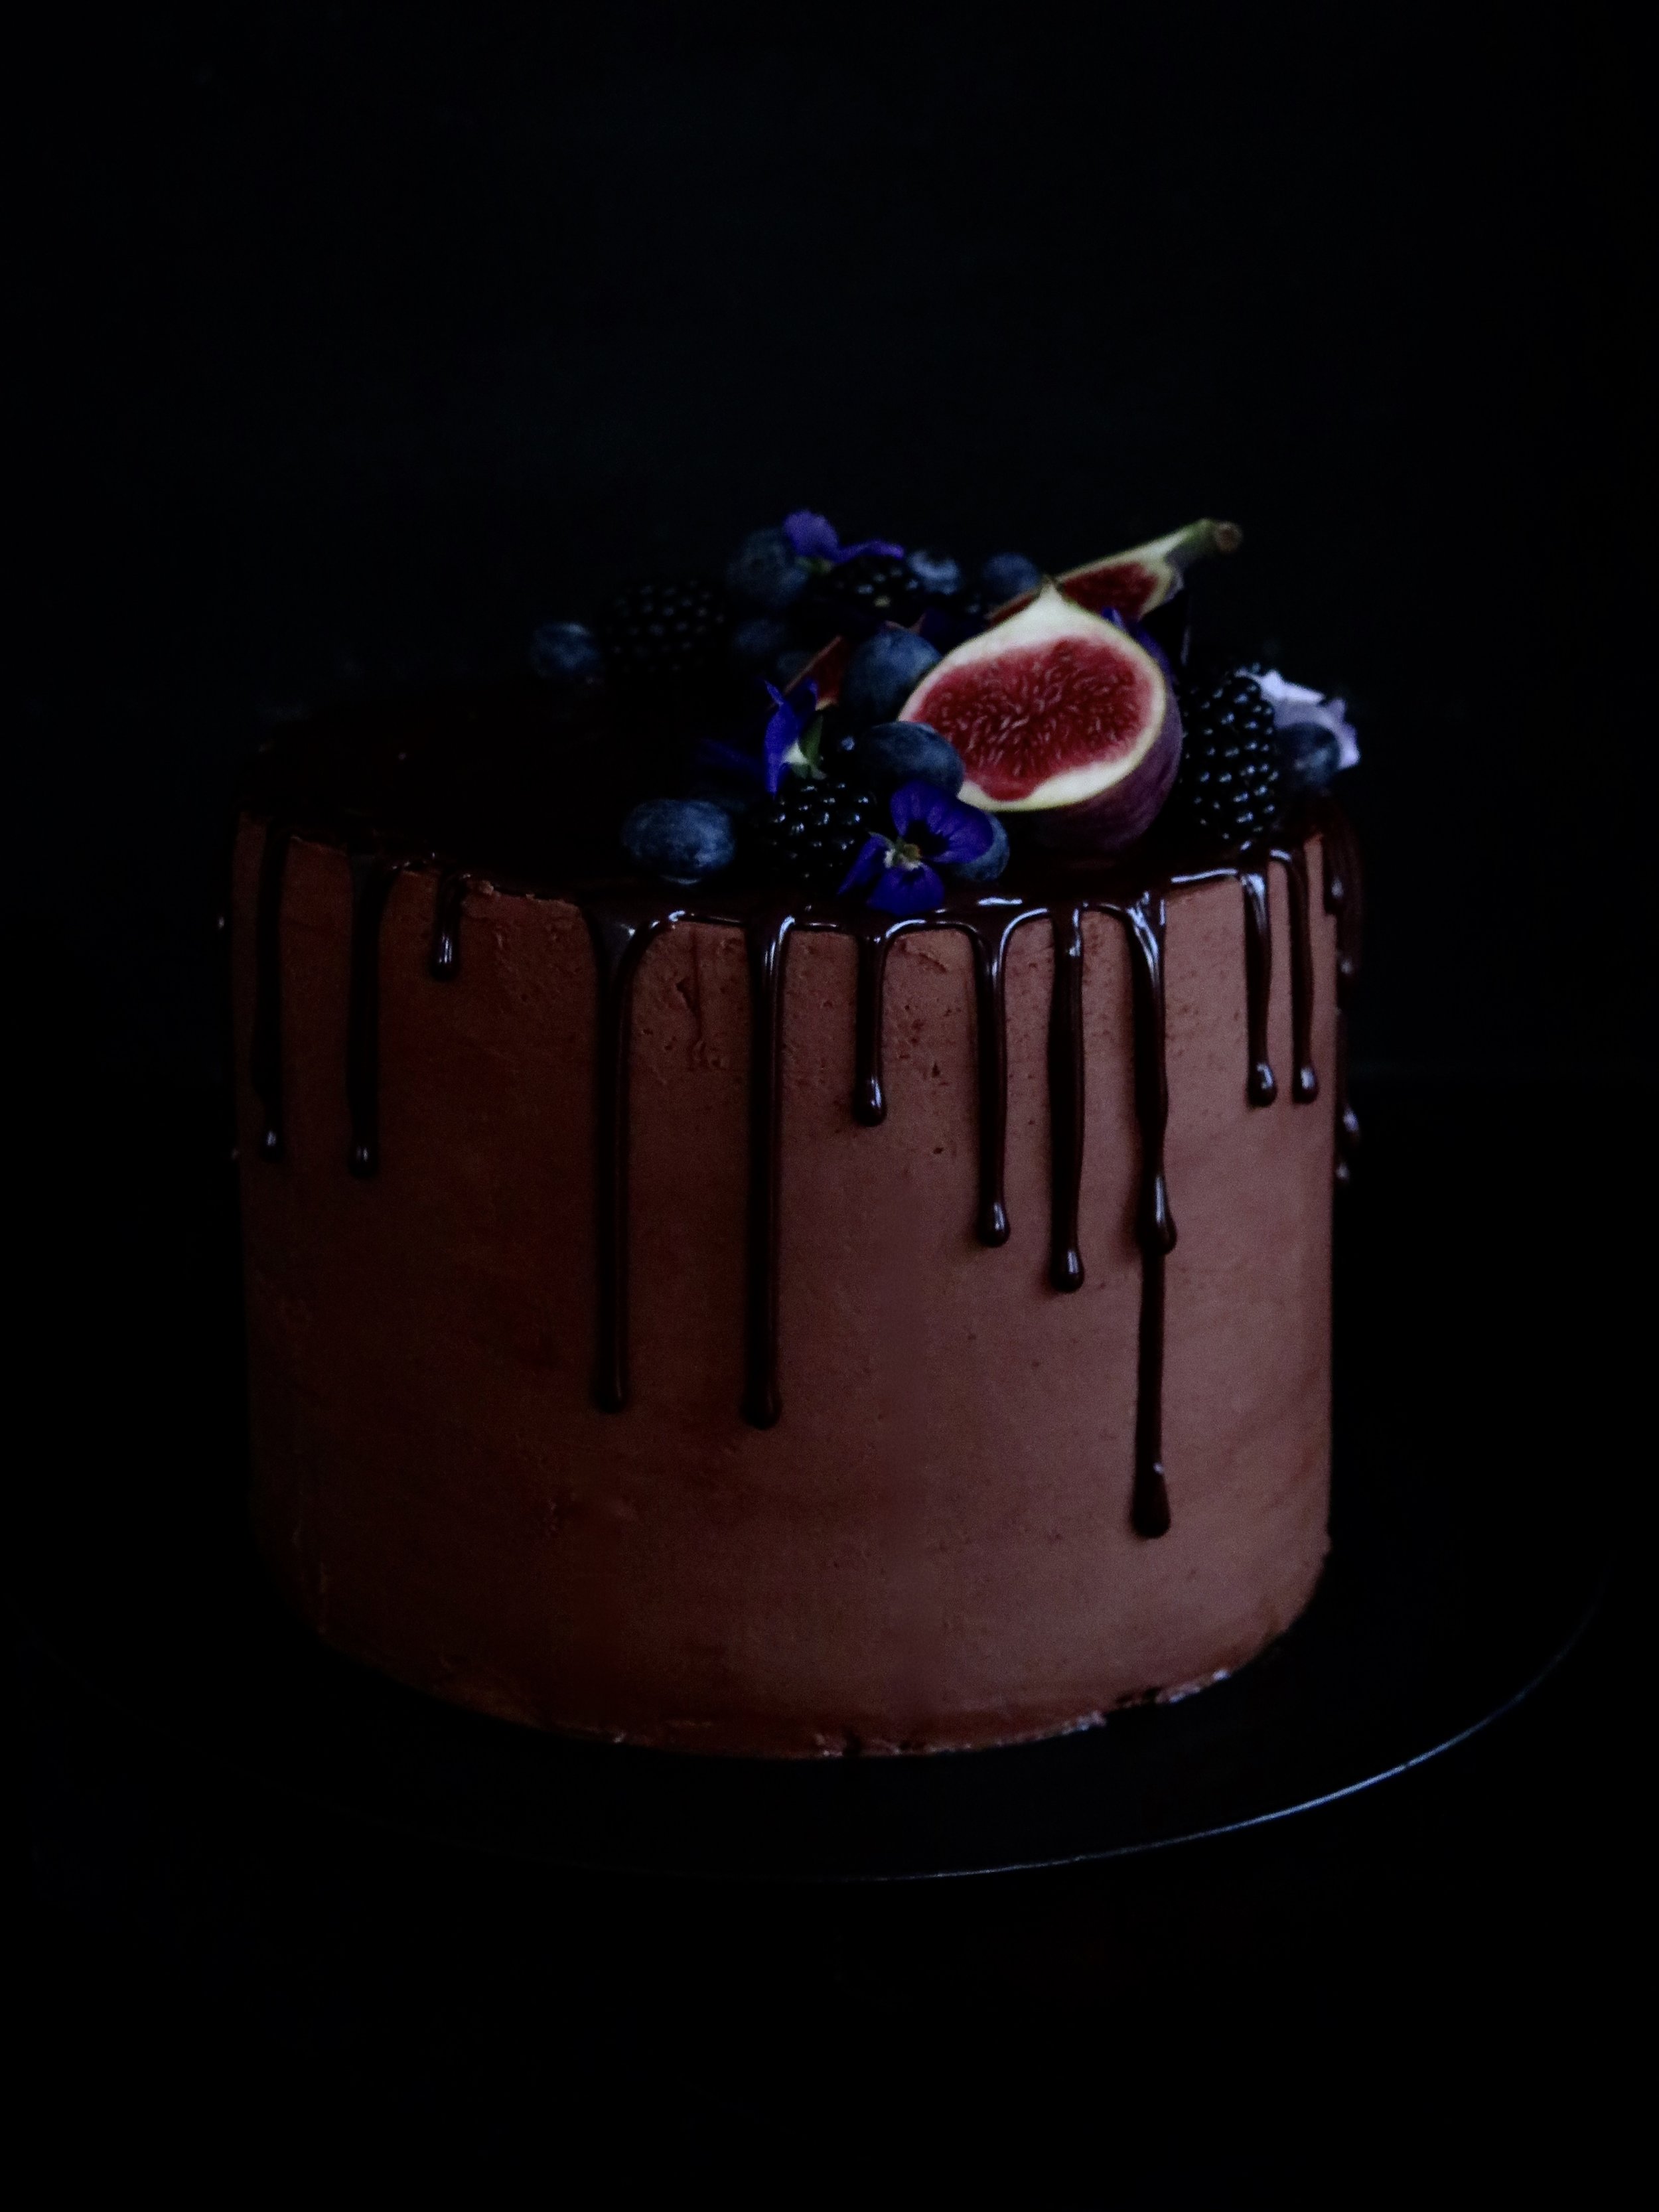
The desire was mostly satisfied then but I still dream up opportunities to replicate it. I imagine this cake would be peak territory for such caveman antics: a base layer of moist and rich chocolate cake (ticks the Bruce box), a golden middle tier of coffee cake, and a fluffy vanilla sponge top tier. The buttercream is deeply chocolatey with a pinch of salt to counteract the sweetness, and the cake is topped with a mirror ganache drip glaze (easier to do than you may think). Nigella famously writes in her recipe: “Feeds twelve, or one with a broken heart”. This feeds twenty, or one with an overpowering Man vs Food, Matilda’s Bruce desire.
Although this cake has multiple elements and steps it is not difficult to carry out.
- If you wish to have all three layers identical, then just triple the quantity of one cake.
- Feel free to experiment with buttercreams as well (for example, vanilla, coffee, or caramel).
- Additionally, I use dark fruits to decorate the cake, but you can keep it plain, or venture down more chocolatey routes. It is also delicious kept simple, without the mirror chocolate ganache.
- This is effectively three cakes in one so you can just make one of the cakes, and make a third of the icing in which to cloak it.
- The chocolate cake recipe makes slightly more than necessary, hence the muffin cups into which the excess mixture is poured – a bonus in my book…
Ingredients
The vanilla and coffee cakes:
450g unsalted butter, at room temperature
450g caster sugar
2 tsp vanilla extract
4 tbsp milk
8 large eggs, at room temperature
450g self-raising flour, sieved
½ tsp salt
1 tbsp espresso powder, dissolved in 1 tsp boiling water
The chocolate cake:
400g plain flour
250g caster sugar
100g light muscovado sugar
50 high quality cocoa powder
2 tsp baking powder
1 tsp bicarbonate of soda
½ tsp salt
3 large eggs, at room temperature
140g soured cream
1 tbsp vanilla extract
175g unsalted butter, melted
125g corn or vegetable oil
300ml cold water
Salted cocolate buttercream:
250g high quality 70% dark chocolate
375g unsalted butter, at room temperature
680g icing sugar, sieved
½ tsp salt
4 tsp vanilla extract
Mirror chocolate ganache:
100g double cream
100g high quality 70% dark chocolate
Equipment:
3 (or 2 if you wash one up in between making vanilla/coffee and chocolate cakes) x 20cm diameter round cake tins, buttered, with the base lined with a circle of baking parchment
1 muffin tin with 5 muffin cases
piping bag fitted with a 2-3mm round nozzle
Method
The vanilla cake and the coffee cake:
1) Preheat fan oven to 180C. In a large bowl with a spoon, or in a mixer fitted with the paddle, beat together butter and sugar for about 3 minutes until the mixture turns fluffy, soft and almost white. Beat in the vanilla and milk.
2) Then beat in one egg at a time alternating each egg with a tablespoon of flour. Don’t panic if it looks slightly curdled, as this is normal. Add in the rest of the flour and salt and, by hand, gently fold them into the mixture.
3) Pour half the mixture into one of the lined baking tins – this is the vanilla cake. For the coffee cake, add in the dissolved espresso powder into the remaining mixture and fold in gently. Pour into the second baking tin and place both in the oven to bake for 30-40 minutes until golden on top and a skewer comes out clean. After 30 minutes, you may need to cover them with tinfoil to prevent the surface from burning.
4) Once cooked, remove from oven and place on a rack to cool.
The chocolate cake:
1) Preheat fan oven to 180C. Into a large bowl, sieve all the dry ingredients and mix through. In a separate medium sized bowl, whisk together the eggs, soured cream and vanilla.
2) In a third, large bowl, either by hand or in a mixer fitted with the paddle, beat together oil, butter and water until combined. Into this bowl, pour the dry ingredients and fold gently to combine. Then pour in the egg, cream, vanilla mixture and fold gently together until smooth and just combined.
3) Pour off 300g of the mixture into a separate bowl and divide equally between 5 muffin cases. Pour the rest of the mixture into the prepared cake tin. Place muffins and large cake in the oven. Bake the muffins for 20 minutes, and the large cake for 40-50 minutes until a skewer comes out clean. Check the large cake after 30 minutes, as you make need to cover it with tinfoil to prevent the surface from burning. Once cooked through, remove from the oven and place on a baking rack to cool.
The salted chocolate buttercream:
1) Melt the chocolate in a bowl sitting on top of a pan of boiling water (don’t let the water touch the base of the bowl containing chocolate). Set the melted chocolate aside to cool slightly.
2) In a mixer fitted with a paddle, or in a large bowl with a spoon, beat together the icing sugar and butter until combined. Pour in the melted chocolate, salt and vanilla, and beat once more until combined.
The chocolate mirror ganache:
1) Make this only once the cake is iced. Heat the double cream in a small pan over a medium heat until it just begins to bubble. Remove from heat immediately and stir in the chocolate until it has melted and both combine into a glossy ganache.
Assembly:
1) The cakes should be of equal depth, so line the three cakes alongside each other and, with a long-serrated knife, slice the domes off each to make them even. I then place the cakes in the freezer for 10 minutes as it makes them easier to ice.
2) Place the chocolate cake on the stand on which you wish to serve the cake. This will be the bottom most layer. Place about a fifth of the icing mixture on top and spread it carefully with a spatula. Place the coffee cake directly on top and repeat, finally placing the vanilla layer on top.
3) At this point, if you are impatient, you can continue to ice the rest of the cake with the remaining buttercream, and proceed directly to stage 4. If, however, you want to ice the cake perfectly, it is advisable to do a crumb layer. This involves placing another fifth of the buttercream on the top of the cake and using a spatula to spread it evenly in as thin layer as possible around the cake, coating and filling any irregularities or gaps so that the sides and top are totally smooth and flat. Once this is done, place the cake in the fridge for a further 30 minutes until the icing is slightly hard to the touch. Remove from the fridge, and place the remaining icing onto the top of the cake and use a spatula to spread it off the top and around the sides. I dip the spatula in hot water to help achieve a smooth result. Place the cake back in the fridge while making the ganache.
4) Spoon a third of the ganache into the piping bag. Begin by drawing a line round the edge of the cake surface as a border. Then to make a drip, hold the piping bag very still with the nozzle pointing directly down, and put consistent pressure on the bag to allow the drop to fall from the edge down the side of the cake. Stop when the drip is nearly at the length you want. Continue along the edge of the cake making drips of different lengths. Once this is done, pour the remaining ganache onto the top of the cake and spread with a spatula to cover the surface.
5) Top with dark fruits or any decoration of choice, and serve.
All cake recipes are adapted from Nigella Lawson’s Chocolate Fudge Cake and Victoria Sponge Cake recipes
HUNGRY FOR MORE?
ANTI-VALENTINES ANCIENT ROMAN-STYLE
Candlelit dinner in a restaurant suddenly eye-wateringly expensive, a single rose rattling in its cellophane wrapper, chocolates filled with chemical cherry liqueur, and greetings cards covered with hearts and teddy bears and hearts and pictures of champagne and hearts: these are contemporary references to St Valentine’s Day.
How much more seductive would it be to celebrate Lupercalia as the Ancients did?
On the 15th February, naked youths of noble birth, anointed with the blood of sacrificed goats, and carrying strips of the animals’ hide, would run through Rome in a spirit of hilarity and lash waiting females in order to promote fertility and assist with pregnancy.
If this sounds too overtly carnal, how about taking the advice of Ovid in his Ars Amatoria on how to secure a woman or man, how to seduce him or her, and how to keep him or her from being stolen by another? His tips include knowing where to look to find the beloved as he or she will not just fall from heaven.
According to Ovid, the theatre is a particularly good place to meet beautiful women. He warns men to wear well cut and spotless togas, and to avoid having dirty, long fingernails and visible nasal hairs.
Beware, too, the persuasive effects of low lighting and alcohol which can mask a woman’s true looks, he says.
Women, however, he advises, should use to their advantage all the tricks that cosmetics can offer, while not letting any man observe their application: hide the work in progress, he suggests. Wear simple, unostentatious clothes, revealing a slightly exposed shoulder or upper arm. Sing, play an instrument and learn to play board games, he tells women, and beware of fops.
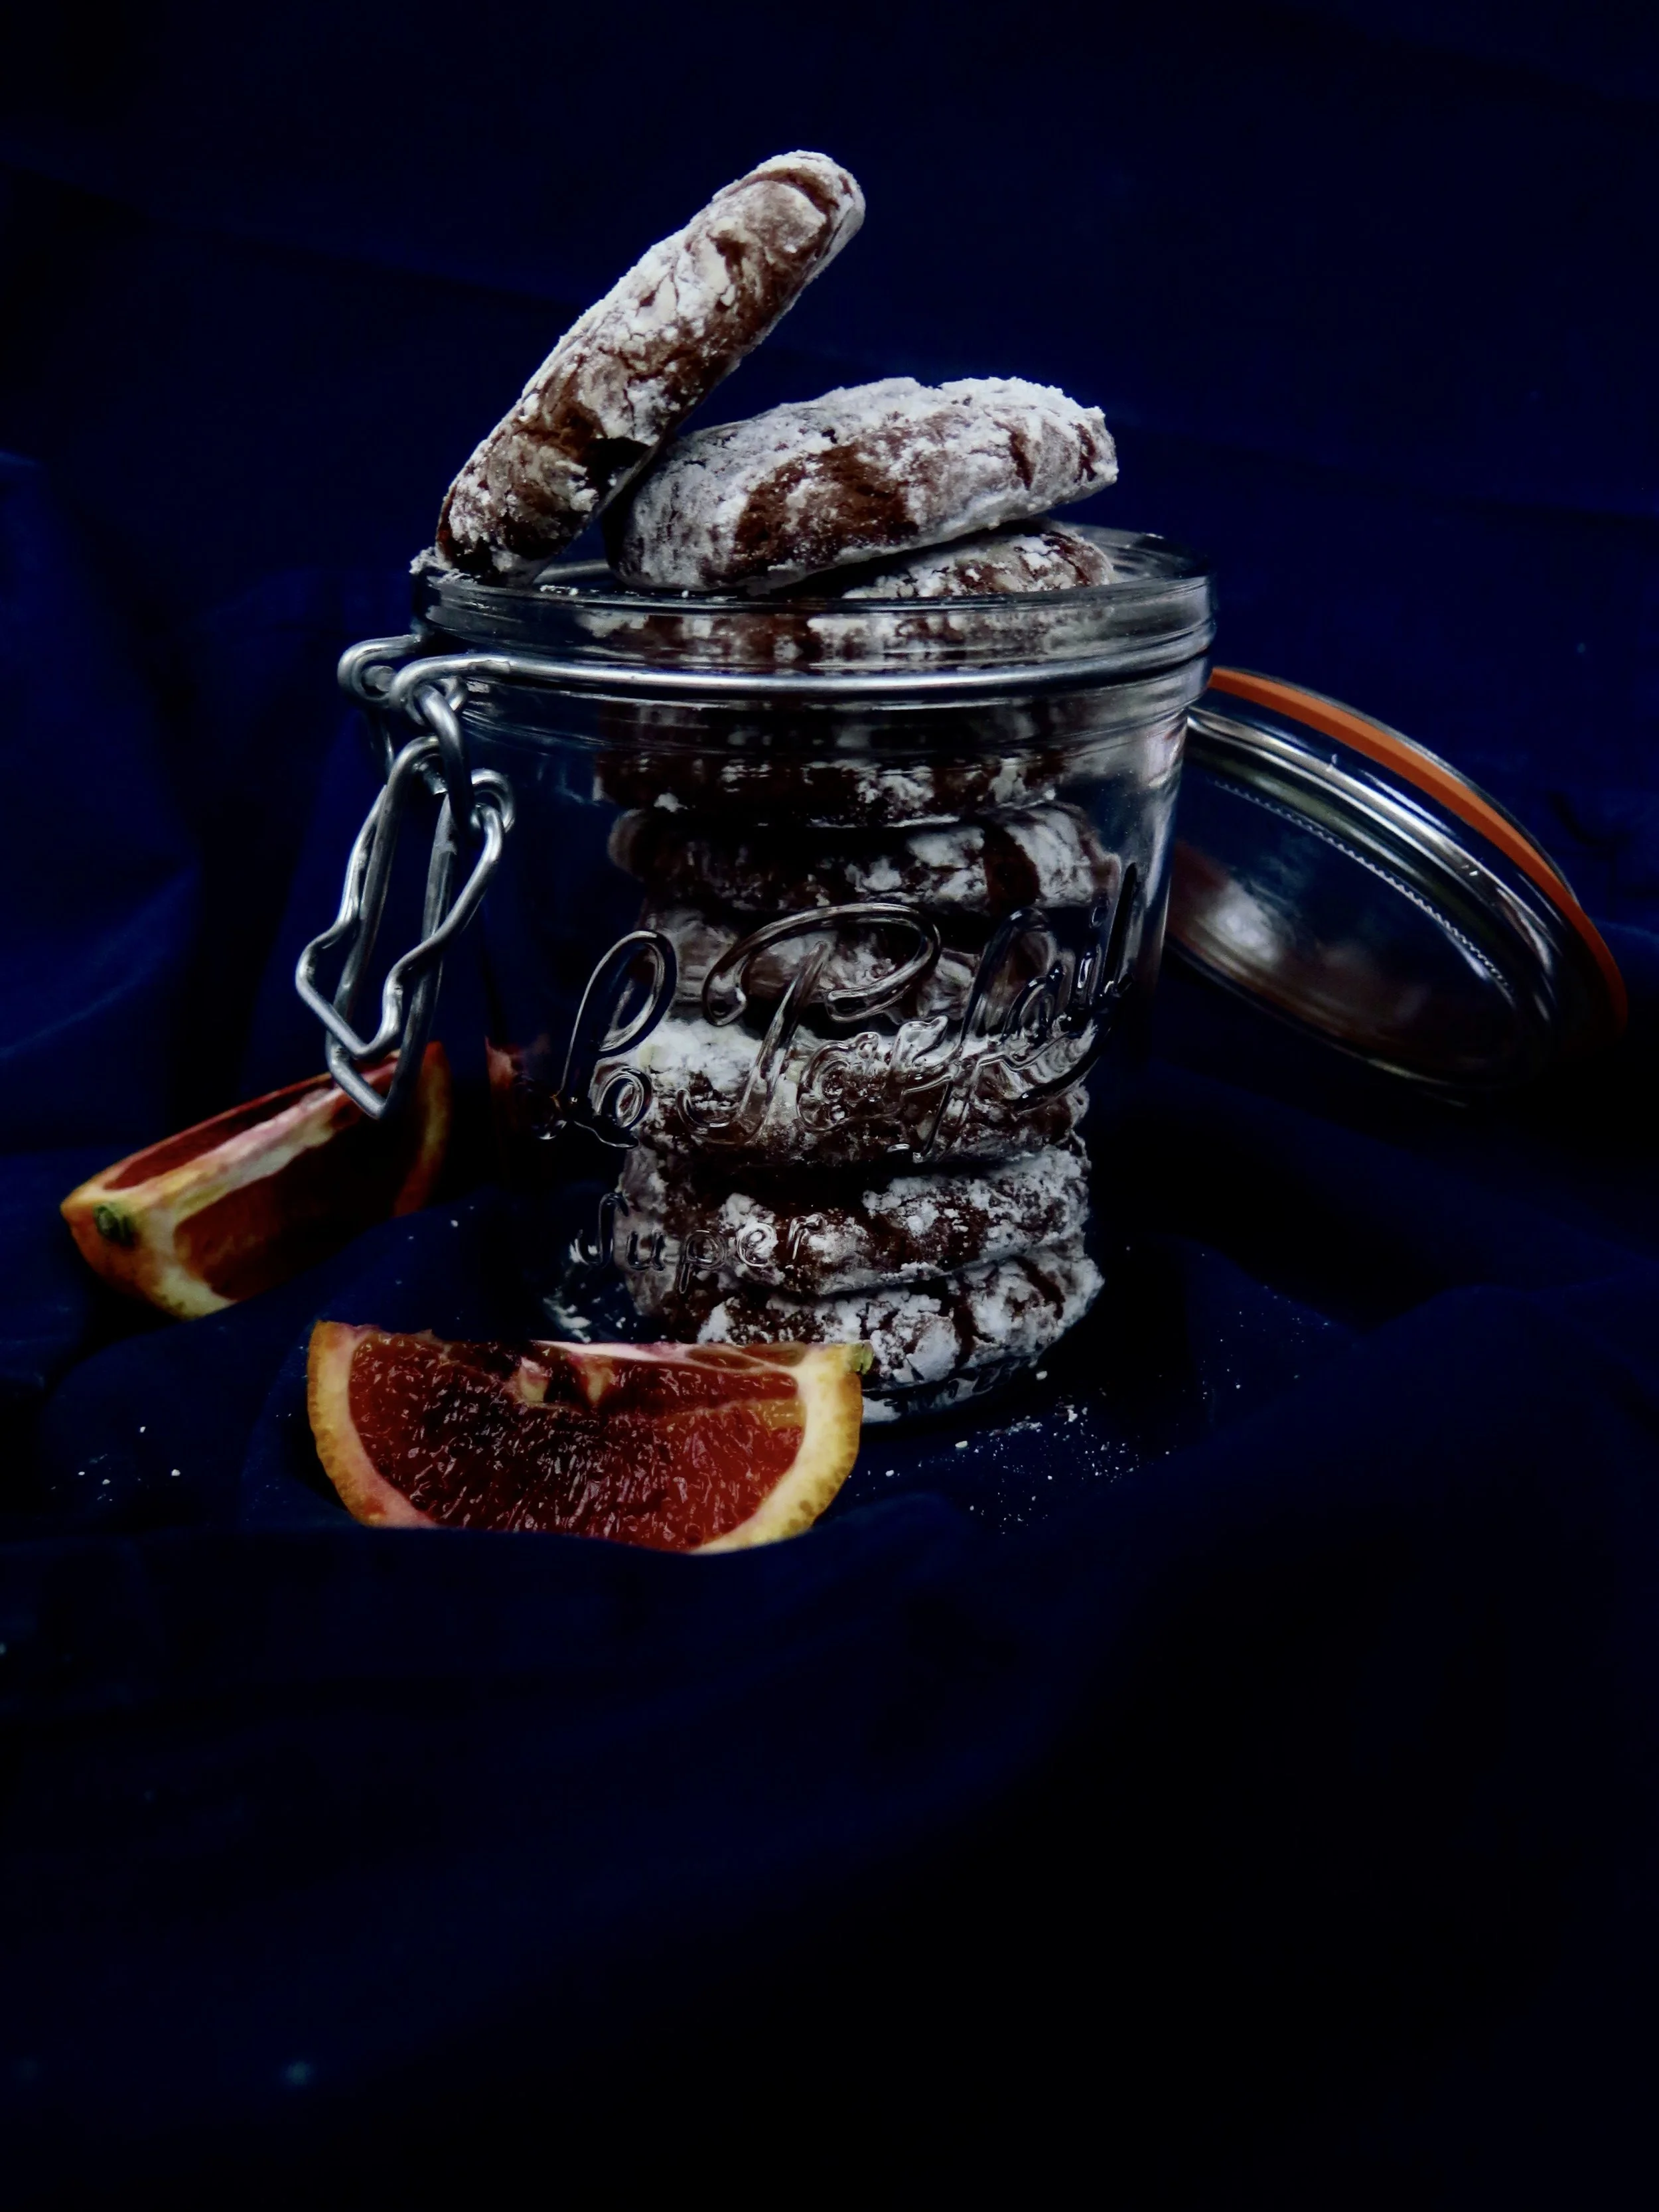
But if all this sounds too much like hard work, I heartily recommend that you make these cookies. Simple to make, they are rich and decadent and infinitely seductive.
Ingredients (Makes 24)
300g good quality dark chocolate (70% cocoa)
160g Nutella
45g unsalted butter
225g plain flour
35g unsweetened cocoa powder
1/4 baking powder
1/2 tsp salt
4 large eggs
300g caster sugar
finely grated zest of 2 medium-sized oranges
1 tbsp fresh orange juice
80g icing sugar
2 baking sheets, lined with non-stick baking parchment
Method
- Place a heatproof bowl over a saucepan of boiling water (without the water touching the bottom of the bowl). Into the bowl break the chocolate into pieces and add in Nutella and butter. Allow to melt slowly, stirring occasionally until it turns glossy, molten and smooth. Remove the bowl from heat and set aside to cool.
- In a large bowl, sieve together flour, cocoa powder, baking powder and salt.
- In an electric mixer fitter with the paddle, or in a large bowl by hand, beat together eggs and sugar for 2-3 minutes until creamy, thick and pale. Pour in orange zest and juice and beat again to combine.
- Pour the molten chocolate mix into the egg mixture and very gently fold together so as not to lose the aeration. Pour in the sieved dry ingredients and, again, fold gently until just combined.
- Cover bowl and let the mixture cool in the fridge for half an hour.
- Preheat oven to 170°C. Sieve icing sugar into a bowl. Remove the cookie dough from the fridge and roll the dough into spheres of about 40g each. Roll each one in the icing sugar to coat thoroughly, then place on the tray, leaving about 5cm space between each.
- Place in oven to cook for 8-12 minutes, (checking after 8). They should be soft to the touch and feel slightly undercooked. Remove from oven and set aside to cool. They will continue to cook as they cool. If you can manage to resist them, store in a an airtight container for a week (they get fudgier over time), or freeze in an airtight container for 2 months.
HUNGRY FOR MORE?
According to most newspapers, January should be the month of indulgence deprivation. With the weather cold, grey and bleak, we’re being told that now is the time to eliminate everything that affords even a hint of pleasure. I admit that it may be time for me to cut down on the panettone habit: I caught myself tearing off fleecy chunks of the ambrosial, yellow, sultana-studded fluff and crowding my mouth until it overflowed.
My brother actually created a time-saving method which anticipated the bolus of food that would develop in the gullet by compressing the panettone in his hands first before devouring. I was impressed.
Fortunately, but lamentably, my mother prevented me from importing from Italy to England the 5 kg of panettone that I’d bought (with the pretence of giving as gifts). To cope with the withdrawal symptoms, I made these instead.
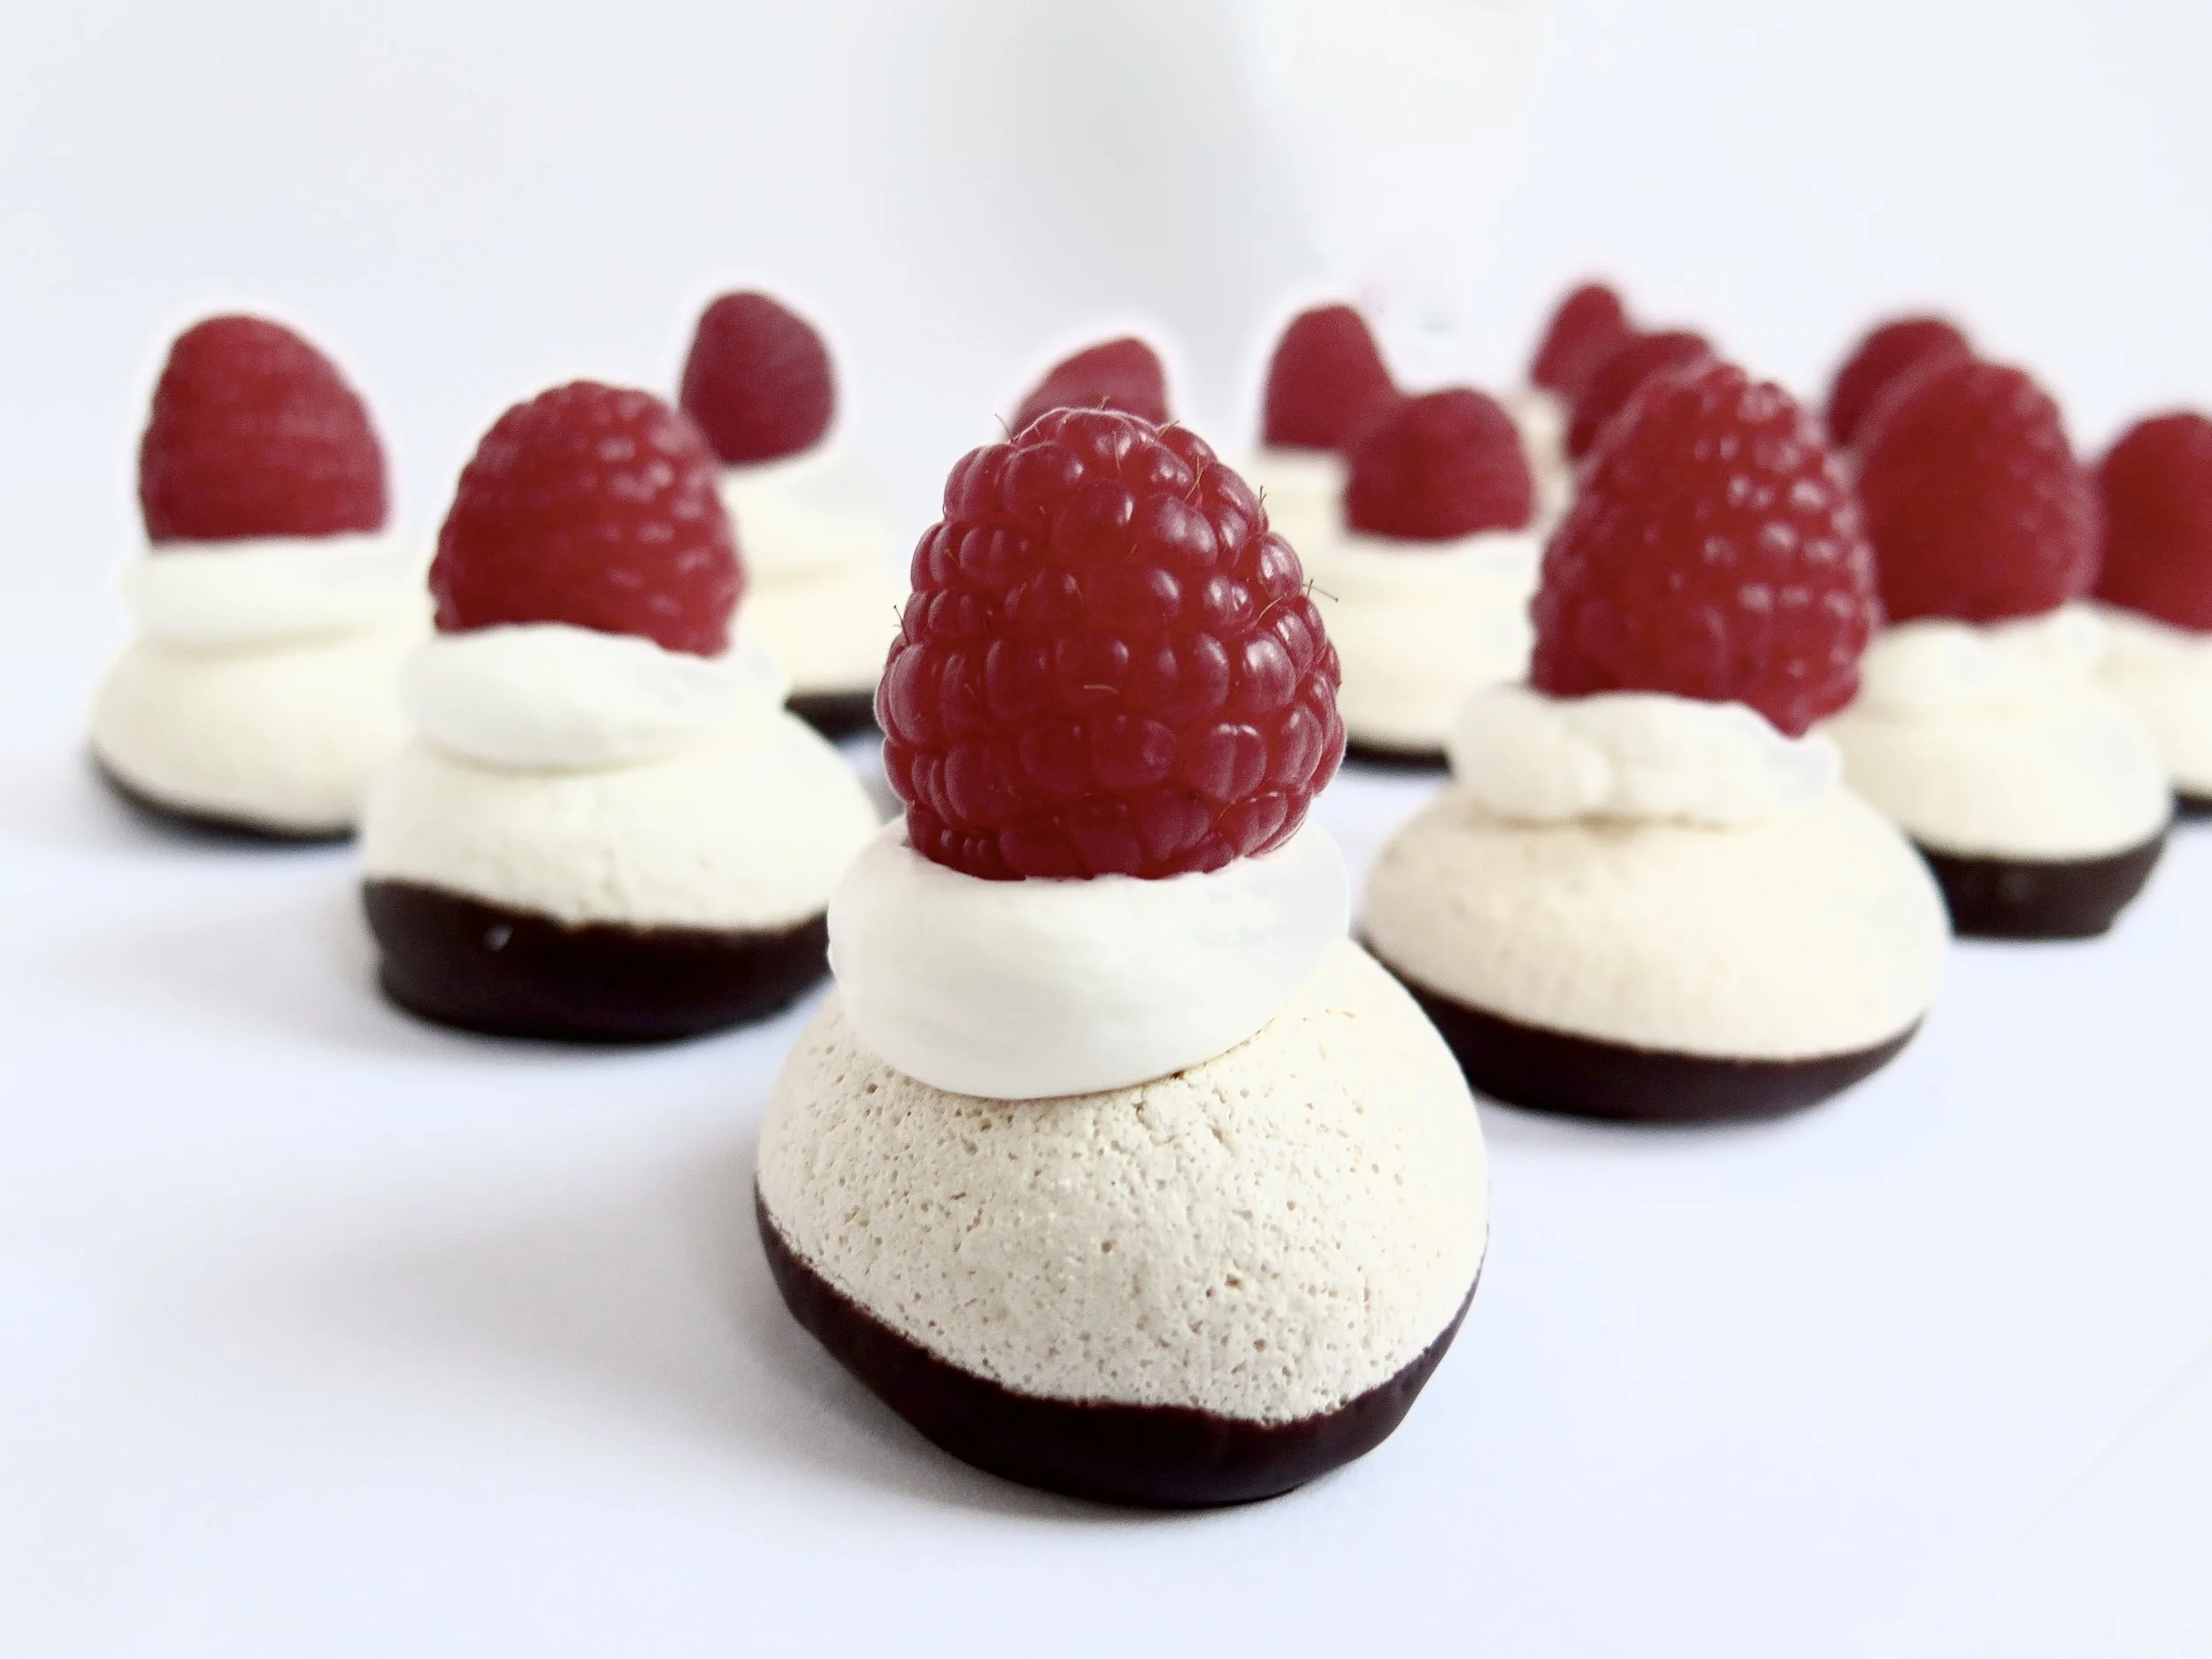
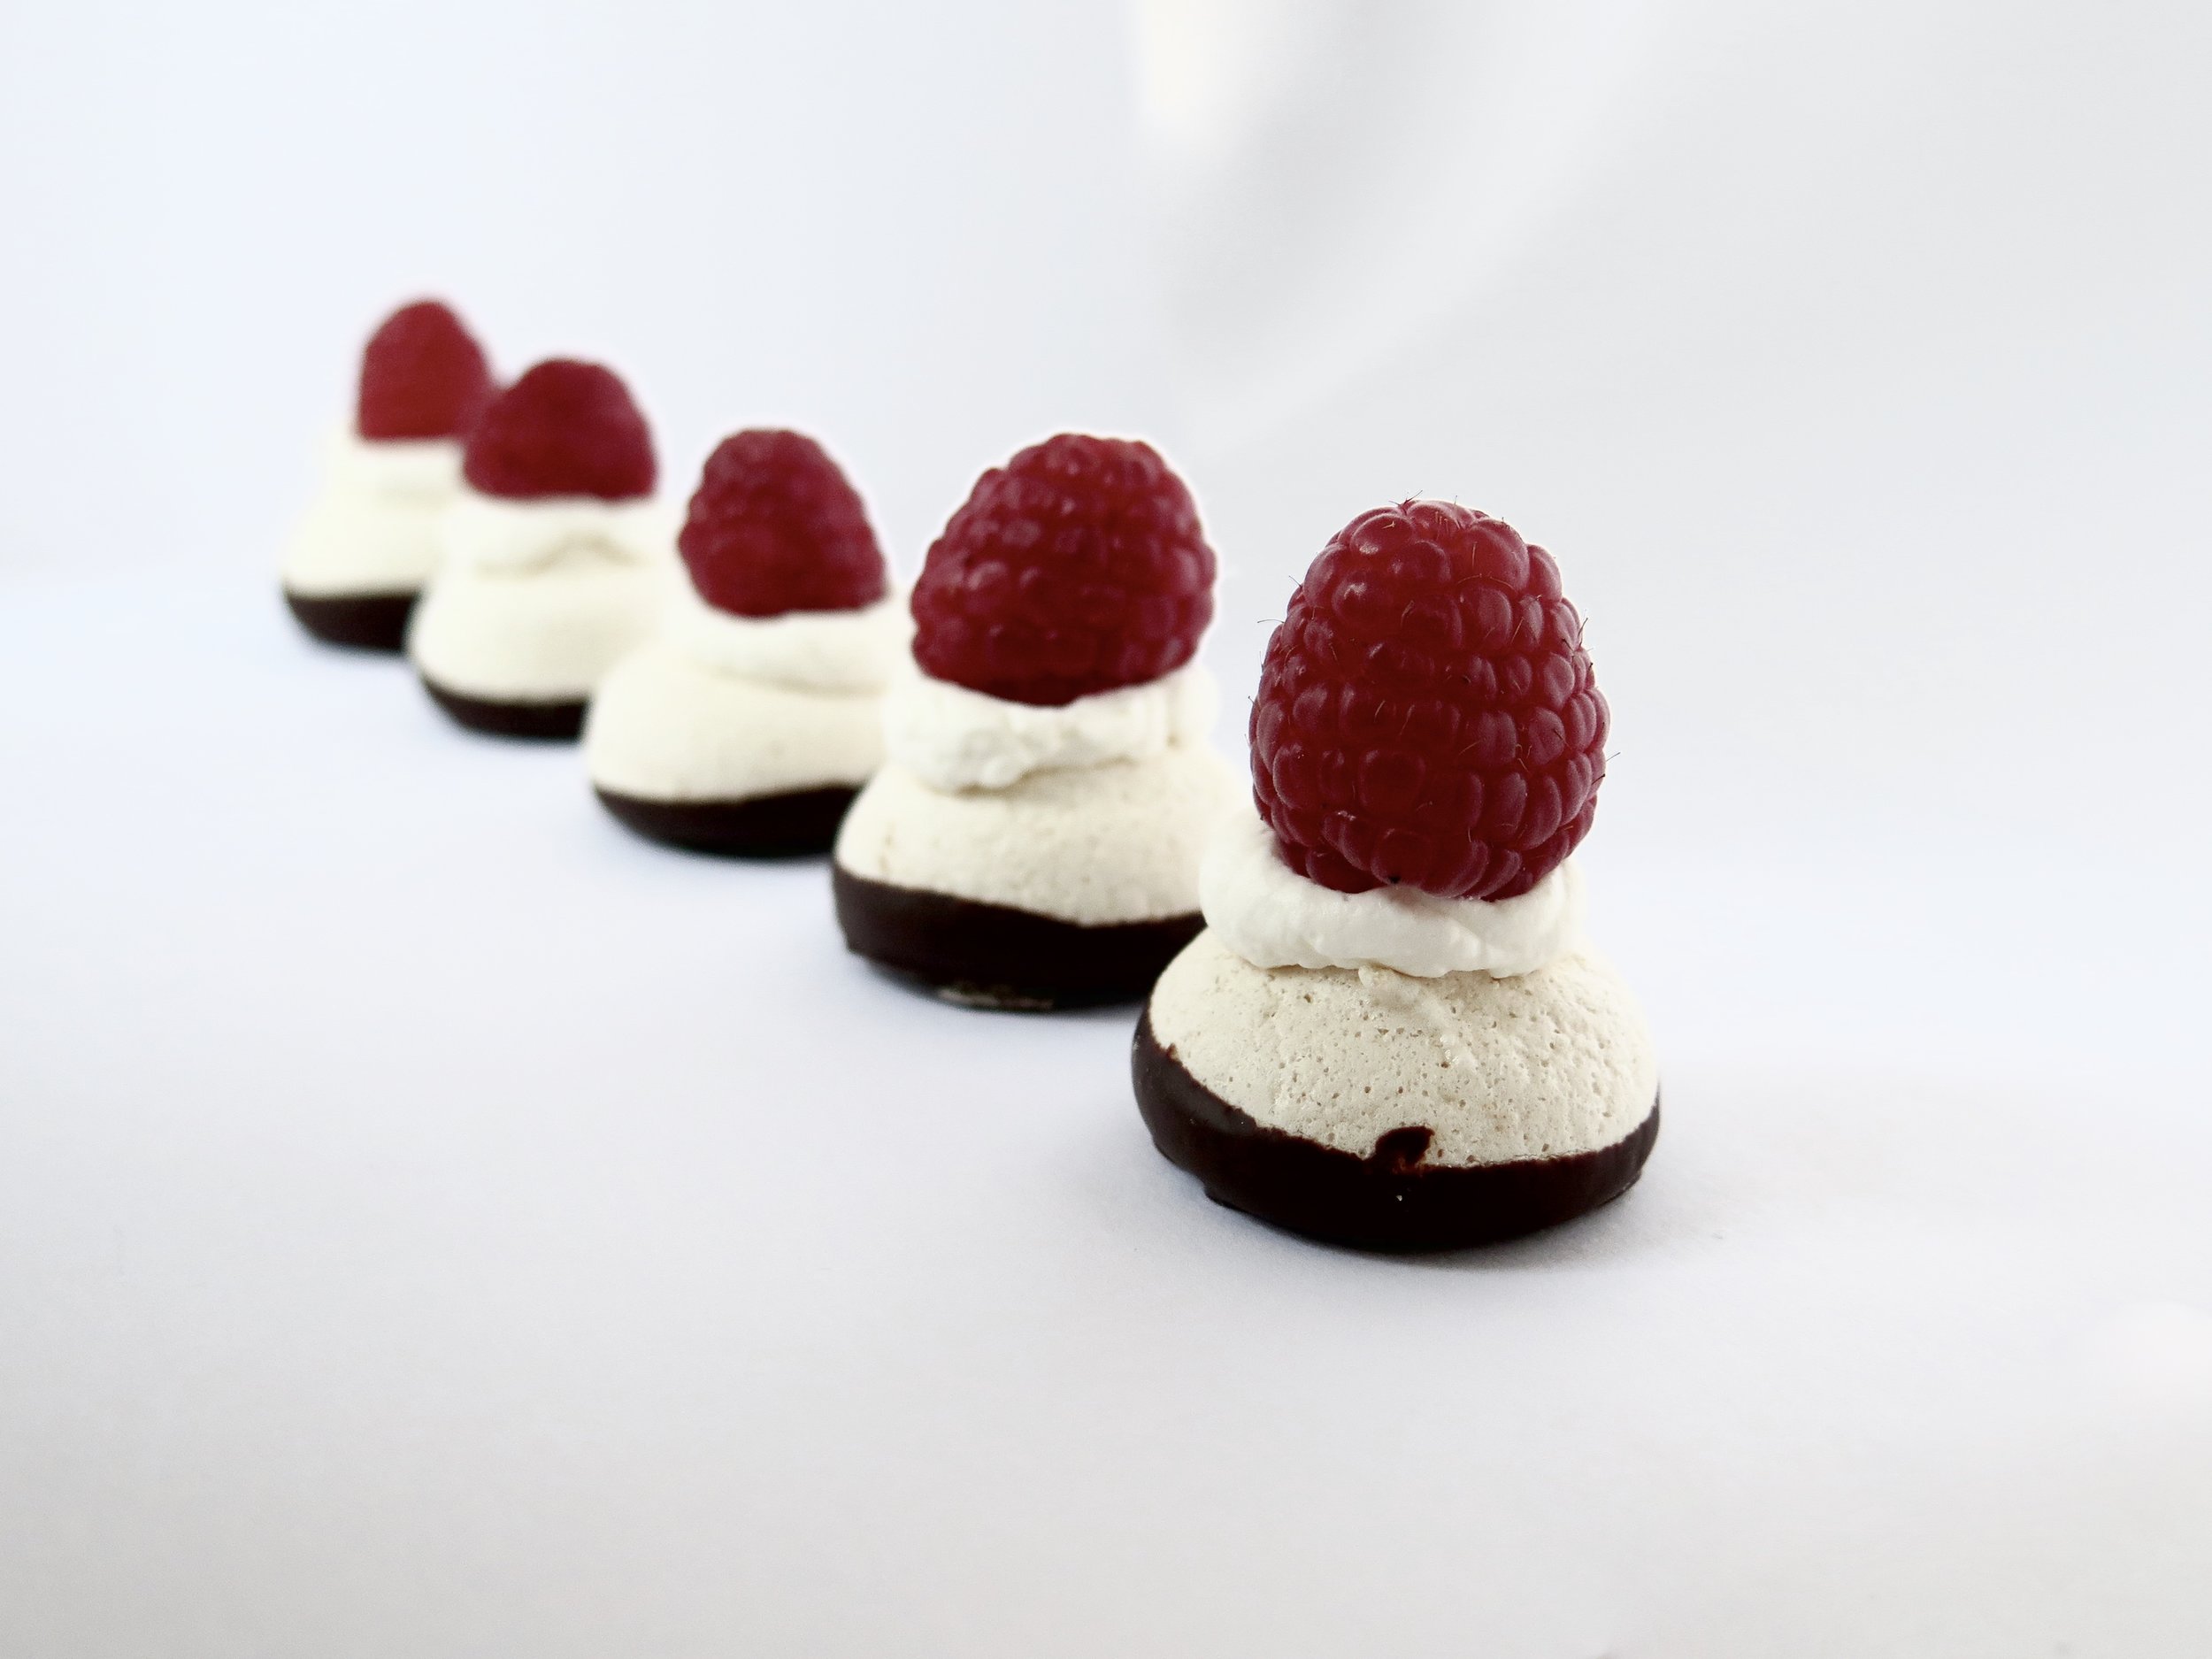
I refuse to deprive myself of pleasure - these can be a happy halfway house. So numerous that they can be popped into the mouth in one without anyone noticing that the supply has been reduced, so light that they can be enjoyed without having to loosen waistbands to accommodate them, and so small that they make gorgeous bejewelled petit fours at dinner parties without the guilt attached, in my case, to eating an entire pavlova.
The dark chocolate base adds a touch of sophistication and slight bitterness to undercut the sweetness, and the raspberry provides that much needed astringency to cut through it. Crunch, creaminess, chocolate and tang, all in one mouthful – who needs 5kg of panettone?
Ingredients
(makes 70 mini meringues - halve the recipe if you would like fewer)
90g egg white (the whites of 3 large eggs)
175g caster sugar
150g good quality dark chocolate (70%)
200ml double cream
350g raspberries (approximately 1 per meringue)
30g icing sugar (optional)
2 large baking sheets lined with baking parchment
A piping bag fitted with a round 1cm nozzle to be used twice: first to pipe the meringue, and then the cream. It can be marginally larger or smaller than 1cm. If you lack a piping bag, you can use a freezer bag and cut off a corner to replicate a 1 cm sized nozzle.
Method
- Preheat oven to 130°C. Pour egg whites into an electric mixer fitted with a whisk and whisk on high speed until soft peaks form. It should be foamy in appearance.
- Switch the speed to medium-high and pour in caster sugar one tablespoon at a time. Once each tablespoon has dissolved into the mass of egg white, add the next. Keep whisking until the meringue forms hard peaks and is glossy i.e. the meringue should hold its shape when drawn into peaks with a spoon and the tracks of the whisk are visible in its surface.
- Spoon the meringue mixture into the piping bag. Holding the nozzle at a right angle to the baking parchment, pipe 3cm diameter sized meringue peaks onto the parchment in rows, leaving 3cm between each one (they expand slightly as they bake). Place in the oven and cook for 45 minutes, checking after 30 minutes. Once cooked, switch the oven off and allow to sit for another 15 minutes in the oven. They should remain pale and be crisp on the outside and slightly soft in the centre. Remove cooled meringues from the oven, and set them aside.
- Break the chocolate into pieces and place in a bowl over a pot of simmering water. Don't allow the water to touch the base of the chocolate bowl. Don't melt the chocolate directly in a pan on the stove as this causes it to seize. Allow to melt, stirring occasionally until glossy and smooth. Remove from the heat. Lightly holding the meringues at the sides with thumb and forefinger, dip the base of each meringue into the molten chocolate so that it coats the base and up to 1cm on the sides of the meringue. Place the dipped meringues back on to the baking parchment. Once the whole batch is coated, place the tray in the freezer for 10 minutes to allow them to set.
- In an electric mixer fitted with a whisk (or by hand if you’re feeling strong), whisk the cream until thickened. The tracks of the whisk should be visible and it should hold light peaks. Spoon the cream into a piping bag and pipe about a teaspoon of cream on to each meringue. Place a raspberry on each cream peak, face down. Sieve icing sugar over, if desired, and serve.
- Best eaten on the day but the meringues without topping can be kept in an airtight container for a couple of weeks in a cool dry cupboard, and for a month in the freezer.
HUNGRY FOR MORE?
Passion Fruit & Coconut Double Chocolate Truffles

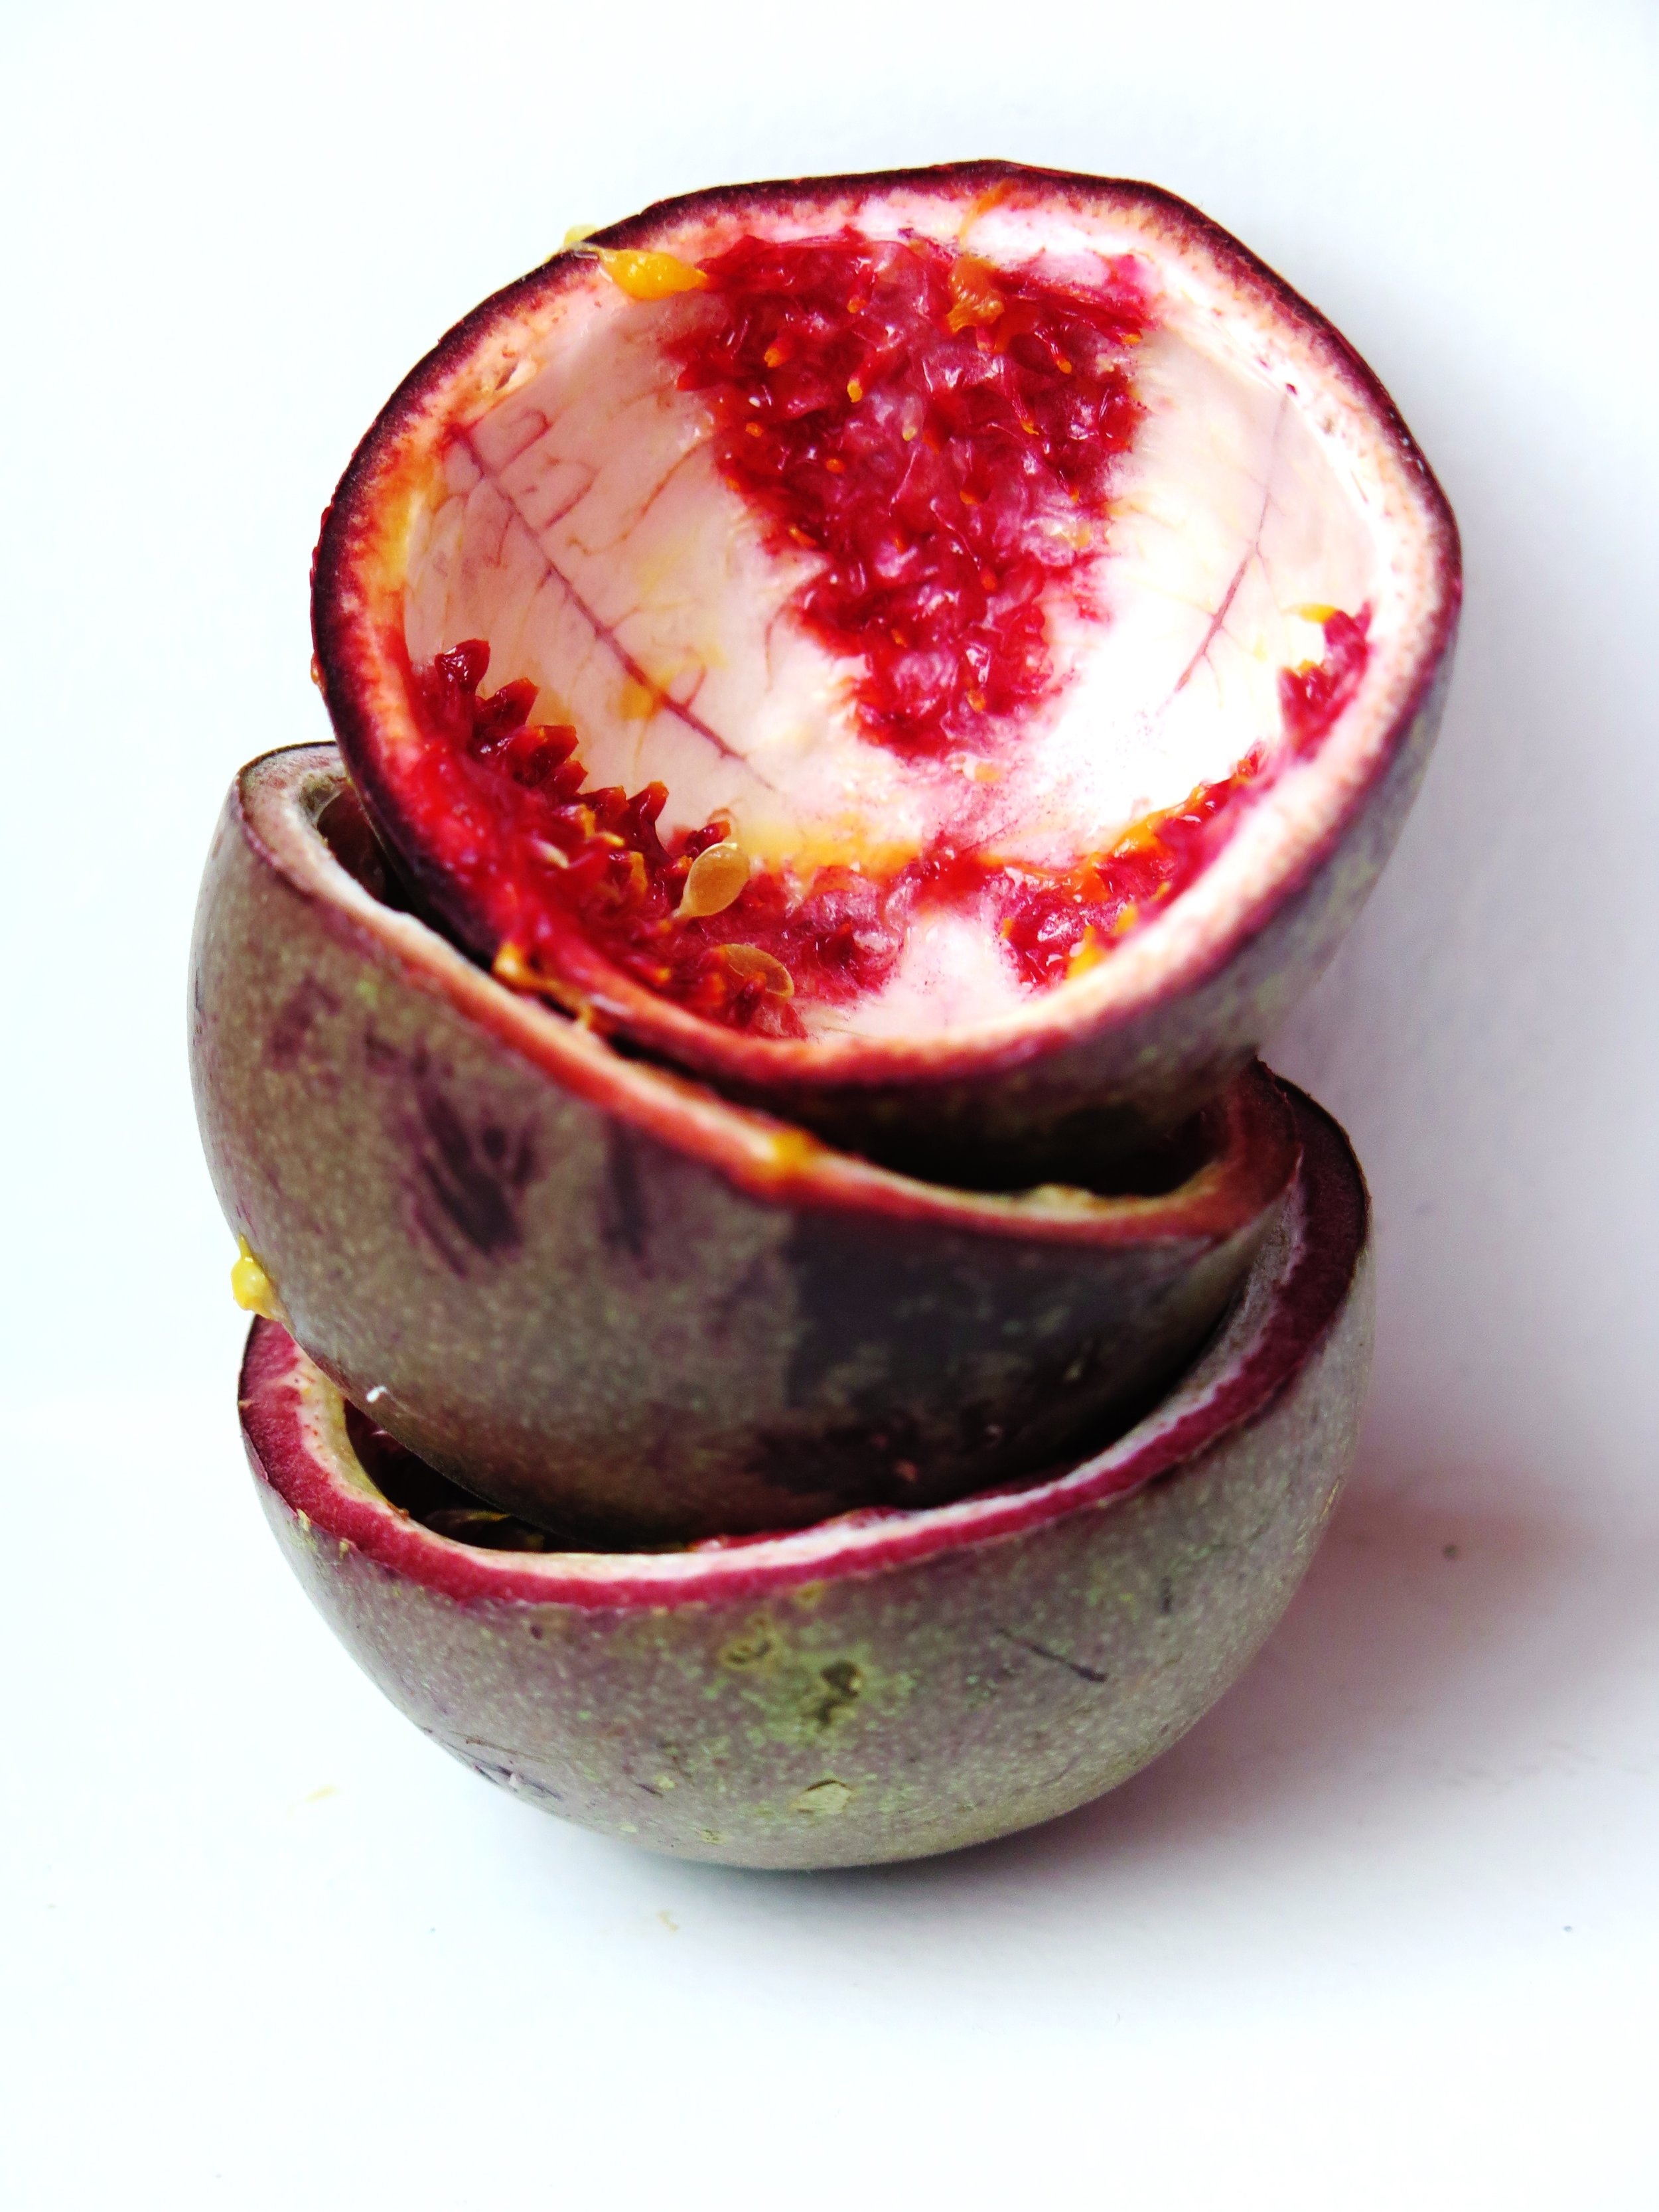
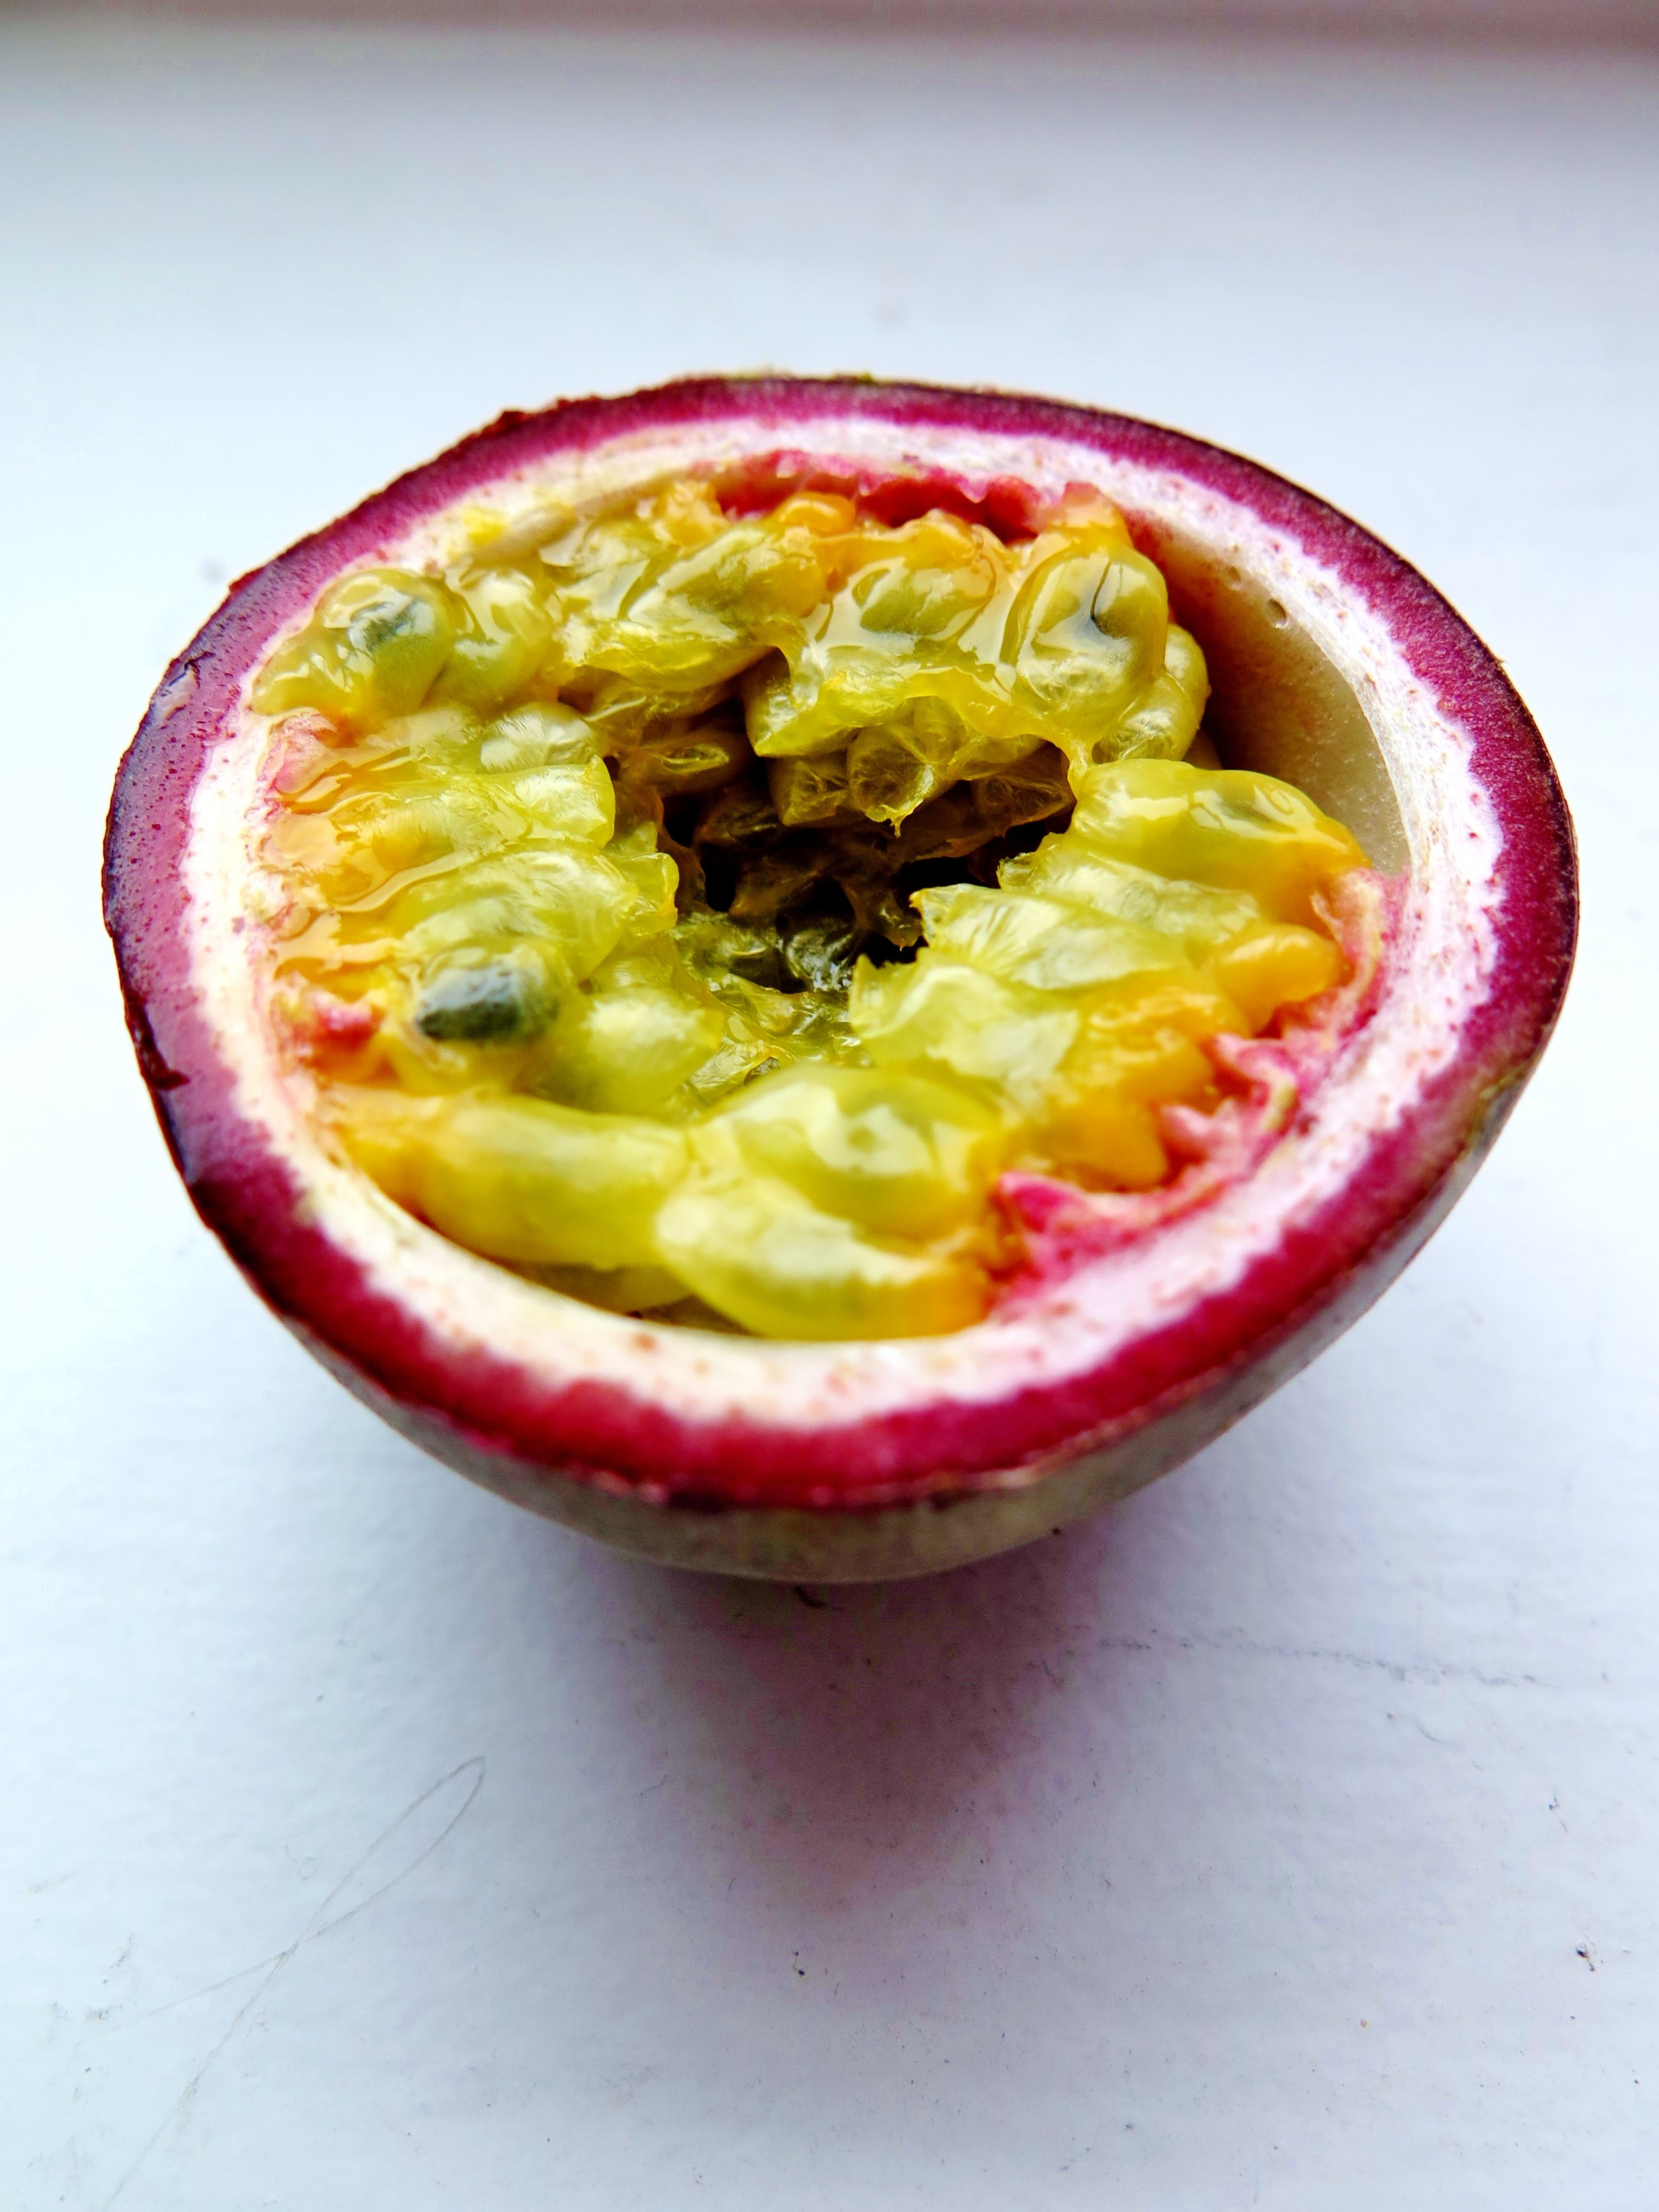
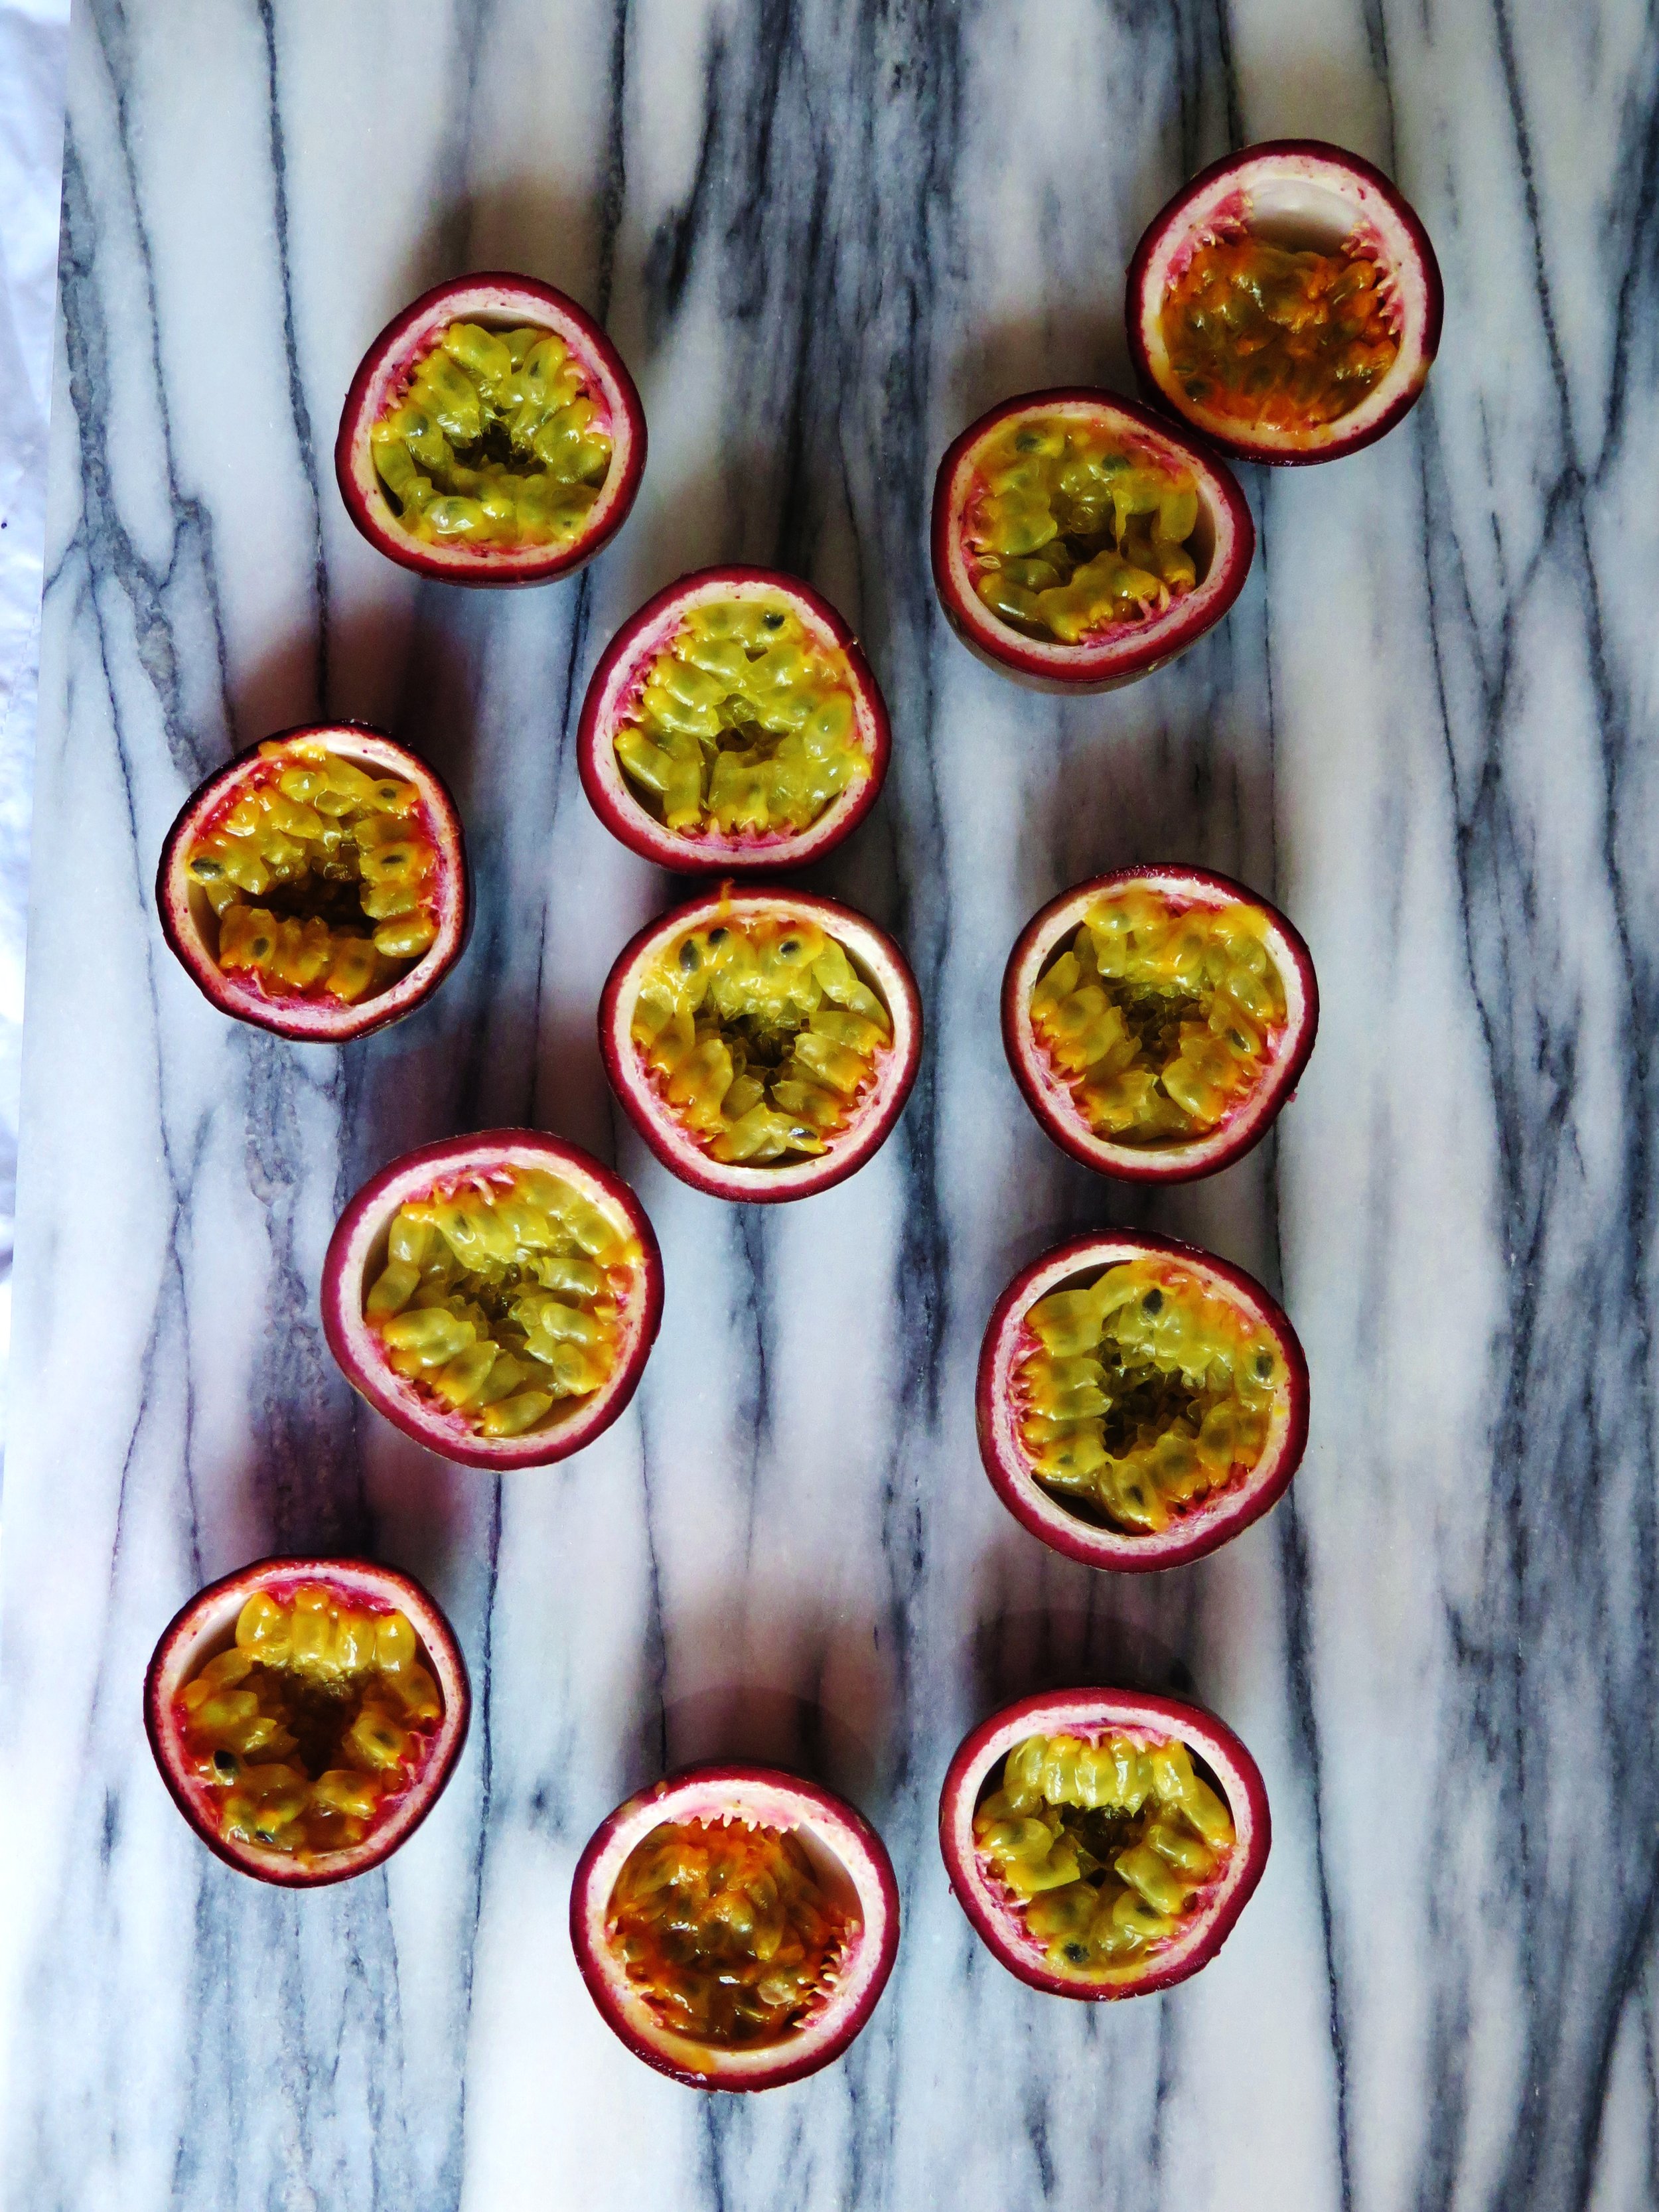
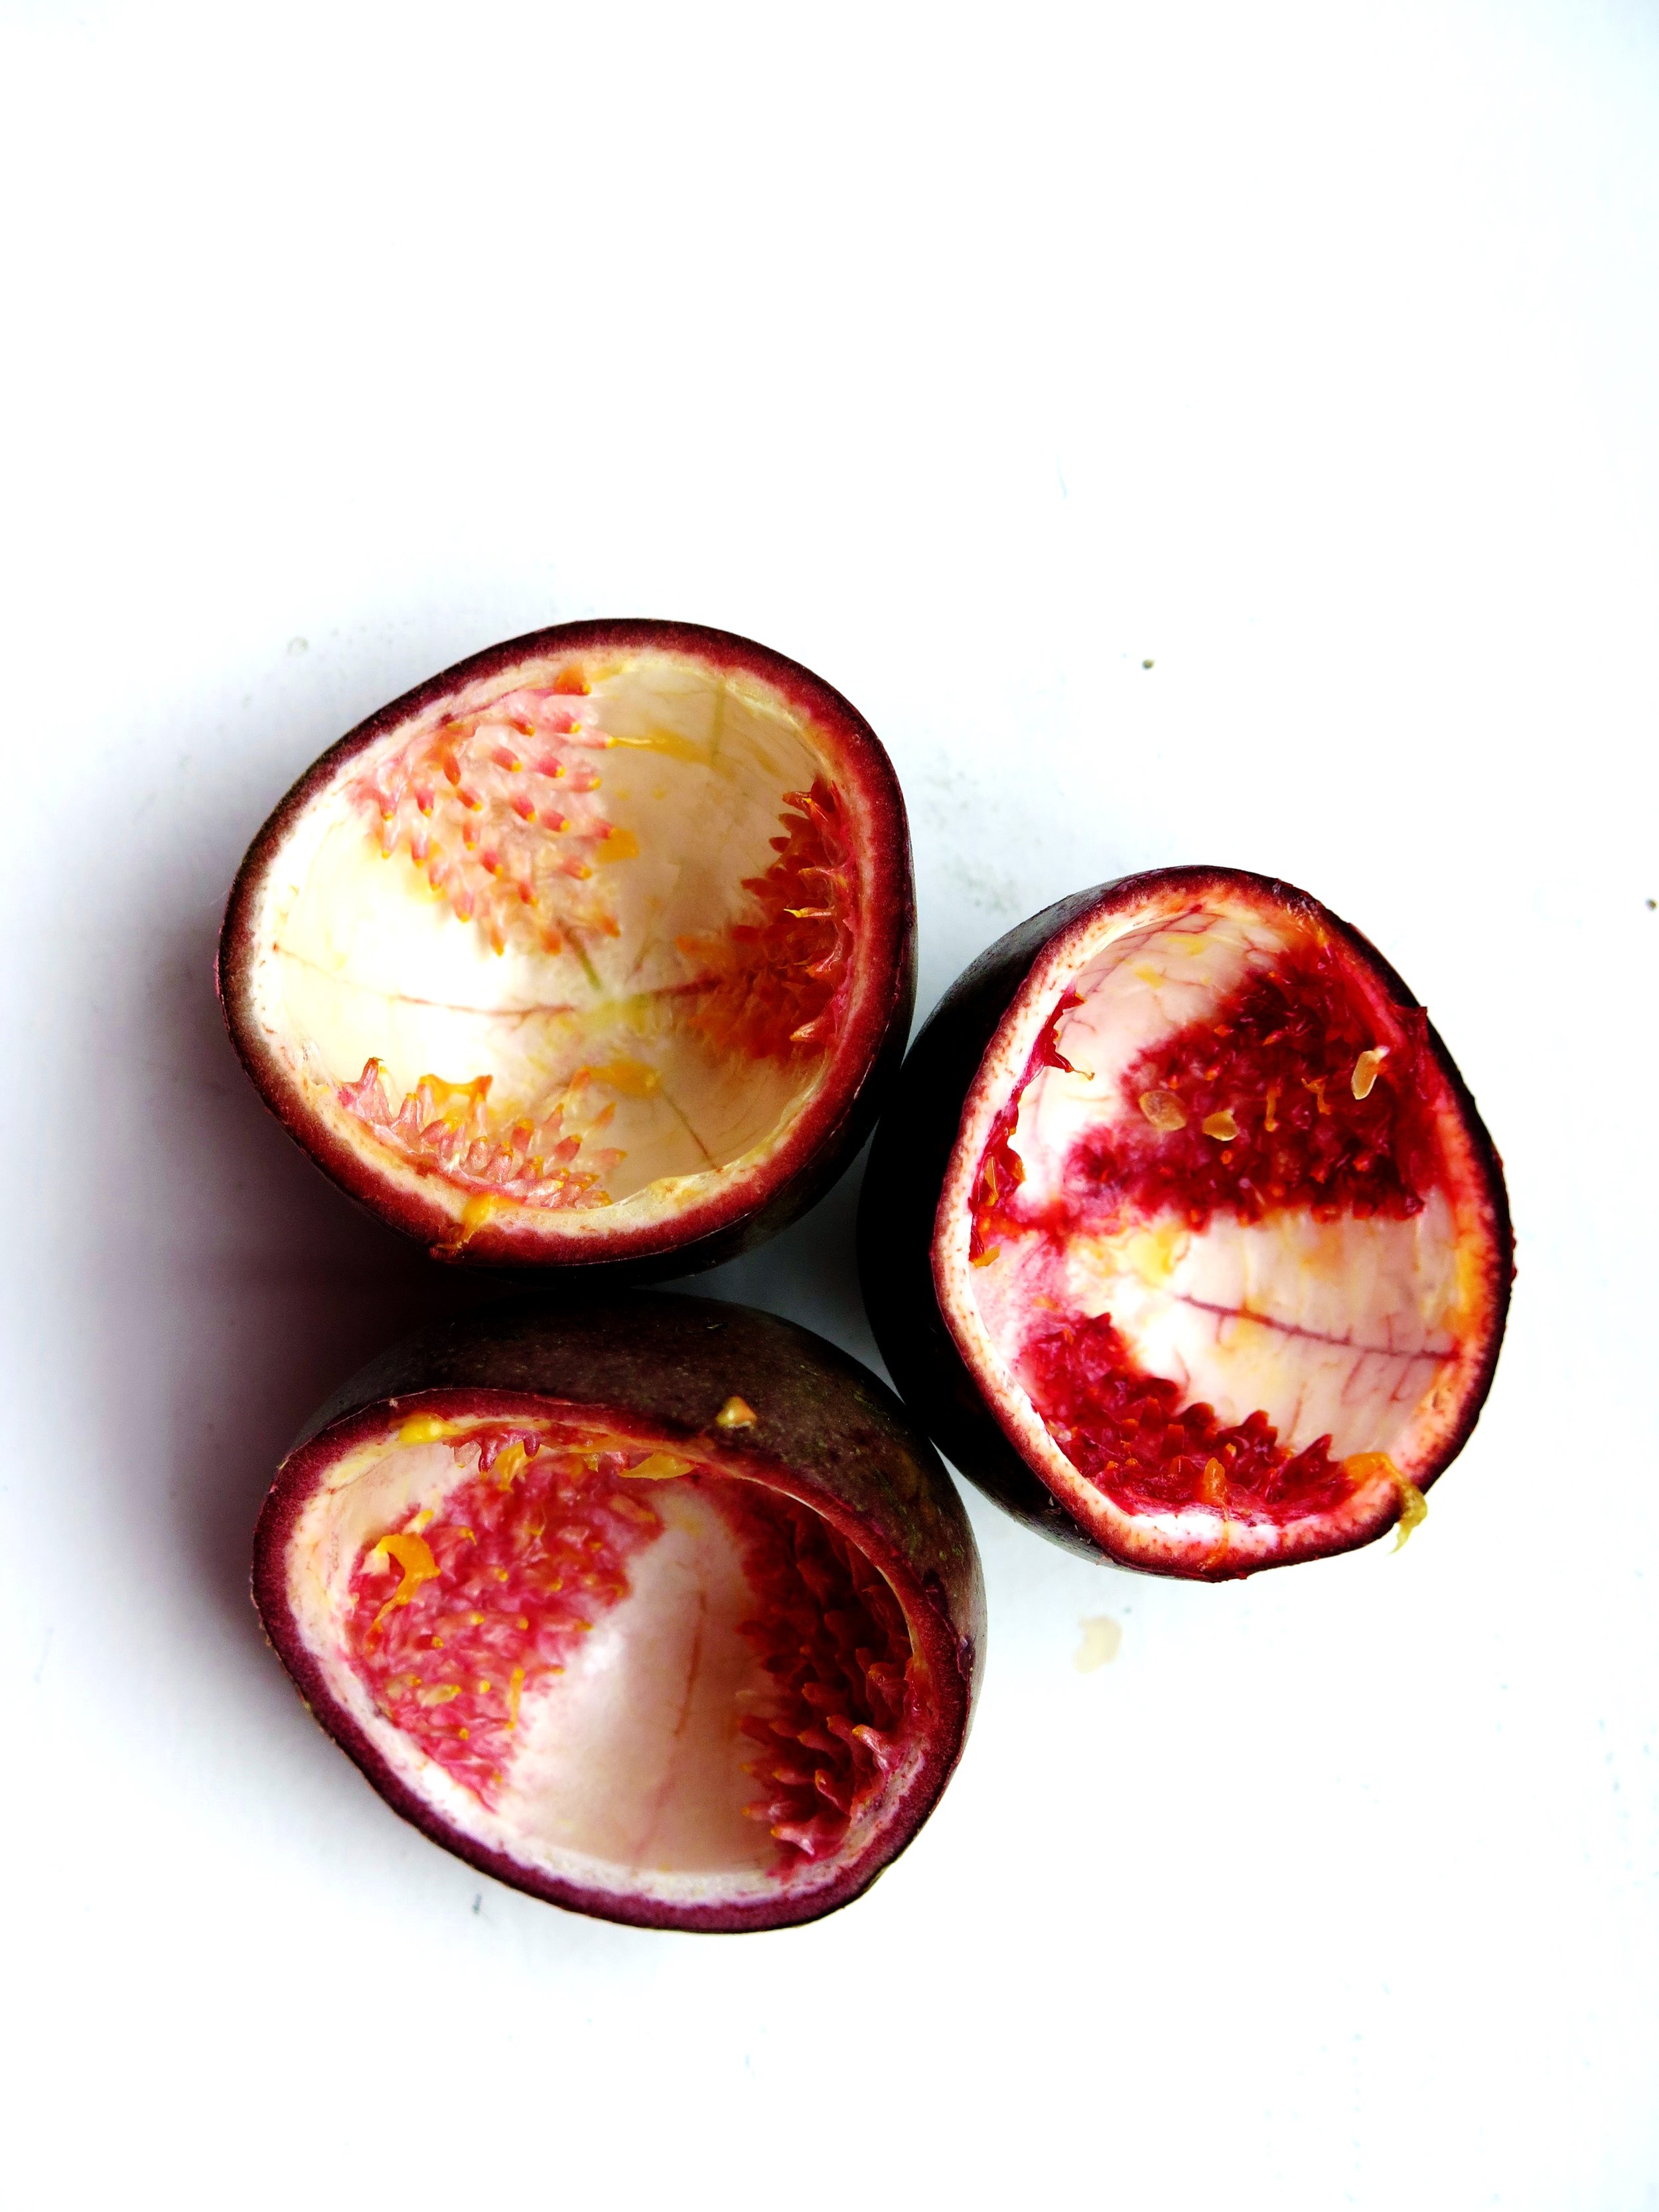
My household has recently been beset by a typical problem. My mom rather enjoys pressing the "+”button when ordering from Ocado. Whereas last week this resulted in a glut of cherries, this week it was passion fruit. Even after days of bisecting the plum-coloured orbs and slurping up the tangy yellow spawn (sans spoon, and only in the most ladylike way, obviously), the supply remained steady.
 Clearly, truffles were the solution. Most truffle recipes create a molten ganache centre by simply combining melted chocolate with the flavour/ingredient of choice and a dribble of cream. Easy? Perhaps. Zero depth of flavour? Indeed. I make a caramel base to add a darker, nuttier complexity.
This is poured over the dark chocolate to melt it, and the golden toasted coconut is then swirled in with the fresh and tangy passion fruit juice.
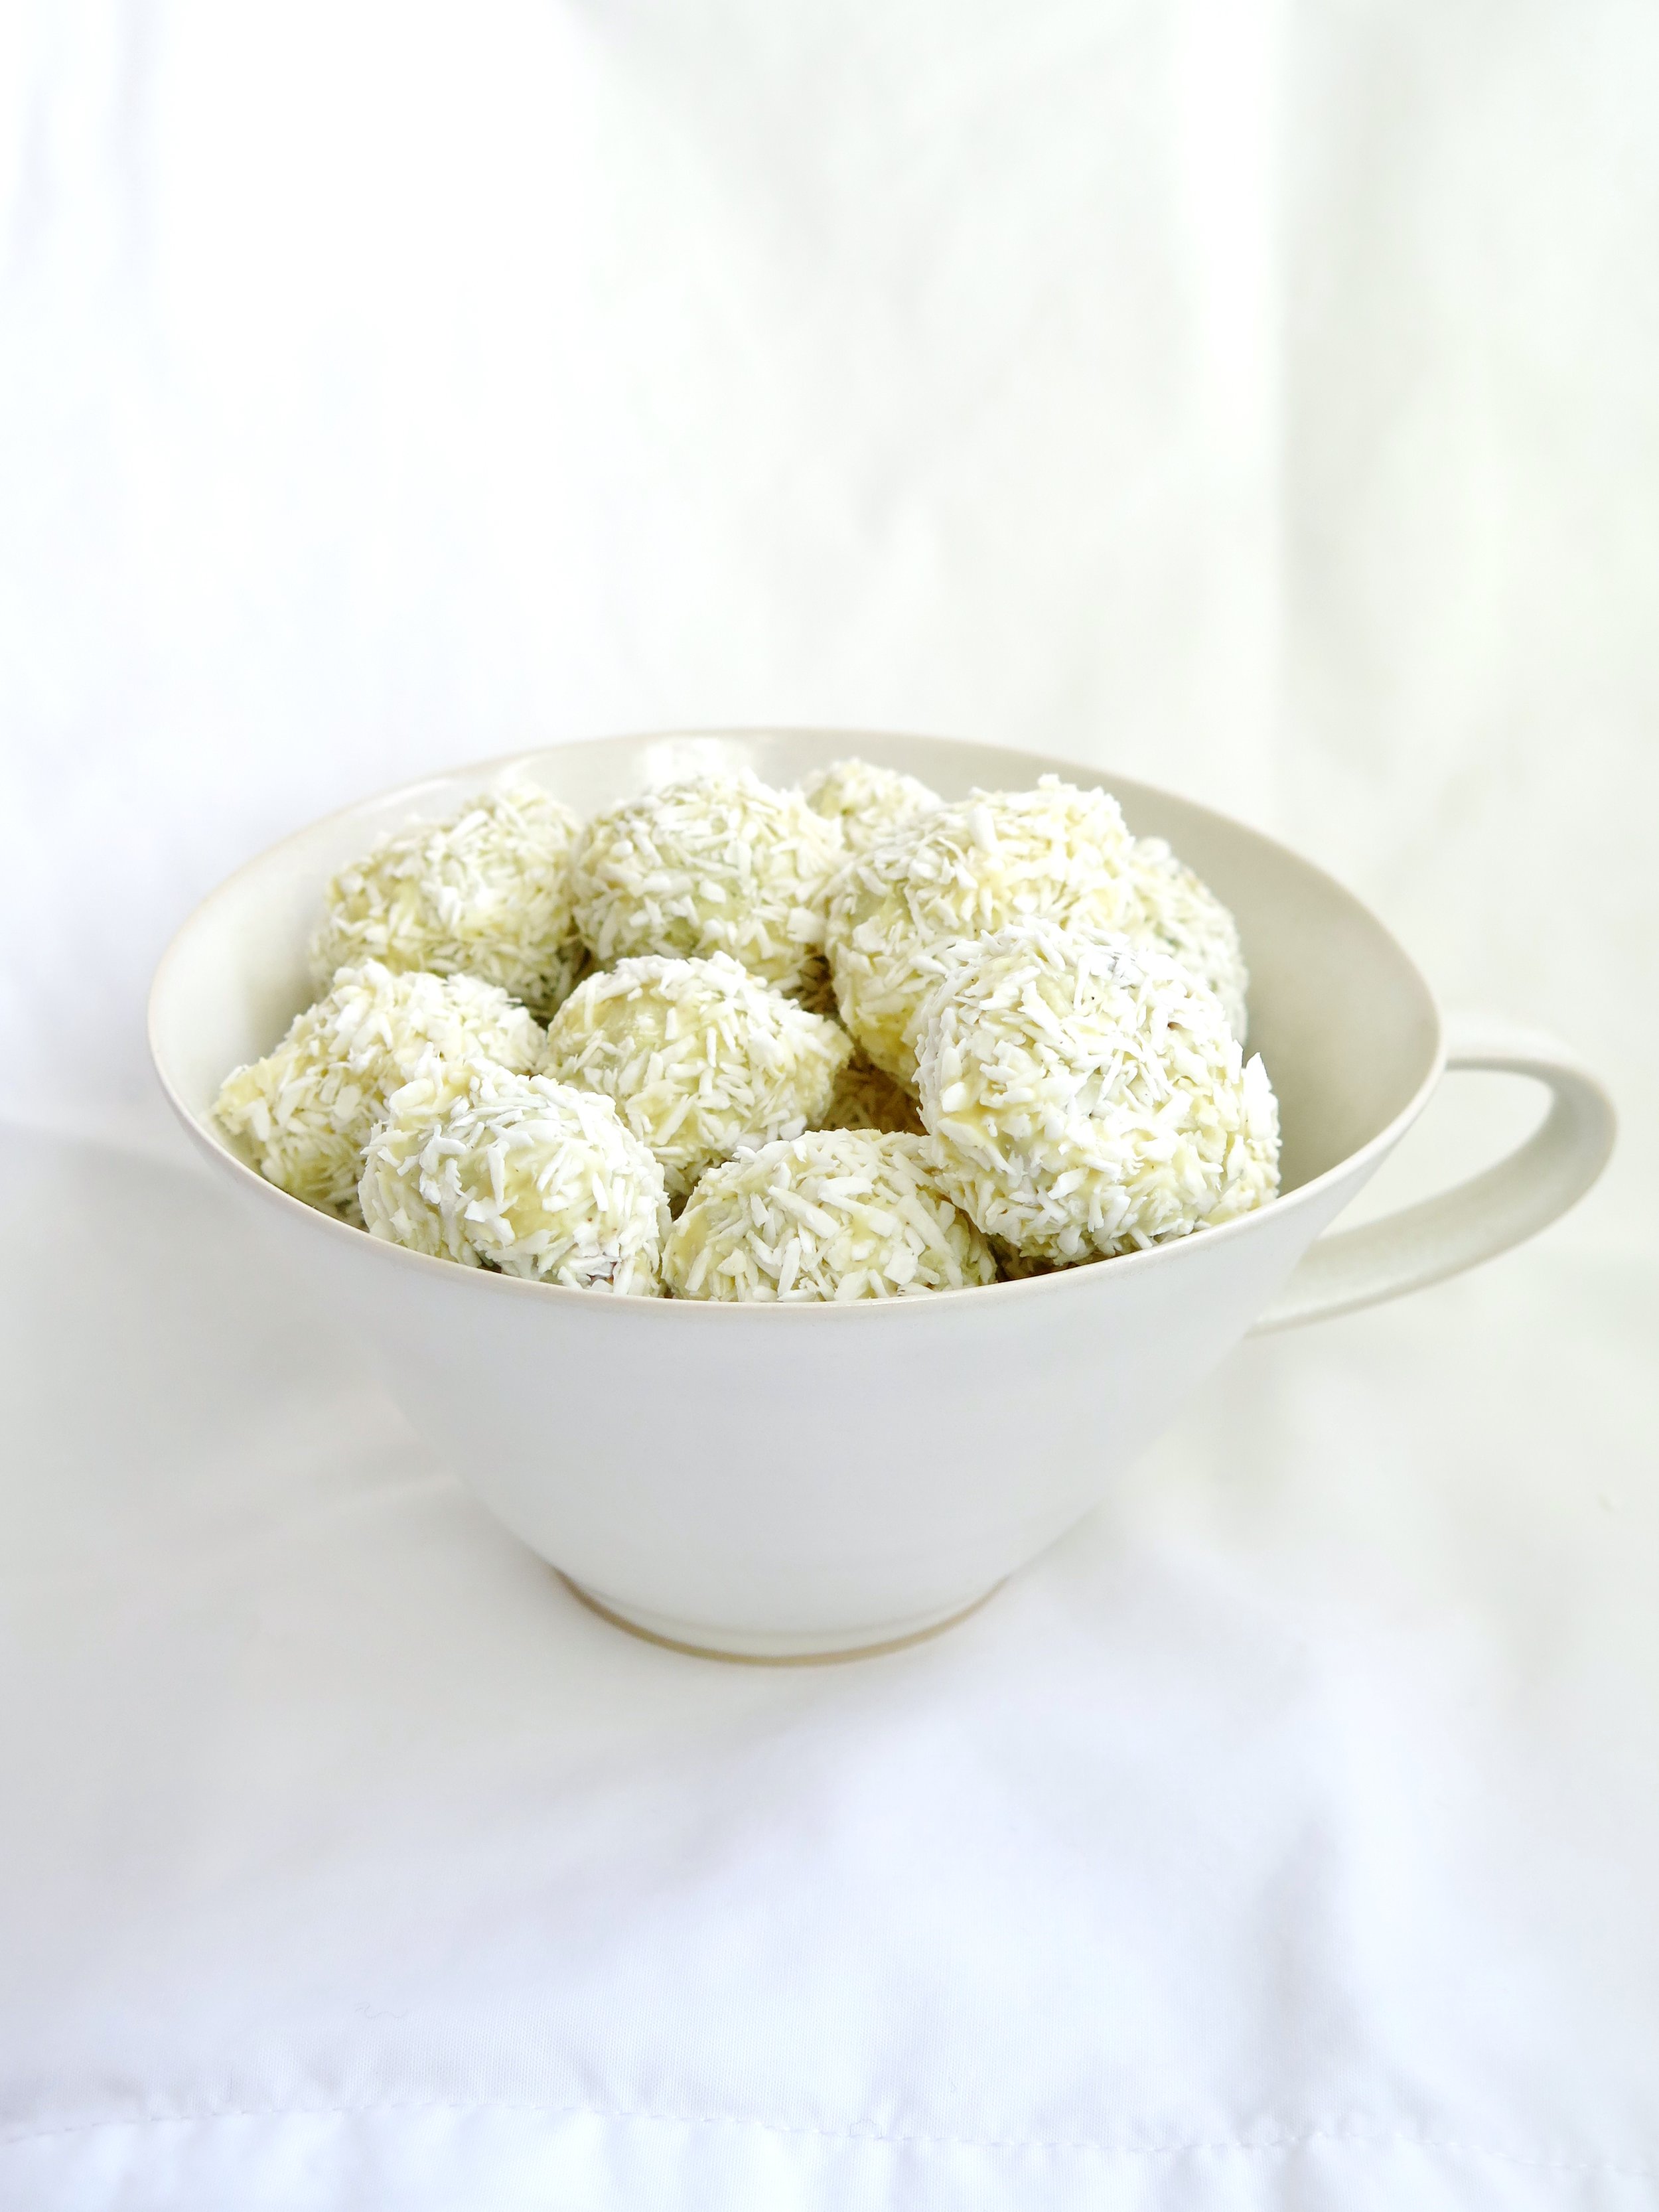
I recommend using good quality dark chocolate – the results are worth it. The tangy molten ganache is then frozen, later to be formed into spheres. These are encased in a crisp white chocolate and coconut shell to add a touch of sweetness and contrast of textures.
The name “passion fruit” does not, as you might assume, come from any aphrodisiac qualities of the fruit. Rather, it comes from the shape of flower which resembles a crown like that that of thorns around Jesus’ head – thus, passion derives from the "passion of Christ”. Indeed, these truffles are rather ambrosial – you could even say that eating them is a religious experience.
Ingredients (makes 50 - halve if strapped for time)
For the Ganache
150g 70% dark chocolate (good quality)
150g caster sugar
150g double cream
10g unsalted butter
10g light brown muscovado sugar
½ tsp salt
70g desiccated coconut
8 passion fruits, sieved to extract about 90ml of juice.
100g icing sugar, sifted
Large tray lined with baking parchment
For the shell
500g white chocolate
200g desiccated coconut
Pair of surgical gloves (optional)
- Chop the dark chocolate roughly, and set it aside in a large heatproof mixing bowl.
- To toast the coconut (70g), place a medium frying pan over a medium-high heat, pour the coconut in and stir continuously for 5 -8 minutes until the coconut turns a light golden colour. Add this to the dark chocolate.
- Place the caster sugar in saucepan over medium high heat, and when it starts to melt, stir gently with a spatula to avoid the sugar burning around the edges. Push unmelted sugar into the already caramelised sugar to aid the caramelising process.
- Once the sugar has turned a rich, dark gold colour, while still on the heat, pour in the cream, whisking all the time. If clumps form, don’t panic: keep whisking over medium low heat, and they will eventually melt.
- Once the lumps have dissolved, whisk in the muscovado sugar, butter, vanilla and salt and stir the bubbling mixture on a medium heat for another 2 minutes.
- Pour the hot mixture into the bowl of chopped dark chocolate and coconut and stir immediately until all the chocolate has melted and the caramel and chocolate are fully combined. Pour the passion fruit juice into the mixture, and stir to combine fully. Pour this into a shallow tray, and place in the freezer for an hour to set slightly.
- Once it has become slightly more solid, remove the tray of mixture from the freezer. Use a teaspoon to scoop out dollops, and roll each between the palms of your hands to form 2cm diameter spheres. Roll the spheres in the icing sugar to coat them finely, and then place them on a baking tray with space around each sphere to avoid their sticking together. Once all the mixture has been rolled into spheres, place the baking tray in the freezer for half an hour or until the spheres are firm and cold to touch. You may need to do this in batches as the ganache mixture melts very quickly.
- Break half the white chocolate (250g) into pieces and place in a bone-dry, heatproof bowl (any drop of water will make the chocolate seize). Place the bowl over a pot of boiling water (without the boiling water touching the base of the heatproof bowl), and stir occasionally until the chocolate is melted.
- Remove the dark chocolate spheres from the freezer, and one at a time, skewer with a toothpick and coat by spooning the melted white chocolate over each frozen chocolate sphere. Remove the skewer, replace the coated truffle on the baking tray, and replace in the freezer for 10 minutes for the first layer to set.
Melt the rest of the white chocolate (using the same method as before), and place the desiccated coconut (200g) in a bowl. Remove the truffles from the freezer. If you don’t want to get too messy, wear surgical gloves to do this stage. With one hand, roll the truffle in the melted white chocolate. Then, drop it into the coconut and with your other hand roll it to coat it. Once the batch is complete, place back in the freezer for a minimum 10 minutes to set.

