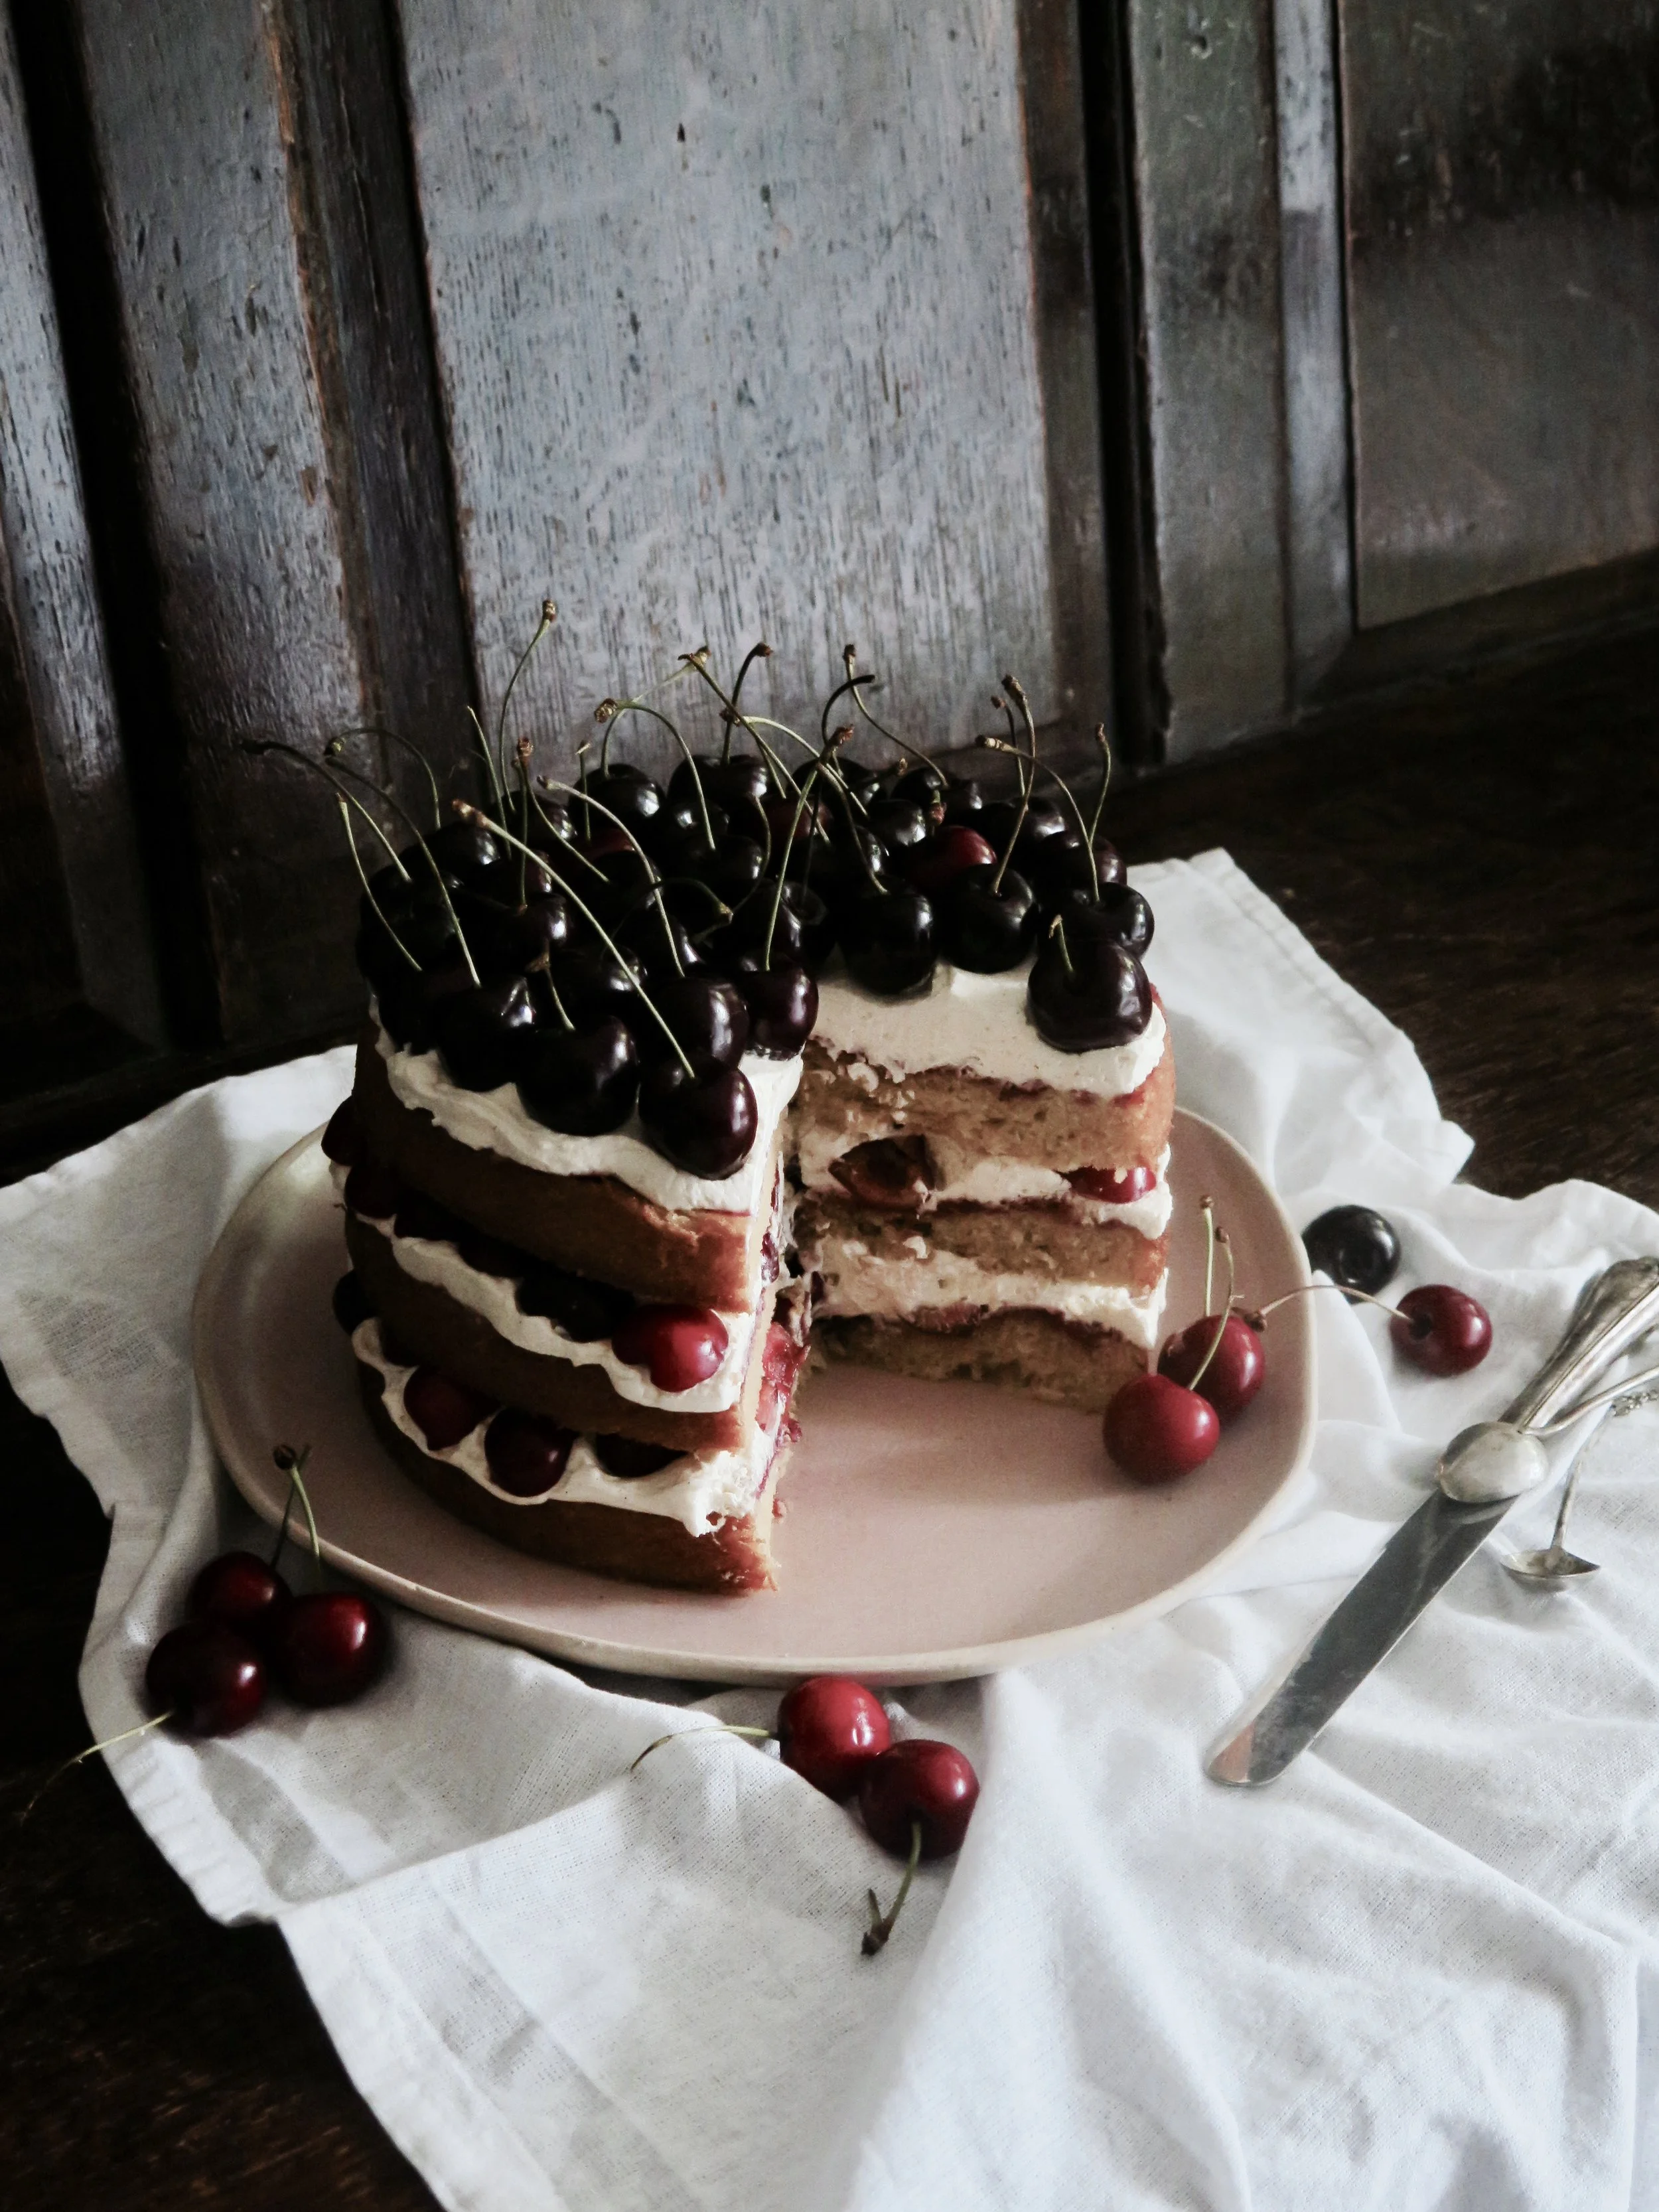
This the perfect non-picnic picnic cake. It’s light with a cloudy vanilla sponge, and laced with fresh cherries which burst in your mouth and whose astringency perfectly cut through the smooth rich vanilla-cream. I keep the cherries fresh and unadulterated so as to keep the cake not too sweet, with a hint of cherry jam just to counter too much acidity.
Viewing entries tagged
jam
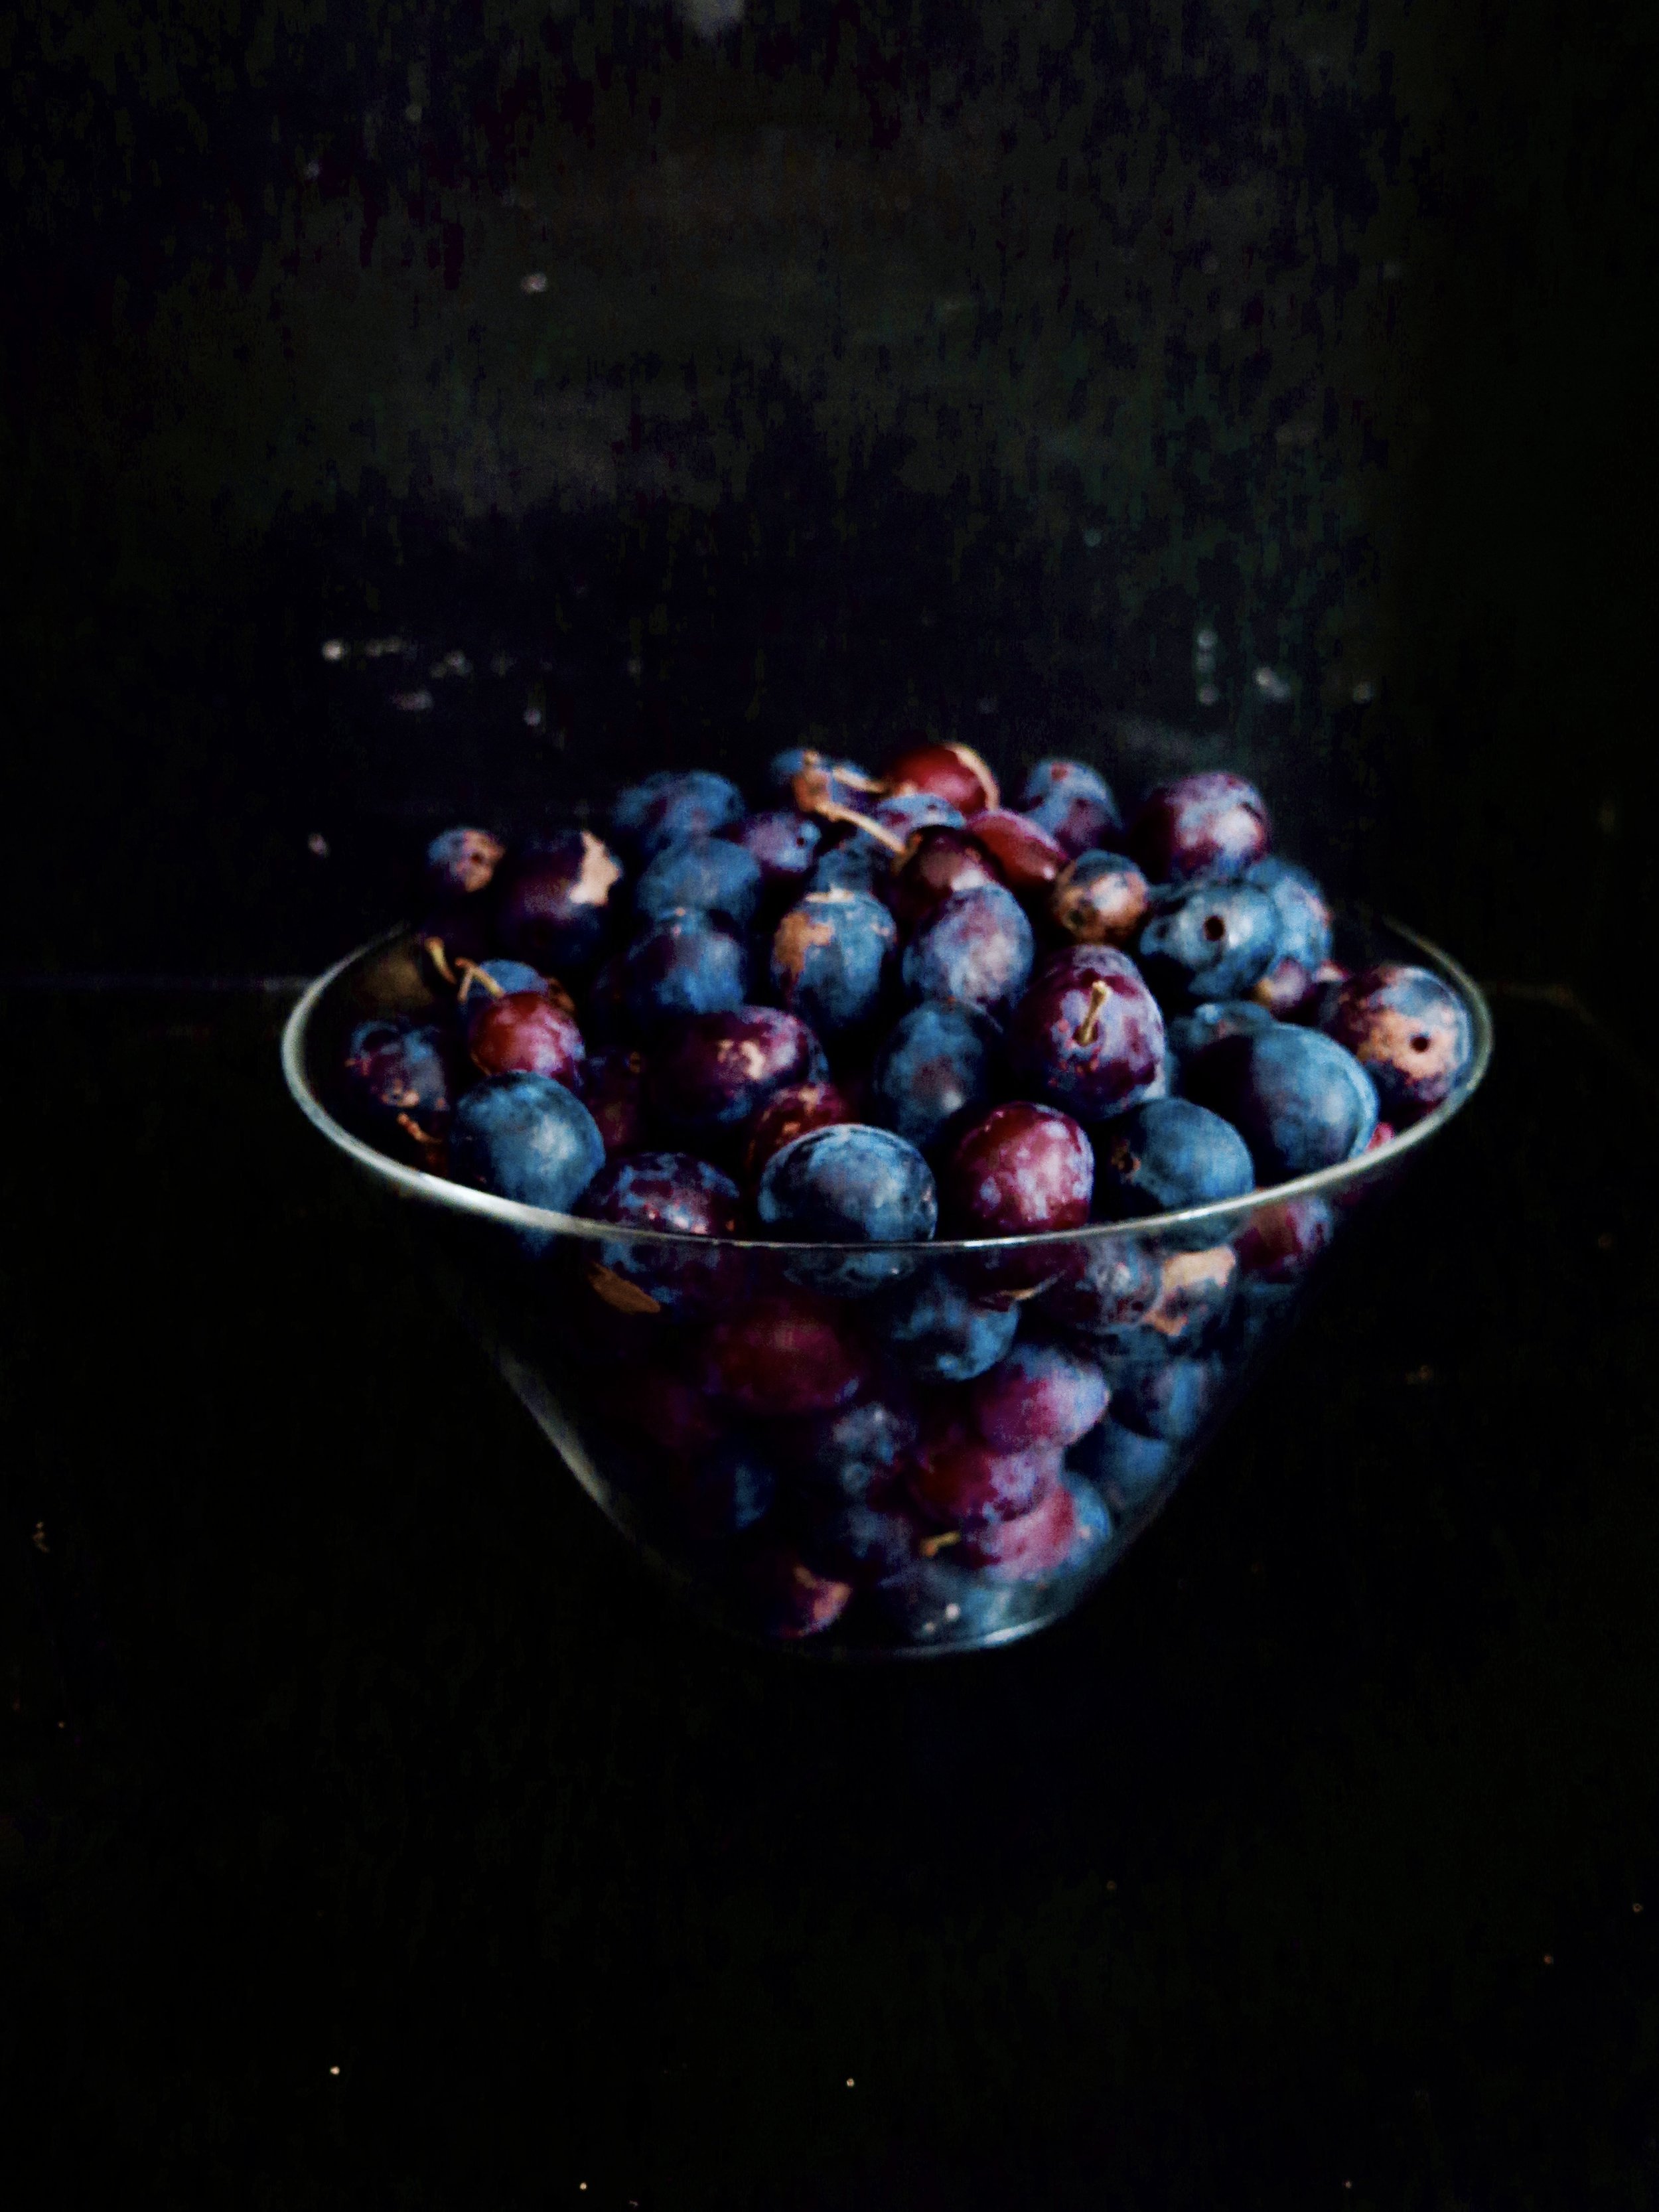
Adorned with dew drops of glaucous fruits, the damson tree was innocent in its fairy tale perfection. Plump and firm, tart and succulent they were ideal contenders for picking. There seemed at first glance to be very few, but as the minutes rolled by, our bags heavier and the ladder creaking, the tree continued to proffer its bounty. The result: 6kg of damsons and a swollen stomach from ones that never quite made it into the bag.
Our supply of sugar rather pitiful in the wake of the unsurpassed abundance, I heaved an Olympian quantity back from the supermarket. The one bag that decided to split has left a coating of sticky grit on any coins that I dig out of the corners of my bag.
Then on to the stove went the damsons, the heated sugar and a touch of water. They blistered, bubbled and broke out of their skins. The stones rose to the surface like witches on trial and had to be picked out one by one. Meanwhile the mixture boiled and thickened, giving off a foamy pink effervescence that I carved off as it supposedly tastes slightly bitter (although I rather enjoyed spooning it directly into my mouth). Then as it reached its rich amethyst depths and a satisfying viscose texture, I took it off and poured it into the sterilised jars: therapeutic and deeply satisfying…the first-time round.
But as I tried to leave the kitchen I was bludgeoned with another 3kg worth of damsons. I was pelted, too, with threats of waste and rotting fruit if I didn’t make jam immediately. The kitchen became heated with the upset from my father who had cultivated and nurtured the tree for years.
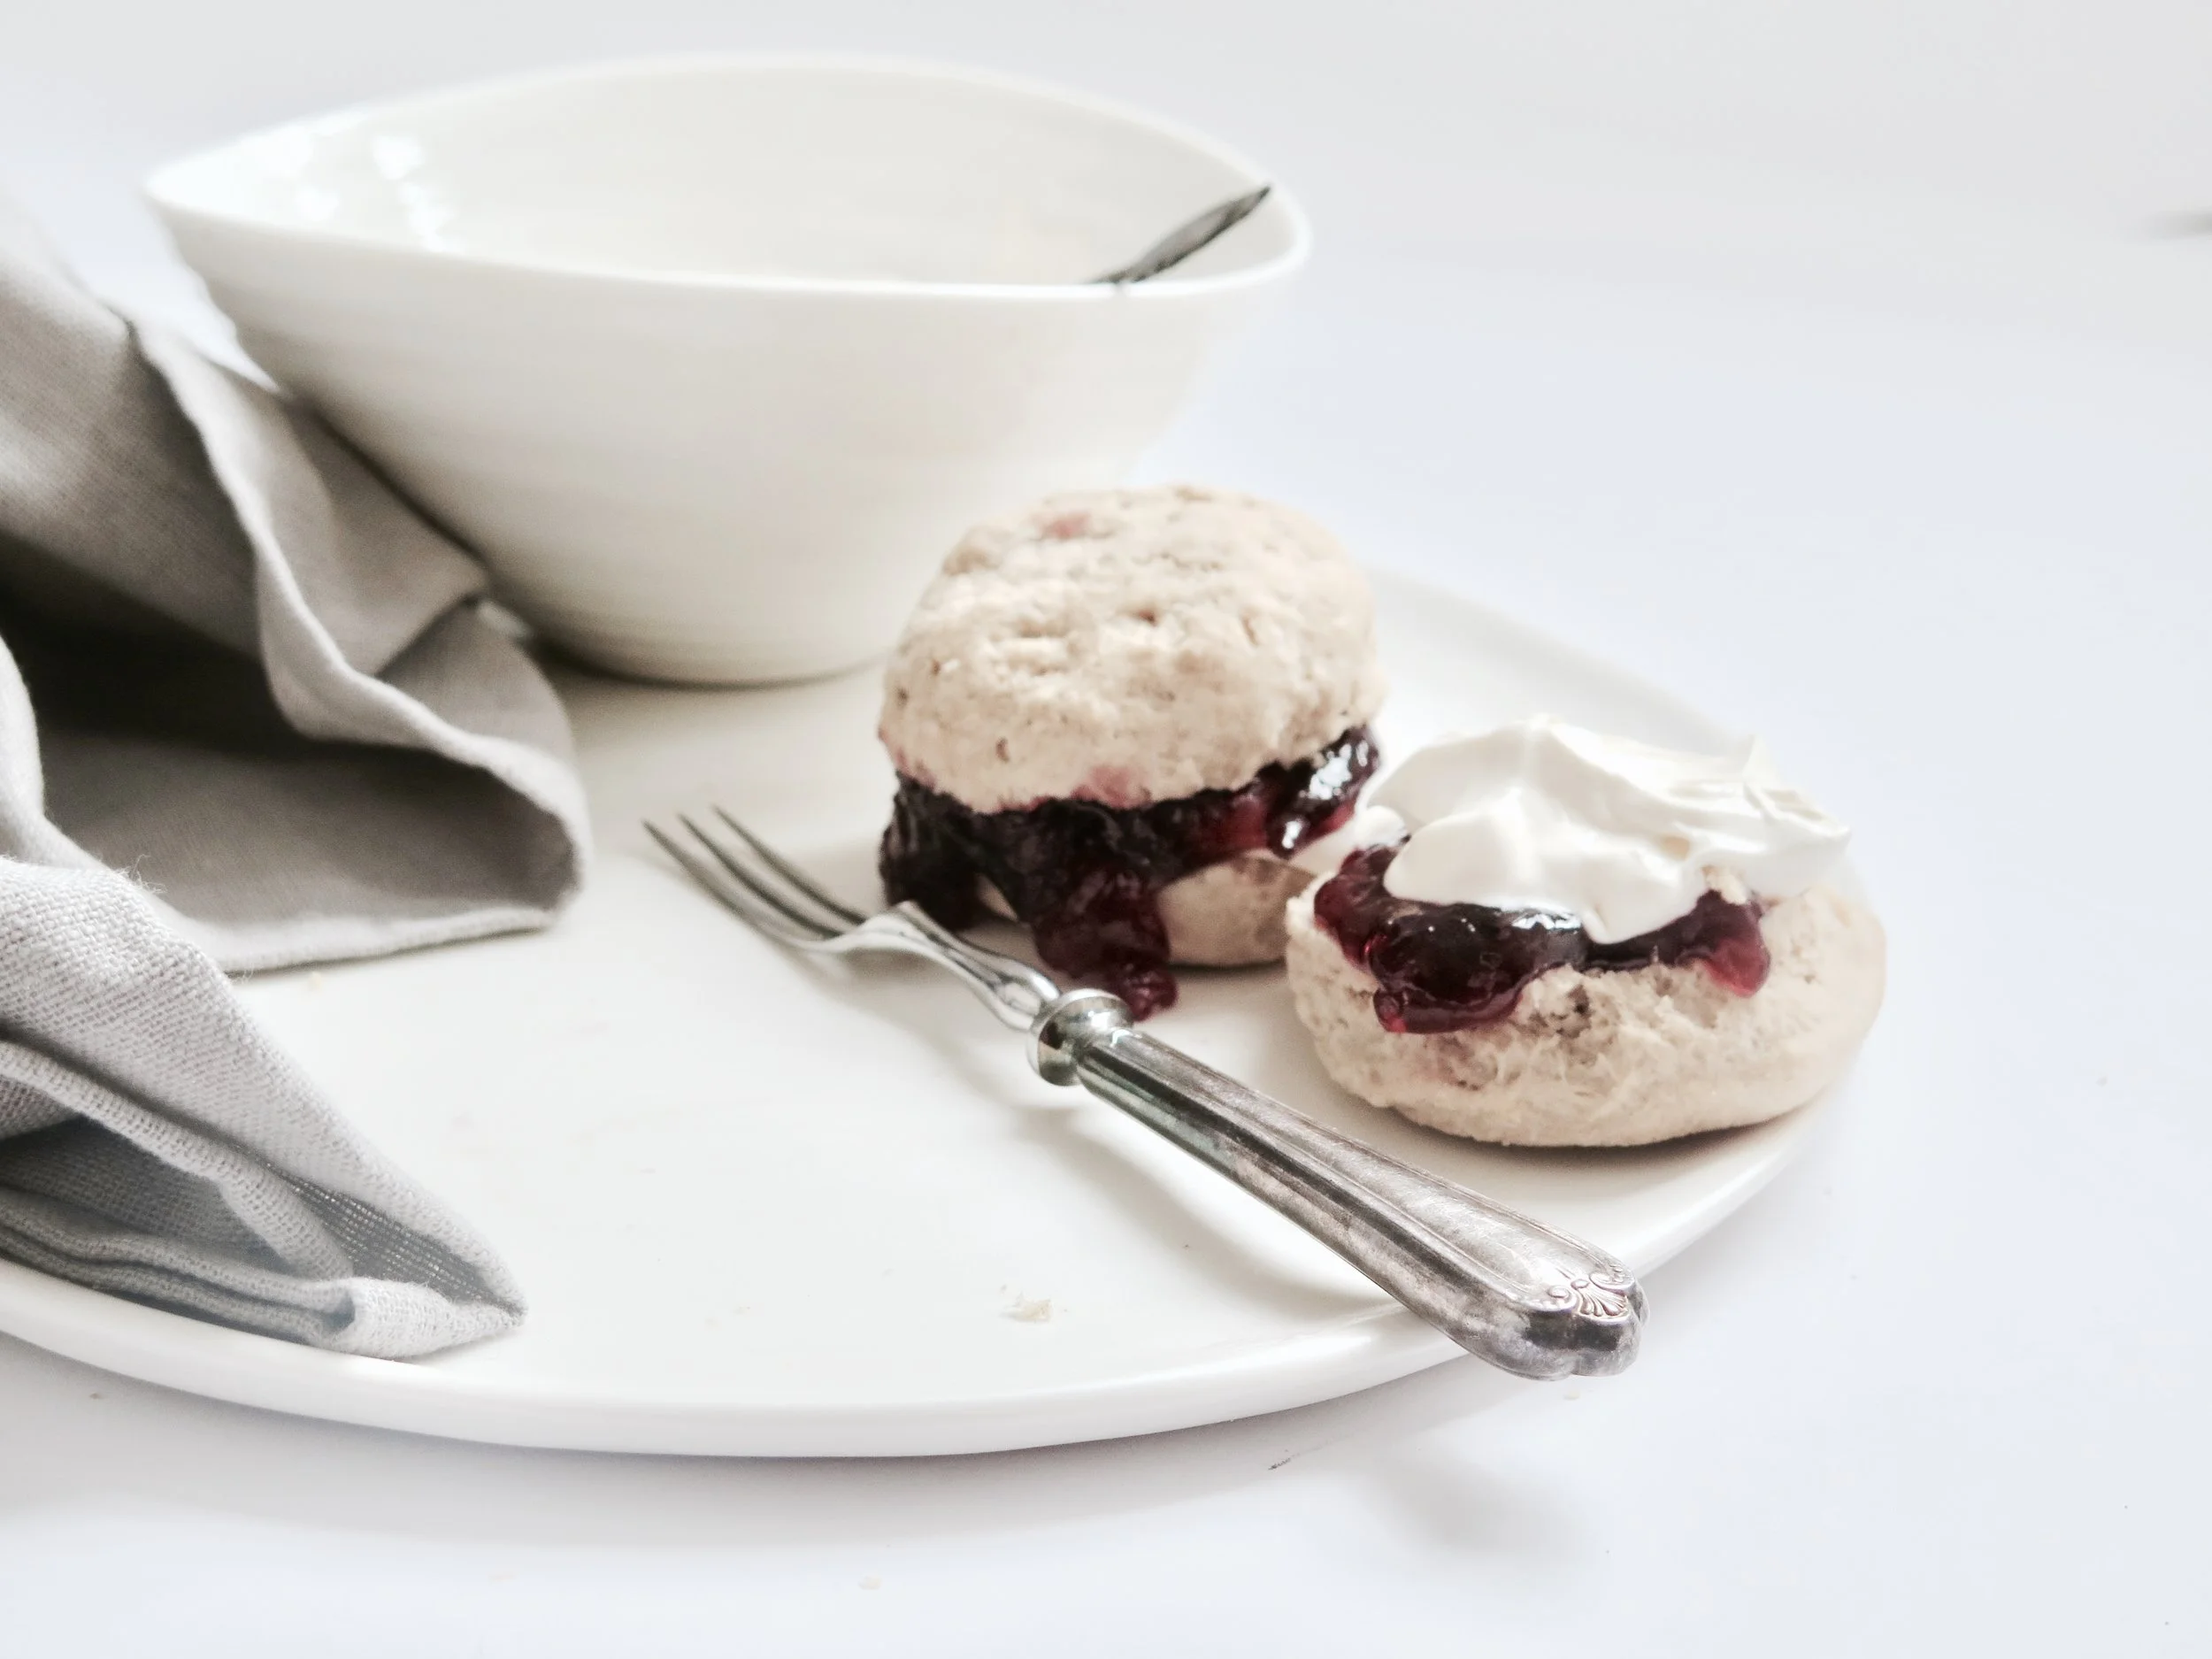
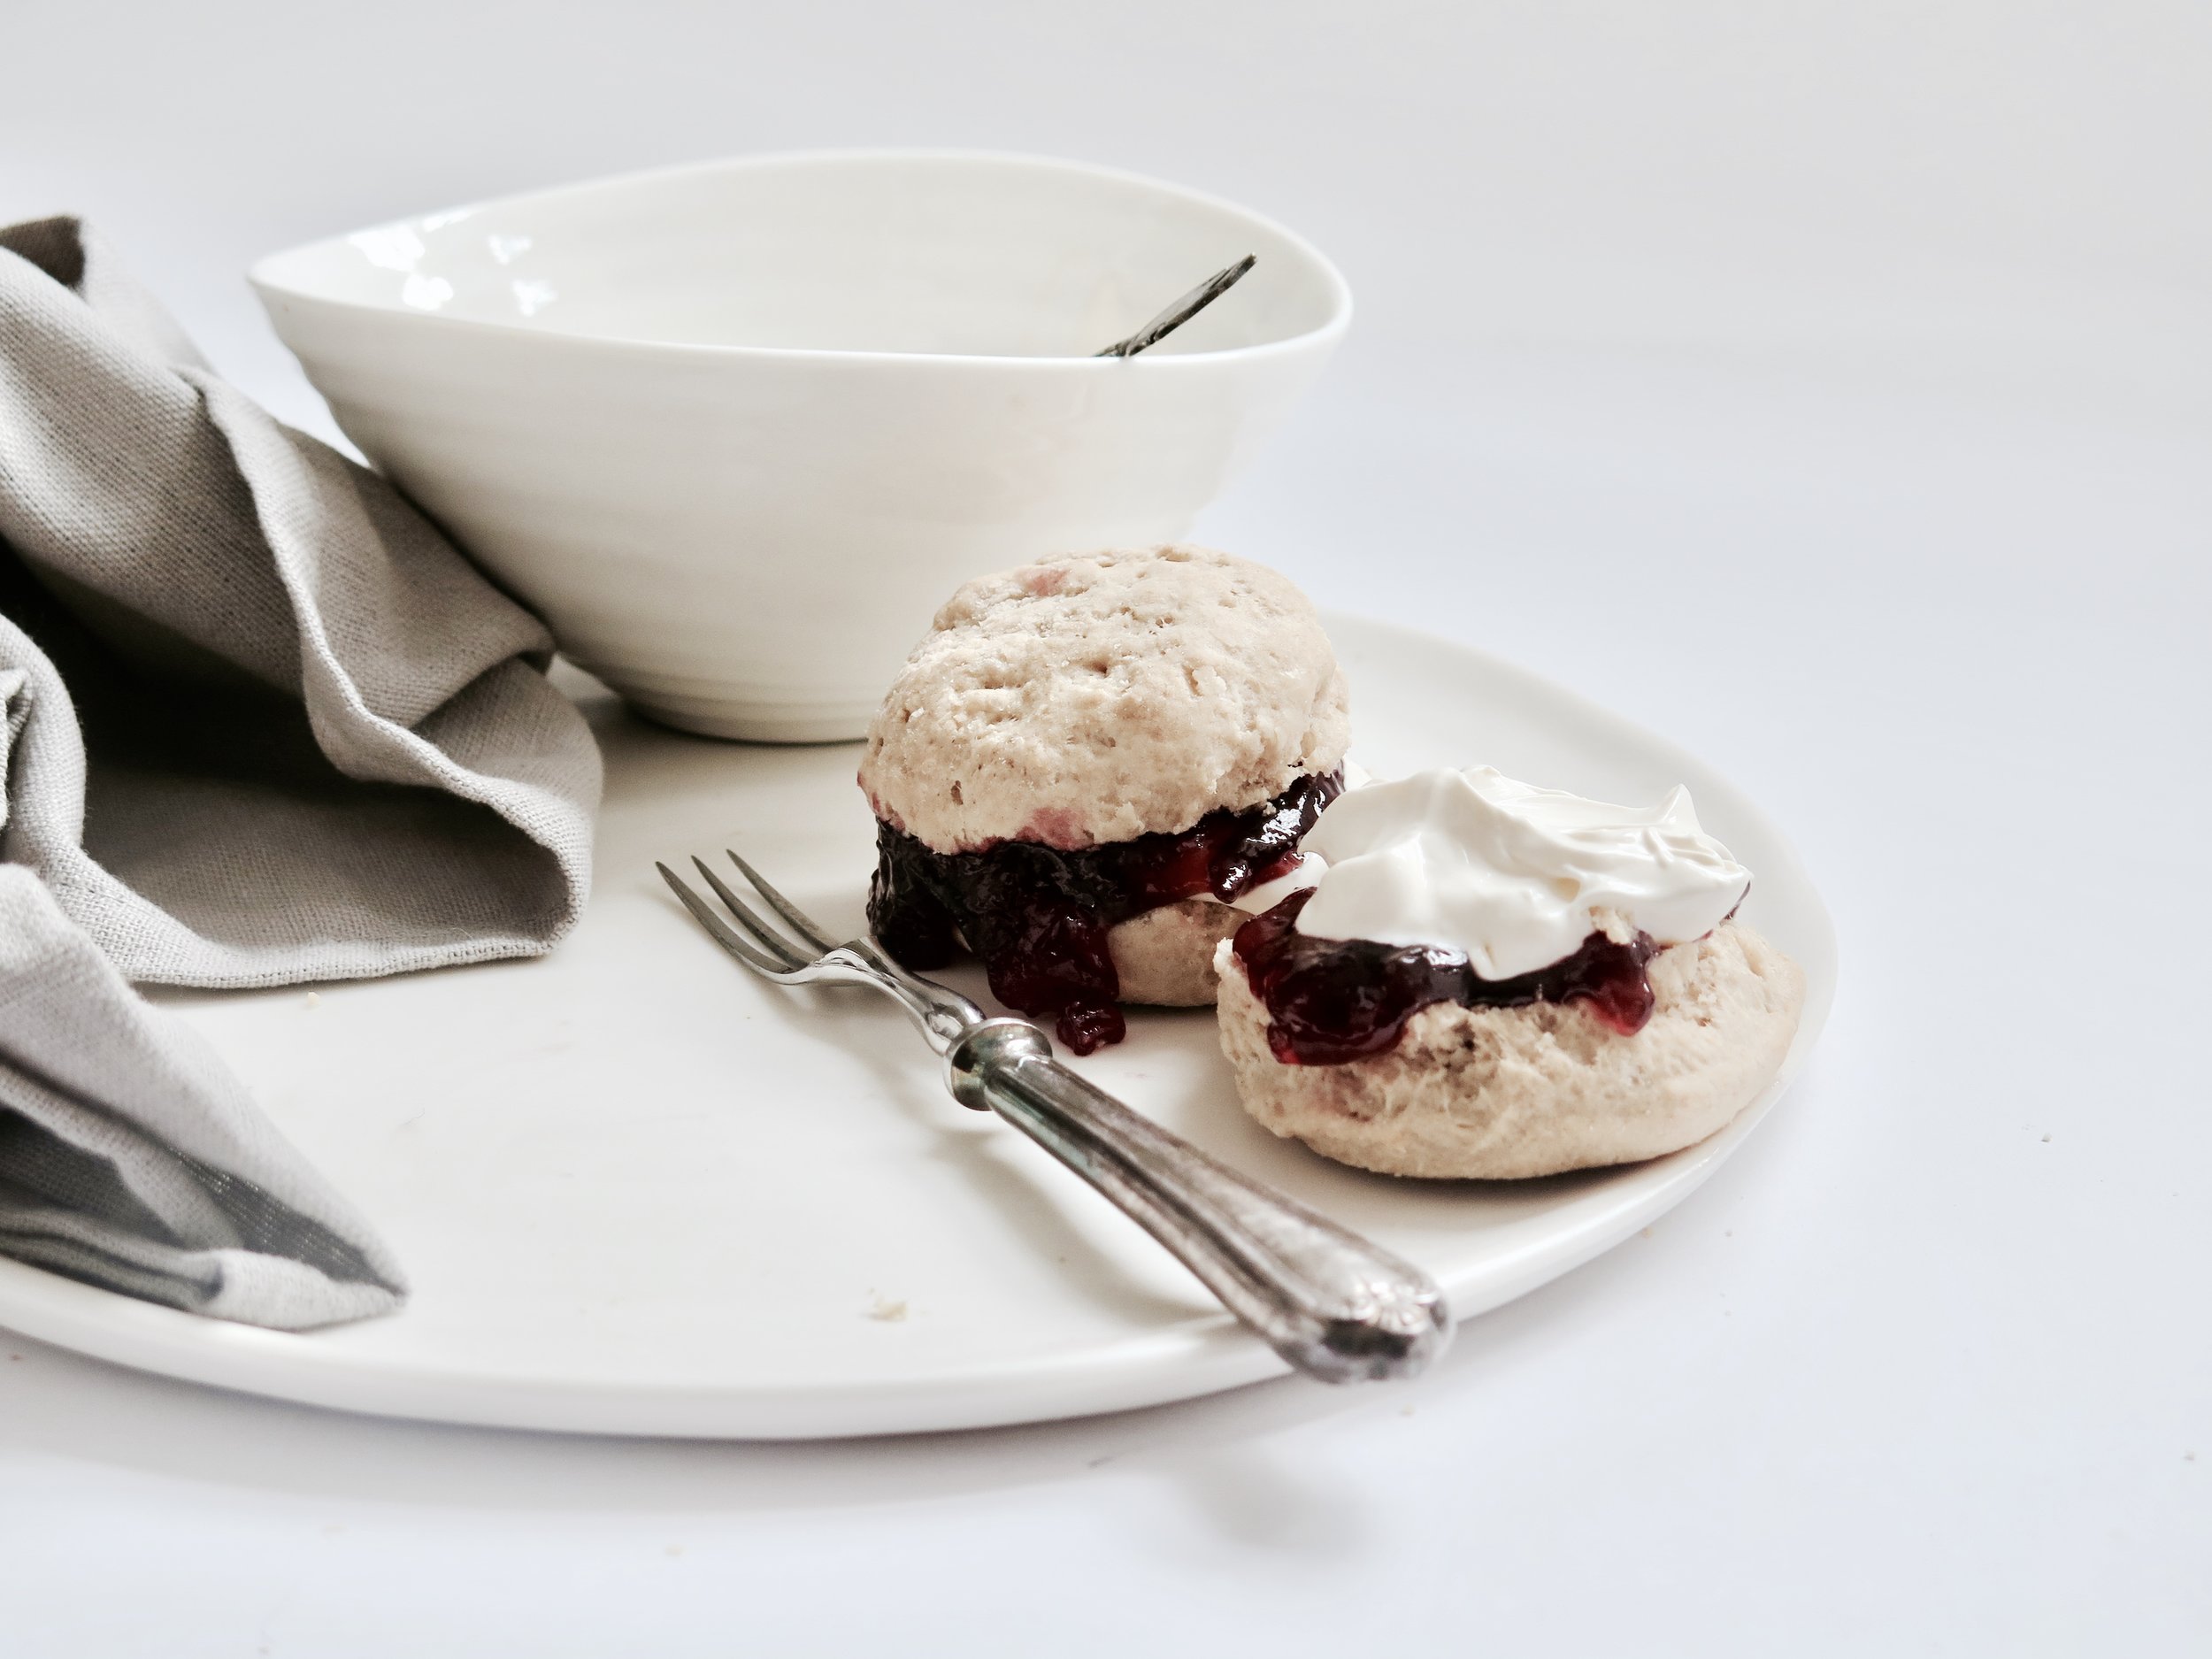
So, I gave in and became a slave to the damson tree once more, boiling, straining, stirring pouring. And now we have half a fridge thronging with jar upon jar of jam. And what does one do when he or she has a year’s supply of jam? Well, I find eating it straight from the jar perfectly acceptable, but others need a medium as an excuse. So I made scones. These are not the dry, stale and overly sweet ones that leave you desperately seeking a currant to relieve you from the accumulating doughy mass at the top of your palate. These are soft, light, moist and crumbly. Rustic in shape, they are best eaten immediately or on the same day (though it is unlikely they will survive longer).
Spelt Scone Recipe – makes 12
500g white spelt flour (can be substituted with plain)
4 ½ tsp cream of tartar
2 tsp bicarbonate of soda
(optional: 2 tbsp sugar if would like them sweet)
1/2 tsp salt
125g cold unsalted butter, diced
300ml milk
1 egg, beaten, for egg wash
6cm round cookie cutter
Large baking sheet, lined with baking parchment
Method
1) Preheat the oven to 220°C.
2) Into a large bowl sift all the dry ingredients. Add in the butter and with fingertips rub it into the dry ingredients until like damp sand. Pour in the milk and very gently fold in until just combined (there may still be pockets of flour).
3) Turn the dough out onto a floured surface and knead it lightly for about 10 seconds. Roll out to a 3cm thickness and then cut out as many scones as possible. Lightly re-knead the scraps of dough and roll out once more to cut out the last remaining scones. Space them out on the tray and blush with the beat egg. Place in oven to bake for 8-10 minutes until they are shiny and golden.
Damson Jam Recipe (makes about 3kg, 9 jars)
NB. This recipe can be adapted for any number of damsons by maintaining the ratio
2kg damsons (slightly under-ripe and not too soft)
2kg sugar
200ml water
9 jam jars, sterilised
Method
1) Pour sugar into an over proof dish and place in oven heated to a low temperature (around 120°C) while the damsons are prepared. Place a couple of small plates into a fridge to cool – these will be used to check the jam’s consistency later.
2) Grease a large stainless-steel pot with butter to prevent the fruit from sticking. Then pour in the damsons and water and stew over a medium-low heat, stirring gently until the damsons’ skins break. Pour in the warmed sugar and stir over medium-low heat until the sugar has dissolved.
3) Increase the heat to medium-high and allow to boil (controllably), stirring occasionally to prevent the fruit from sticking. After a few minutes, as the fruits break down, a pink foam will rise to the surface. Using a slotted spoon, siphon this off into a bowl. If some remains it won’t ruin the jam, it just doesn’t taste as pure as the rest. Then, as the stones begin to rise up, siphon off those too.
4) After about 15 minutes of boiling, when all the stones have been removed, pour a teaspoon of the liquid onto a cold plate. Let it sit for about a minute then tilt the plate, if the liquid is no longer watery, with a viscosity between a sauce and a jam, and wrinkles when pushed with the finger, it is set. For the more scientifically-minded, it should be 105°C on a sugar thermometer. Pour the jam into the sterilised jars and allow to come to room temperature before sealing them with lids.
HUNGRY FOR MORE?
Is it just me, or is anyone else sick of logging on to Facebook, innocently hoping to drain away half an hour of one’s day (minimum) by looking at pictures of people one may or may not have half met once trying to prove how much fun they are having by posting pictures of themselves with friends/family, strained smiles stretched across their faces, and who are clearly not that immersed in the fun as they have had to spend half an hour trying to get one decent picture out of the hundred they’ve taken to emblazon it across their Facebook wall and maybe, just maybe, turn it into a cover photo?
And then – BAM - your gaze is diverted,
and you are staring down into the depths of a garishly coloured plastic bowl filled with some unidentifiable artificial gunk, pink fleshy hands massaging some other substance into it to form some putty-like emulsion which is then mushed and squeezed and squidged into a plastic mould, whizzed up, and extruded through a bag and…… oh look, it’s that Gooey Oreo, Jellied Eel and Green Marshmallow Mini Coffee Cup that “you’ve always wanted to make for your slumber party with the gals”.
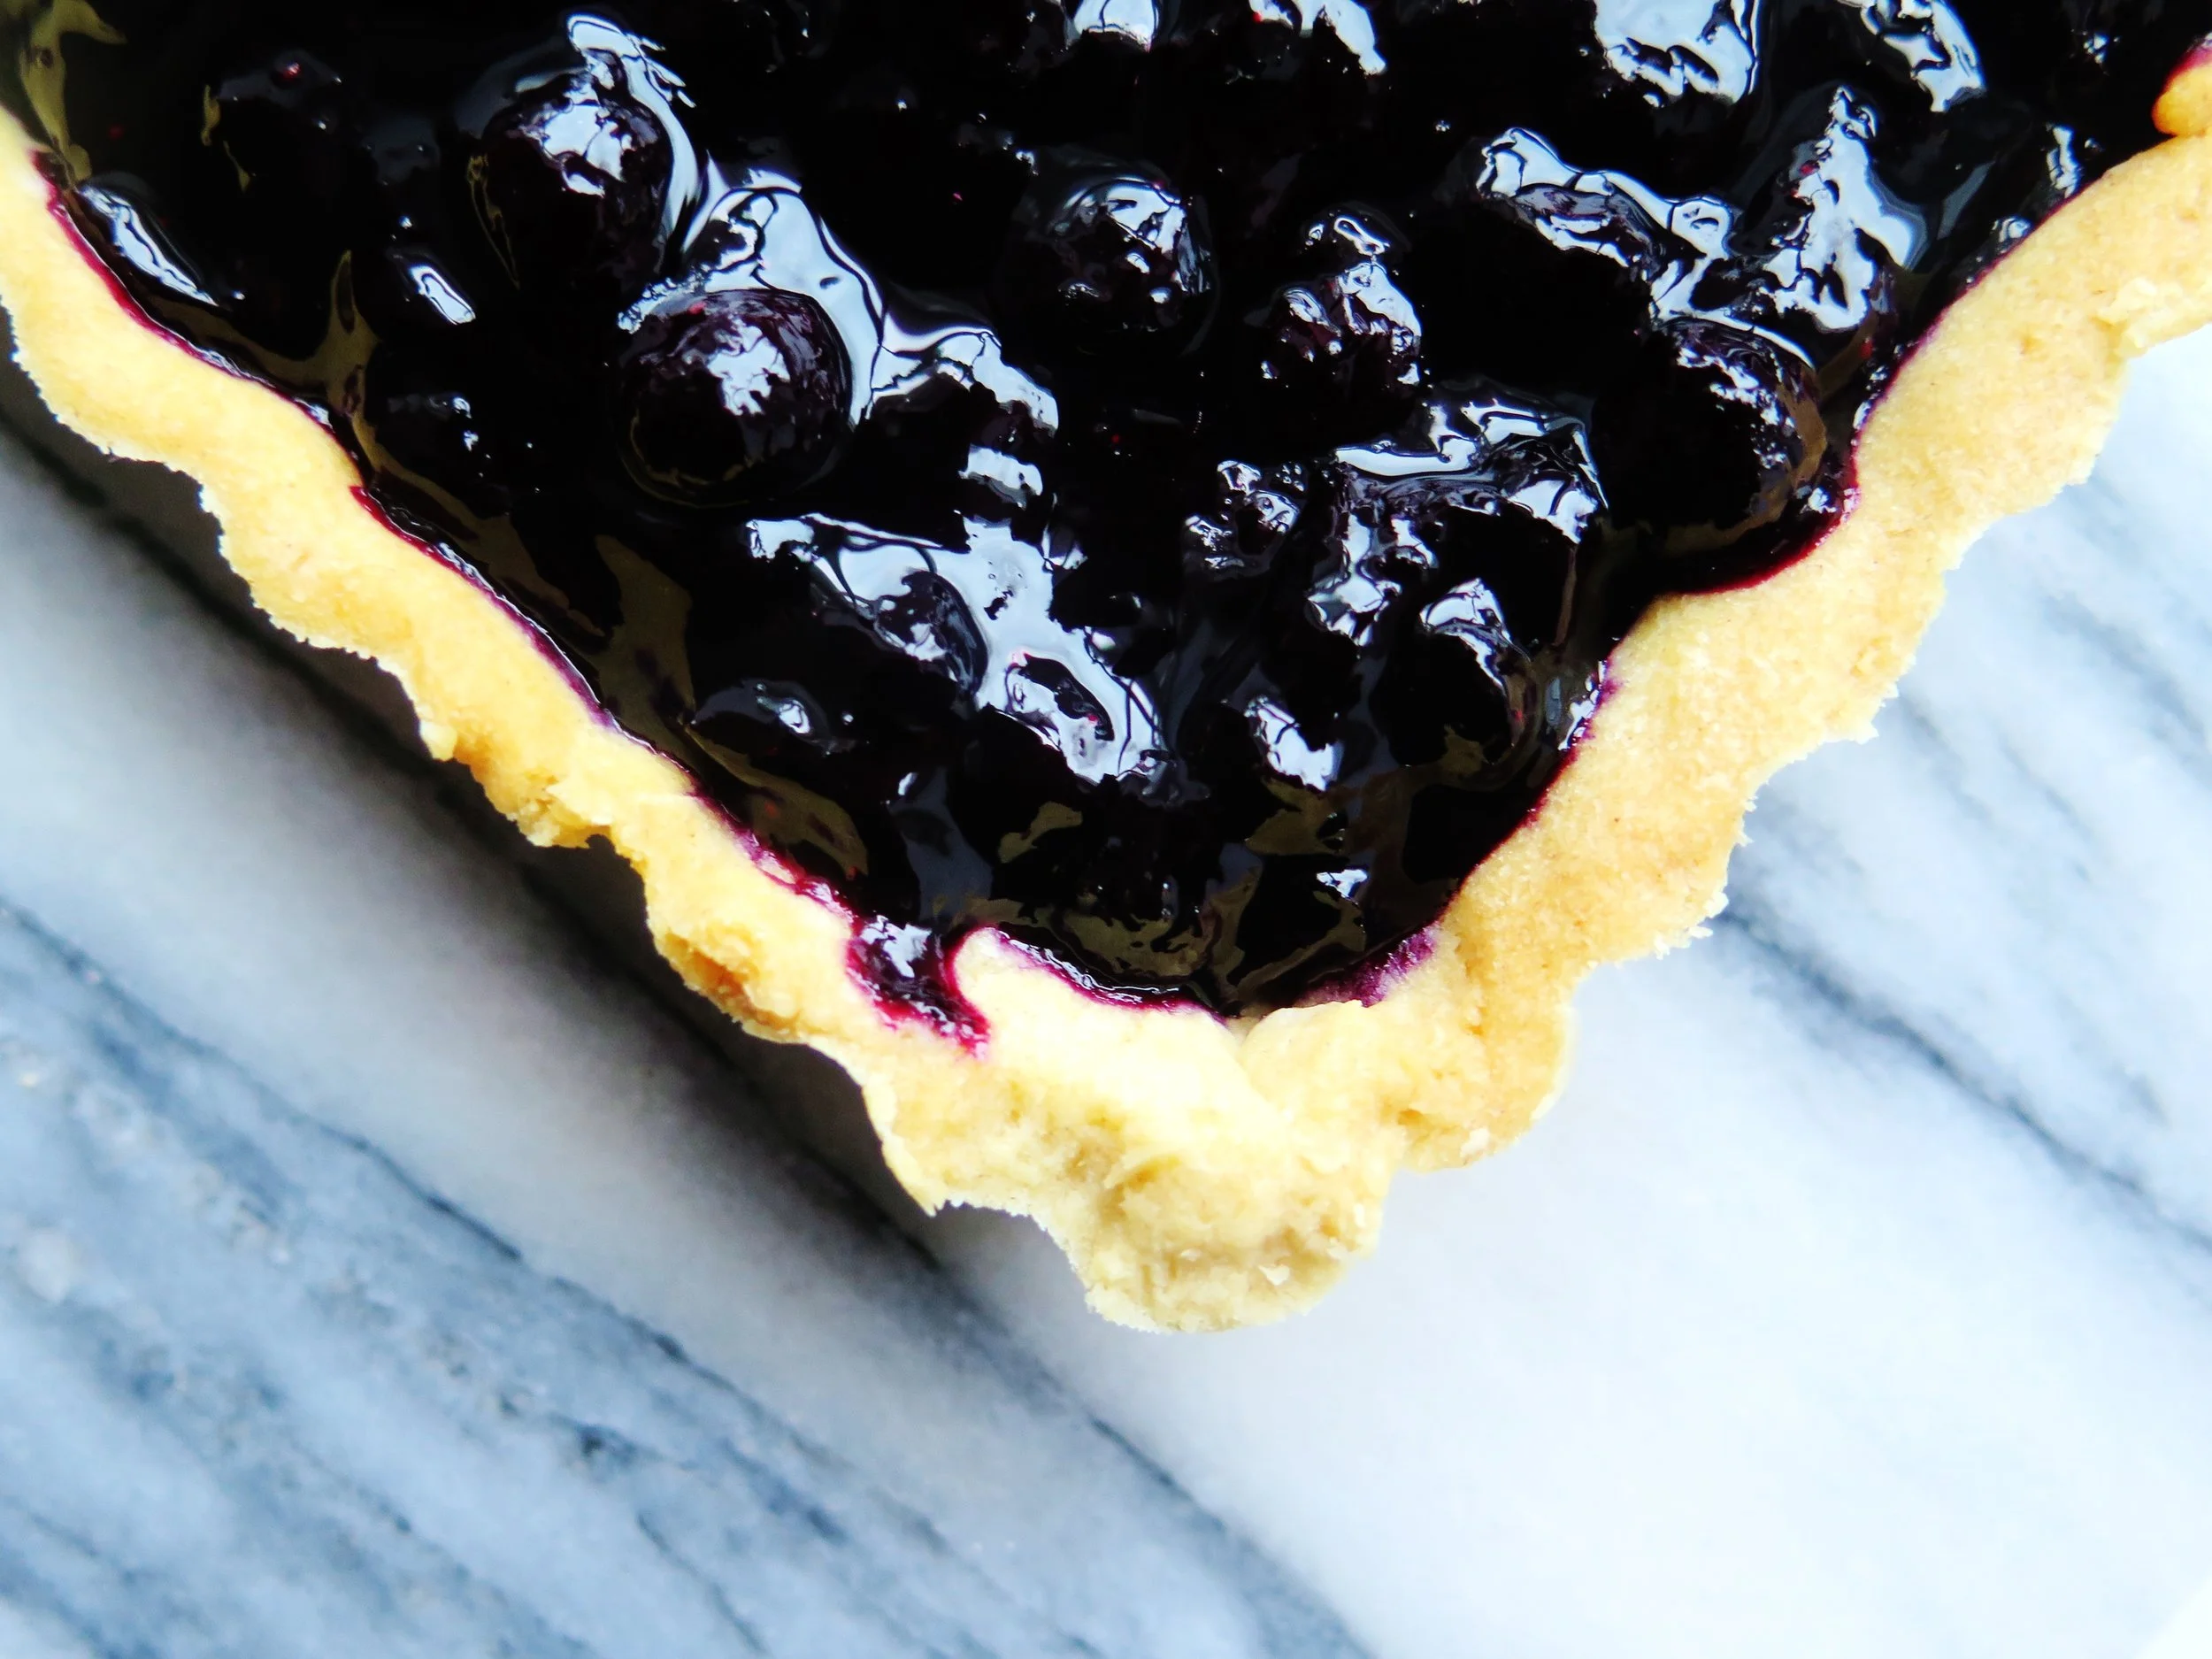
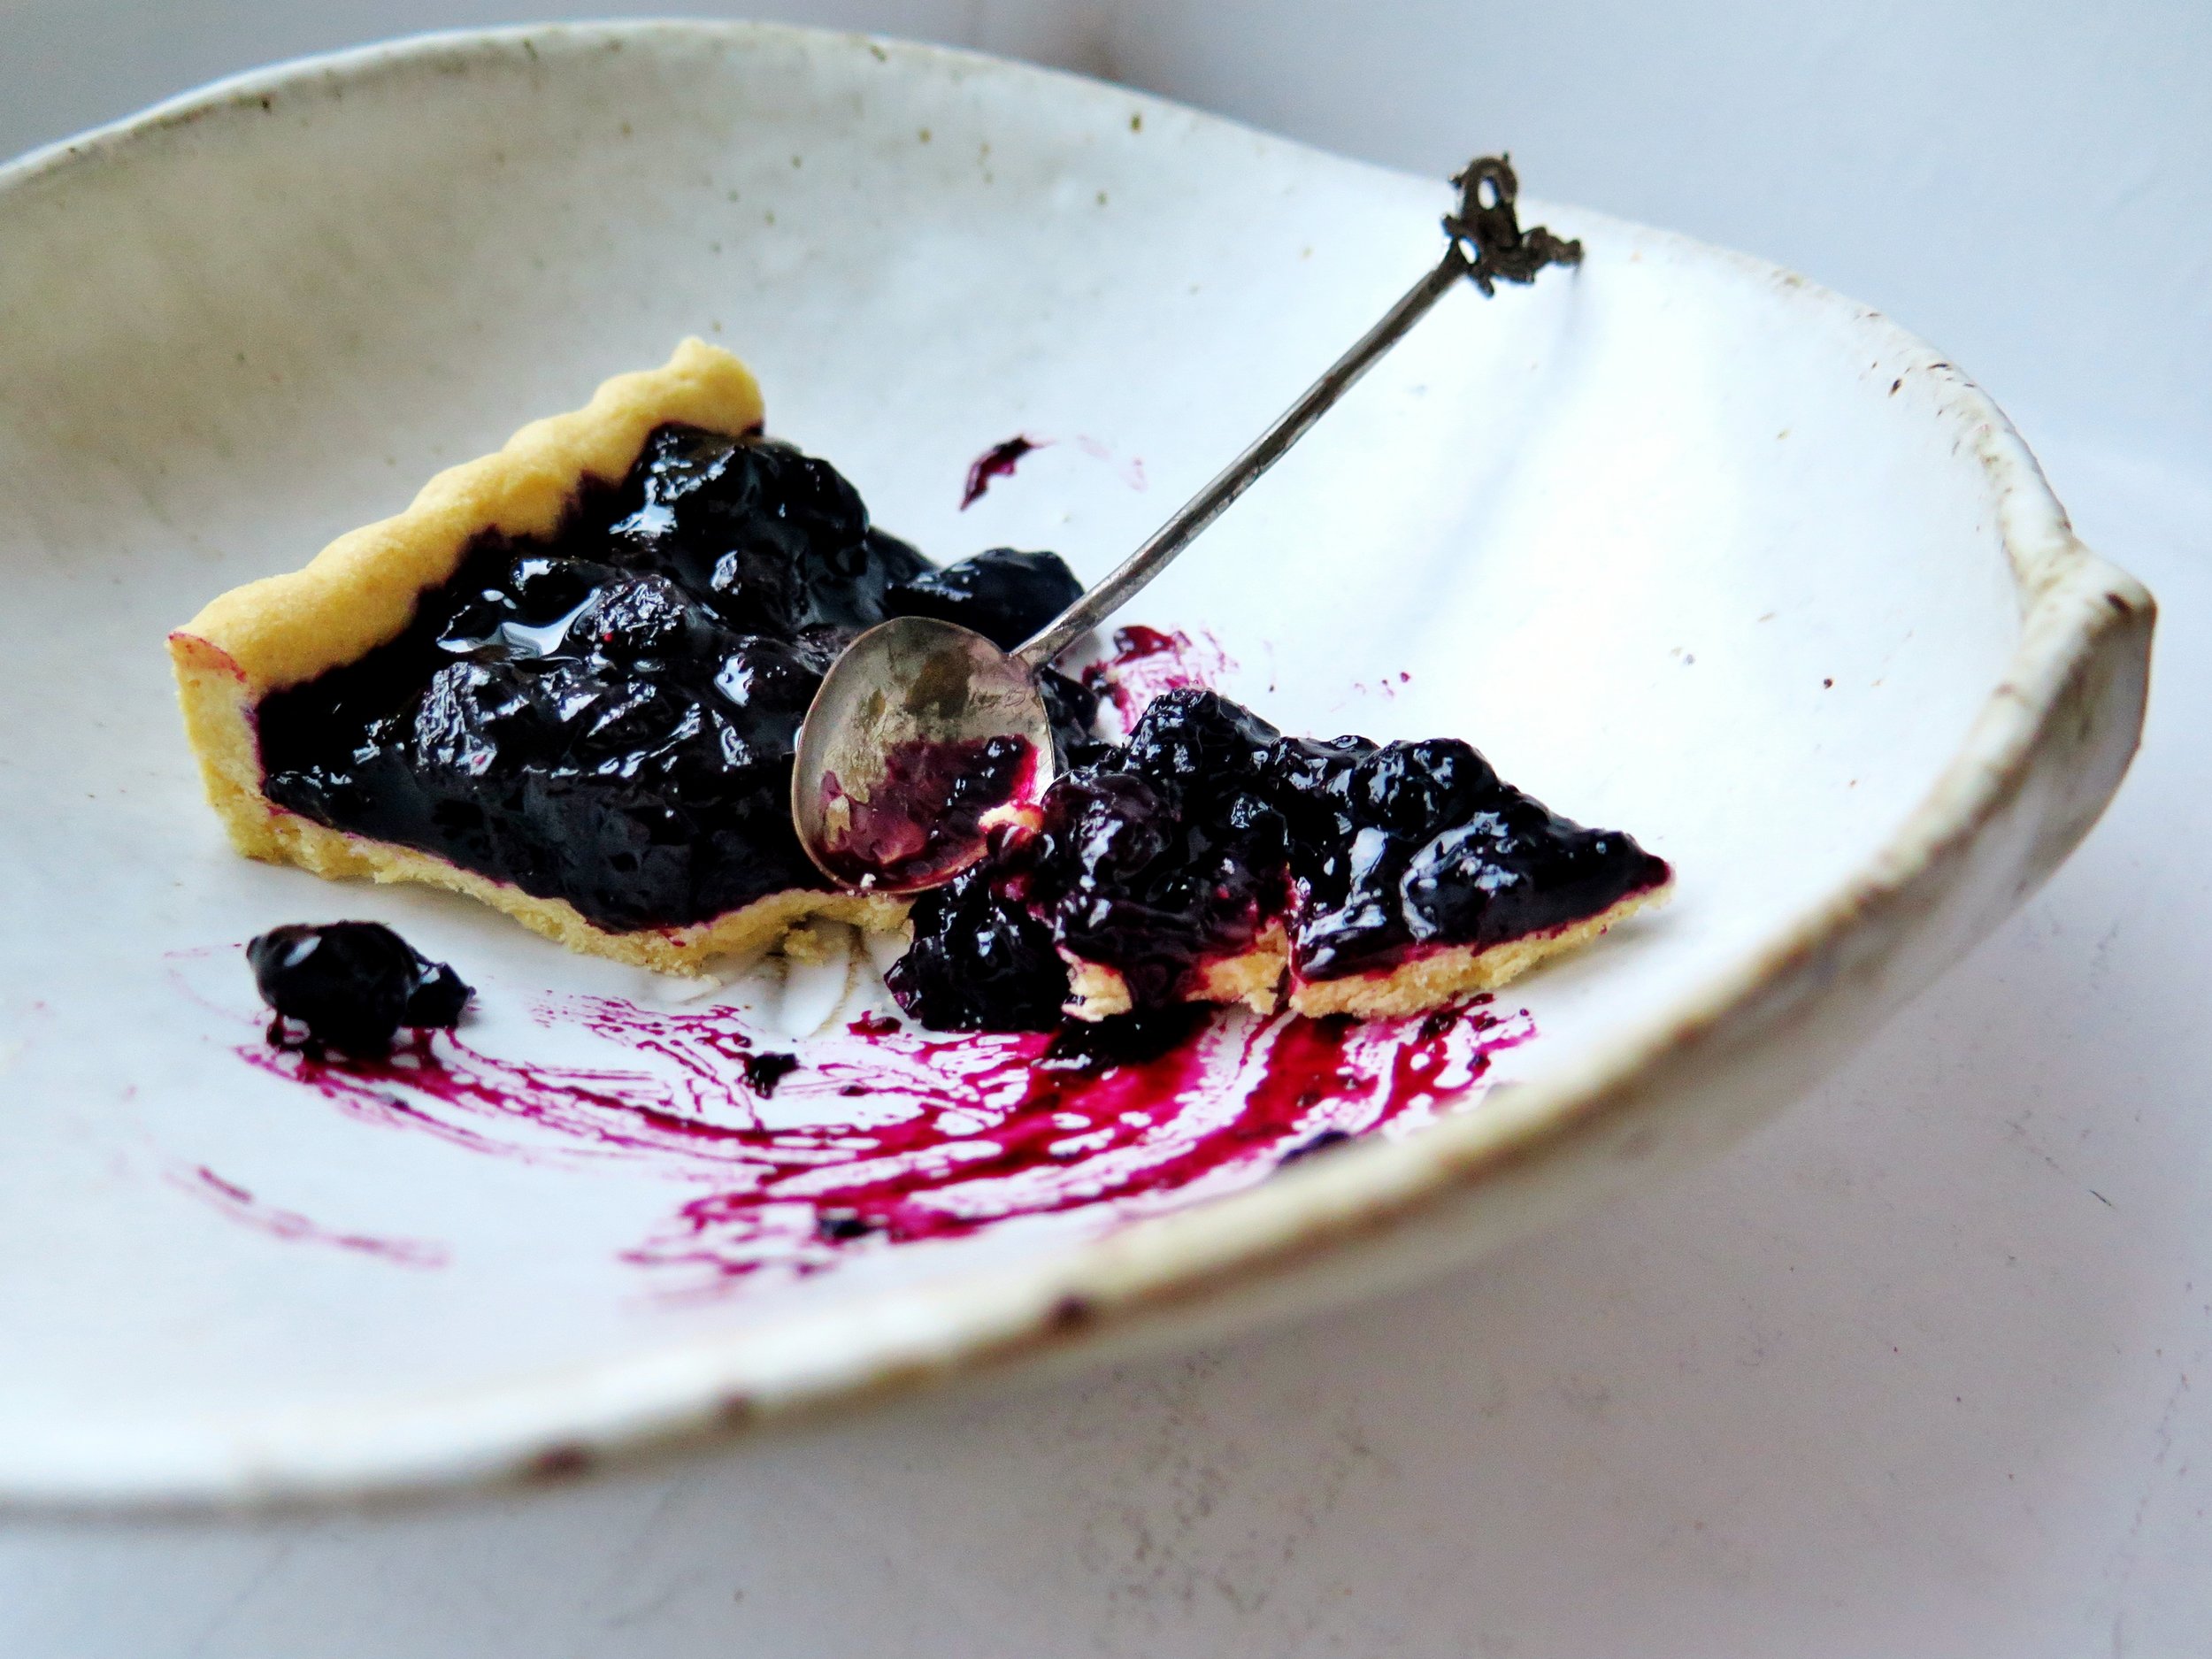
Here’s an antidote. It is simple yet sophisticated, humble yet sumptuous, tangy but not cloyingly sweet, and light yet not so light when you’ve had 4+ pieces….
Ingredients
Pastry
200g white spelt flour (can be substituted with plain flour)
100g butter, roughly cubed
2 tbsp icing sugar
¼ tsp salt
1 small egg, beaten
12 x 36cm tart tin, greased and dusted with flour
Blueberry filling
800g frozen blueberries
250g caster sugar
1 tsp cinnamon
½ tsp nutmeg
2 tbsp cornflour
Zest of ½ medium sized orange
Method
- Place flour, butter, icing sugar and salt in a food processor, and blitz until it resembles damp sand. Pour in the beaten egg, and pulse until the mixture combines to form a soft dough. Remove from the processor, wrap in baking parchment and place in the fridge for half an hour (or freezer for 10-15 minutes) – this will prevent the dough from shrinking when it bakes.
- Preheat the oven to 180˚C. Lightly dust a surface with flour and roll out the dough in a rough rectangle to 0.5cm thickness. Roll the pastry around a rolling pin and transfer to the tin, pressing it into the fluting (if, indeed, your tin is fluted). Run a knife along the top edge of the tin to remove excess pastry. Prick the base of the pastry a few times with a fork, and place back in the fridge for 30 minutes (or freezer for 10 minutes).
- Prepare the pastry for blind baking by lining the inside with a sheet of tin foil and filling it with baking beads to weigh it down while it bakes and to prevent it from shrinking. Place in the oven for 15-20 minutes until the pastry is dry and beginning to turn golden. If it is cooking too slowly, you can remove the beads and tin foil after 15 minutes and continue to bake. Remove from oven and set aside to cool.
- To make the spiced blueberry filling, place a large pan over a high heat and pour in all the ingredients. Stir continuously until the sugar is dissolved in the juice that runs off the blueberries. When the mixture begins to boil, reduce the heat to medium-high and allow to simmer for 20-30 minutes, stirring occasionally to prevent it from catching, until the liquid is almost completely reduced and with the viscosity somewhere between a syrup and a jam. Allow to cool to room temperature, then pour into the pre-baked pastry case.
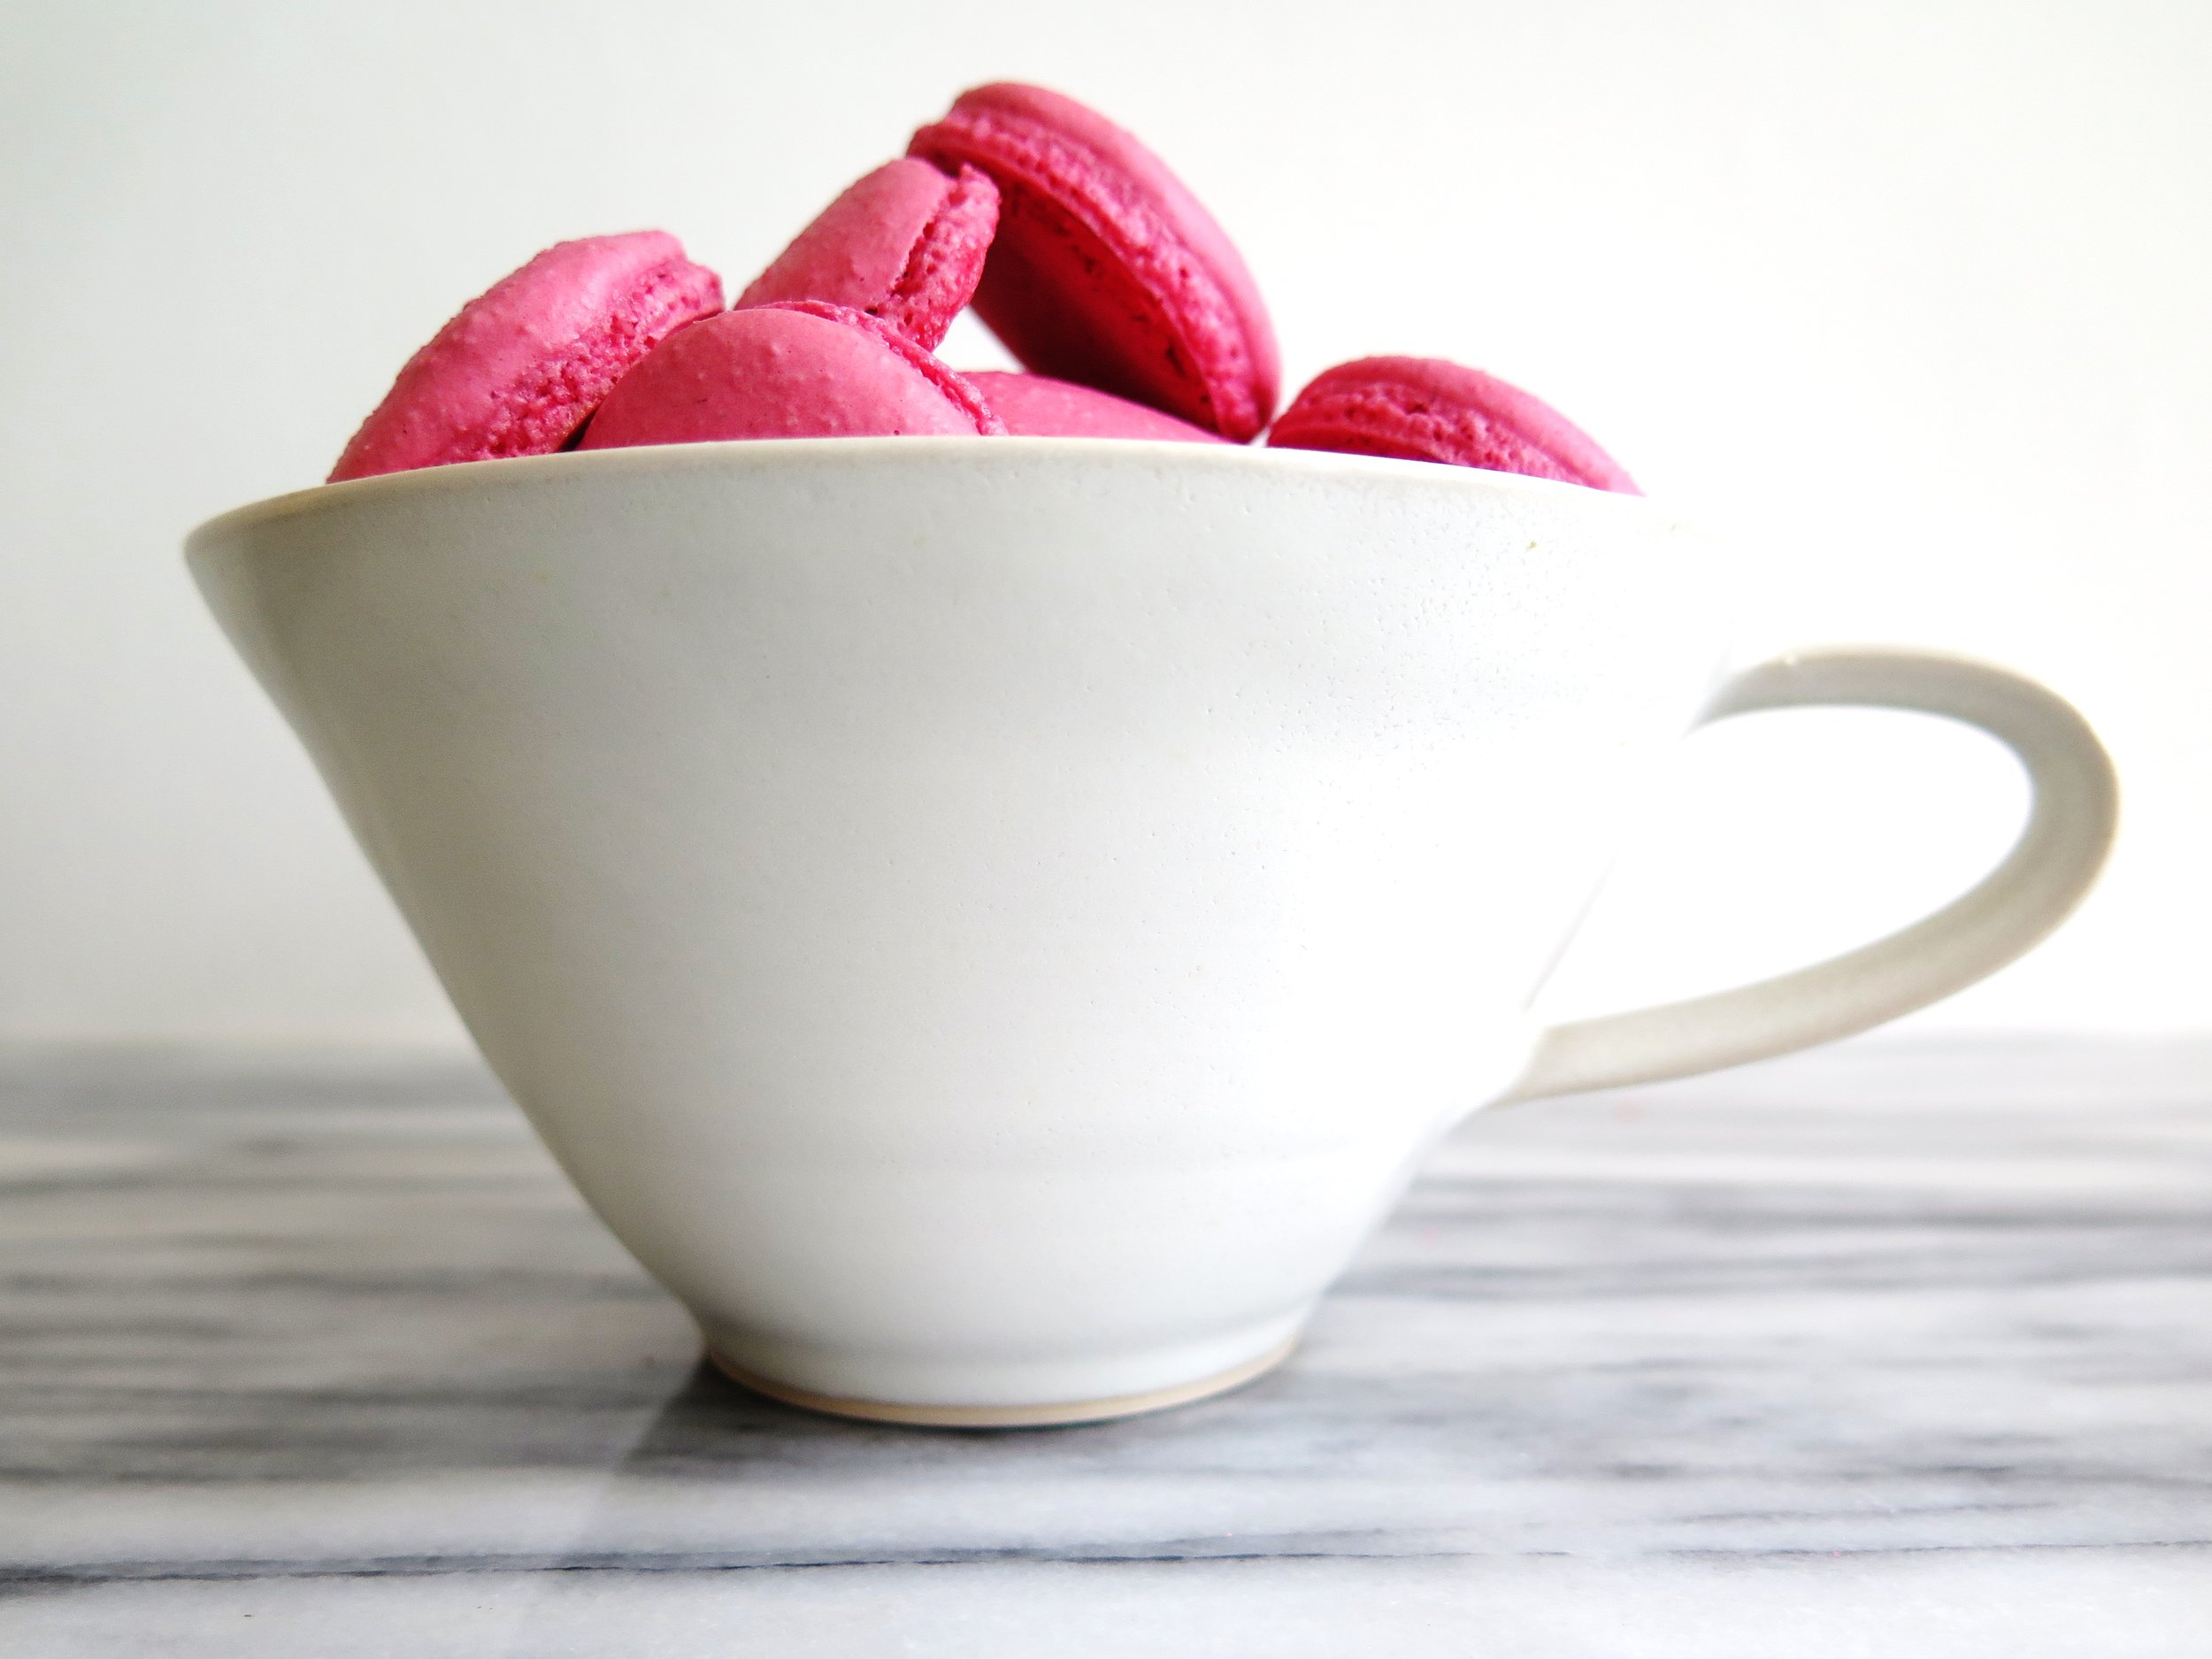
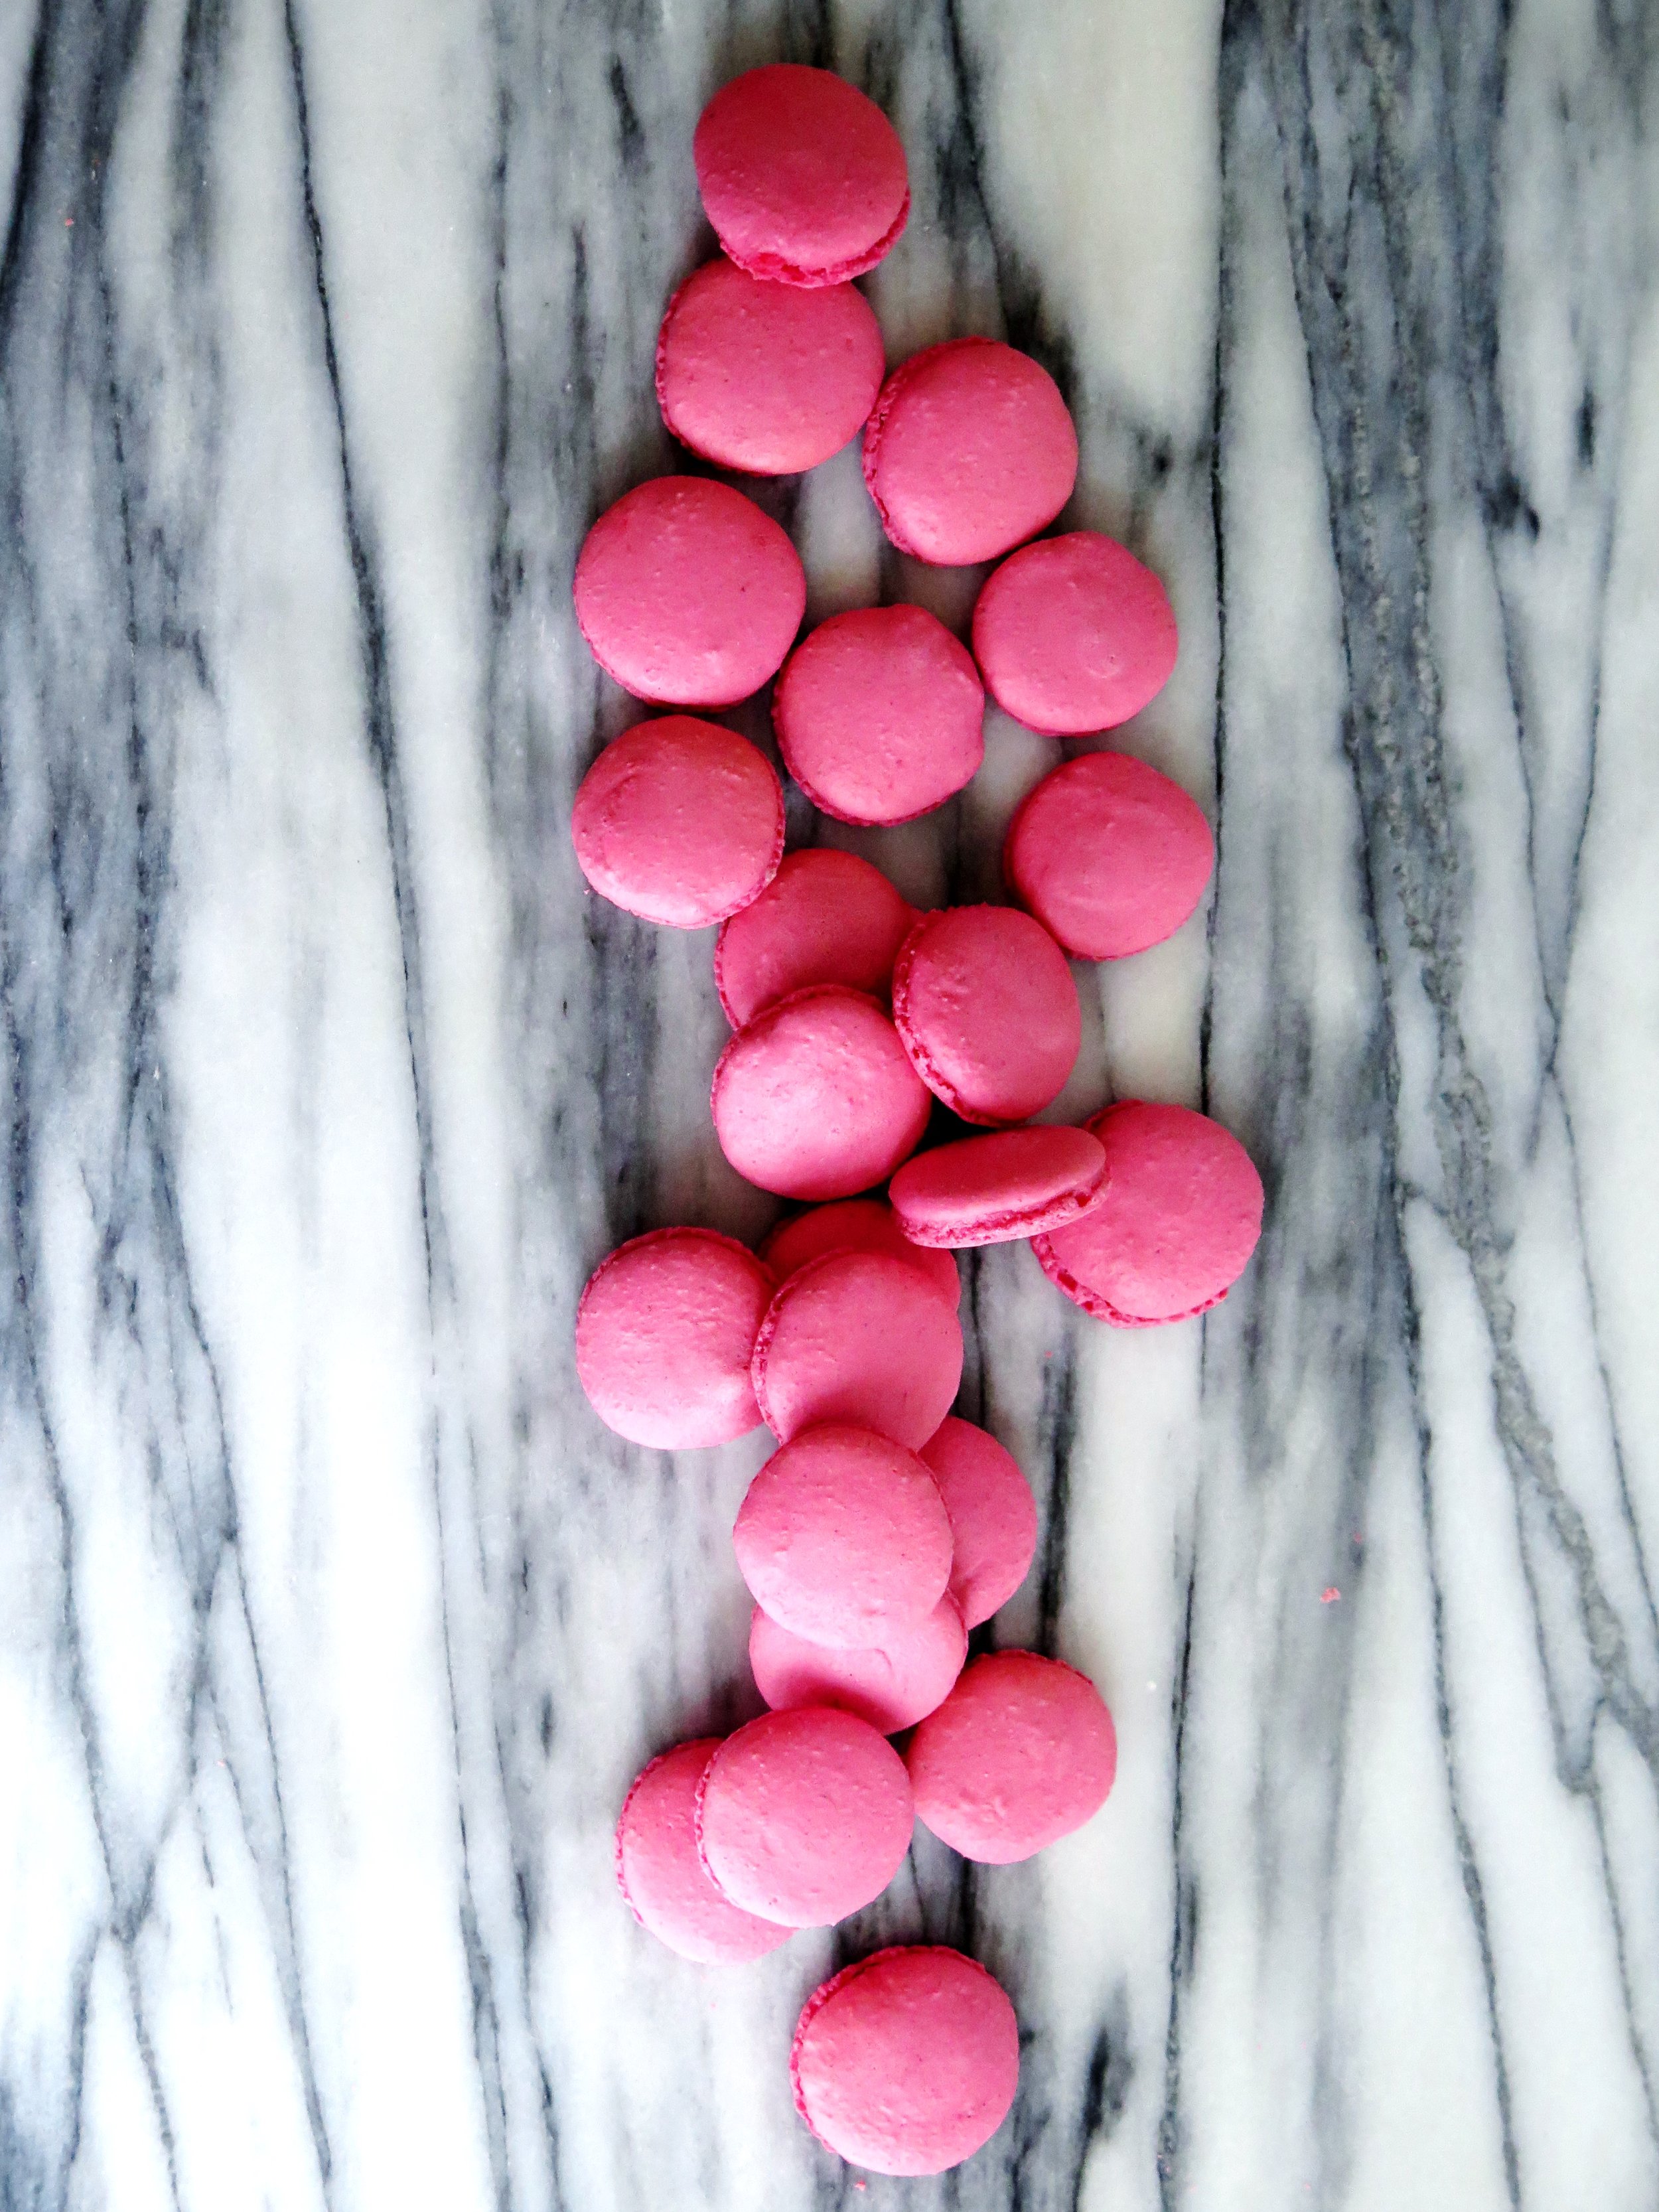
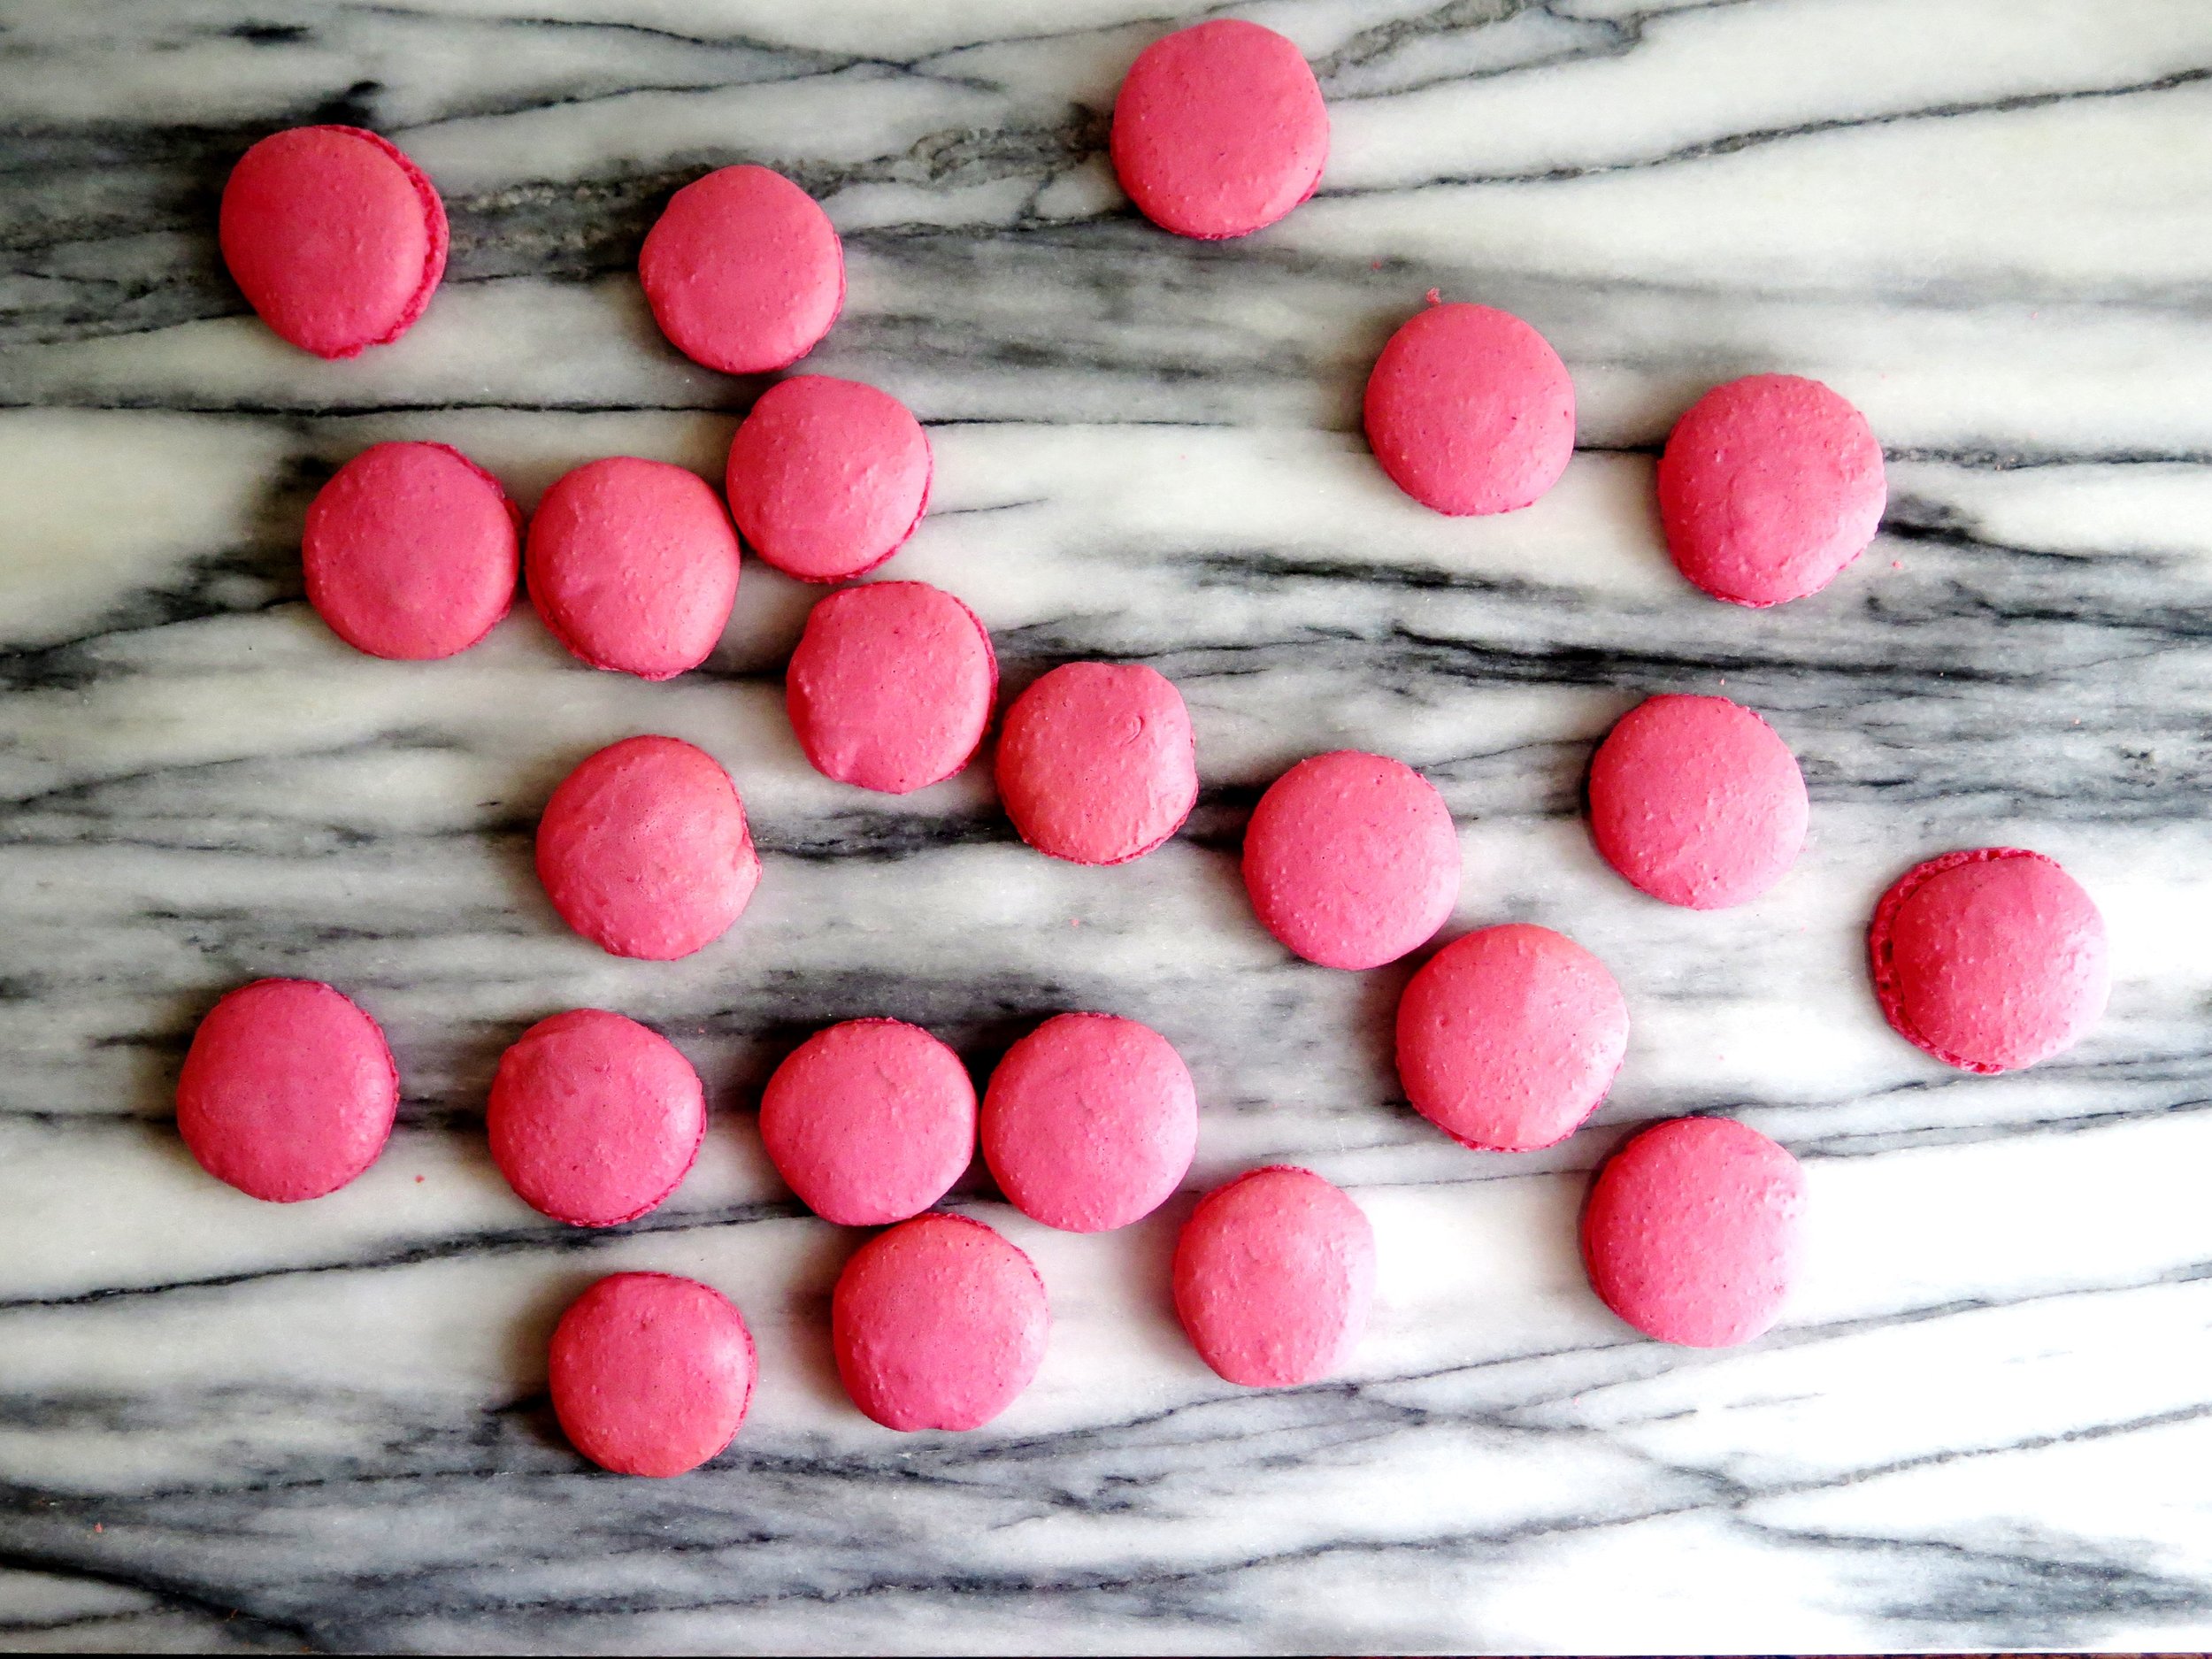
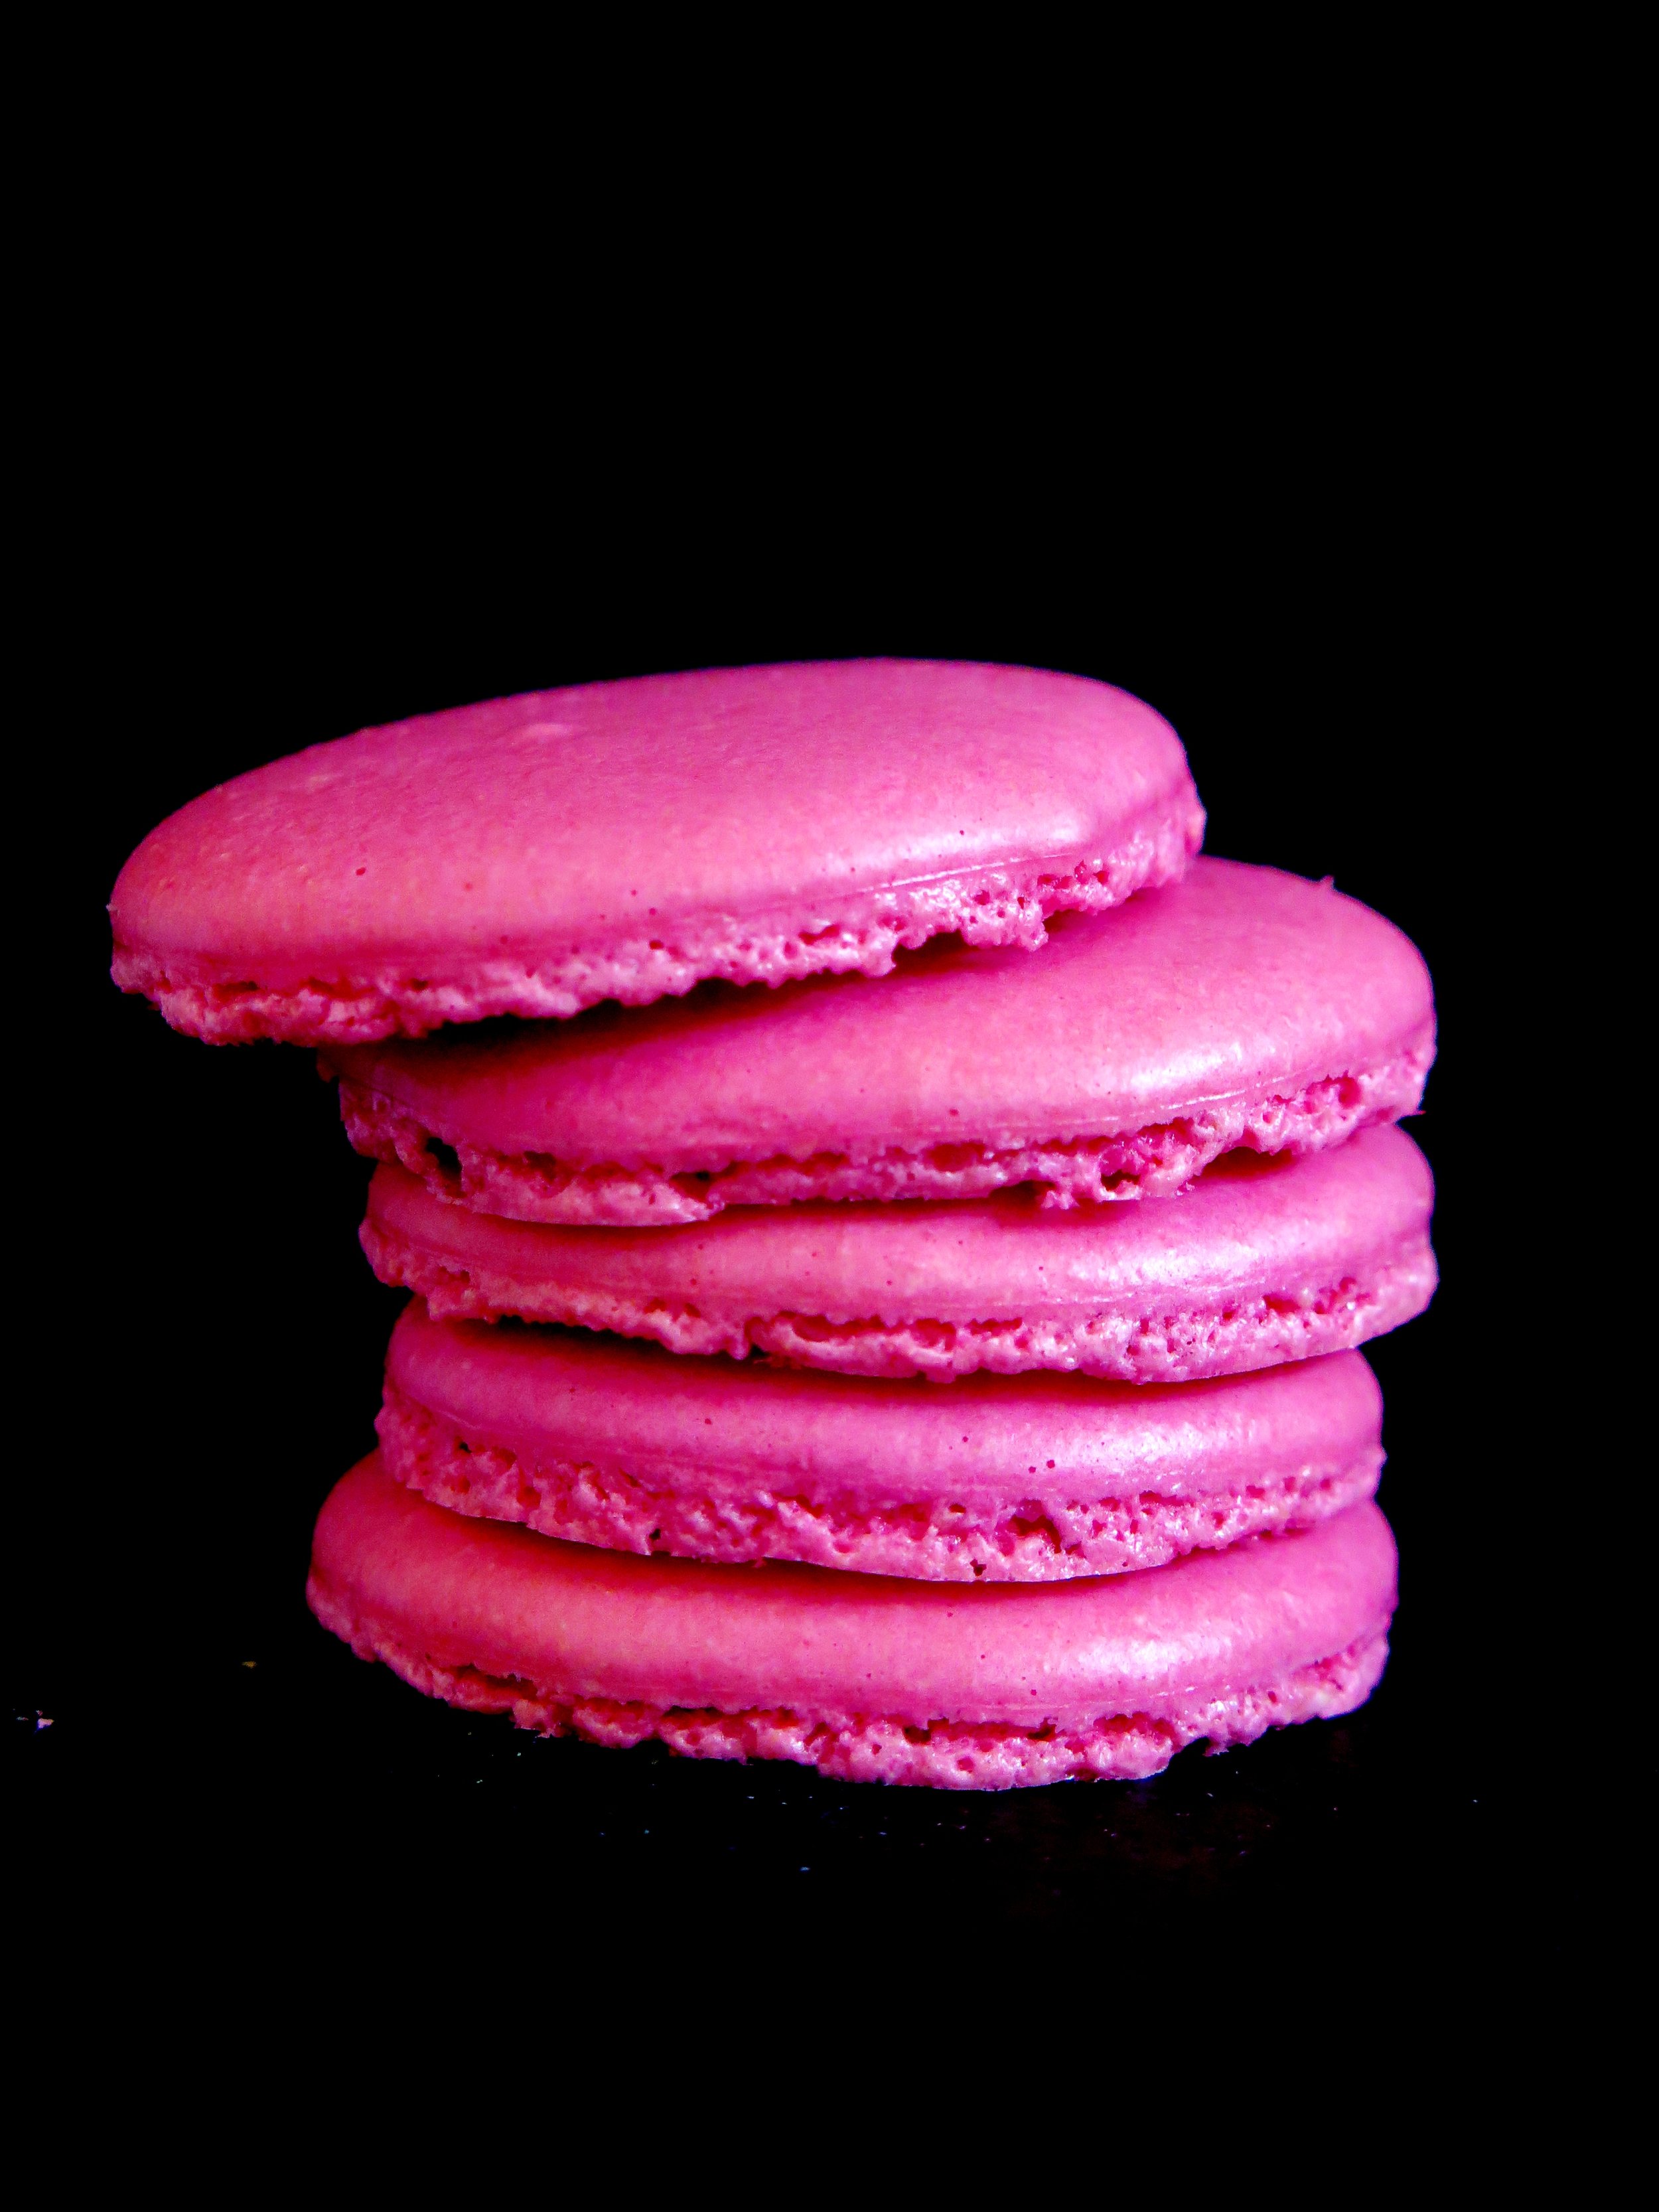 I refuse to believe that the macaron is simply a fad. Admittedly, there was a craze which saw the opening of several French macaron boutiques in London. I shan’t name names but one of the largest French specialists does not even make them fresh in London. Instead, they import them frozen from France - in a state of hibernation, as they call it.
Despite this, the specialists remain, and the macaron is here to stay. Now that the craze has faded a little, I feel more free to write a recipe as people will be slightly less sick of the sight of the perfect ruffled shells.
Many are intimidated at the prospect of making them, but there really is no need. The rumour of the challenge in making them may well have been promulgated by the macaron specialists themselves in order to justify their extortionate pricing.
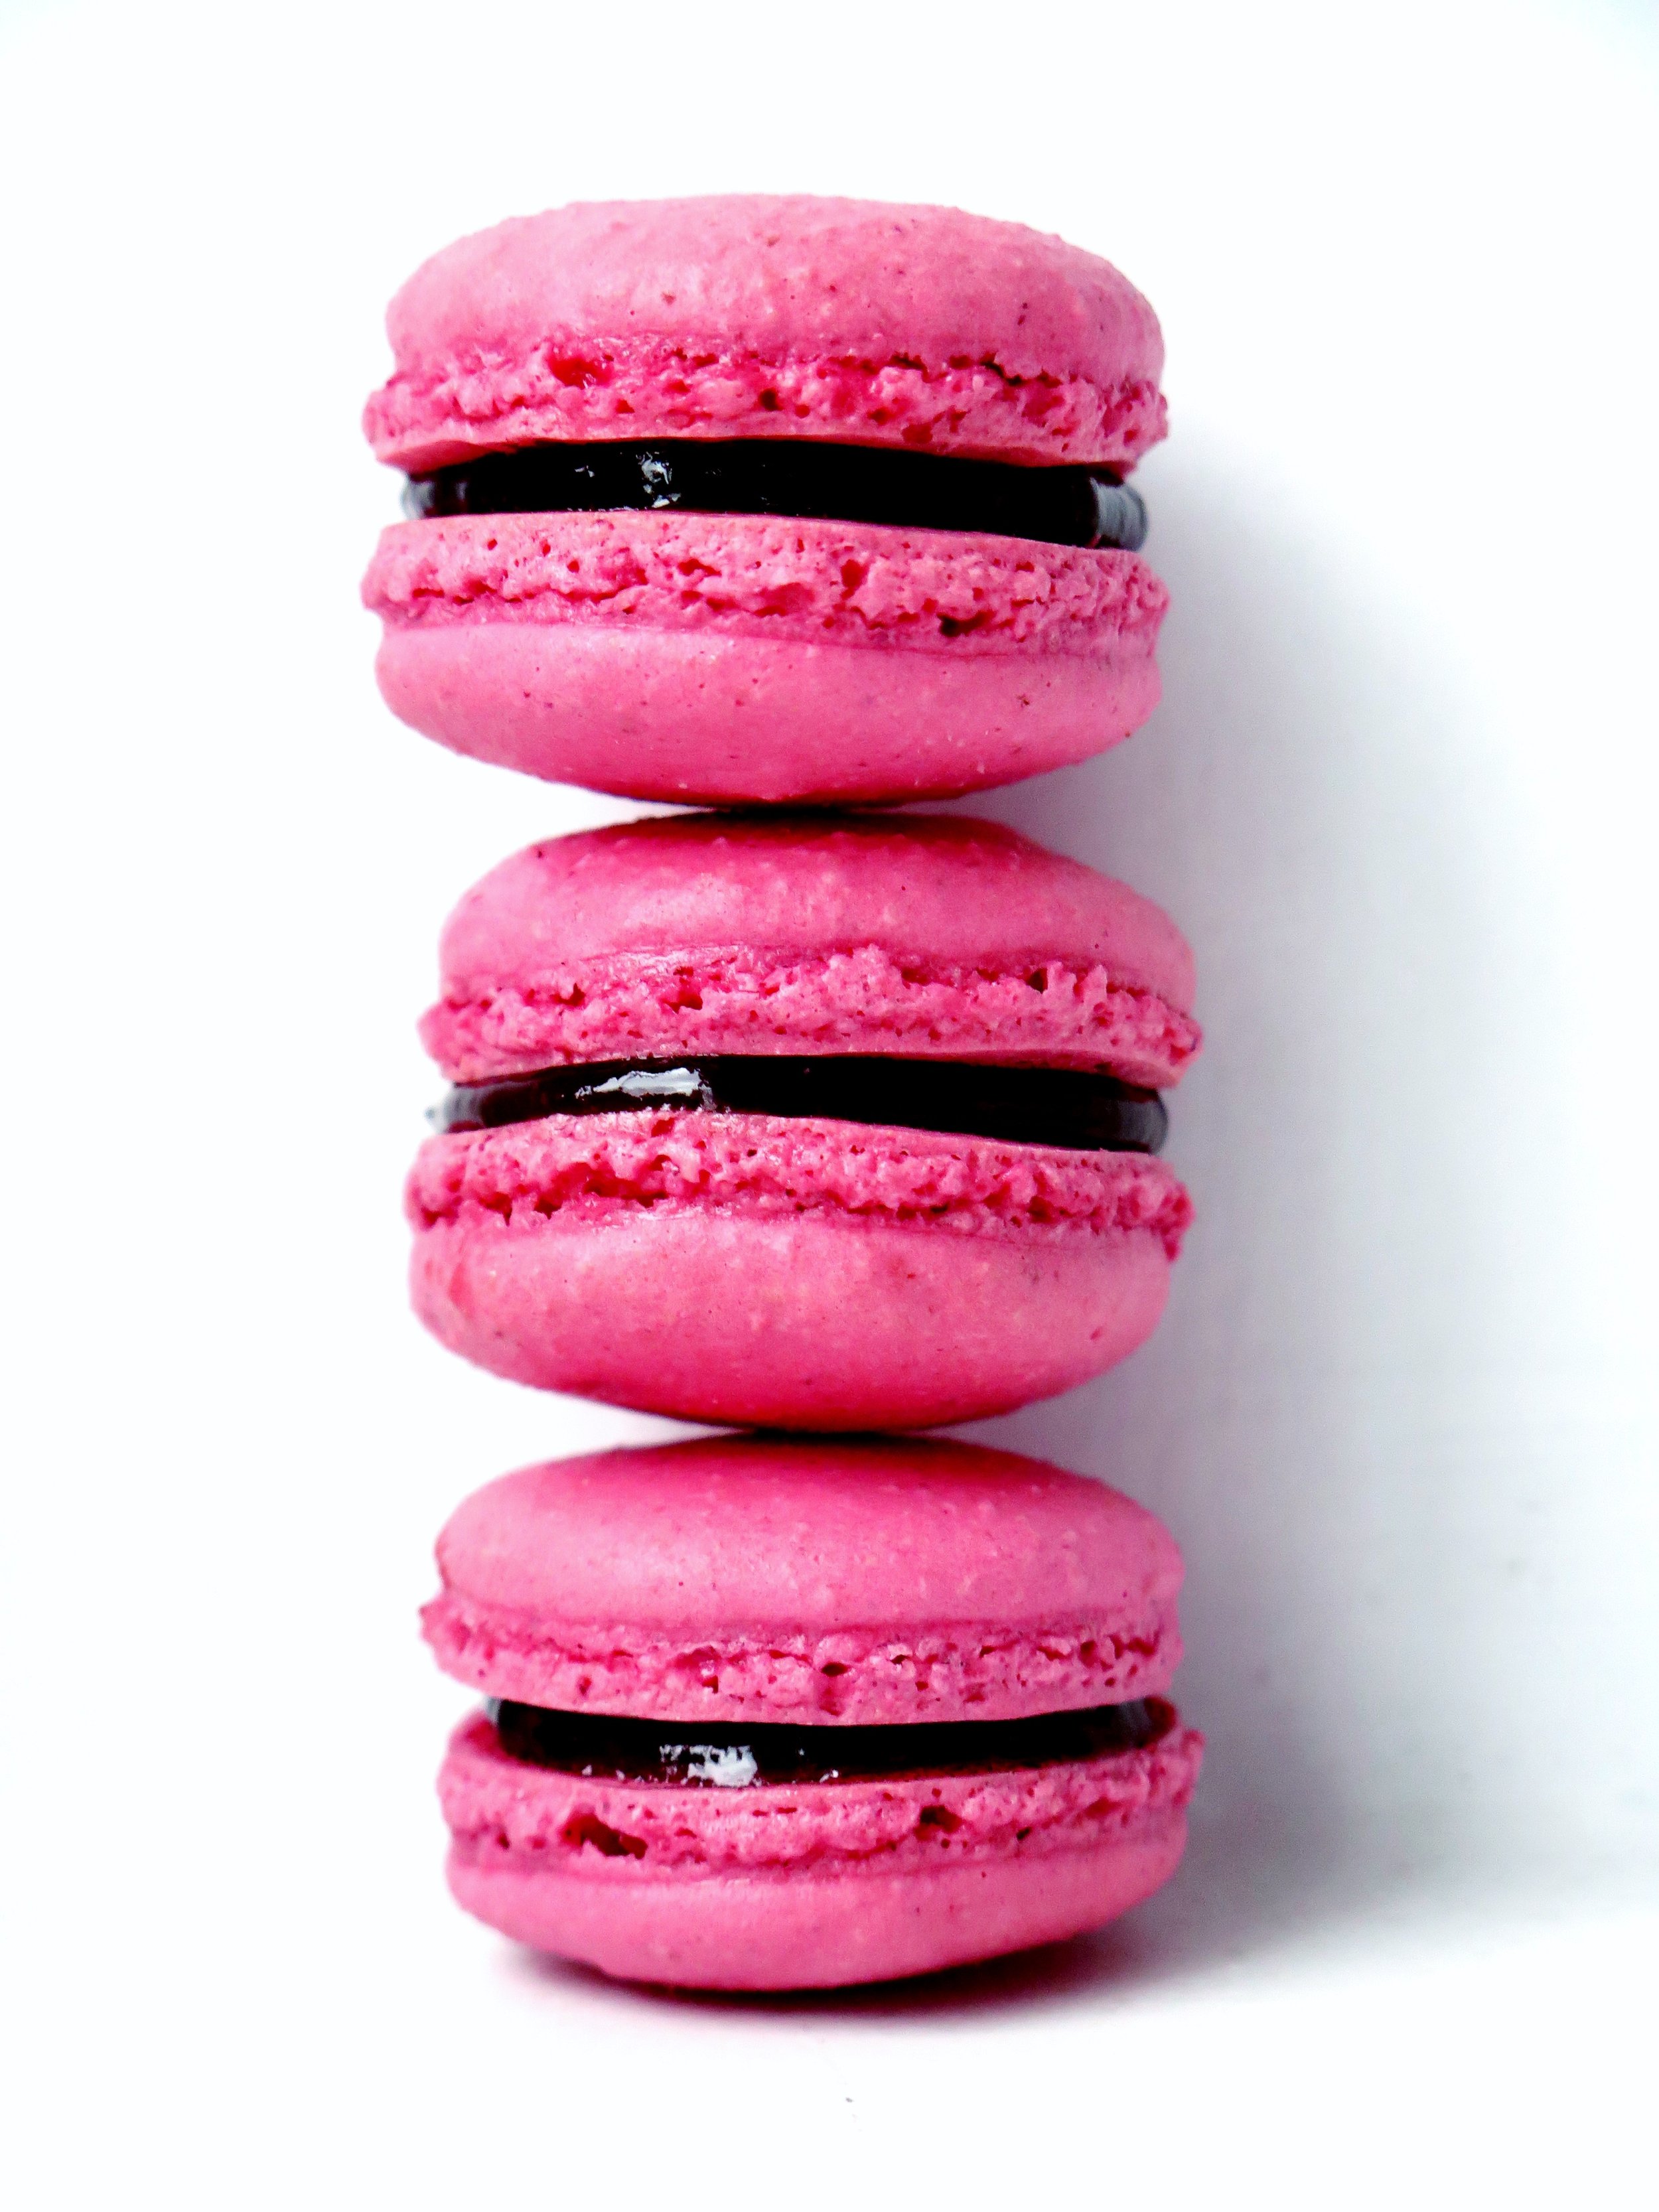
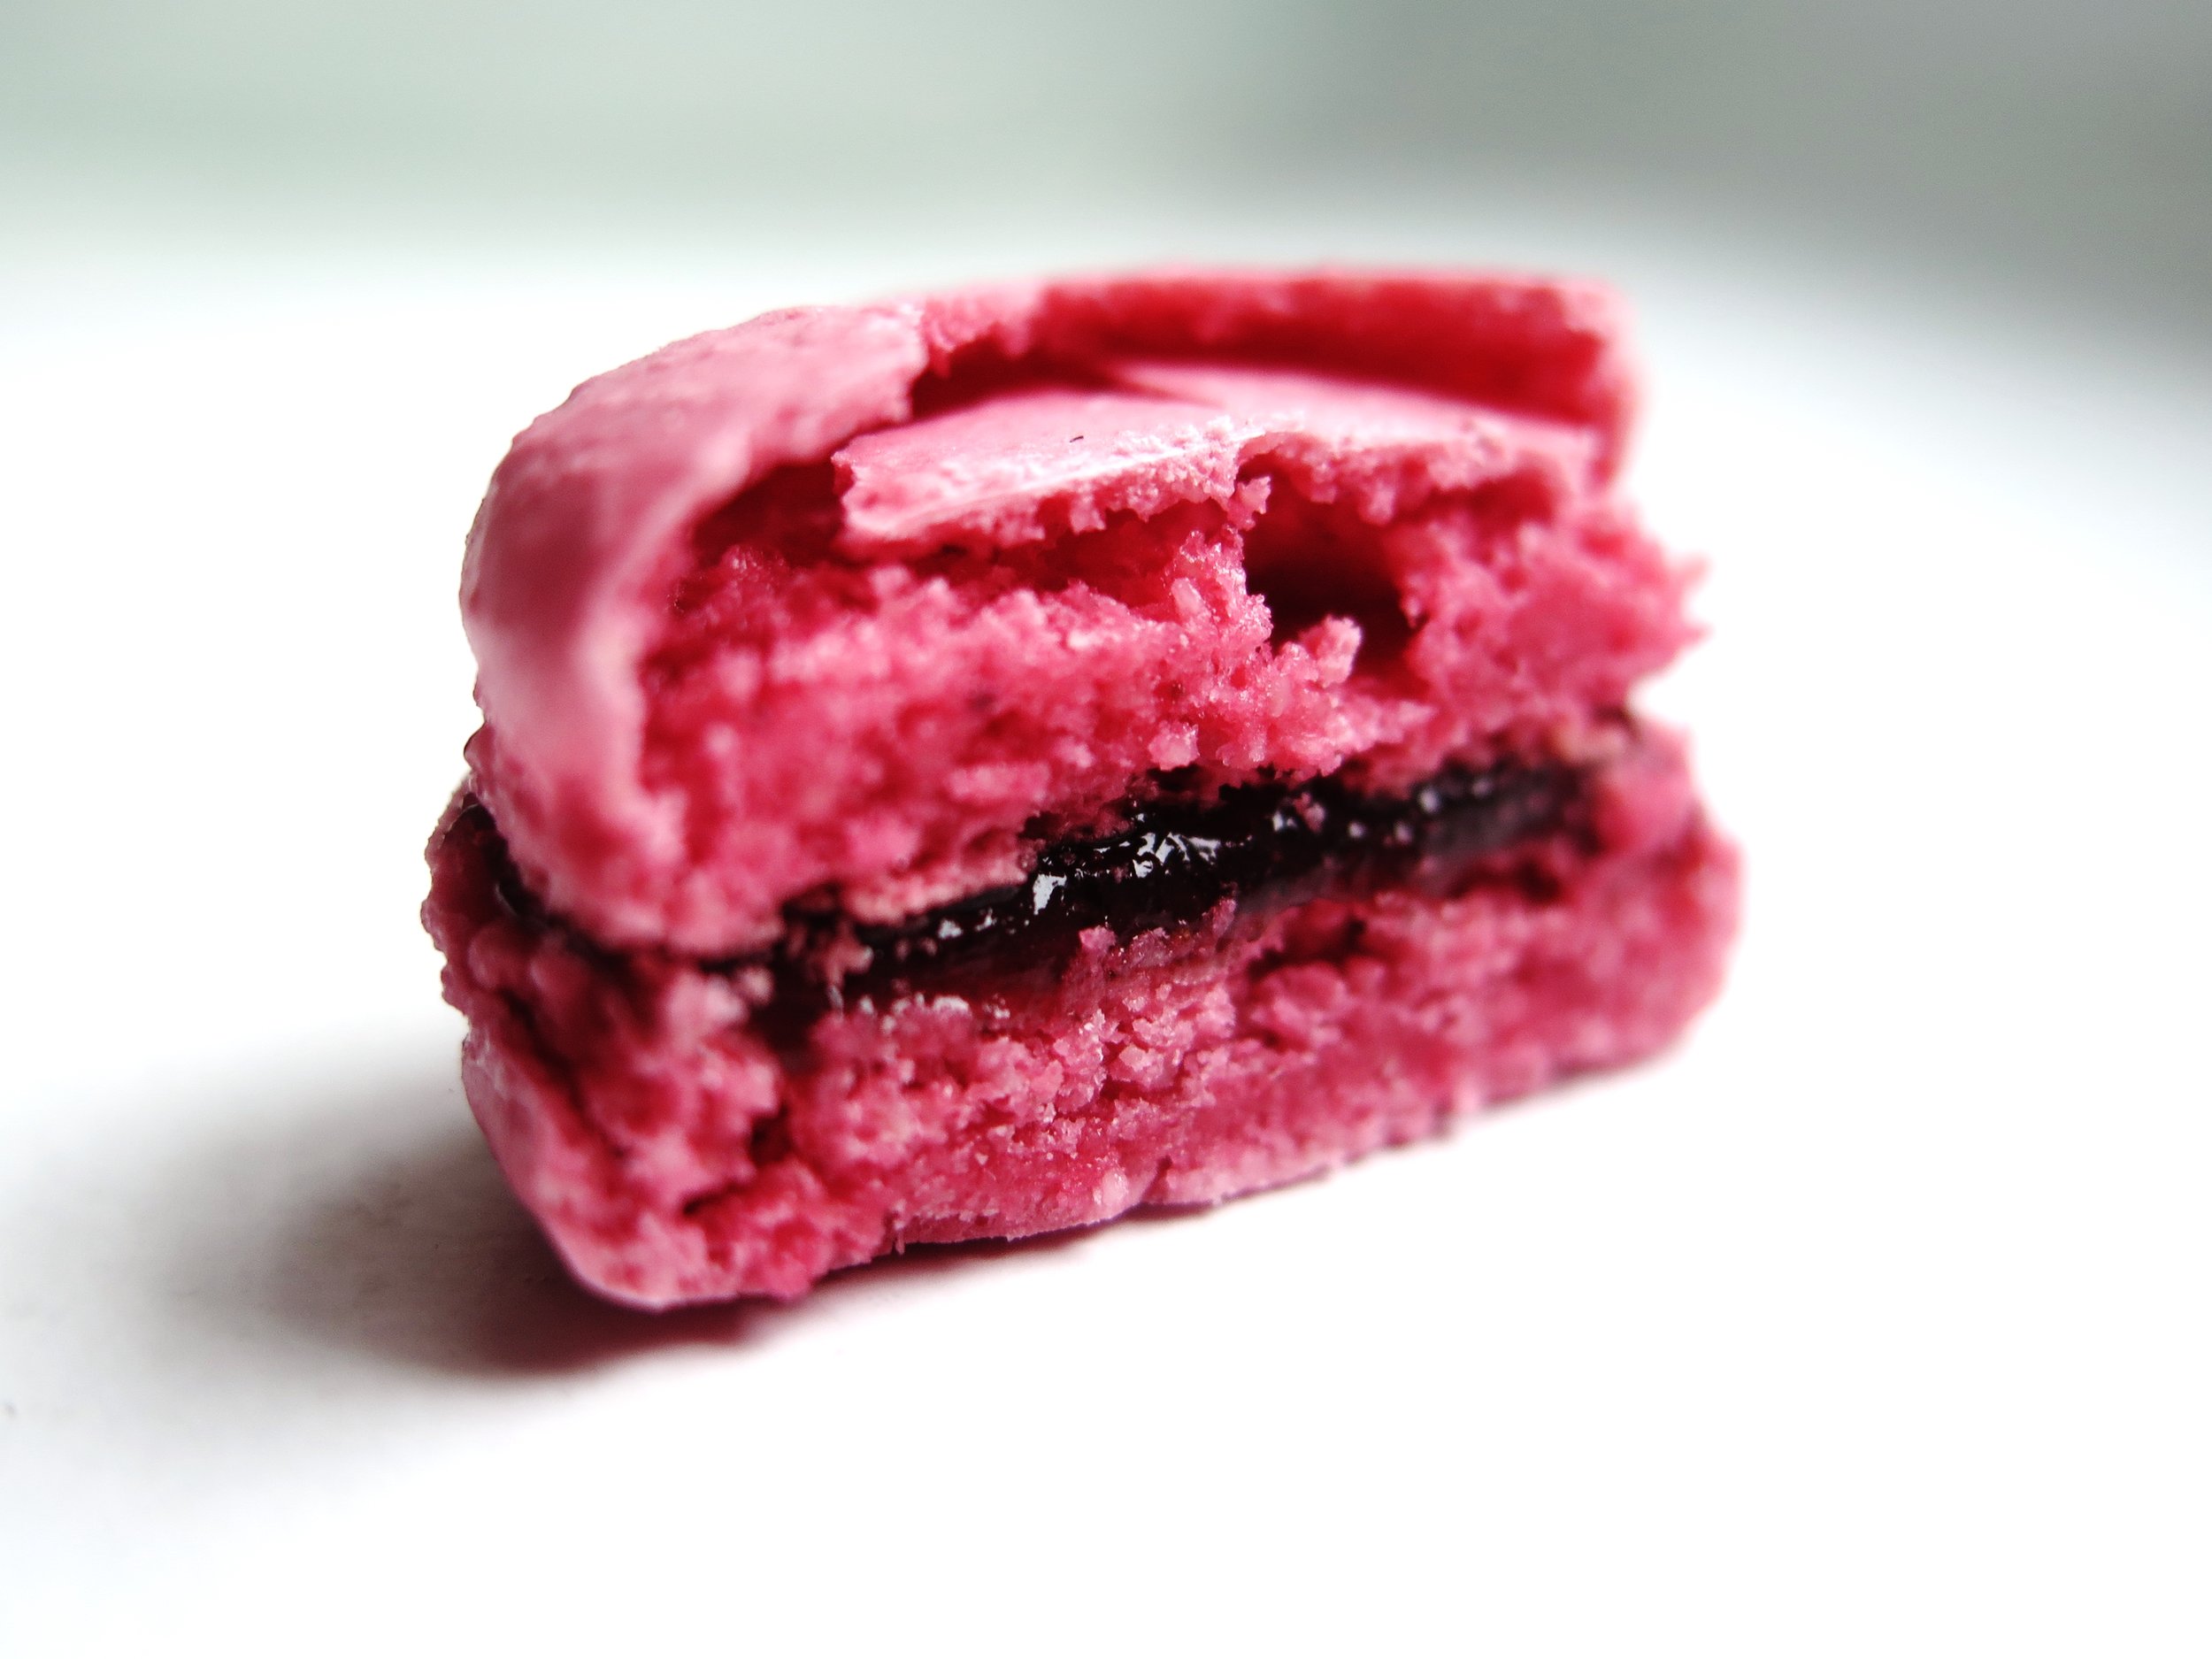
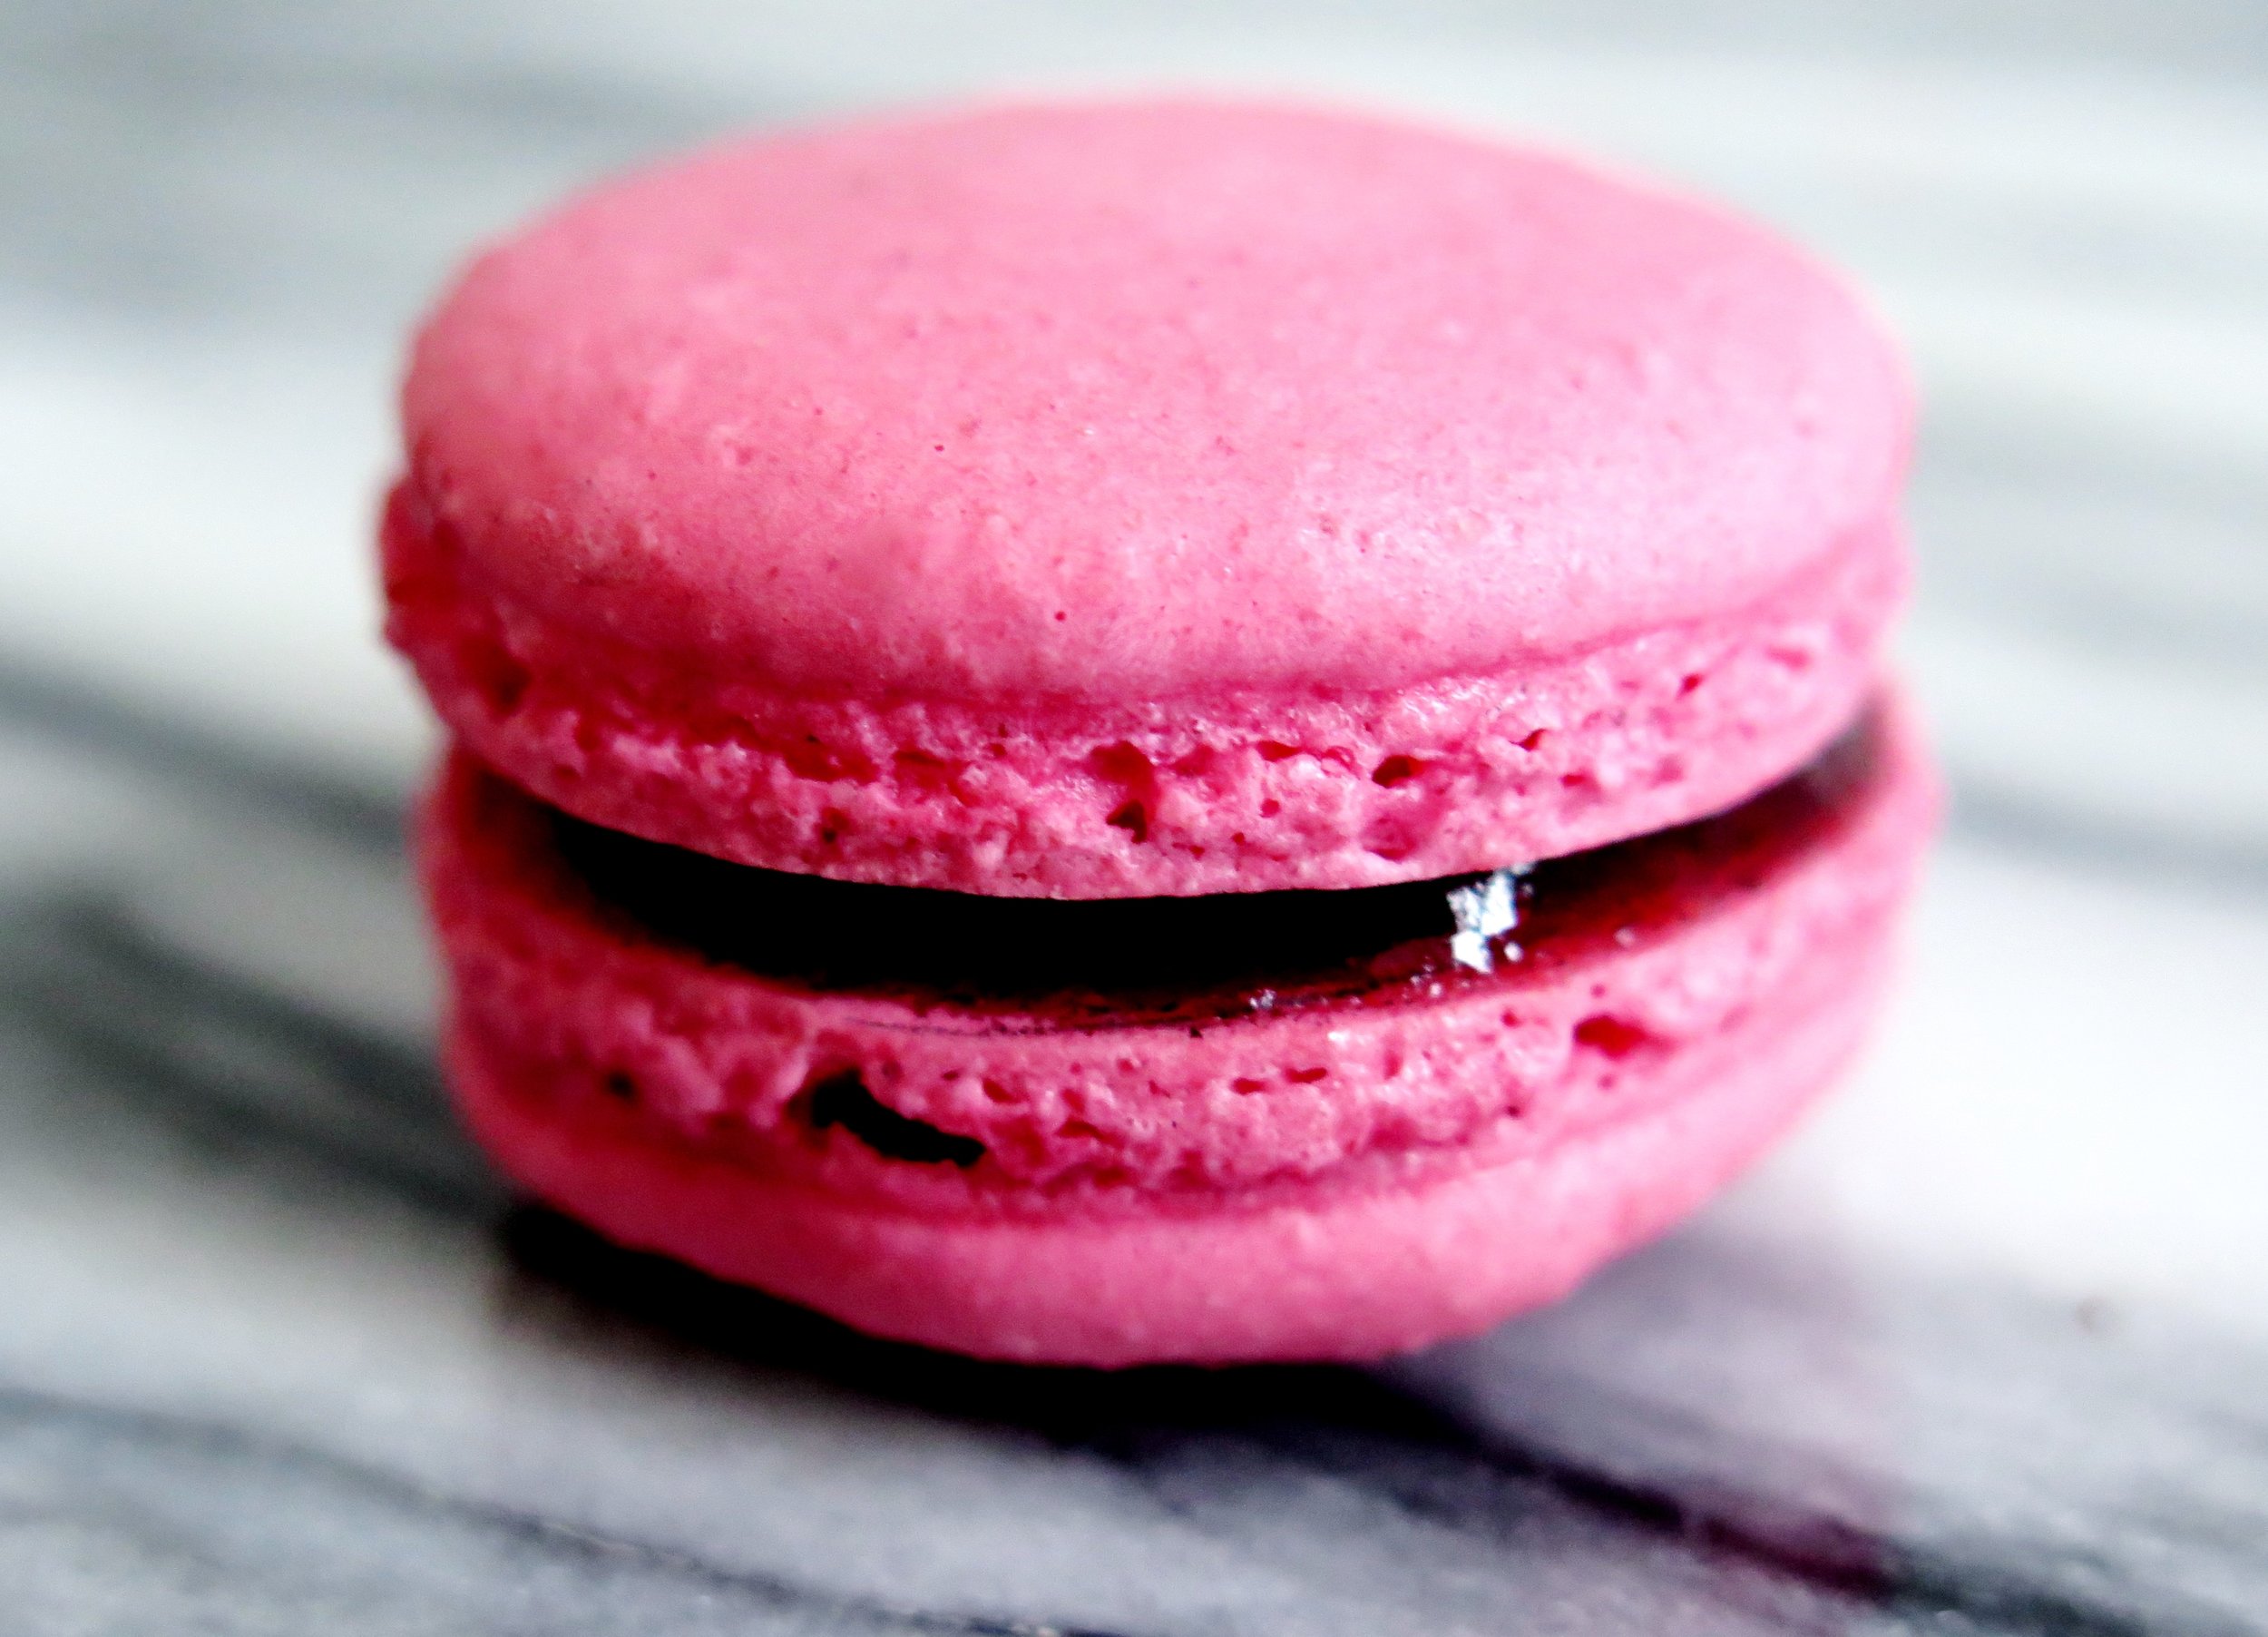
To make them extra tangy and fruity, raspberry is worked into these macarons in three ways: freeze dried raspberries, raspberry jam and raspberry liqueur. If you can’t get hold of freeze dried raspberries, just omit this element from the recipe.
Triple Raspberry Liqueur Macarons
Makes about 30 small macarons
Ingredients
110g icing sugar, sieved
50g ground almonds, blitzed in a blender to a fine powder, and sieved
5g freeze dried raspberry powder OR 10g freeze dried raspberries, crushed or whole (see below)
60g egg whites (about 2 eggs' worth)
40g caster sugar
A couple of drops of pink food dye (optional)
200g seedless raspberry am
4 tbsp Chambord (raspberry liqueur)
2 large baking trays lined with baking parchment – if you wish to achieve perfectly circular macarons, create guidelines for the piping by drawing in pencil round a 4cm bottle lid repeatedly on the greaseproof paper, leaving at least 4cm between each circle. Flip it over after doing this to ensure that the pencil does not transfer to the macaron
Piping bag fitted with 0.5cm nozzle
- In a large bowl, mix together the sieved icing sugar, ground almonds and freeze dried raspberry powder. If you can only get hold of crushed or whole freeze dried raspberries, place these in a blender and blitz until they are as pulverised as possible, and then sieve to remove the seeds. You should be left with a fine red dust.
- Pour egg whites into the bowl of a bone dry electric mixer fitted with a whisk attachment. Whisk at a high speed until soft, foamy peaks form. Then, with the whisk still ongoing, add in the caster sugar, a tablespoonful at a time. Keep whisking until the meringue is glossy and firm peaks form.
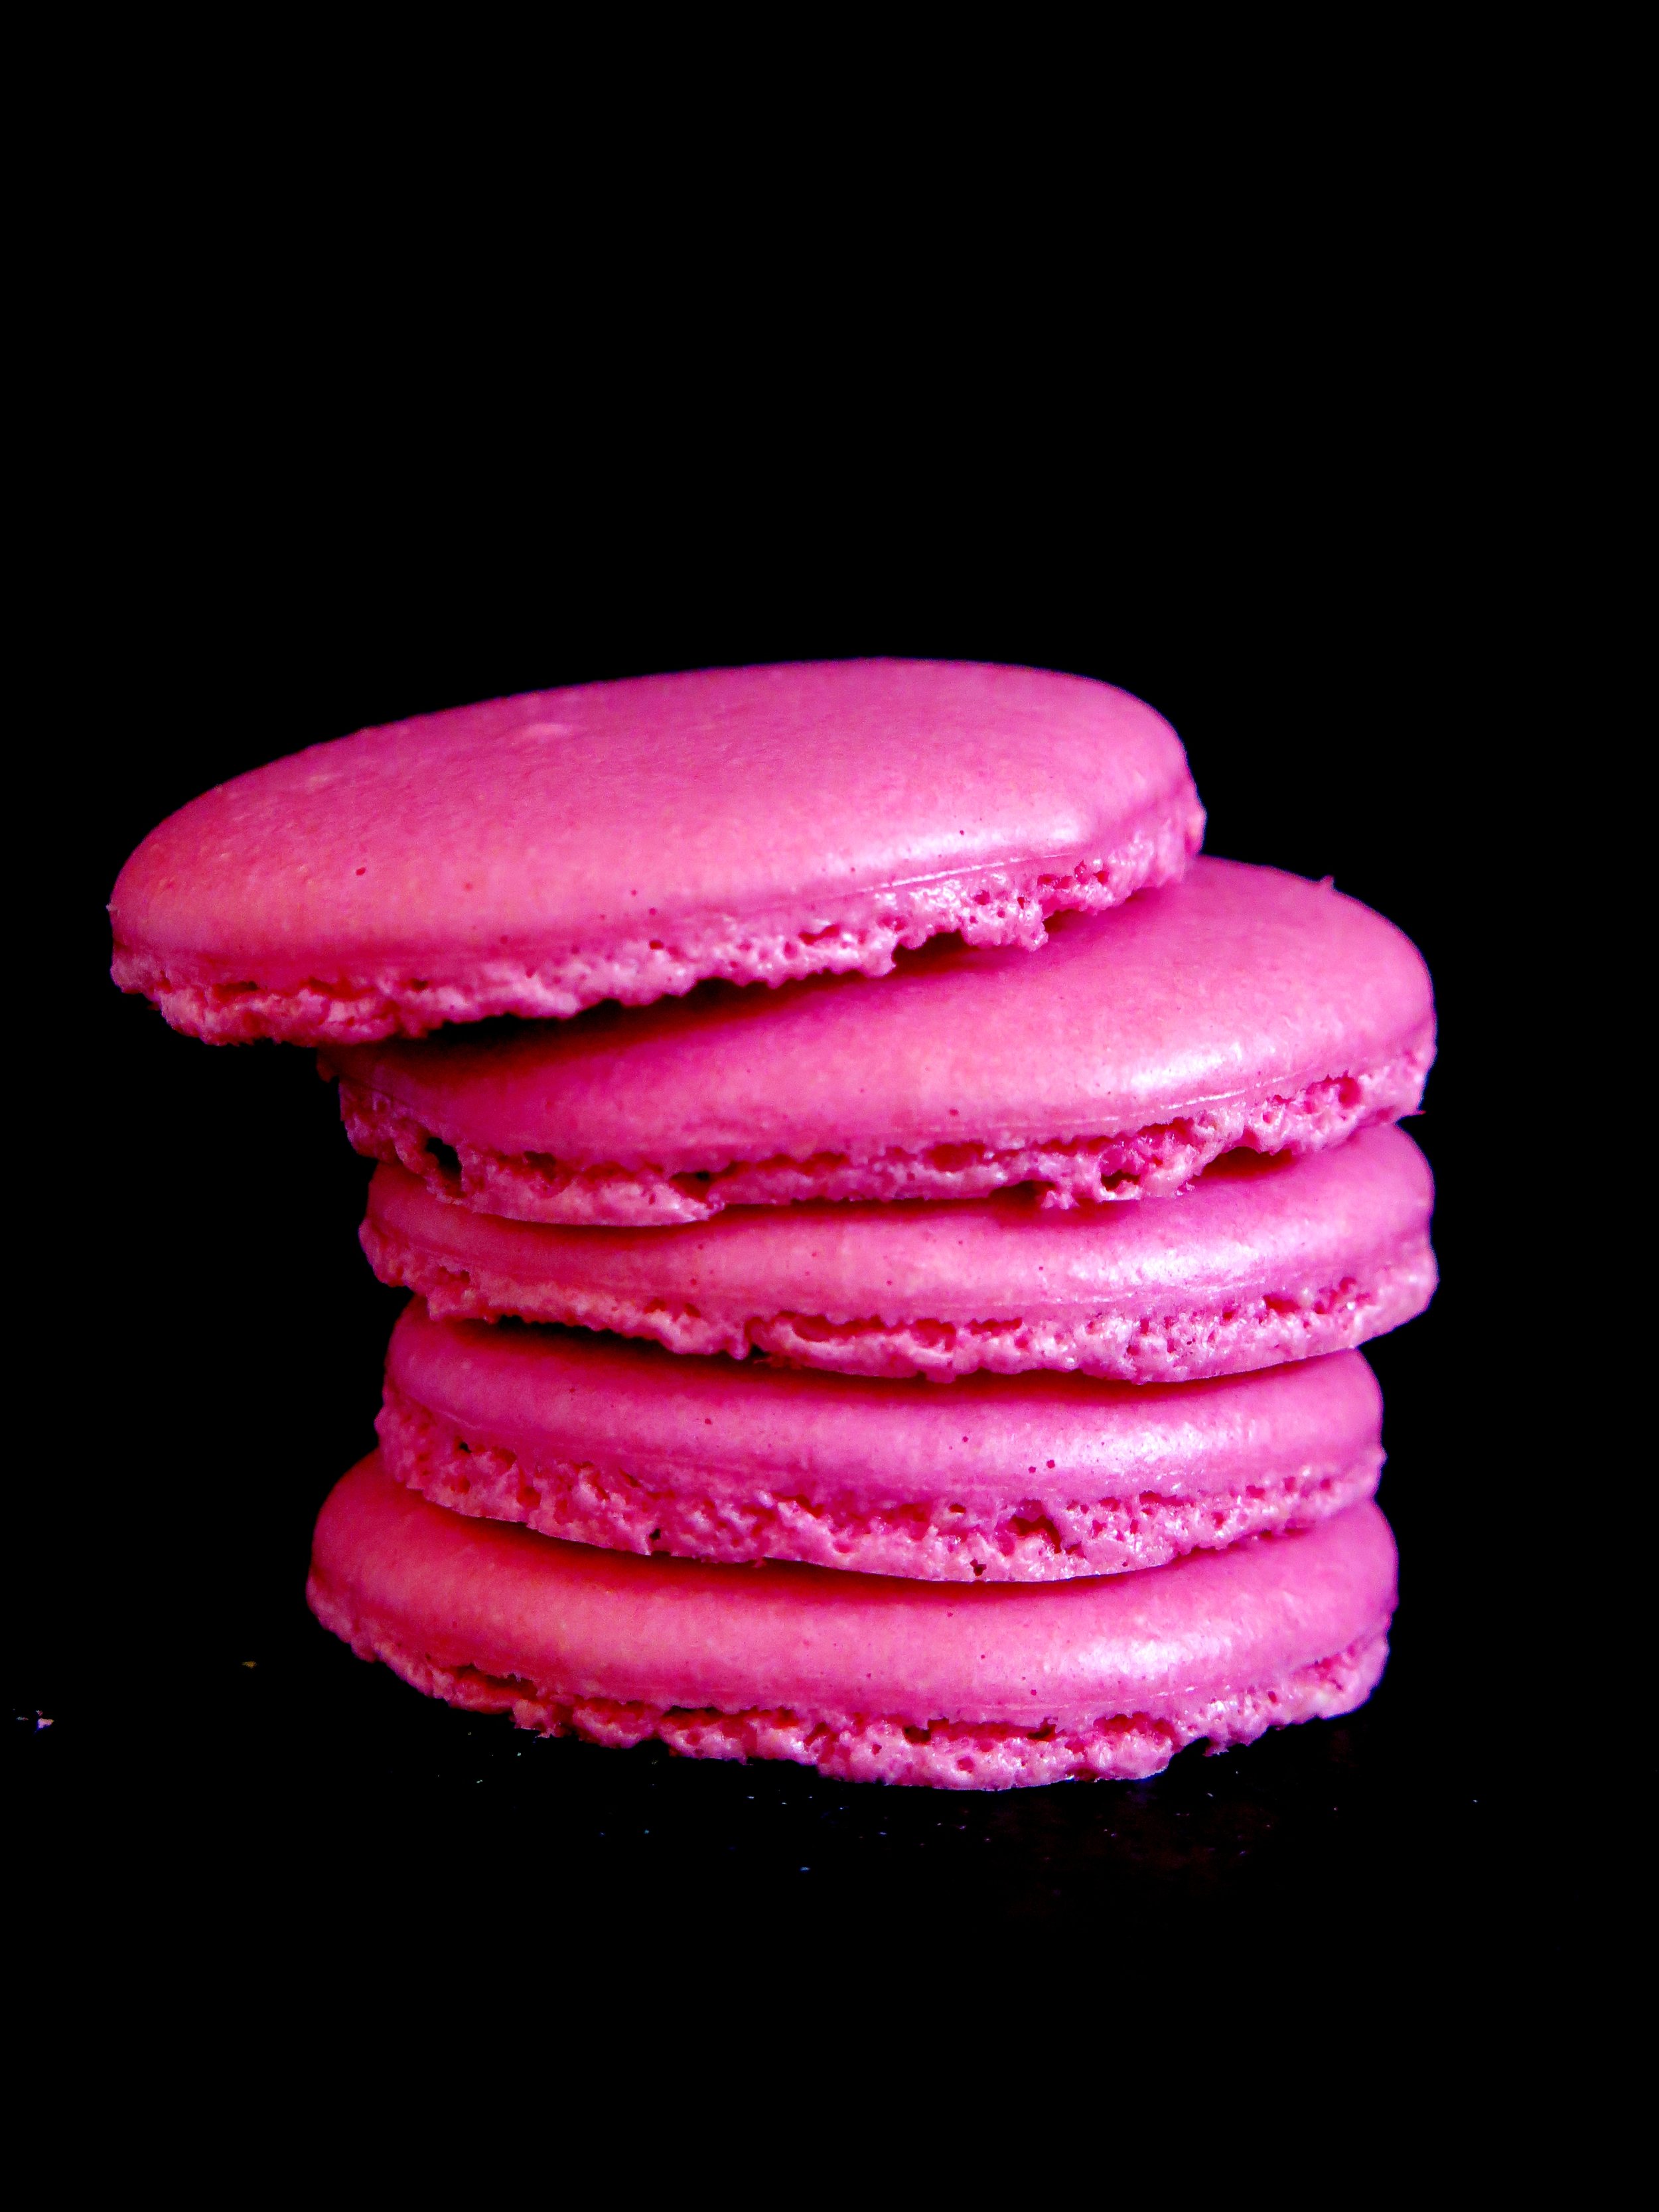
- Take a third of the meringue and mix it into the dry ingredients. If the dry ingredients don’t fully combine, stir in another tablespoon of meringue. At this point you can add a couple of drops of food dye to reach desired colour - anything from baby girl to schiaparelli pink. The mixture should turn into a thick, smooth paste. Then, gradually fold in the rest of the meringue, a tablespoon at a time, until the mixture becomes glossy and smooth.
- Spoon mixture in the piping bag and pipe little dots directly onto the corners of the baking tray to stick the baking parchment down. Then pipe the mixture into each circle. Once finished piping, tap the tray down firmly on a hard surface a couple of times to remove the air bubbles from the macarons. Then set the macarons aside at room temperature for 30 minutes. This will allow a skin to form and will lead to the creation of the often-elusive but essential “macaron foot”.
- While they are resting, preheat oven to 150˚C. Bake the macarons for 20 minutes or until they can be lifted off the tray cleanly with a pallet knife. Allow them to cool until they reach room temperature.
- Place raspberrry jam in a small pot over a medium-high heat and stir continuously. After it has bubbled furiously for a couple of minutes, stir in the Chambord. Allow the mixture to simmer for about 5 minutes, or until it has become more viscous and thick enough to be able to be dropped off a spoon. Remove from the stove, allow to cool for 5 minutes and then sandwich each pair of macaron shells together with a teaspoon of the mixture.
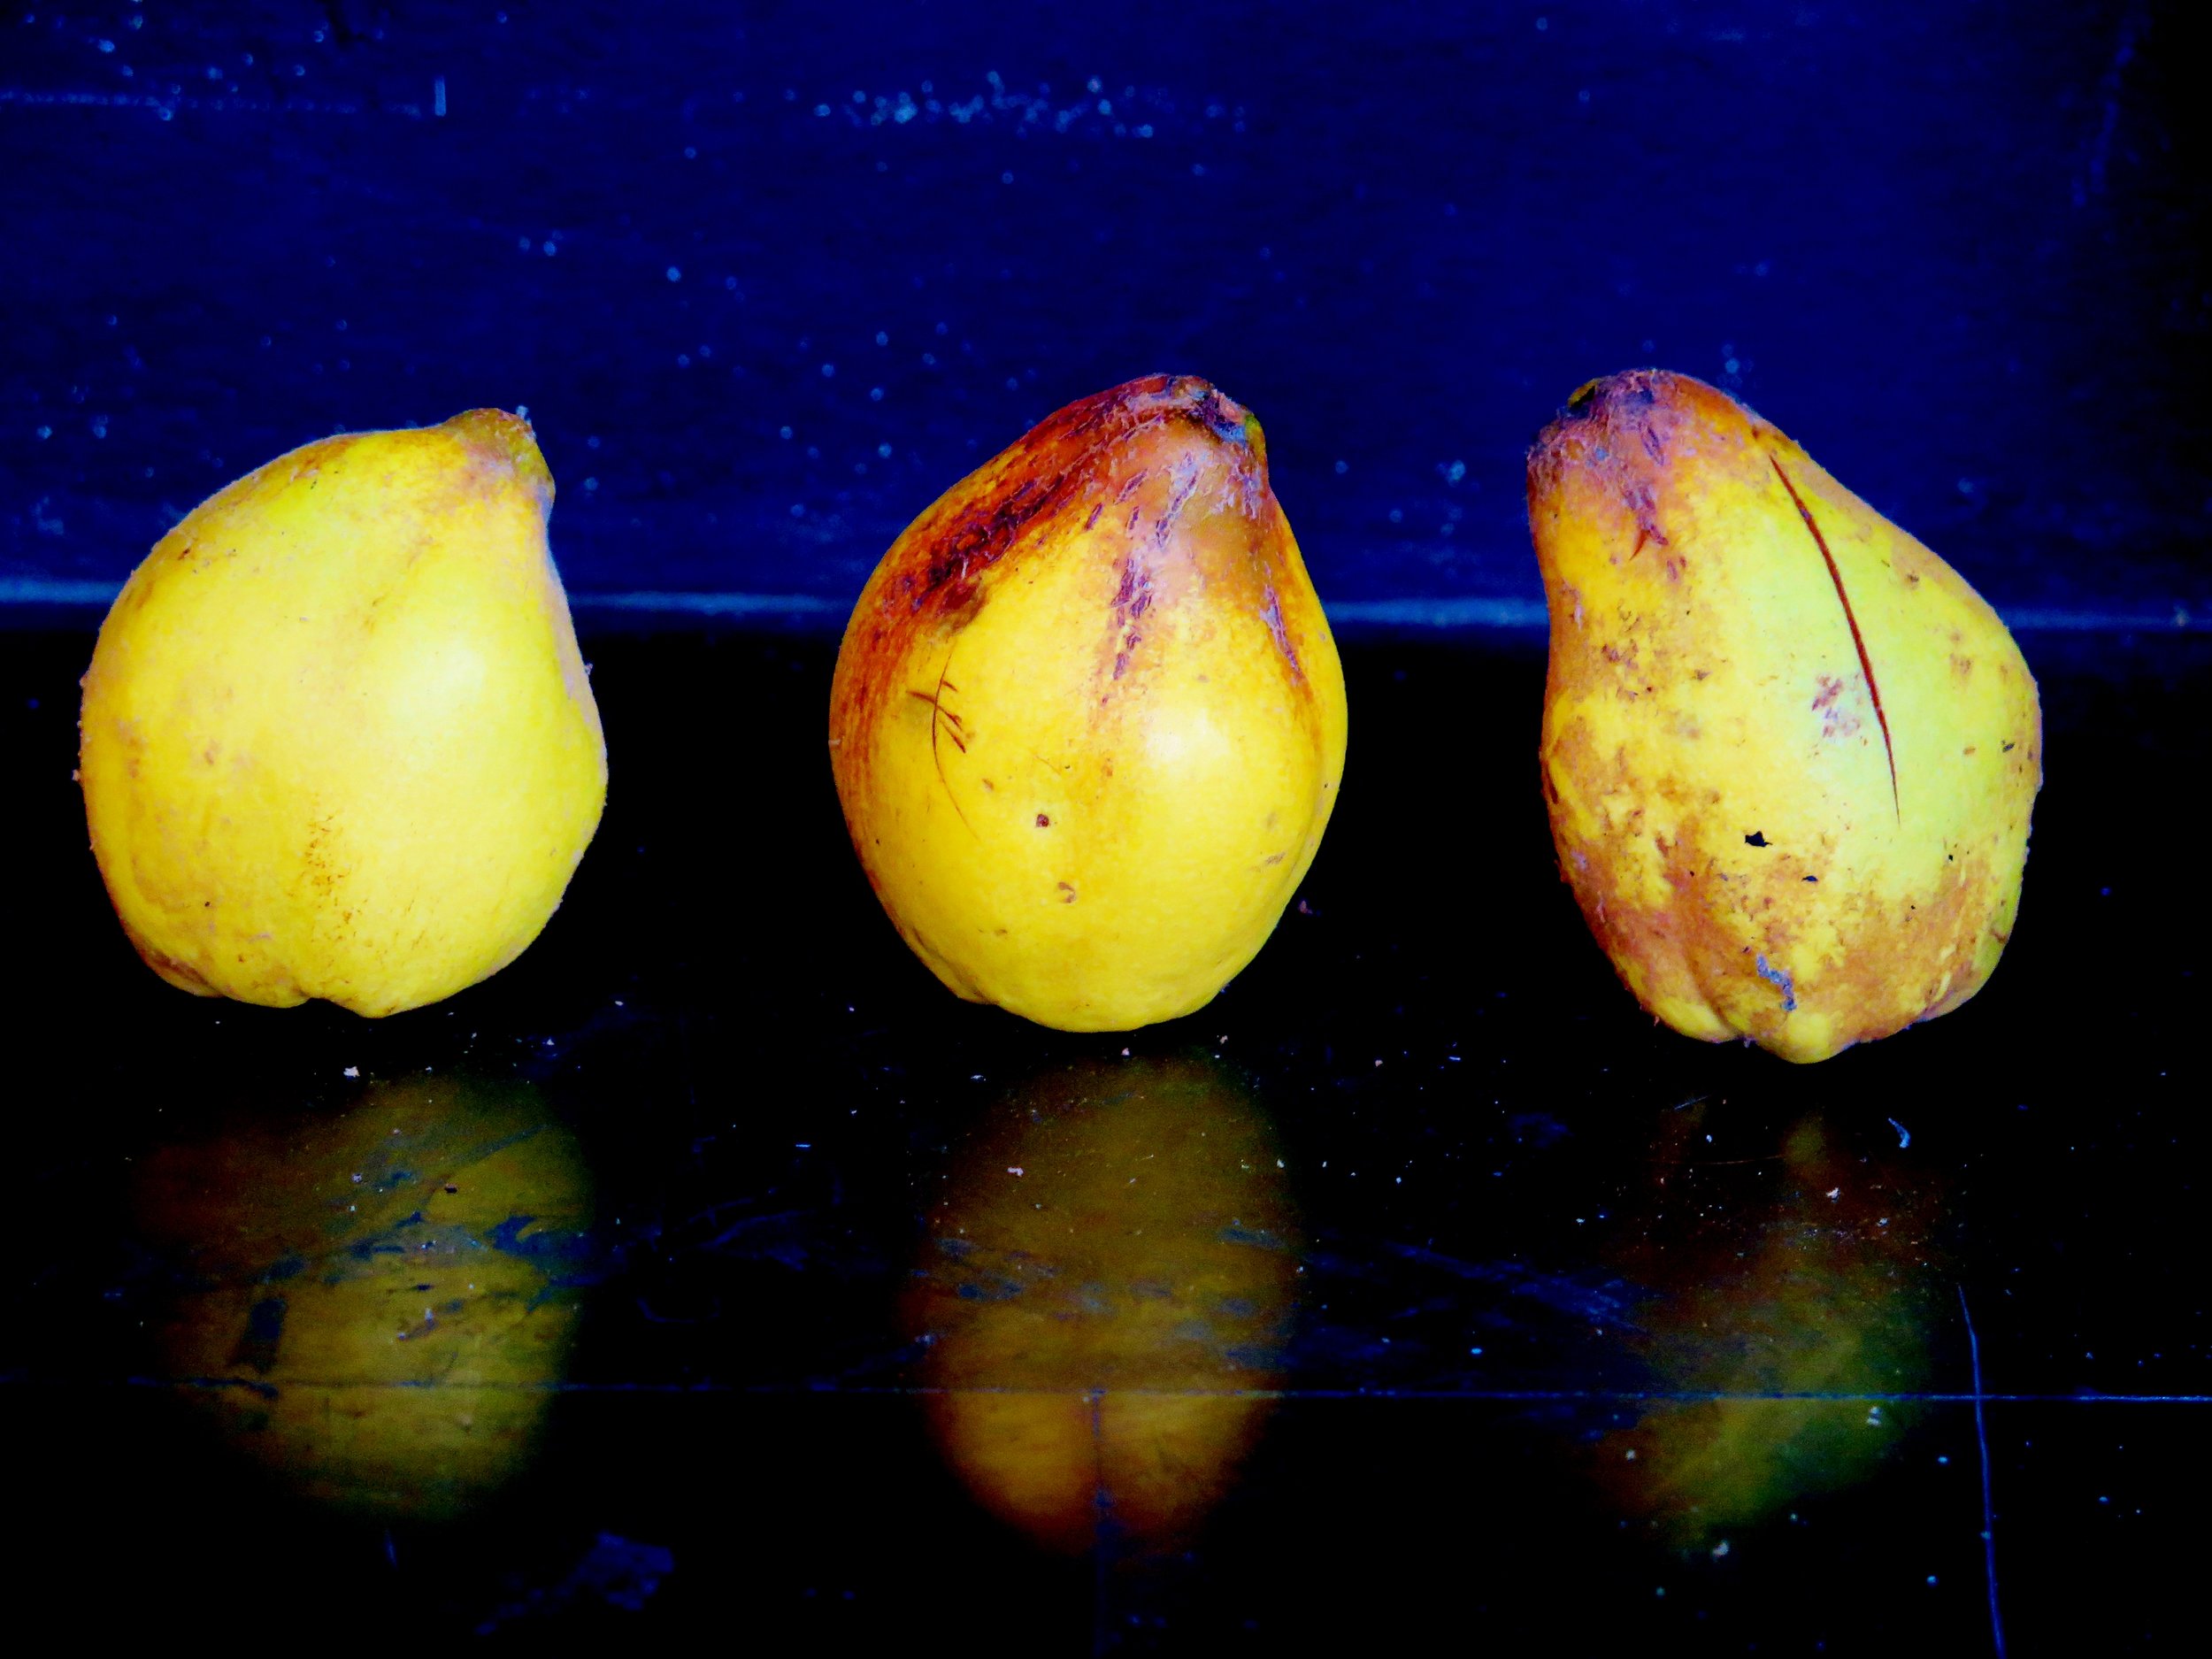
The scent coming from the paper bag was soft and sweet, and old fashioned rose-like, and when I turned out its contents, eight yellow, somewhat misshapen apple-pears tumbled out.
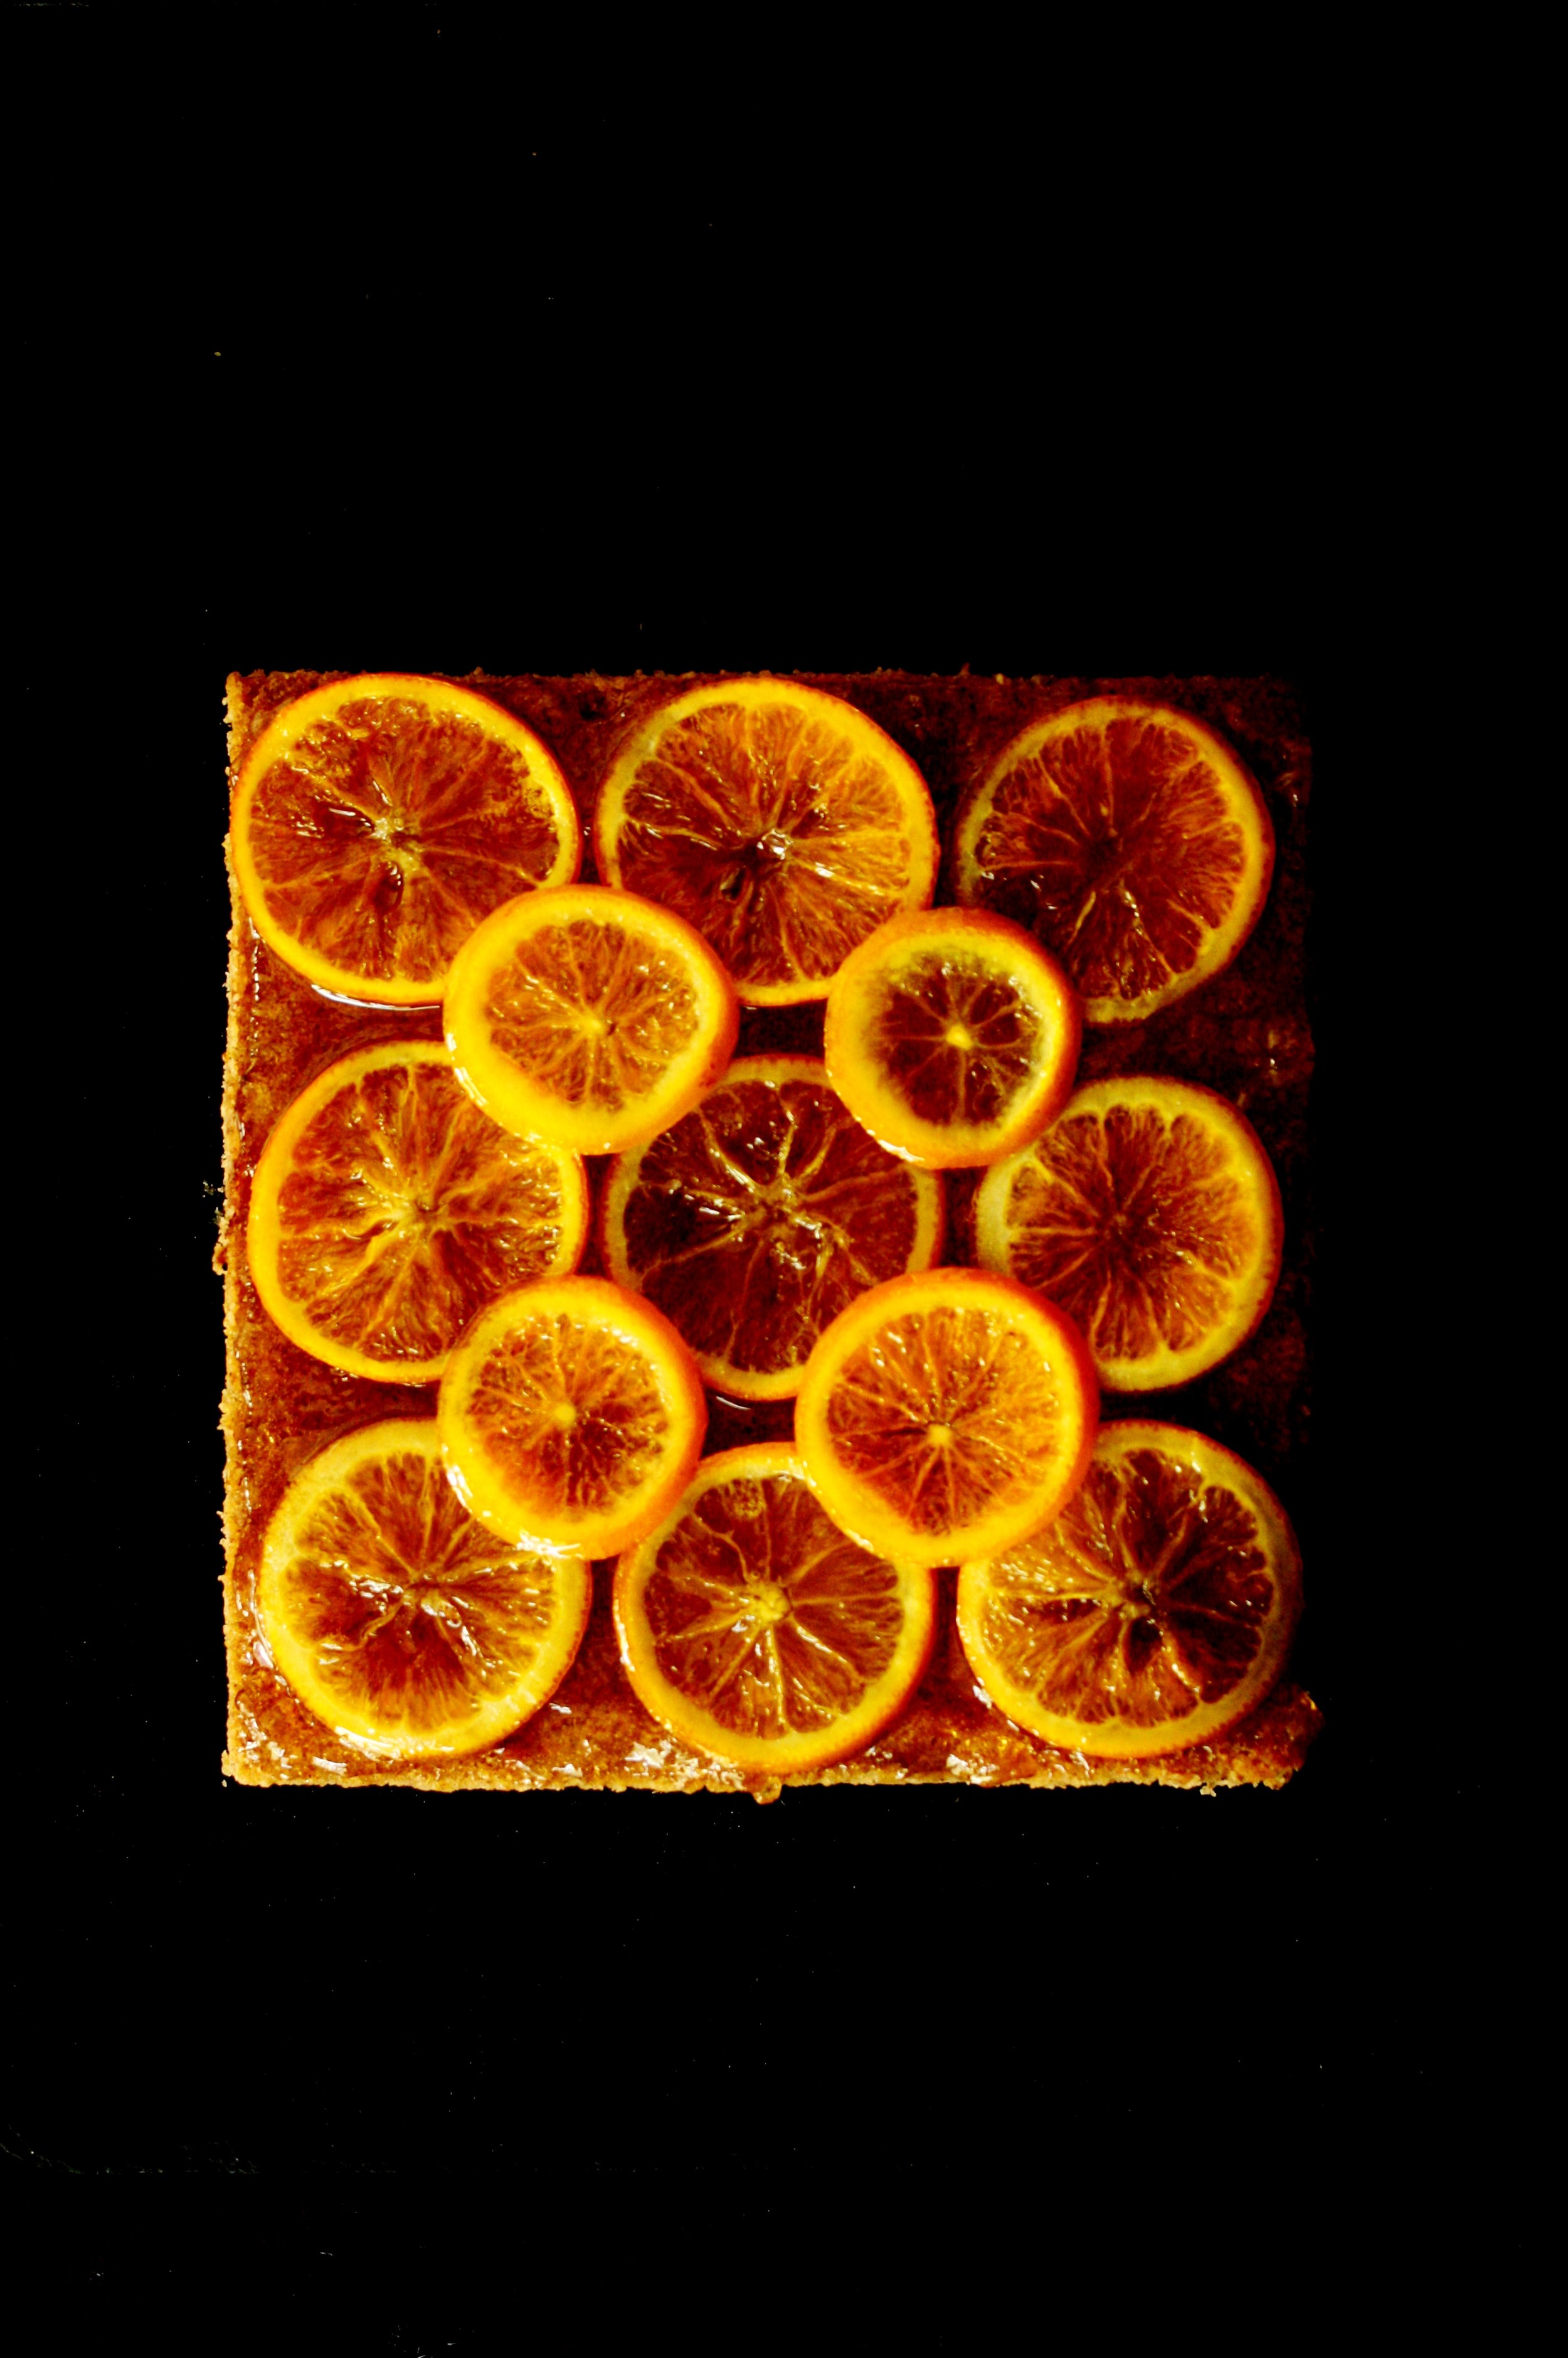 These quinces were the unwanted fruit of an unappreciated tree in someone else’s garden. Beguilingly biblical in appearance, their uncompromising hardness metamorphoses into something utterly different after cooking.
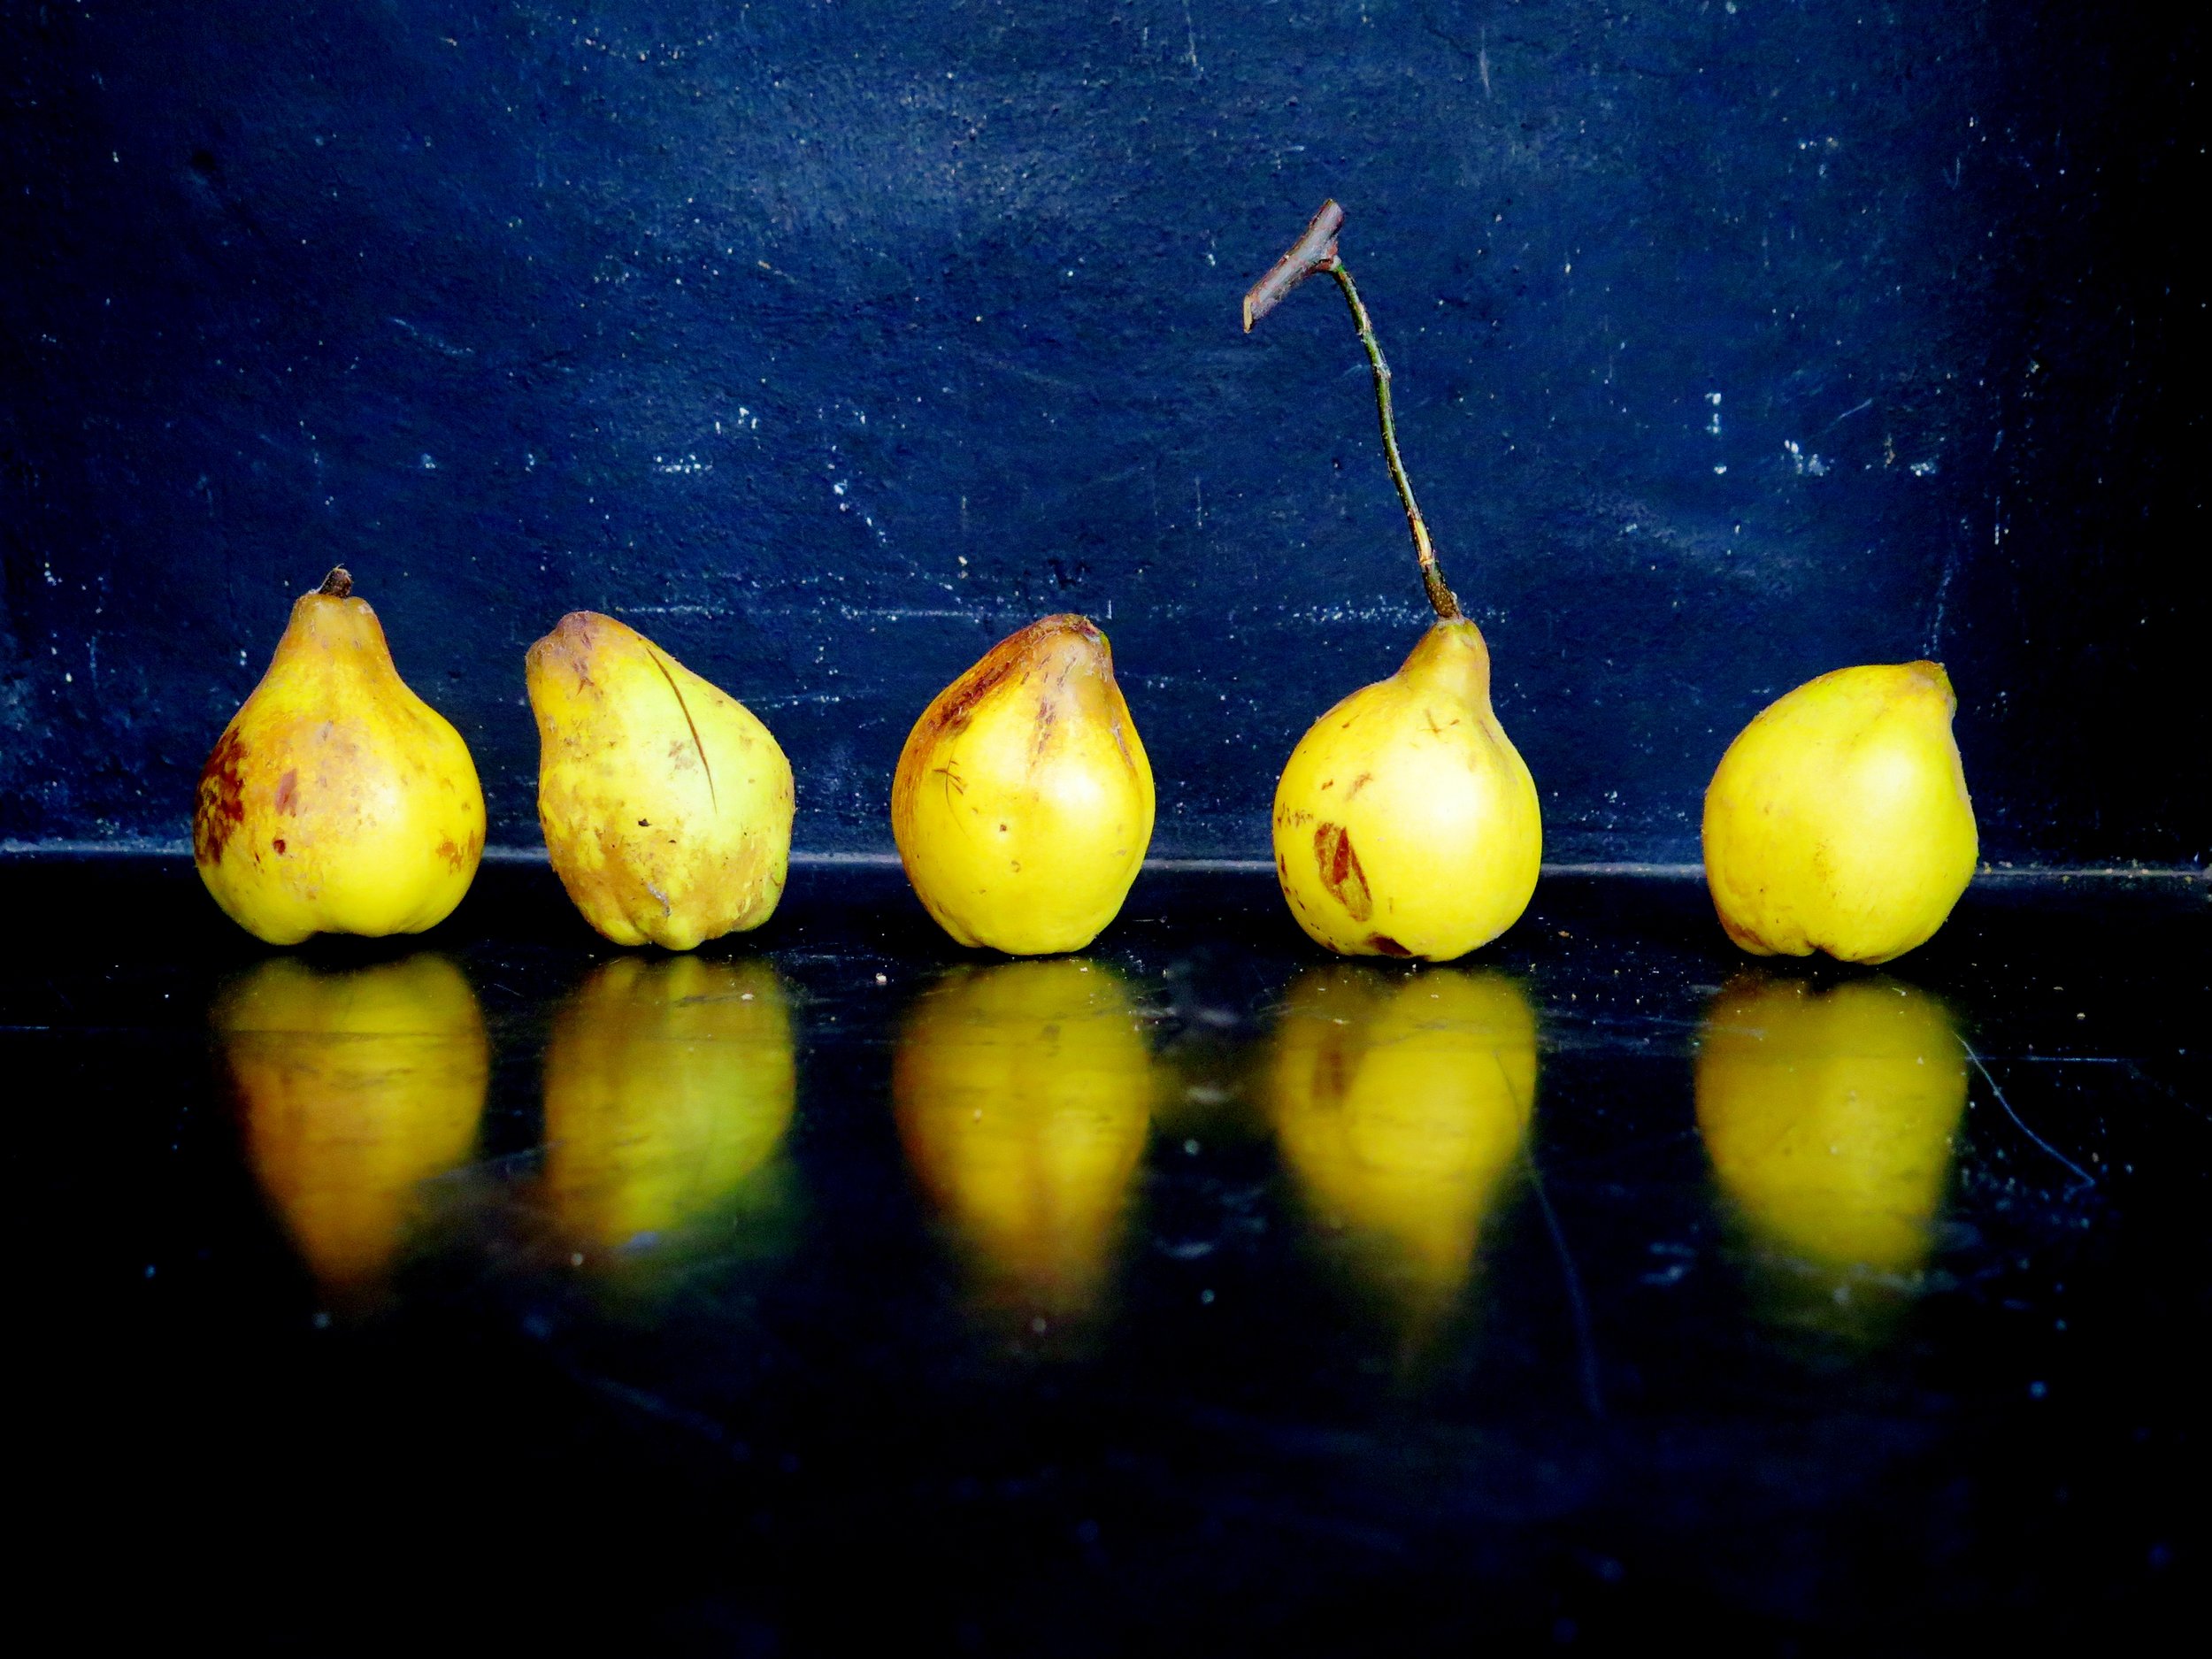 Originally referred to as the Kydonian melon, and mentioned in 6th Century BCE Greek poetry, the quinces we recognise today are believed to have been indigenous to Kydonia on the island of Crete. The Ancient Greeks dedicated the quince to Aphrodite, goddess of love and beauty, who was often represented with the golden apple of Hesperides in her right hand – that apple, in all likelihood, a quince. Indeed, quinces symbolised love and fertility, and Plutarch refers to the ancient wedding ritual whereby a bride would take a bite from a quince before retiring to the bridal chamber with her husband – possibly to freshen her breath, too.
 The path of the wedding procession of Helen and Menelaus was said to have been strewn with quinces, myrtle leaves and crowns woven from violets and roses. The fruit was also said by Pliny to have warded off the malign influence of the evil eye, and its medicinal value as an aid to digestion was also noted.
The Byzantines made wine from quinces as well as kydonaton, a thick quince jelly, probably the ancestor of French cotignac or condoignac, a delicacy made with honey, wine and spices that was considered a worthy gift for kings.
 Apicius, the first extant Roman cookbook writer, of the first century CE, preserved quinces whole in honey diluted with a spiced wine reduction, and also combined them with leeks, honey, and broth in hot oil in a dish known as Patina de Cydoniis. In the 4th Century CE, Palladius, an agriculturist and writer, composed a recipe for baked quince strips, possibly the first stirrings of membrillo, the Spanish quince gel that we know today.
During the 16th and 17th centuries, cooks in England prepared many variations of quince preserves which they called quidoniac, quiddony or paste of Genoa. Often the preserve paste was thick enough to be moulded into animal or flower shapes. Nowadays, many cultures use quinces in their cuisine: in India, a quince sambal is made by making a puree out of quinces, onions, chillies, orange juice and salt. In Iran, quinces are sometimes cored and stuffed with minced meat, and Moroccan tagines often include quince along with dried fruit and spices.
Despite its pertinence in history and mythology the quince has rather fallen out of fashion. Now the prized aphrodisiac and breath-freshener has been reduced to an unloved (except by the cognoscenti), knobbly peculiarity. I hereby am starting a quince appreciation campaign and when life gives you quinces, make membrillo, and with the membrillo make Tarta de Santiago.
Membrillo is the rose-tinted translucent and slightly grainy gel that miraculously results from boiling quinces with water, sugar and citrus. Its perfumed exoticness makes one think of orange groves and balmy breezes, and when combined with the citrus infused almond cake and pastry layers, one is transported right to the Alhambra.
Recipe
Ingredients
Pastry
150g white spelt flour (substitutable with any flour of your choice including gluten-free to create a gluten-free dessert)
40g caster sugar
1 ½ tsp ground cinnamon
½ tsp salt
Grated zest of ½ unwaxed orange
100g butter, roughly chopped into small cubes
1 egg yolk
25cm x 25cm square tin (or round tin with similar dimensions) at least 8cm deep, lined with greaseproof paper
Filling
250g quince paste (membrillo)
2 tbsp lemon juice
Grated zest of ½ unwaxed orange
Grated zest of ½ unwaxed lemon
65g ground almonds
Cake layer
150 ground almonds
100g caster sugar
1 tsp ground cinnamon
½ tsp salt
Grated zest of 1 unwaxed orange
Grated zest of 1 unwaxed lemon
150g butter, melted and allowed to cool slightly
100ml triple sec
3 eggs
Optional candied orange decoration
Follow instructions from my recipe for Citrus Syrup-Soaked Cake
Method
- In a blender, blitz together sugar, cinnamon, flour, salt and butter until the mixture resembles damp sand. Add in the egg yolk and blitz until the mixture comes together into dough. Flatten into a disc, wrap in greaseproof paper and chill in a freezer for 15 minutes or refrigerate for ½ hour.
- On a well-floured surface, roll the dough out to a 3mm thickness and transfer to the tin to line the base. Refrigerate while you prepare the filling.
- Preheat oven to 180°C. To make the filling, place the quince paste (membrillo), lemon juice and zest in a small pan over a medium heat and stir until smooth and fully combined. Remove from the heat and stir in the ground almonds. Remove the tin from the fridge and spread the quince mixture evenly over the pastry. Refrigerate once more.
- To make the cake layer, whisk together ground almonds, sugar, cinnamon, salt and zest in a bowl. In a separate bowl, whisk together melted butter, triple sec and eggs. Pour the wet ingredients into the dry and whisk until combined in a loose paste.
- Remove the tin from the fridge and pour the cake layer mixture over the quince layer. Bake in the preheated oven for 35-40 minutes until golden brown, springy to touch and a skewer comes out clean. Allow to cool before serving.
 Standing on a dining room chair to reach the kitchen counter top, swamped by my grandmother’s floral apron, and covered head to toe in drifts of white flour, at three years’ old I felt important and grown up. But first my grandparents and I would visit art galleries, going for afternoon tea (lemon cake for me, always), sitting on the top deck of the bus, drawing, painting, drinking more tea, and then, finally, at the end of the day, my grandmother would let me help her bake her oat and ginger cherry-bejewelled cookies – what I knew and still know as “Granny Biscuits”. They are still in ready supply whenever I visit my grandmother’s house, and are as chewy, oaty and delicately sweet as they’ve ever been.
My grandfather possessed a dangerously sweet tooth, and, as I’ve previously mentioned, was inclined to satisfy this without regard for moderation. He would sneak into the larder and consume an entire box of glace cherries.
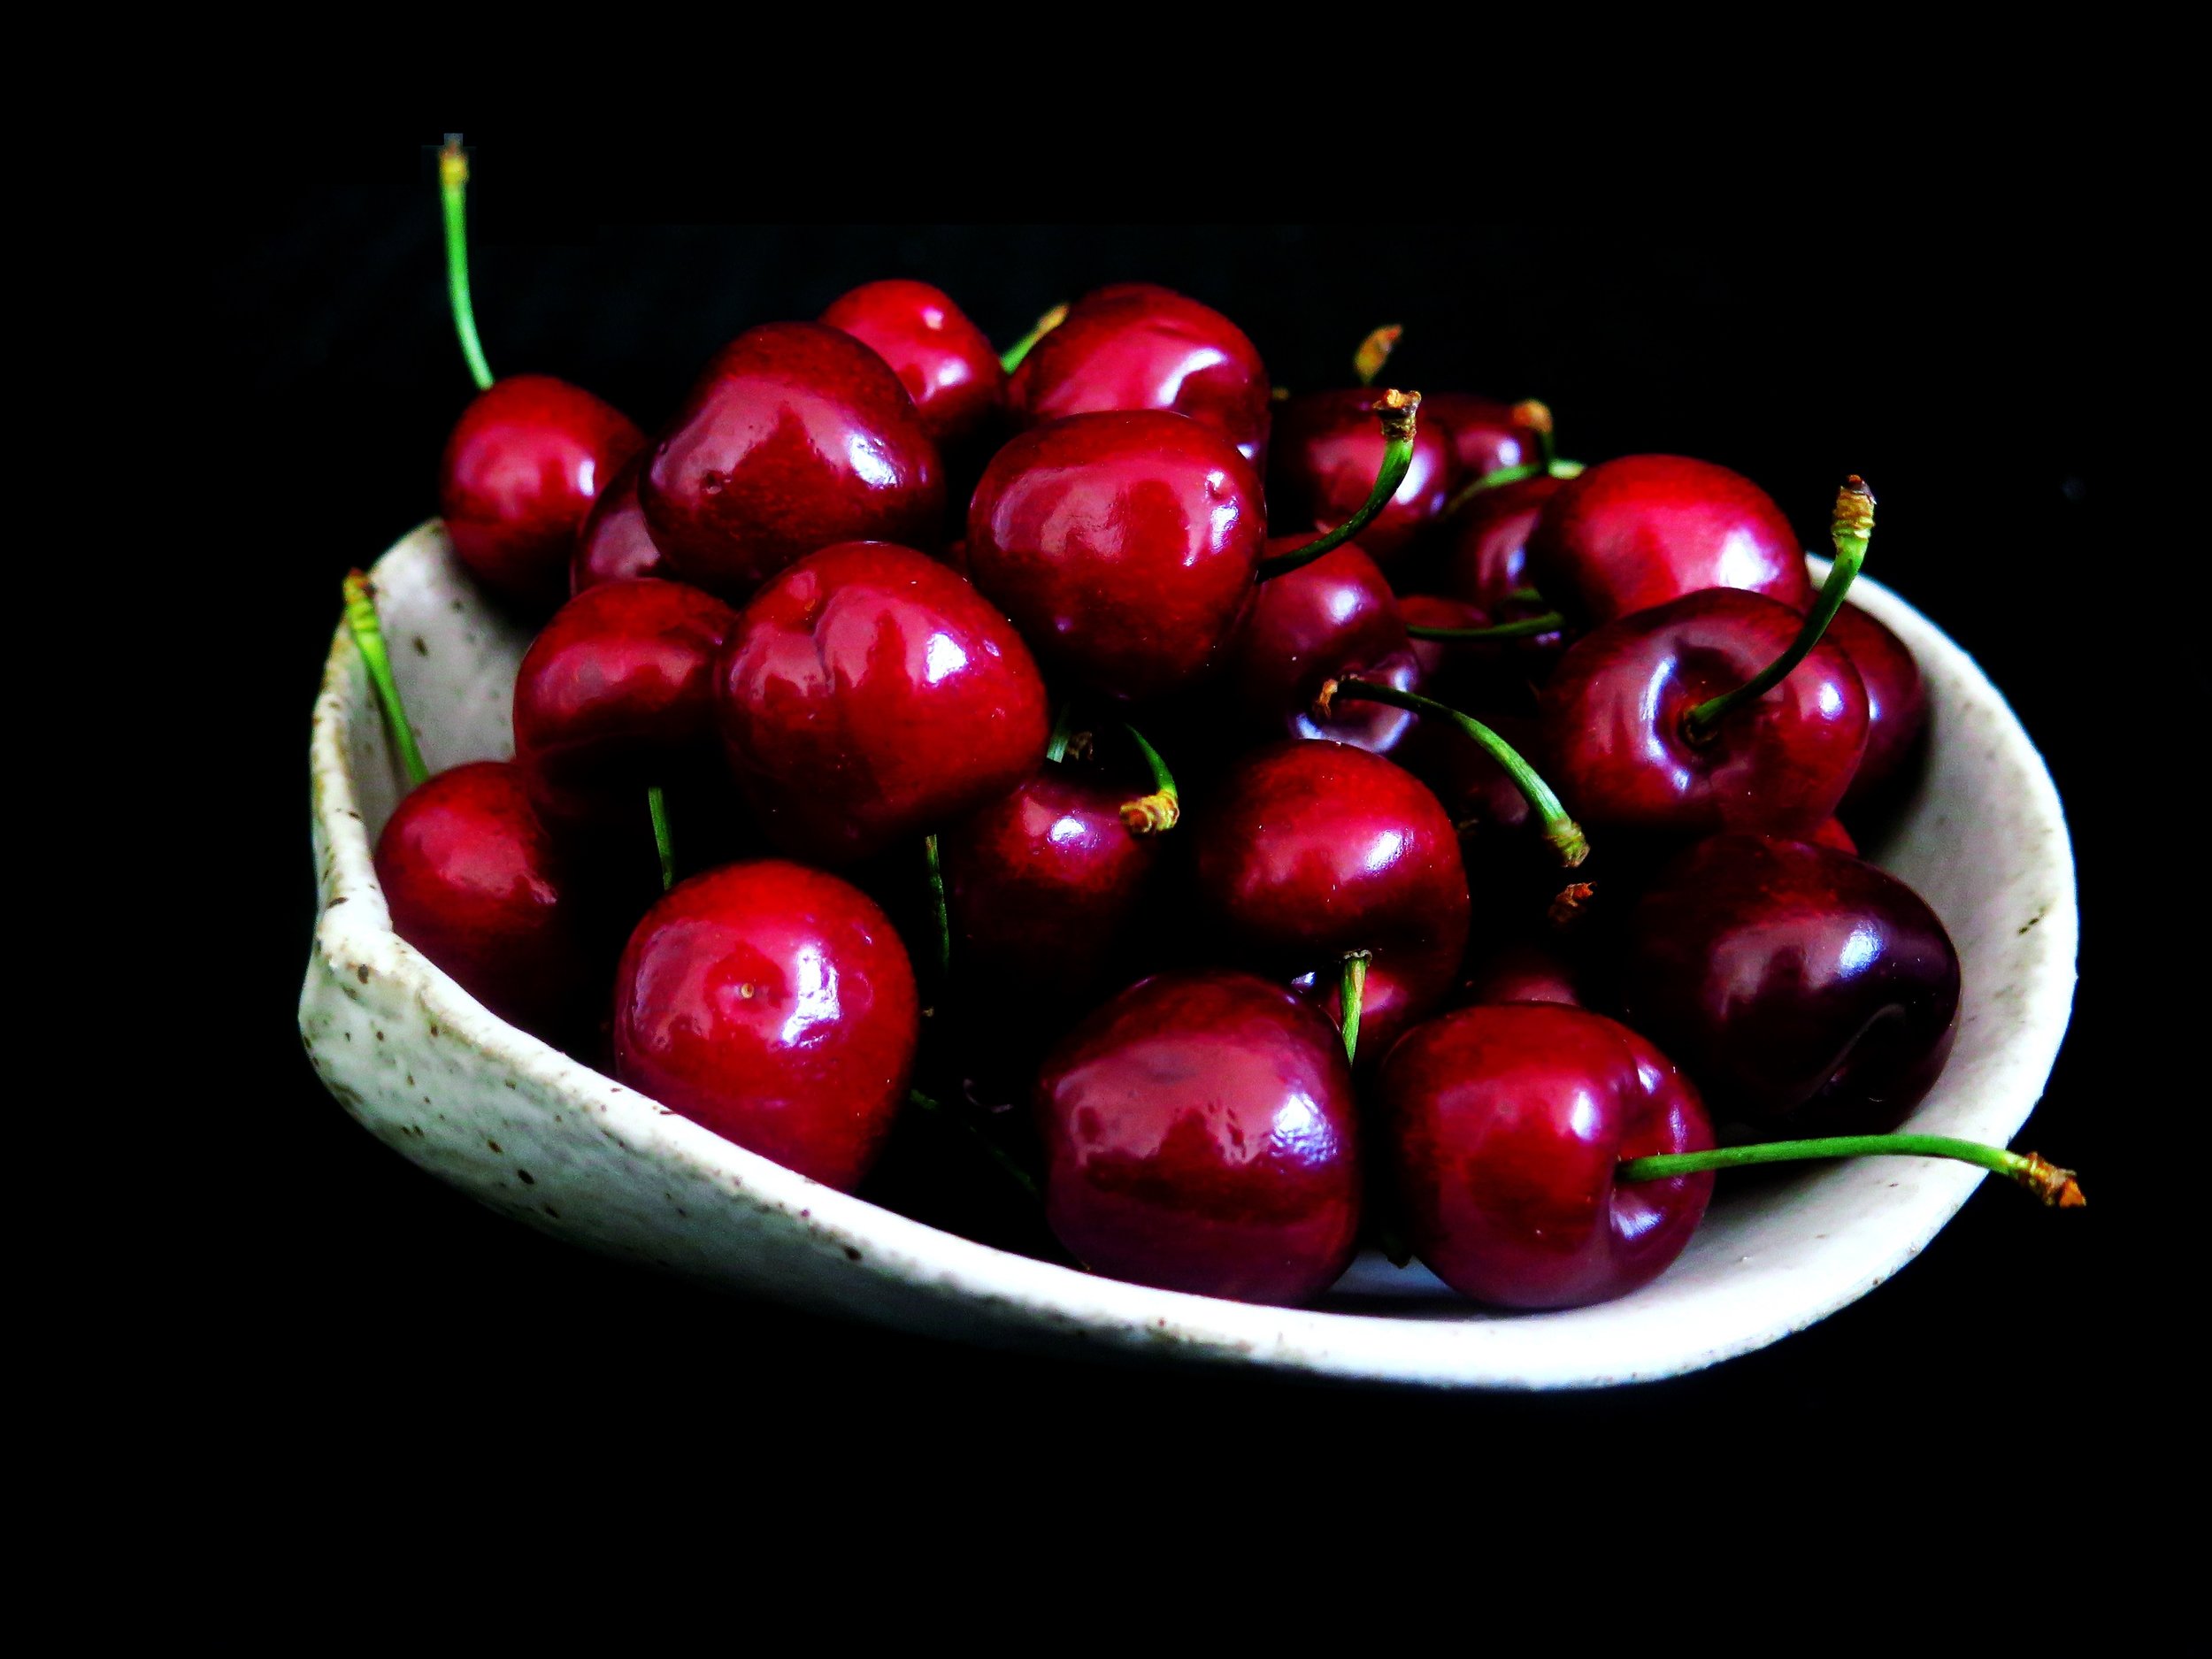
This trait has wound its way down into my family. I name no names, but once the plastic seal has been broken, glace cherries mysteriously disappear at a rapid rate. Although I admit I have, at several low points in my life, spooned jam without any justifying bread straight into my mouth, the general jam supply in my household is a more reliable presence.
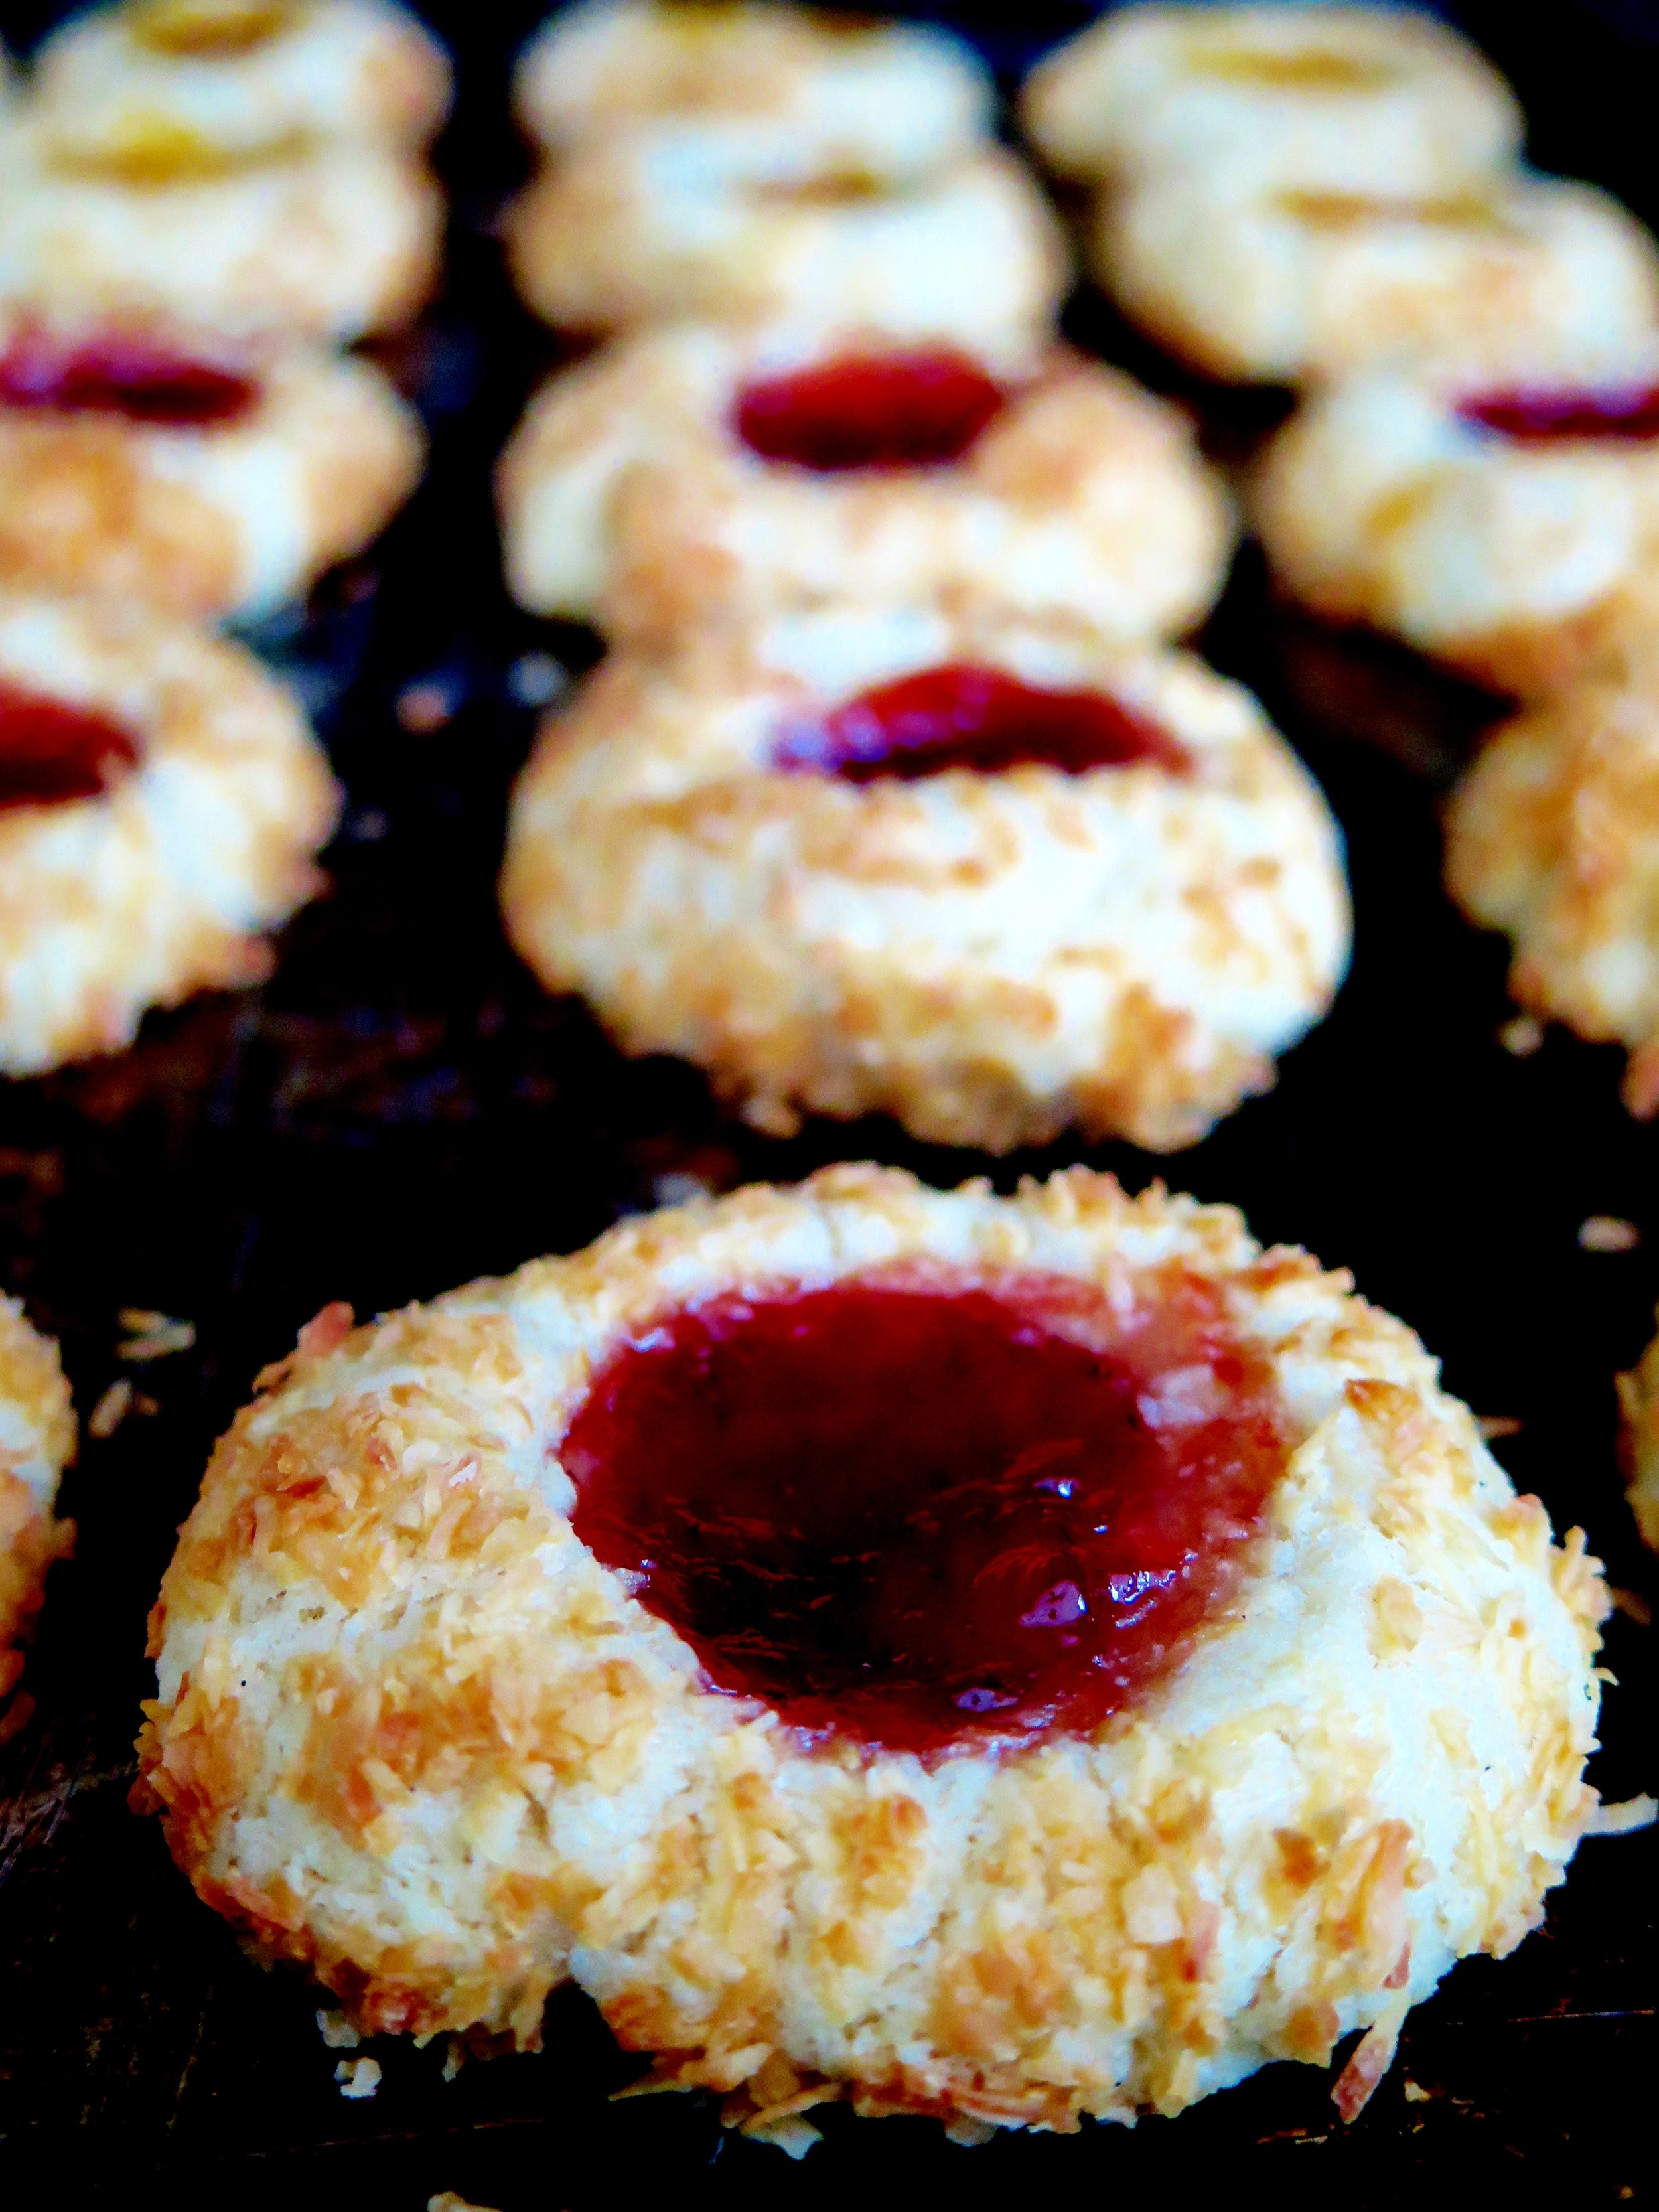
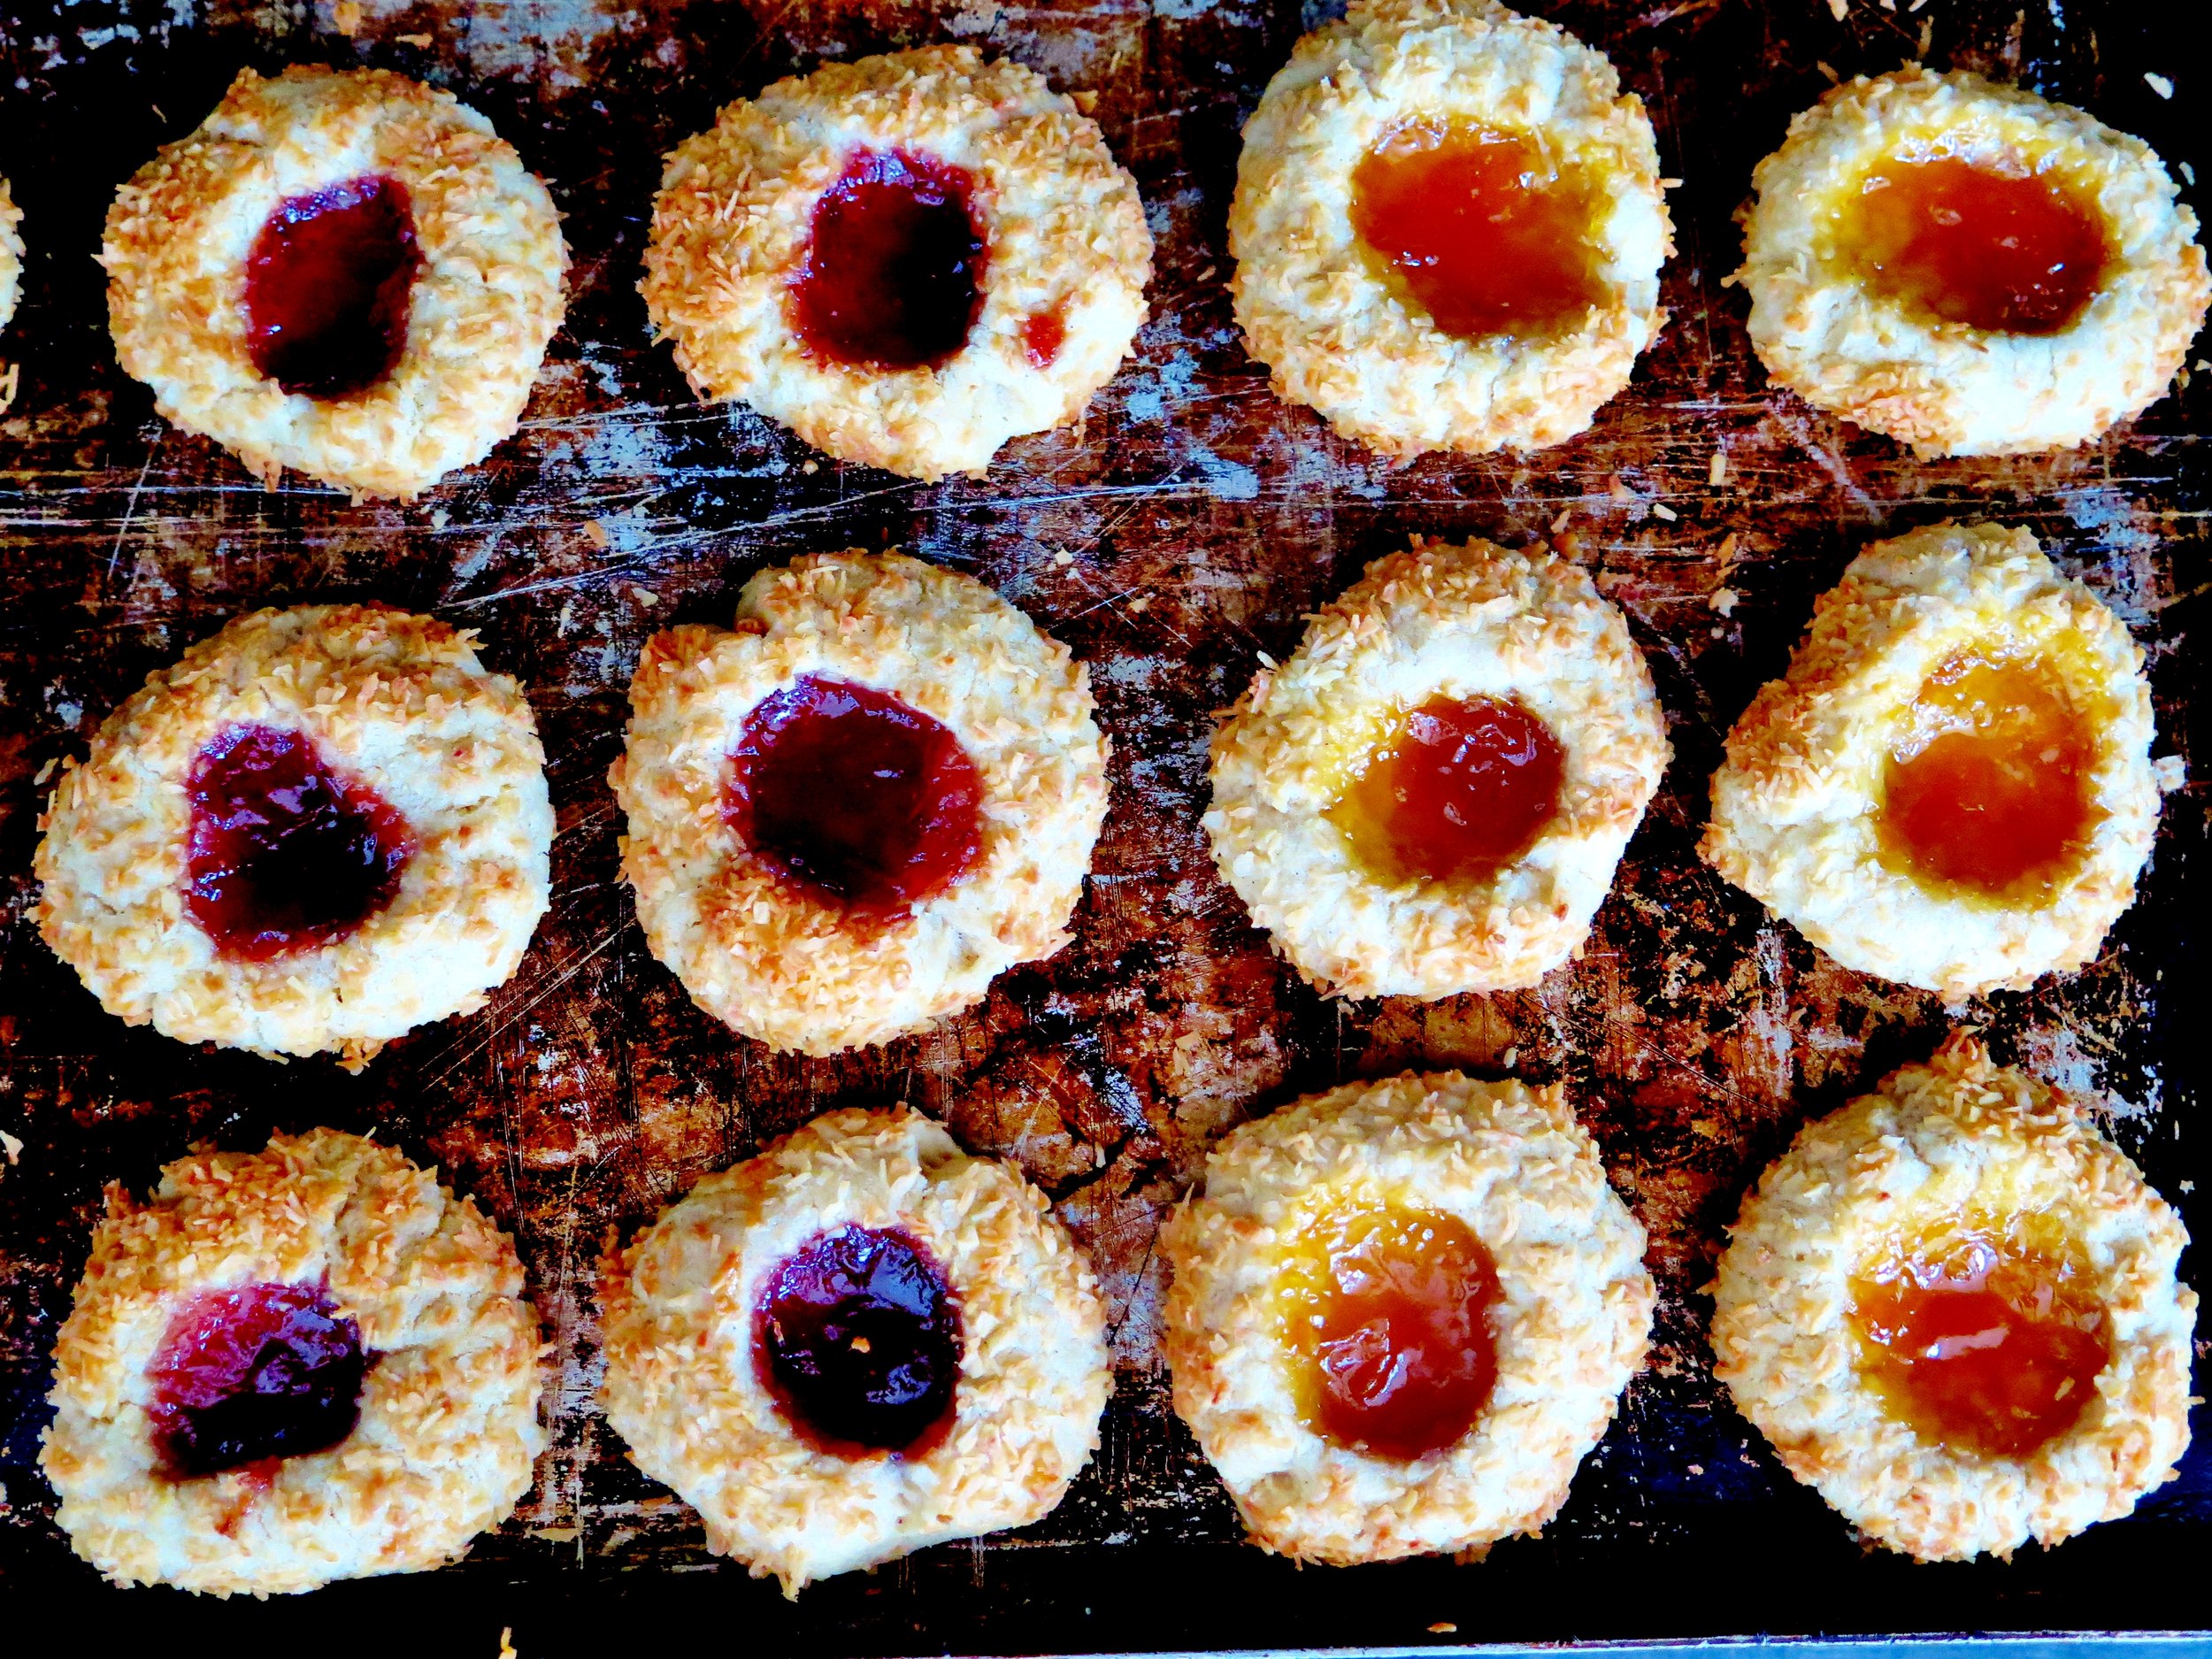
 So when recently I came to press the cherries into the Granny Biscuits (an essential step), and found there to be none, jam was a delicious substitute.
This recipe is further adapted with coconut replacing oats to provide a more even coating and a beautiful golden crunch once baked.
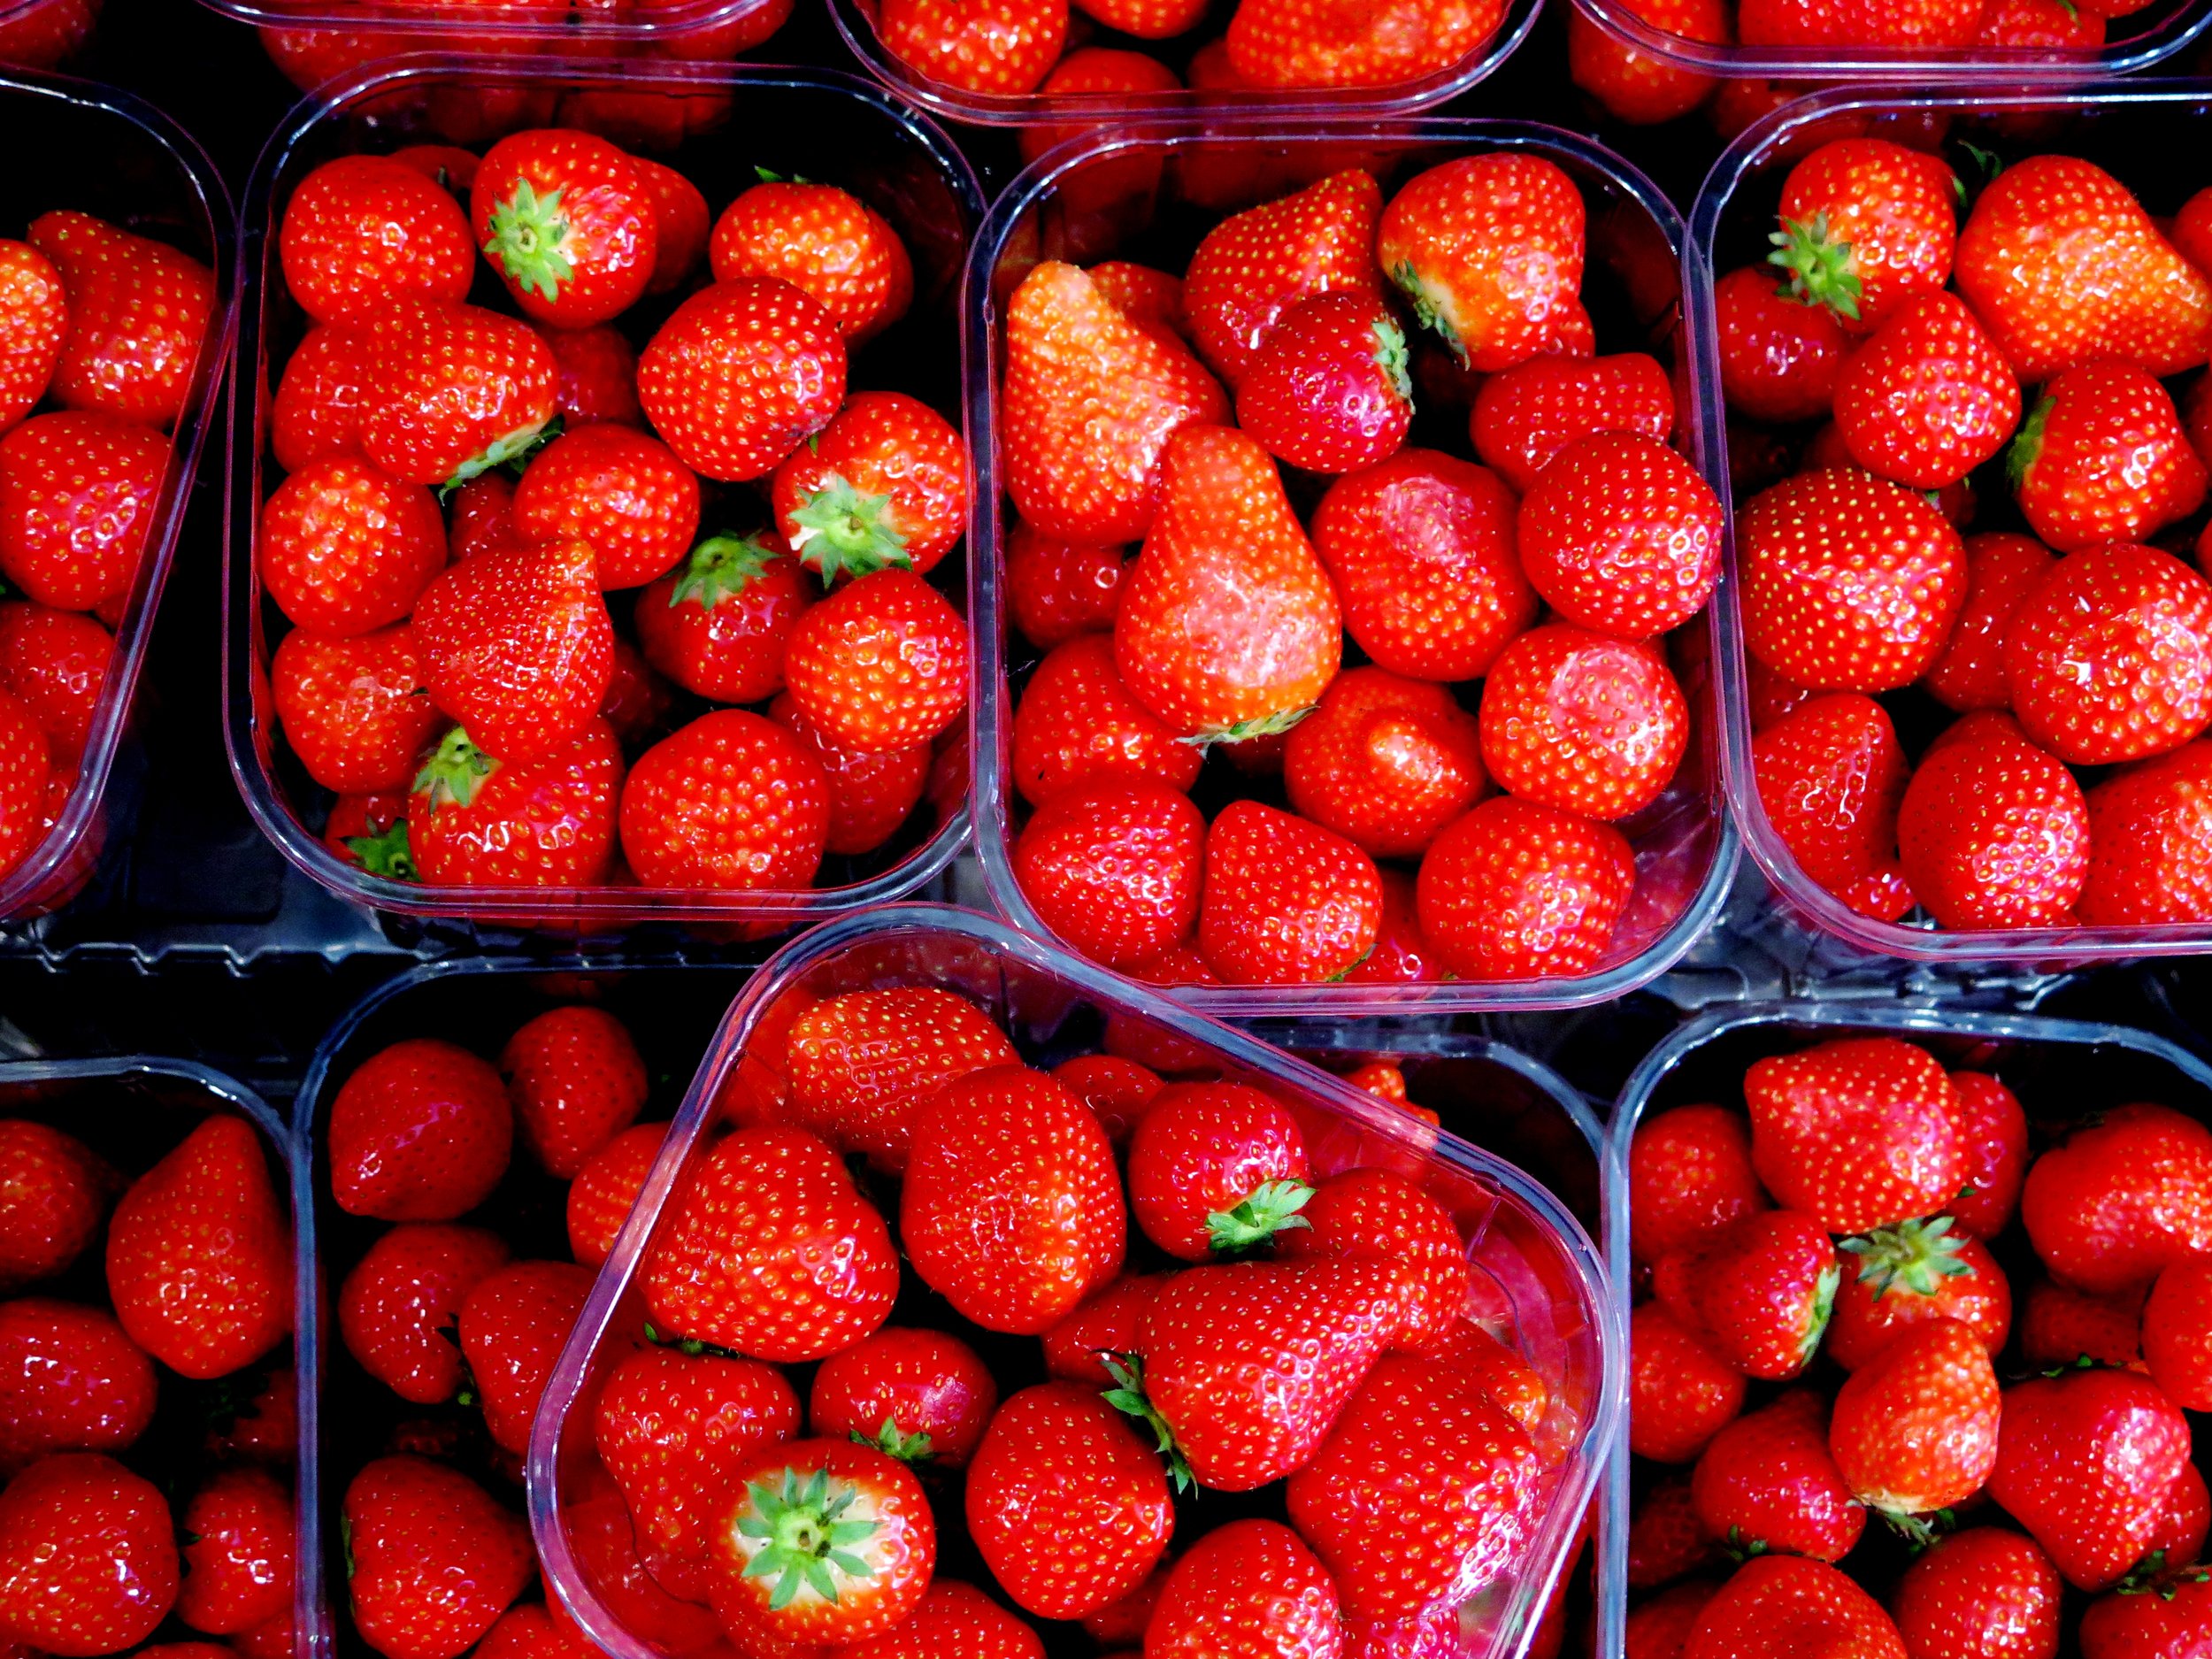
You can use whatever jam or marmalade you desire – strawberry and apricot are two of my favourites.
Ingredients (Makes 25-35 approx.)
350g unsalted butter, at room temperature
200g caster sugar
2tsp vanilla extract
Zest of ½ lemon
½ tsp salt
350g white spelt flour
1 egg, beaten with 2 tsp water
200g desiccated coconut
100g strawberry jam
100g apricot jam
2 baking trays lined with baking parchment
Method
1.) Preheat oven to 180˚C.
2.) In a food mixer fitted with the paddle, or in a large bowl with a wooden spoon, beat butter, sugar, vanilla, lemon zest and salt together until fluffy and pale.
3.) Sift in flour and mix together until fully combined and a soft dough is formed. Flatten the dough into a roughly 2 cm thick disk, wrap in baking parchment, and chill in the freezer for 15 minutes or the fridge for ½ hour.
4.) Roll the dough into 30g spheres (roughly 3 cm in diameter), dip each one in the beaten egg and then roll in the coconut. Space the spheres at least 5 cm apart on the baking sheet.
5.) Press your thumb in the middle of the spheres to create a teaspoon- sized indent. Fill the indent with a teaspoonful of the jam of your choice.
6.) Place in the oven to bake for 15-20 minutes or until cooked through and the coconut turns golden. Allow to cool and serve.
 Memories of countries and cities I’ve visited are strongly intertwined with my culinary experiences there. Whenever I’m asked about my trip to Cuba, memories of the music, culture and politics, the beauty of the countryside, the cars, and the buildings are always drowned by the paddies of rice starch dotted with beans which faced me every meal time. The lone cylinder of “Master Potato Crisps” (lesser Pringles), furry with dust, which commanded an entire shelf in an embargo-challenged grocery store emerged as a perverse highlight.
I will never be able mentally to separate Canada from the oozing, sticky-sweet clasp of a particular Toronto cinnamon bun (it may have been preceded by some, but its superiority has eradicated all past and future competition). New York is always a complete sensory overload: last year I ate overtime to cram Lebanese, Thai, raw vegan, Chinese, Italian, modern European, American, French, Greek, Mexican, and Brazilian into five days - delicious and, arguably, gluttonous. Yet, despite this mammoth accomplishment, one of the most outstanding of the culinary delights I’ve sampled there is something rather less exotic: the peanut butter cookie. It may be humble in name, maybe in appearance too, but it is most certainly not humble in nature. The source of this ambrosia is the well-established City Bakery, off Union Square, known best for its croissant pretzels, seductively viscous hot chocolate and, of course, its peanut butter cookies -crumbly on the outside and soft and chewy in the interior, with salty and sweet in fine-tuned balance creating an insatiable desire for more.
At brunch a couple of weekends ago, one of my friends confessed her current obsession: sneaking off to her kitchen cupboard armed with a bread stick to pair with that American favourite of jam and peanut butter.
The memory of the palate-coating, salty-sweetness of the City Bakery peanut butter cookies reasserted itself. Over the next week it took up stubborn residence, so I made up my own. They worked. I know this because I made them twice: I left the first batch out to cool, exited the kitchen for 10 minutes, and when I returned, they were gone, my brother unabashedly dusting the last few crumbs off his sweater. With family members temporarily banished from the kitchen, the second batch survived long enough to be photographed. Although delicious on their own, I sandwiched mine with raspberry jam to offset the sweet salty nuttiness with a little tang. Julia D. you are to blame for this recipe (and it is, indeed, dedicated to you).
Often cookie recipes frustratingly demand that the dough is chilled before baking. These can be made, baked and eaten in 20 minutes - no torturous chilling necessary.
Ingredients (makes 34 individual cookies)
115g unsalted butter, at room temperature
190g granulated sugar
60g light brown sugar
¾ tsp salt
250g smooth peanut butter
1 large egg
½ tsp vanilla extract
140g white spelt flour (or plain flour)
150g raspberry jam (optional)
2 baking sheets lined with baking parchment
Method
- Preheat oven to 180˚C.
- In a mixer (or by hand), cream together butter, granulated sugar, light brown sugar and salt until pale and fluffy. Mix in peanut butter, egg and vanilla extract until fully combined. Gently stir in the flour.
- In the palms of your hands, roll a tablespoon of the mixture at a time to form 4cm spheres. Space them out on the tray. When the mixture is used up, gently press a fork into the spheres to flatten them and form a criss-cross pattern as pictured.
- Bake in oven for 12-14 minutes until slightly golden and still soft to touch. Allow to cool slightly before sandwiching each pair together with a teaspoon of raspberry jam.





















It’s suffused with herbs and umami spring onions, and laced with tongue-tingling sour barberries, sharp and salty feta, and warming toasted walnuts which add necessary texture. I add chilli, too, which means that every bite is an avalanche of flavour.
Kuku is high in protein, and basically carb-free (if that’s your thing), and really filling, too. I’ve adapted this one from a more traditional Persian recipe (where this dish originates).