 Pizza is in his DNA. Five generations of golden, thin, crispiness. One recipe.

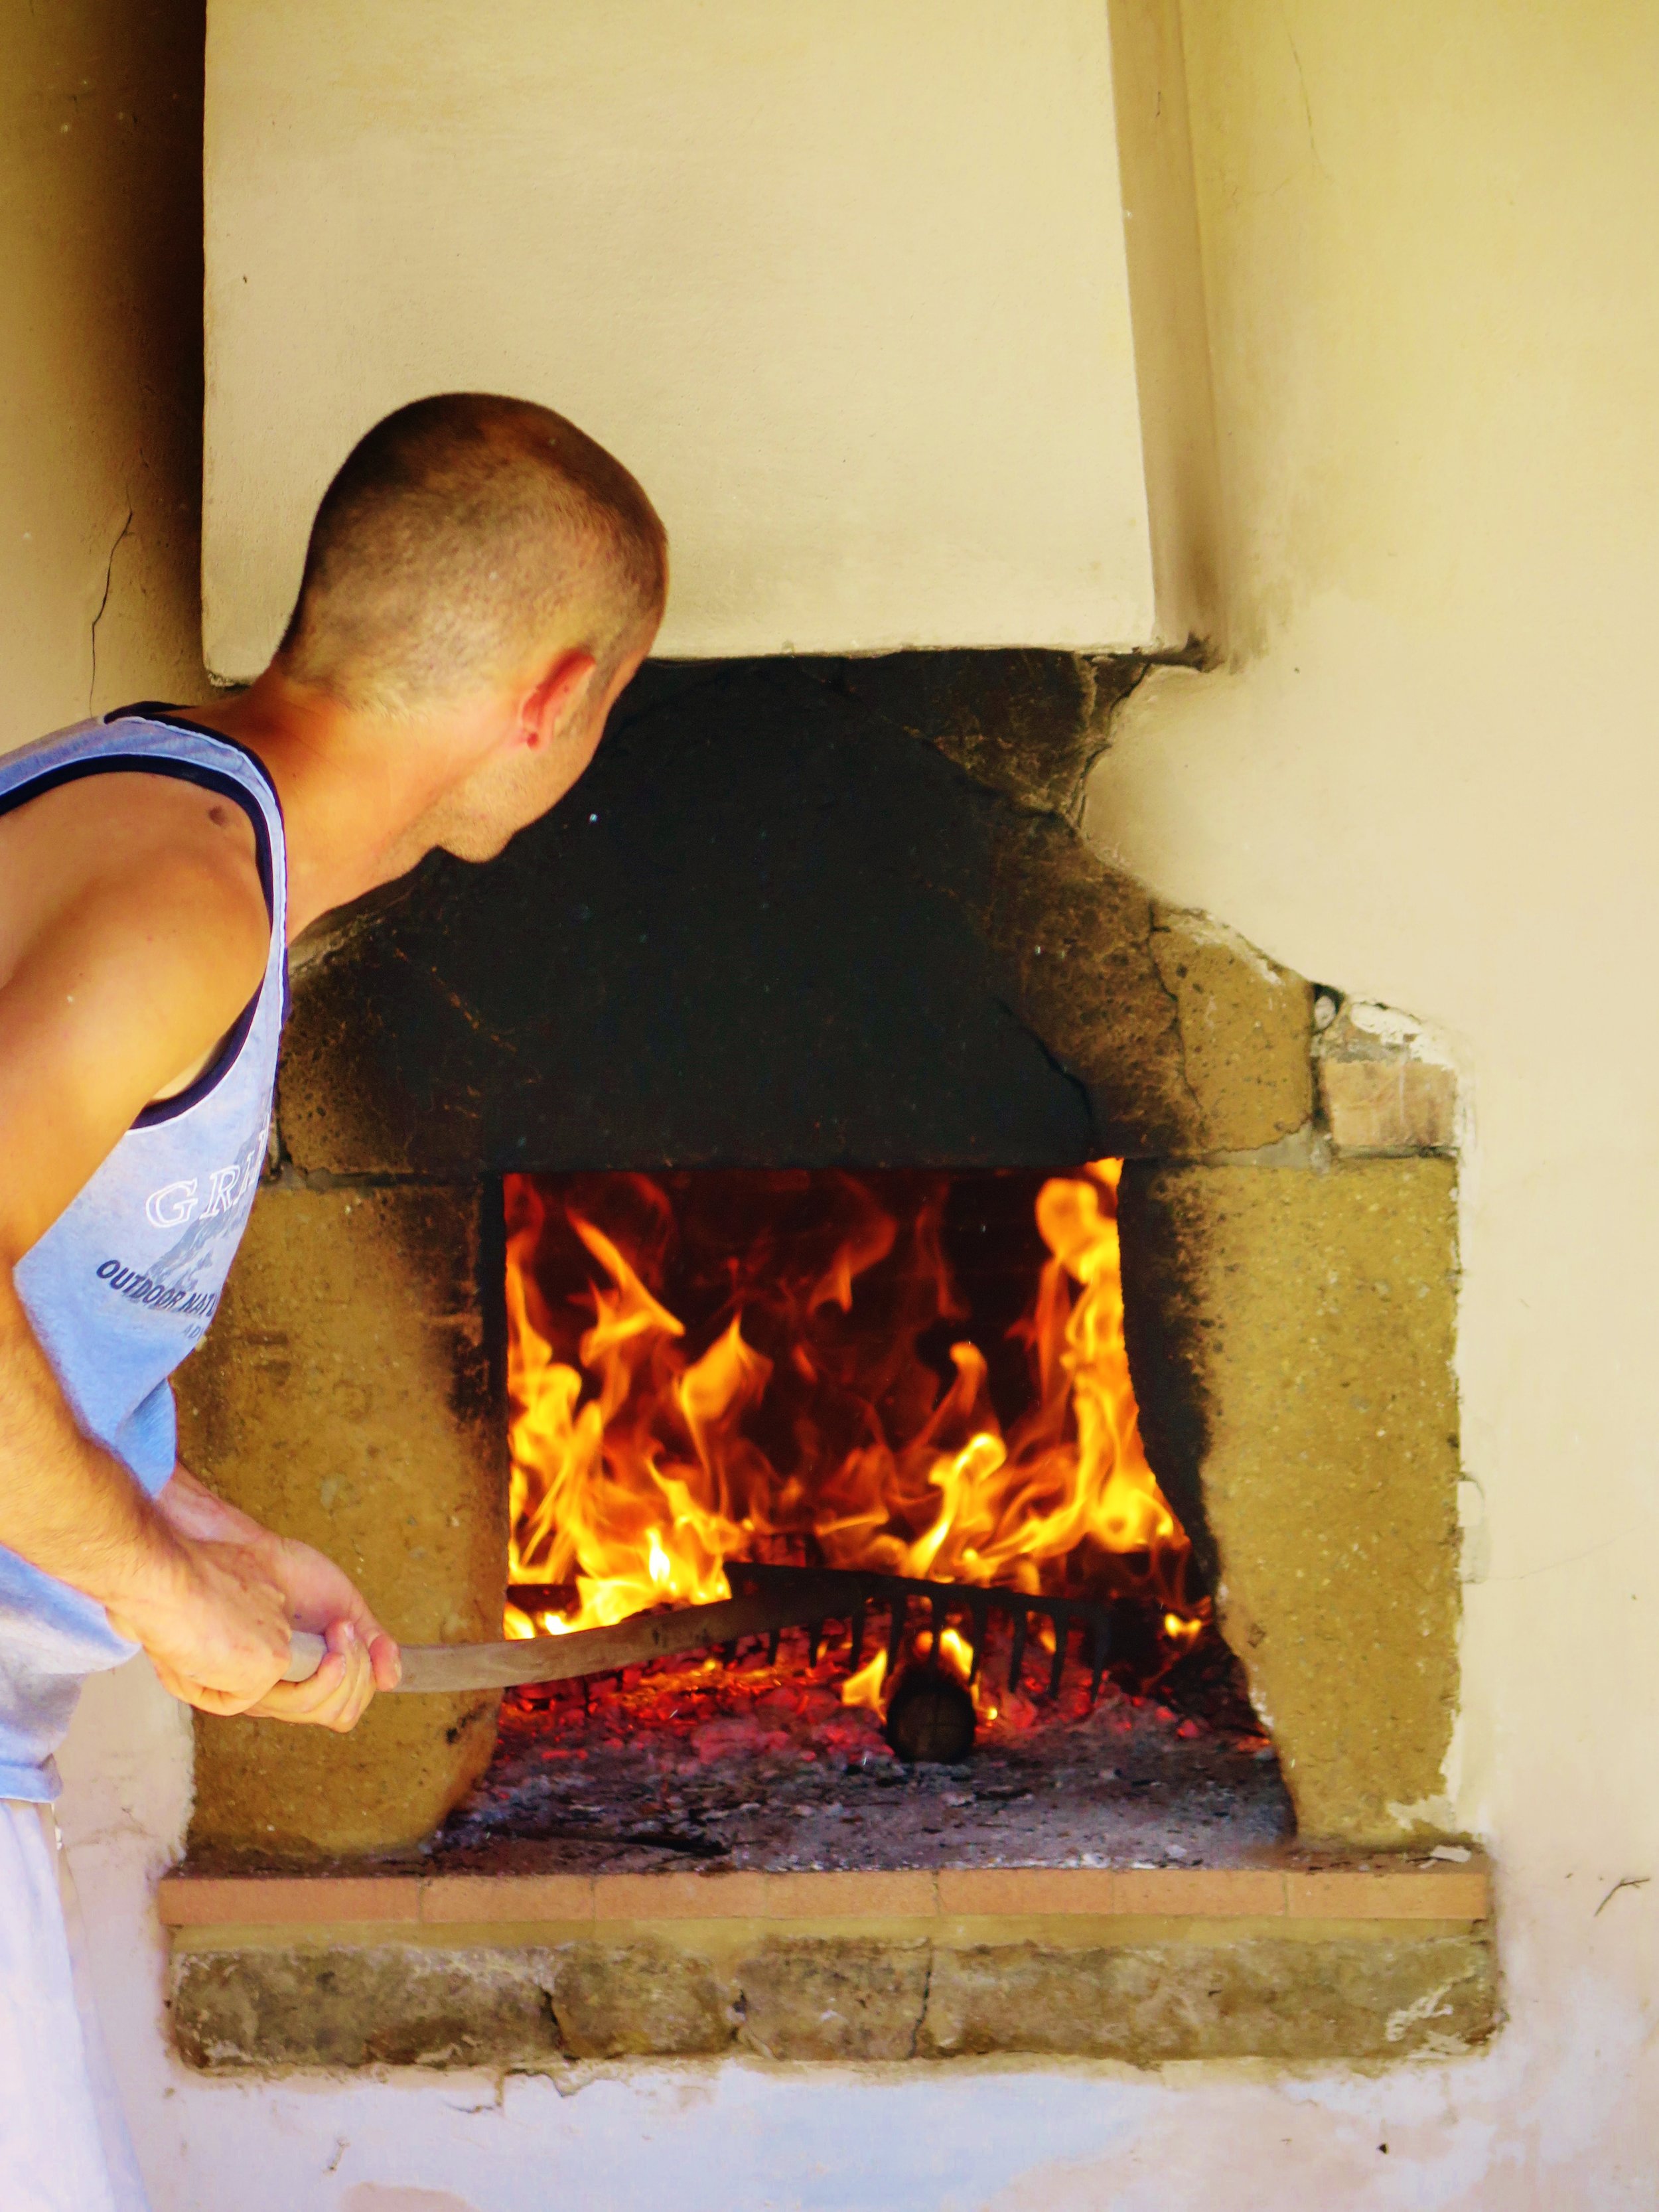
The pizza oven is raging, rapidly devouring its feed of dry wood and spitting out sweet nutty smoke.
He comes every summer in his Ape brimming with plump mushrooms of dough.
A light sprinkle of flour on a wooden board, and he gets to work.

With wrist flicks and little rotations the round becomes a disc, airborne momentarily to ensure evenness.

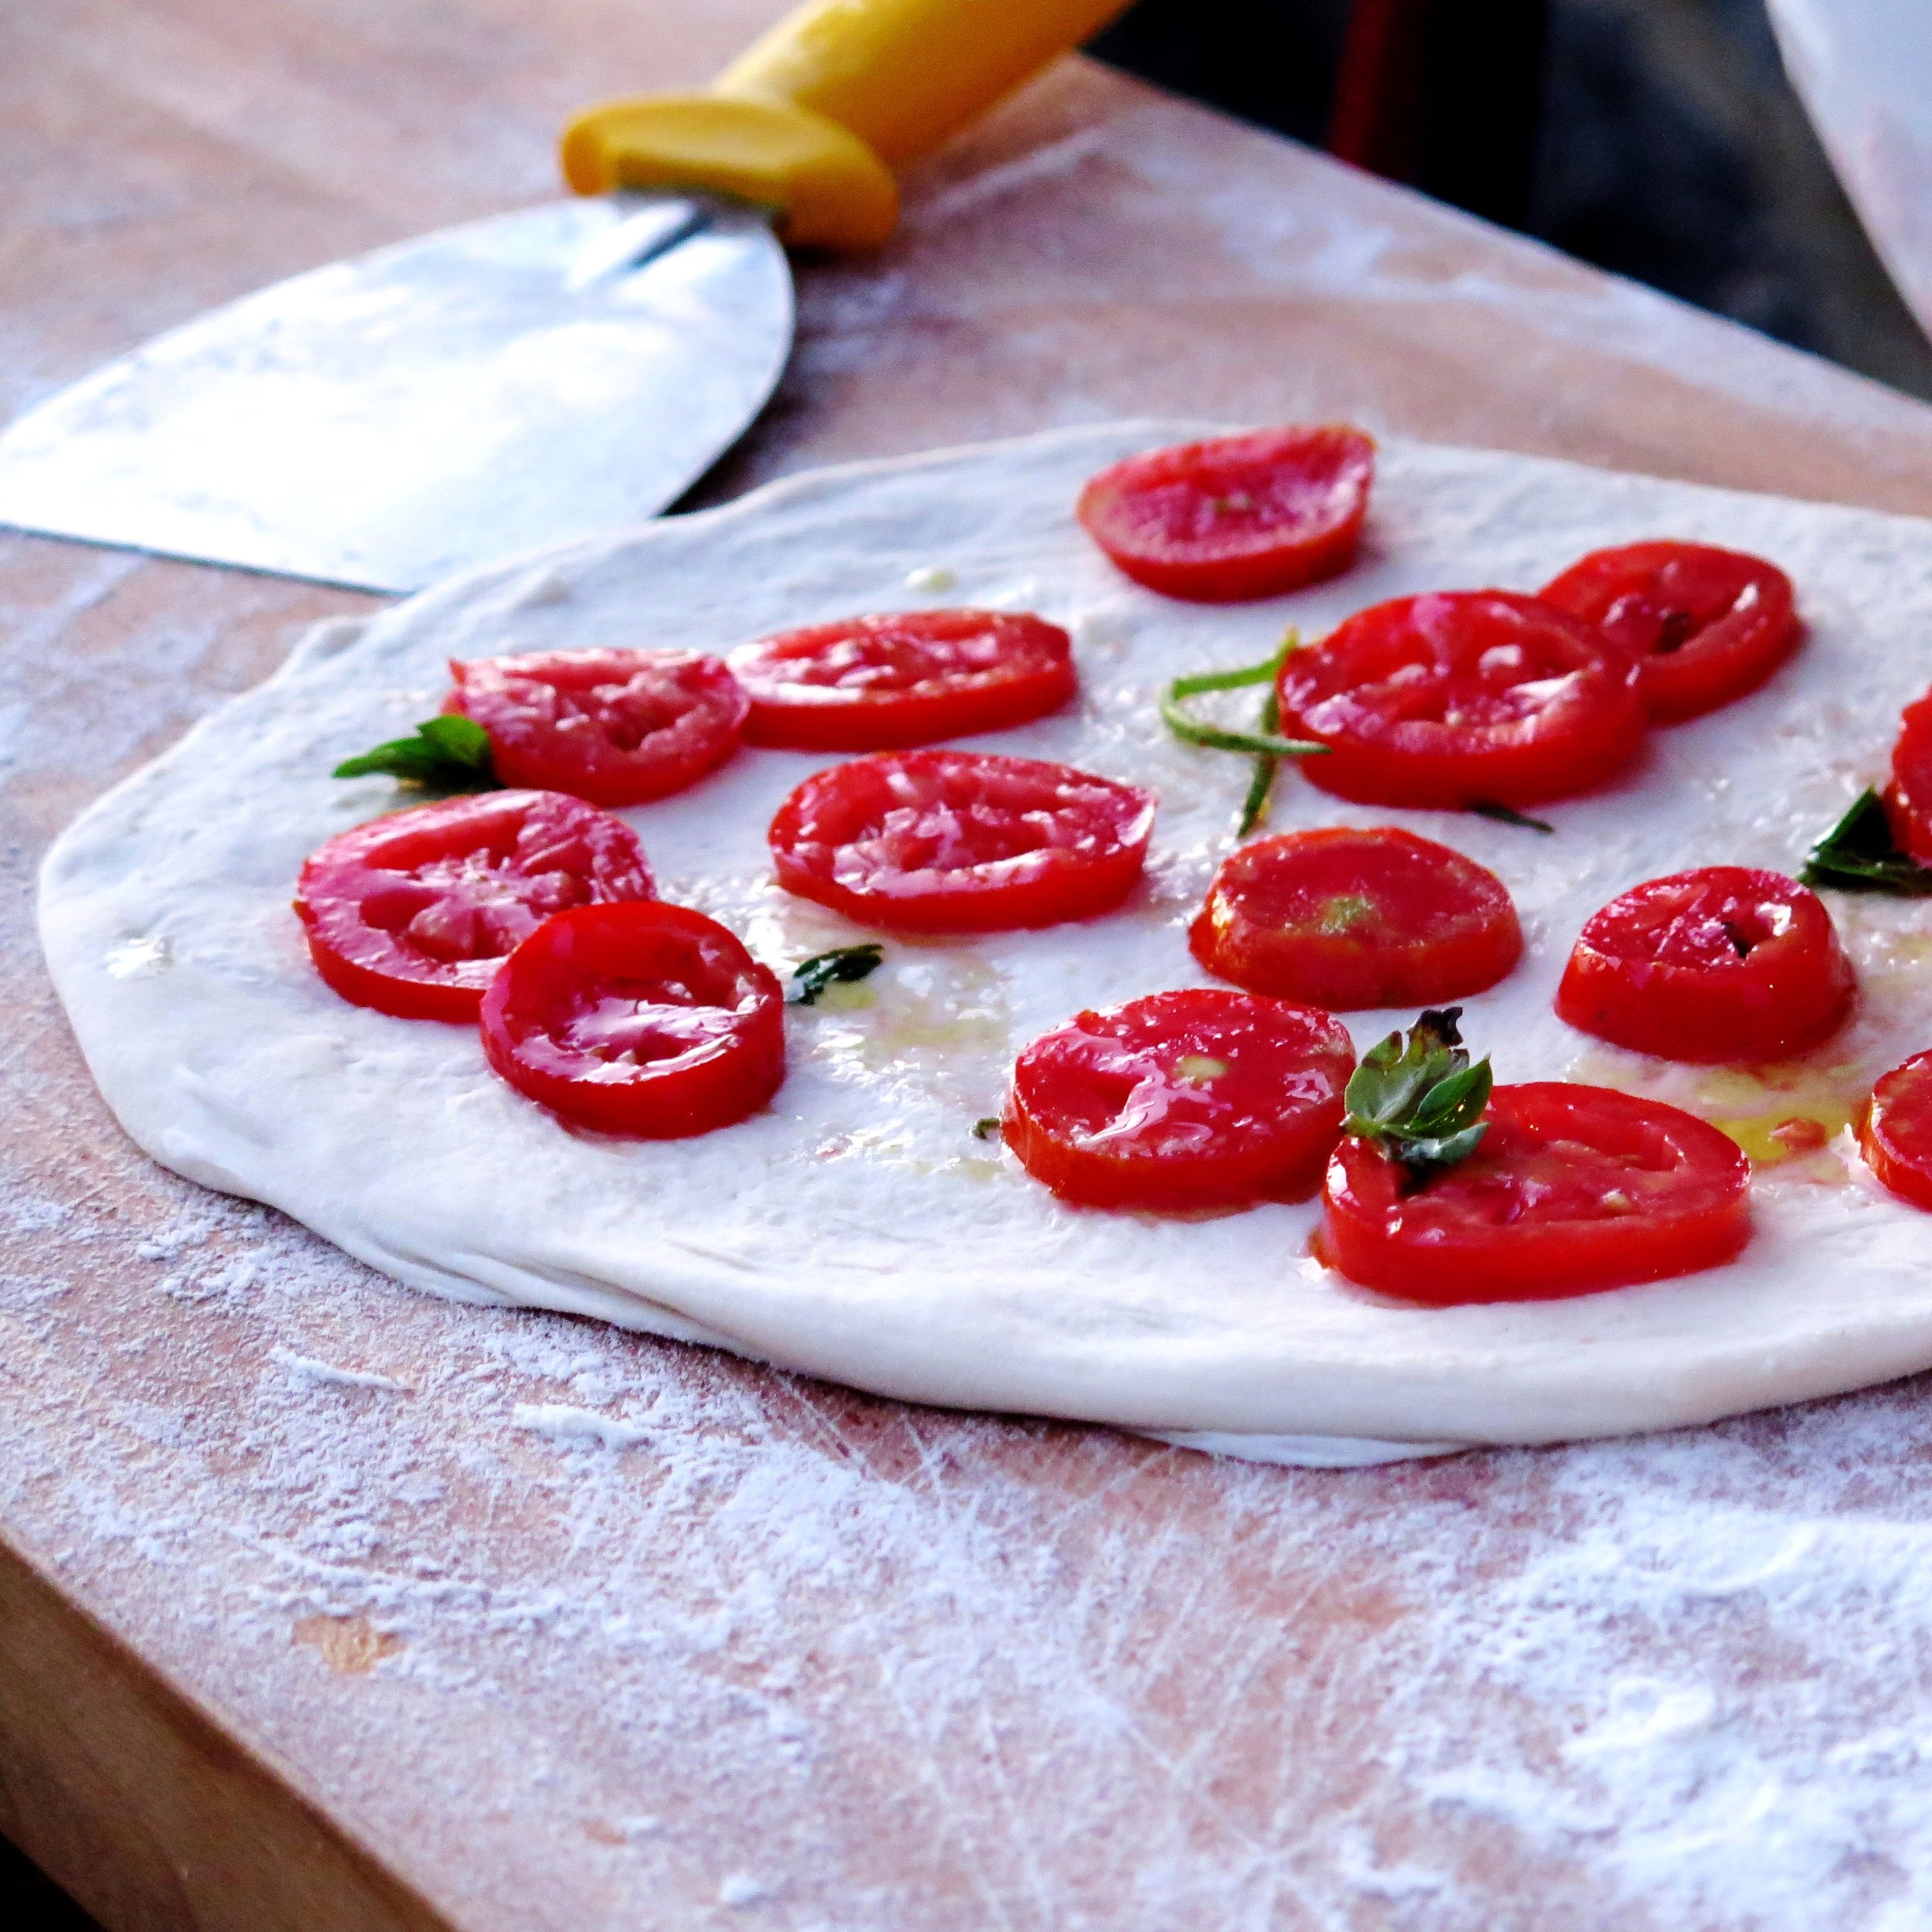
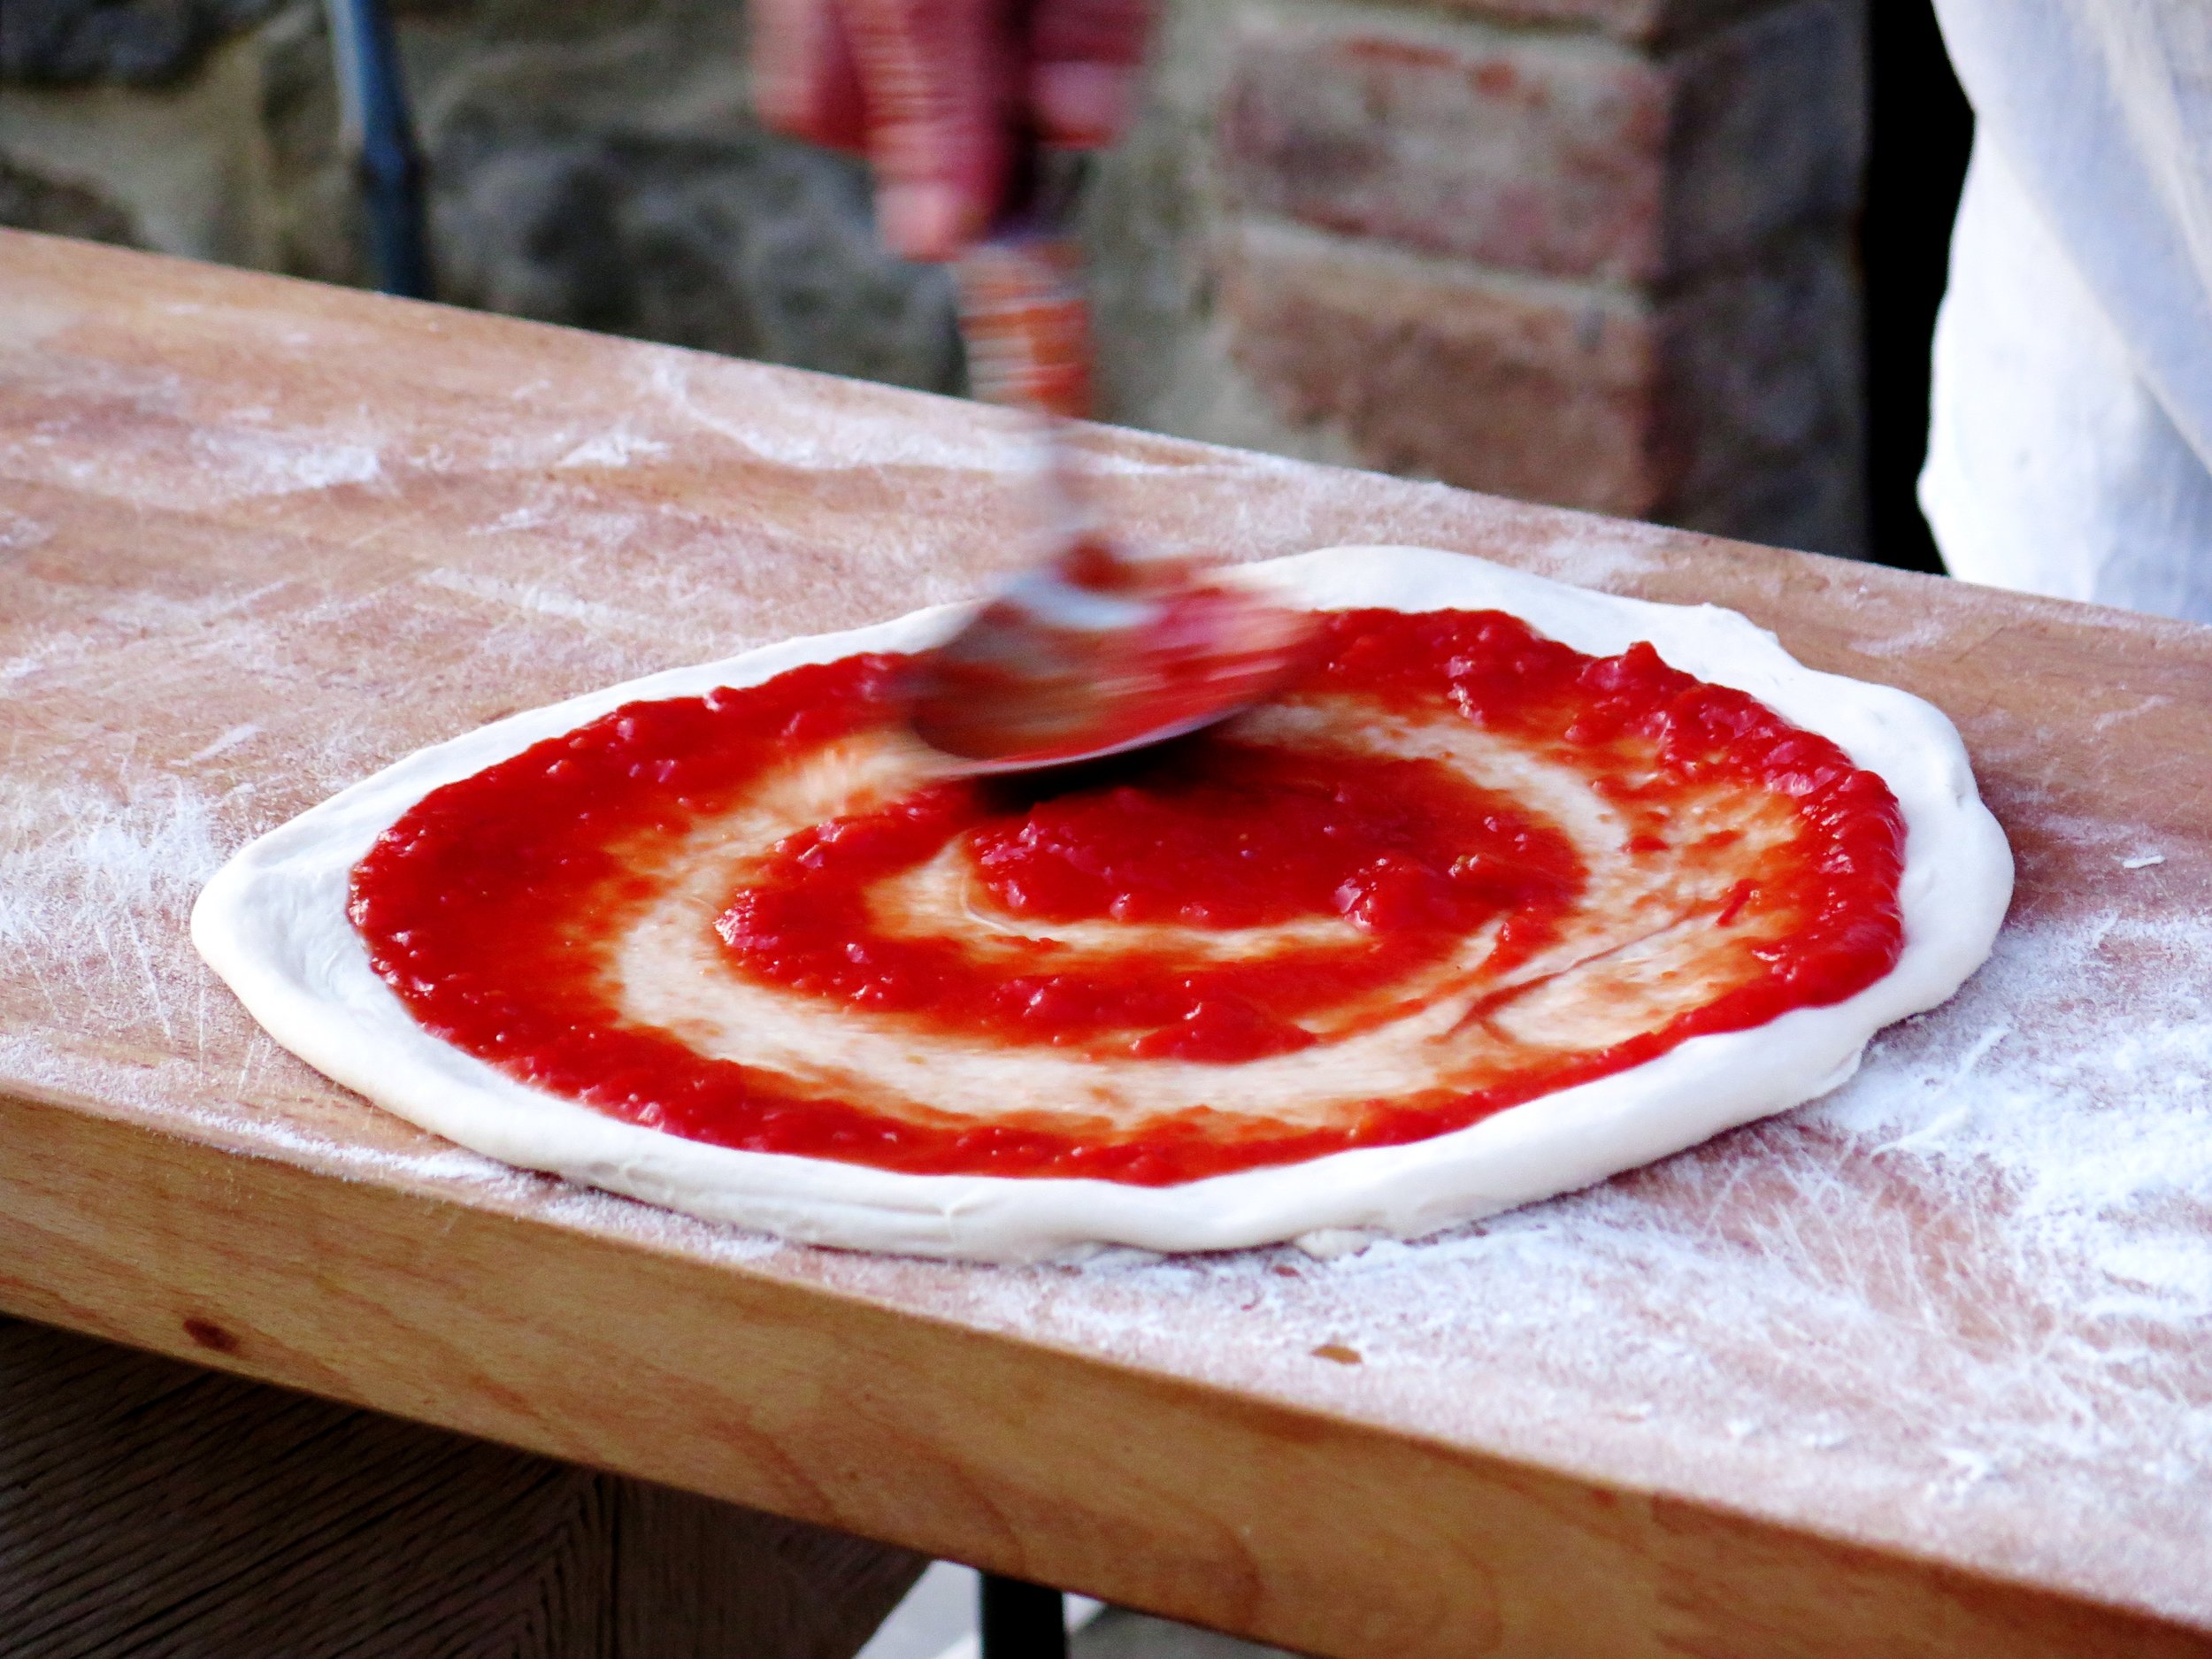
A careful spiral of passata with the back of a spoon,
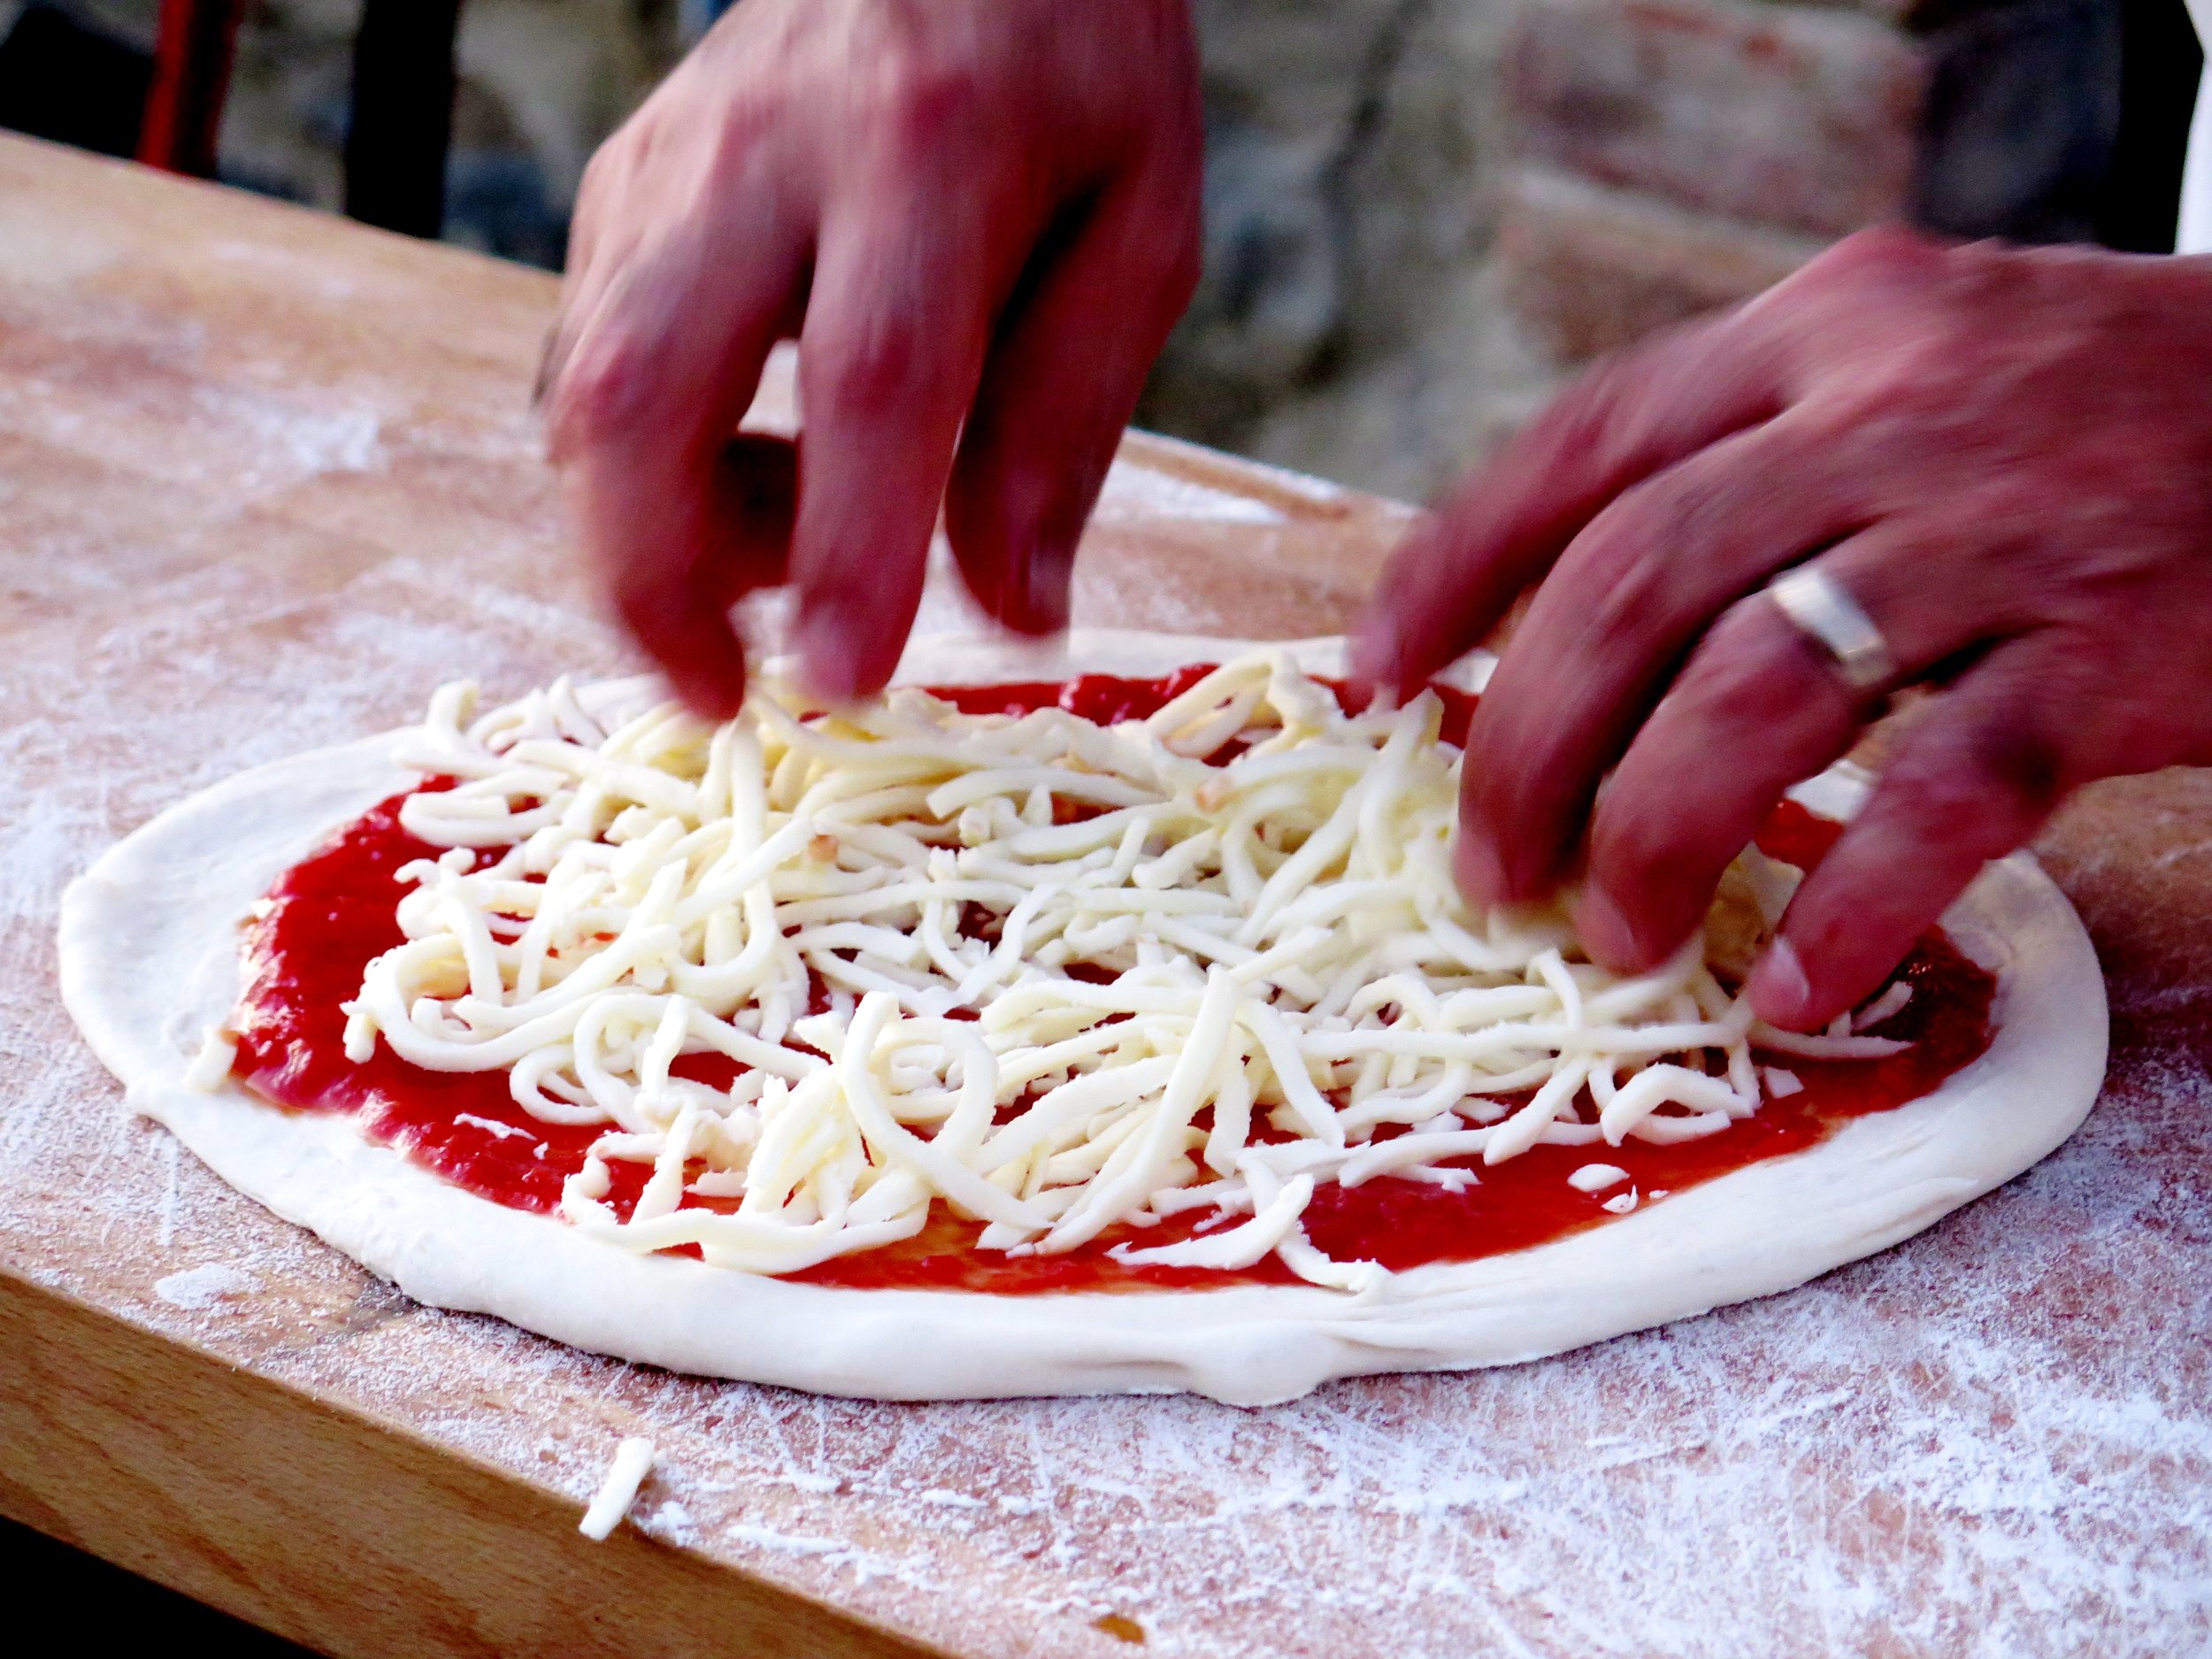
a shower of mozzarella,
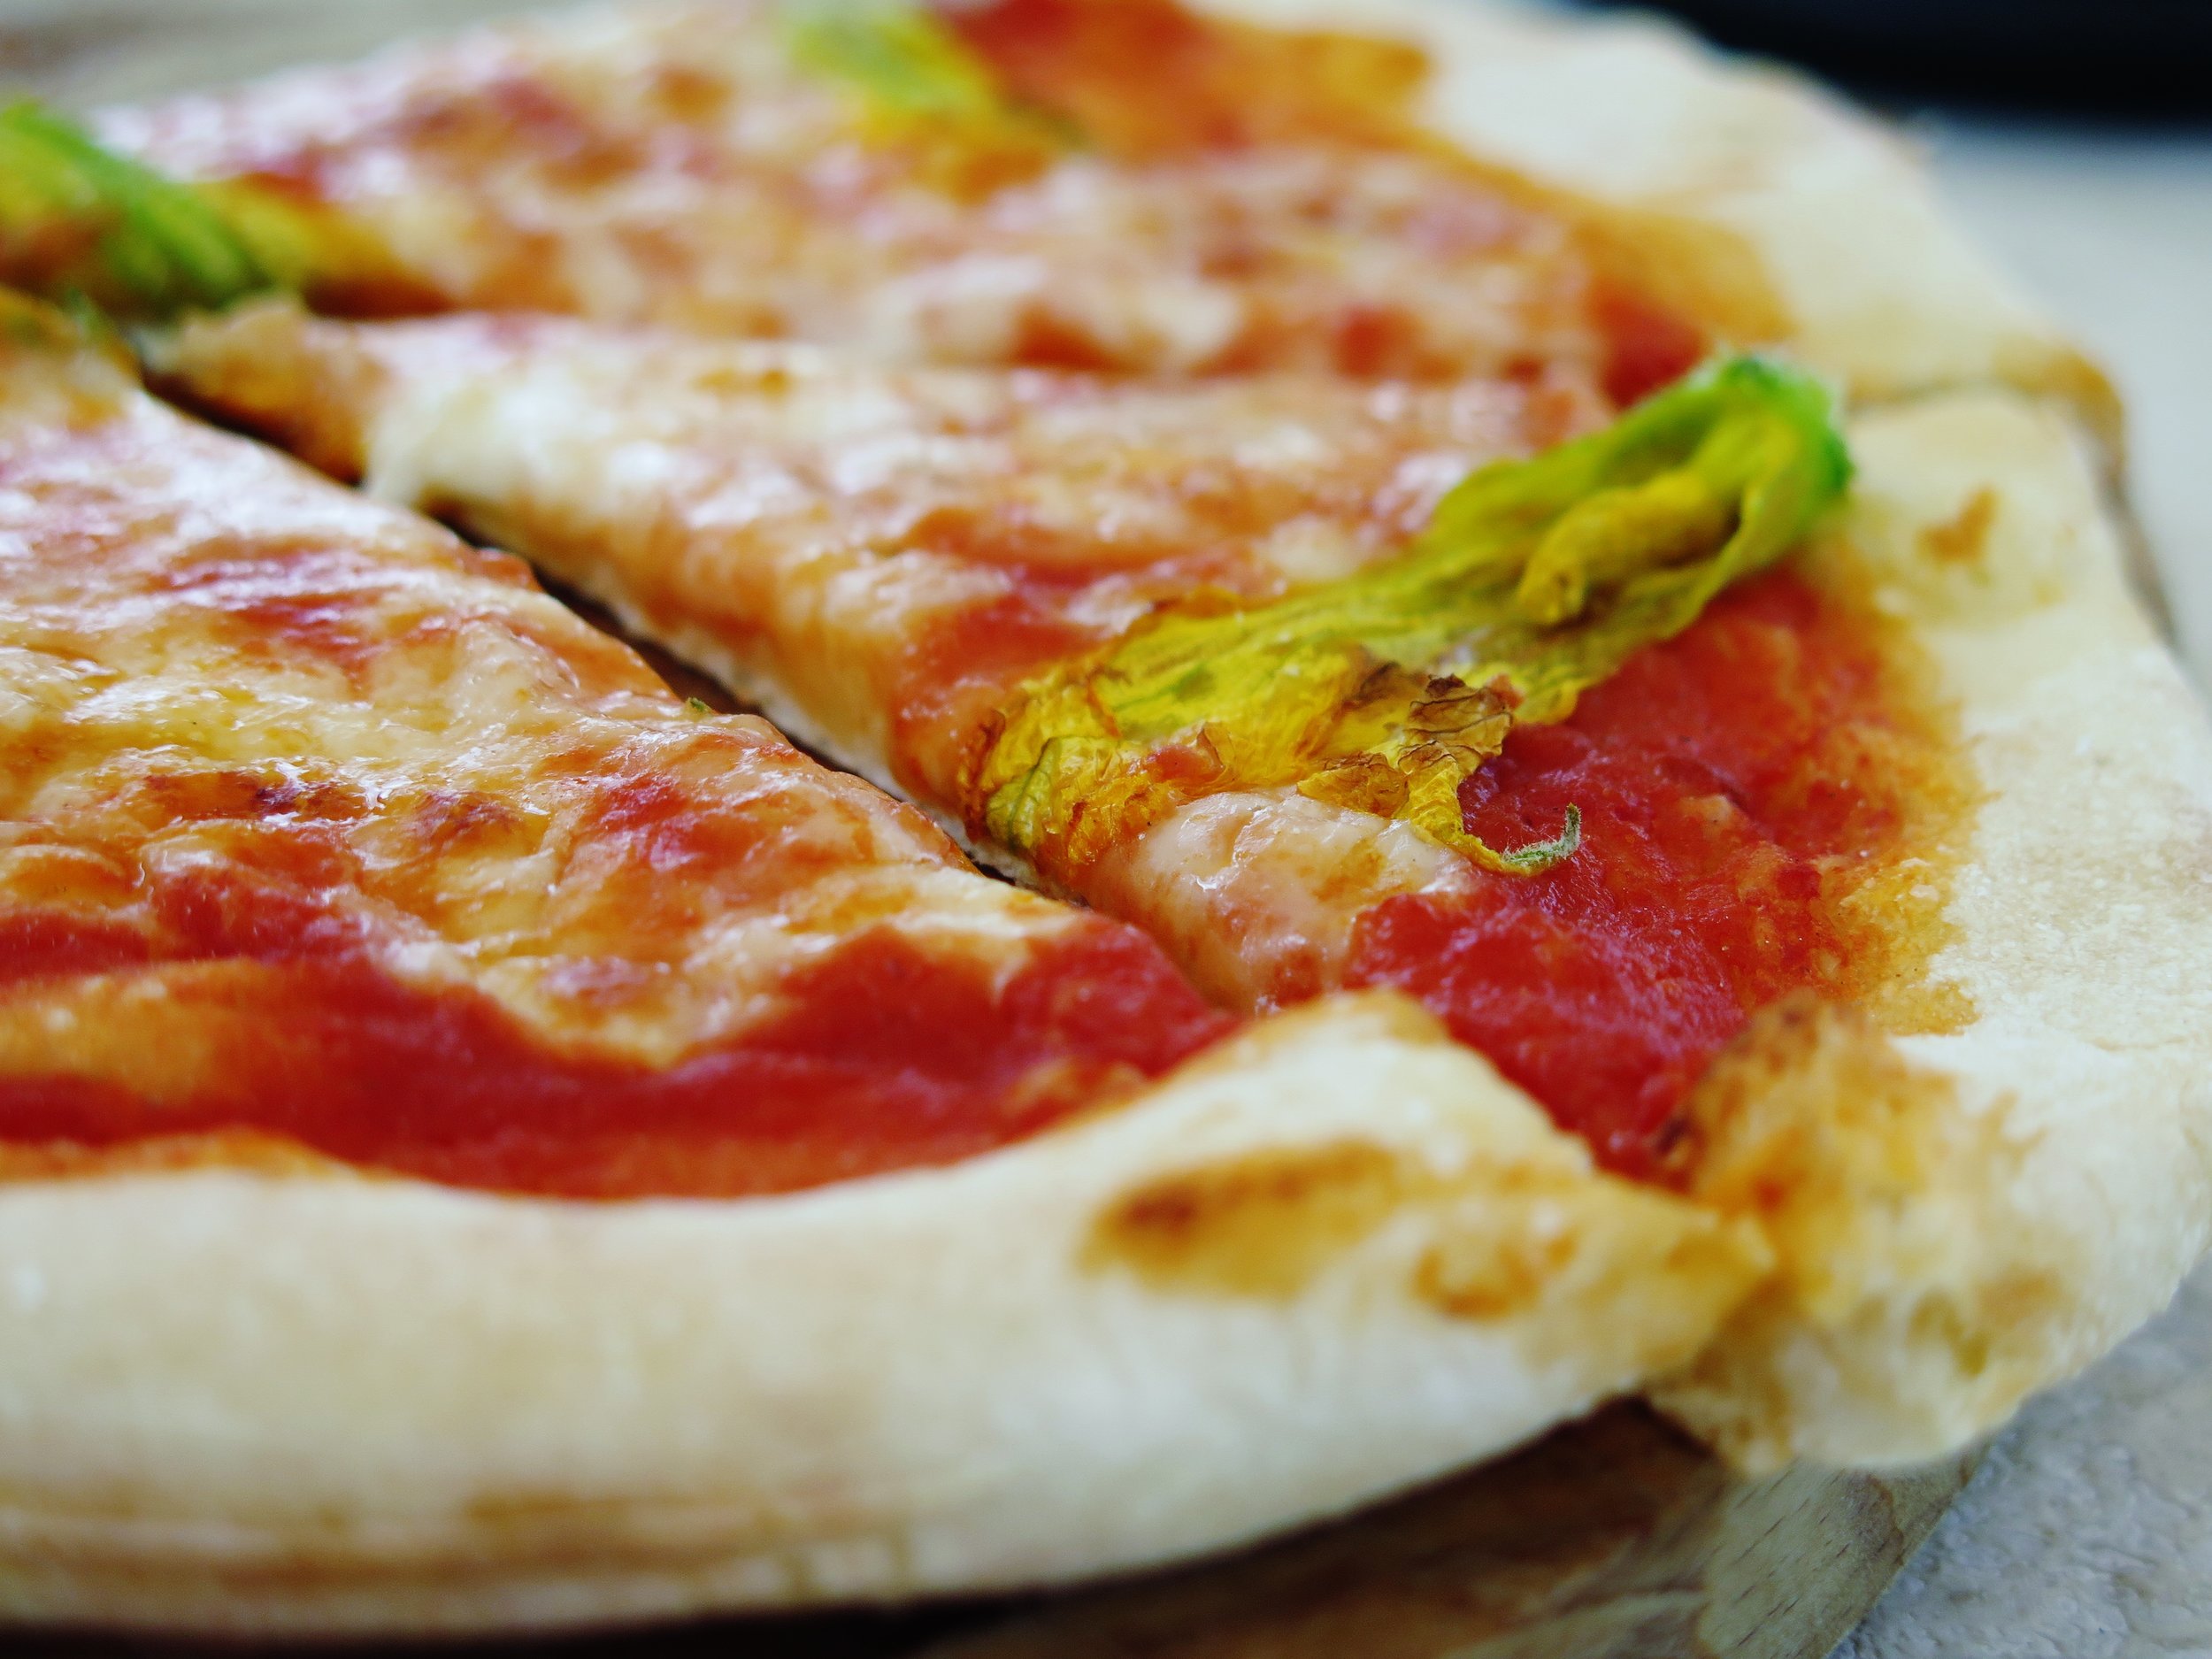
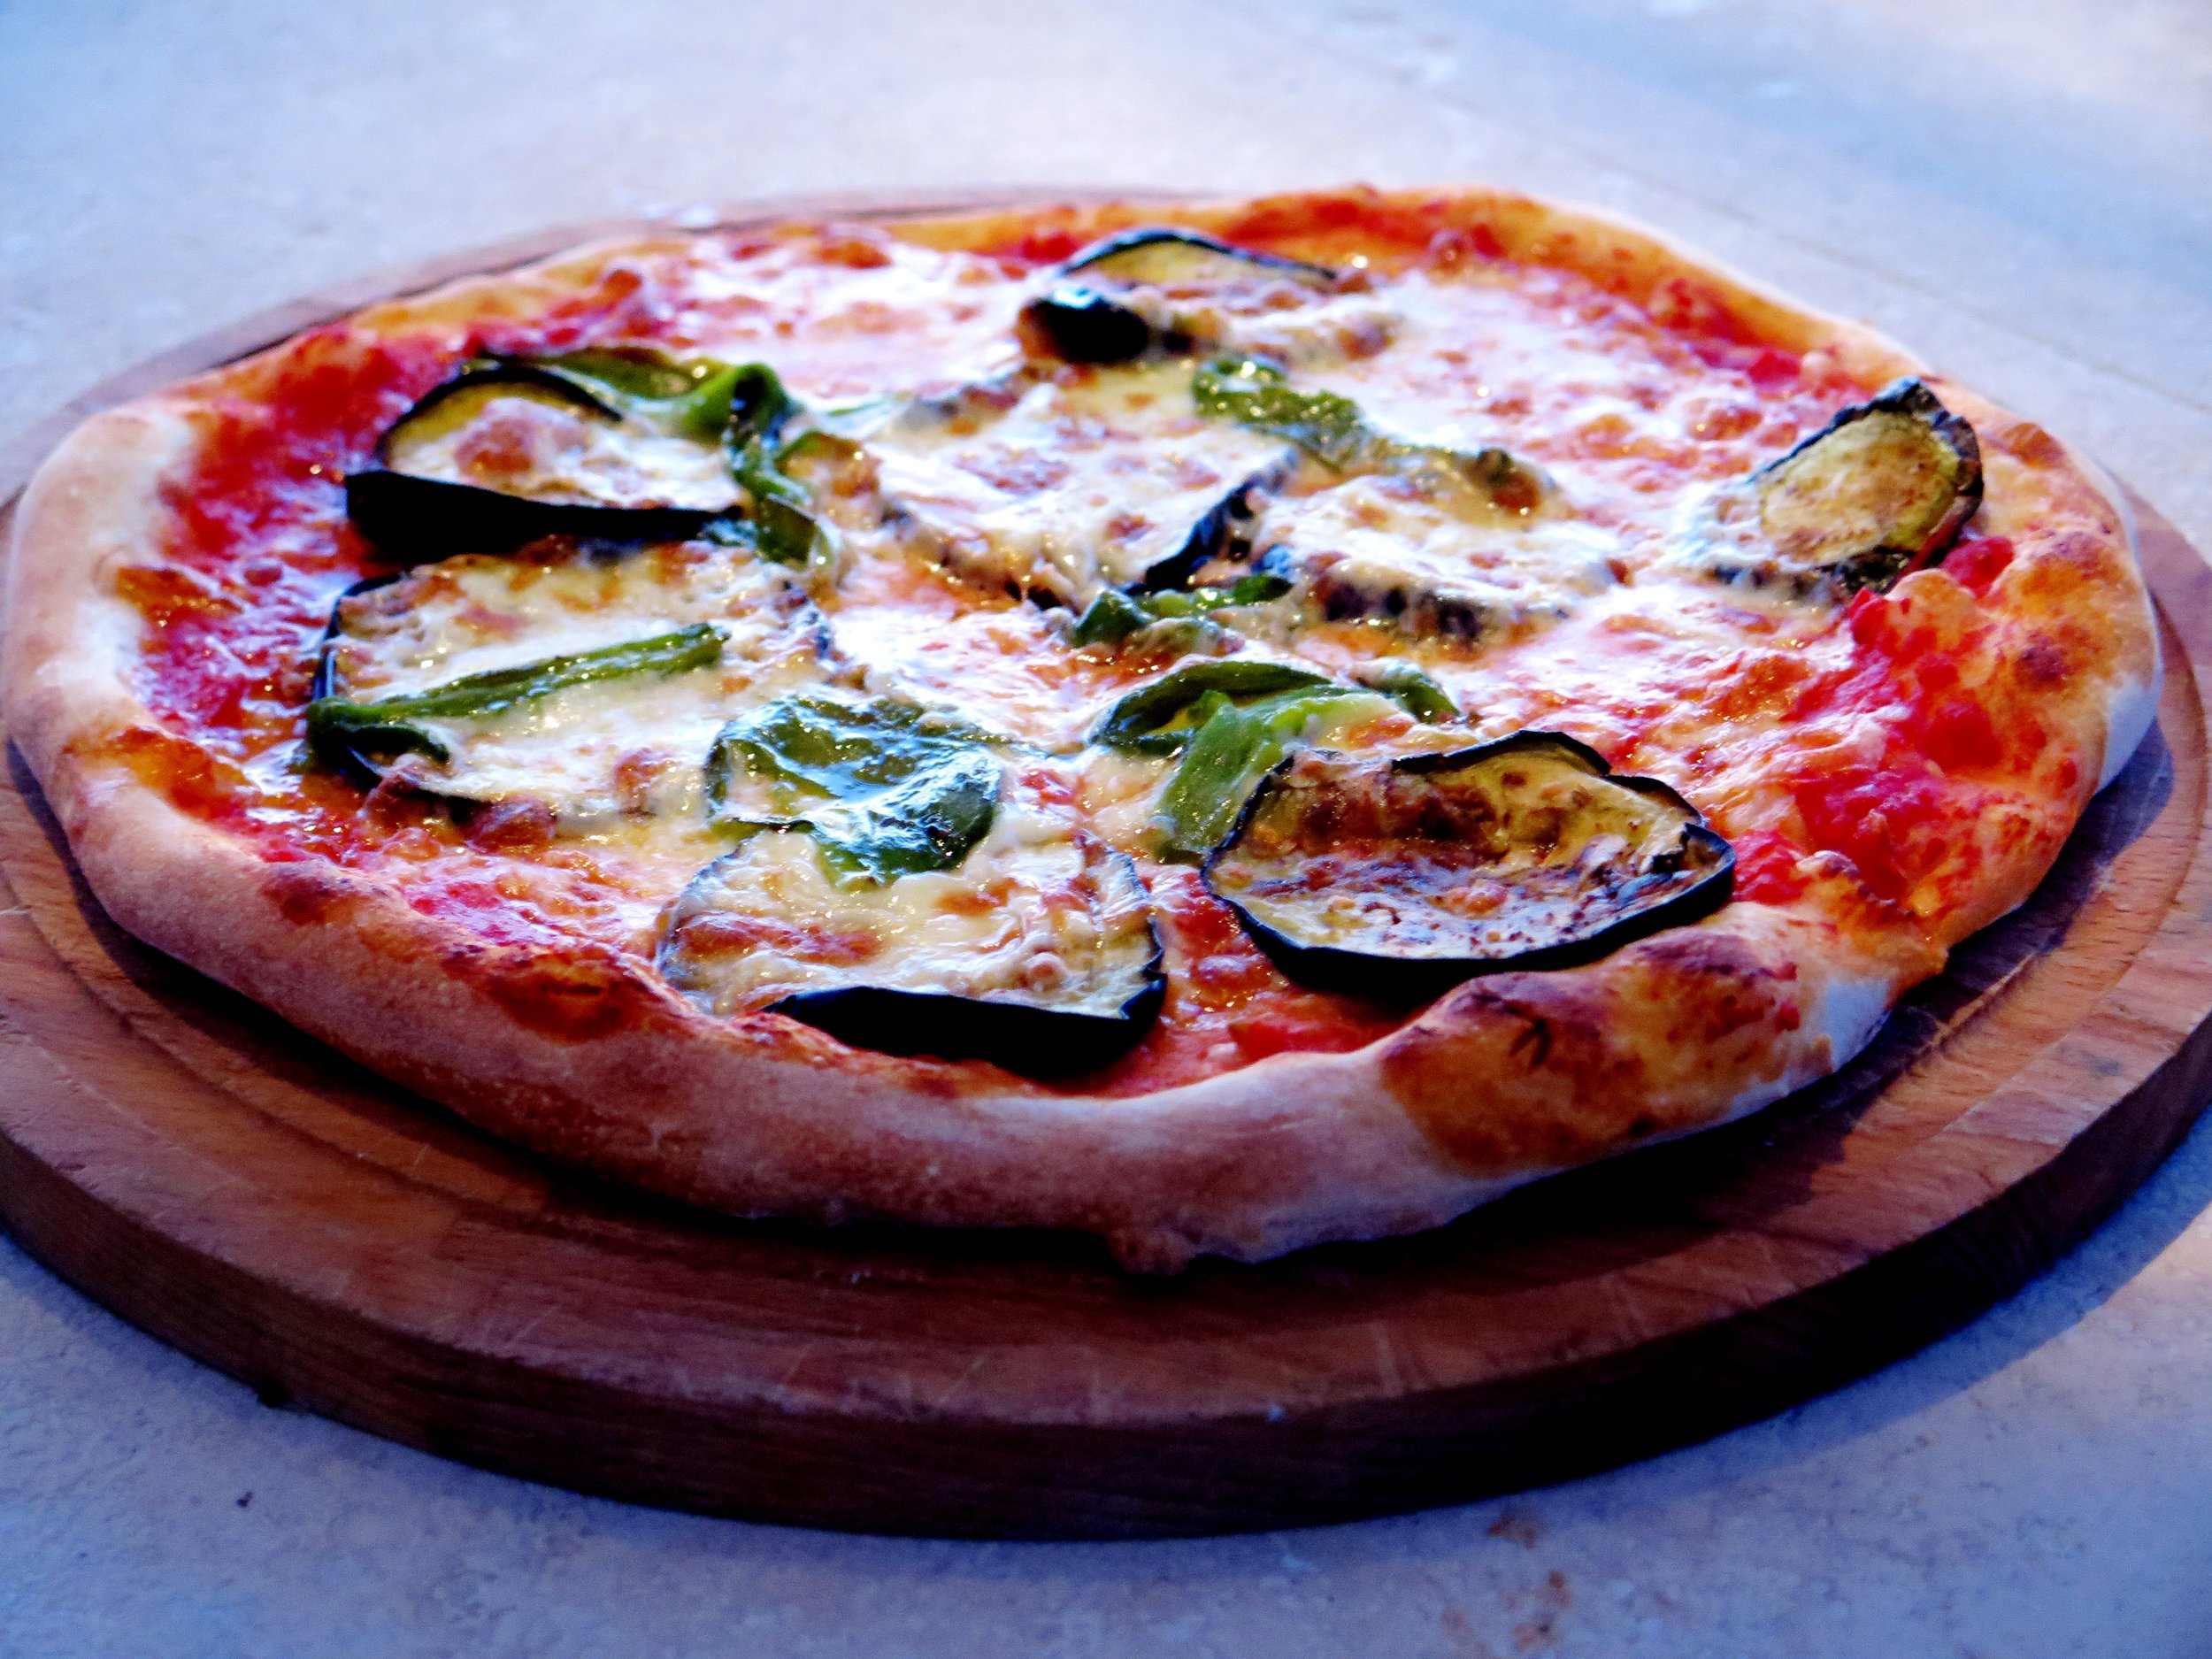
and a scattering of whatever’s in the garden: fiori di zucchini, melanzane, pepperoncini…

The flurry of flour continues into the night.

The dinner table is a moderation-free zone.

He only stops when even the strictest of eaters has lost count of the number of pizzas (not slices) he/she has consumed, and physical incapacity is the only limitation.
He doesn’t even really stop there: a couple more are sent to the table per domani.
A pizza “hangover” ensues along with the inevitable promises of “never again” “not for another year”.
But as soon as I hit London soil again I want to relieve that pizza-lover’s fantasy and so I make these.
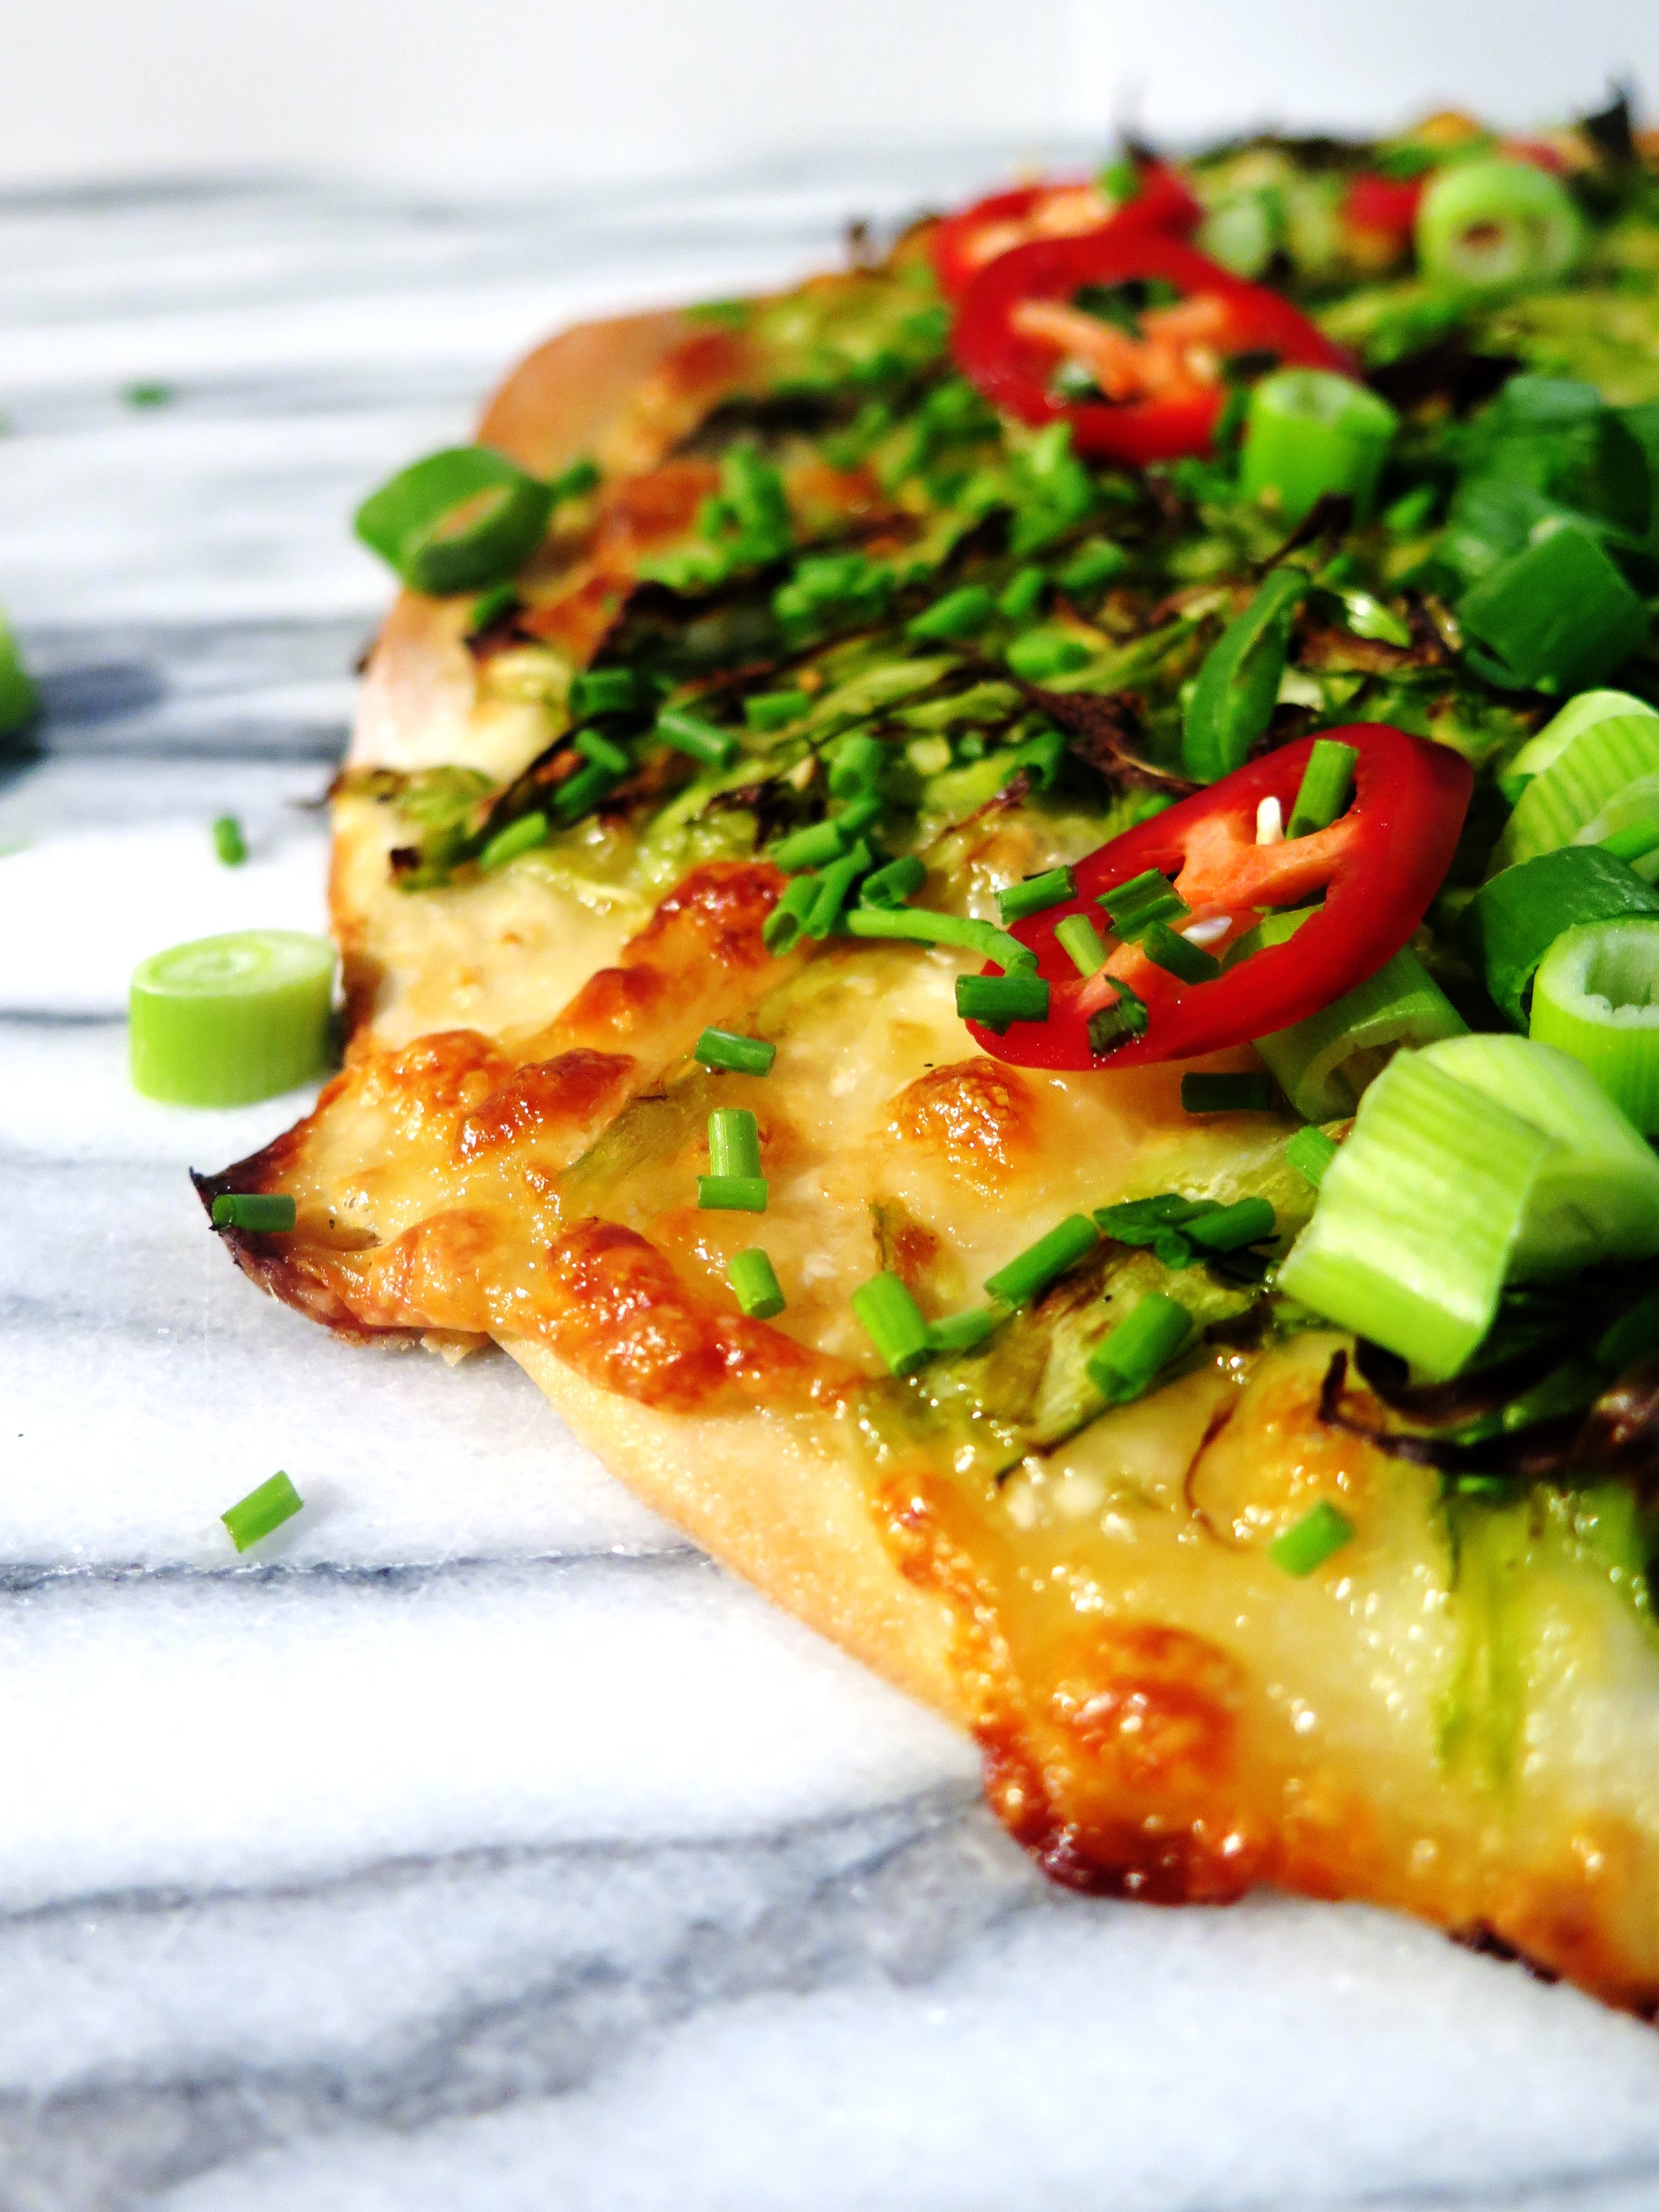
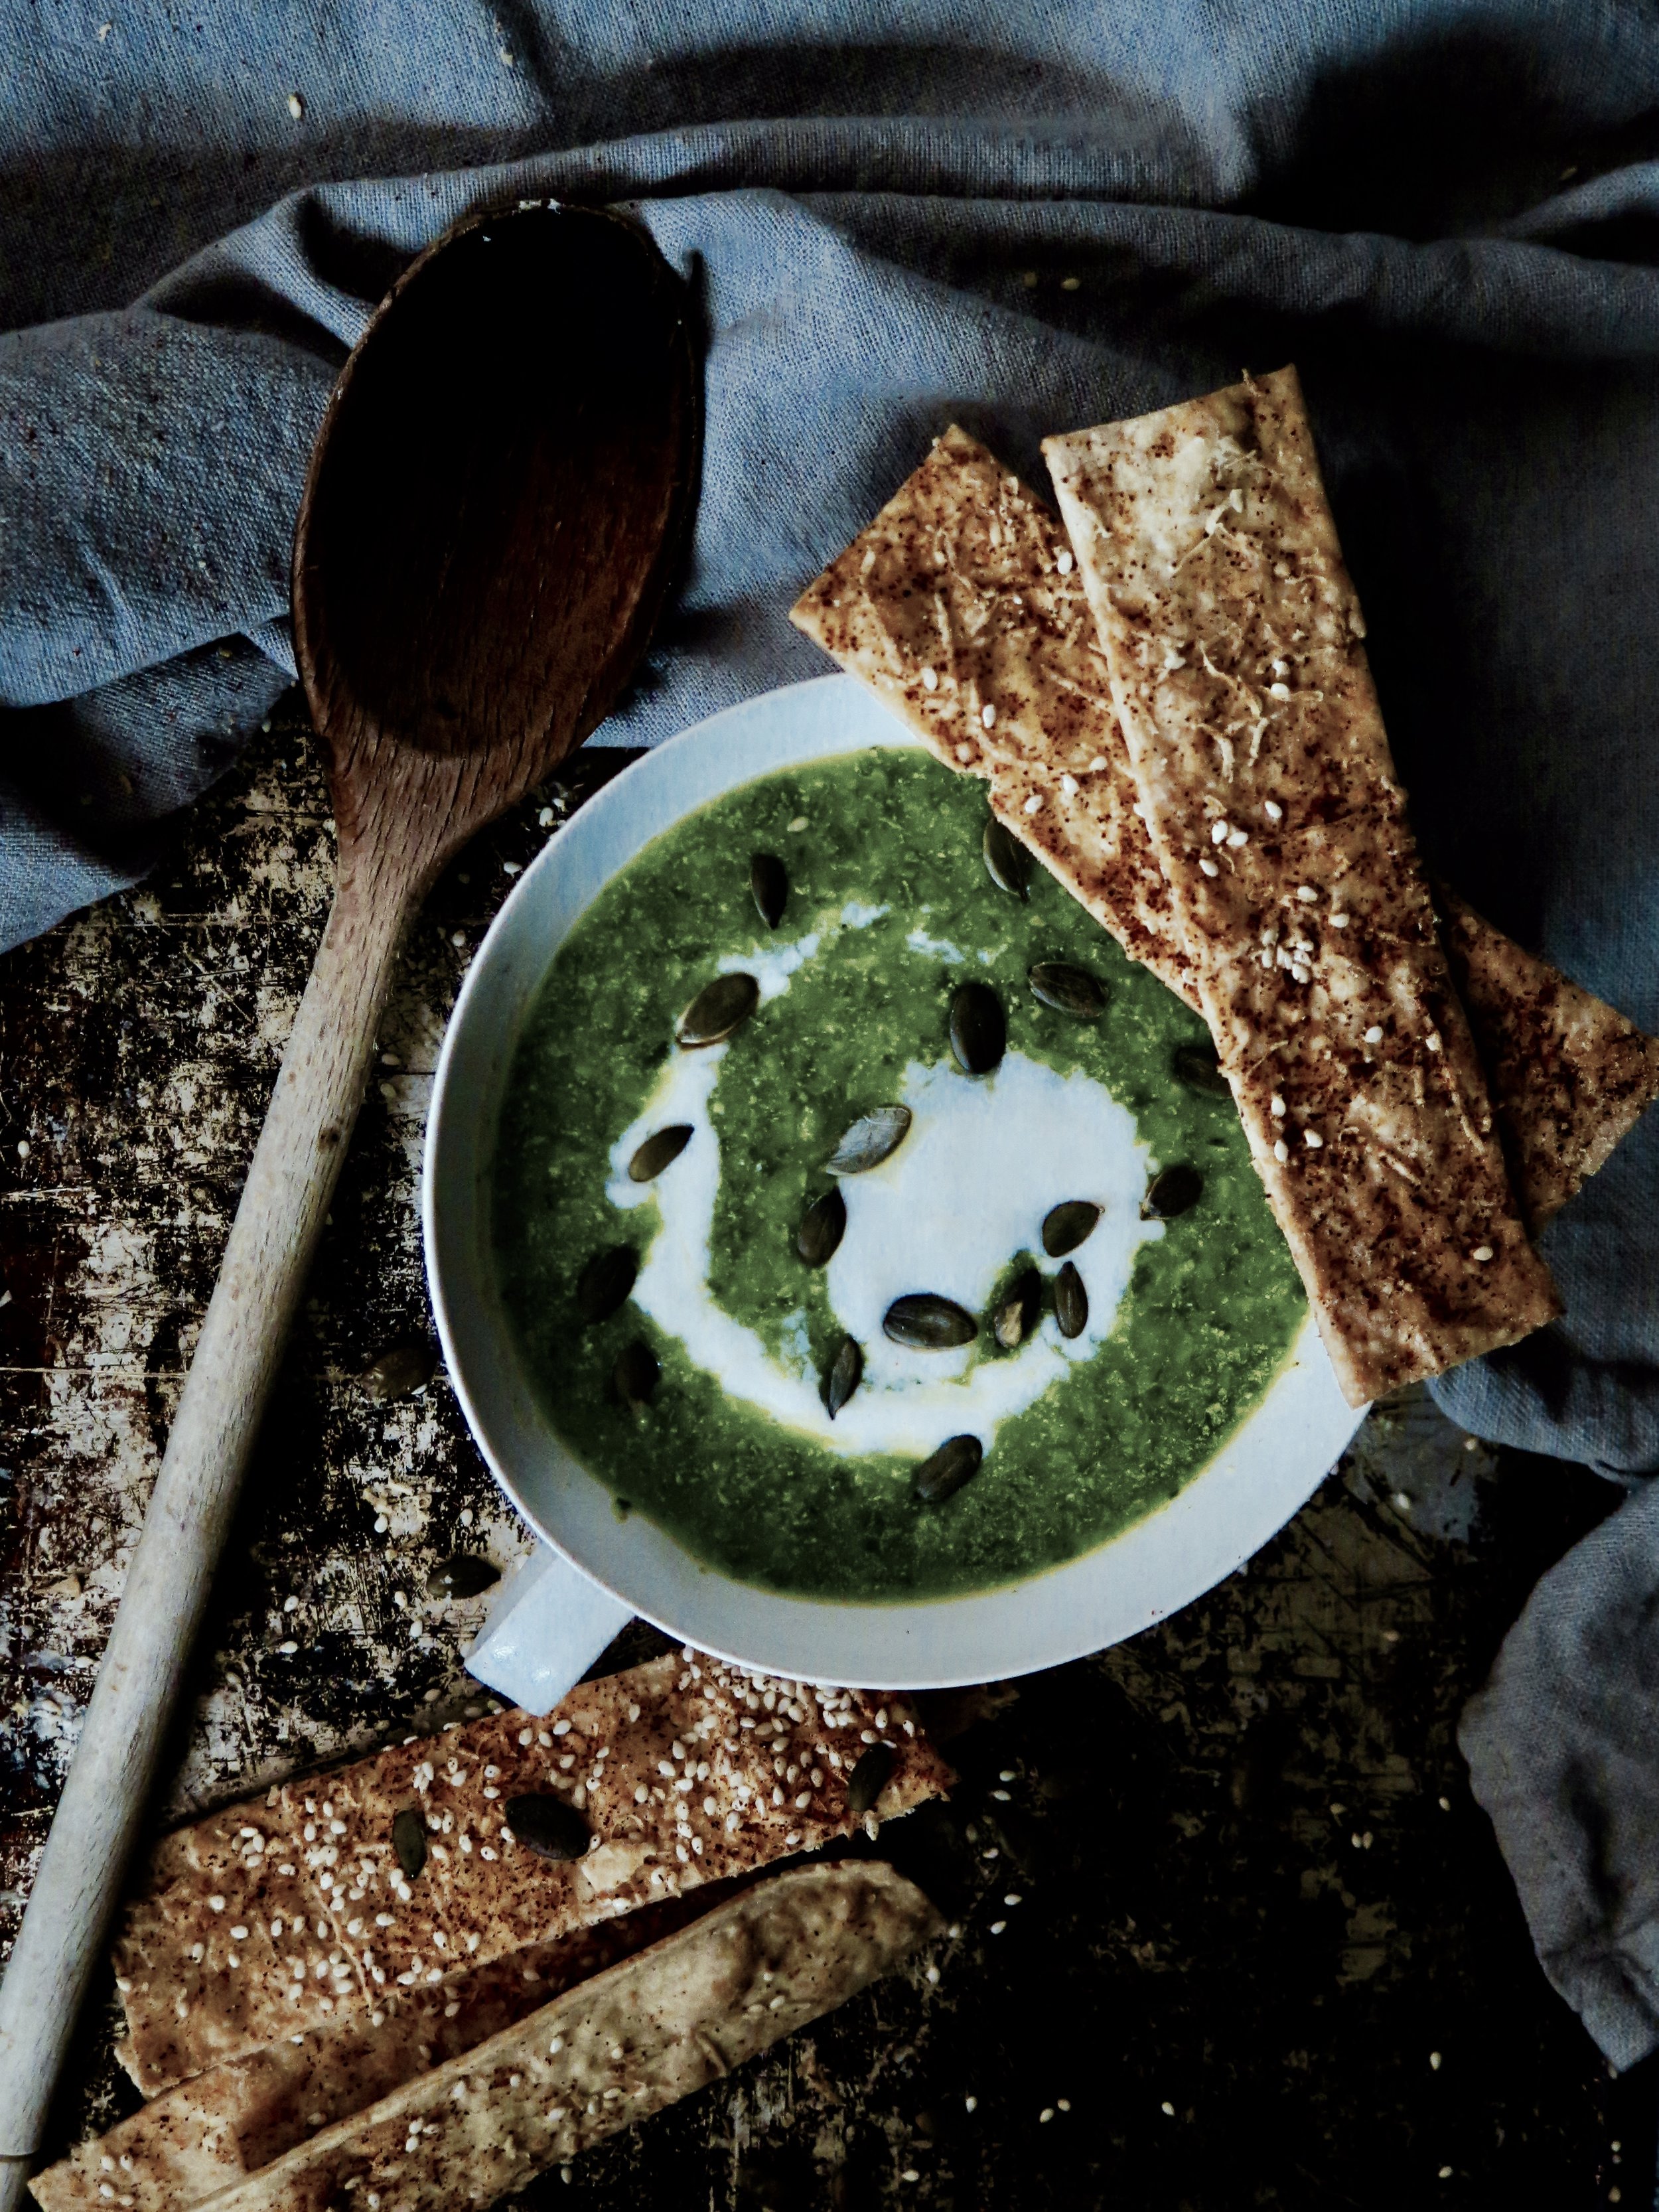
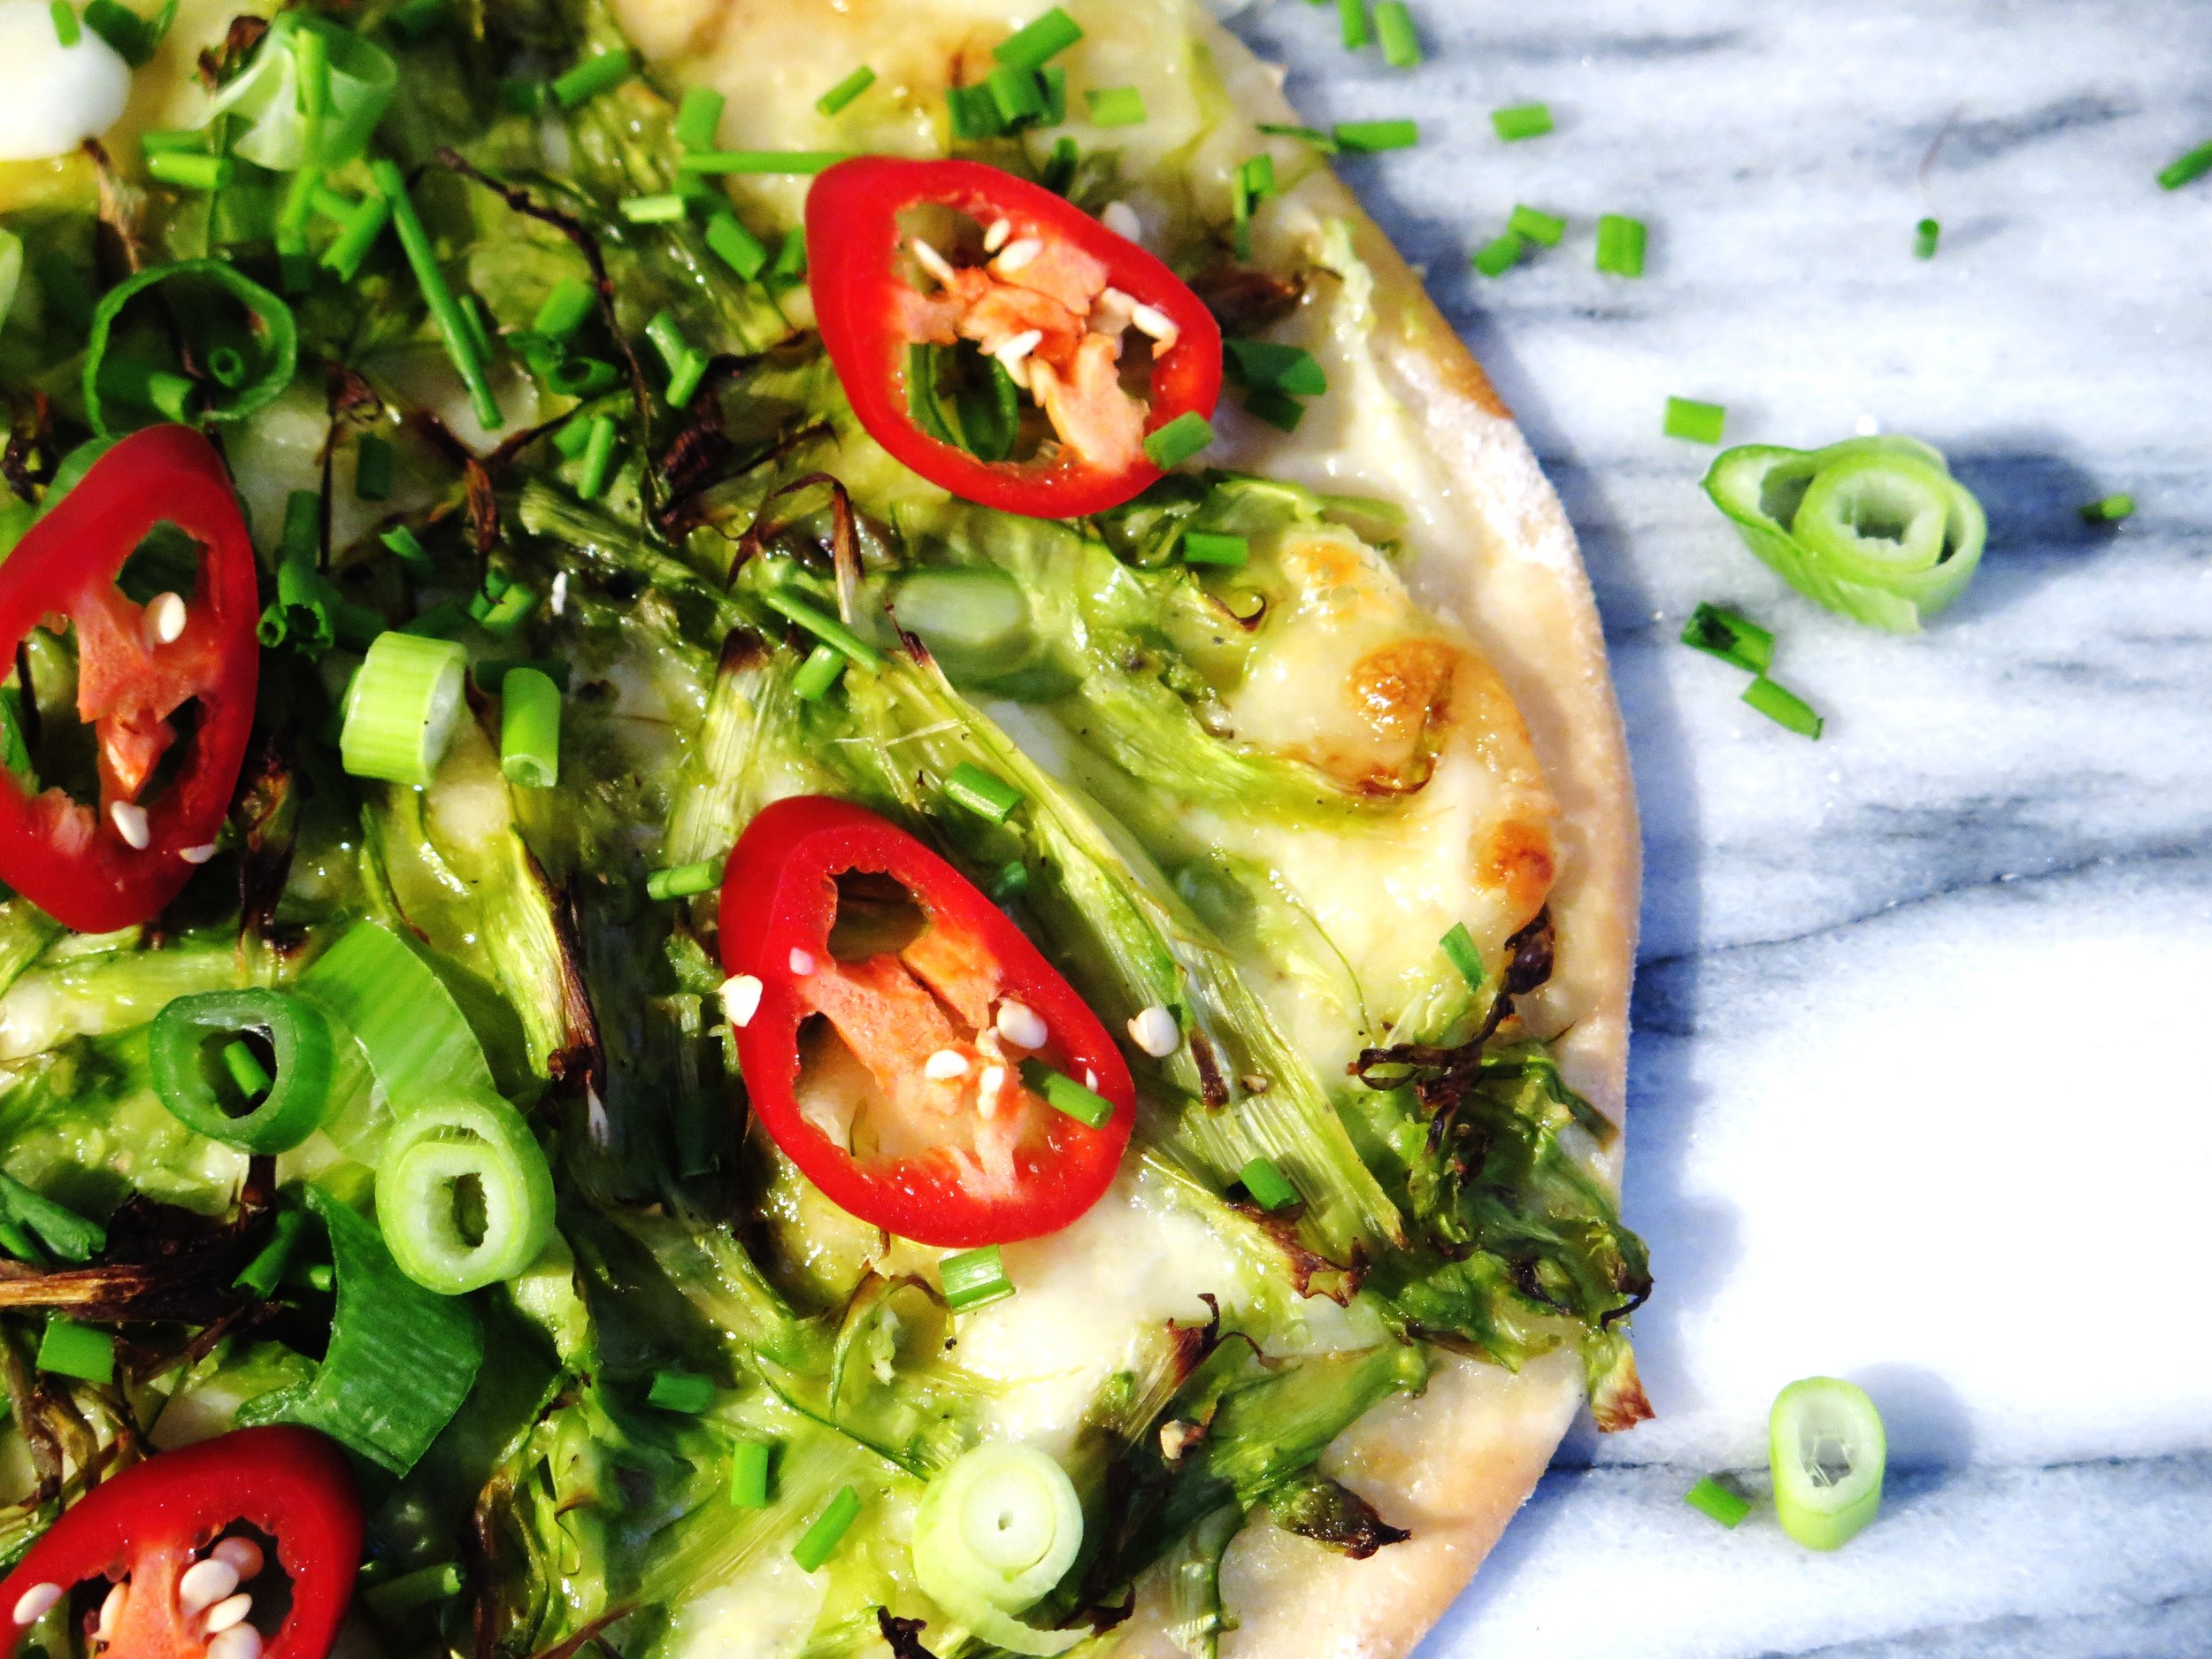
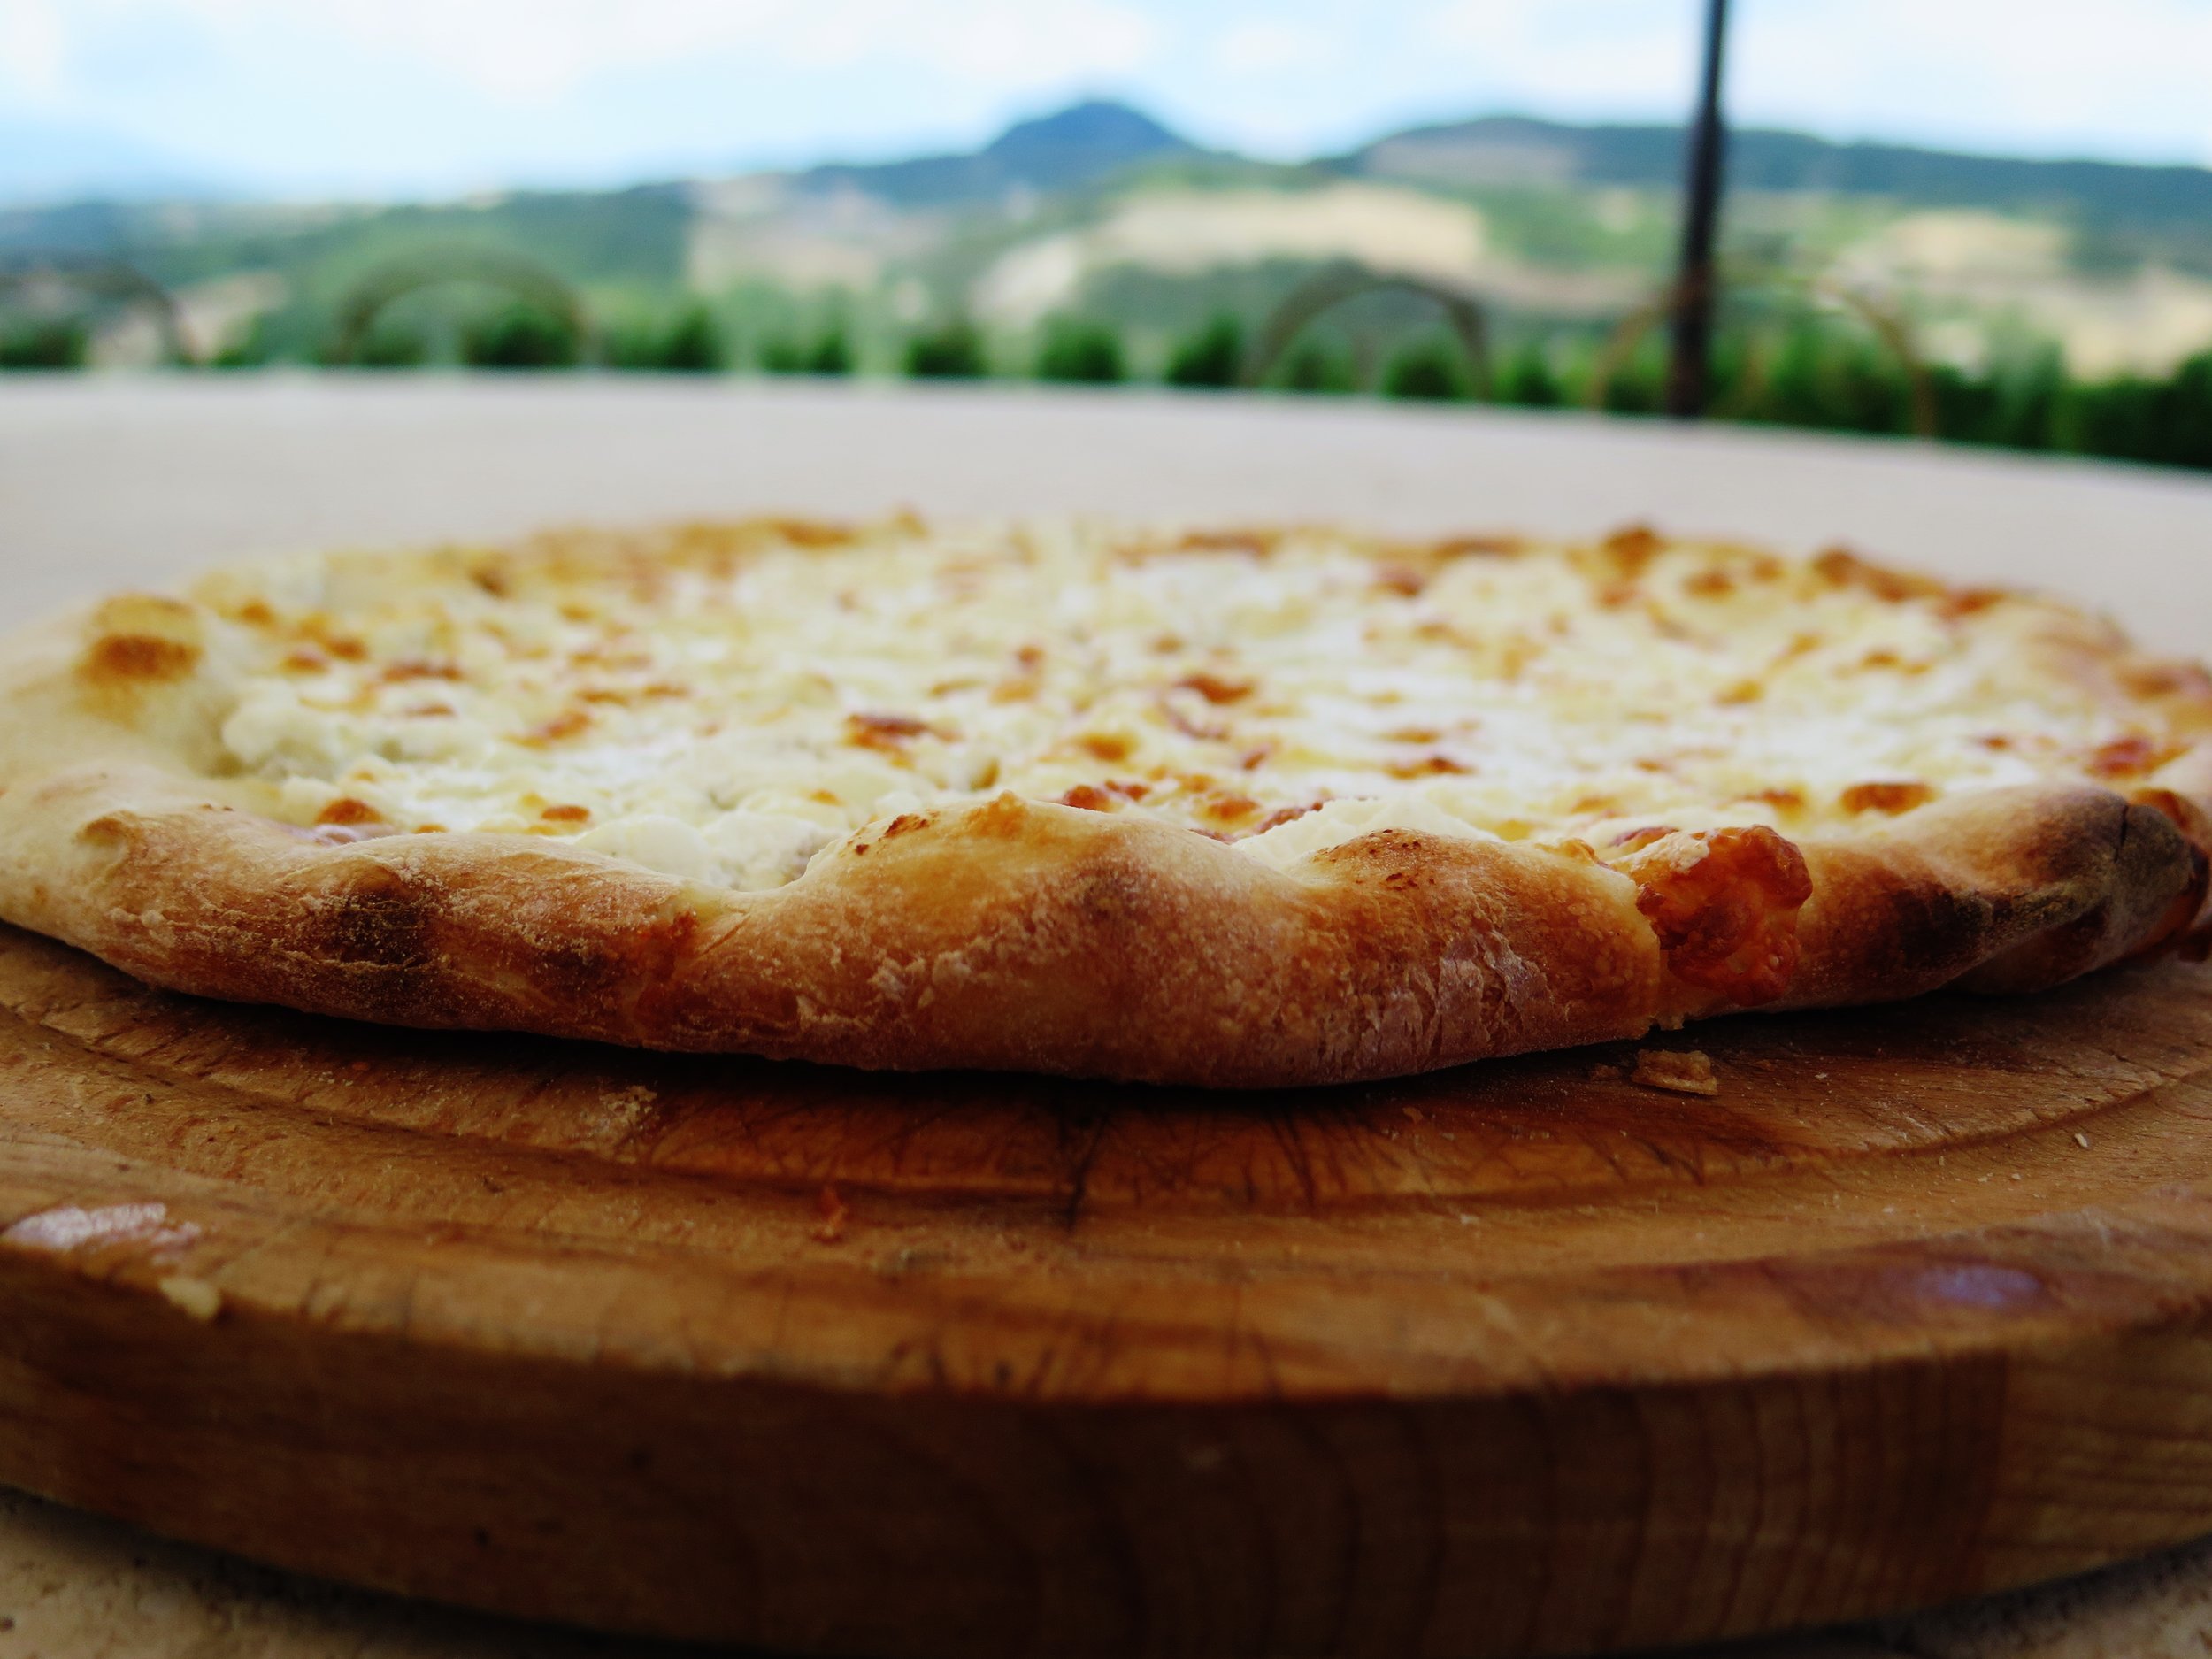
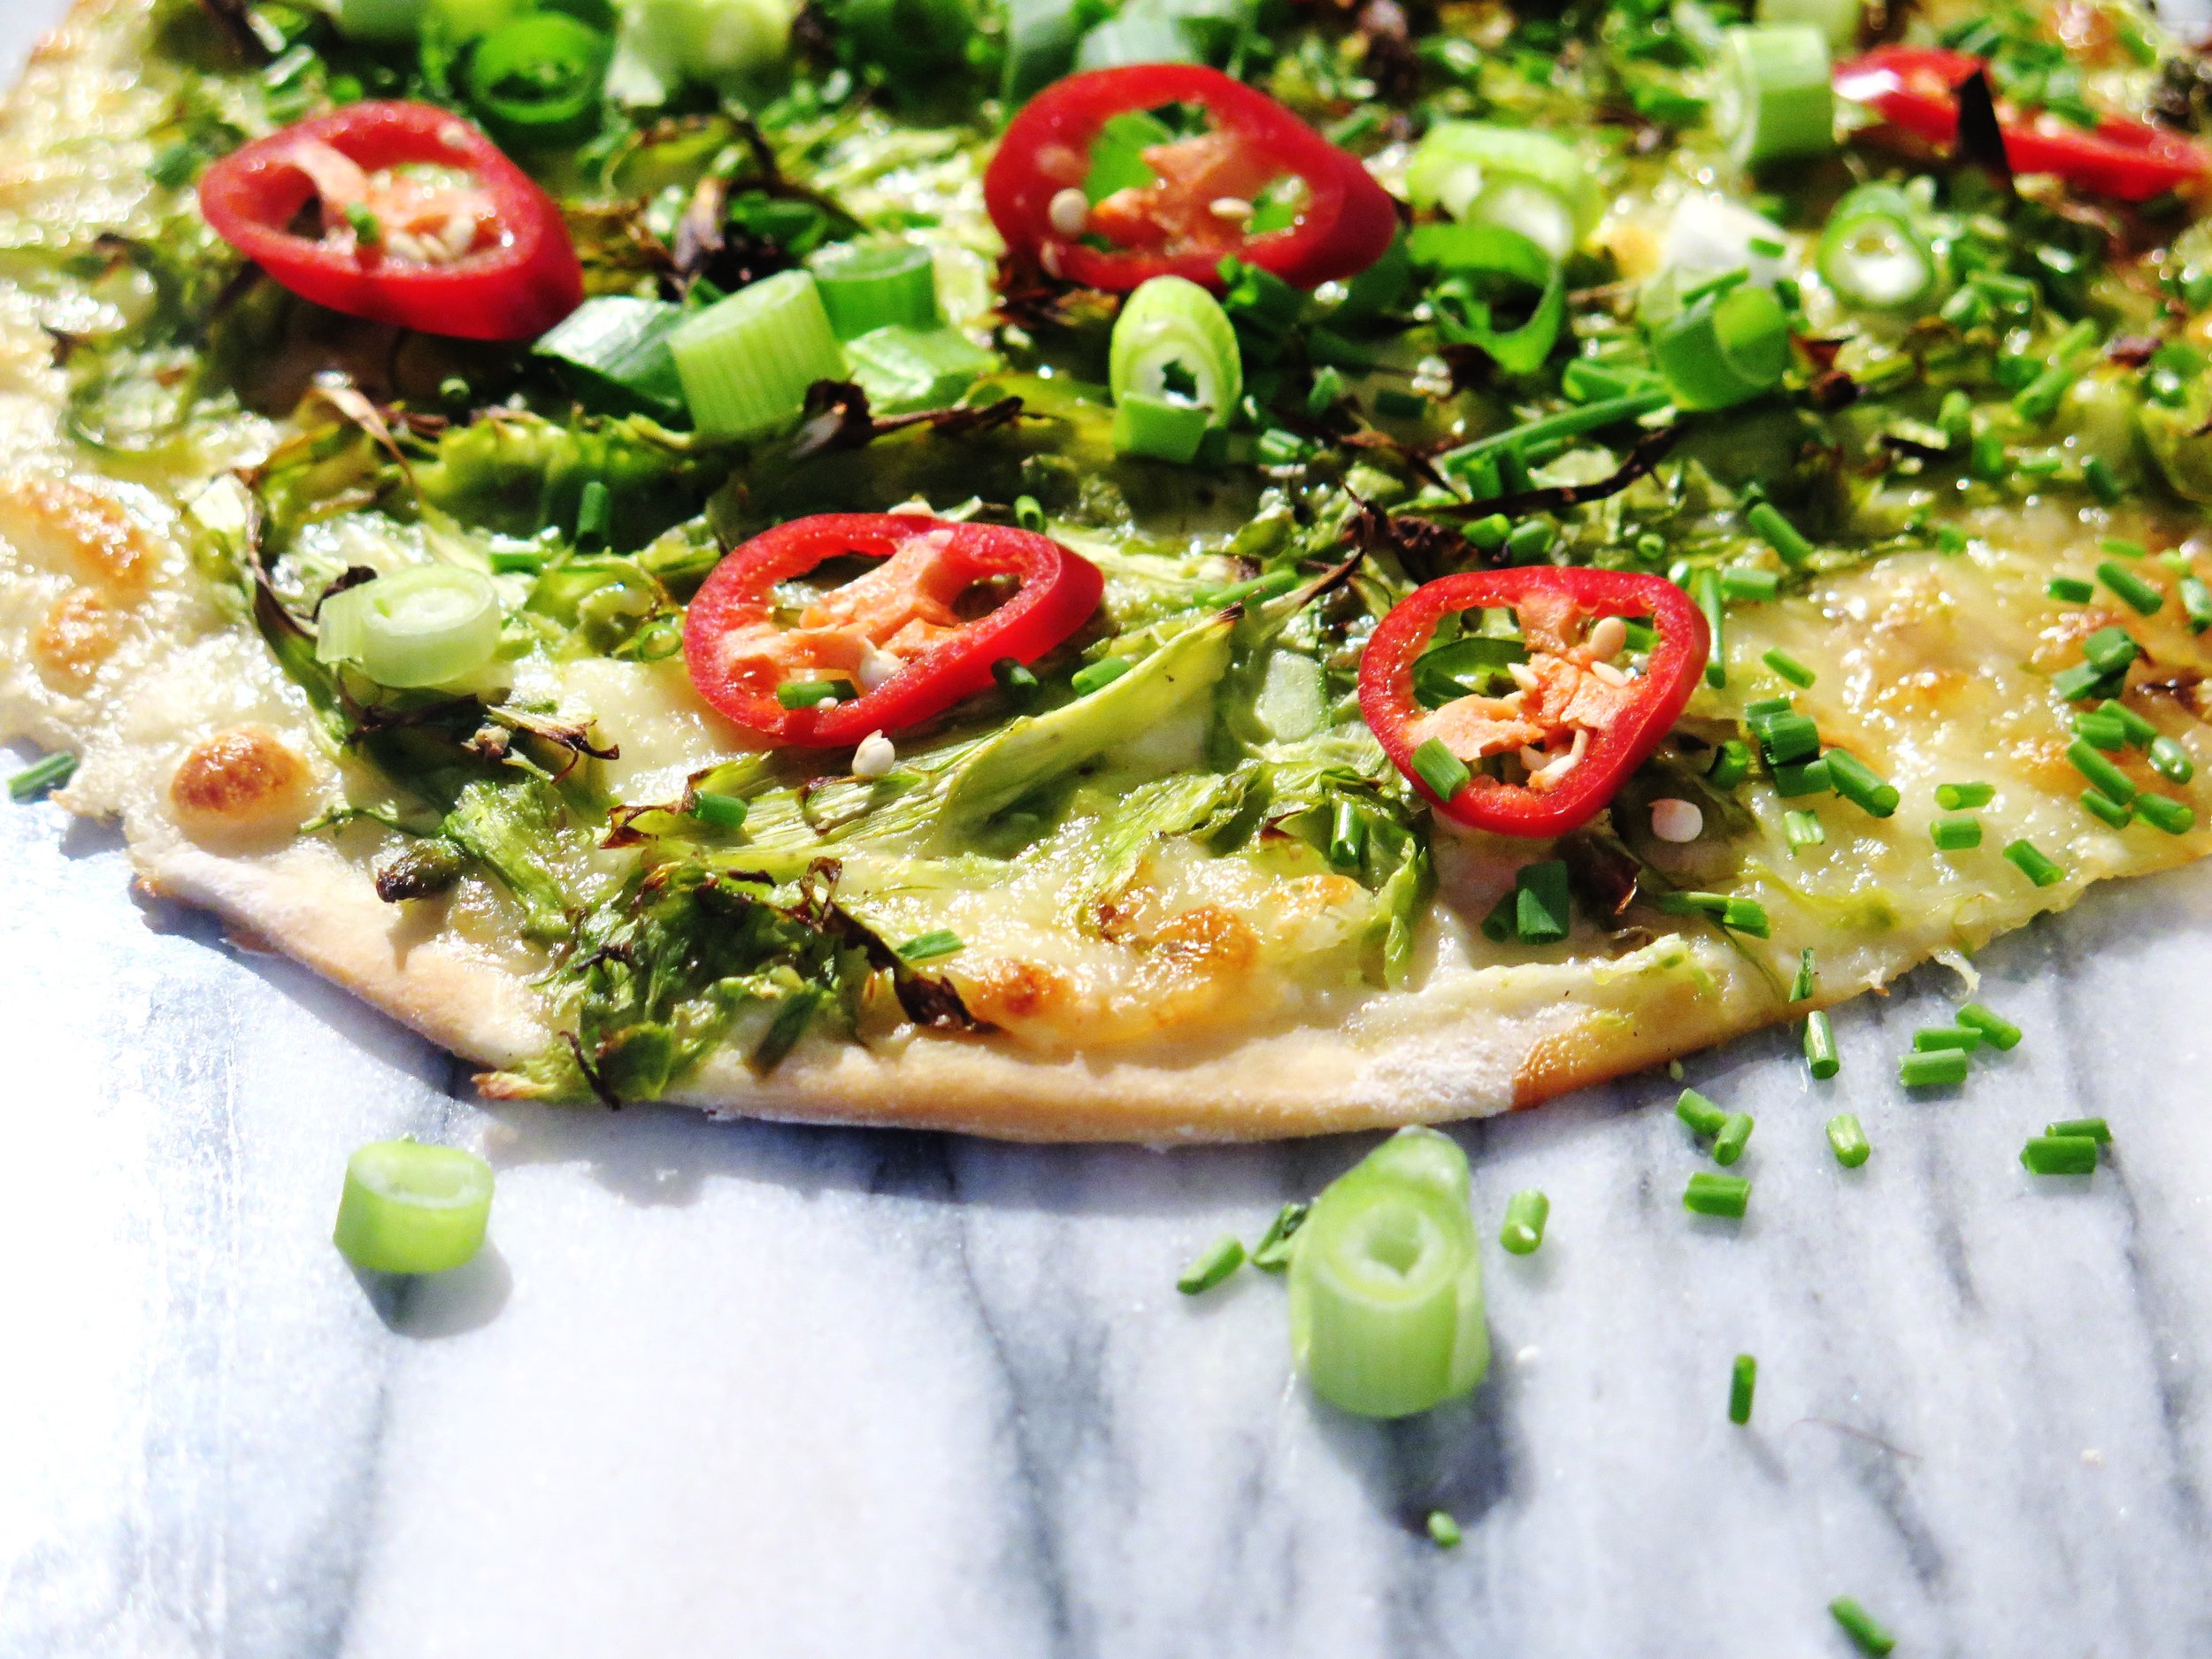
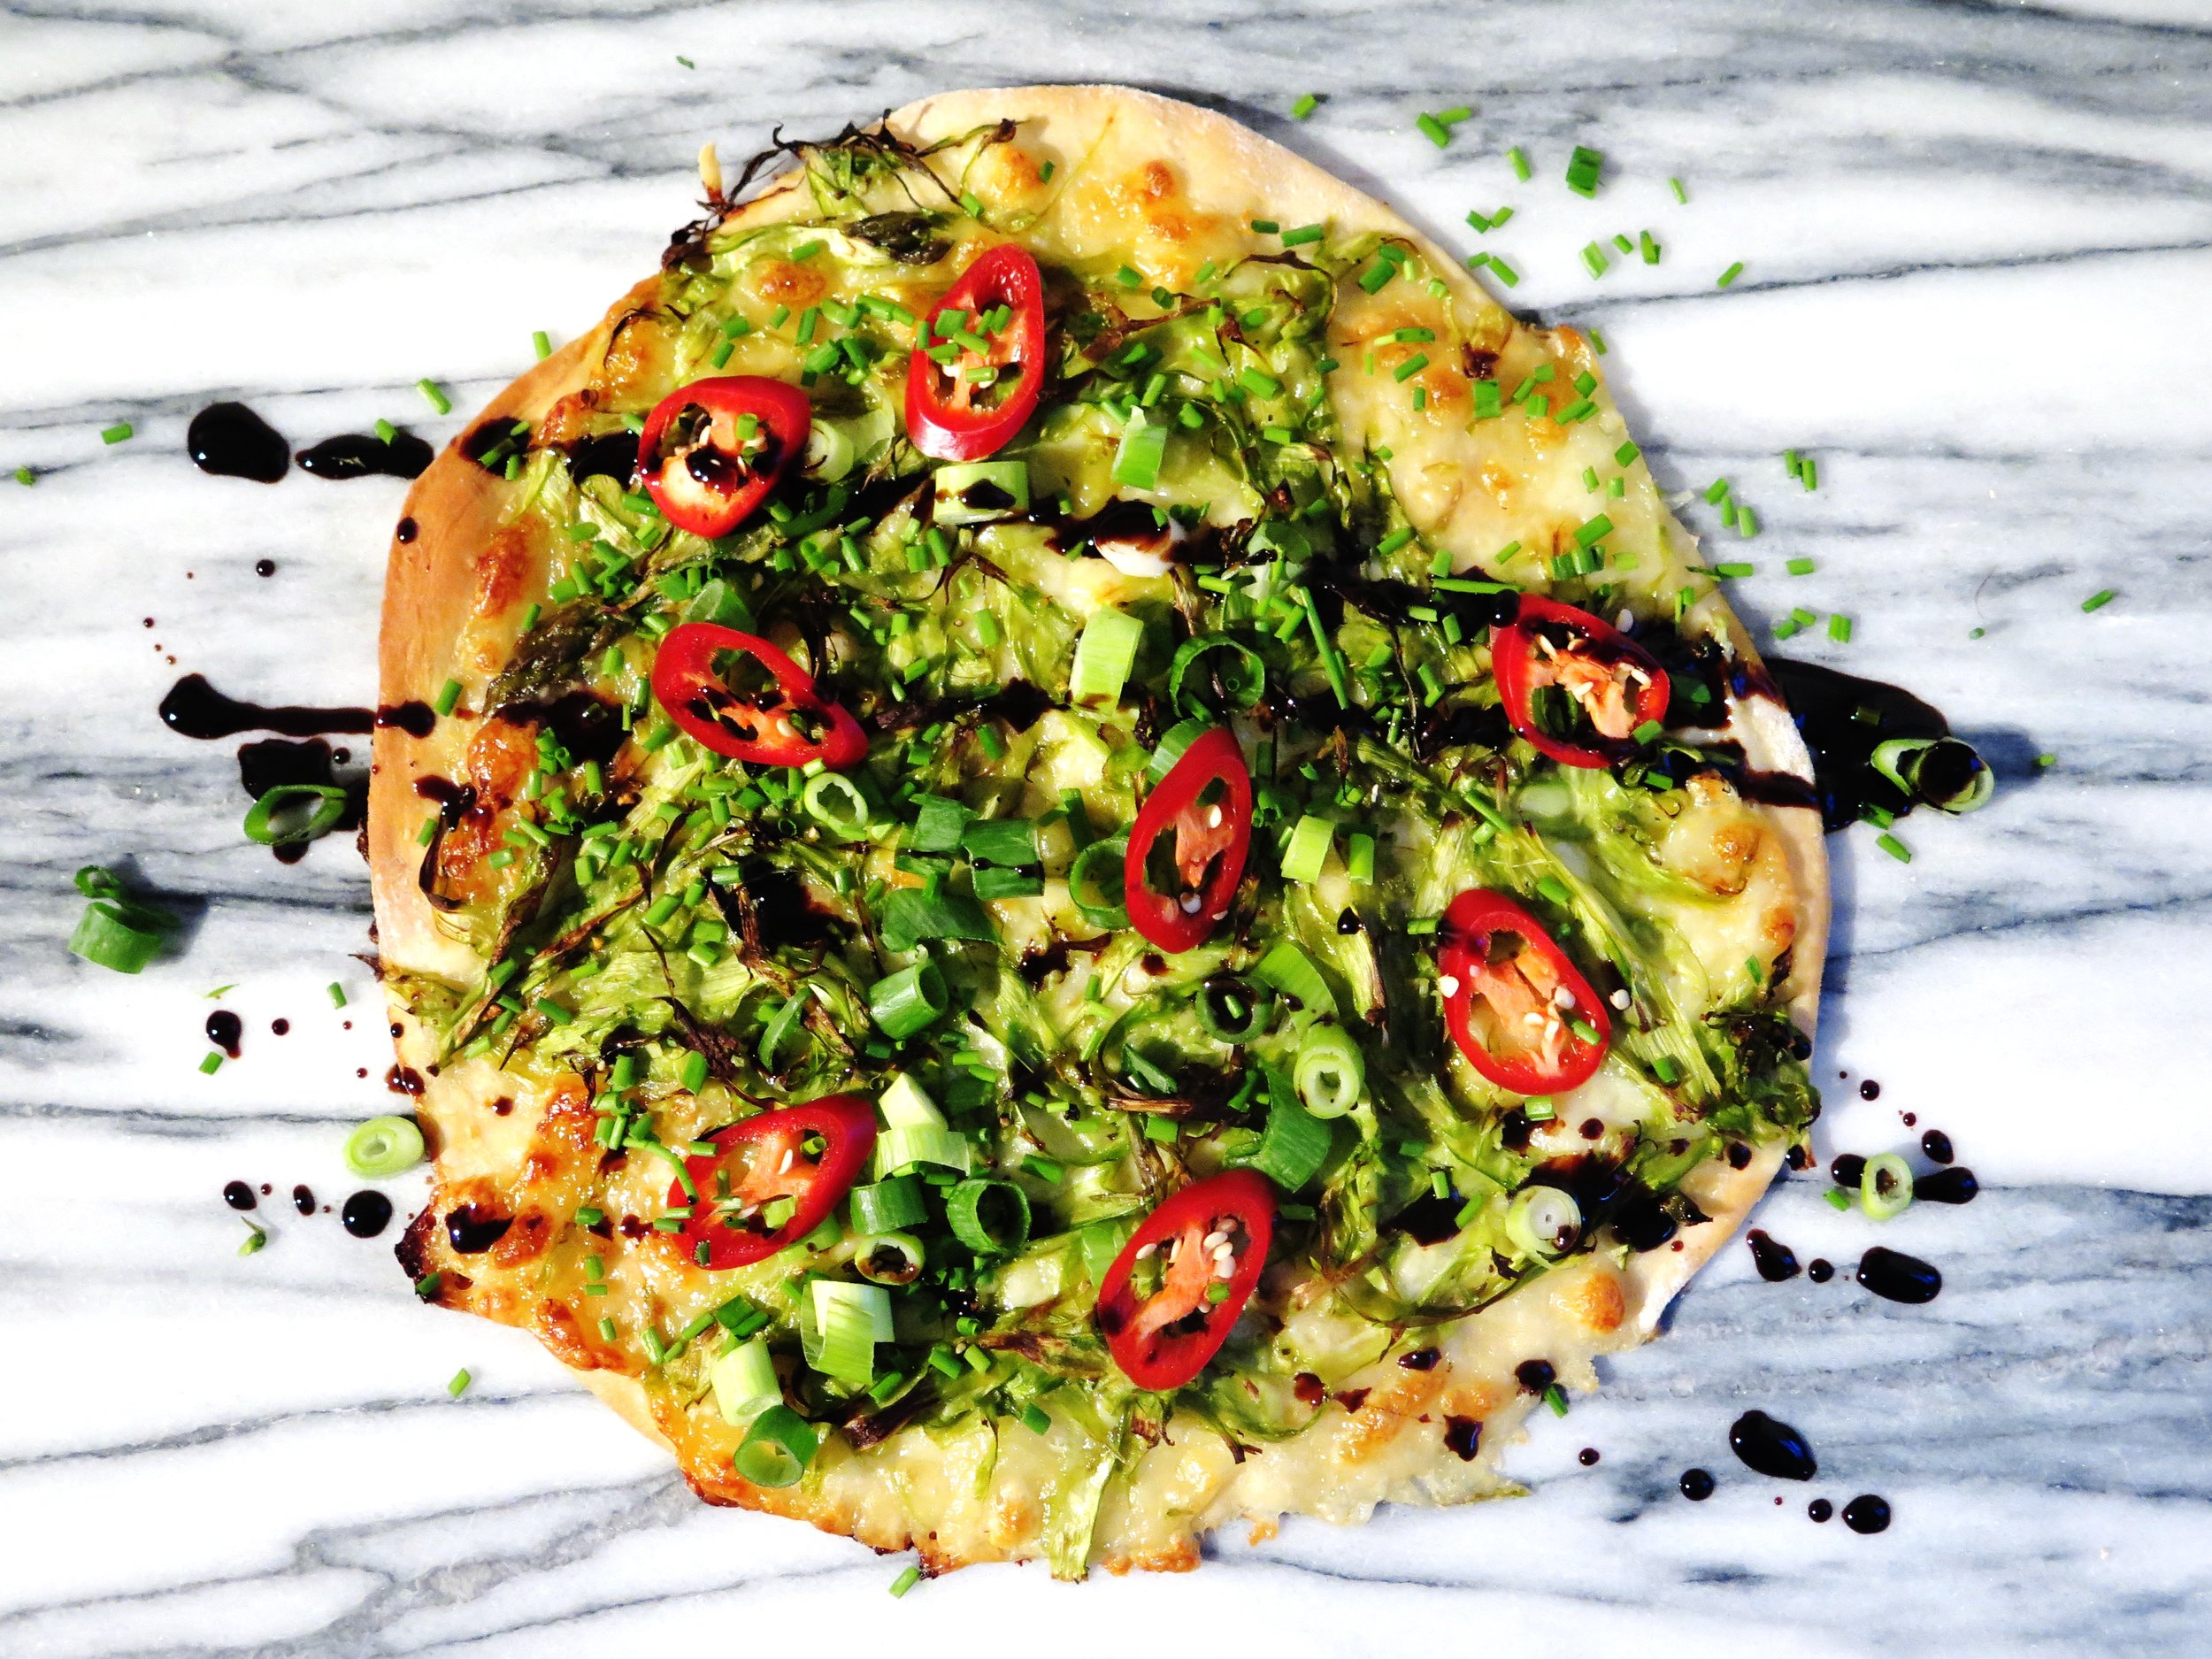
They’re crisp, thin, verdant, and fresh.

I don’t believe in barren crusts or meanness so the ingredients are abundant and go right up to and beyond the edge of the base.

I use spelt instead of plain flour (as usual) to reduce the GI level and add a nuttier more complex flavour to the dough.
The added bonus of this recipe is that it is ridiculously quick. Kneading is kept to a minimum (5 minutes) and the rising time is the shortest you’ll ever find for pizza dough – ½ hour.
The balsamic-maple reduction is optional but I include it to add extra caramelised sweetness, extra tang and a touch of drama.


Ingredients – makes 4 pizzas
Base
250ml warm water
3 tsp dried yeast (fast active yeast)
500g white spelt flour
1 ½ tsp salt
1 tbsp olive oil
Topping
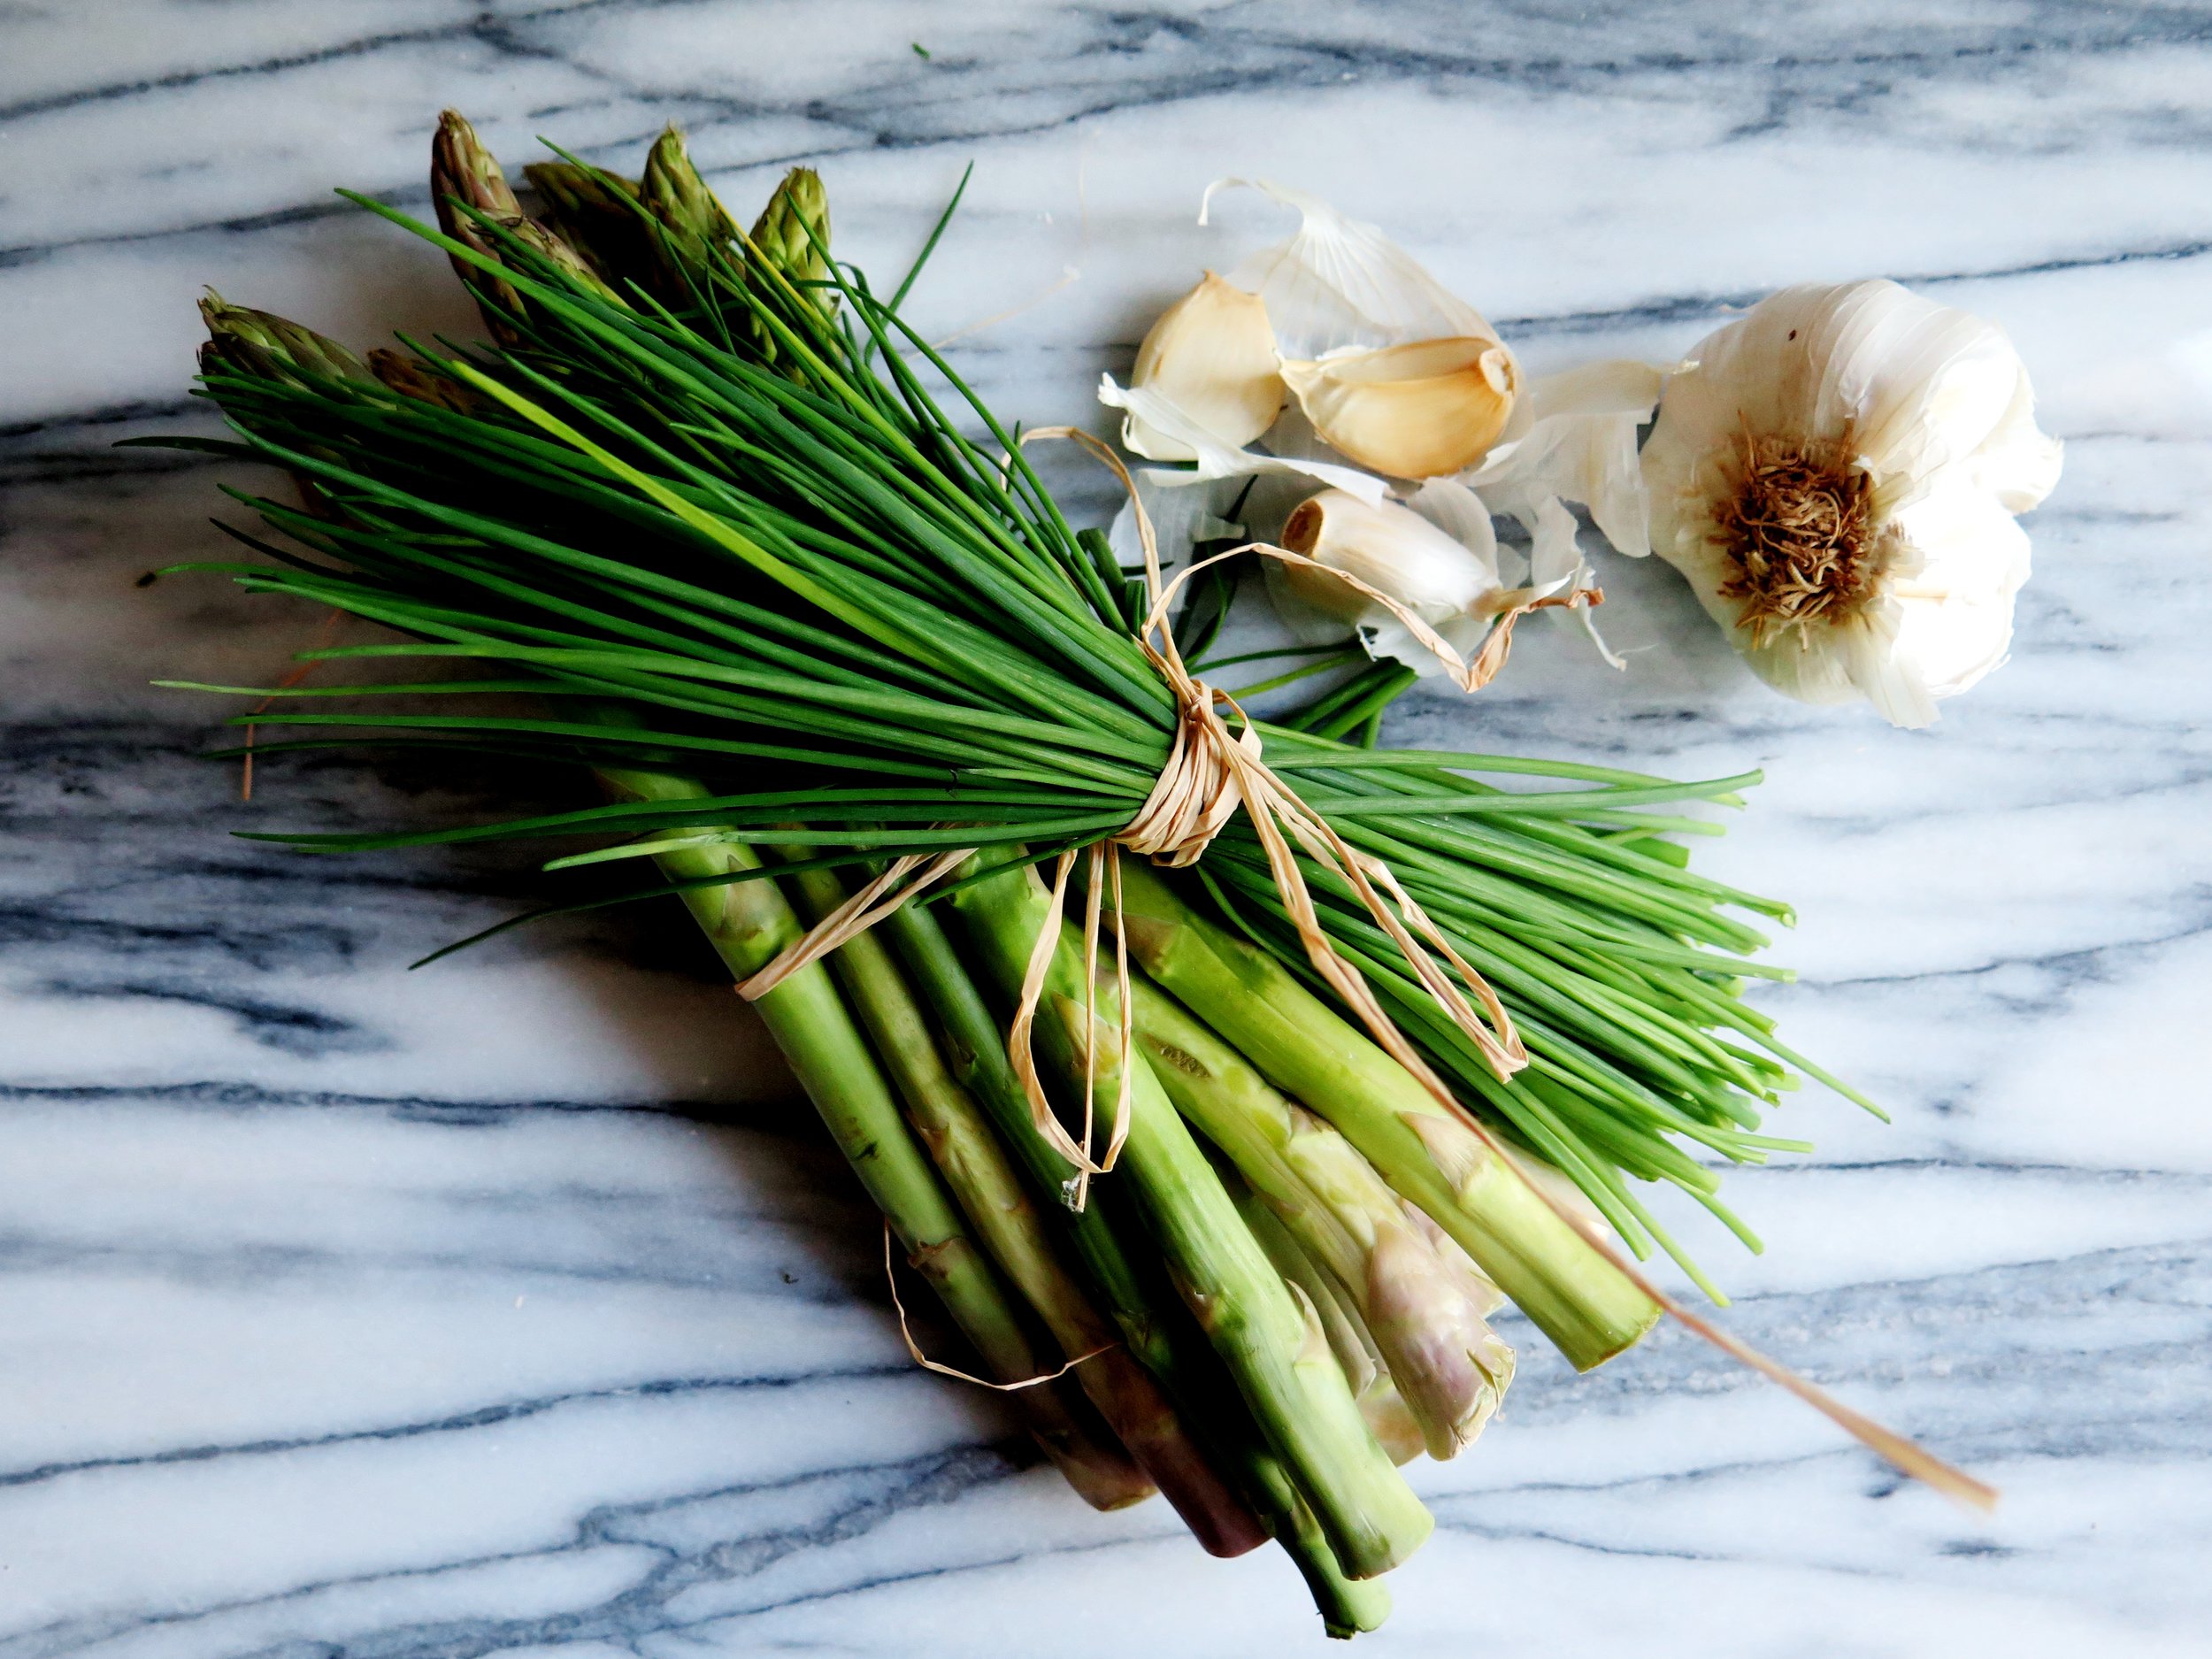
750g asparagus
30g garlic cloves, peeled and crushed
1 tbsp olive oil
1 1/4 tsp salt
Grated zest of ½ lemon
A few grinds of Pepper
400g mozzarella (4 balls), chopped finely into cubes
100g parmesan, grated
3 spring onions, thinly sliced
Small bunch of chives, finely chopped
2 red chillies (optional), finely sliced
2 large baking trays or 4 medium baking trays, greased and dusted with flour
Maple Balsamic Reduction (optional)
120ml balsamic vinegar
2 tsp maple syrup
Method
- Heat oven to 120˚C for 5 minutes then switch it off.
- In the bowl of a mixer (or large bowl if making by hand) pour in warm water and sprinkle yeast over it. Allow to stand for 5 minutes for the yeast to activate.
- Stir in flour, salt and oil. Knead by hand for 5 minutes on a lightly floured surface, or in a machine fitted with a dough hook for 5 minutes until the dough is smooth and when you press your thumb into it, it bounces back up.
- Divide dough into two and place each half in a lightly oiled bowl. Cover with cling film and place in warmed oven. Allow to rise for 30 minutes or until doubled, then remove from oven and preheat it to its highest temperature, usually 250˚C.
- While the dough is rising, use a vegetable peeler to shave the asparagus: place the asparagus flat on a surface, and holding it at the woody end, shave it from above the woody end to the top of the spear. I sometimes use the ends to make a stock for asparagus risotto.
- Place the ribbons in a bowl and mix with garlic, oil, salt, lemon zest and pepper.
- Once risen, divide each half into two and roll out each quarter into a 0.5cm thick disc. Place on tray and scatter each disc with mozzarella, parmesan, and shaved asparagus. Bake in oven for 15-20 minutes until golden and bubbling.
- Once baked, scatter with spring onions, chives, and chillies, if using. Drizzle with balsamic reduction, if desired, and serve immediately.
Maple Balsamic reduction
- Boil balsamic and maple syrup together over a high heat for about 5 minutes until it thickens slightly to consistency more like that of pure maple syrup. Allow to cool for 1 minute, and drizzle over pizzas.
Adapted from The Smitten Kitchen Cookbook