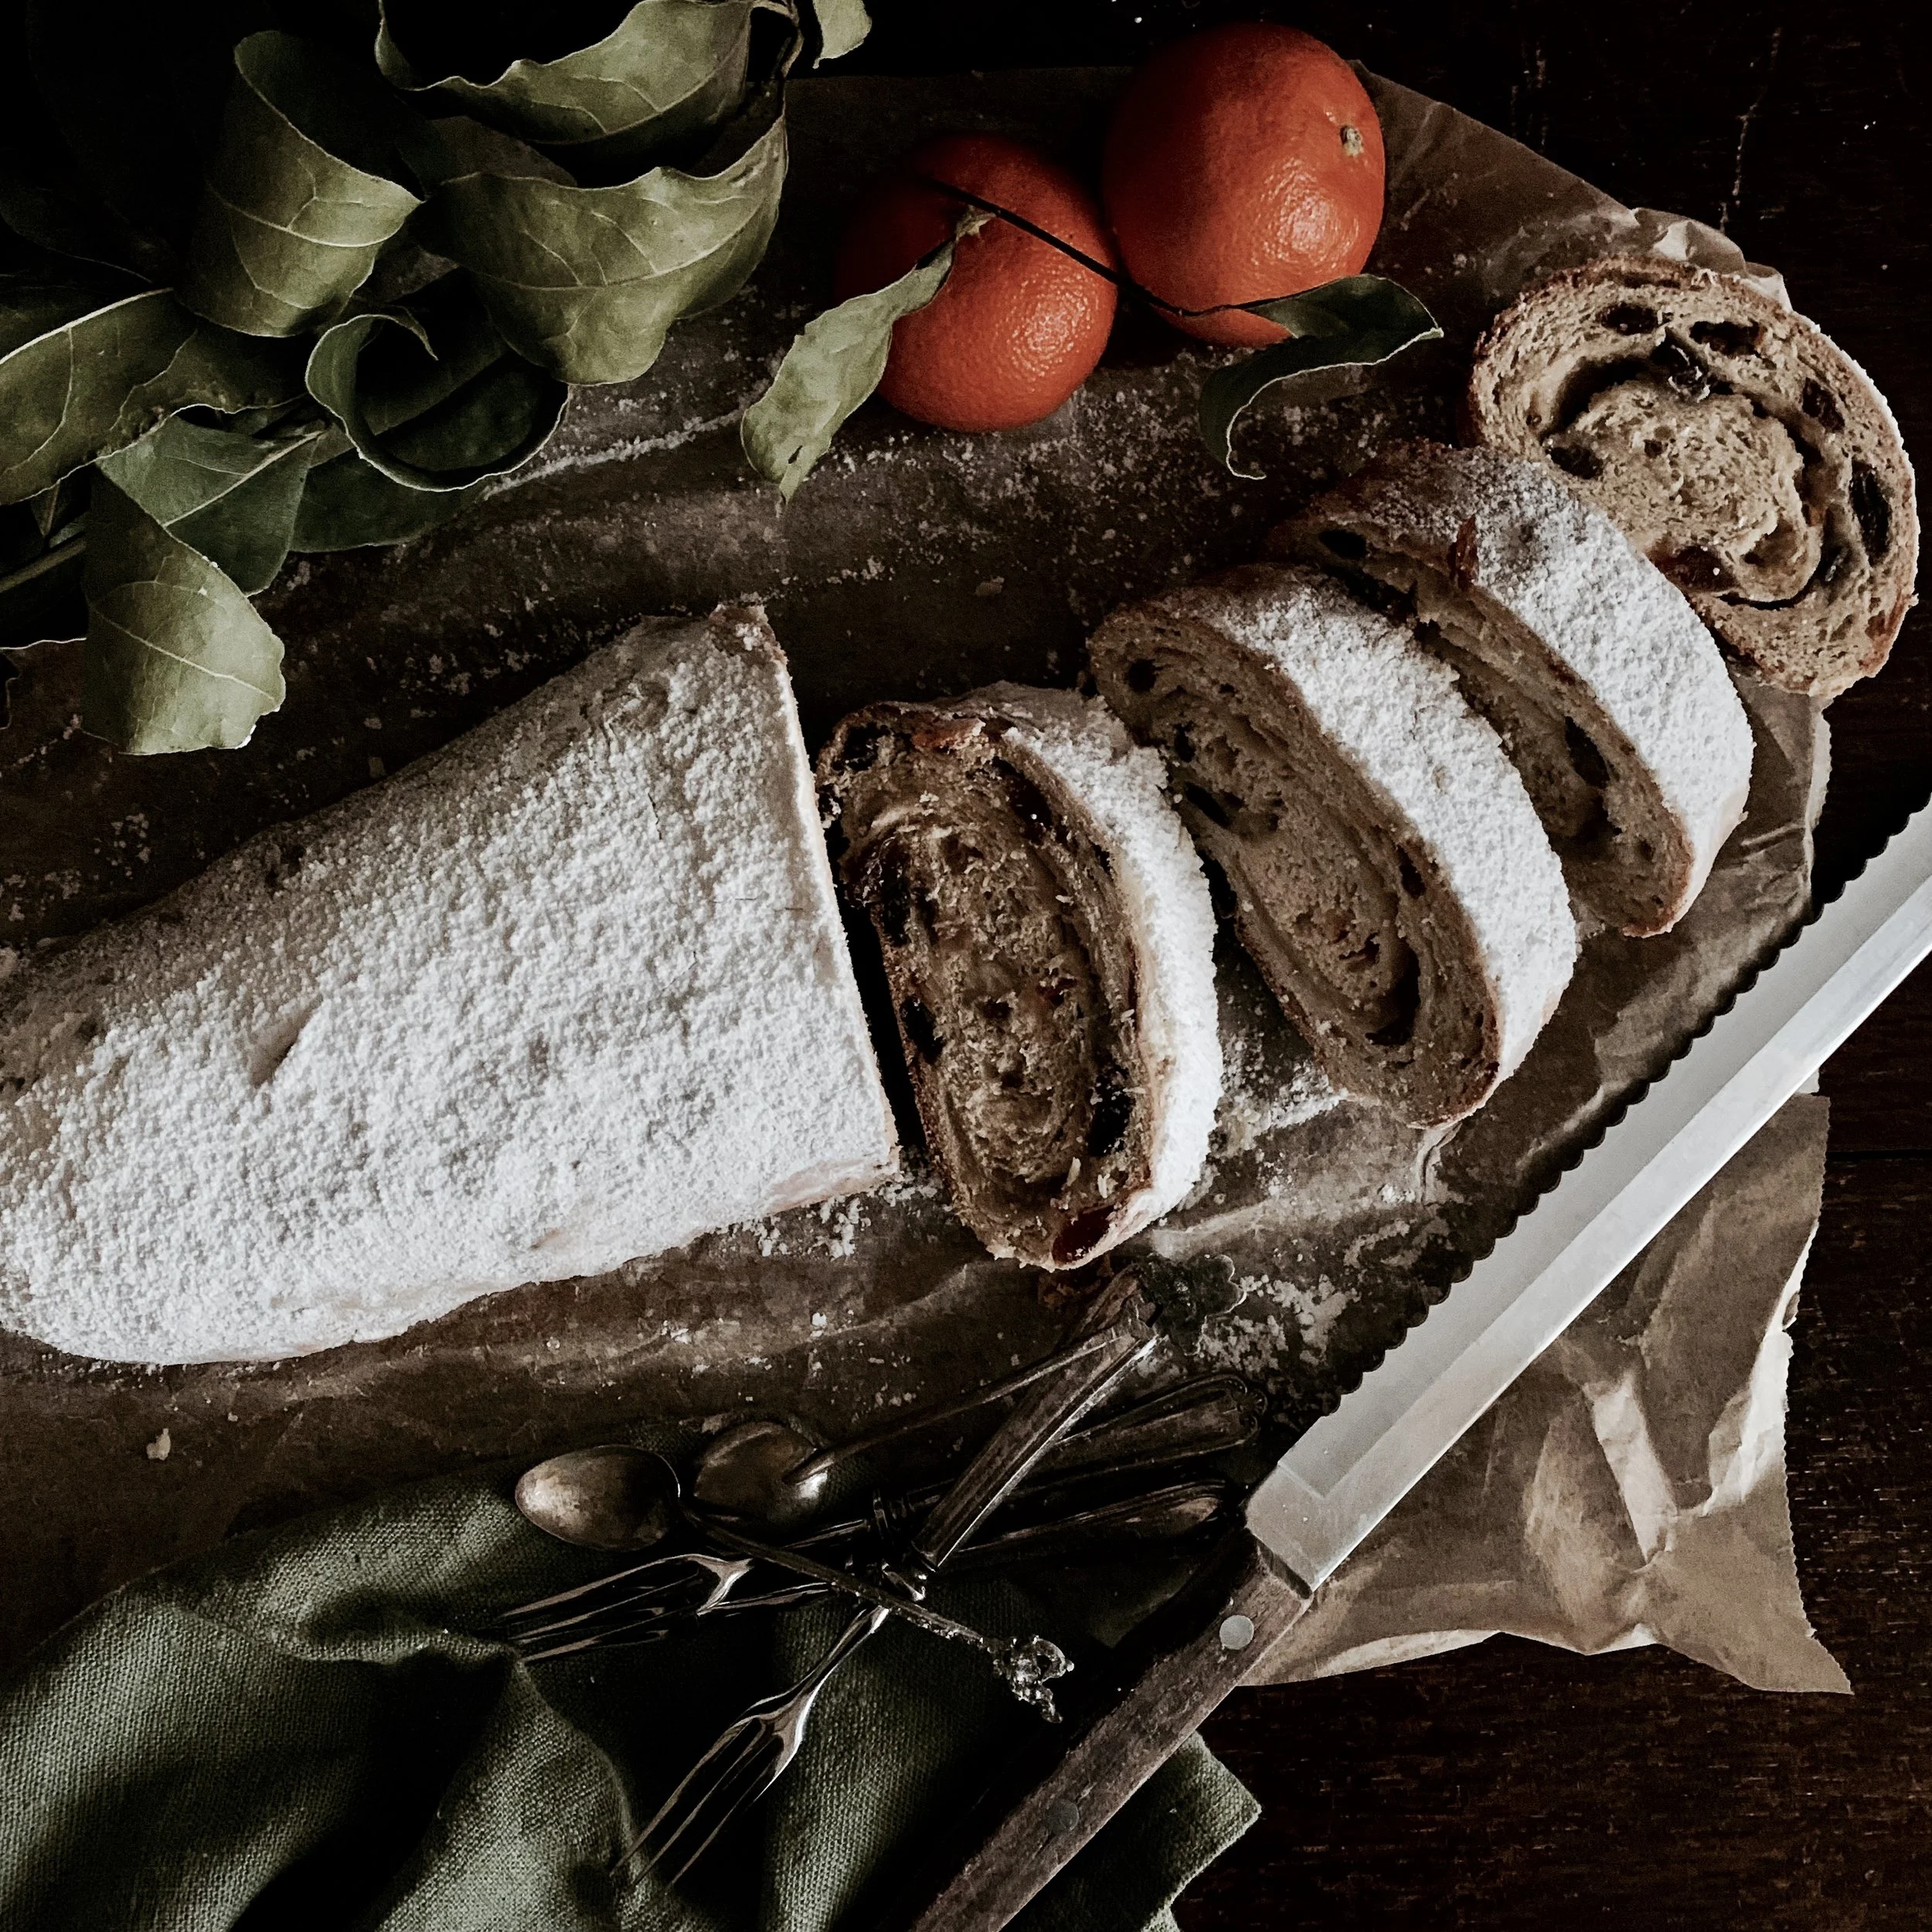
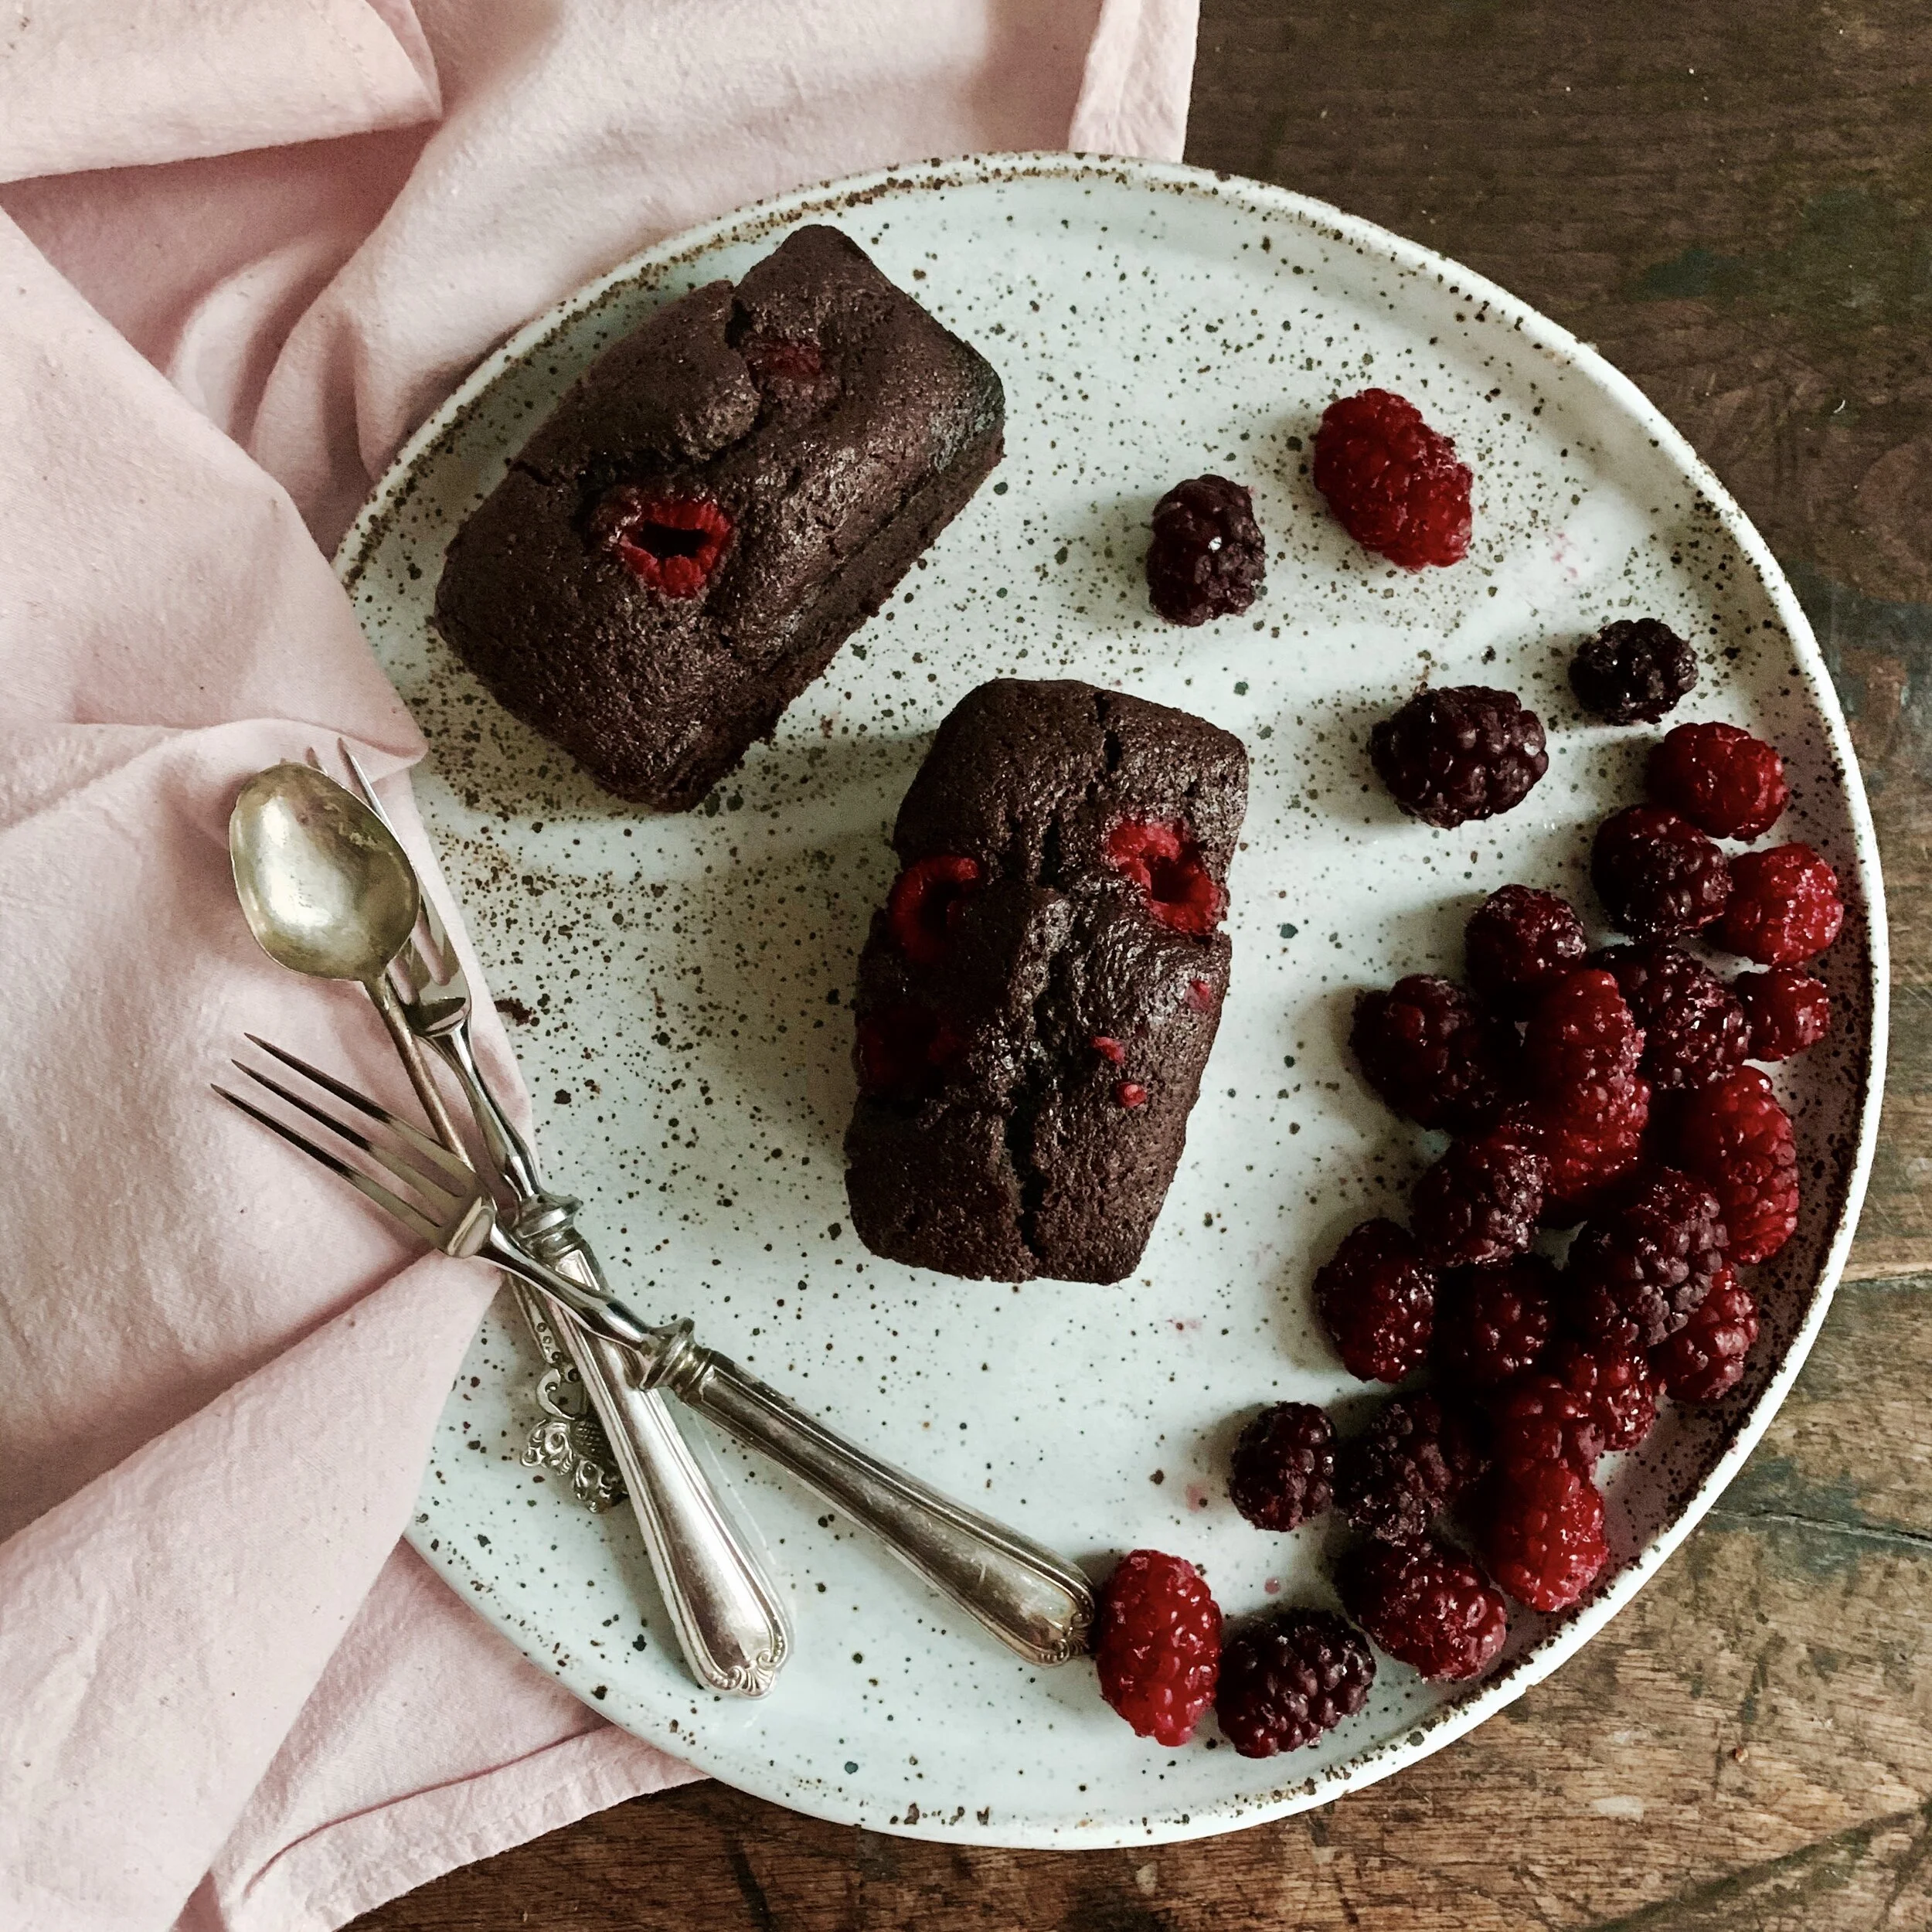
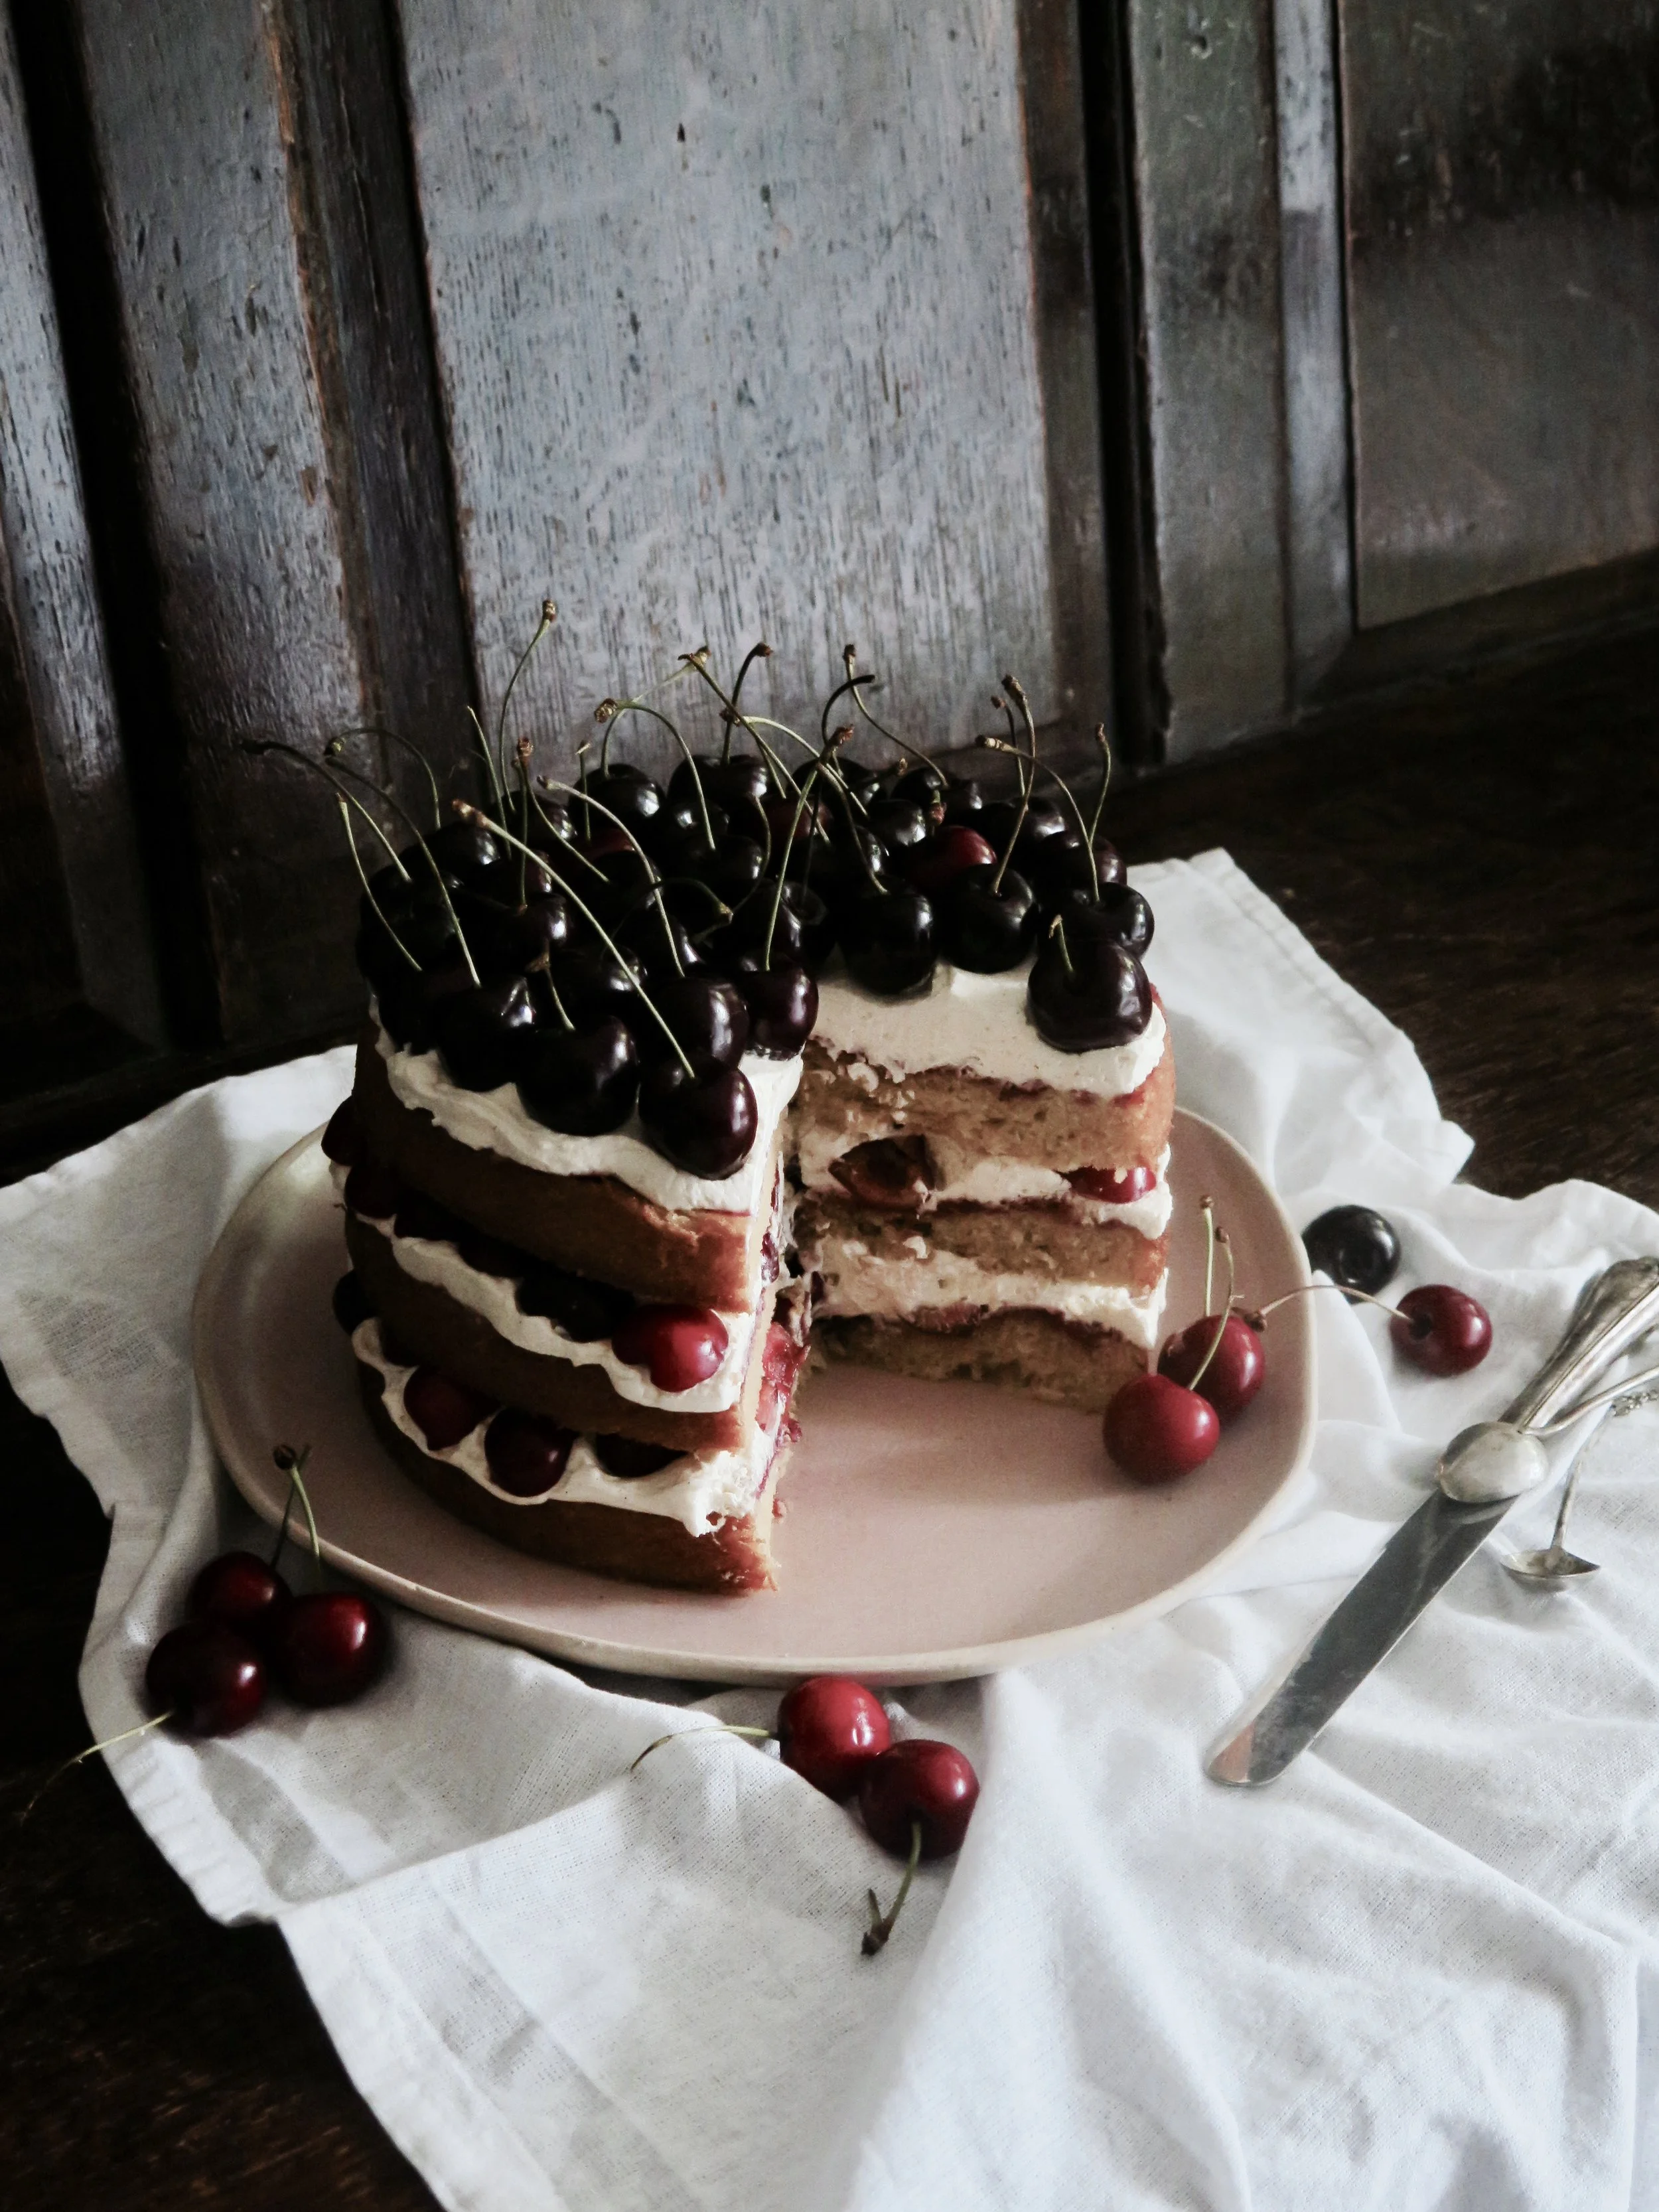
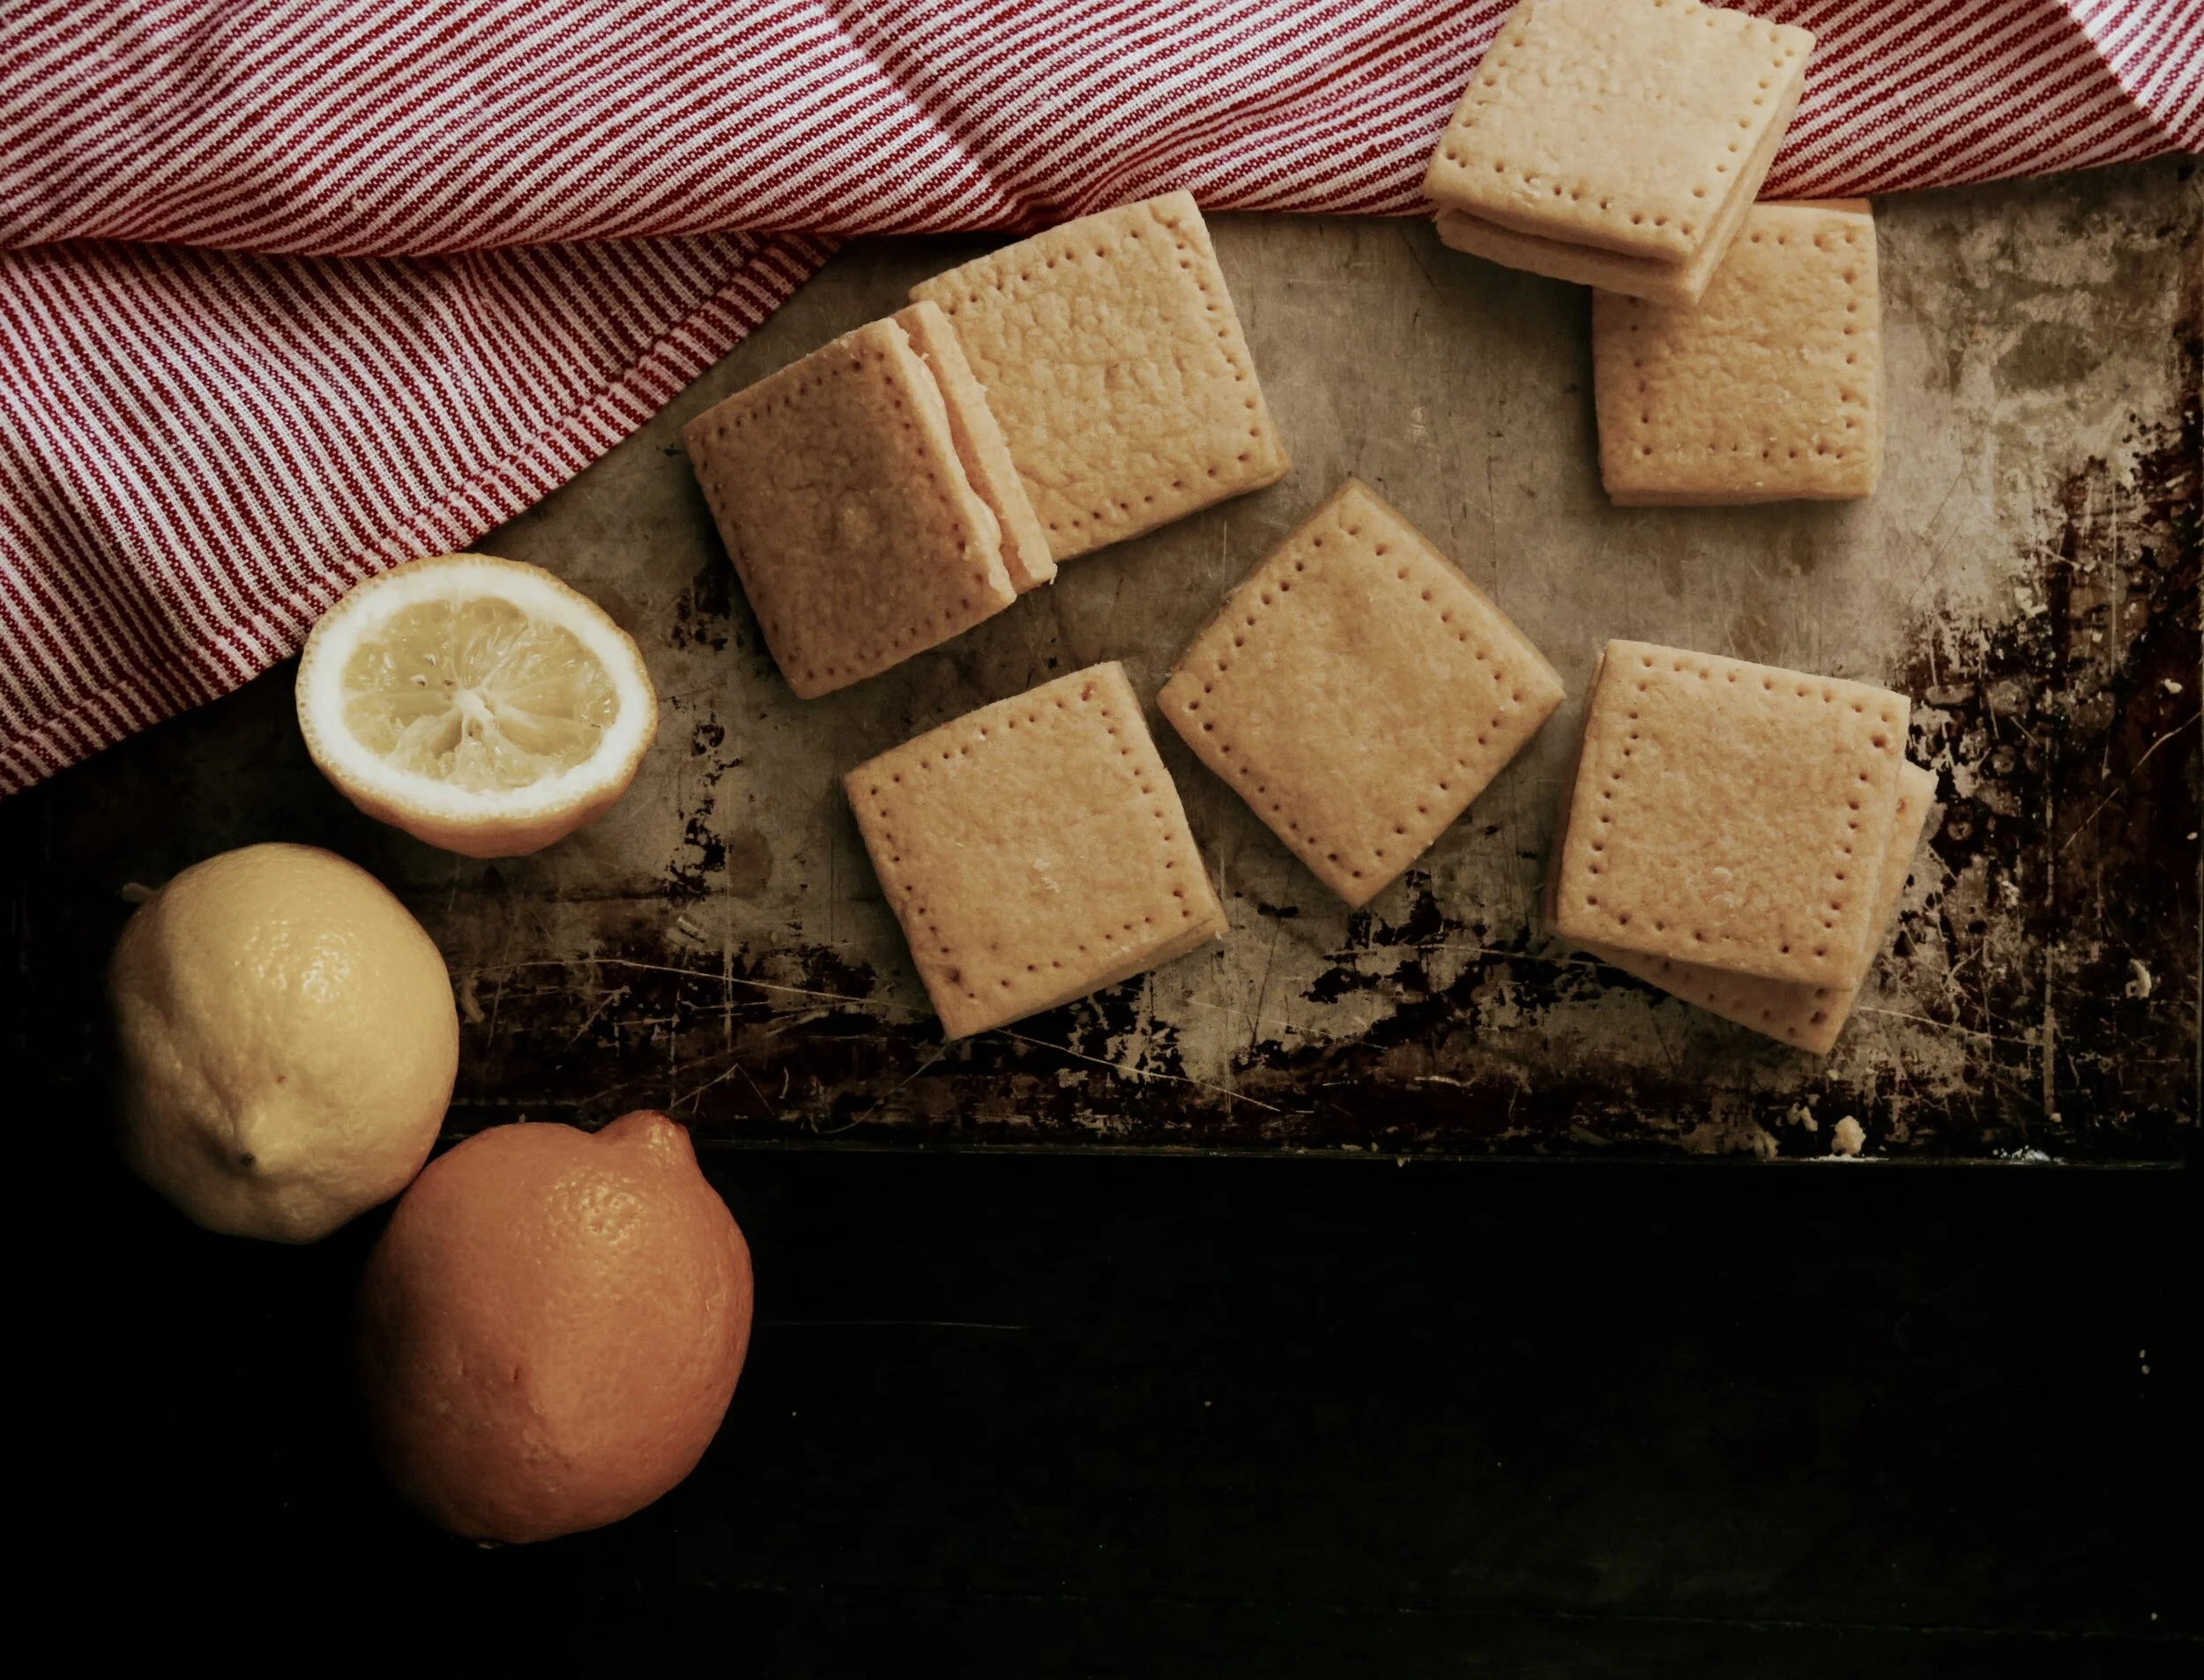
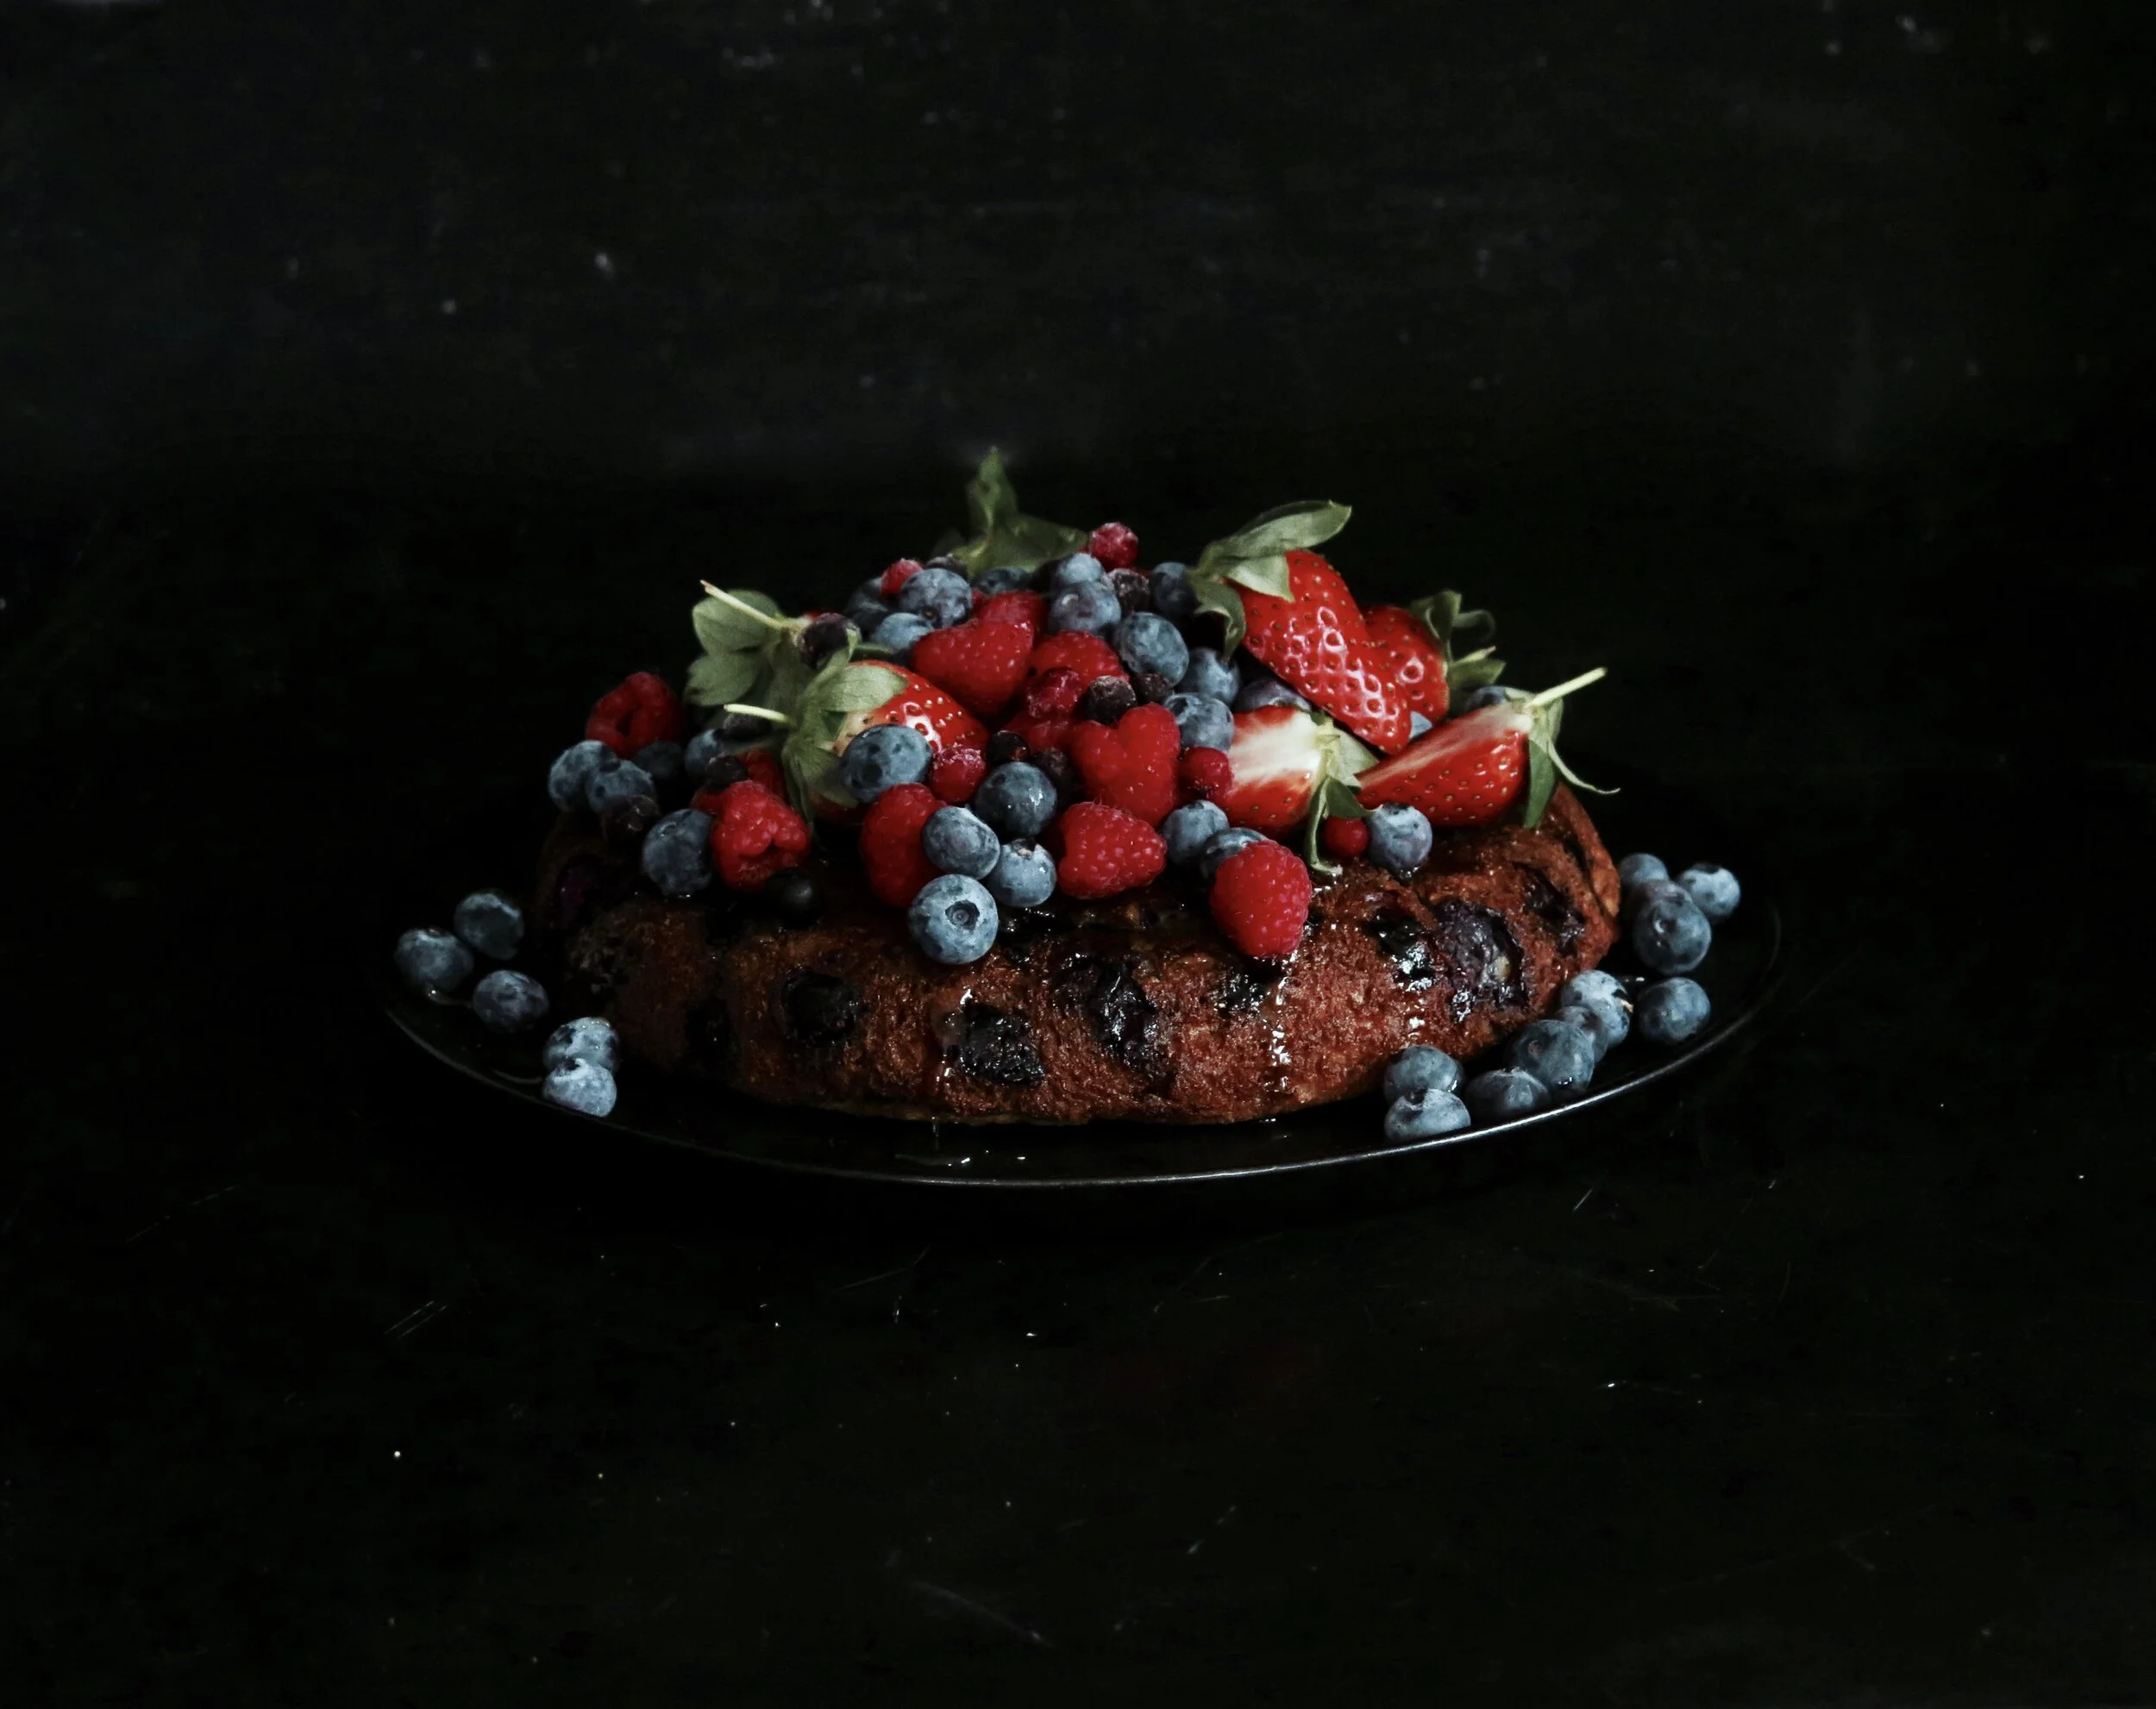
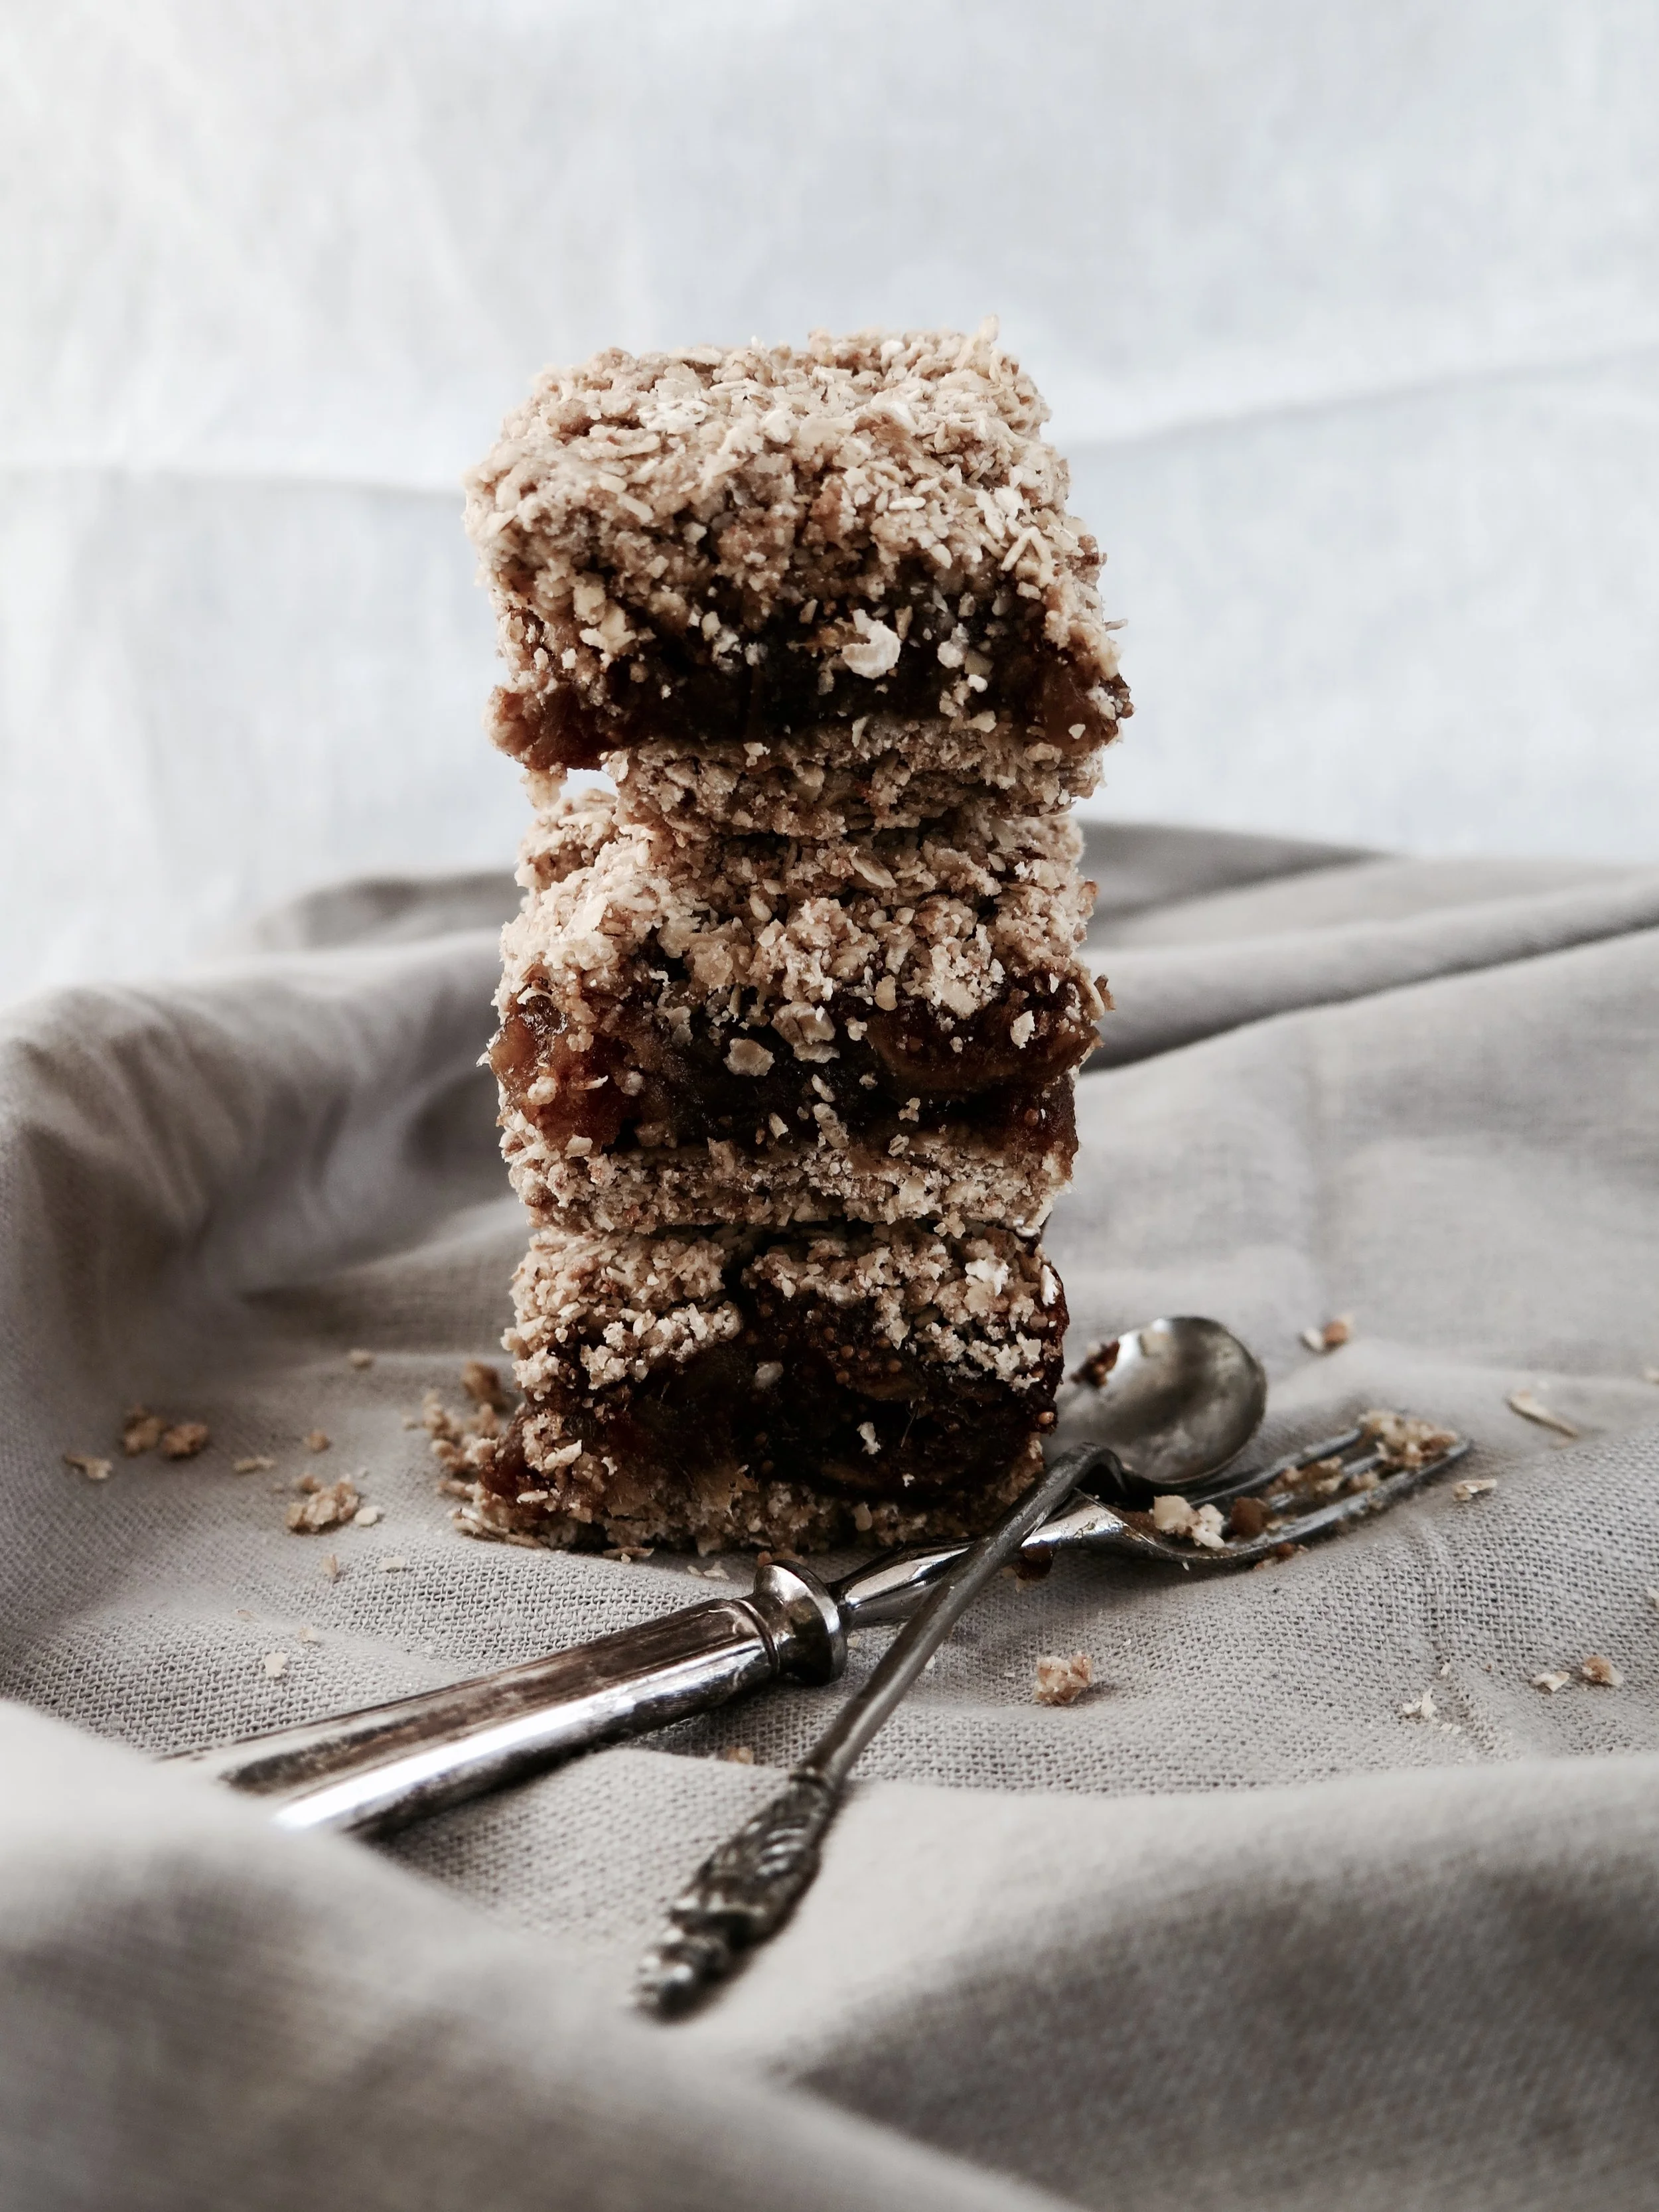
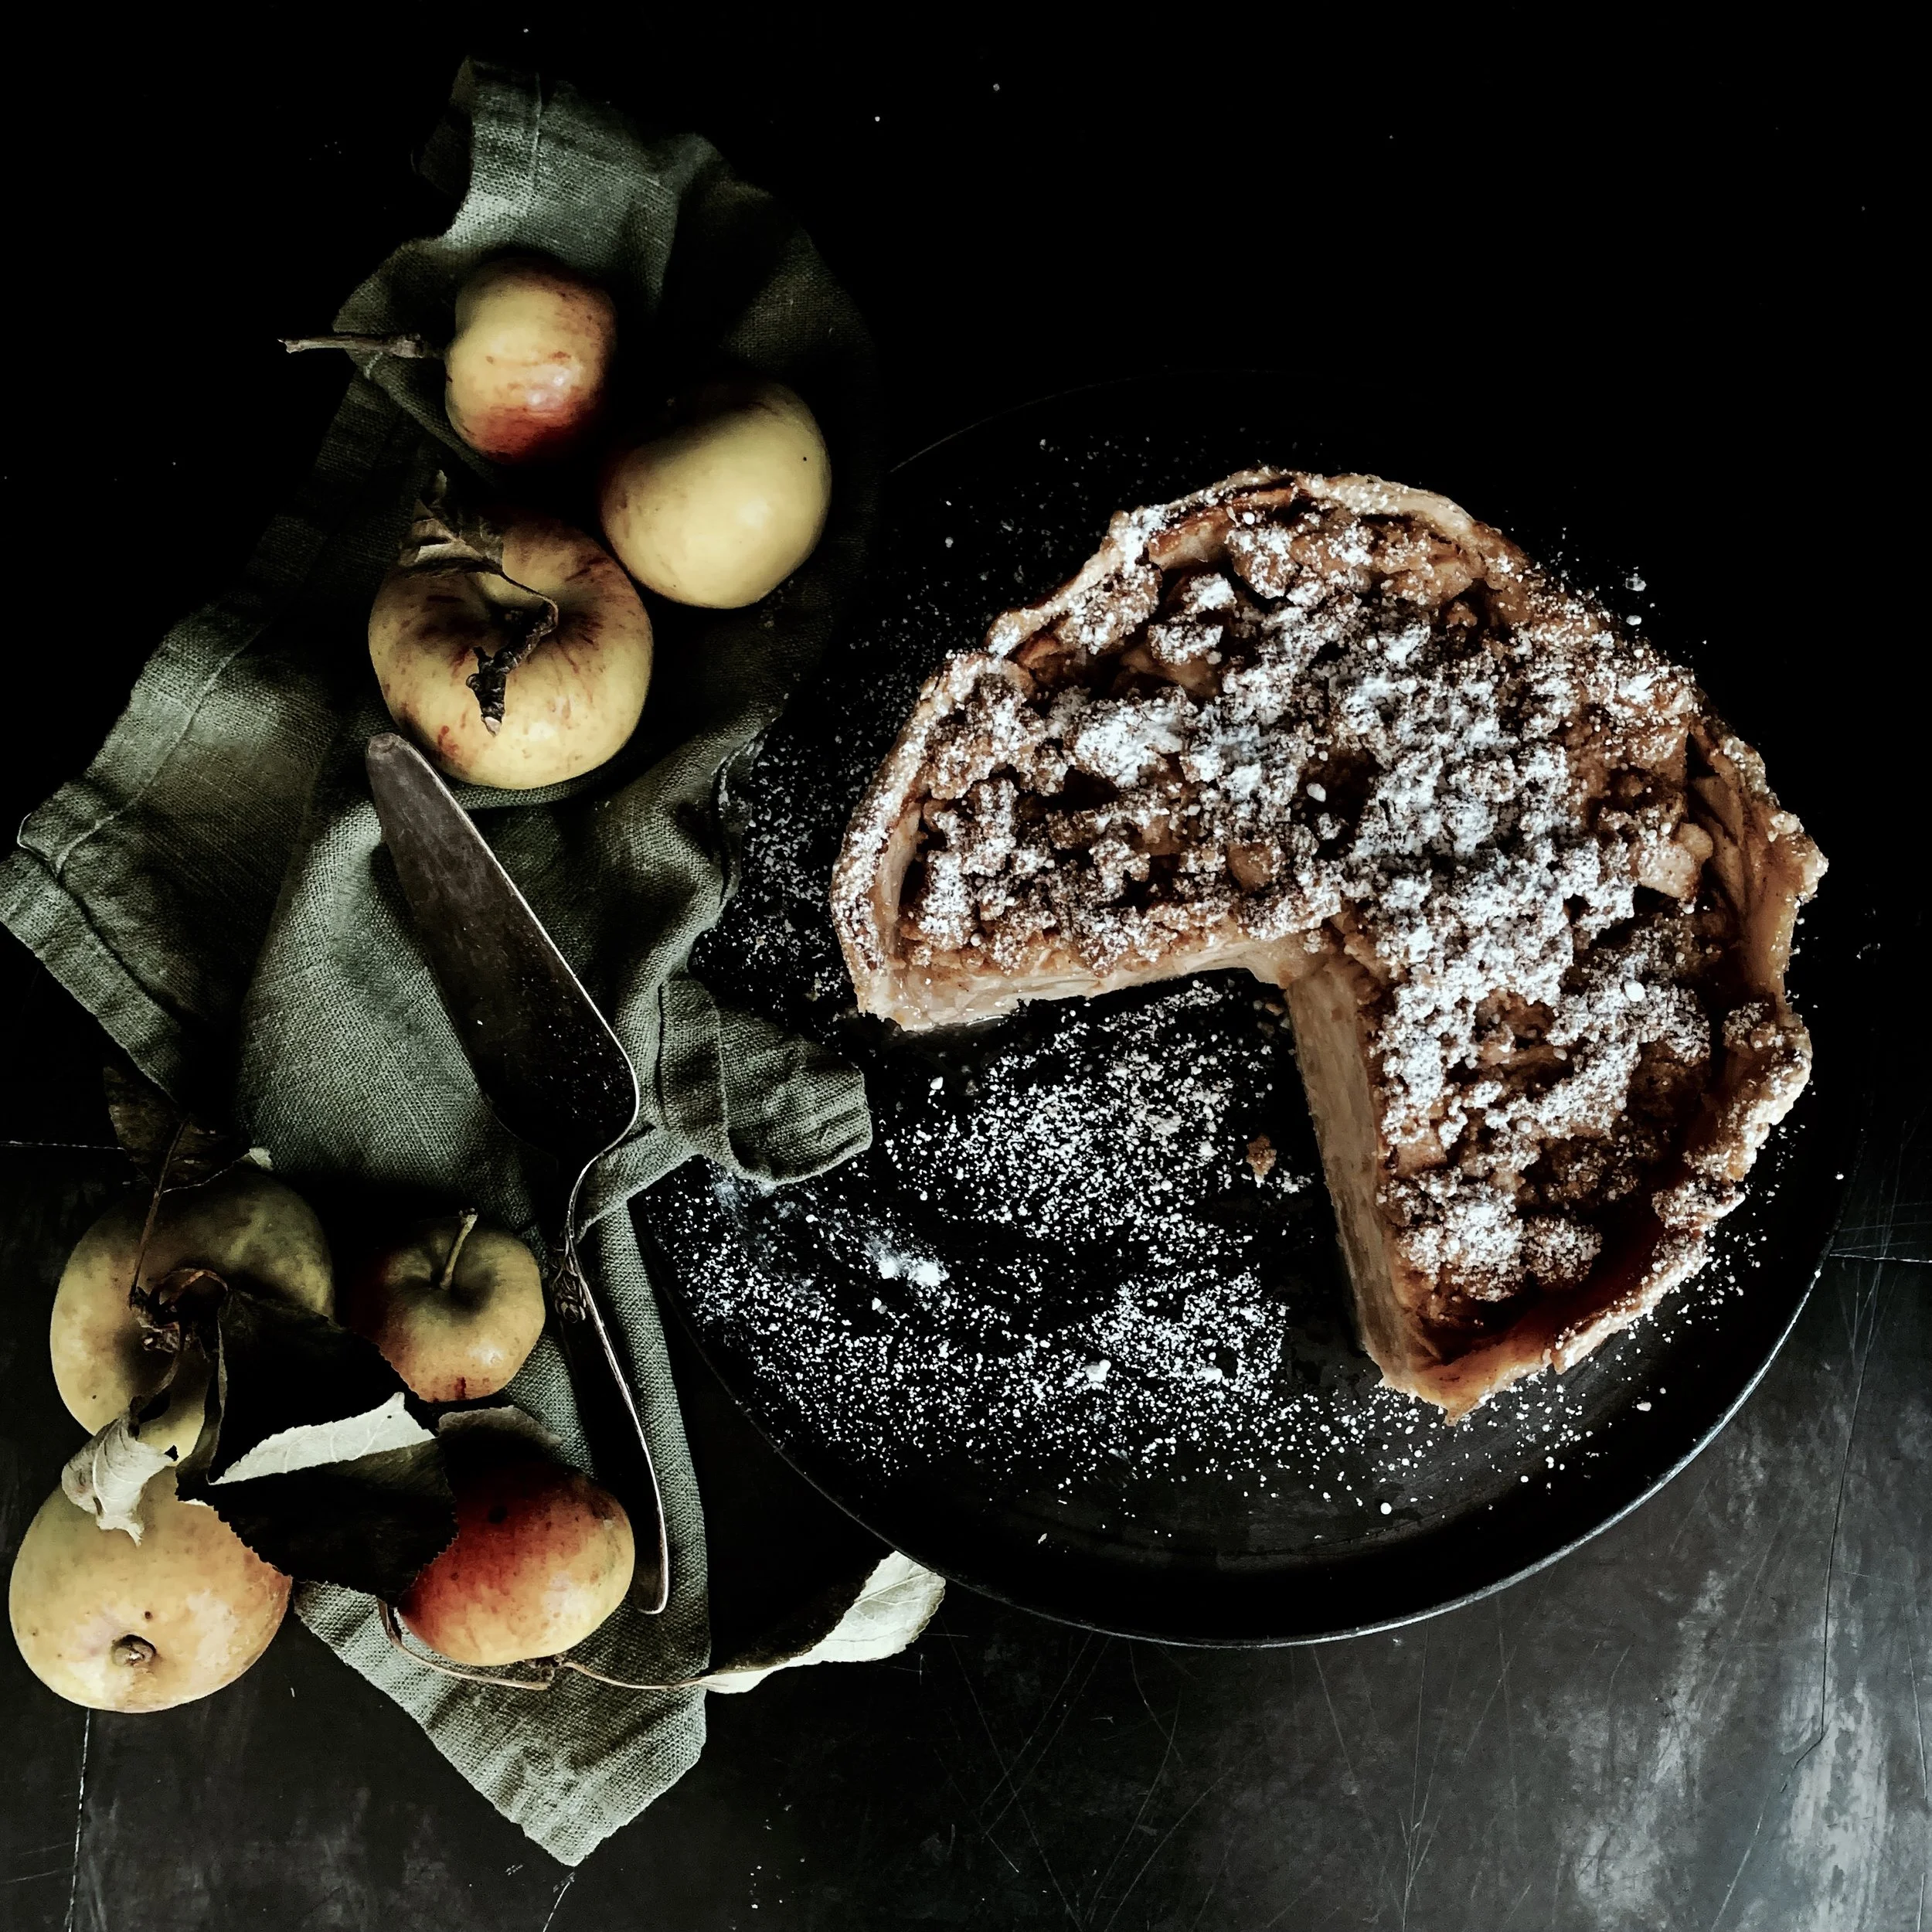
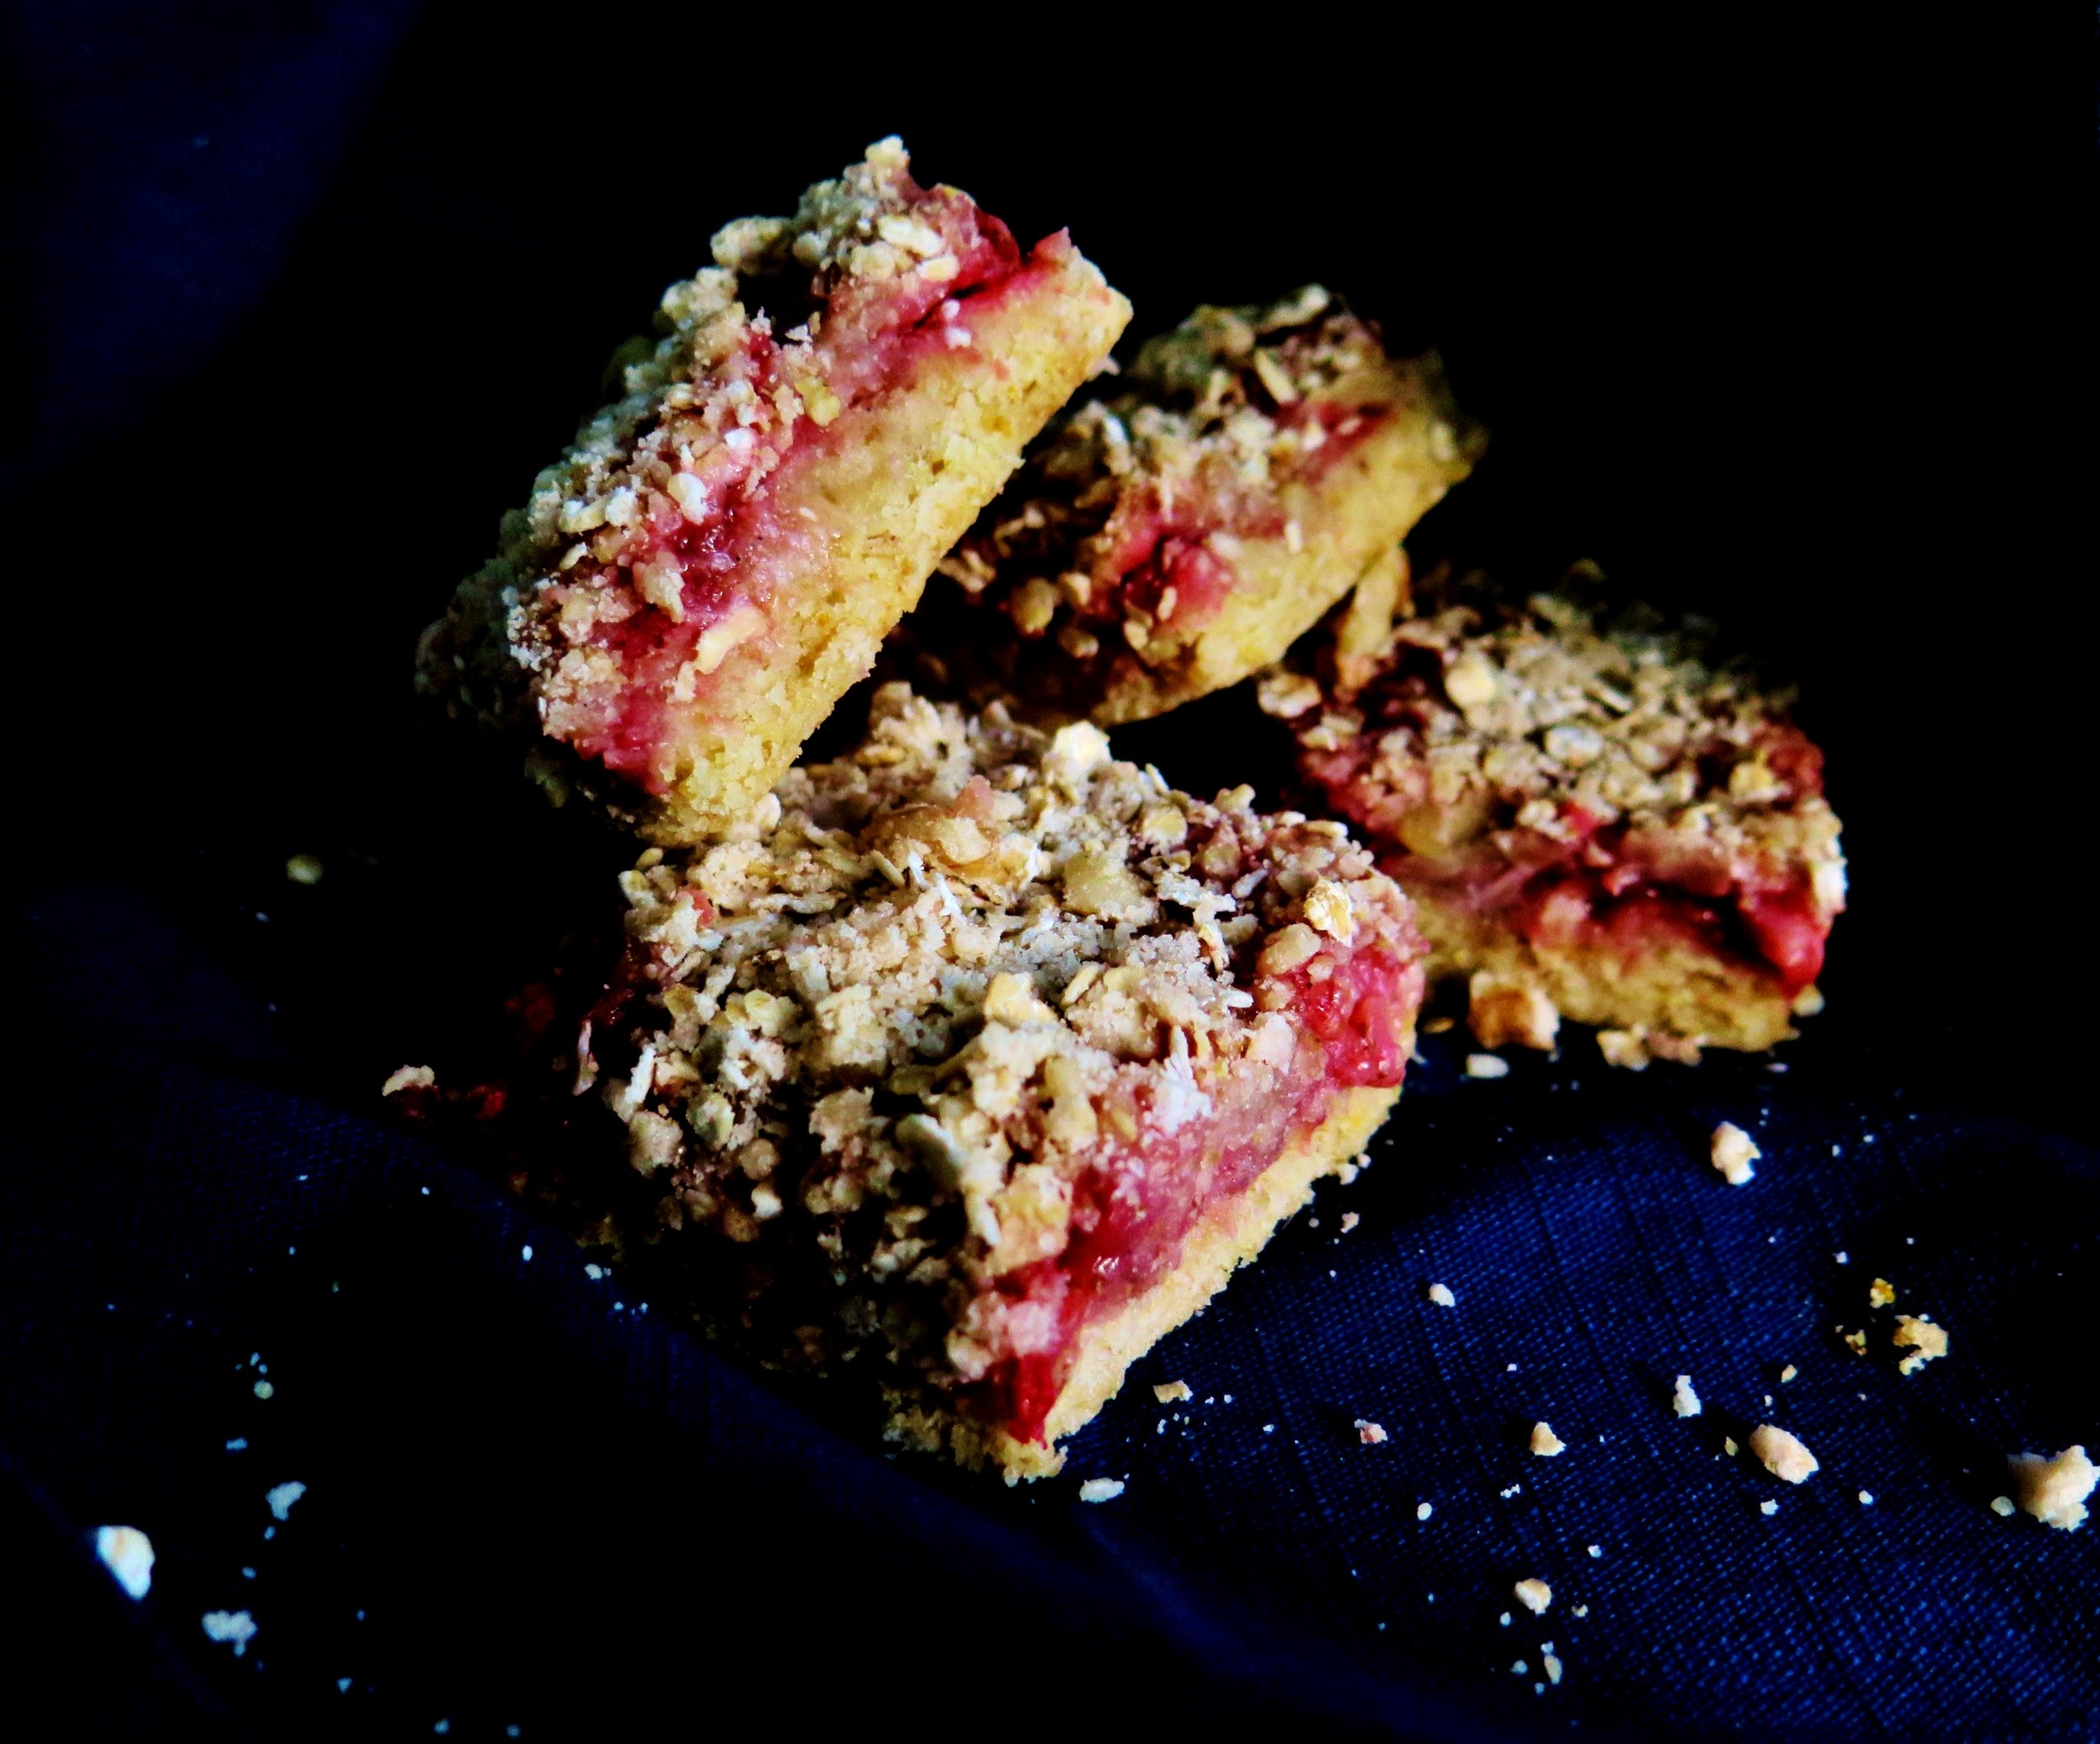
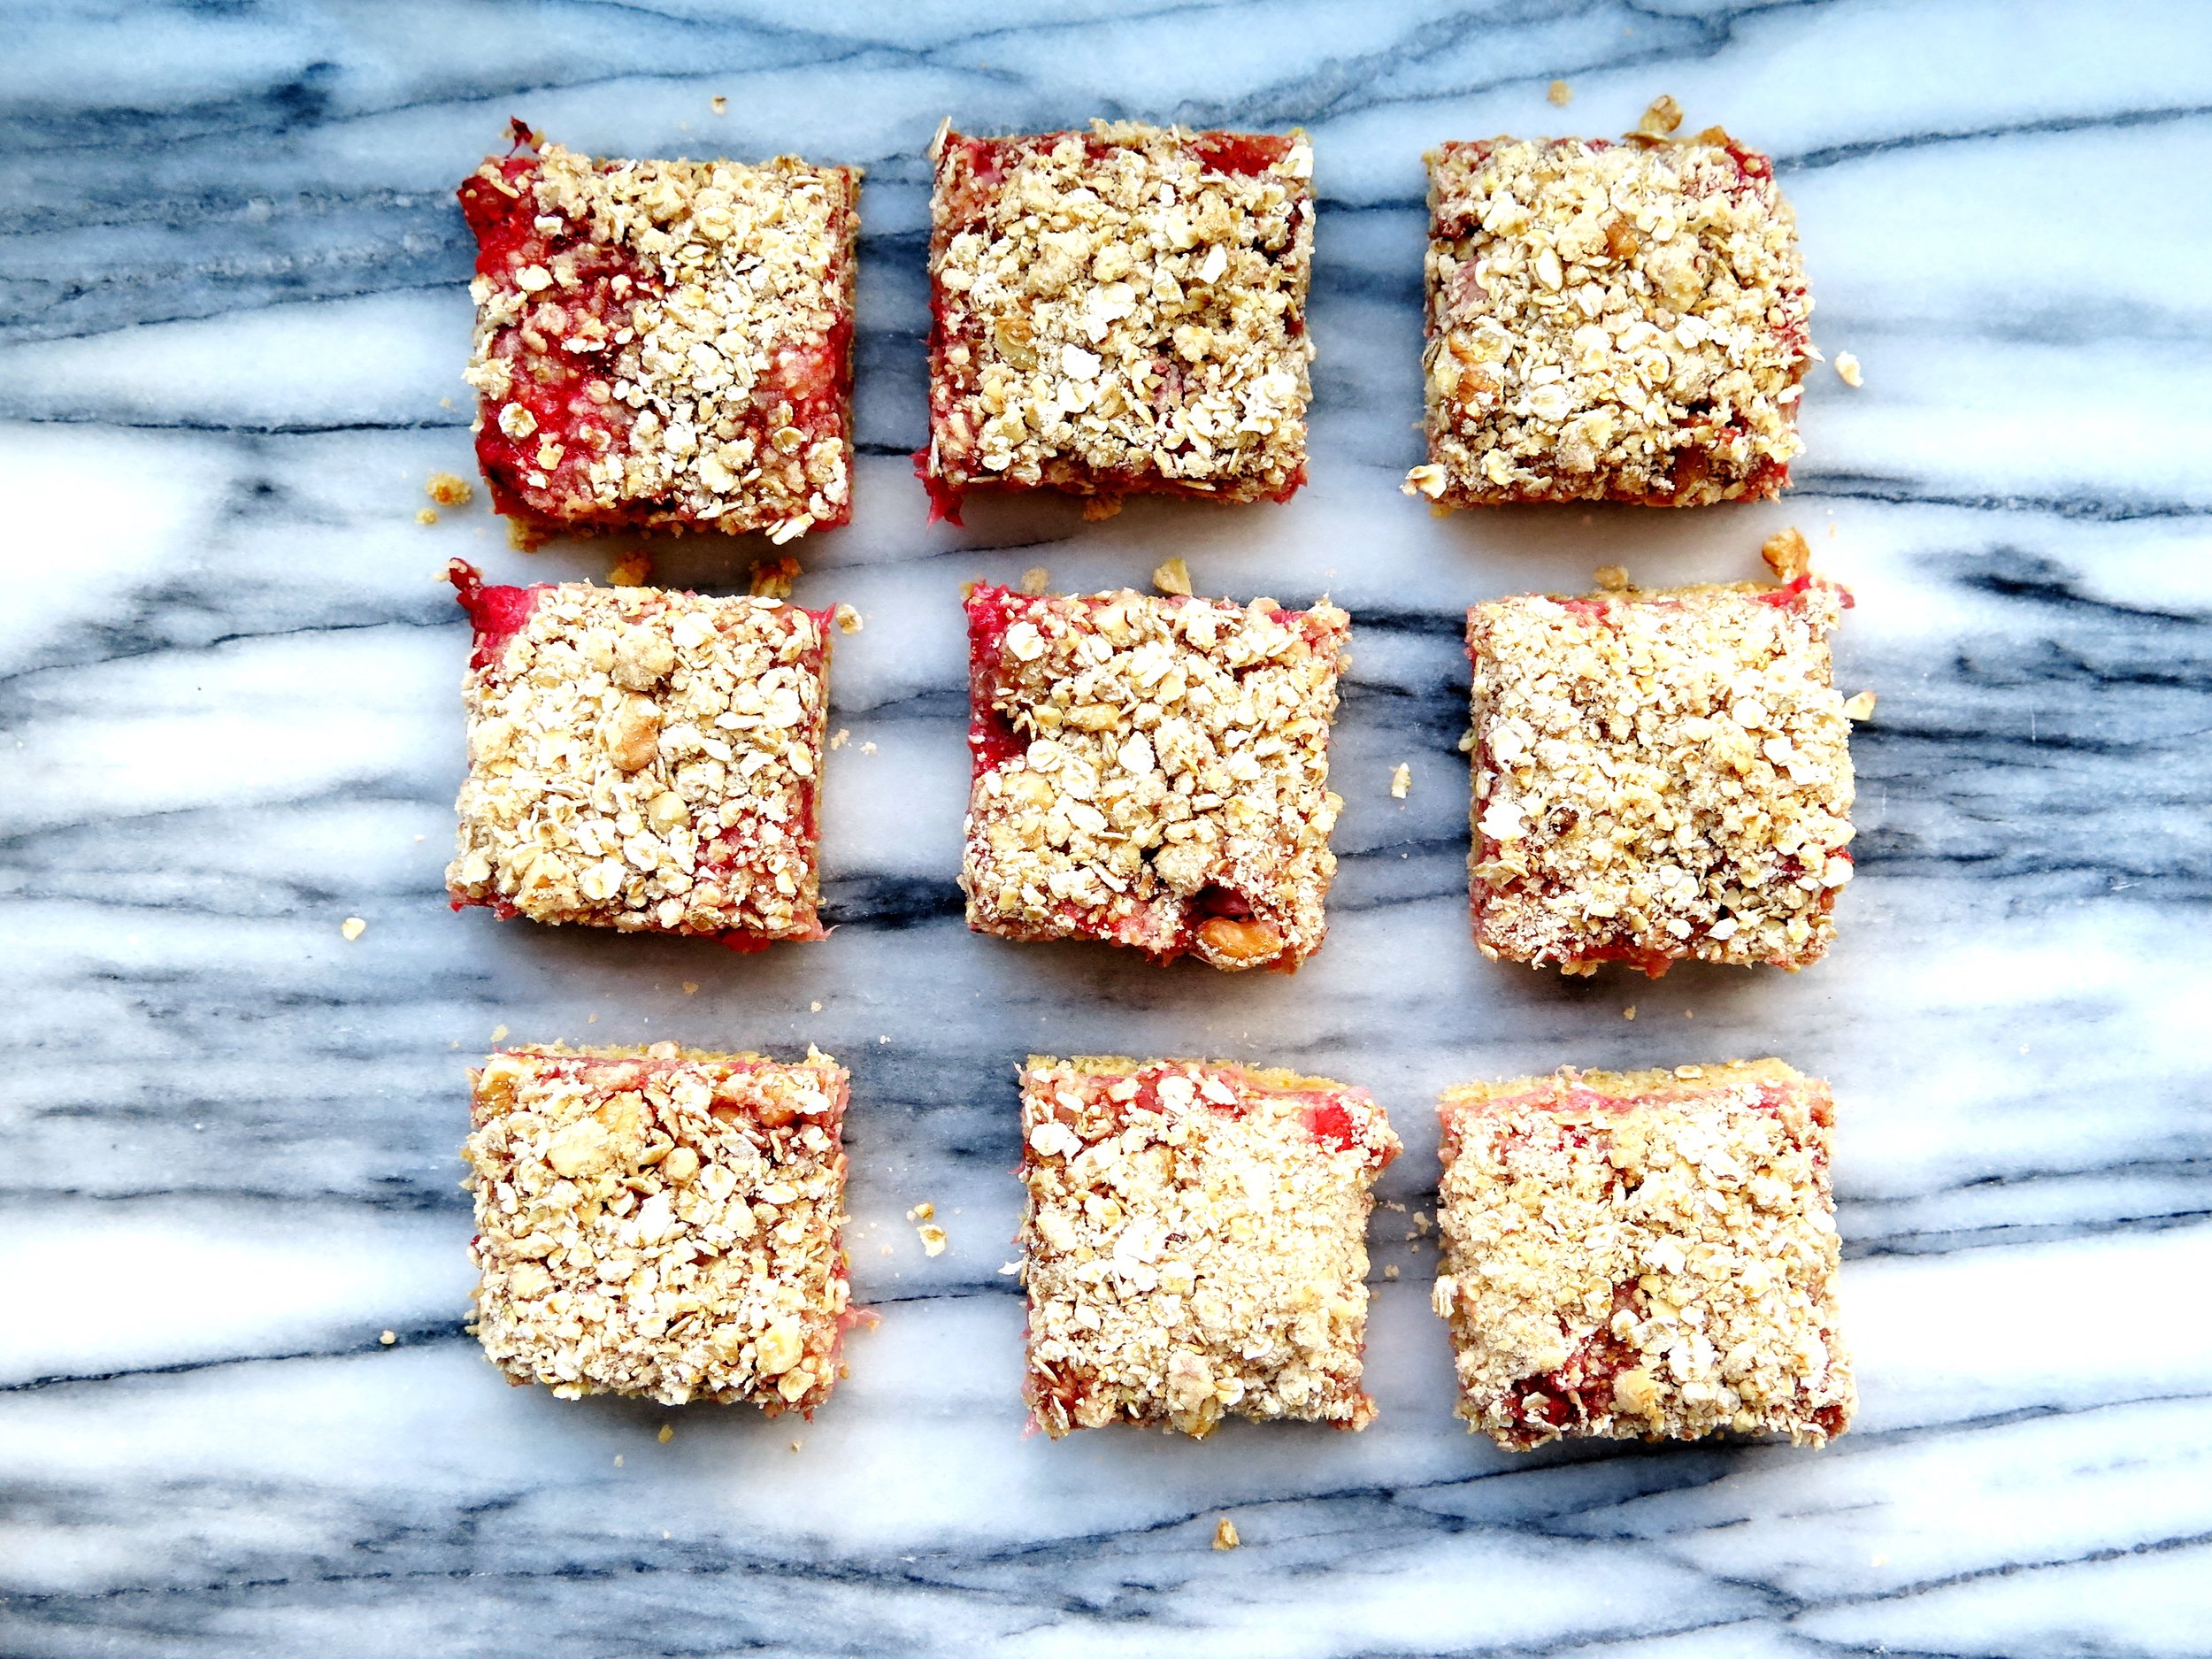
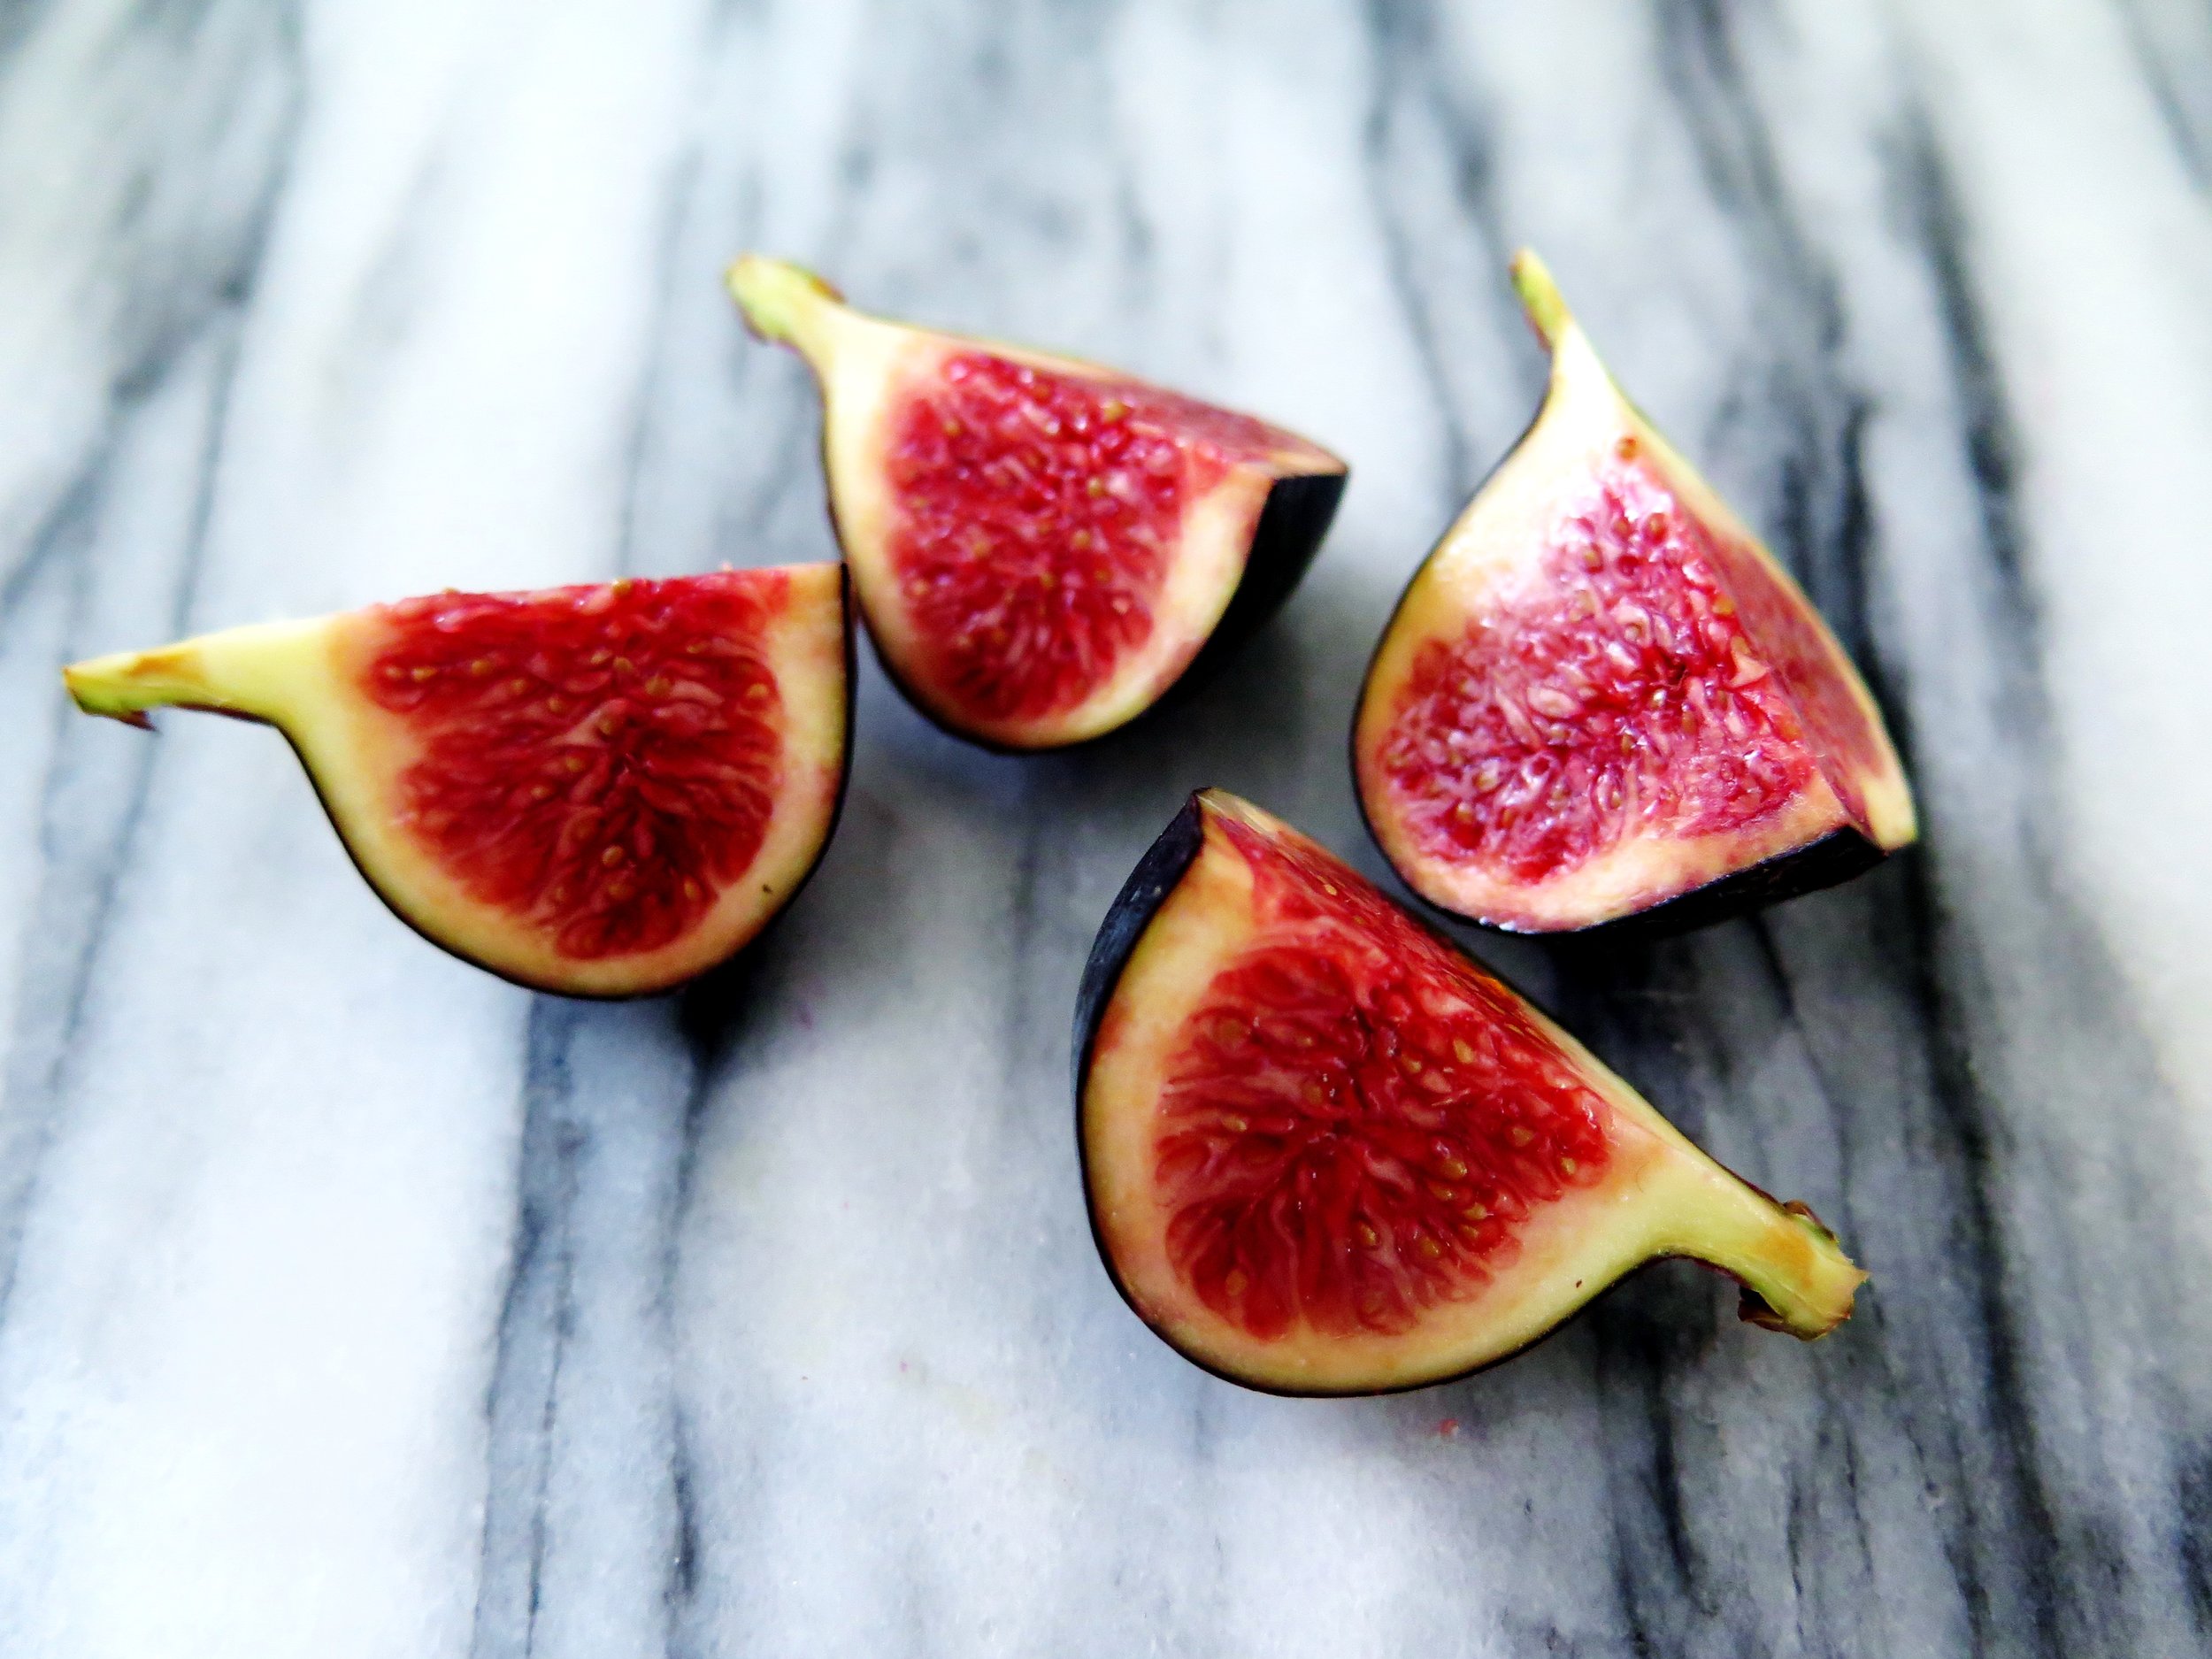
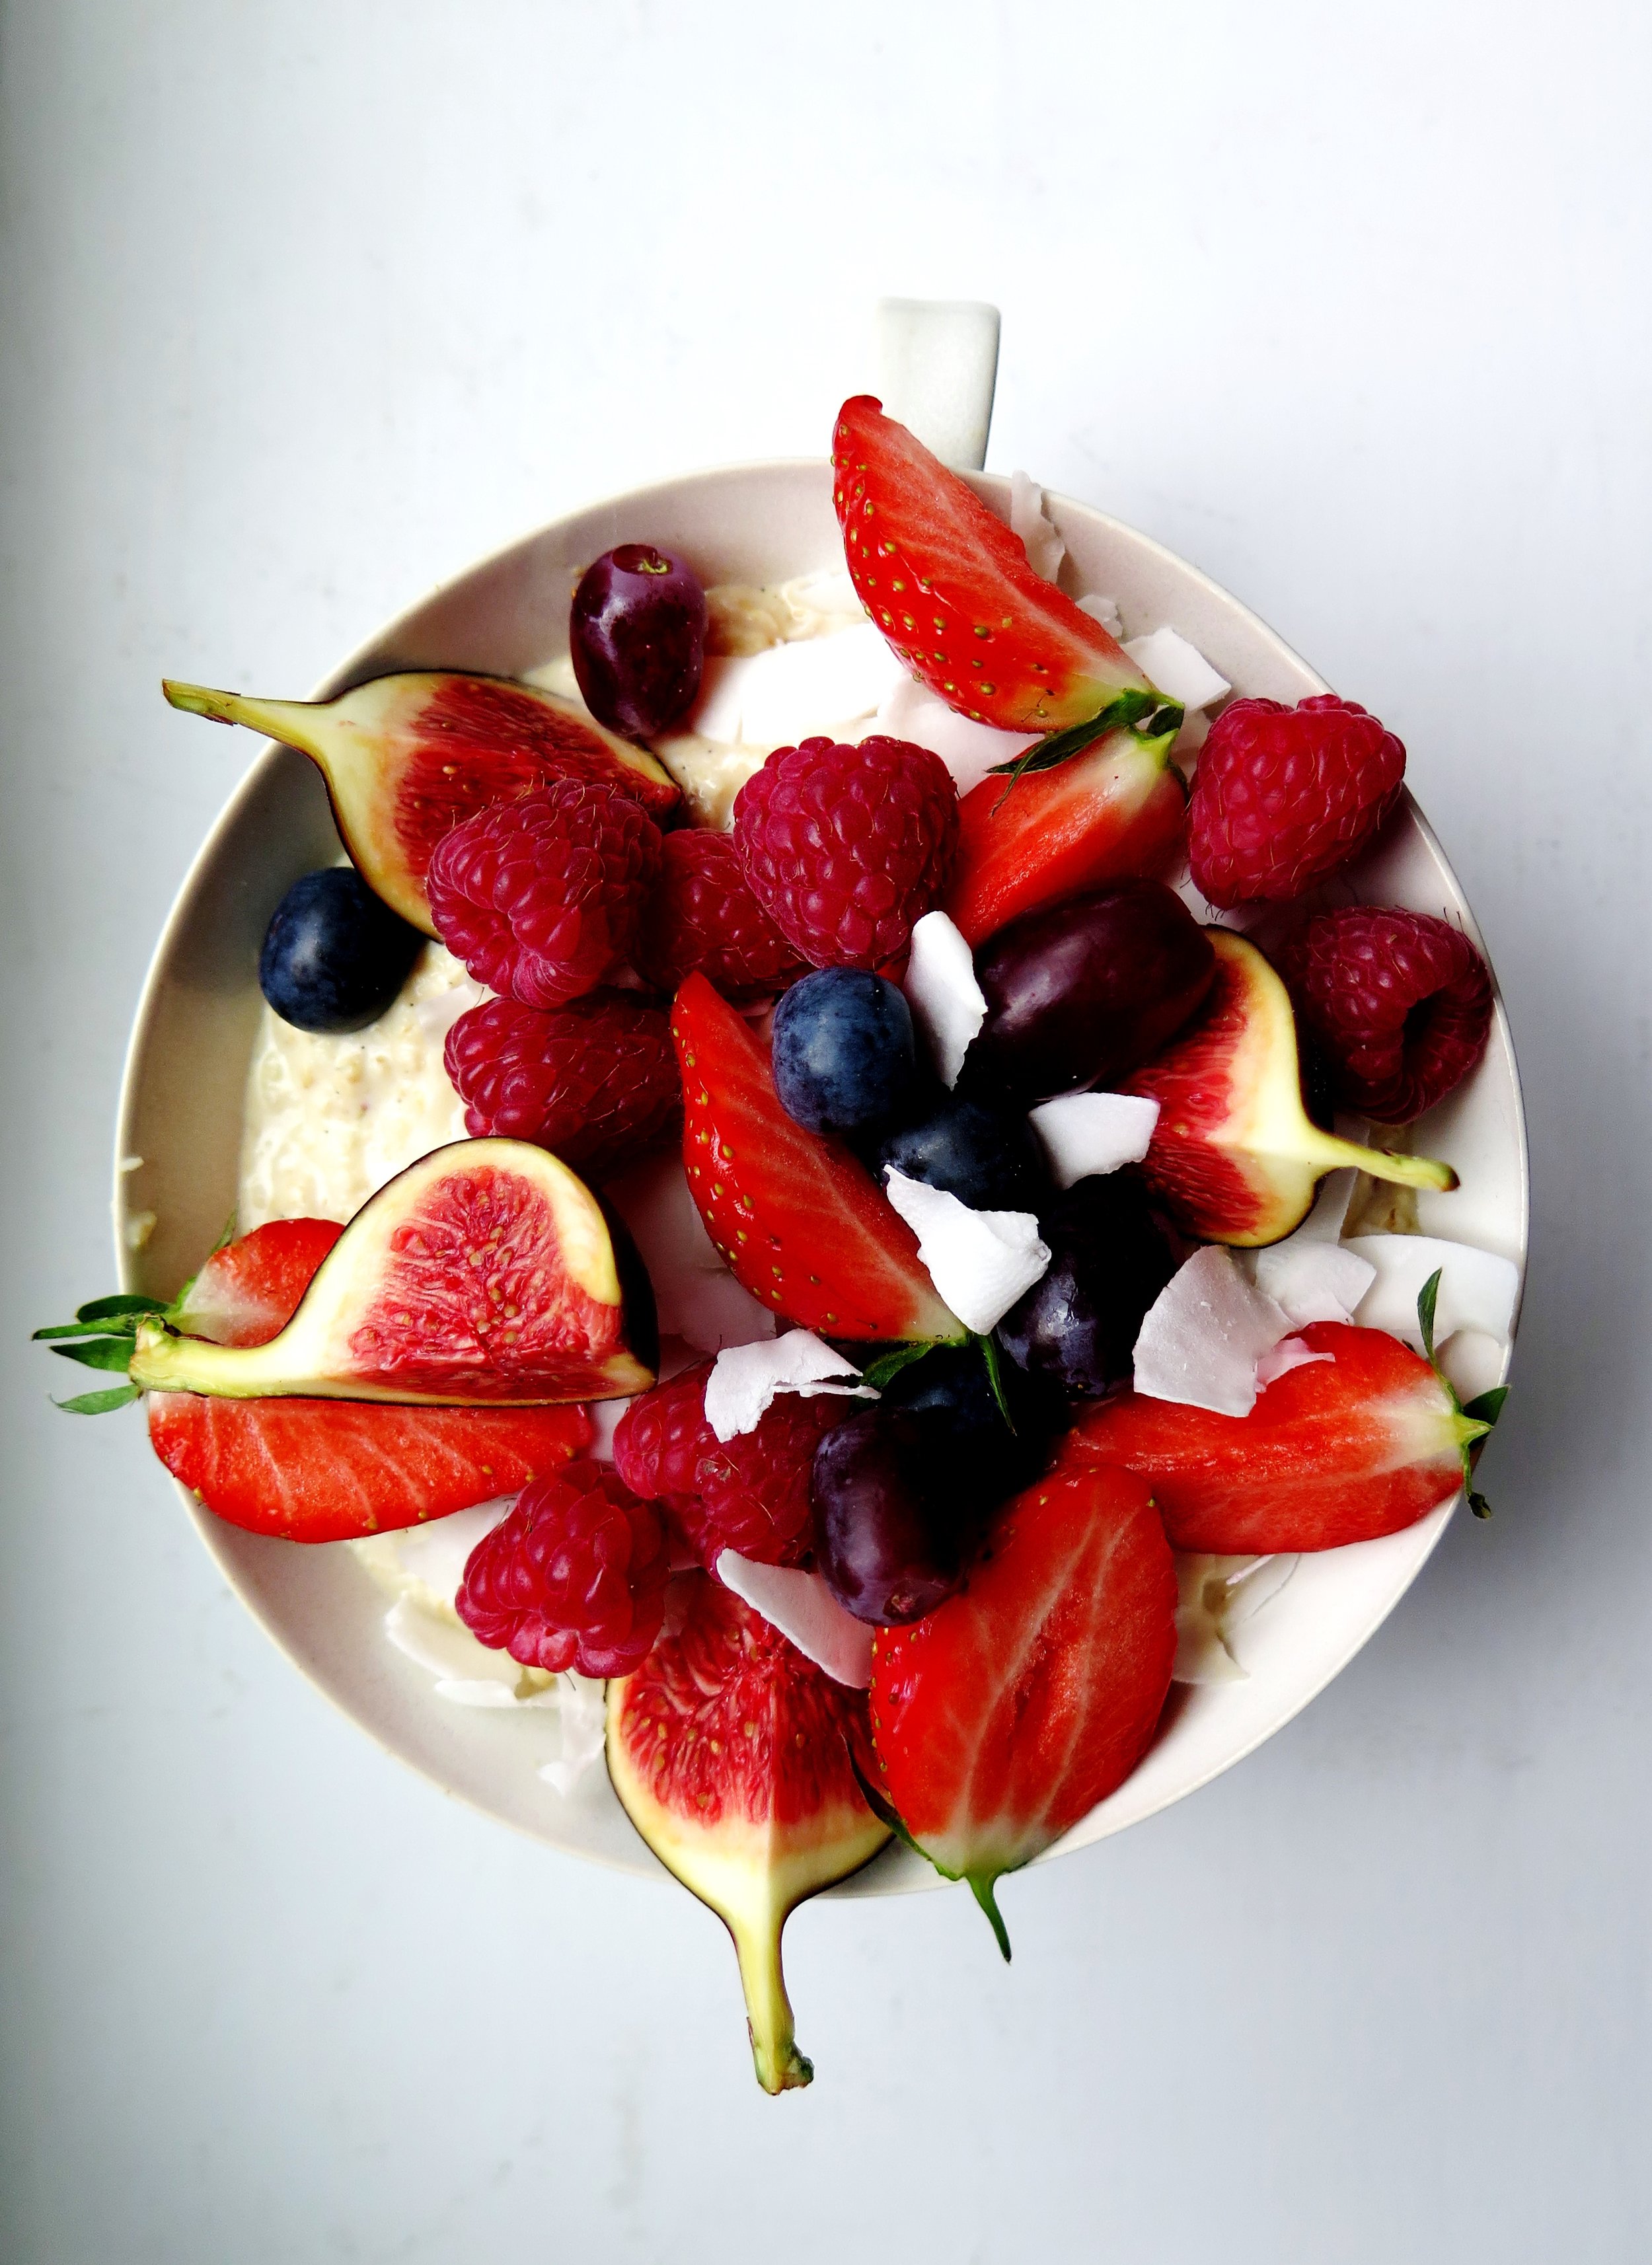
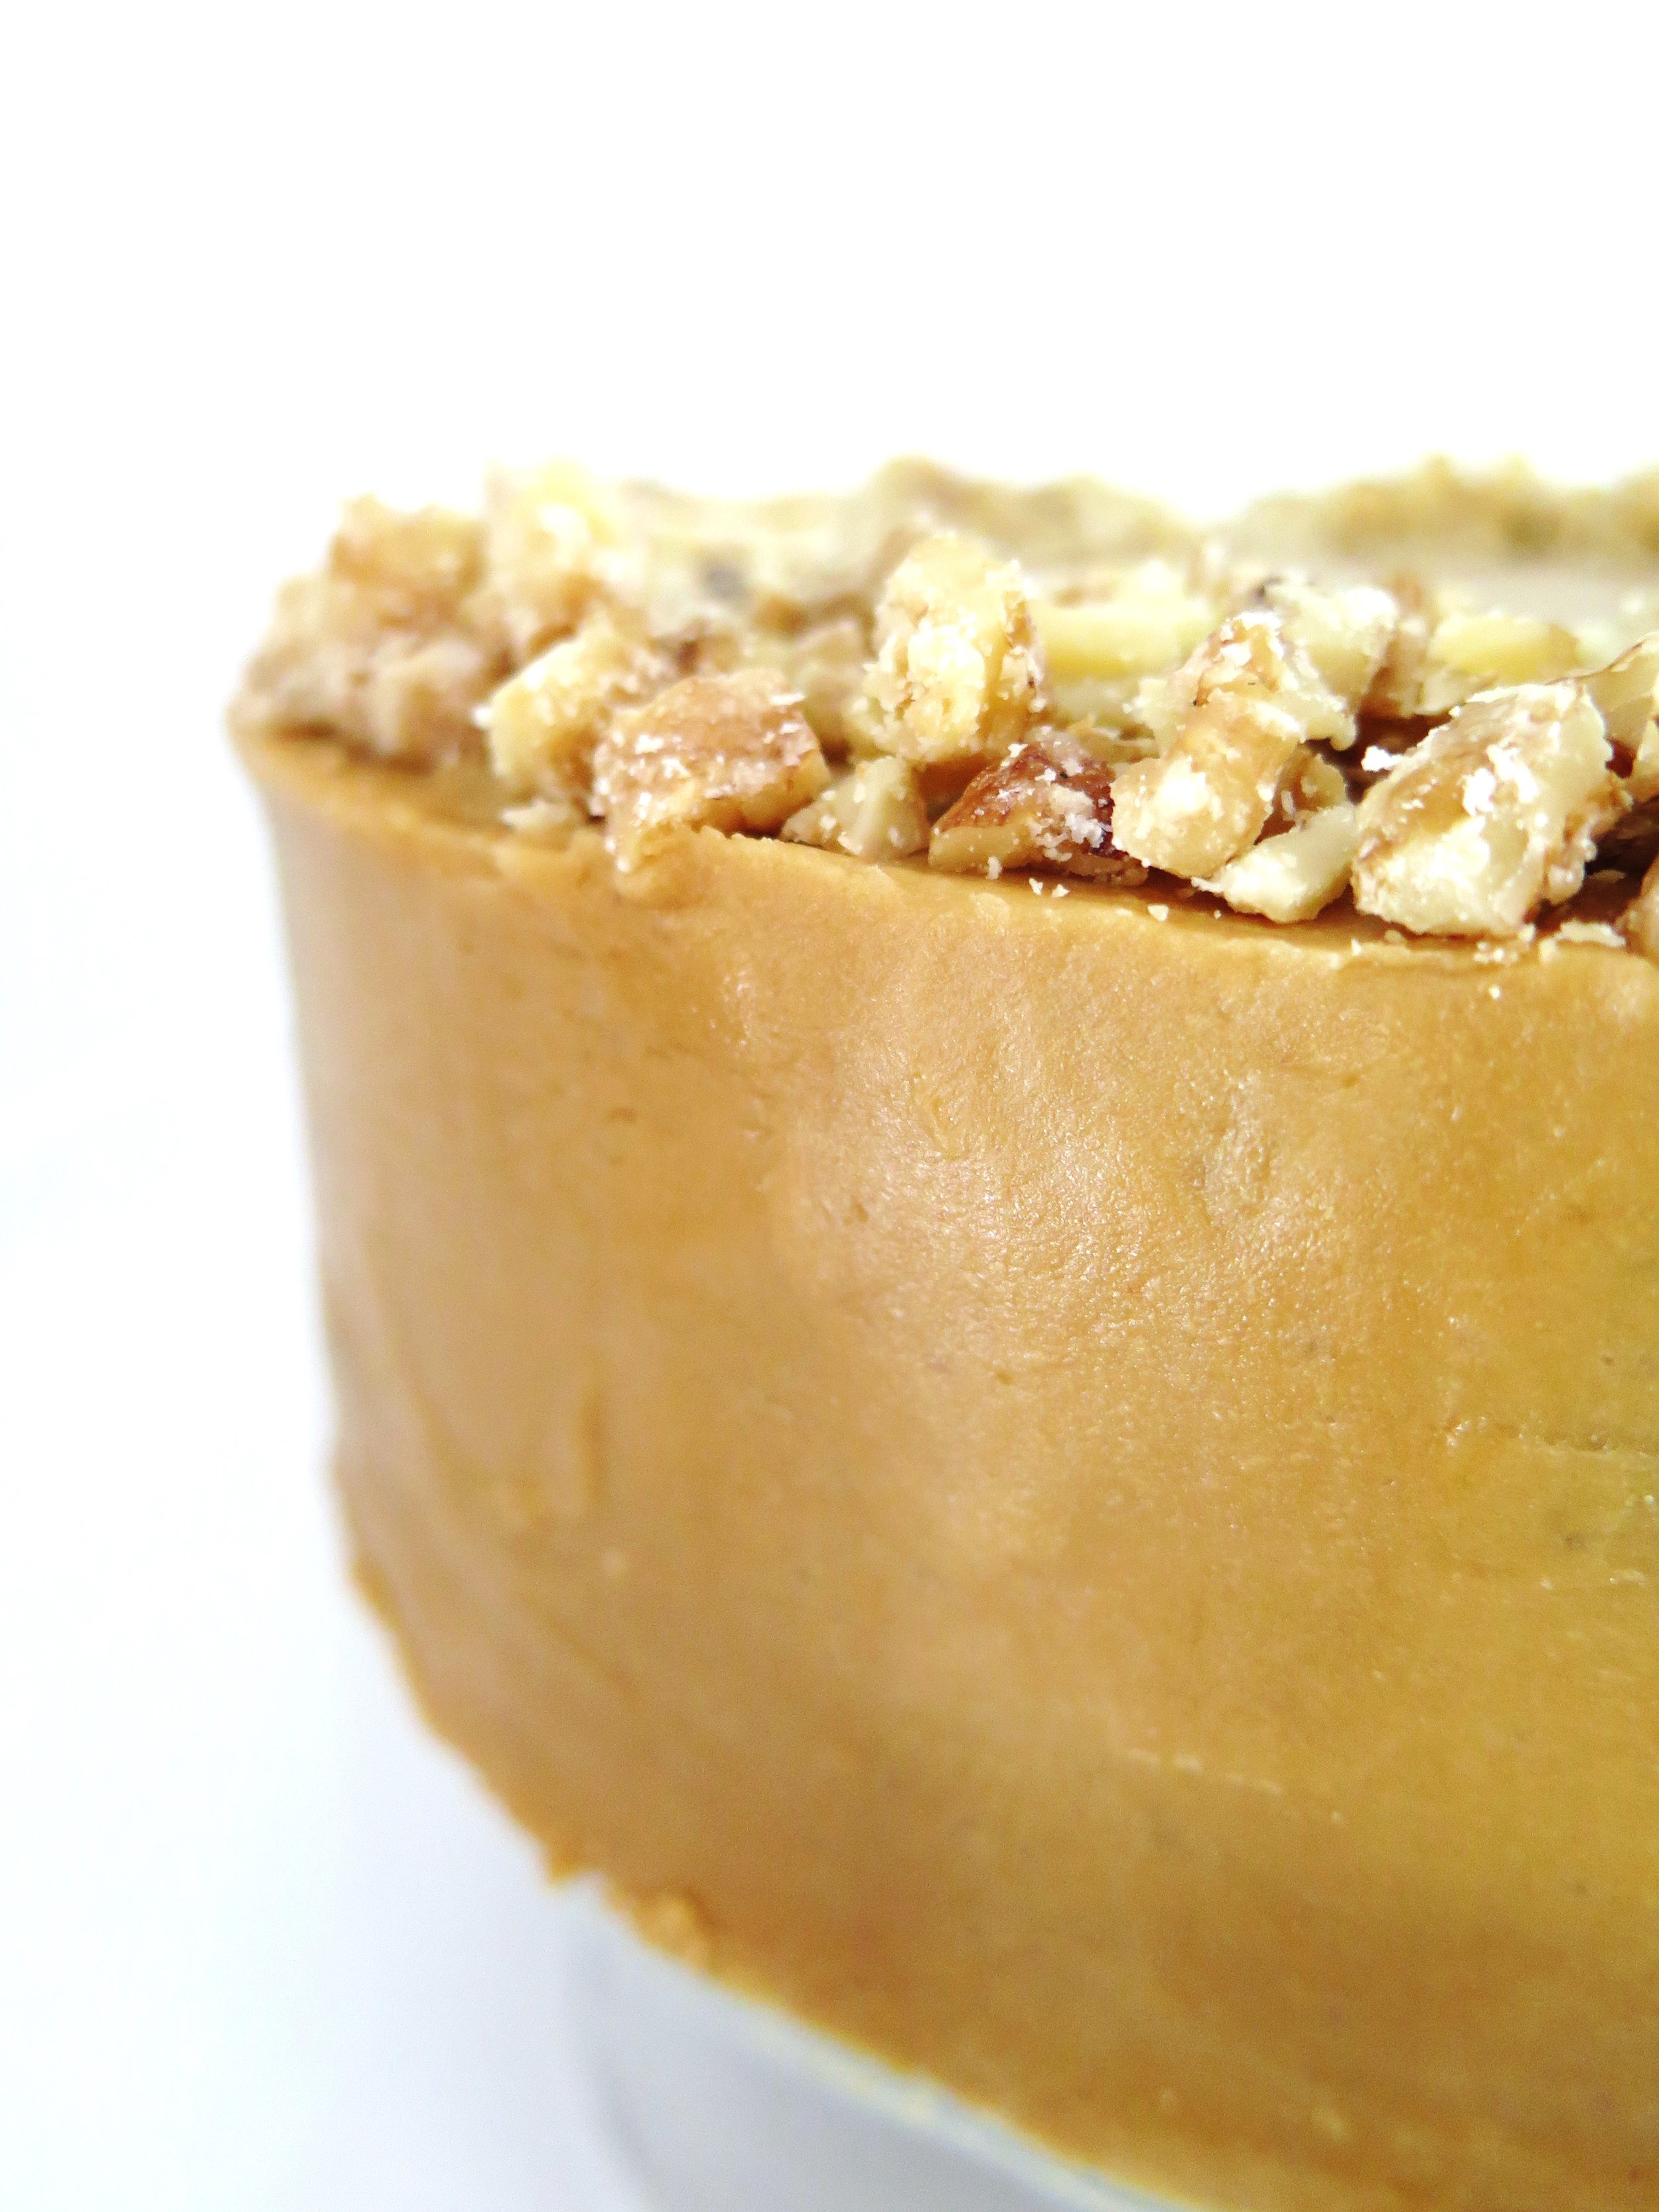
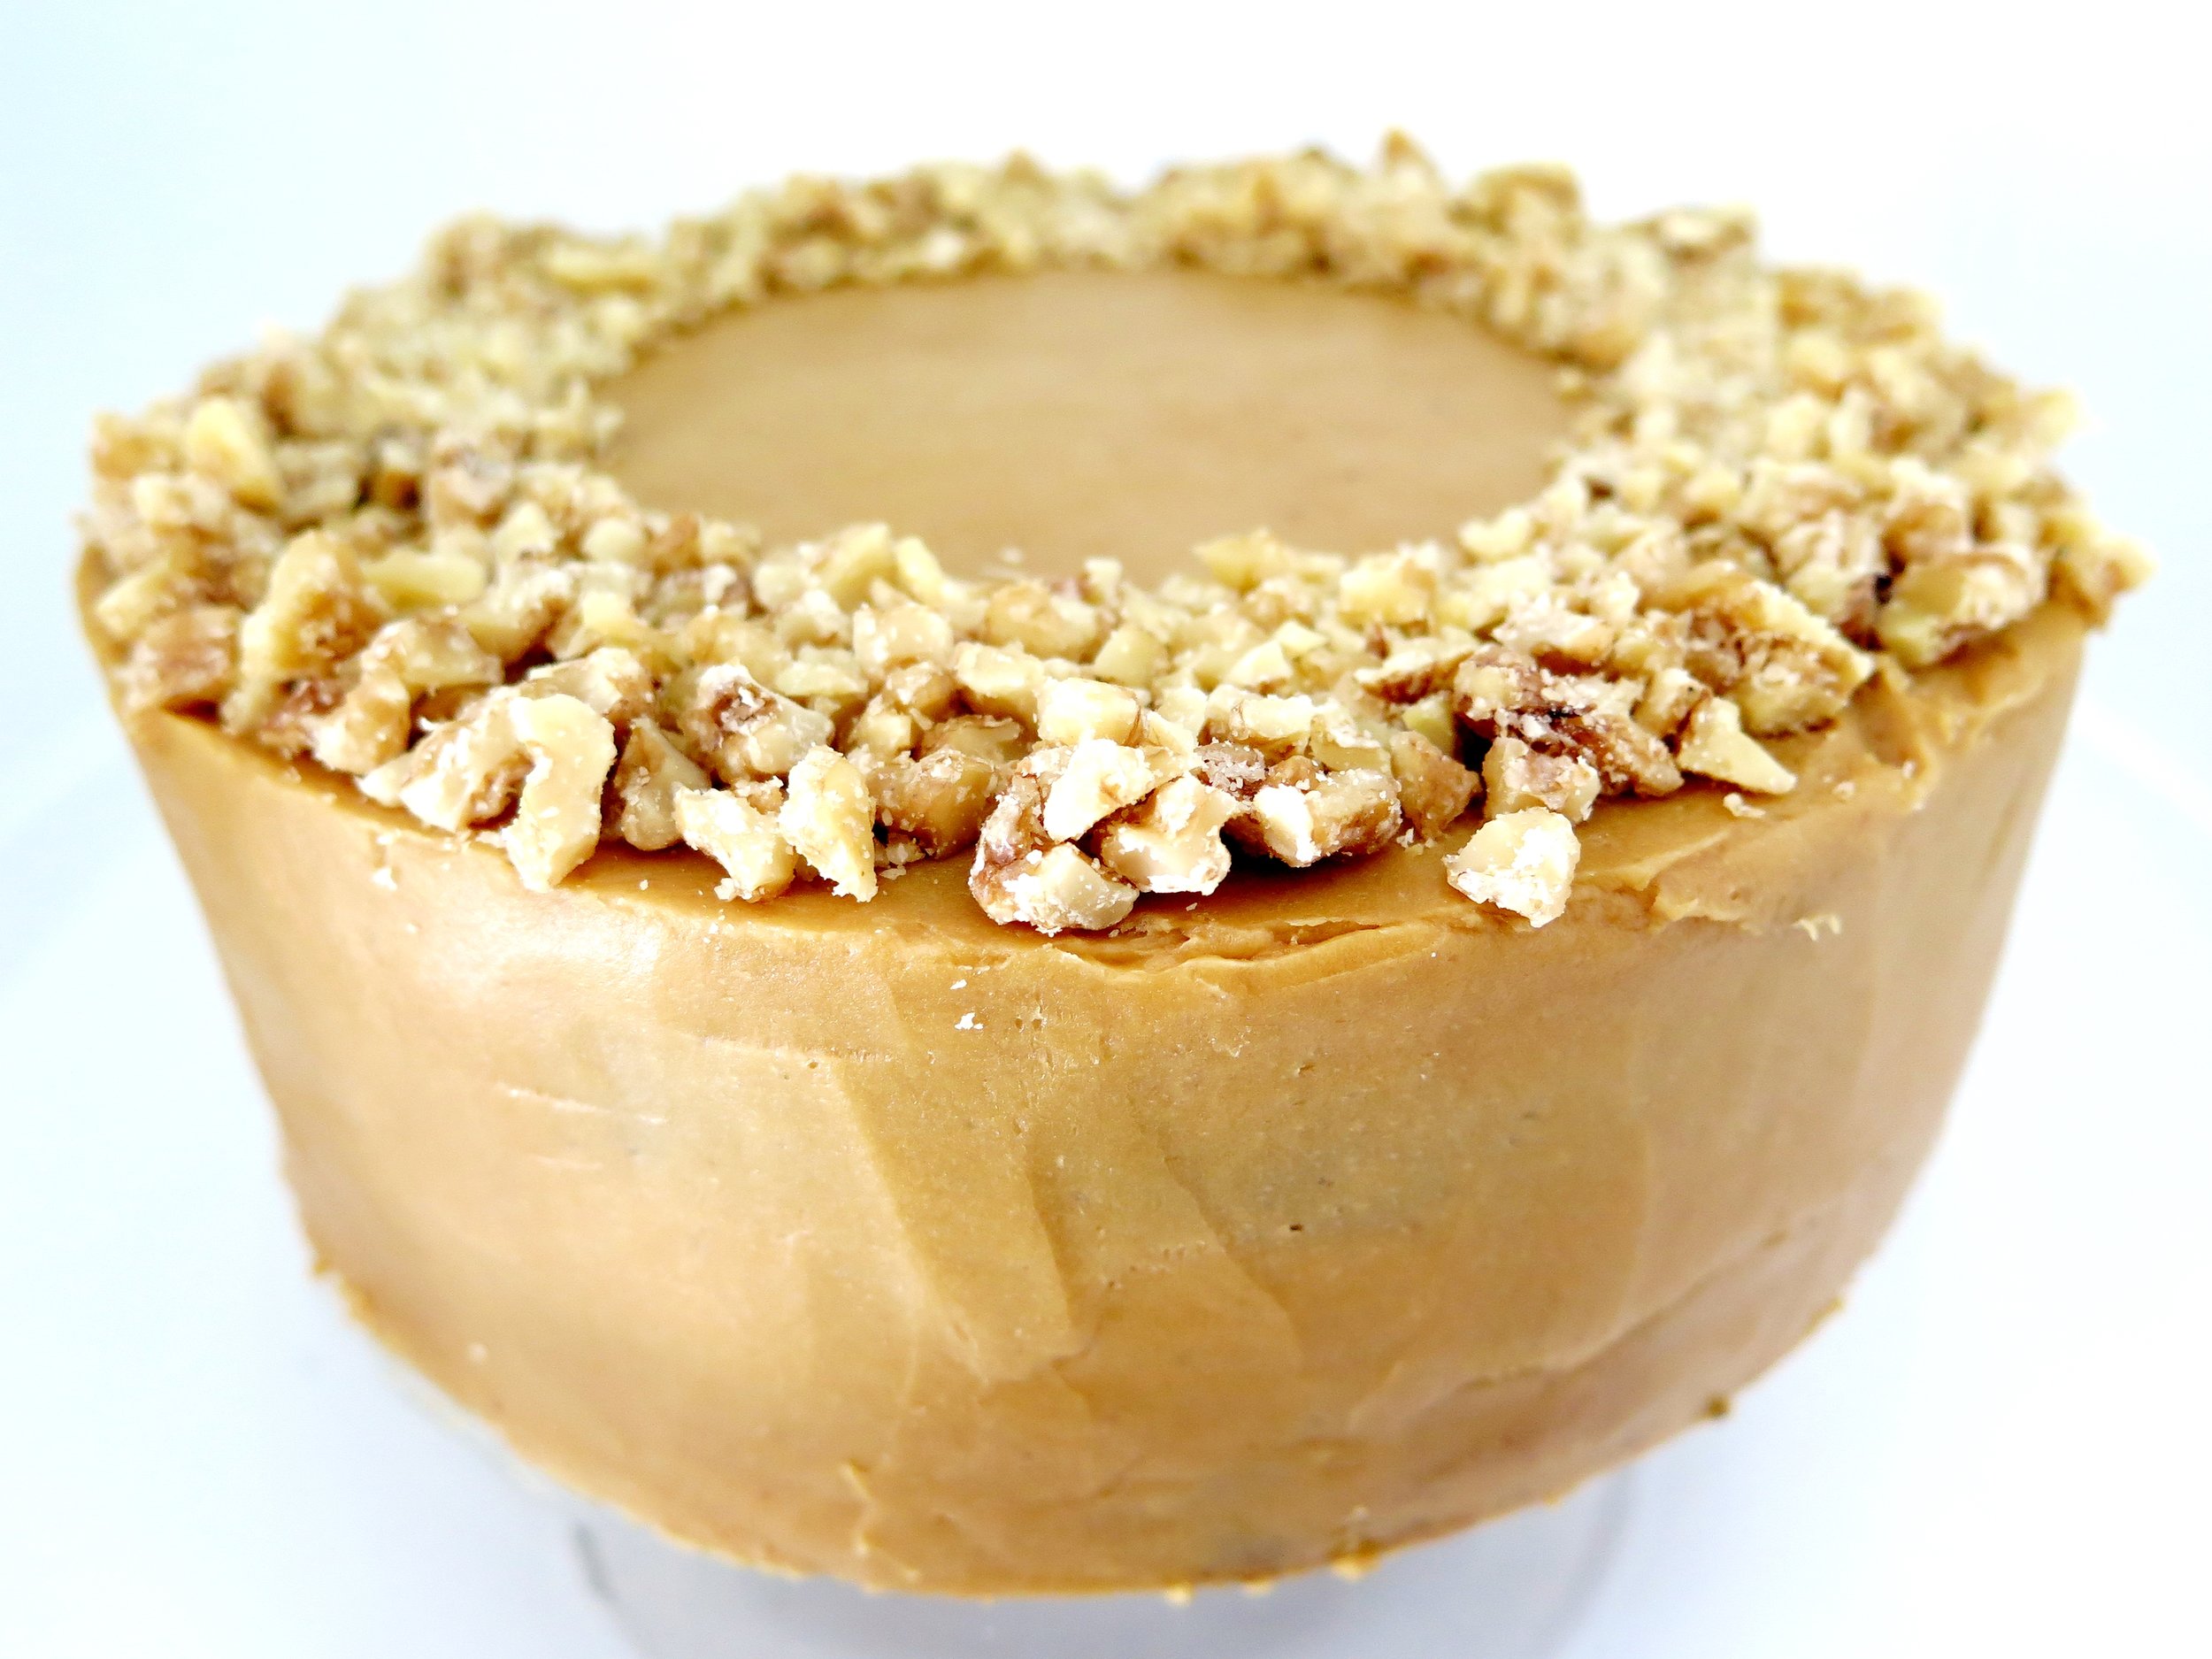
This recipe is delivered with a warning: this stollen, despite its understated, simple, appearance, is highly addictive. I ate almost an entire stollen in one day and felt quite sorry for myself afterwards (guilt streaked sugar-overload), so arm yourself with friends or a freezer before making it
Viewing entries tagged
vanilla
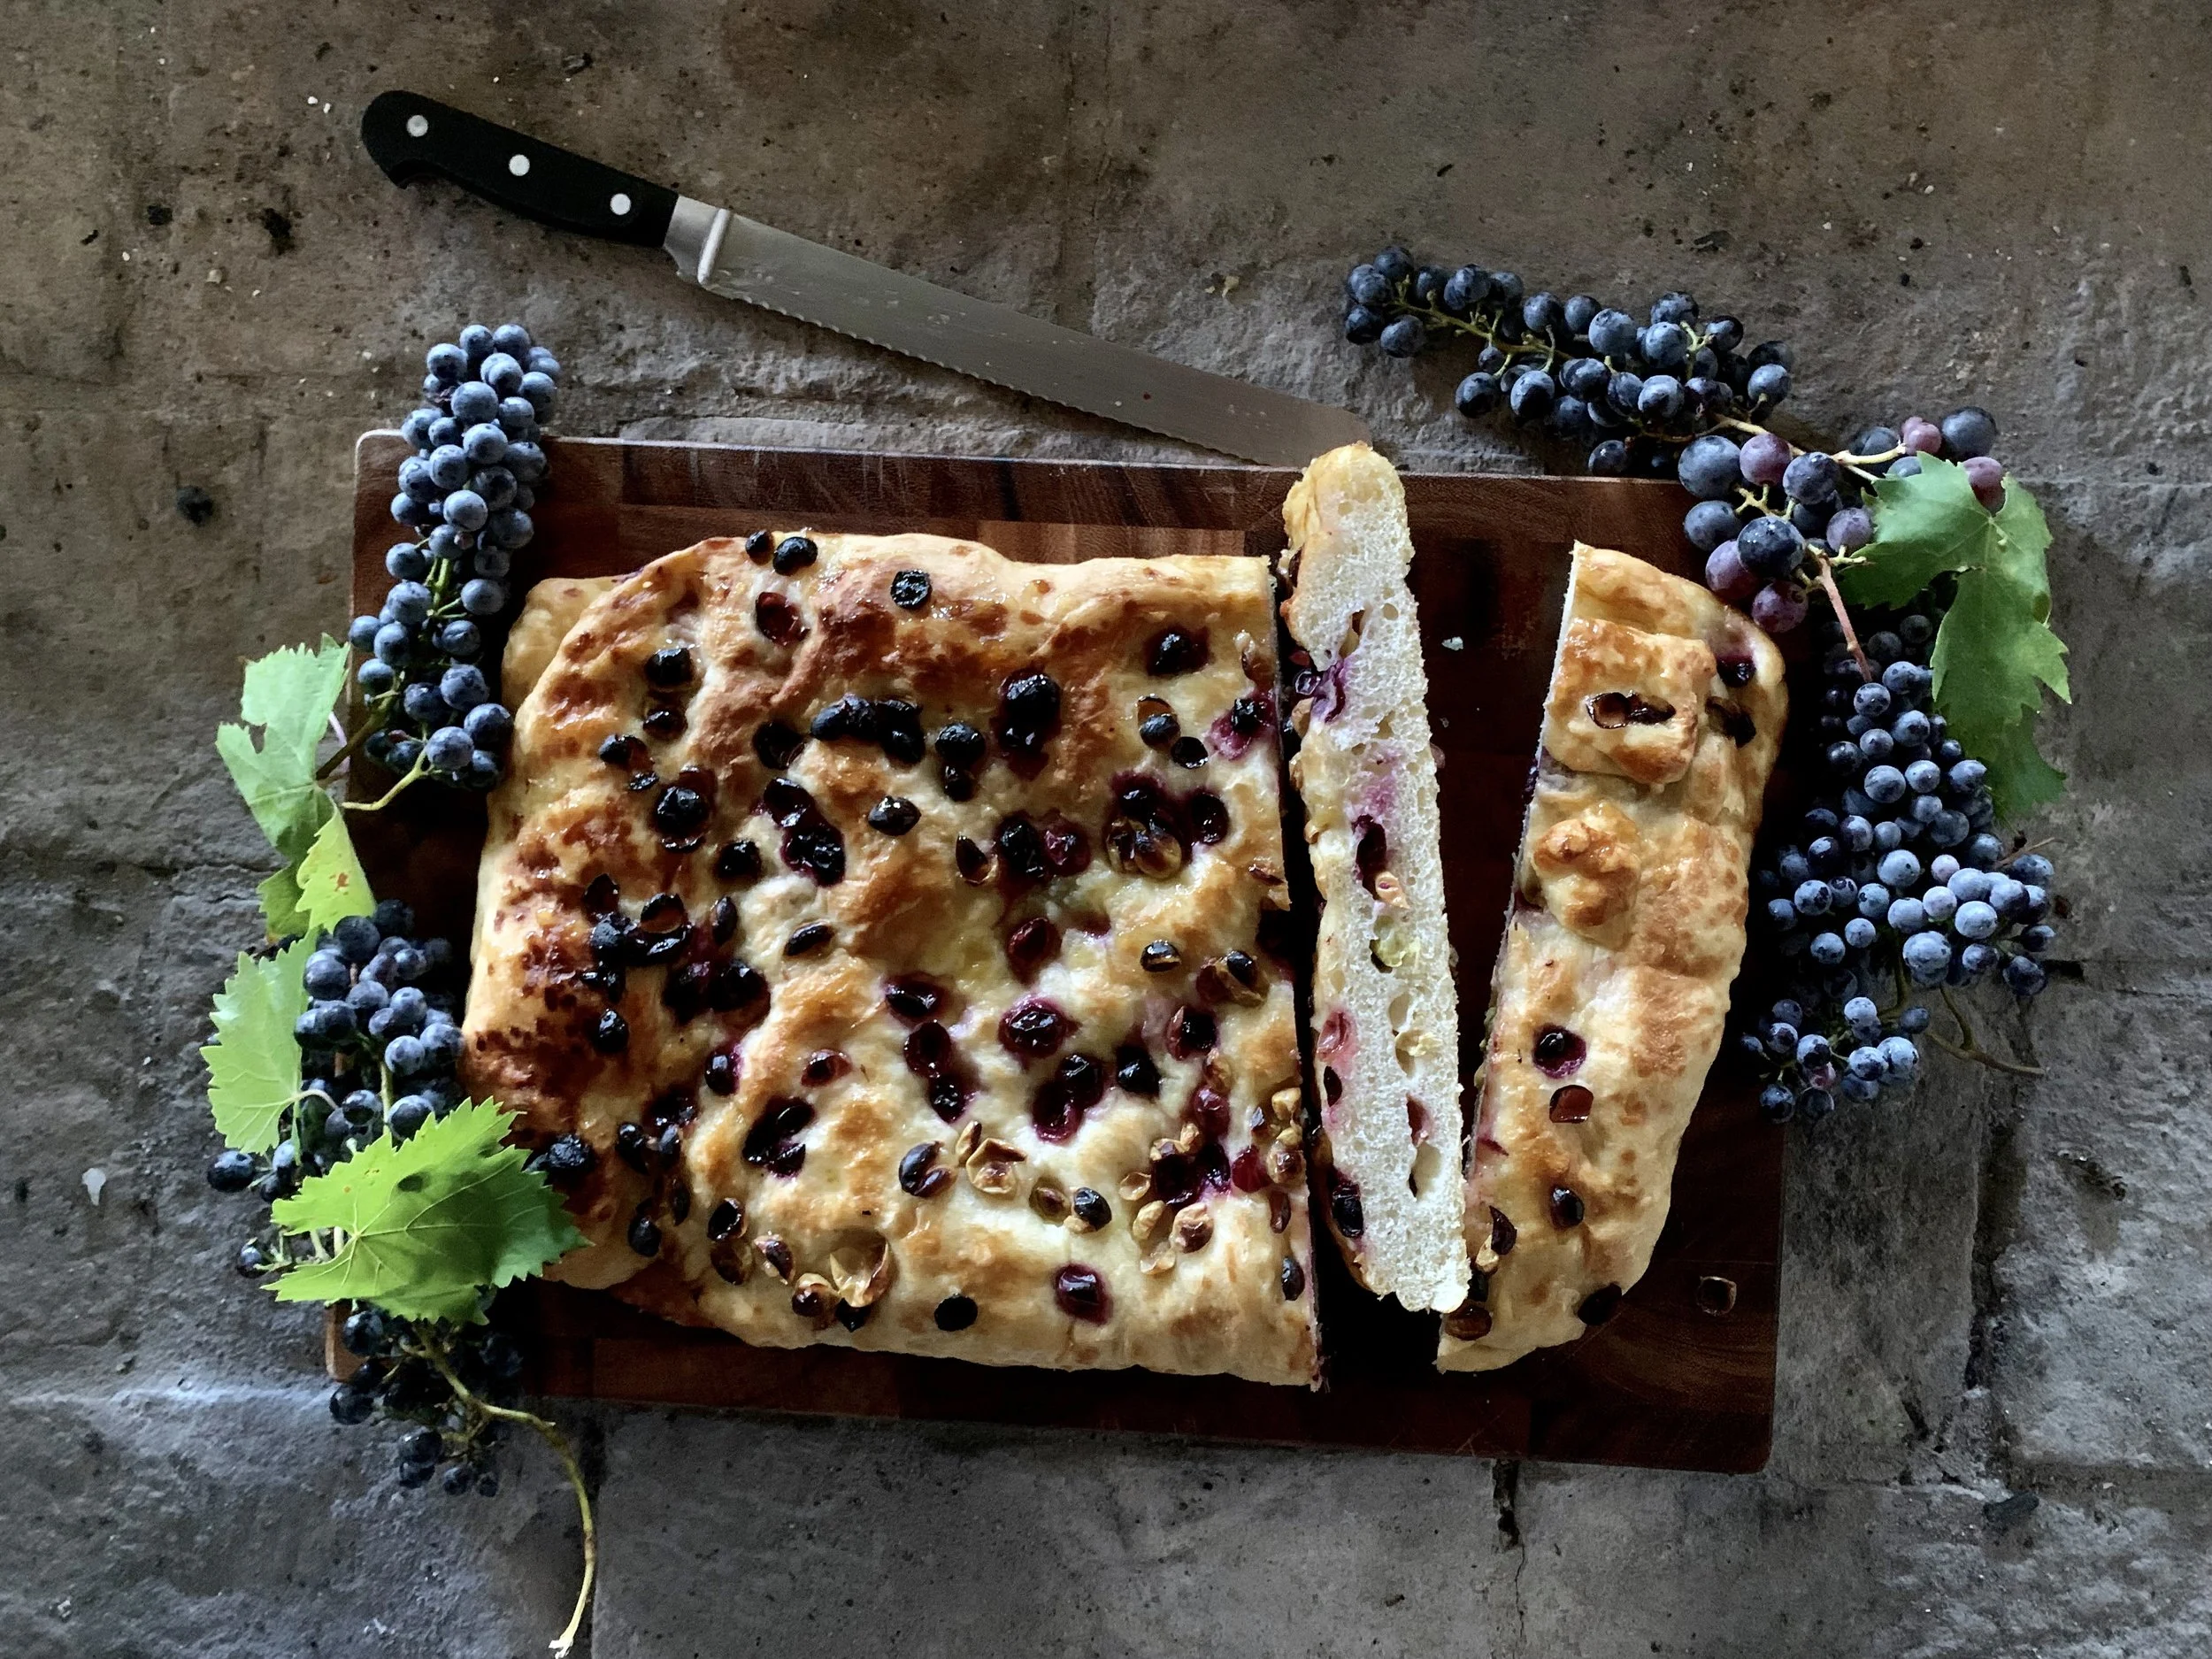
This cake is heady with the spirit of Tuscany. The grapes combined with the harmonious perfumed trio of orange, almond and vanilla is particularly luscious, and peculiar to Italian baking. The use of olive oil instead of butter, and the addition of ground almonds make it so moist and sumptuous. The flavour tends to develop after a day, so I’d advise making this a day or two in advance of eating (storing it an airtight container or covering the top of the cake tin until ready to serve).
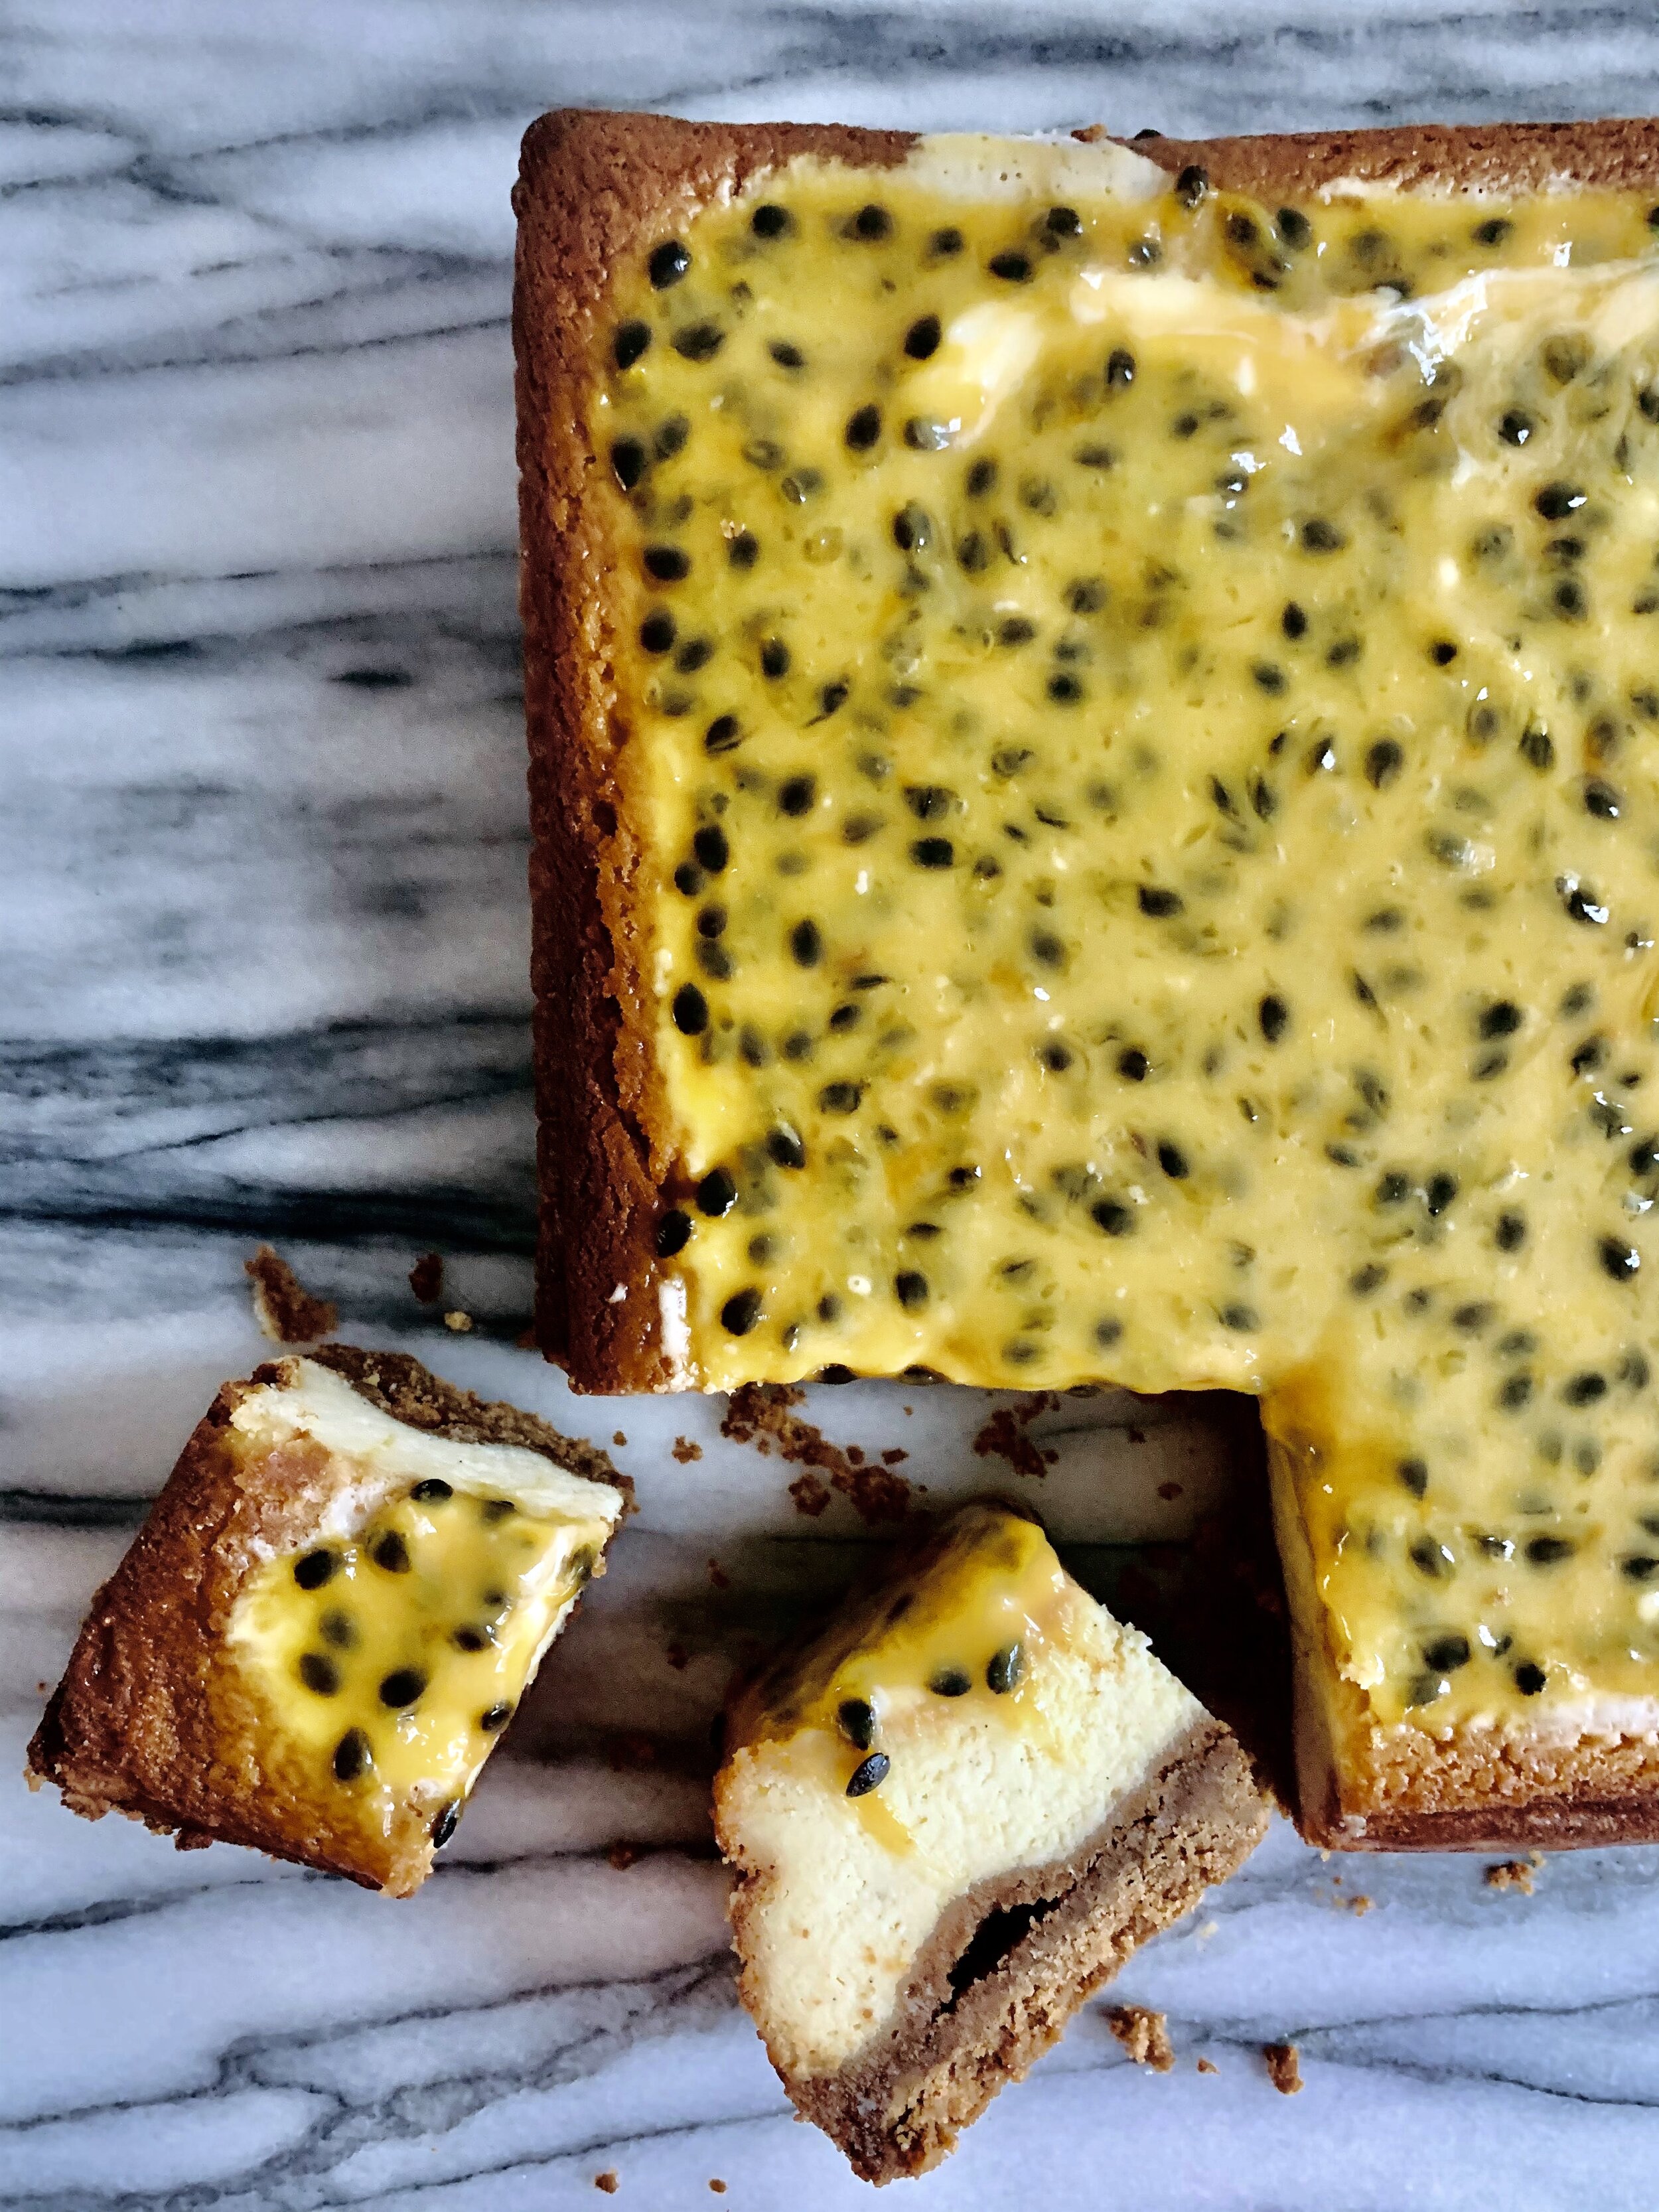
This cheesecake speaks for itself. It combines my three of my favourite things: lotus biscuits, white chocolate and passionfruit. The lotus biscuits make the perfect base, providing an almost umami, caramelised base.
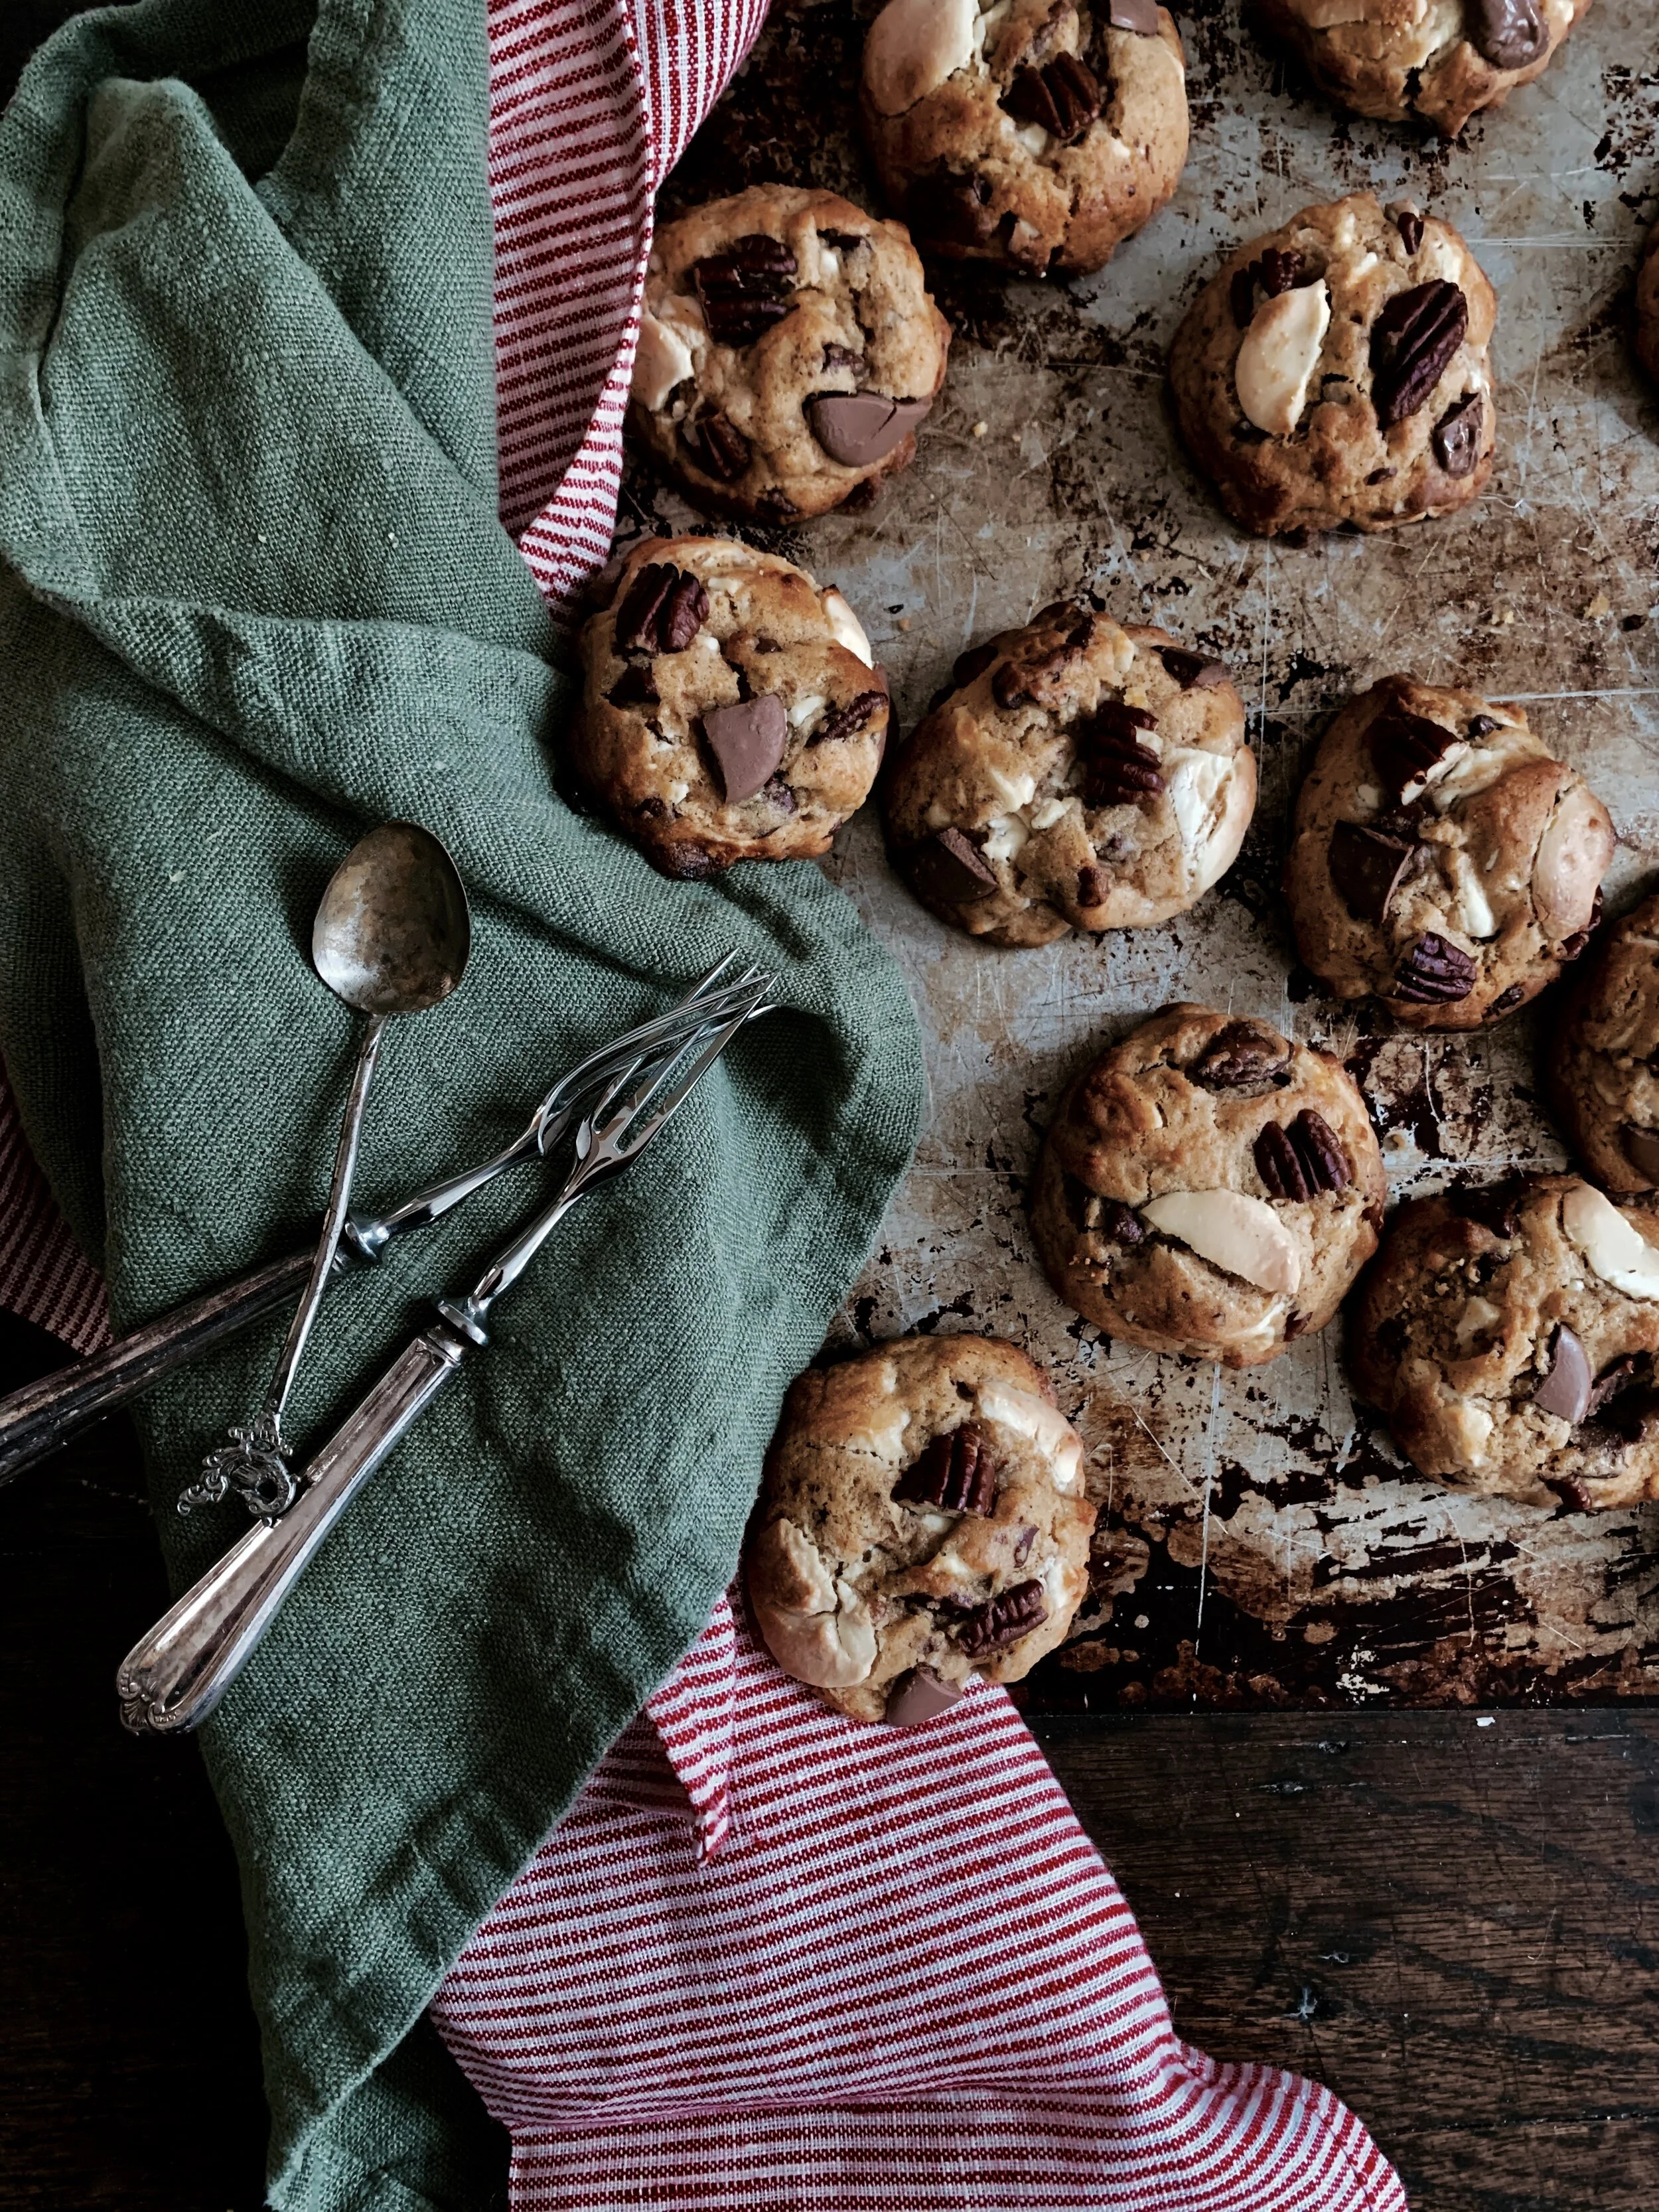
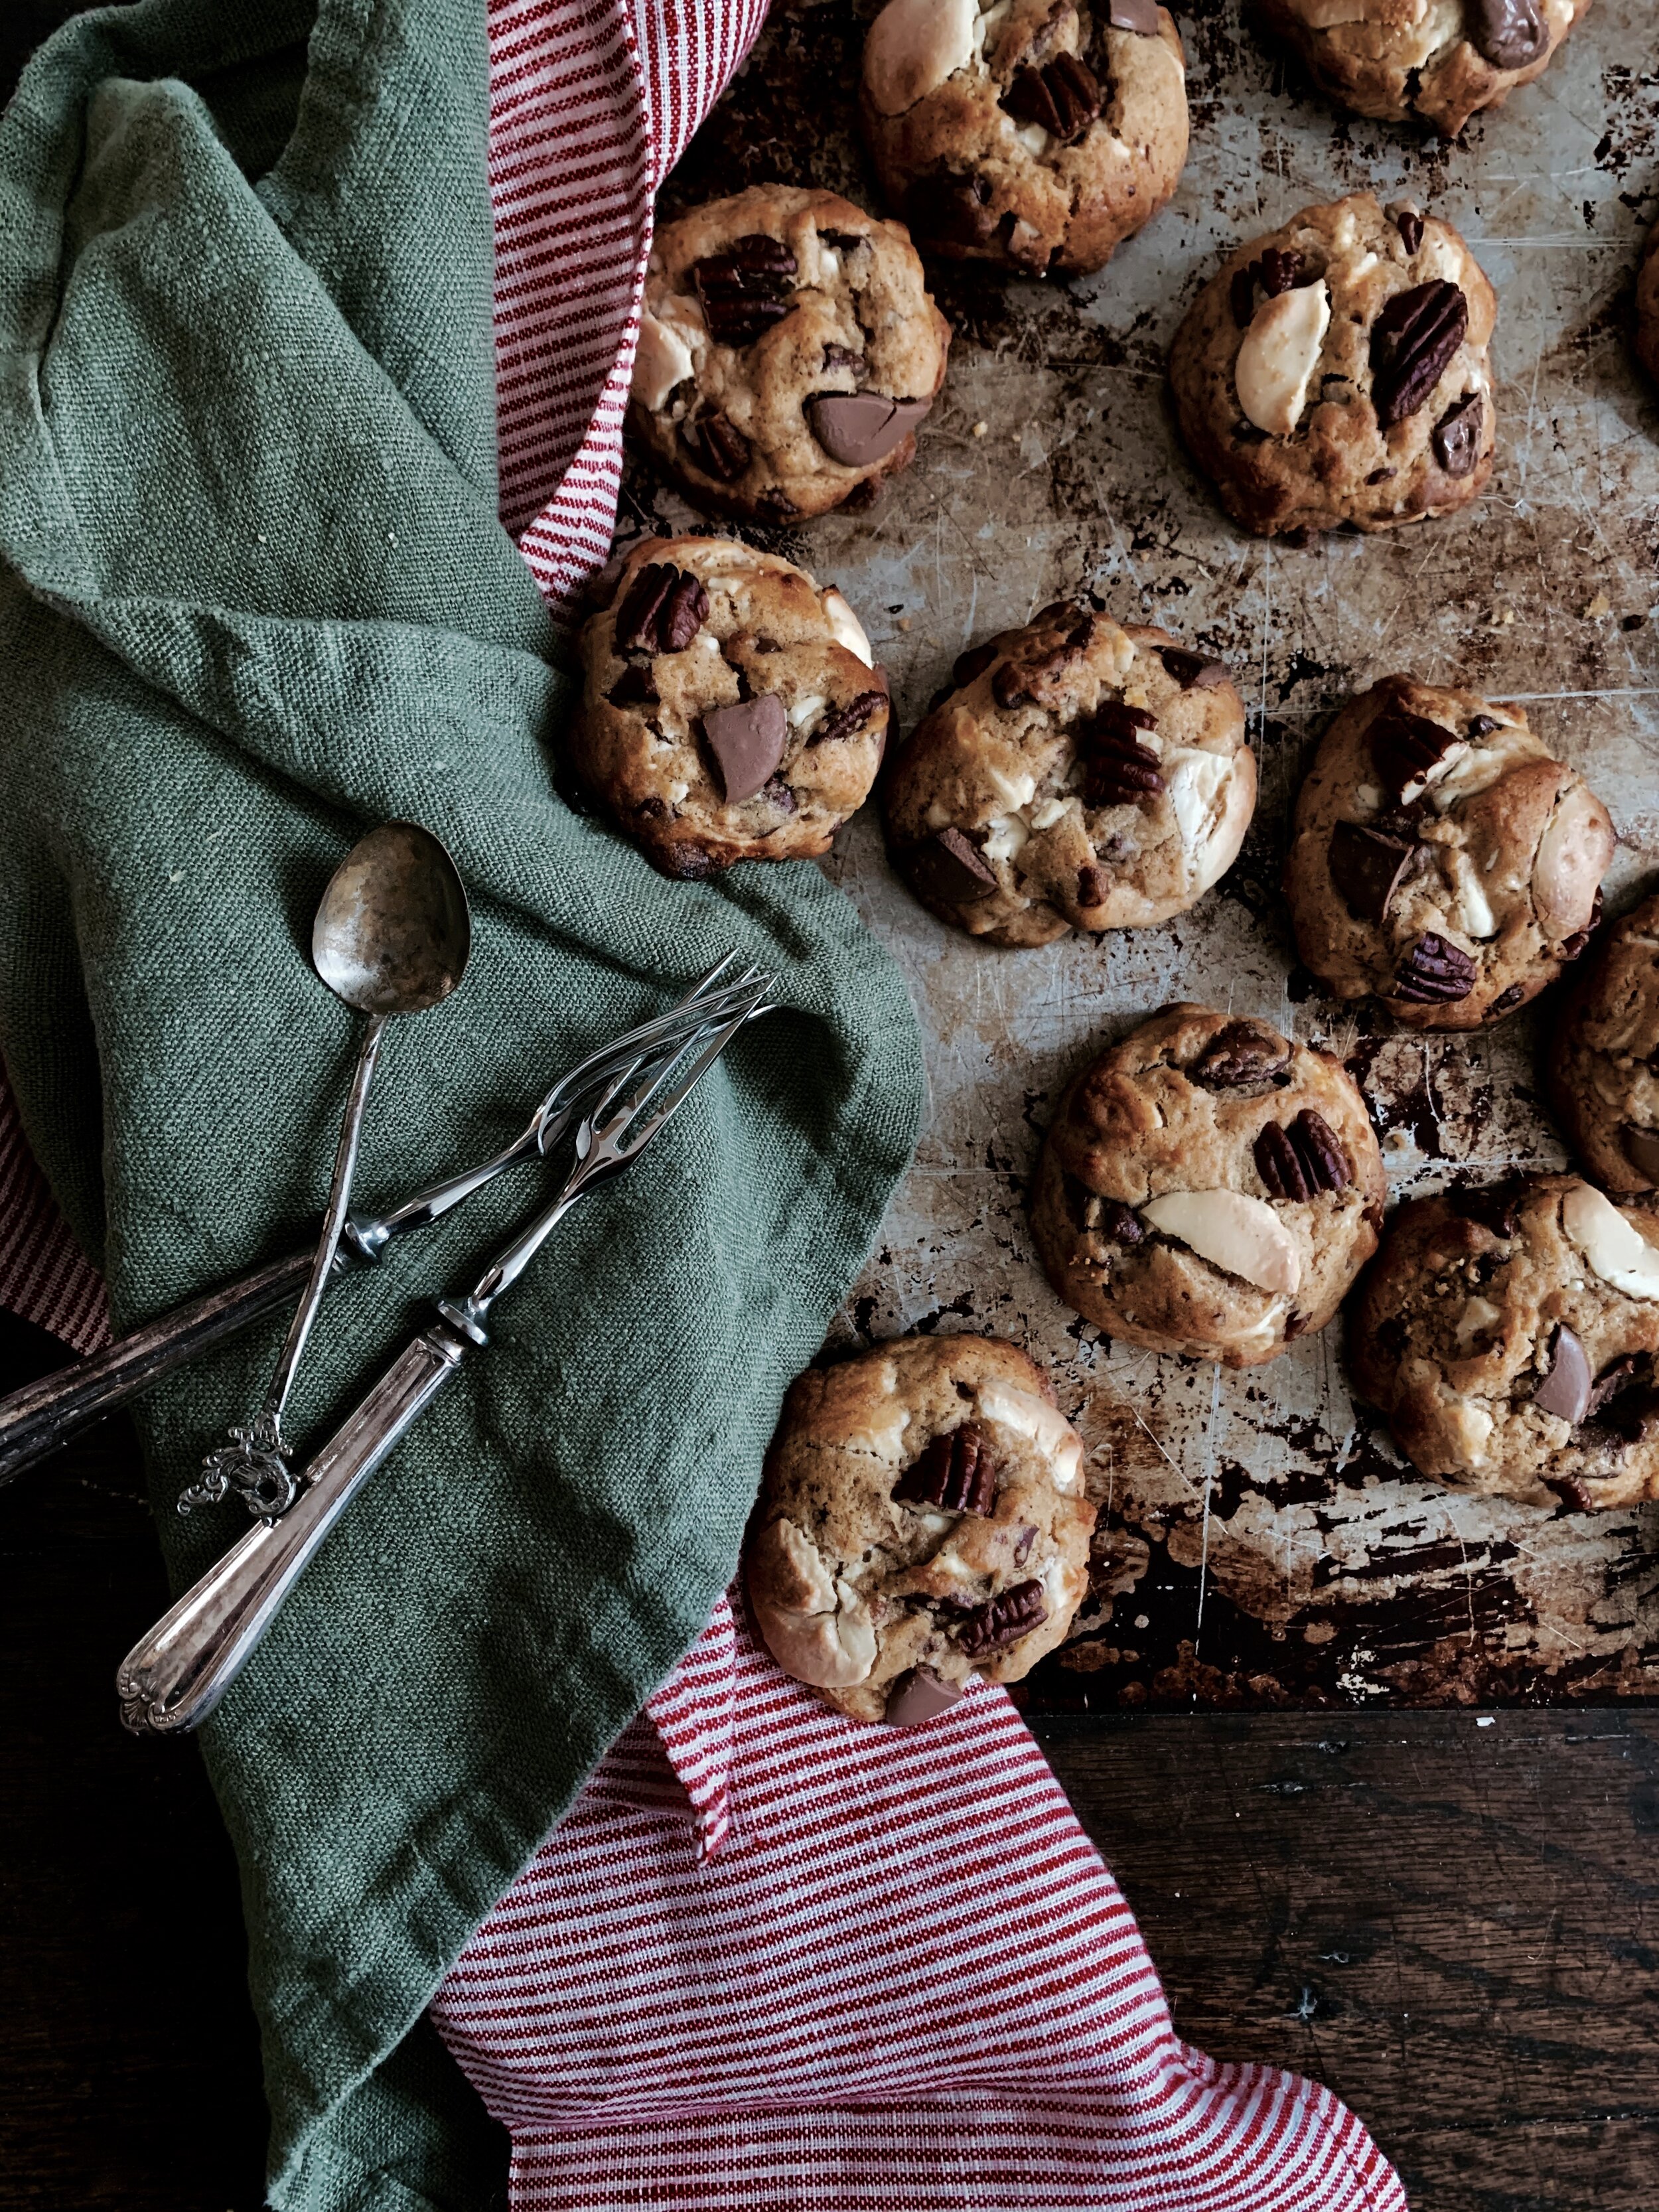
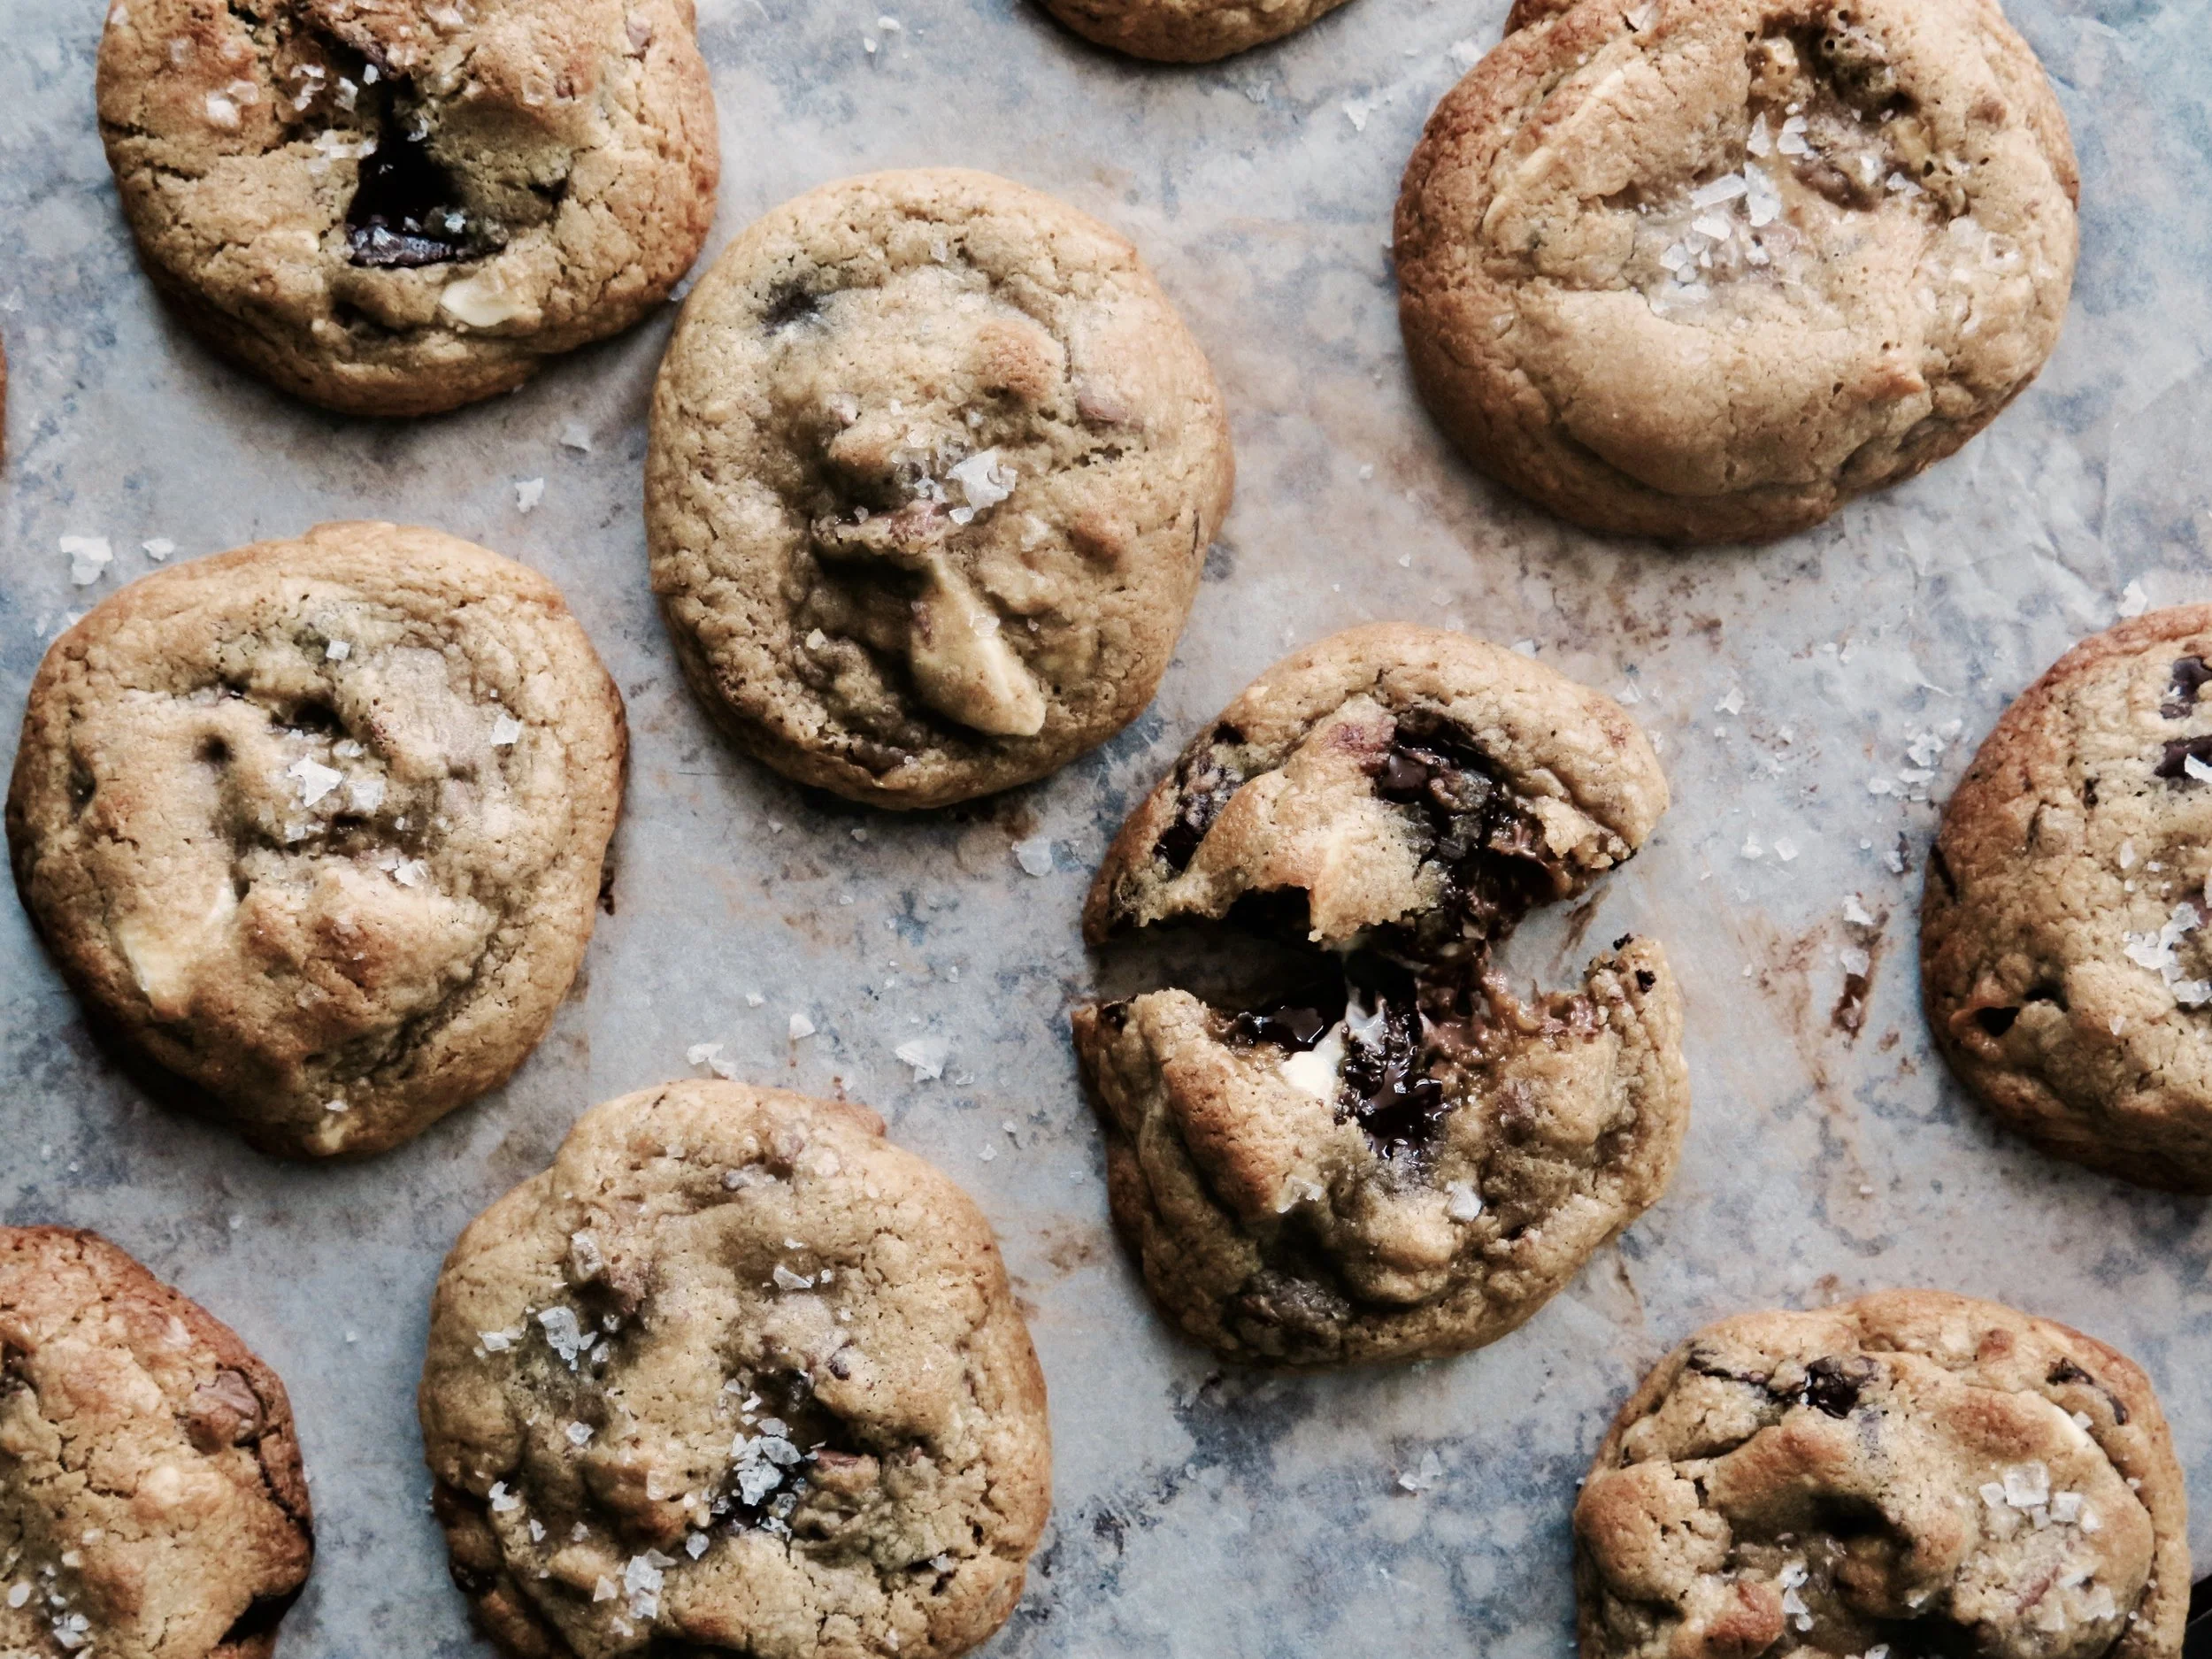
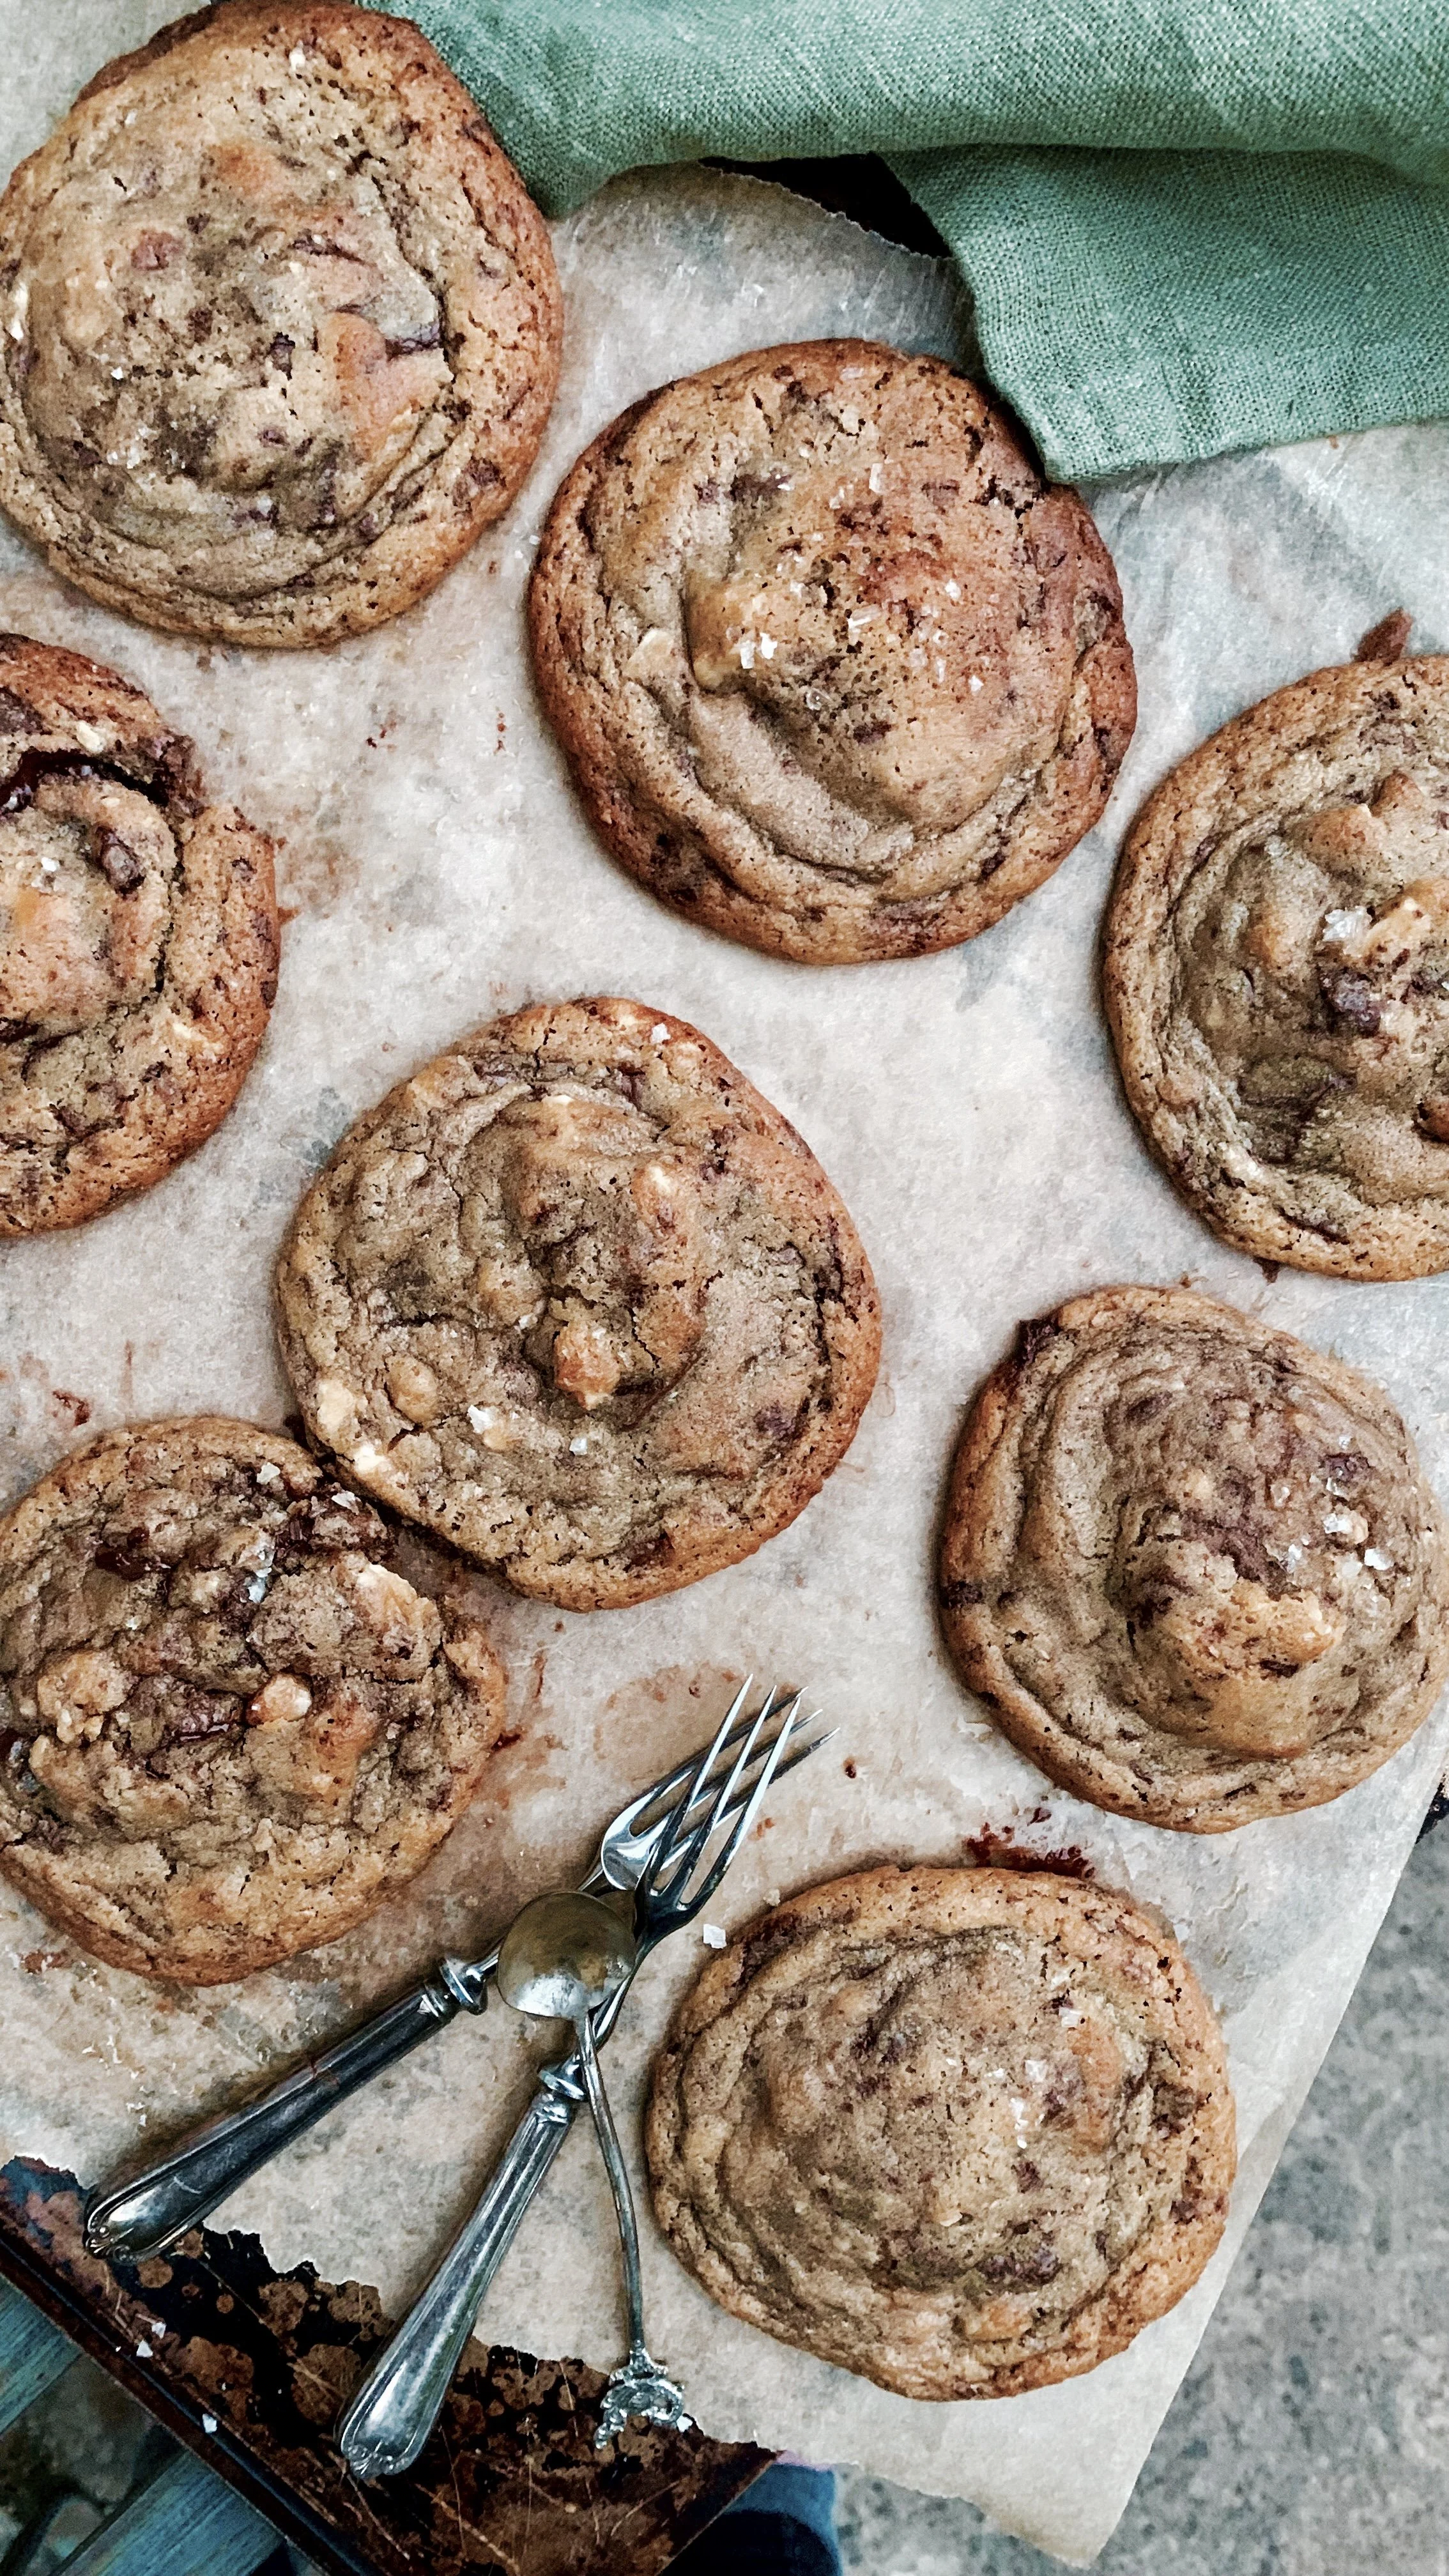
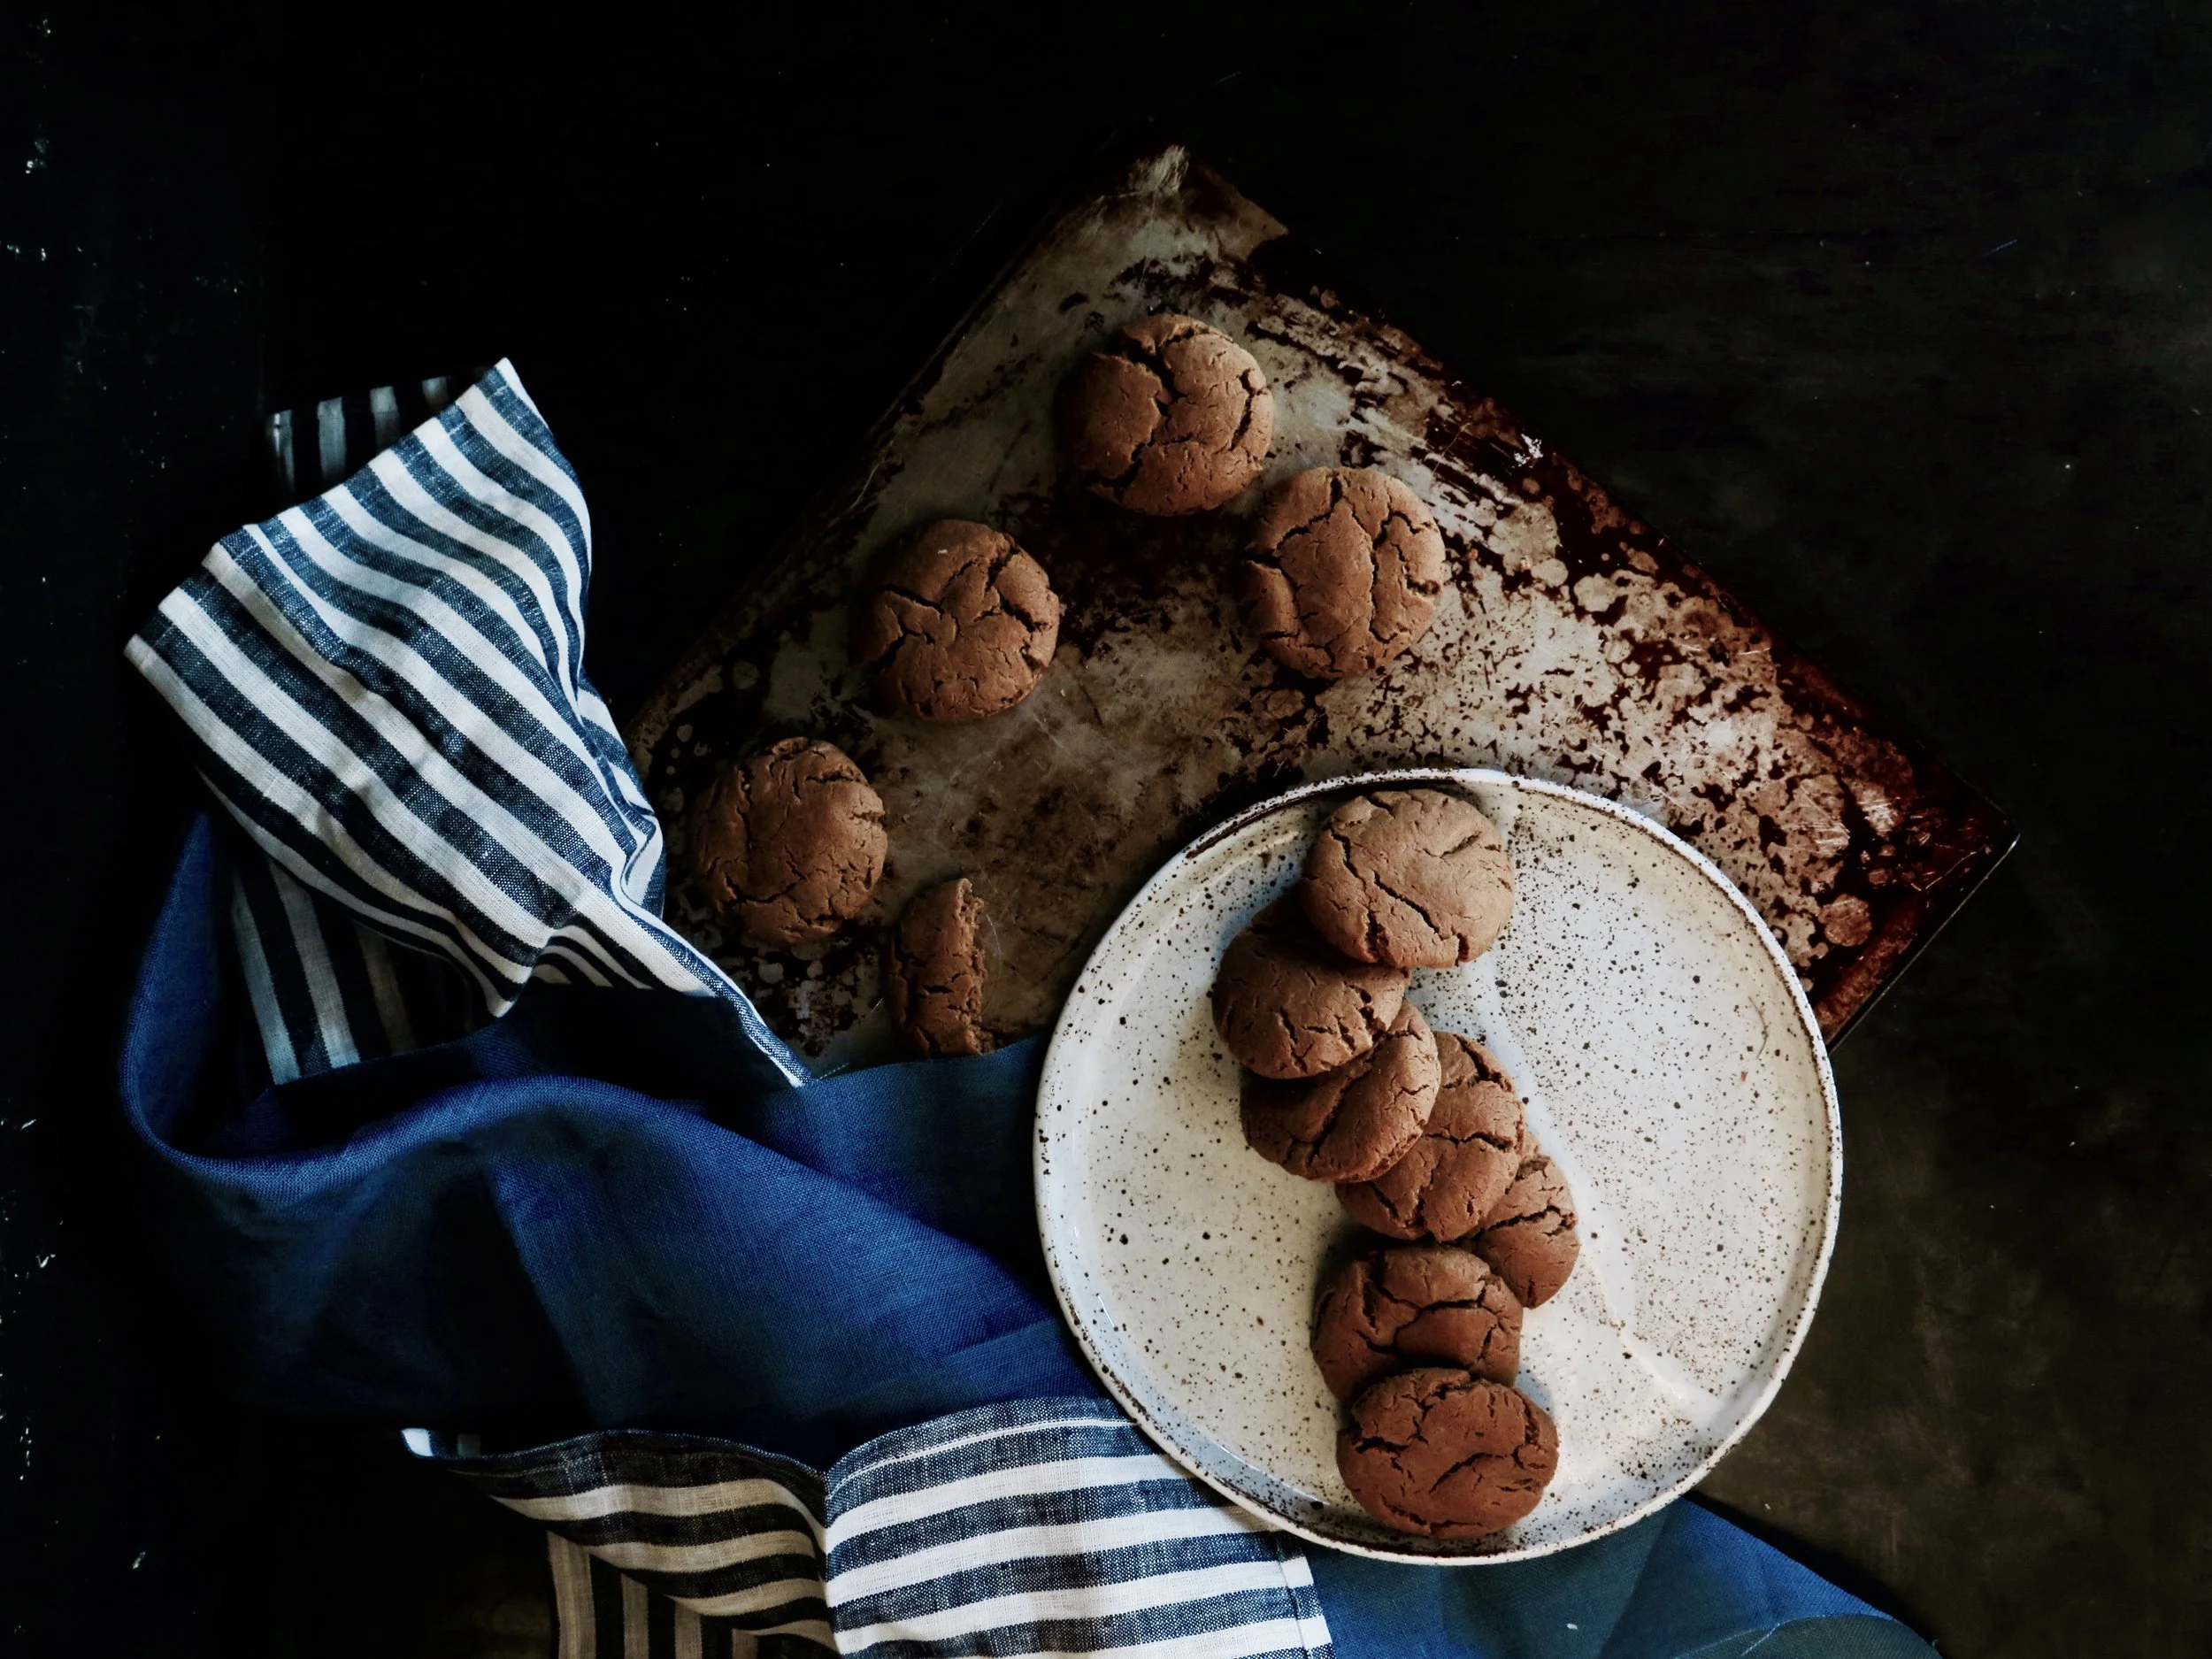
I don’t understand why there’s a “season” for pumpkin spice themed dishes when delicious pumpkin puree is available (from a can) all year round. In honour of this recent discovery, I decided to make these cookies. I was influenced by a recipe on Bon Appetitwhich incorporated pumpkin and various spices into a cookie. However - I was very disappointed by the result: the cookies were mean and thin, with root canal problem-inducing sweetness, overly egg-y, and totally lacking in the promised pumpkin flavour.
So, I made my own to tick the 3 commandments of cookies:
- Chewy
- Molten
- Thick
I radically amped up the amount of pumpkin, and reduced the sugar. I also added both white and milk chocolate, so that, upon baking, they caramelized, creating a sophisticated toffee flavour. The added crunch and maple-flavour of the pecans add some complexity, too.
NB If you would like a more savoury cookie, you could switch the milk and white chocolate for dark chocolate. And if you’d like to have a supply of cookies for emergencies, you can freeze the scoops of uncooked cookie dough and bake them when desired.
Pumpkin spice cookies (makes 20-22)
Ingredients
150 unsalted butter, softened
80g light brown sugar
70g caster sugar
1 egg
40g pumpkin puree
1 ½ tsp vanilla extract
½ tsp cinnamon
1 ½ tsp ground ginger
¼ tsp ground nutmeg
1/8 tsp mixed spice
220g plain flour
heaped ½ tsp baking powder
½ tsp salt
100g white chocolate + 30 g white chocolate for topping (I use buttons but you can chop up a bar or use chips instead)
50g milk chocolate, roughly chopped
50g chopped pecans, + 20g for topping
2 large baking trays, lined with baking parchment
Method
1) Put the unsalted butter, light brown sugar and caster sugar into the bowl of an electric mixer, fitted with the paddle, and beat until light and fluffy (about 5 minutes). If doing by hand, beat ingredients together with a spoon. Add the egg, pumpkin puree and vanilla extract, and beat until full combined.
2) Add the spices (cinnamon, ginger, nutmeg, mixed spice), flour, baking powder and salt to the wet ingredients, and very gently fold together until almost combined, leaving some flour still visible. Add the chopped milk chocolate, white chocolate and pecans, and very gently fold them into the cookie dough until combined.
3) Cover the bowl and refrigerate for minimum 1 hour and up to 24 hours (until you’re ready to bake the cookies).
4) Preheat the oven to 180°C. Then. either using an ice cream scoop, or a tablespoon, scoop the cookie dough into 40g dollops. I weigh each one to make sure they cook evenly, but if you can’t be bothered just estimate. Roll each into a sphere between your palms to ensure that they bake into near-perfect rounds. Place on the tray leaving about 4cm between each so that they have room to spread when they bake. Then, into each sphere, press a piece of white chocolate and a piece of pecan.
5) Place in oven to bake for 7-10 minutes, or until they are golden at the edges but still soft to the touch. Once they are removed from the oven, they will continue to cook on the baking tray so leave them to sit for a couple of minutes. Serve warm if you can’t wait, or keep them for up to 4 days in an airtight container. You can also freeze them in an airtight container for up to 3 months.
HUNGRY FOR MORE?
I am reluctant to call them custard creams as they are everything traditional ones are not. Instead of being brittle and flavourless, the biscuit is light, vanilla-scented, and so tender it almost dissolves on your tongue. And the filling is smooth, and generous, with a subtle lemon tang to add astringent relief.
So, I’ve got the solution. Why make loads when you can make one large pancake to divide between your salivating guests? This is the pancake to top all pancakes – it makes even the most indulgent of American pancakes look pitiful and mean. It’s giant, thic(cc)k, pillowy and stuffed with blueberries. It can be dressed up, piled high with tumbled berries and drenched with lashings of maple syrup.
This the perfect non-picnic picnic cake. It’s light with a cloudy vanilla sponge, and laced with fresh cherries which burst in your mouth and whose astringency perfectly cut through the smooth rich vanilla-cream. I keep the cherries fresh and unadulterated so as to keep the cake not too sweet, with a hint of cherry jam just to counter too much acidity.
In my dictionary definition of cookie, I’m going to be demanding. It needs to be thic(ccc)k so that each mouthful contains some of the promised flavours, be they chocolate, nut, or candy. I want it crisp on the outside so that when broken, it gives way to a chewy cookie-dough goo. If there’s chocolate or caramel, they need to be molten. They also need to have enough salt to balance the sweetness and add depth of flavour.
And, after years of trials, the quest to create the perfect cookie becoming increasingly Sisyphean, I’ve done it. And you need to make them ASAP.
The ideal combo of oatmeal, pancake and muffin. They’re protein and fibre-full and naturally sweet (no refined sugar), bursting with berries (zero dryness here) and filling. They’re quick to make, and super convenient as they can be made in advance, frozen and defrosted when cravings strike. They also look rather irresistible on any breakfast table, so great for when you have guests.
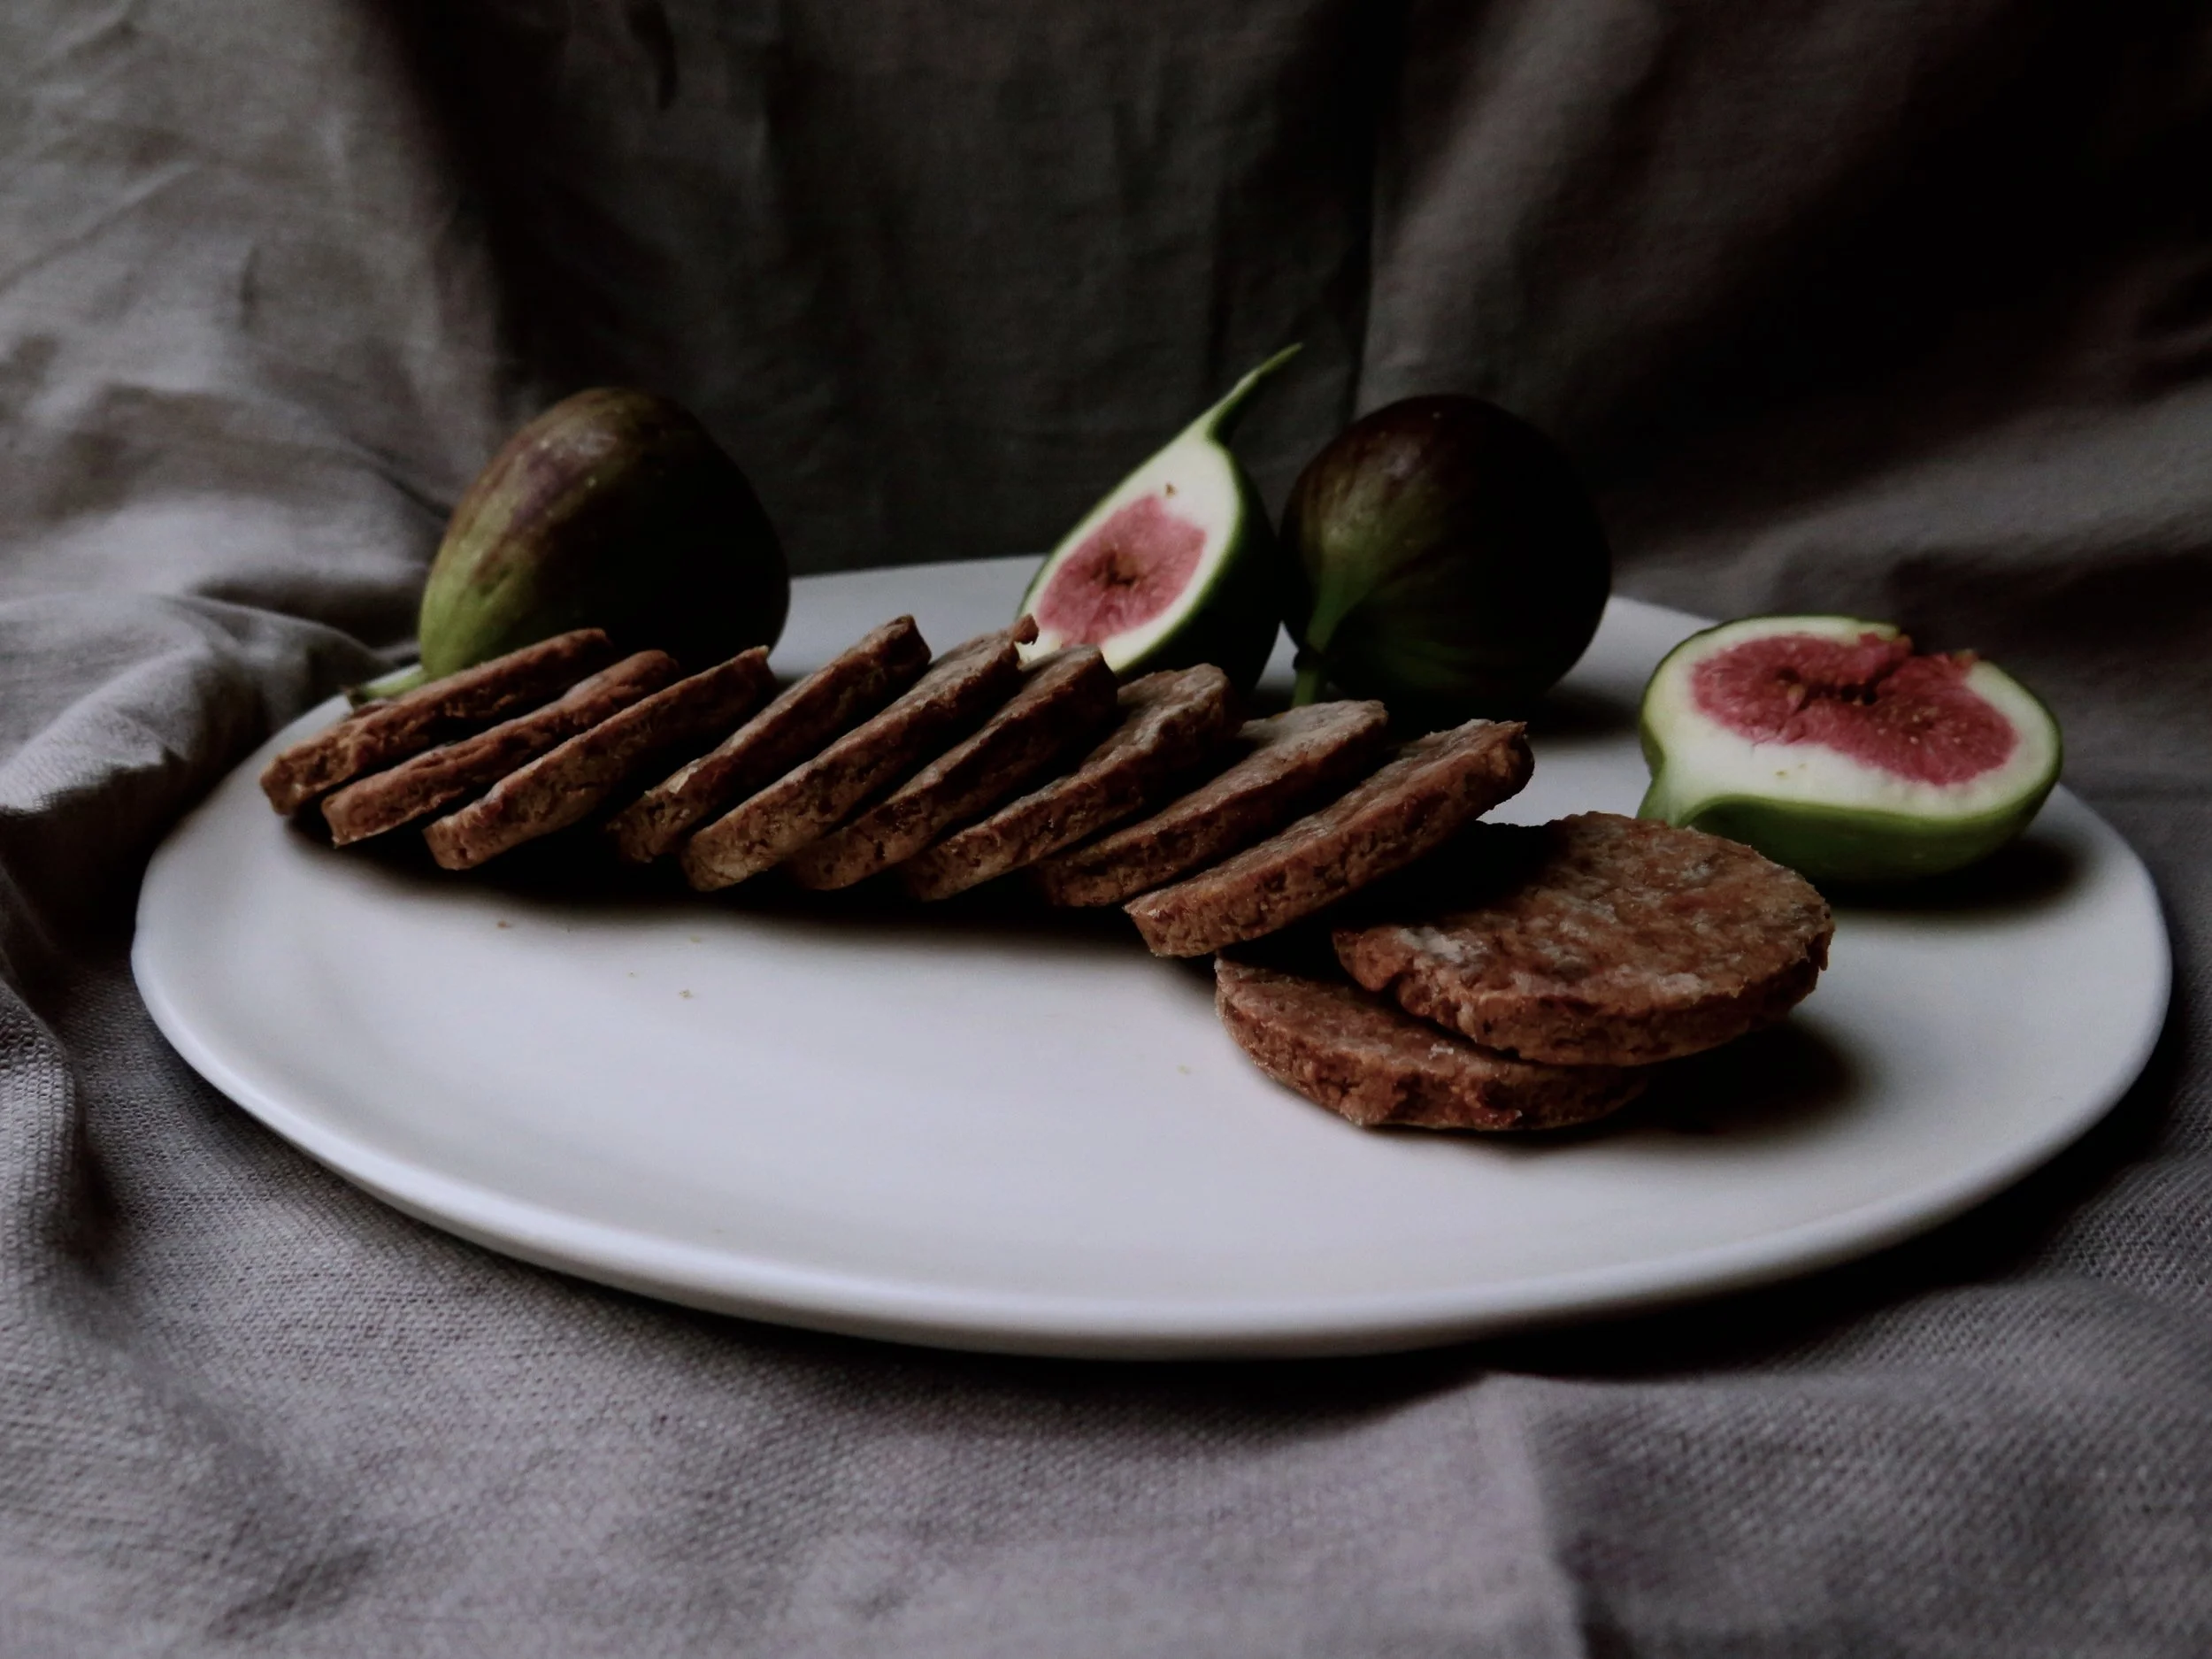
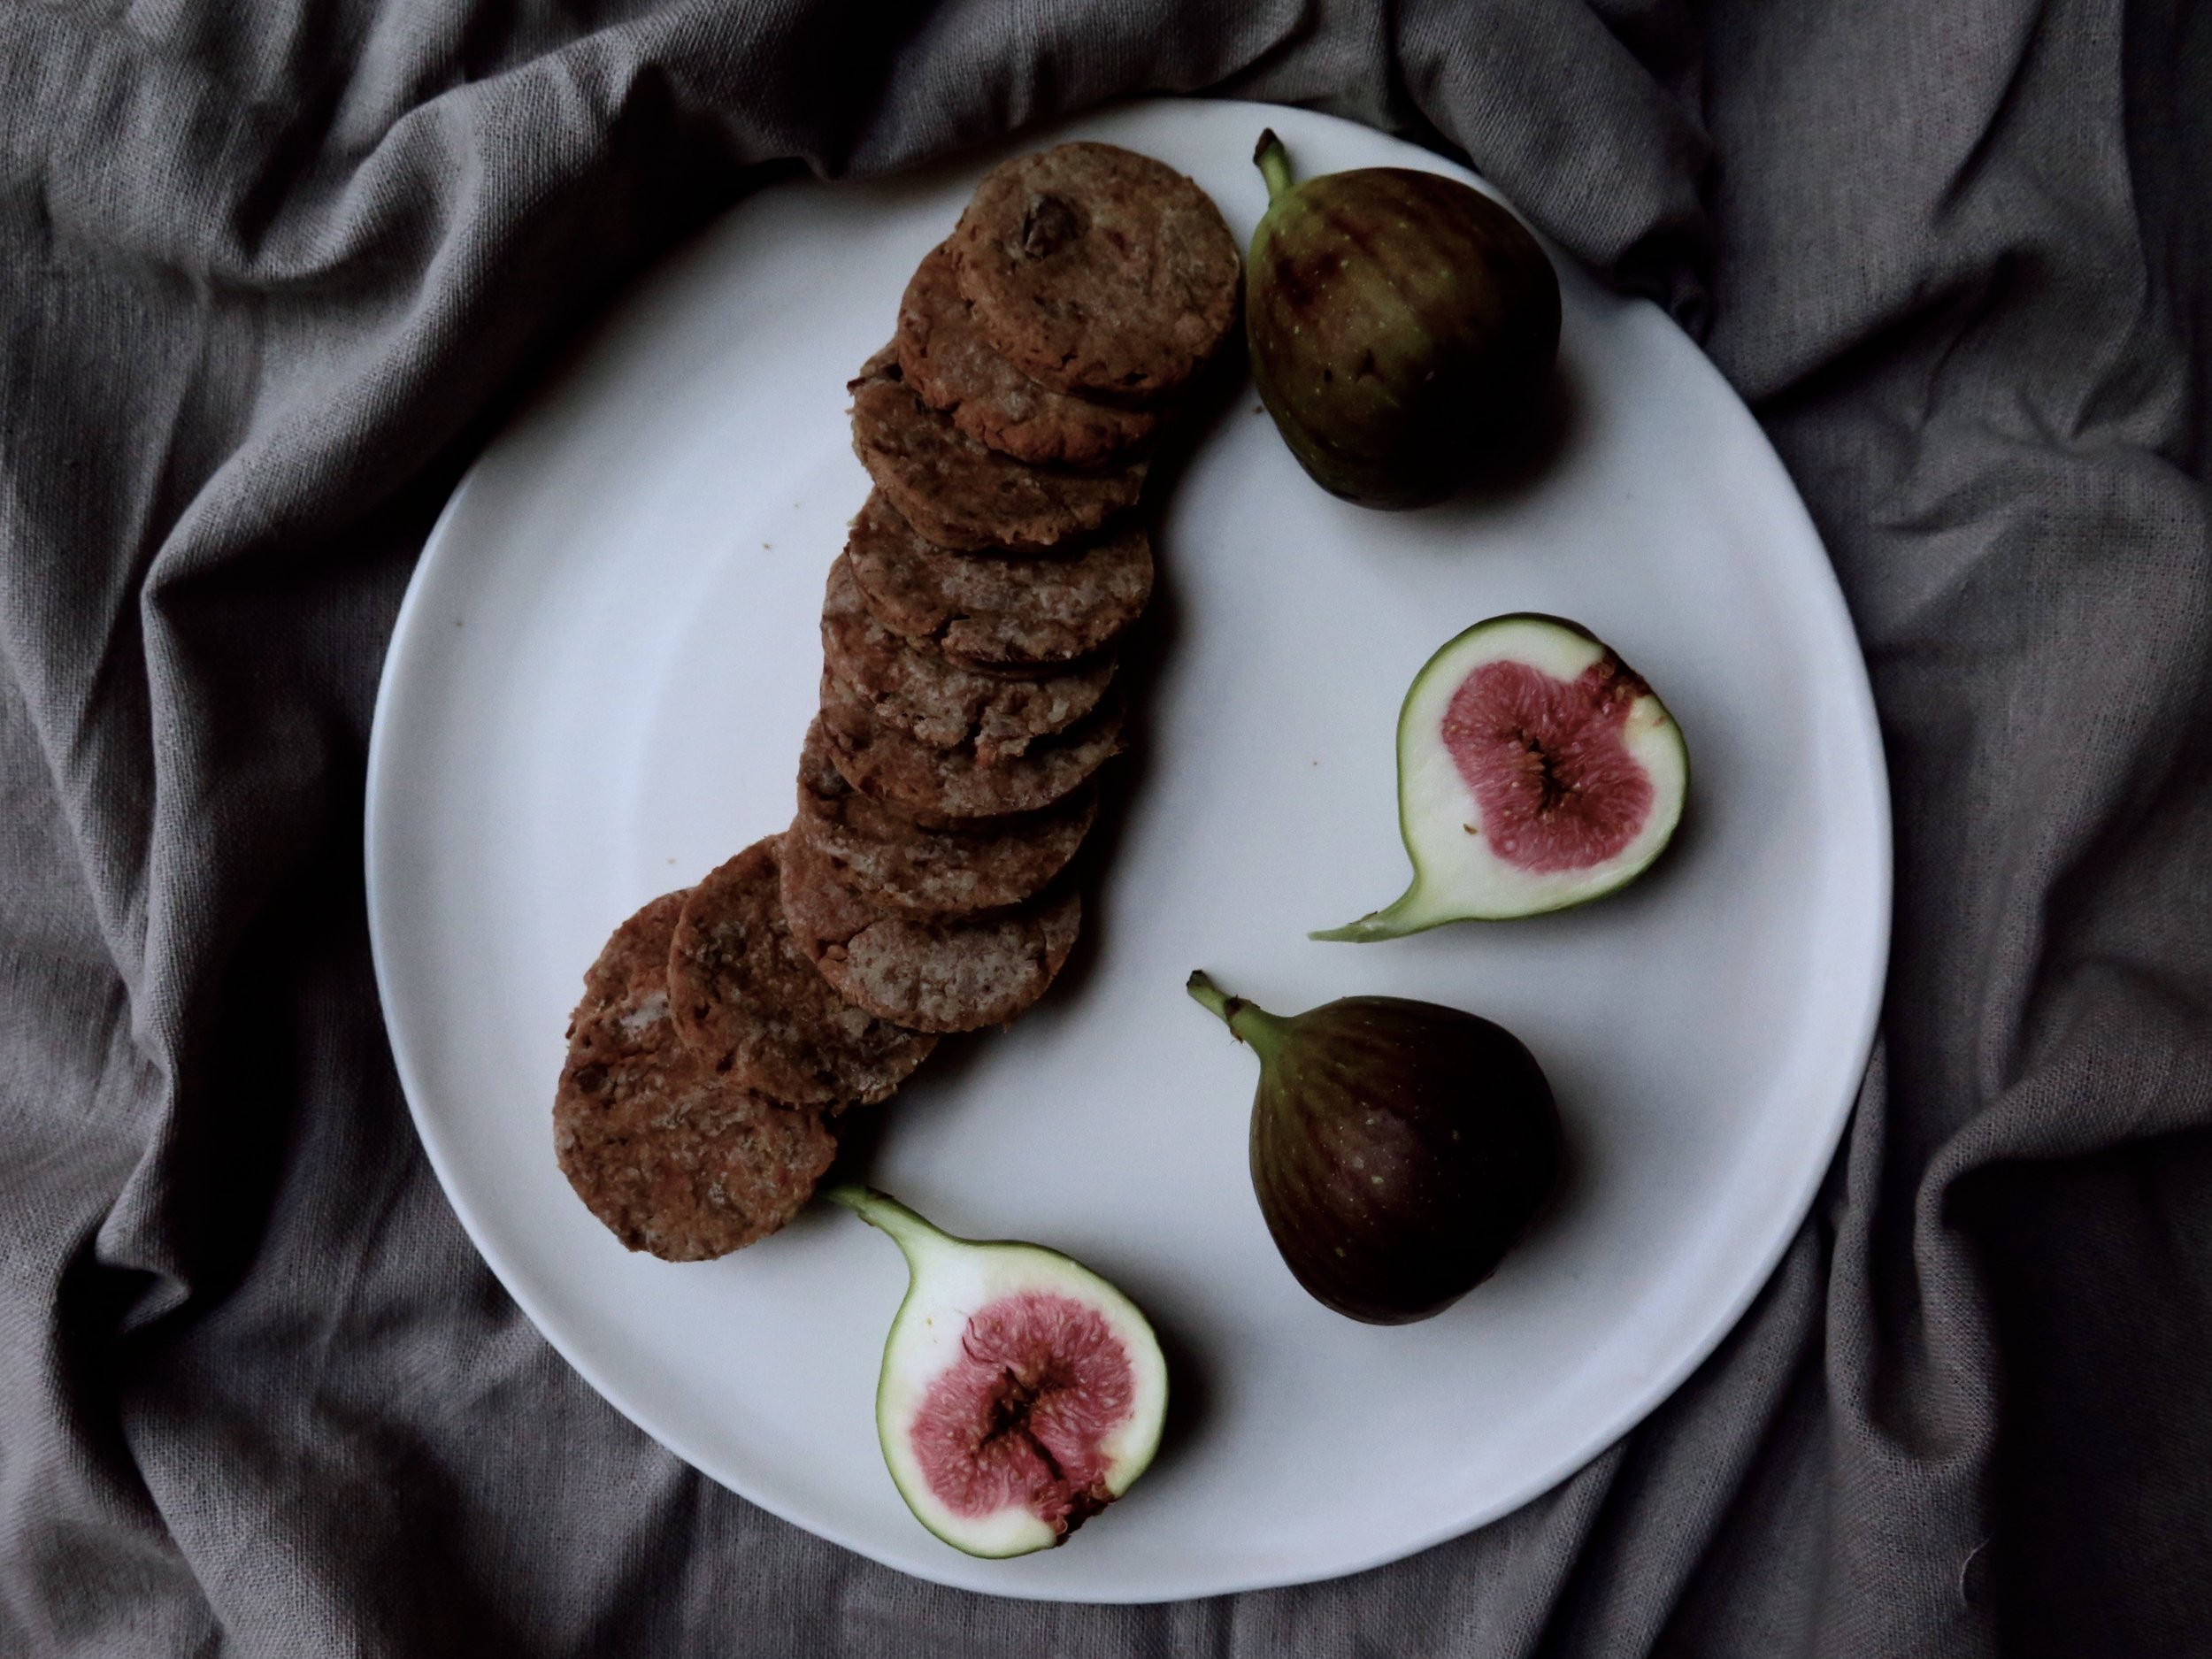
If I told you that a vegan, refined sugar-free, protein-rich, wheat-free, ancient-grain (and if you so desire, gluten-free) cookie existed, you’d think it was the stuff of myth and legend or, alternatively, something so disgusting that it couldn’t be deemed edible.
Well, it does exist.
After an overindulgent stay in NYC, I made these for my birthday. They aren’t overpoweringly sweet, and they aren’t going to be equivalent to the 500 calories a pop thick, fudgy cookies you see in bakeries. However, they are delicious in their own right, soft and just sweet enough. Plus, being vaguely healthy automatically entitles one to devour 5x the quantity. In fact, for a snack to be officially deemed a source of protein, it needs to contain 6g protein. Well, 3 of these cookies contain just that.
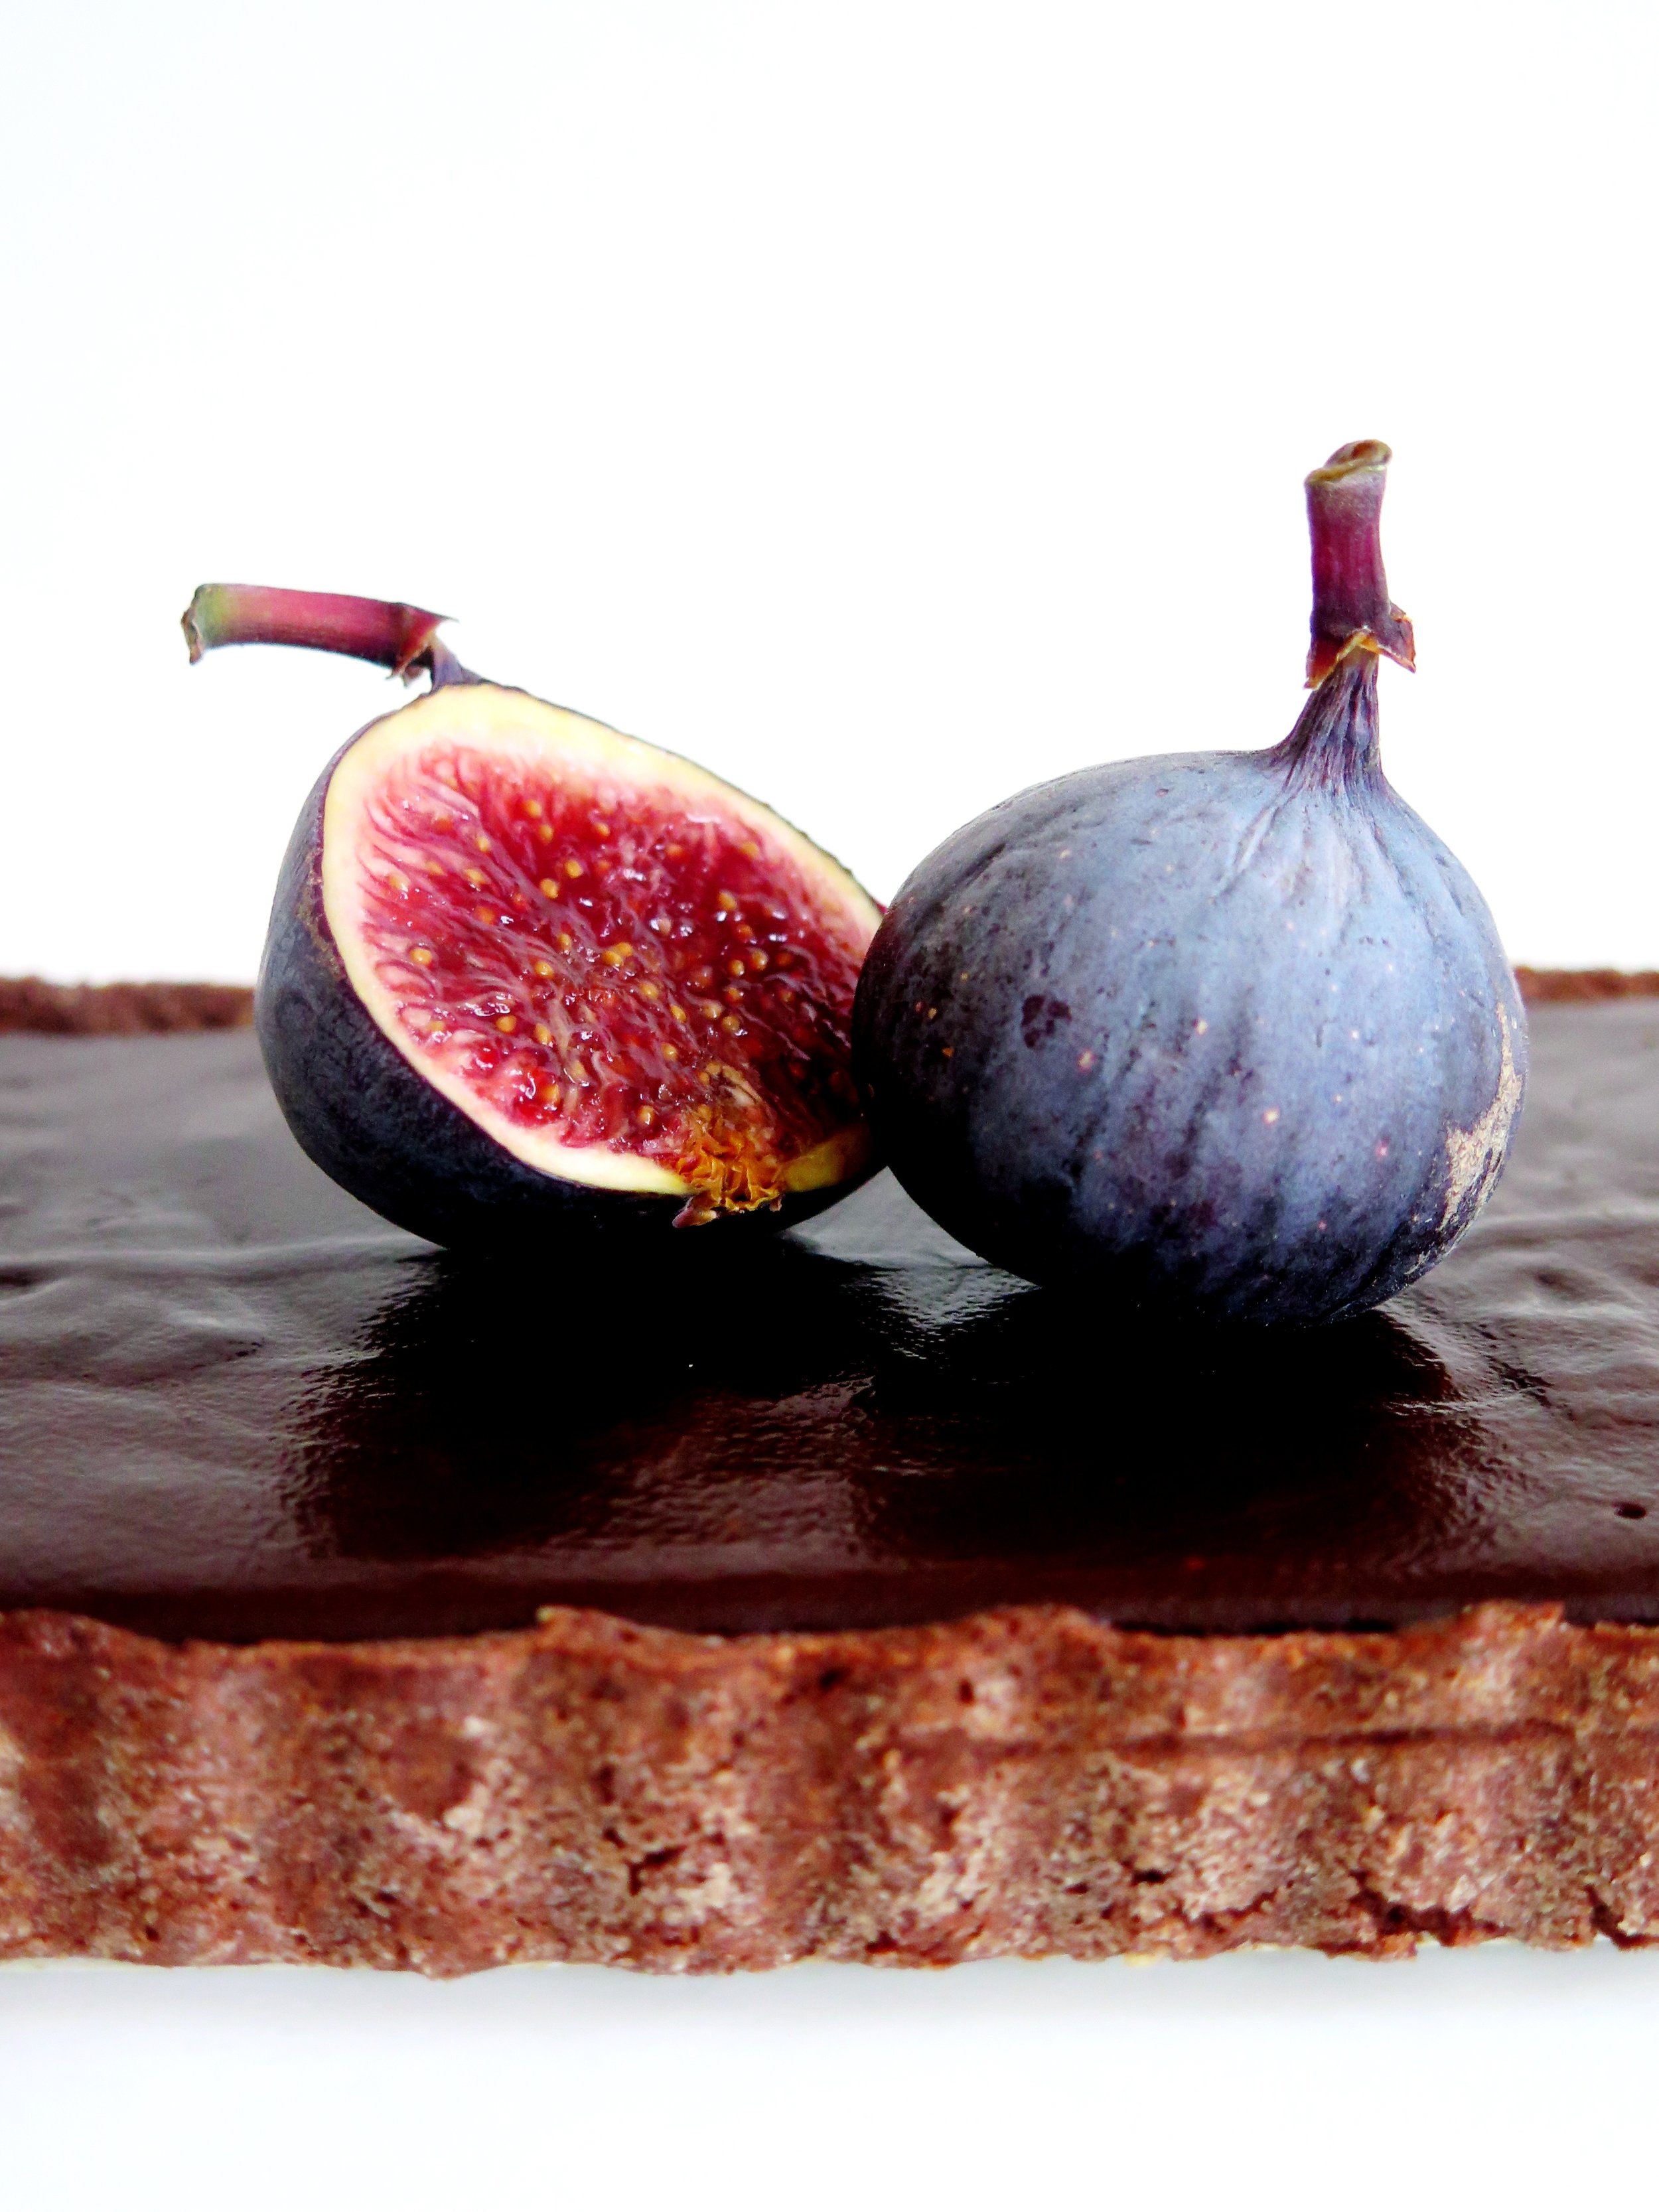
They are extremely quick to conjure up and would be good for that weak-point, late afternoon slump when you crave something sweet, and delicious, too, paired with a (vegan) ice cream for dessert, or even with a wedge of stilton and a dollop of pear compote if you’re going down the non-vegan route. If you want a slightly more savoury option, substitute the dates with figs as in the photos.
Ingredients (makes 20 medium cookies)
160g pitted medjool dates, roughly chopped (about 10) (if you want a more savoury cookie, substitute dates with figs, as per the photos)
4 tbsp orange juice
4 tbsp water
1 tsp vanilla
½ tsp finely grated orange zest
80g smooth peanut butter
200g spelt flour (or gluten free flour)
½ tsp mixed spice
¼ tsp salt
baking tray lined with baking parchment
4-5cm round cookie cutter
Method
1) Pre-heat oven to 180°C
2) Place the chopped dates, orange juice, water, vanilla extract and orange zest in a small pan over a medium/high heat and allow to come to a boil. Stir continuously for about 4/5 minutes until all the liquid has evaporated and the dates have turned into a thick, sticky pulp.
3) Place the date mixture together with the peanut butter in a blender and pulse until smooth. Pour in the spelt flour, mixed spice, and salt and pulse until it comes together to form a slightly sticky dough.
4) Lightly flour a board and roll out the dough to a 0.5cm thickness. Stamp out cookies with the cutter and place on the baking tray. Bake in the oven for 7-10 minutes until firm and slightly golden. Allow to cool, then devour.
HUNGRY FOR MORE?
...& 14 Thoughts from the Kitchen Sink
From the moronic to the morbid, here’s an insight into what happens when I bake and let my mind wander:
- Drowning in a vat of sticky bread dough would probably be the worst way to die.
- When you sieve icing sugar and it puffs into the air in clouds, how many calories are there in one mouthful of air?
- Why do so many obscure meats taste like chicken and not beef?
- What is the significance of sometimes craving baby food - especially rusks, and pureed apple and banana?
- Why do we delude ourselves that avocado on toast has been ‘smashed’? I’ve never seen anyone smash an avocado. I suppose ‘smeared’ doesn’t have the same ring to it.
- If I could subsist on one food for the rest of my life it would most likely be oats.
- Nandos’ ‘hot’ sauce is anachronistic. It was created about 20 years ago and people’s (i.e.my brother’s and my) tolerance for heat has gone up. They should downgrade it to ‘medium’.
- What was the exact moment when someone decided to put sugar, milk, butter and flour together to make the very first cake?
- How do you know nigella seeds are nigella seeds and not mouse droppings?
- If 2017 was the year of slime porn, why can’t 2018 be the year of dough porn?
- Earlier this year some pig farmers tried to halt the use of pig terminology as connotative of greed. Imagine if other farmers were to do the same: we couldn’t exclaim something was cheesy, or call people ugly cows, or ask people with whom we’re angry if they want beef, or complain that bland people are vanilla, or exclaim that someone is mutton dressed up as lamb, or taunt cowards as being chicken…
- How many times in my life has a waiter spat in my food on purpose?
- Why do I have six jars of preserved lemons in my cupboard when I only use a small shaving of one once a year?
- The smell of freshly baked bread should be a perfume.
That’s enough musing for one day.
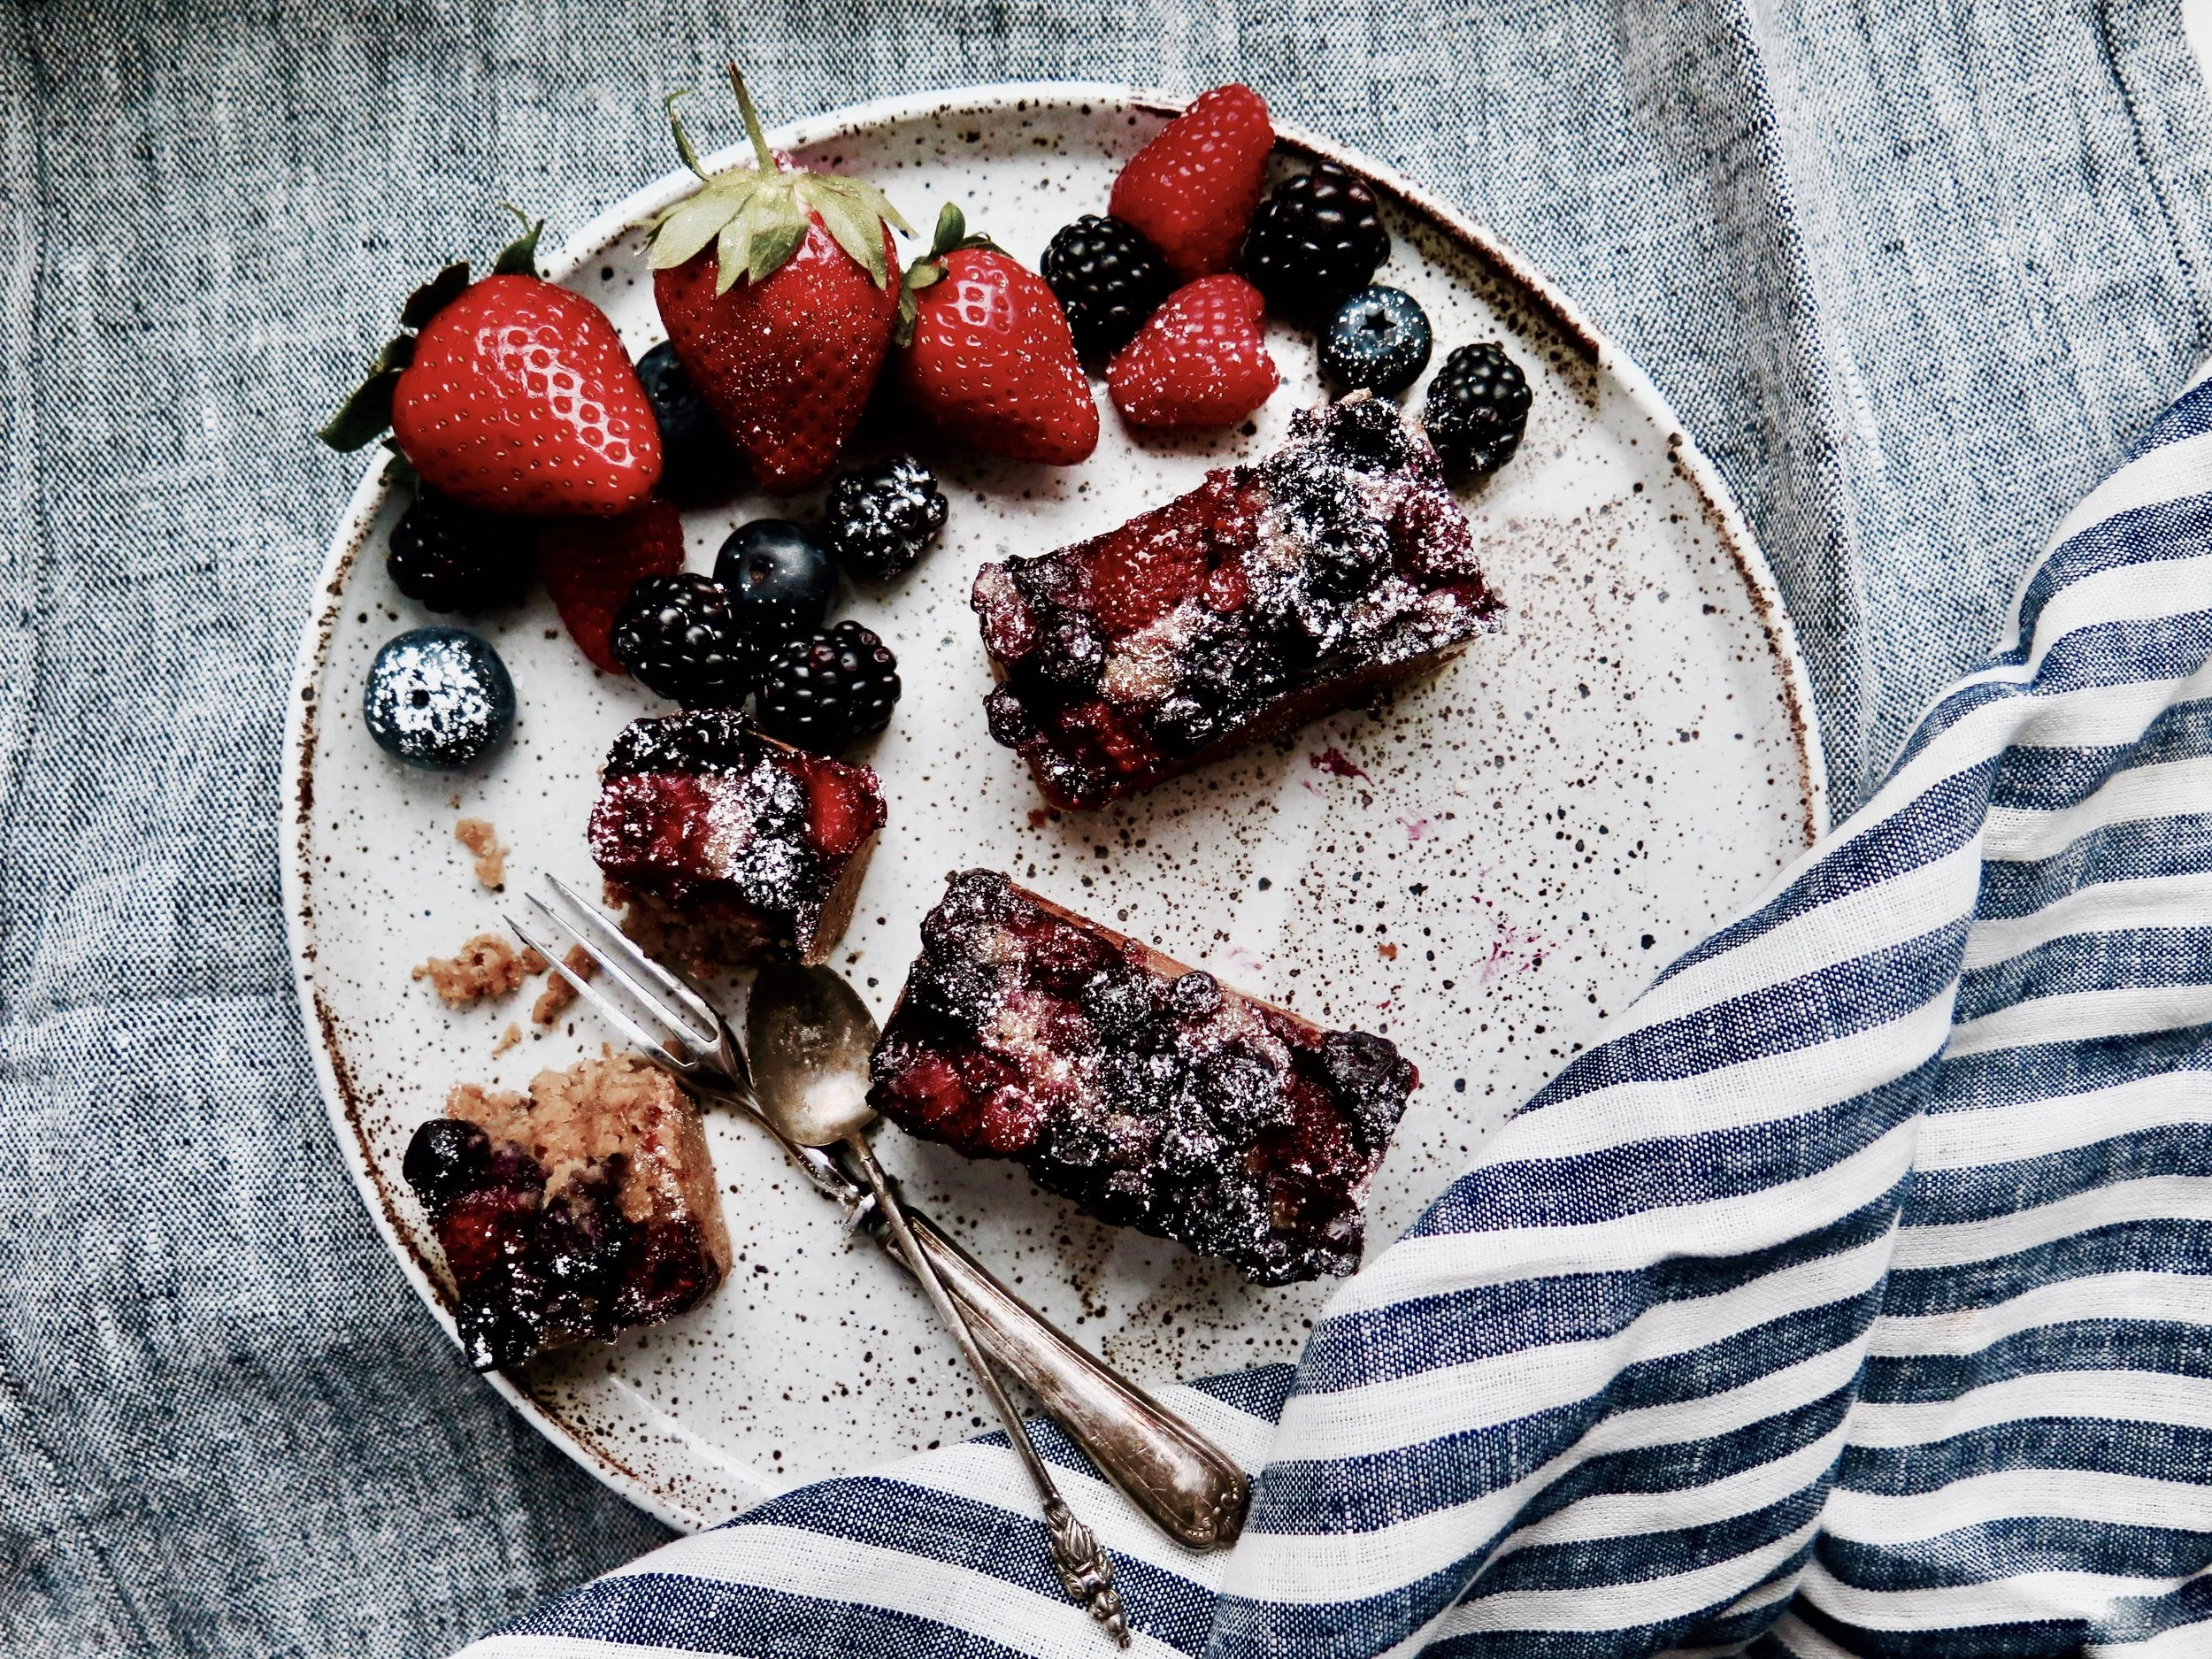
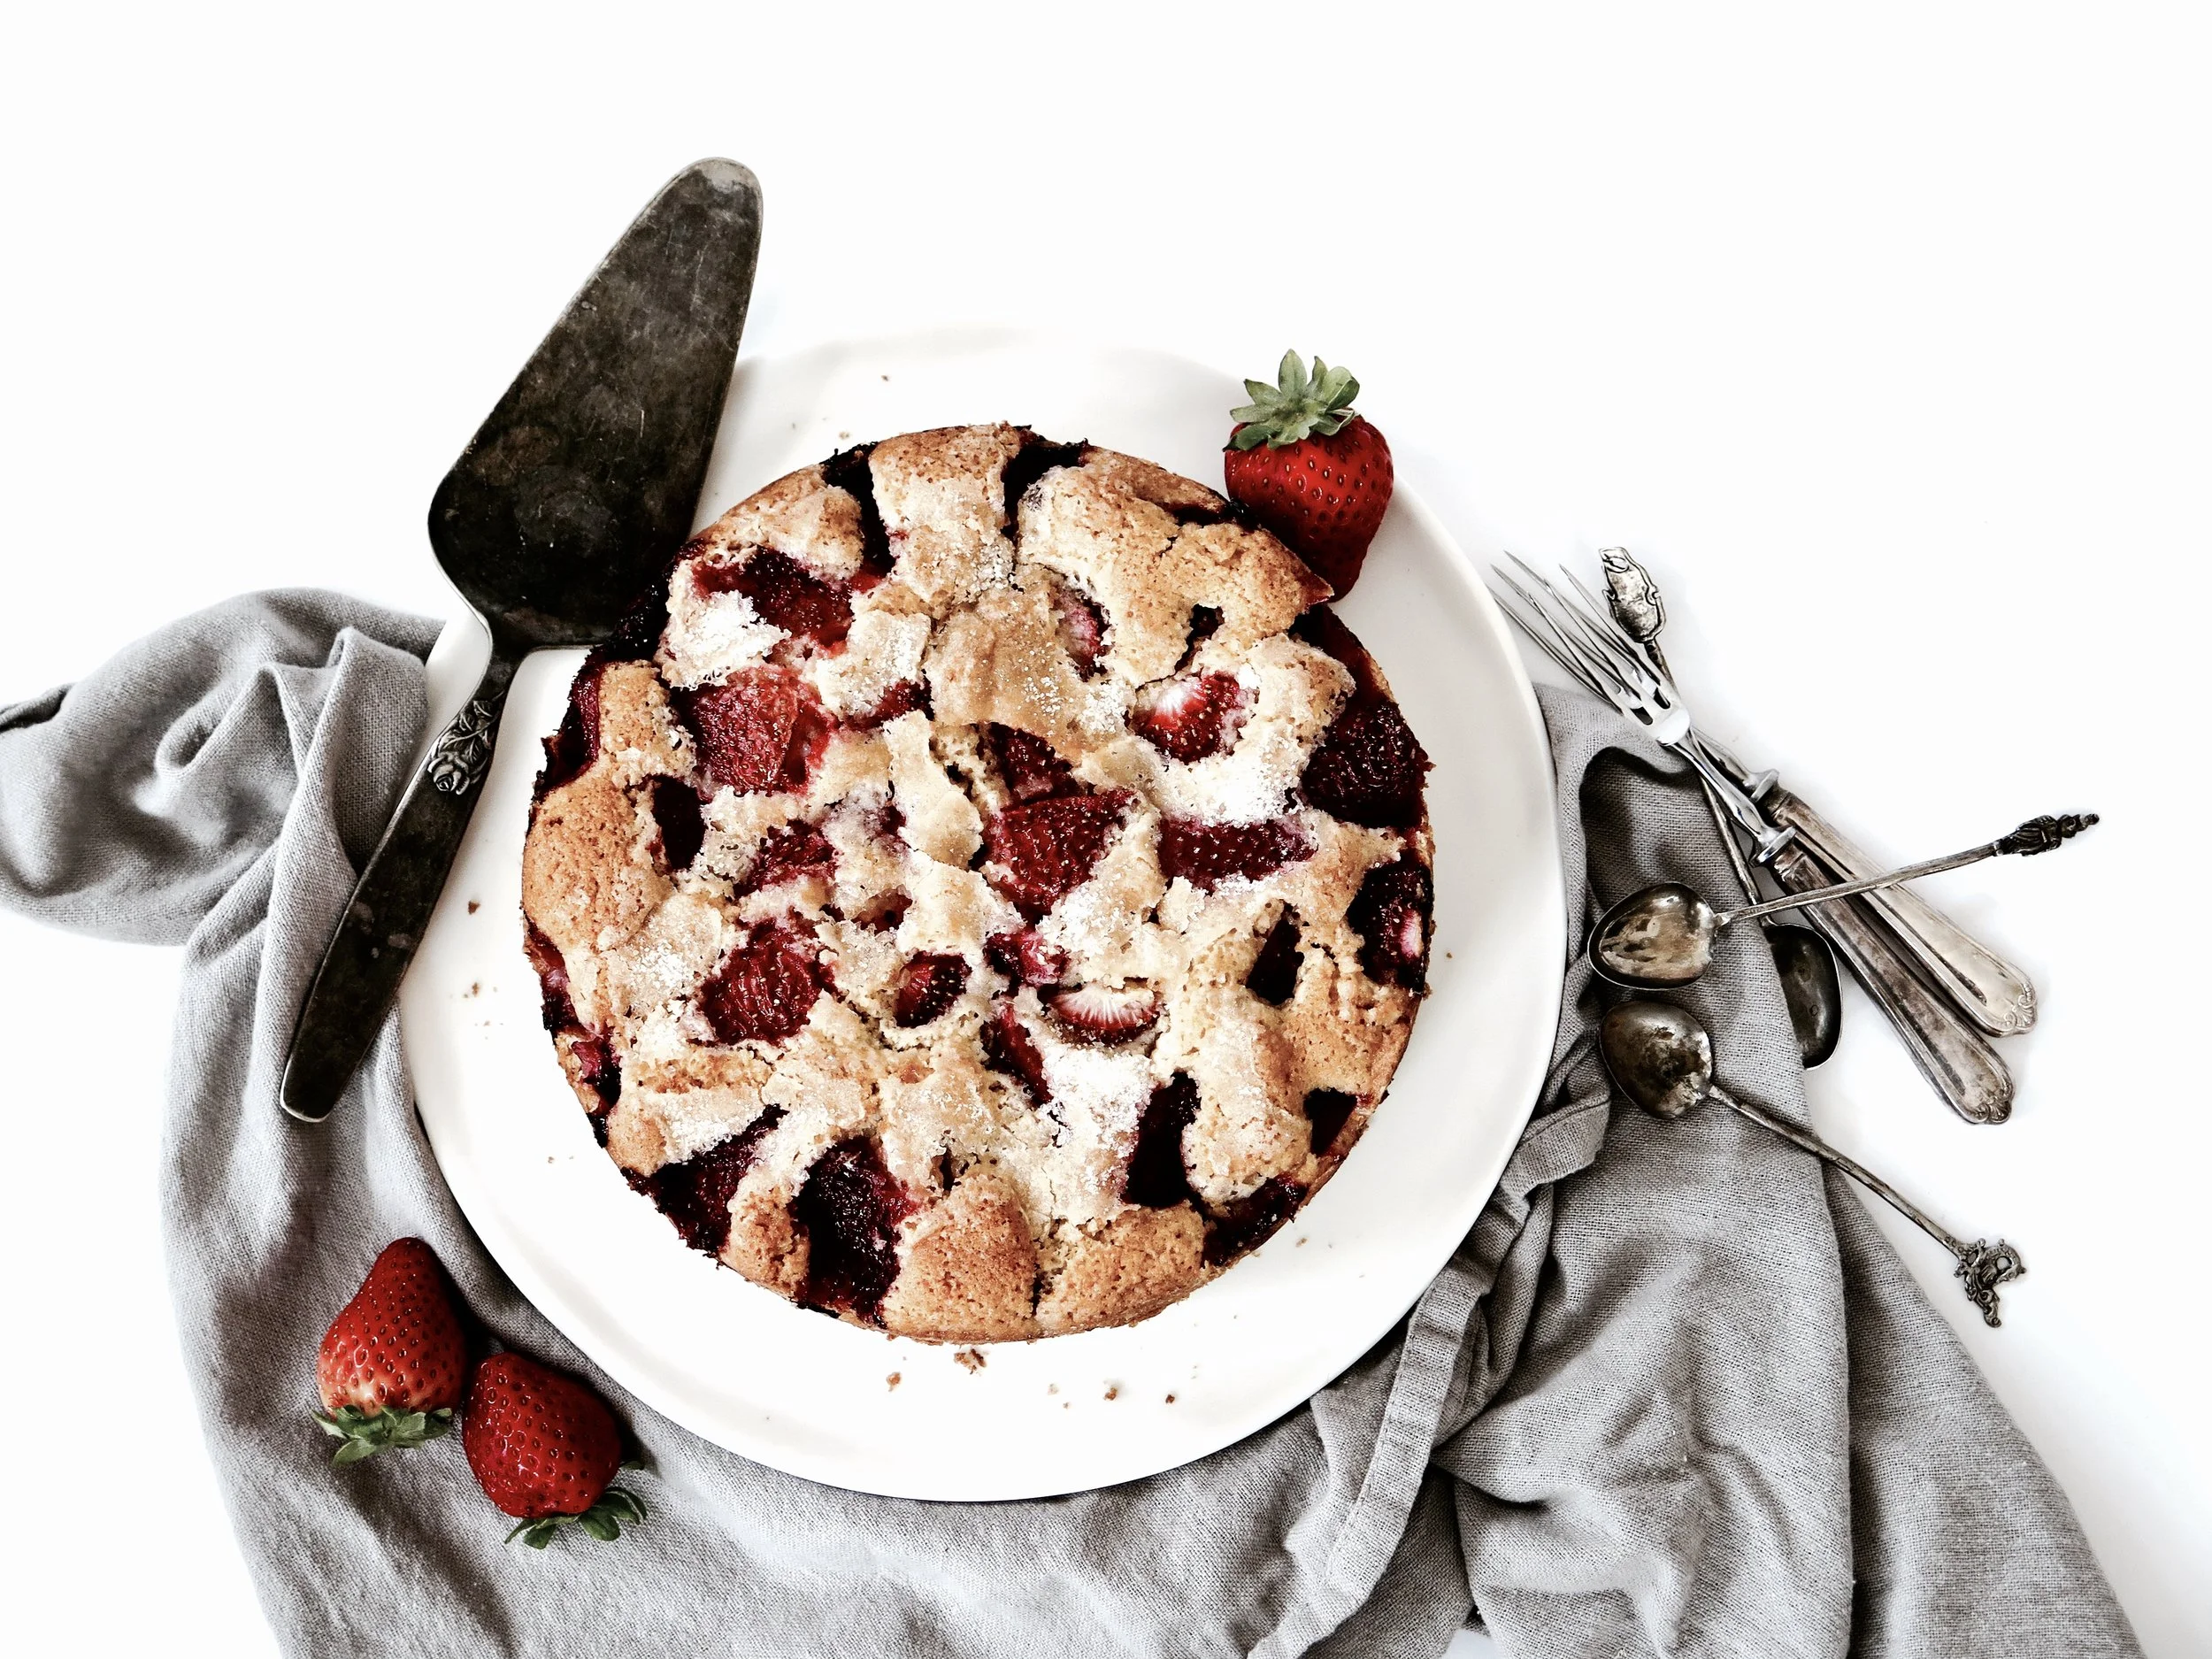
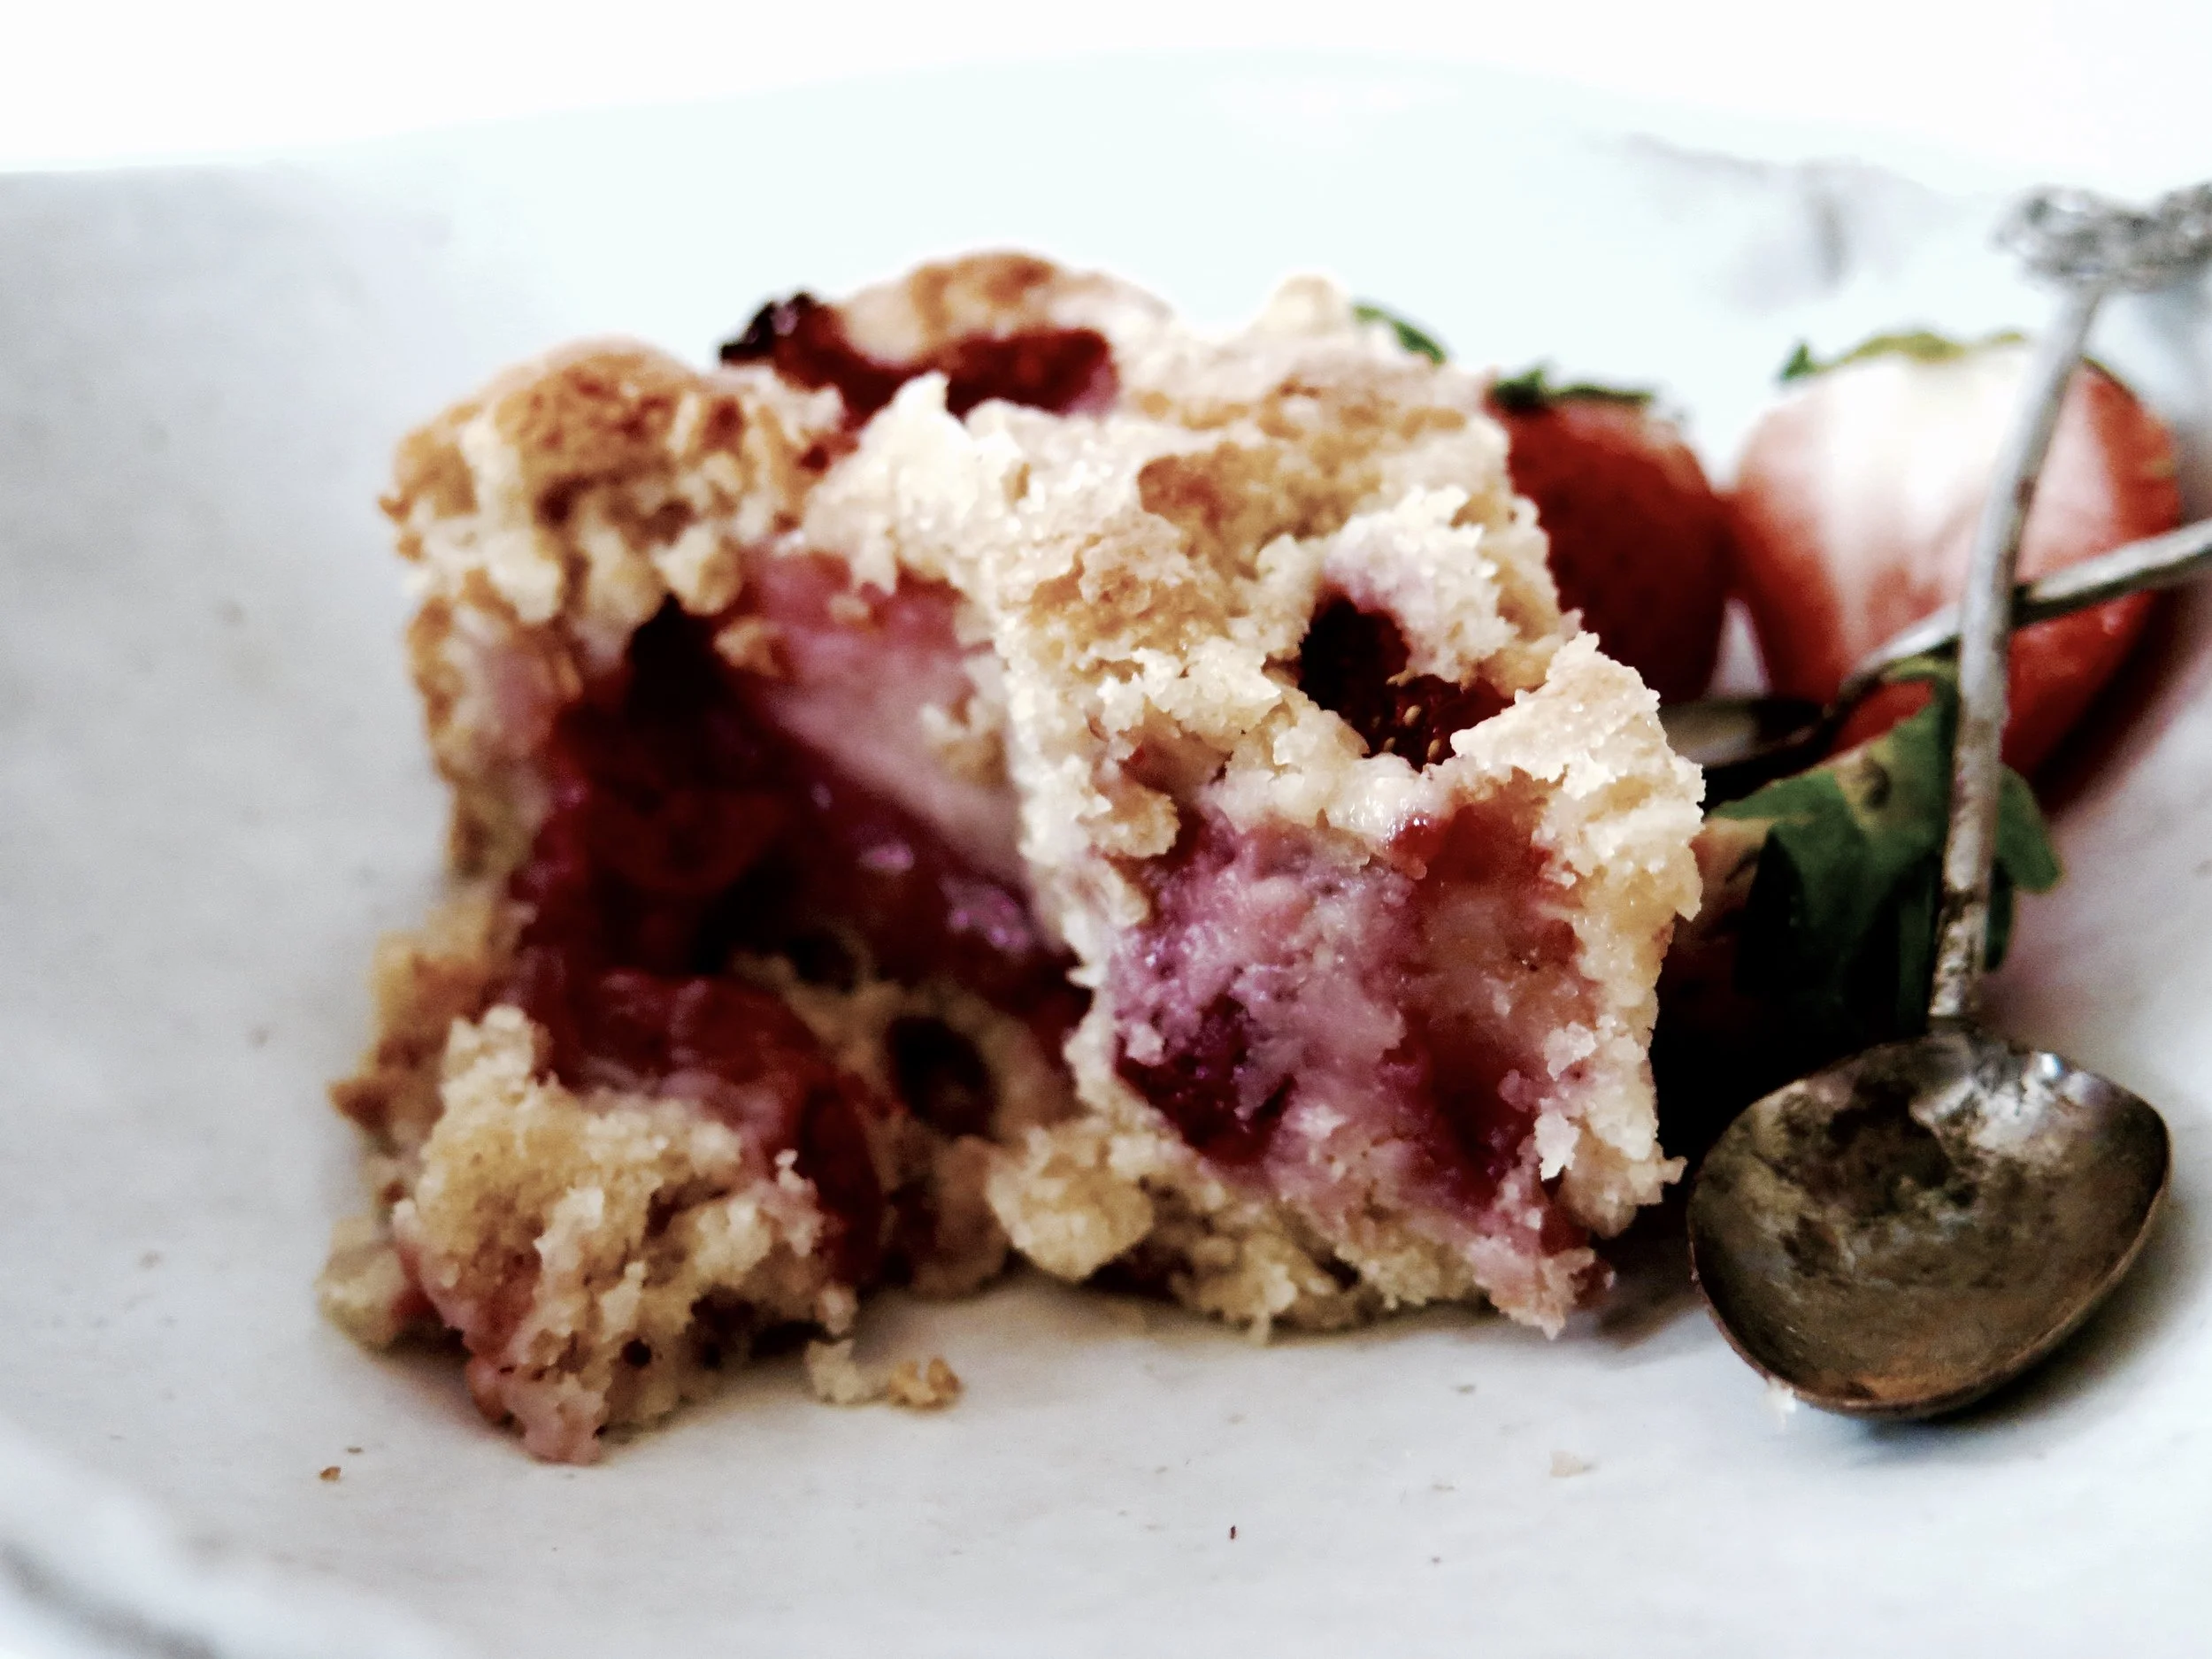
Here’s the recipe for an exceedingly luscious cake. It is succulent, and filled with roasted strawberries so that there is at least one deliquescing in every bite. The berries on the surface turn almost jam-like in the oven. Absurdly quick and easy to make, it is totally moreish.
NB. This cake can be made gluten-free by substituting the flour for gluten free.
Luscious Strawberry cake
Serves 6-8 (depending on level of greed)
Ingredients
85g unsalted butter, at room temperature
160g caster sugar + 2 tbsp for the topping
1 large egg
120ml milk
1 tsp vanilla extract
190g white spelt flour (or gluten-free equivalent)
1 1/2 tsp baking powder
1/2 tsp salt
400g strawberries, after having been hulled and halved
20cm diameter round springform cake tin, either totally lined with baking parchment (if you’re feeling lazy and you don’t mind crinkly cake sides), or thoroughly greased with butter and the base lined with a circle of baking parchment
Method
1) Preheat the oven to 180°C.
2) Either by hand or in a stand mixer fitted with the paddle, beat the butter and sugar together until soft, light and fluffy (which should take about three minutes). Then pour in the egg, milk and vanilla extract and beat to combine. It may look slightly curdled but that is not a problem.
3) Into the wet ingredients sieve the flour, baking powder and salt. Gently fold the dry ingredients through until the batter is smooth and fully combined. Pour into the prepared cake tin.
4) Arrange the strawberries cut side down in the batter. You make need to overlap some or push some down to fit them all in. Sprinkle the 2 tbsp of caster sugar over the top and place in the oven.
5) Bake for 45-55 minutes (depending on oven), checking after 30 minutes. You may need to cover the top with aluminium foil if the surface looks at risk of becoming too dark. When ready, the top should be a deep gold and a cake tester should come out batterless (moisture from the strawberries will prevent it from coming out totally clean).
6) Allow to cool on a wire rack and devour on the day, or within two days, of baking.
(Adapted from Smitten Kitchen)
HUNGRY FOR MORE?
A trip to Toronto when I was seven years’ old is anchored for me by one thing: not the CN tower, or Niagara Falls or my cousin’s wedding, but a visit to the farmers’ market, and in particular, a potentially life-changing stall. A tall, russet-cheeked man was in command, his floured apron stretched taught over his protuberant belly.
And on his table lay not the garish, sprinkle- speckled swirls that would have drawn a normal child. Instead, tray after tray of rubbly slabs of oat and date crumble bars were arrayed.
The date layer of the bars was jaw-clenchingly sticky, and thick – not like the mean, shop-bought equivalent. The oaty outer layers were both crunchy and then soft, golden and not overly sweet, allowing the natural date sweetness to shine through.
. For the last seventeen years I’ve been raiding bakeries and markets, seeking to relive the experience, but the date and oat crumble bars always disappoint – too saccharine, too solid, too floury. In between raids, I’ve been working on my own: these are the closest I have come to Toronto’s best kept secret. I added the crushed amaretti to give them a little twist. Feel free to leave the sugar out of the crumble if your palate is adjusted to the less-sweet.
It’s incredibly hard to resist them when they emerge from the oven golden and crisp, but I think they taste even better when they have cooled and the flavours are more distinct (or maybe try them both ways, just to be sure…).
NB. They can be made gluten-free by substituting gluten-free flour for spelt.
Ingredients
Date filling
400g medjool dates, pitted & roughly chopped (about 20)
3 tbsp fresh orange juice
120ml water
2 tsp vanilla extract
½ tsp mixed spice
½ tsp finely grated orange zest
Crumble
250g oats
120g butter
100g wholemeal spelt flour
50g dry amaretti biscuits
40g light brown muscovado sugar
¼ tsp mixed spice
½ tsp vanilla extract
¼ tsp salt
A square 20cm baking tin (or tin of equivalent area), lined with baking parchment, with sides and base fully covered.
Method
1) Preheat oven to 180°C
2) Place all ingredients for the date filling in a pot and place on a medium heat. Stir as the mixture begins to simmer. After about 5 minutes, when the dates have broken down into more of a paste and all the water has evaporated, remove from the heat and set aside.
3) Pour all the crumble ingredients into a blender and pulse until the mixture still has some texture and is slightly coarser than sand.
4) Pour 2/3 of the crumble mixture into the base of the tin, and, with your fingers or the back of a spoon, press the mixture down evenly across the base of the tin until firm and compact. Pour the date filling over and spread evenly across the base. Then pour over the remaining crumble mixture and press down until even and as compact as possible.
5) Place in oven to bake for 15-20 minutes until golden and firm to the touch.
6) Slice and allow to cool before devouring. Keeps well in an air tight container in fridge for up to 5 days, or in freezer for 2 months (also tastes delicious when frozen).
HUNGRY FOR MORE?
It’s on an almost daily basis that I find my thoughts converging on that scene in Matilda: Bruce vs the chocolate cake – moist, dense, dark, and yes, revolting. It’s a tempting challenge, and only on a handful of occasions in my life have I come close to those chocolatey depths (or heights, depending on your perspective).
The first time was at my 9th birthday party which took place in the civilized private room of a pottery painting shop, surrounded by friends from my all-girls school, all politely detailing their teacups with flowers, and hearts, and stars. The birthday cake arrived, tall and majestic, lavishly enrobed in sumptuous swathes of soft chocolate buttercream.
All I can say in mitigation of what was to come was that at least I waited until my slice was placed in a bowl. But then the urge became overpowering, and it was with unbridled joy that I plunged my face into my bowl and into the luscious embrace of the cake.
But my Bruce experiences don’t end there. I waited a further nine years until I was at university, when a five pence coin thrown into a neighbour’s dessert meant that it had to be devoured without cutlery. This was a curse to many, but an opportunity I wholeheartedly seized. Why waste time on cutlery when you can cut to the chase, pig-in-trough style, with an audience?
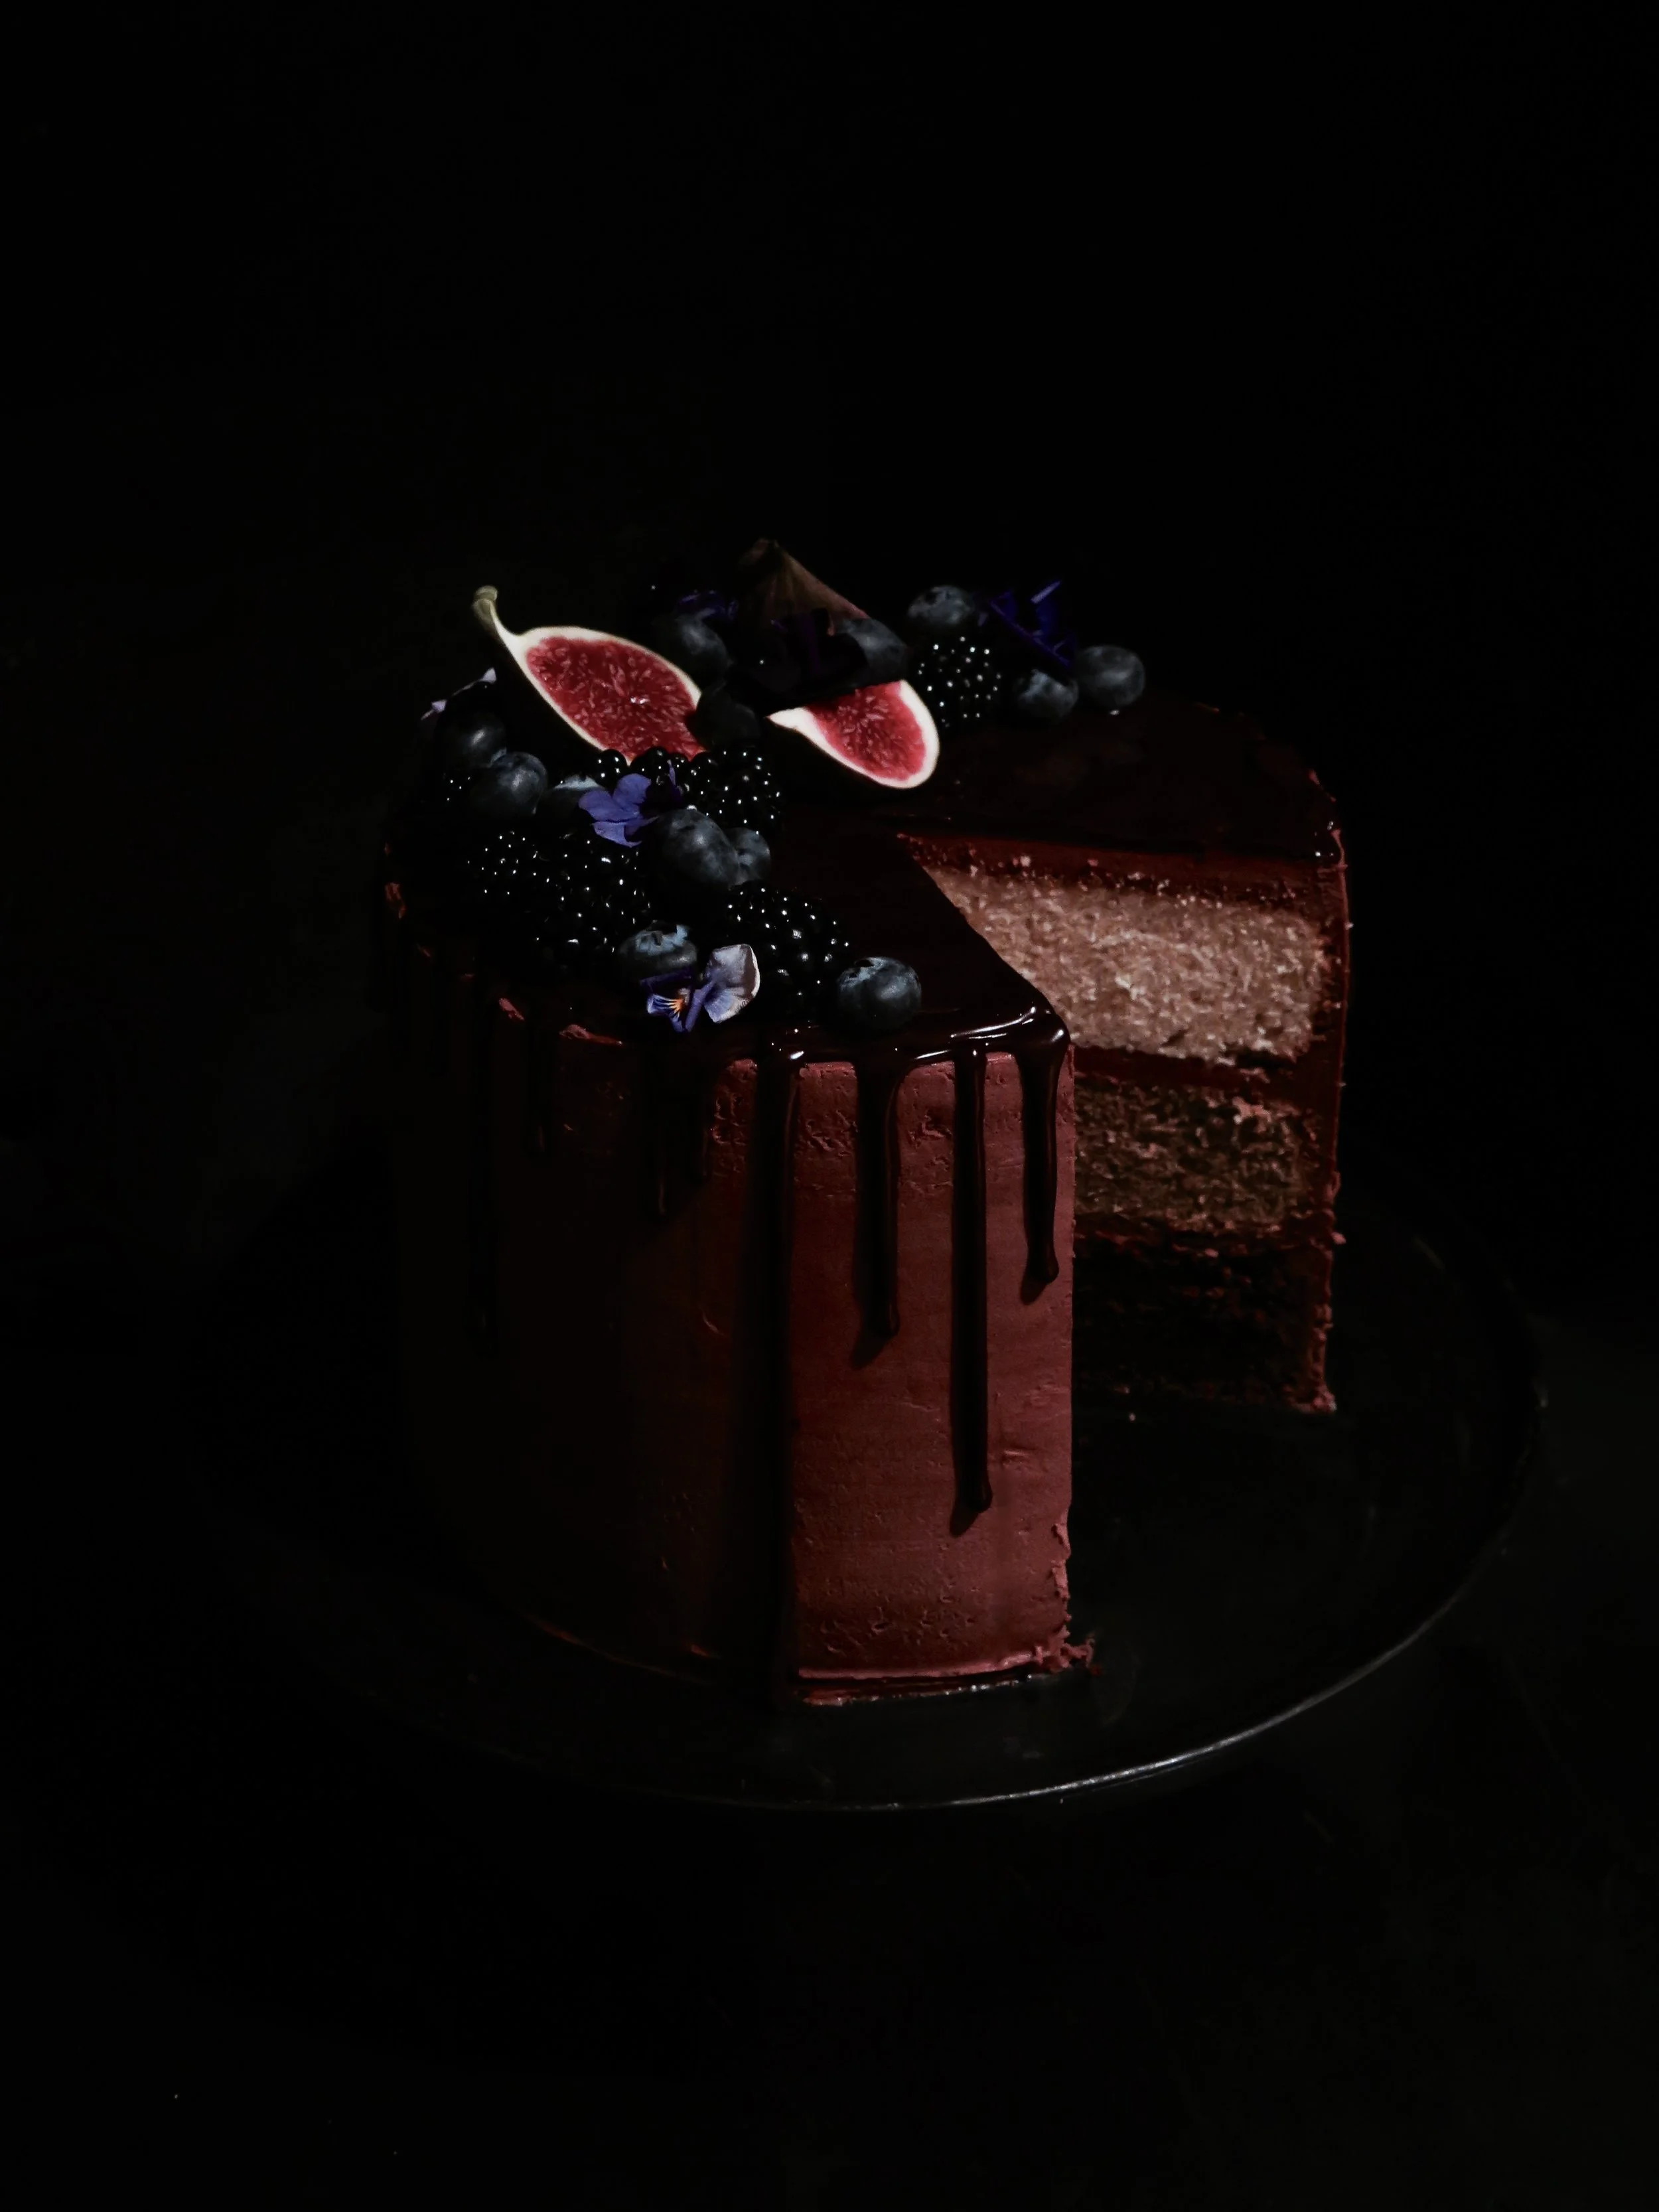
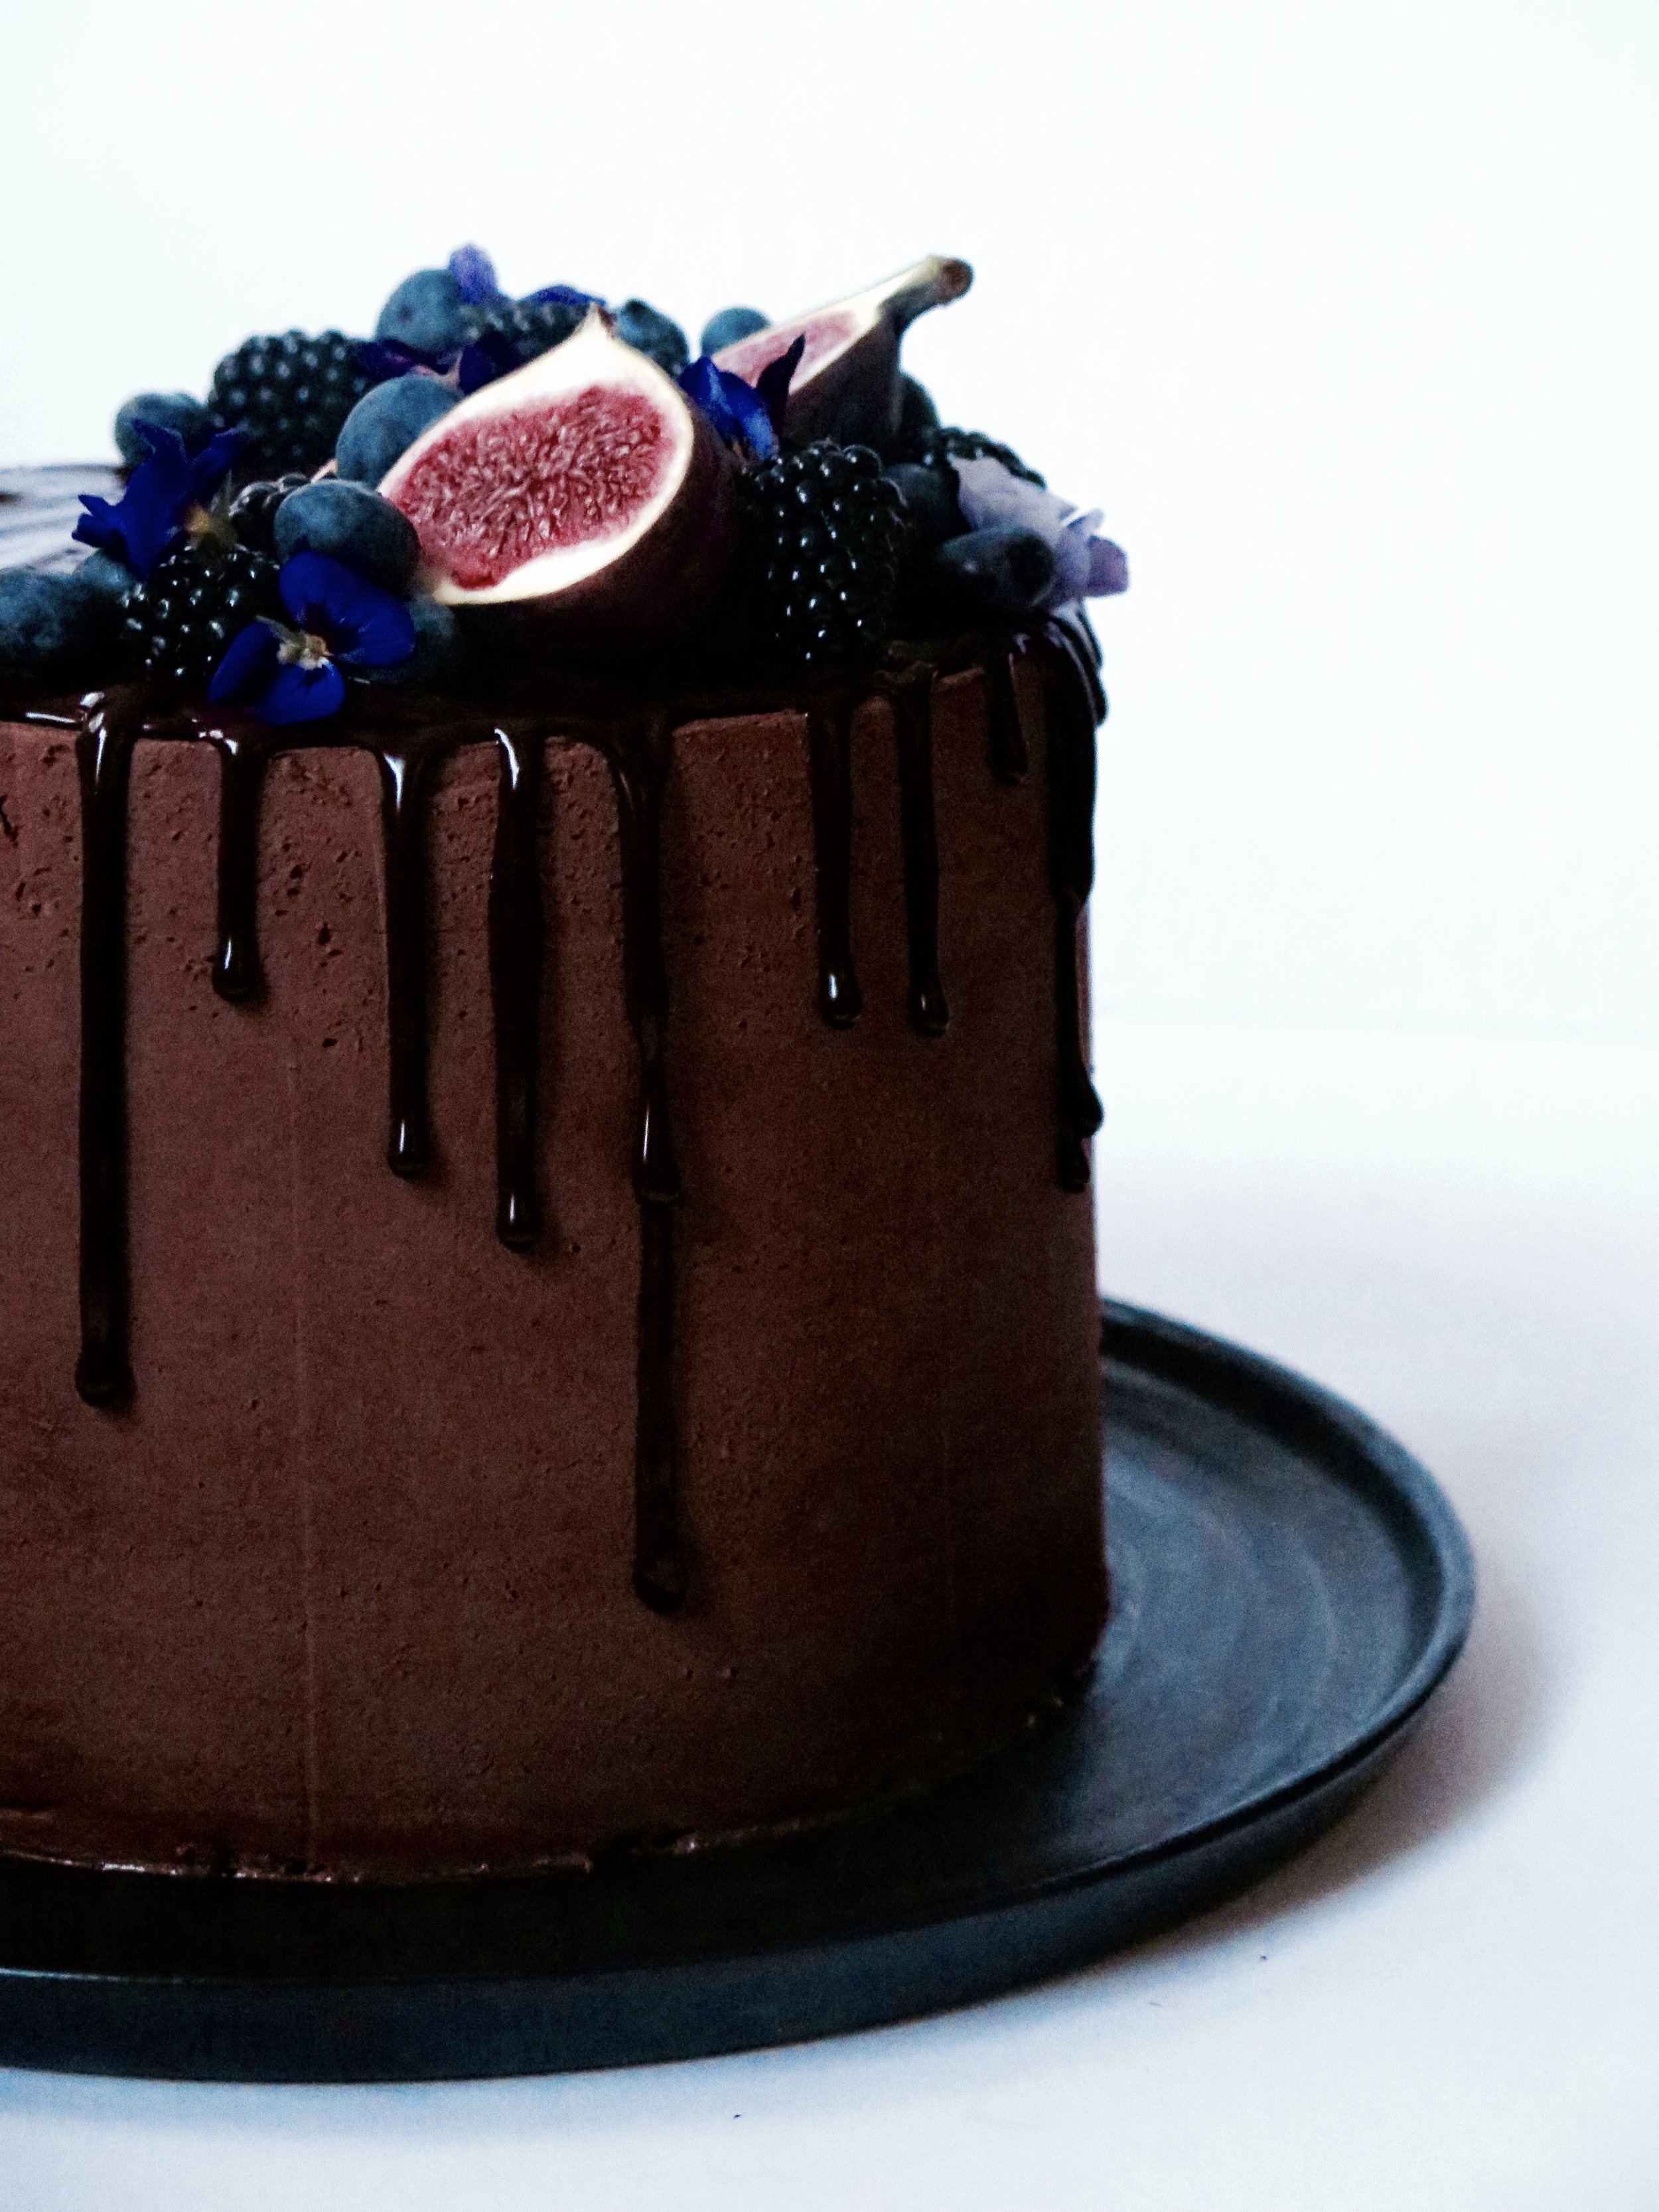
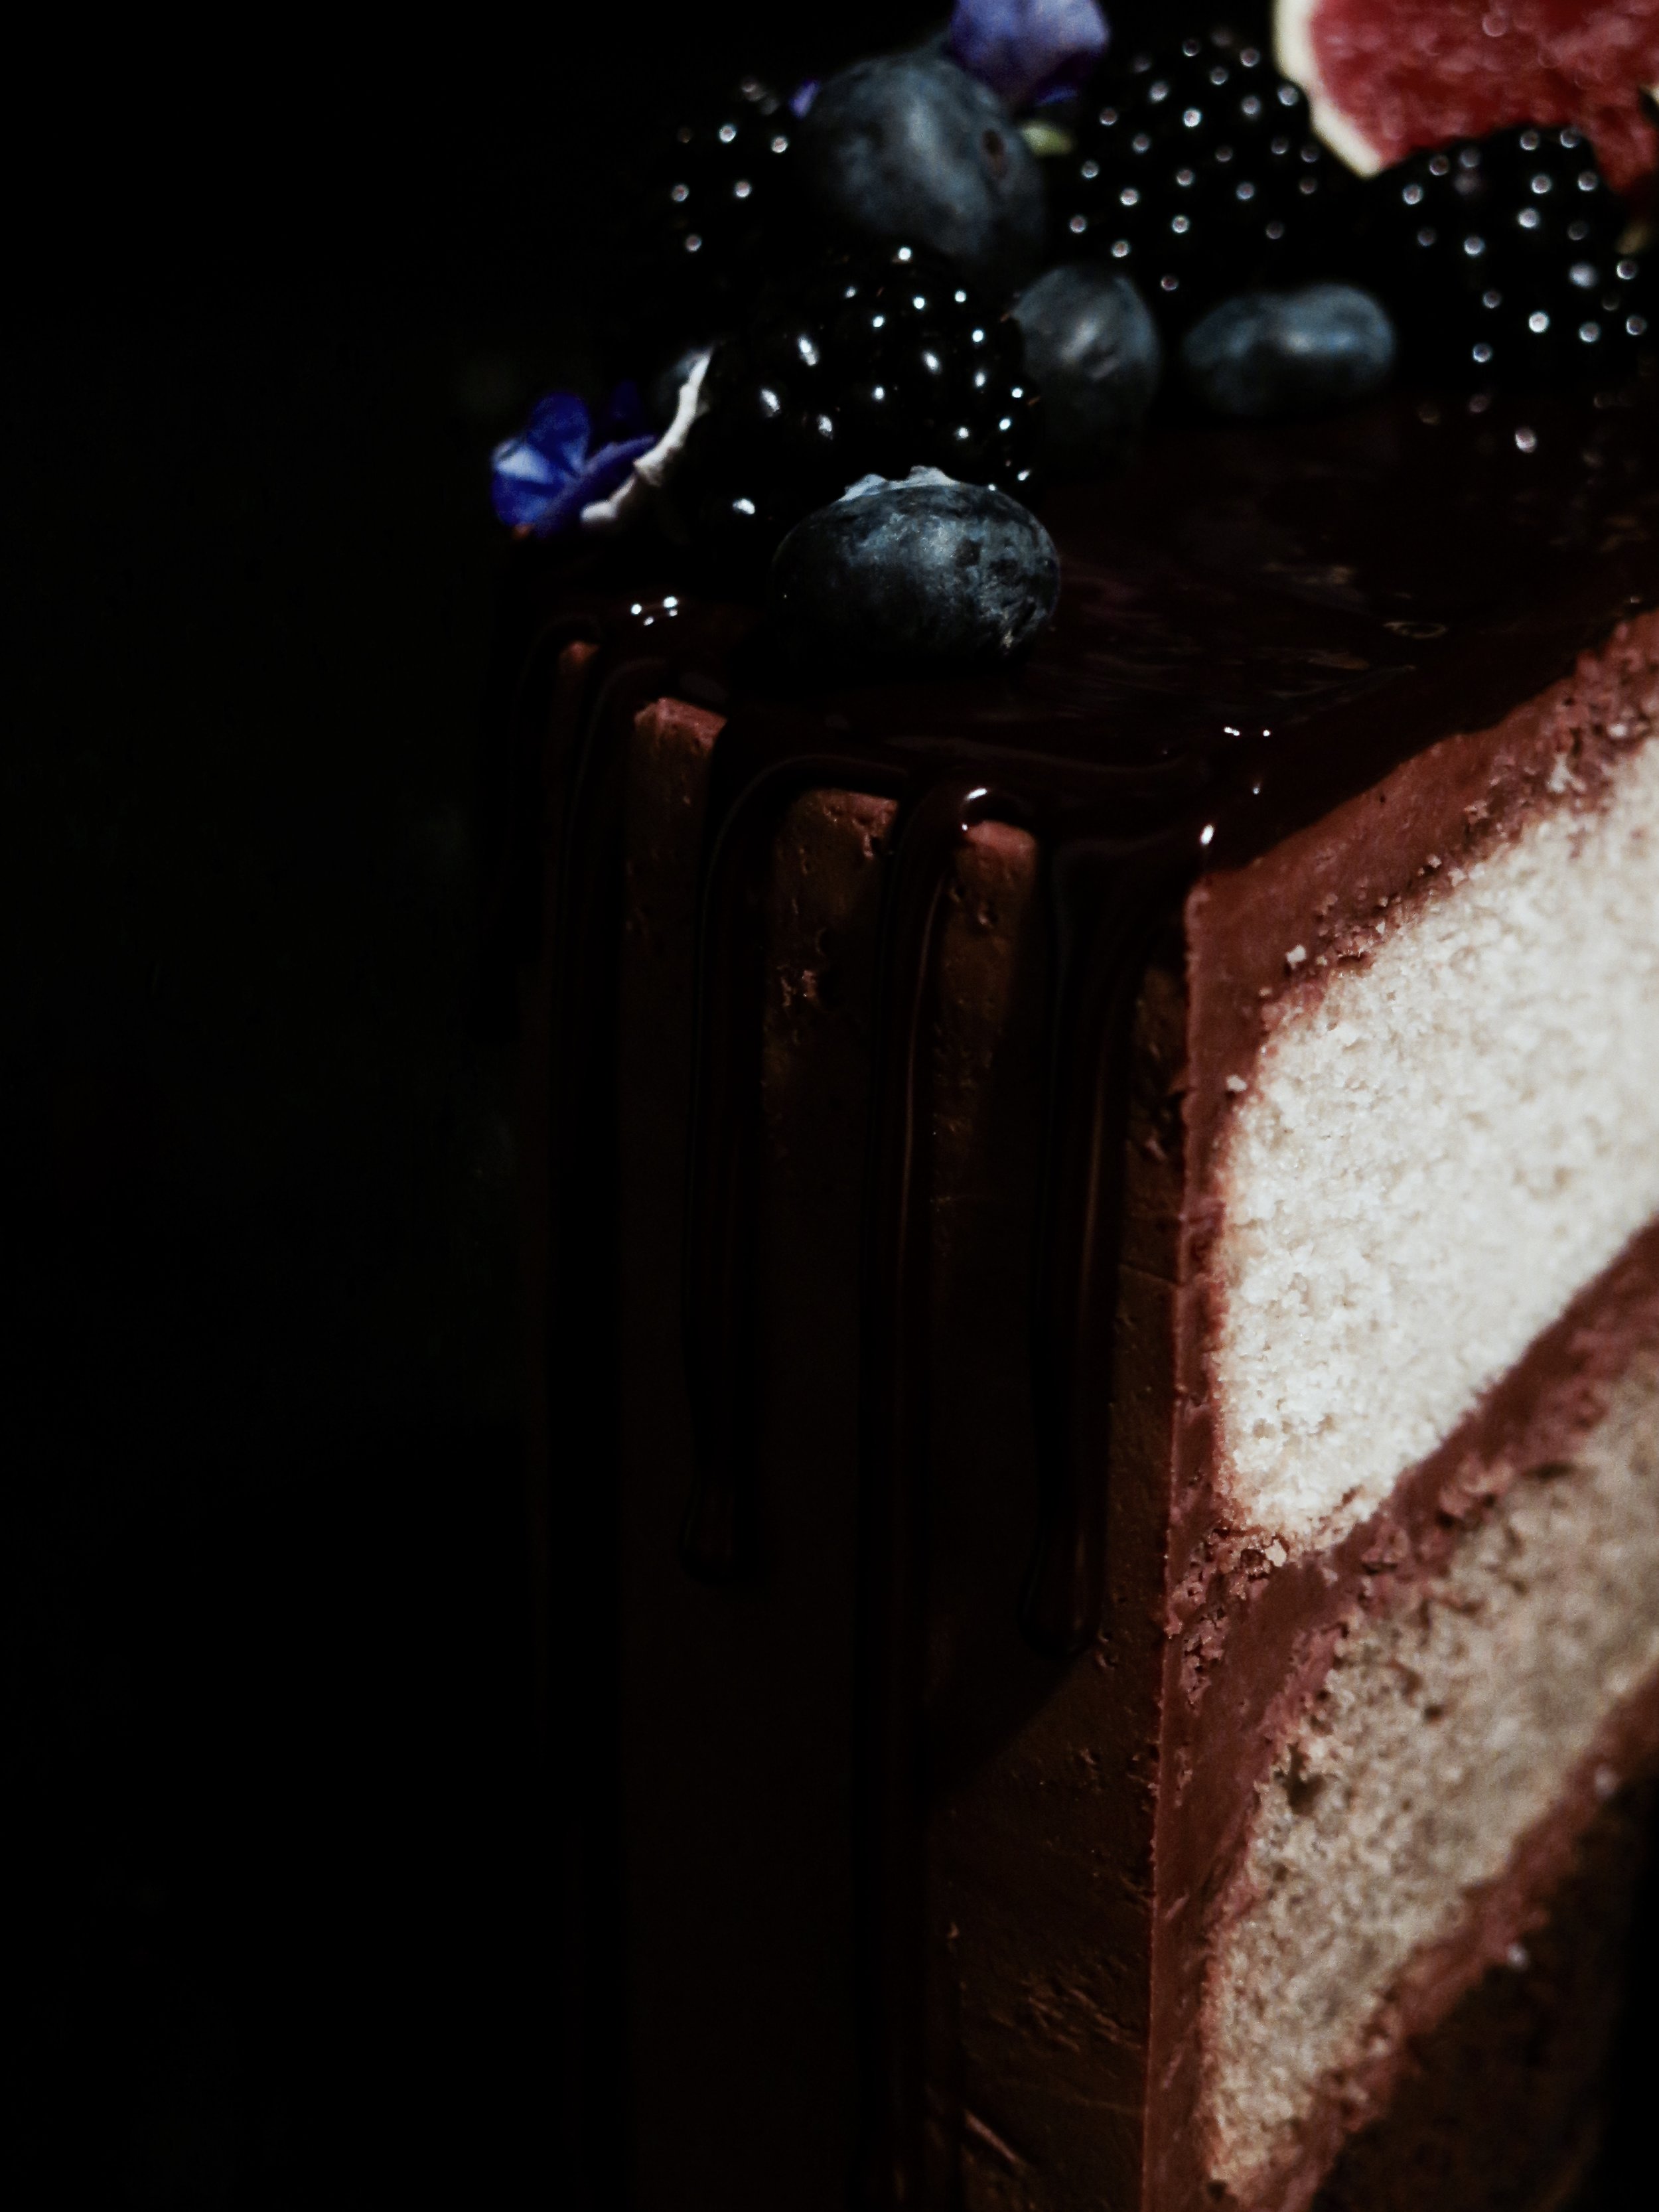
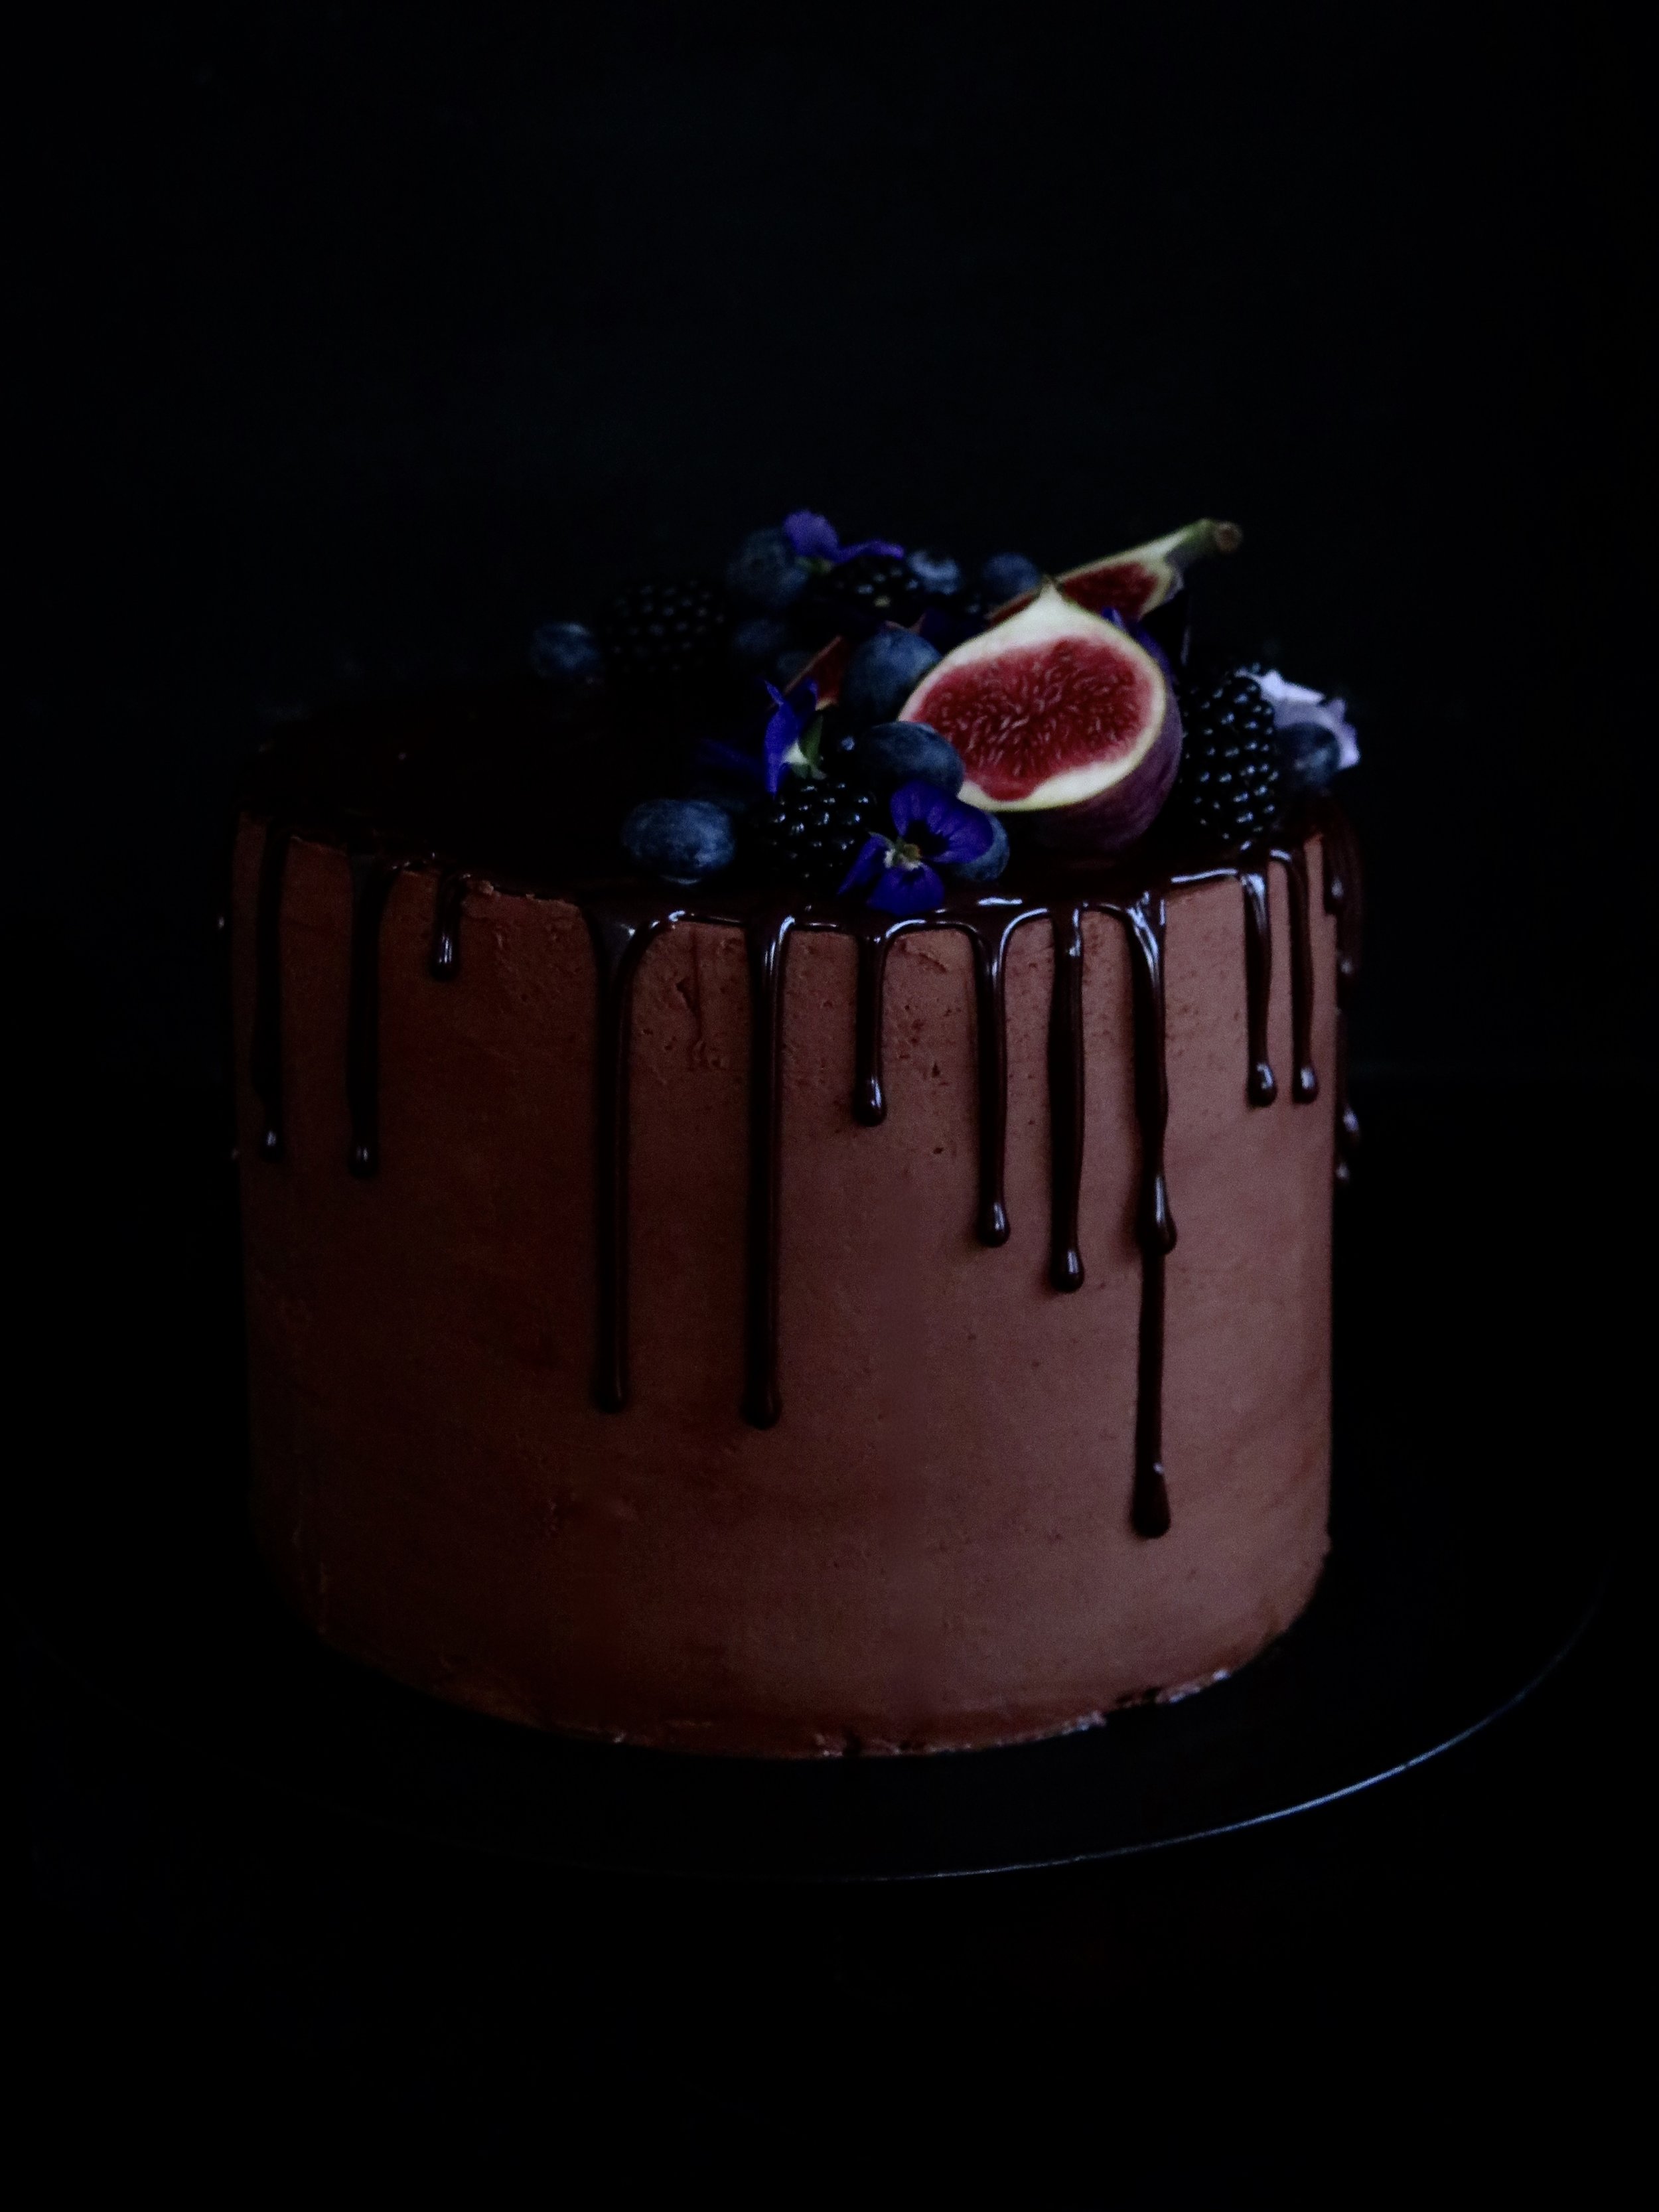
The desire was mostly satisfied then but I still dream up opportunities to replicate it. I imagine this cake would be peak territory for such caveman antics: a base layer of moist and rich chocolate cake (ticks the Bruce box), a golden middle tier of coffee cake, and a fluffy vanilla sponge top tier. The buttercream is deeply chocolatey with a pinch of salt to counteract the sweetness, and the cake is topped with a mirror ganache drip glaze (easier to do than you may think). Nigella famously writes in her recipe: “Feeds twelve, or one with a broken heart”. This feeds twenty, or one with an overpowering Man vs Food, Matilda’s Bruce desire.
Although this cake has multiple elements and steps it is not difficult to carry out.
- If you wish to have all three layers identical, then just triple the quantity of one cake.
- Feel free to experiment with buttercreams as well (for example, vanilla, coffee, or caramel).
- Additionally, I use dark fruits to decorate the cake, but you can keep it plain, or venture down more chocolatey routes. It is also delicious kept simple, without the mirror chocolate ganache.
- This is effectively three cakes in one so you can just make one of the cakes, and make a third of the icing in which to cloak it.
- The chocolate cake recipe makes slightly more than necessary, hence the muffin cups into which the excess mixture is poured – a bonus in my book…
Ingredients
The vanilla and coffee cakes:
450g unsalted butter, at room temperature
450g caster sugar
2 tsp vanilla extract
4 tbsp milk
8 large eggs, at room temperature
450g self-raising flour, sieved
½ tsp salt
1 tbsp espresso powder, dissolved in 1 tsp boiling water
The chocolate cake:
400g plain flour
250g caster sugar
100g light muscovado sugar
50 high quality cocoa powder
2 tsp baking powder
1 tsp bicarbonate of soda
½ tsp salt
3 large eggs, at room temperature
140g soured cream
1 tbsp vanilla extract
175g unsalted butter, melted
125g corn or vegetable oil
300ml cold water
Salted cocolate buttercream:
250g high quality 70% dark chocolate
375g unsalted butter, at room temperature
680g icing sugar, sieved
½ tsp salt
4 tsp vanilla extract
Mirror chocolate ganache:
100g double cream
100g high quality 70% dark chocolate
Equipment:
3 (or 2 if you wash one up in between making vanilla/coffee and chocolate cakes) x 20cm diameter round cake tins, buttered, with the base lined with a circle of baking parchment
1 muffin tin with 5 muffin cases
piping bag fitted with a 2-3mm round nozzle
Method
The vanilla cake and the coffee cake:
1) Preheat fan oven to 180C. In a large bowl with a spoon, or in a mixer fitted with the paddle, beat together butter and sugar for about 3 minutes until the mixture turns fluffy, soft and almost white. Beat in the vanilla and milk.
2) Then beat in one egg at a time alternating each egg with a tablespoon of flour. Don’t panic if it looks slightly curdled, as this is normal. Add in the rest of the flour and salt and, by hand, gently fold them into the mixture.
3) Pour half the mixture into one of the lined baking tins – this is the vanilla cake. For the coffee cake, add in the dissolved espresso powder into the remaining mixture and fold in gently. Pour into the second baking tin and place both in the oven to bake for 30-40 minutes until golden on top and a skewer comes out clean. After 30 minutes, you may need to cover them with tinfoil to prevent the surface from burning.
4) Once cooked, remove from oven and place on a rack to cool.
The chocolate cake:
1) Preheat fan oven to 180C. Into a large bowl, sieve all the dry ingredients and mix through. In a separate medium sized bowl, whisk together the eggs, soured cream and vanilla.
2) In a third, large bowl, either by hand or in a mixer fitted with the paddle, beat together oil, butter and water until combined. Into this bowl, pour the dry ingredients and fold gently to combine. Then pour in the egg, cream, vanilla mixture and fold gently together until smooth and just combined.
3) Pour off 300g of the mixture into a separate bowl and divide equally between 5 muffin cases. Pour the rest of the mixture into the prepared cake tin. Place muffins and large cake in the oven. Bake the muffins for 20 minutes, and the large cake for 40-50 minutes until a skewer comes out clean. Check the large cake after 30 minutes, as you make need to cover it with tinfoil to prevent the surface from burning. Once cooked through, remove from the oven and place on a baking rack to cool.
The salted chocolate buttercream:
1) Melt the chocolate in a bowl sitting on top of a pan of boiling water (don’t let the water touch the base of the bowl containing chocolate). Set the melted chocolate aside to cool slightly.
2) In a mixer fitted with a paddle, or in a large bowl with a spoon, beat together the icing sugar and butter until combined. Pour in the melted chocolate, salt and vanilla, and beat once more until combined.
The chocolate mirror ganache:
1) Make this only once the cake is iced. Heat the double cream in a small pan over a medium heat until it just begins to bubble. Remove from heat immediately and stir in the chocolate until it has melted and both combine into a glossy ganache.
Assembly:
1) The cakes should be of equal depth, so line the three cakes alongside each other and, with a long-serrated knife, slice the domes off each to make them even. I then place the cakes in the freezer for 10 minutes as it makes them easier to ice.
2) Place the chocolate cake on the stand on which you wish to serve the cake. This will be the bottom most layer. Place about a fifth of the icing mixture on top and spread it carefully with a spatula. Place the coffee cake directly on top and repeat, finally placing the vanilla layer on top.
3) At this point, if you are impatient, you can continue to ice the rest of the cake with the remaining buttercream, and proceed directly to stage 4. If, however, you want to ice the cake perfectly, it is advisable to do a crumb layer. This involves placing another fifth of the buttercream on the top of the cake and using a spatula to spread it evenly in as thin layer as possible around the cake, coating and filling any irregularities or gaps so that the sides and top are totally smooth and flat. Once this is done, place the cake in the fridge for a further 30 minutes until the icing is slightly hard to the touch. Remove from the fridge, and place the remaining icing onto the top of the cake and use a spatula to spread it off the top and around the sides. I dip the spatula in hot water to help achieve a smooth result. Place the cake back in the fridge while making the ganache.
4) Spoon a third of the ganache into the piping bag. Begin by drawing a line round the edge of the cake surface as a border. Then to make a drip, hold the piping bag very still with the nozzle pointing directly down, and put consistent pressure on the bag to allow the drop to fall from the edge down the side of the cake. Stop when the drip is nearly at the length you want. Continue along the edge of the cake making drips of different lengths. Once this is done, pour the remaining ganache onto the top of the cake and spread with a spatula to cover the surface.
5) Top with dark fruits or any decoration of choice, and serve.
All cake recipes are adapted from Nigella Lawson’s Chocolate Fudge Cake and Victoria Sponge Cake recipes
HUNGRY FOR MORE?
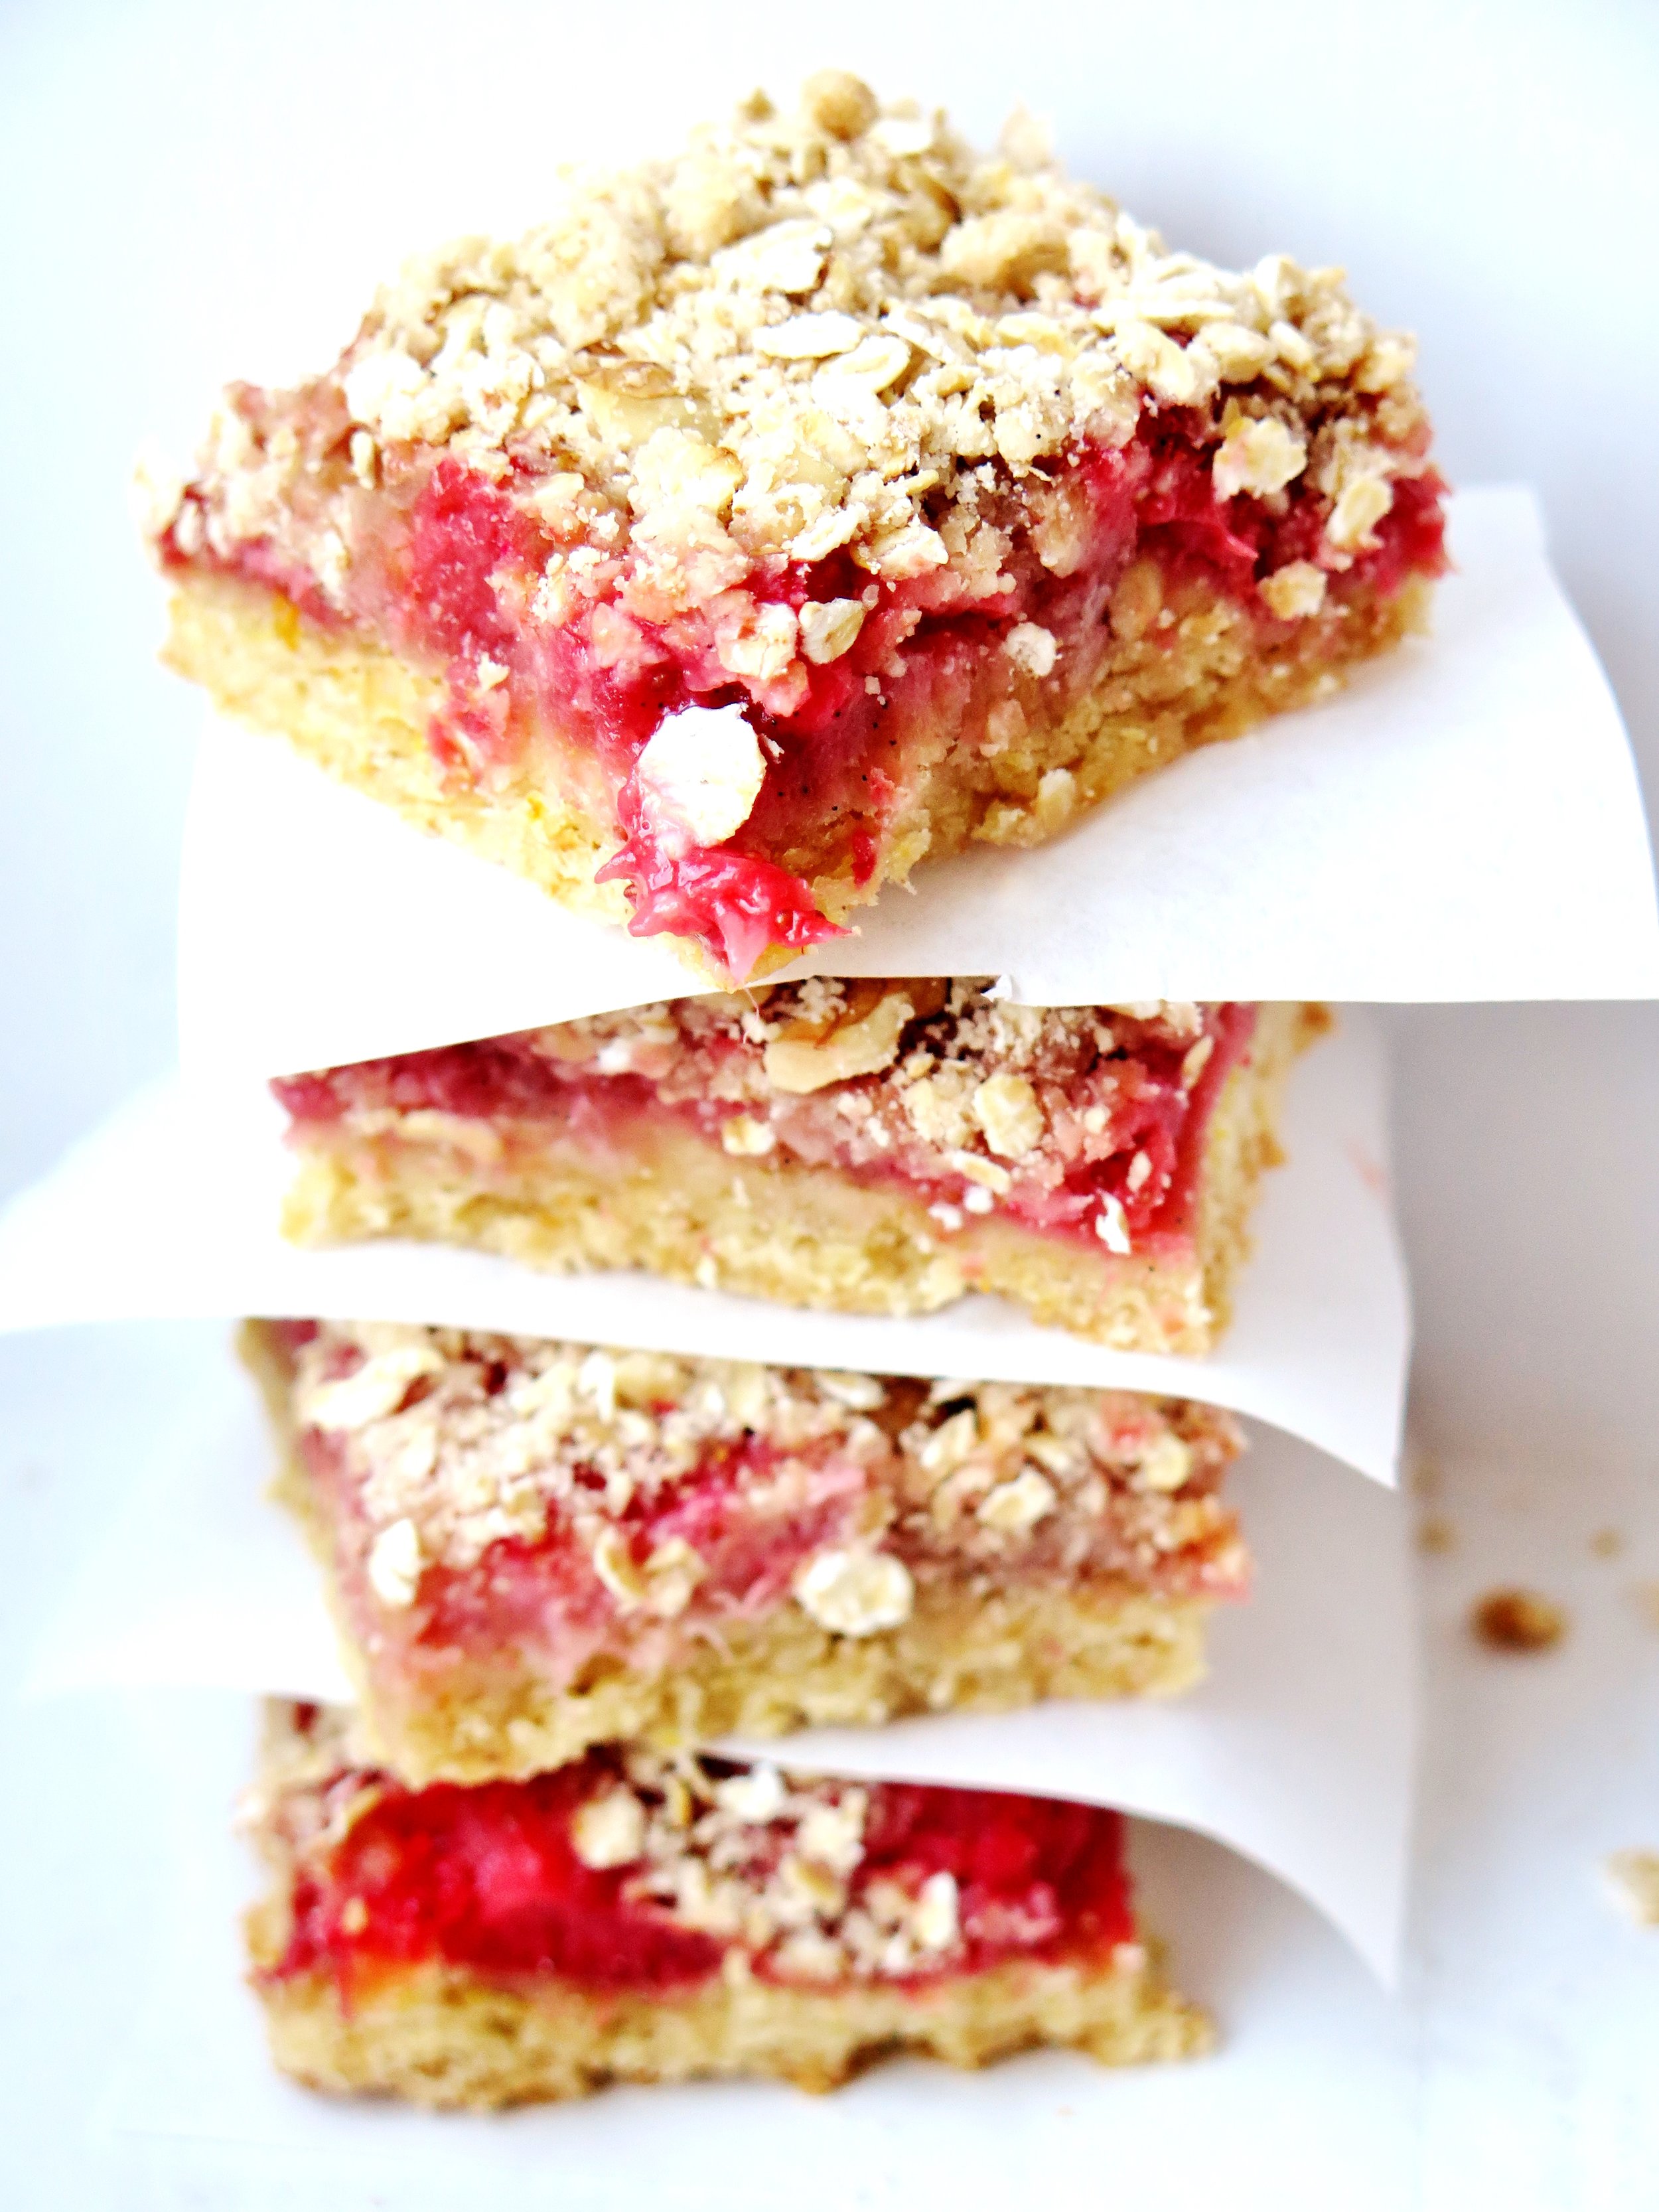 What’s your crumble-to-fruit ratio? If you’re the kind who favours a preponderance of stewed fruit with an insubstantial fairy dusting of oaty-flour, turn away now. If you lean towards the lavish when it comes to crumble proportion - good. Read on…
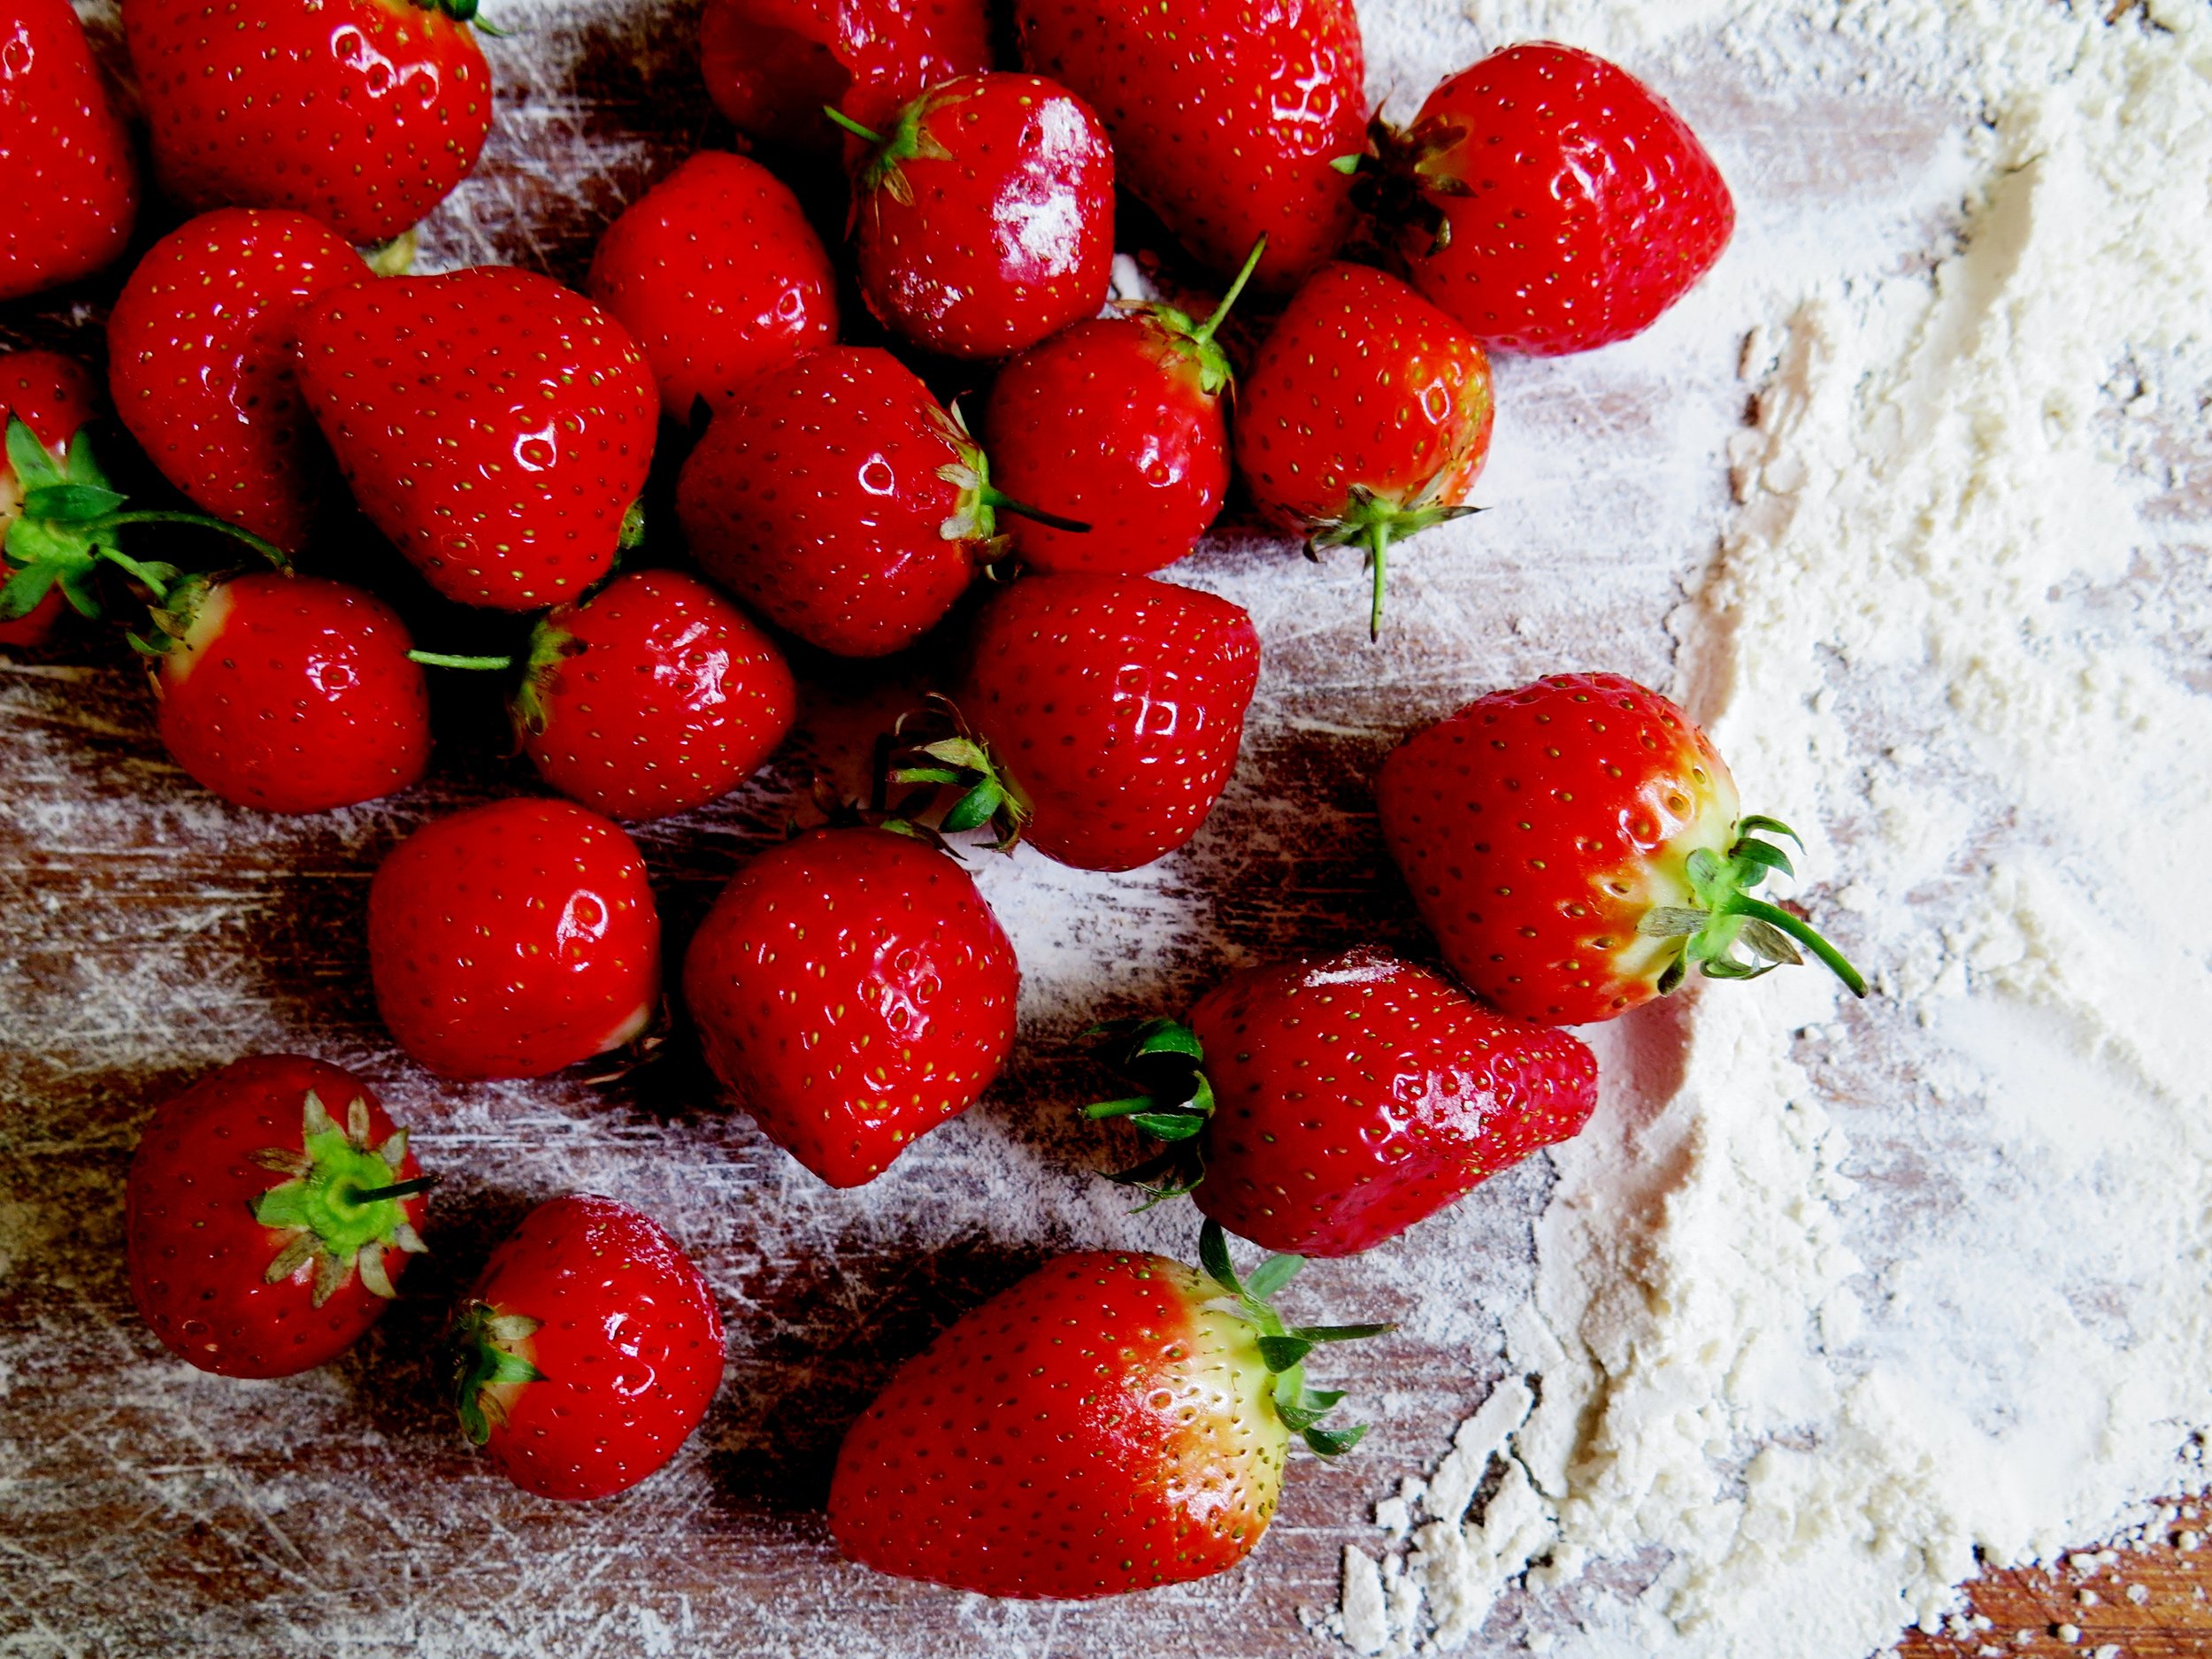
I have experienced many a crumble: from damson to mulberry to cherry to apple, from autumn to winter to spring to summer. But regardless of the lusciousness of the interior, the crumbles that garner the most attention, that leave people scratching way at the remaining crumbs that have become forged to the side of the pan in yearning for more, are the ones with a superabundance of crumble topping.
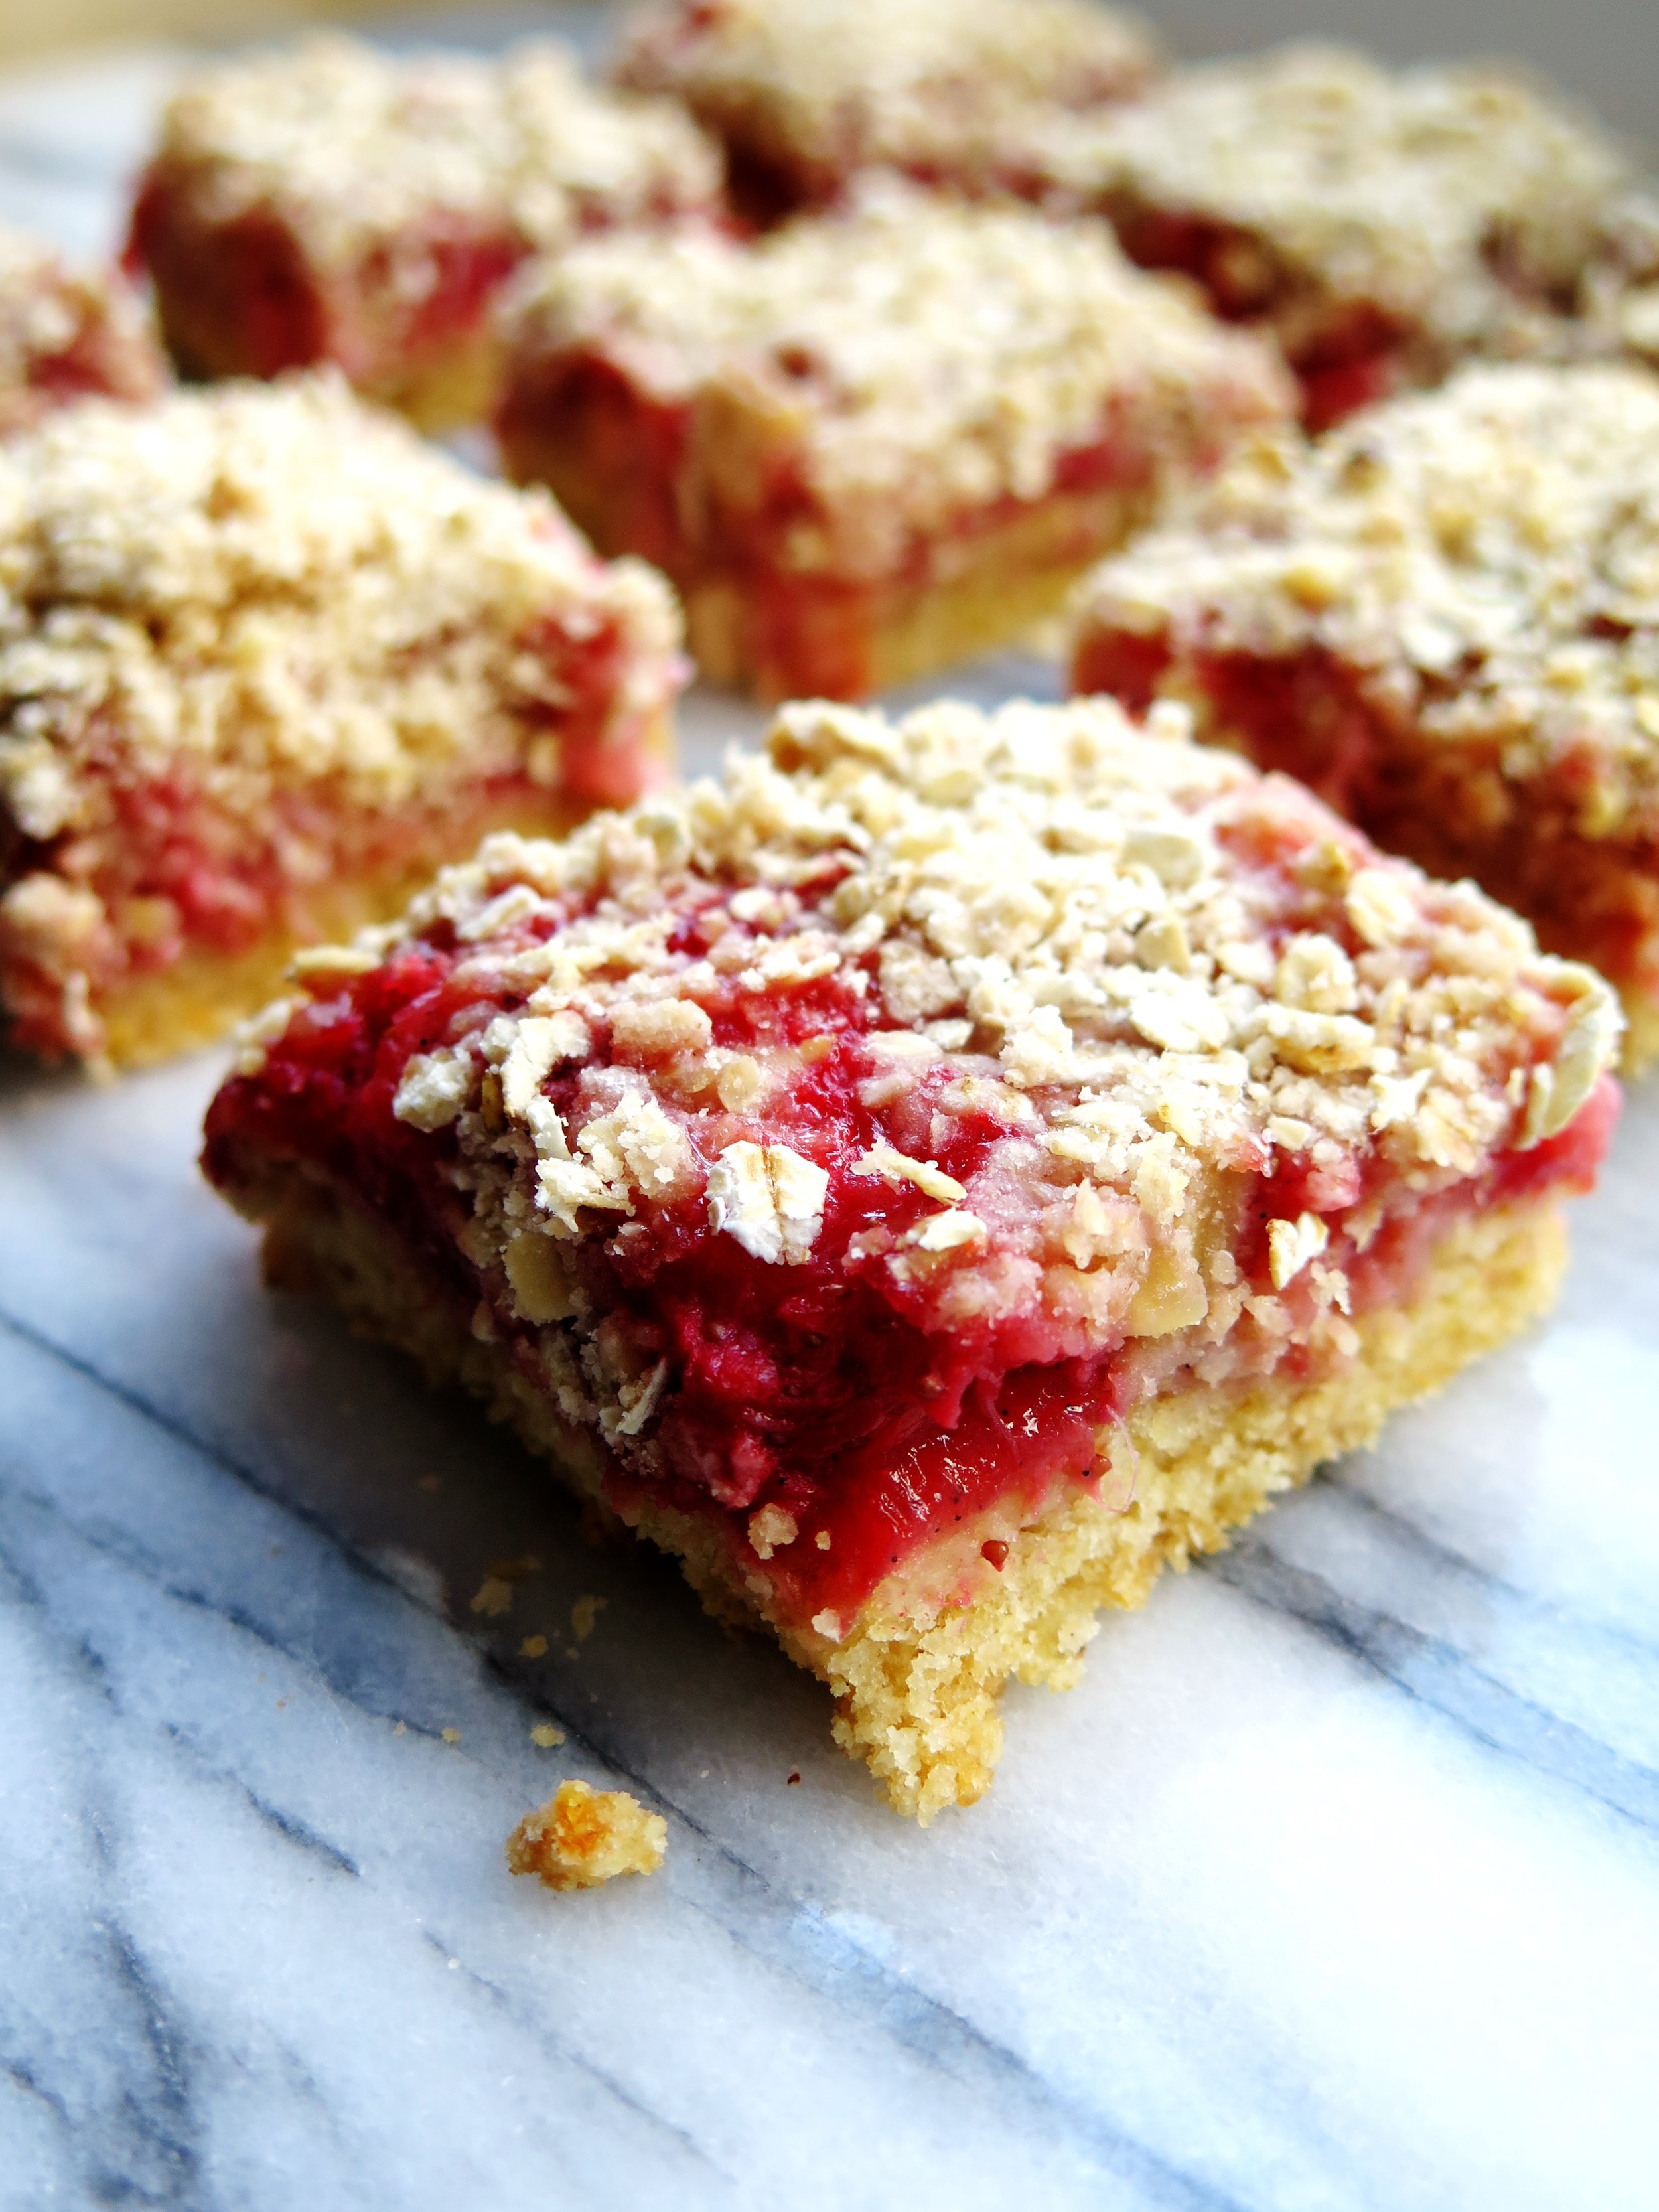
Crunchy, nutty, warming and eminently comforting – this is what a good crumble should be. Enough so that you don’t worry about rationing the crumble in your bowl to suit the amount of fruit – enough so that every mouthful has a good proportion of both.
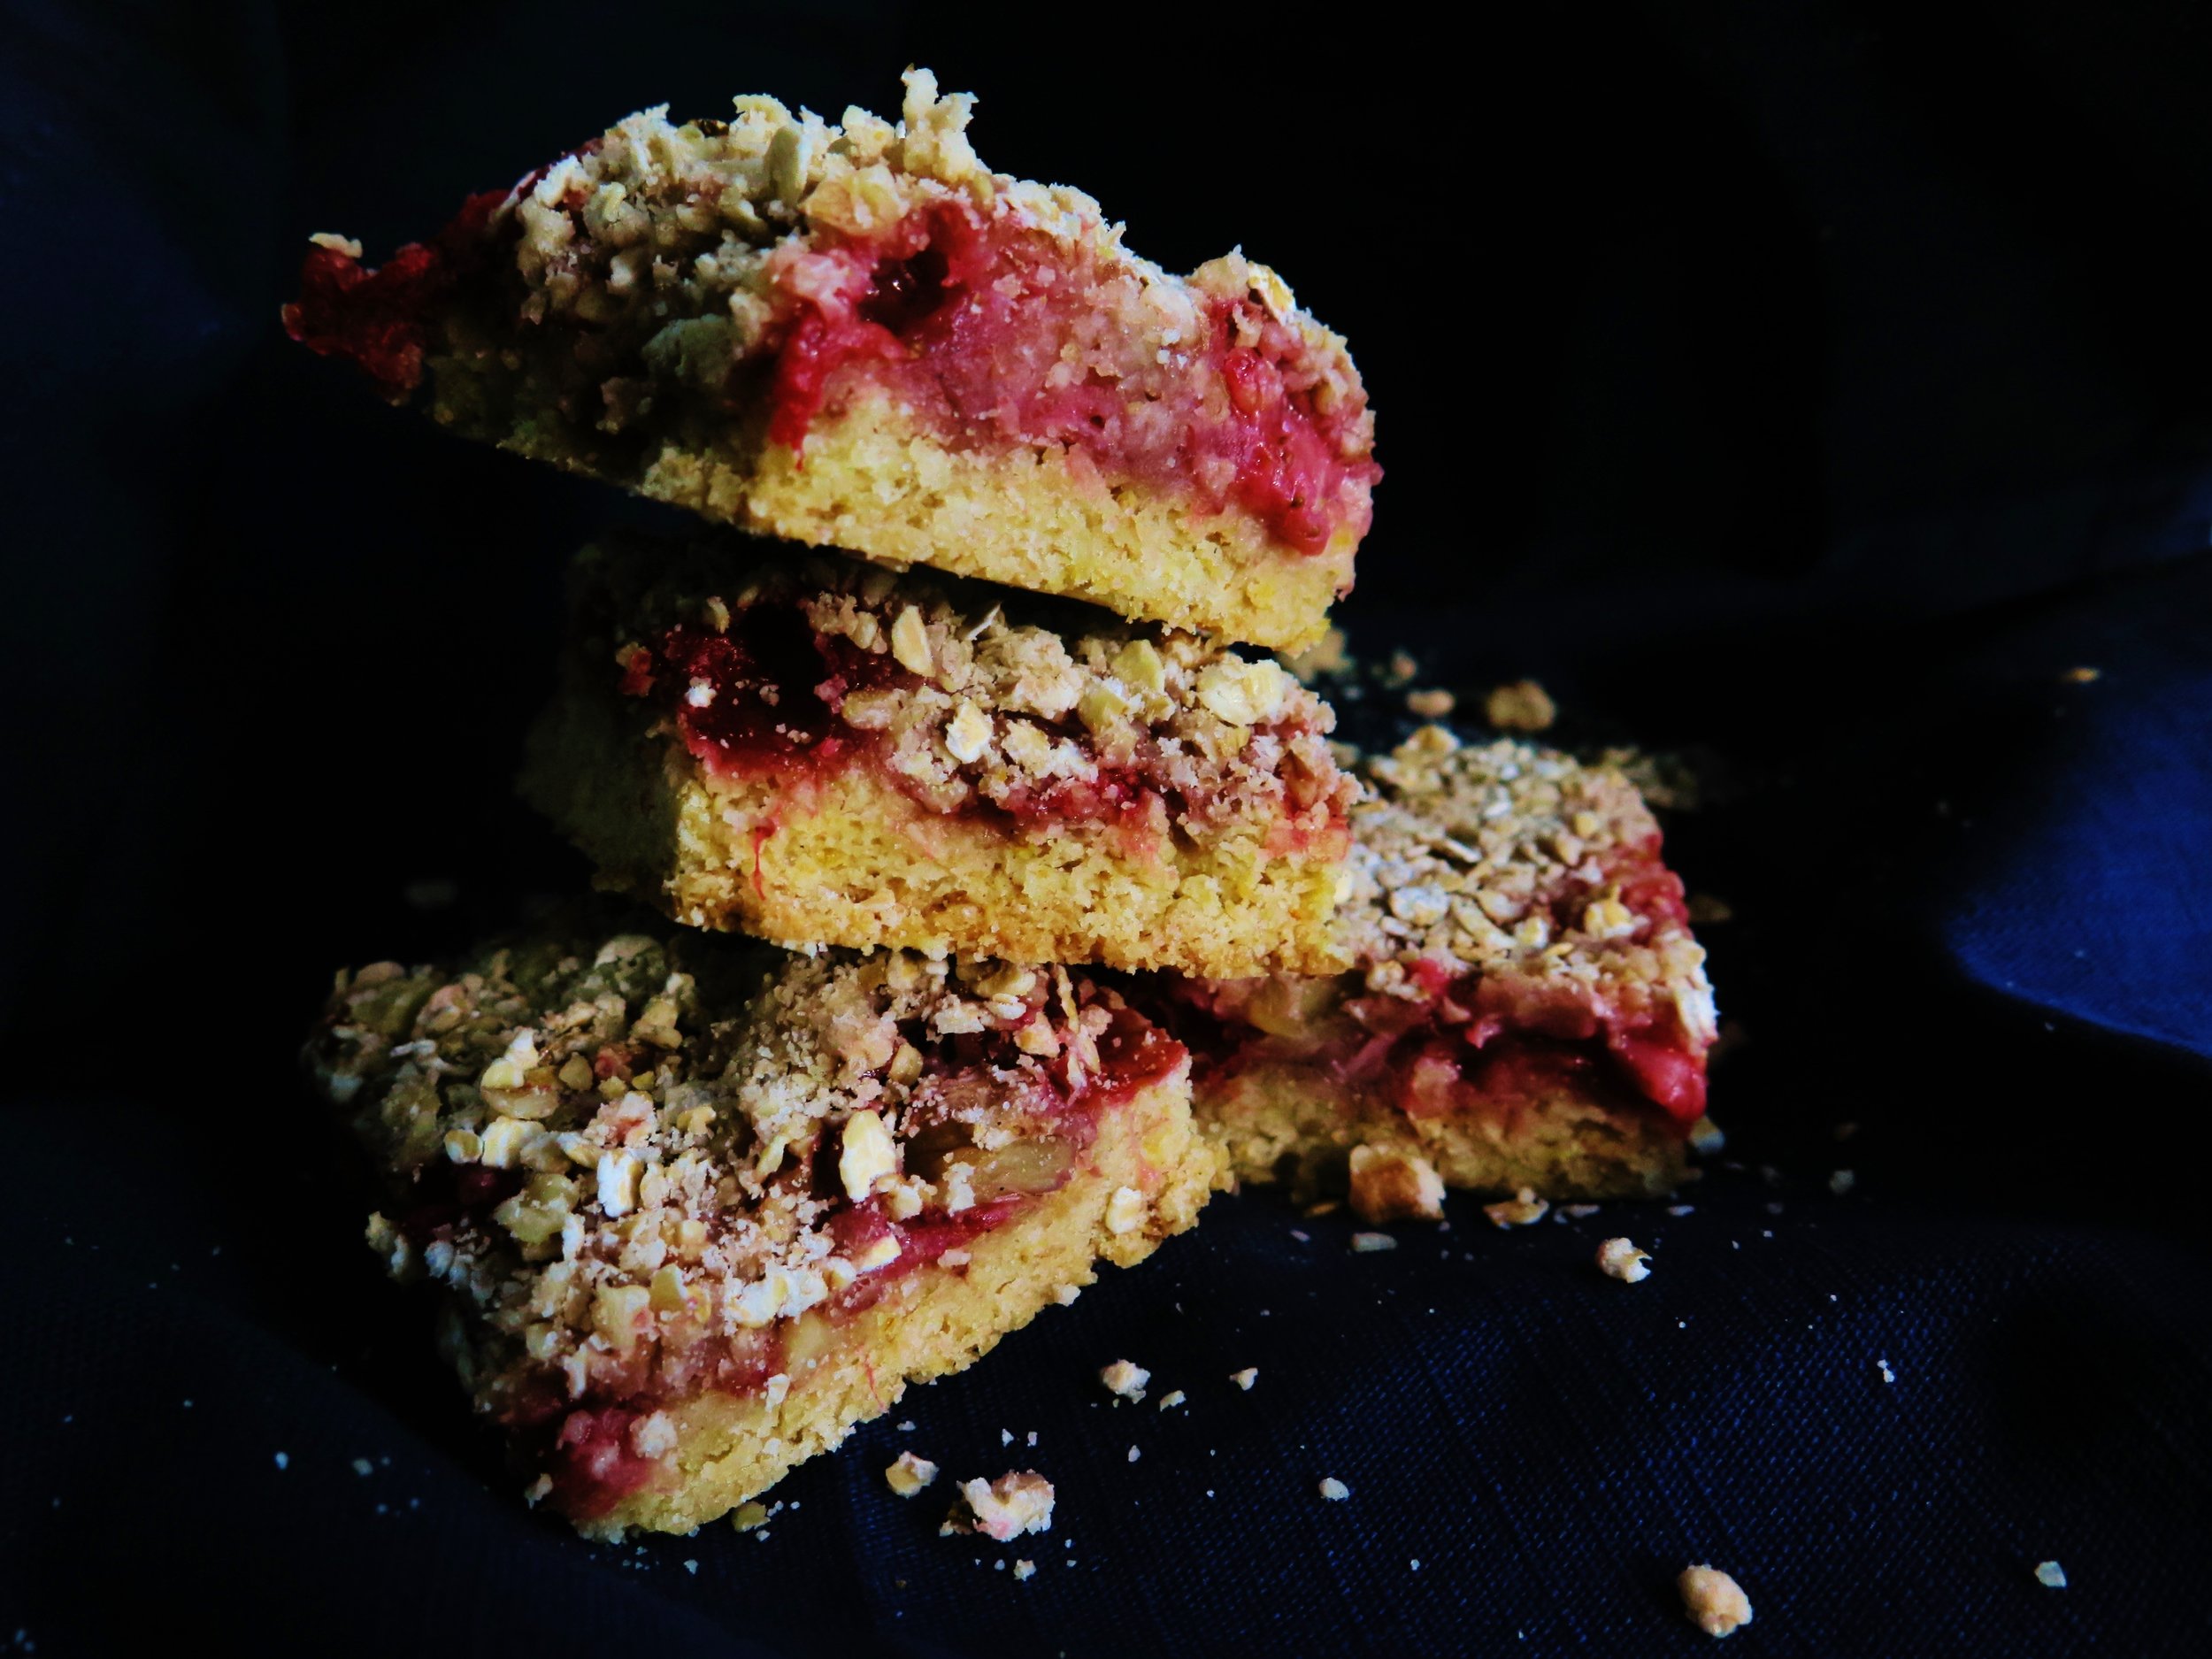 A good crumble, as with so many things, should leave you wanting more.
But what if you don’t want to have to face the risk of eating the whole pot by mistake – or at least you if do want to be able to eat the whole lot, do so in a more measured way?
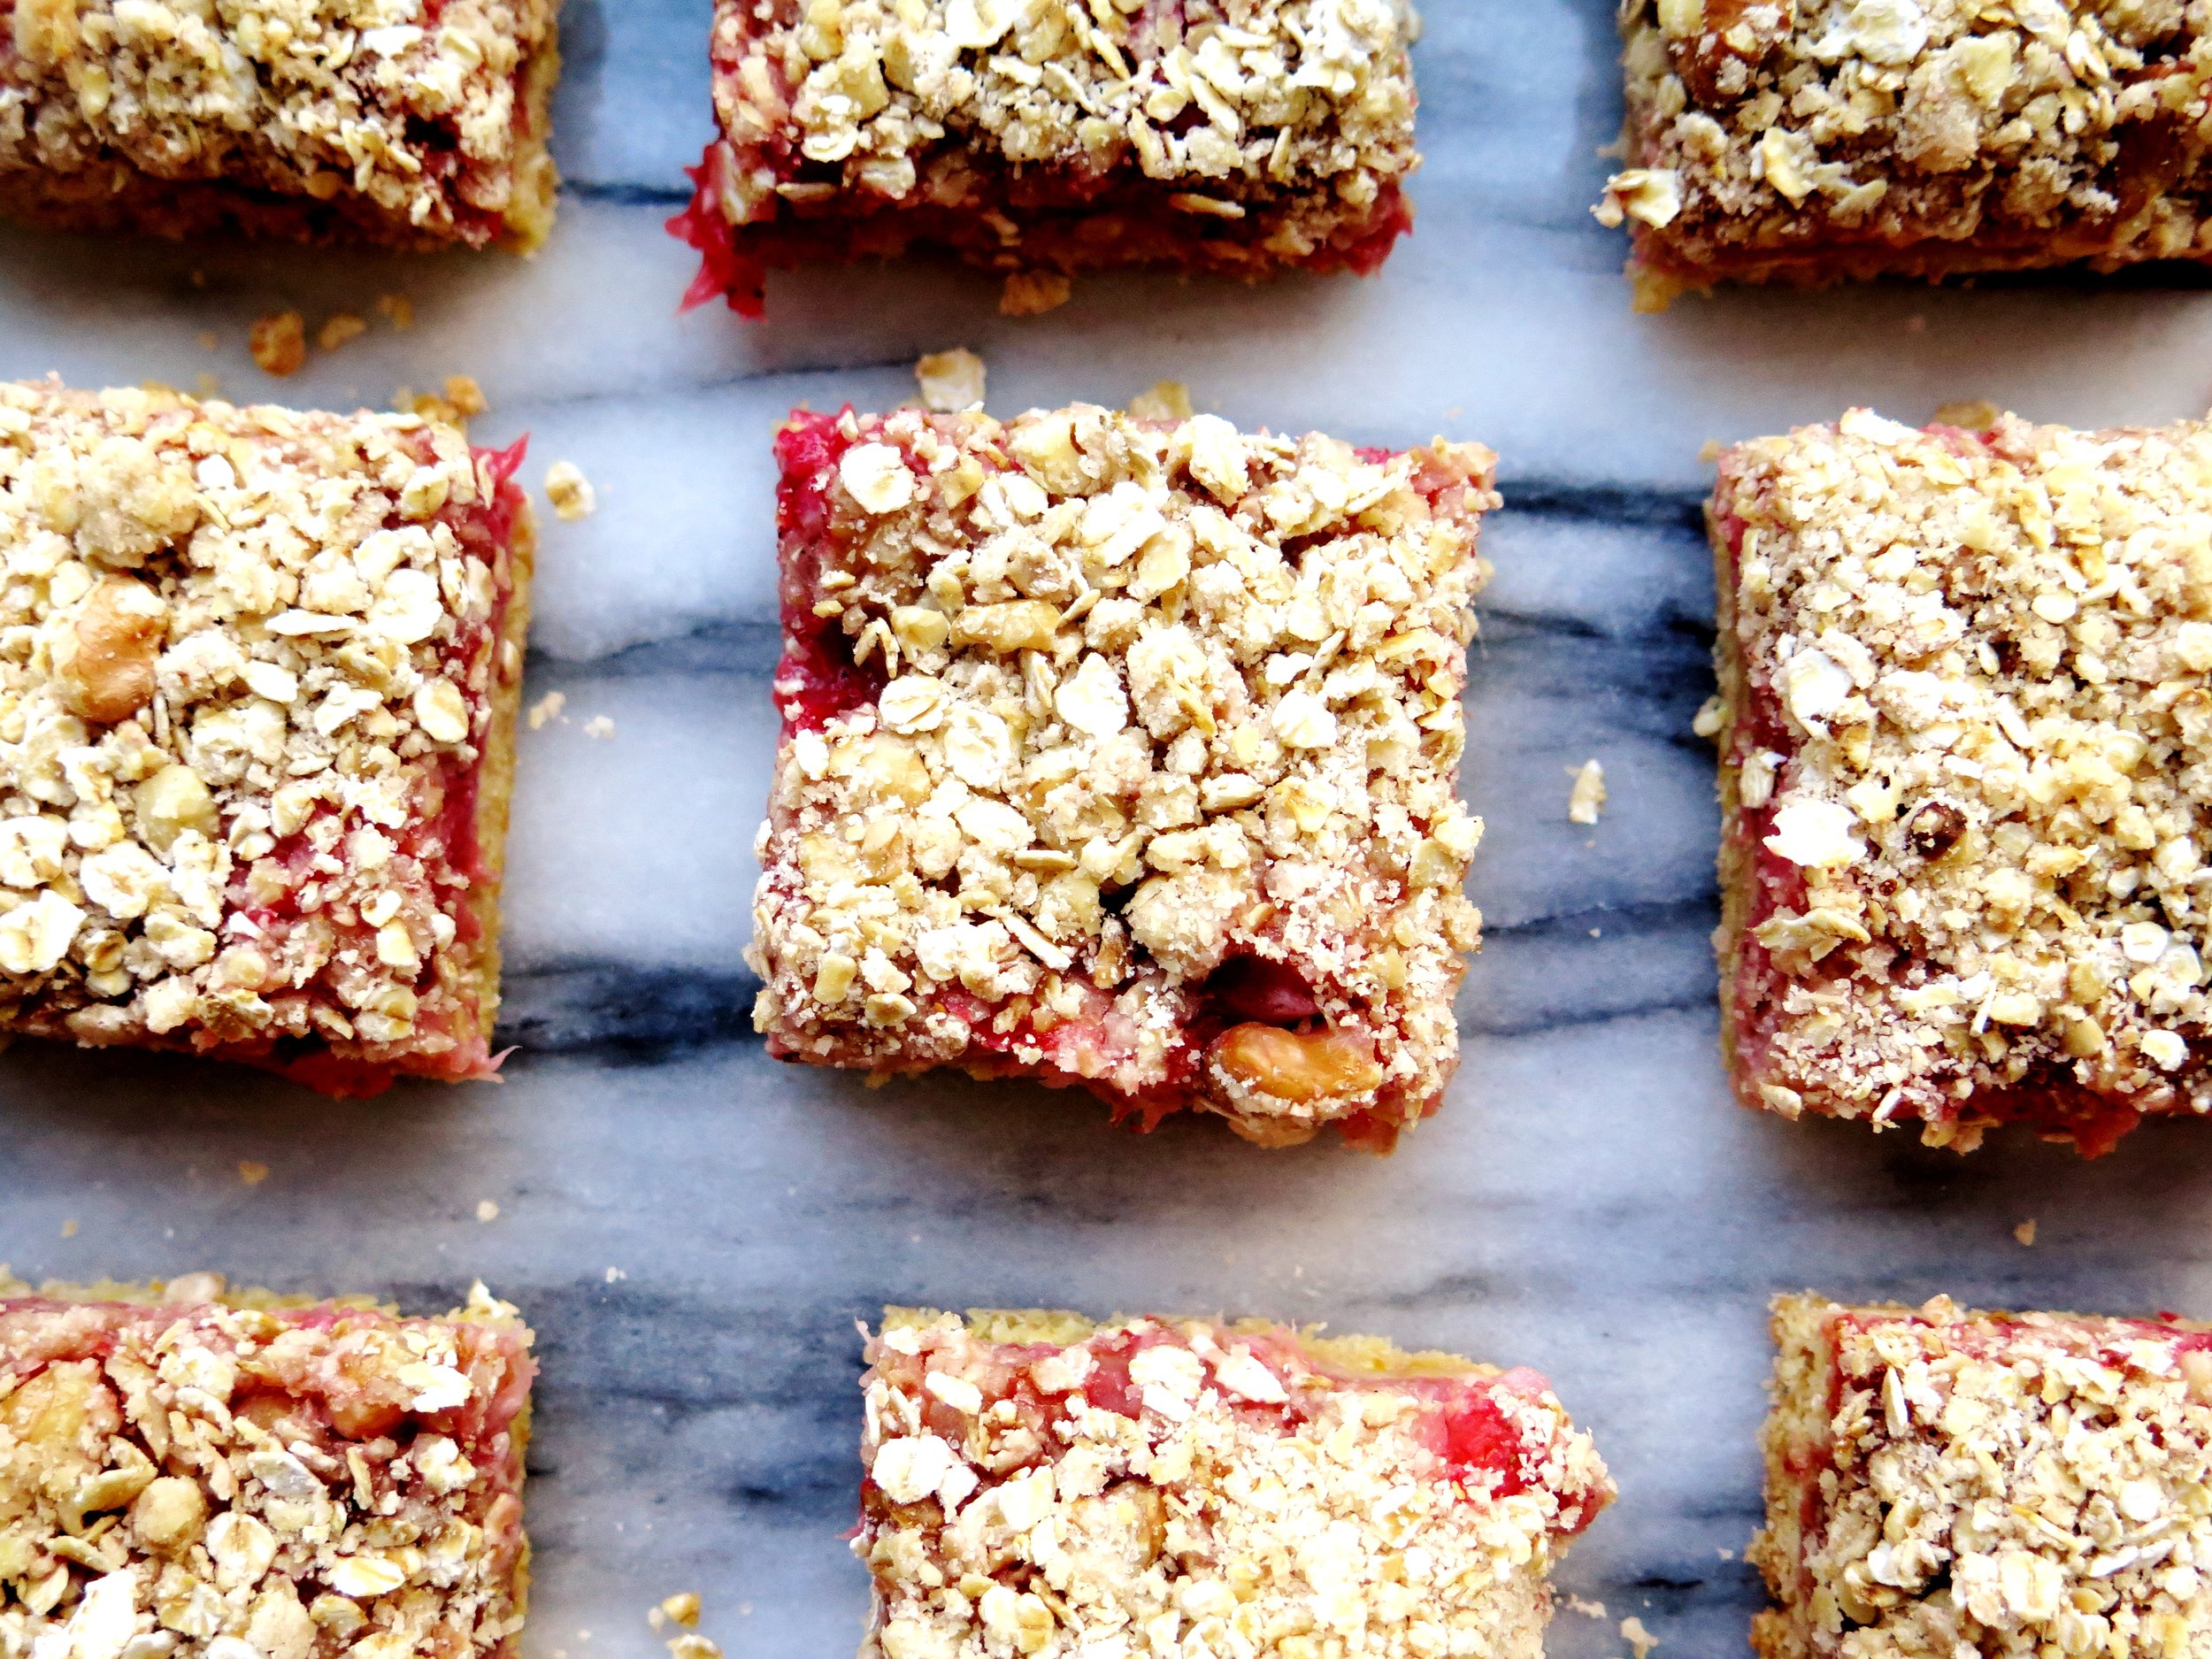
What if you want to extend the experience beyond the comfort of your kitchen i.e. a portable crumble?
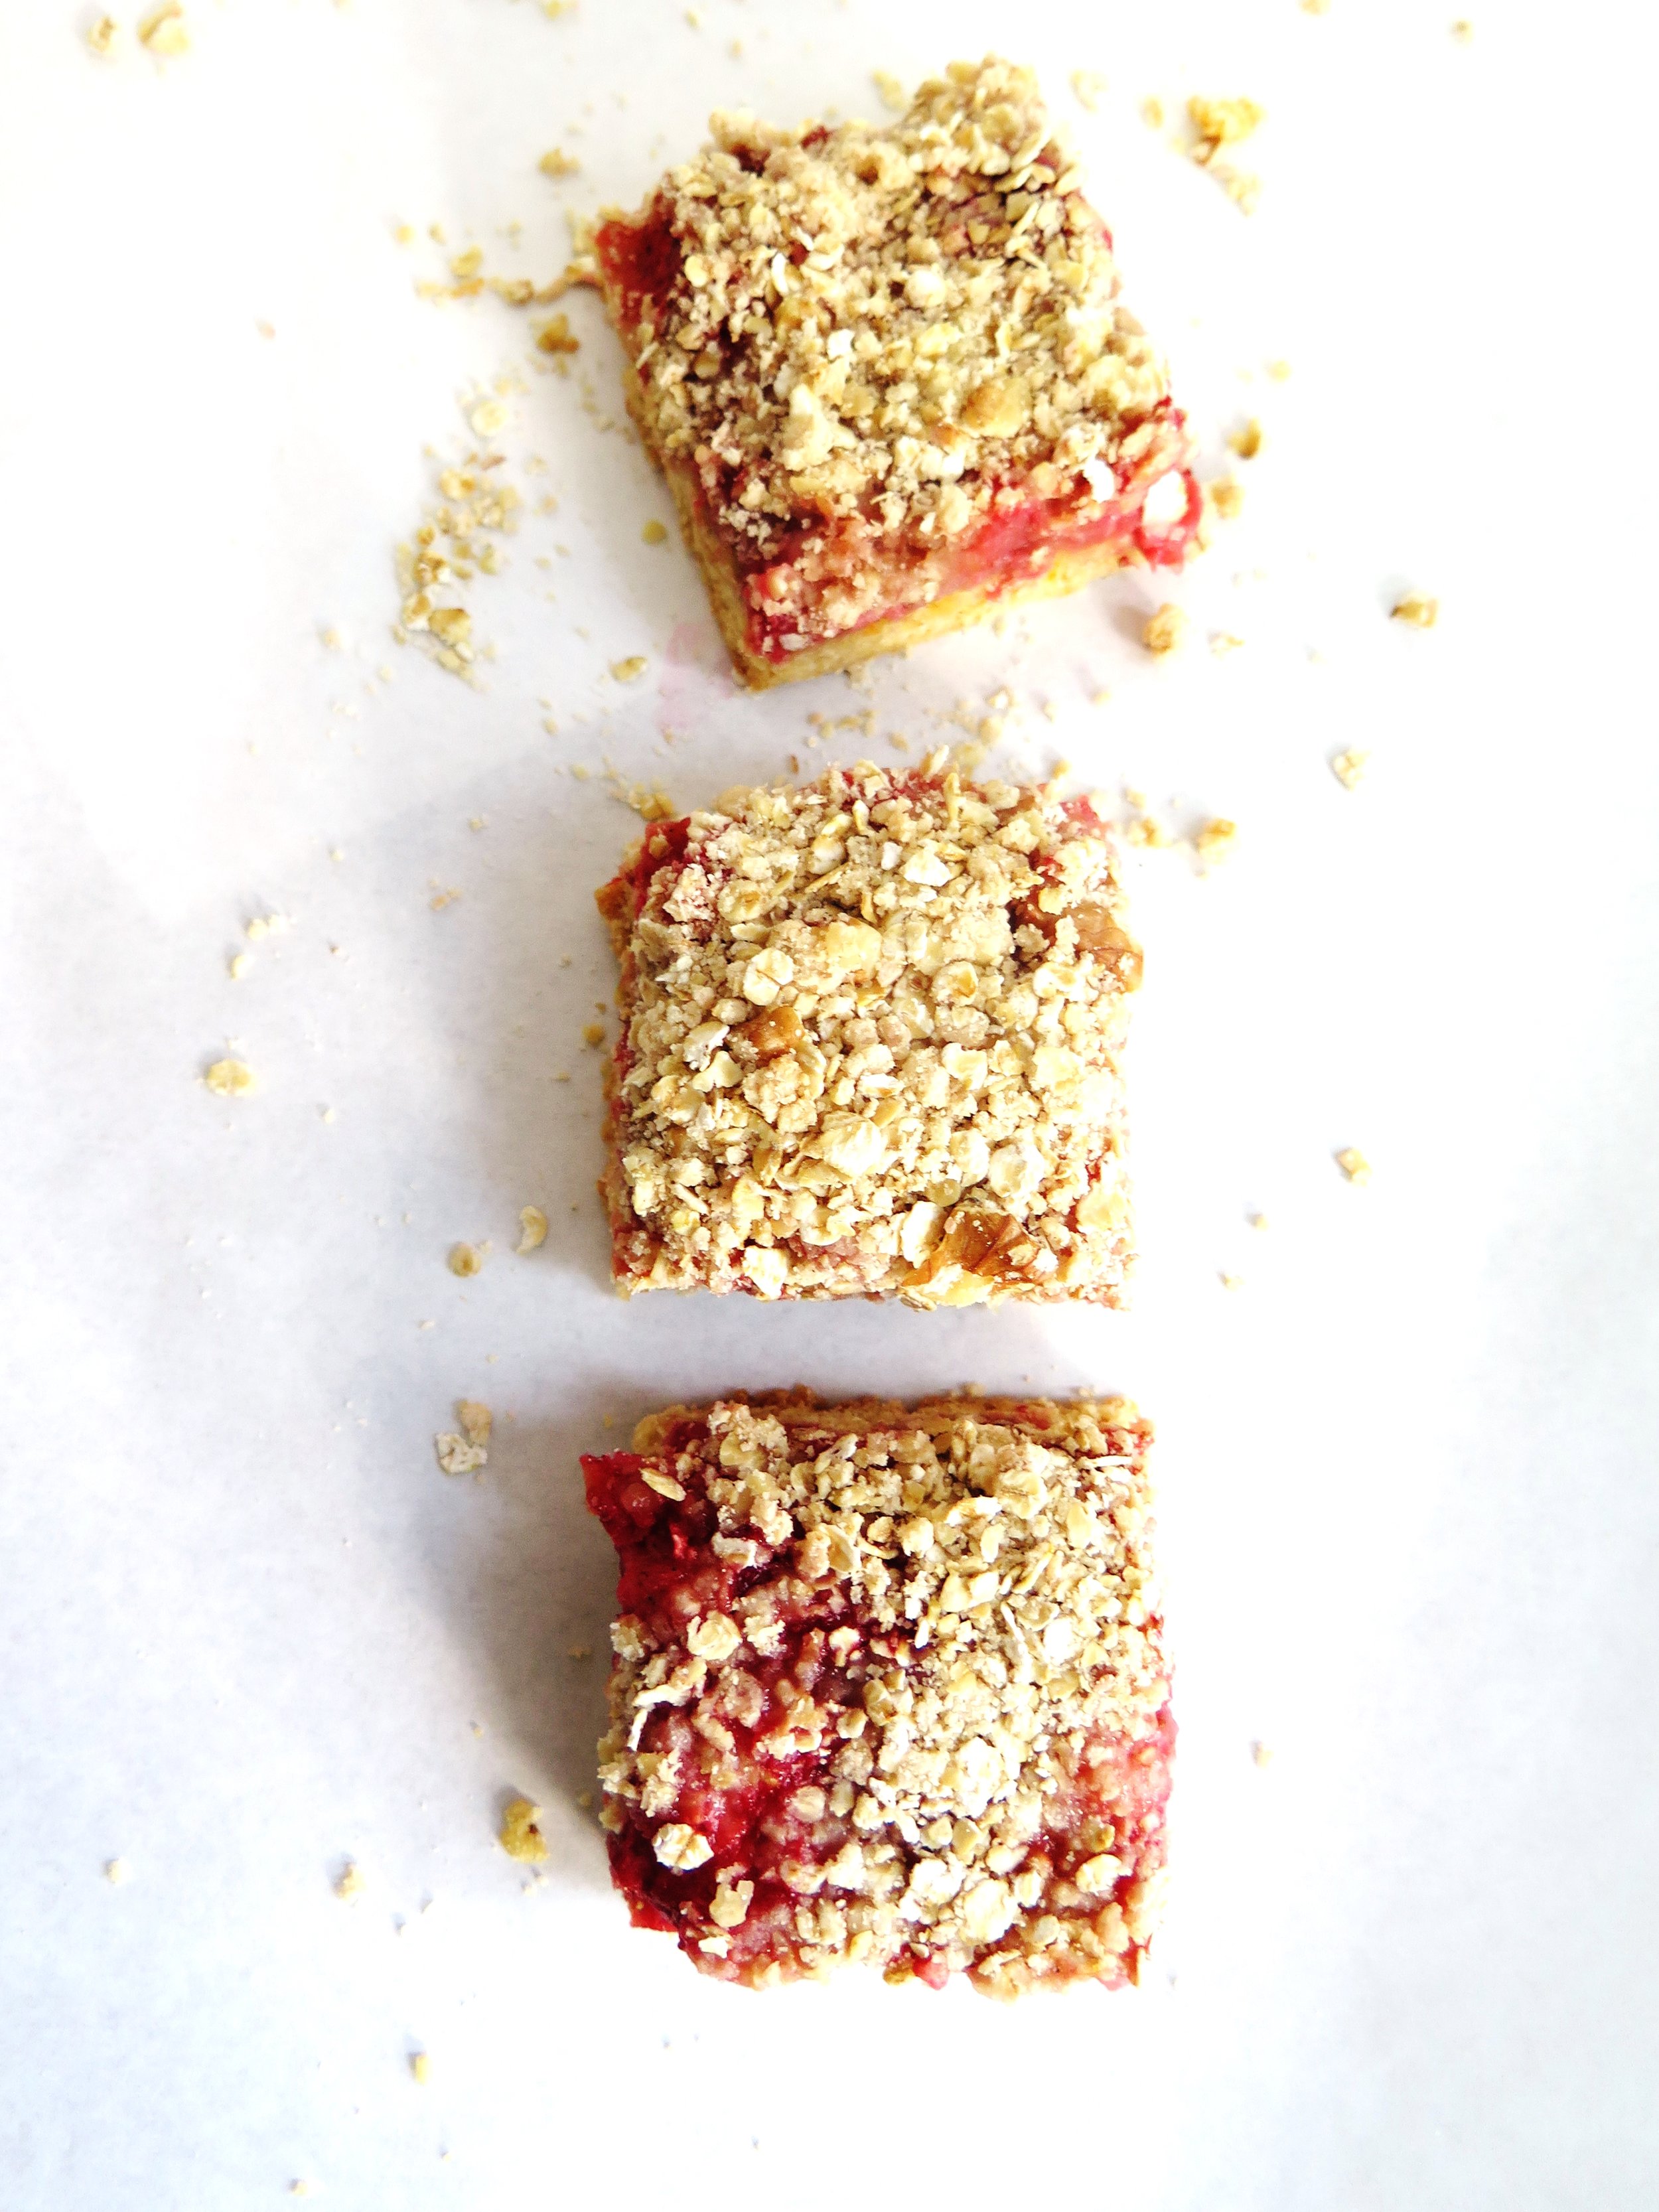
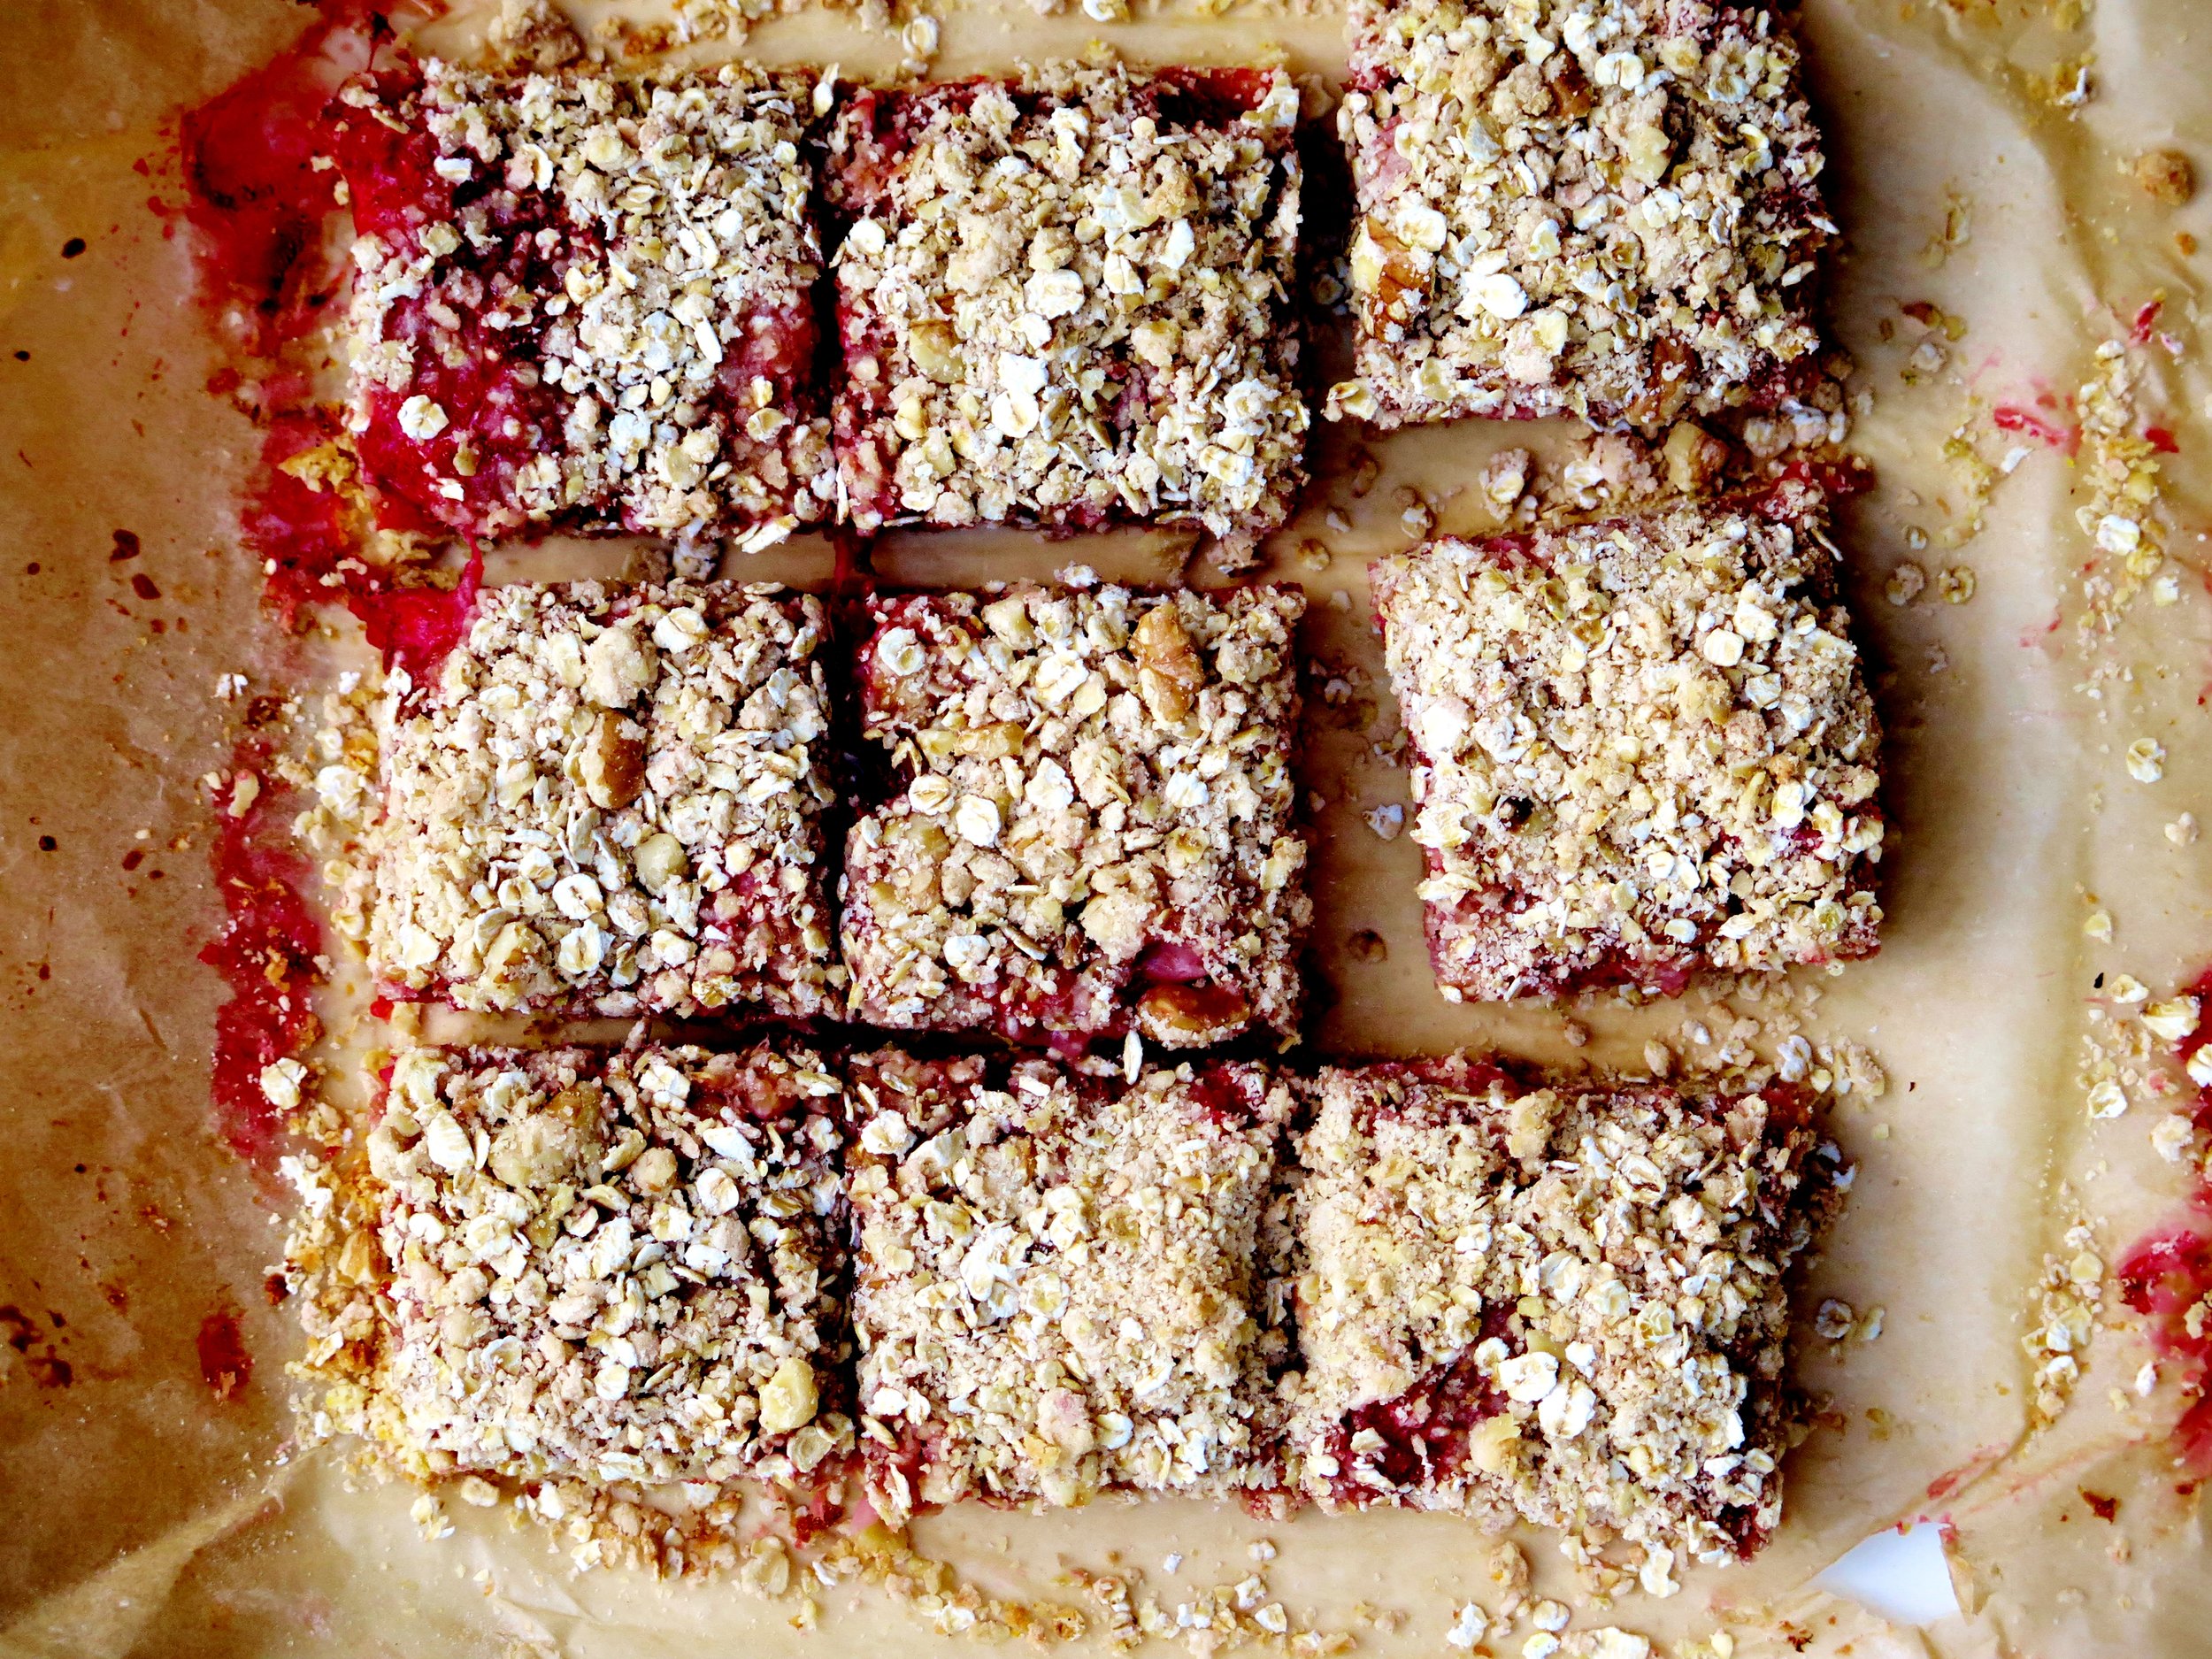
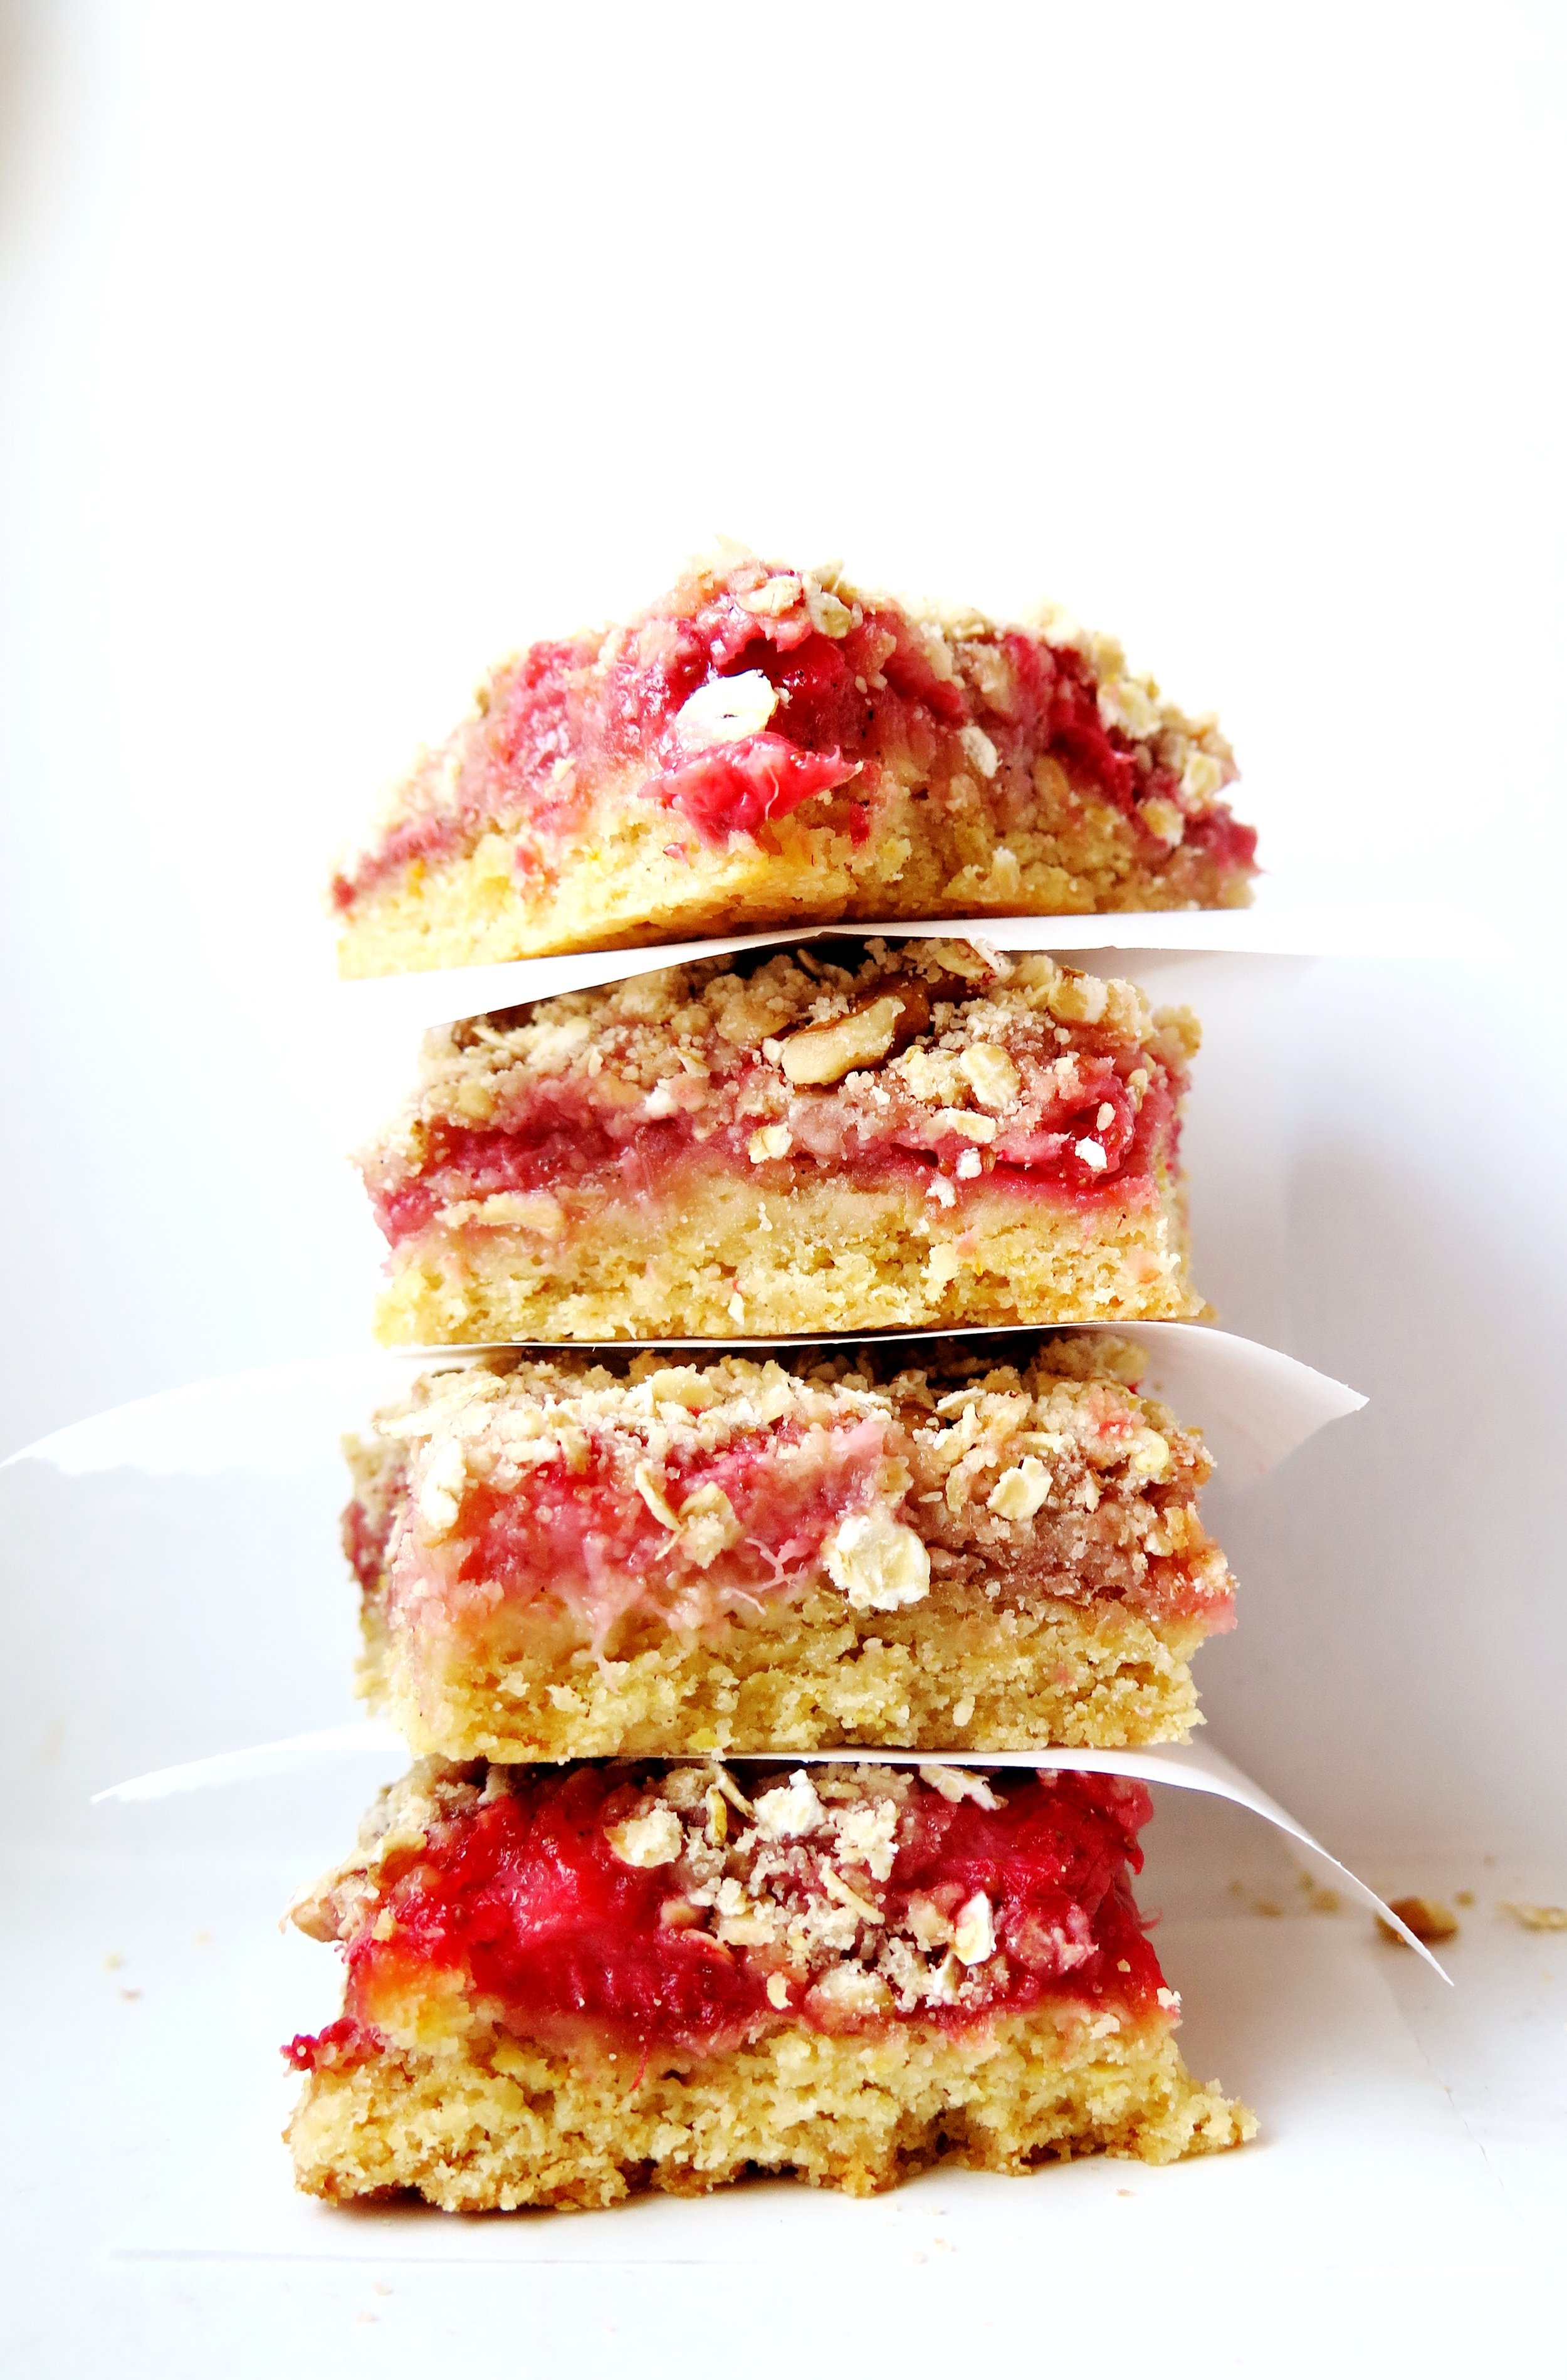
Try these – fruity, nutty, fresh, and summery, with a subtle tang and not overly-sweet. They are extremely quick and easy to make and, more importantly, the crumble–to-fruit ratio is verging on perfect…
Ingredients
Base
115g sugar
½ tsp baking powder
210g white spelt flour (substitute any flour of your choice: plain, gluten-free or otherwise)
115g unsalted butter, roughly chopped
½ egg
¼ tsp salt
Finely grated zest of 1/2 orange
Juice of ½ orange
2 generous cups of strawberries, quartered
1 tbsp sugar
2 tbsp cornstarch
1 tsp vanilla bean paste (substitute with 1 tsp of vanilla bean extract if unavailable)
Crumble topping
20g unsalted butter
40g sugar
70g oats
30g finely chopped walnuts (remove if allergic)
50g white spelt flour (substitute with any flour of your choice, plain, gluten-free or otherwise)
Pinch of salt
20cm x 20cm tin lined with baking parchment (or a pan of similar area)
Method
- Preheat oven to 190˚C. Pour sugar, baking powder, flour, salt, and zest in a blender and pulse to combine. Add butter and egg, and pulse until fully combined and has reached a slightly clumpy, damp sand consistency. Pour this into the lined baking pan, and press down to create an even base layer.
- In a bowl, stir together chopped strawberries, orange juice, orange zest and cornstarch. Sprinkle evenly over the base layer (including the fruit juices.)
- Make the topping by pulsing together the butter, sugar, oats, flour and salt until fully combined and sand-like in texture. Stir in the walnuts, then sprinkle the mixture over the strawberries.
- Bake in oven for 30 – 40 minutes until the top is golden brown and the base is cooked through. Make sure to check after 20 minutes - you may need to cover the crumble with tin foil to prevent the top from catching (depending on your oven’s temperament). Once cooked, remove from the oven and slice into squares. Eat immediately or later.
'Oats: a grain, which in England is generally given to horses, but in Scotland supports the people’ Samuel Johnson, The Dictionary of the English Language, 1755
If I were the type of person that leafed (ironically) through Cosmo, and stumbled across one of those lazy, page-filling content, tree diagrams which happened to ask “what is your spirit animal?”, I know what mine would be. A horse. Well, at least that’s what it would have been during the second year of my time at university in terms of comestibles…
Essay crises necessitate fuel in order to feed the adrenaline and, for me, that fuel came in the form of oats.
When you have a 9 am deadline approaching, and there is only one hour remaining, every minute is precious - so there is no time to spare for cooking oats over the hob until they break down into a creamy mulch.
That’s the excuse I gave myself. Instead, I developed the rather grotesque habit of eating oats straight from the packet, raw and desiccated. In my maddened and pressured state, I savoured the clagginess of the oats, where you can’t quite conjure up enough saliva to swallow them. Ideal.
I have since moved on from this stage (with the very occasional relapse) to a more acceptable way of dealing with my love of oats: Bircher muesli, invented by Bircher Benner, a pioneer of raw foodism, in the late 19th century as a way of curing his jaundice. It worked.
I feel, somewhat justifiably, that it runs in my blood (thick & creamy): my great-great-uncle was a frequent patient at Benner’s rather avant garde Swiss raw food clinic and, one sunny day, he stepped down from a plane on an impromptu visit from Scotland to South Africa with no clothes besides the ones on his back, a vegetable juicing contraption which he trailed behind him on a rickety little cart, and a proselytising passion for Bircher muesli.
I have tried many a Bircher muesli, from Swiss versions to Vietnamese attempts, but I feel I have concocted the ultimate version (excuse my arrogance). Creamy, healthy, juicy, and exotic, it’s effectively manna, and I would happily have it for every meal of the day (jaundiced or not).
The Best Bircher Muesli (Serves 5)
Ingredients
2 Braeburn apples, grated
Juice of 1/2 lemon
200ml orange juice
200g natural yogurt
200g almond and coconut milk (can be substituted with dairy or non-dairy alternatives)
3 tbsp maple syrup
1 tsp vanilla bean paste (if you can’t get hold of this, omit it, or substitute with ½ tsp vanilla extract)
50g desiccated coconut, lightly toasted in a pan on a low heat until pale gold)
200g porridge oats
Pinch of salt
200g of fresh fruit of your choice (blueberries, strawberries, raspberries, figs, sliced banana work well)
40g coconut chips (optional but adds great texture)
Method
- In a large bowl mix together all the ingredients apart from the fresh fruit and optional coconut chips. If you are making this the night before, cover the bowl with cling film and place in the fridge overnight to let the oats soak up the flavours. If you are serving the muesli immediately, stir the mixture for a couple of minutes to break down the oats until they are creamy.
- If you are leaving the muesli overnight, allow it to come to room temperature before serving. Scatter mixed berries and fruits and coconut chips over the top and serve.
How to bake and stay (reasonably) in shape.
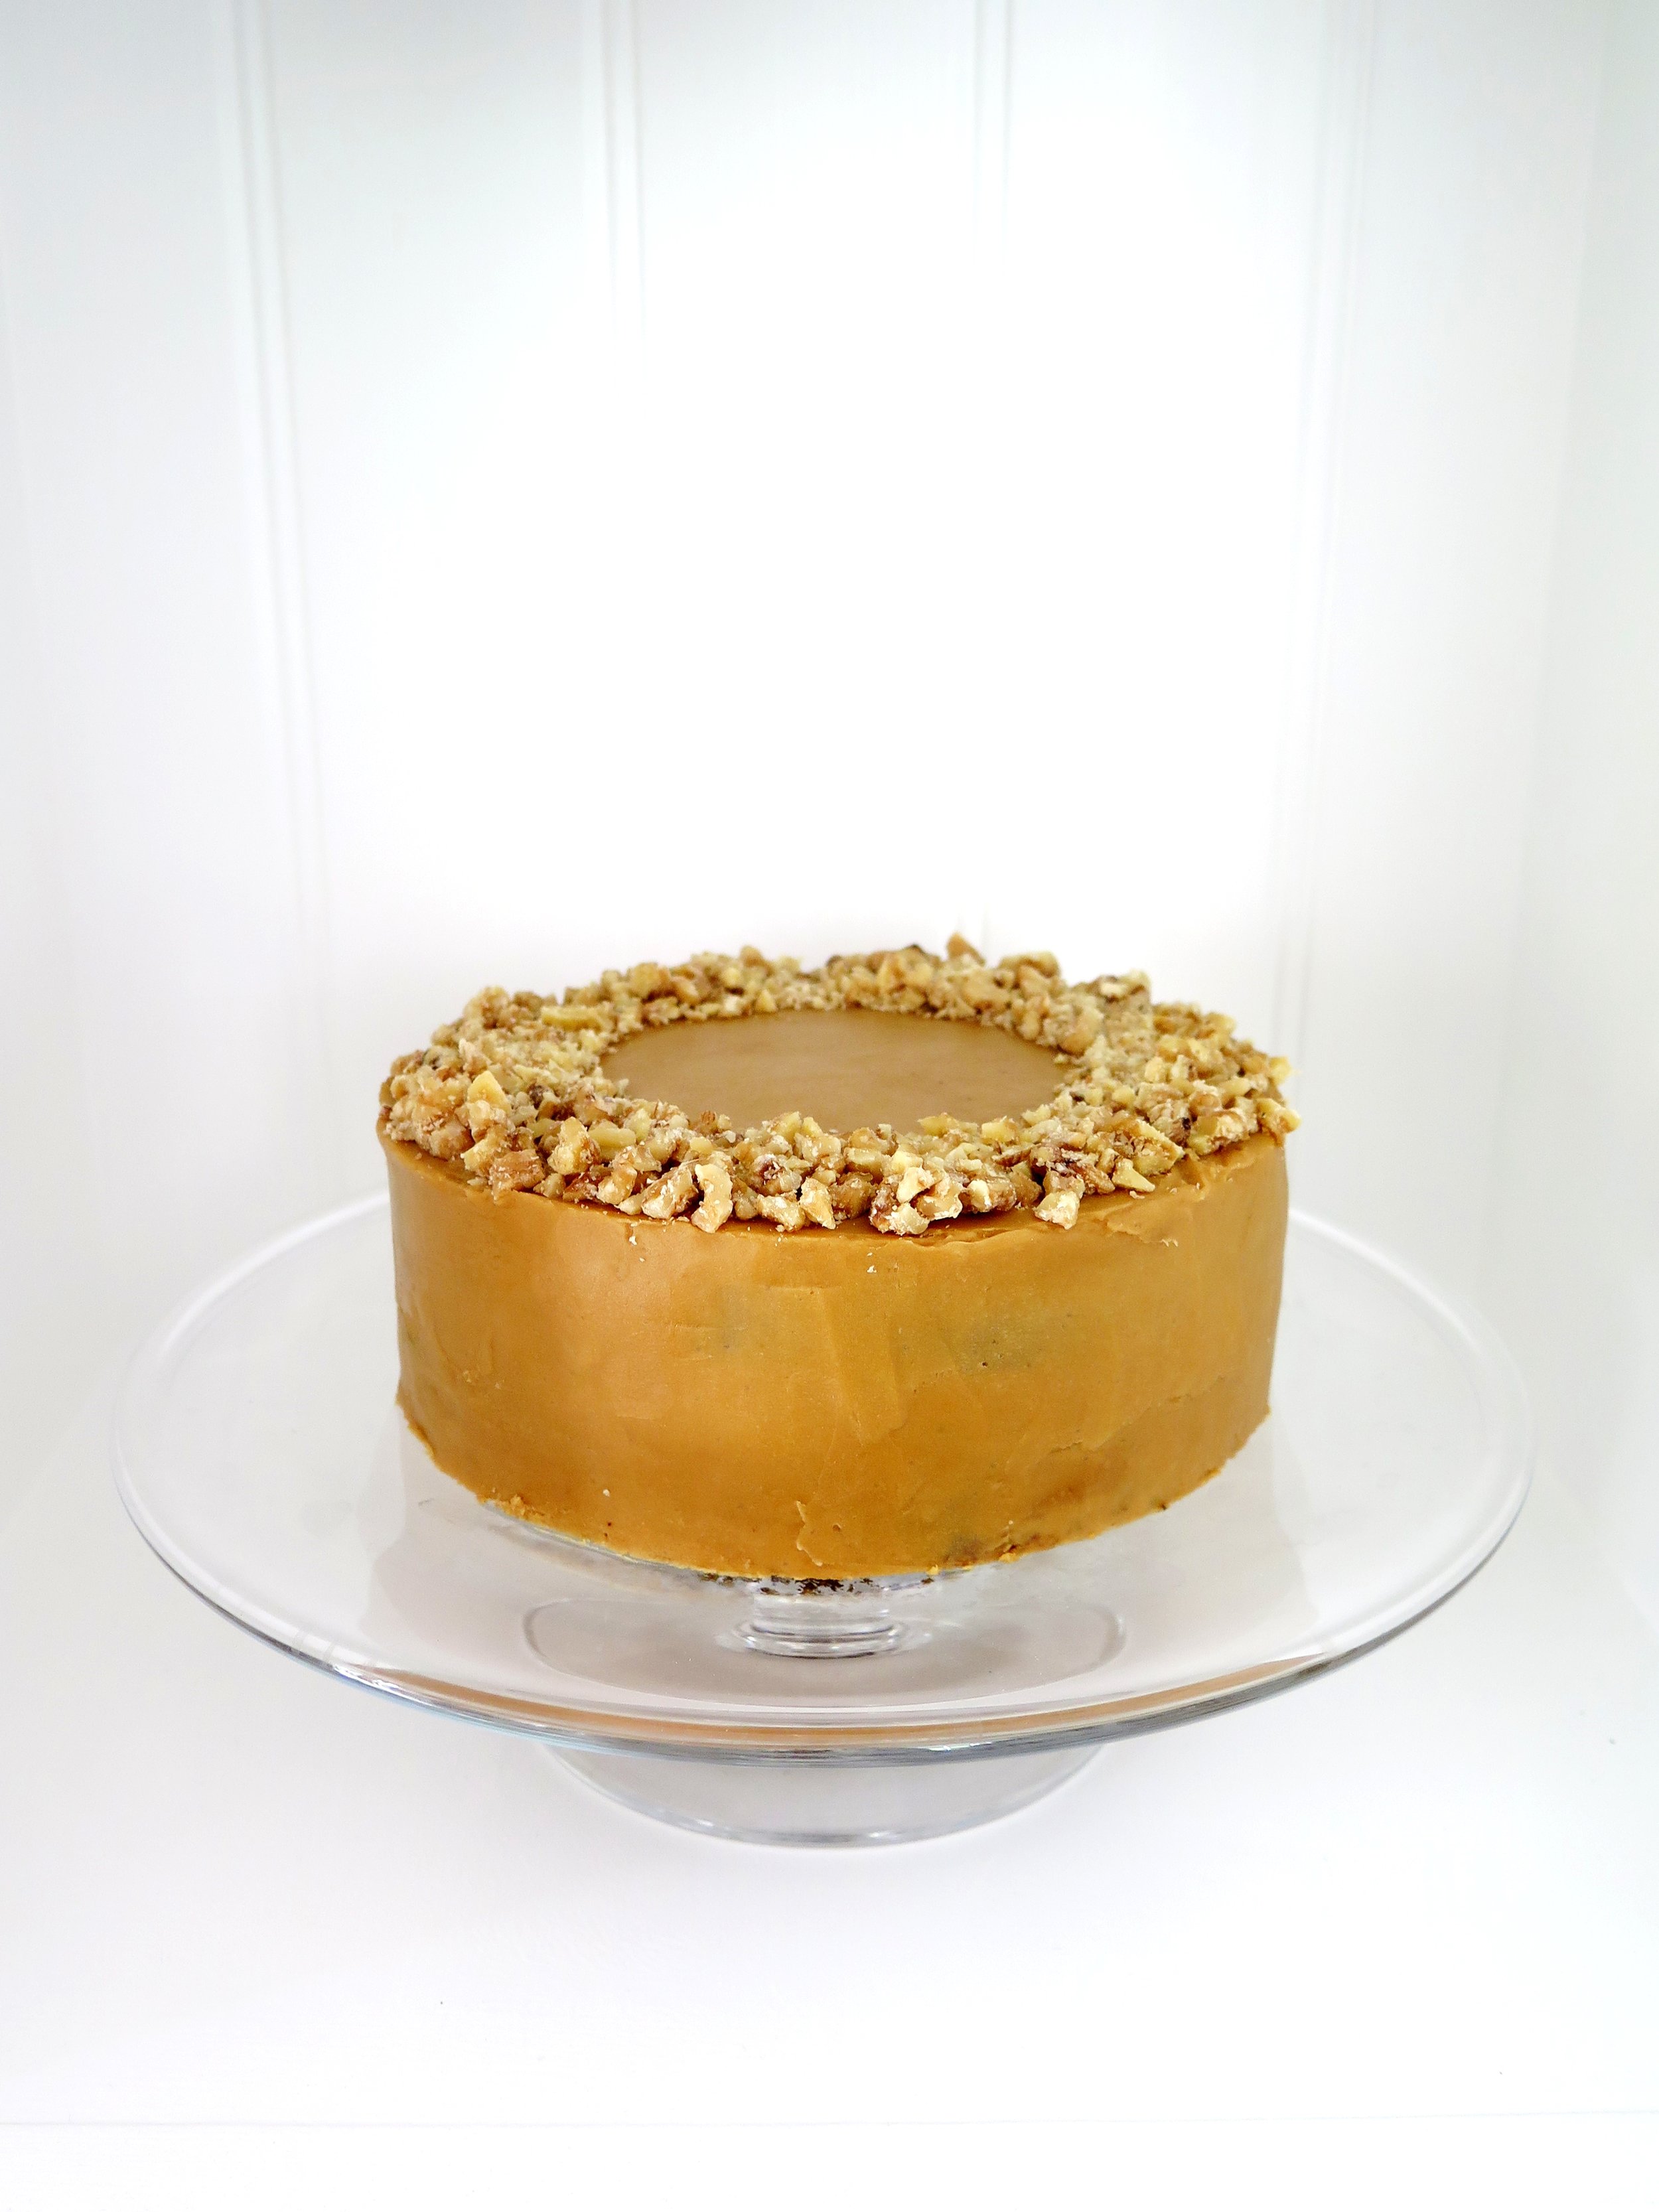
I am often asked how it is that I am not obese. I am by no means super skinny, but people wonder how I avoid rolling around the place when I am seemingly baking the whole time and have little resistance to delicious things. So, here’s my secret. Have a go.
What I need: a running machine; a radio; an oven; a timer
What I do:
Pour the batter into the cake tin, lovingly smooth the surface over with a spatula. One lick of the spatula before it goes in the sink (just a little indulgence). Carefully open the oven door, and bend down slowly so that the batter remains level. Place the cake tin tenderly on the rack. Set the oven timer. 22 minutes. Then GO.
Run up the stairs, two at a time. That’s one minute either side to rush back down. Turn up the radio. Leap on to the treadmill, and run. 10 mph minimum. 20 mins to go. Sweat, pound, sweat. 15 mins. Beyoncé’s screaming. Oven beeps. Run back down (Beyoncé’s mumbling). Open oven door, skewer the cake. Damn - not cooked. Rip out a sheet of tin foil. Cover the cake. Burn hand. Set timer: 7 mins more. Repeat process until skewer comes out clean. Place cake on rack and allow to cool.
Stretch and shower.
Hover over the cake with a knife.
You can make the cake sans-icing by simply halving the recipe and, before serving, dusting with a little icing sugar.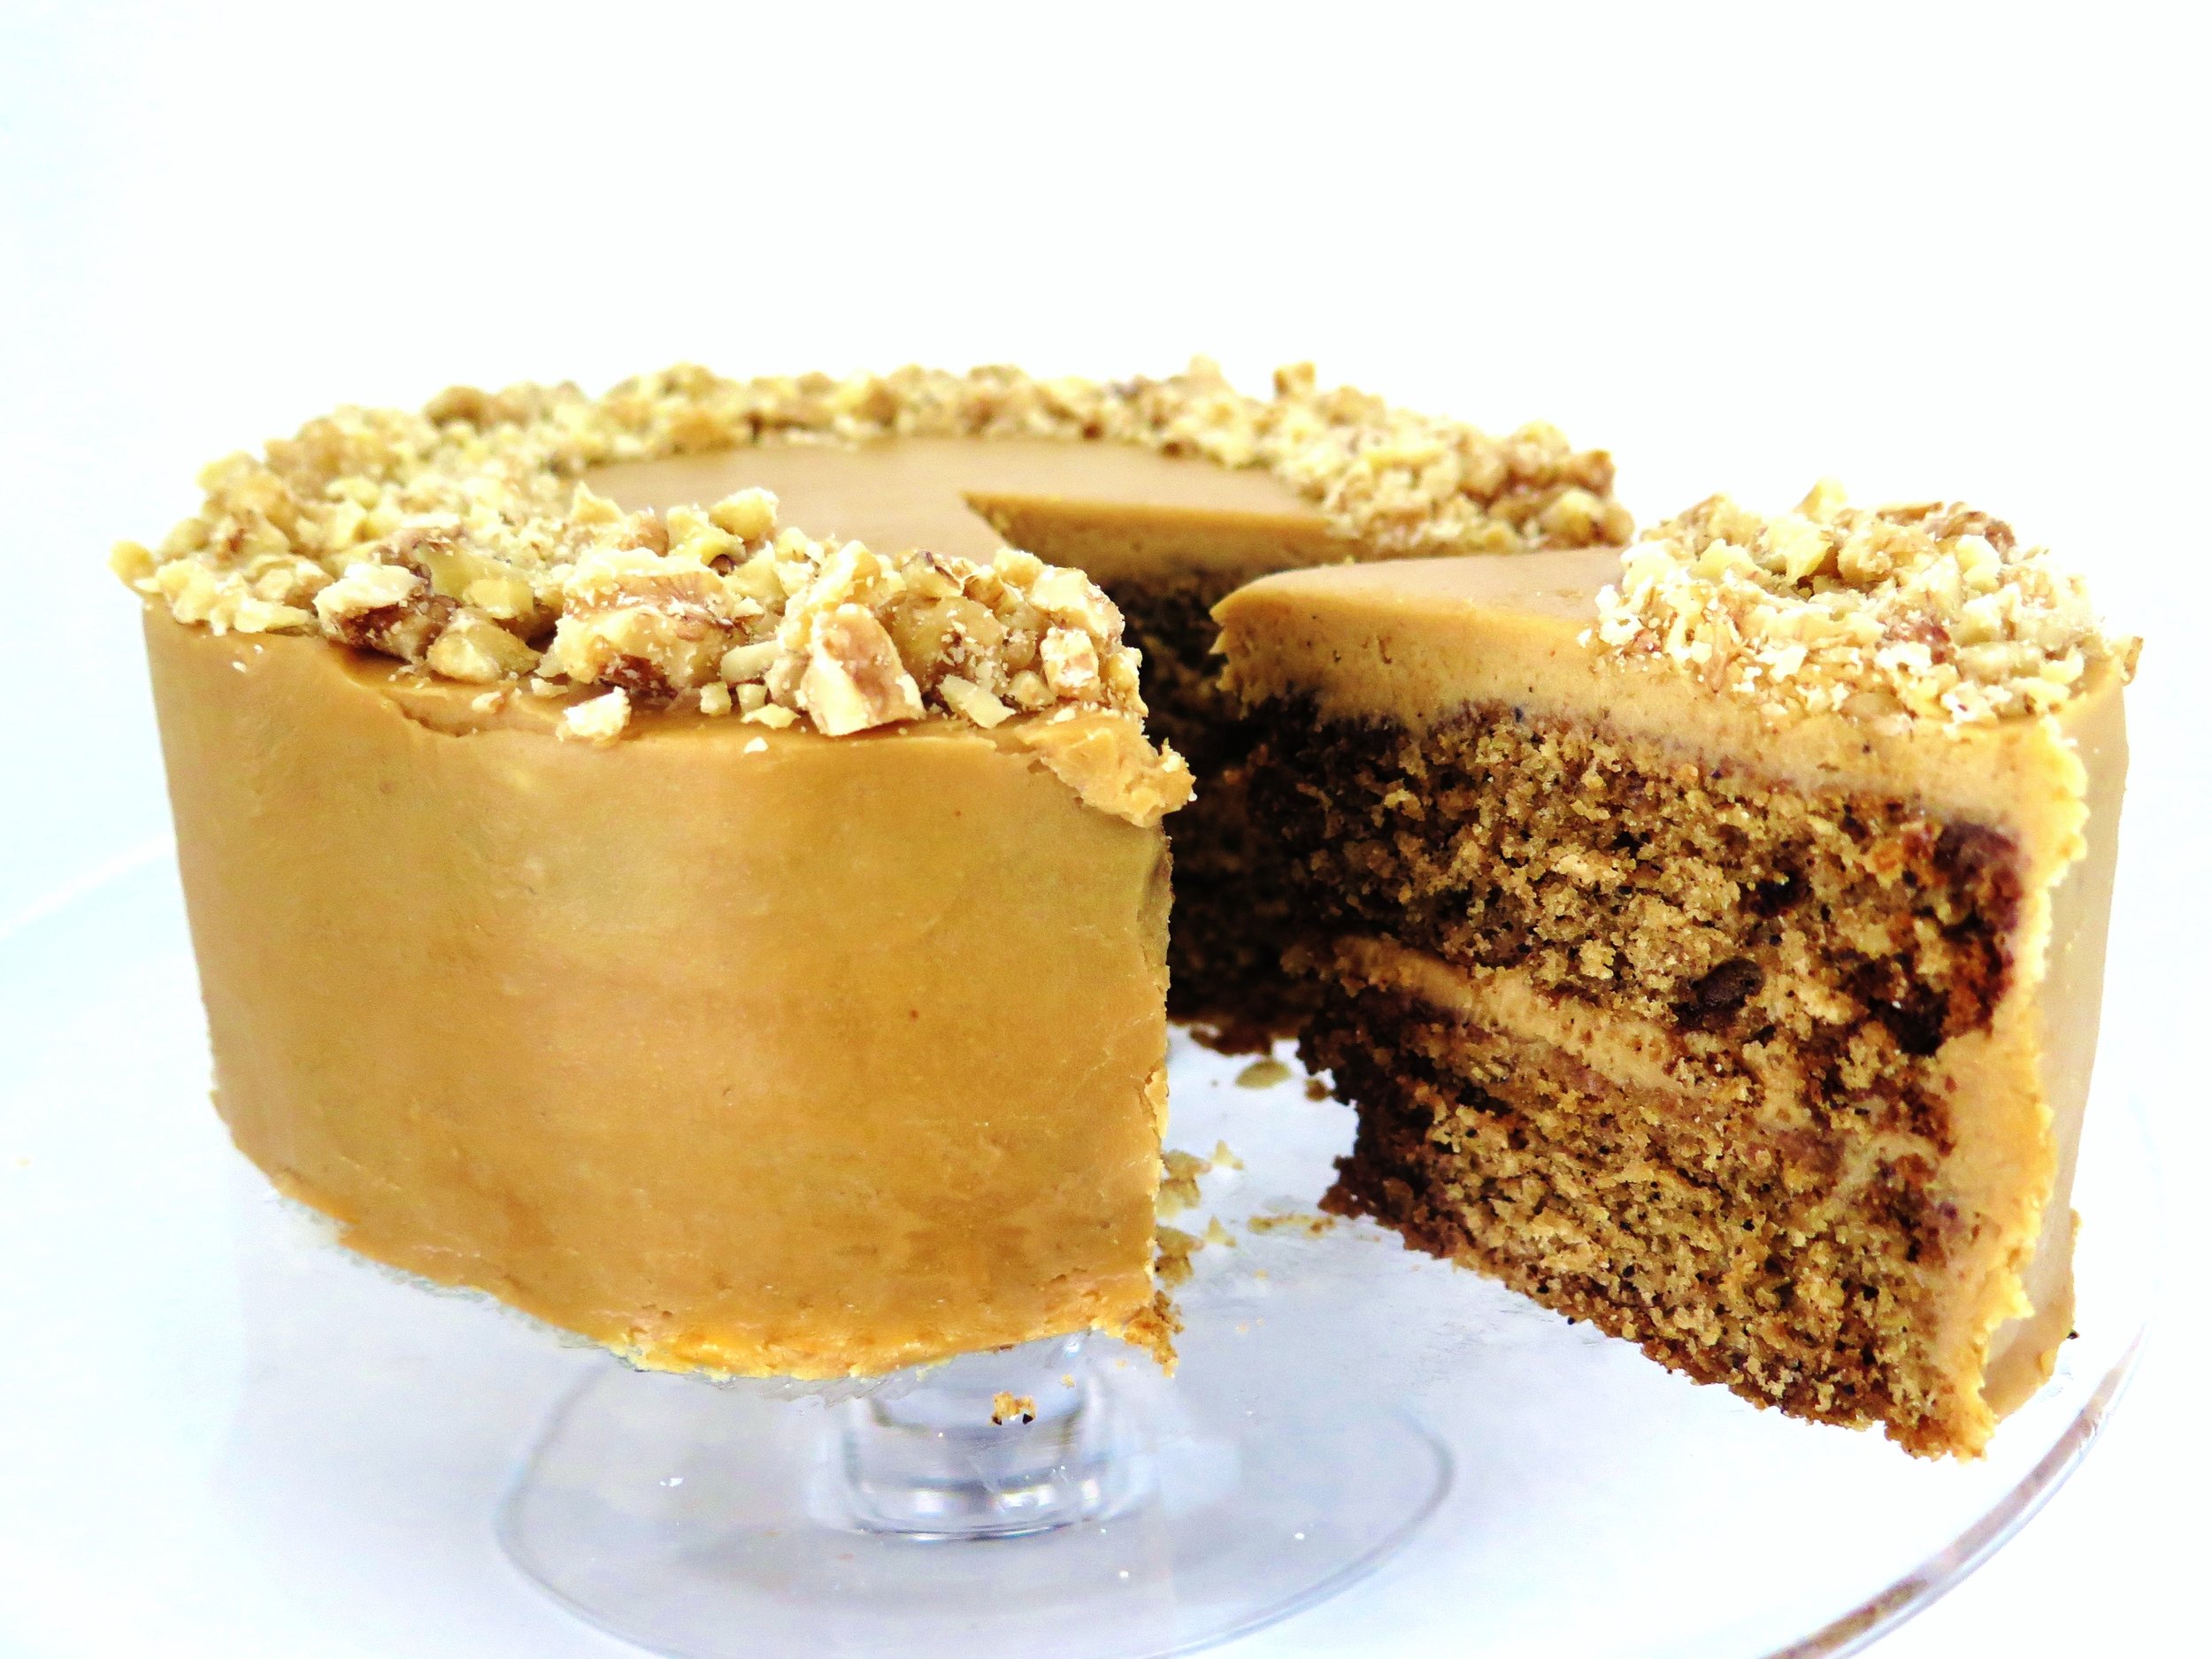
Ingredients
Cake
200g butter, at room temperature
170g caster sugar
30g light brown muscovado sugar
2 tbsp ground coffee
¼ tsp salt
70g toasted walnuts, ground to a fine sand
4 large eggs, beaten
1 tsp vanilla extract
1 ½ tsp instant coffee, dissolved in as little hot water as possible to make a smooth paste
240g self-rising flour, sieved
2 x 8 inch cake tins, greased and with bases lined with a circle of baking parchment
Coffee Syrup
40g golden syrup
50g caster sugar
2 tbsp instant coffee
100ml boiling water
Coffee Icing
300g butter, at room temperature
450g icing sugar
1 ½ tsp vanilla
2 tbsp instant coffee dissolved in as little hot water as possible to make a smooth paste
¼ tsp salt
Caramelised walnuts
60g walnuts
2 tbsp caster sugar
3 tbsp water
Method
- Preheat oven to 180˚C. Using an electric mixer, or with a vigorous hand, in a large bowl beat together the butter, caster sugar, muscovado, ground coffee and salt until light and fluffy.
- In a separate bowl, beat together the eggs, vanilla and dissolved instant coffee. Beat this into the butter-sugar-coffee-salt mix. Once combined, stir in the ground walnuts.
- Finally, gently fold the sieved flour into the mixture, being careful not to overbeat. Divide the mixture between the two tins and place in the oven to bake for 25 minutes (checking after 20) or until a skewer comes out clean.
- While the cakes are baking, make the coffee syrup. Dissolve the instant coffee in the water and pour into a small pan along with the syrup and sugar. On a medium high heat, stir until the sugar has dissolved, then allow to simmer for 5 minutes or until it thickens slightly to the consistency of maple syrup.
- Remove cakes from oven. Stab them all over with a cake tester or skewer, and spoon the syrup equally over the two cakes. Set aside on a rack and allow to cool.
Icing
- Beat together butter and icing sugar. Once combined, beat in the vanilla, coffee and salt.
- Remove the cakes from tins, place one on the serving plate and spread ¼ of the icing on its surface. Place the other cake on top and spread the icing evenly over the cake.
Caramelised Walnuts
- In a shallow pan, over a medium-high heat, stir together water and sugar until the sugar has dissolved. Then pour in the walnuts, and continue to stir and coat them until all the water has evaporated. Decant them on to a sheet of baking parchment, and allow them to cool.
- Once cool, chop roughly, and scatter as desired over the cake.
I never caught on to the Disney hype – I endured a few of the films when I was younger but was never enthralled by its saccharine princesses and unrealistic princes. I rejected the dressing up stage of childhood, and have none of the nostalgia that is awakened in many when hearing or singing the songs. My only knowledge of Lion King is from Cindies (arguably the stickiest night club in Cambridge) which is played for 30 seconds without fail every Wednesday evening to excite the Disney addicts and to jolt inebriated students out of their drunken kisses.
What I did love was the sugar-glazed brutality of the original Charlie and the Chocolate Factory film.
I adored the Chocolate Room, and my six year old self spent a lot of time fantasising about edible wallpaper and edible TV adverts. However, the first scene, where Augustus Gloop falls into the ‘chocolate’ river, is almost too painful to watch.
It was concocted using 150,000 gallons of water, real chocolate and real ice cream, yet despite its authenticity, its watery thinness is more the stuff of sewers than of dreams.
If I were going to bathe in chocolate it would need to be velvety, glossy and thick… and after 15 years of dwelling on this I’ve come to terms with the fact that this tart is probably the closest I will get to doing that.
Ingredients
Chocolate pastry
225g plain flour
30g cocoa
150g unsalted butter, chopped into cubes
110g white caster sugar
3 egg yolks
¼ tsp salt
1 tsp vanilla extract
1 tbsp ice water
baking beads/uncooked rice/dry beans
4 fresh figs, halved (optional)
12 x 36cm tart tin, greased and dusted with flour
Salted caramel chocolate ganache
300g 70% good quality dark chocolate
300g white caster sugar
300ml double cream
20g light brown muscovado sugar
20g butter
1tsp vanilla extract
1 tsp salt
Pastry Method
- Preheat the oven to 200˚C
- Blitz all the ingredients in a blender. Pulse until into turns into a damp sand texture. Tip out on to a surface and press it so that it clumps together into dough. Wrap the dough in baking parchment and put it in the fridge for an hour, or in the freezer for 15 minutes.
- Dust a surface with flour and roll the pastry out in a rectangle to a thickness of 0.5cm. Any excess can be frozen and used within 2 months. Transfer the pastry to the greased and floured tin to line it. Don’t panic if it crumbles in the transition, just patchwork it together in the tin. Place a sheet of baking parchment or tin foil over the pastry, and fill it with the baking beads to weigh it down to prevent the pastry from shrinking as it cooks.
- Place it in the oven to bake for 10 minutes. Remove from the oven and remove the baking parchment and baking beads. Reduce the oven temperature to 150˚C, and place the pastry back in to bake for a further 10-15 minutes until it is fully cooked. Set aside to cool.
Salted Caramel Chocolate Ganache Method
- Chop the dark chocolate roughly, and set it aside in a heatproof mixing bowl.
- Place the caster sugar in a saucepan over medium high heat and, when it starts to melt, stir gently with a rubber spatula to avoid it burning around the edges. Push any unmelted sugar into the already caramelised sugar to aid the caramelising process.
- Once the sugar has turned a rich, dark gold colour, while still on the heat, pour in the cream whisking all the time. If clumps form, don’t panic: keep whisking over medium low heat, and they will eventually melt.
- Once the lumps have dissolved, whisk in the muscovado sugar, butter, vanilla and salt, and stir the bubbling mixture on a medium heat for another 2 minutes.
- Pour the mixture into the bowl of chopped dark chocolate and stir immediately until all the chocolate has melted and the caramel and chocolate are fully combined.
- Pour into the tart shell, smooth the surface over with a palate knife, and place this in the fridge for an hour (or freezer for half an hour) to set. Decorate with sliced figs to serve.
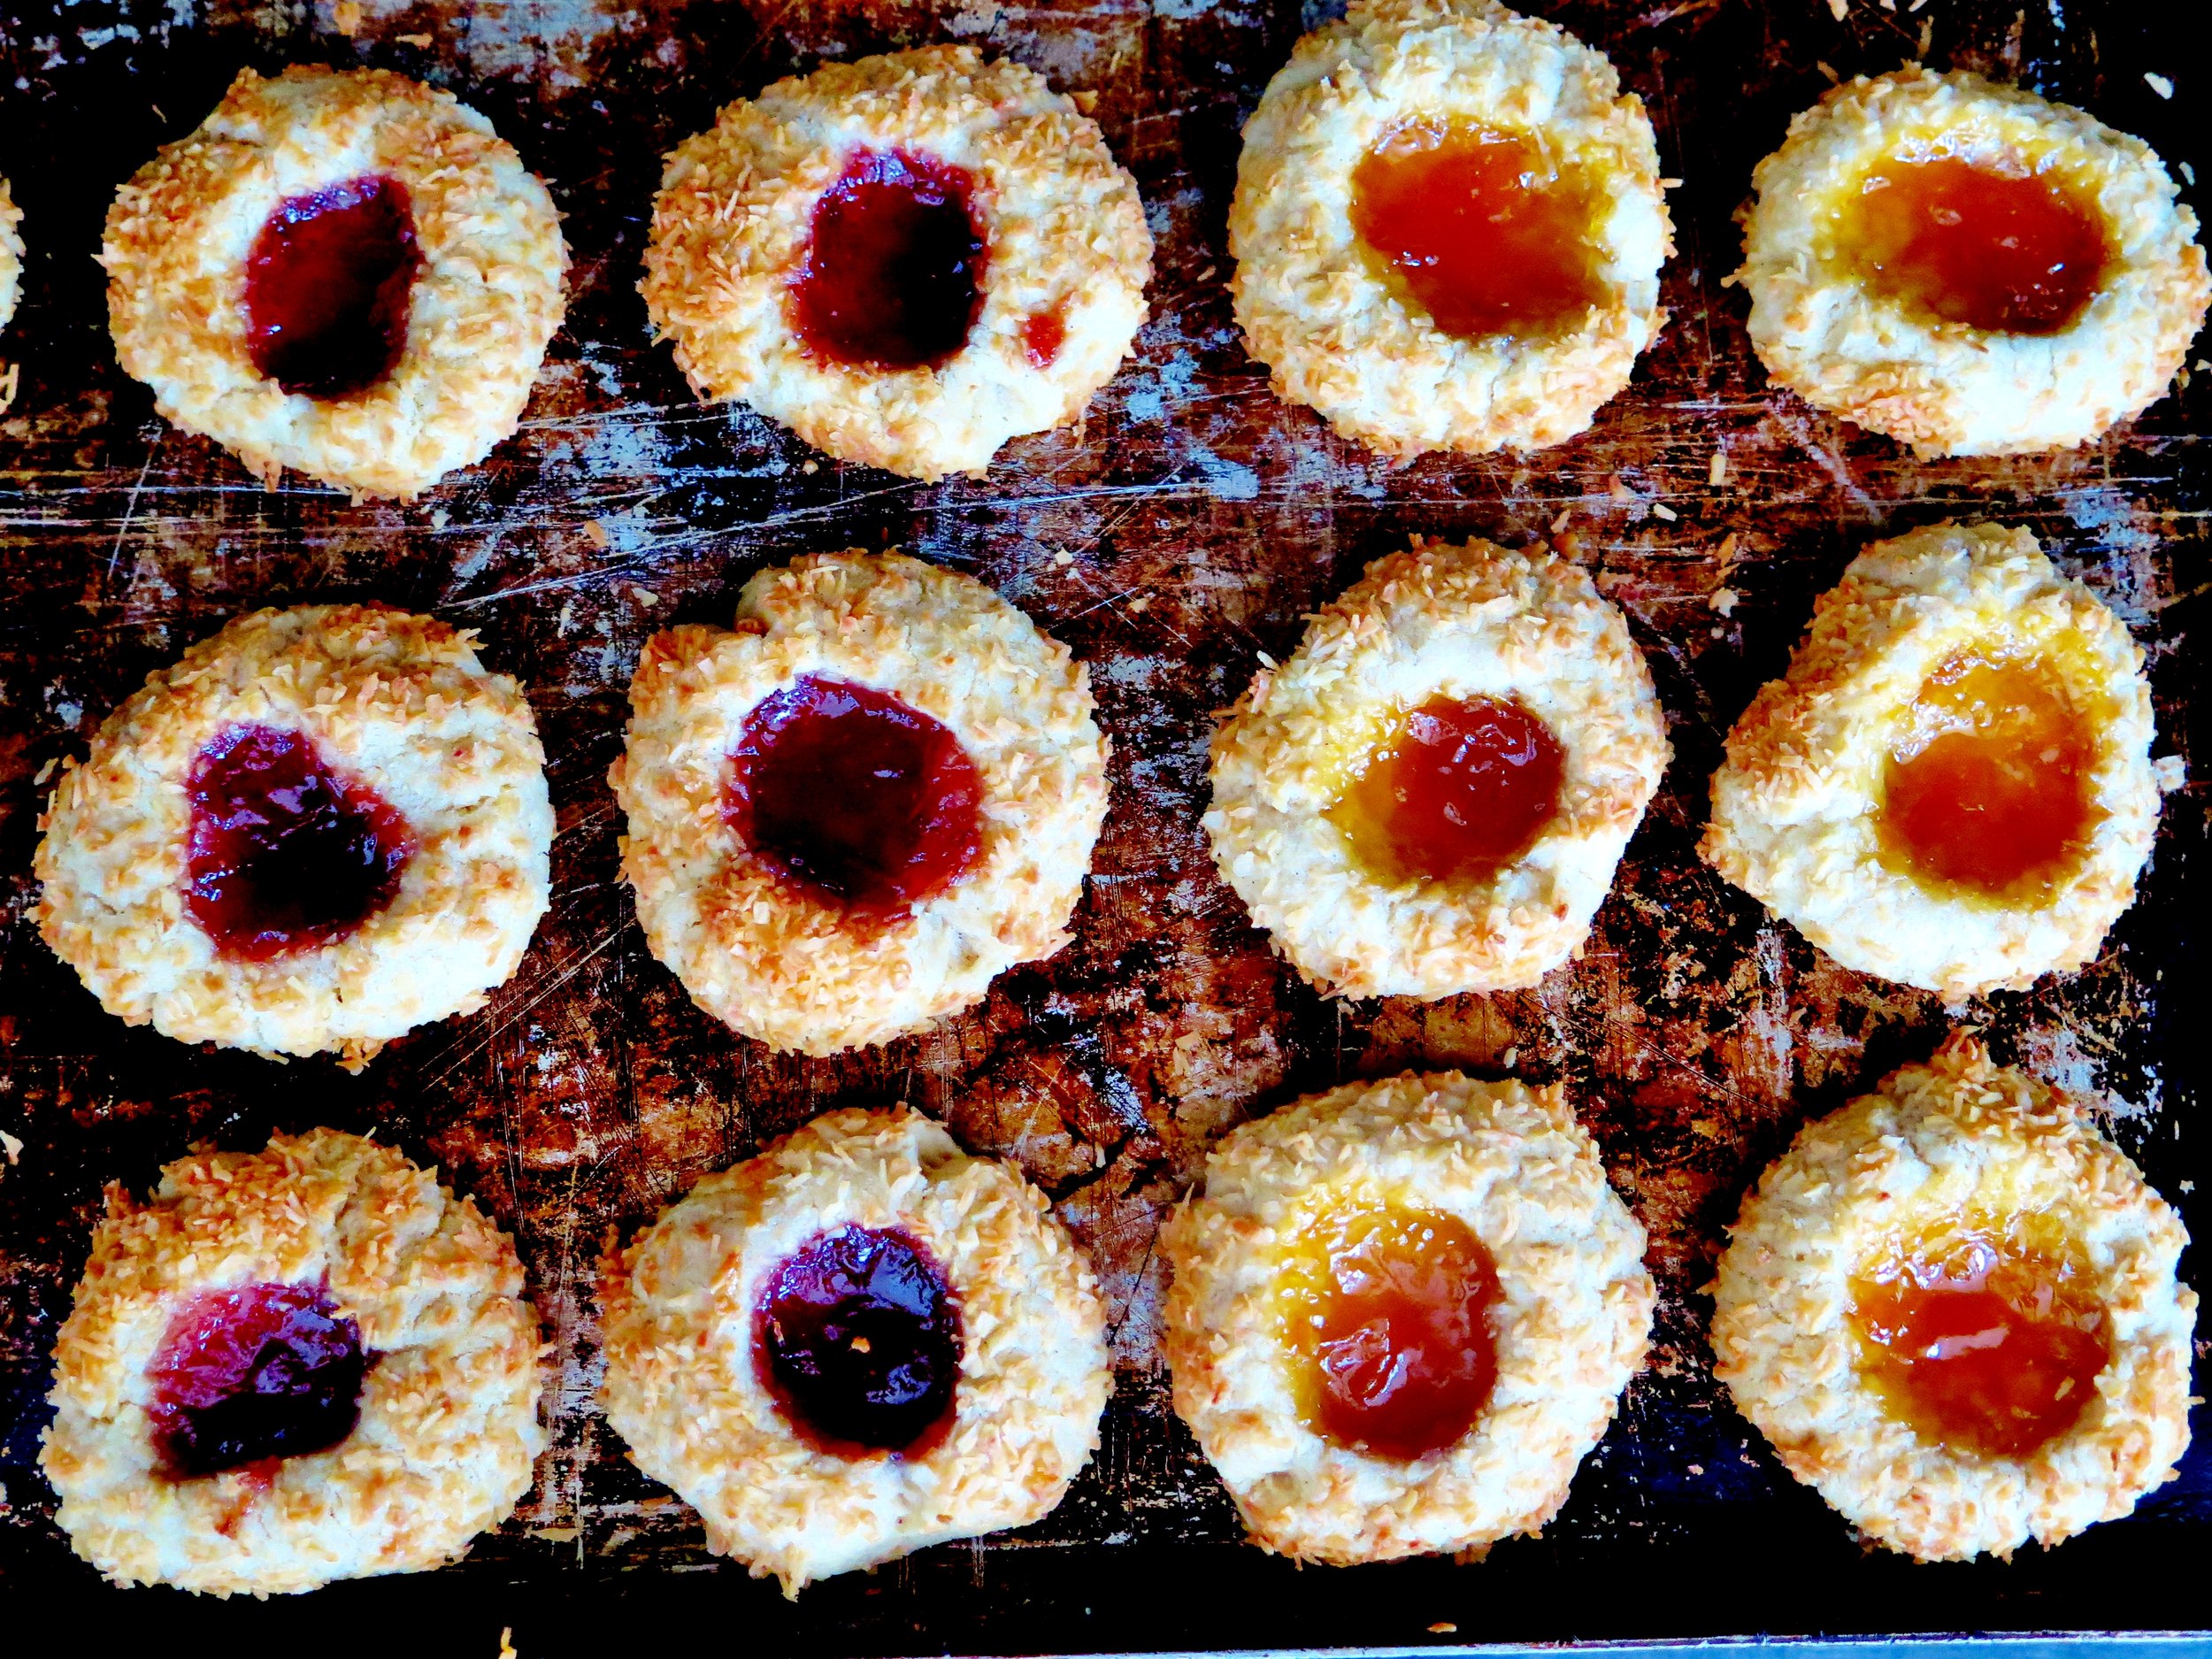
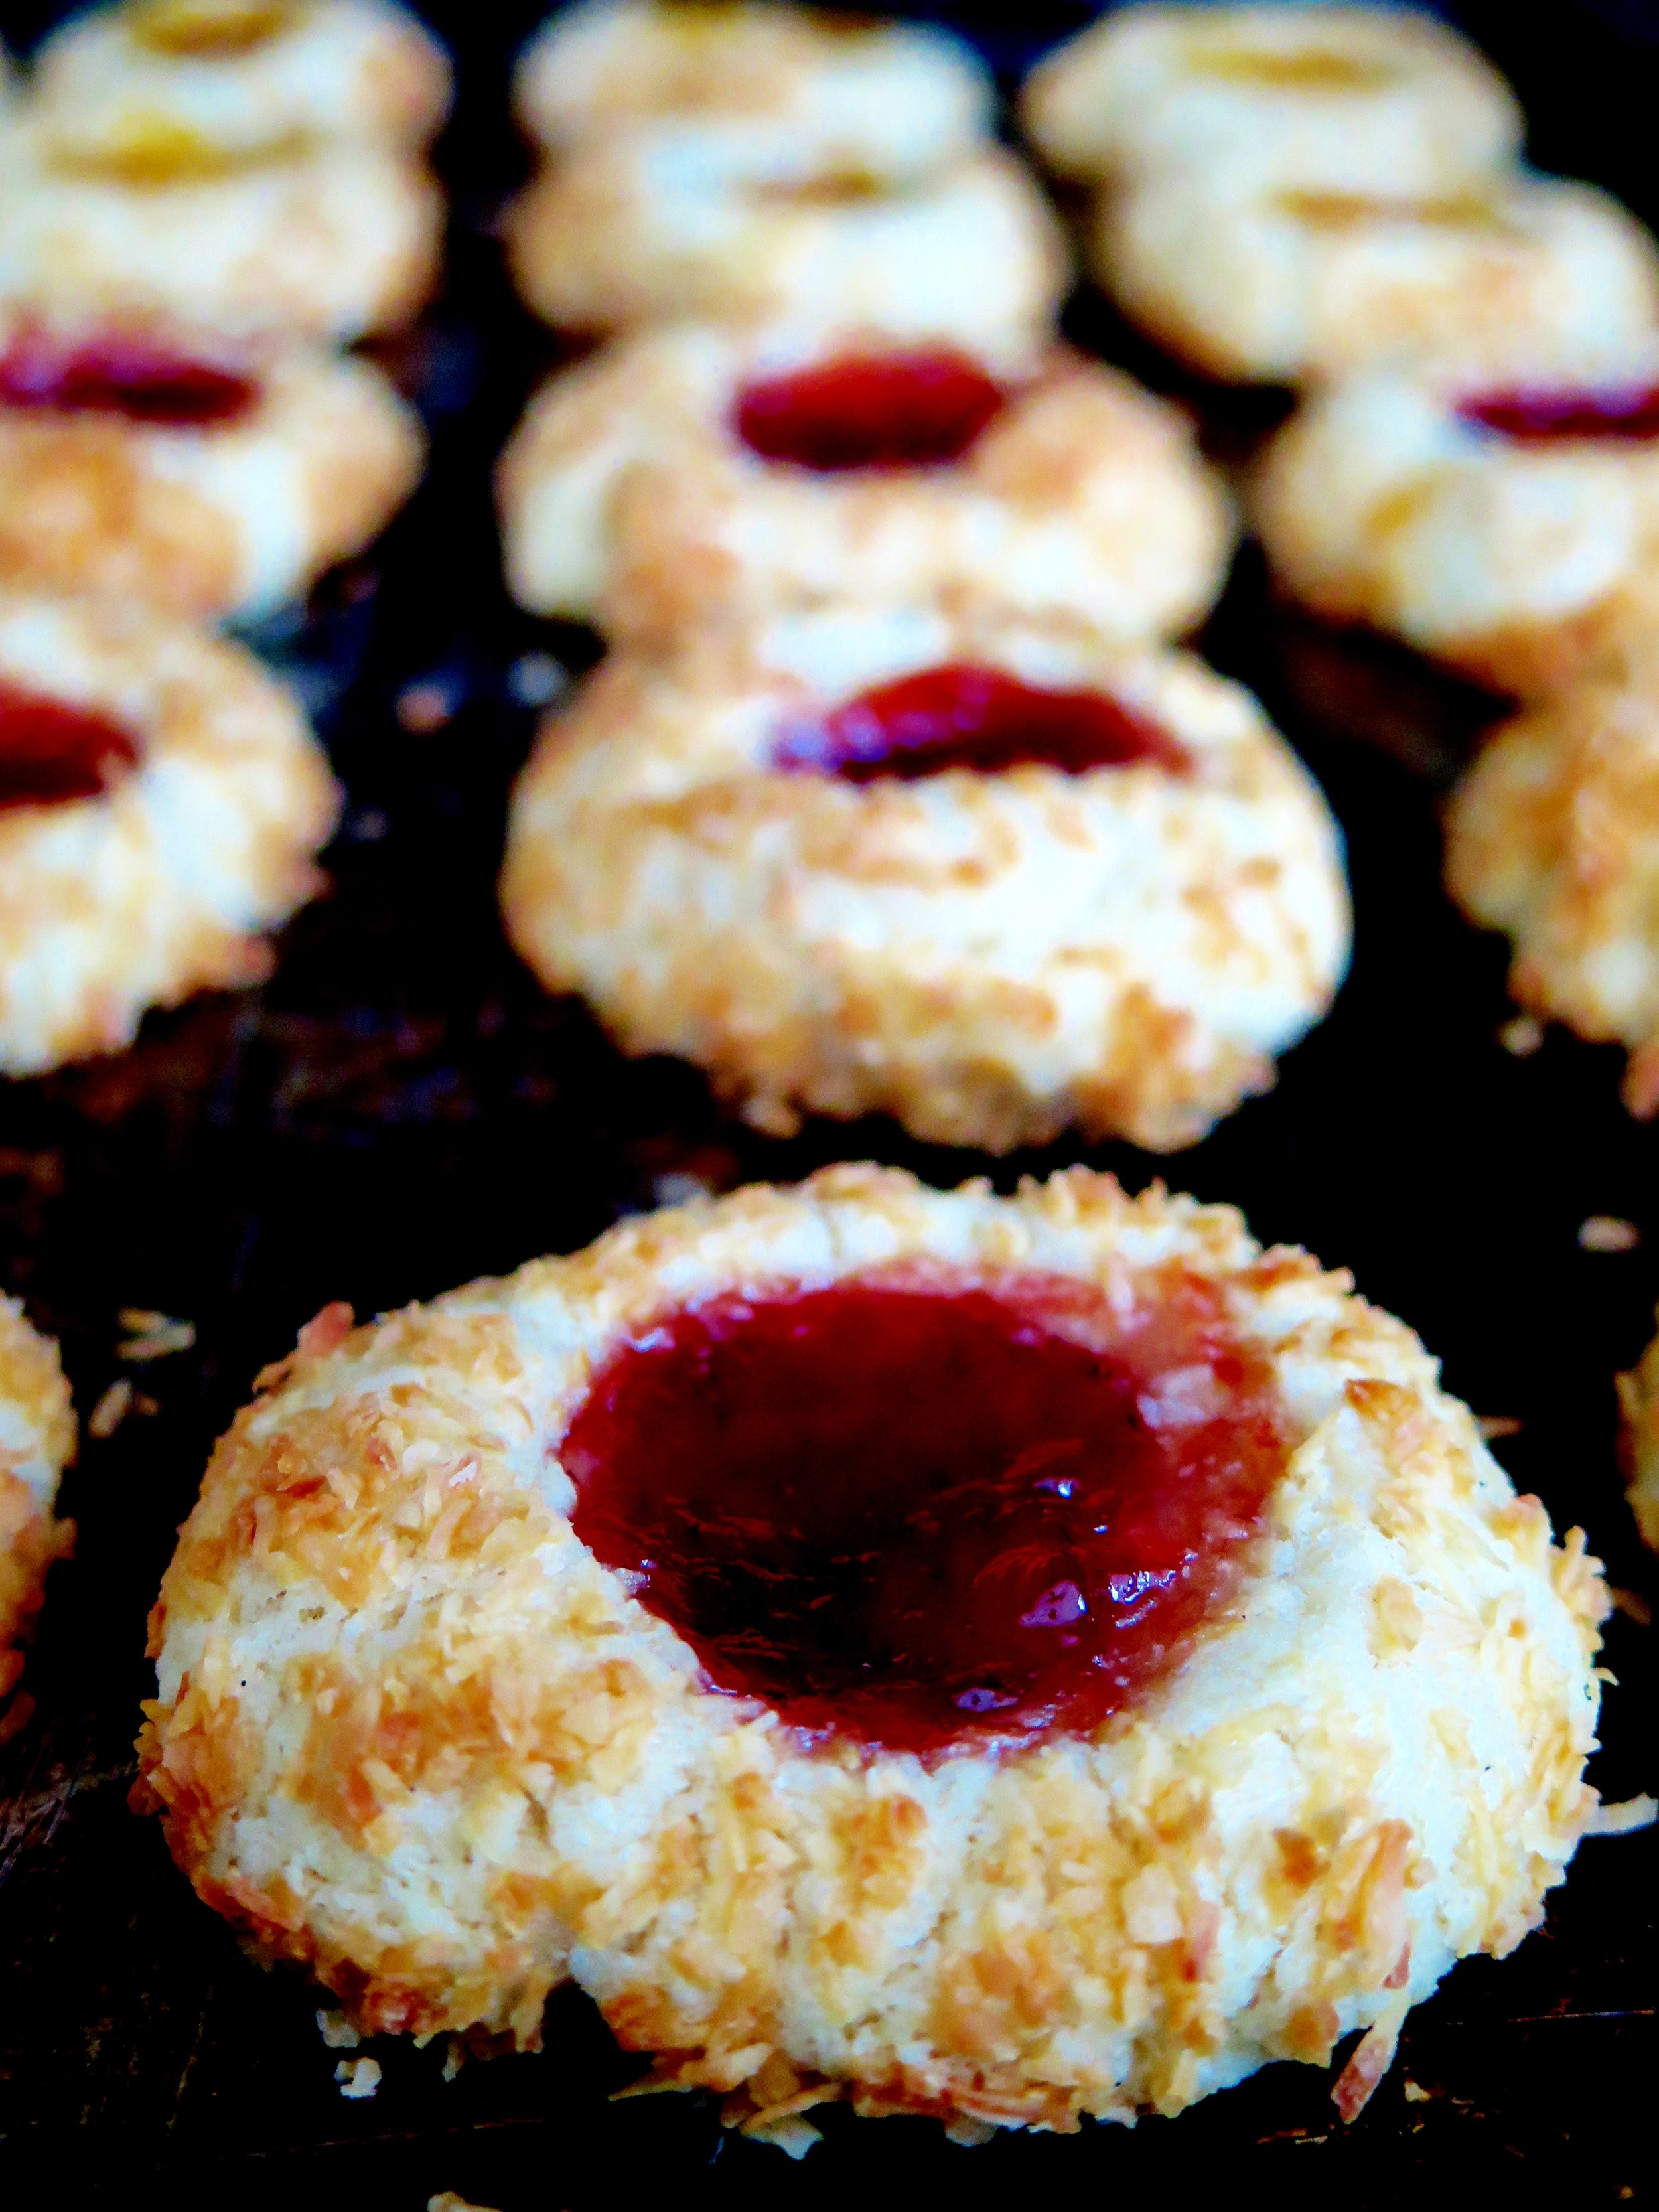
 Standing on a dining room chair to reach the kitchen counter top, swamped by my grandmother’s floral apron, and covered head to toe in drifts of white flour, at three years’ old I felt important and grown up. But first my grandparents and I would visit art galleries, going for afternoon tea (lemon cake for me, always), sitting on the top deck of the bus, drawing, painting, drinking more tea, and then, finally, at the end of the day, my grandmother would let me help her bake her oat and ginger cherry-bejewelled cookies – what I knew and still know as “Granny Biscuits”. They are still in ready supply whenever I visit my grandmother’s house, and are as chewy, oaty and delicately sweet as they’ve ever been.
My grandfather possessed a dangerously sweet tooth, and, as I’ve previously mentioned, was inclined to satisfy this without regard for moderation. He would sneak into the larder and consume an entire box of glace cherries.
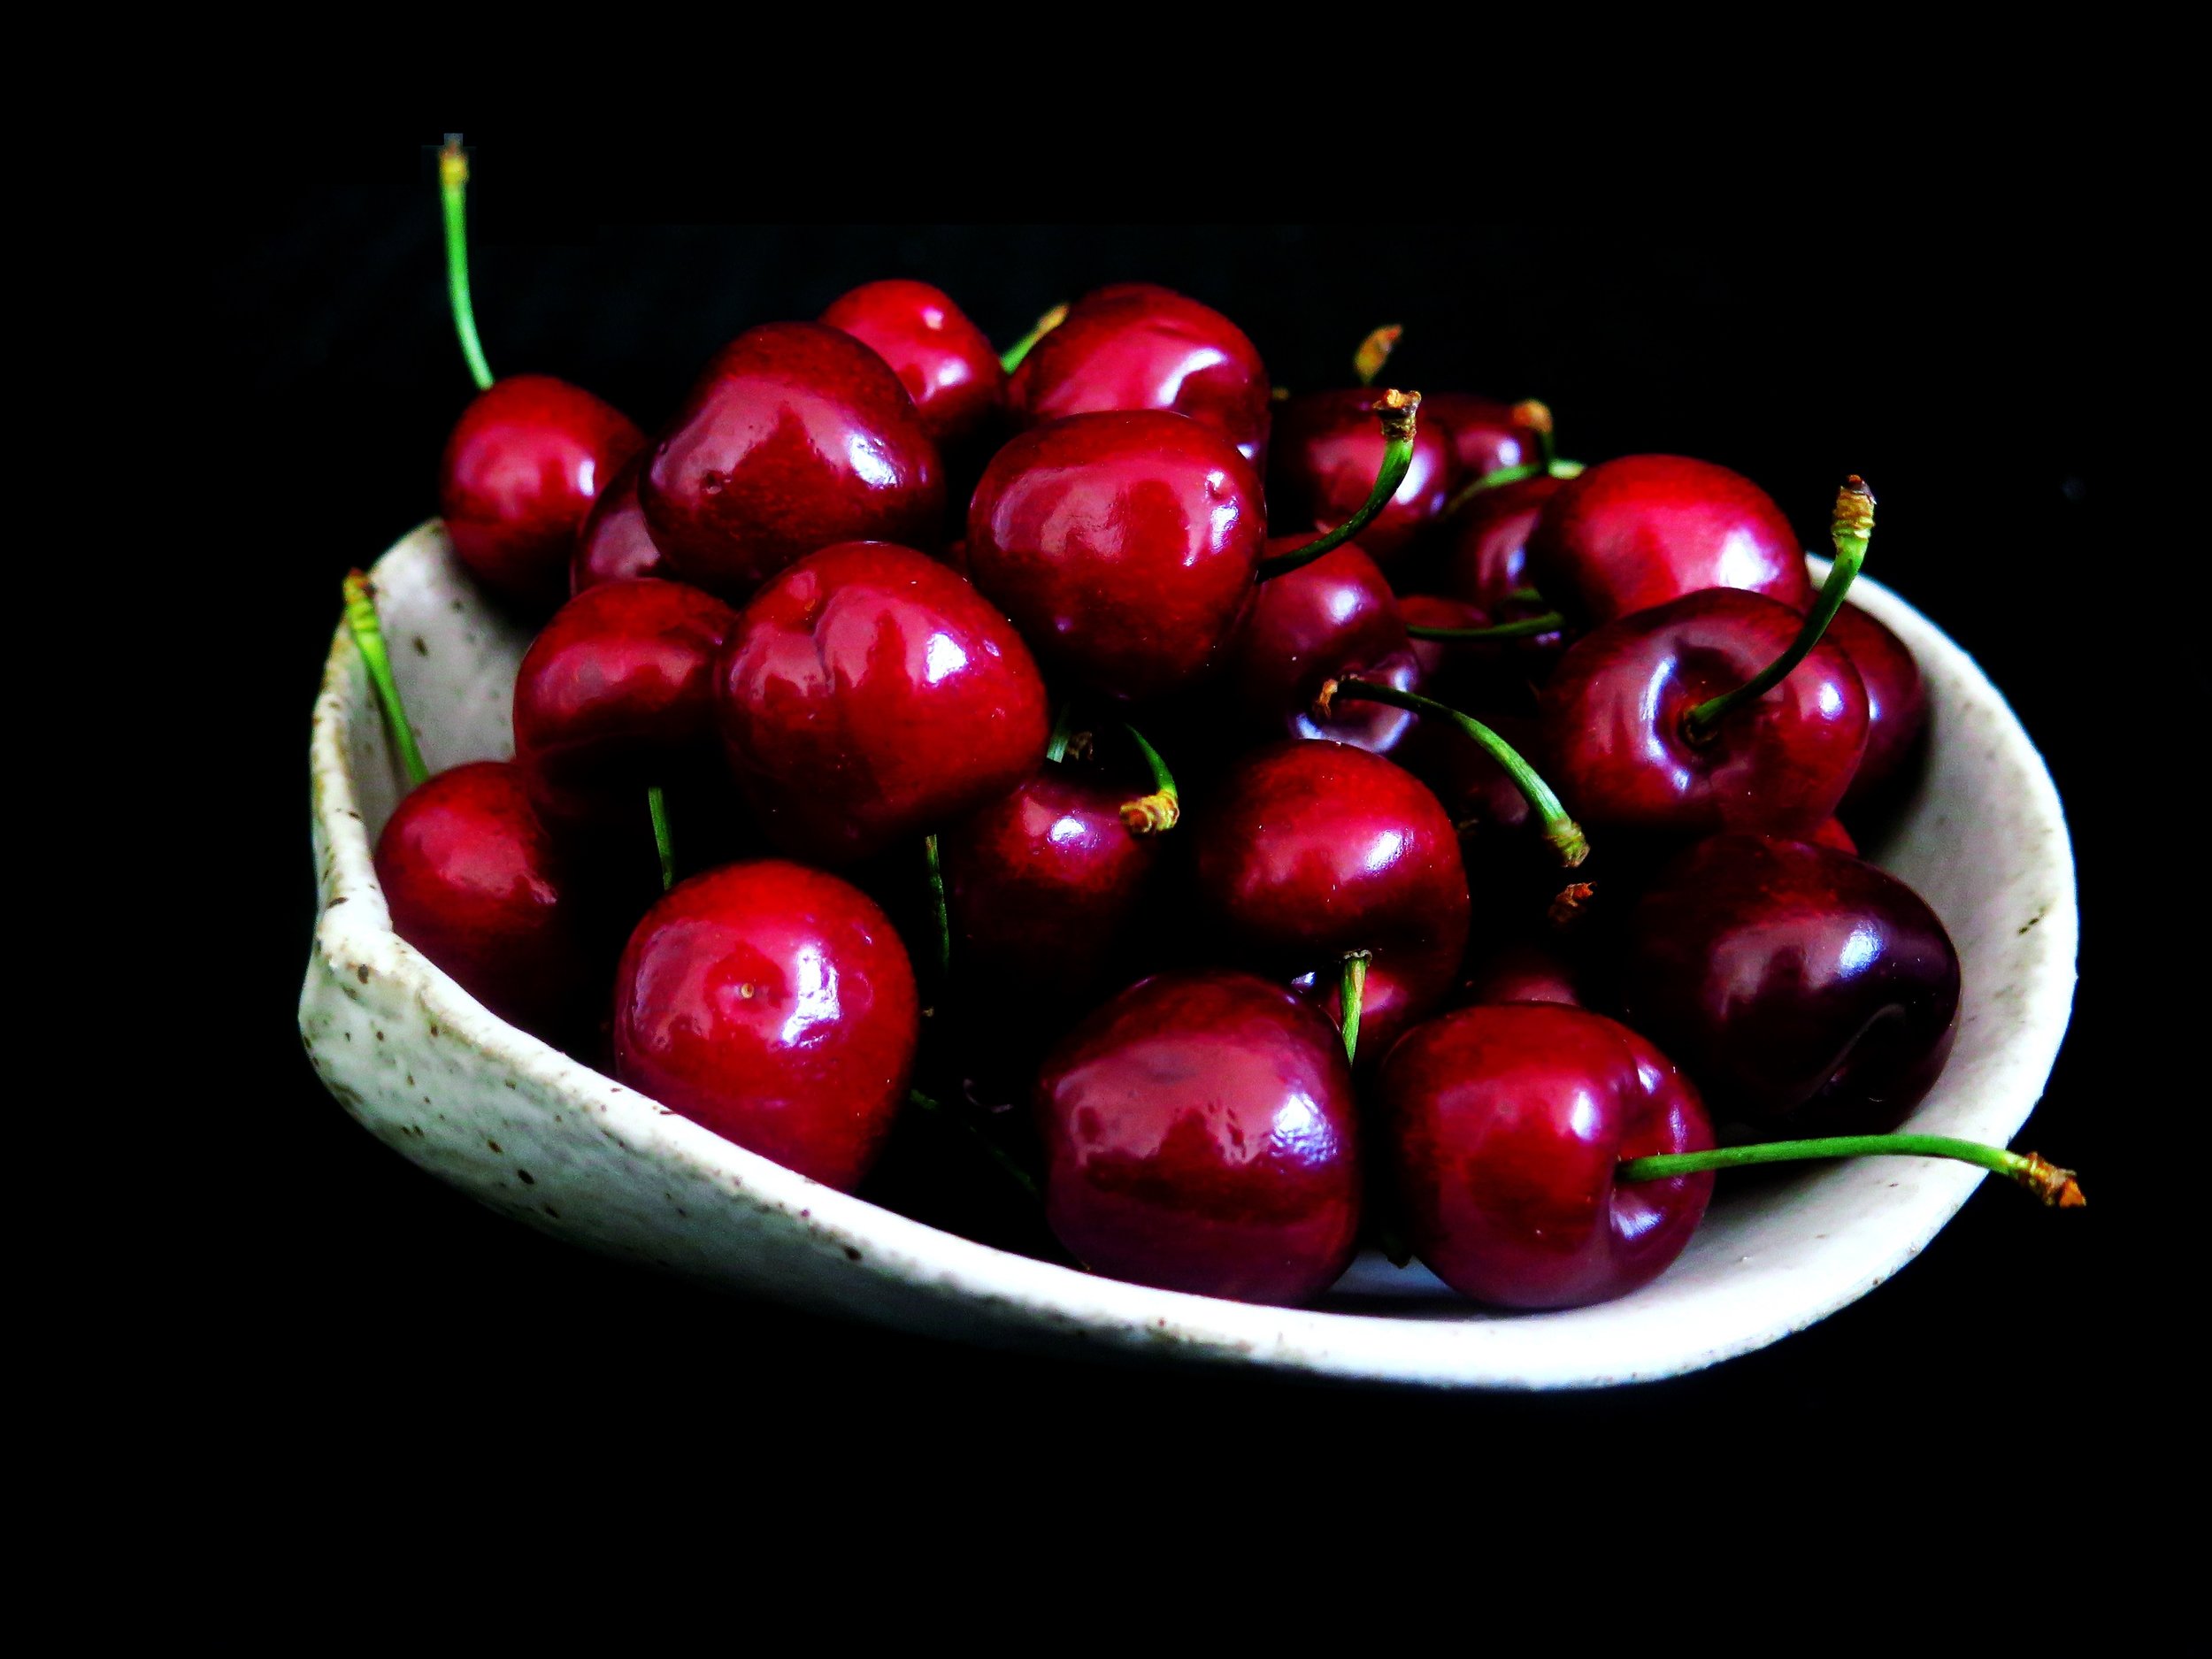
This trait has wound its way down into my family. I name no names, but once the plastic seal has been broken, glace cherries mysteriously disappear at a rapid rate. Although I admit I have, at several low points in my life, spooned jam without any justifying bread straight into my mouth, the general jam supply in my household is a more reliable presence.
 So when recently I came to press the cherries into the Granny Biscuits (an essential step), and found there to be none, jam was a delicious substitute.
This recipe is further adapted with coconut replacing oats to provide a more even coating and a beautiful golden crunch once baked.
You can use whatever jam or marmalade you desire – strawberry and apricot are two of my favourites.
Ingredients (Makes 25-35 approx.)
350g unsalted butter, at room temperature
200g caster sugar
2tsp vanilla extract
Zest of ½ lemon
½ tsp salt
350g white spelt flour
1 egg, beaten with 2 tsp water
200g desiccated coconut
100g strawberry jam
100g apricot jam
2 baking trays lined with baking parchment
Method
1.) Preheat oven to 180˚C.
2.) In a food mixer fitted with the paddle, or in a large bowl with a wooden spoon, beat butter, sugar, vanilla, lemon zest and salt together until fluffy and pale.
3.) Sift in flour and mix together until fully combined and a soft dough is formed. Flatten the dough into a roughly 2 cm thick disk, wrap in baking parchment, and chill in the freezer for 15 minutes or the fridge for ½ hour.
4.) Roll the dough into 30g spheres (roughly 3 cm in diameter), dip each one in the beaten egg and then roll in the coconut. Space the spheres at least 5 cm apart on the baking sheet.
5.) Press your thumb in the middle of the spheres to create a teaspoon- sized indent. Fill the indent with a teaspoonful of the jam of your choice.
6.) Place in the oven to bake for 15-20 minutes or until cooked through and the coconut turns golden. Allow to cool and serve.
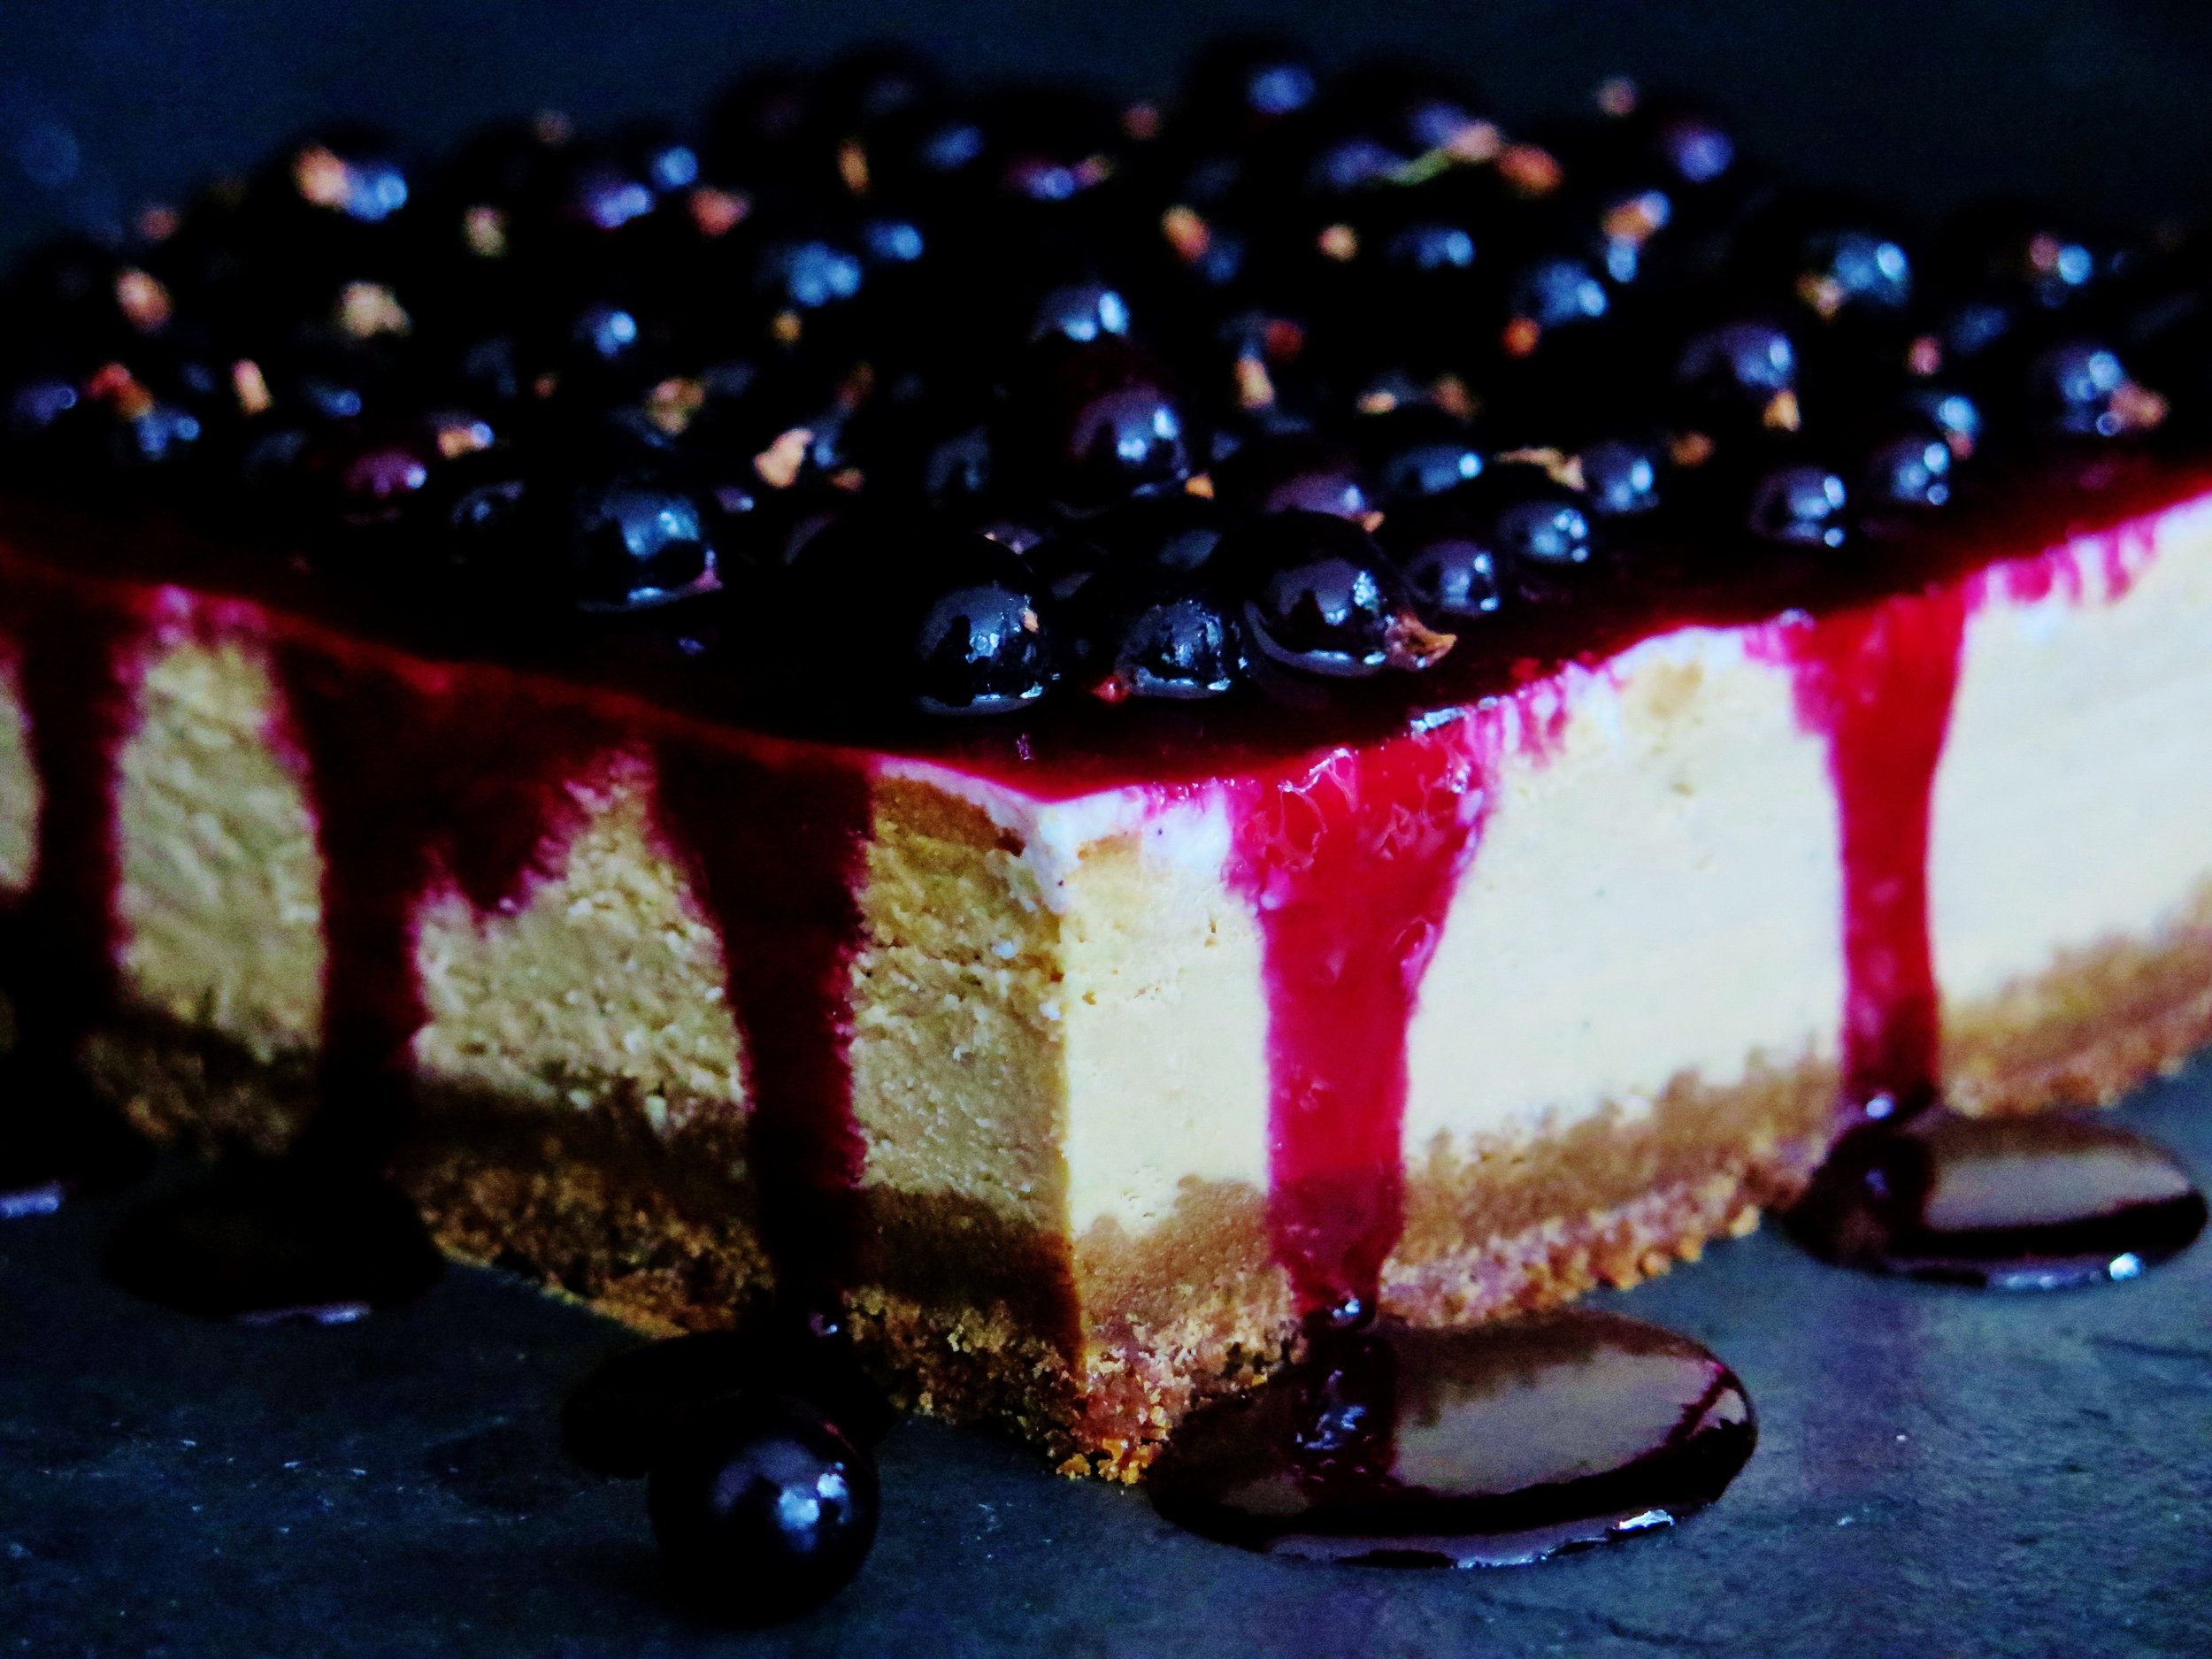
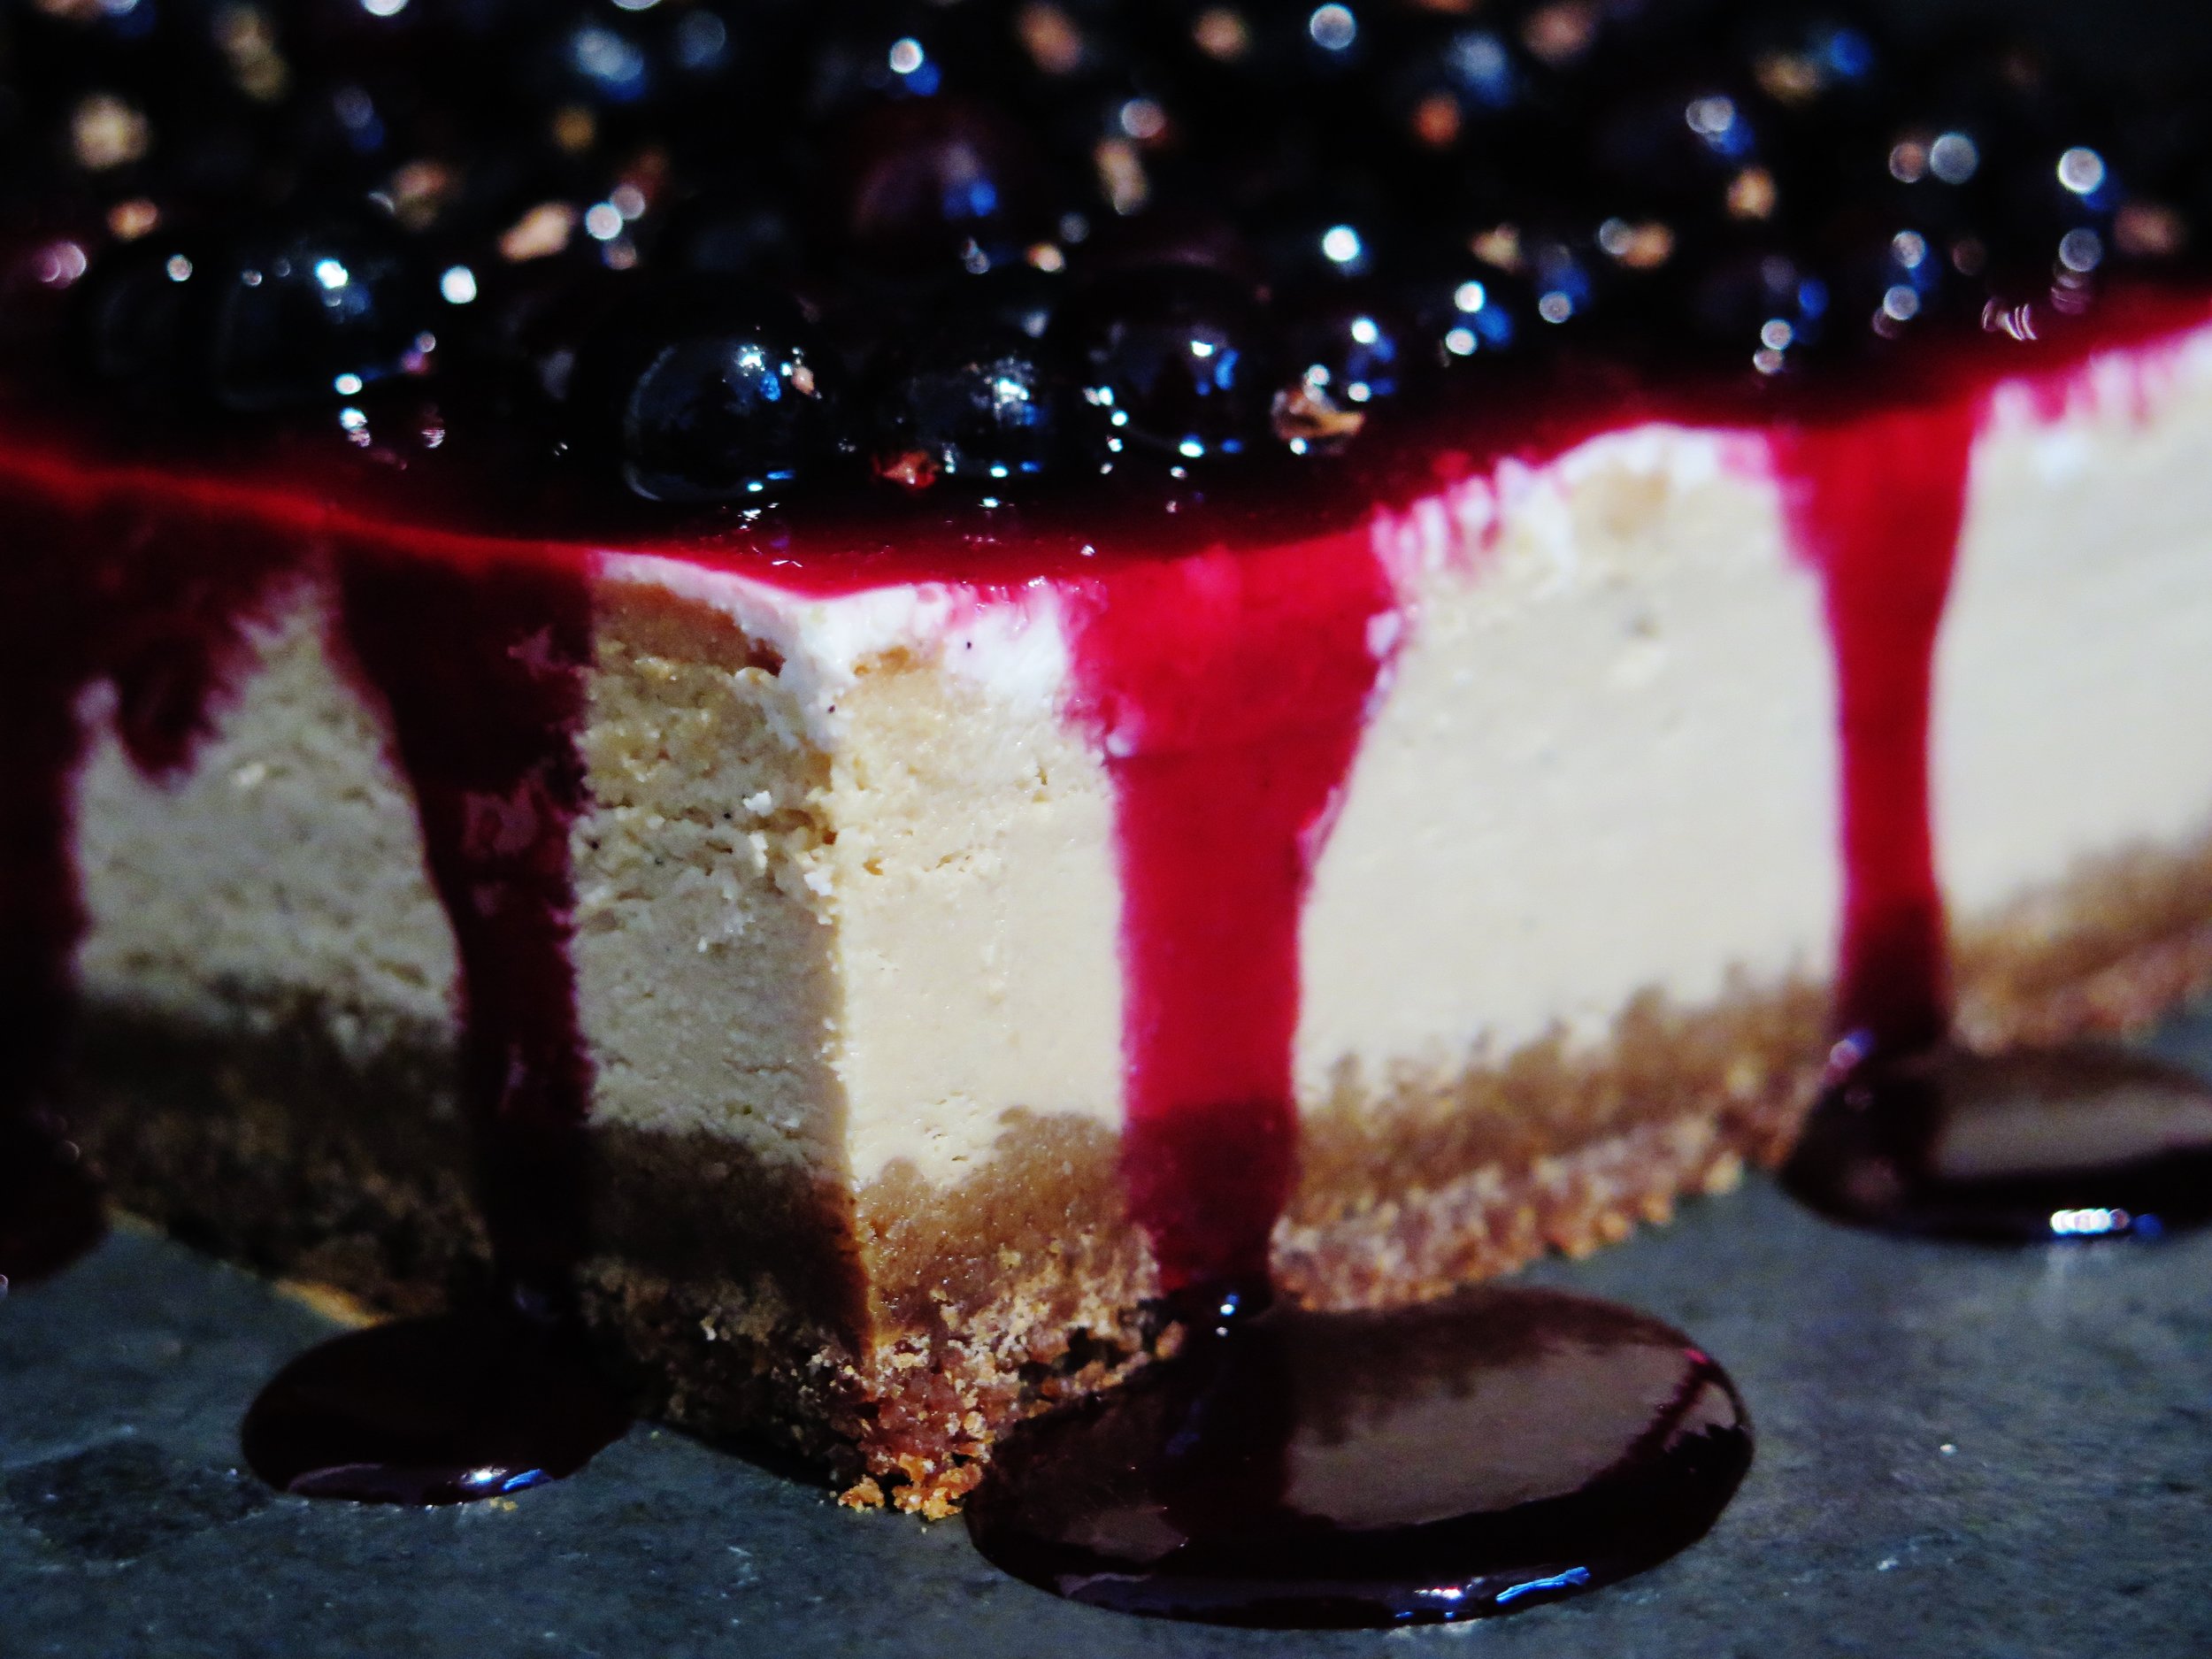
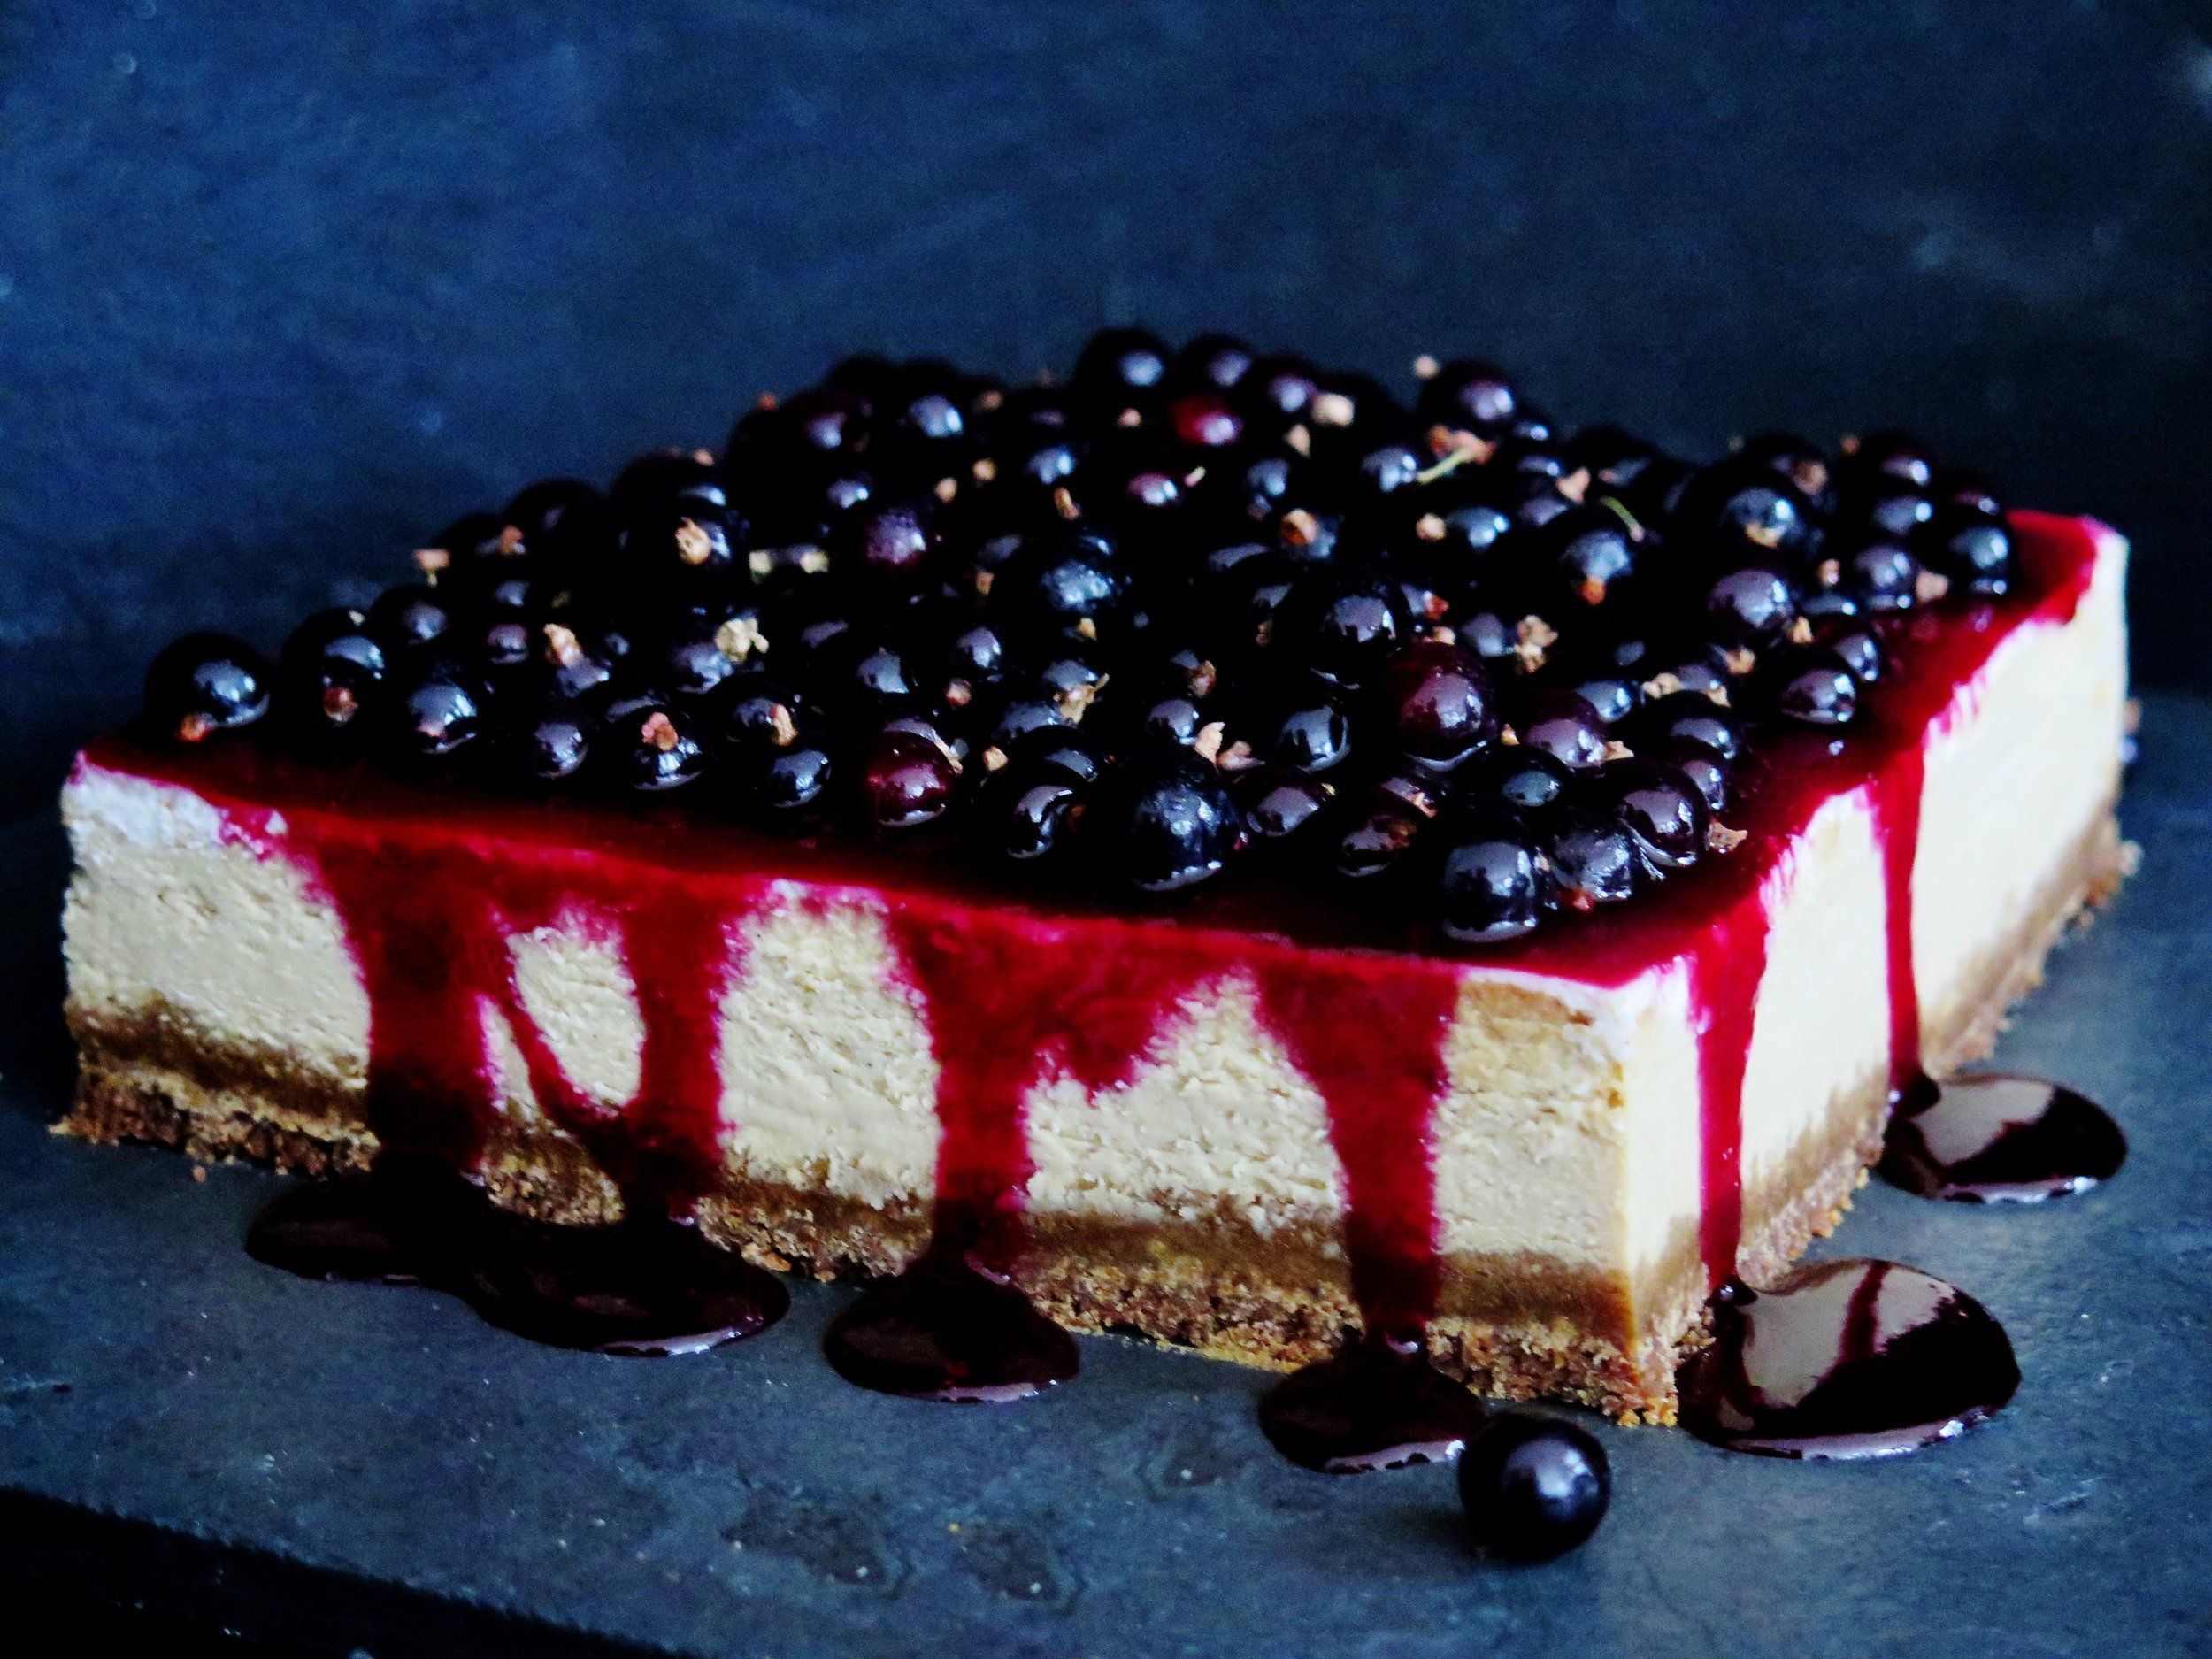
Caramelised White Chocolate Cheesecake with Salty-Sweet Fudgy Biscuit Base & Blackcurrant Glaze
I’m at risk of sounding like one of those mindless click-bait buzzfeed articles when I say this, but I mean ever word: you’ve been eating white chocolate incorrectly your whole life.
Would you believe me if I told you that the innocent Milky Bar Kid’s saccharine white cocoa butter chocolate has a deeper, darker, more seductive side?
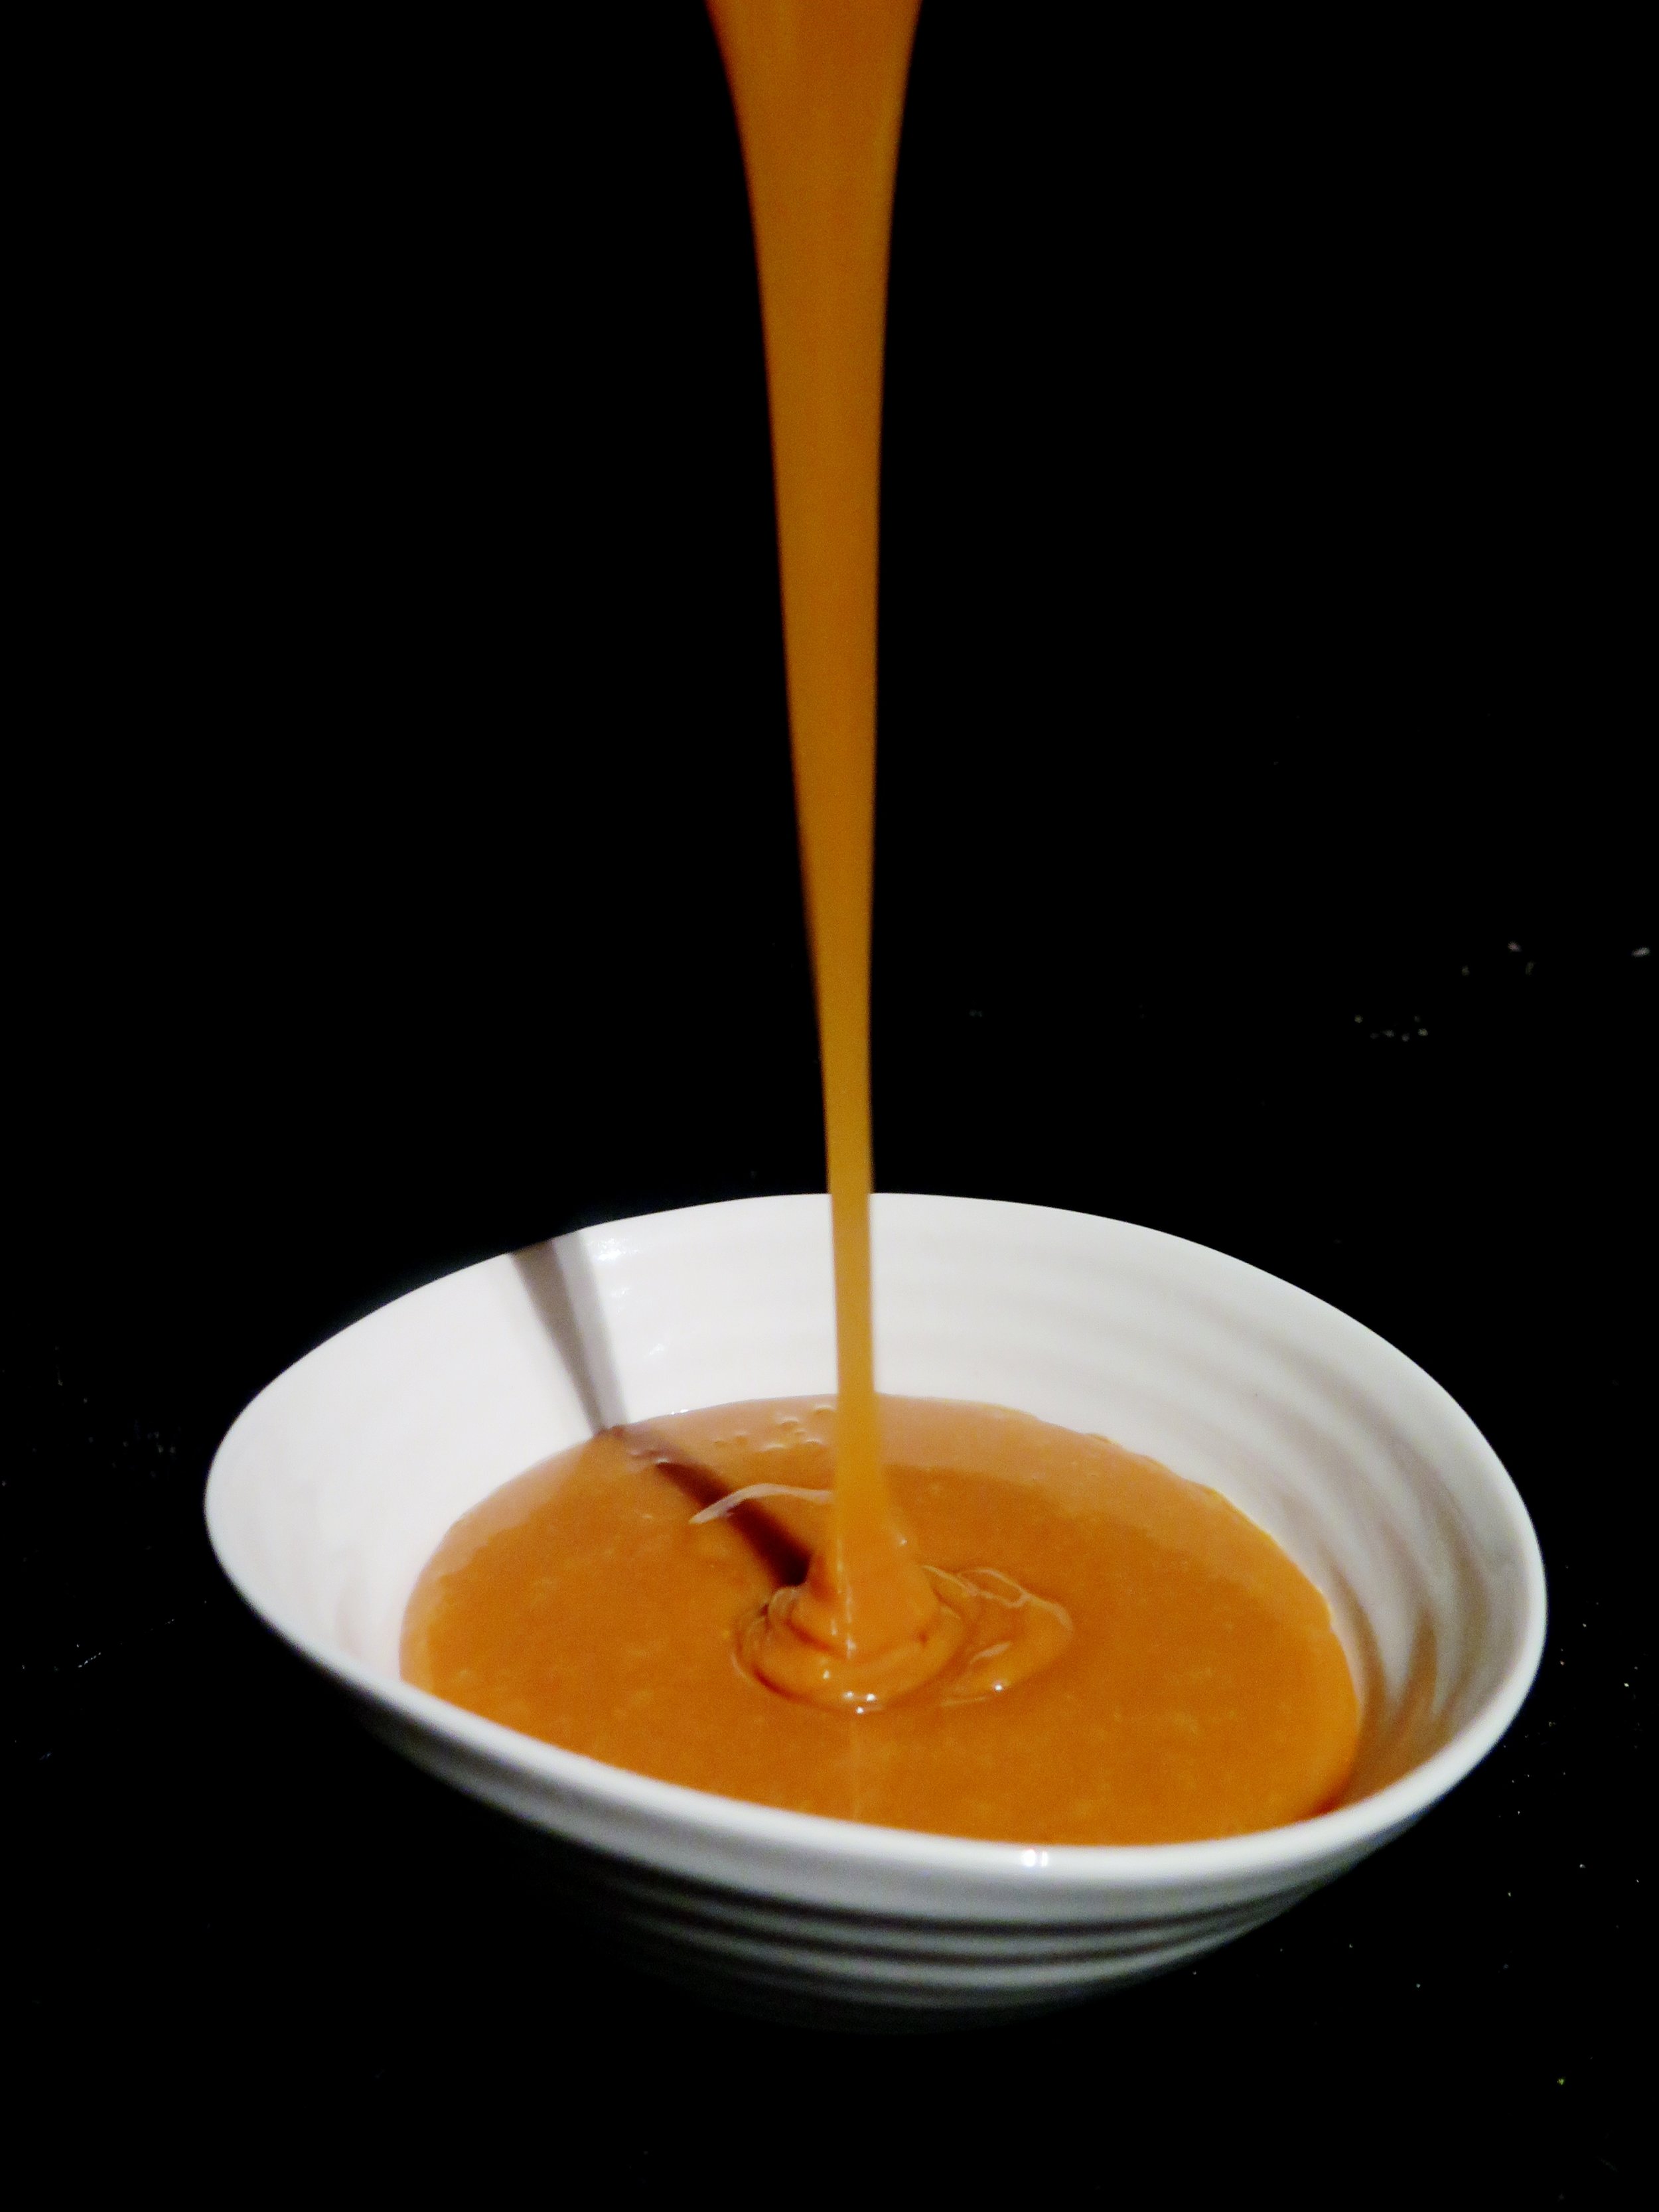
The corruption process is simple. All you need is:
- heat
- good quality white chocolate
-a tray
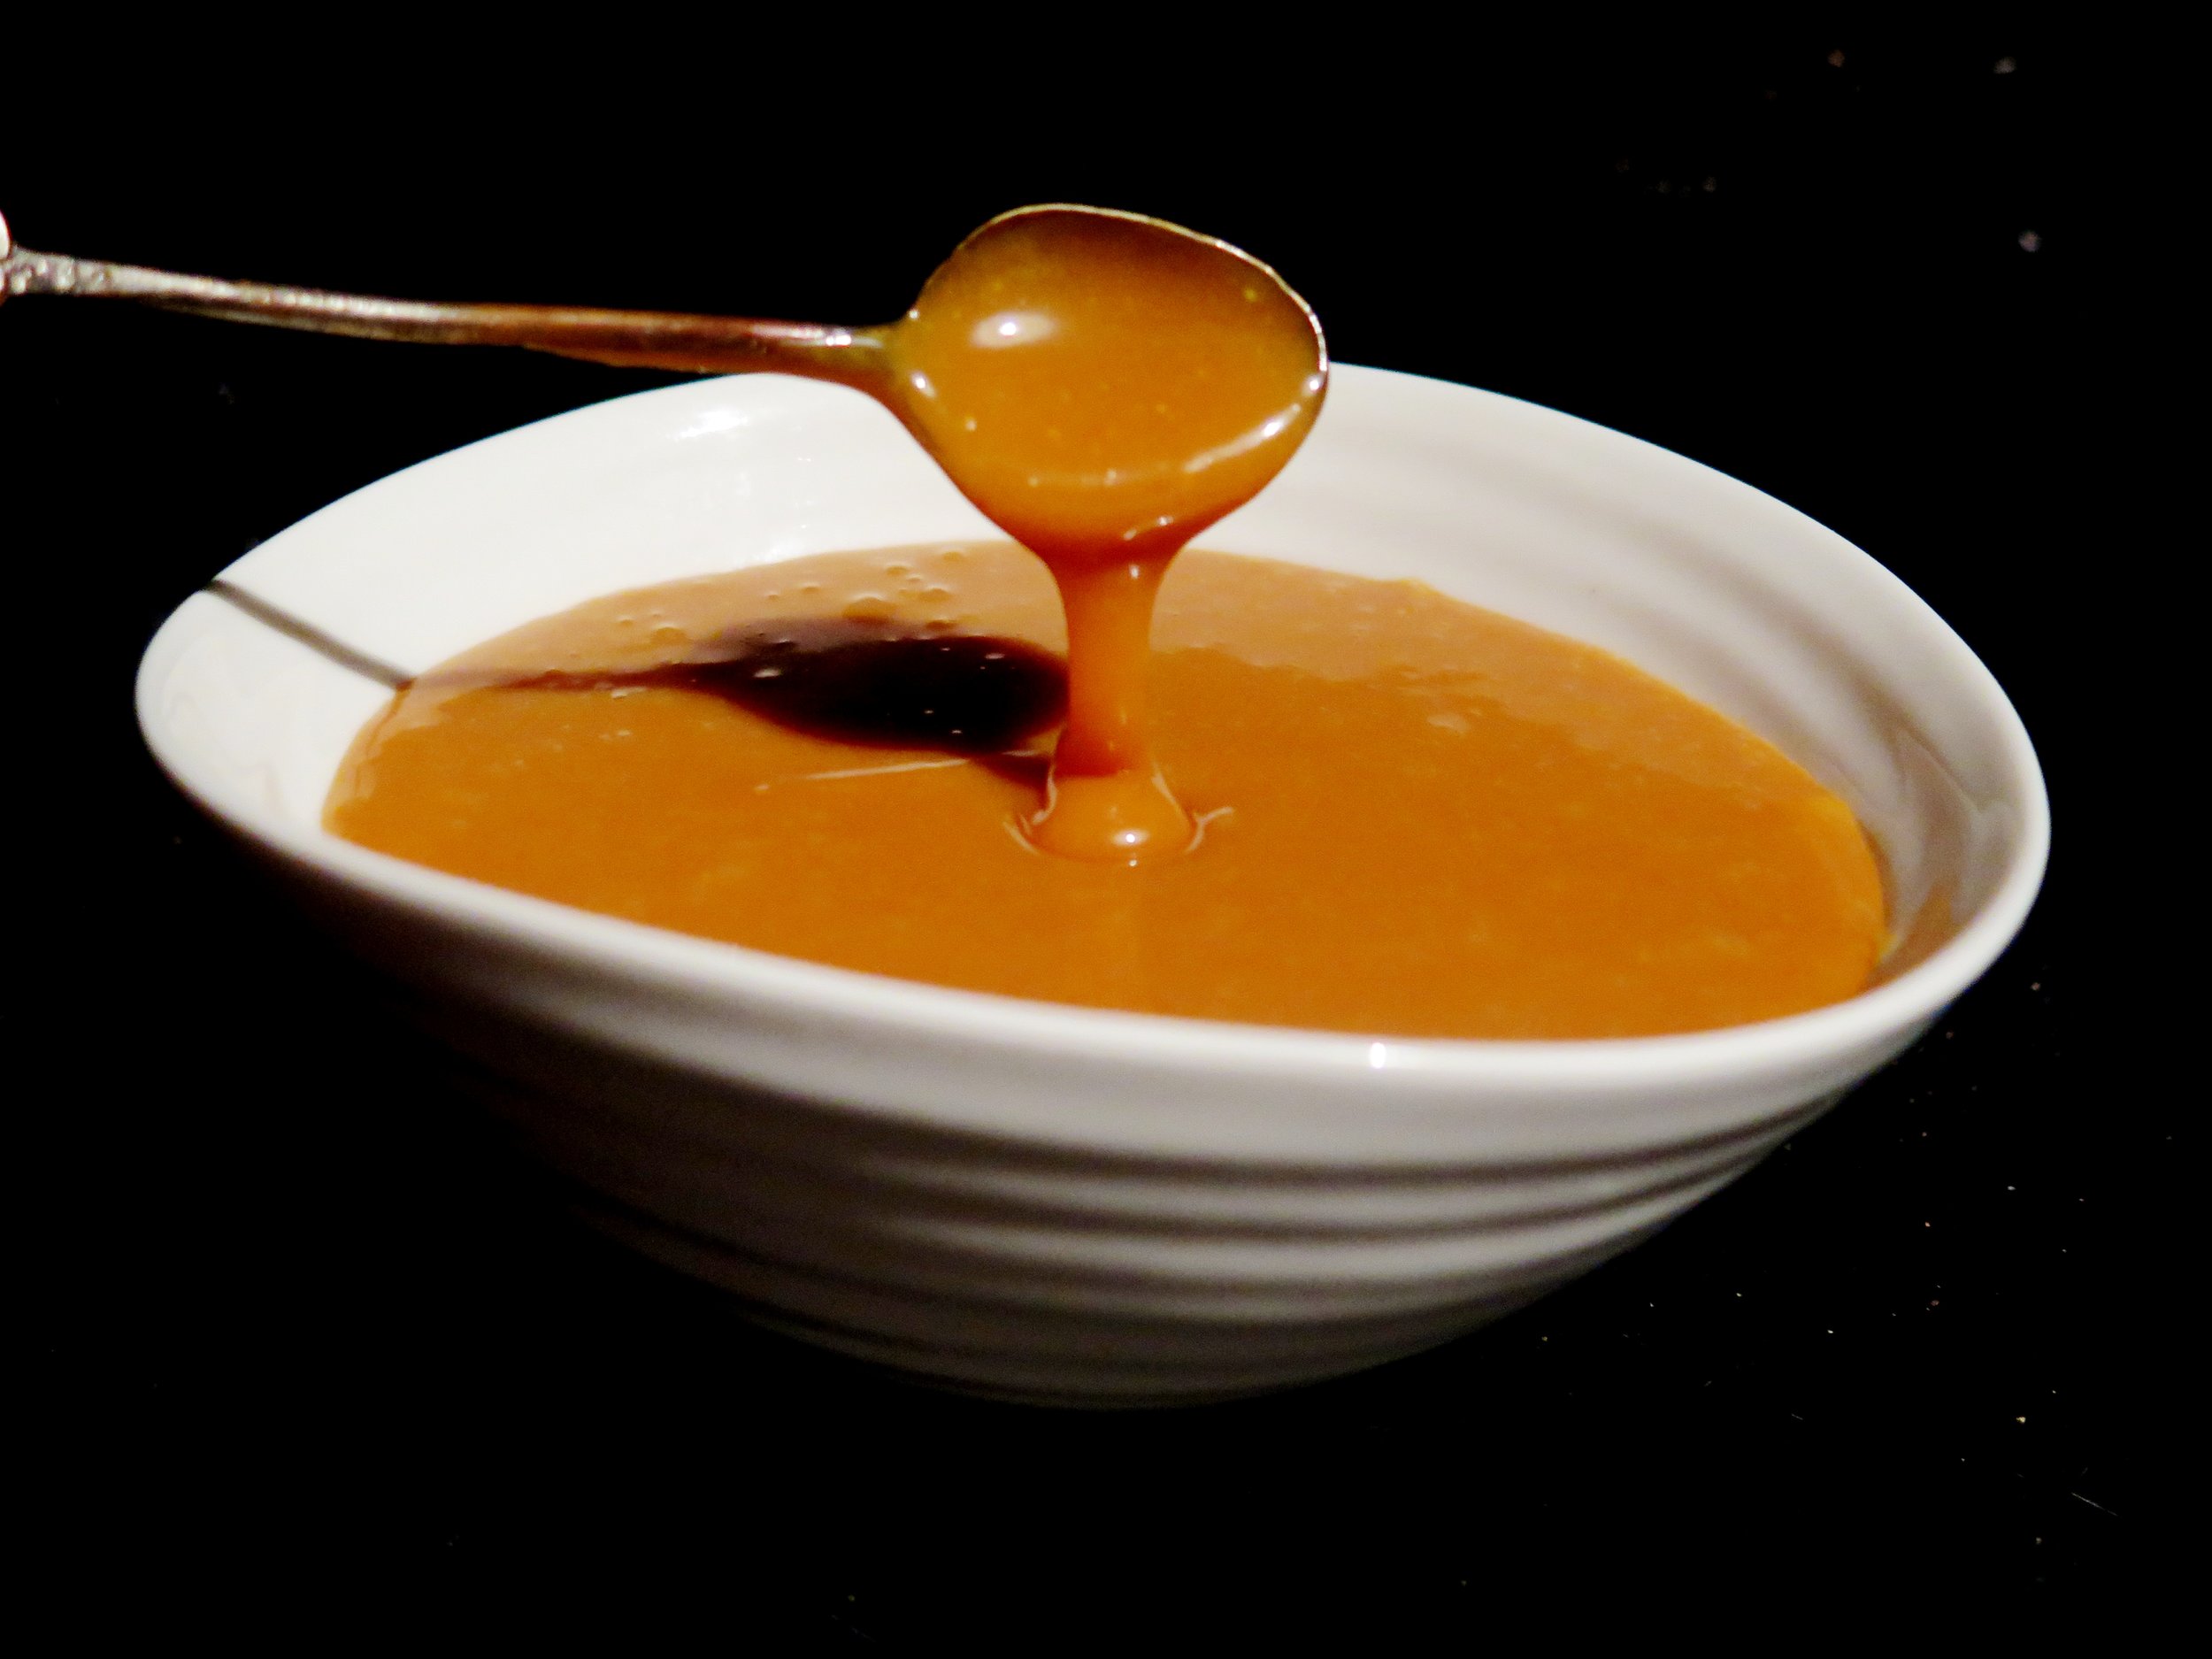
After about 20 minutes, the heat will begin to convert the pool of glossy molten cocoa butter into white chocolate’s luscious evil sister. I dare you to try it.
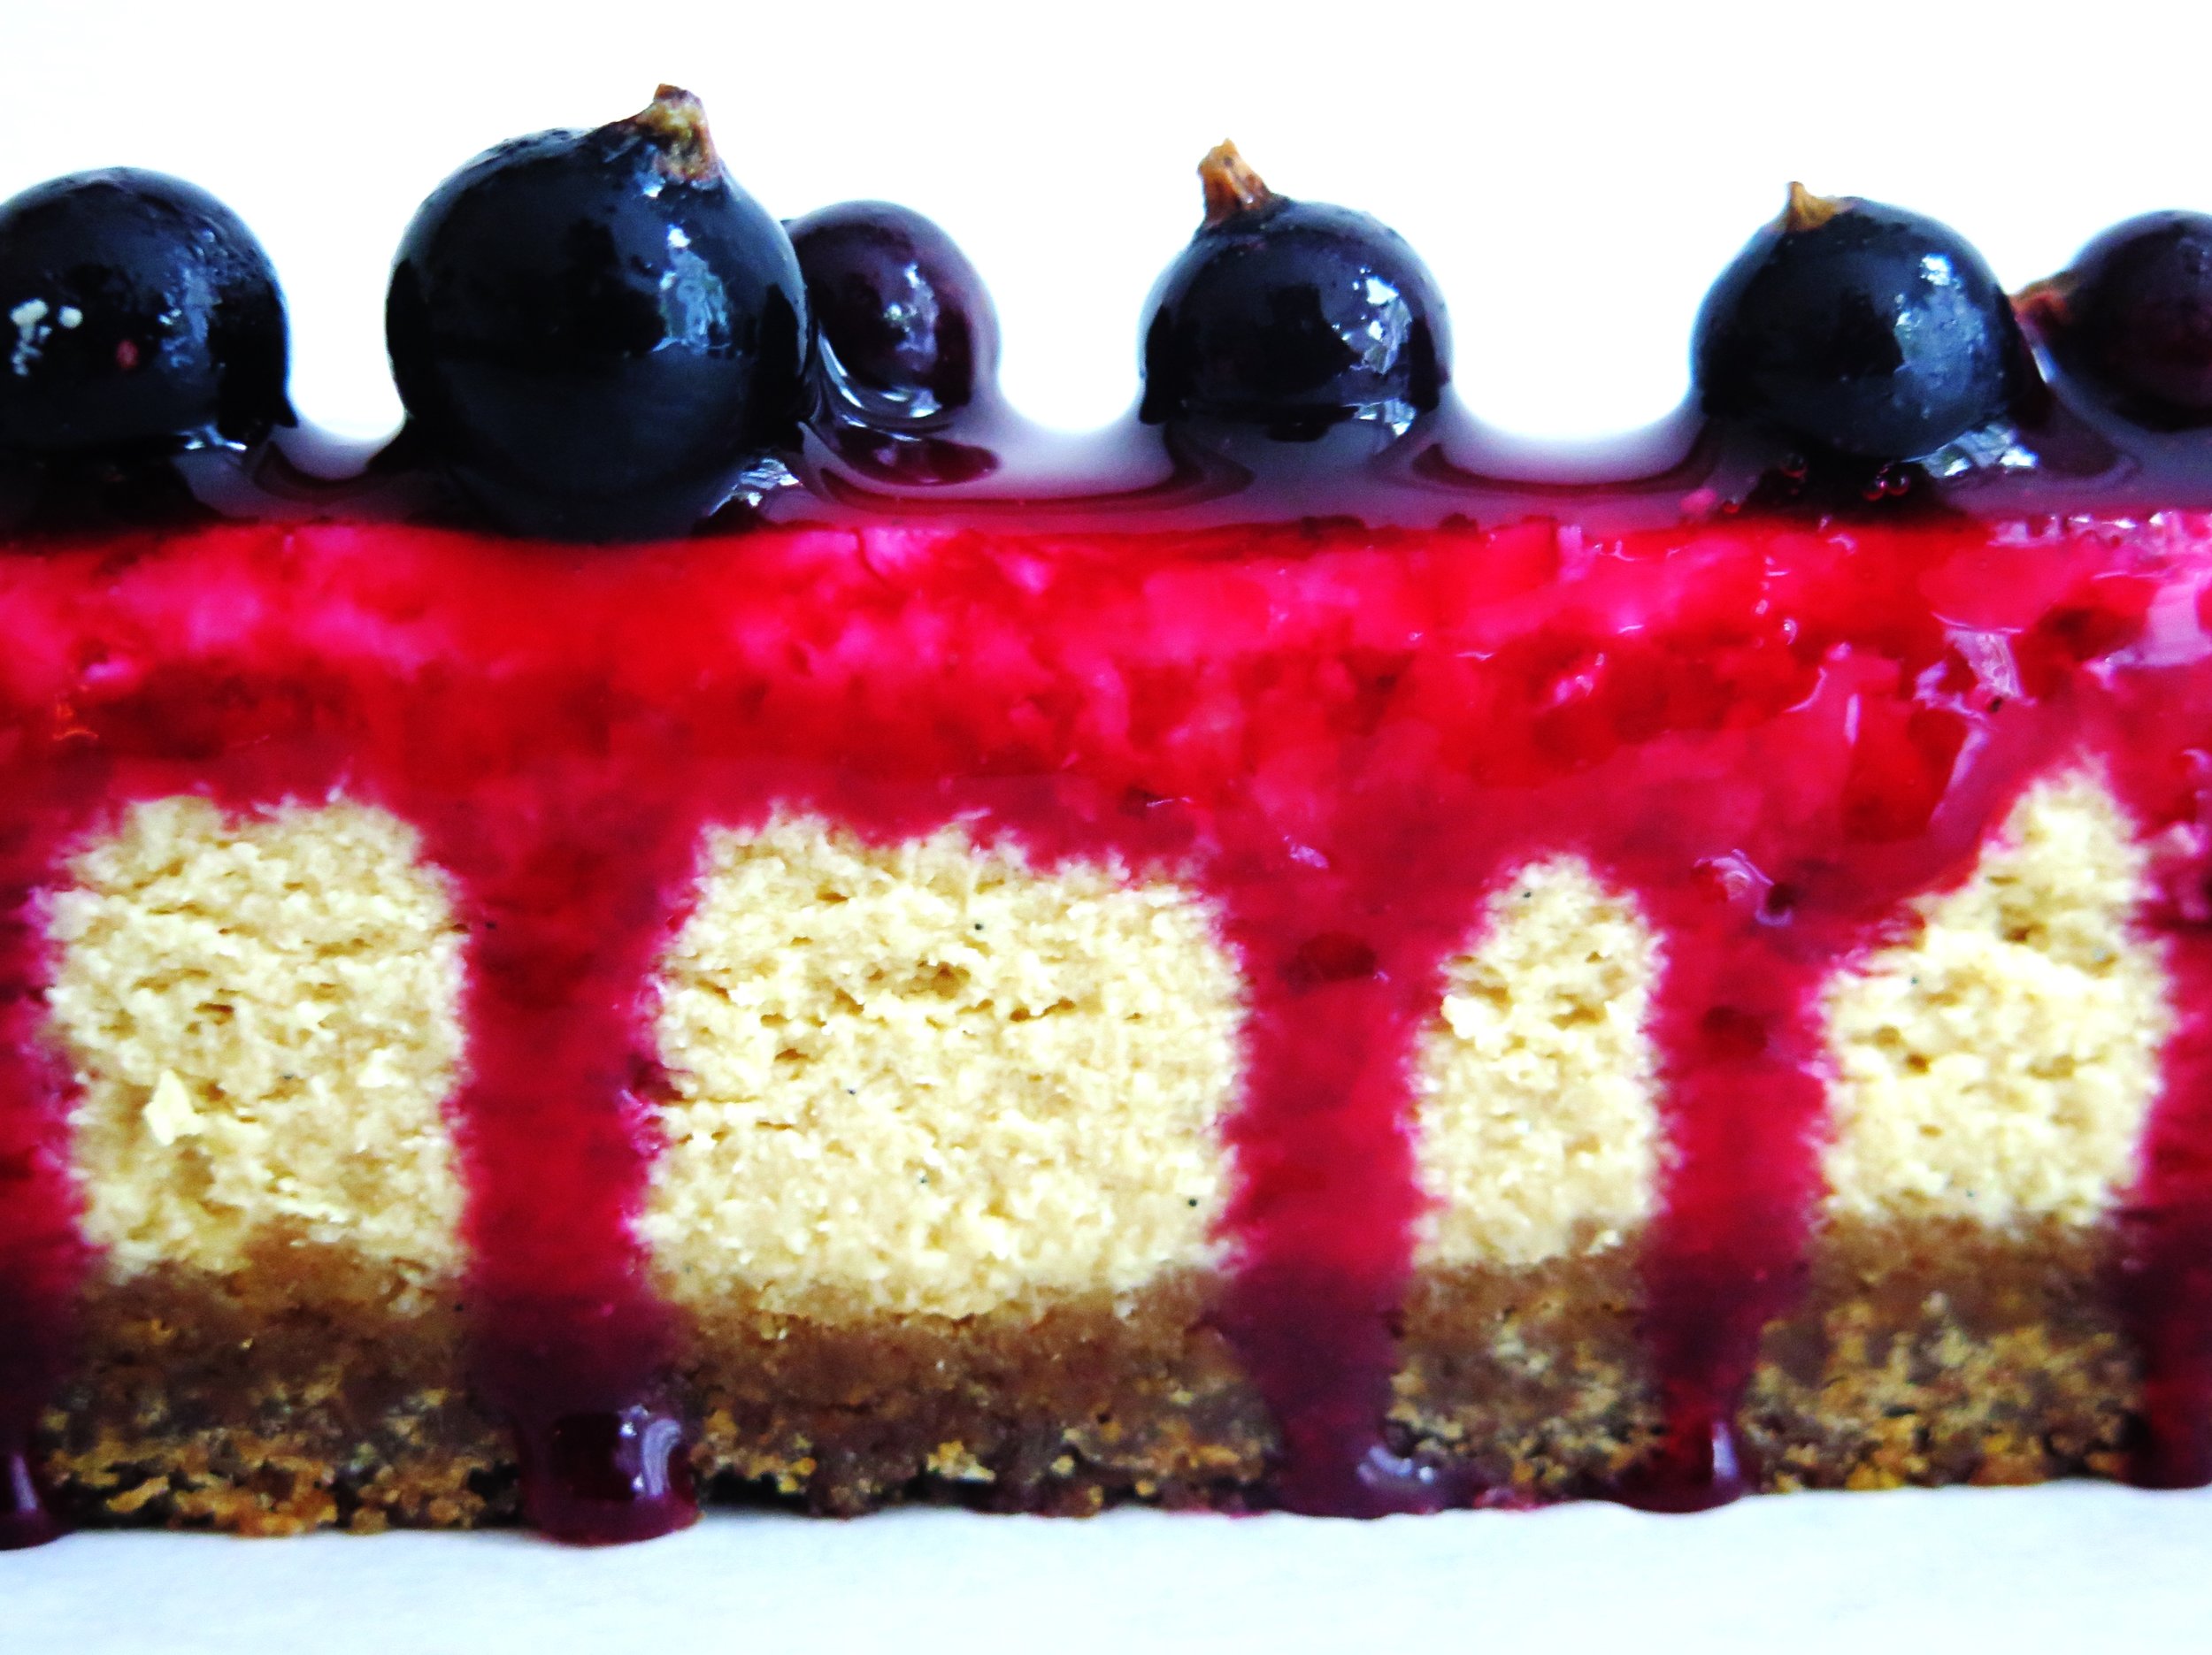
It’s pretty sublime on its own but, if you can resist eating it all, it works deliciously well in a cheesecake. I pair it with a fudgy, salted, graham cracker-style base and an astringent blackcurrant glaze to cut through the sweetness.
Often cheesecakes call for a base simply made out of crushed store-bought cookies. I’m no stranger to doing this myself, but I’m always left with a pang of guilt for cheating. Not only does homemade biscuit base taste better, it’s chemical-free and you have much more control over the flavour balance – this one’s especially fudgy.
However, if you’re feeling lazy you can make the base using 400g digestive biscuits blitzed into crumbs with the 120g browned melted butter. If you are a coeliac just use gluten-free digestive biscuits.
You can also use non-caramelised white-chocolate. It will still taste delicious, just not anywhere near as ambrosial.
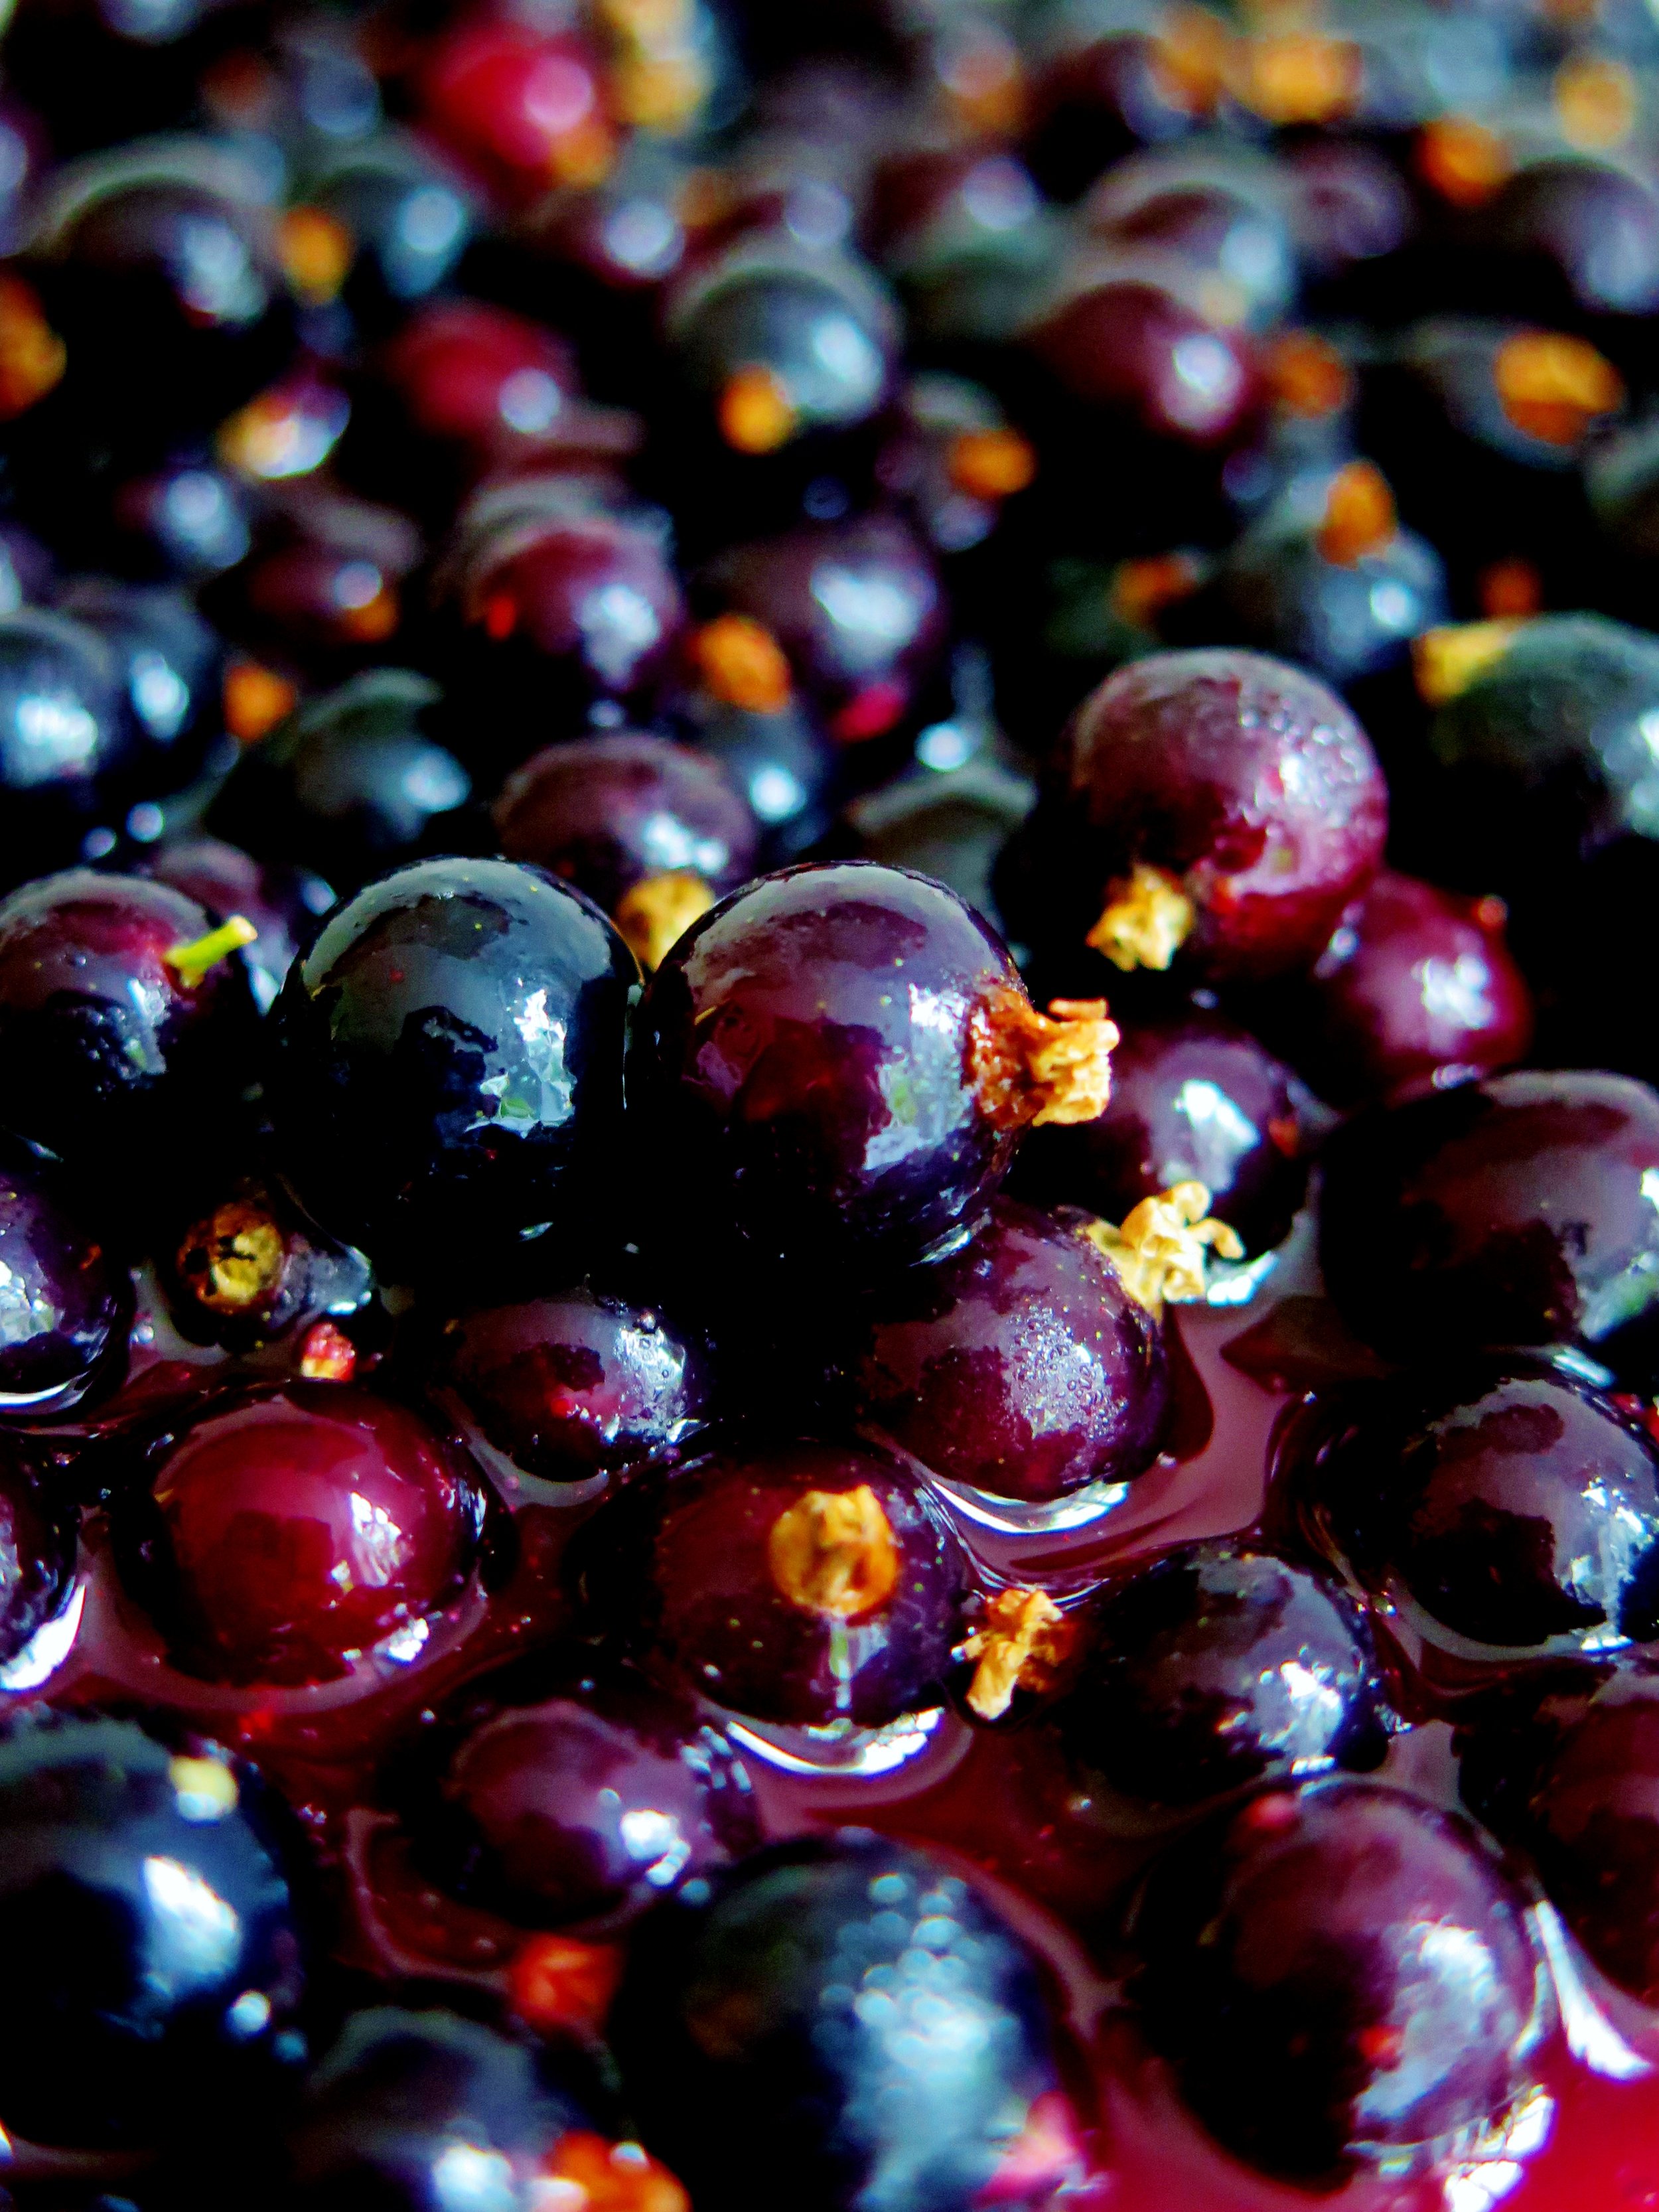
If you can’t get hold of any blackcurrants, feel free to use fresh or frozen raspberries or redcurrants instead.
This is best made the day before serving and kept in the fridge overnight. In fact, the fridge works wonders.
Ingredients
Salty-sweet, fudgy biscuit base
200g white spelt flour
60g light muscovado sugar
1 tsp bicarbonate of soda
1 tsp salt
60g unsalted butter, diced
70g clear honey
4 tsp vanilla extract
120g unsalted butter, for melting
Large baking tray, lined with baking parchment
20cm square tin (or round with similar capacity), lined with baking parchment
Caramelised white chocolate filling
300g good quality white chocolate, broken into pieces
180ml double cream
500g full fat cream cheese, at room temperature
100g caster sugar
4 eggs, at room temperature
1 tbsp vanilla bean paste (or the seeds of 1 vanilla pod)
Bone dry baking tray (preferably non-stick)
Sour cream topping
220ml sour cream
40g icing sugar, sifted
Blackcurrant glaze
200g blackcurrants
80g caster sugar
3 tbsp water
100g fresh blackcurrants to decorate (optional)
Method
Salty-sweet fudgy biscuit base
- Preheat the oven to 180˚C. Pour flour, sugar, bicarb, salt and diced butter into a blender and blitz until the mixture resembles damp sand. Alternatively, use your fingers to rub the butter into the other ingredients.
- Whisk together the honey, vanilla and milk. Stir this into the dry mixture to combine and form a paste-like dough.
- Spread the dough on to the baking tray in an even 0.5cm thick layer. Bake in the oven for 15-20 minutes until golden brown and cooked through. If it doesn’t become dry and brittle after cooling, bake for a further 5 minutes.
- Brown the 120g of butter for melting by placing it in a pan over medium heat and allowing it to turn a golden brown before setting it aside to cool. It should give off a wonderfully nutty aroma.
- Crumble the baked biscuit into a blender with the browned melted butter, and pulse until it turns to damp sand-like consistency. Tip this out into the lined cake tin and press down to form an even layer. Place in freezer to set.
Sour cream topping
- Whisk together sour cream and icing sugar until smooth. Store in the fridge until ready to use
Caramelised white chocolate filling
- Preheat the oven to 130˚C. Pour broken white chocolate on to the tray and place in the oven. Every 10 minutes remove the chocolate from the oven, stir with a bone dry utensil, and place back in the oven. After about 30-40 minutes it will have taken on a beautiful honeyed caramel tone. As ovens vary in character and different chocolate brands vary in ingredient quality, it may take longer. The chocolate may also seize. Don’t panic if this happens: just keep going until it turns golden (I’ll explain how to proceed with this in the next step).
- Increase the oven temperature to 160˚C. Place the double cream in a small pan over a high heat. Once it begins to boil, remove from the heat and pour into it the caramelised white chocolate. Stir to combine until smooth. If the chocolate did seize in the oven, it will be lumpy. If this is the case, pour the lumpy cream and chocolate mixture in a blender and blitz until completely smooth. If a few recalcitrant lumps remain, simple sieve them out.
- Either using a stand mixer fixed with the beater or a hand held whisk, beat the cream cheese together with the caster sugar until completely soft and smooth. Beat in the cream and white chocolate caramel. In a separate bowl, whisk together the eggs and vanilla. Pour this into the cream cheese mixture and beat until completely smooth and glossy.
- Remove the cake tin with the biscuit base from the freezer, and pour into it the filling mixture. Bake in the oven for 1 ½ hours, checking after 45 minutes. If it begins to go brown, cover with tin foil and continue to bake for the full time.
- Keeping the oven on, remove the cheesecake from the oven and allow it to cool for 10 minutes. Spread the sour cream topping in an even layer over the surface of the cake. Place the cheesecake back in the oven, switch off the oven and leave its door slightly ajar while the cheesecake sets inside for a further 1 ½ hours.
- When the cheesecake reaches room temperature, remove from the oven, cover the cake tin with cling film, and place it in the fridge to allow it to set over night, or place it in the freezer for a couple of hours.
Blackcurrant glaze
- Place 200g blackcurrants, caster sugar and water in a small pan over a high heat and stir until the sugar is dissolved. When it begins to boil, reduce heat slightly and allow it to simmer for 5-10 minutes or until it thickens to a viscosity like that of maple syrup. Strain the mixture through a sieve and place the liquid back in the pan to simmer for a further 3 minutes.
- Allow the syrup to cool slightly then carefully pour it over the chilled cheesecake. Scatter with fresh blackcurrants and serve.
 I endured school lunches for four years and then abandoned them. Waking up twenty minutes early to throw together a packed lunch seemed worth it at the time. My school lunches weren’t even bad. In fact, they were probably rather good – good enough to avoid having Jamie Oliver sniff his way into our school kitchen in pursuit of good TV.
What turned me (and my stomach) resided in the stainless steel vats adjacent to the desserts: pools of lurid yellow purulence (custard).
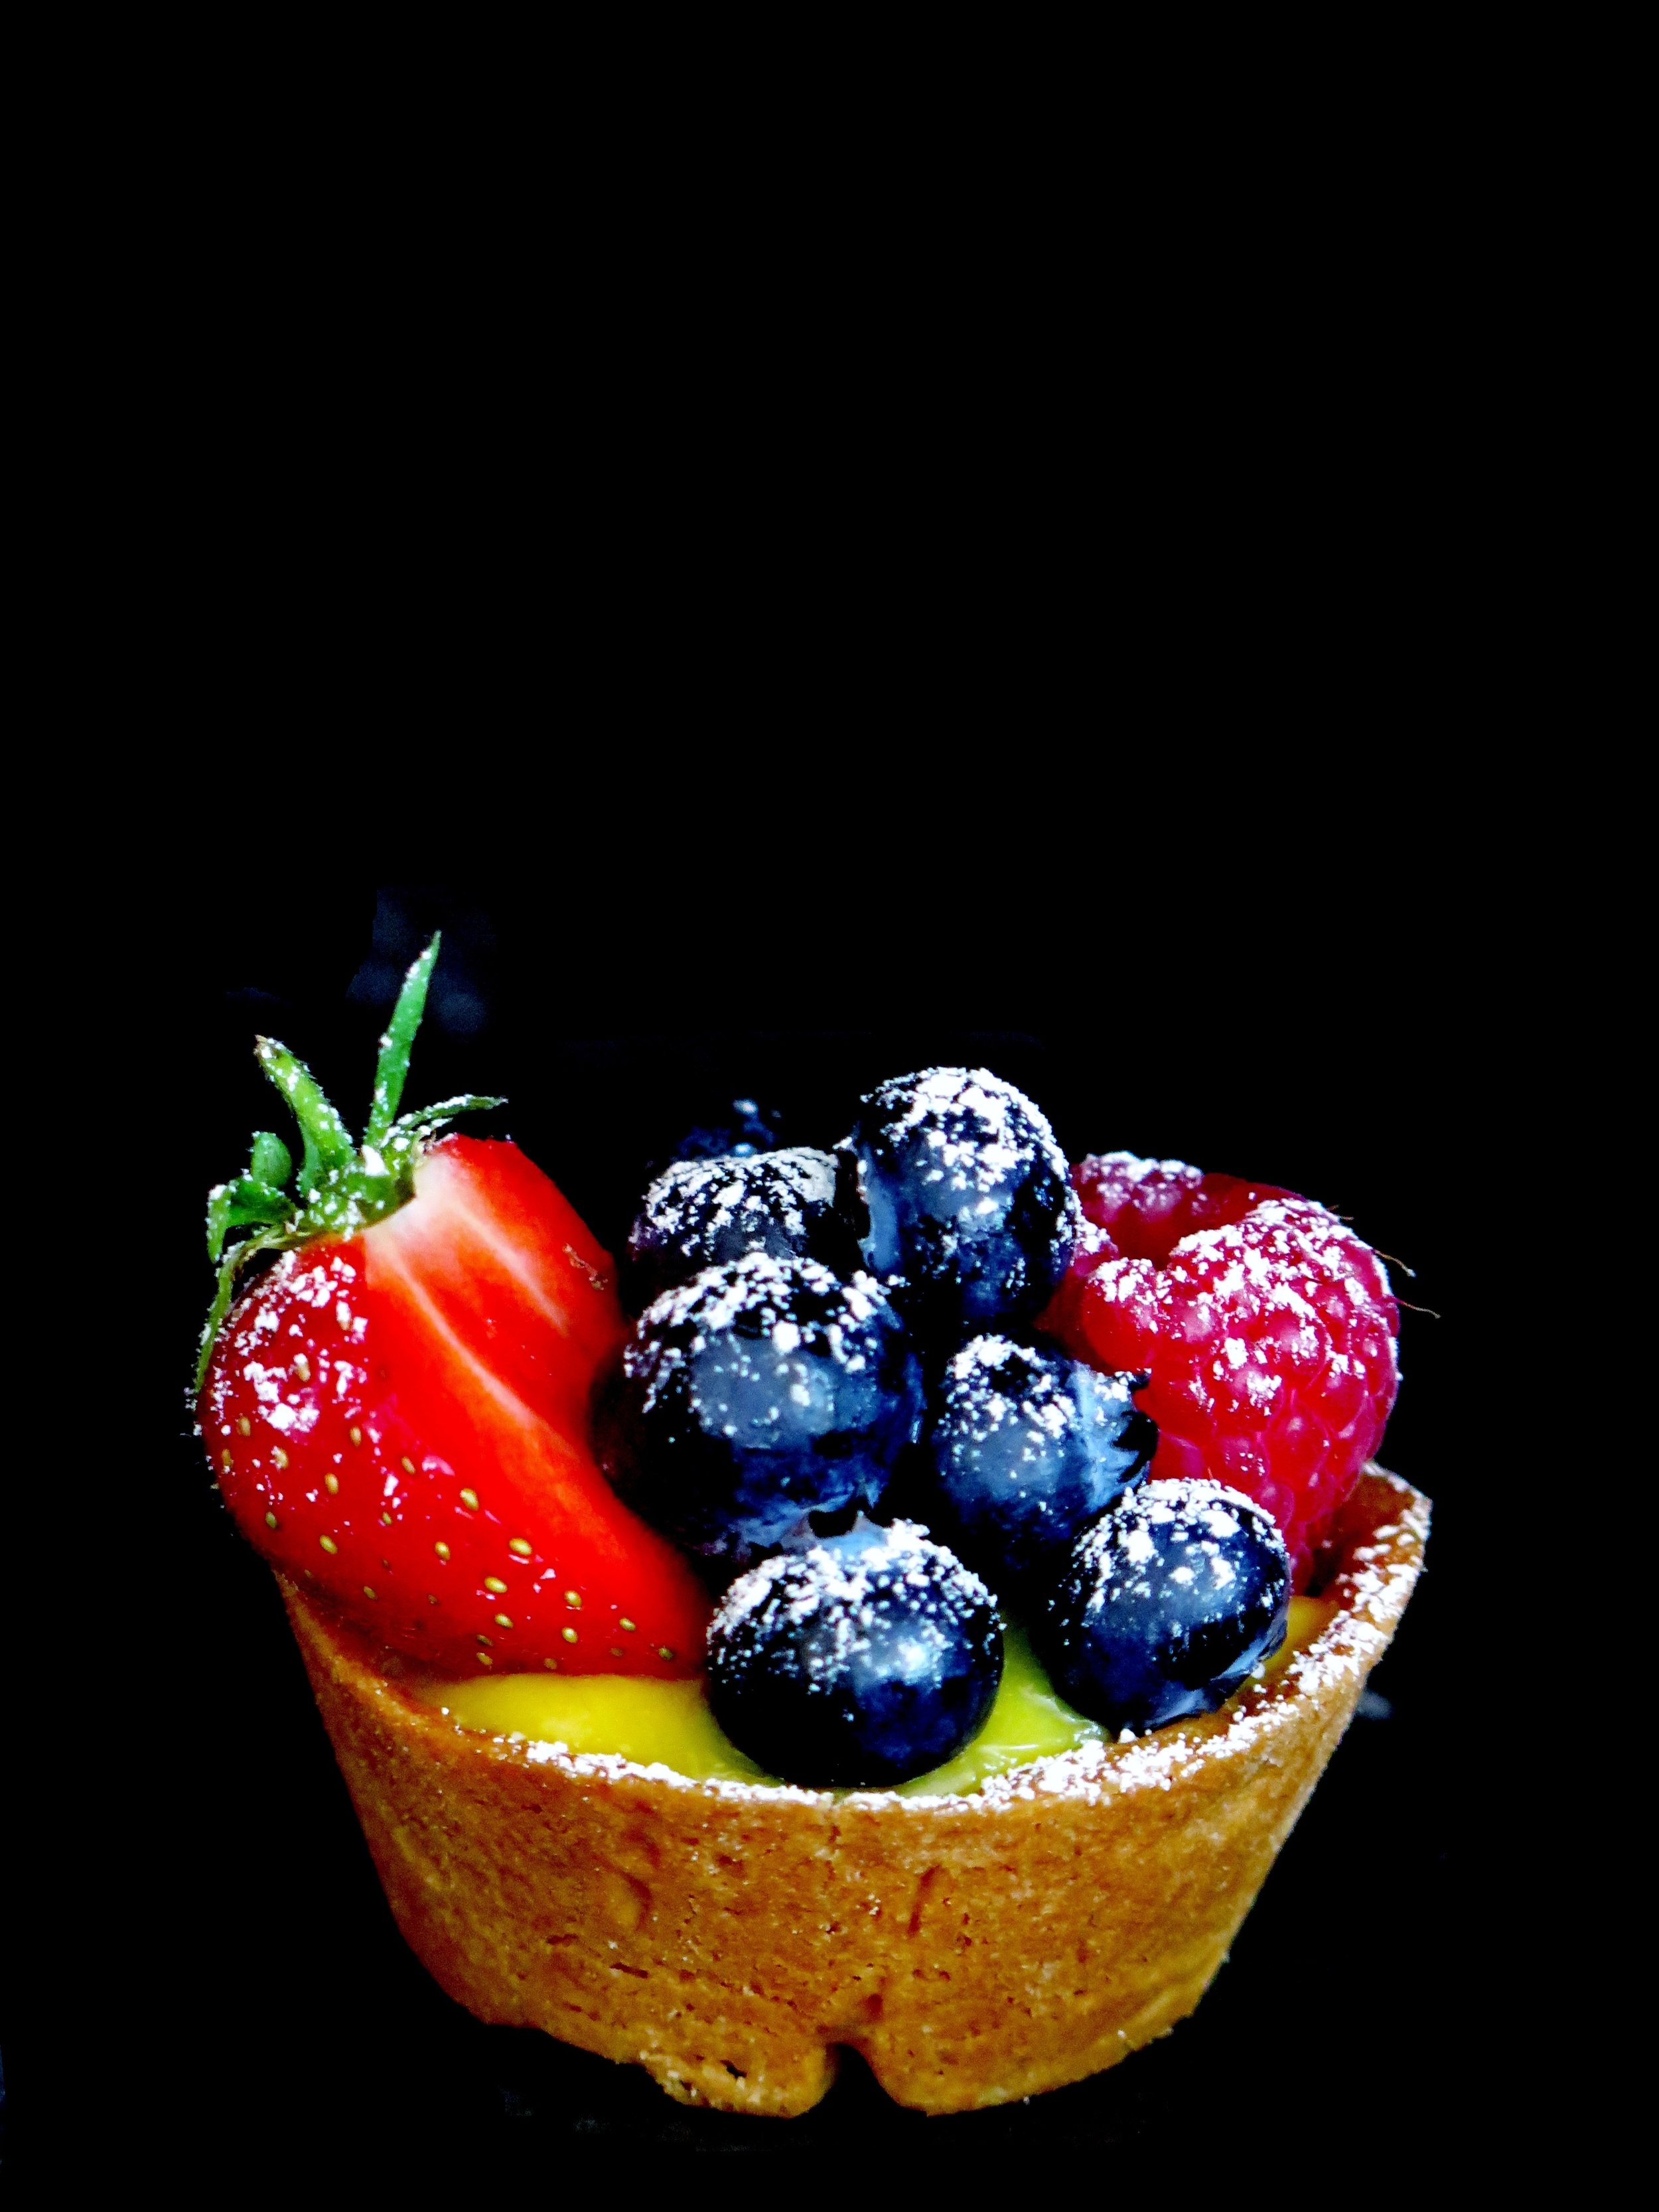
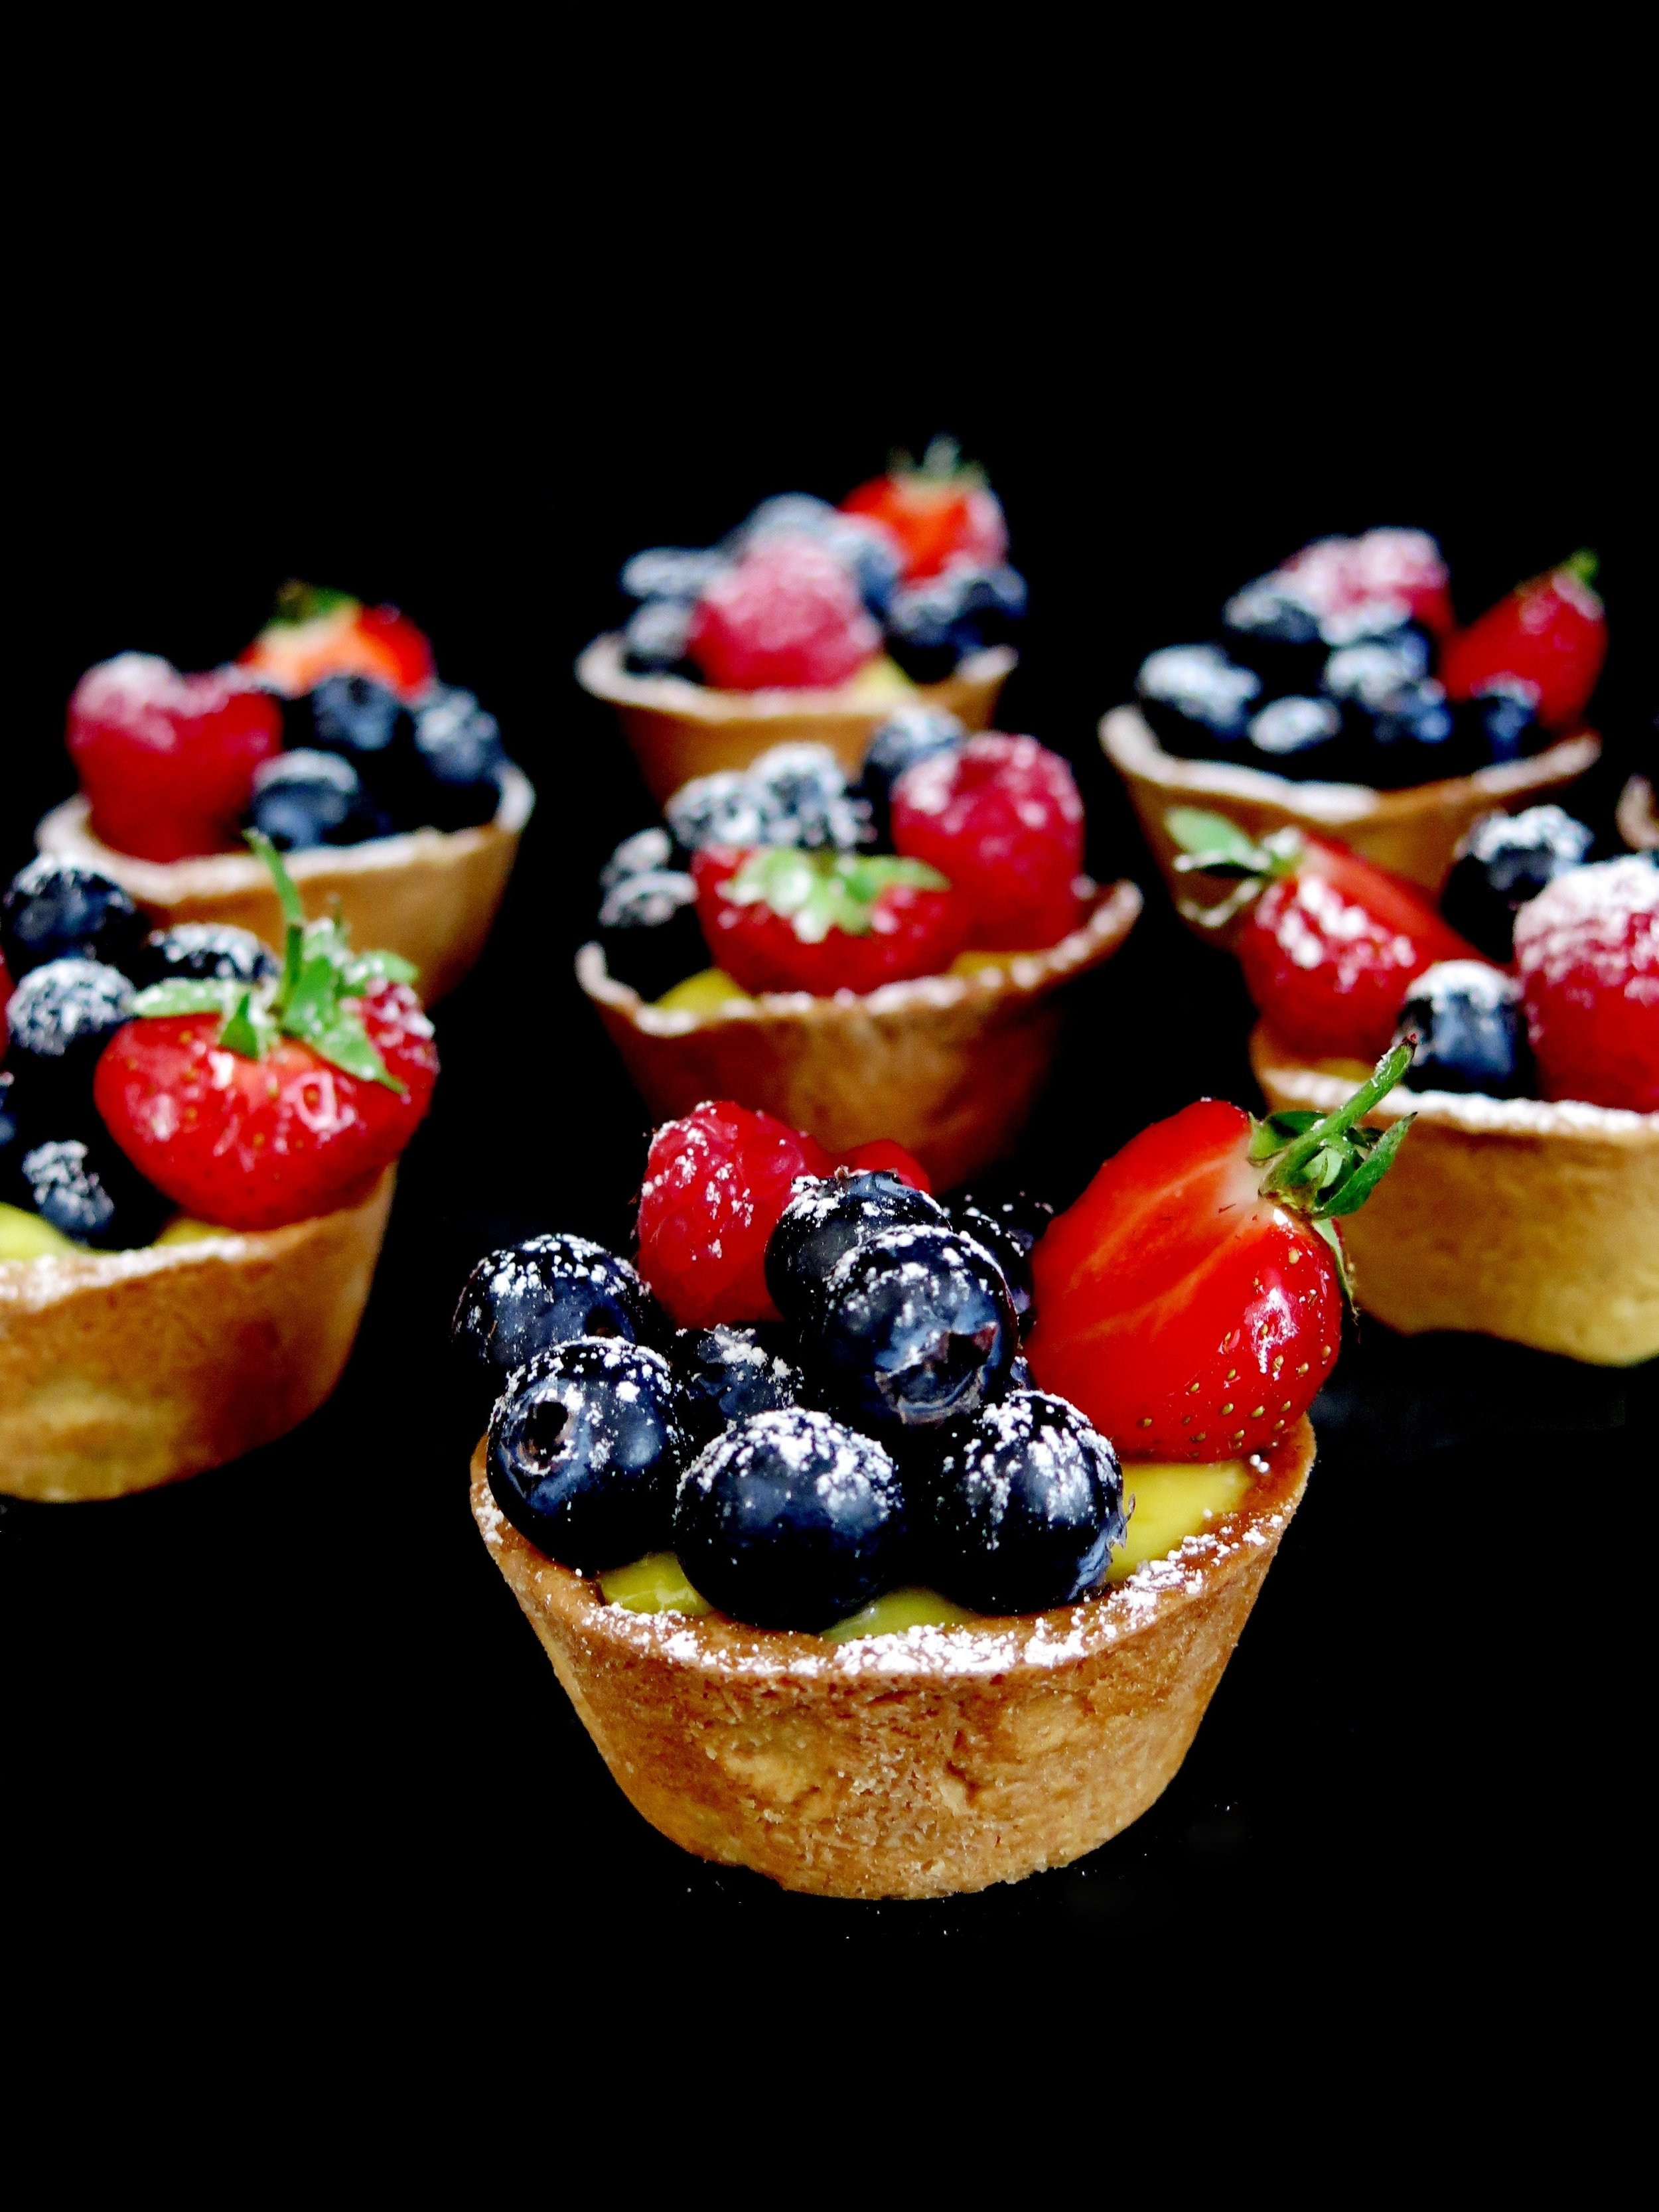
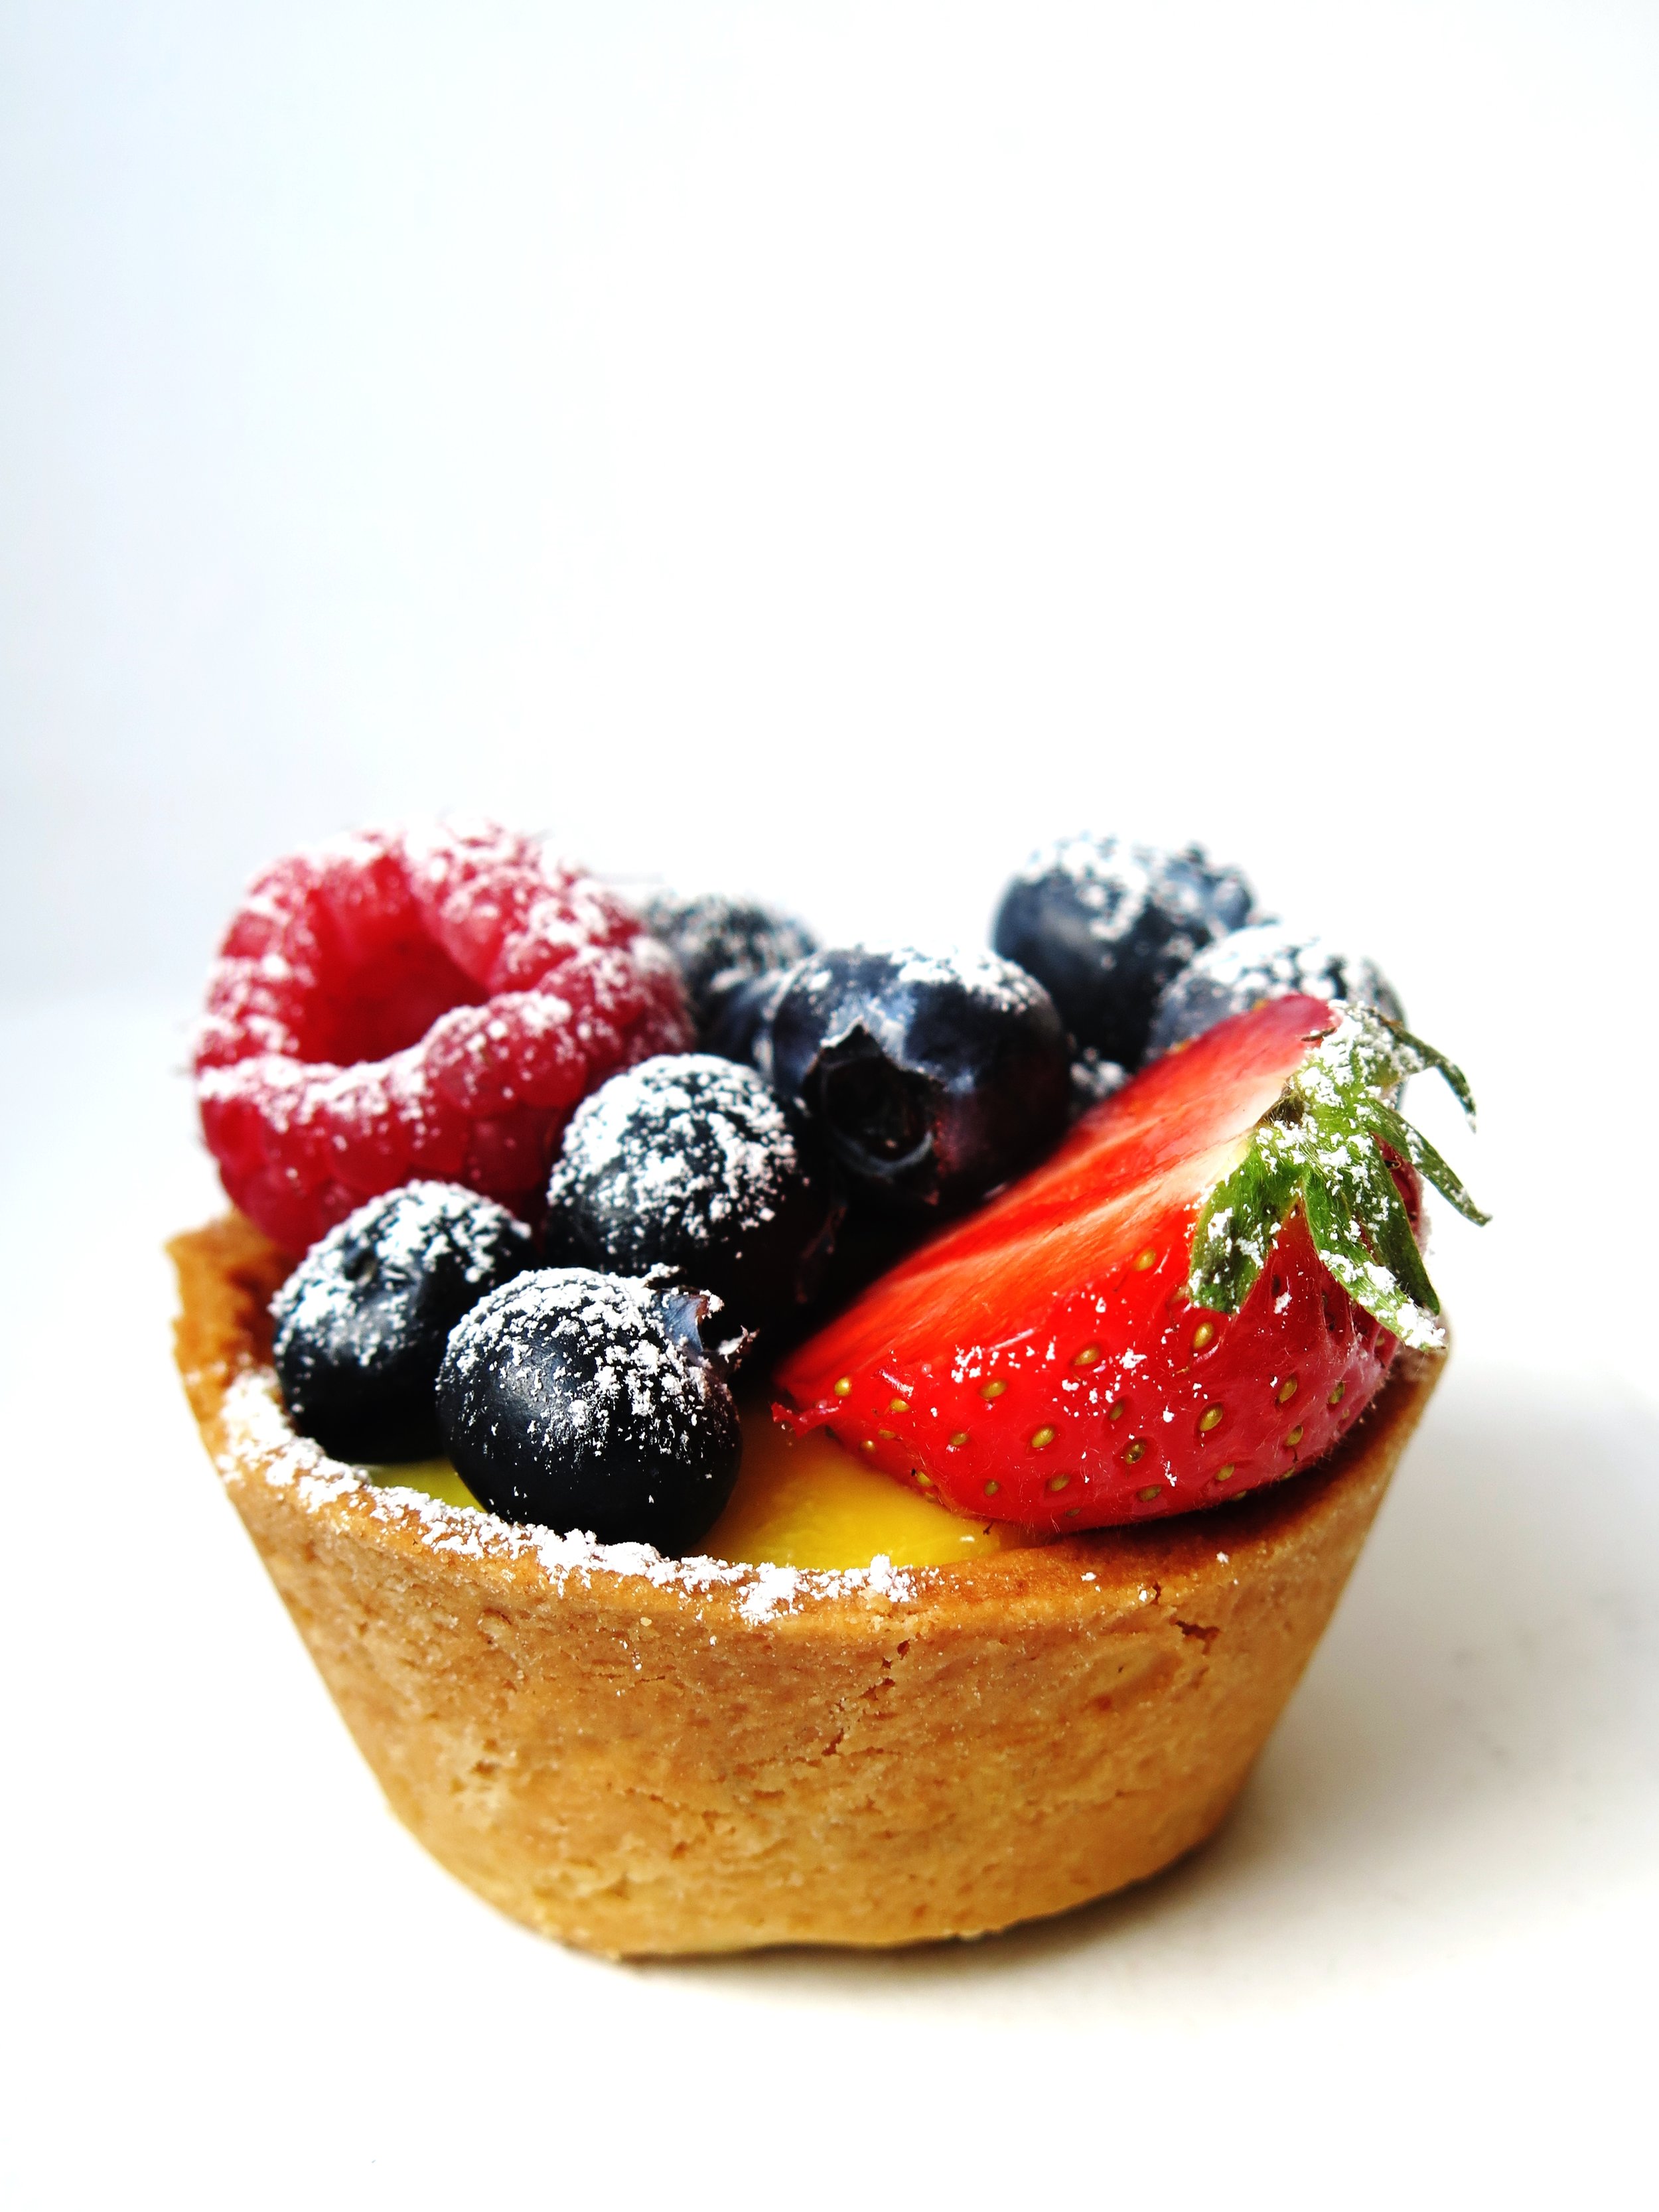
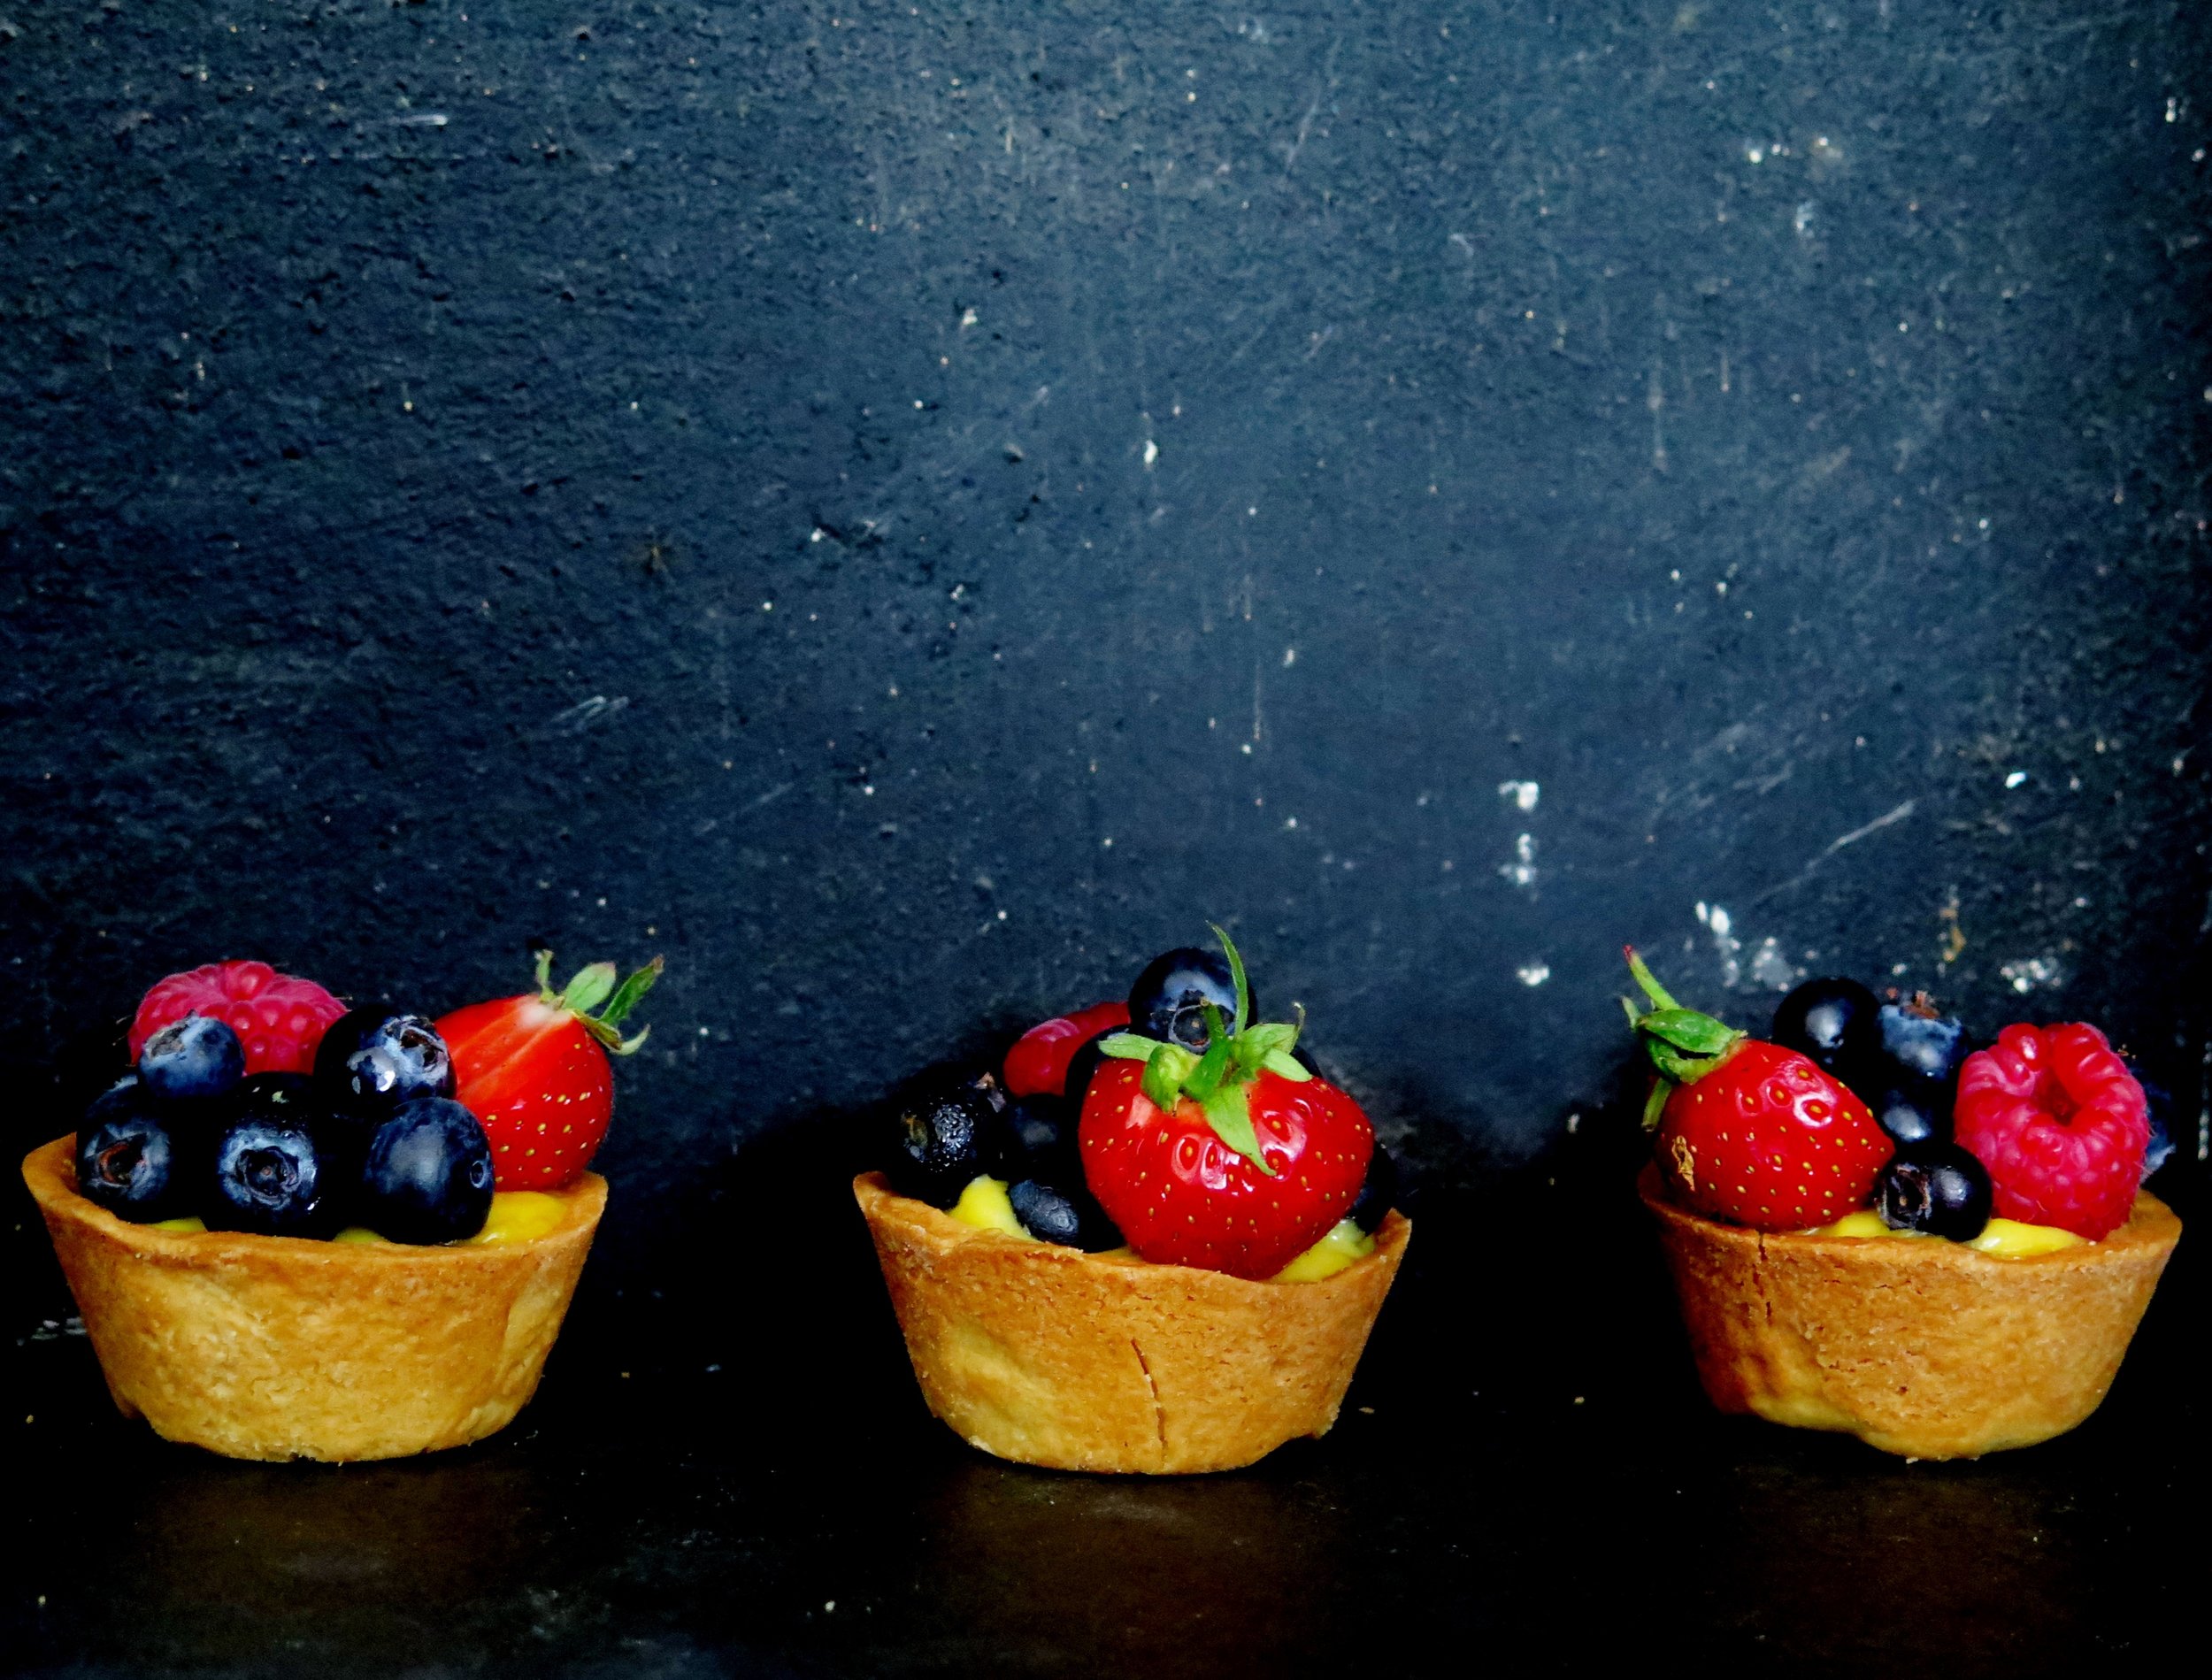
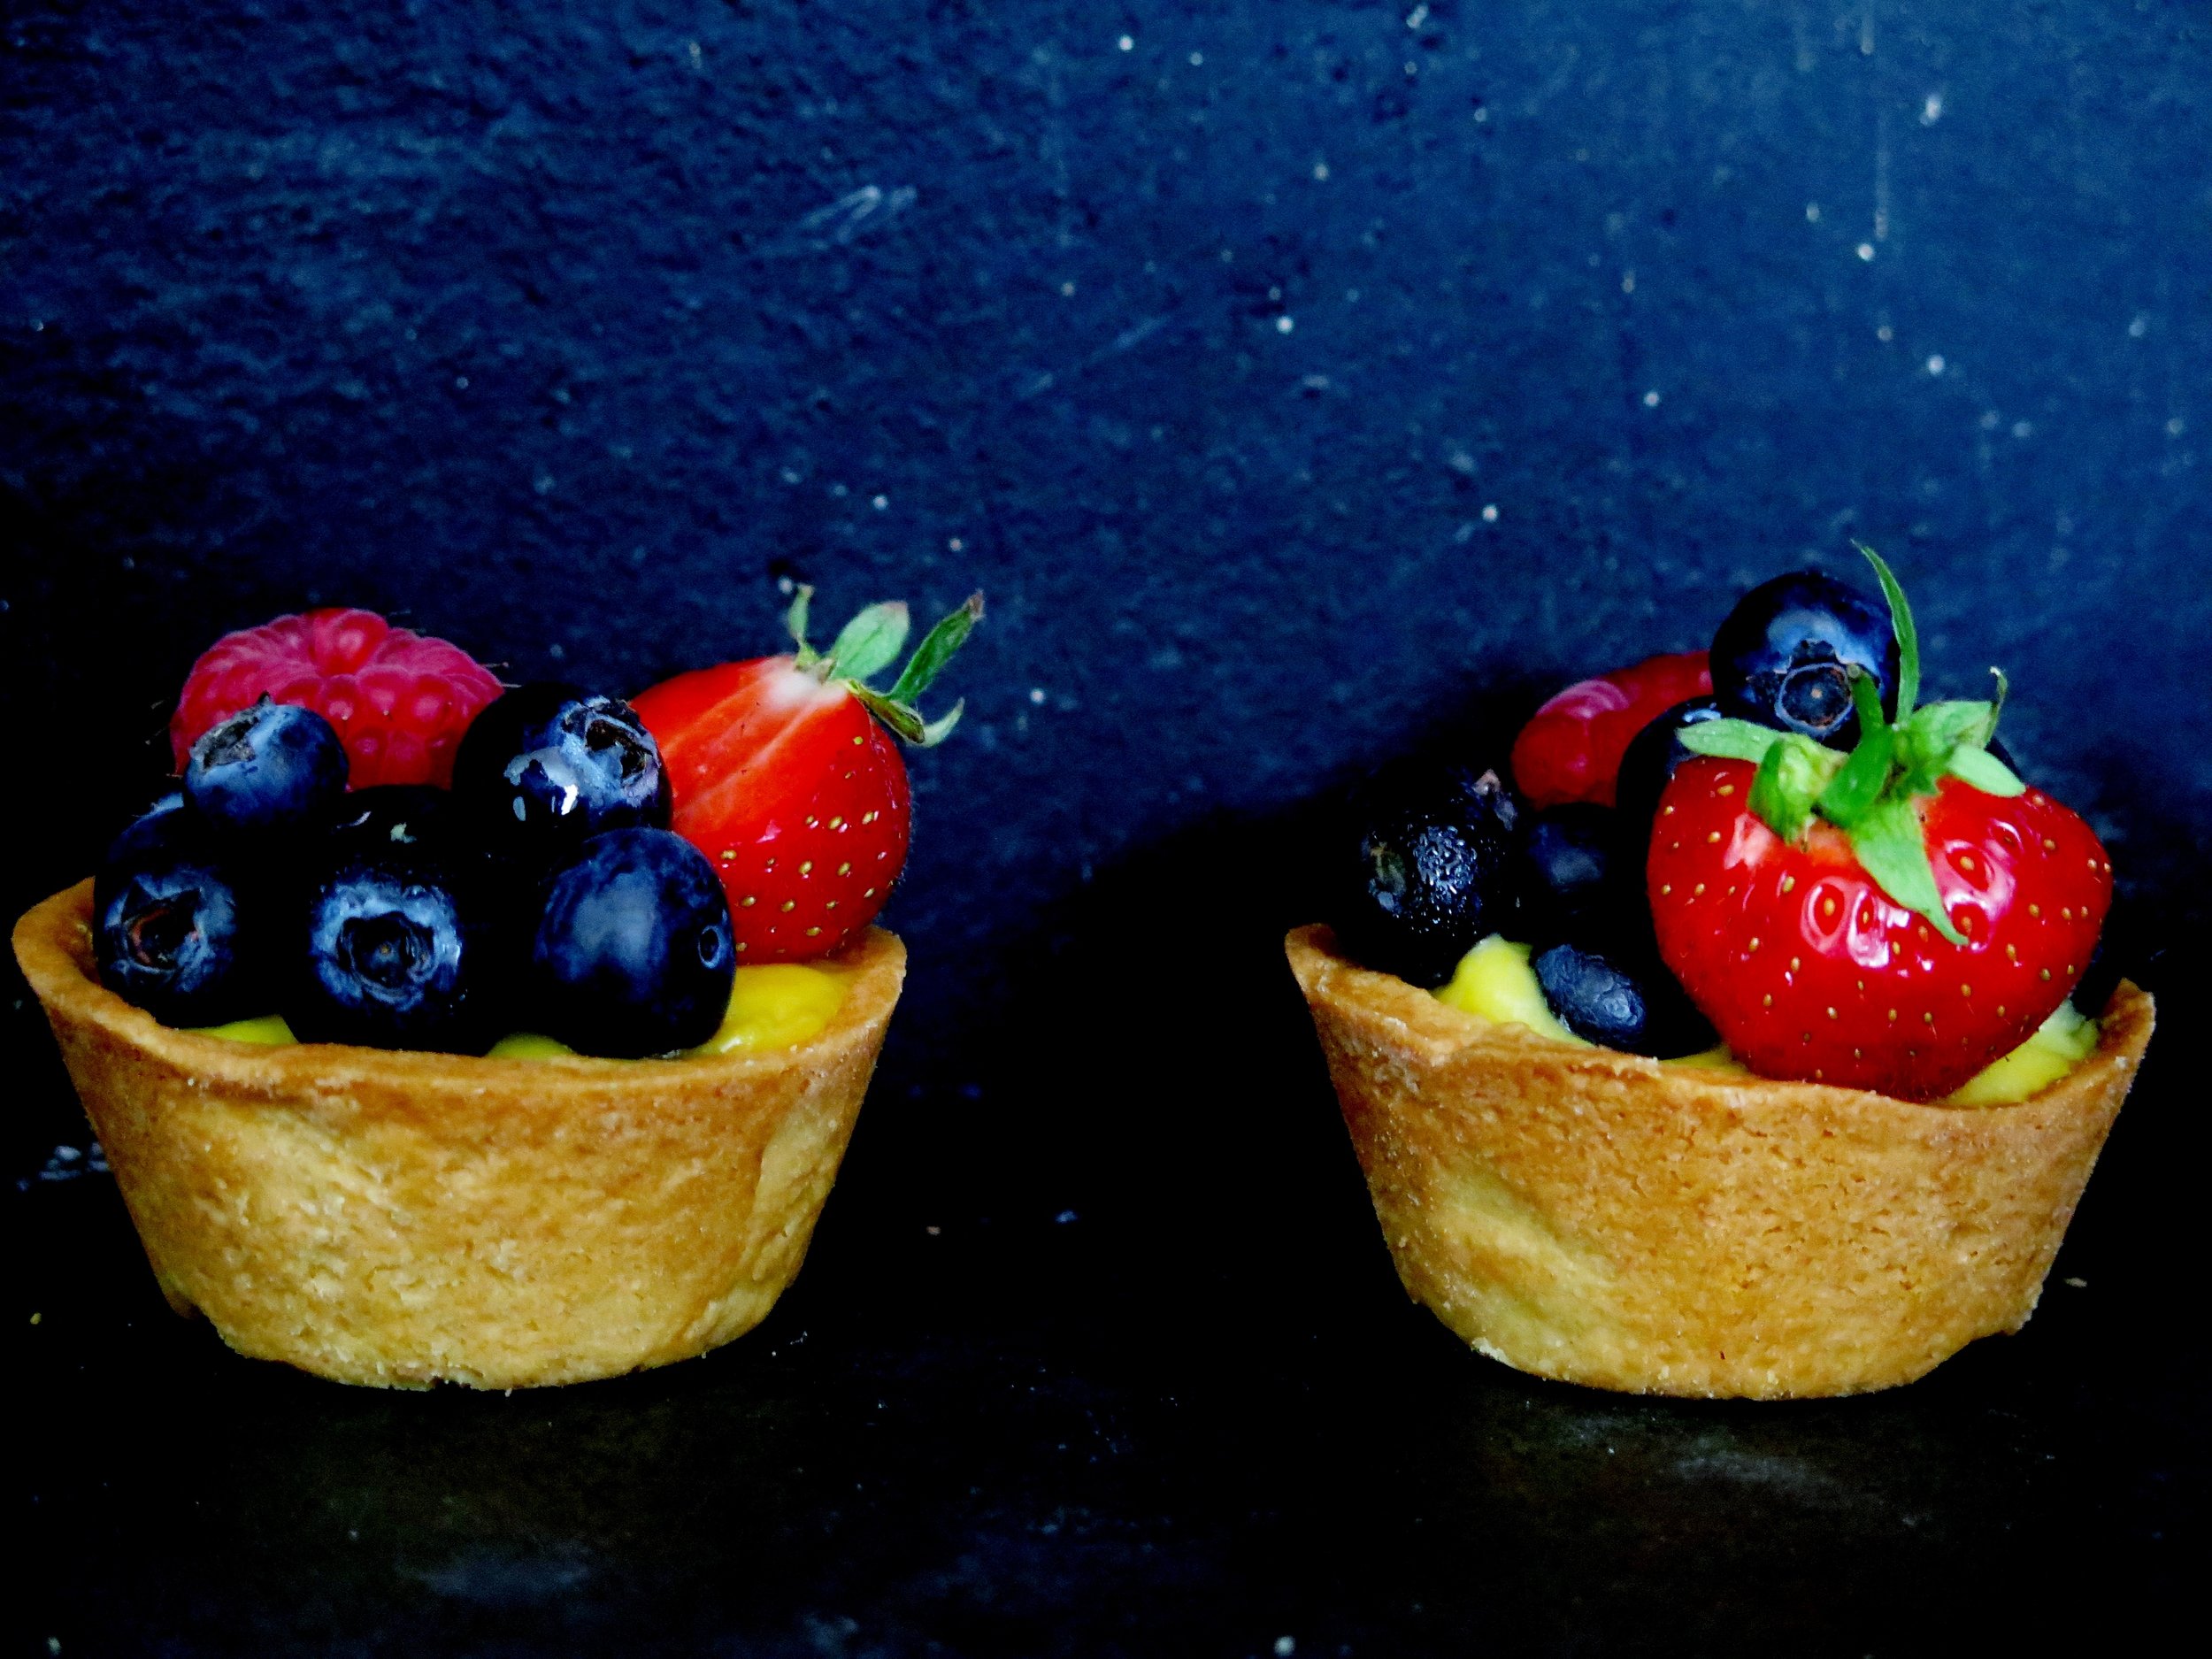
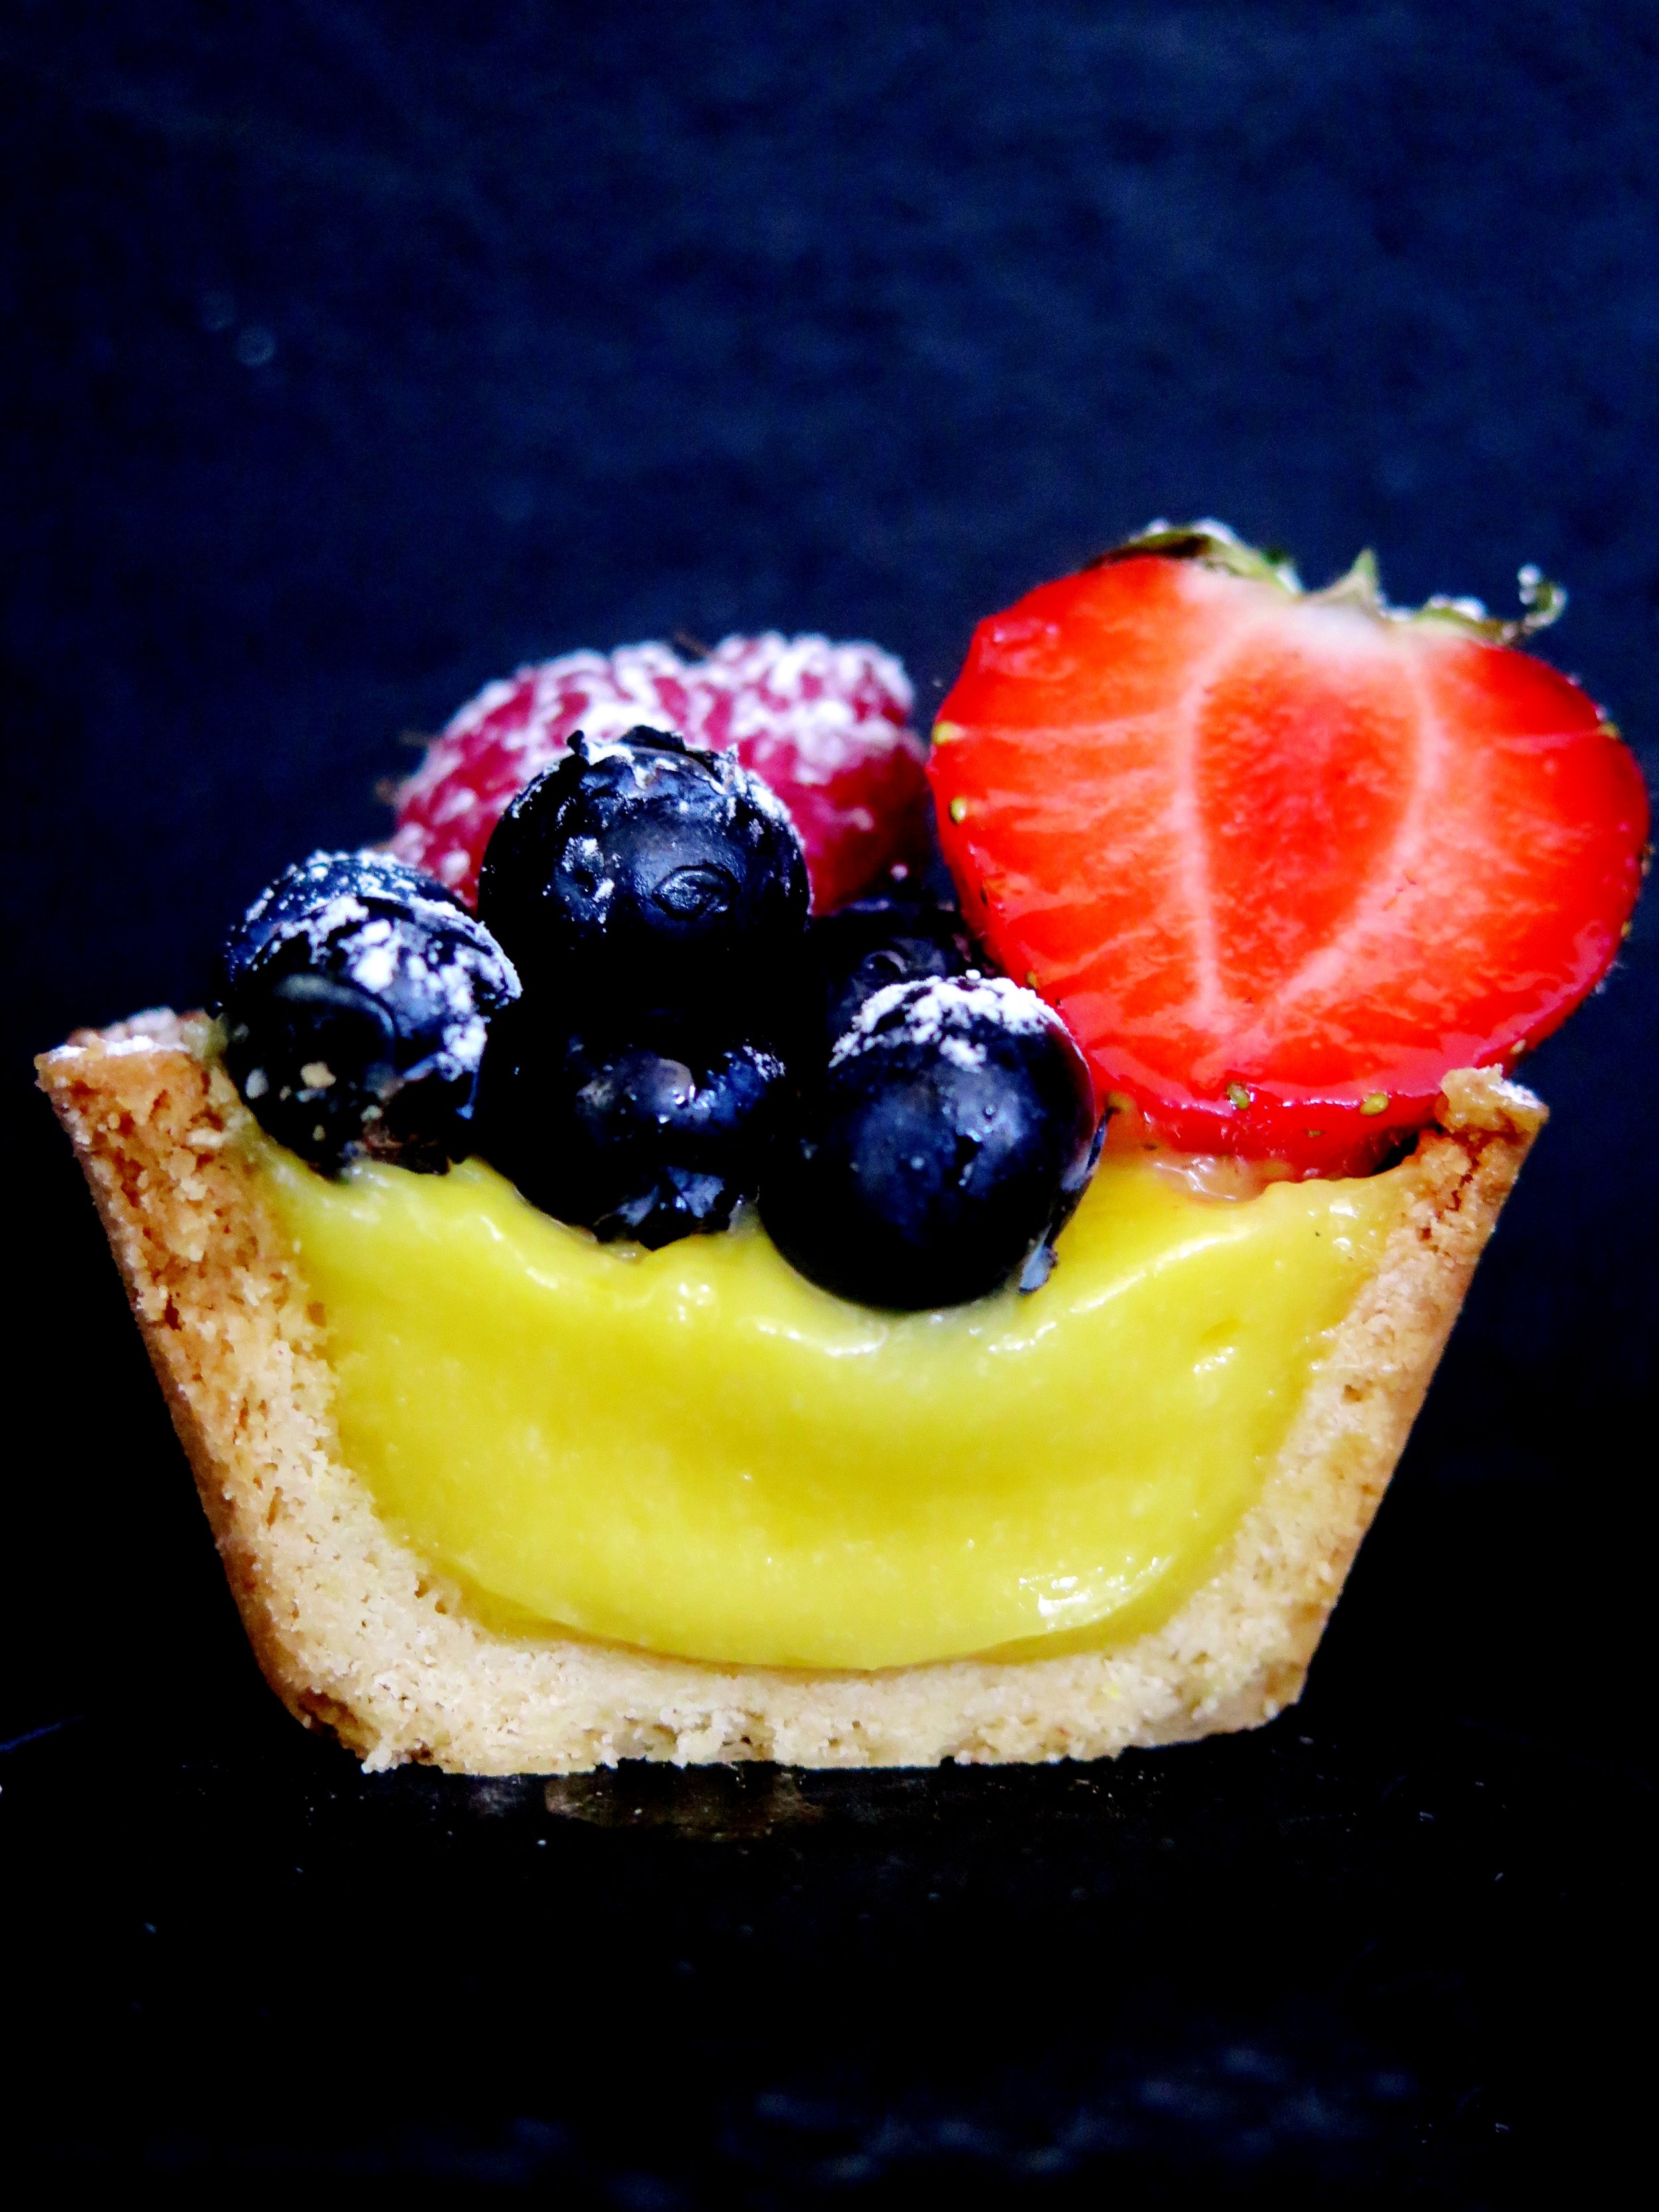
Notwithstanding my decade old aversion, I decided to venture into custard territory last week. And I found my cure: lemon curd-filled tarts.
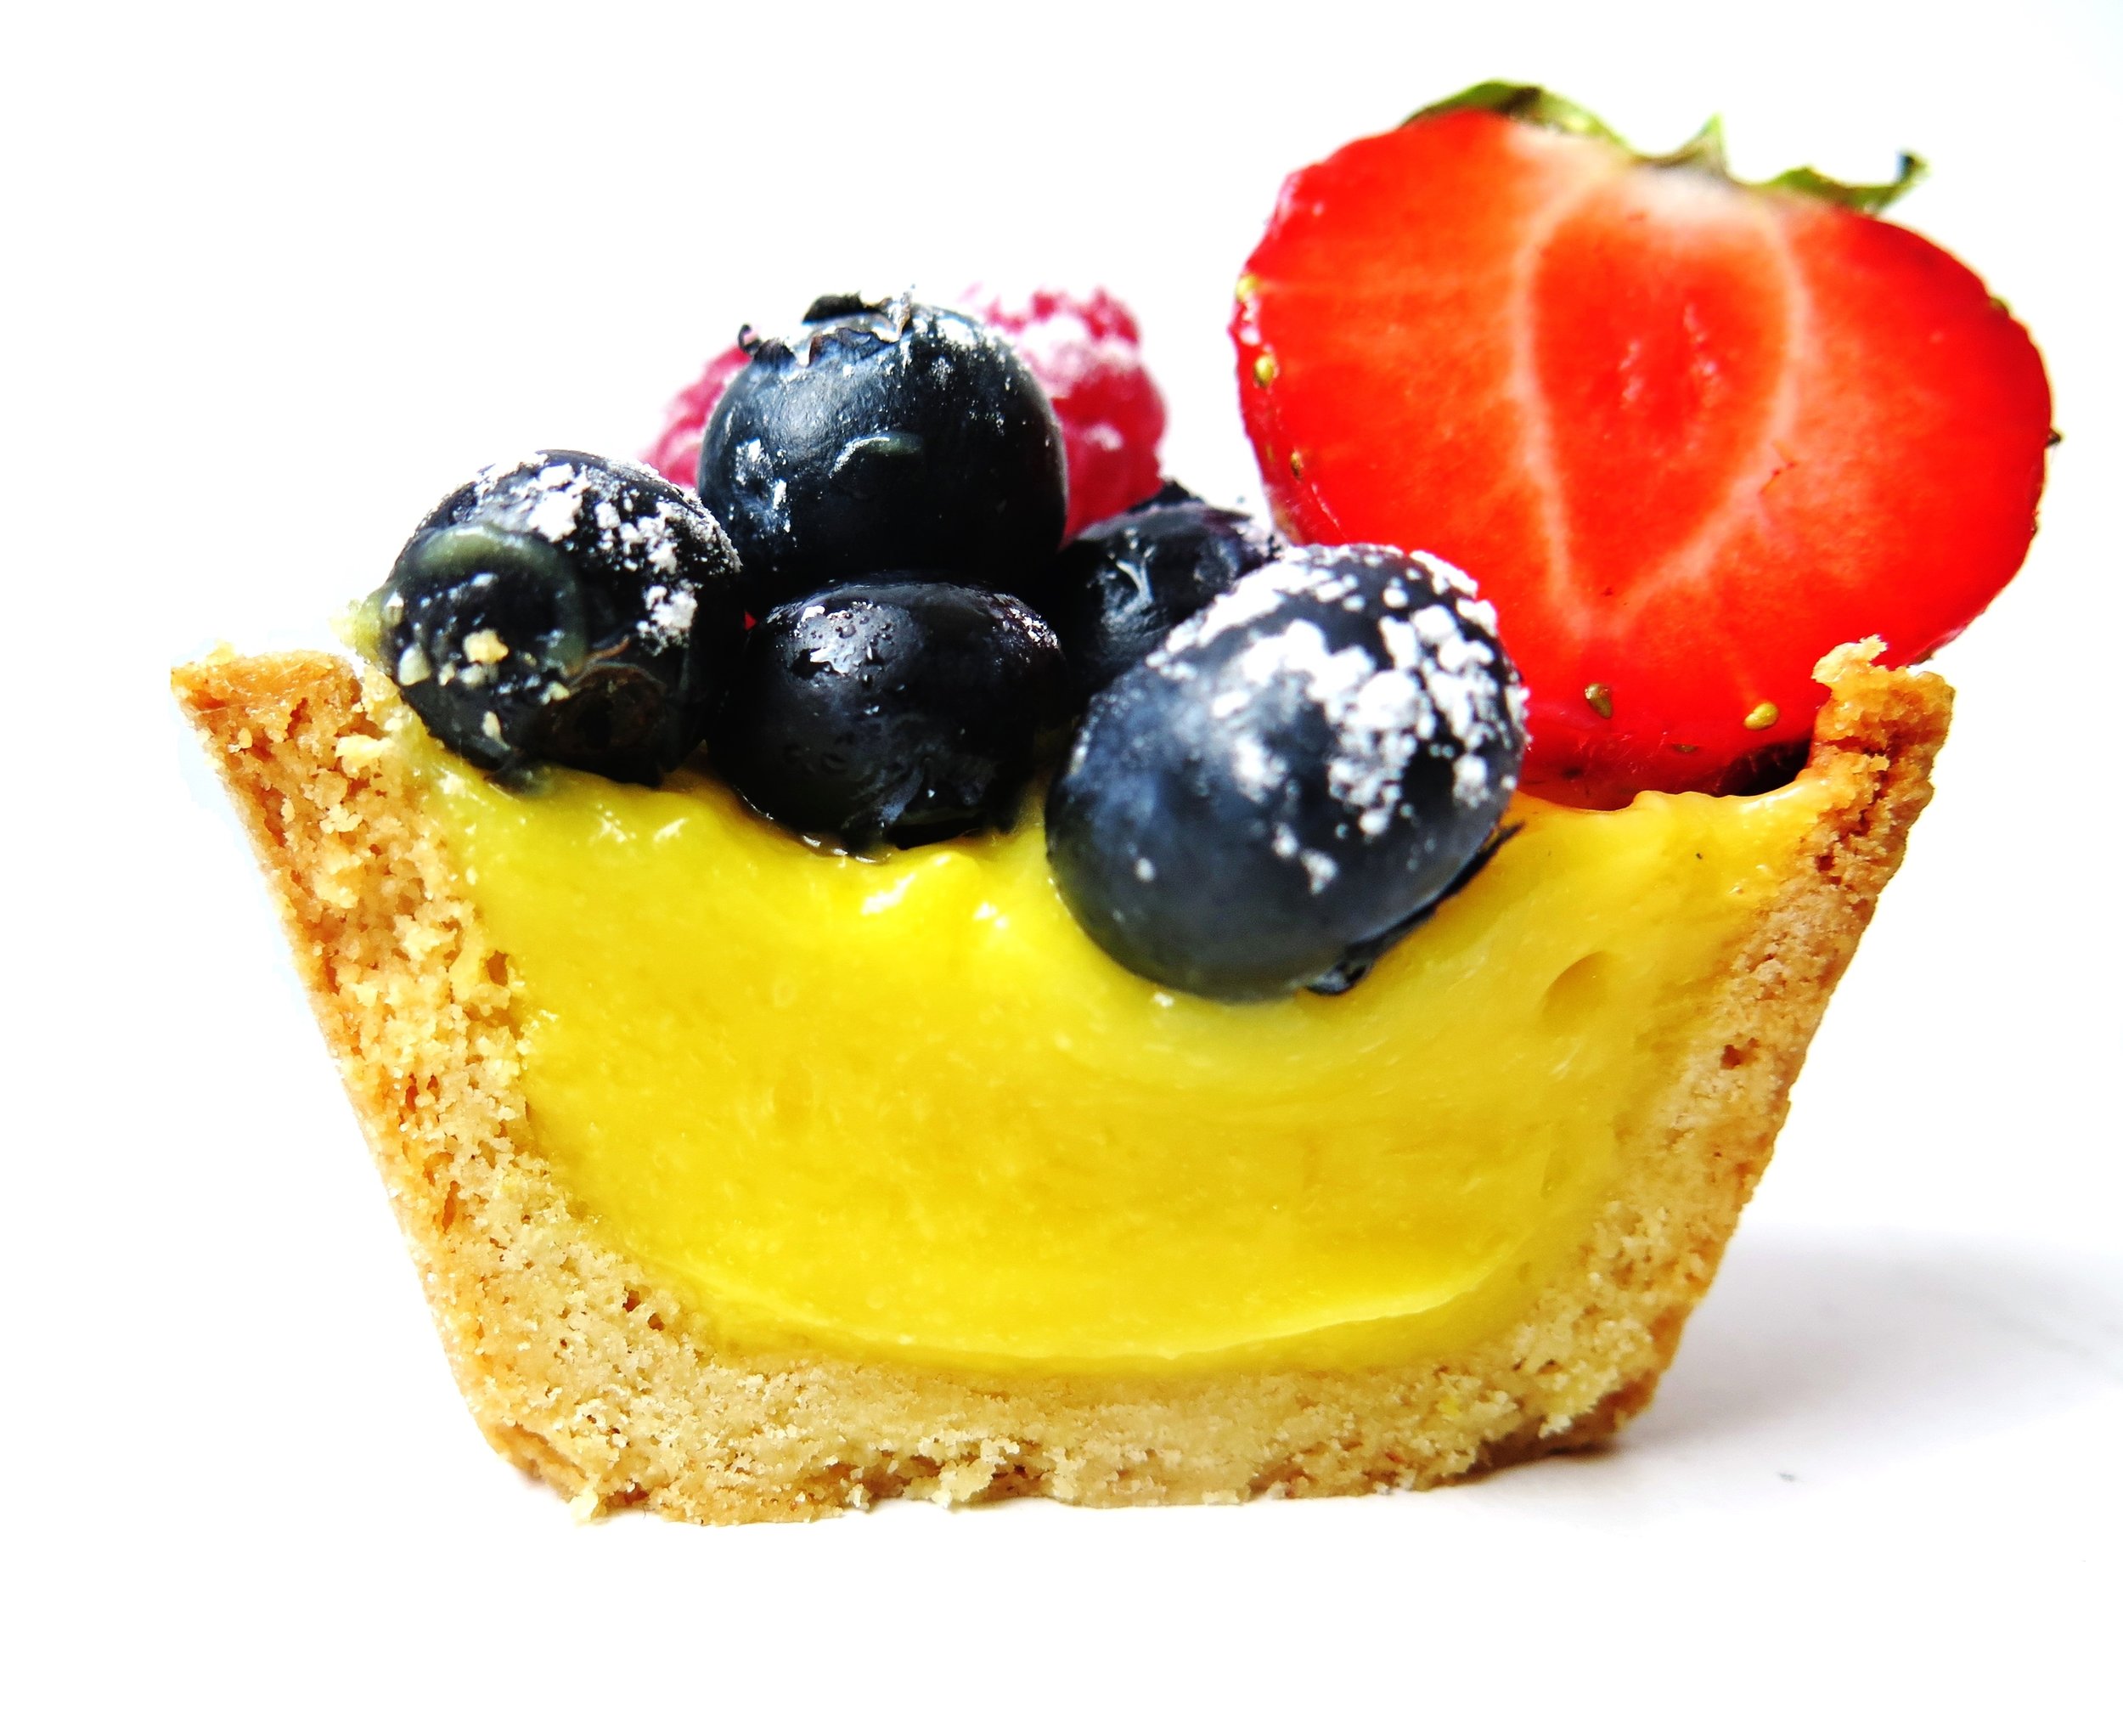
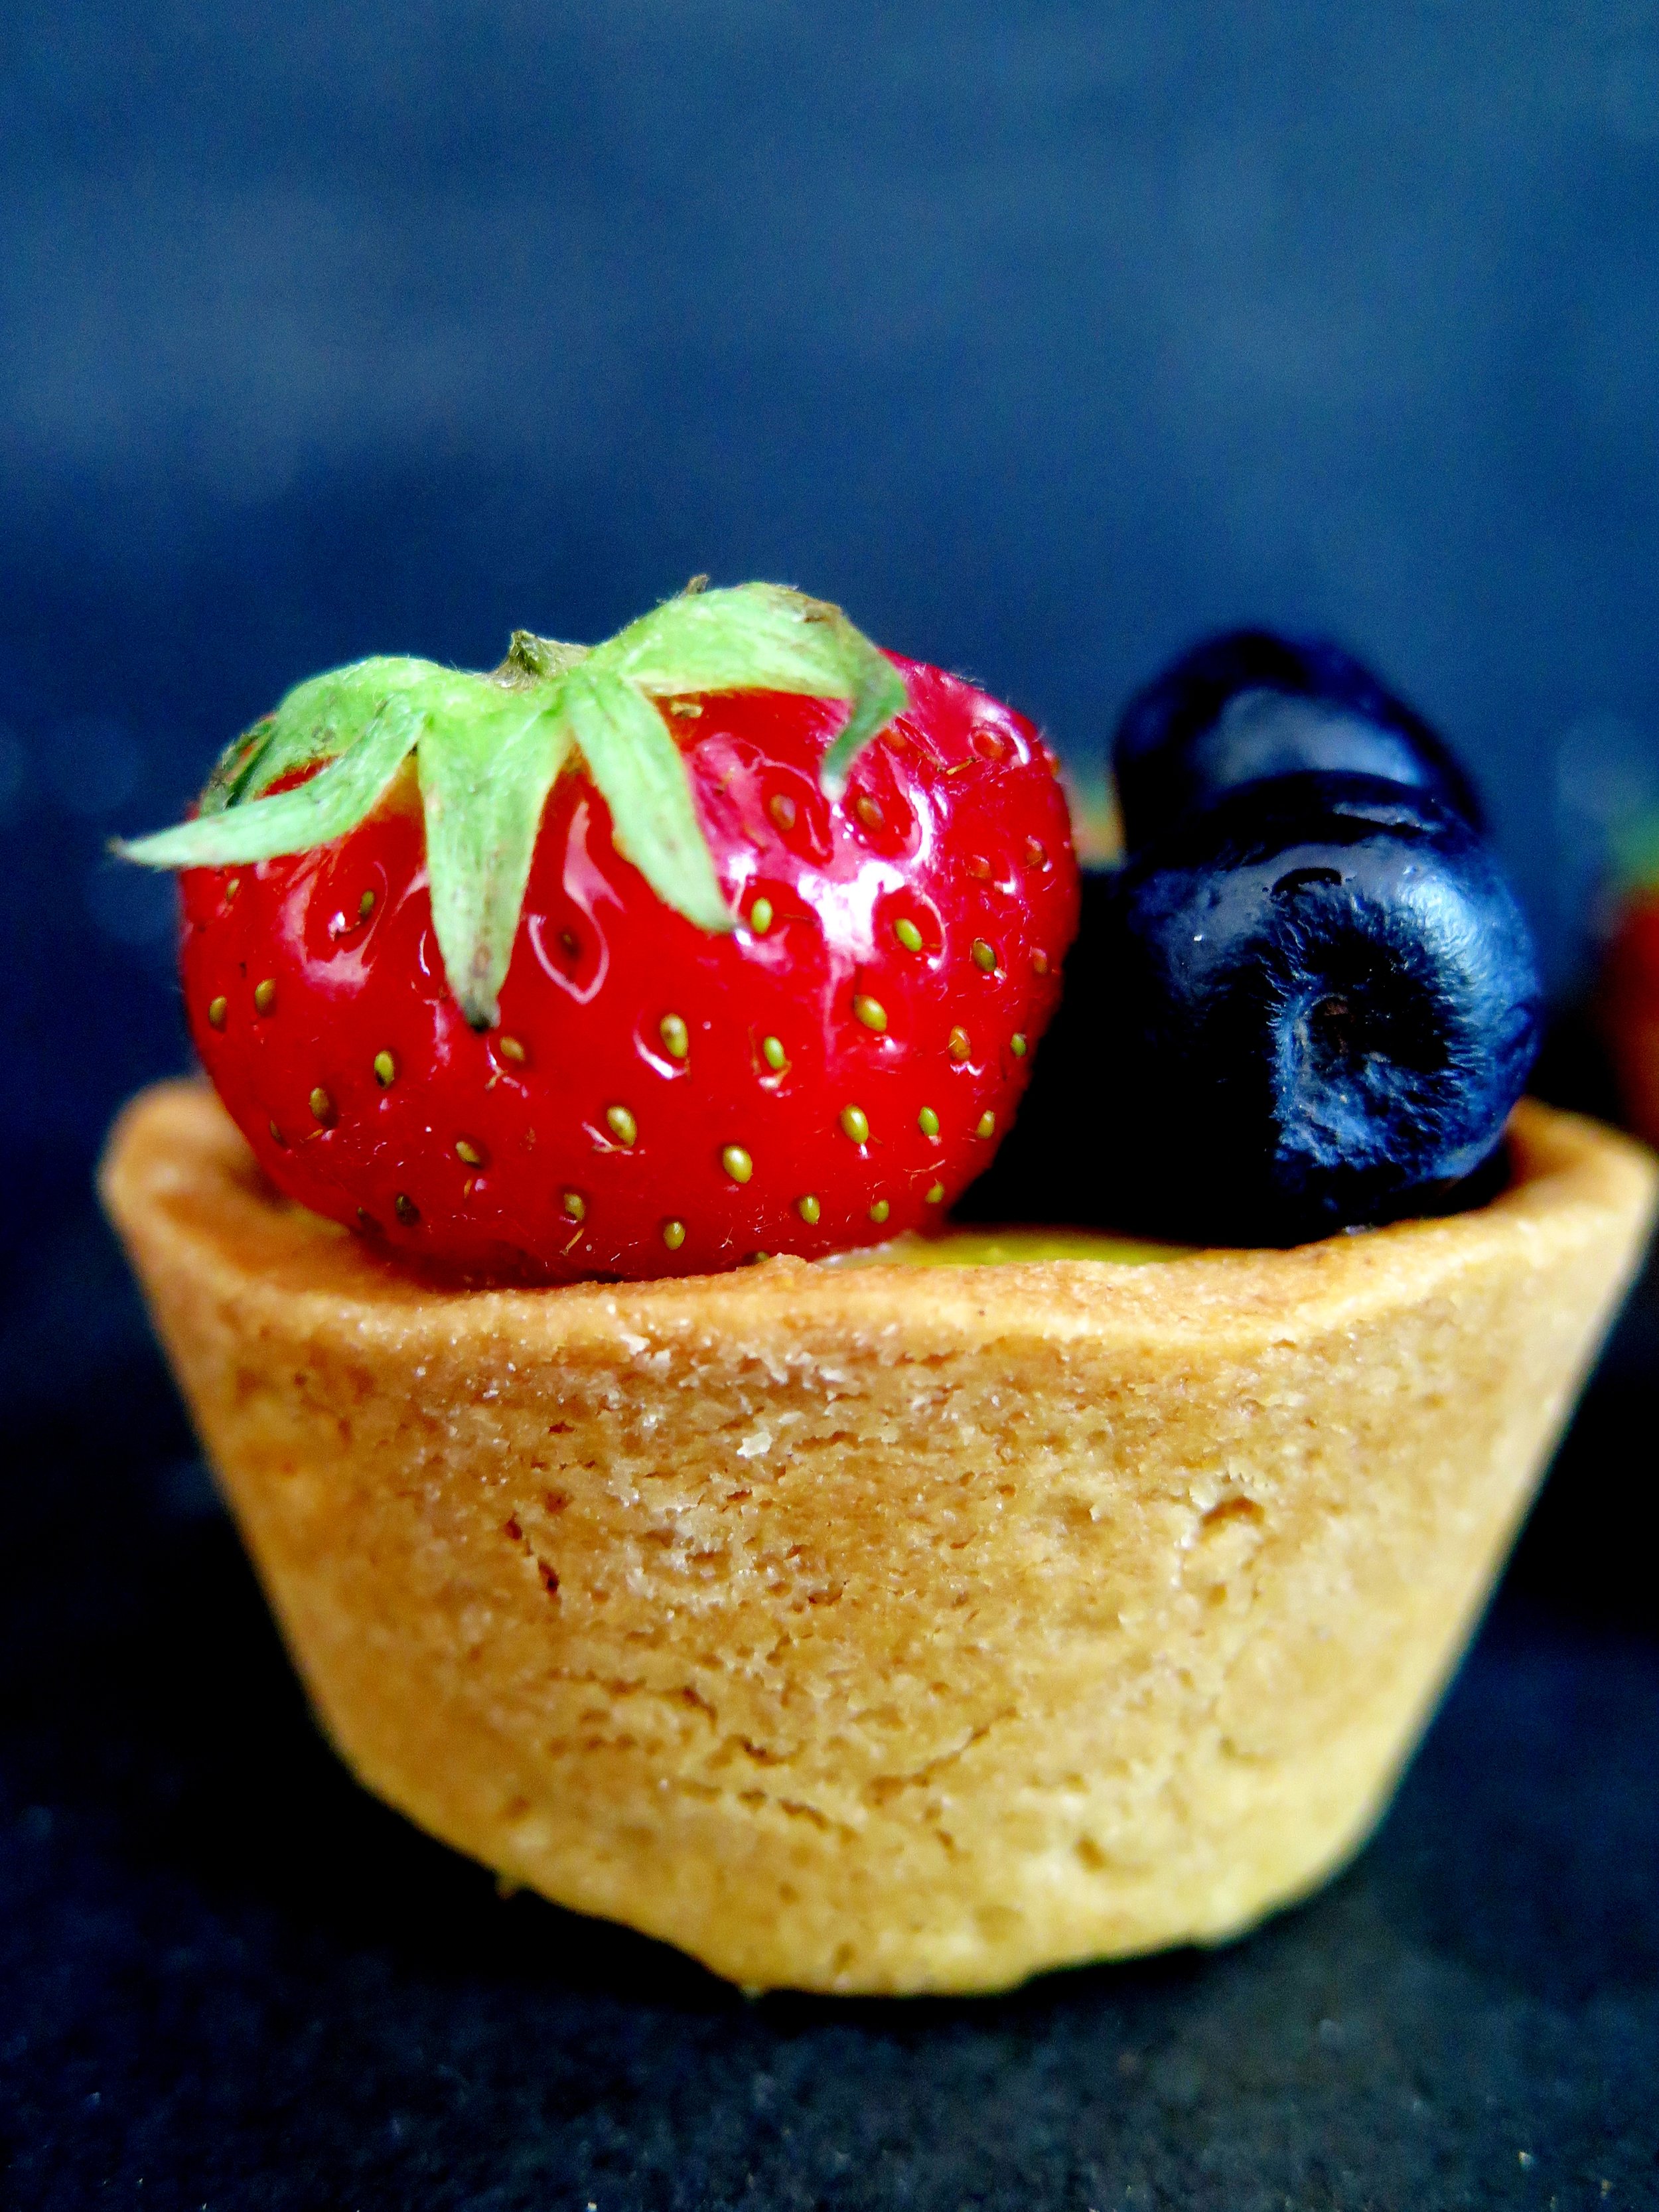
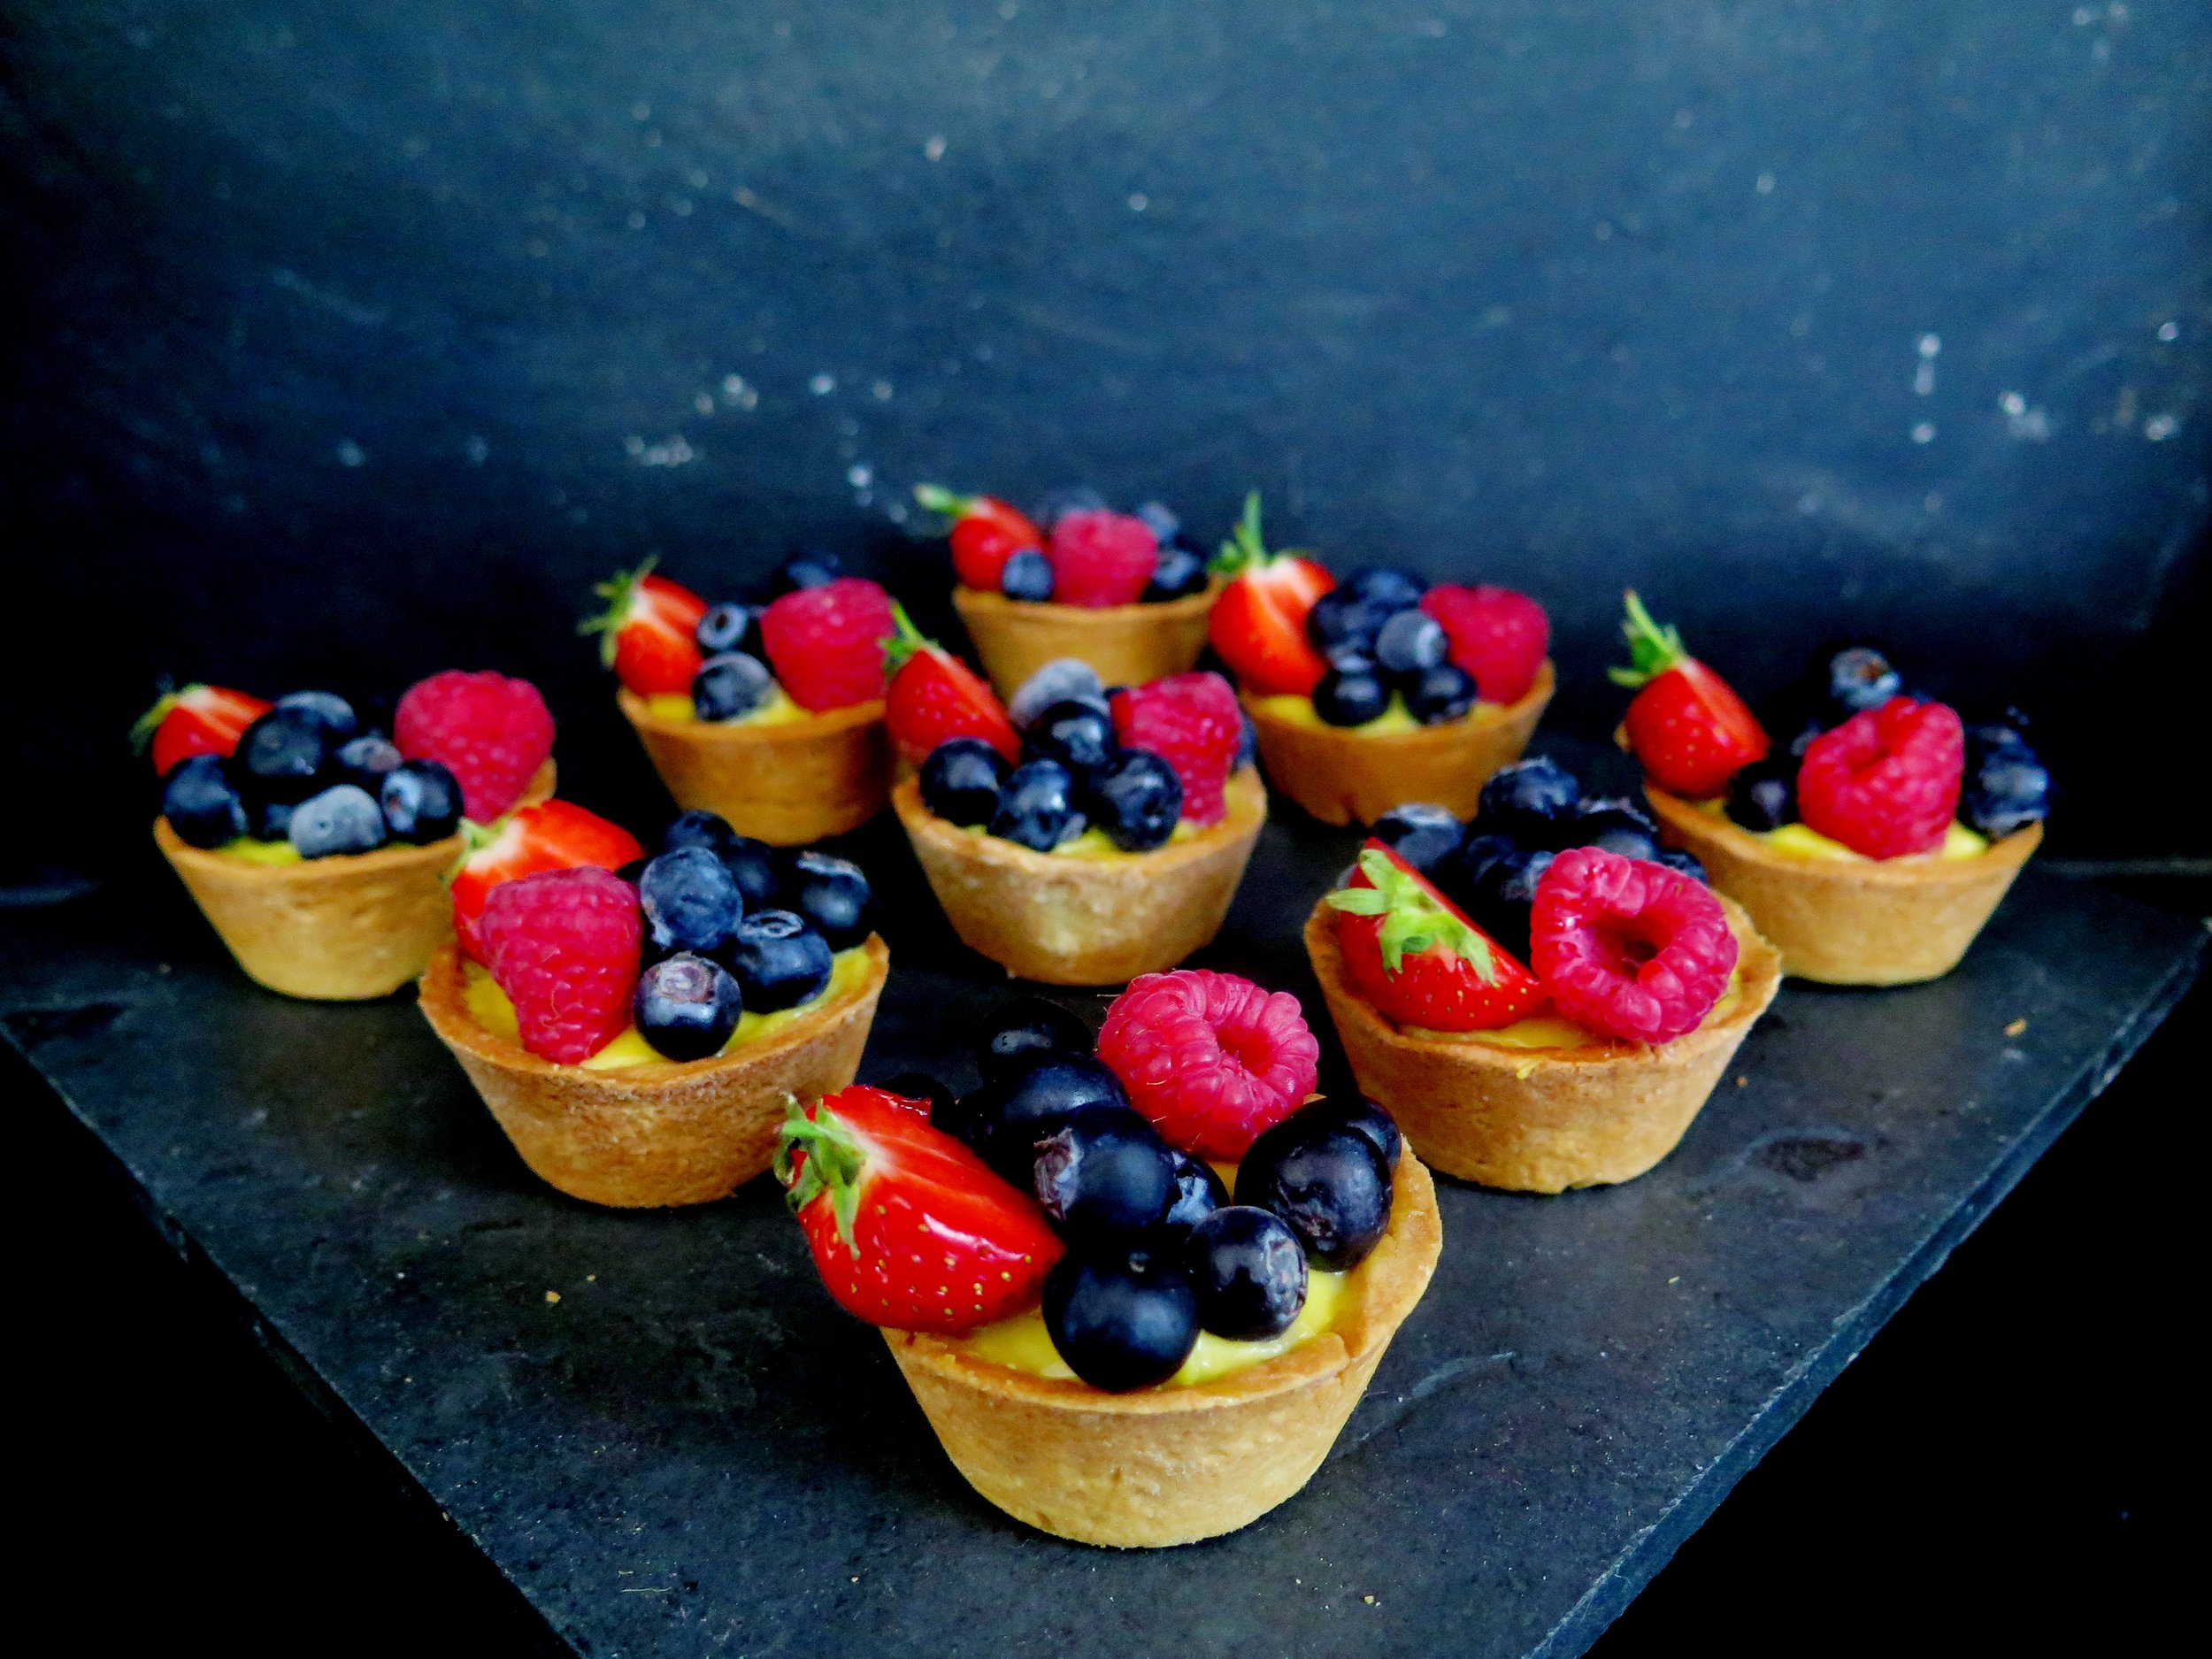
Made using both lemon juice and zest, paired with a lemon-infused tart shell, and partnered with fresh berries, these make a tangy and refreshing summer dessert.
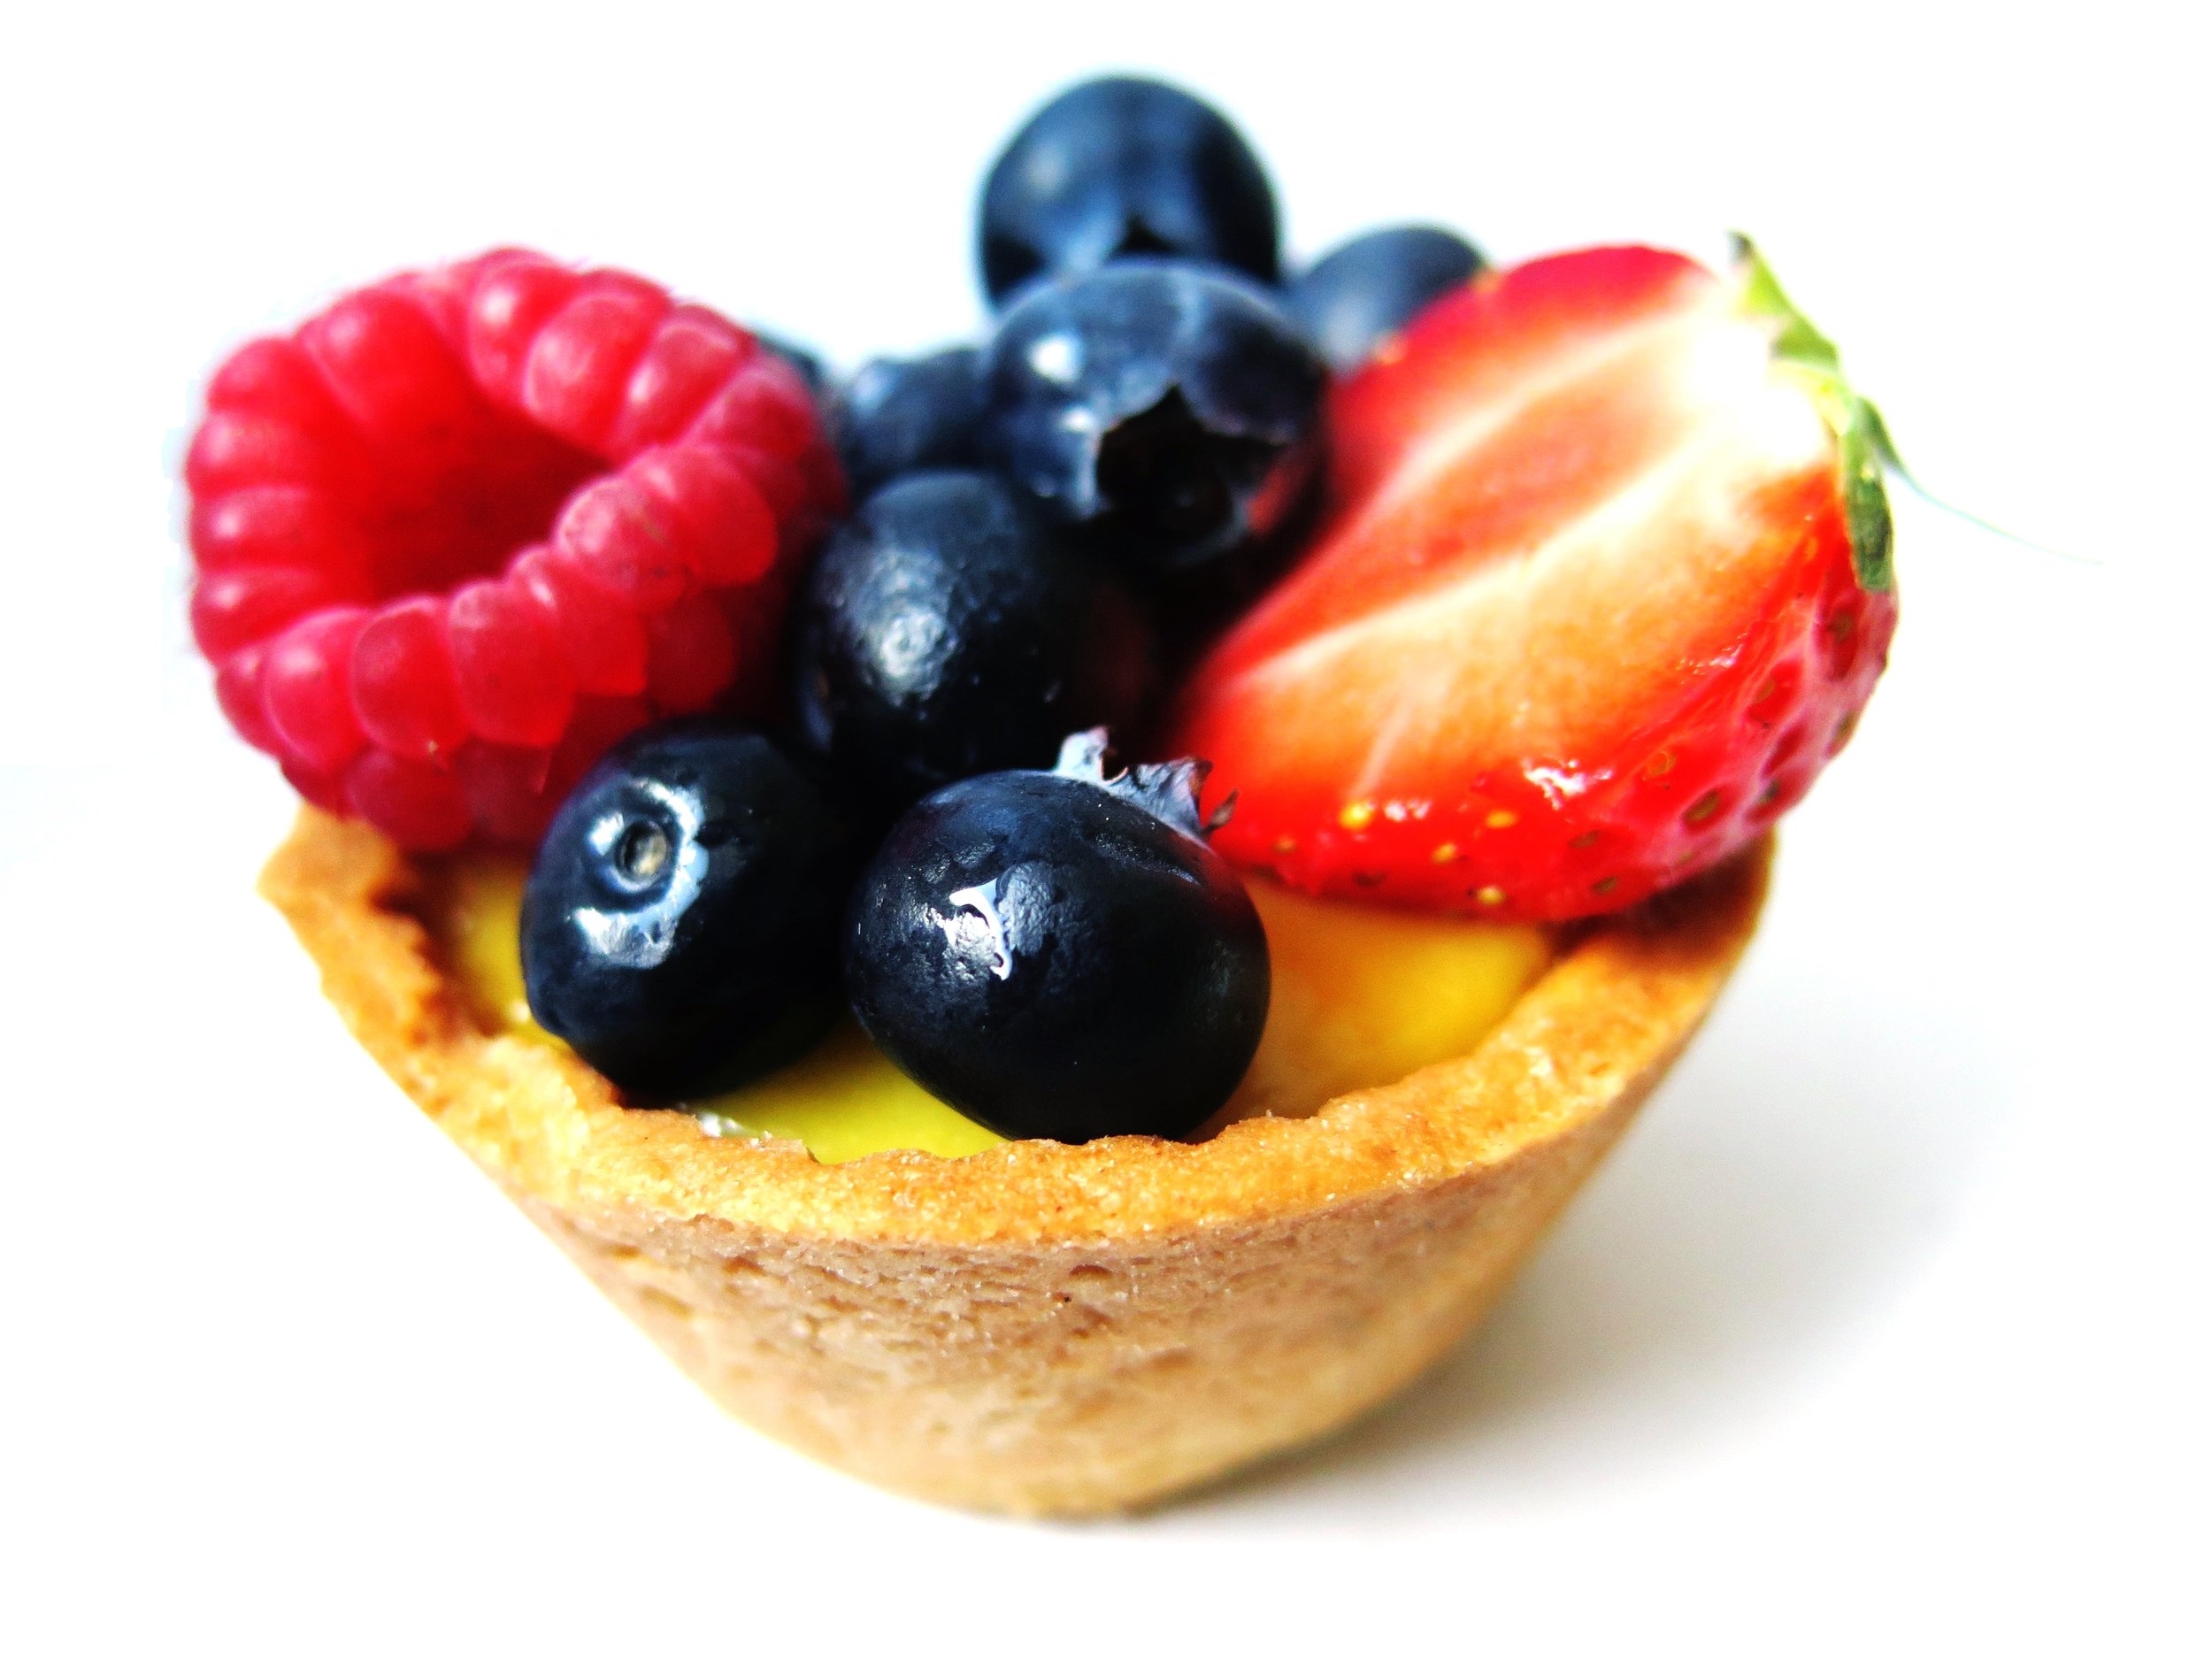
I use spelt flour in the pastry to add extra nuttiness and depth of flavour. It also has a lower GI than wheat flour. However, if you can't find it, you can substitute plain flour.
Lemon tart shells
360g white spelt flour (substitute with plain flour if unavailable)
110g icing sugar
Finely grated zest of 1 lemon
¼ tsp salt
190g cold unsalted butter, roughly chopped into small cubes
1 egg yolk
1 tsp vanilla extract
2 tbsp cold water
A 10cm pastry cutter
1 12-hole cupcake tin, greased with butter and then placed in fridge to chill
Baking beads or rice to weigh down the pastry while it bakes
12 cupcake cases
Lemon Curd
Finely grated zest of 4 lemons
200 ml lemon juice (4-6 lemons)
200g caster sugar
4 medium eggs
4 medium egg yolks
180g unsalted butter
1 baking tray with lipped sides
200g blueberries
150g strawberries
150g raspberries
Icing sugar for dusting
Method
Lemon pastry tart shells
- Blend together flour, sugar, lemon zest and salt in a food processor, and add in butter, pulsing to combine until the mixture resembles damp sand. Alternatively, if working manually, mix together the dry ingredients in a large bowl and rub the butter in with your fingers.
- Pour the egg yolk, vanilla and water into the mixture and pulse/stir until the mixture just comes together. Flatten the pastry dough into a disc , wrap in baking parchment/cling film and chill in the fridge for an hour, or freezer for 20 minutes.
- Preheat the oven to 150˚C.
- On a floured surface, roll half the dough out to the thickness of 2 or 3 mm, and cut the pastry into discs using the pastry cutter. Gently press the pastry discs into the prepared cupcake tin. You will find that there is some dough left over. This can be frozen for about a month.
- Set the cupcake cases into the pastry shells and fill them with the baking beads/rice to weigh the pastry down and prevent it from losing its shape during the bake.
- Bake in the oven for about 20-25 minutes until golden and firm to touch. If they have not turned golden by this point, remove the baking beads/rice and cupcake cases and bake for a further 5-10 minutes. Remove from the oven and set aside to cool. These can be made 2 or 3 days in advance and kept in an airtight container until you are ready to use them.
Lemon curd
- Place lemon zest, juice, sugar, eggs, egg yolks and half the butter in a saucepan over a medium-high heat and whisk continuously while the ingredients cook together. When the mixture has thickened slightly and threatens to stick to the bottom of the pan, reduce the heat and continue to whisk for another couple of minutes until thickened, whisking all the while. Off the heat, whisk in the remaining butter until thoroughly combined. It should be smooth and glossy.
- Sieve the curd over the baking tray, and spread it out with a spatula so that only a thin layer coats the tray. Cover the surface of the lemon curd with baking parchment or cling film and place the tray in the fridge for a minimum of half an hour or until it has cooled and become slightly firmer. Alternatively, place the tray in the freezer for 20 minutes.
Assembly
Arrange the pastry shells on a serving plate and spoon in the lemon curd (roughly 3 tsp per case). Top generously with the berries and dust with icing sugar just before serving. They can be kept in the fridge for up to 6 hours before serving; longer than that they tend to become soggy.
