When life gives you … quinces

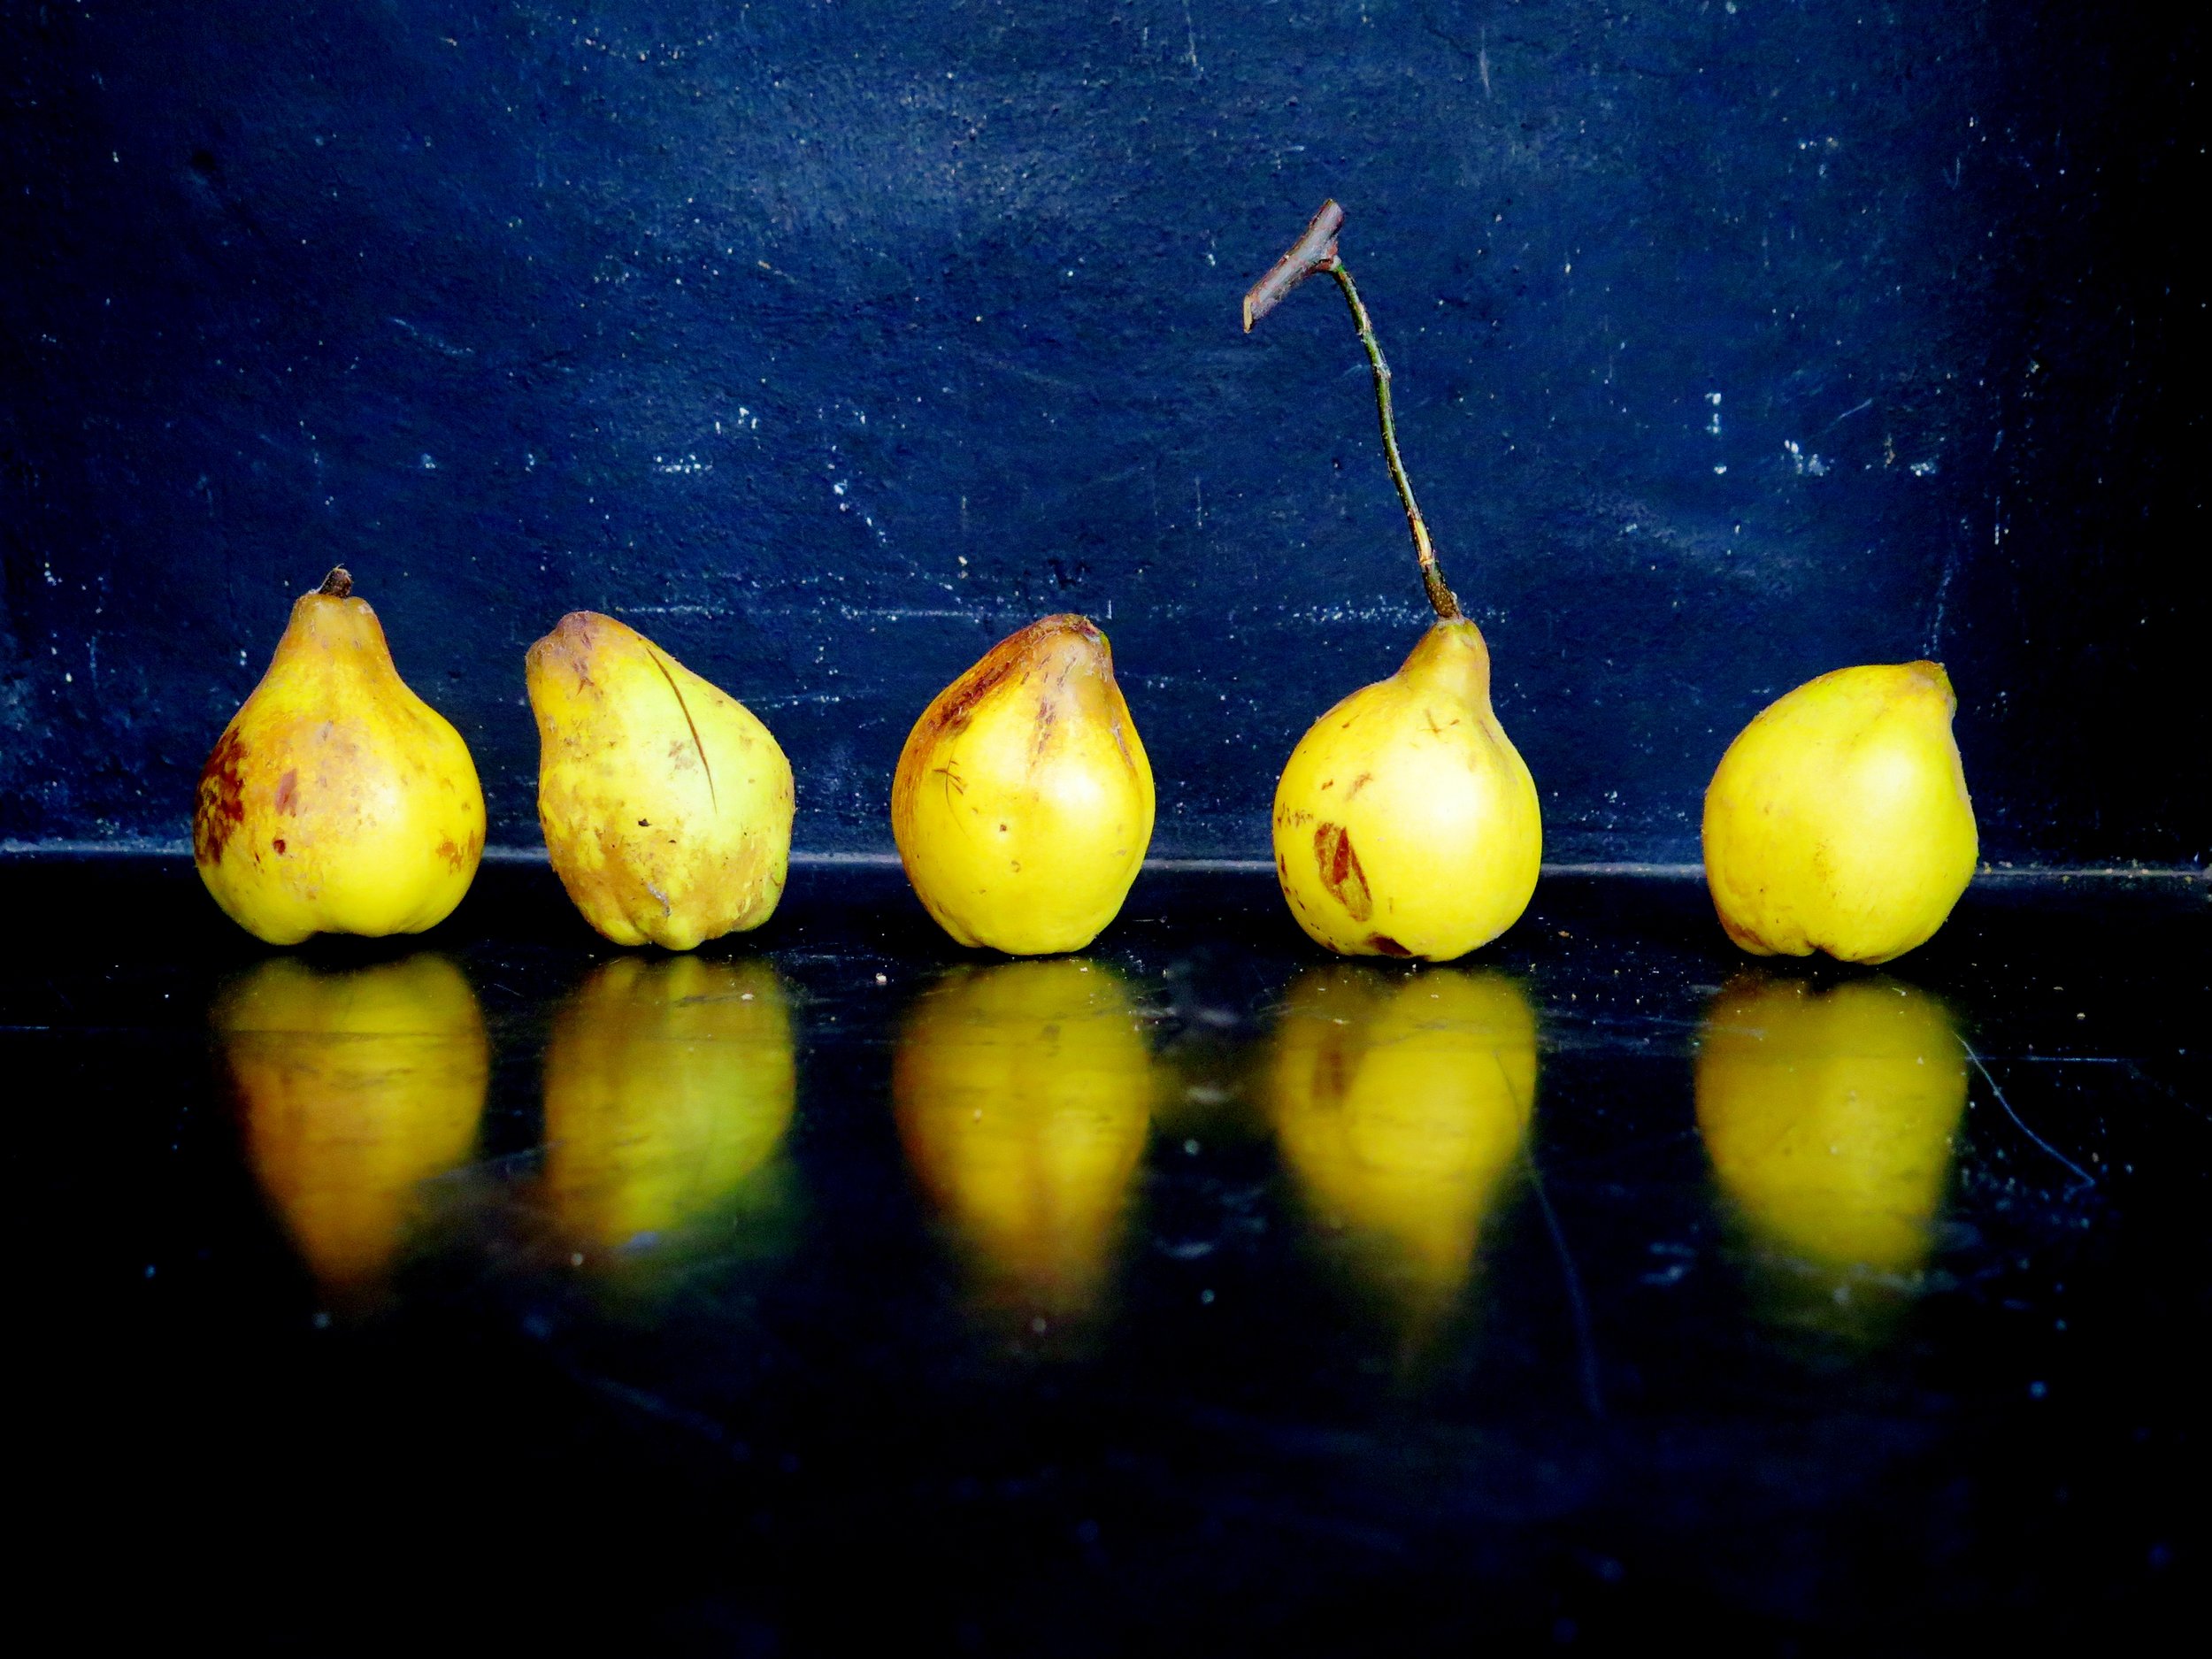
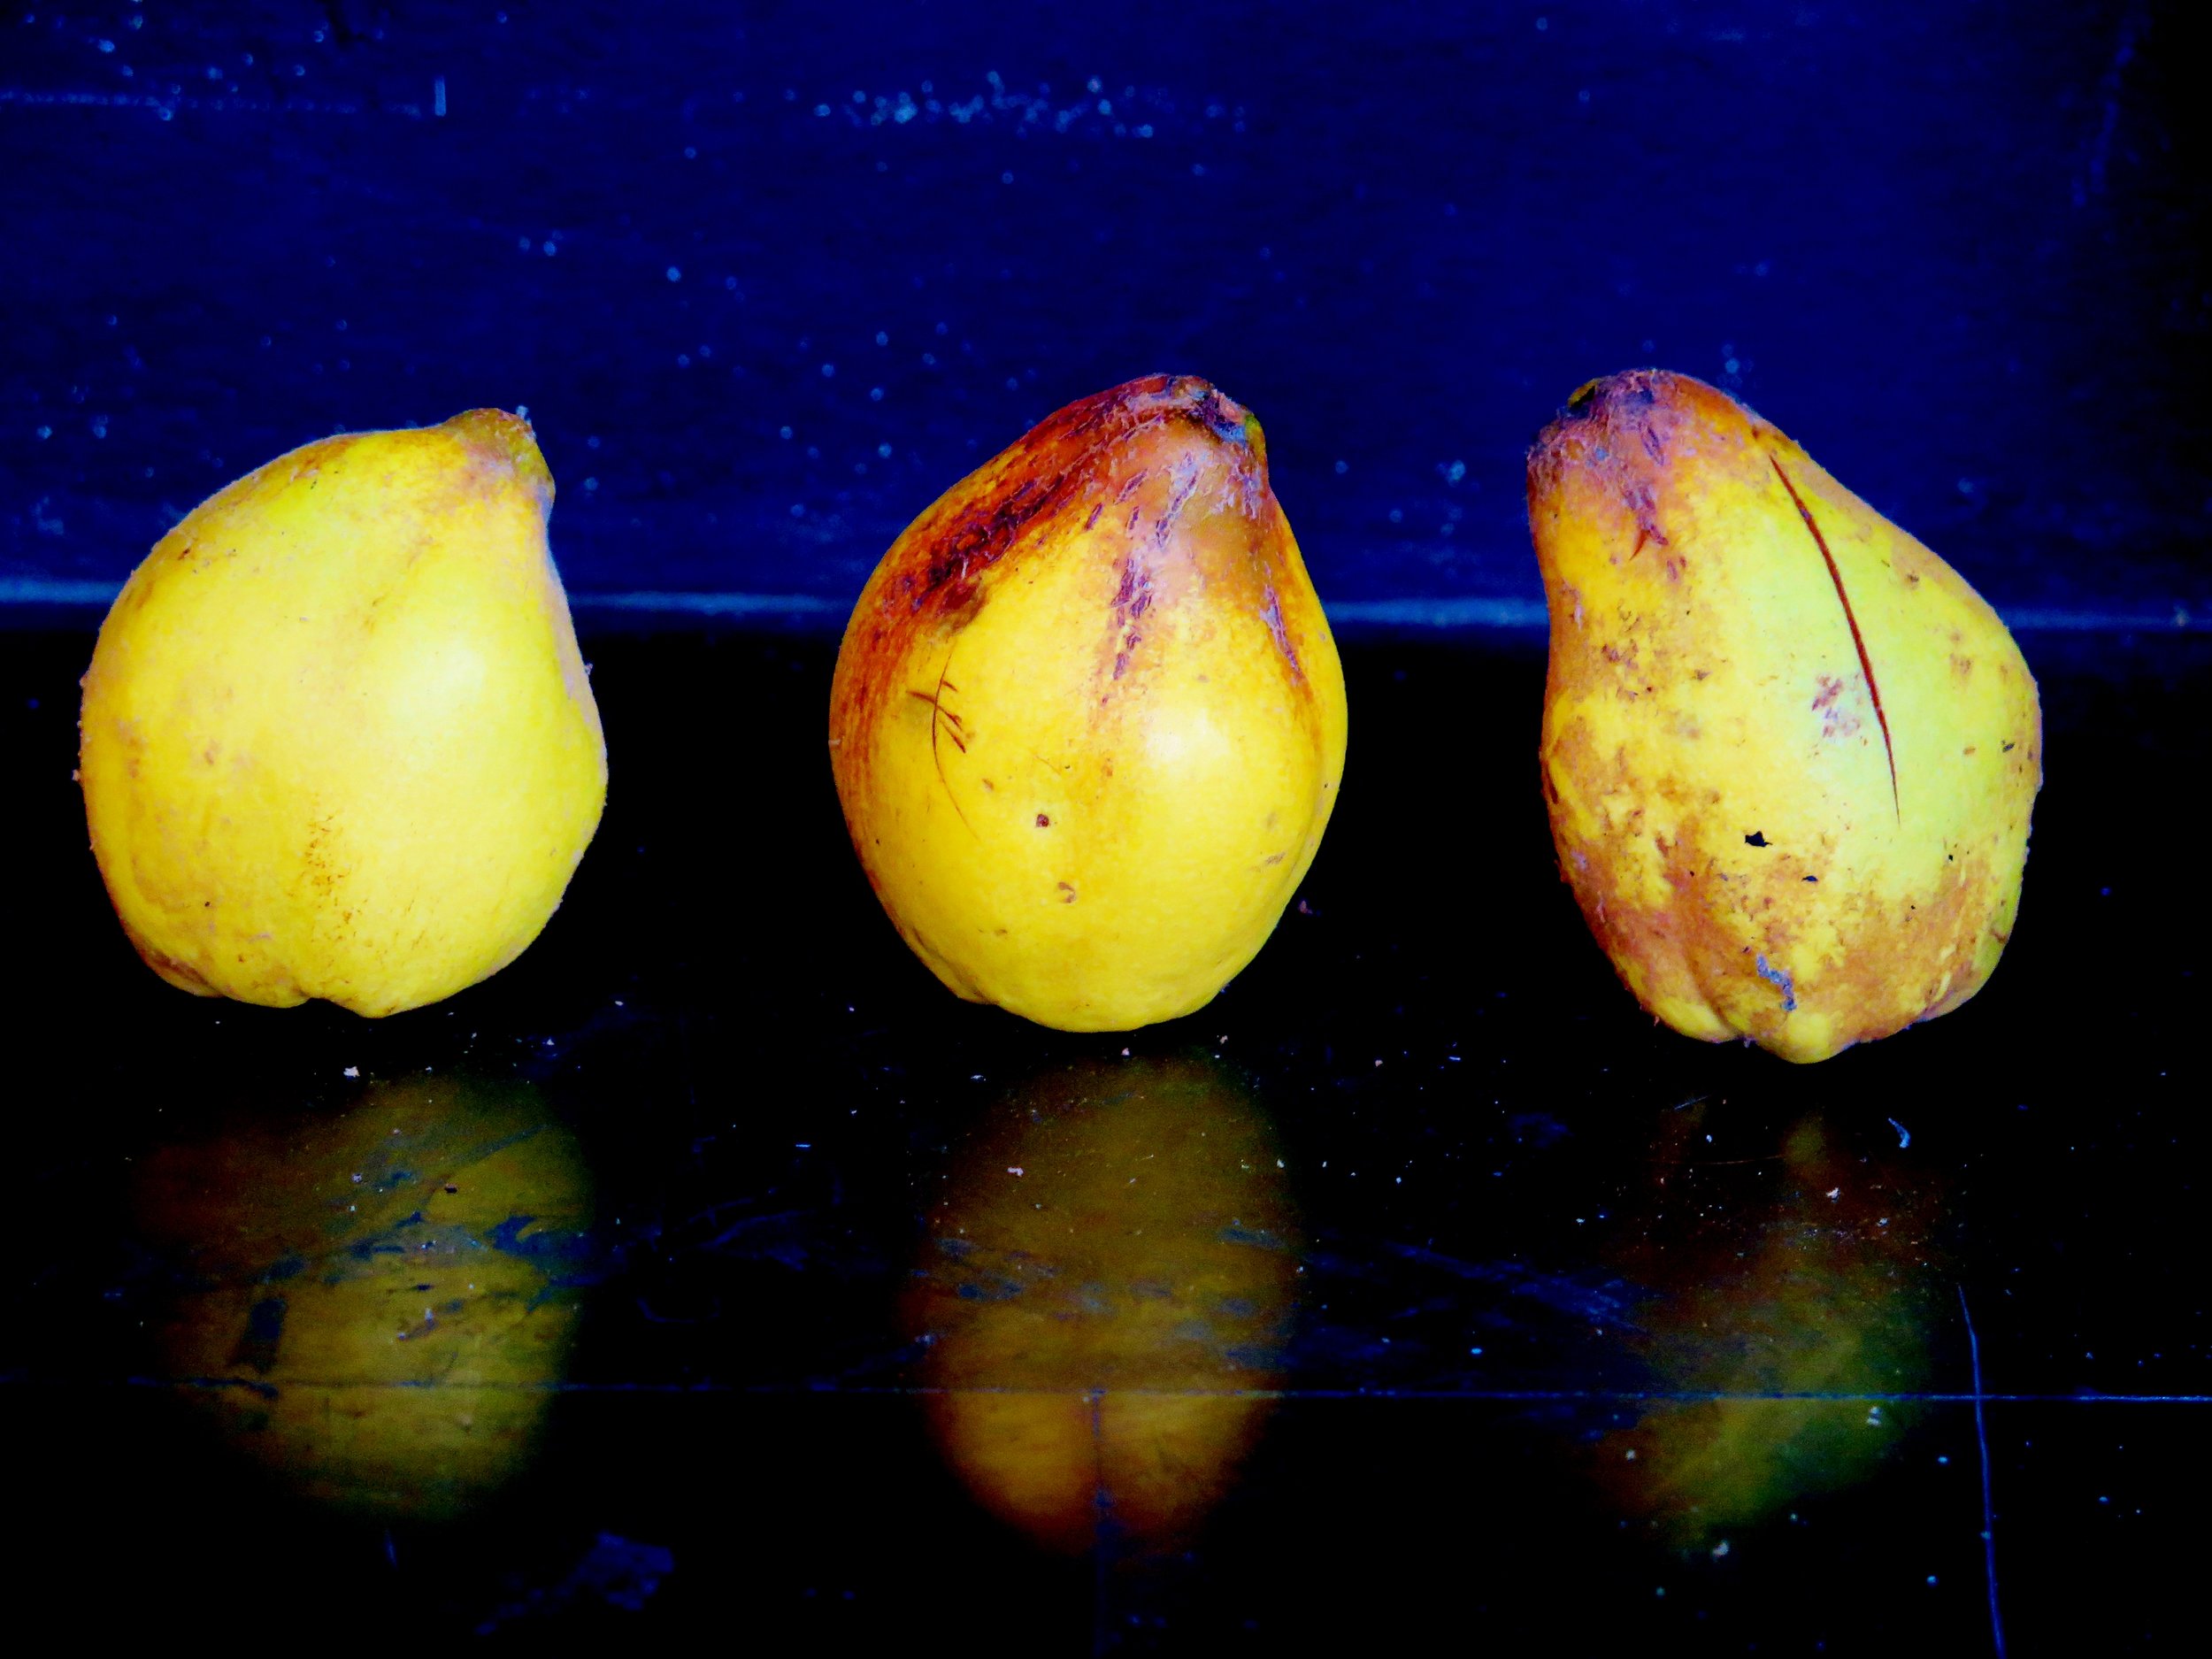
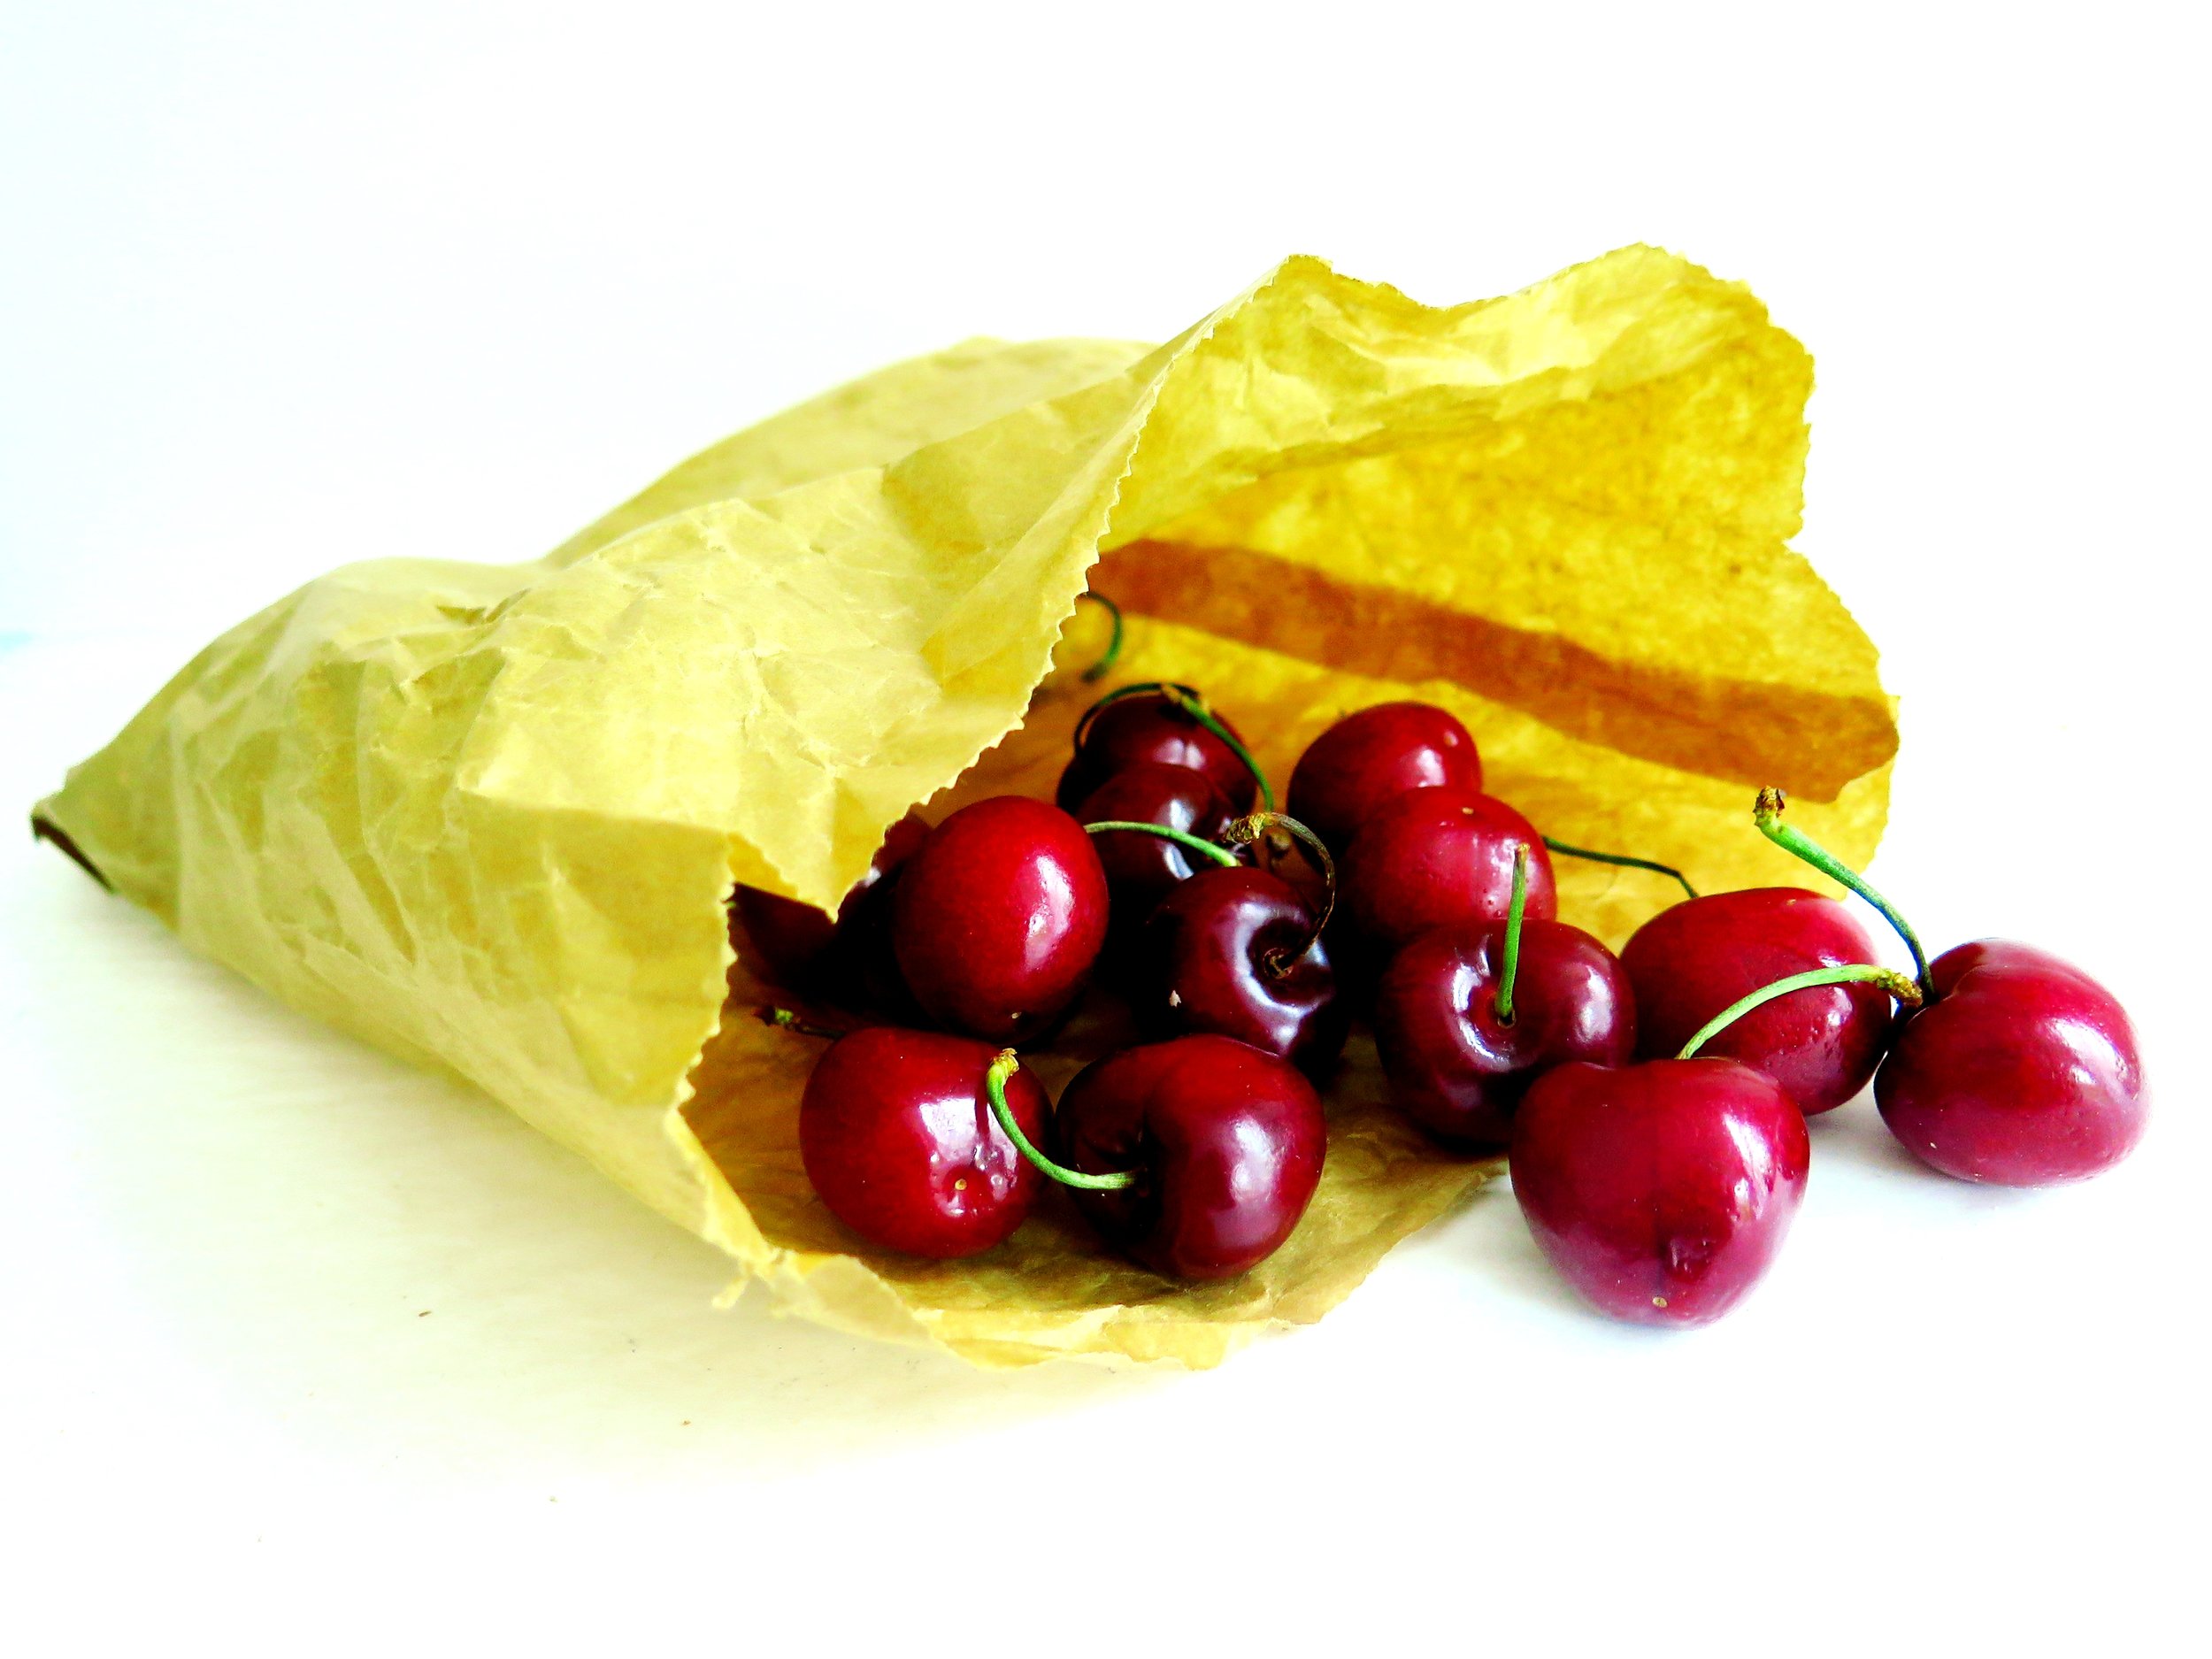
The scent coming from the paper bag was soft and sweet, and old fashioned rose-like, and when I turned out its contents, eight yellow, somewhat misshapen apple-pears tumbled out.
 These quinces were the unwanted fruit of an unappreciated tree in someone else’s garden. Beguilingly biblical in appearance, their uncompromising hardness metamorphoses into something utterly different after cooking.

 Originally referred to as the Kydonian melon, and mentioned in 6th Century BCE Greek poetry, the quinces we recognise today are believed to have been indigenous to Kydonia on the island of Crete. The Ancient Greeks dedicated the quince to Aphrodite, goddess of love and beauty, who was often represented with the golden apple of Hesperides in her right hand – that apple, in all likelihood, a quince. Indeed, quinces symbolised love and fertility, and Plutarch refers to the ancient wedding ritual whereby a bride would take a bite from a quince before retiring to the bridal chamber with her husband – possibly to freshen her breath, too.
 The path of the wedding procession of Helen and Menelaus was said to have been strewn with quinces, myrtle leaves and crowns woven from violets and roses. The fruit was also said by Pliny to have warded off the malign influence of the evil eye, and its medicinal value as an aid to digestion was also noted.

The Byzantines made wine from quinces as well as kydonaton, a thick quince jelly, probably the ancestor of French cotignac or condoignac, a delicacy made with honey, wine and spices that was considered a worthy gift for kings.
 Apicius, the first extant Roman cookbook writer, of the first century CE, preserved quinces whole in honey diluted with a spiced wine reduction, and also combined them with leeks, honey, and broth in hot oil in a dish known as Patina de Cydoniis. In the 4th Century CE, Palladius, an agriculturist and writer, composed a recipe for baked quince strips, possibly the first stirrings of membrillo, the Spanish quince gel that we know today.

During the 16th and 17th centuries, cooks in England prepared many variations of quince preserves which they called quidoniac, quiddony or paste of Genoa. Often the preserve paste was thick enough to be moulded into animal or flower shapes. Nowadays, many cultures use quinces in their cuisine: in India, a quince sambal is made by making a puree out of quinces, onions, chillies, orange juice and salt. In Iran, quinces are sometimes cored and stuffed with minced meat, and Moroccan tagines often include quince along with dried fruit and spices.

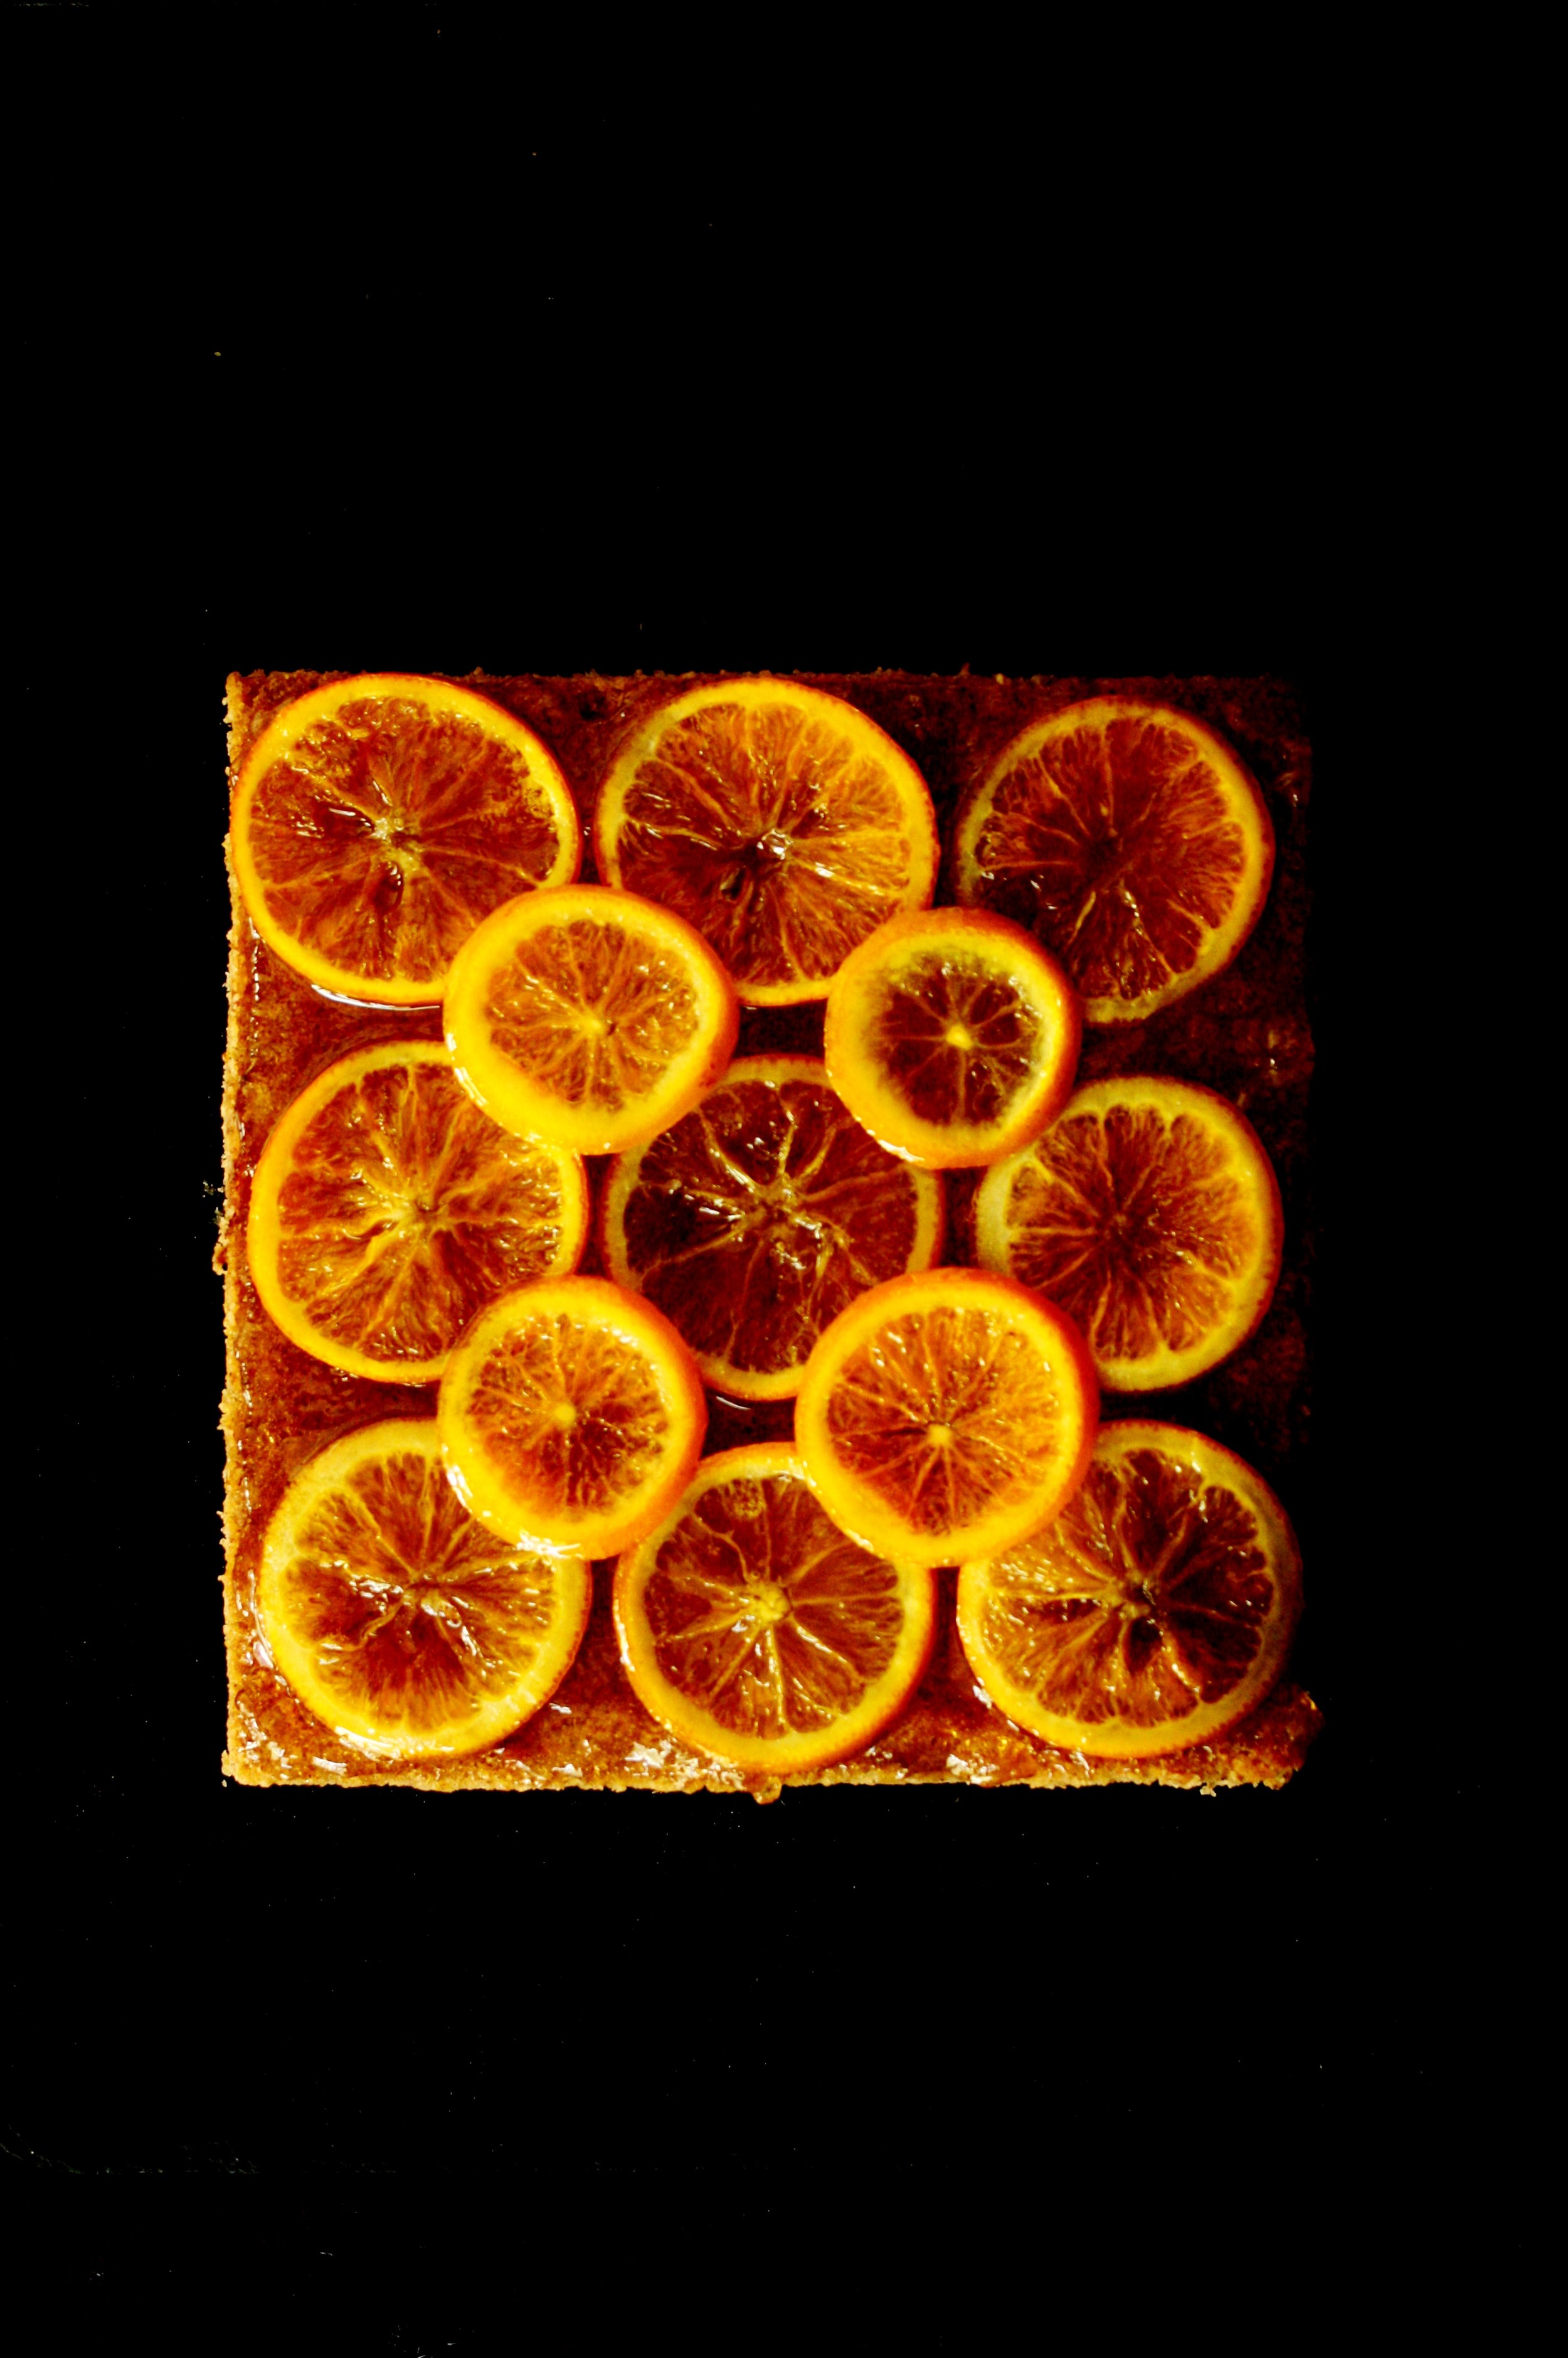
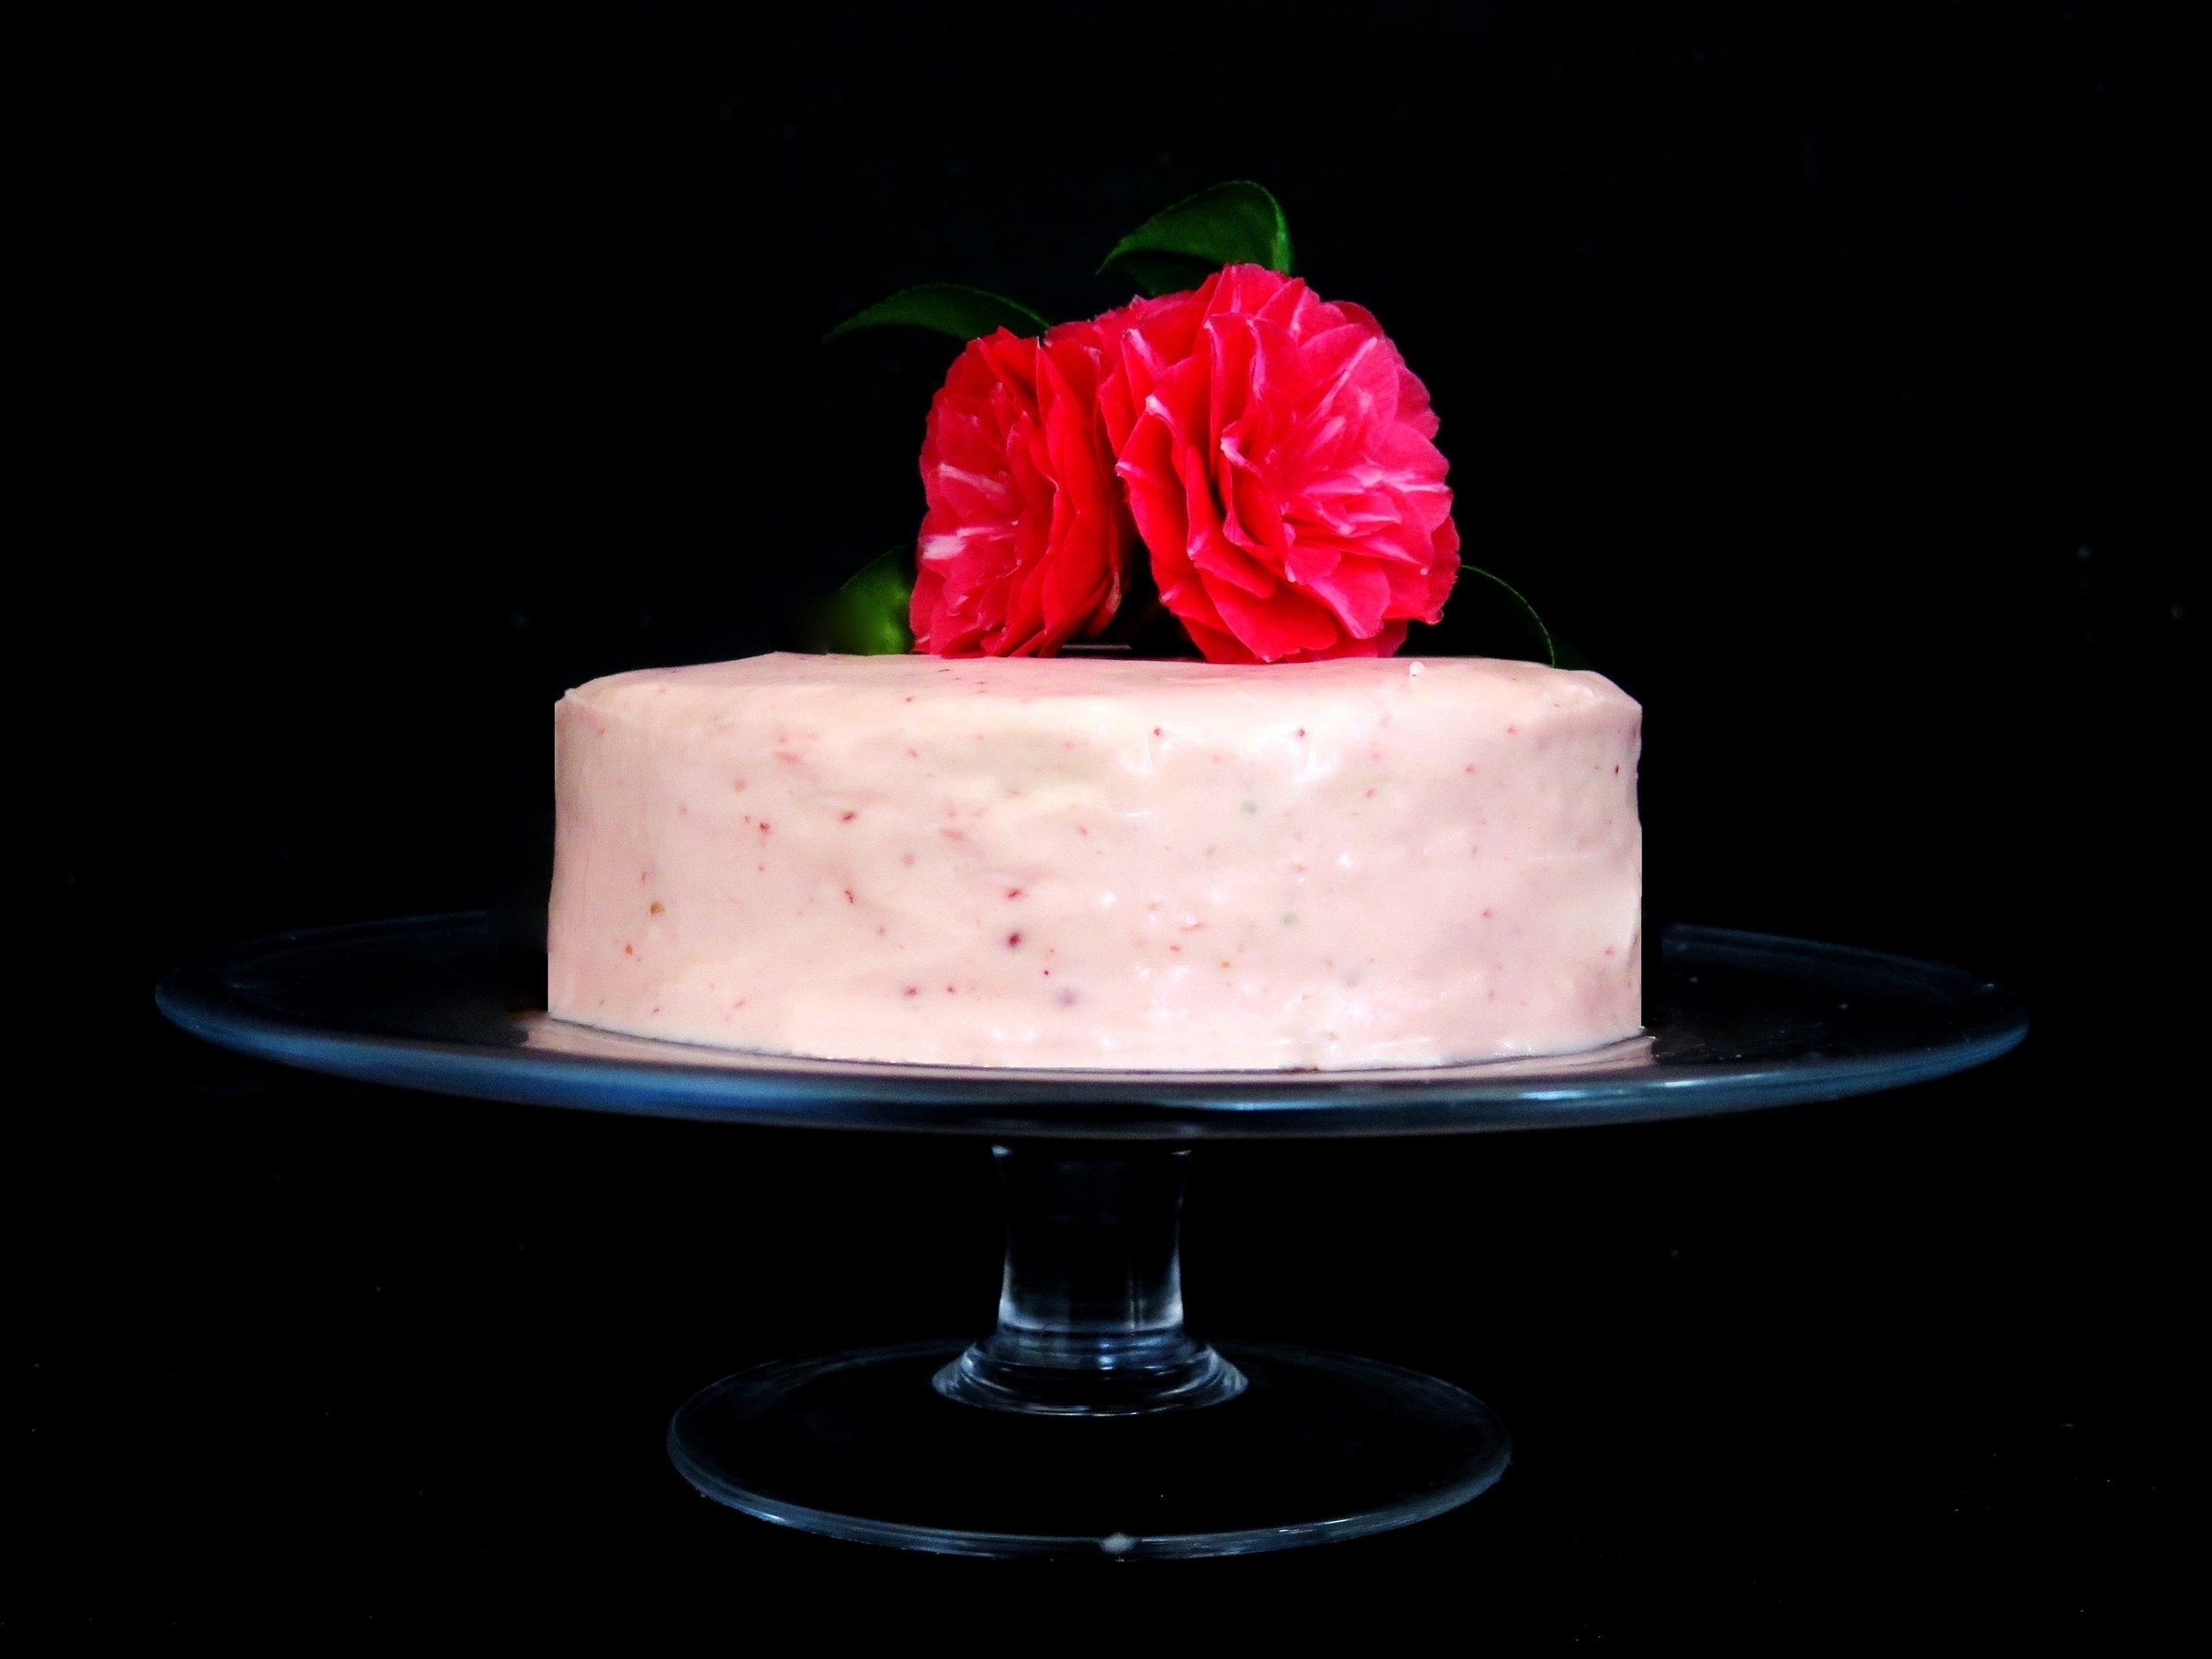
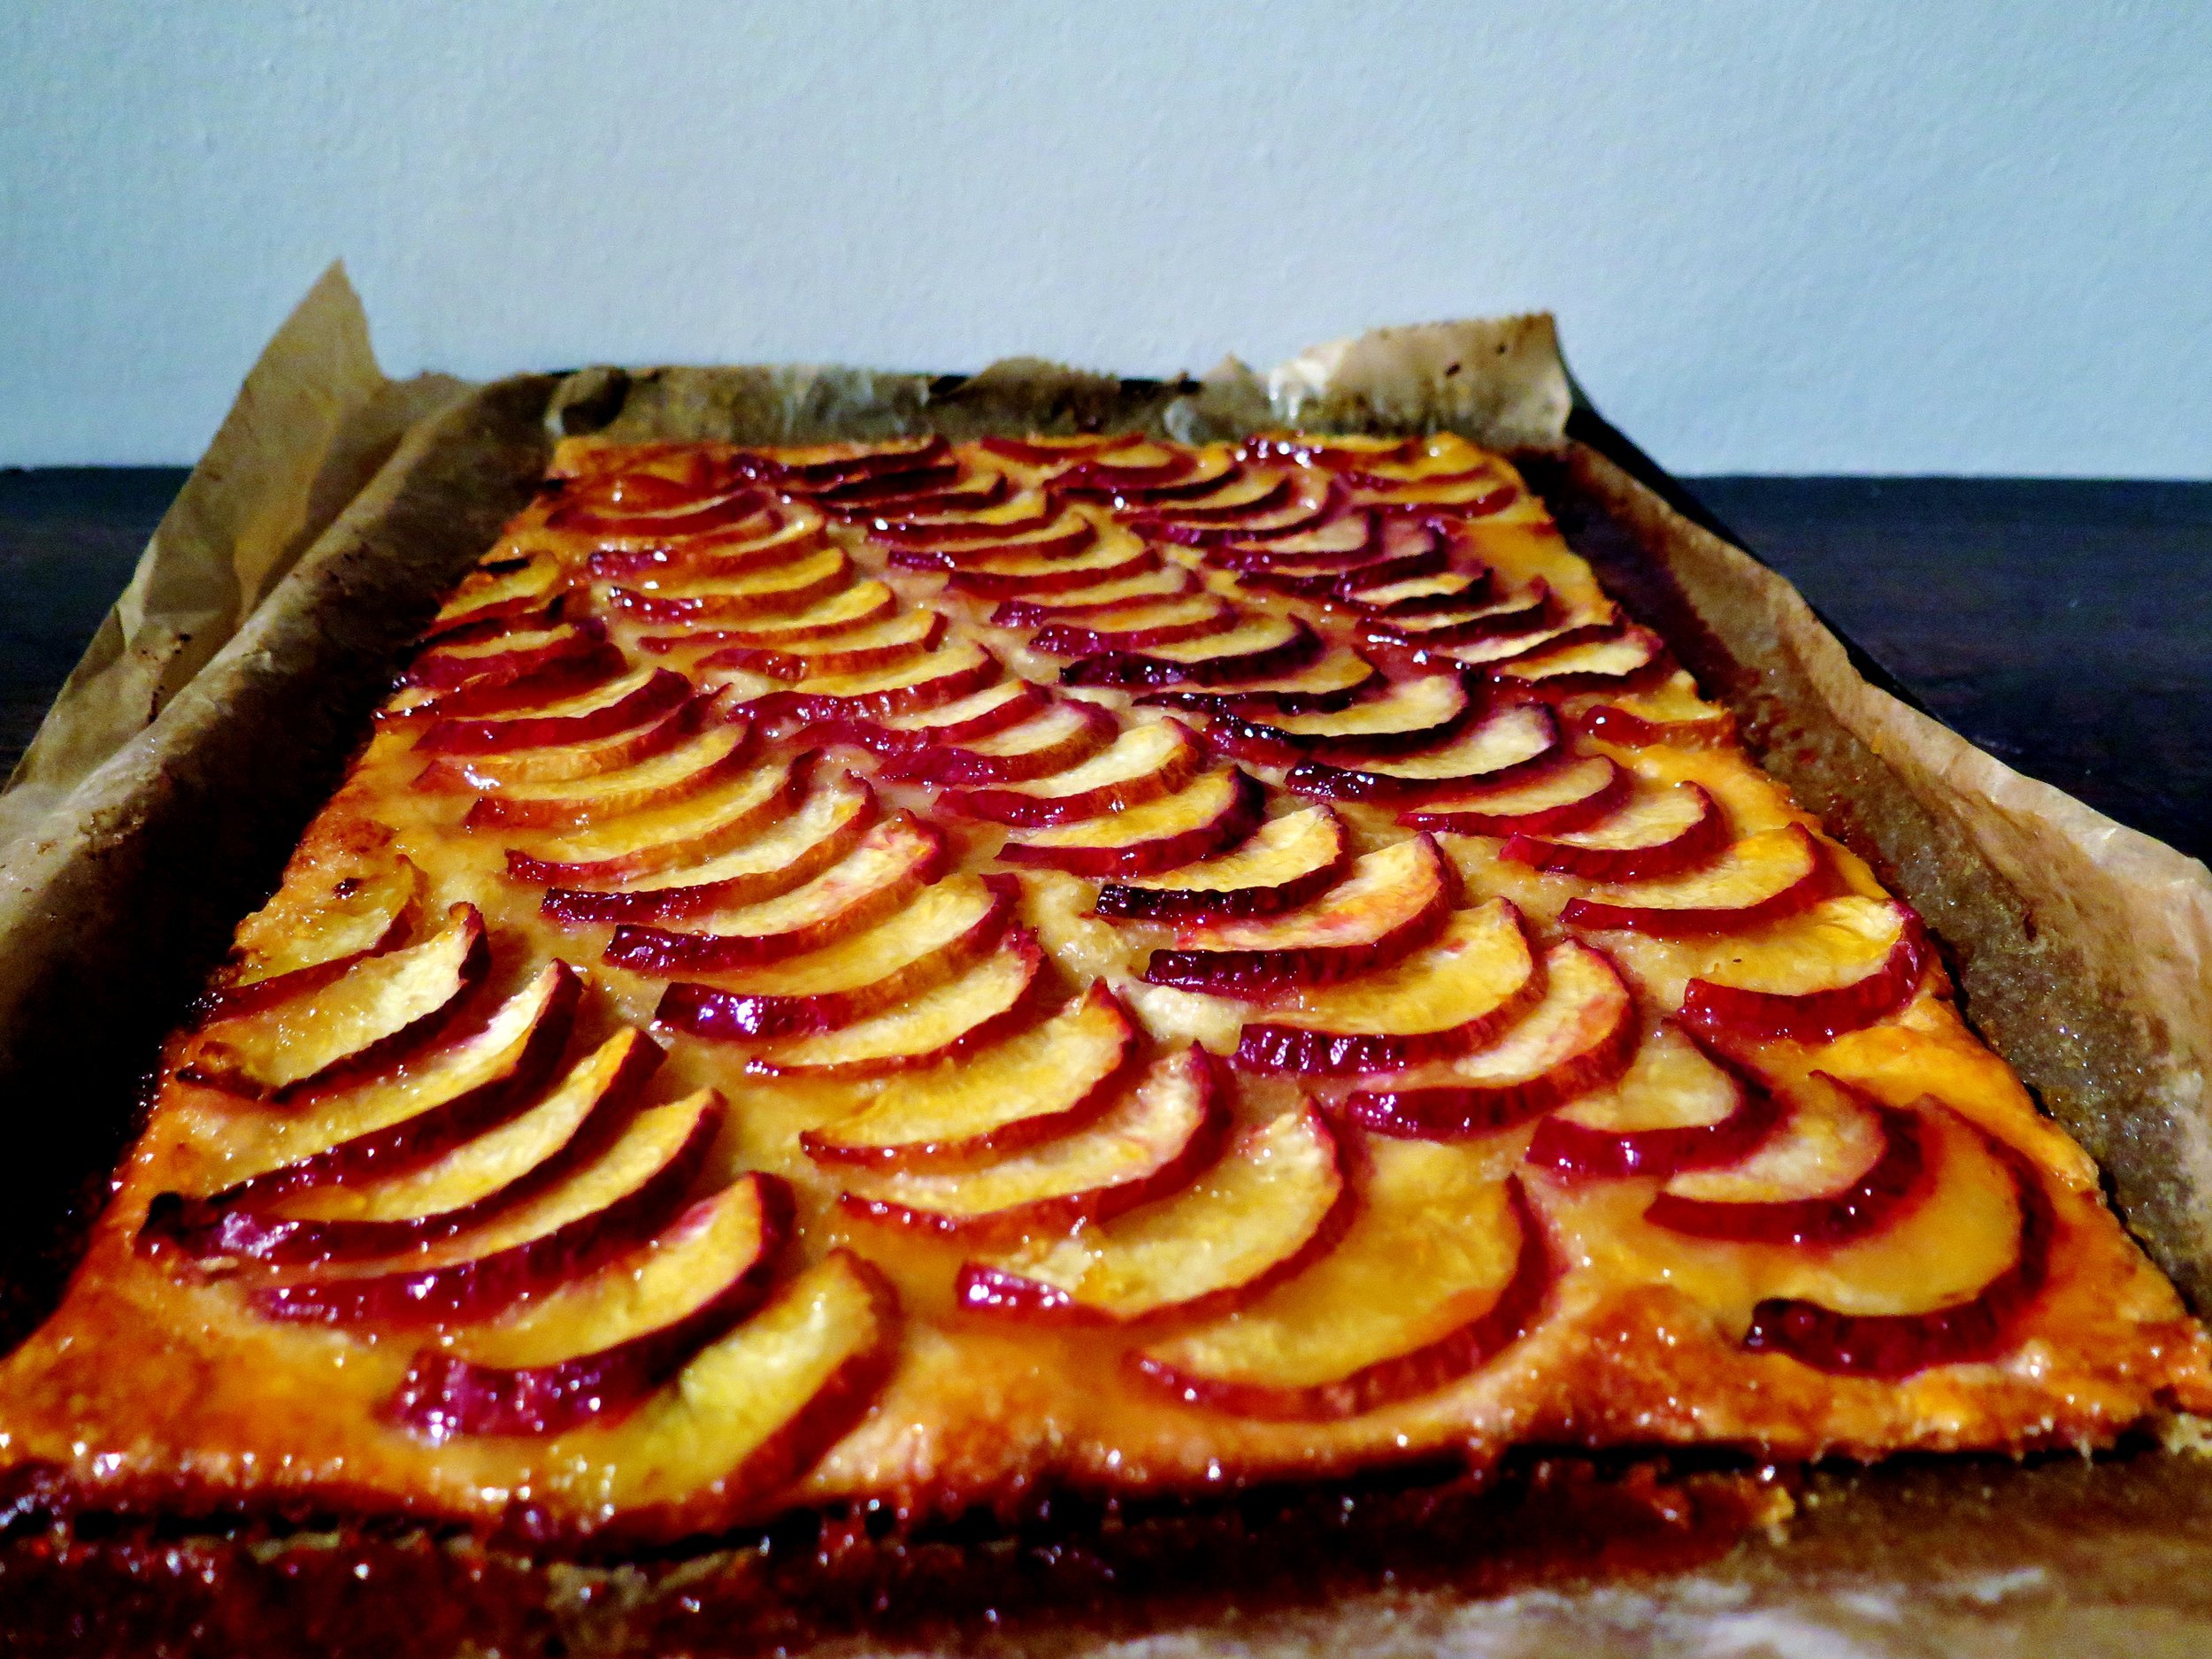
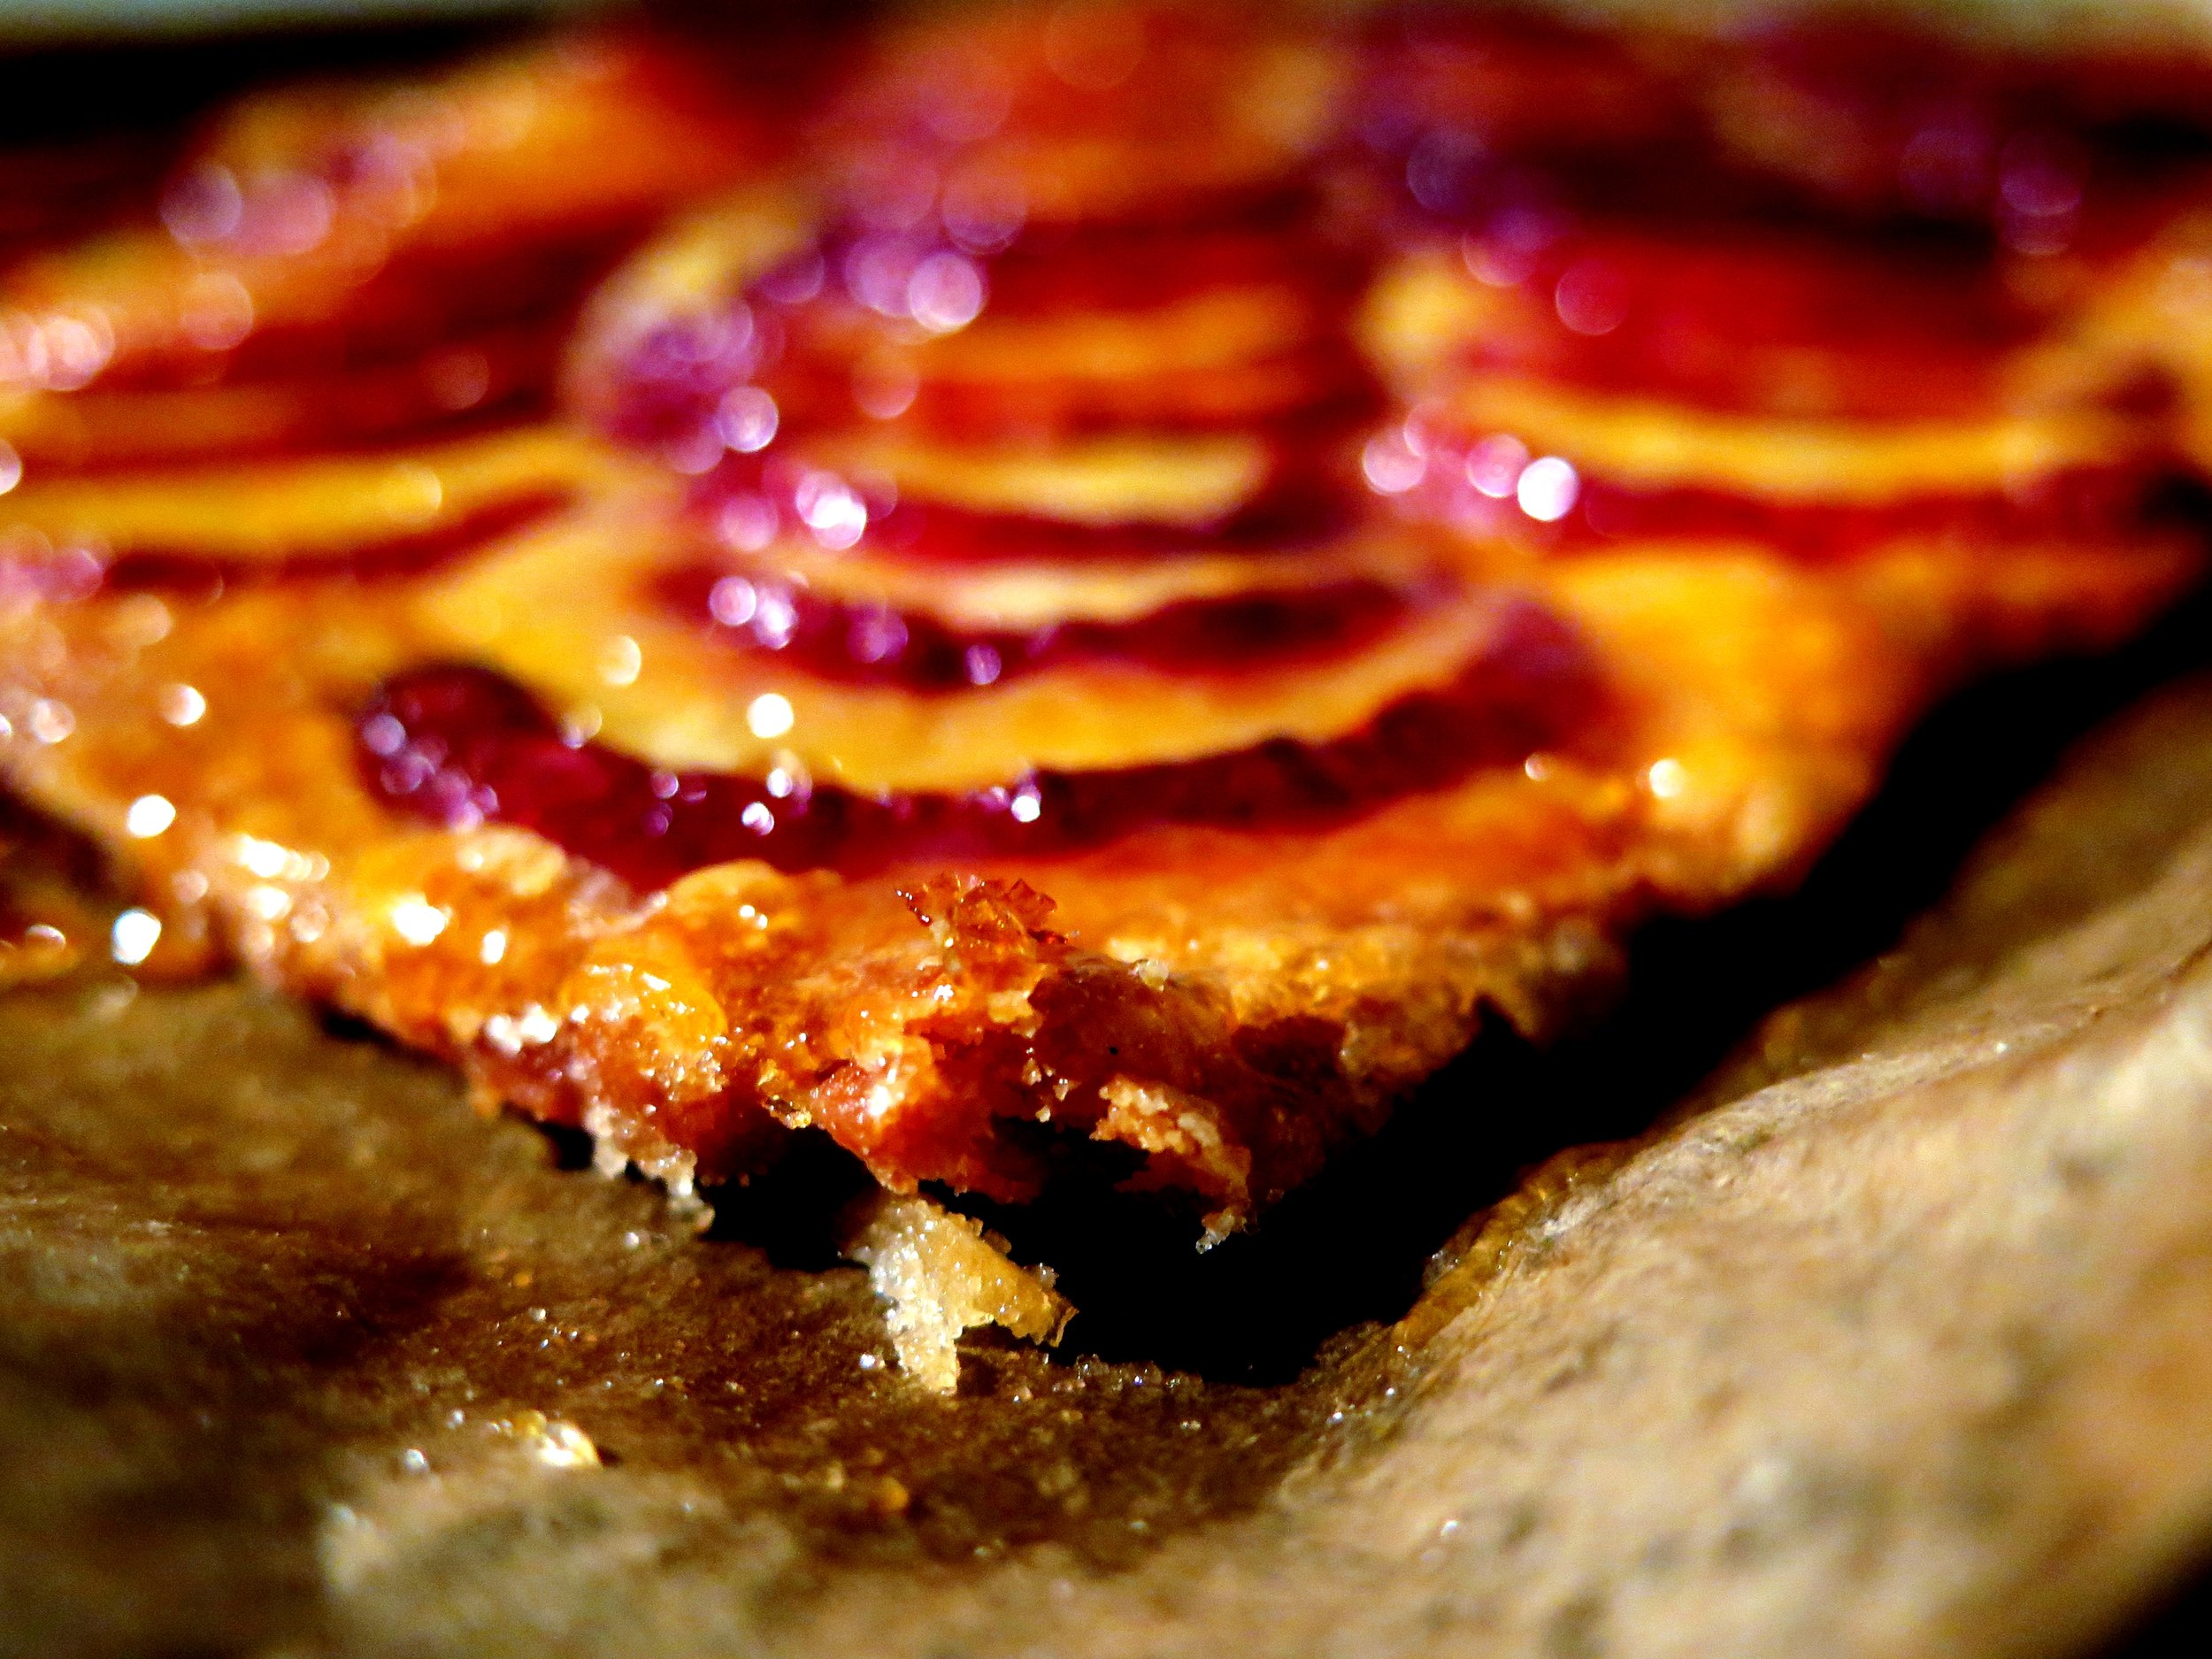
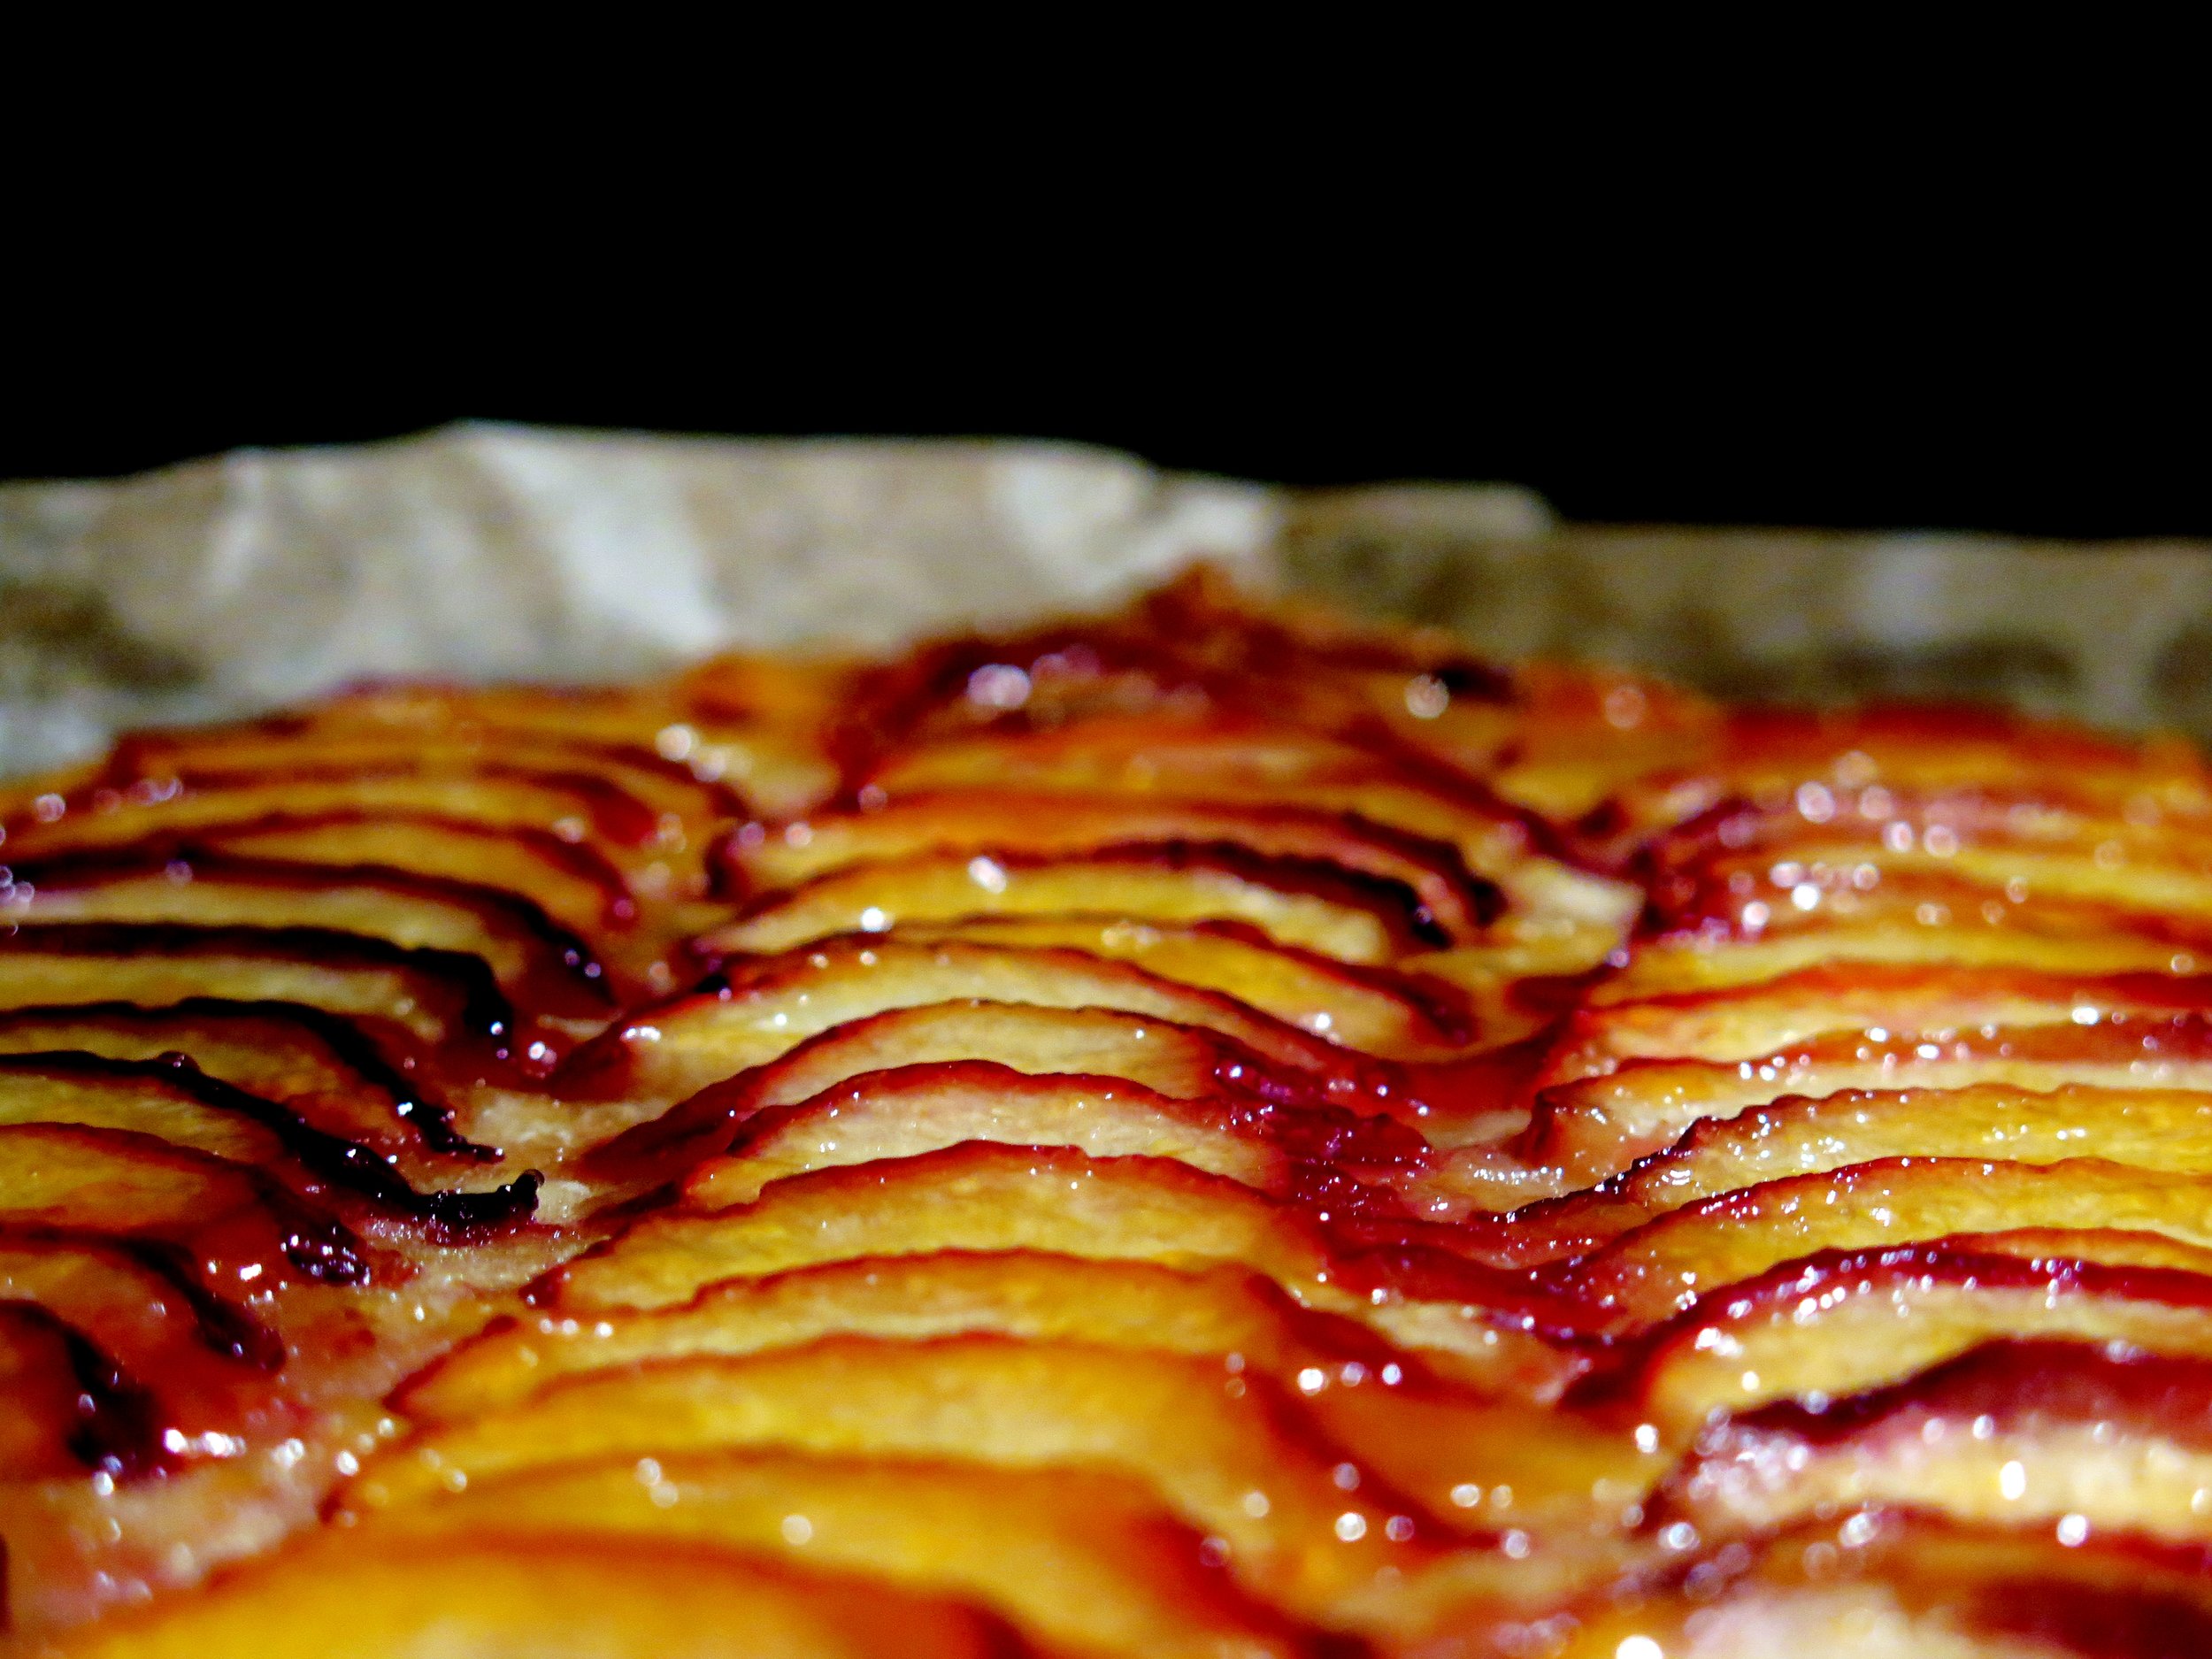
Despite its pertinence in history and mythology the quince has rather fallen out of fashion. Now the prized aphrodisiac and breath-freshener has been reduced to an unloved (except by the cognoscenti), knobbly peculiarity. I hereby am starting a quince appreciation campaign and when life gives you quinces, make membrillo, and with the membrillo make Tarta de Santiago.

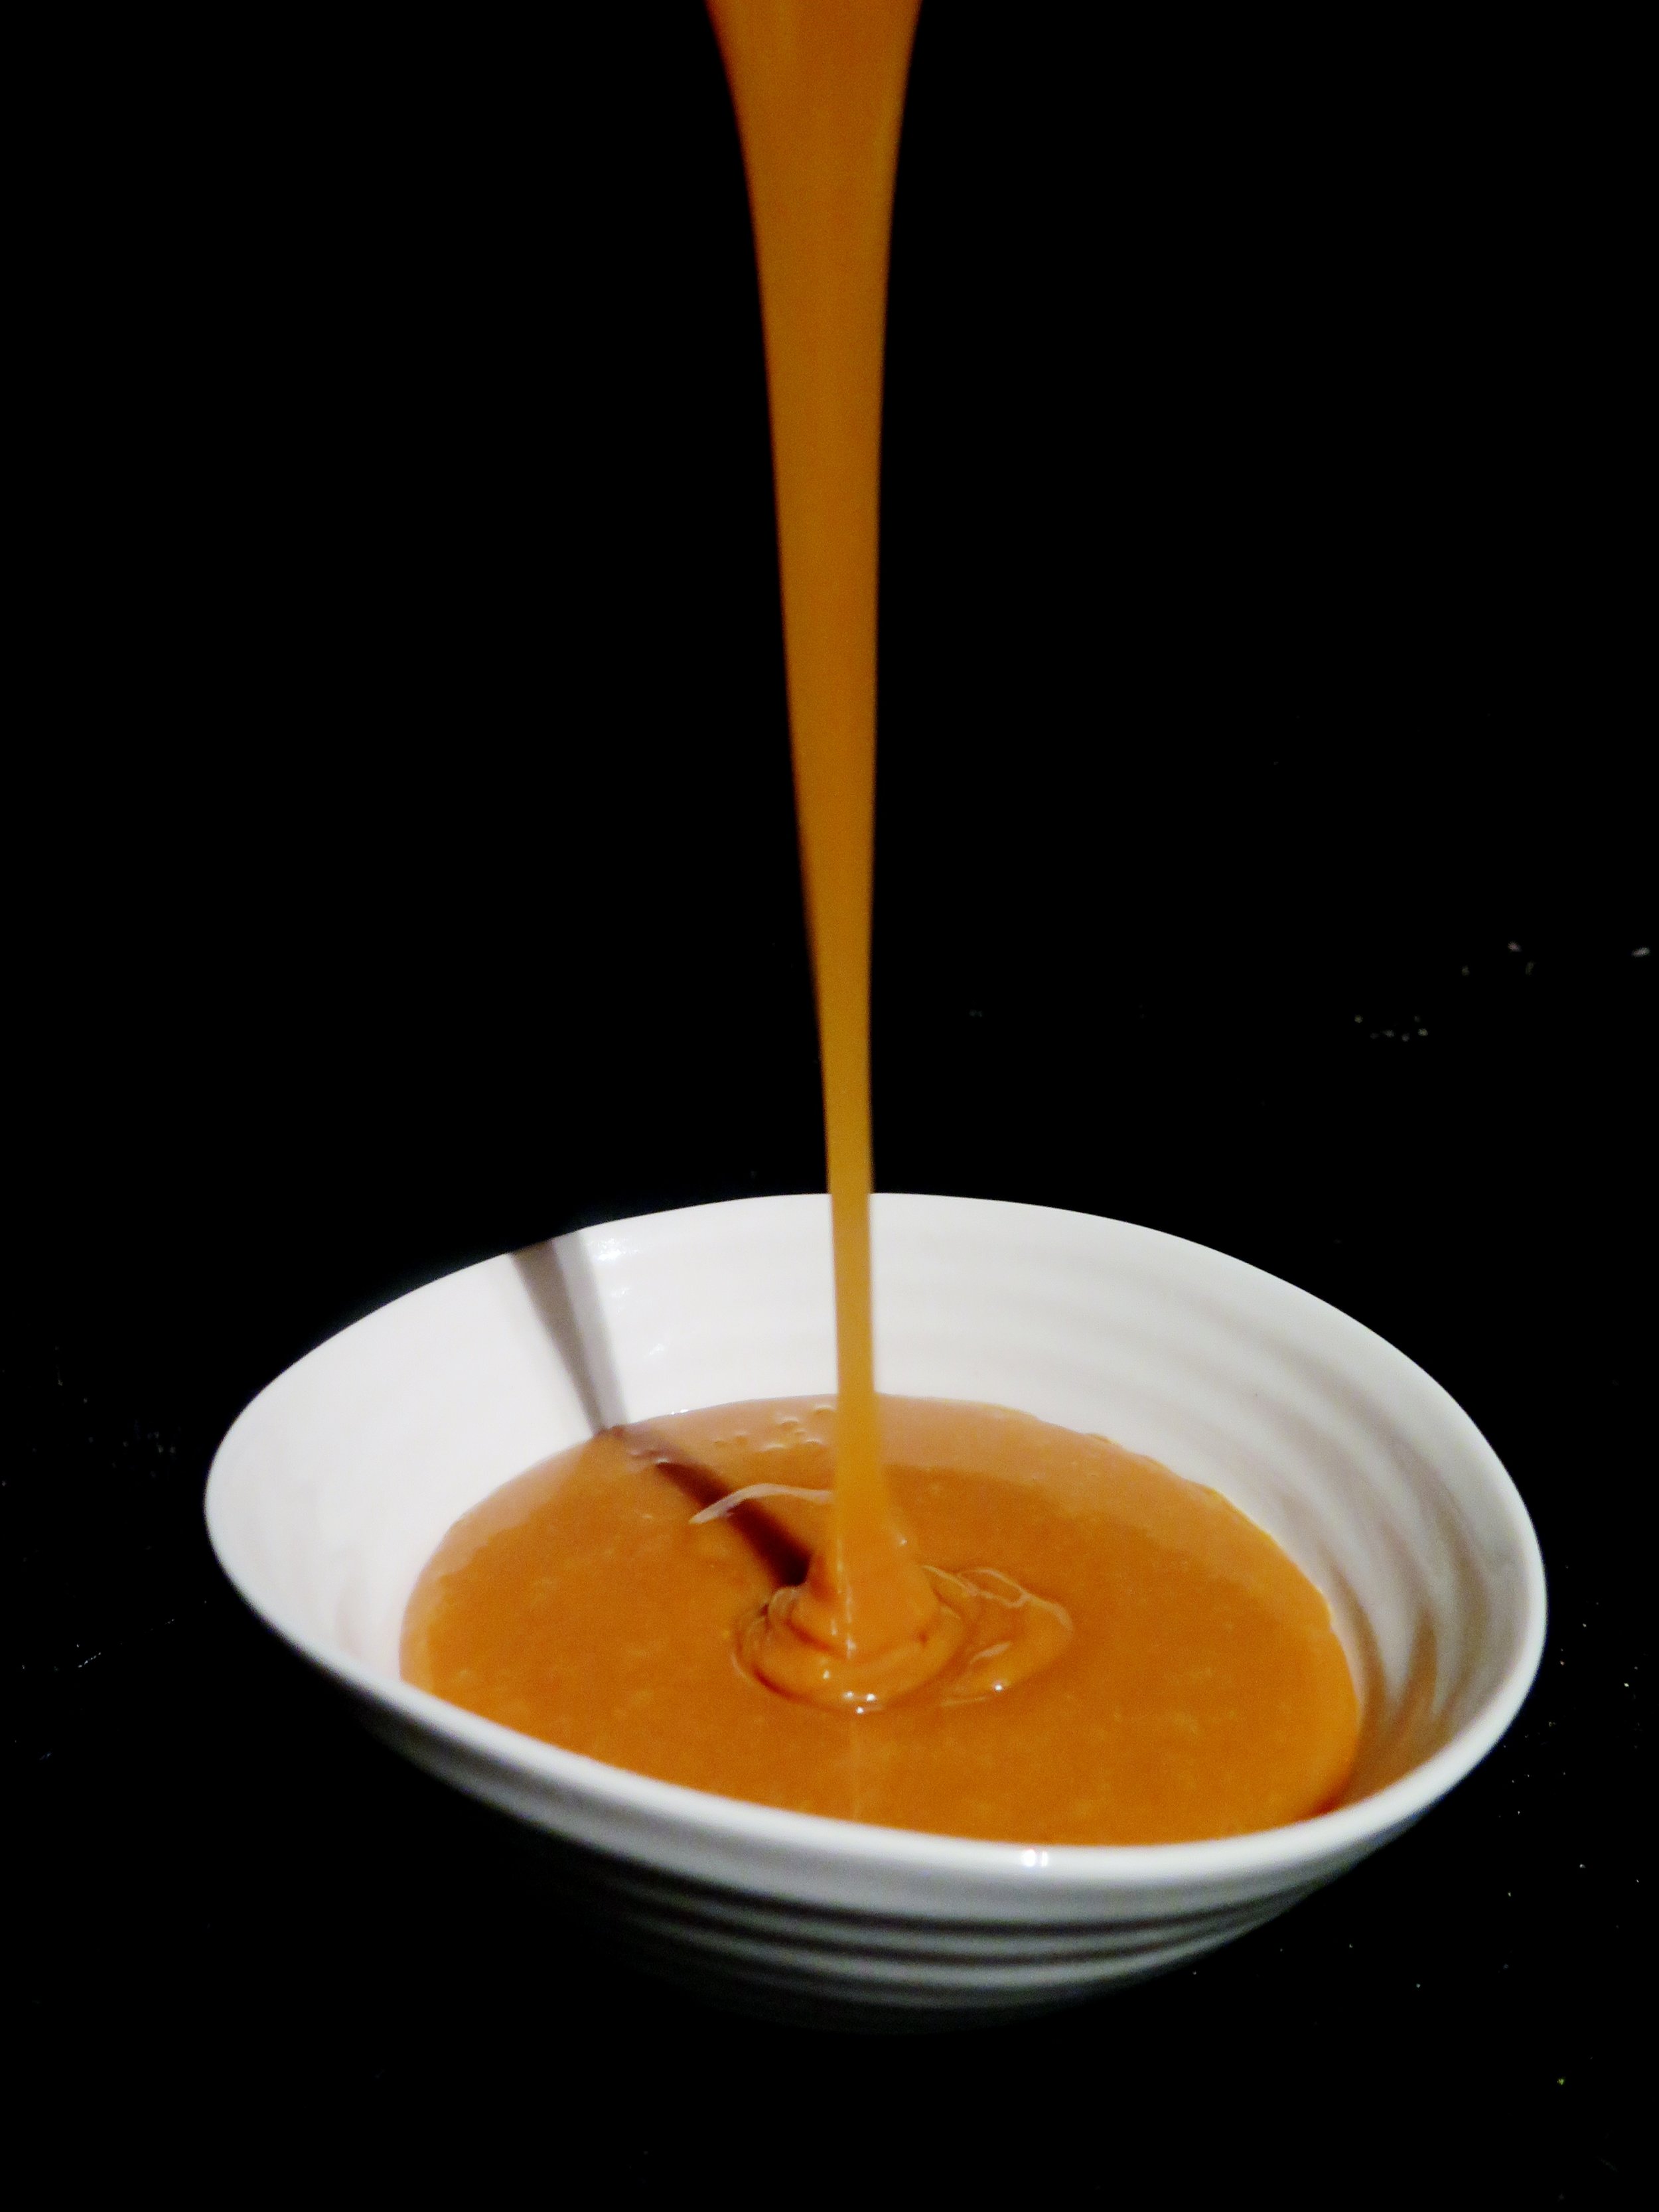
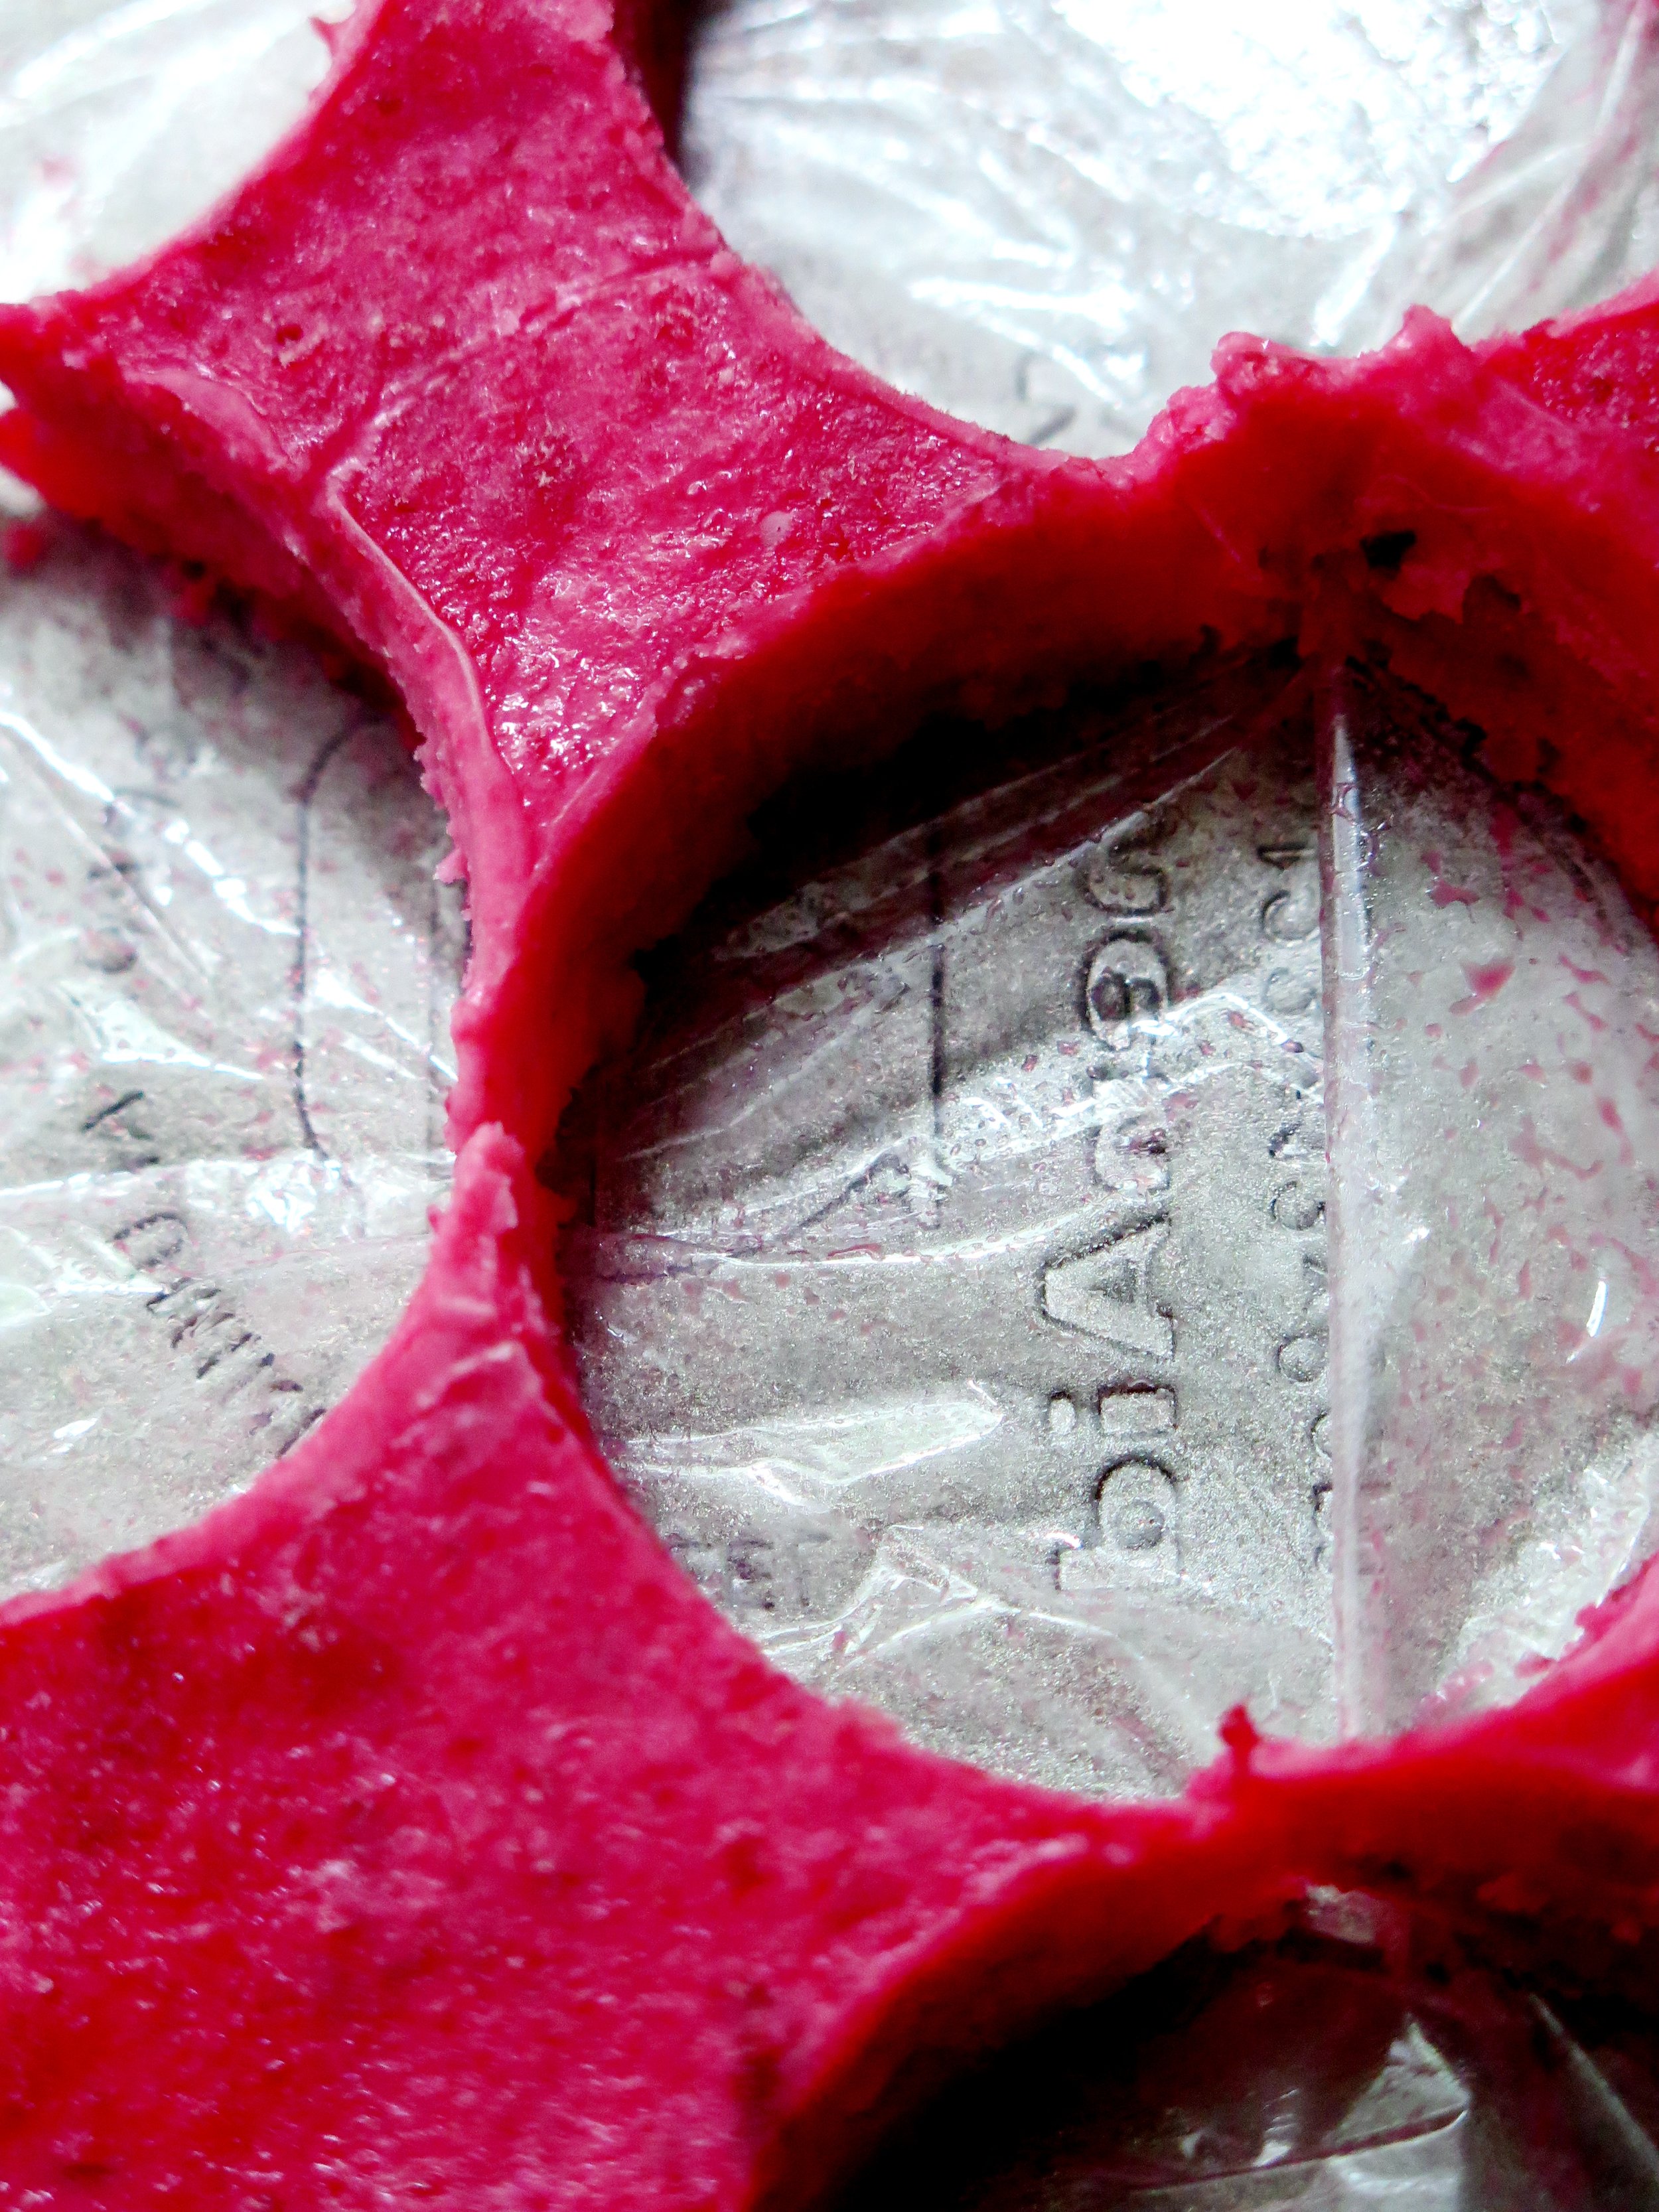
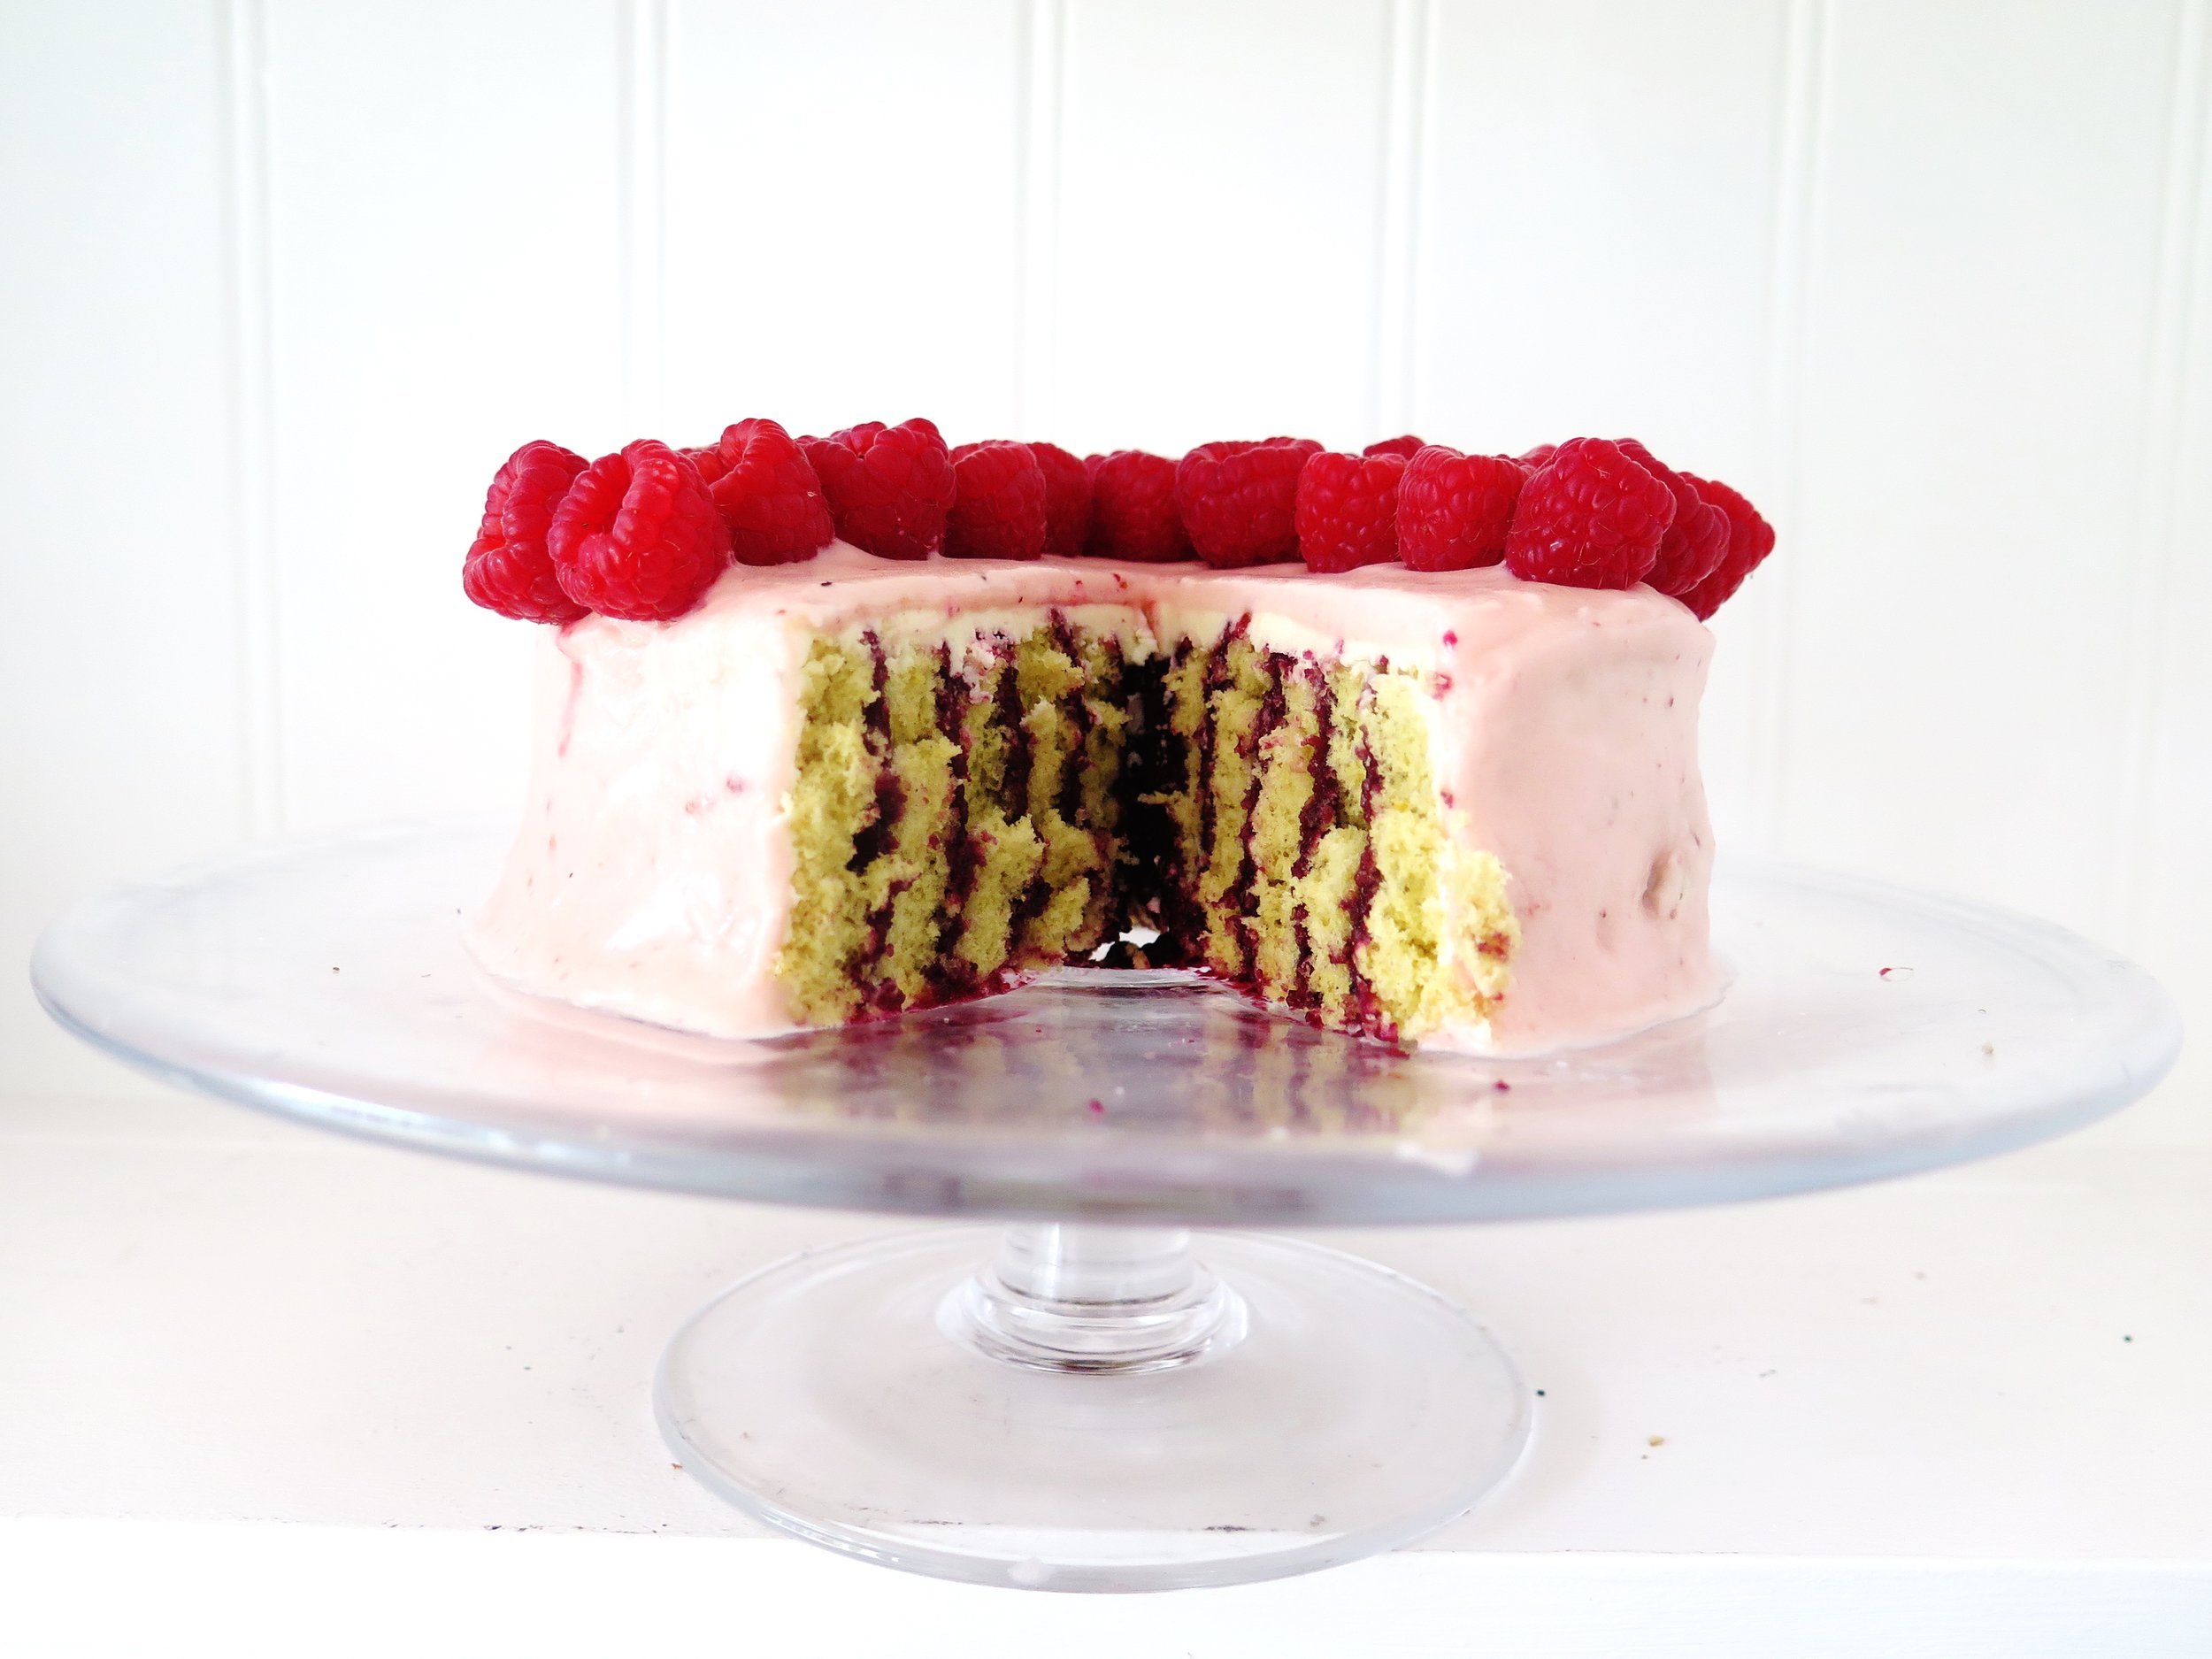
Membrillo is the rose-tinted translucent and slightly grainy gel that miraculously results from boiling quinces with water, sugar and citrus. Its perfumed exoticness makes one think of orange groves and balmy breezes, and when combined with the citrus infused almond cake and pastry layers, one is transported right to the Alhambra.

Recipe
Ingredients
Pastry
150g white spelt flour (substitutable with any flour of your choice including gluten-free to create a gluten-free dessert)
40g caster sugar
1 ½ tsp ground cinnamon
½ tsp salt
Grated zest of ½ unwaxed orange
100g butter, roughly chopped into small cubes
1 egg yolk
25cm x 25cm square tin (or round tin with similar dimensions) at least 8cm deep, lined with greaseproof paper
Filling
250g quince paste (membrillo)
2 tbsp lemon juice
Grated zest of ½ unwaxed orange
Grated zest of ½ unwaxed lemon
65g ground almonds
Cake layer
150 ground almonds
100g caster sugar
1 tsp ground cinnamon
½ tsp salt
Grated zest of 1 unwaxed orange
Grated zest of 1 unwaxed lemon
150g butter, melted and allowed to cool slightly
100ml triple sec
3 eggs
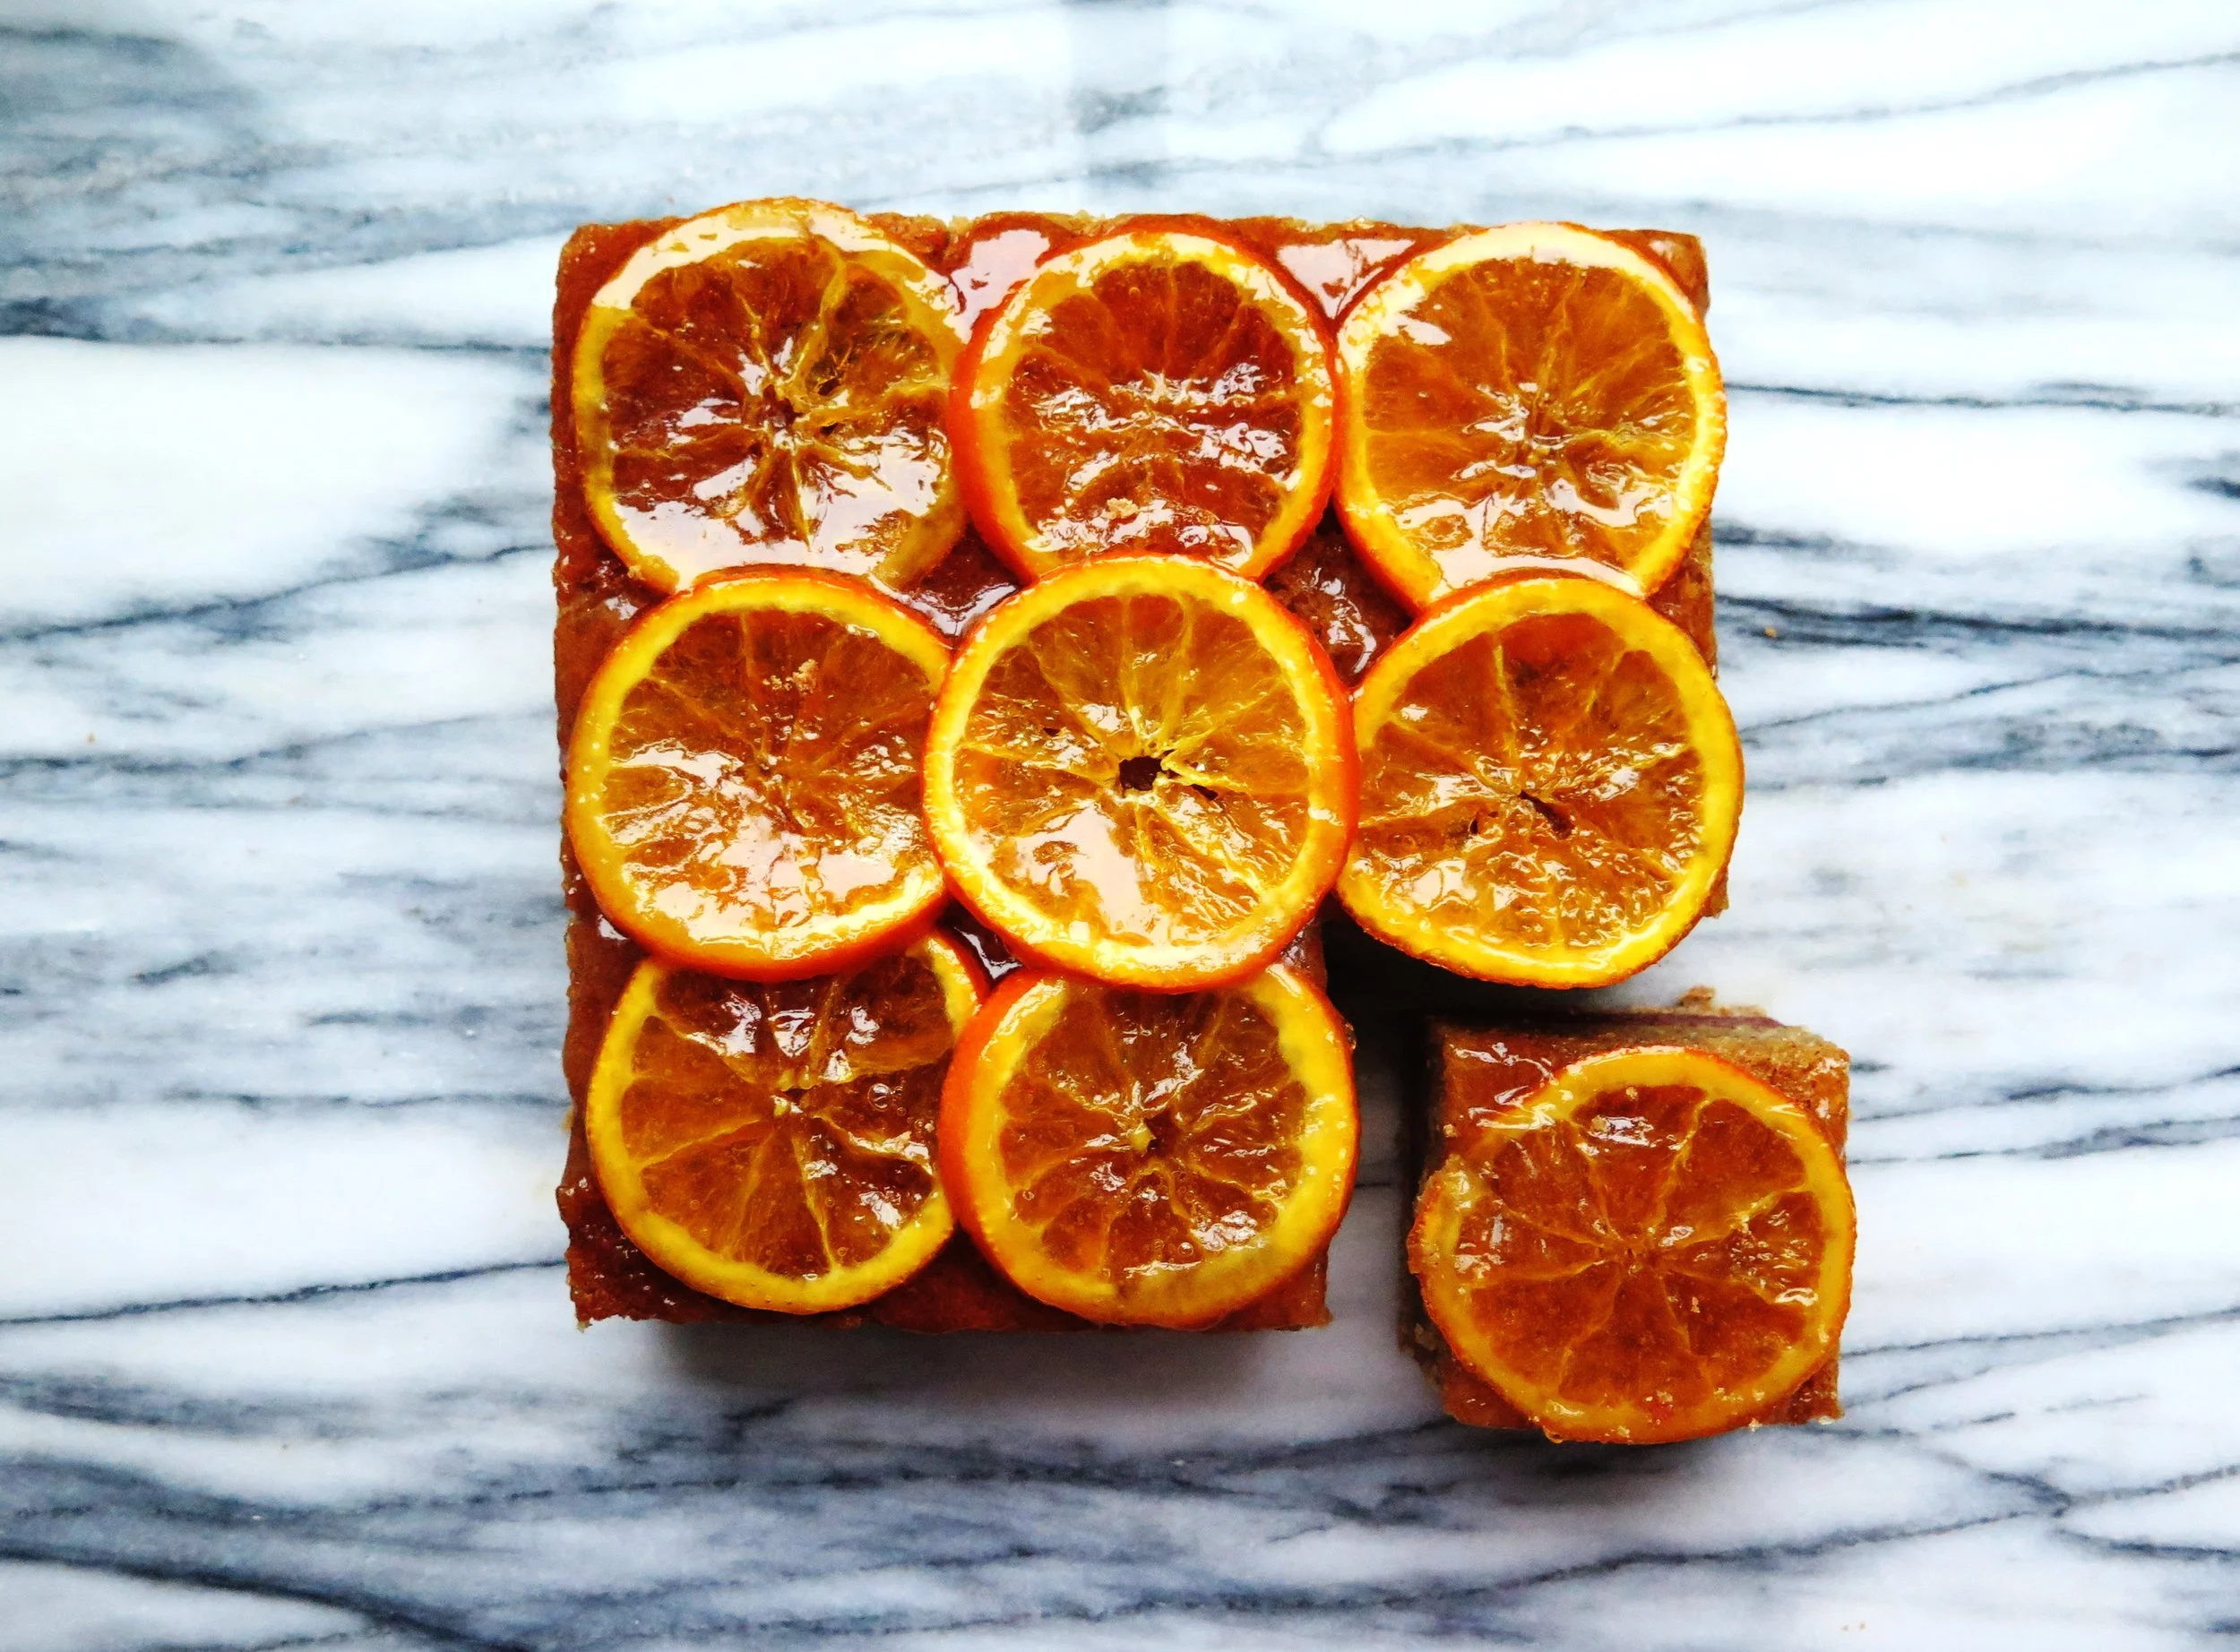
Optional candied orange decoration
Follow instructions from my recipe for Citrus Syrup-Soaked Cake
Method
- In a blender, blitz together sugar, cinnamon, flour, salt and butter until the mixture resembles damp sand. Add in the egg yolk and blitz until the mixture comes together into dough. Flatten into a disc, wrap in greaseproof paper and chill in a freezer for 15 minutes or refrigerate for ½ hour.
- On a well-floured surface, roll the dough out to a 3mm thickness and transfer to the tin to line the base. Refrigerate while you prepare the filling.
- Preheat oven to 180°C. To make the filling, place the quince paste (membrillo), lemon juice and zest in a small pan over a medium heat and stir until smooth and fully combined. Remove from the heat and stir in the ground almonds. Remove the tin from the fridge and spread the quince mixture evenly over the pastry. Refrigerate once more.
- To make the cake layer, whisk together ground almonds, sugar, cinnamon, salt and zest in a bowl. In a separate bowl, whisk together melted butter, triple sec and eggs. Pour the wet ingredients into the dry and whisk until combined in a loose paste.
- Remove the tin from the fridge and pour the cake layer mixture over the quince layer. Bake in the preheated oven for 35-40 minutes until golden brown, springy to touch and a skewer comes out clean. Allow to cool before serving.


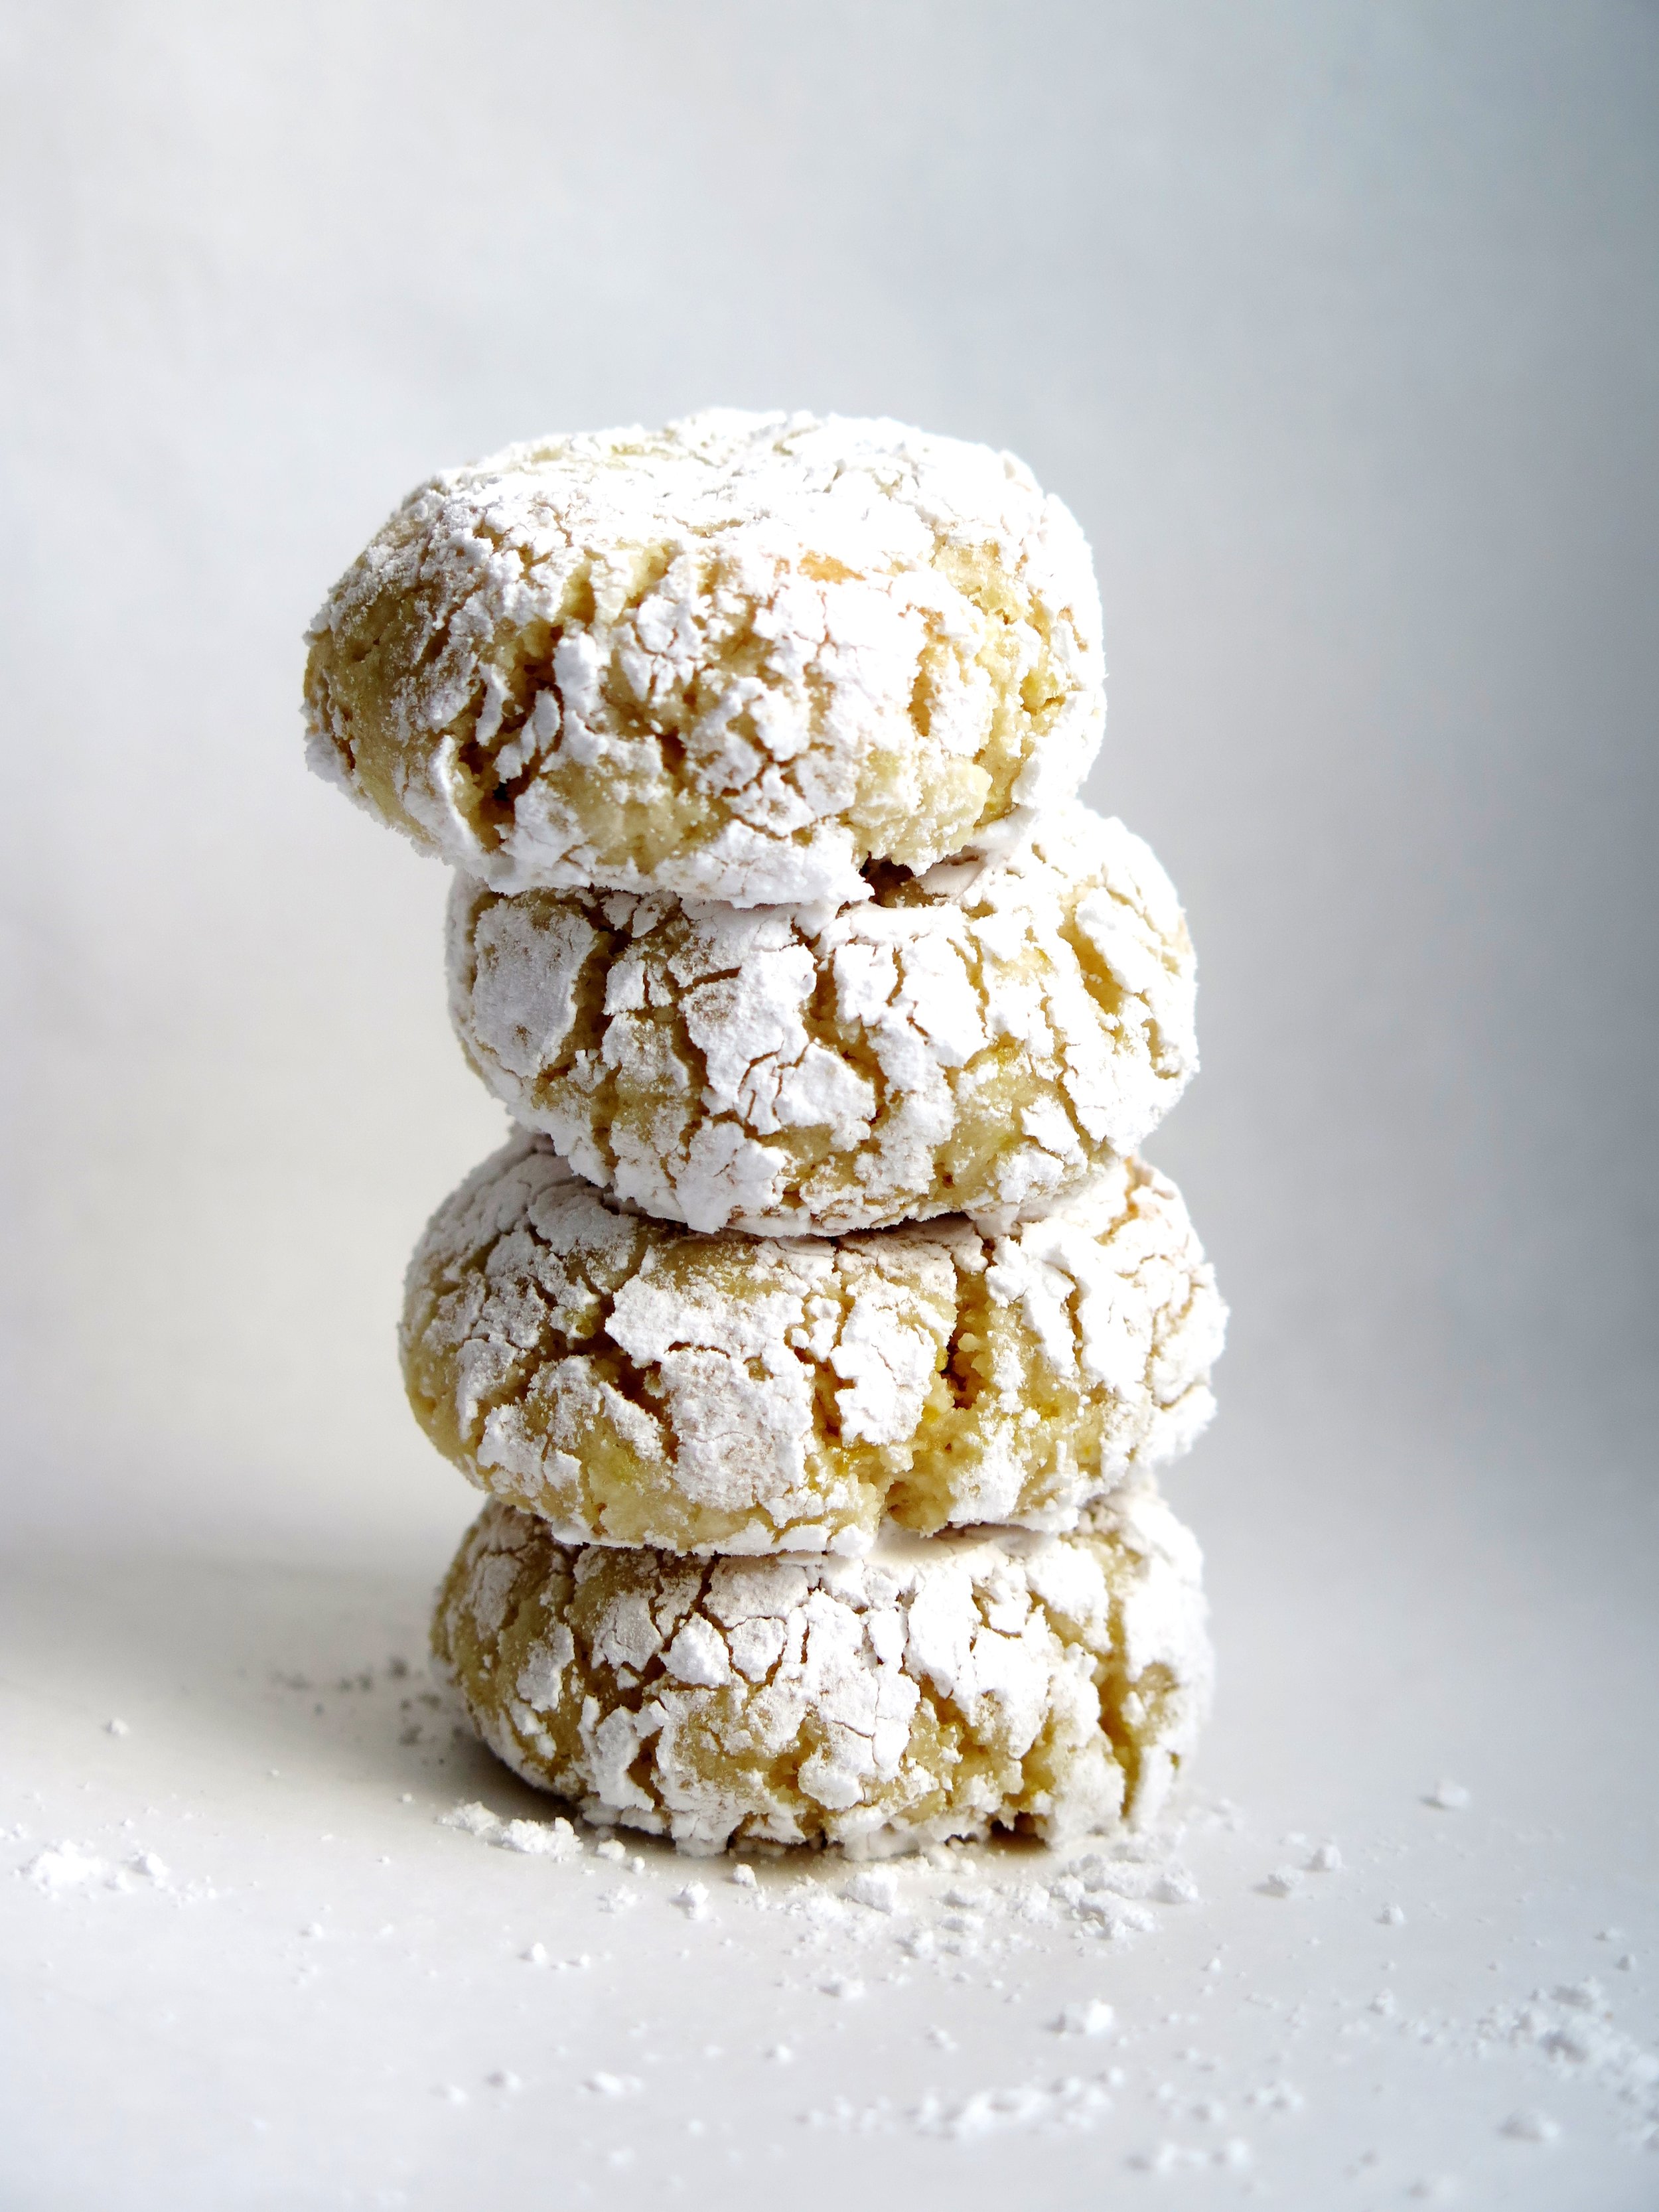
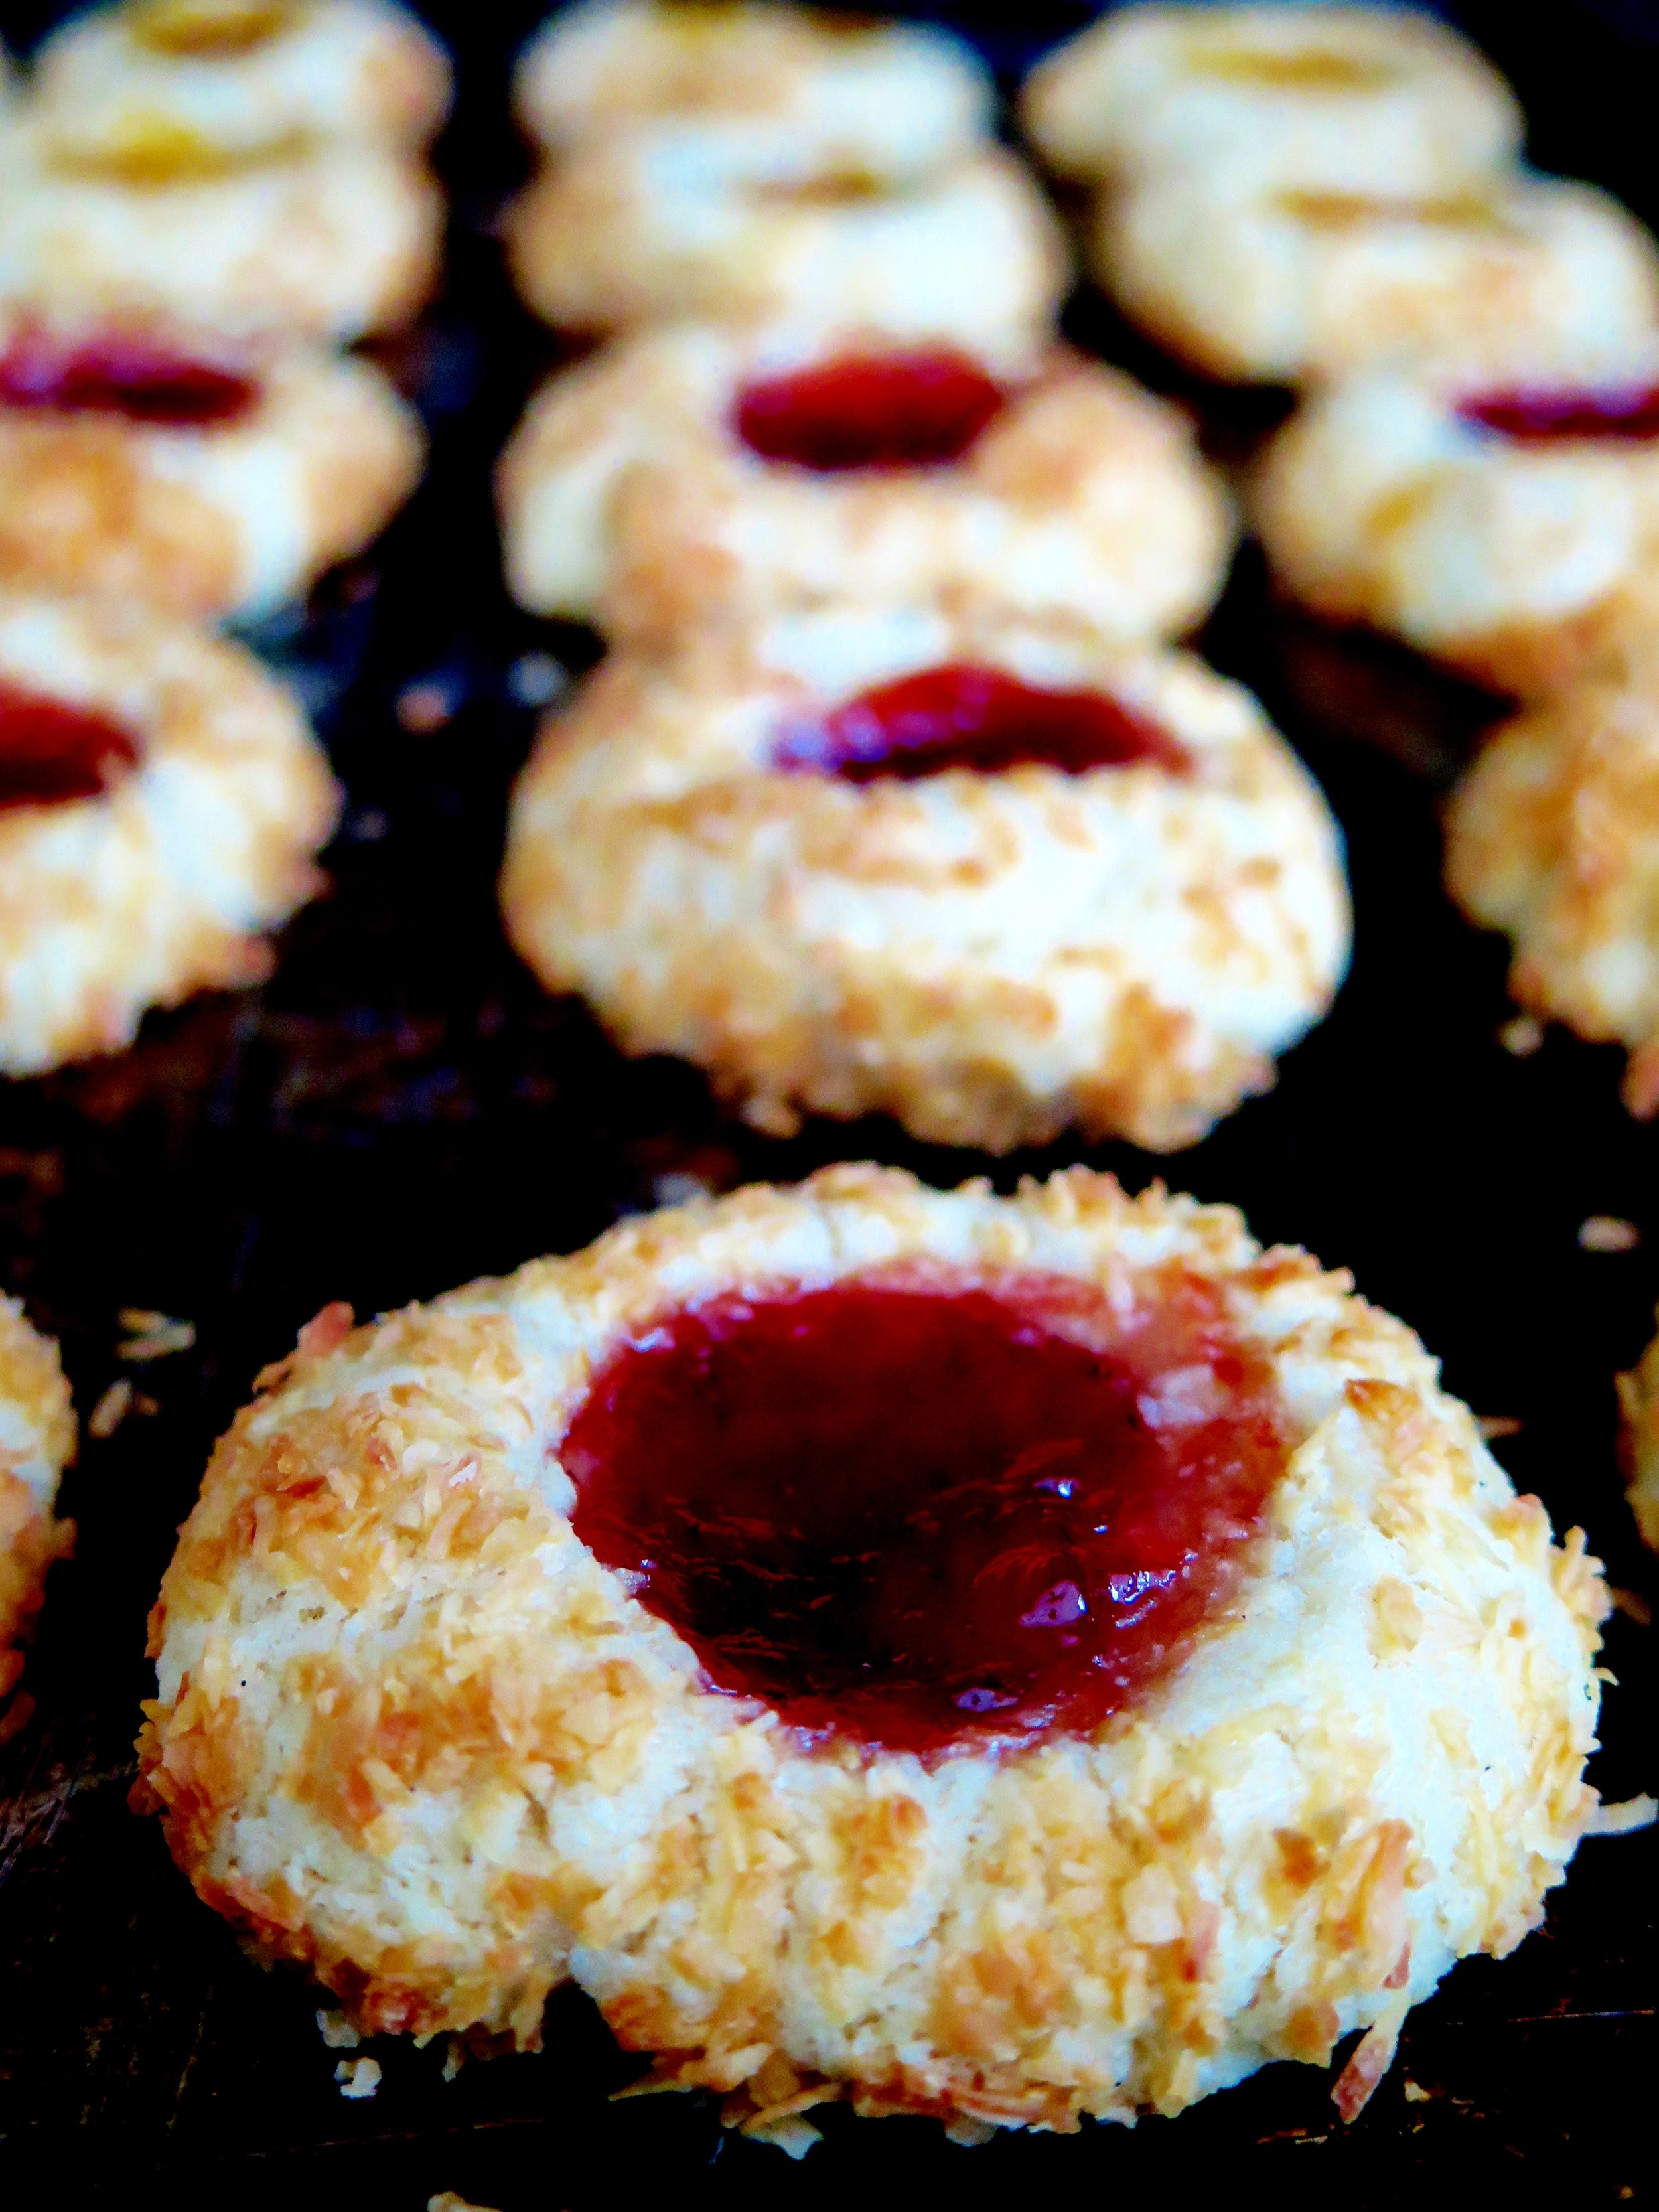
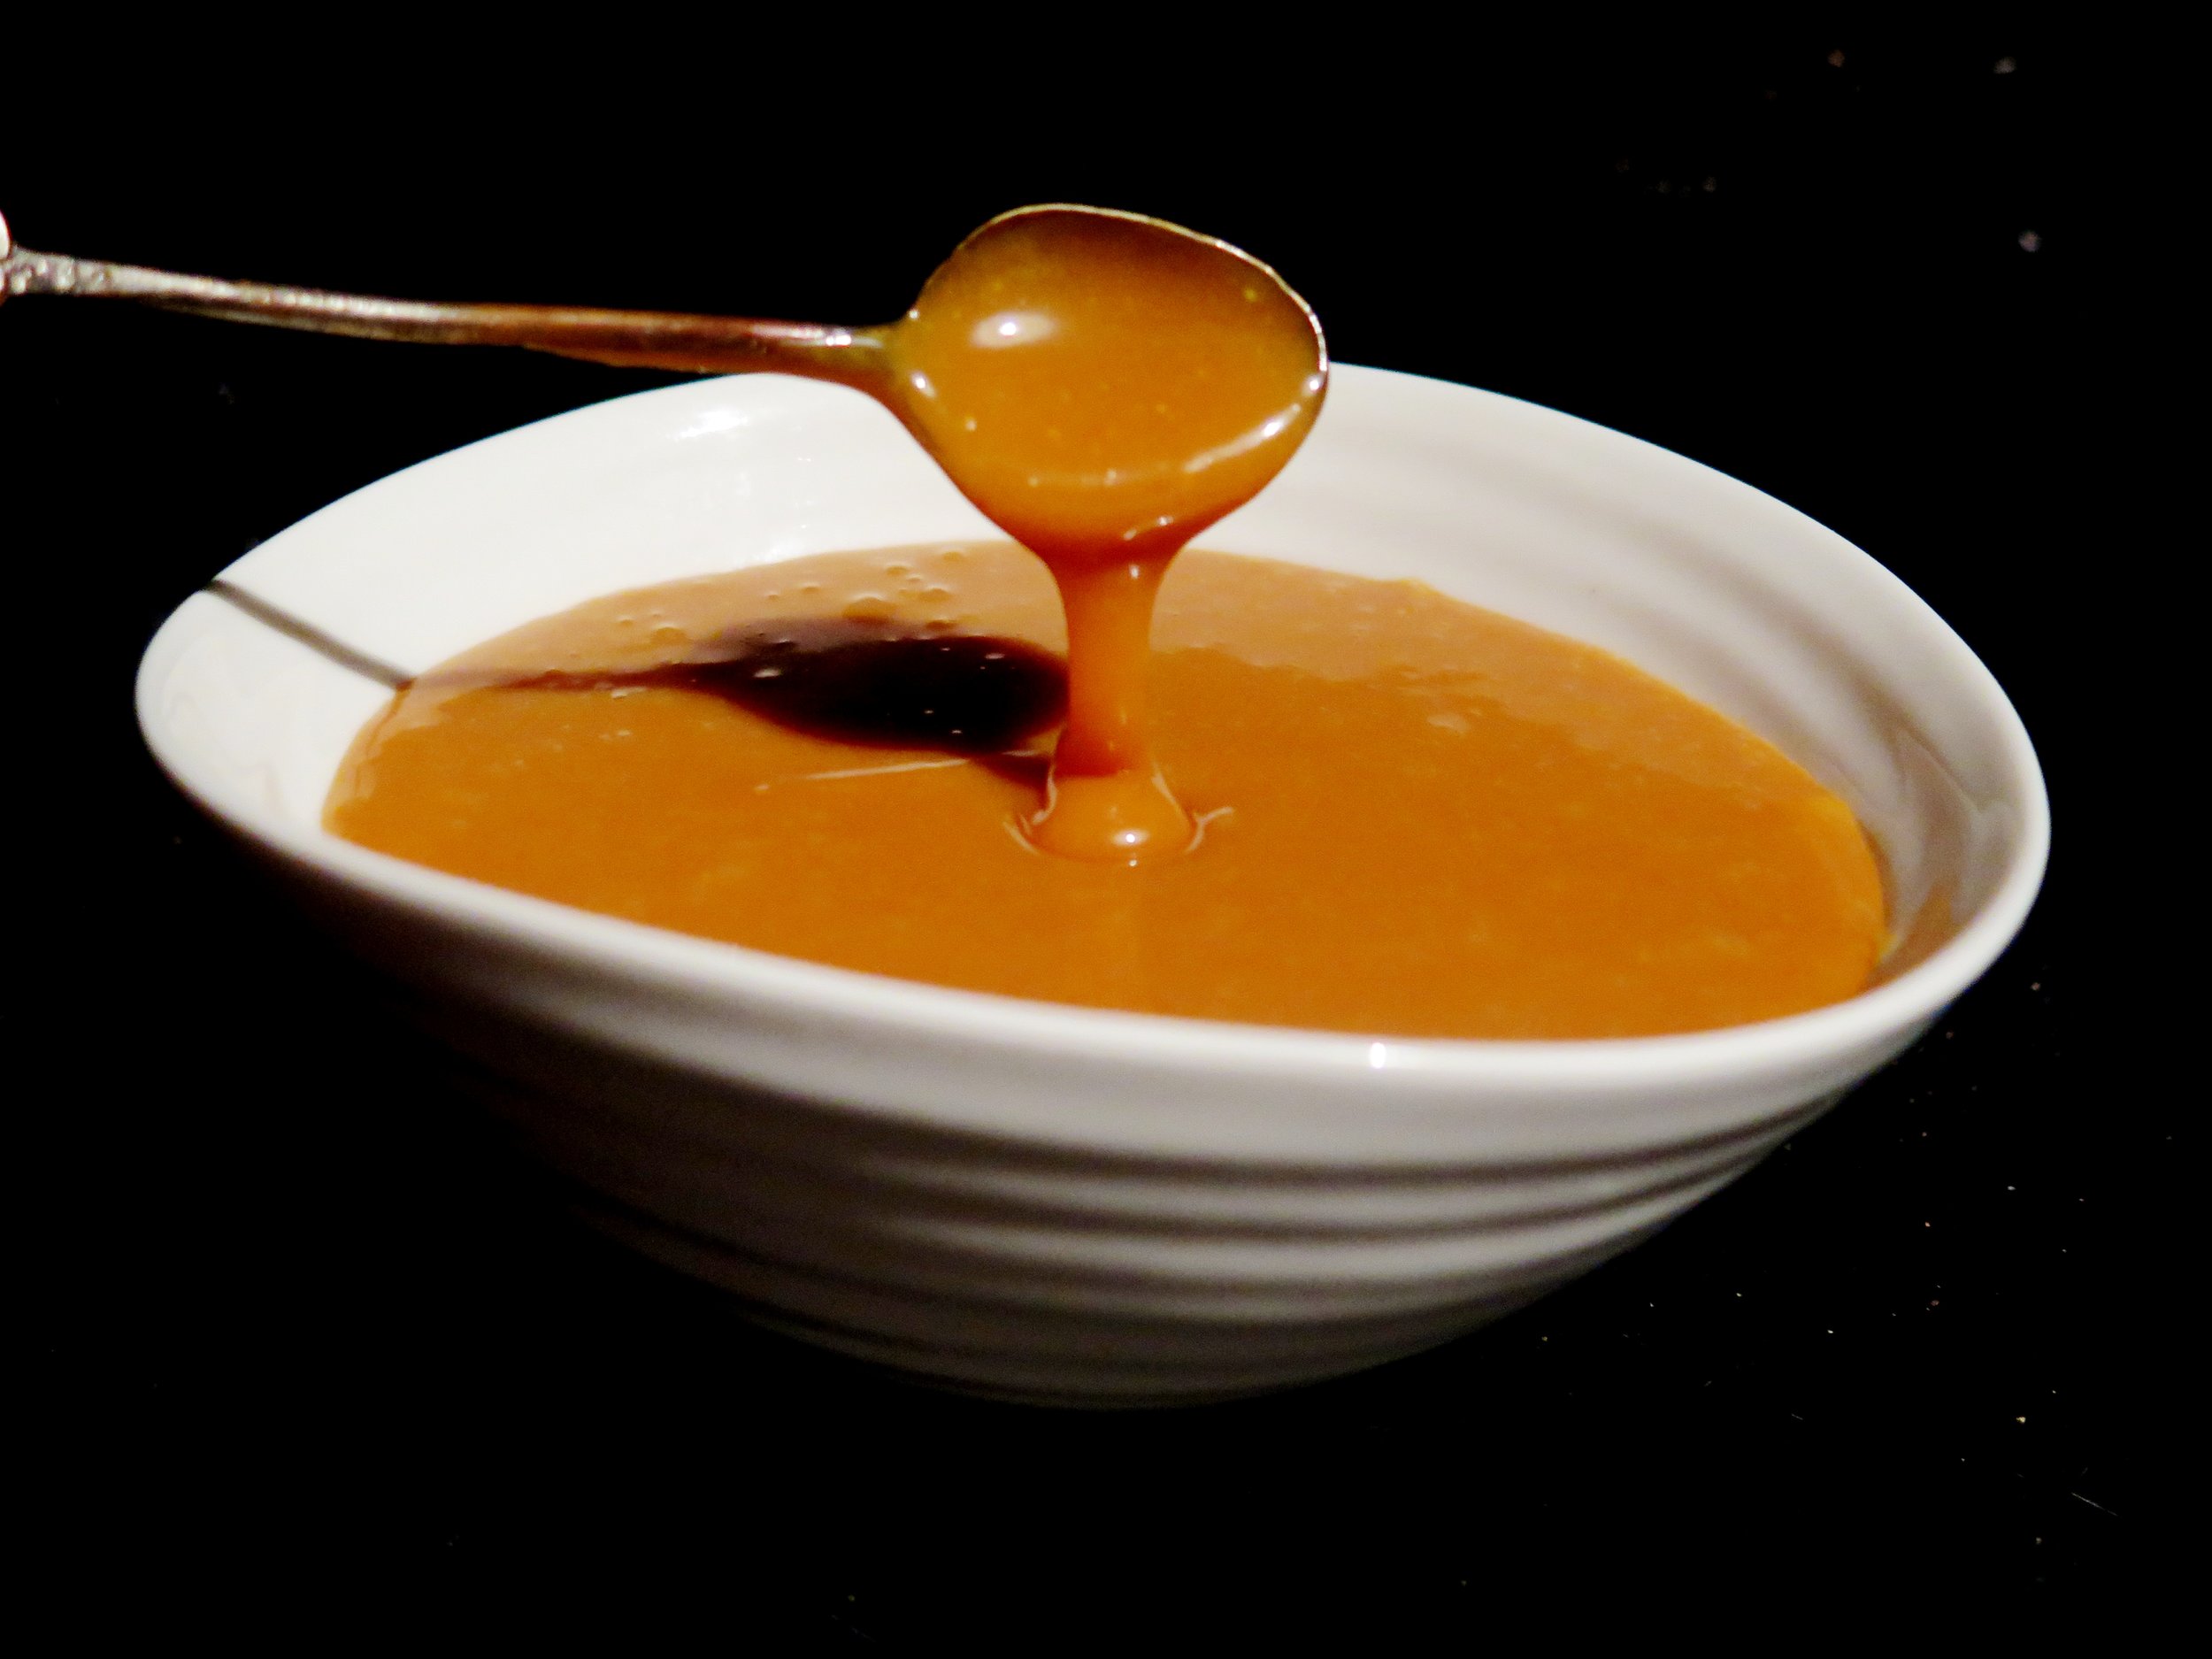
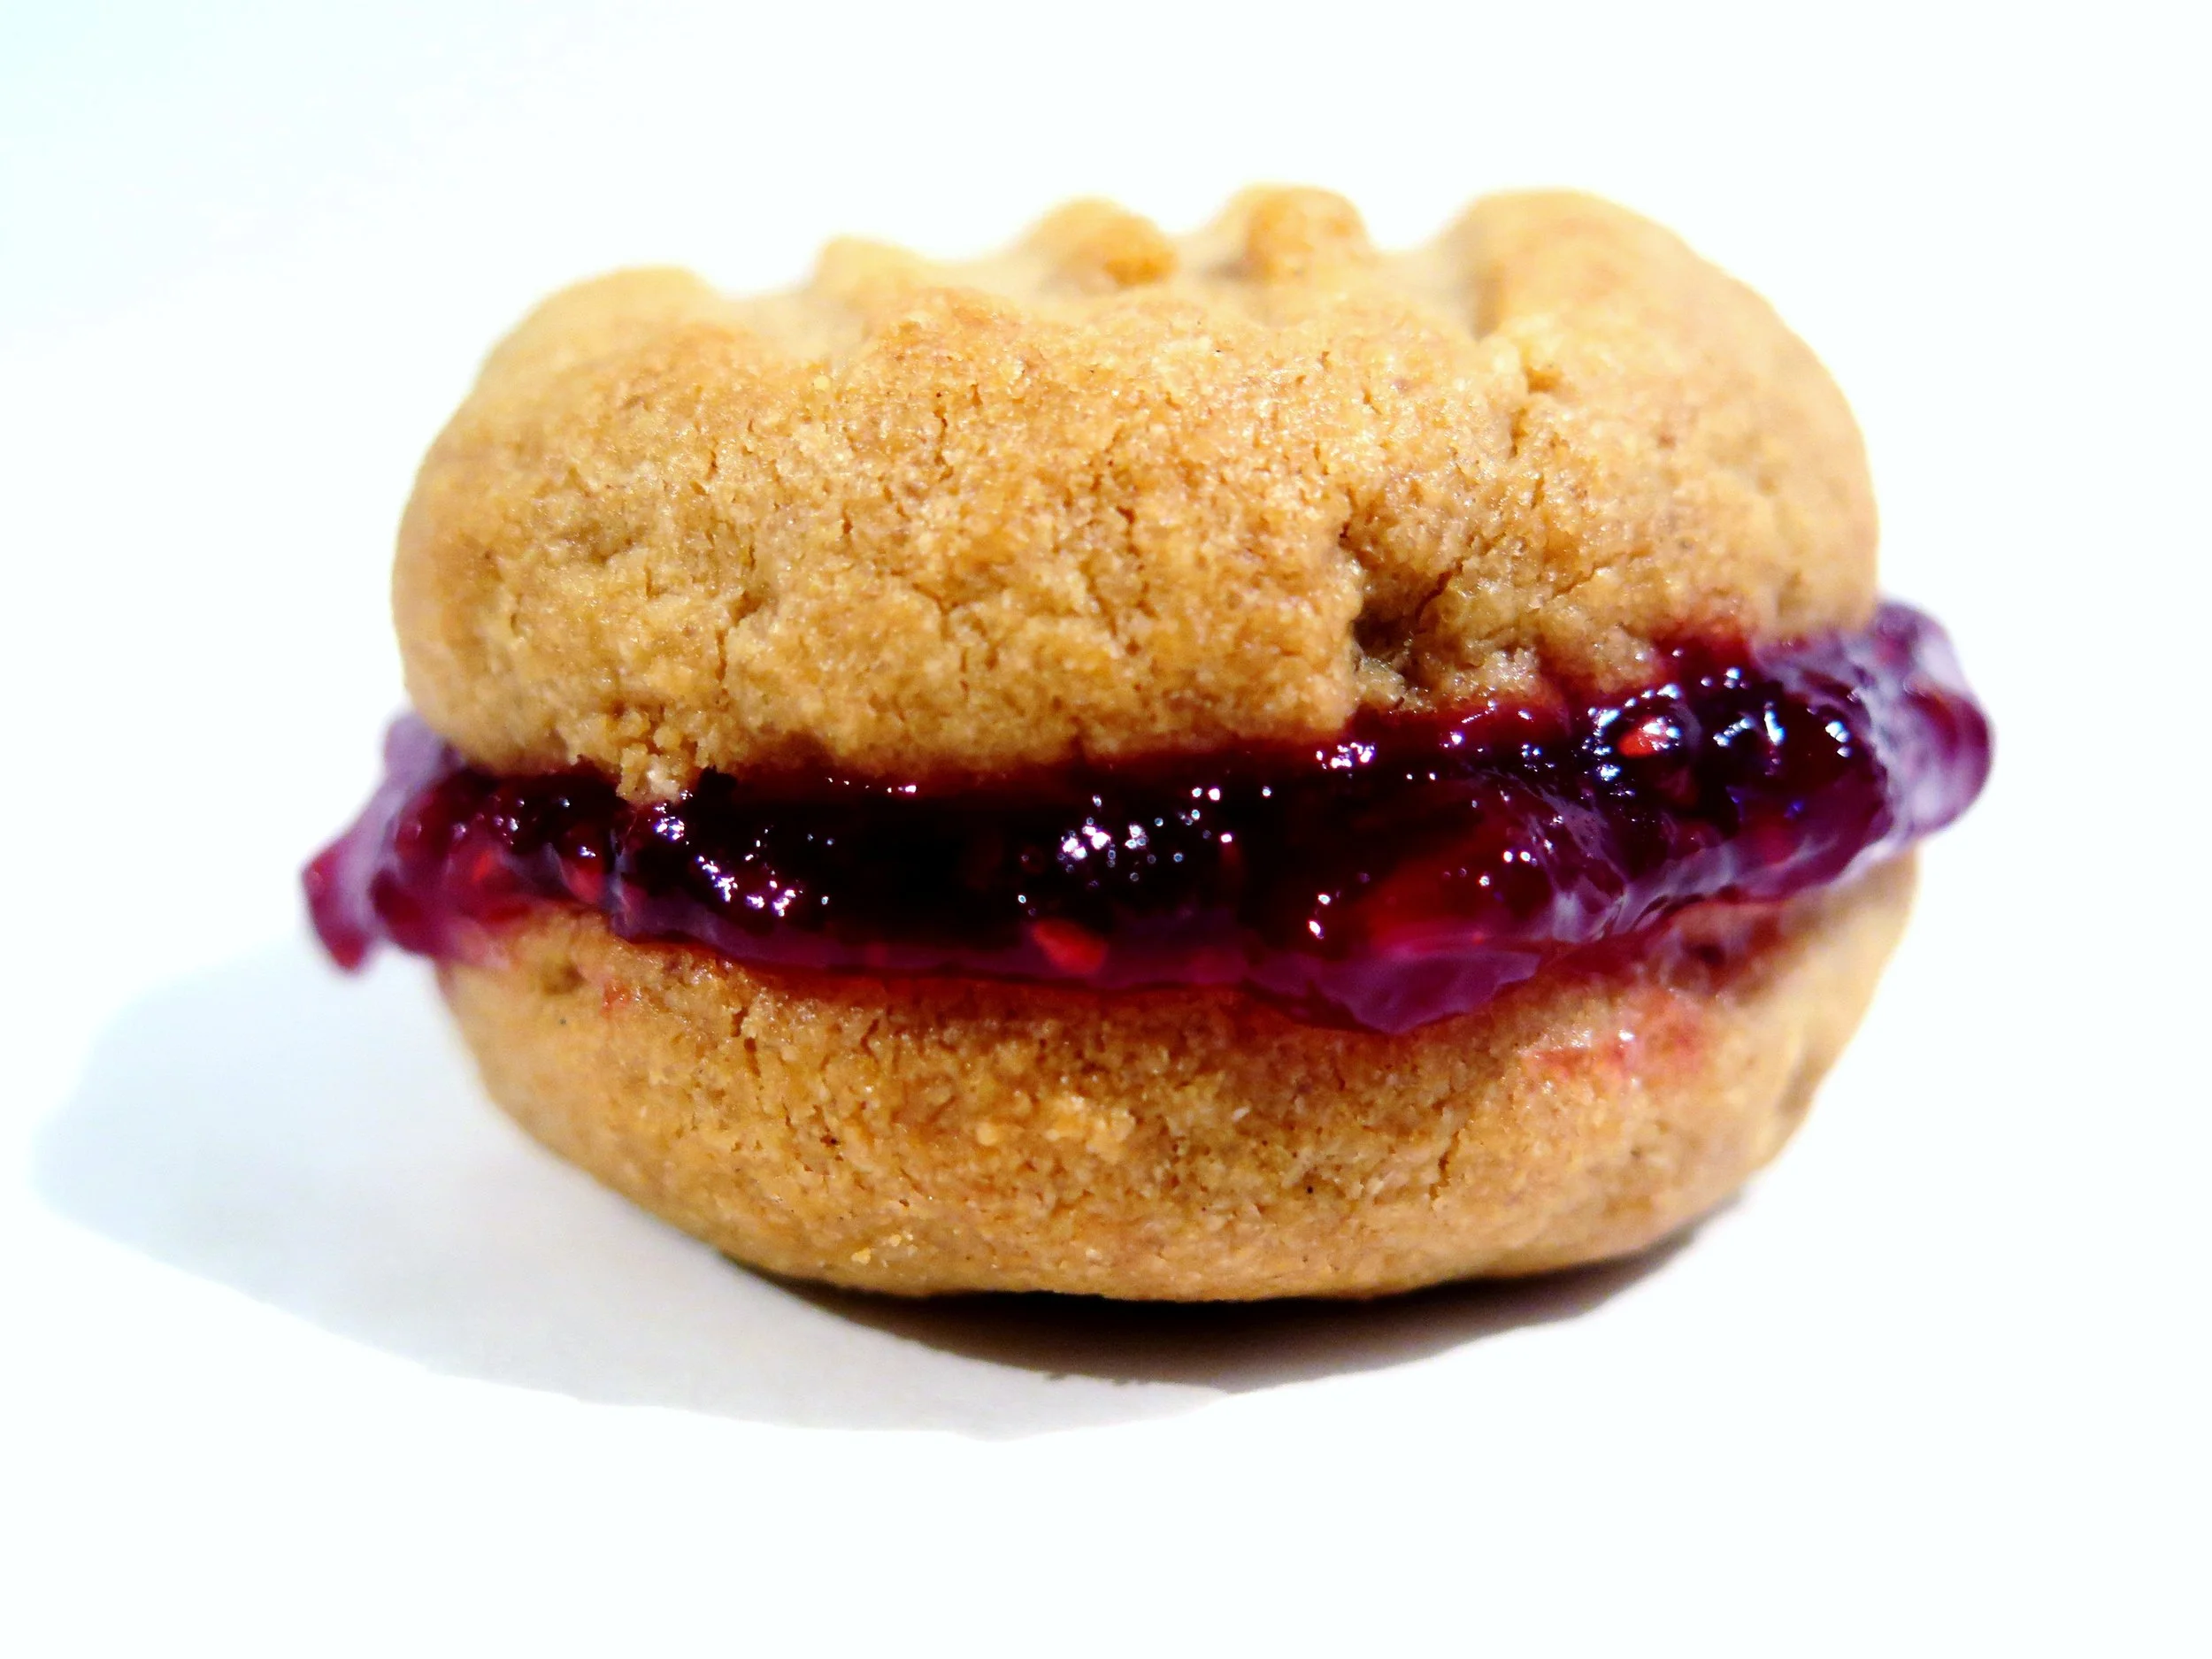
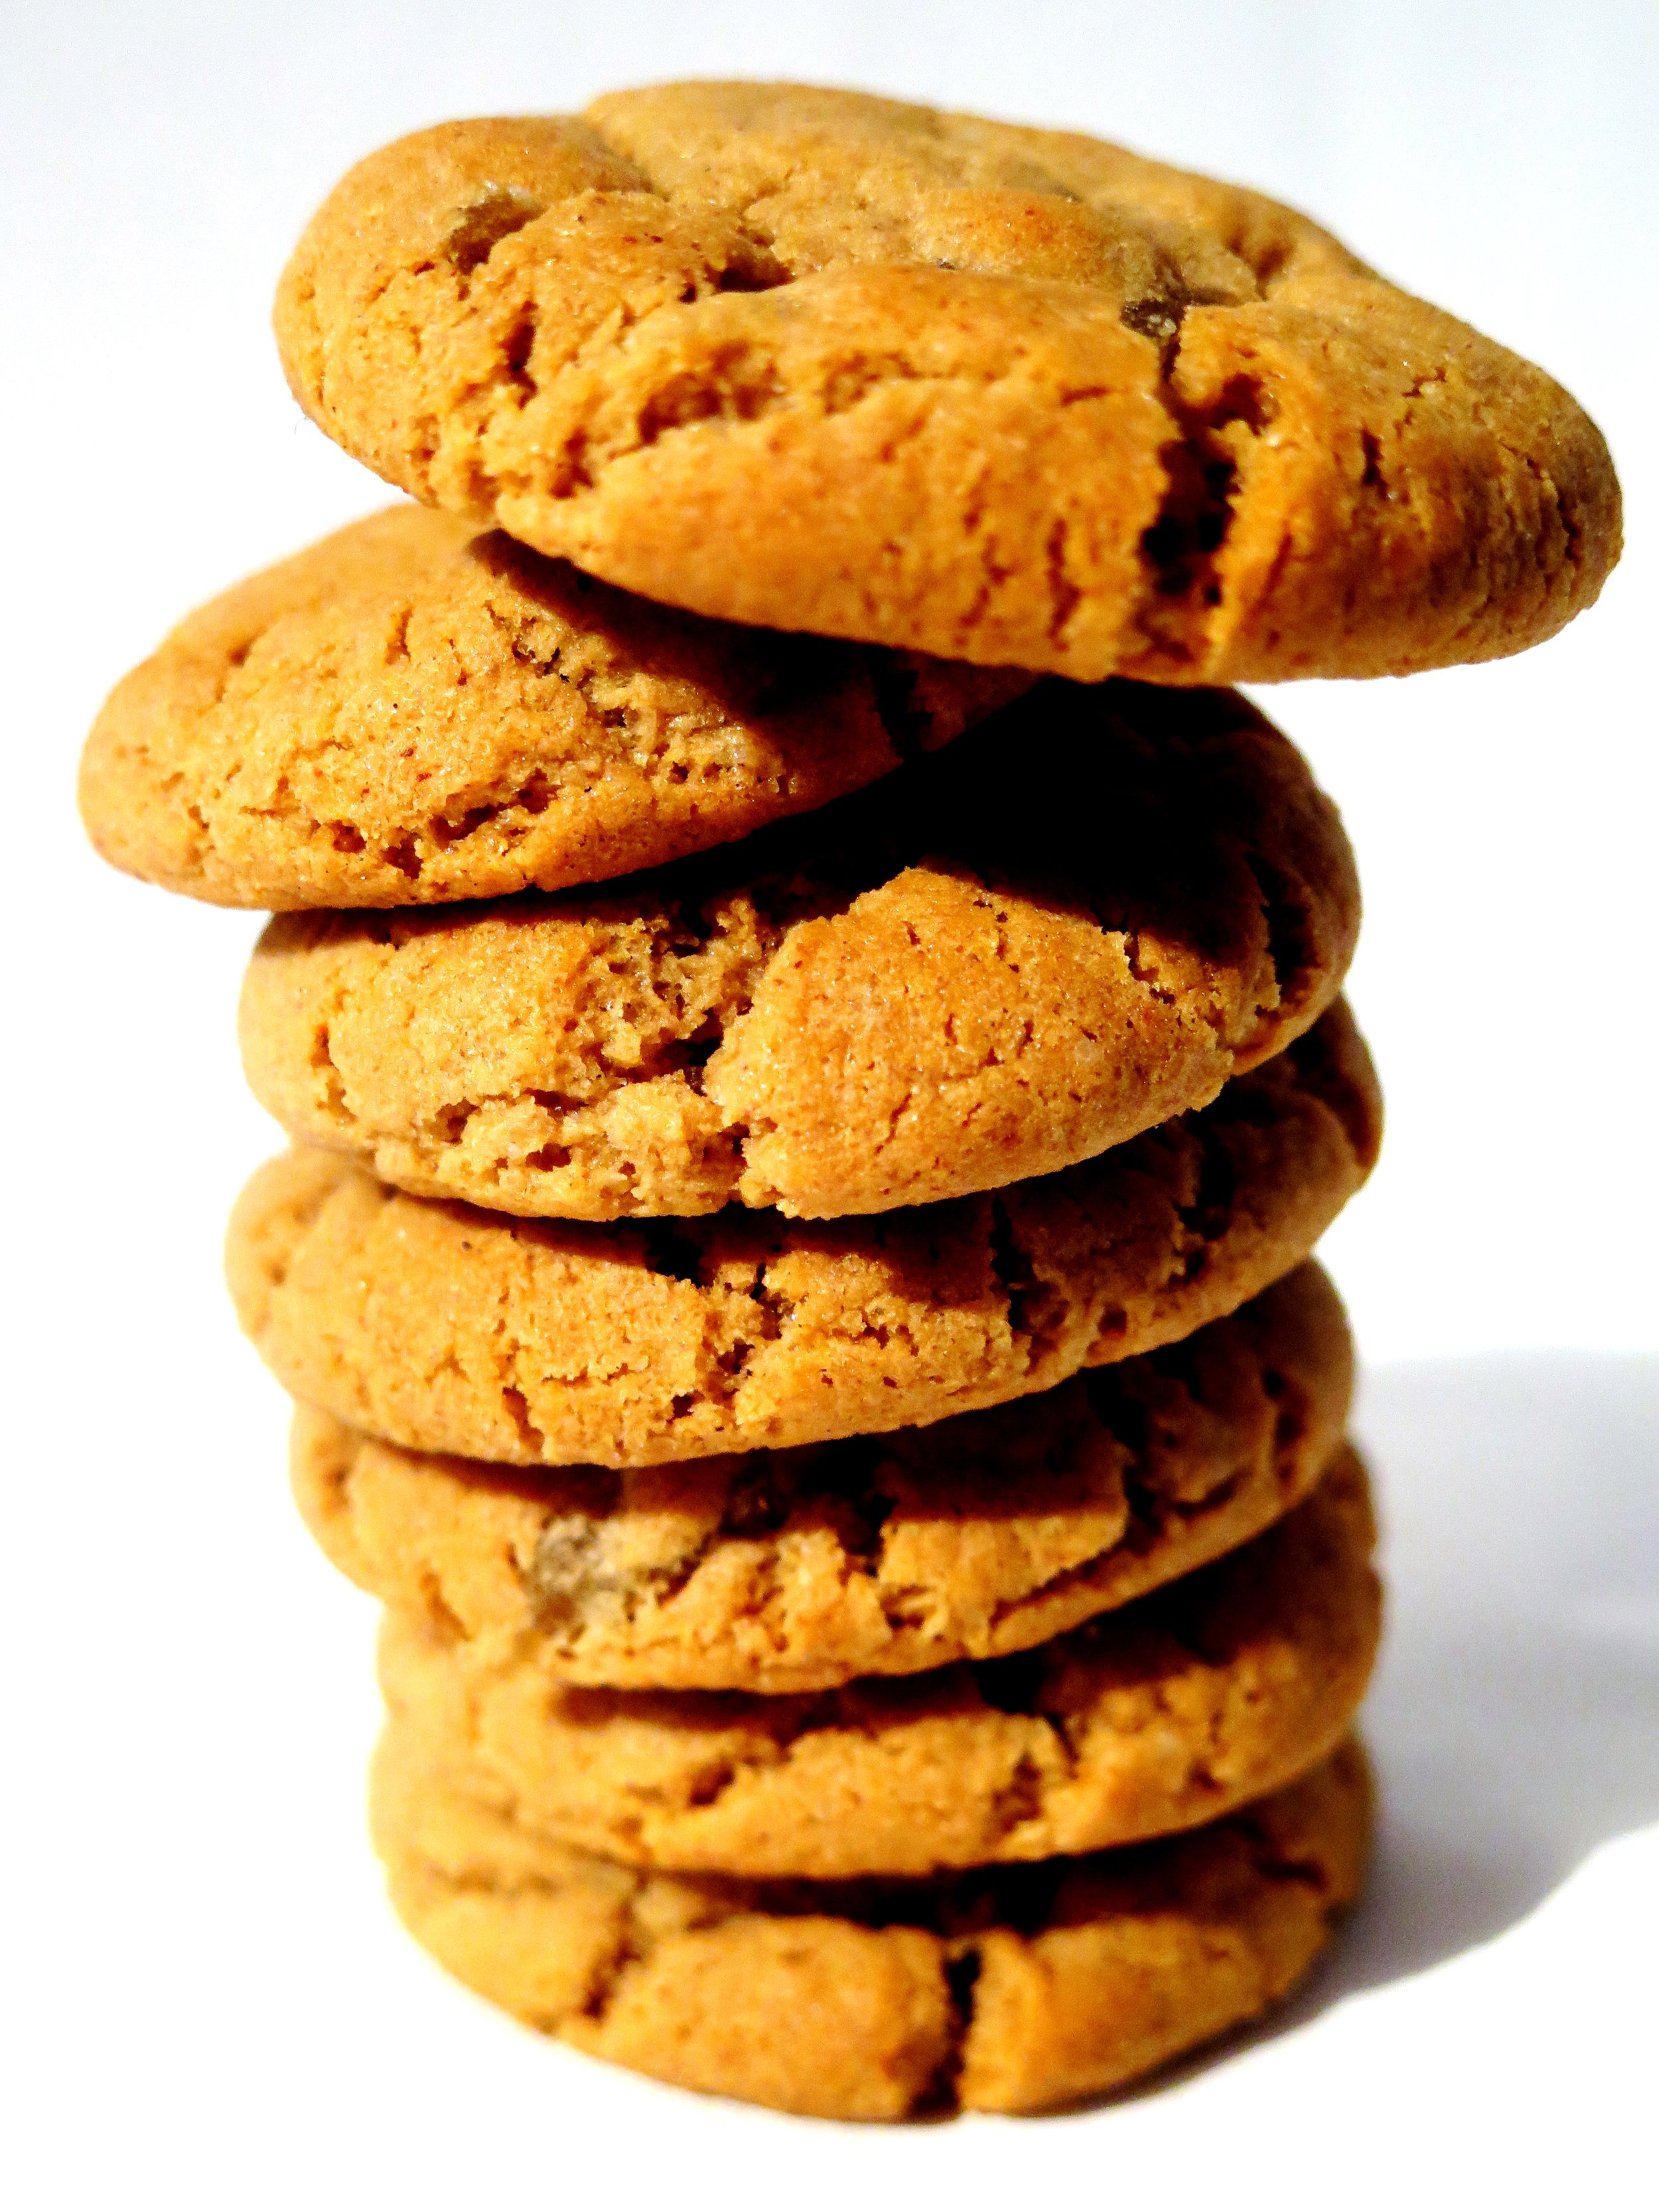
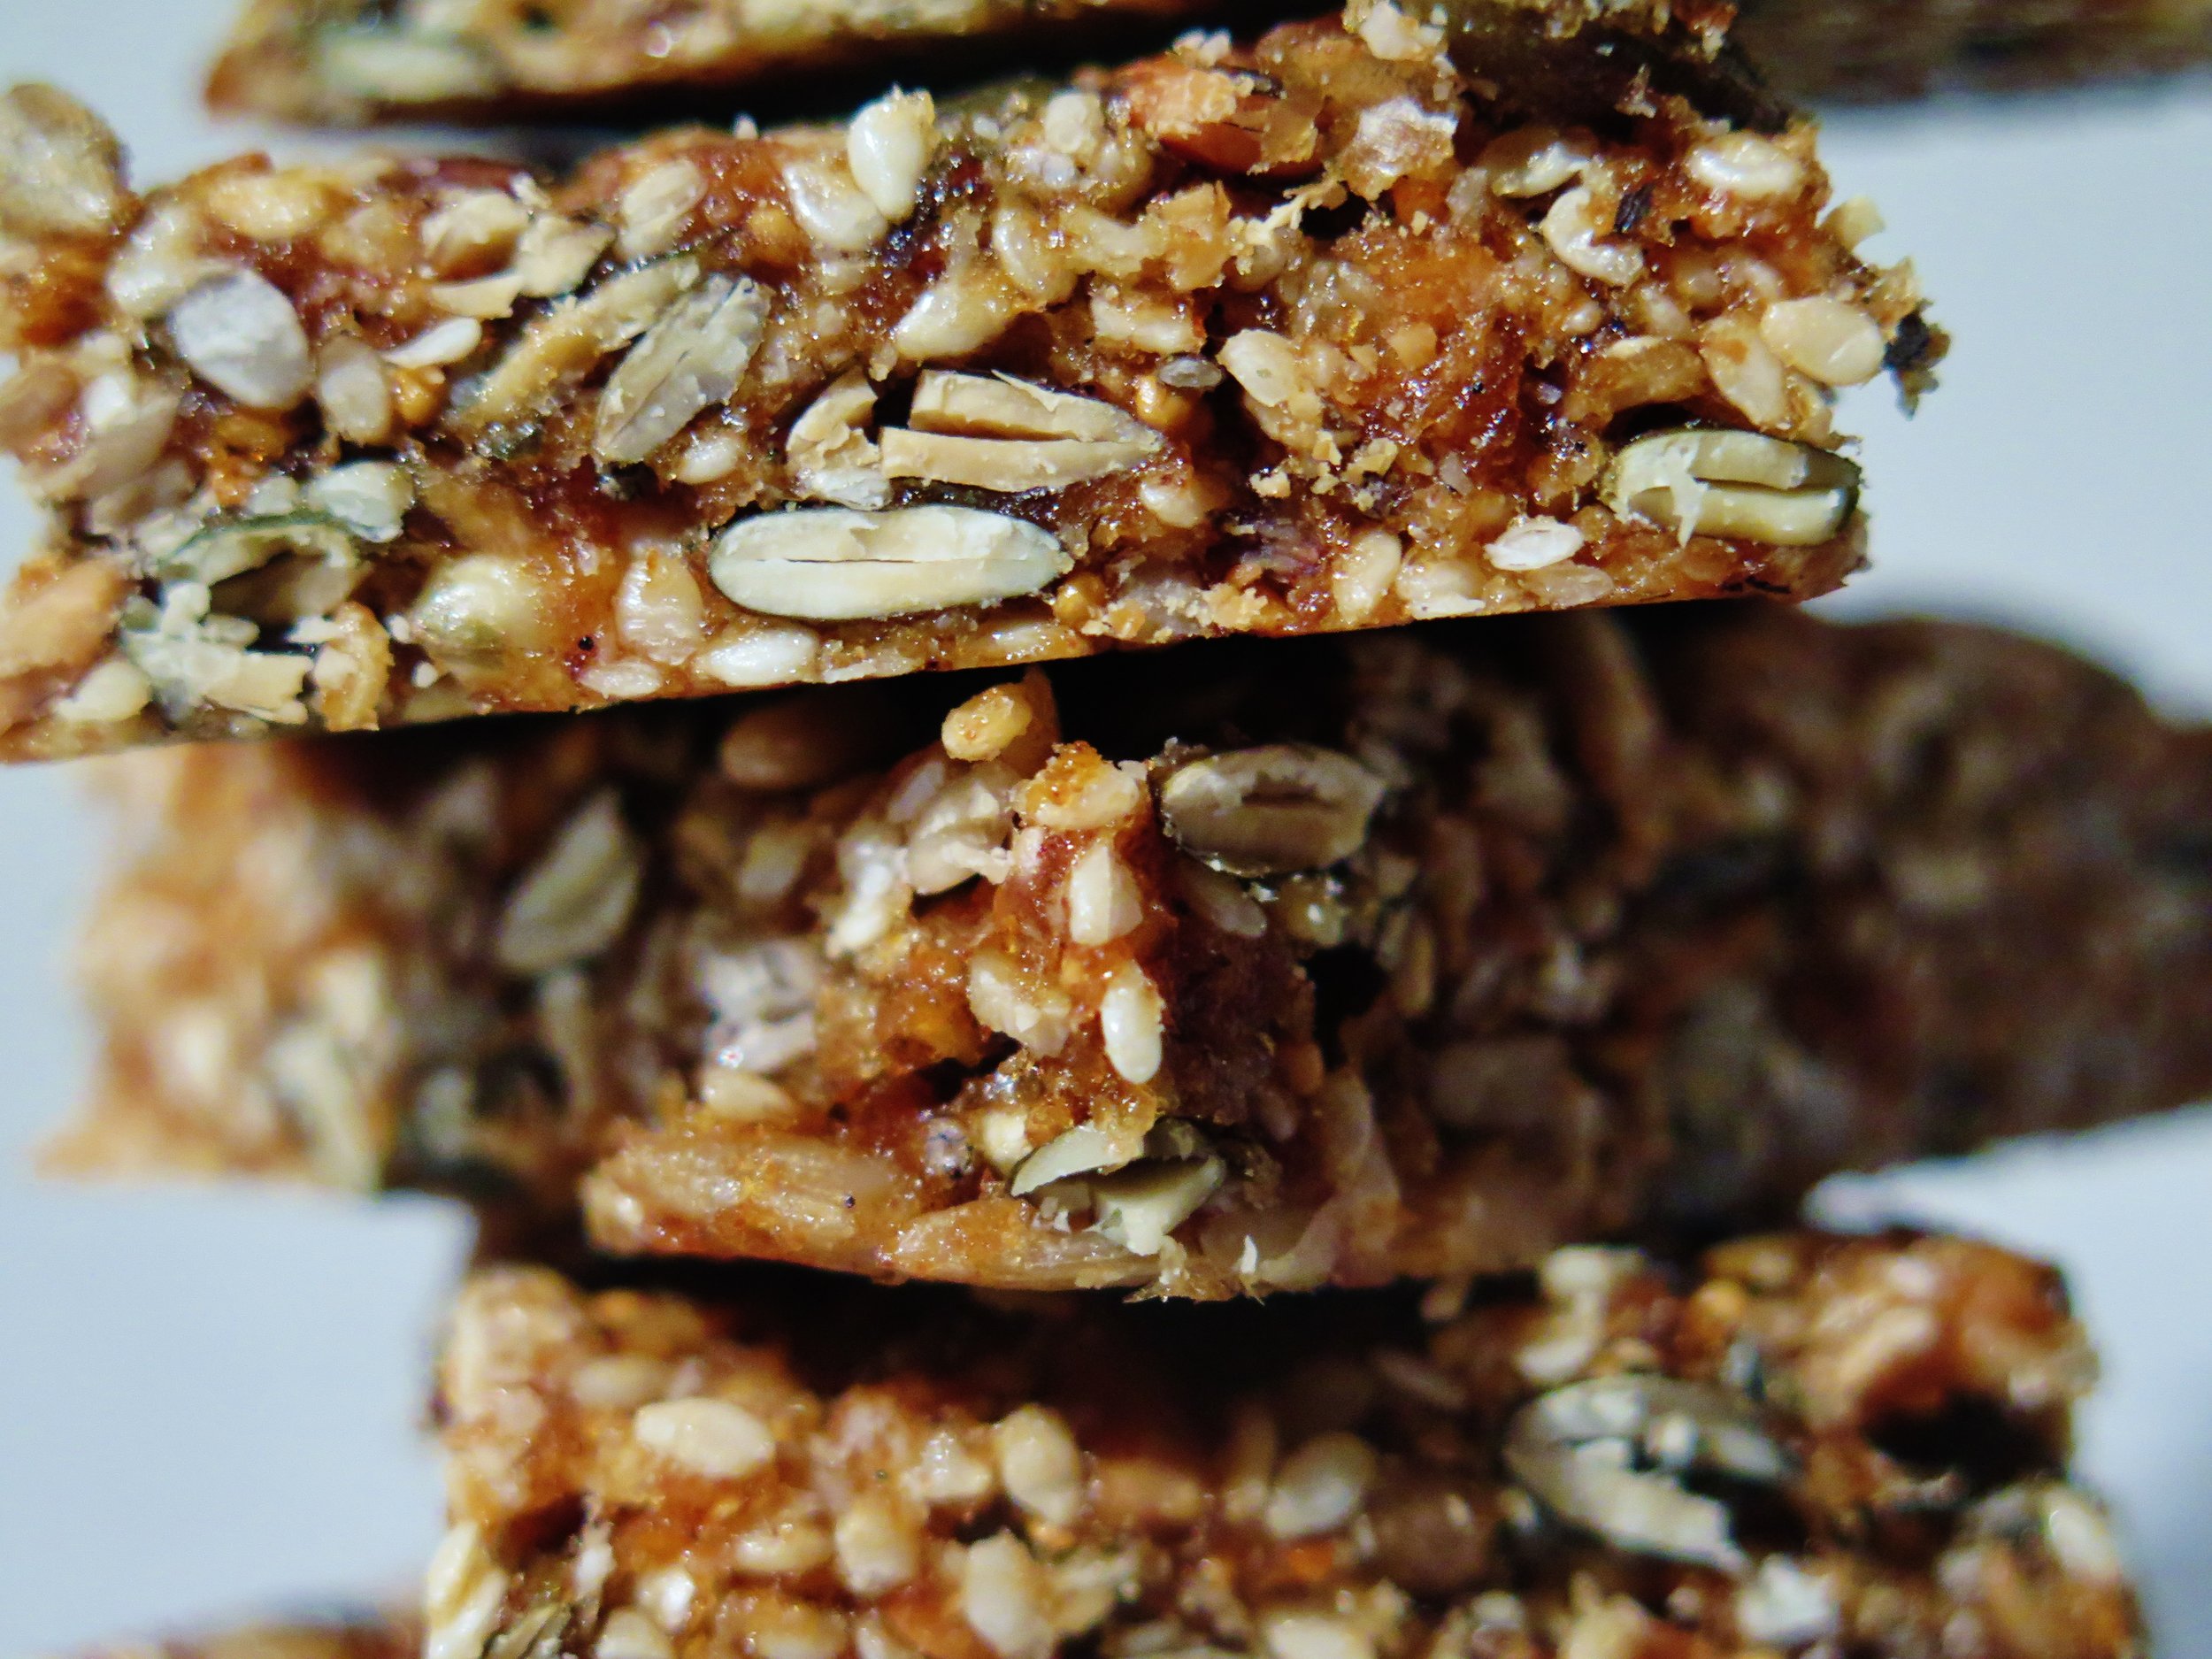
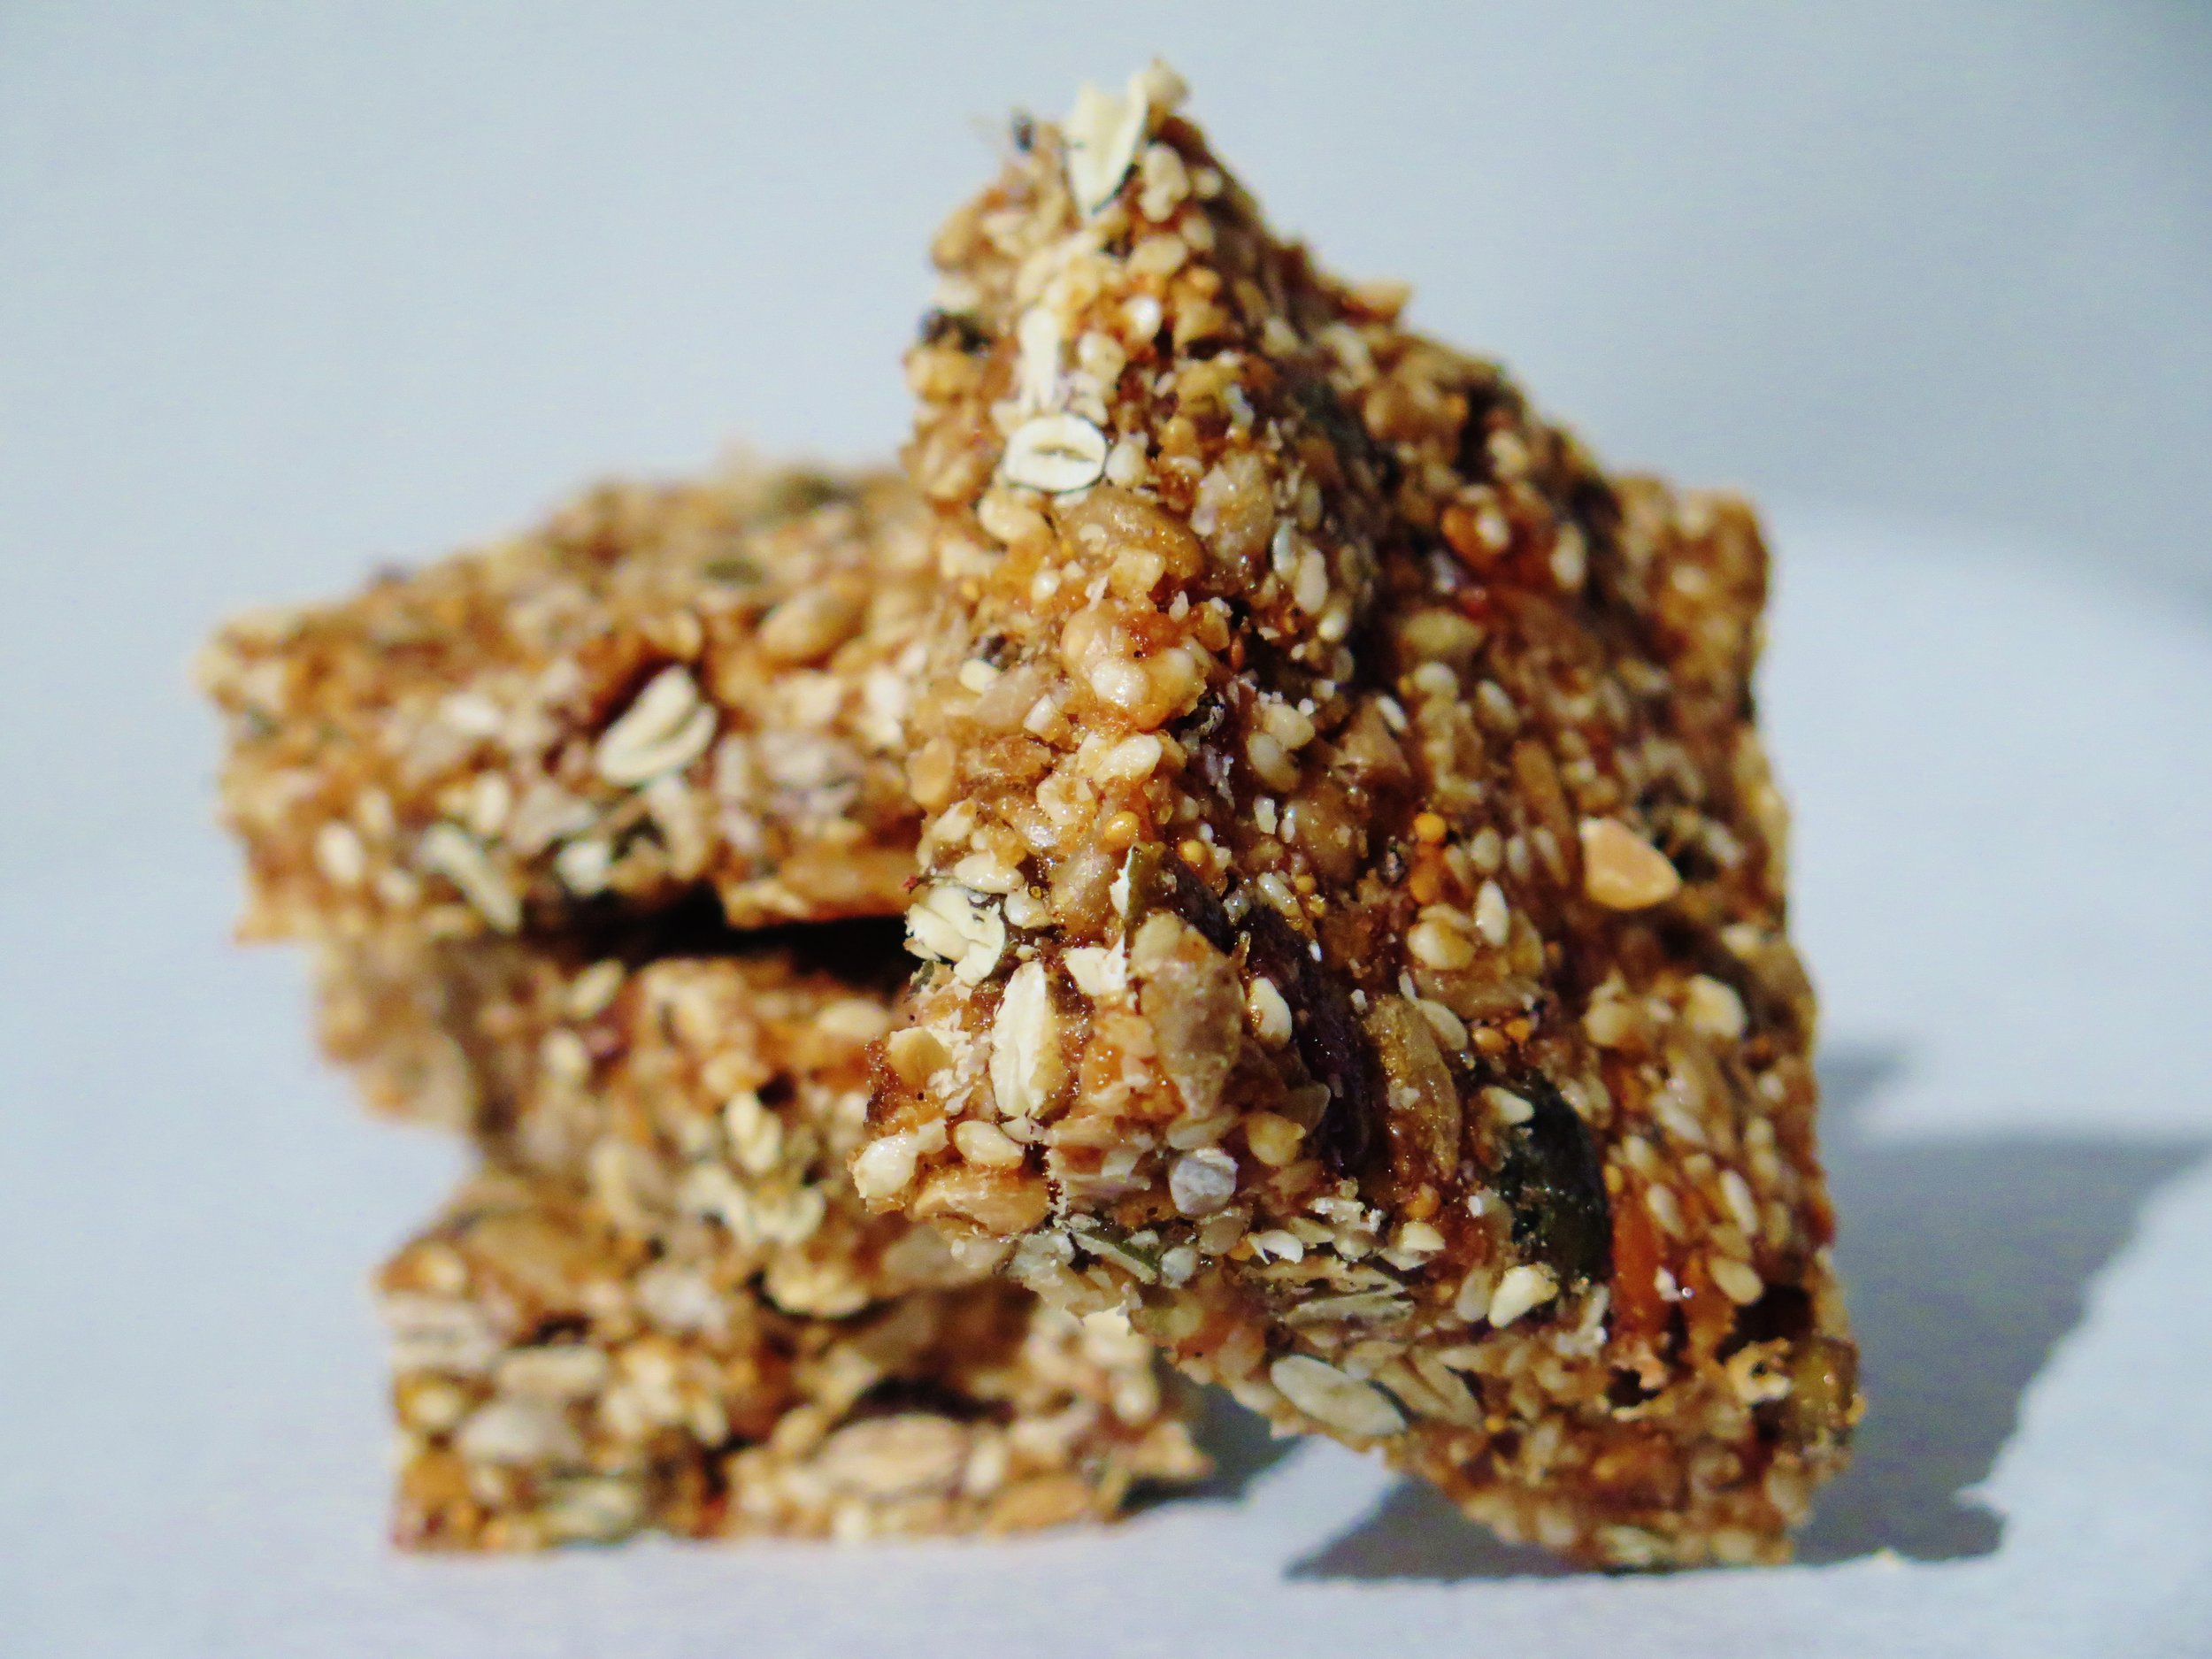
 Amaretti are also perfect for coeliacs, and can make a wonderful dessert paired with ice cream and a tangy berry sauce (see recipe here).
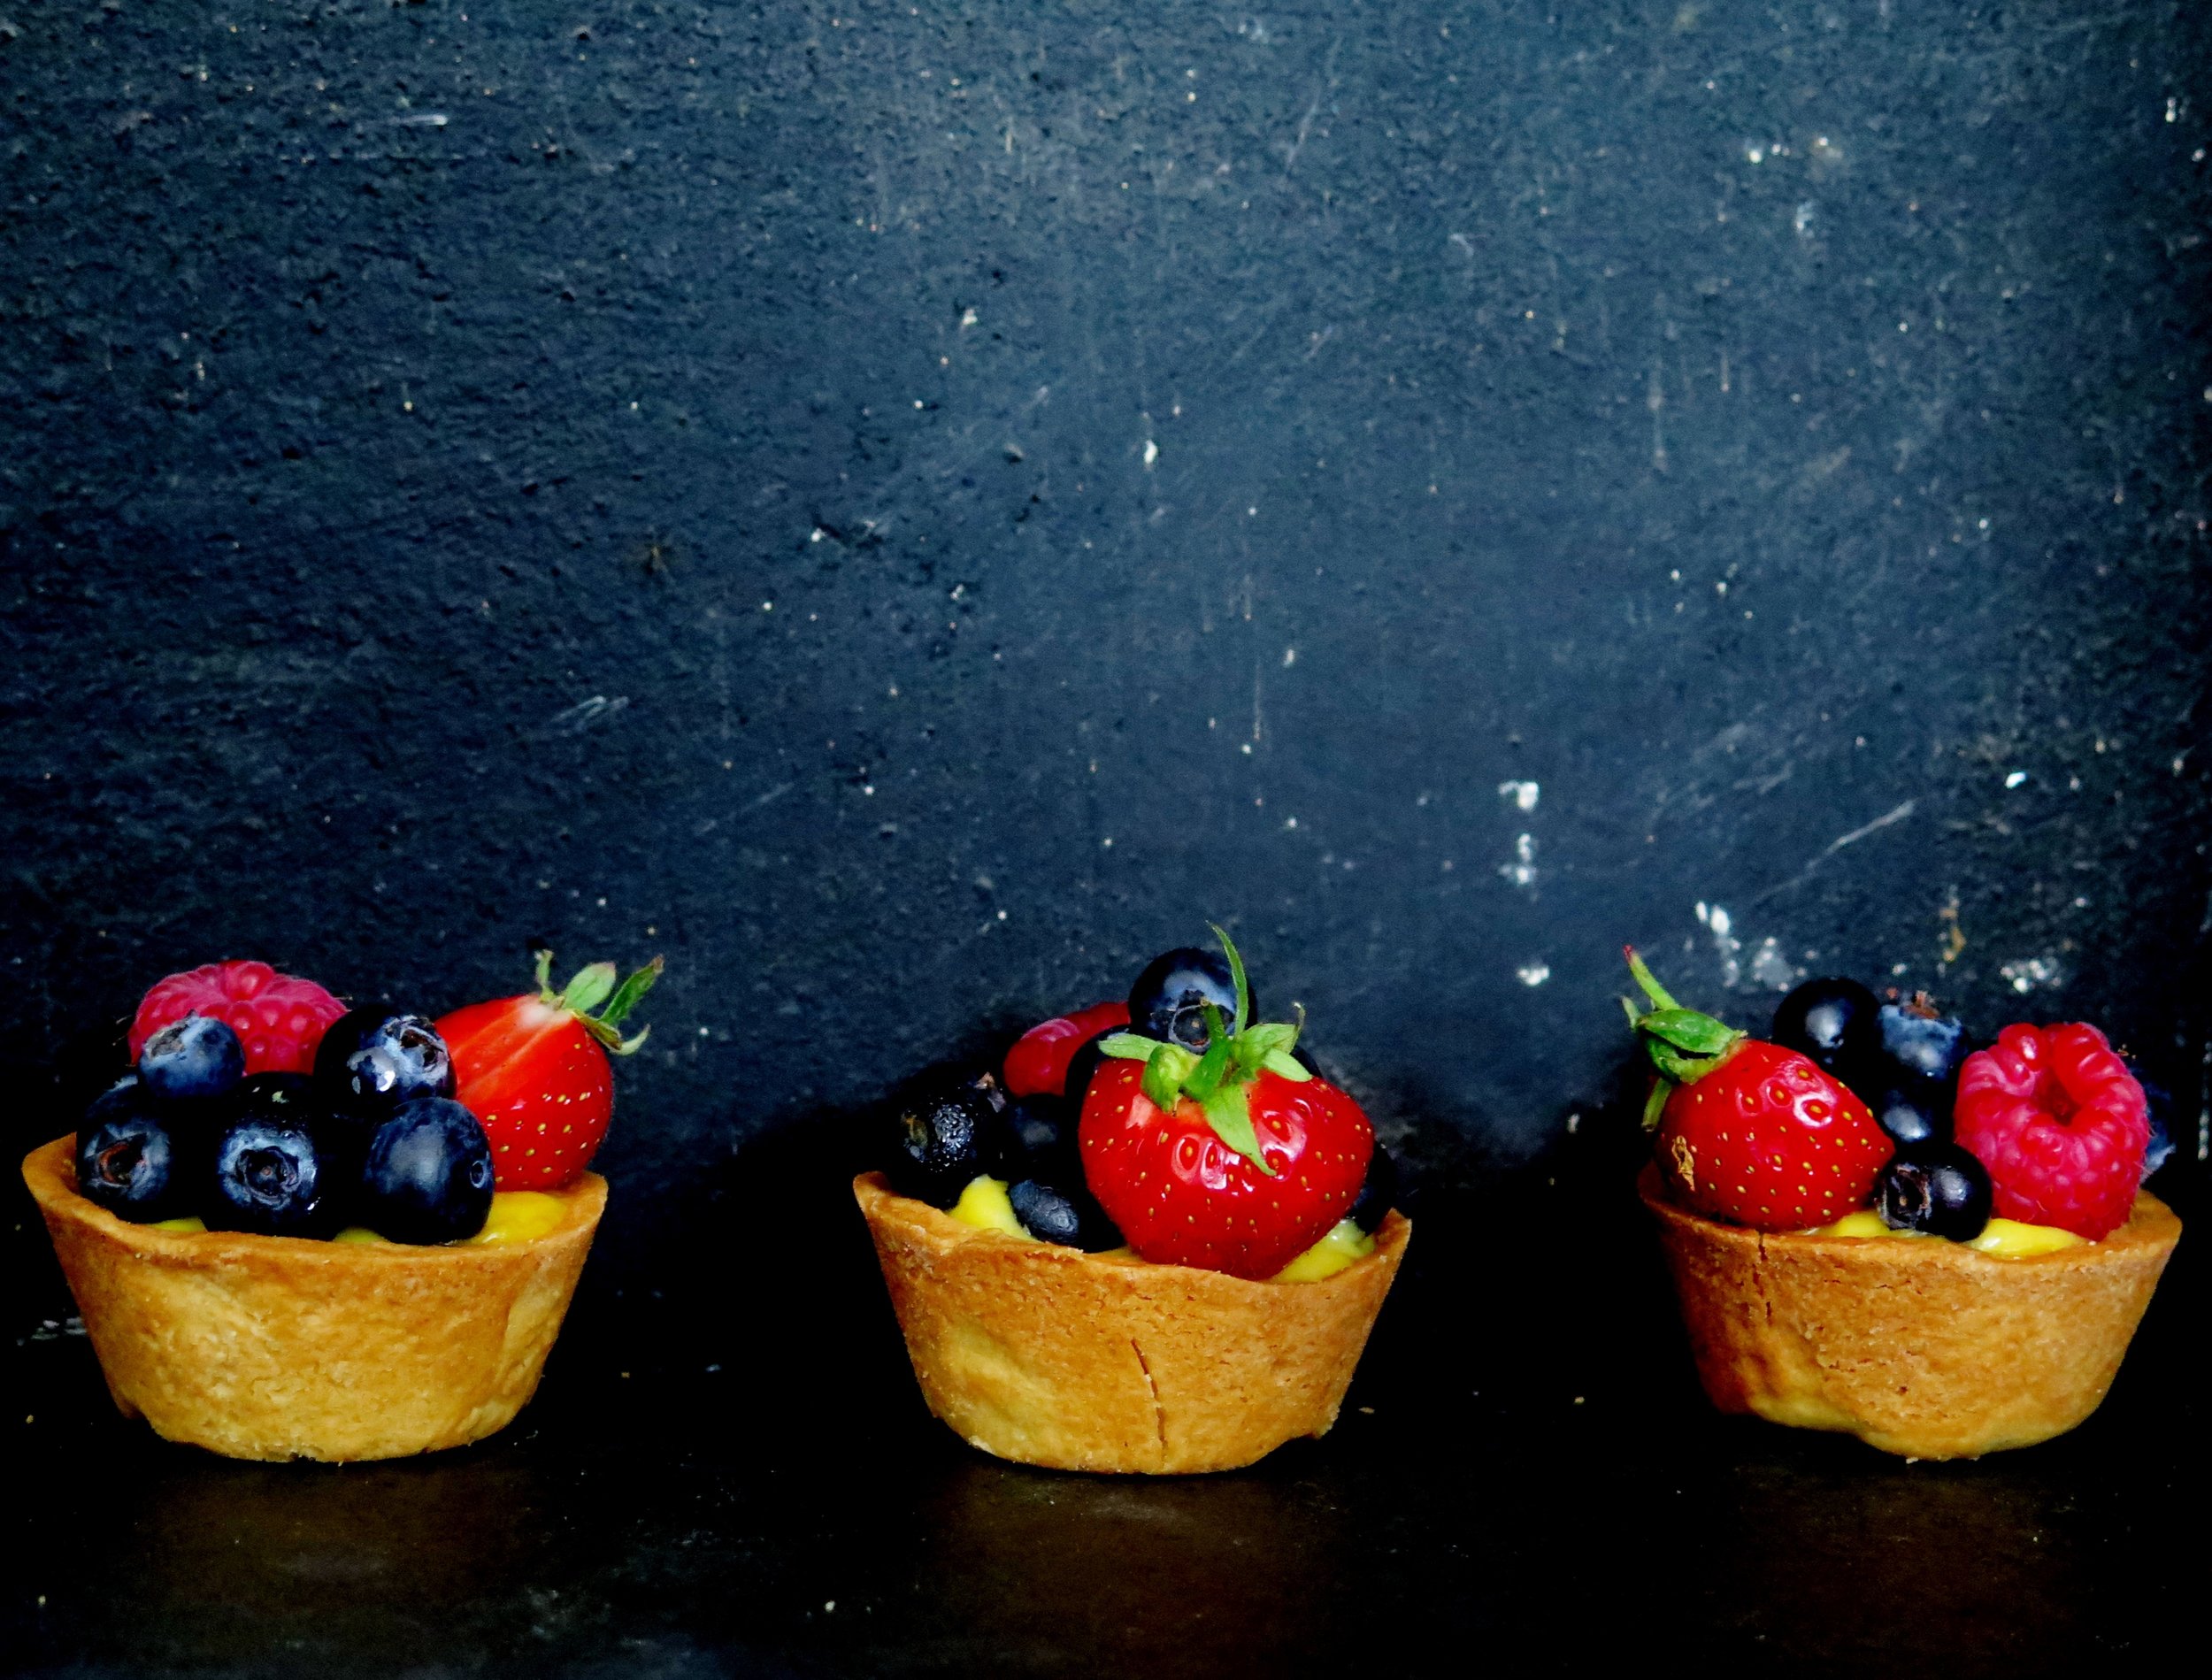
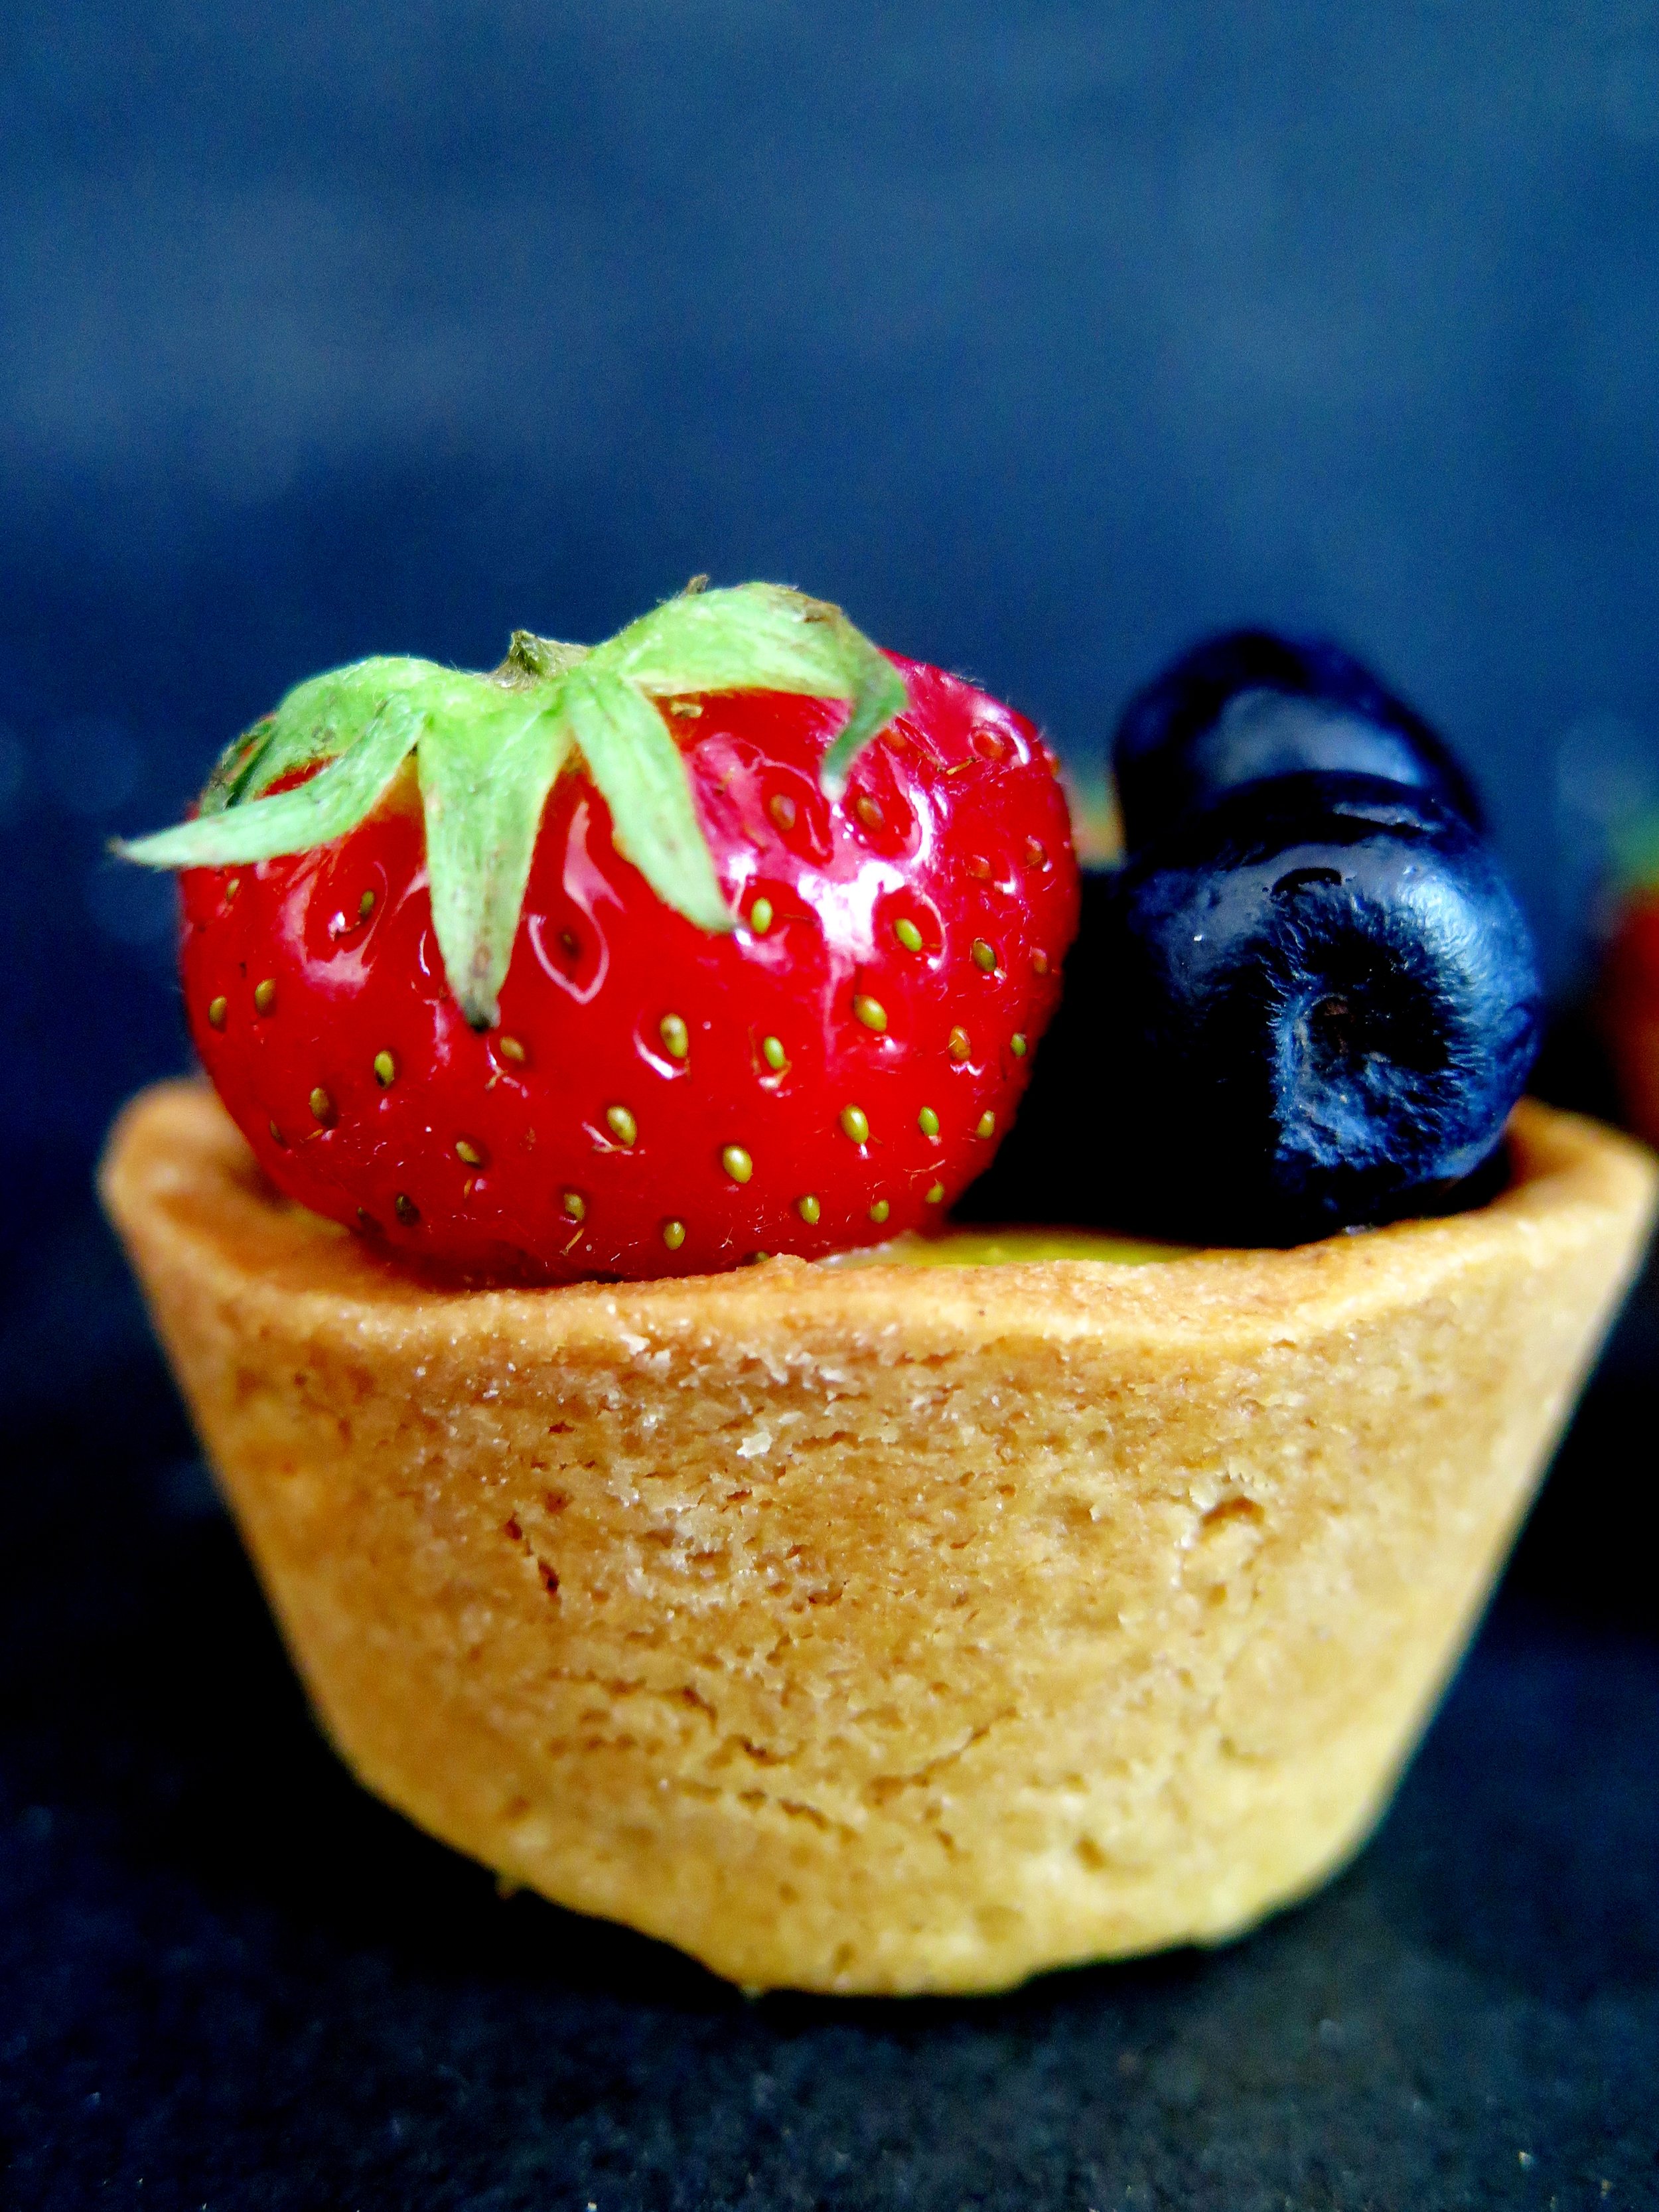
 This recipe should be paired with my one for summer berry lemon curd tarts (see recipe here) which awkwardly leaves you with spare egg whites. Don’t waste them, make these instead –you won’t regret it…


 Last year I spent a week in the middle of nowhere, in freezing cold, exercising over 6 hours a day in mud/gales/snow/hail, under the supervision of ex-military trainers who pushed me physically beyond my limits until every last droplet of sweat had been purged. My fellow “bootcampers” included a fresh out of prison and rehab drug dealer/addict, a morbidly obese woman who refused to communicate with anyone, a creepy London shop owner, a z-list celebrity from a certain Chelsea based reality TV show, whose ego was undeservedly overblown, and some poor guy whose father had told him he was going on a spa retreat in Spain but despatched him instead into gruelling and bleak middle England.
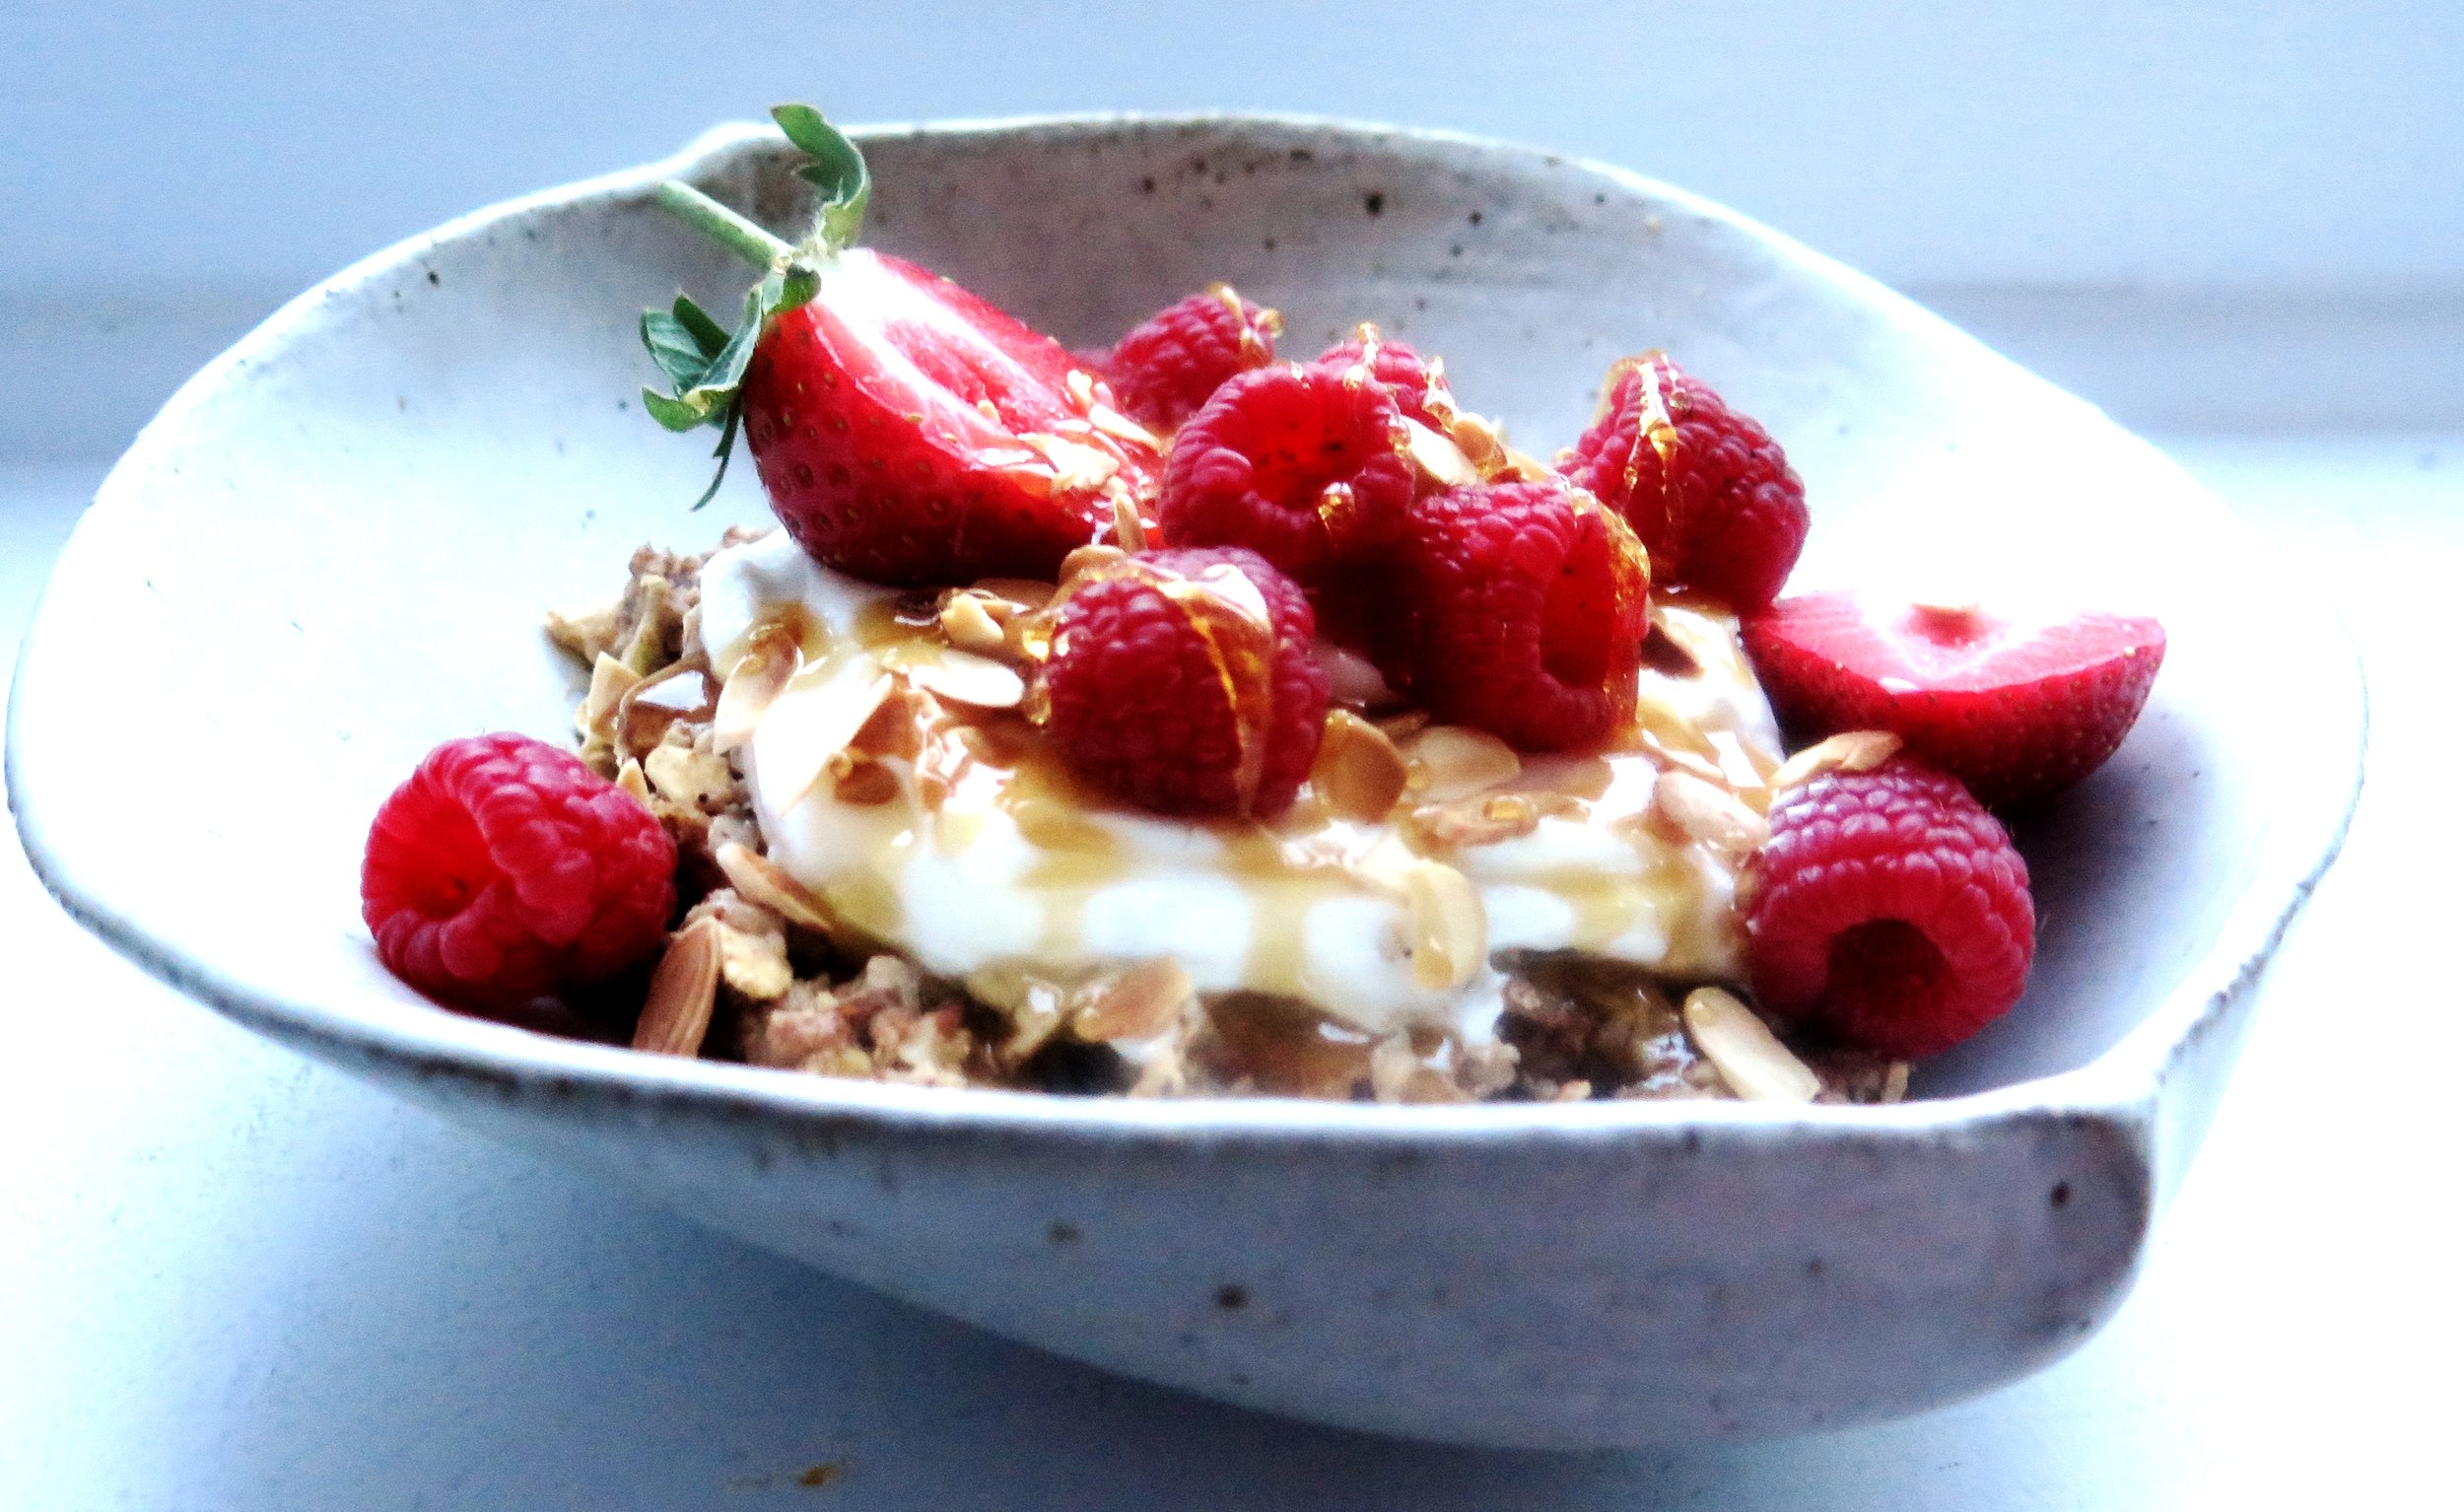
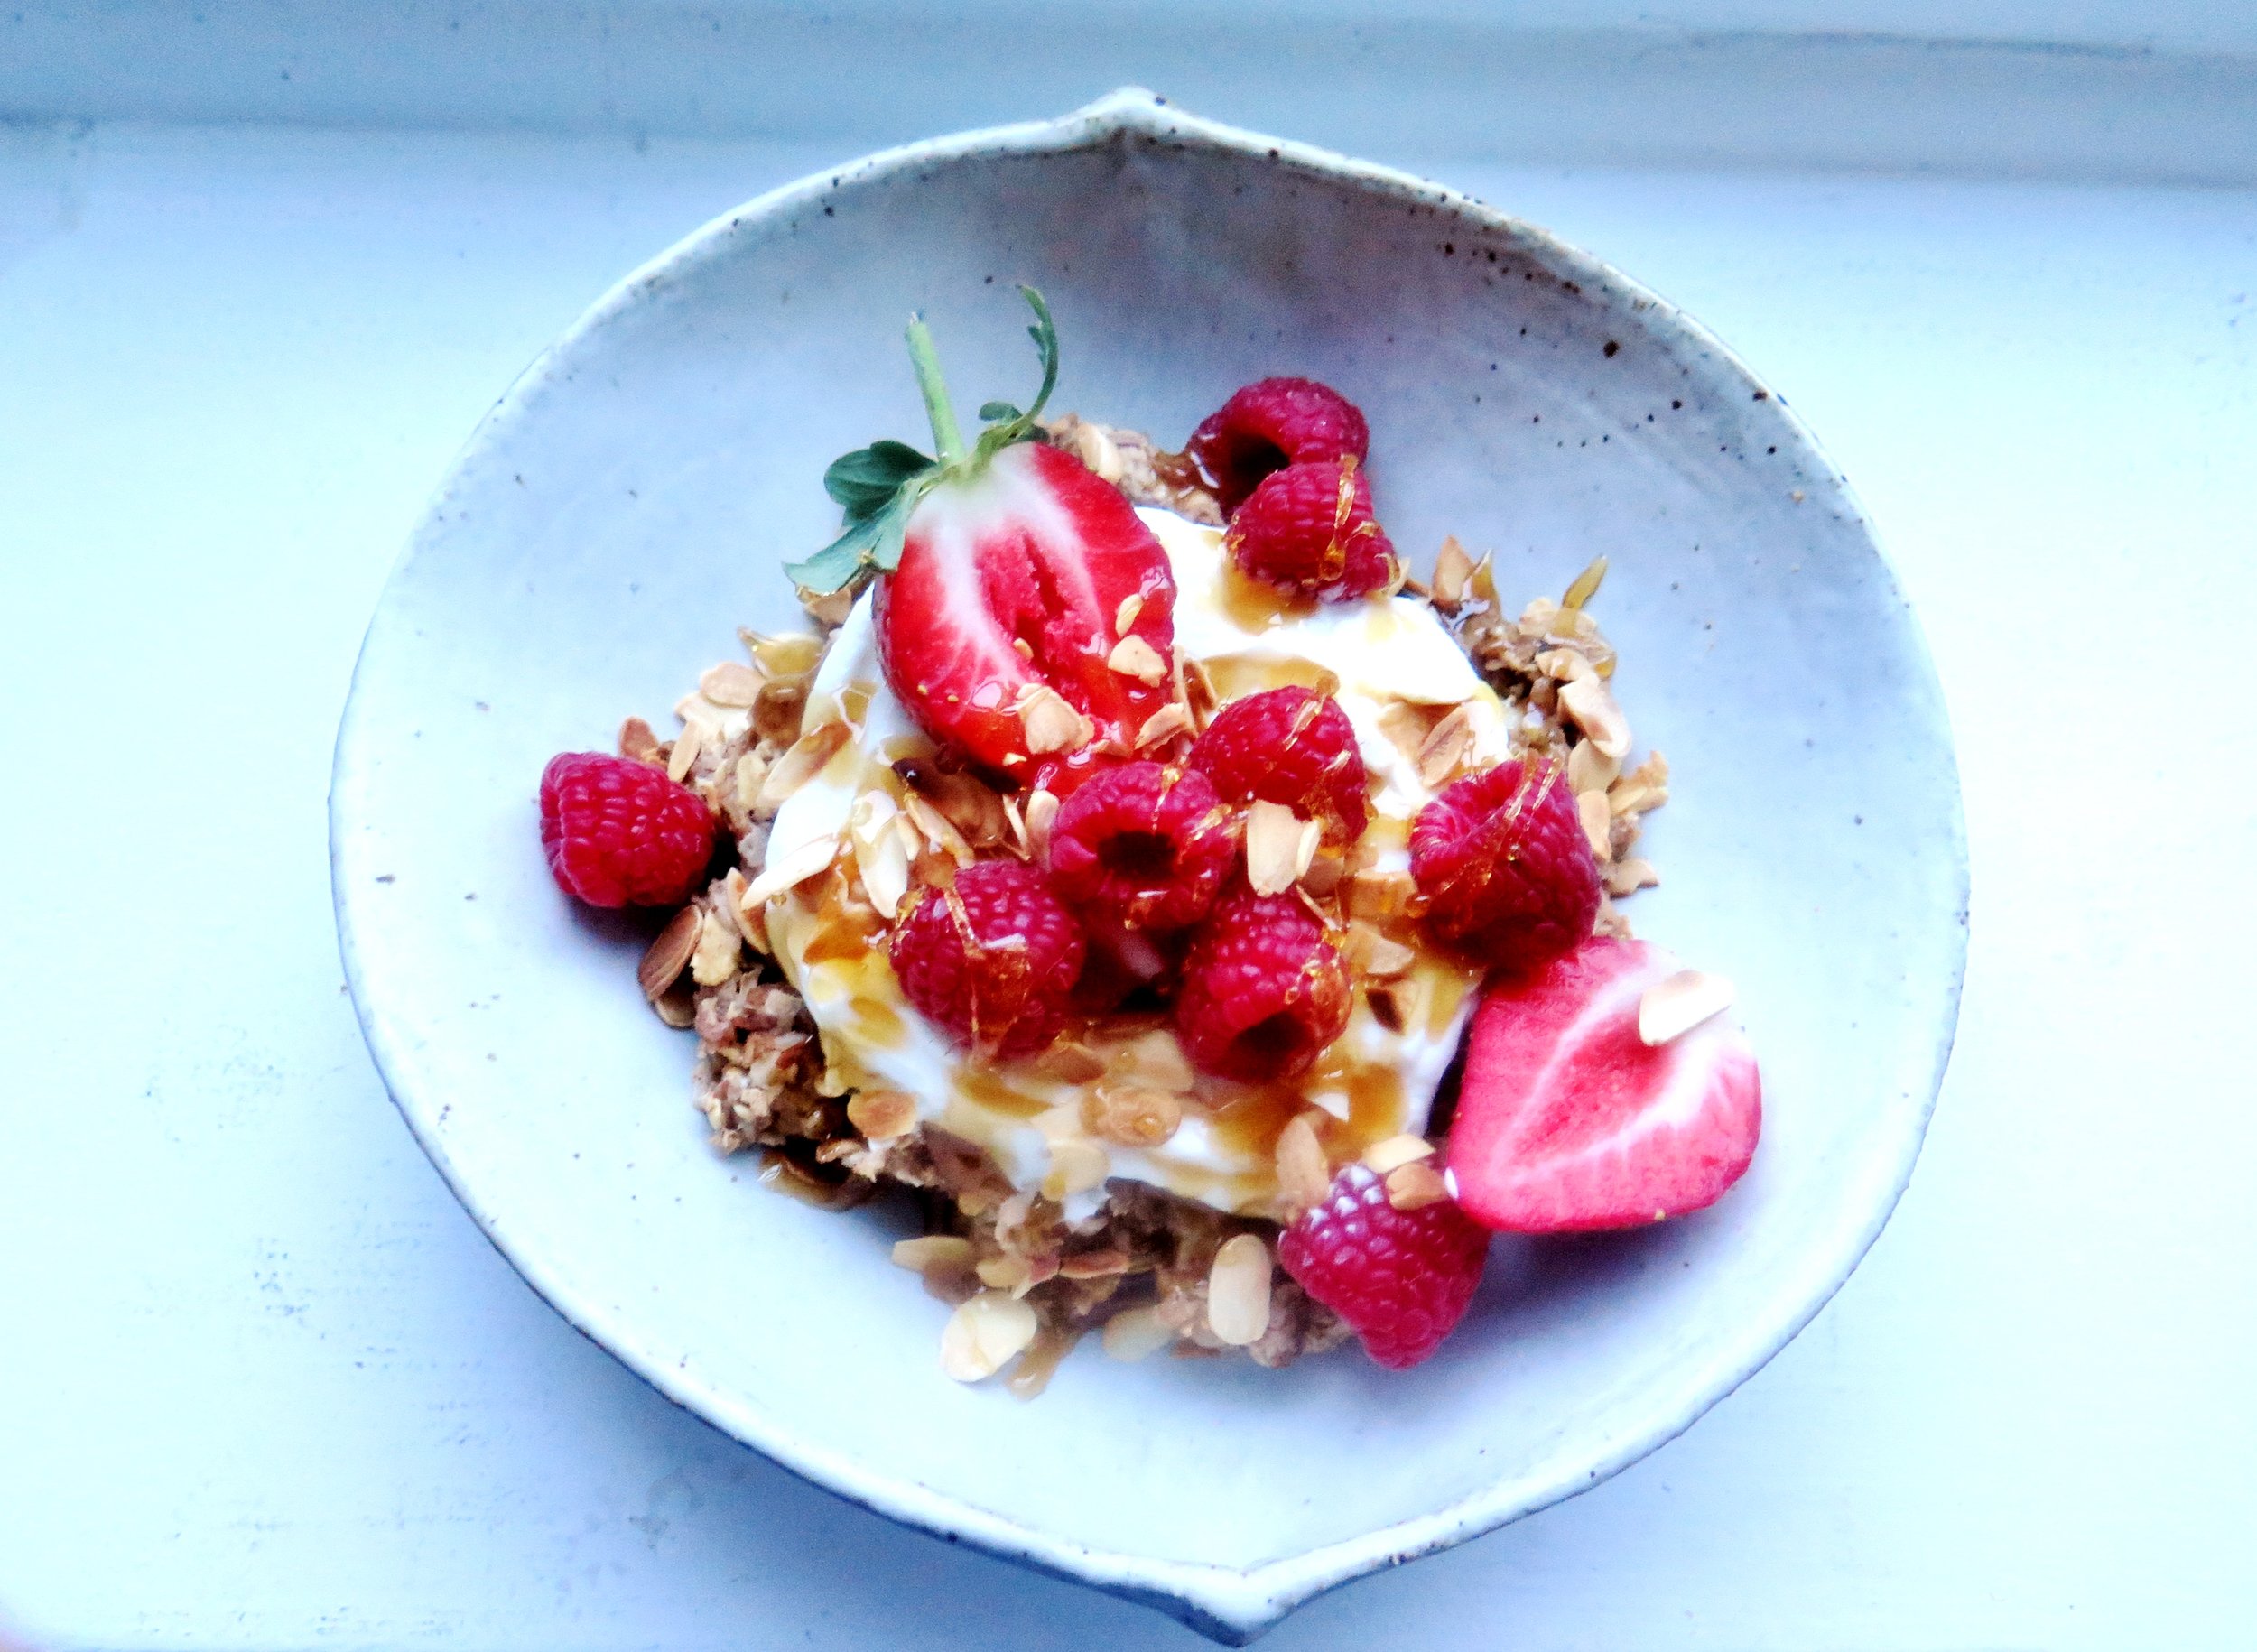


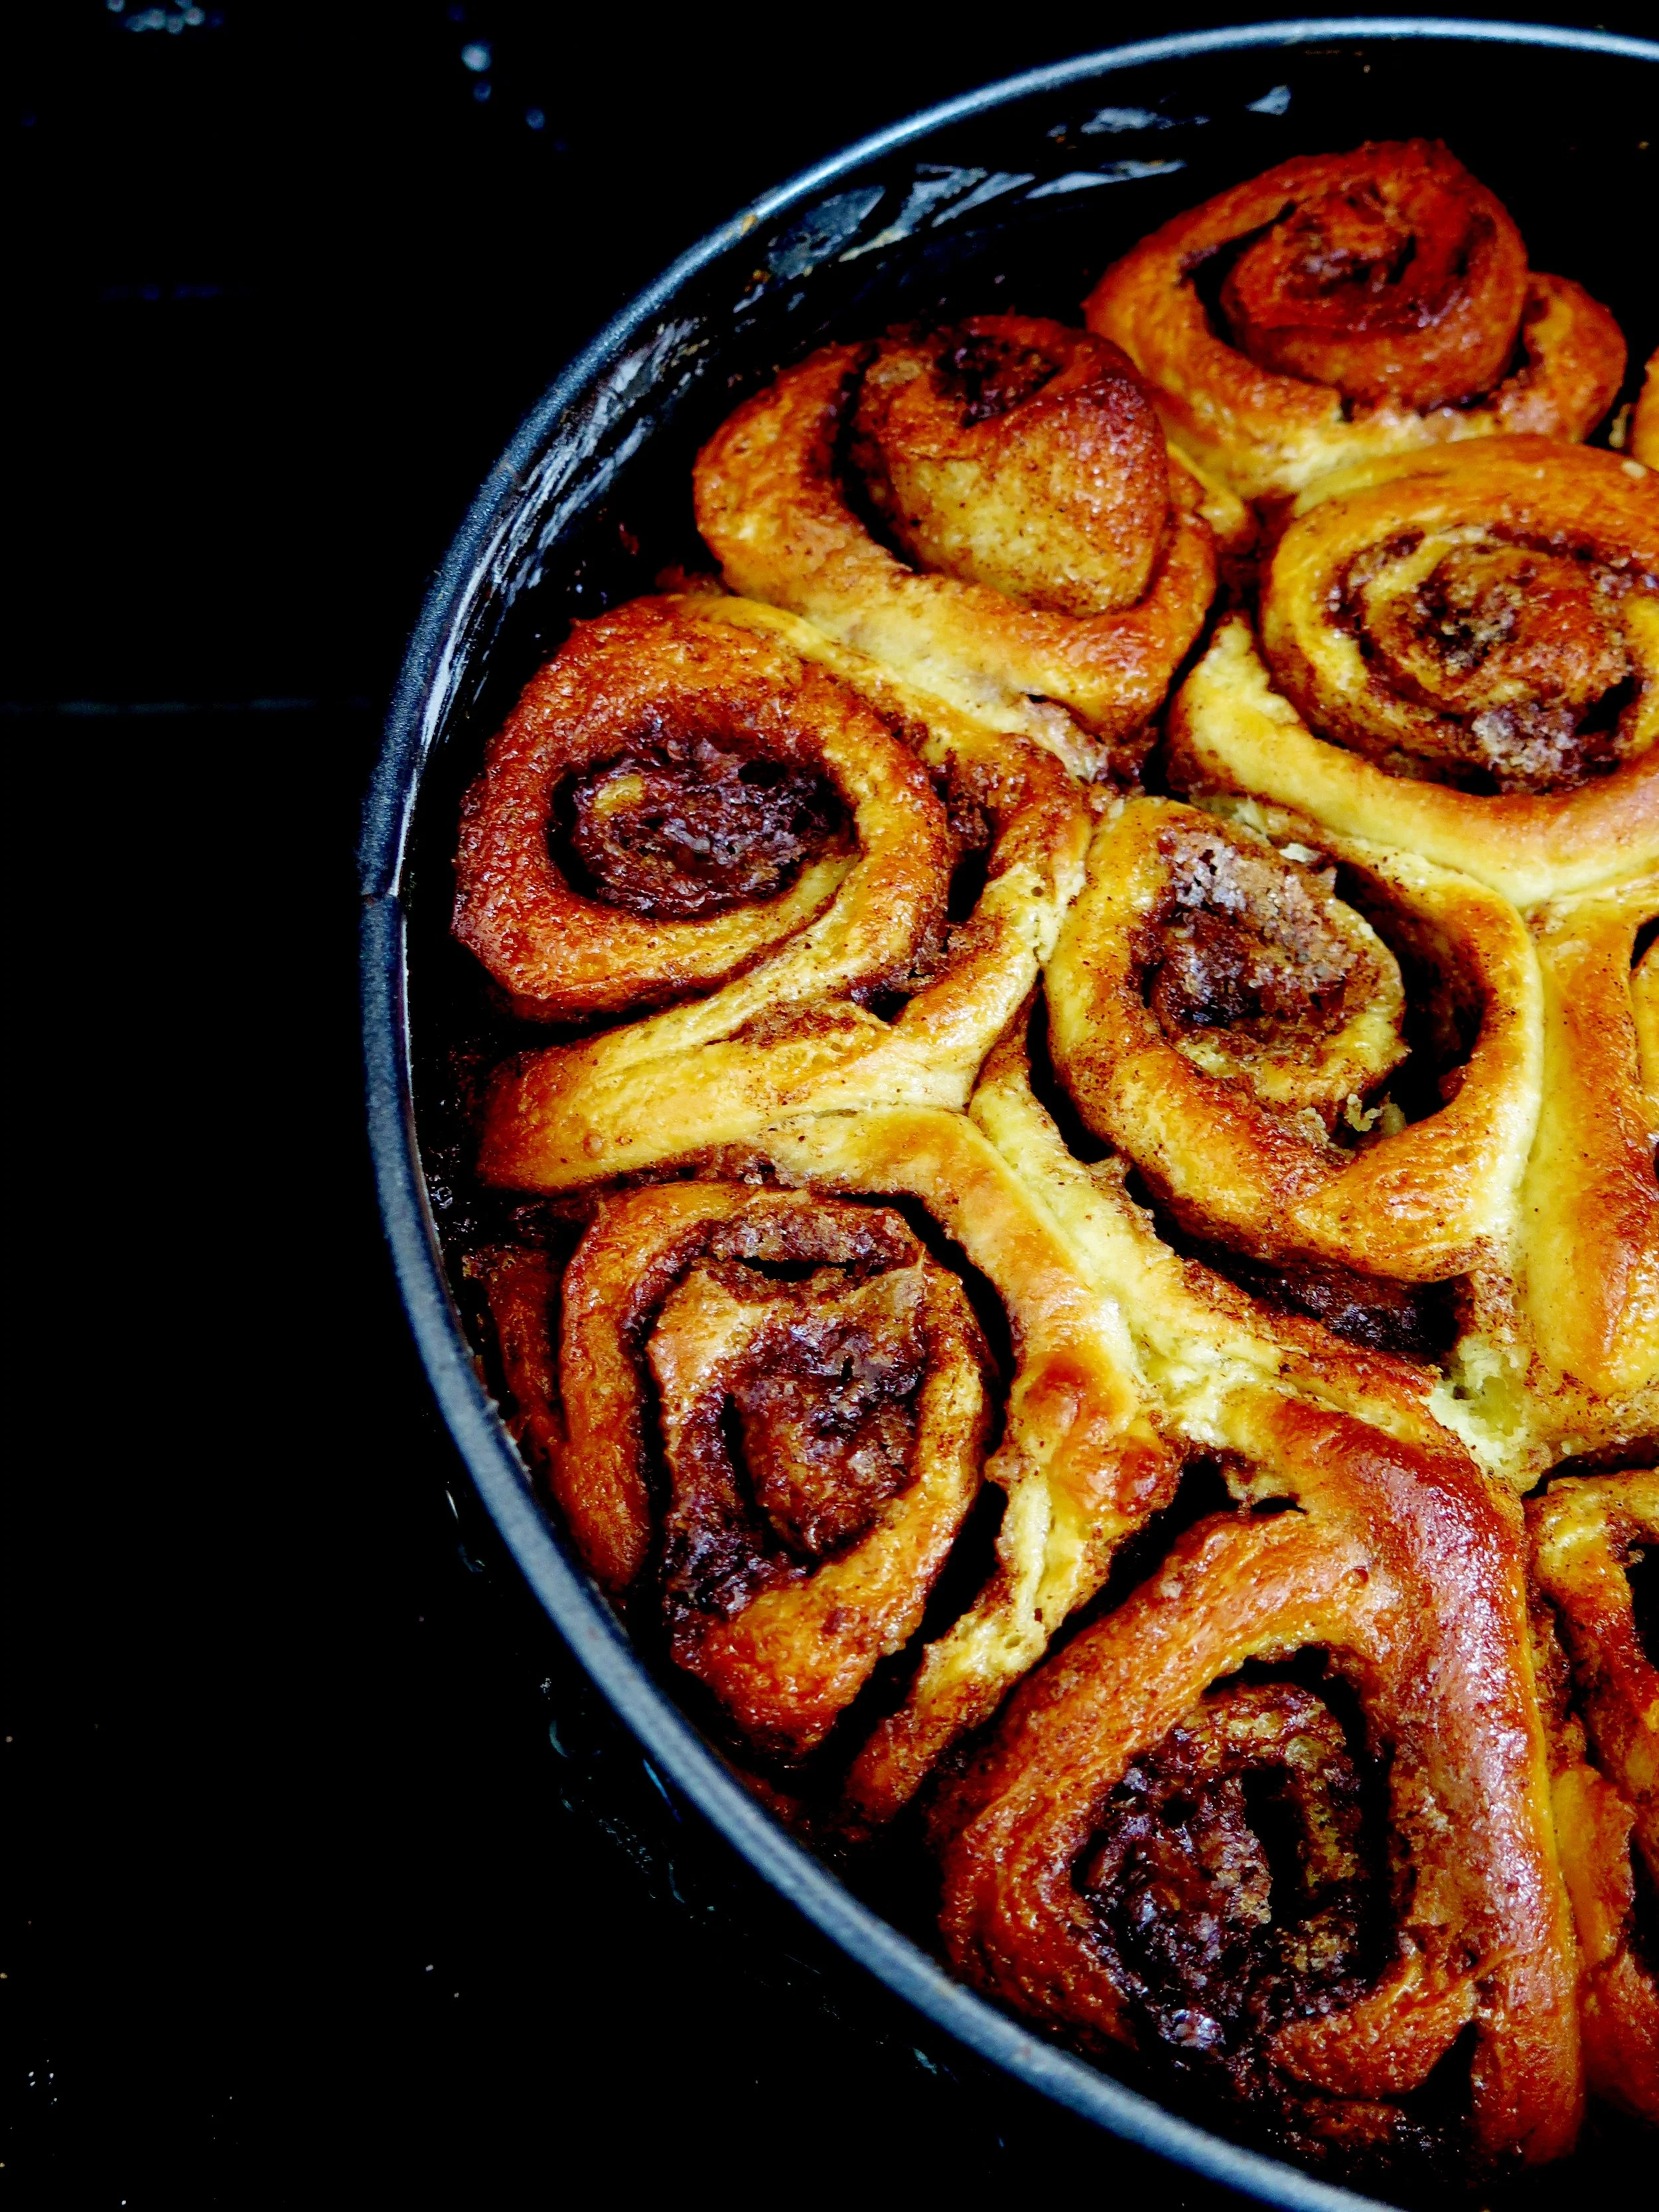
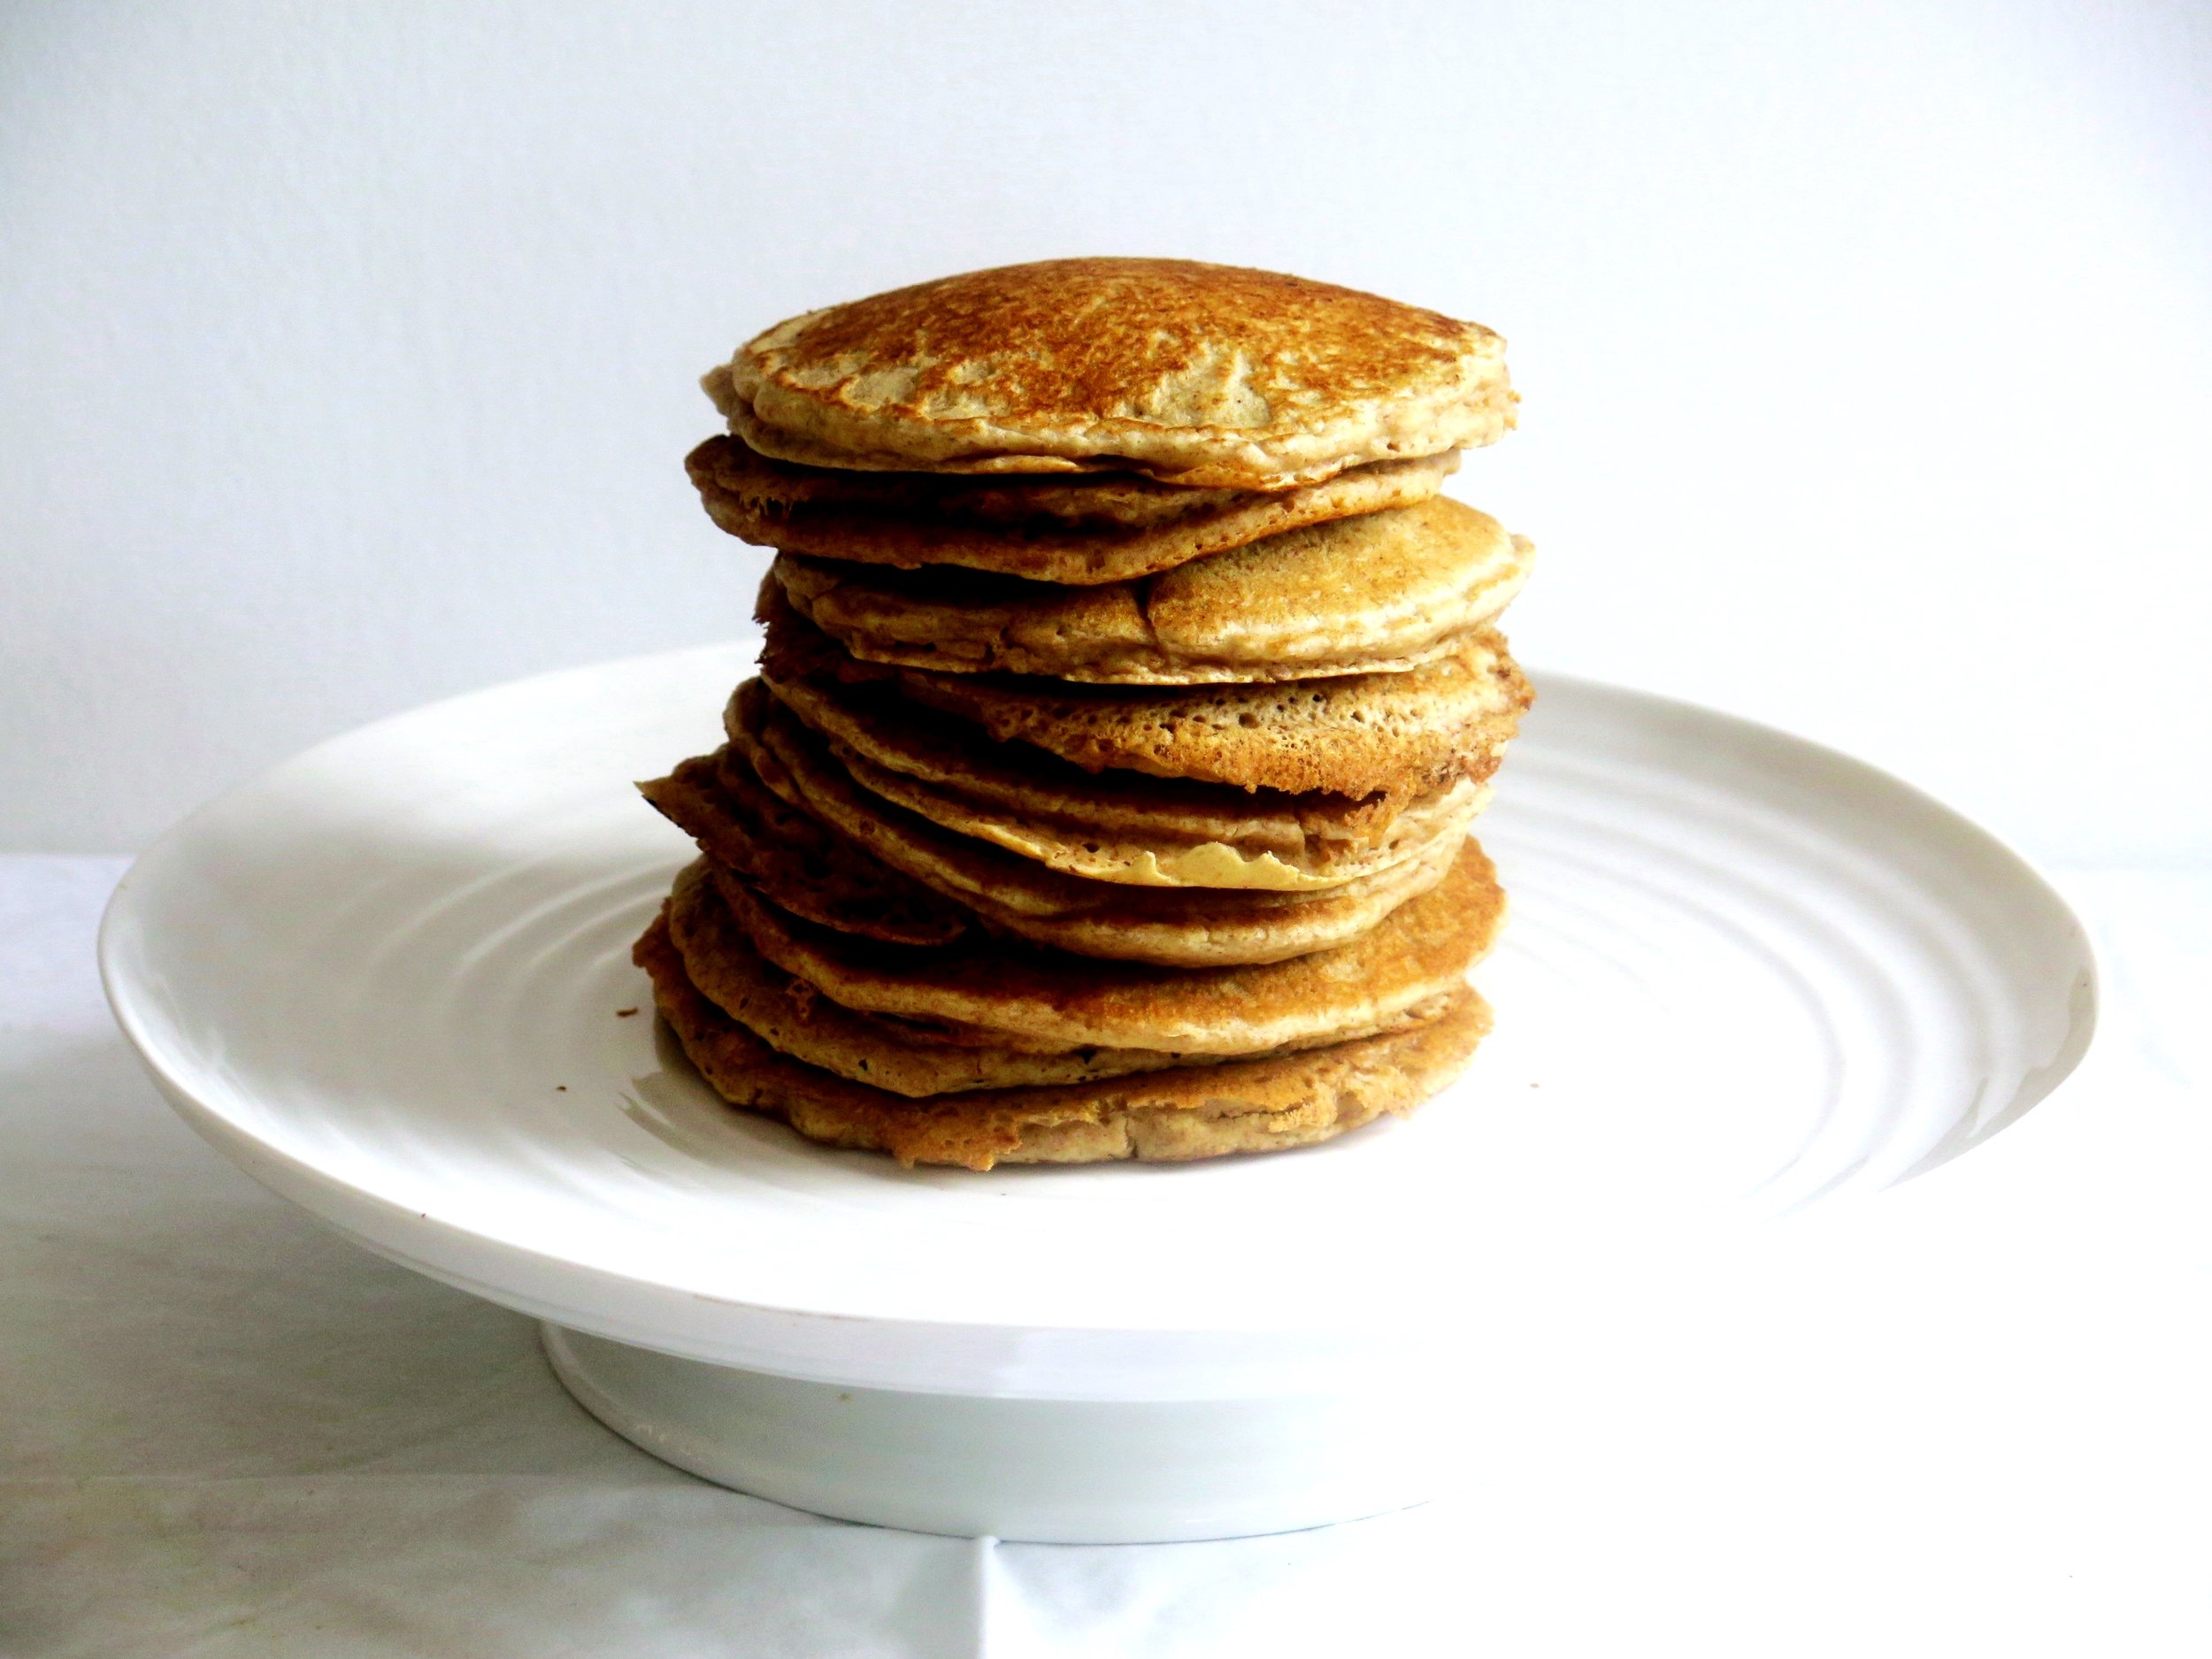
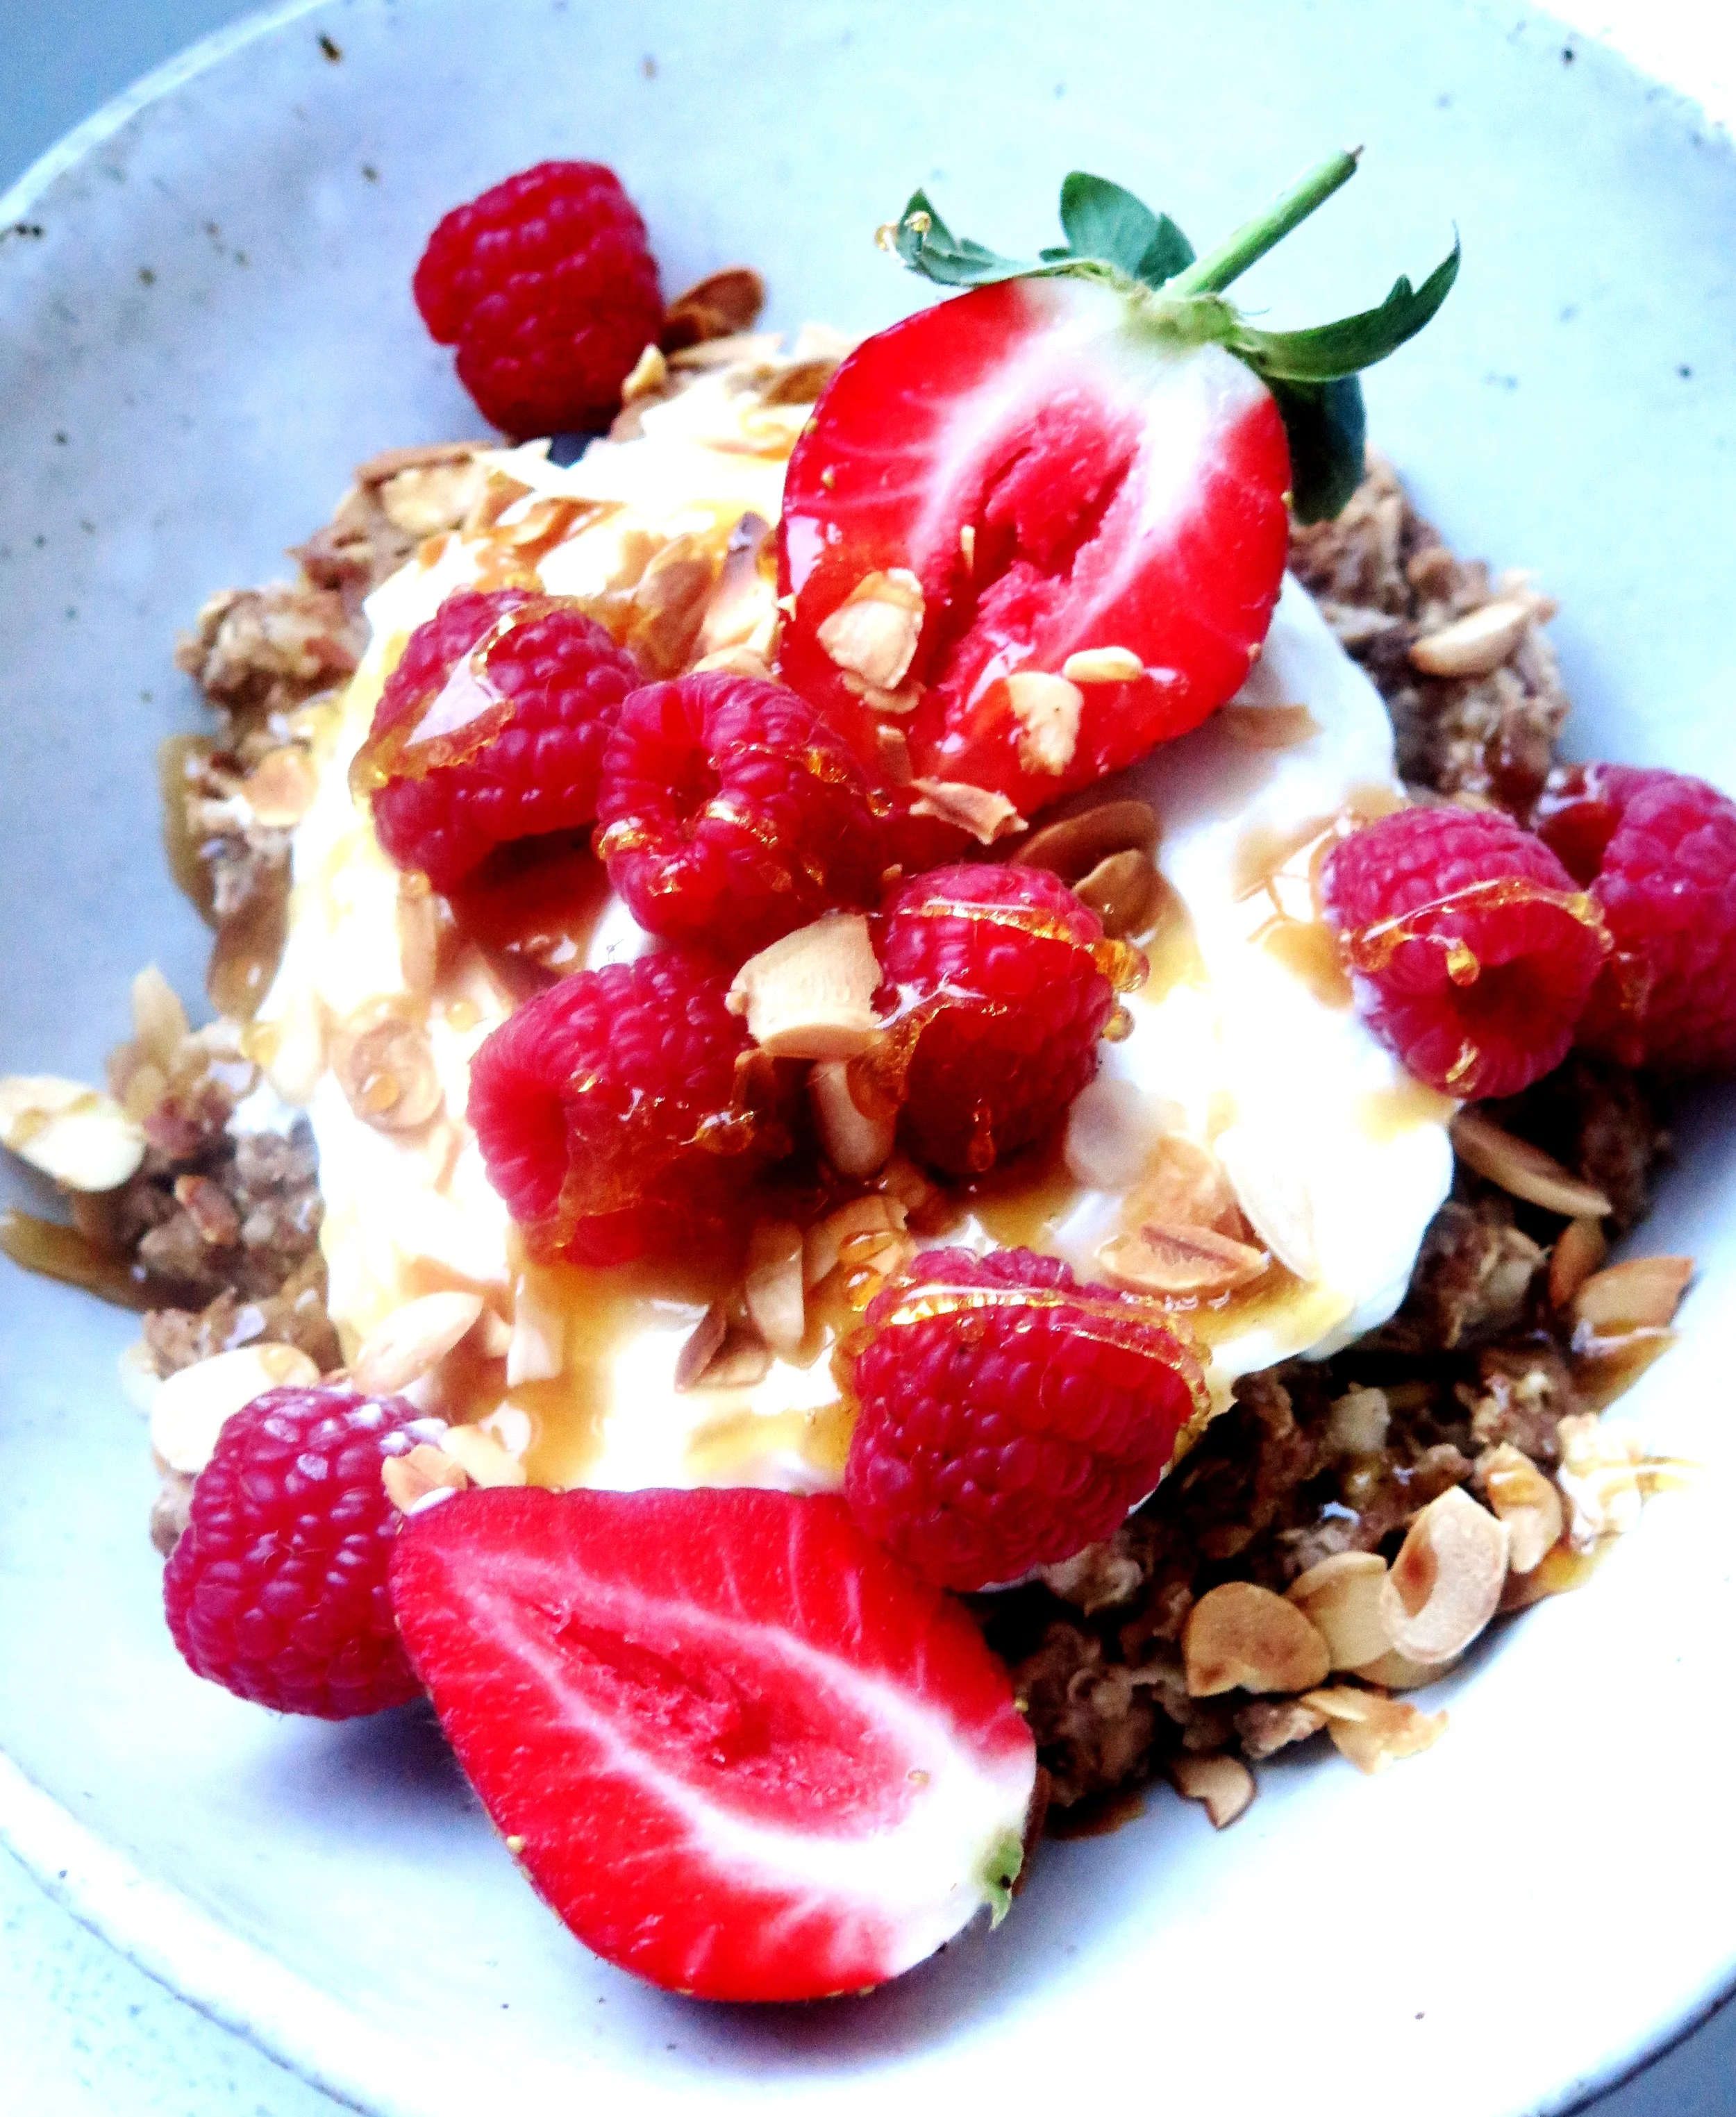
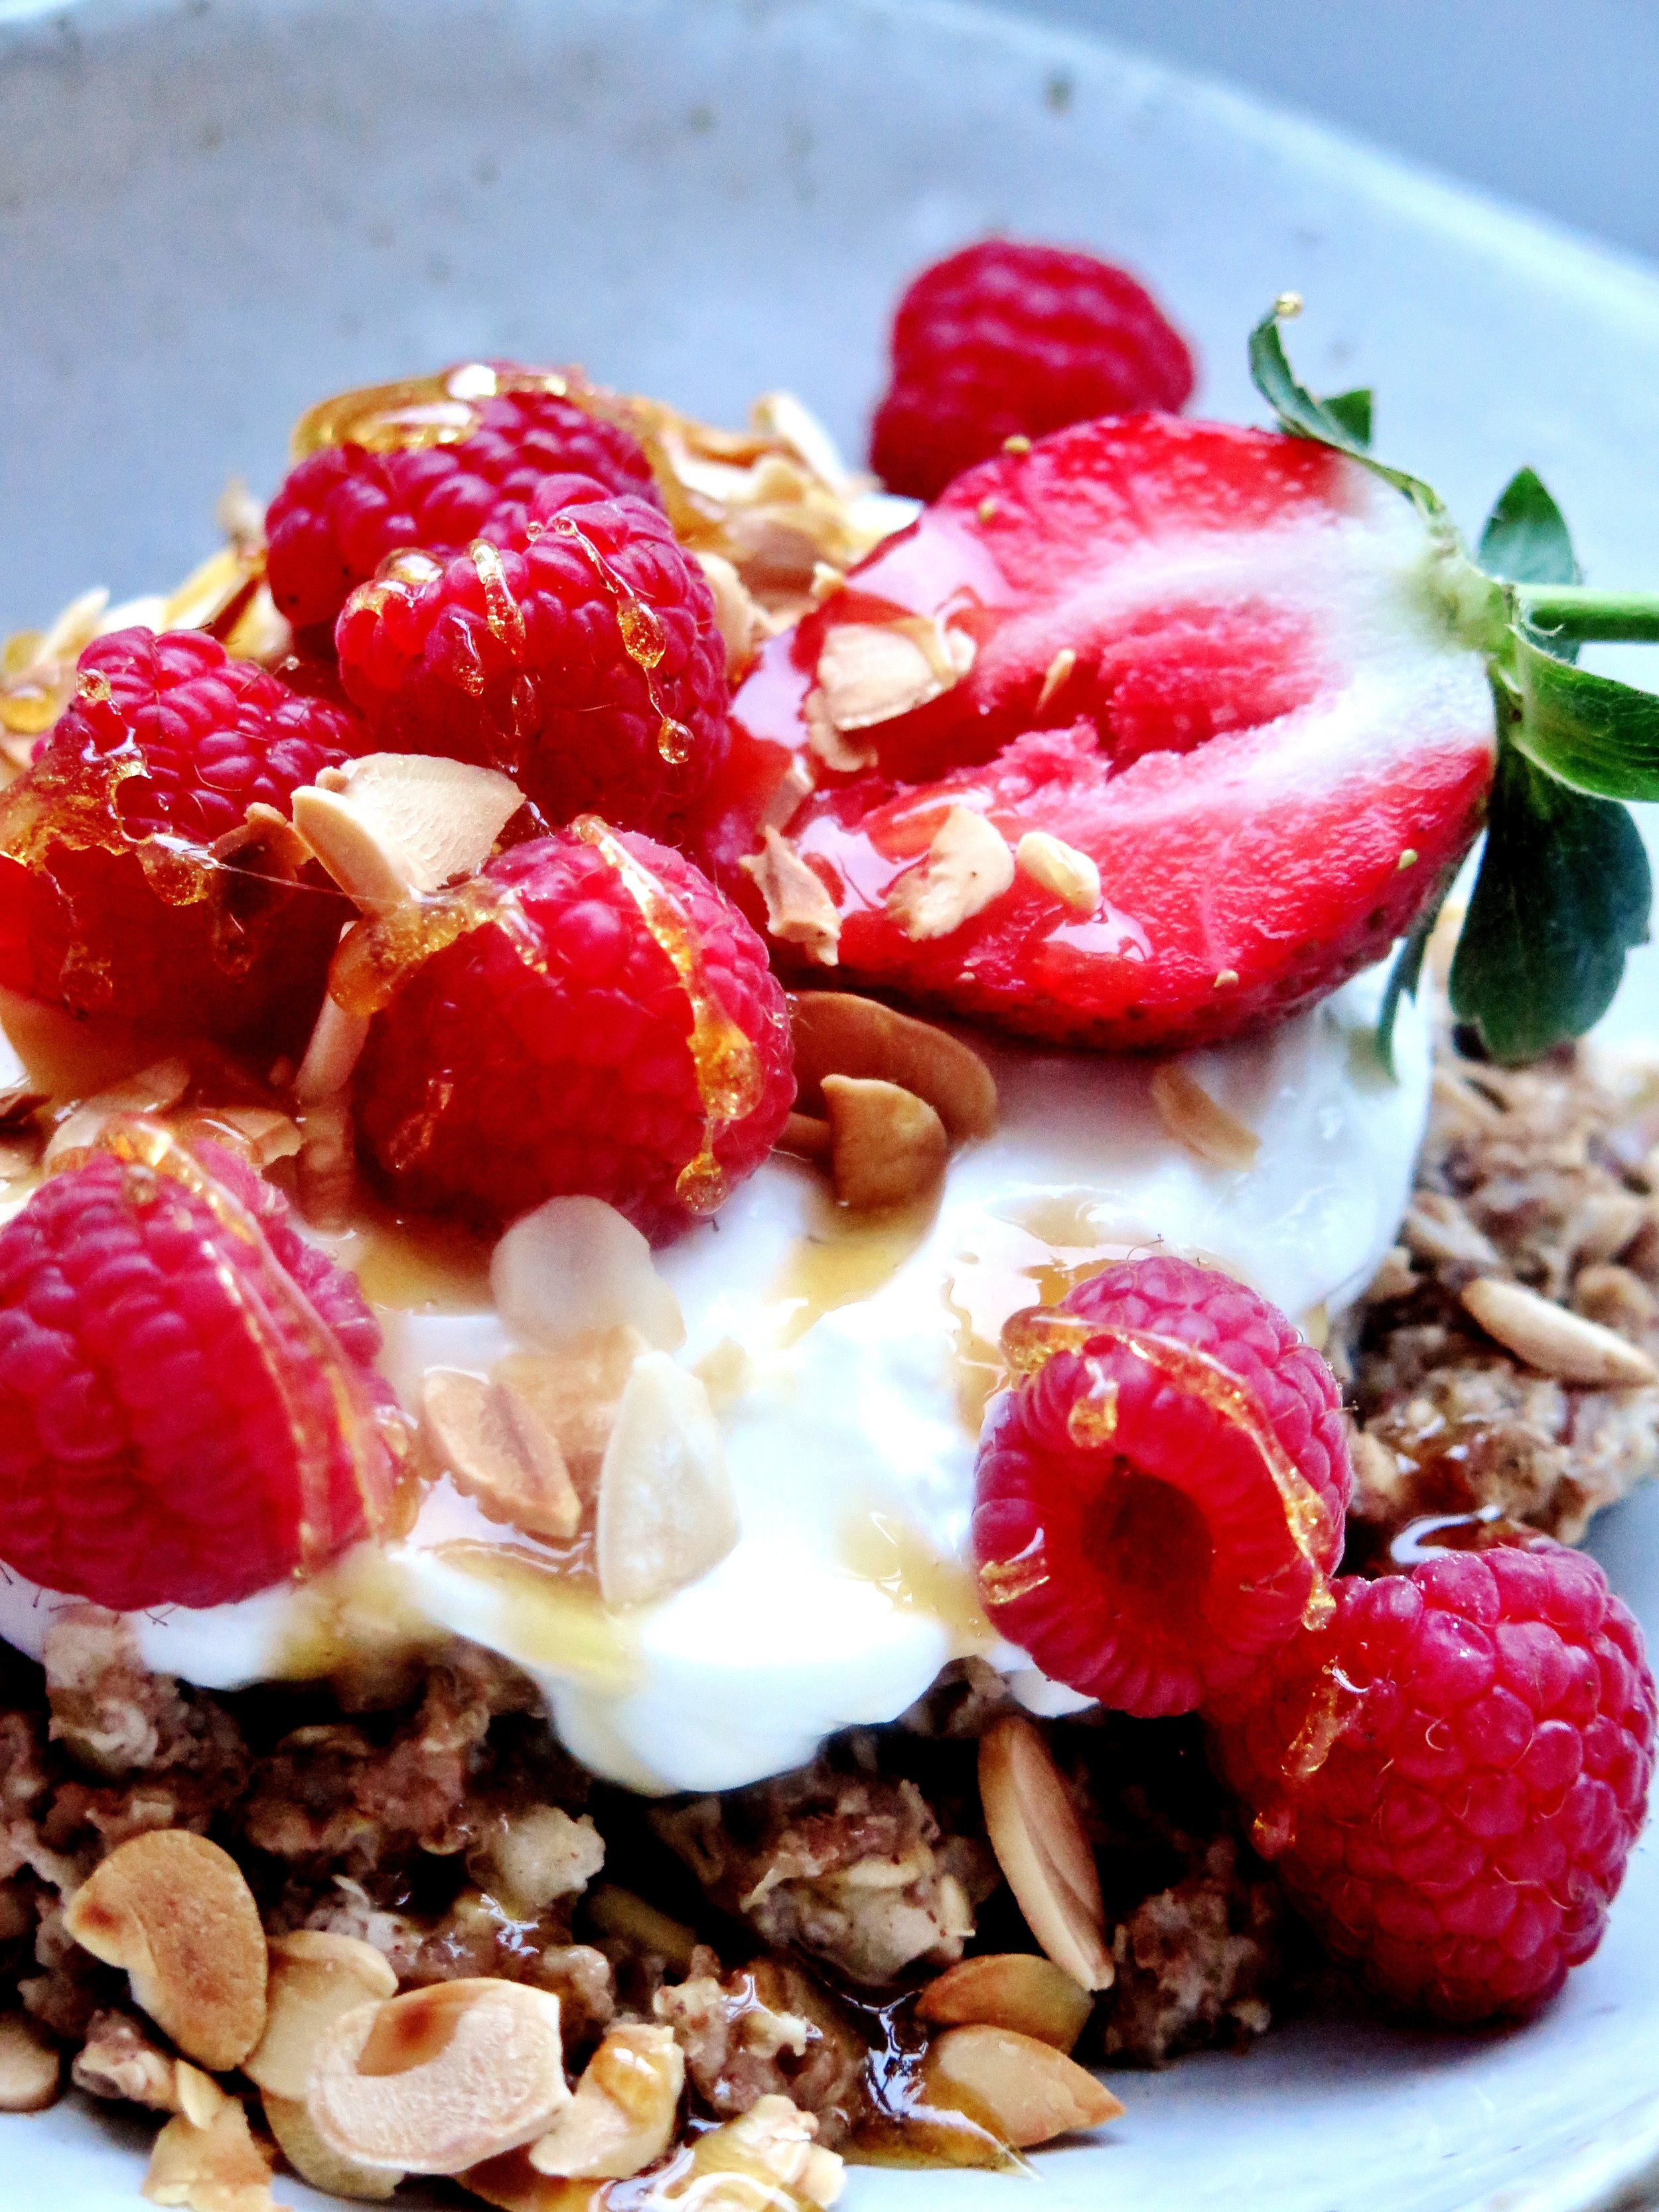
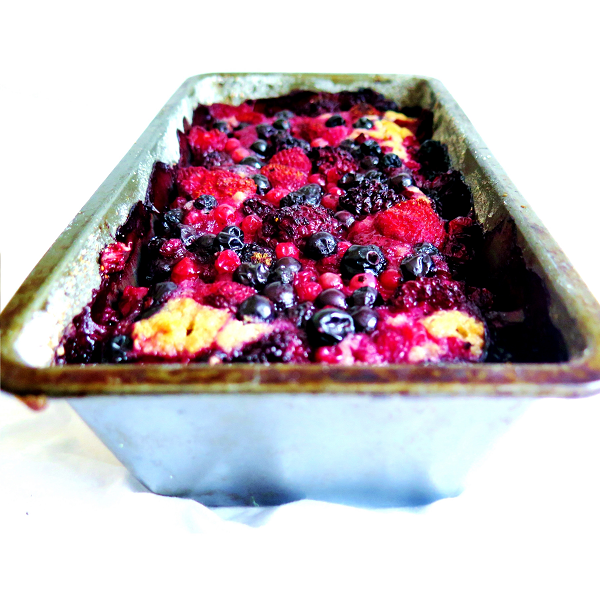
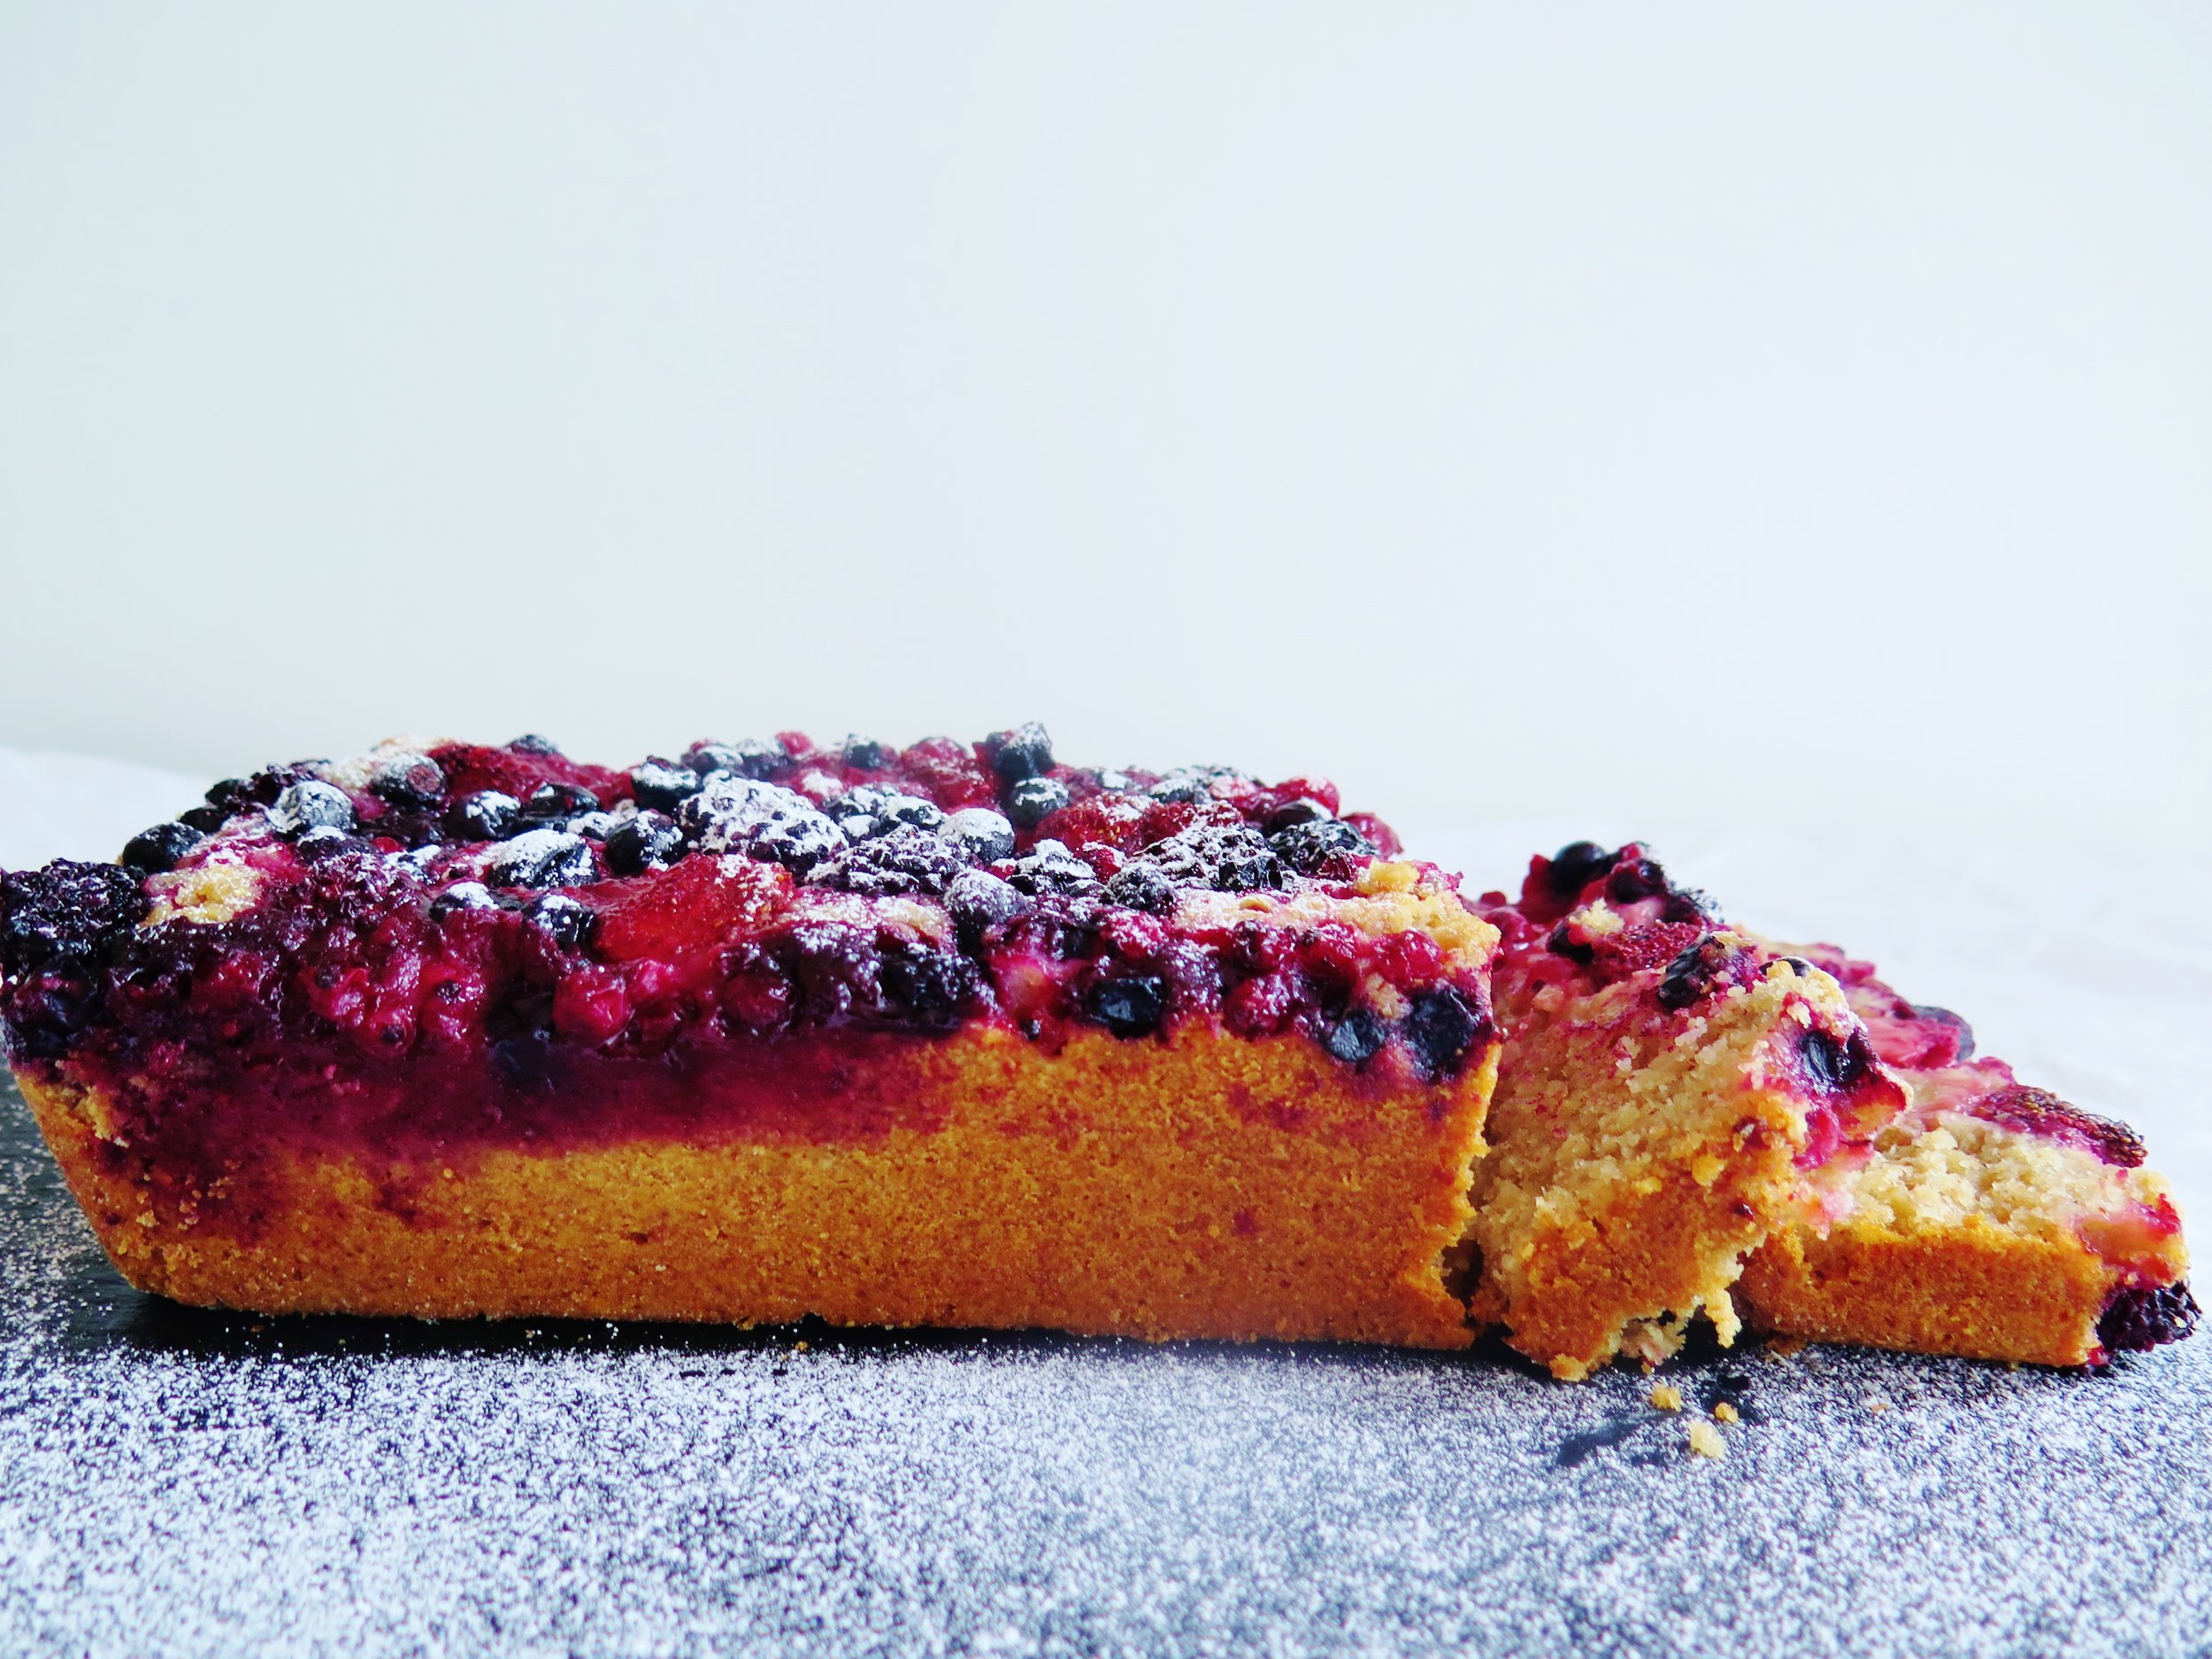
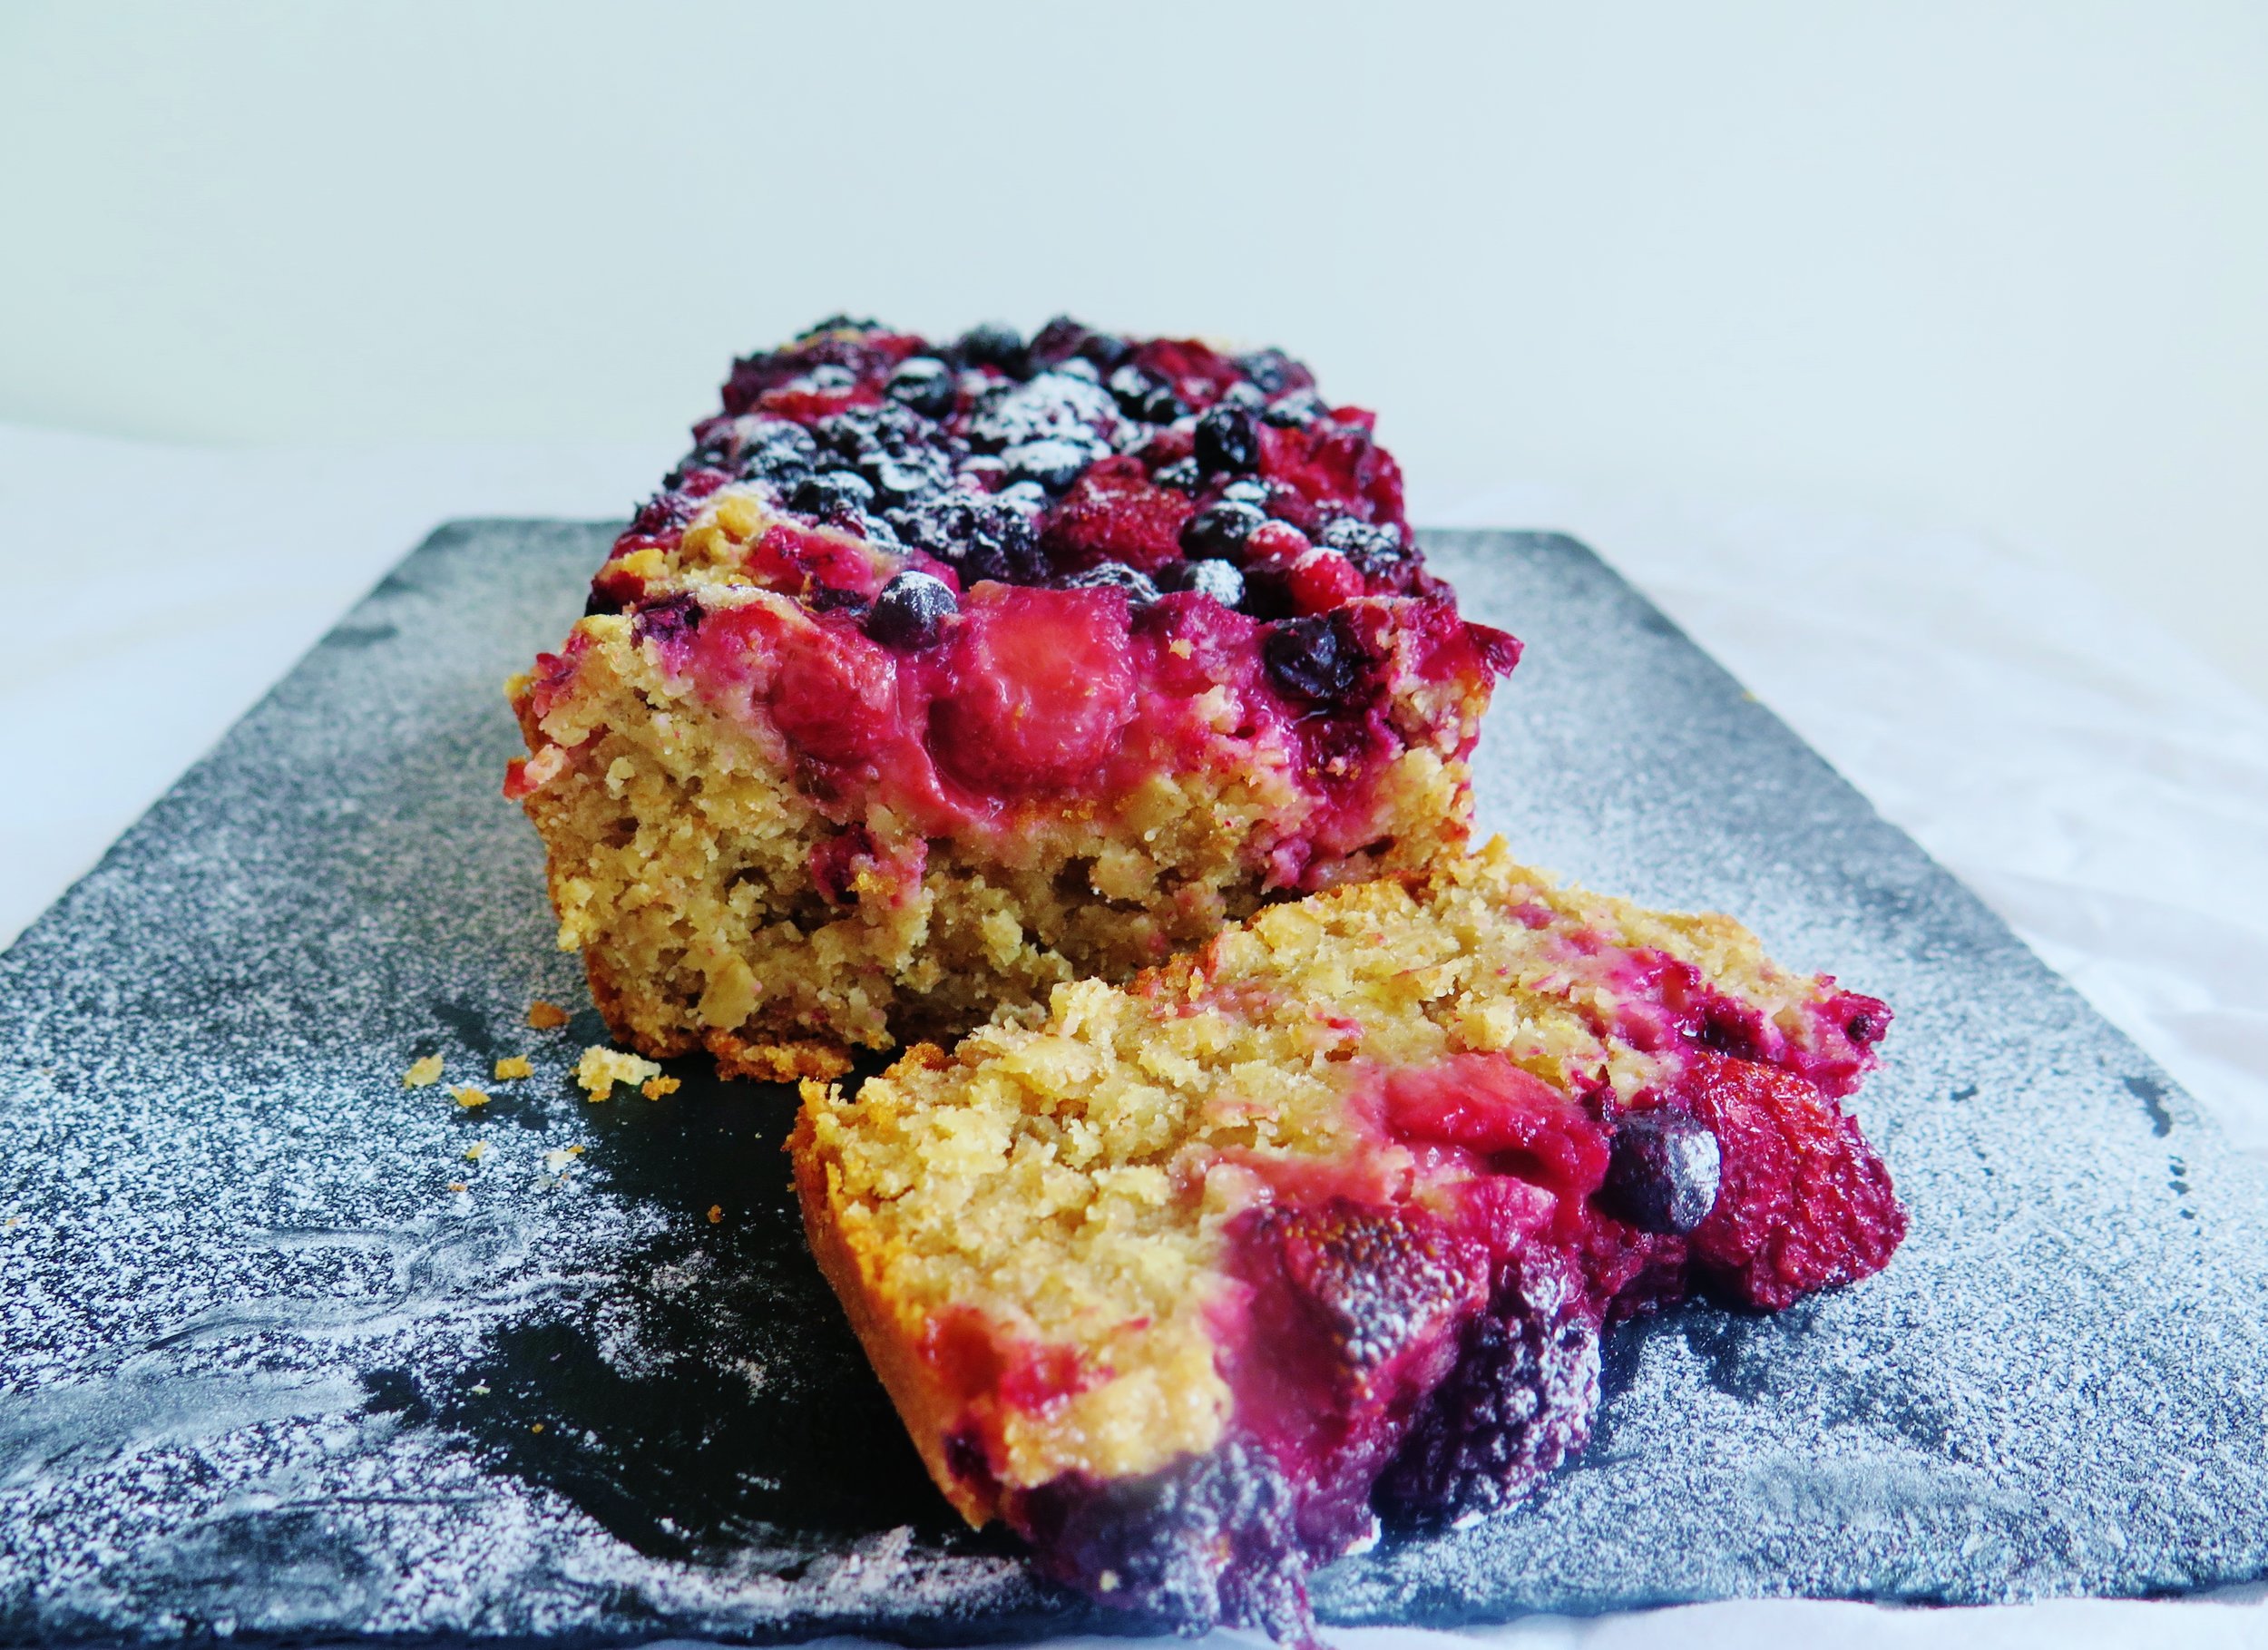
 If you’re undecided as to what to have for breakfast, make this: fruit, oatmeal/porridge and pancakes rolled into one. It’s delicious, quick to make, filling, and just sweet enough to satisfy any sweet craving but also not so sweet that it will send blood glucose levels skyrocketing...
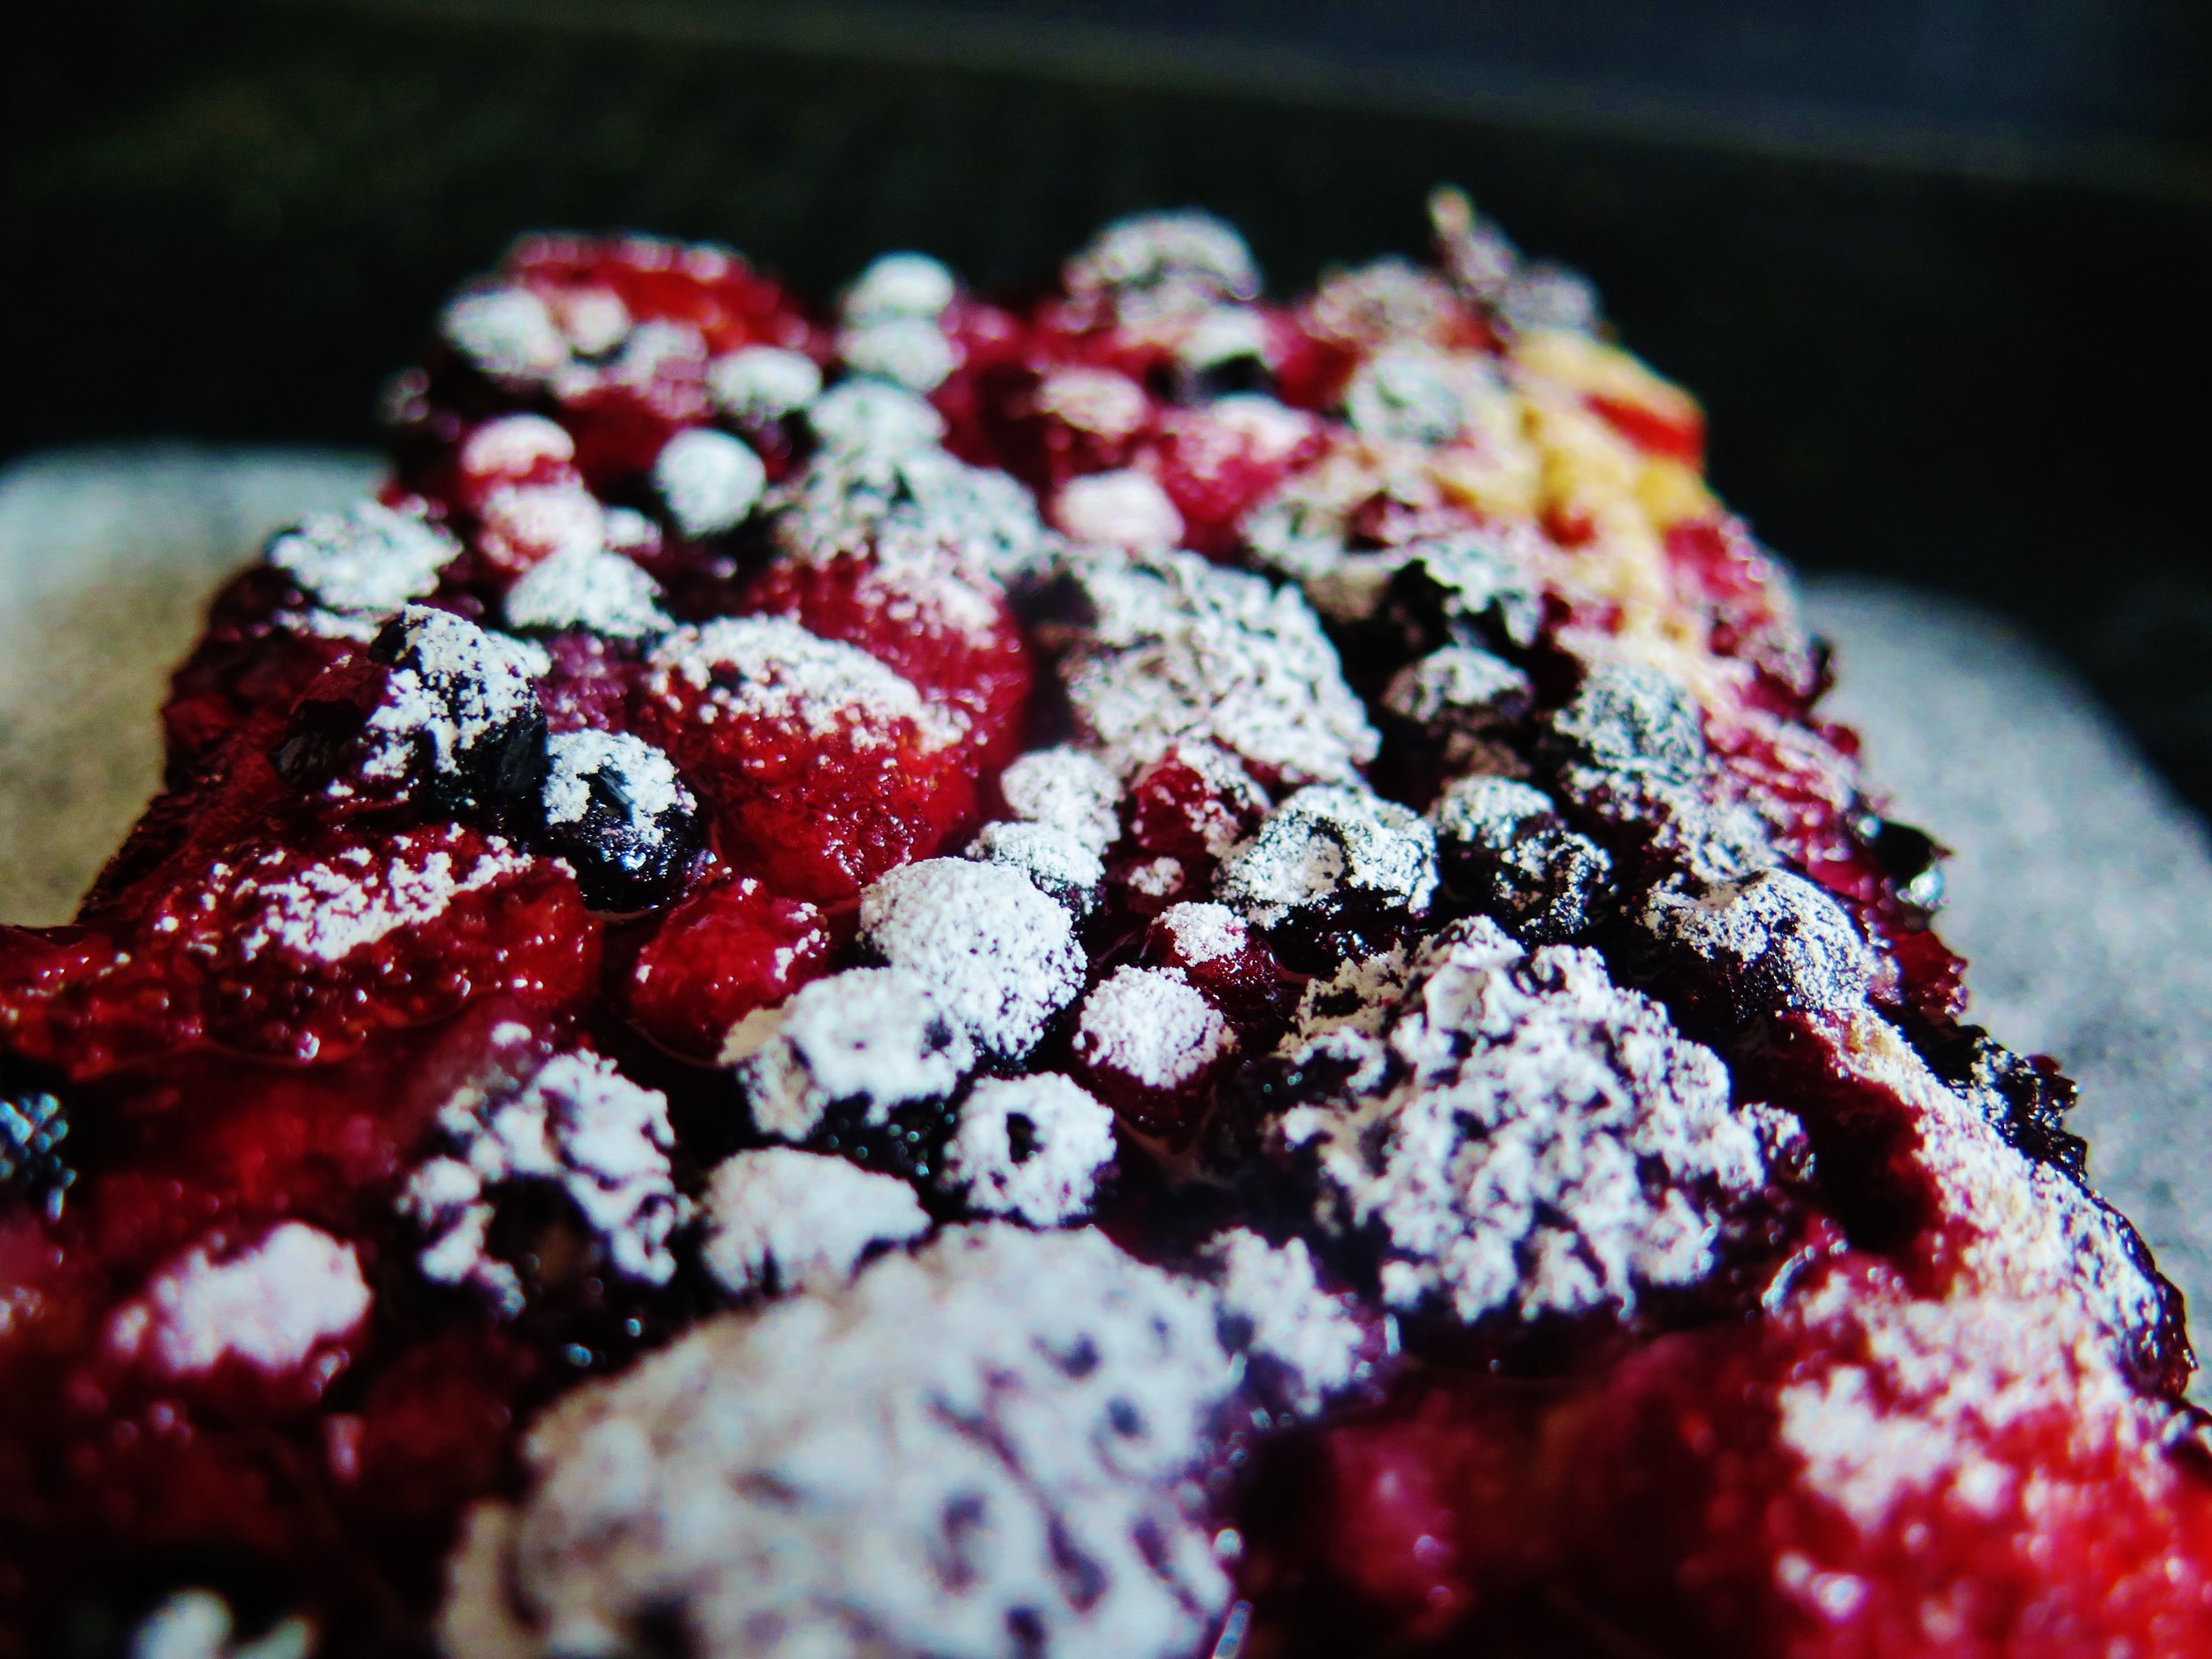


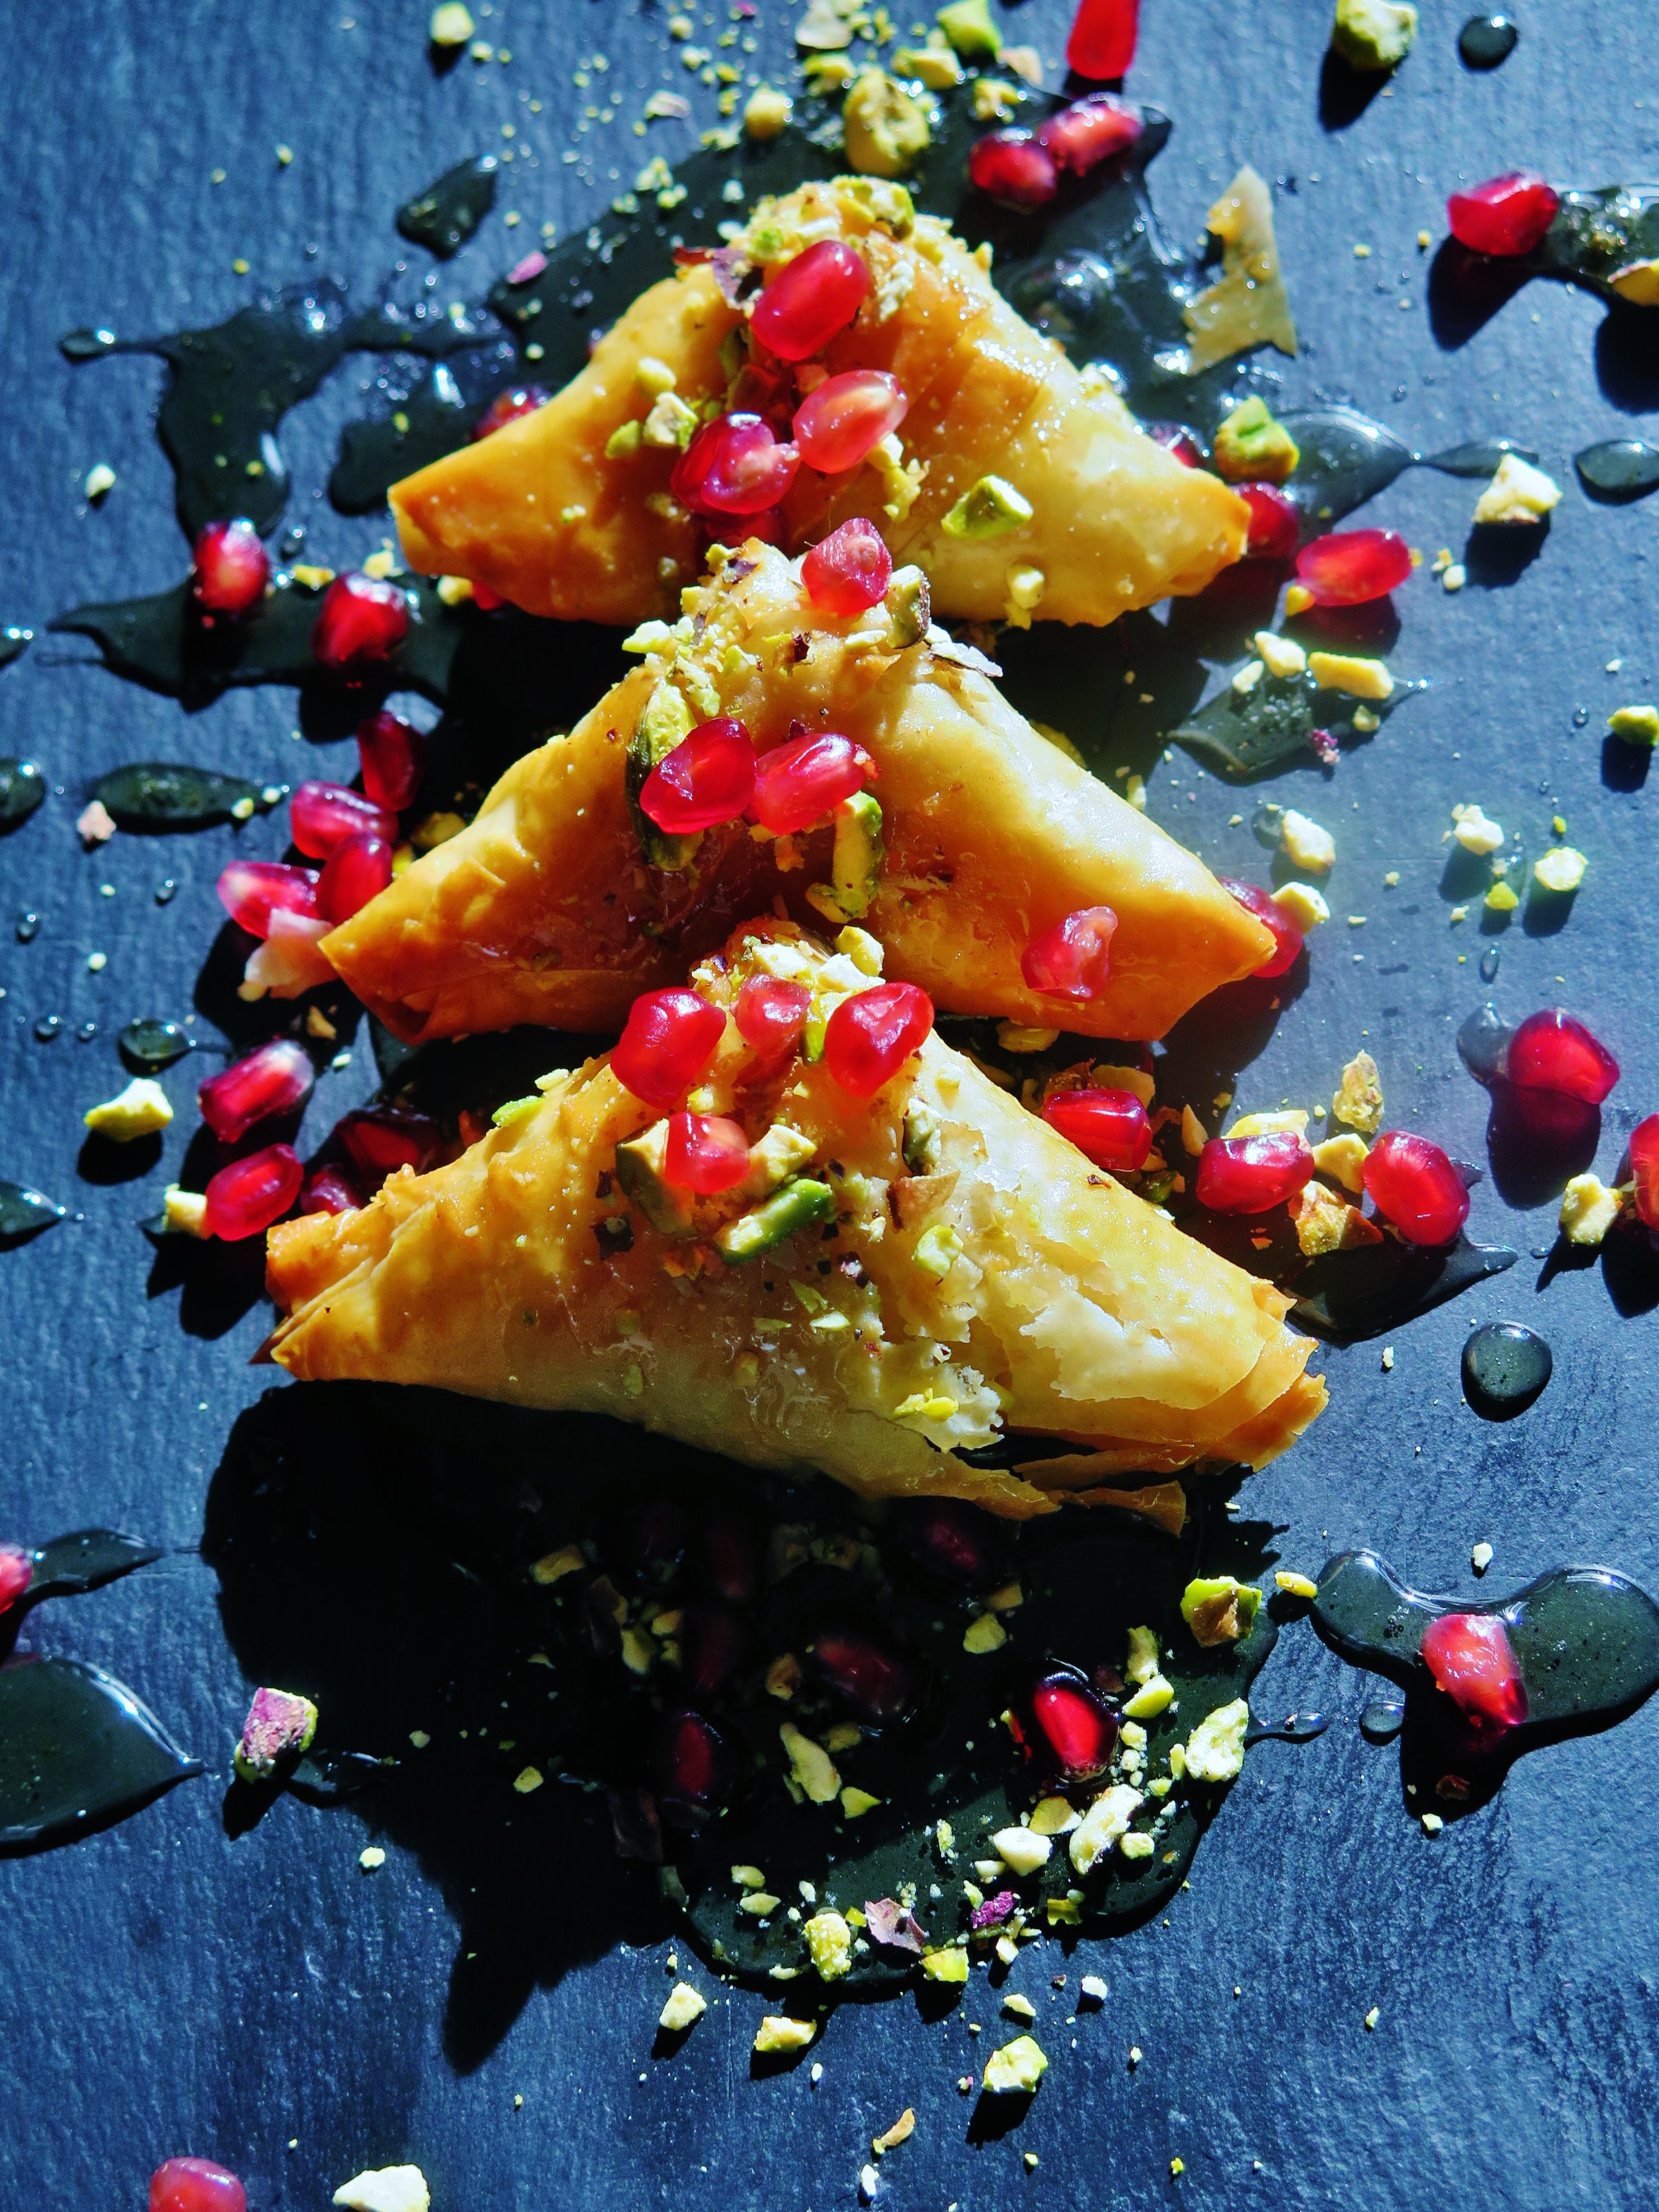 Its origins lie as either Central Asian Turkic traditional layered breads, or traditional Roman desserts from Istanbul the capital of the Eastern Roman Empire (I favour the latter option). Breakfast, afternoon tea, dinner – these golden perfumed sweets are appropriate at any time of the day in may book and they are way simpler & quicker to make than you might think.
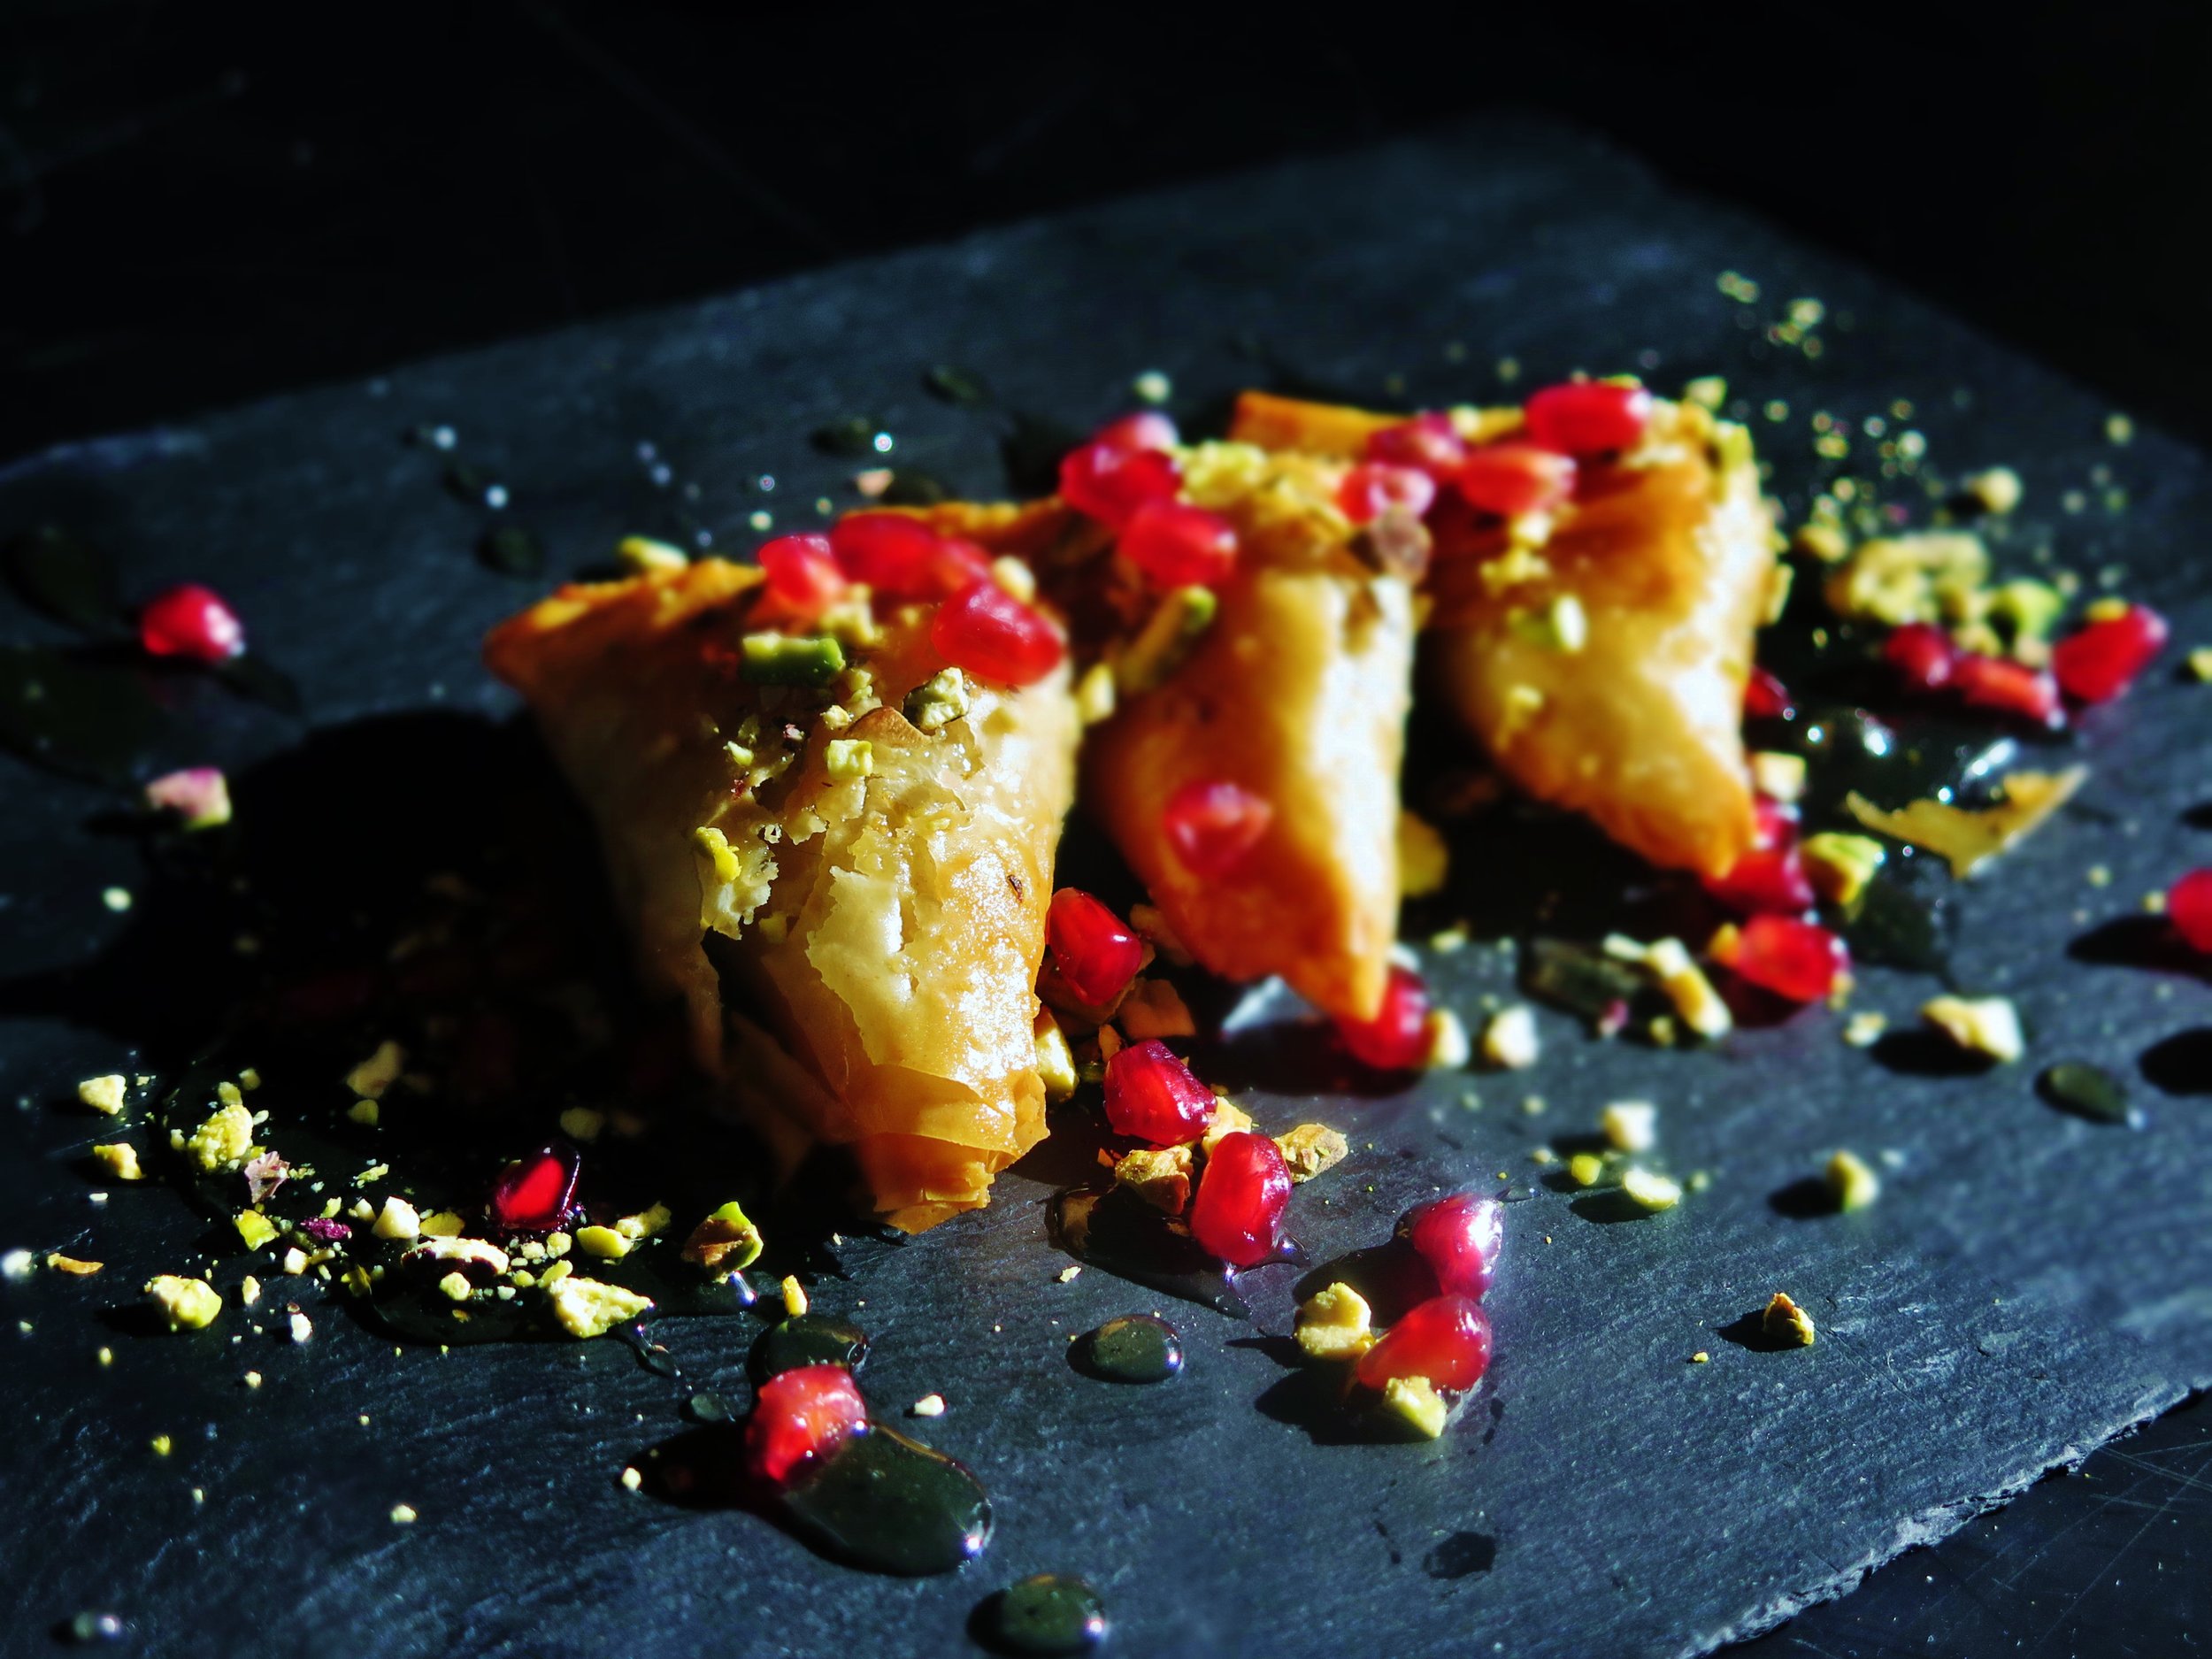


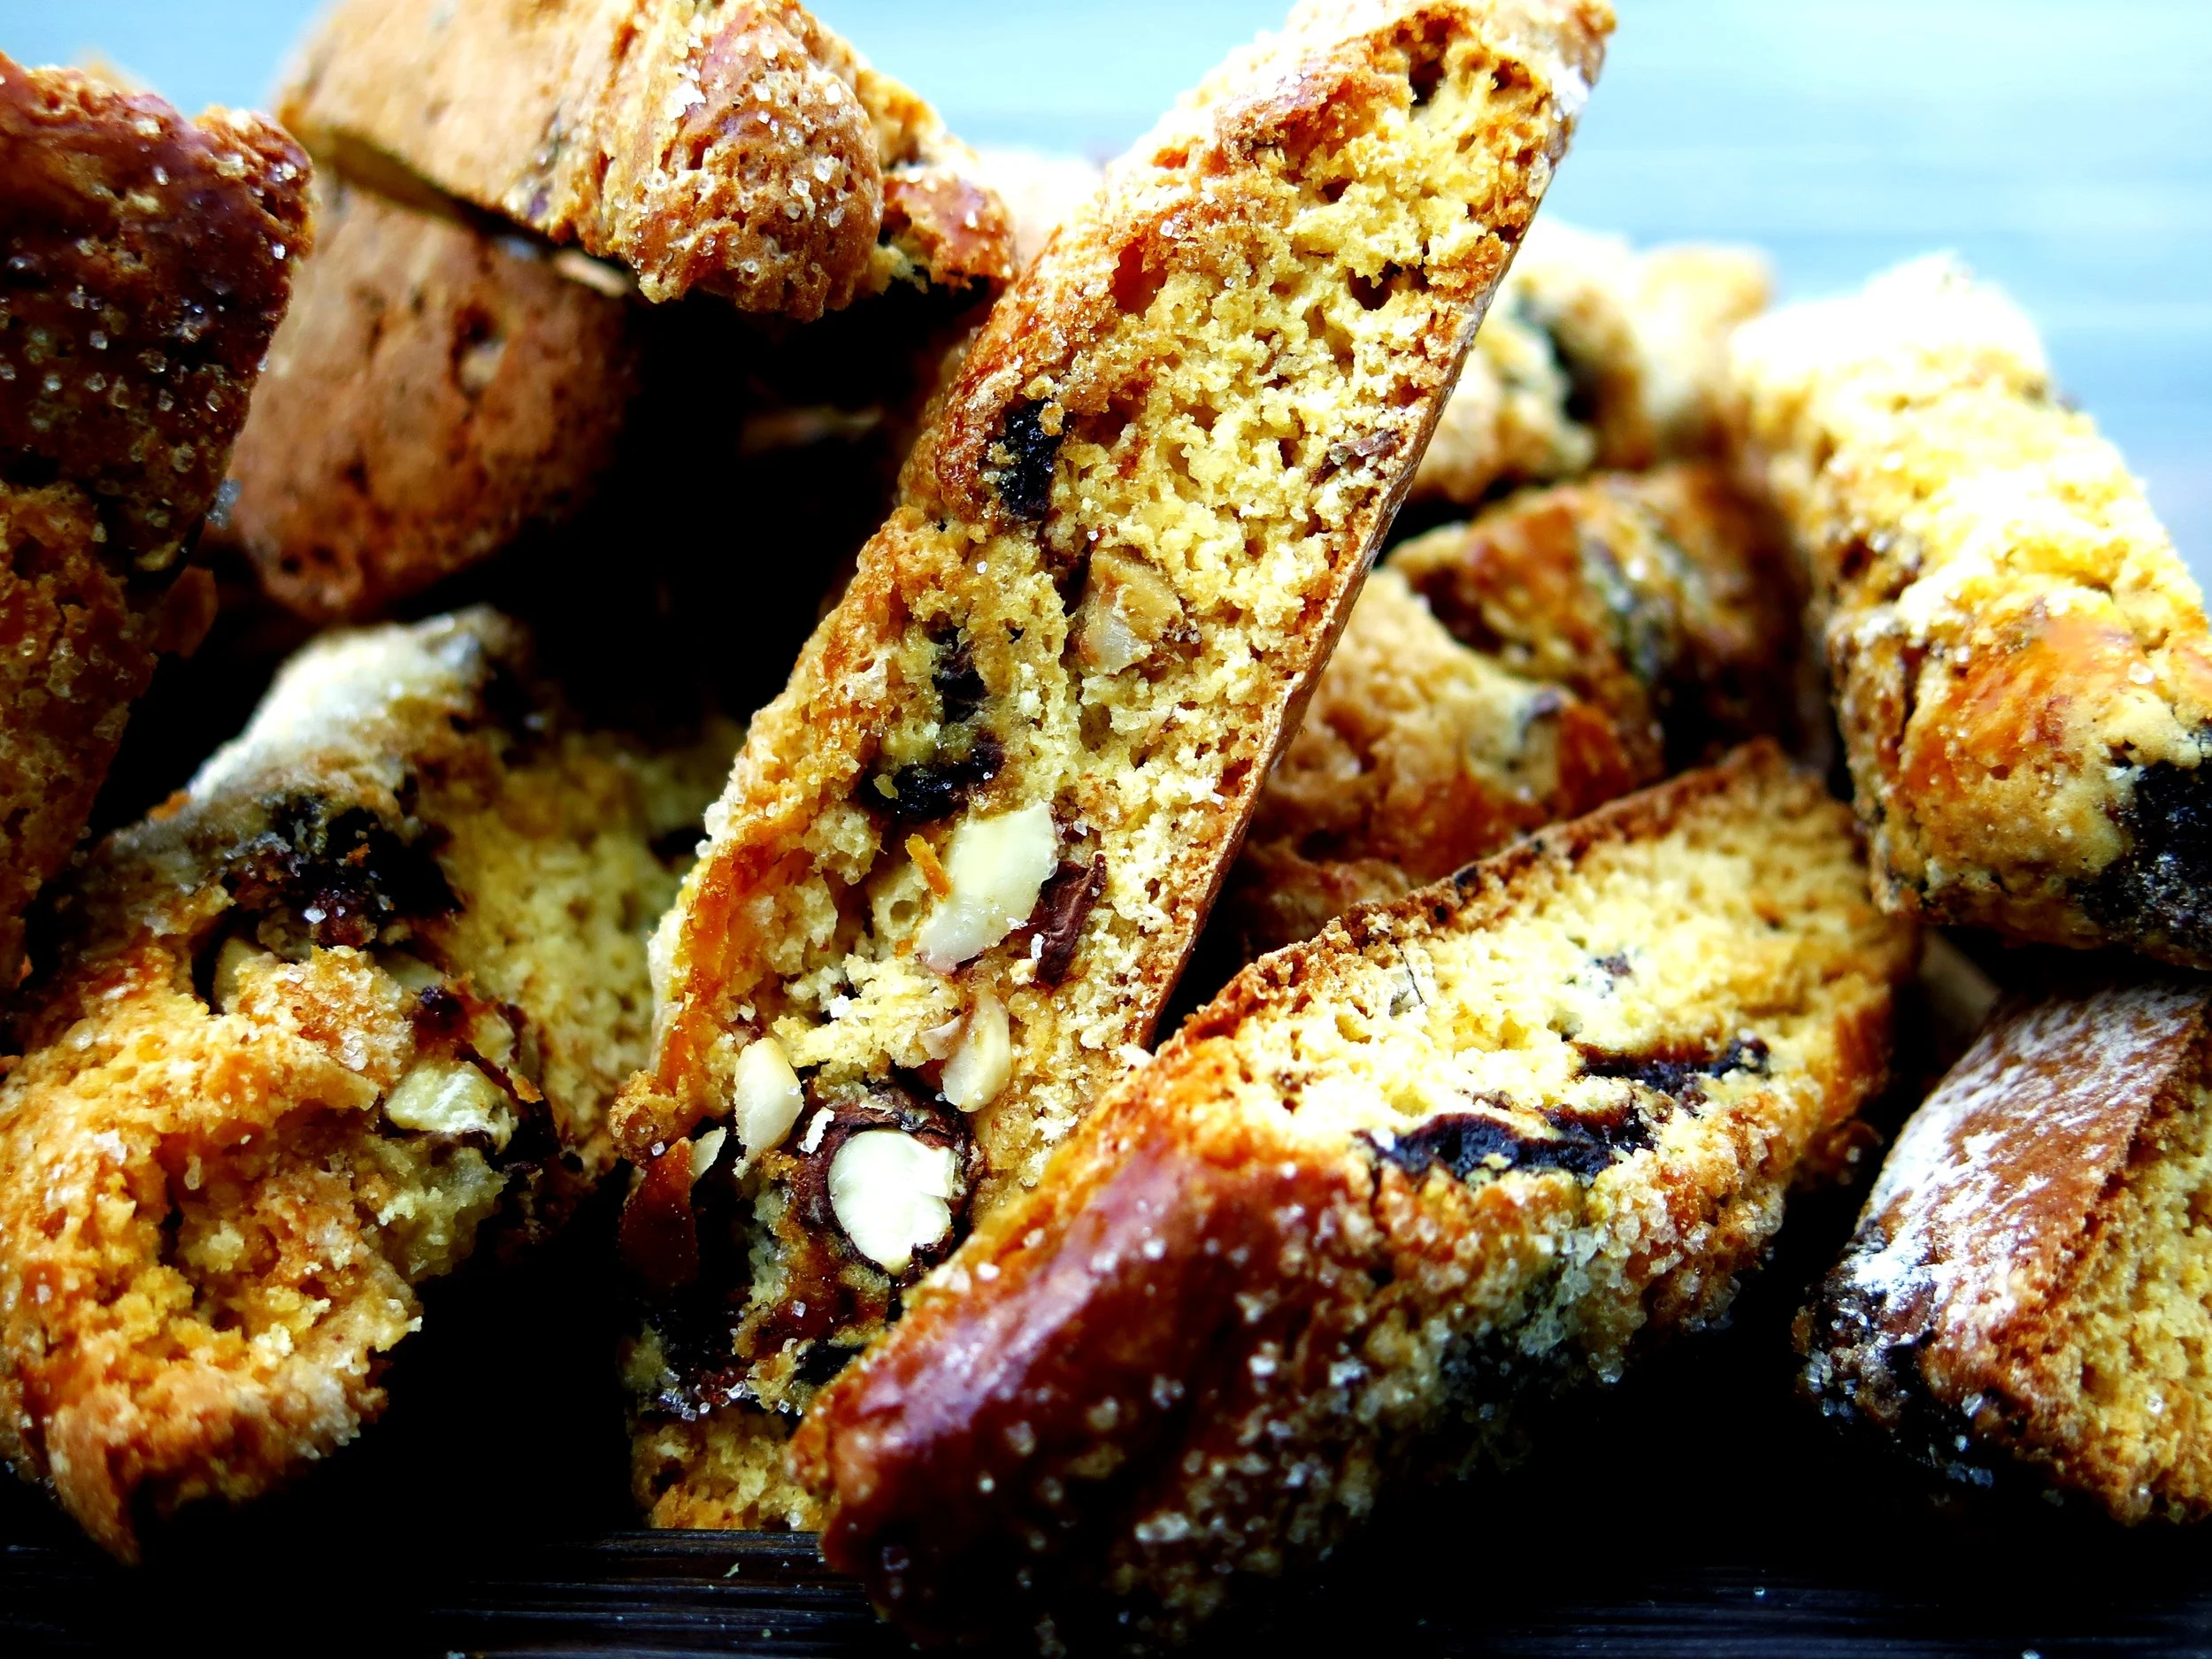
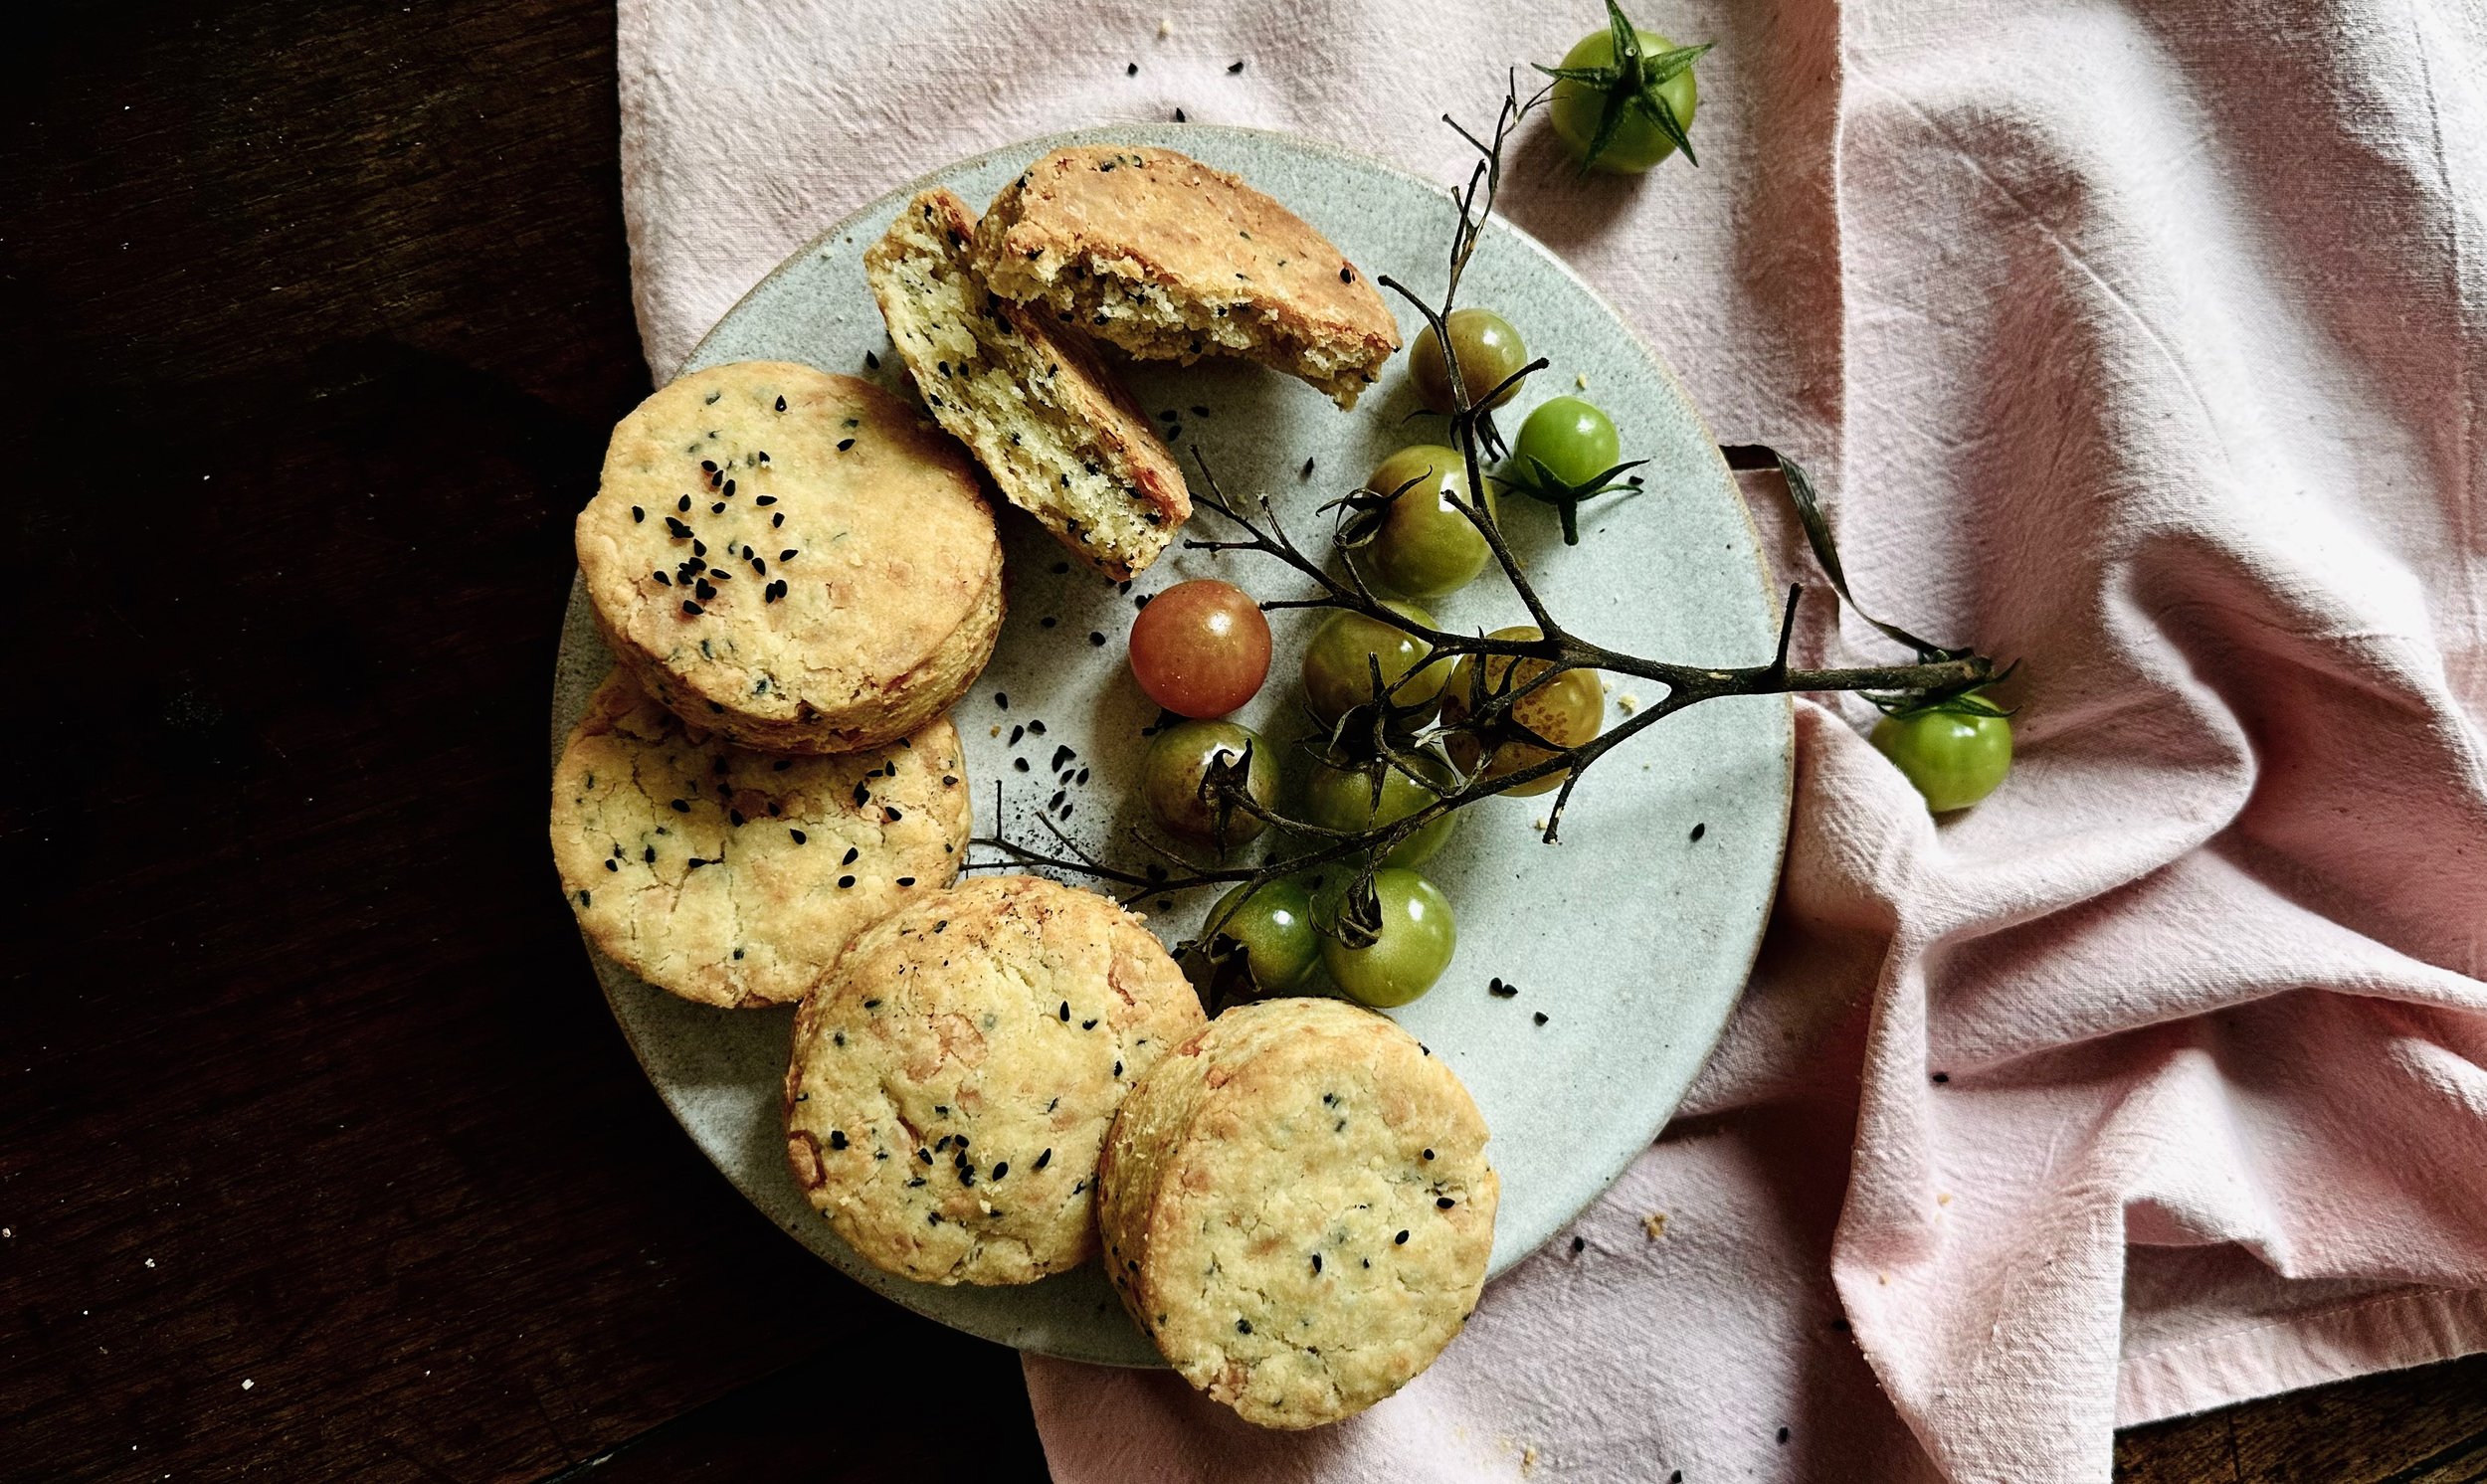
Cantucci (the Tuscan name for biscotti) are typically served with vin santo for dessert. I tend to chuck in whatever nut or dried fruit we have available, and this particular combo worked out exceptionally well: the tanginess and chew from the oranges, the toasty crunch of the hazelnuts, and the plump, wine-soaked sweetness from the figs. I try not to overcook them so as to retain some of that satisfying chewiness.