Viewing entries in
Recipes

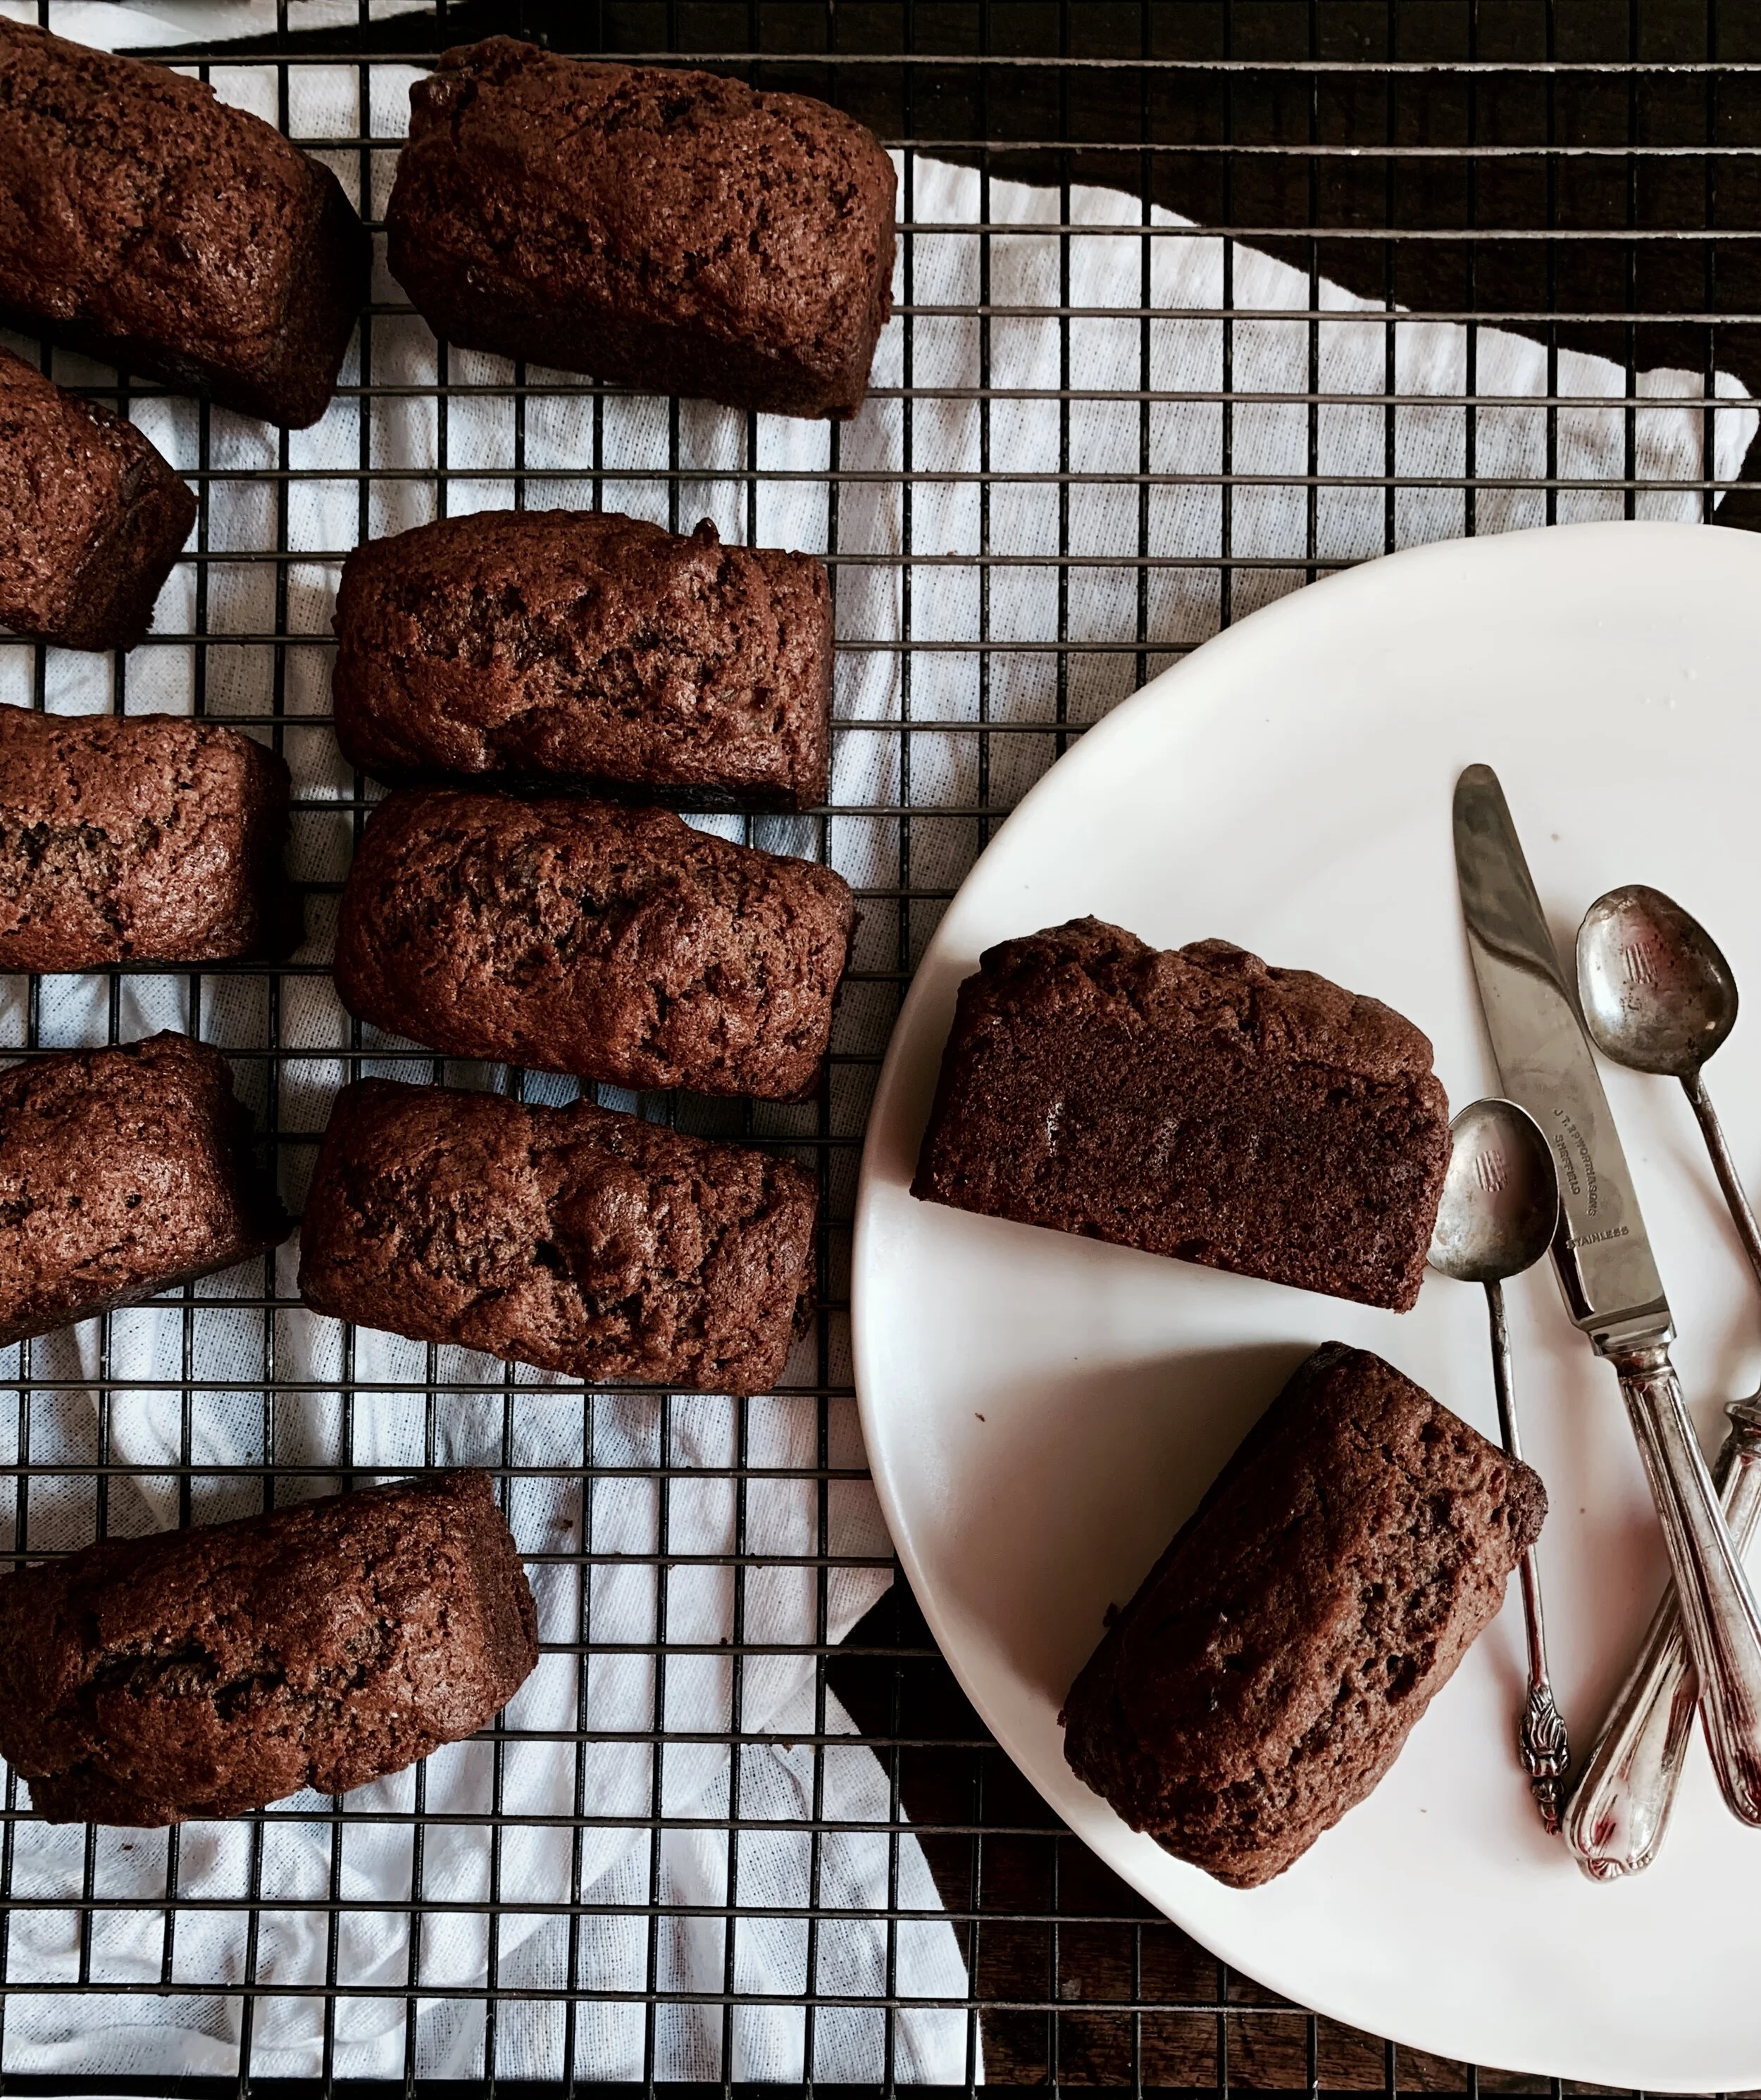
The Best Vegan Chocolate Cupcakes

Comment

The Best Vegan Chocolate Cupcakes

if I have a vegan chocolate cake, it needs to meet or surpass its non-vegan equivalent in taste, in texture and in appearance.

And, it most certainly cannot have any weird artificial or suspicious gunk holding it together. 

Anyway, I stumbled across a basic recipe online: it came out disturbingly black, and tasted acrid. And I tried an online vegan icing recipe: it was revoltingly oily, and tear-inducingly bitter. So, I’ve chopped and changed and adjusted and refined, and this is the result: cupcakes that are juicy, fluffy, tender, and moist, with a smooth, creamy chocolatey icing. 

They are so good that I guarantee no one will guess they’re vegan.

Comment

Gooey Nutella Cookies

Comment

Gooey Nutella Cookies

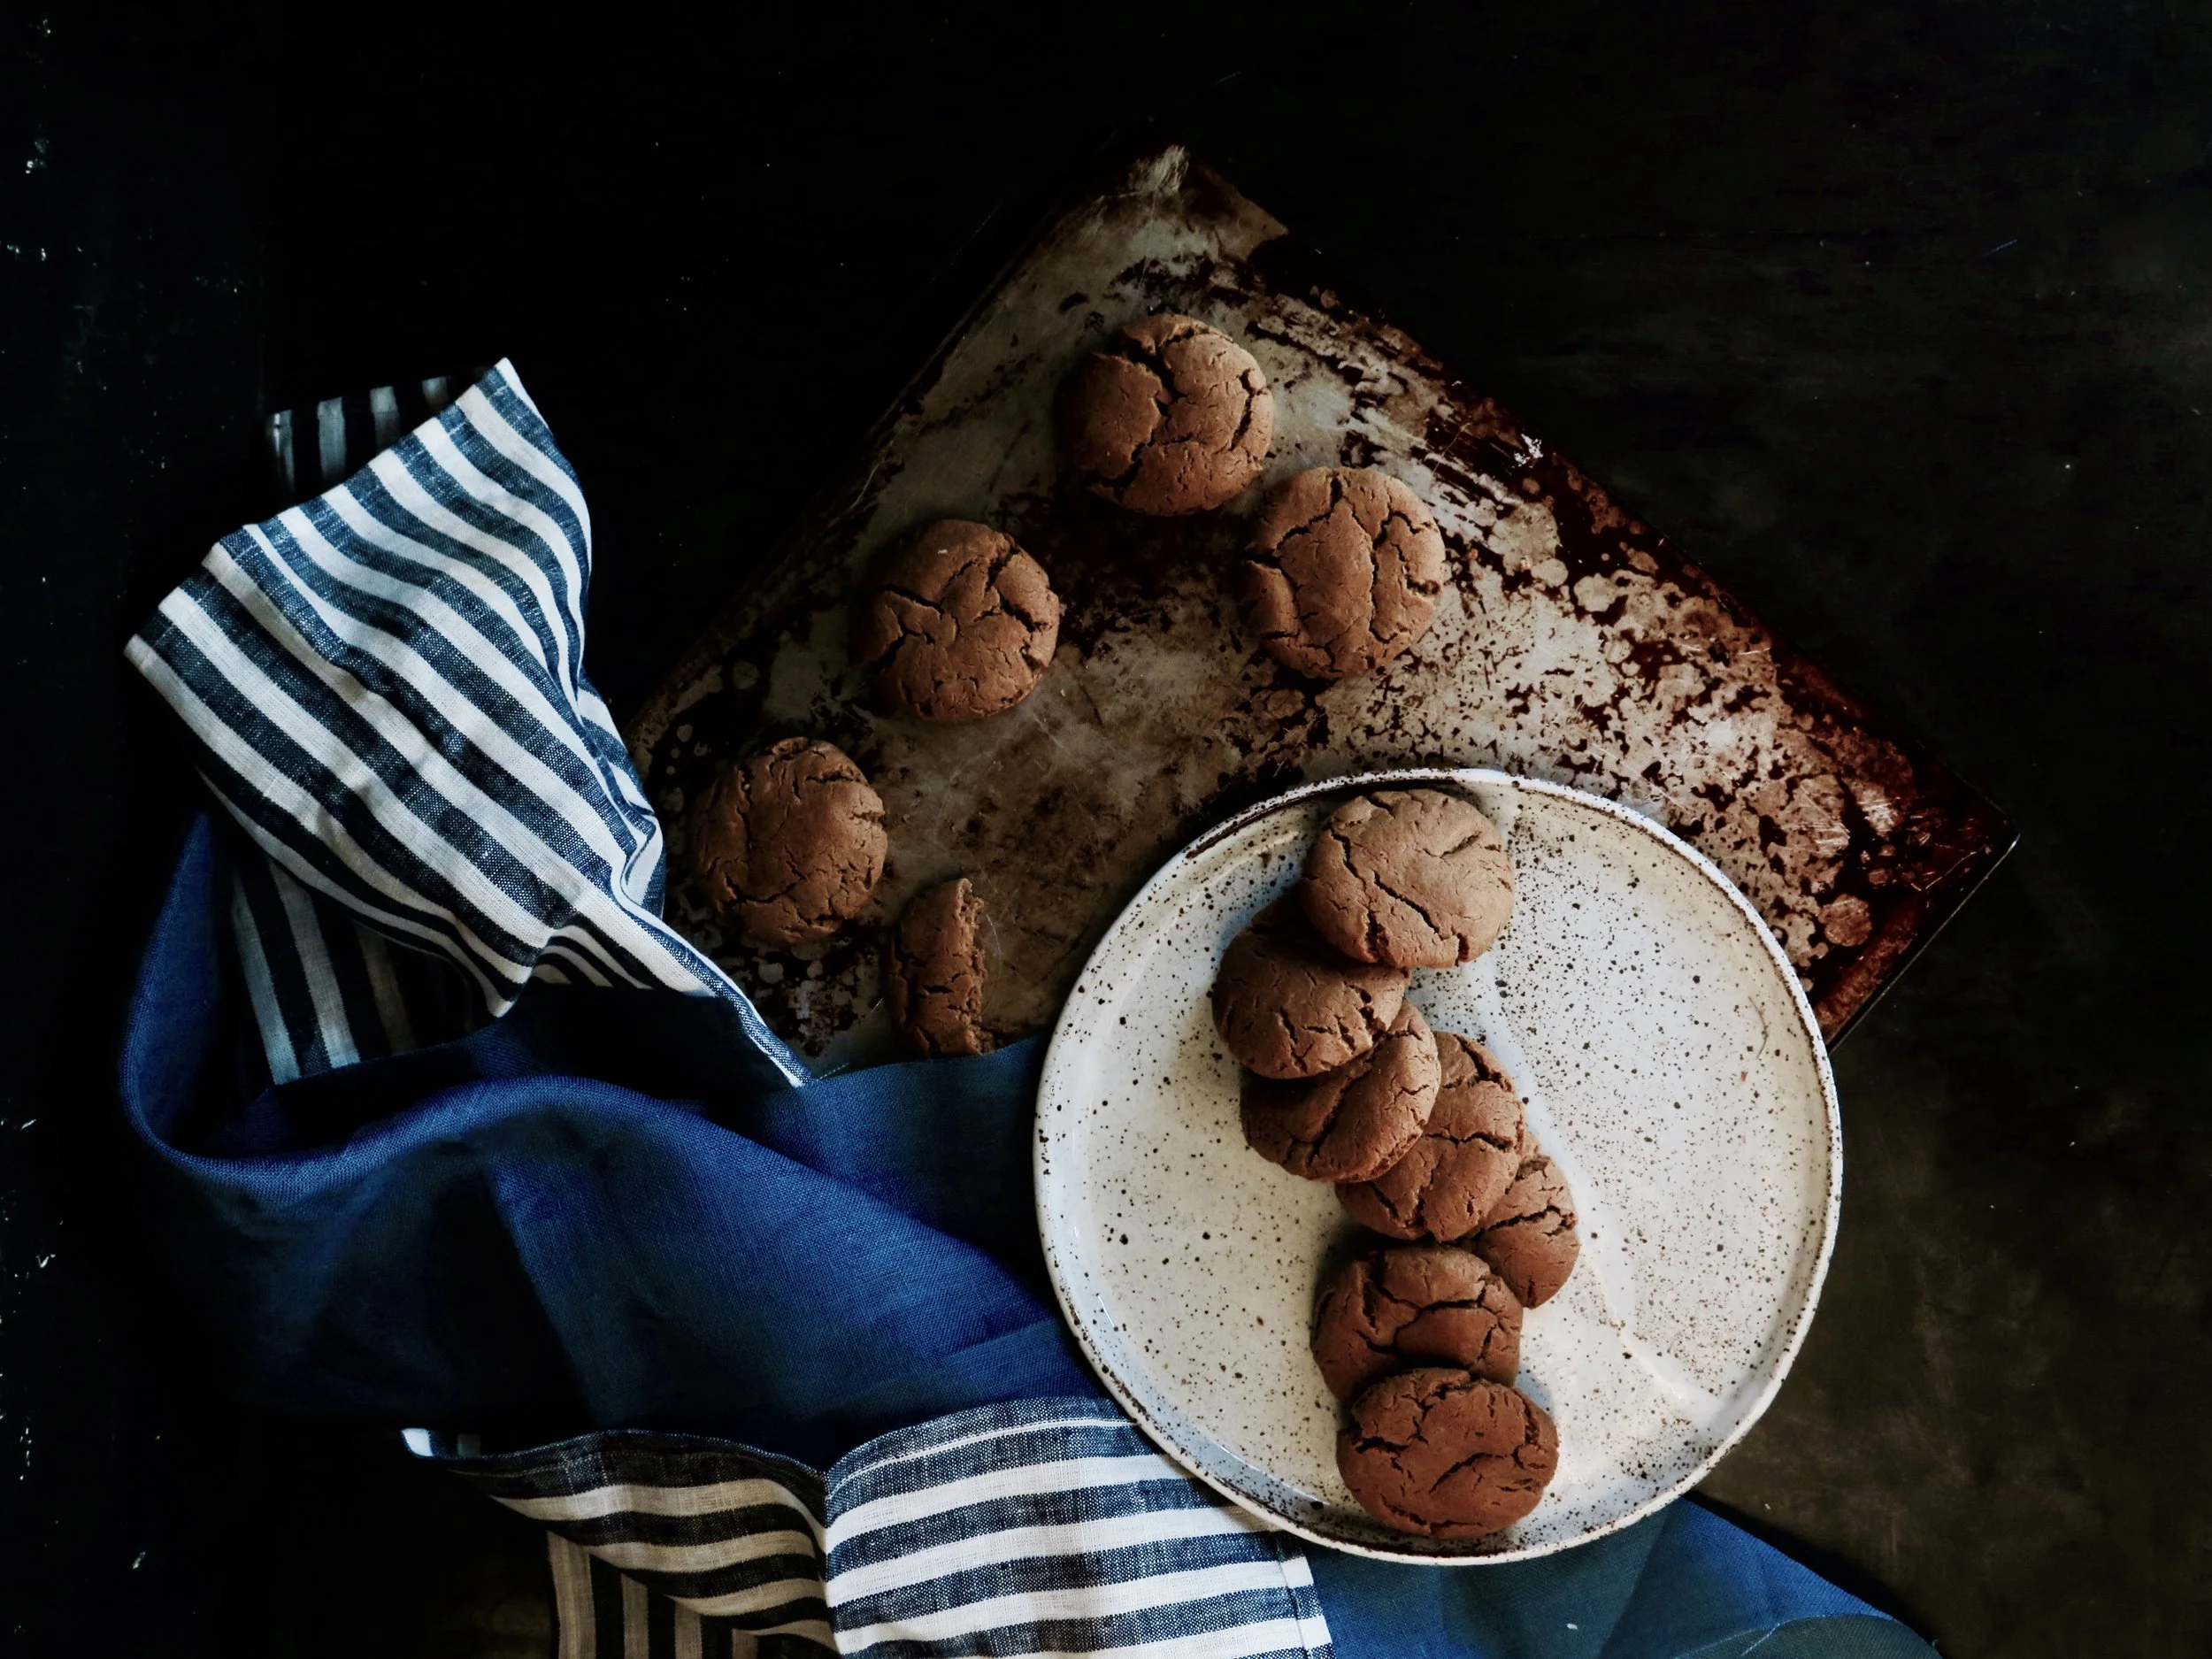
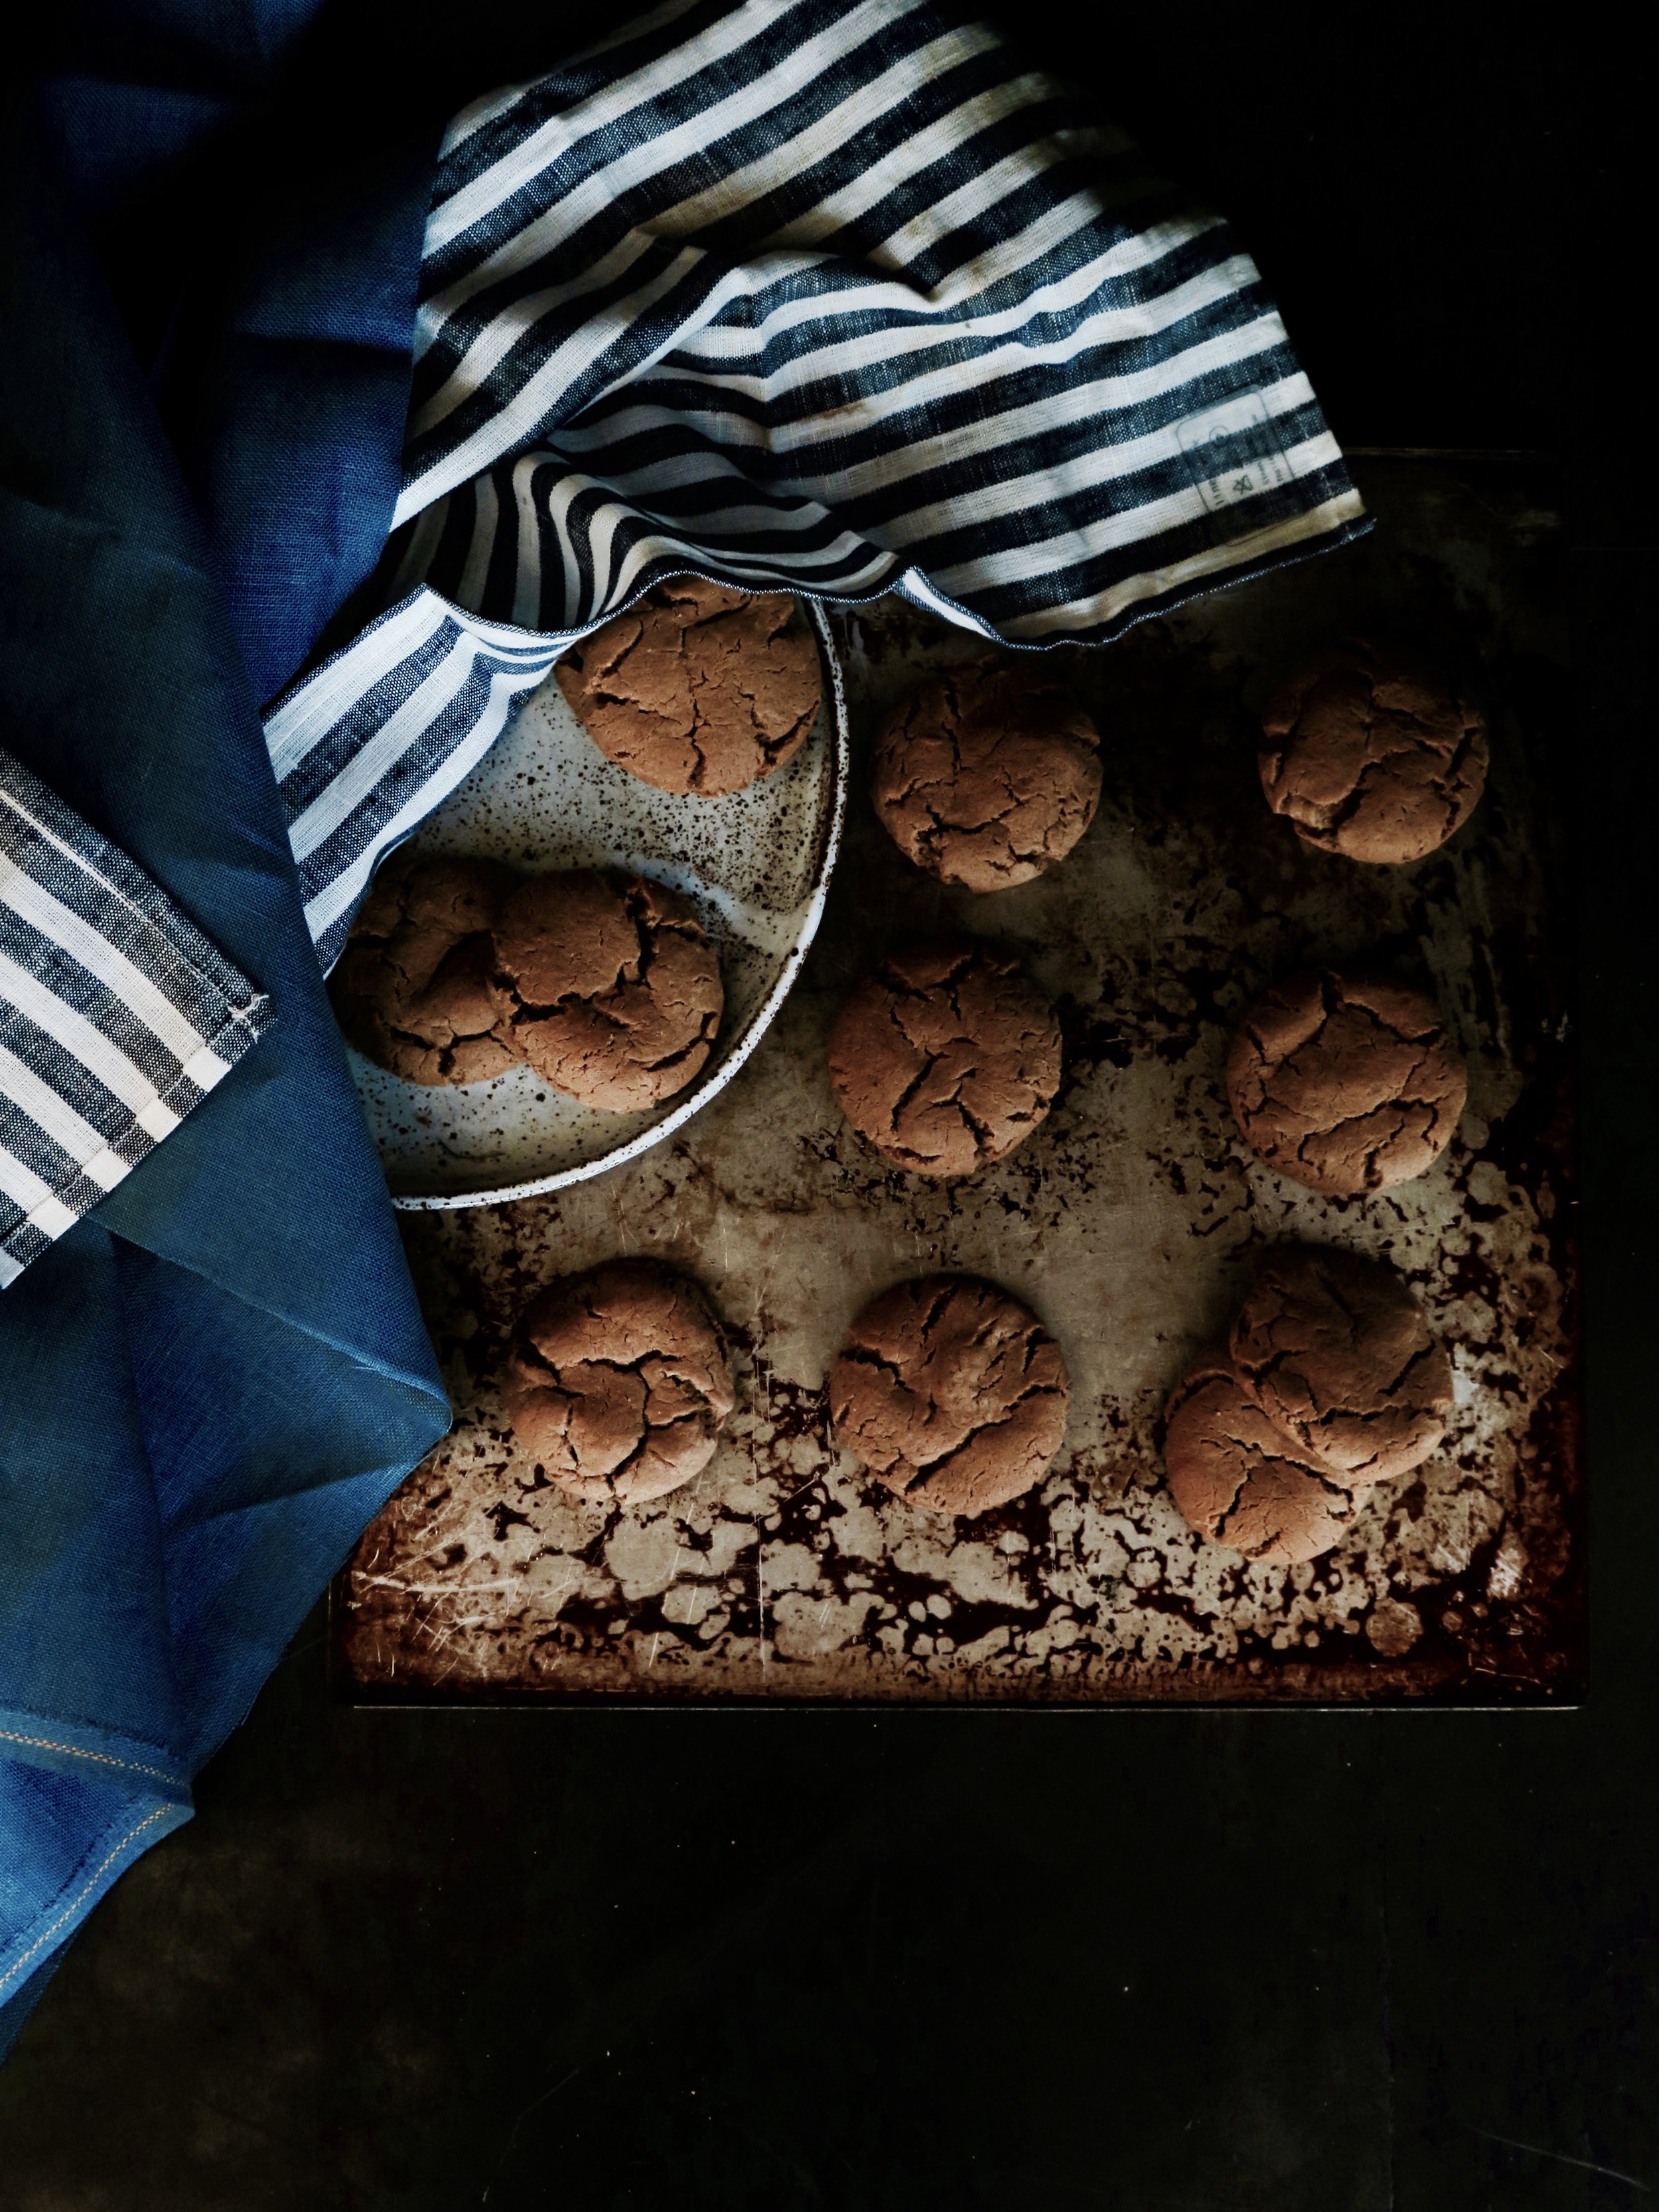
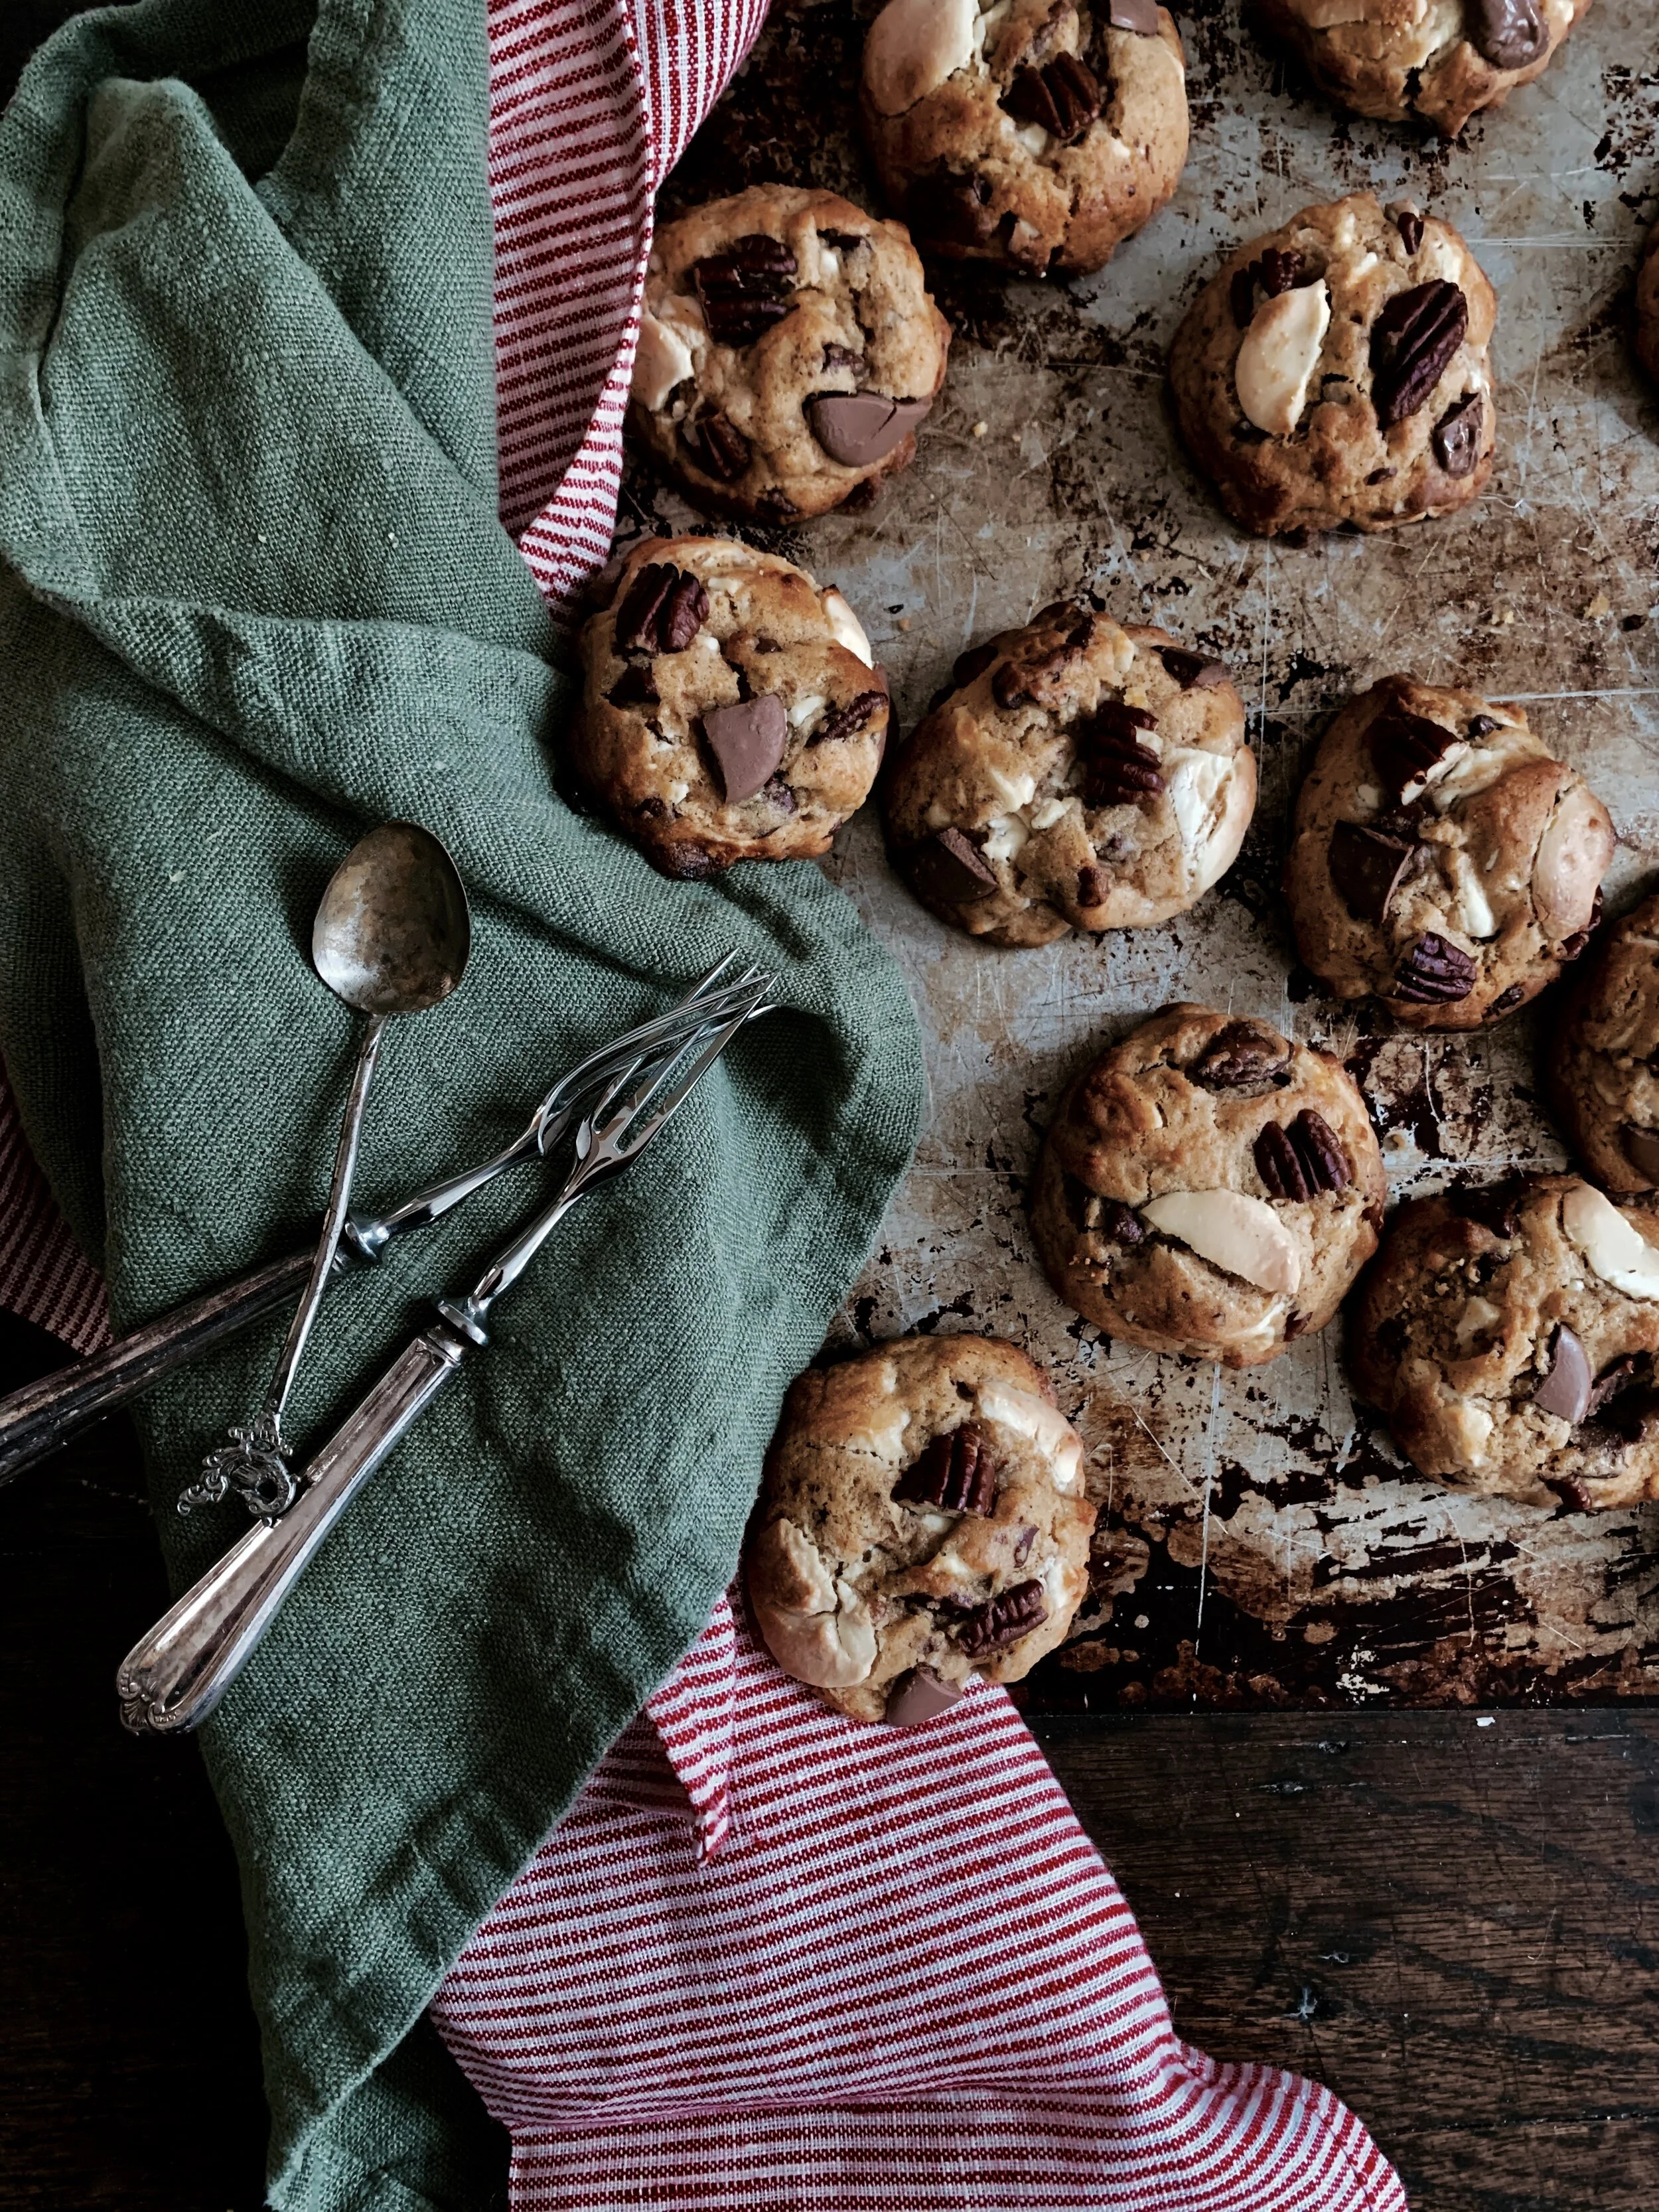
These cookies are thick; they’re chewy; and they have a a molten Nutella centre with oozy chocolate and crunchy toasted hazelnuts. I’m not even going to feign modesty: these cookies are the apotheoses of cookies. Make sure you have at least two reserved per person because eating one is never going to be enough – be warned.

Comment

Lemon Chilli Coriander Pesto Tagliatelle

Comment

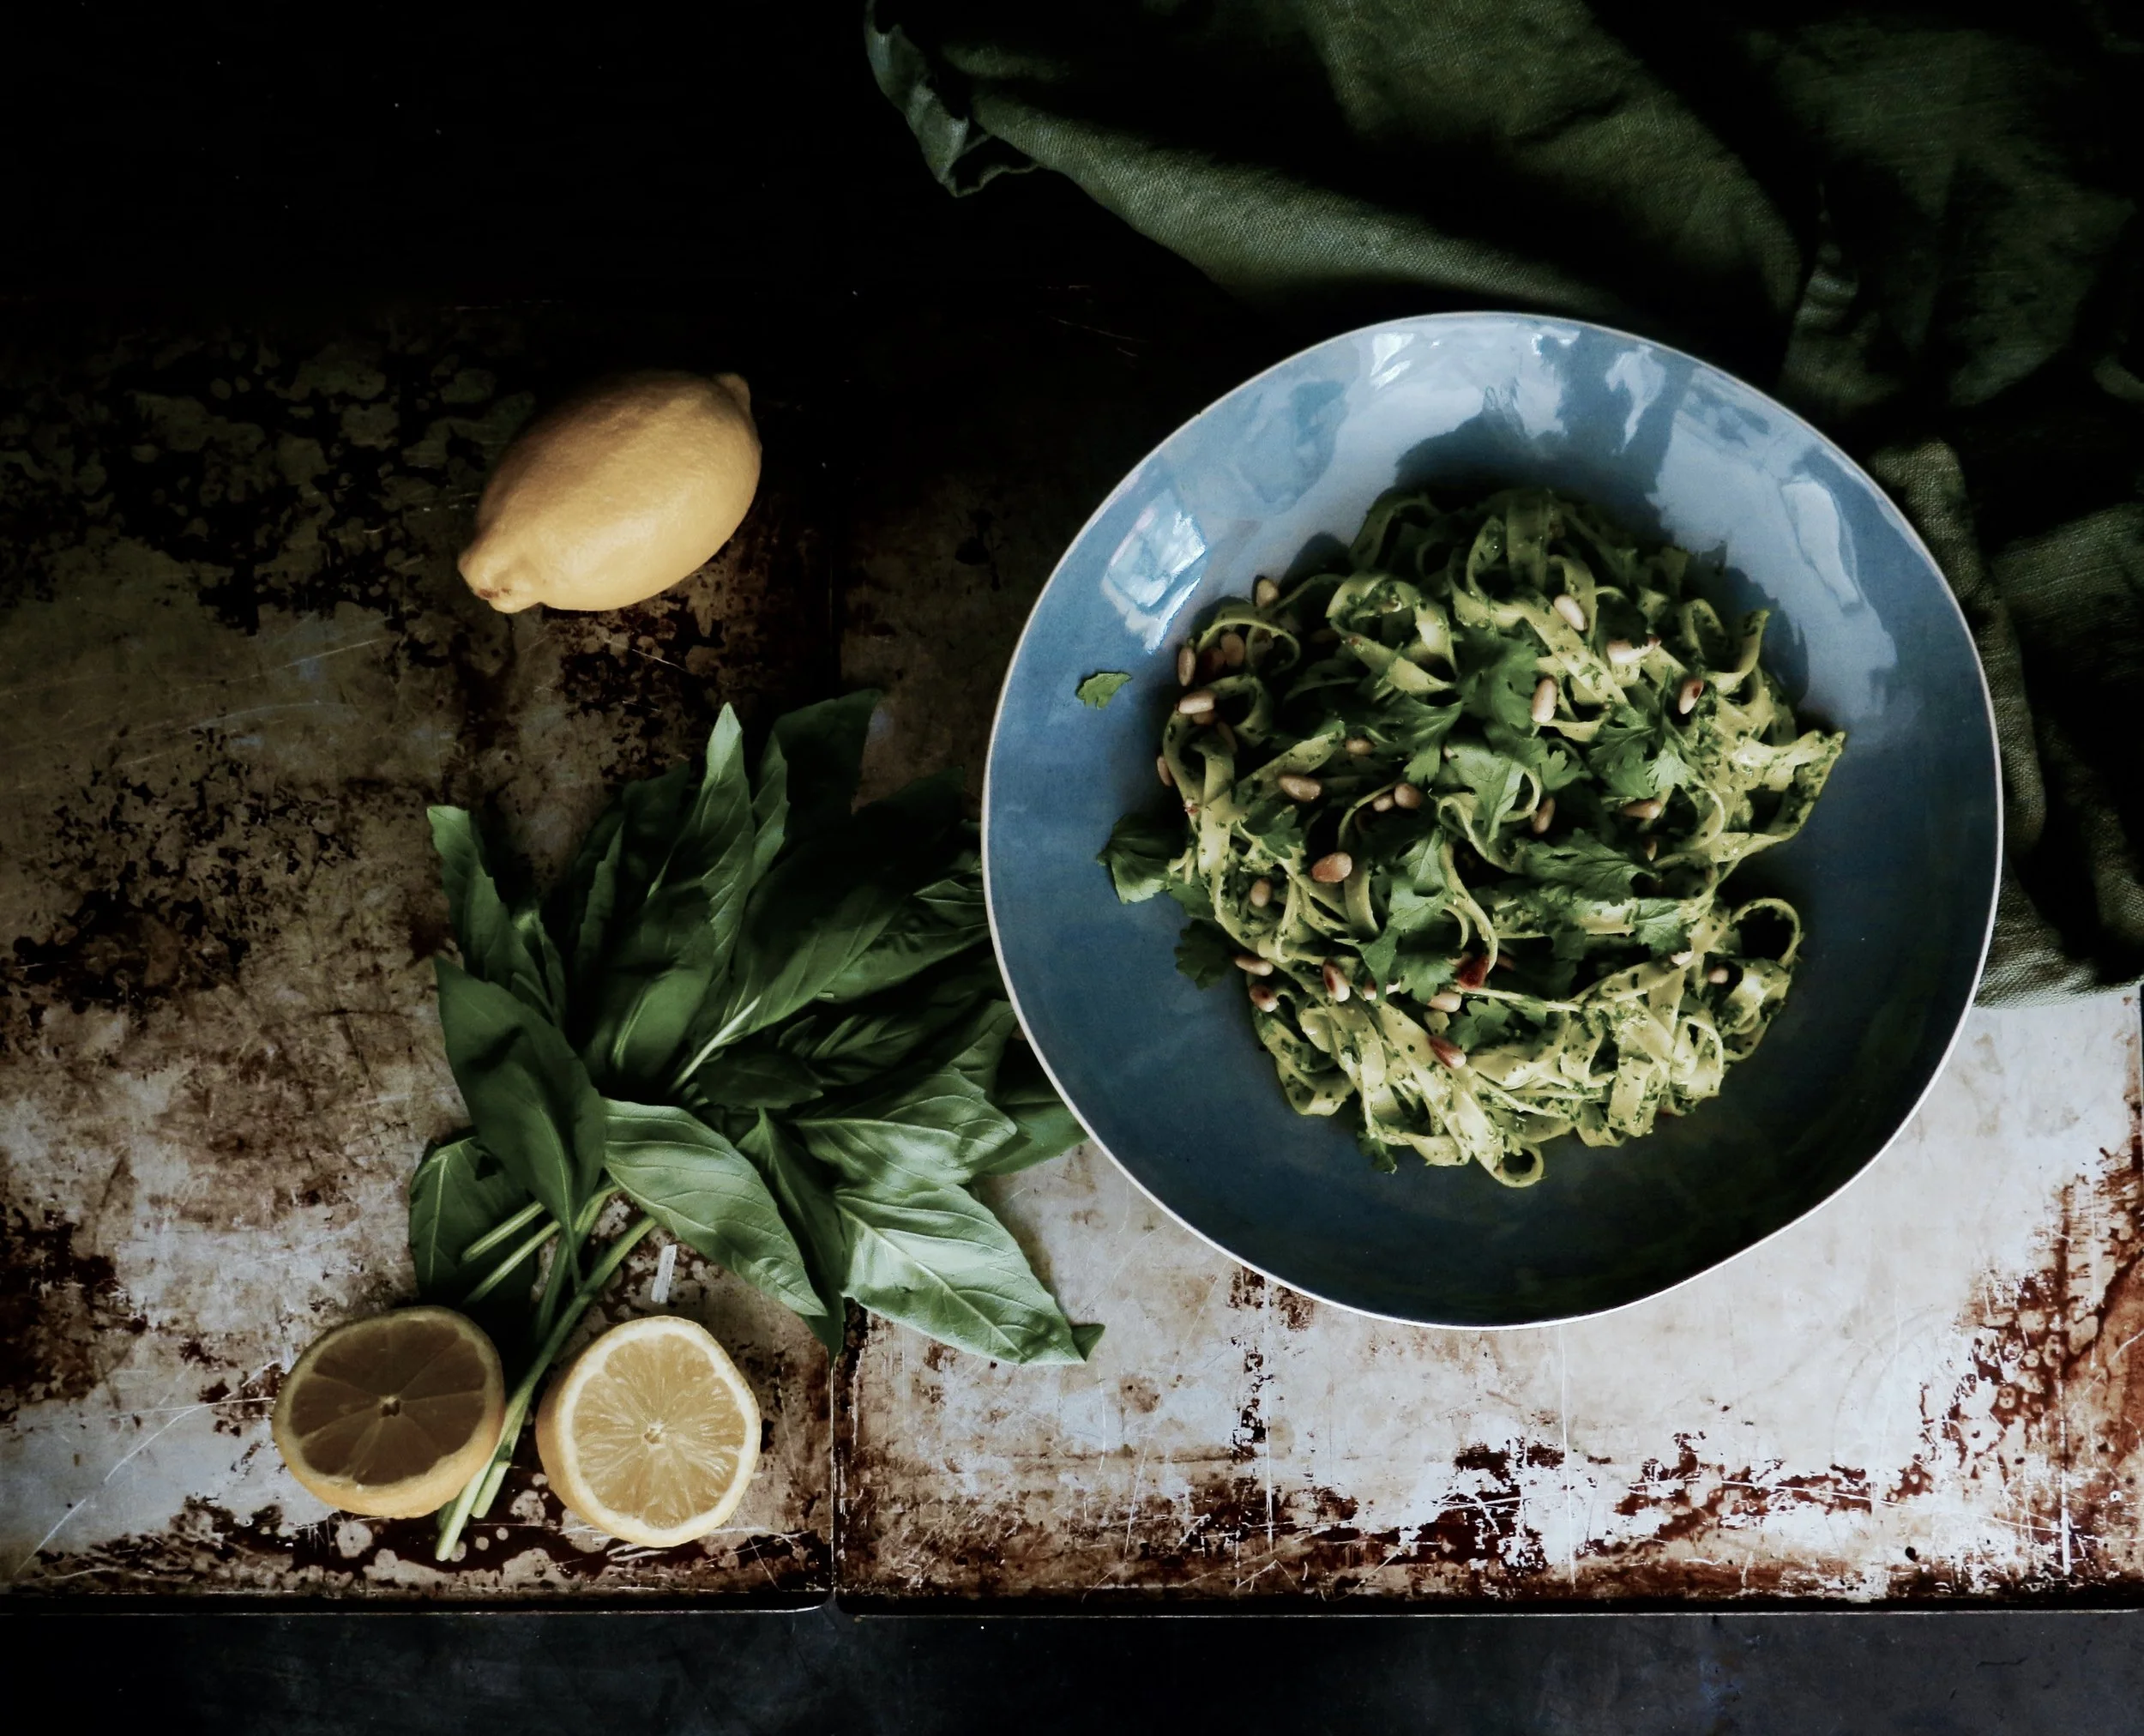
Lemon Chilli Coriander Pesto Tagliatelle

This dish will set your palate alight: it's summery, zingy, citrusy, umami and outrageously moreish. It’s comfort food without the stodgy cheesiness or greasiness, and it’s ridiculously simple and quick to rustle up.

NB the pesto can be made a couple of days in advance and stored by placing in a bowl in the fridge and covering the surface with a thin layer of oil.

Comment

Cherry Vanilla Victoria Sponge Cake

Comment

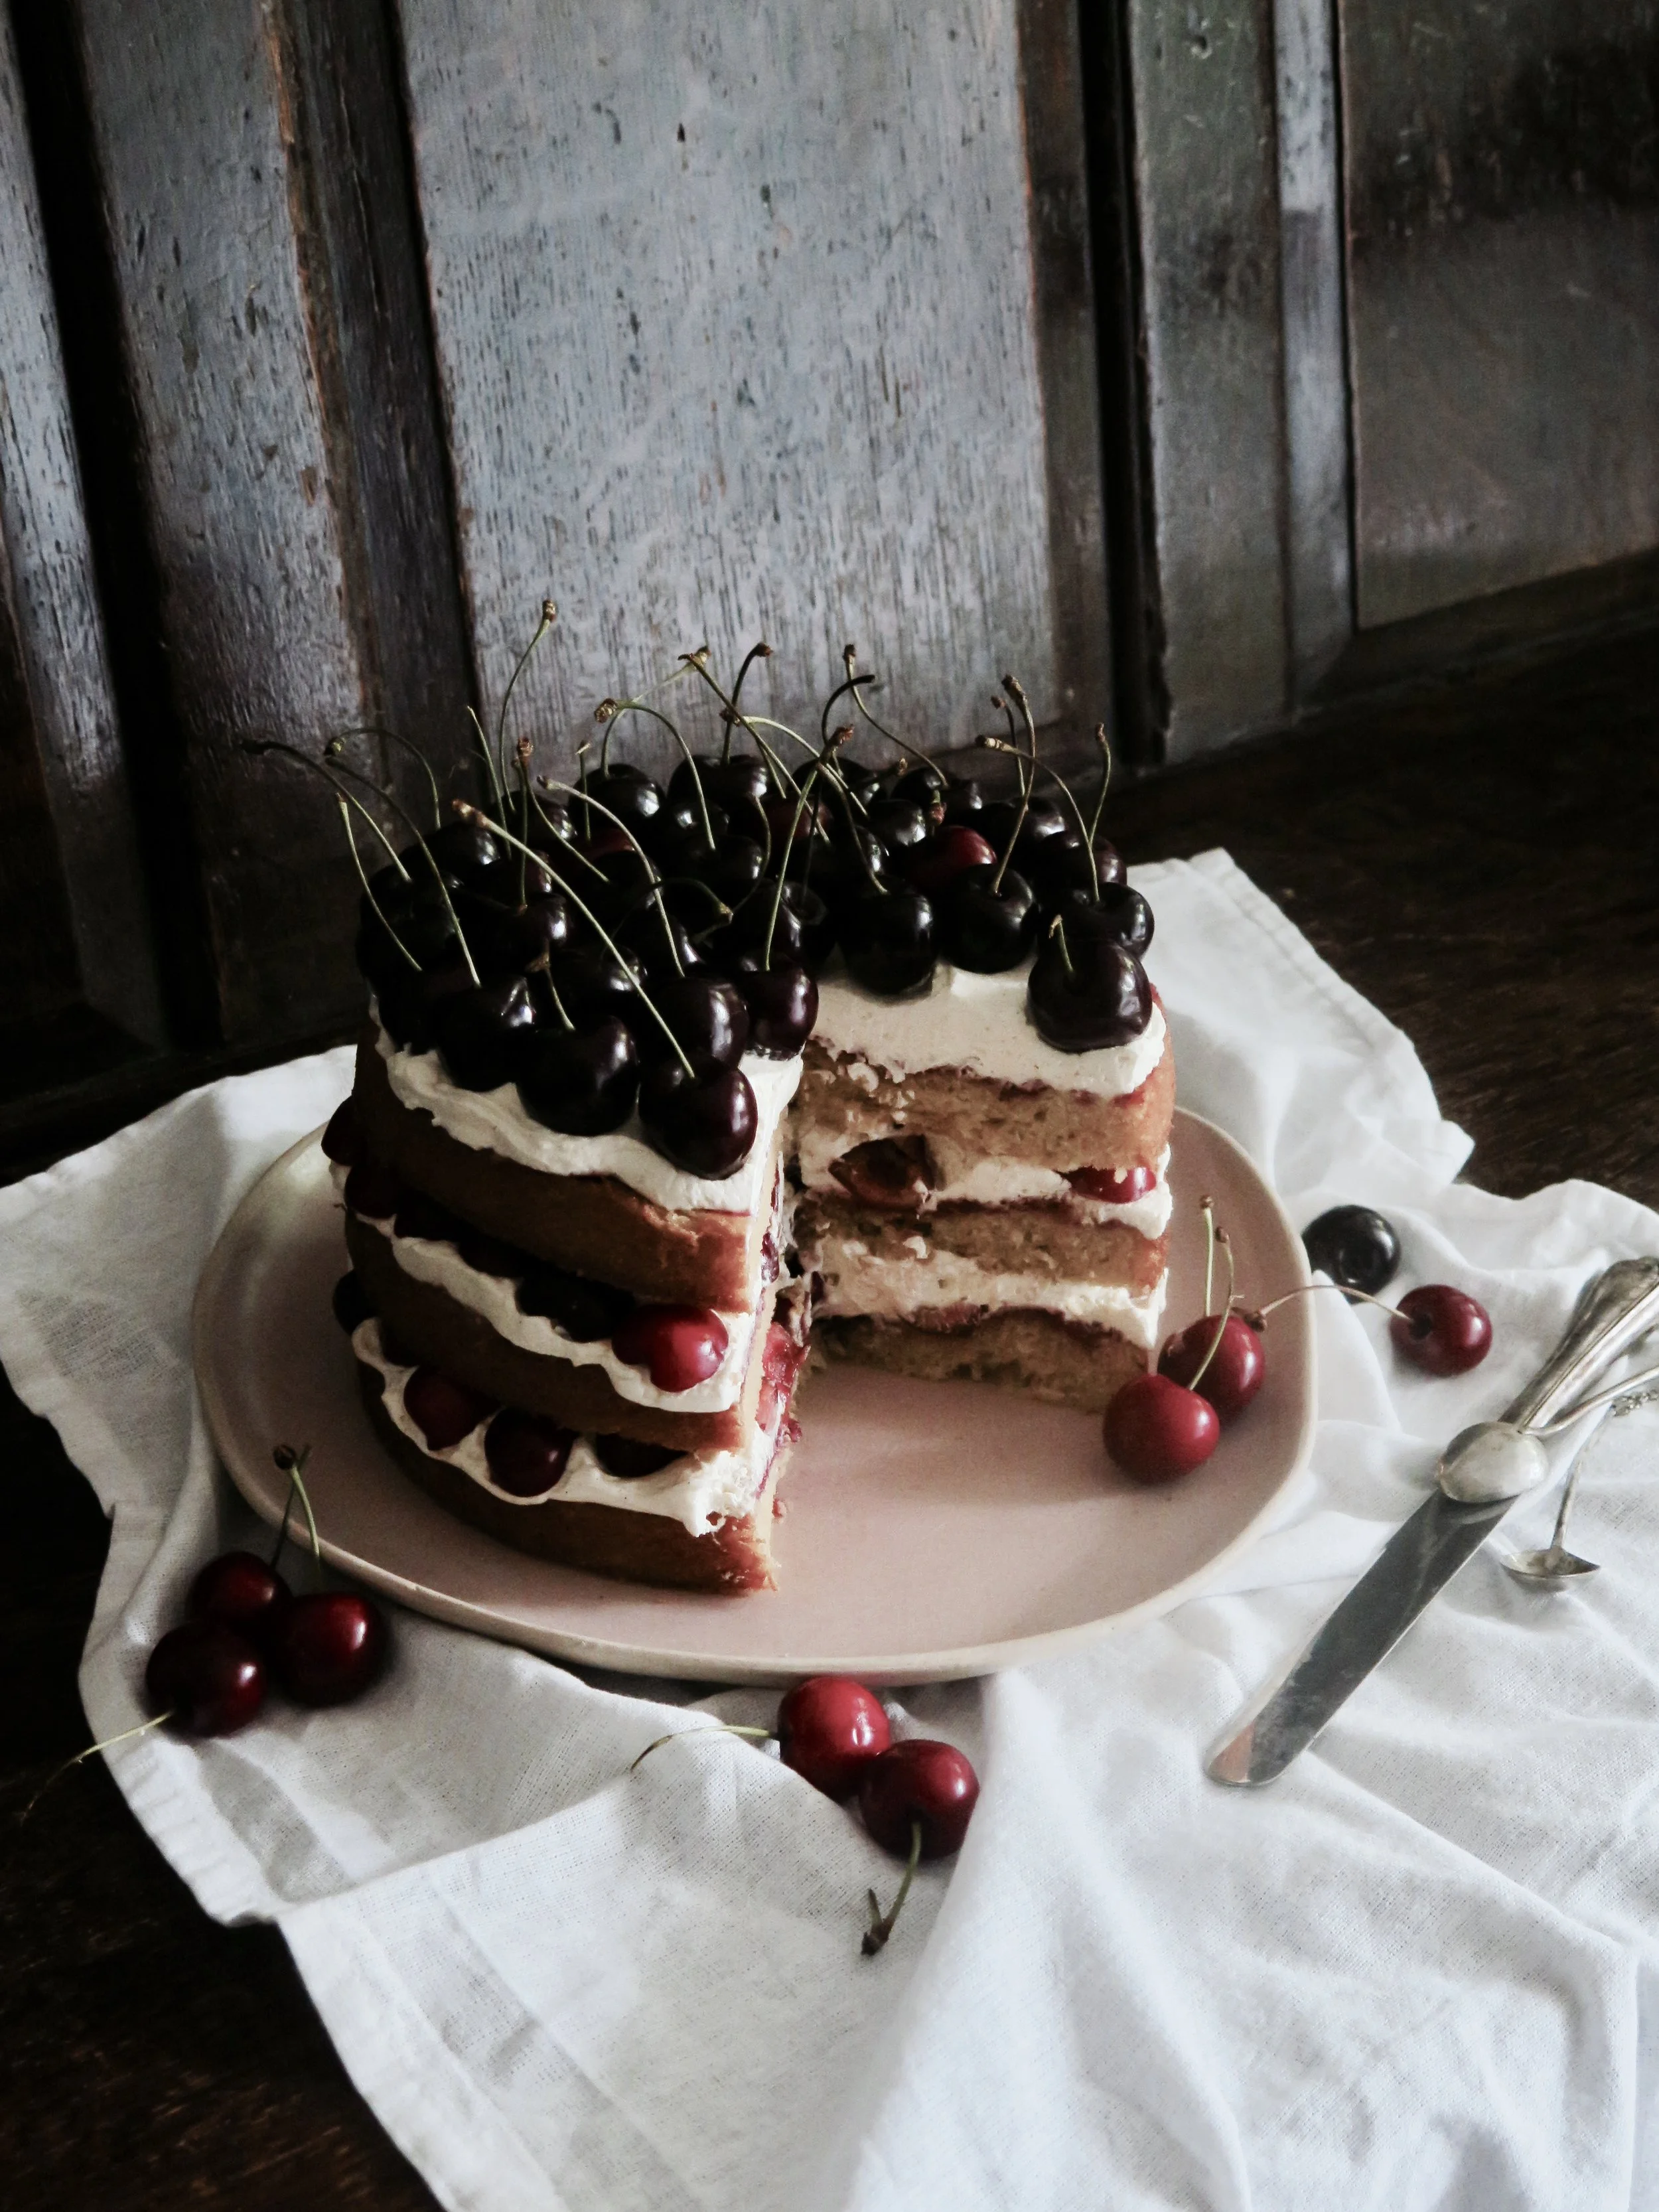
Cherry Vanilla Victoria Sponge Cake

This the perfect non-picnic picnic cake. It’s light with a cloudy vanilla sponge, and laced with fresh cherries which burst in your mouth and whose astringency perfectly cut through the smooth rich vanilla-cream. I keep the cherries fresh and unadulterated so as to keep the cake not too sweet, with a hint of cherry jam just to counter too much acidity.

Comment

The Ultimate Chunky Chewy Triple Chocolate Caramel Cookies

Comment

The Ultimate Chunky Chewy Triple Chocolate Caramel Cookies

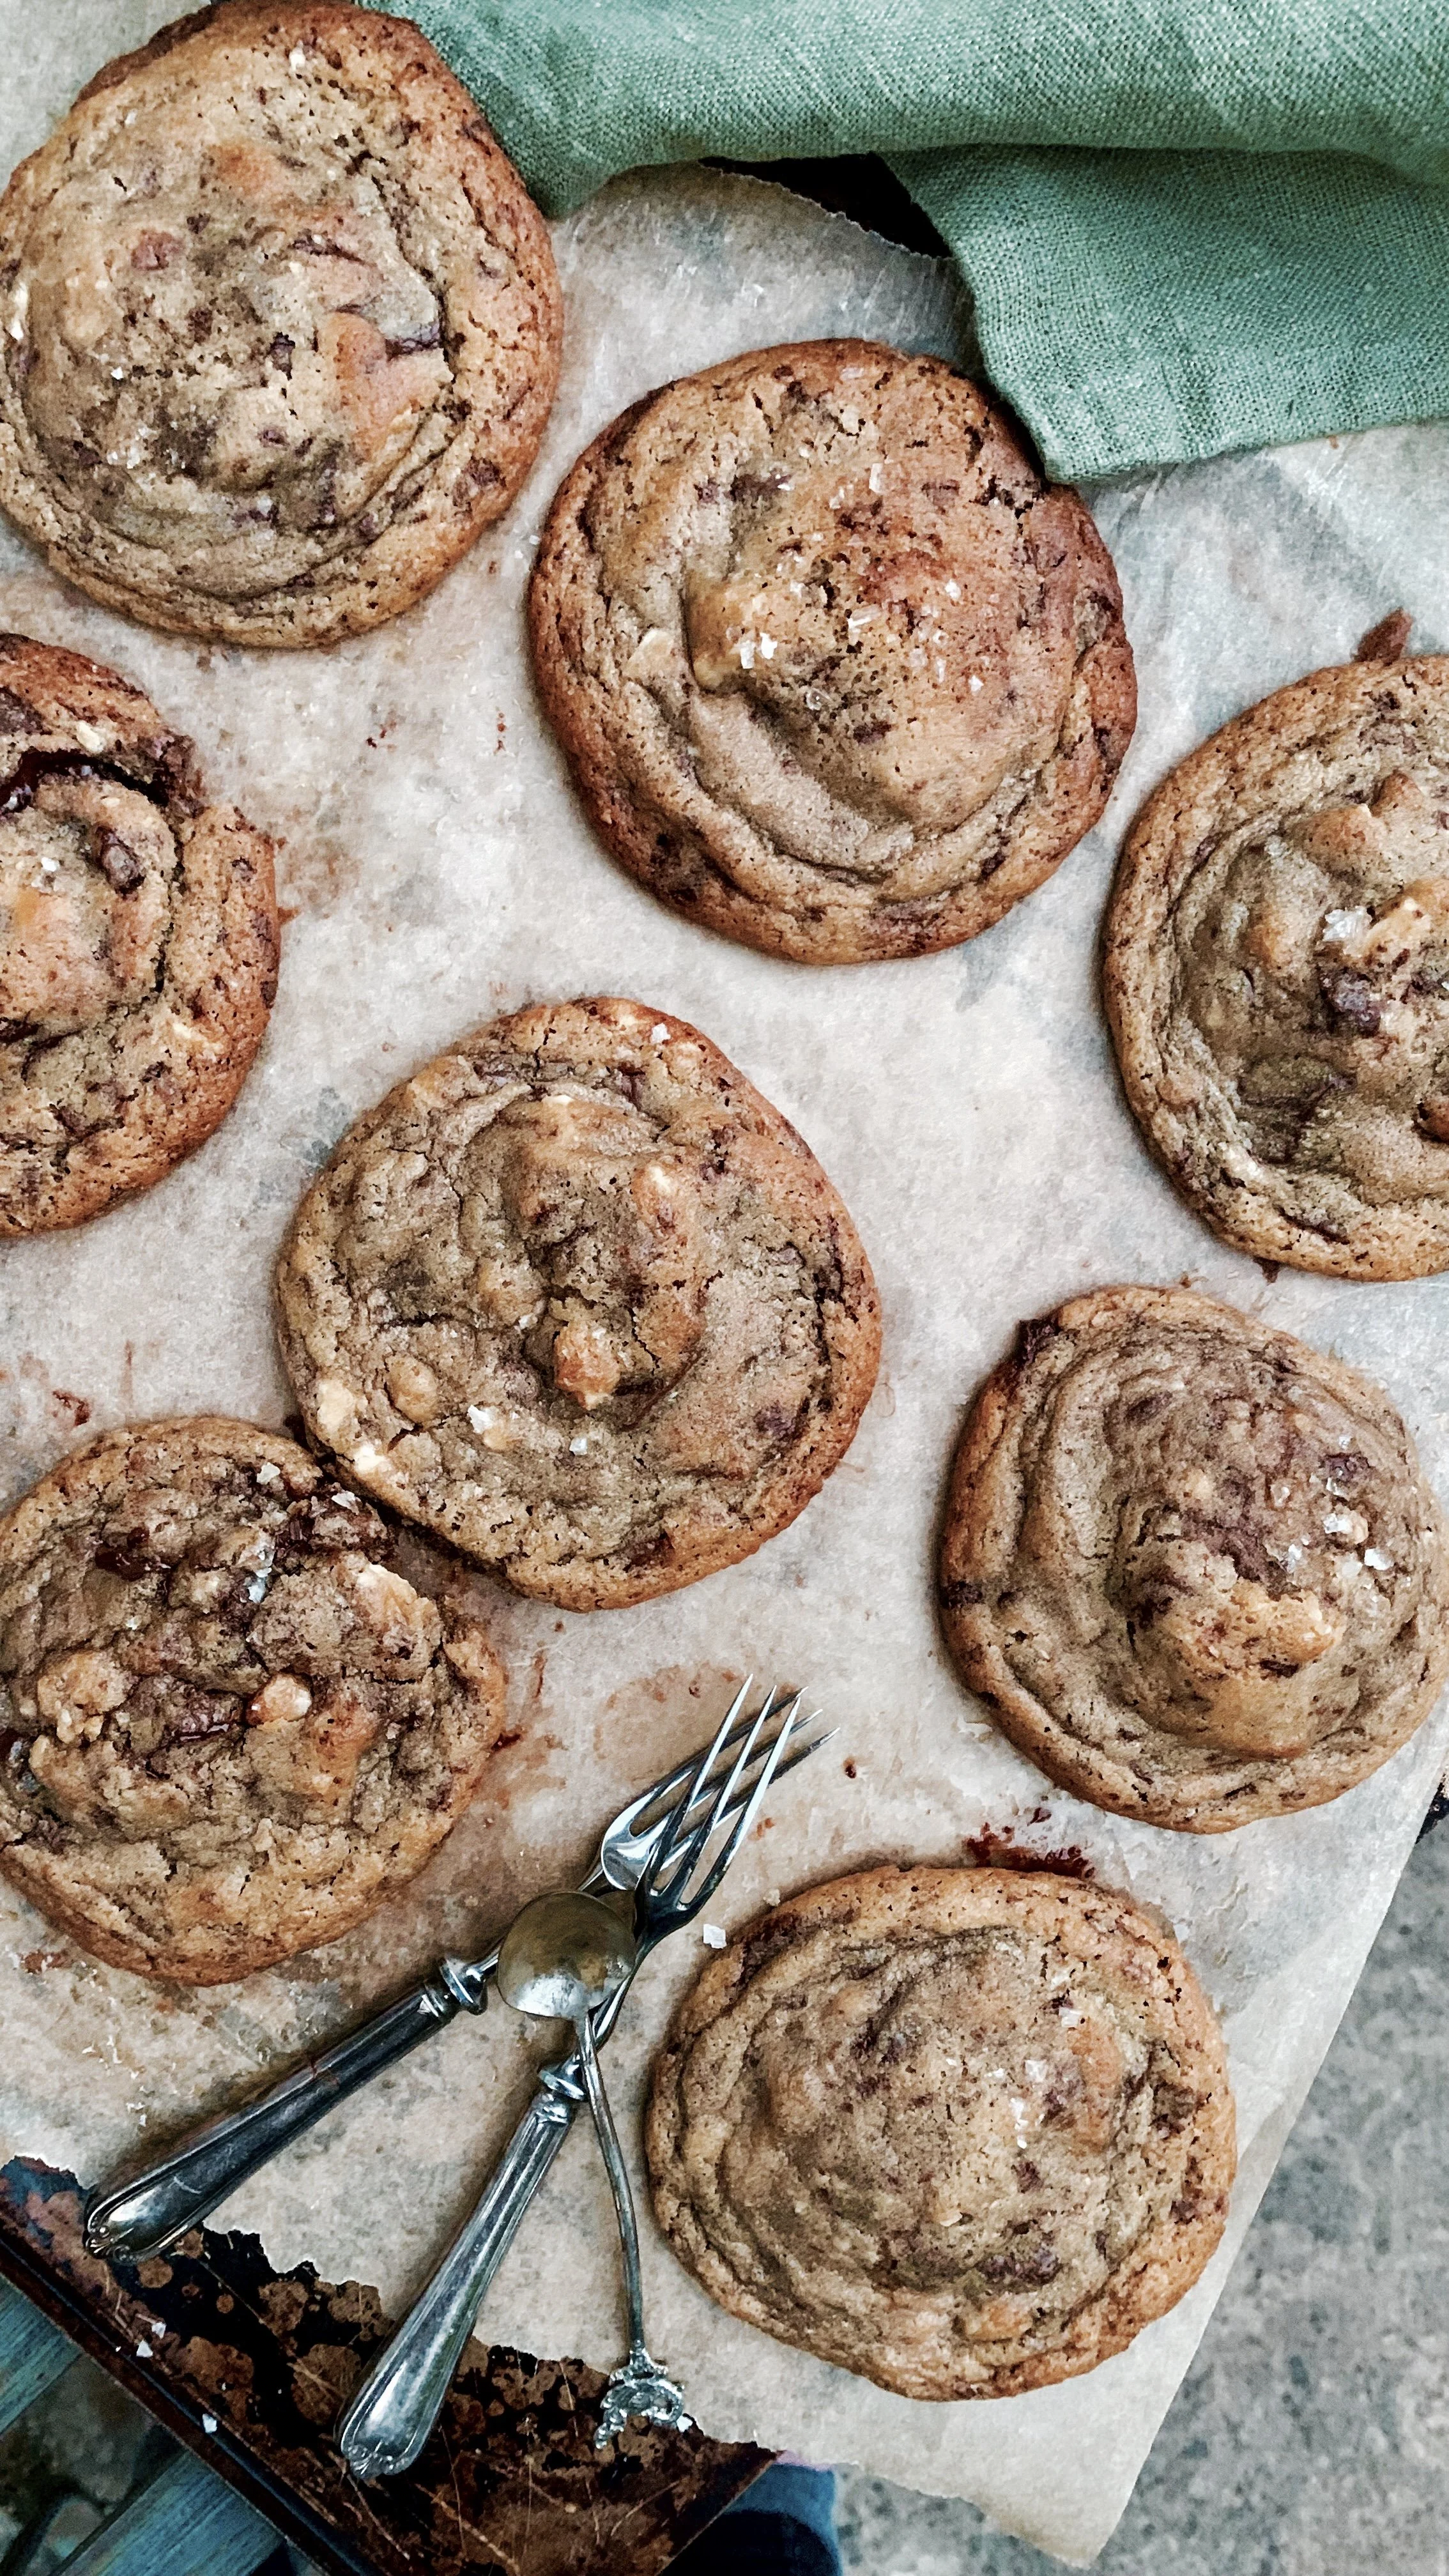
In my dictionary definition of cookie, I’m going to be demanding. It needs to be thic(ccc)k so that each mouthful contains some of the promised flavours, be they chocolate, nut, or candy. I want it crisp on the outside so that when broken, it gives way to a chewy cookie-dough goo. If there’s chocolate or caramel, they need to be molten. They also need to have enough salt to balance the sweetness and add depth of flavour. 

And, after years of trials, the quest to create the perfect cookie becoming increasingly Sisyphean, I’ve done it. And you need to make them ASAP.

Comment

Sea Salt & Rosemary Focaccia (vegan)

Comment

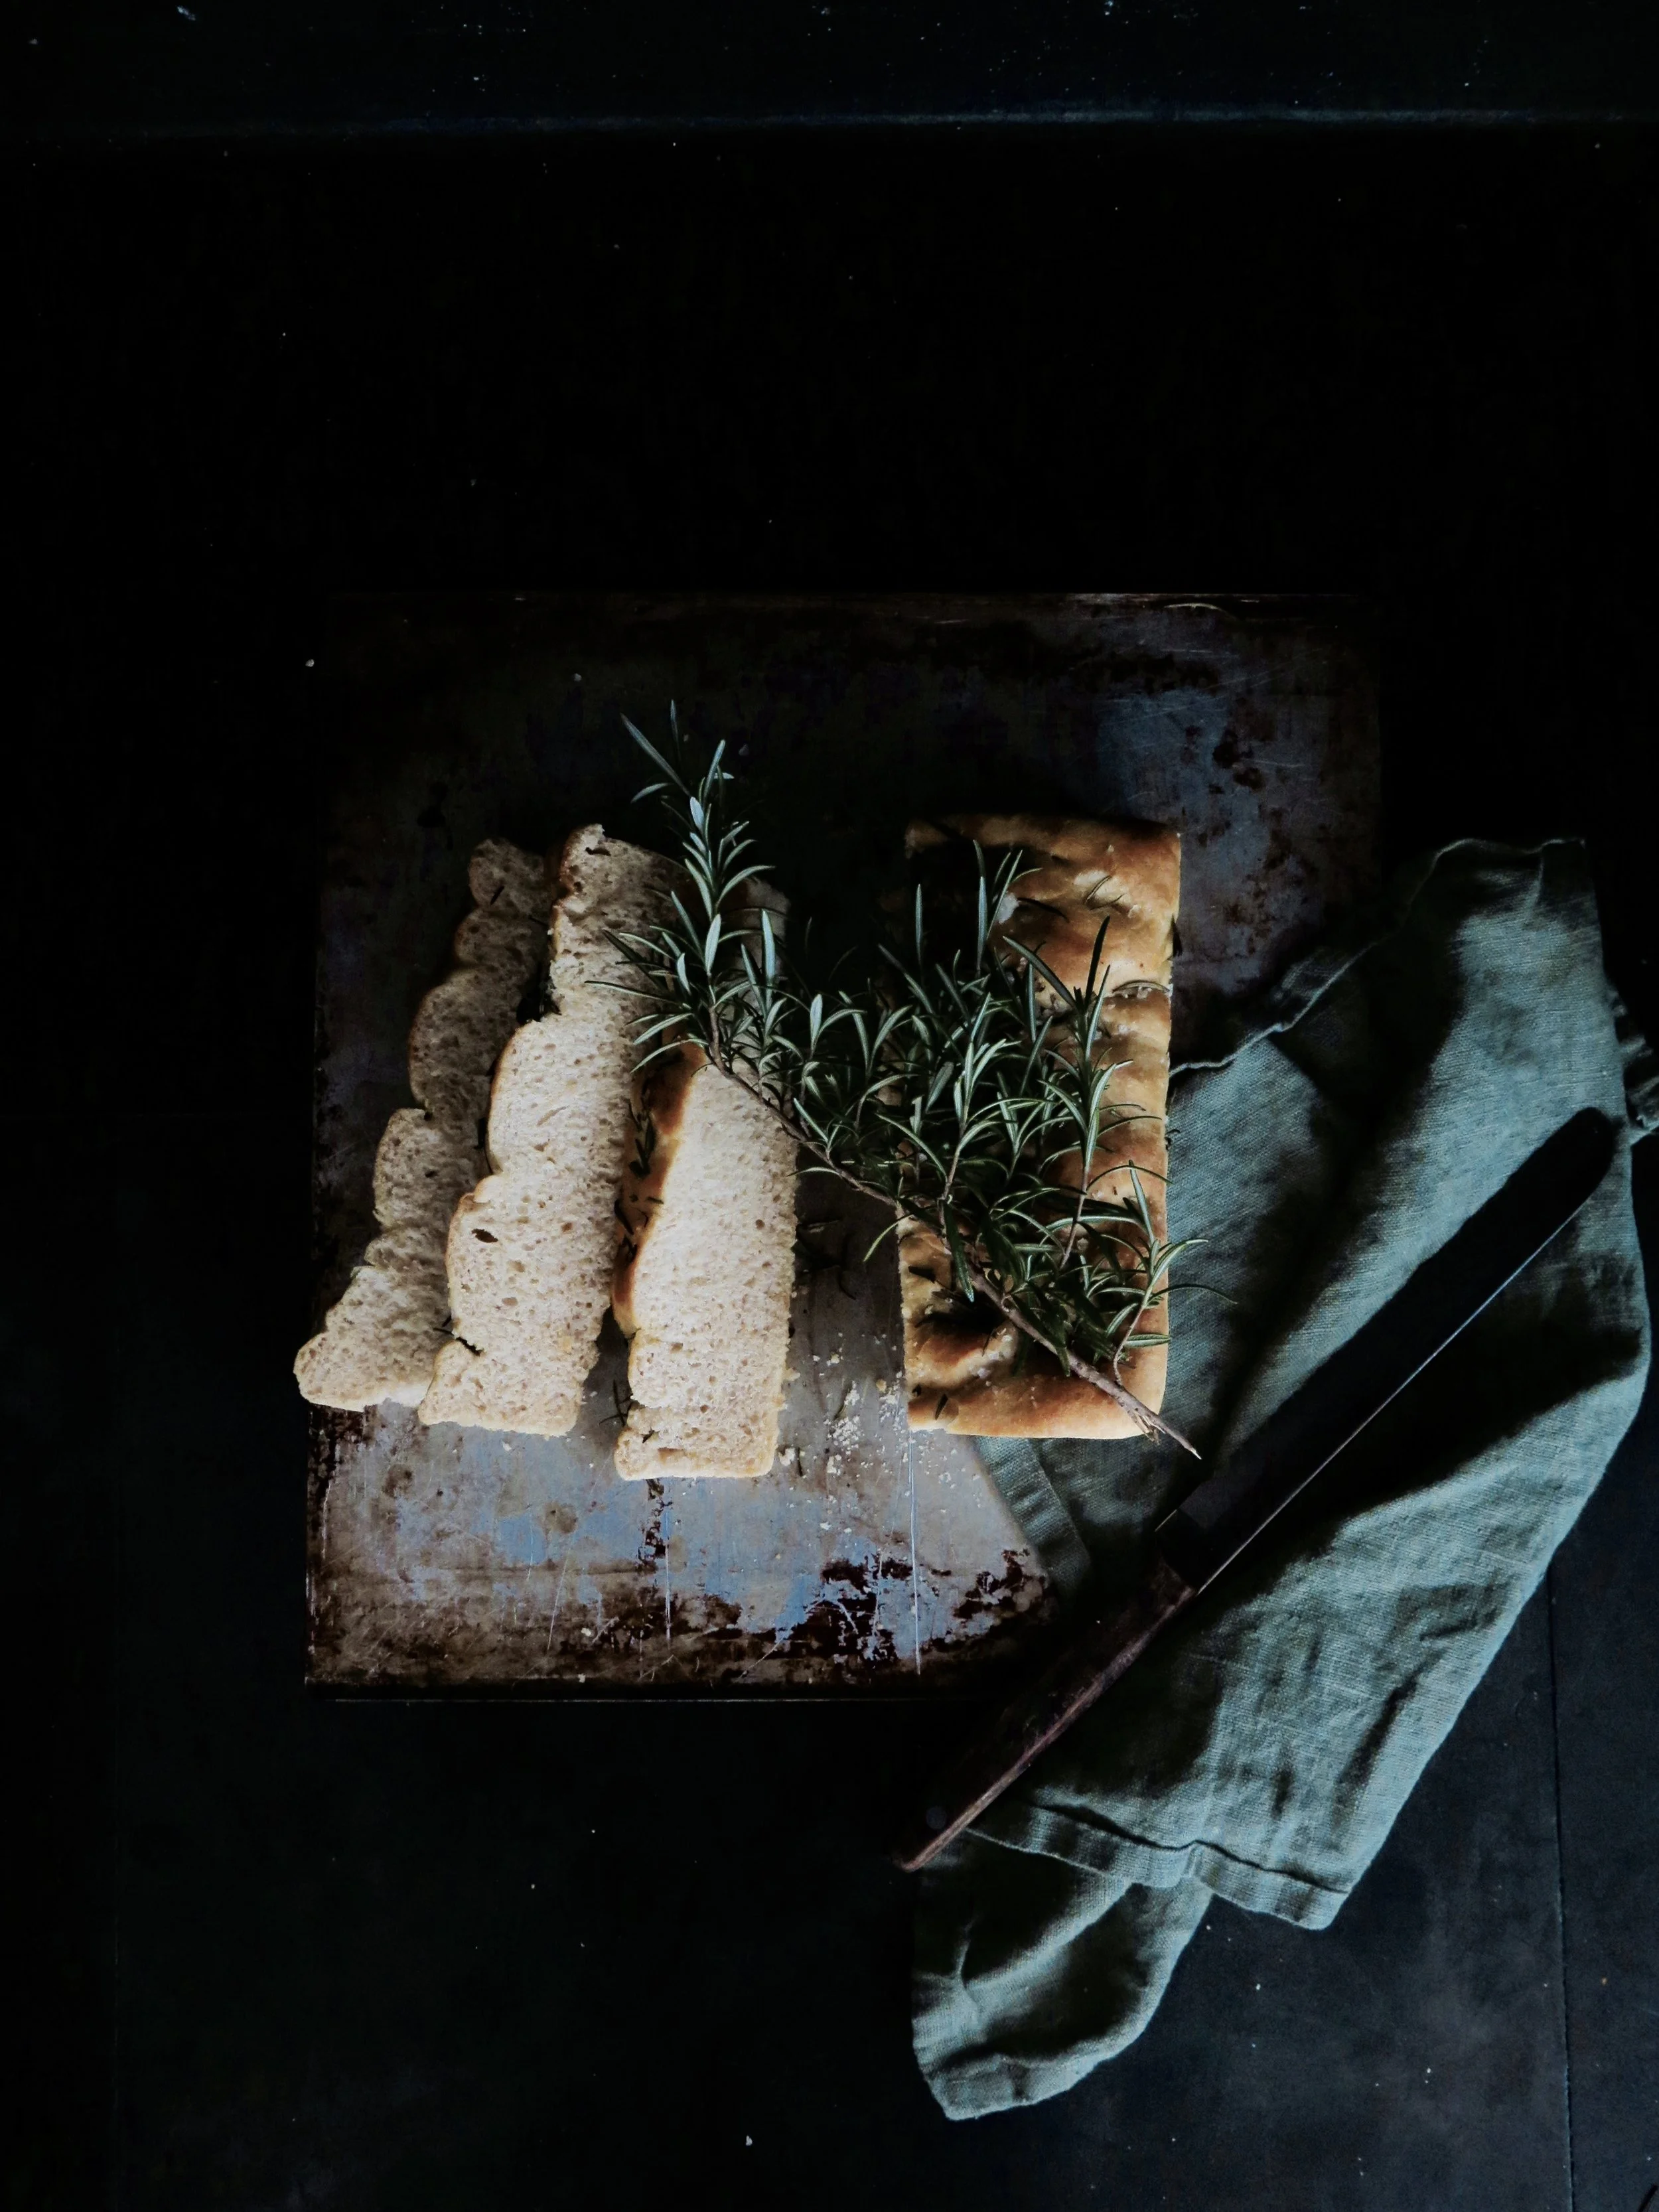
Sea Salt & Rosemary Focaccia (vegan)

Vegan Rosemary Sea Salt Focaccia

Here is a recipe for a focaccia that is not a futon i.e. mean, hard and thin. It’s the emperor of mattresses: the dimples are deep, the texture is soft yet springy, and there is no scratchy dryness that a futon focaccia may have but, rather, a balmy olive oil-enriched crumb.

Vegan Rosemary Sea Salt Focaccia

Having had a few scarring experiences with the brittle, mouth-desiccating, hard mats that parade as focacce (even in their Italian heartlands), this recipe is not only sublime but a protest against my negative experiences.

Vegan Rosemary Sea Salt Focaccia

And while I’m singing its virtues, I have to stress that it’s ridiculously easy to make. Bread-making has such a bad press in terms of time, effort and skill required, but it is all a conspiracy to get you to buy the overpriced, chemical–laden, factory produced supermarket types. All you need to do is hang around a bit and the yeast does all the work for you. Total contact time with focaccia is only about 15minutes - the rest of the time is just a matter of rising or baking (or eating).

Vegan Rosemary Sea Salt Focaccia

I make this with spelt which lowers the GI and adds a little nuttiness. You can play around with the toppings: rosemary is traditional, but you can add caramelised onion, parmesan, olives, sun-dried tomatoes, sage…whatever you wish.

I like to make a lot in one go and freeze the loaves sliced, so you can dip into them when you please. But if you want to make fewer, just halve or third the ingredients.

Vegan Rosemary Sea Salt Focaccia

Recipe  - makes 3 loaves (or mattresses)

Ingredients

14g dried active yeast (2 sachets) or 25g fresh yeast

2 tbsp sugar

675ml lukewarm water

4 tbsp olive oil, for the dough + 3 tbsp for topping

1kg white spelt flour (or plain, if not available)

2 ½ tsp normal salt

1 tbsp coarse sea salt

4 sprigs of rosemary


3 x 25cm square cake/bread tins (or tins with the equivalent area), greased with olive oil


Method

1)    If using fresh yeast, cream it together in a large bowl with the sugar until it turns to liquid. Then, stir in the water and oil. If using dried active yeast, mix it with the sugar and water, and let it sit in a warm place for five minutes to activate. Then, stir in the oil.

2)    Into the wet ingredients, stir in the flour and salt –it should form a sticky, craggy mass. If you have a stand mixer, fit it with the dough hook and knead the dough for five minutes. If you are making the bread by hand, pour the dough on to a lightly floured board and knead until smooth and springy, so that it bounces back when pressed.  I like to use the dough hook for most of the kneading, take it out when it's almost done and finish by hand. 

3)    Place dough in a lightly oiled bowl, cover with cling film and allow to rise for about 1 to 1 ½ hours until doubled in size.

4)    Punch down the dough (so. much. fun.) and divide it into three. Stretch each piece of dough in its tin so that it is even in depth and reaches the sides (you may need to do a bit of pummeling to do this). Then, sprinkle over the rosemary and olive oil and dimple the dough with your fingers, pressing almost to the bottom of the tin. Allow to rise for a further 45 minutes to an hour until almost doubled in size. 

5)    Preheat the oven to 200C.  Then, sprinkle the breads with coarse sea salt, and place in the oven to bake for 12-15 minutes, or until deep golden in colour and crunchy on top. Remove from the oven and place on a baking rack to cool. Best eaten on day of baking (which is usually inevitable as testament to their deliciousness). Or place in an air-tight box and freeze for up to 3 months.

Vegan Rosemary Sea Salt Focaccia

HUNGRY FOR MORE?

Comment

Vanilla Berry Oatmeal Loaves (refined sugar-free)

Comment

Vanilla Berry Oatmeal Loaves (refined sugar-free)

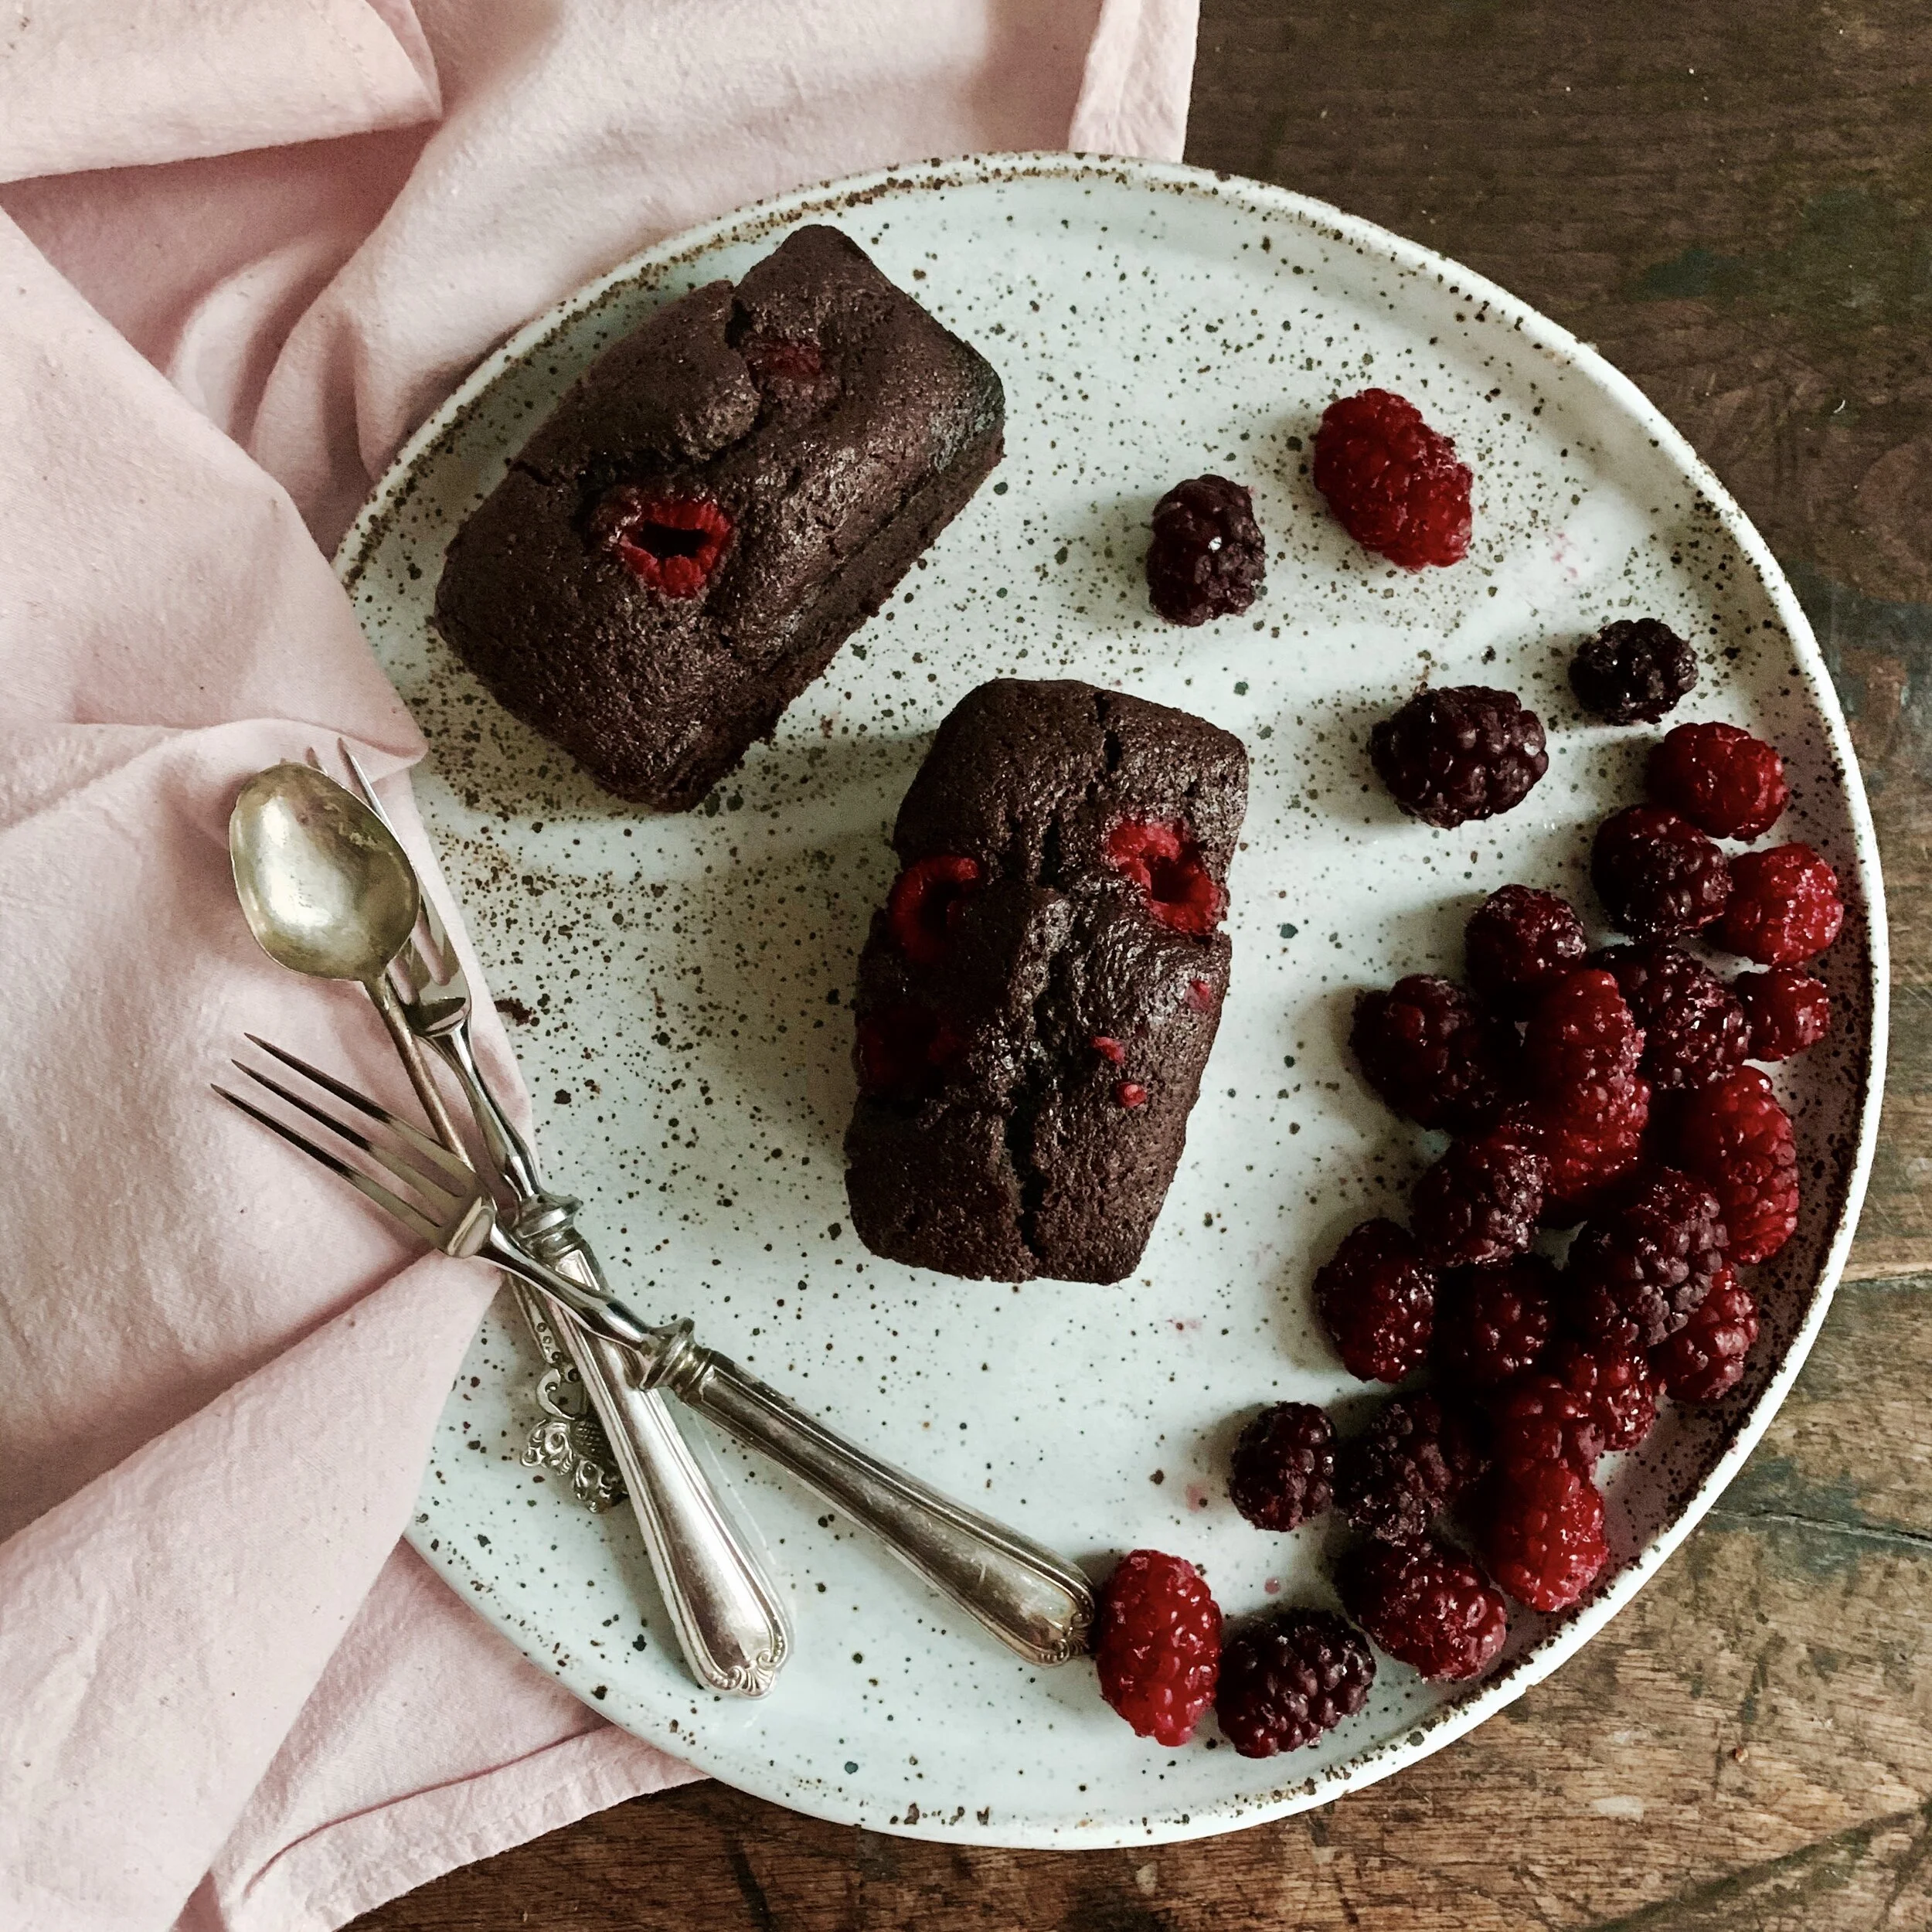
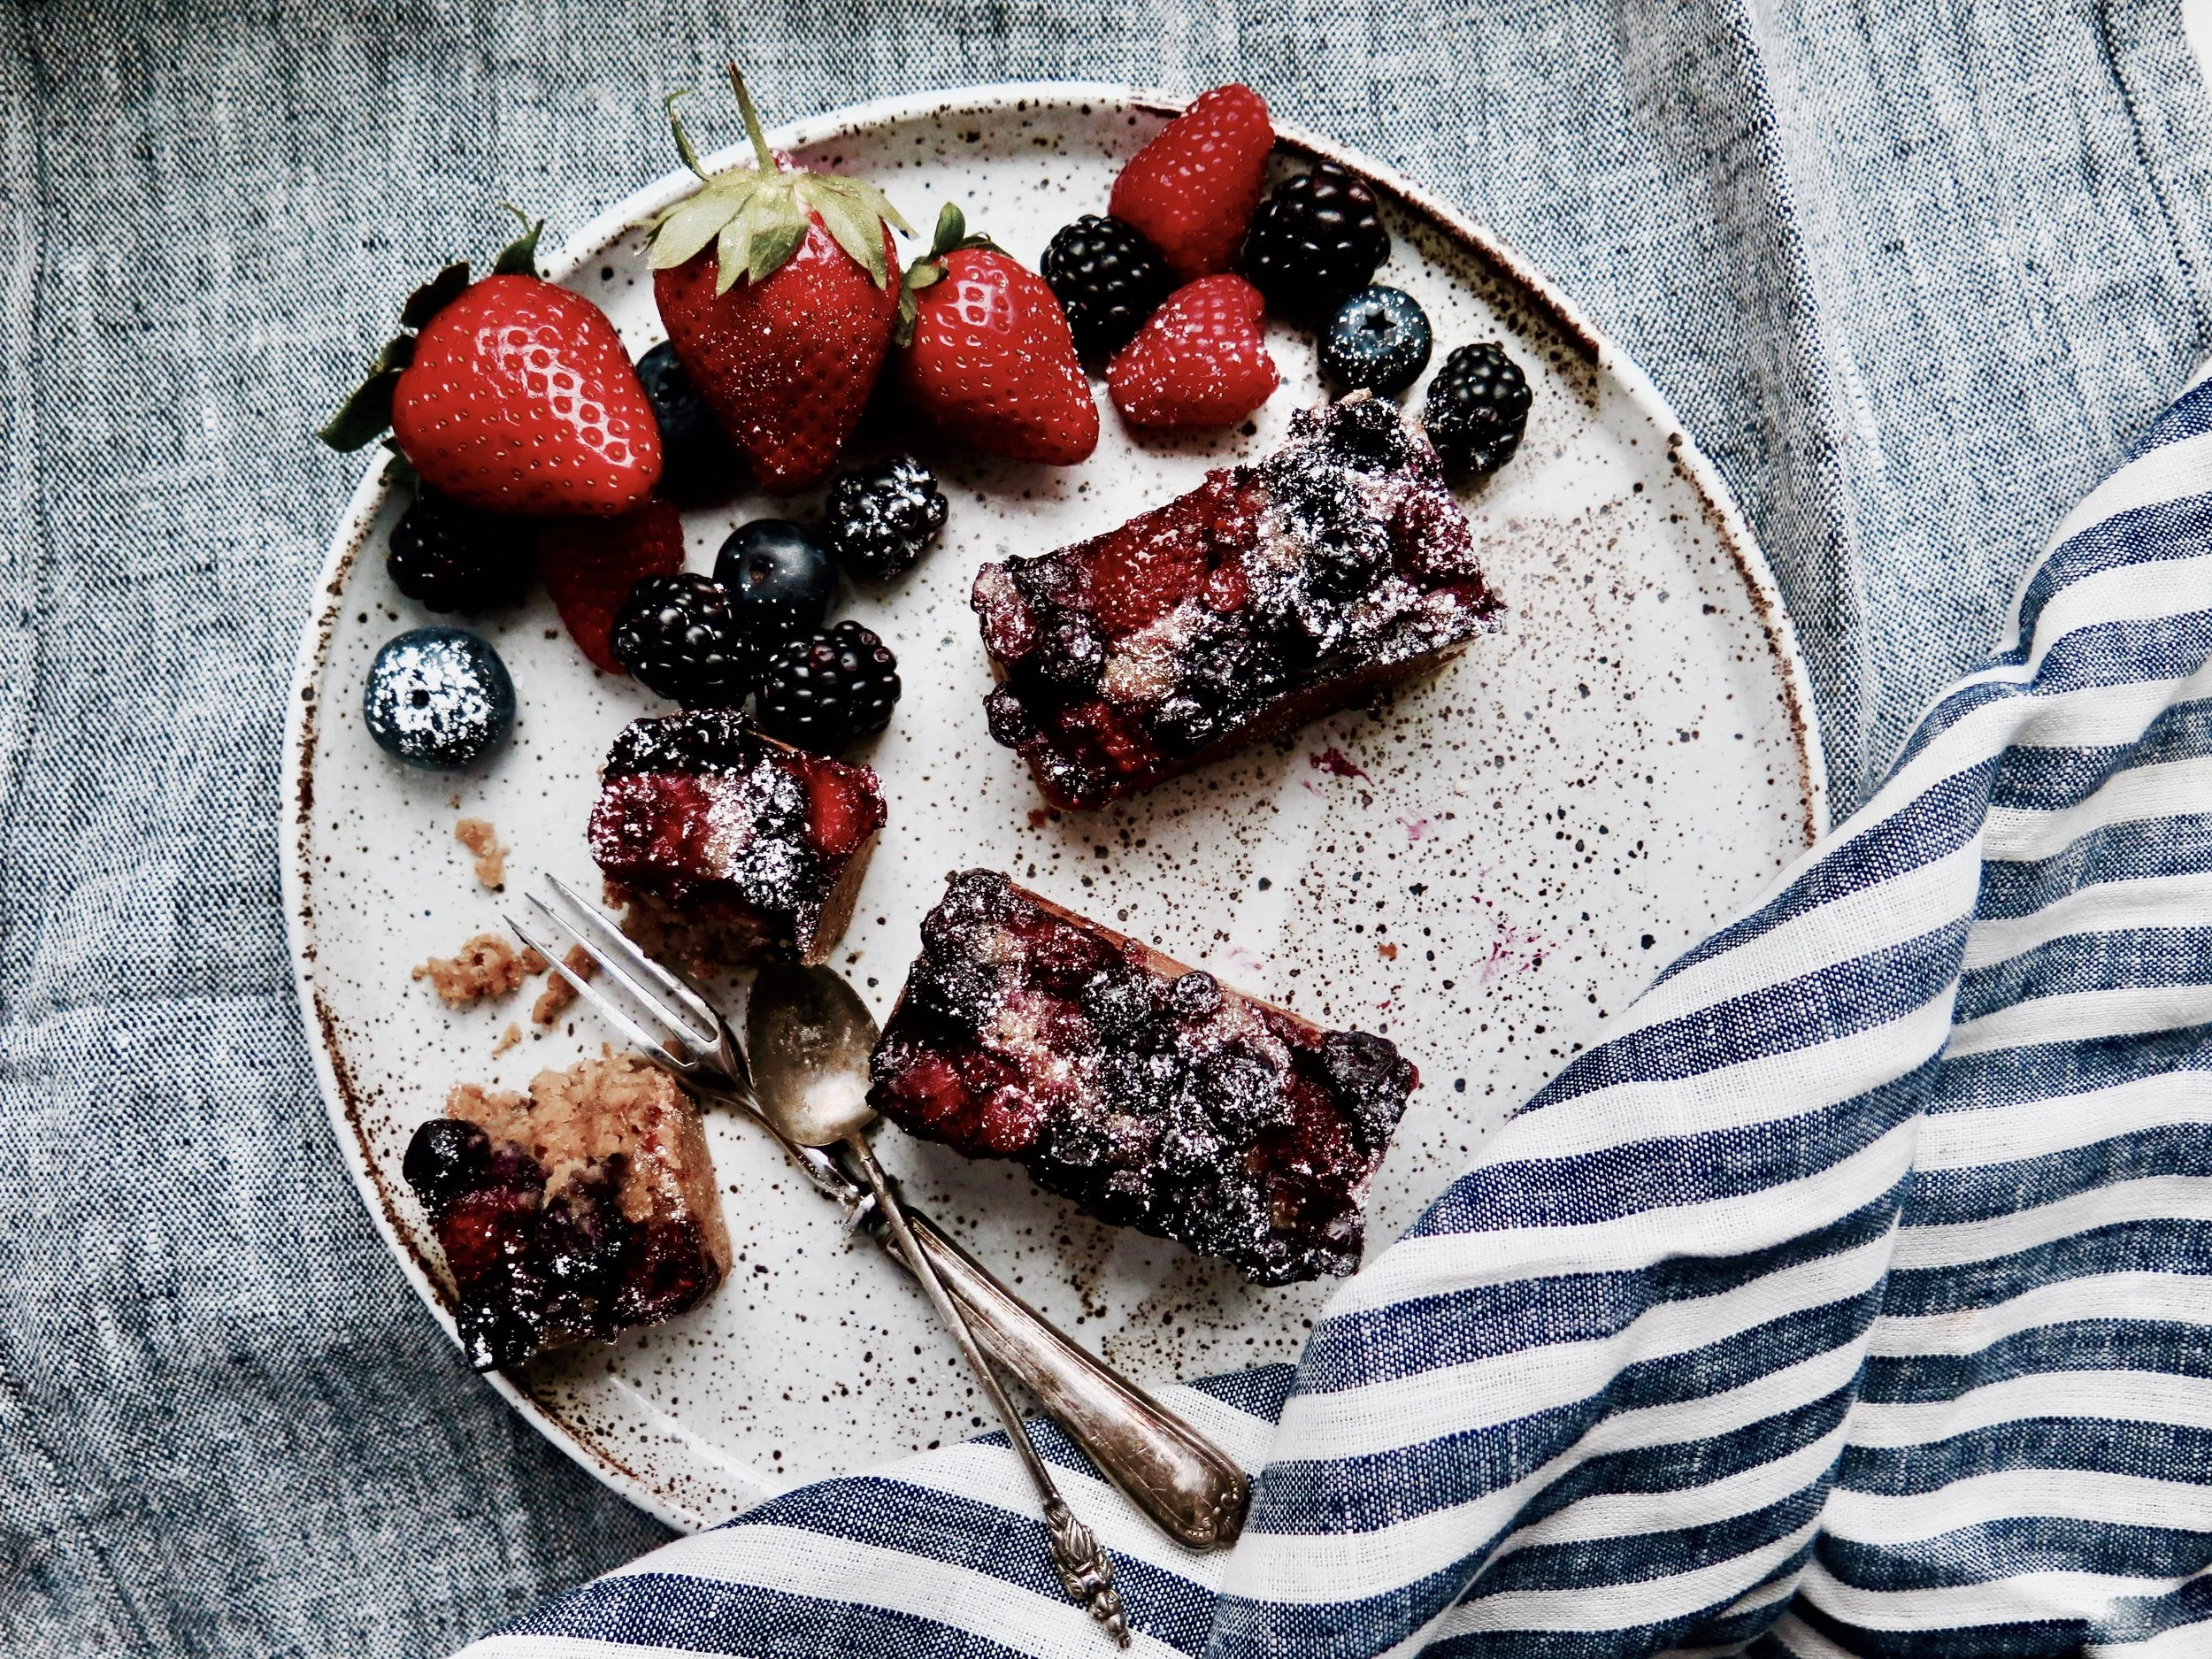
The ideal combo of oatmeal, pancake and muffin. They’re protein and fibre-full and naturally sweet (no refined sugar), bursting with berries (zero dryness here) and filling. They’re quick to make, and super convenient as they can be made in advance, frozen and defrosted when cravings strike. They also look rather irresistible on any breakfast table, so great for when you have guests.

Comment

Salted Caramel & Peanut Chocolate Tart

Comment

Salted Caramel & Peanut Chocolate Tart

I wanted chocolate. I wanted peanuts. I wanted caramel. And so came together three revered ingredients to make this simple but deeply luscious dessert. I admit to a glimmer of inspiration from the Season 11 contestant of RuPaul’s Drag Race contestant, the drag queen with the moniker Silky Nutmeg Ganache. But apart from that, I attribute this recipe to greed.

Comment

Mozzarella, Tomato & Basil Crostata

Comment

Mozzarella, Tomato & Basil Crostata

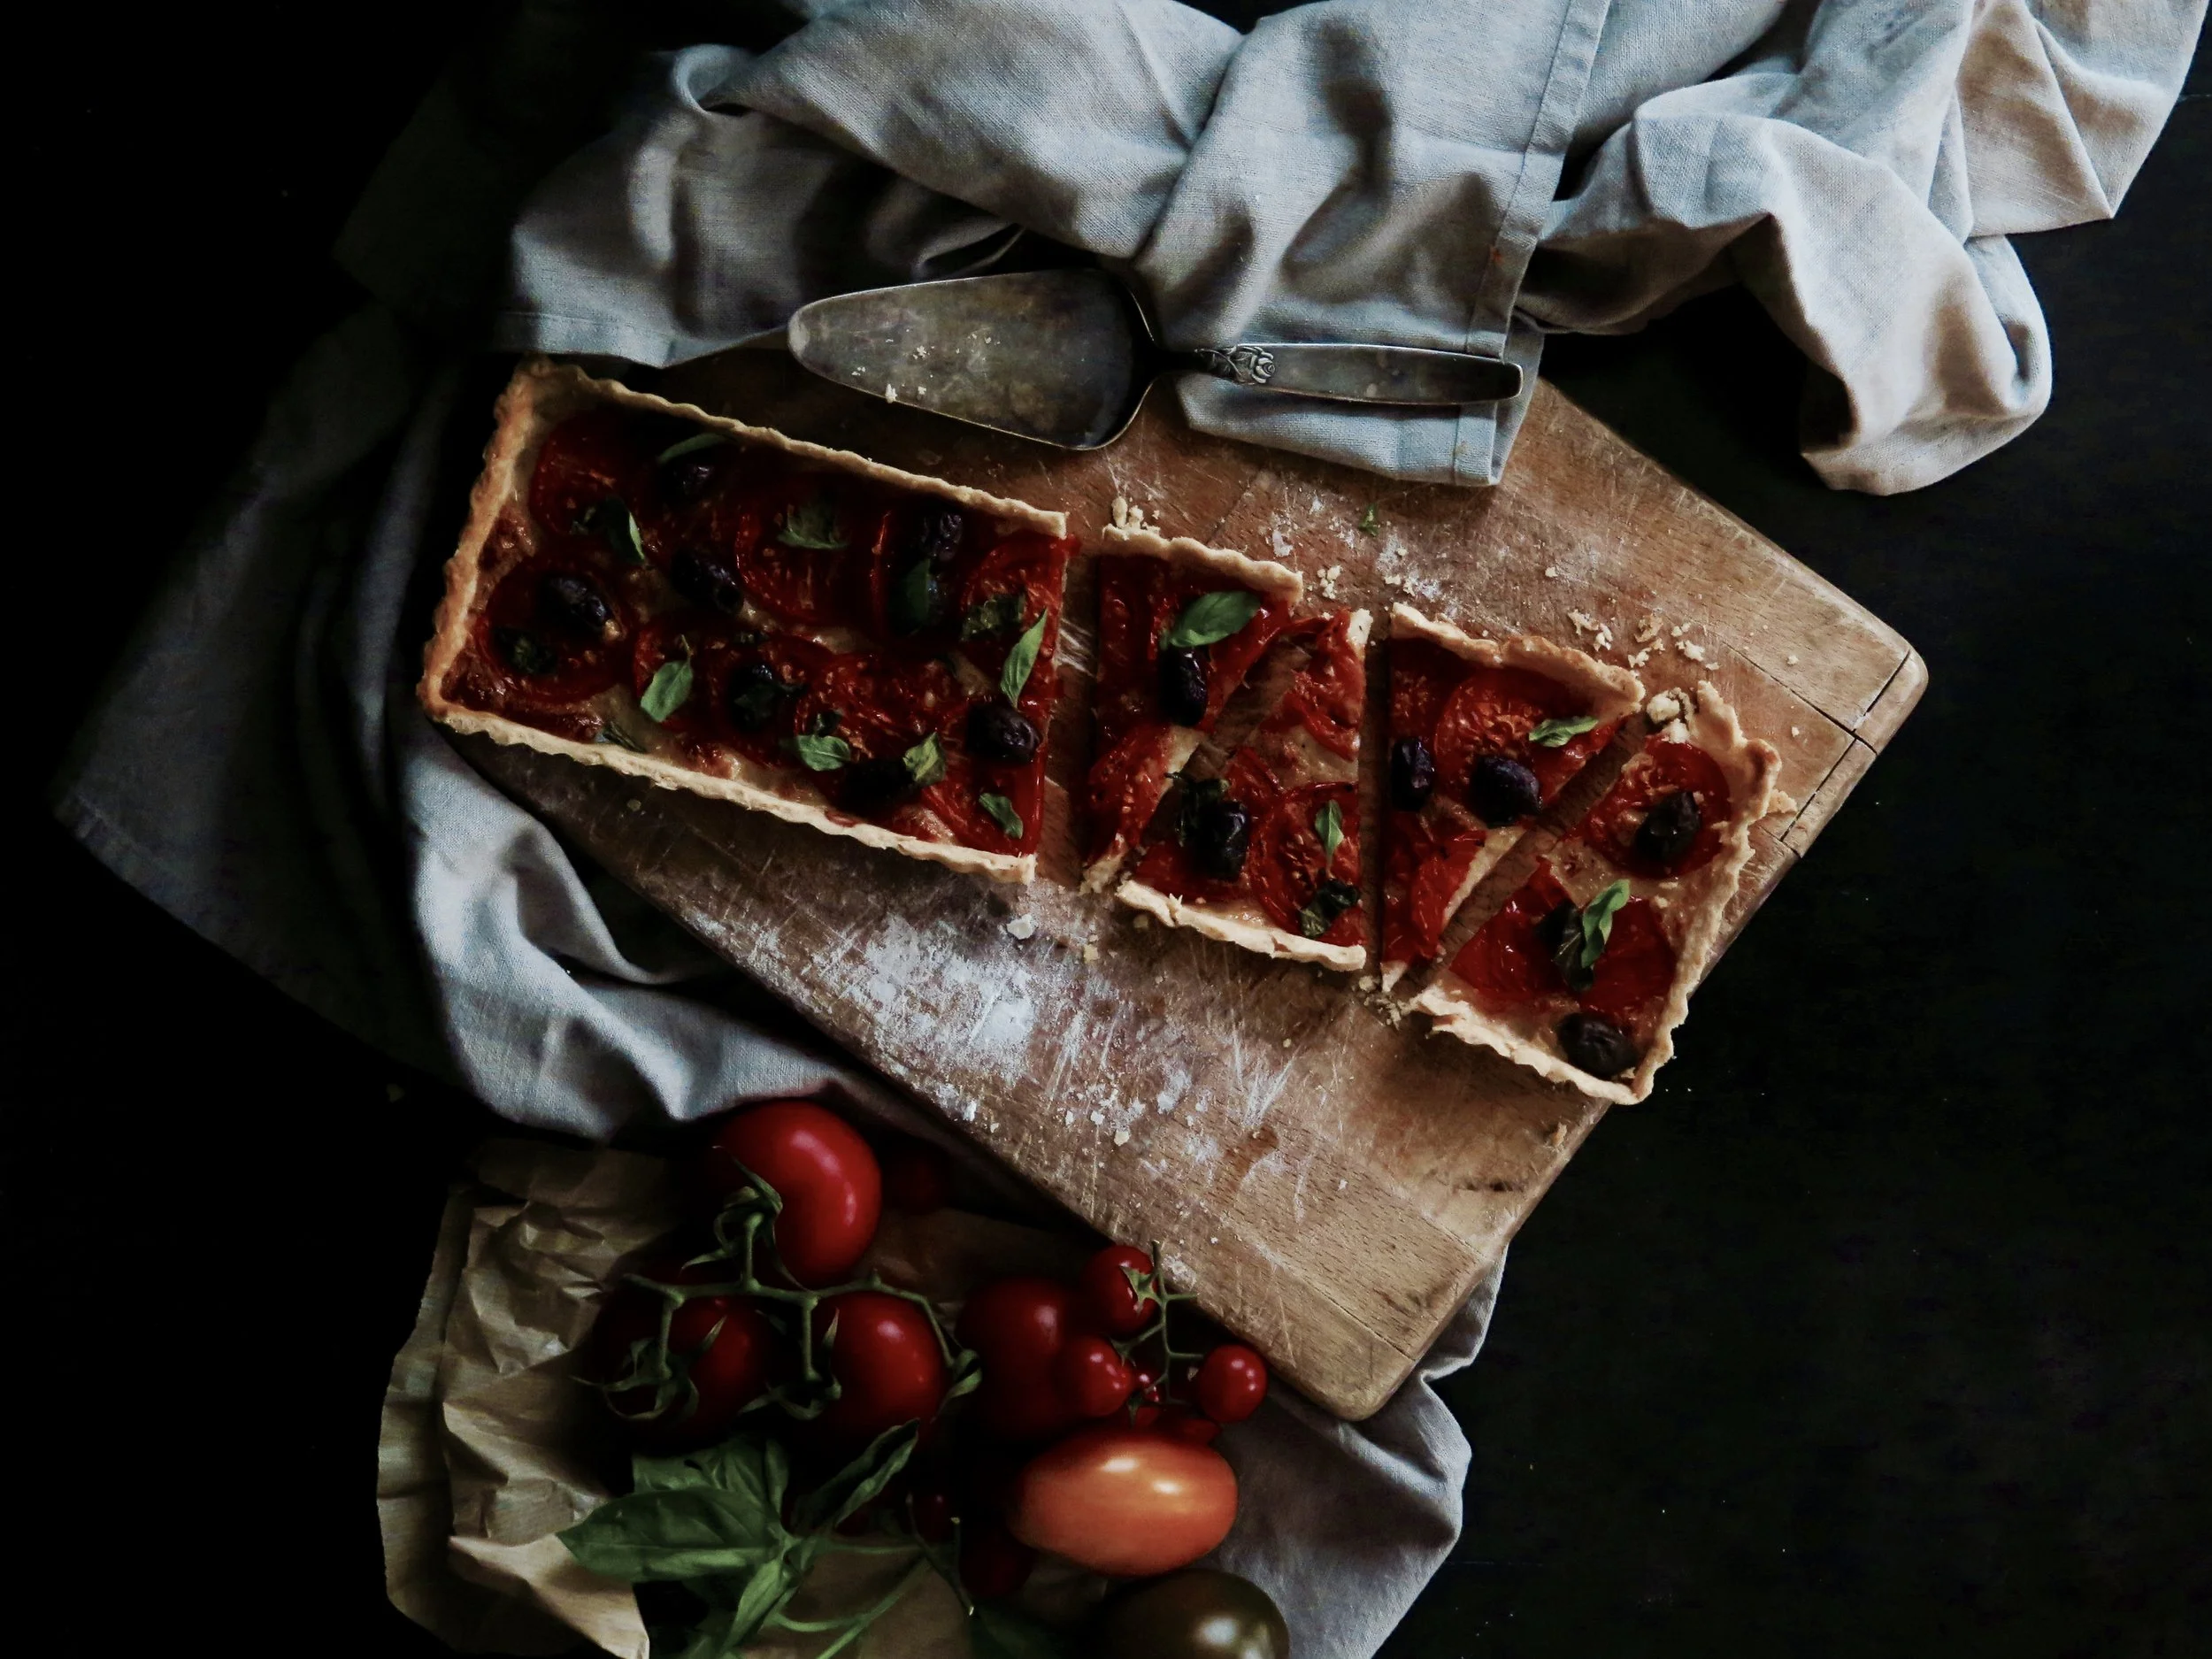
This is my favourite meal and has been since I was three – the precocious (and pretentious, no doubt) answer to my friends’ parents’ question as to my favourite food. Apart from the fact that there really isn’t anything fancy about it, it’s crazily simple to make. Despite being pastry-based and with a molten bed of mozzarella, it is very light, and perfect for a gathering.

Comment

Thick & Chewy Spice Cookies

Comment

Thick & Chewy Spice Cookies

fullsizeoutput_2bd8.jpeg

OK, so I’m going to tell you about a brilliant new diet to ensure you lose all that Christmas flab.

It throws 5:2, Keto, raw food, Mediterranean and intermittent fasting out of the window. If you’re disillusioned with all those malware-laden pop up adverts on illegal streaming sites that you secretly clicked on promising flat belly magic trick, let me right that for you.

fullsizeoutput_2bec.jpeg

After some hardcore, scientific studies on how people gain weight, which foods trigger fat gain and how we’re rotting our metabolism, my dad had an epiphany and realised that all these diets were ignoring the obvious.

All those Instagram/YouTube stars chronicling the secrets to peachy bums, thigh gaps, hotdog legs and concave stomachs have been holding back their industry secrets. It’s not food groups that need to be cut out, but letters. All the foods (and often drinks) that stand in the way of a lean, rippling bikini bod have something in common: biscuits, cookies, bread, chocolate, cake, bagels, beer, cocktails, champagne, and brownies. Yes. That’s right – you’ve wasted money and/or time logging on to My Fitness Pal, consulting dieticians, and calorie counting when I have just given you the secret to fat loss. Cut out the Bs and Cs and you are on your way to fitfluencer stardom.

fullsizeoutput_2be3.jpeg
fullsizeoutput_2bdf.jpeg

Pregnancy is the benchmark by which weight gain is measured in my household, and my dad came back from India in his second trimester.

Turns out feasting on gulab jamun, breakfast, lunch and dinner dosas, curry upon curry, daily afternoon tea and even straight up jaggery does that to you. This drastic increase from two to five months’ gestation in the space of two weeks, plus a stomach of steel allowing evasion of the revolting bug that had churned up the rest of my family’s insides, meant that a new diet and regime was mandatory. And when my dad commits to something, he is an all-or-nothing person. And let me tell you, cutting out B and C foods is far easier than you might think. In fact, it’s practically seamless. Don’t worry about cheat meals or relapses because this is a diet that works perfectly with whatever lifestyle you were already leading. 

fullsizeoutput_2bd7.jpeg

My dad’s commitment to the diet has been so fervent and admirable that when I offered him a Jerusalem bagel (from last week) he refused.

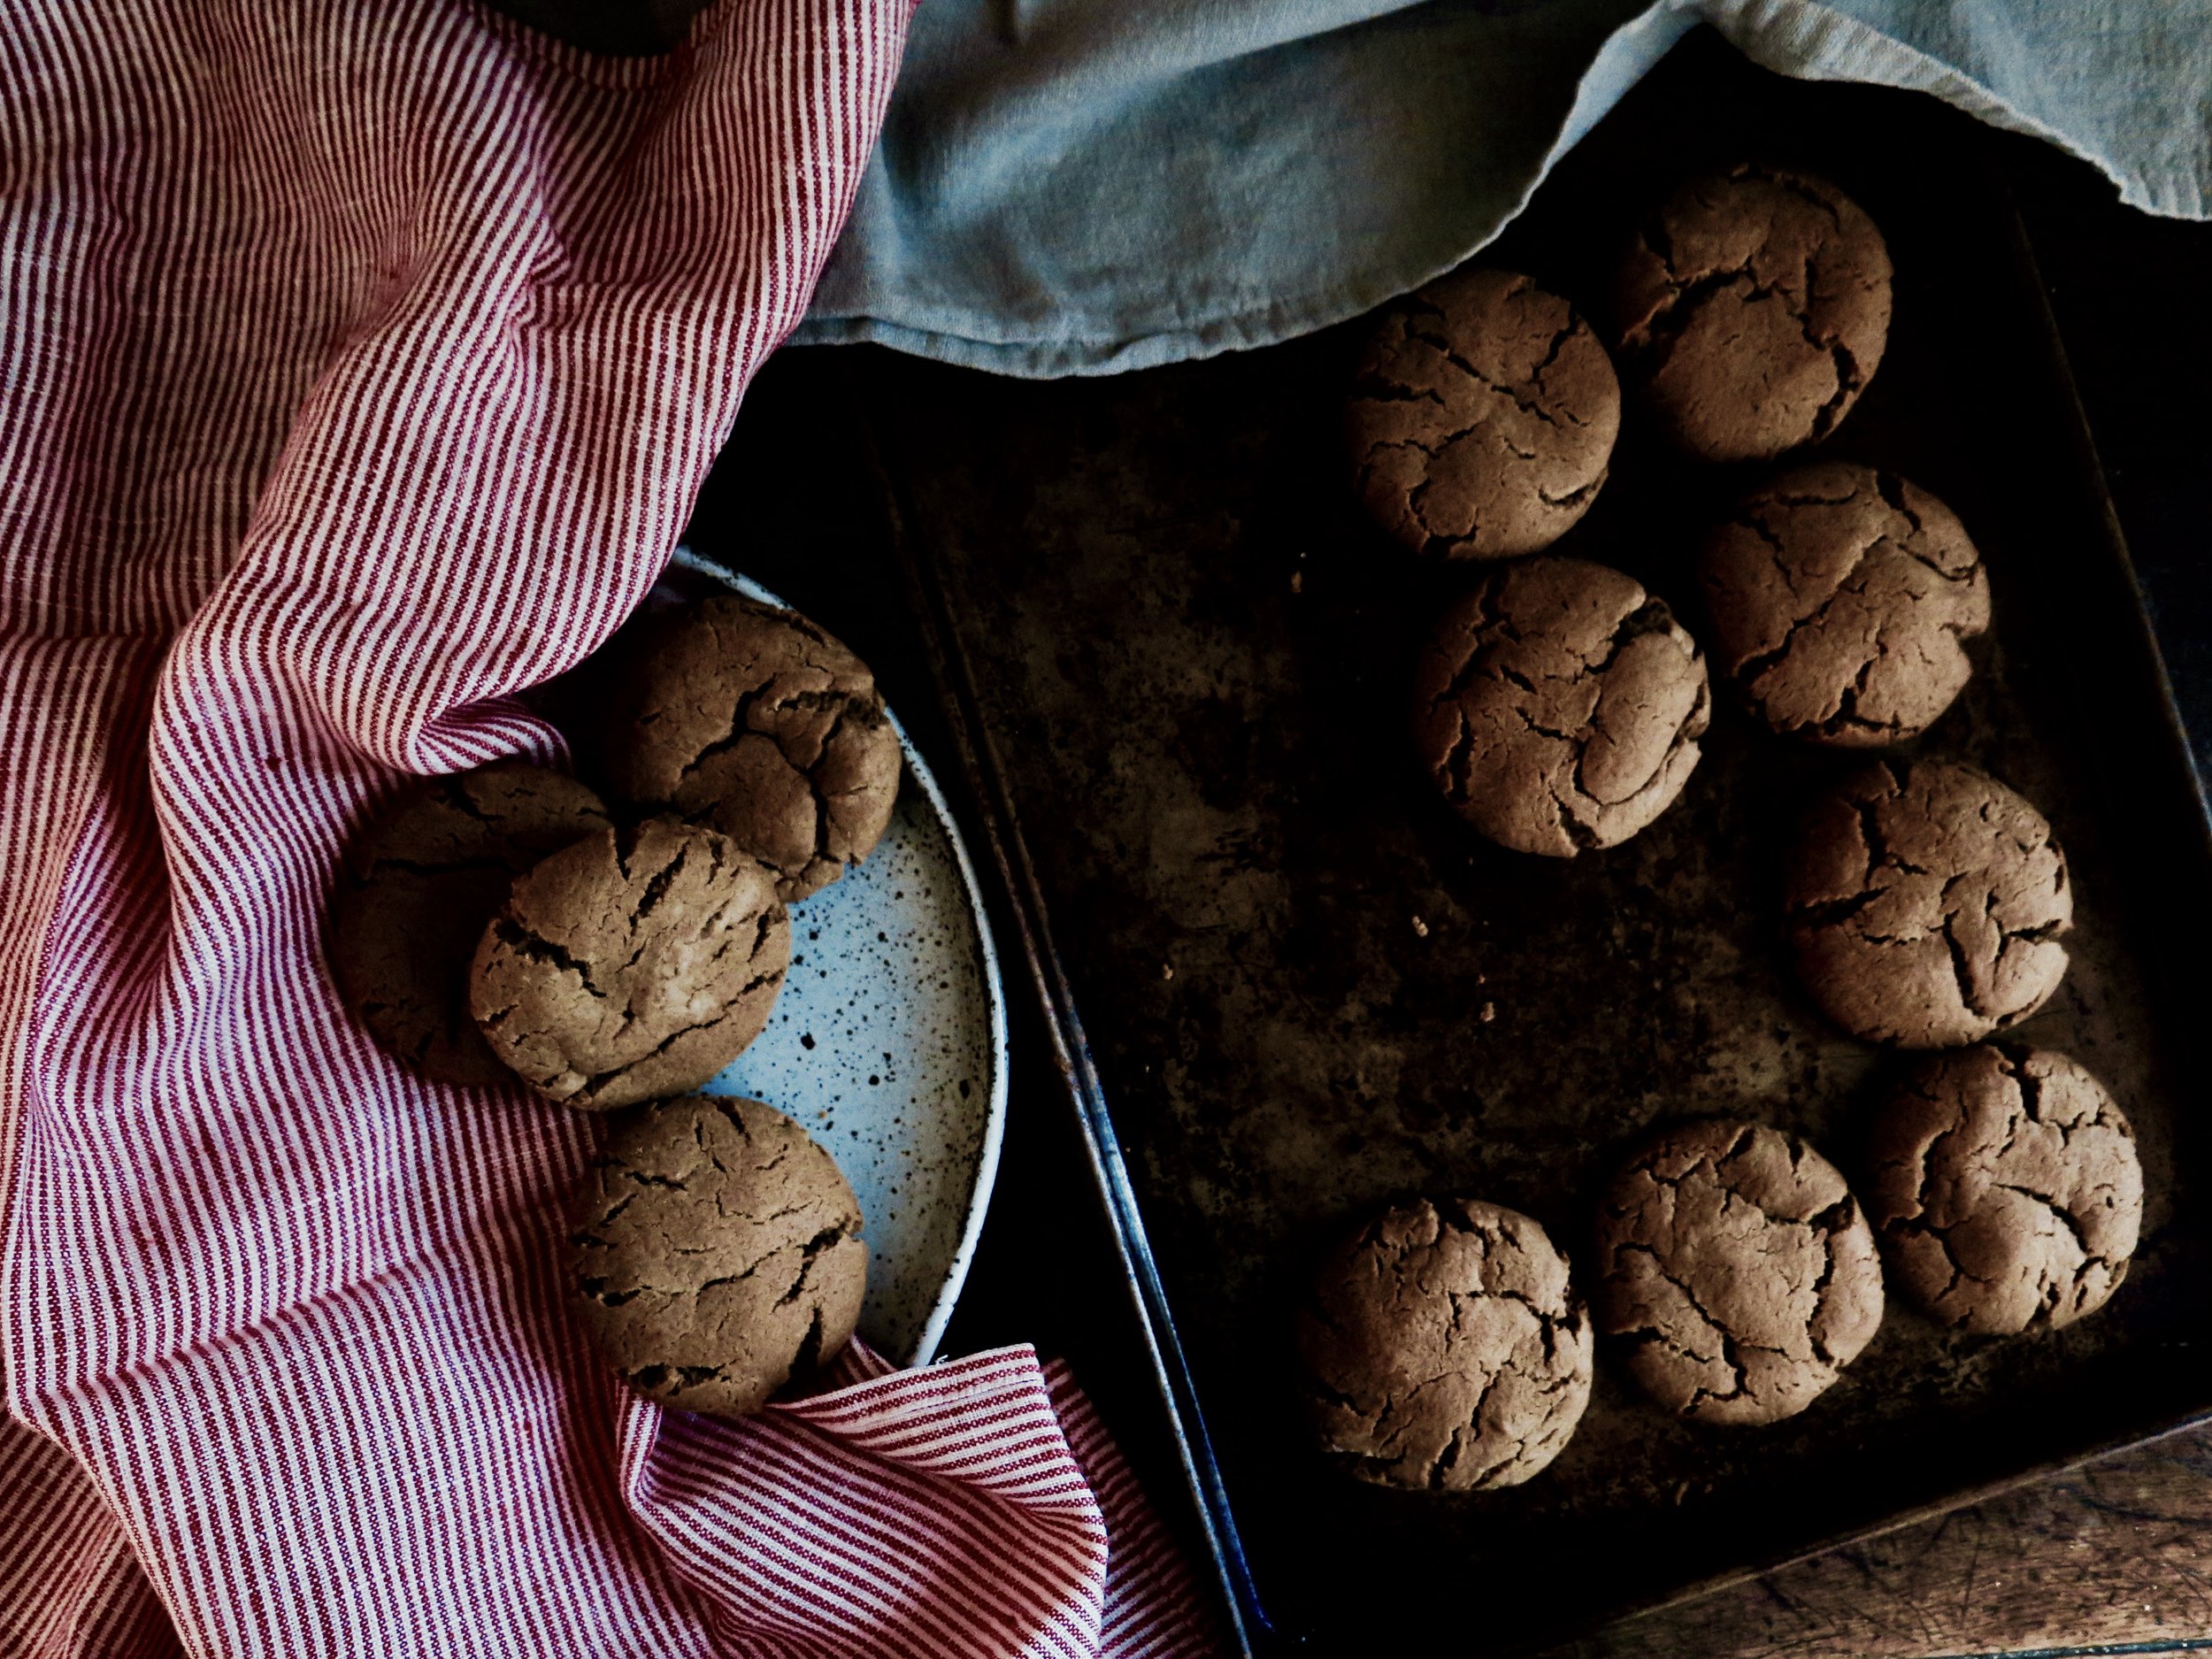
He heroically turned down the molten chocolate brownies that I brought into work. He didn’t even respond to me when the exotic perfume of these thick, soft and chewy spice cookies wafted round the house (commendable).

fullsizeoutput_2bcf.jpeg

You see the diet works so well that if you’re clever about it, and careful, you don’t really need to sacrifice anything at all.

His resolve has been so strong that cookies are now banned from our house, as are bagels, biscuits, chocolate and brownies. 

fullsizeoutput_2bed.jpeg

Instead, we have a whole inventory of agels, and iscuits, hocolate and rownies and ookies.

My dad has had five of these spice ookies today and he’s still fully committed to the diet - and so can you. Just like that one calorie that gets left floating in the can when you have diet coke, so all the muffin-top inducing calories are left behind when the B and C’s are seamlessly spliced from your favourite treat.

fullsizeoutput_2bc4.jpeg

This is the diet to be on because these (c)ookies are the ambrosia of the (c)ookie world – they’re a one bowl wonder and can be whizzed up in a matter of minutes.

There’s no freezing, chilling or resting meaning that they can go from flour packet to final product-in–mouth in about half an hour (pausing en route for some of that dough). I know cookies can be a very subjective, personal and emotional topic, but these are undeniably the top tier: slightly crisp on the outside and soft thic(cc)k and chewy. If you fear that the batch may disappear before you get a look in, feel free to double it – the results will be the same.  They can also be stored in an airtight container in a freezer for up to three months which is ideal if you want to whip them out for unexpected occasions (emergencies). 

fullsizeoutput_2bbb.jpeg

Thick & Chewy Spice Cookies - Recipe

Makes 12-14 cookies

Ingredients

220g white spelt flour (or plain white flour, if you prefer)

2 ½ tsp baking powder

60g caster sugar

1 tsp ground ginger

½ tsp ground cloves

1 tsp ground cinnamon

1 ½ tsp baking soda

100g unsalted butter, at room temperature, roughly cut into cubes

100g golden syrup

20g treacle

¼ tsp salt

1 tsp mixed spice


large baking tray lined with baking parchment


Method

1)    Preheat oven to 160°C.

2)    If using a food processor (super quick), pour in all the dry ingredients and whizz to combine. Then add in the butter and pulse until the mixture becomes like damp sand. If making by hand, in a large bowl stir together dry ingredients. Then add in the butter and rub into the dry mixture with your fingertips until it reaches a damp sand-like consistency.

3)    In a small pan over a low heat, pour in the syrup and treacle, and stir until combined and warm. Pour into the sand-like mixture, and pulse until it just about comes together into a dough, taking care not to over mix. If making by hand, pour the treacle into the sand-like mixture, and stir together until it forms a dough.

4)    Make the cookies by breaking off pieces of the dough with your hands and rolling them into a sphere. I make each one 35g to ensure that they bake consistently. Then space the spheres on a baking tray at least 5cm apart. Place in the preheated oven to bake for 8-12 minutes until golden but soft to the touch. They will continue to bake once removed from the oven so taking them out slightly underdone ensures that they have a chewy centre. 

5)    Allow to cool before eating (they will be too friable when straight out of the oven), then devour. Once cool, they can be kept in a sealed airtight box in a freezer for up to 3 months.

fullsizeoutput_2be8.jpeg

HUNGRY FOR MORE?

Comment

Vegan Sesame Jerusalem Bagels

Comment

Vegan Sesame Jerusalem Bagels

fullsizeoutput_2c0f.jpeg
fullsizeoutput_2c2e.jpeg

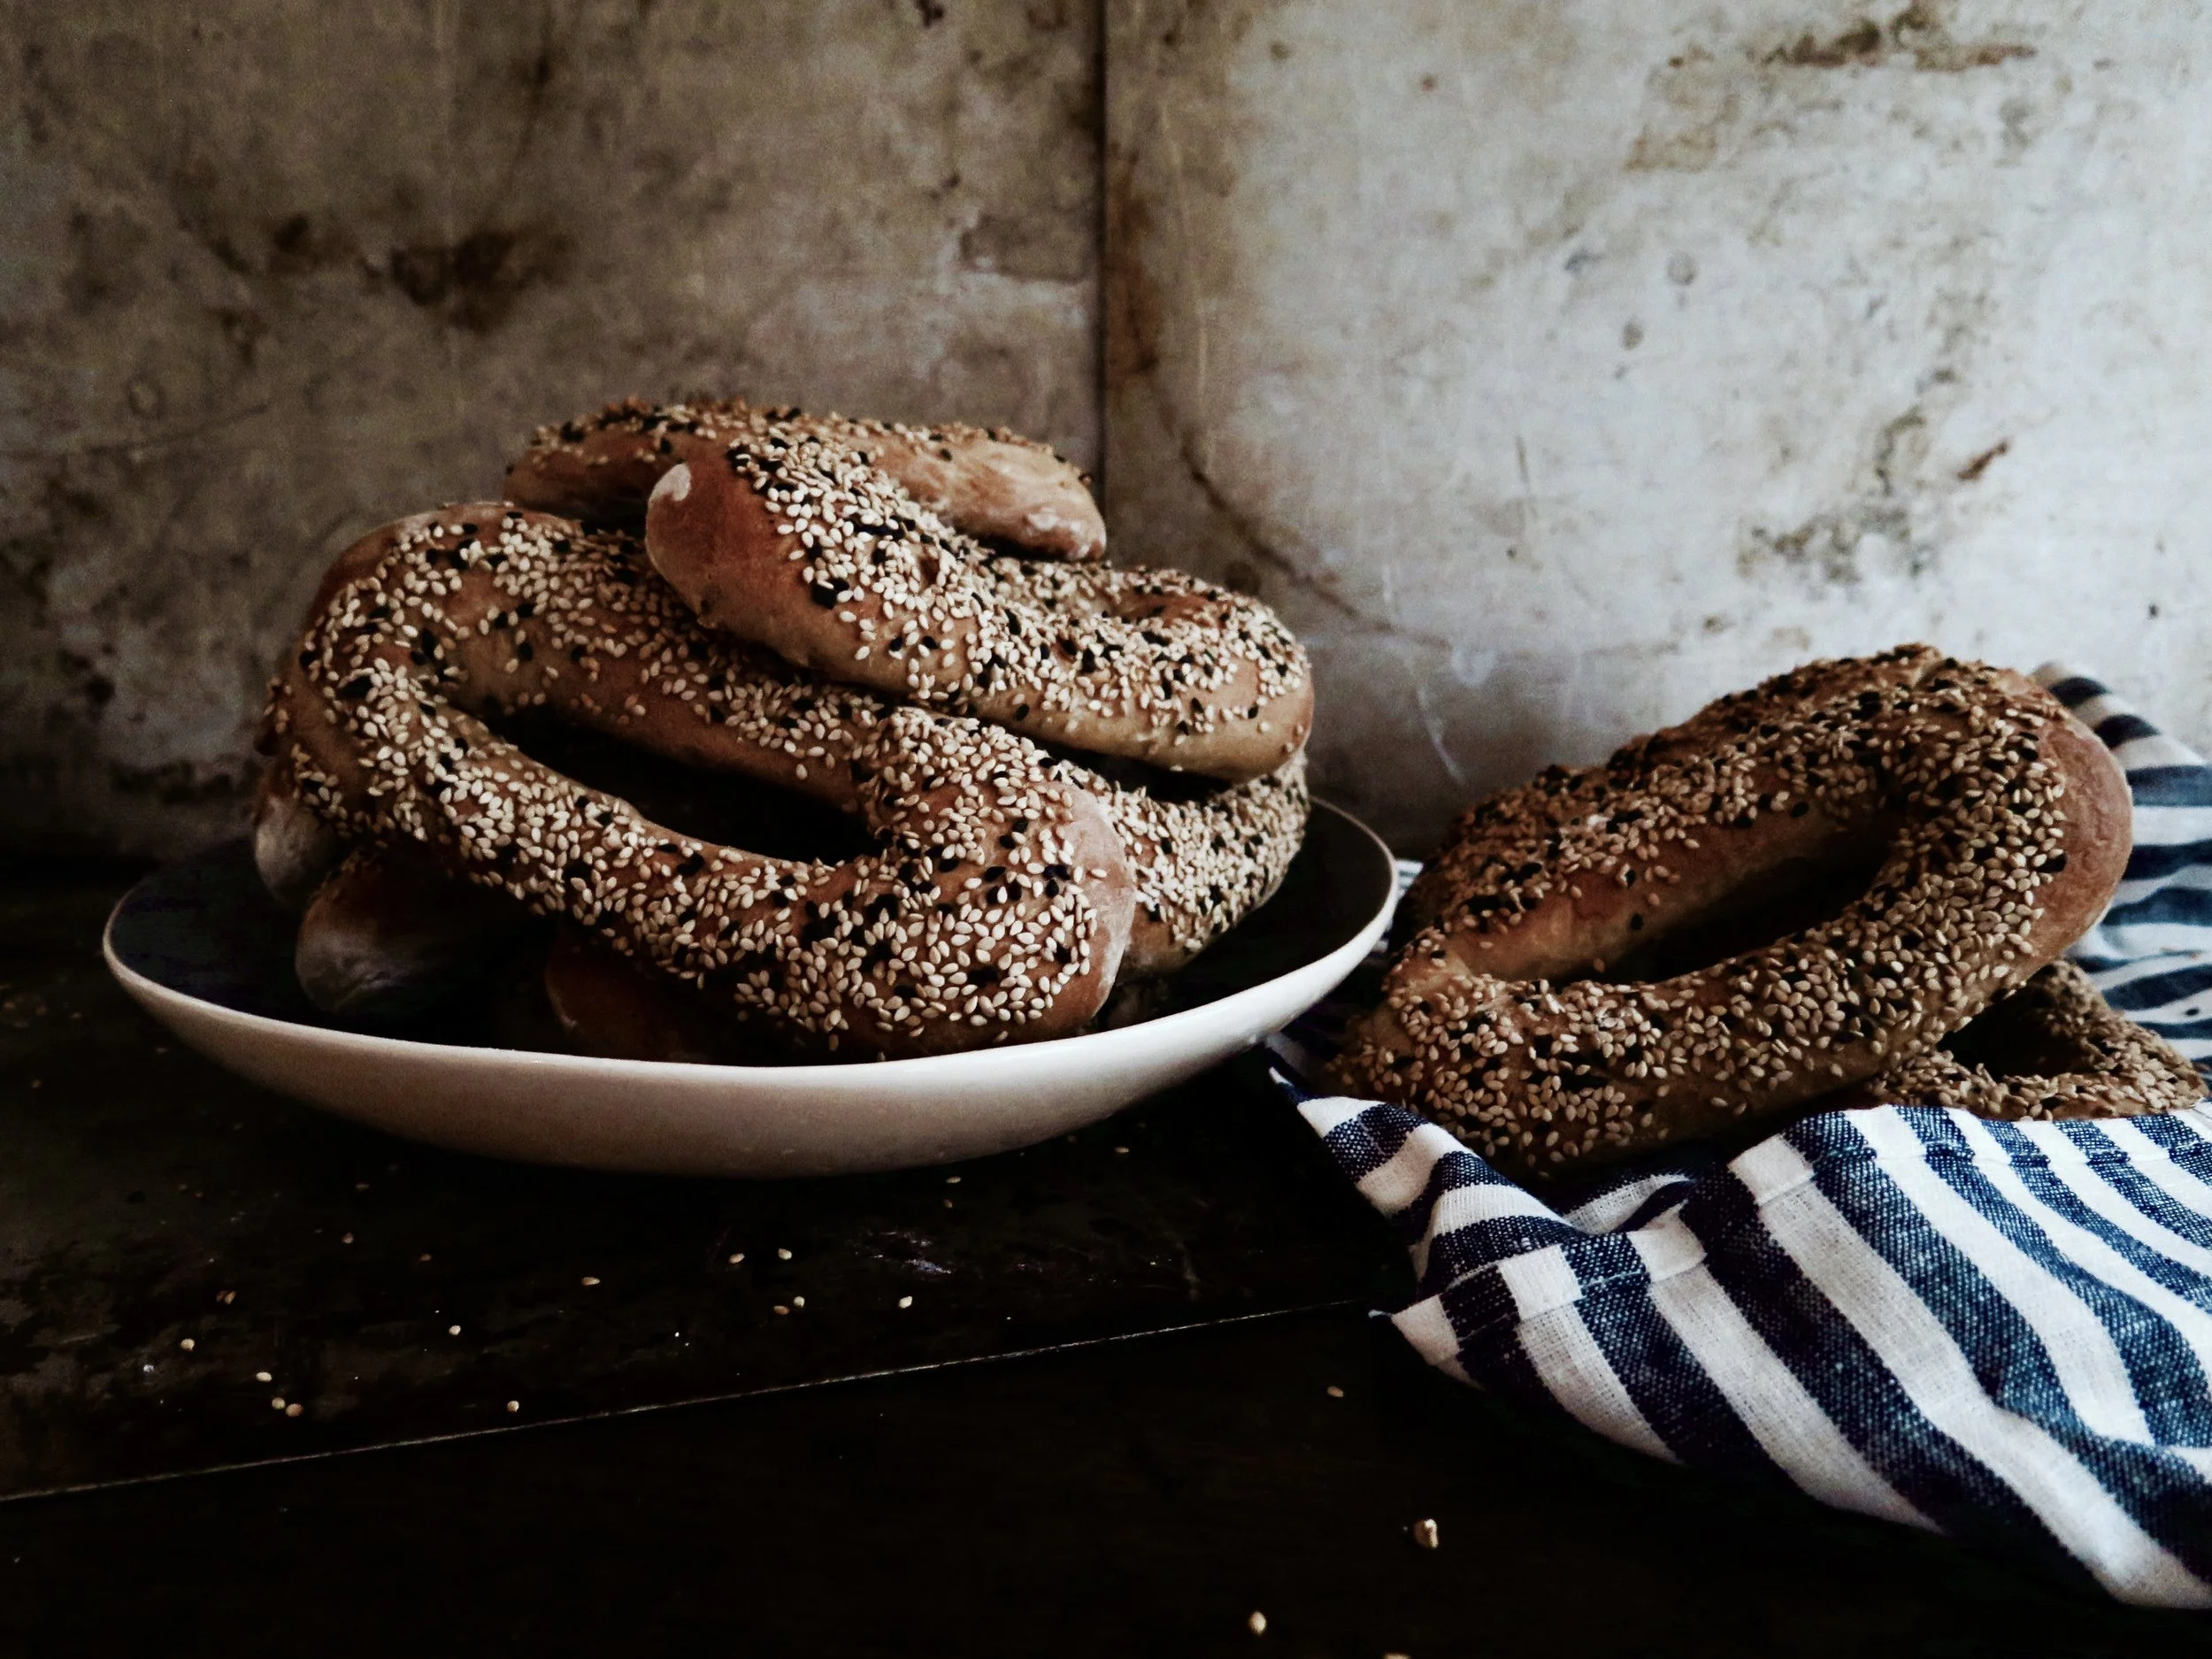
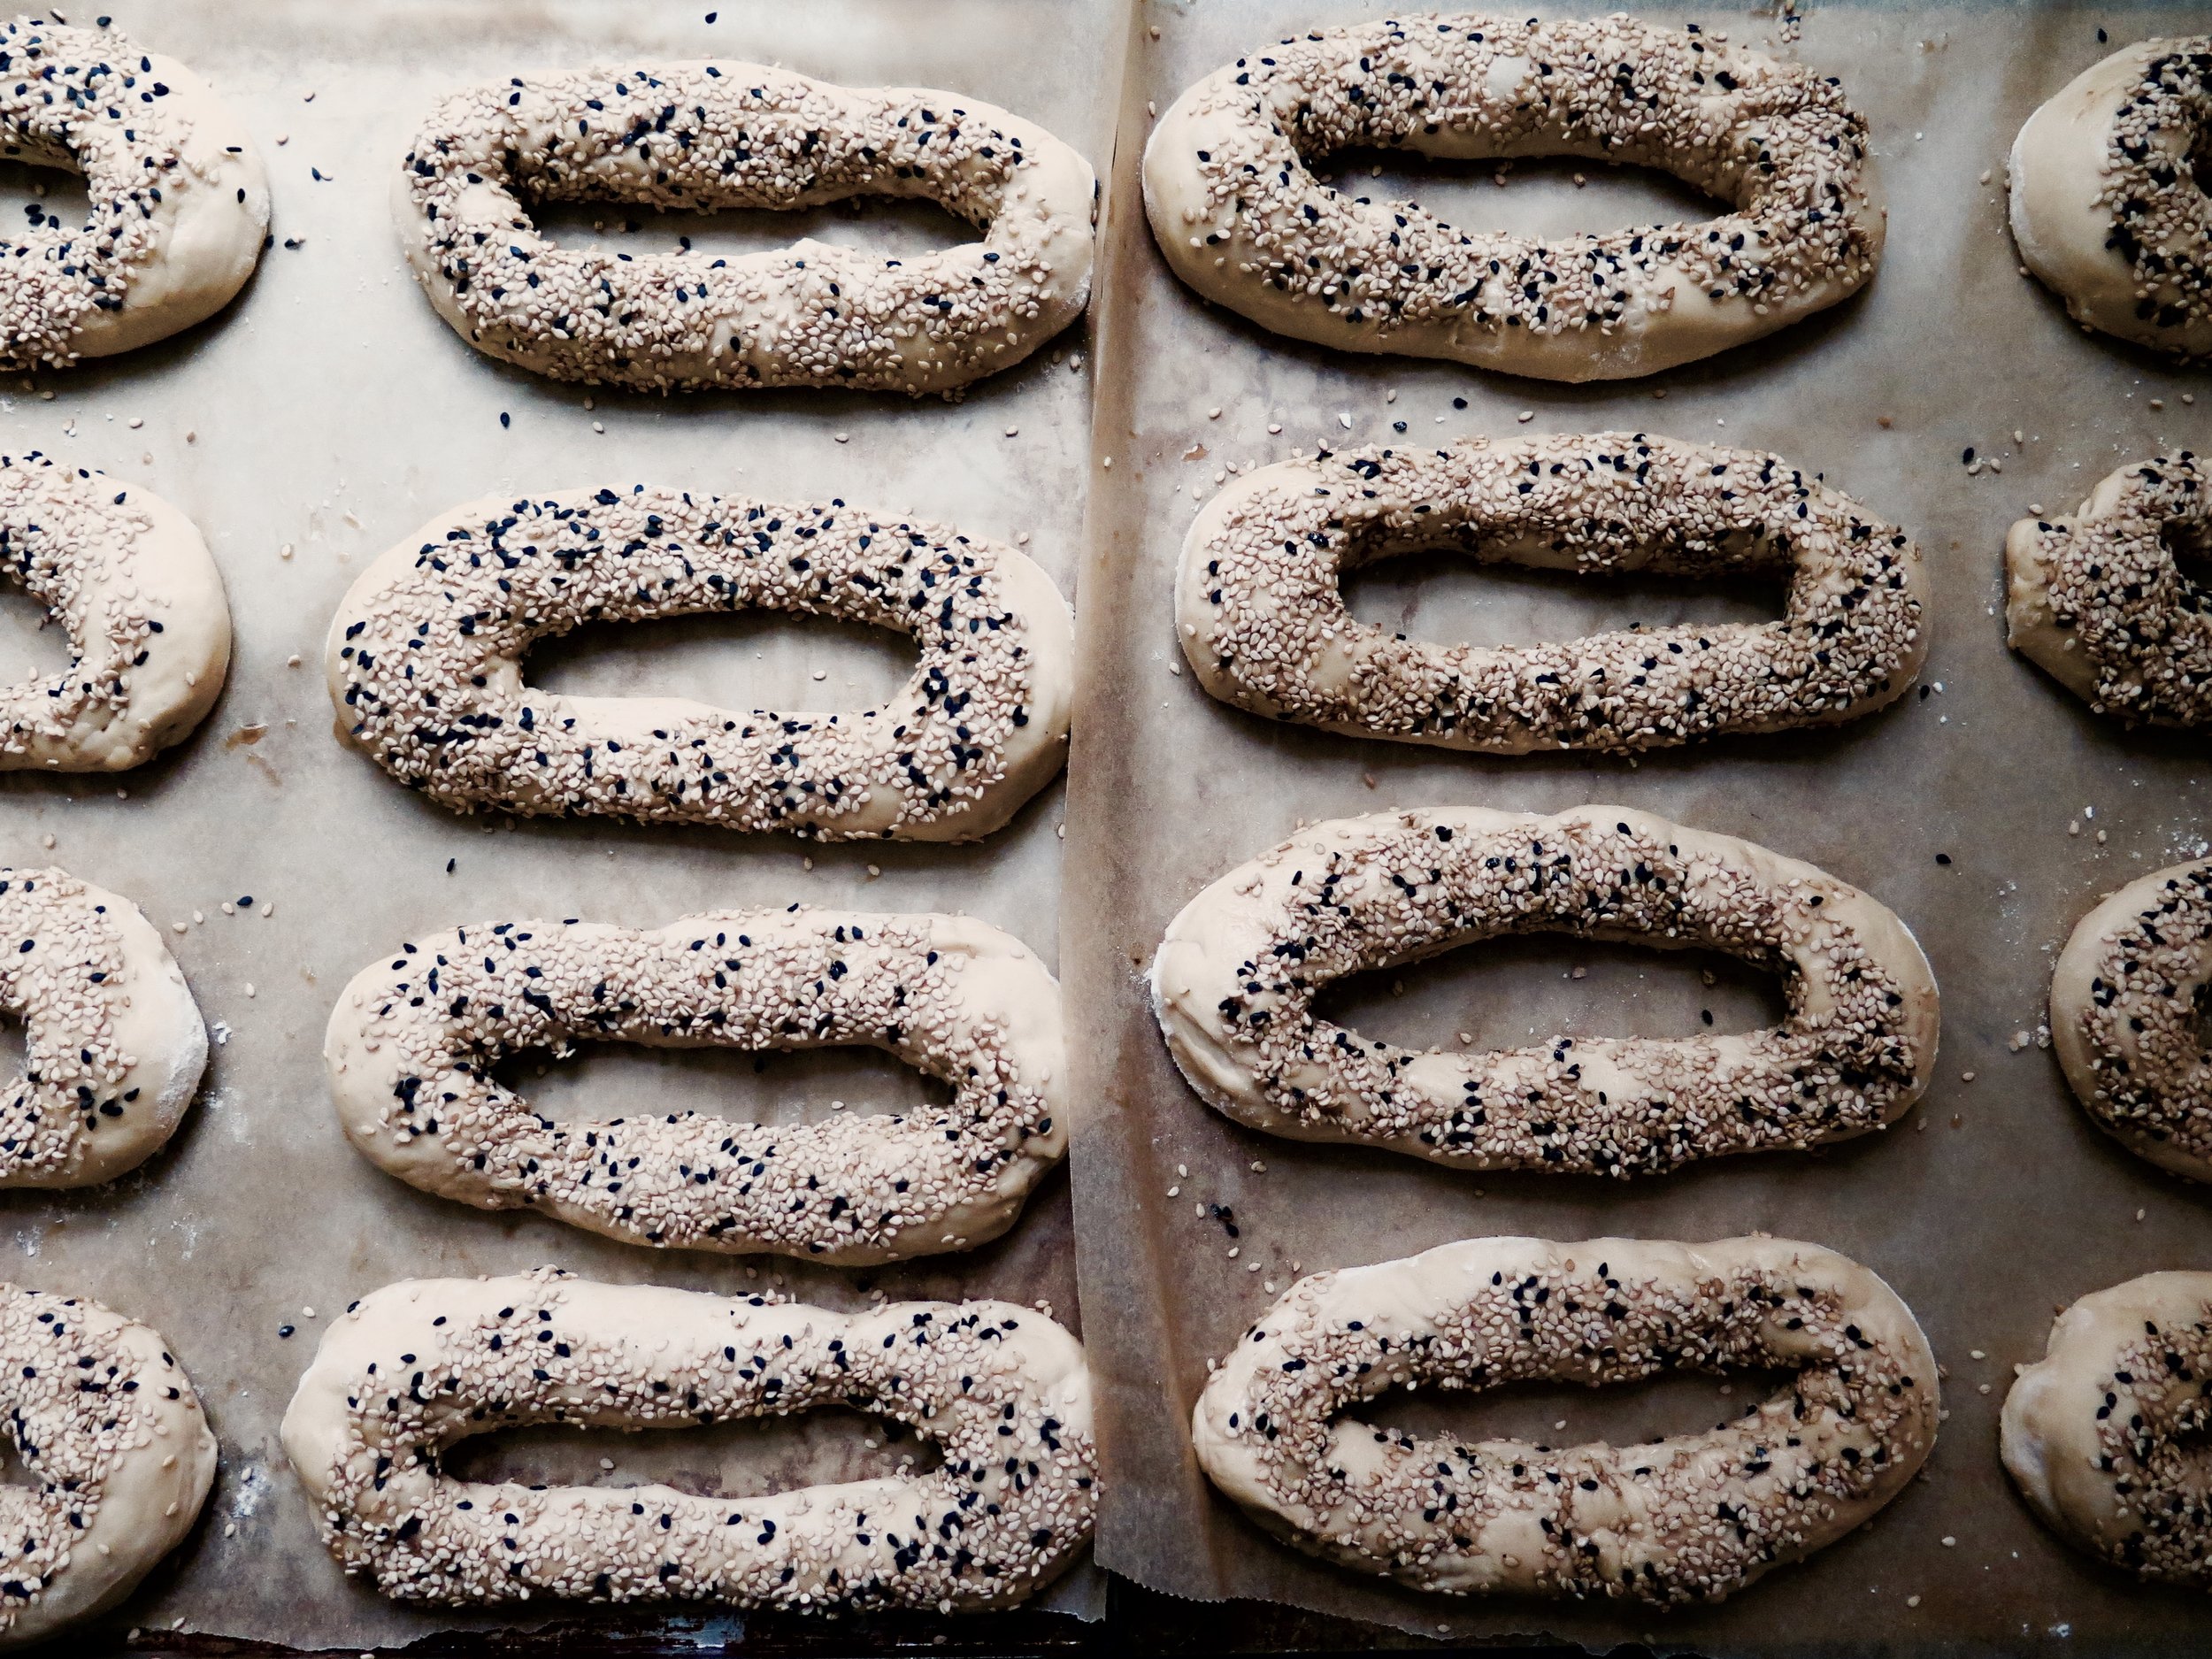
Do your ears hang low? Well, attached or unattached, furry or fuzzy, chunky or petite, this recipe is an ode to the earlobe.

Specifically, it is a celebration of stretched earlobes, whether those of an 85-year-old glamazon who refuses to compromise on opulence in pursuit of practicality or pain avoidance, and has transformed the once-small piercing pin pricks into gaping chasms by the weight of her bejewelled, solid gold hoops. Or the nonchalant indie who has plugged and gouged and strained their lobes to form human wind tunnels.

fullsizeoutput_2c5e.jpeg
fullsizeoutput_2c52.jpeg

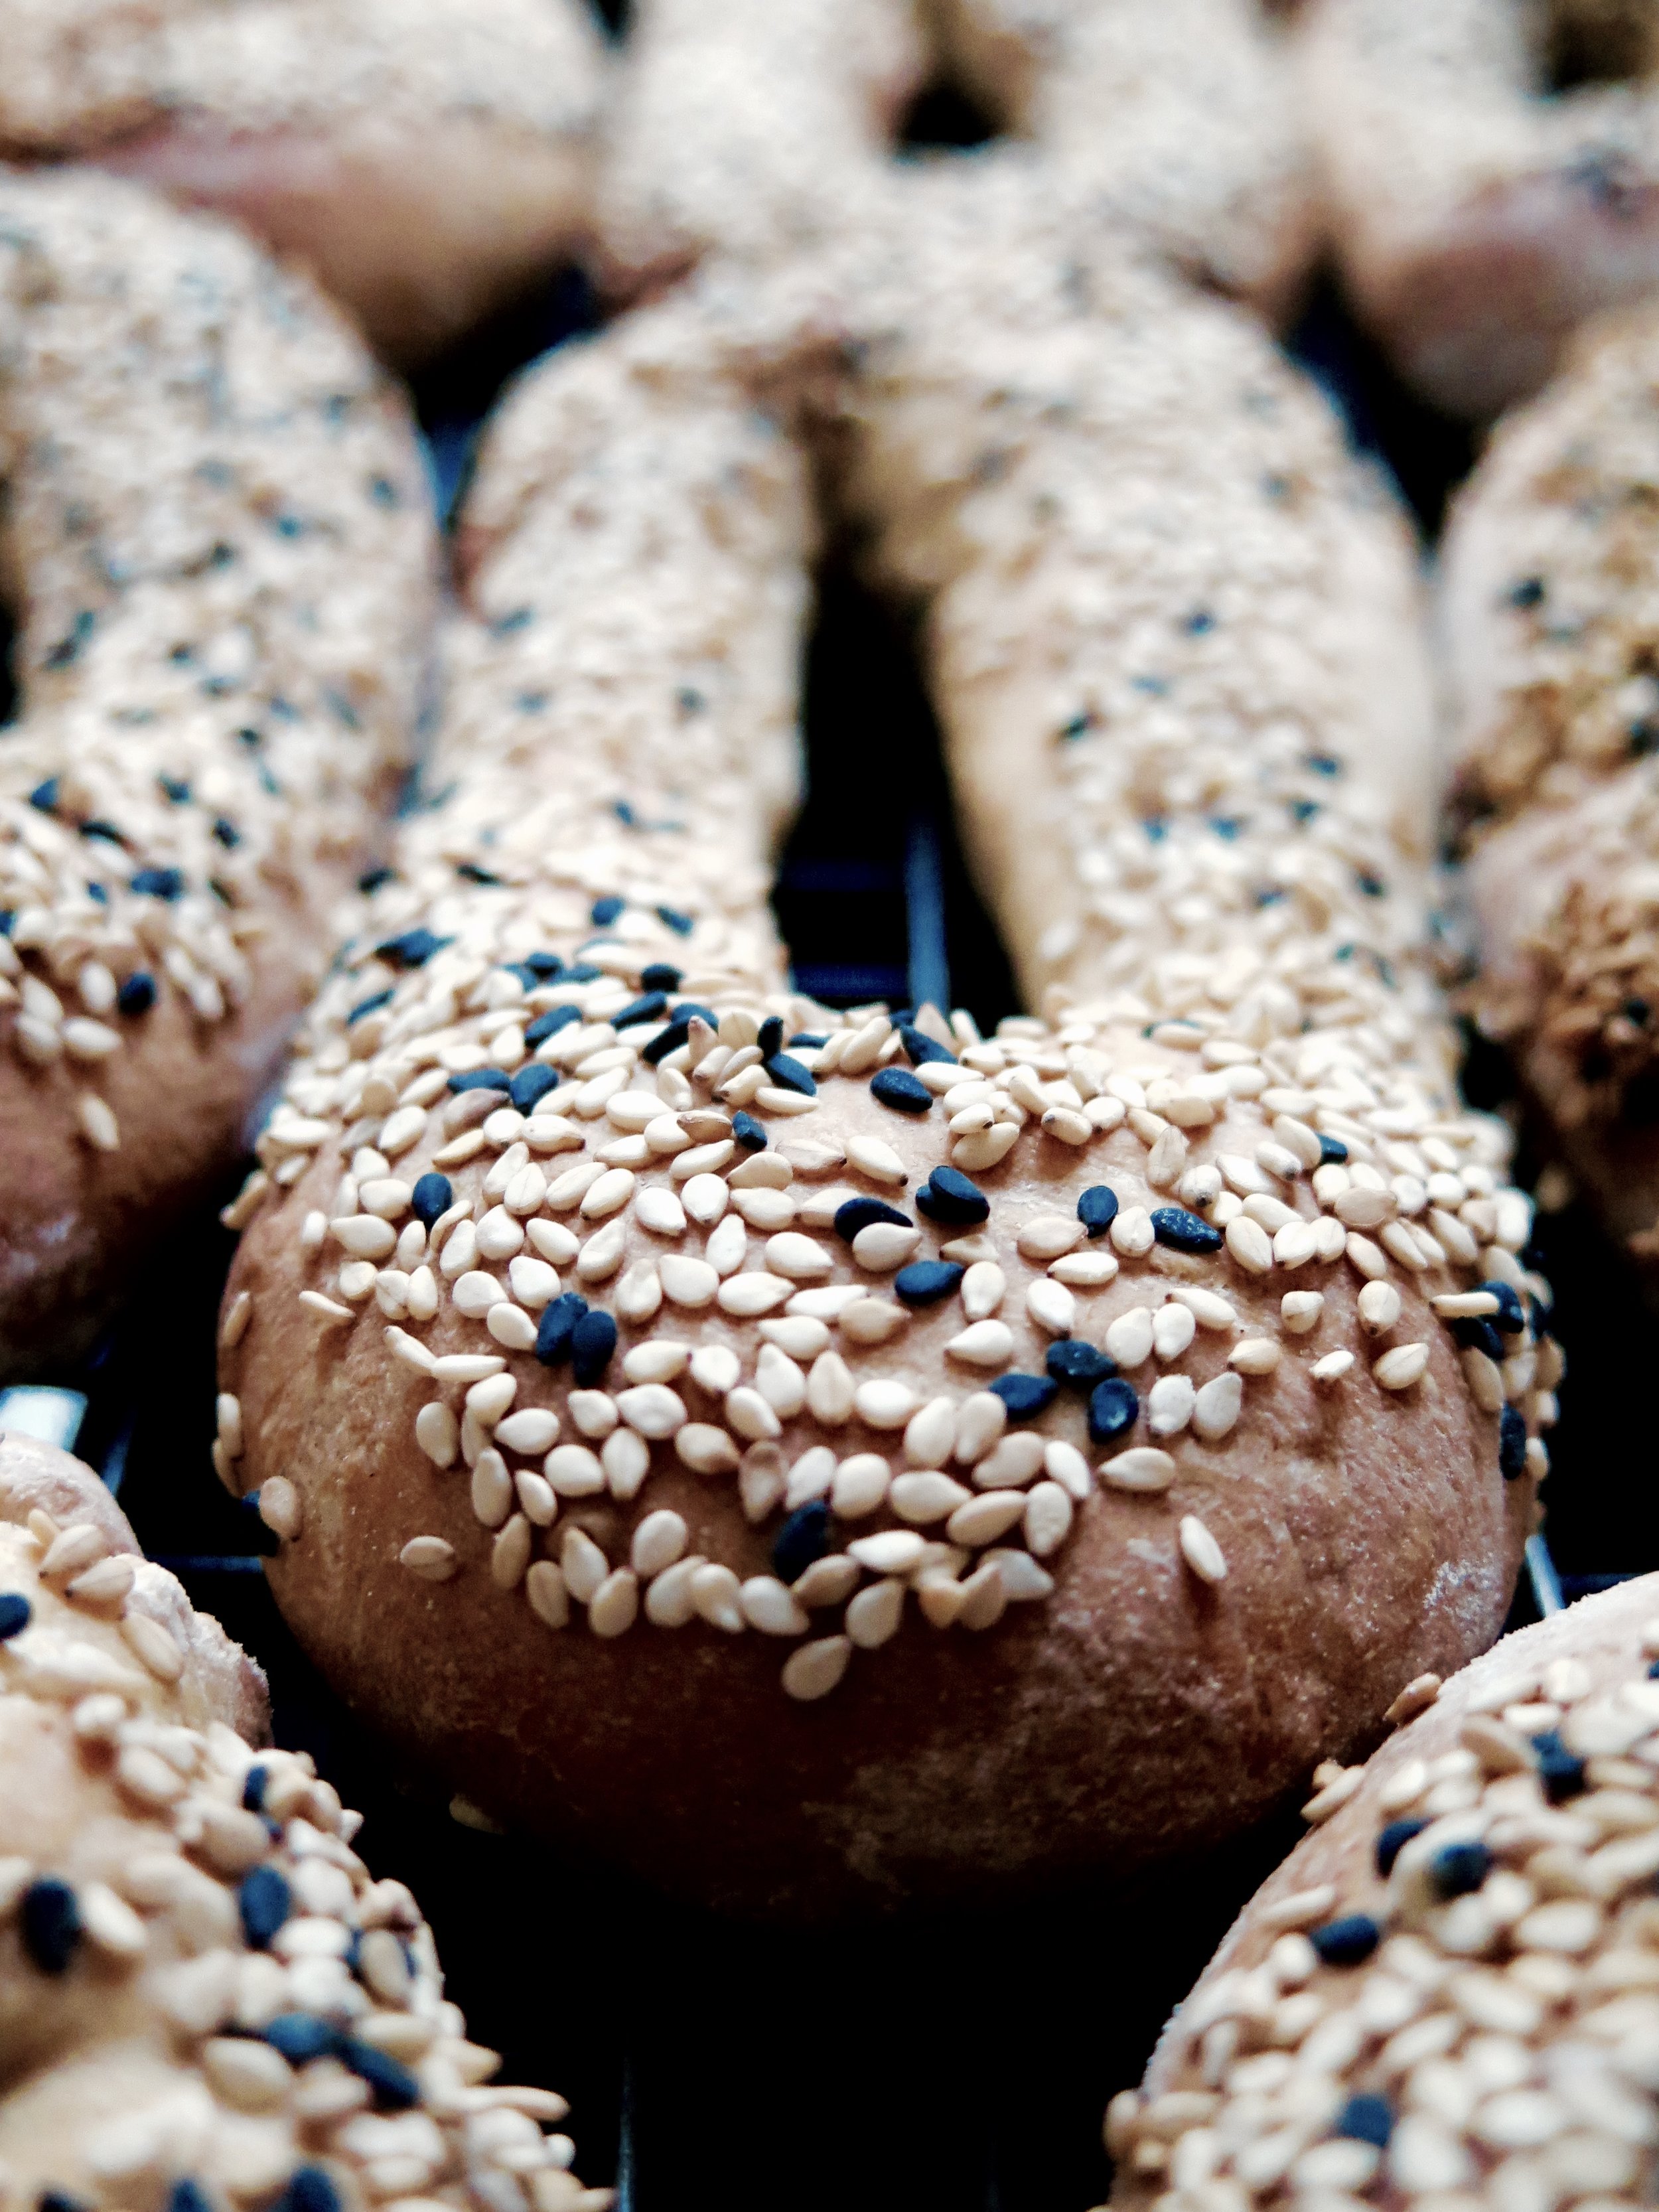
Like stretched lobes, these sesame studded bagels are not your standard chewy round.

They are a rare sight in the UK, only occasionally vaguely mimicked by the odd fougasse dangling in the windows of French bakeries. Though related to those that are more common sighted, Jerusalem bagels are elegantly elongated, less chewy, more fluffy, yet with a crusty exterior (I’m on the topic of bread now, not lobes).  And the Jerusalem bagel is in no way a lesser version – being a rarer breed and a much more fun shape to nibble (yes, still on bagels), I actually prefer them. They are also easier to bake: the absence of the boiling stage means less room for error, and no witch-hunting of wet doughy rounds, bobbing up and down and falling apart in vats of boiling water.

fullsizeoutput_2c42.jpeg
fullsizeoutput_2c35.jpeg
fullsizeoutput_2c21.jpeg

 If you are intimidated by bread-baking, do not be.

These are extremely simple, and though the process from flour to end-product takes a while, they are very undemanding in terms of action – the sesame seed dipping is, in fact, rather satisfying from a pre-school art class perspective.  Feel free to halve the mixture if you want fewer bagels, though they are so delicious and addictive it’s probably not worth it.... Also, do have a play around with ingredients: you could try poppy, flax, sunflower, or nigella seeds, as well as sprinkling the bagels with cheddar cheese or parmesan if you aren’t vegan.

fullsizeoutput_2c02.jpeg
fullsizeoutput_2bf1.jpeg

Makes 20

Ingredients

750ml warmed, unsweetened almond milk (can substitute with oat, or another neutral-flavoured, unsweetened plant-based milk)

21g active dry instant yeast (3 sachets)

60g caster sugar

500g strong white flour (+ extra flour for dusting surfaces)

500g white spelt flour

4 tsp salt

2 tsp baking powder

1 tbsp olive oil


100g white sesame seeds

15g black sesame seeds

4 tbsp boiling water

2 tbsp pomegranate molasses

1 tbsp agave syrup (or honey if you’re not vegan)


3 baking trays lined with baking parchment


Method

1)    In the bowl of a mixer fitted with a dough hook, or in a large stand-alone bowl, stir together warmed milk, yeast and sugar. Pour in all the flour (apart from that to be used for dusting the surface), salt and baking powder and stir to combine into dough.  

2)    If using a mixer, knead the dough for about five minutes on a low speed with a dough hook. If making by hand, pour the dough onto a lightly floured surface, and knead by hand until soft, smooth and springy. It may be slightly sticky, but try to avoid adding too much flour as this will make the bagels dry and tough. Even if I use the dough hook, I take the dough out to knead by hand for the last minute. 

3)    Coat the inside of a bowl with the olive oil, place the dough inside and cover with cling film or a tea towel. Allow to rise in a warm place for about an hour, or until it has doubled in size.

4)    When the dough has risen, punch it down and turn it on to a lightly floured surface. Divide the dough into 20 pieces. You can approximate this by quartering the dough and dividing each quarter into five pieces. Or you can weigh it: each piece should be about 85g. Then gently roll each into a ball. To make the Jerusalem bagel shape, take each ball of dough and press your thumb through the centre to create a hole. Whilst keeping the dough even in diameter, gently stretch the hole into an oval so the bagel is about 11 cm long. Place each back on the floured surface and allow to rest and rise for 15 minutes.

5)    Preheat the oven to 200C. Make the topping by mixing the water, pomegranate molasses and agave/honey in a bowl. Then pour the mixture into a small tray or large flat-based bowl. On another tray, mix together the black and white sesame seeds (or whichever other seeds you are using). Taking each bagel lobe, dip it first (on one side only) into the water molasses mix, then into the sesame, so that one side is coated in sesame seeds. Then place it on the tray lined with baking parchment. If the bagel stretches a bit, that is fine. Repeat with the rest of the bagels, spacing them at least 3 or 4cm apart, and allow them to rest again for a further 10 minutes. 

6)    Place them in the oven to bake for 10-15 minutes until they are deep golden and crusty on the outside. Once baked, transfer the bagels to a baking rack to cool. They are best eaten on the day of baking (and it will be a miracle if they last beyond a day). However, if you want to save them for another time, you can freeze them as soon as they have cooled for up to three months in an airtight container.

fullsizeoutput_2c25.jpeg
fullsizeoutput_2bf7.jpeg

HUNGRY FOR MORE?


Comment

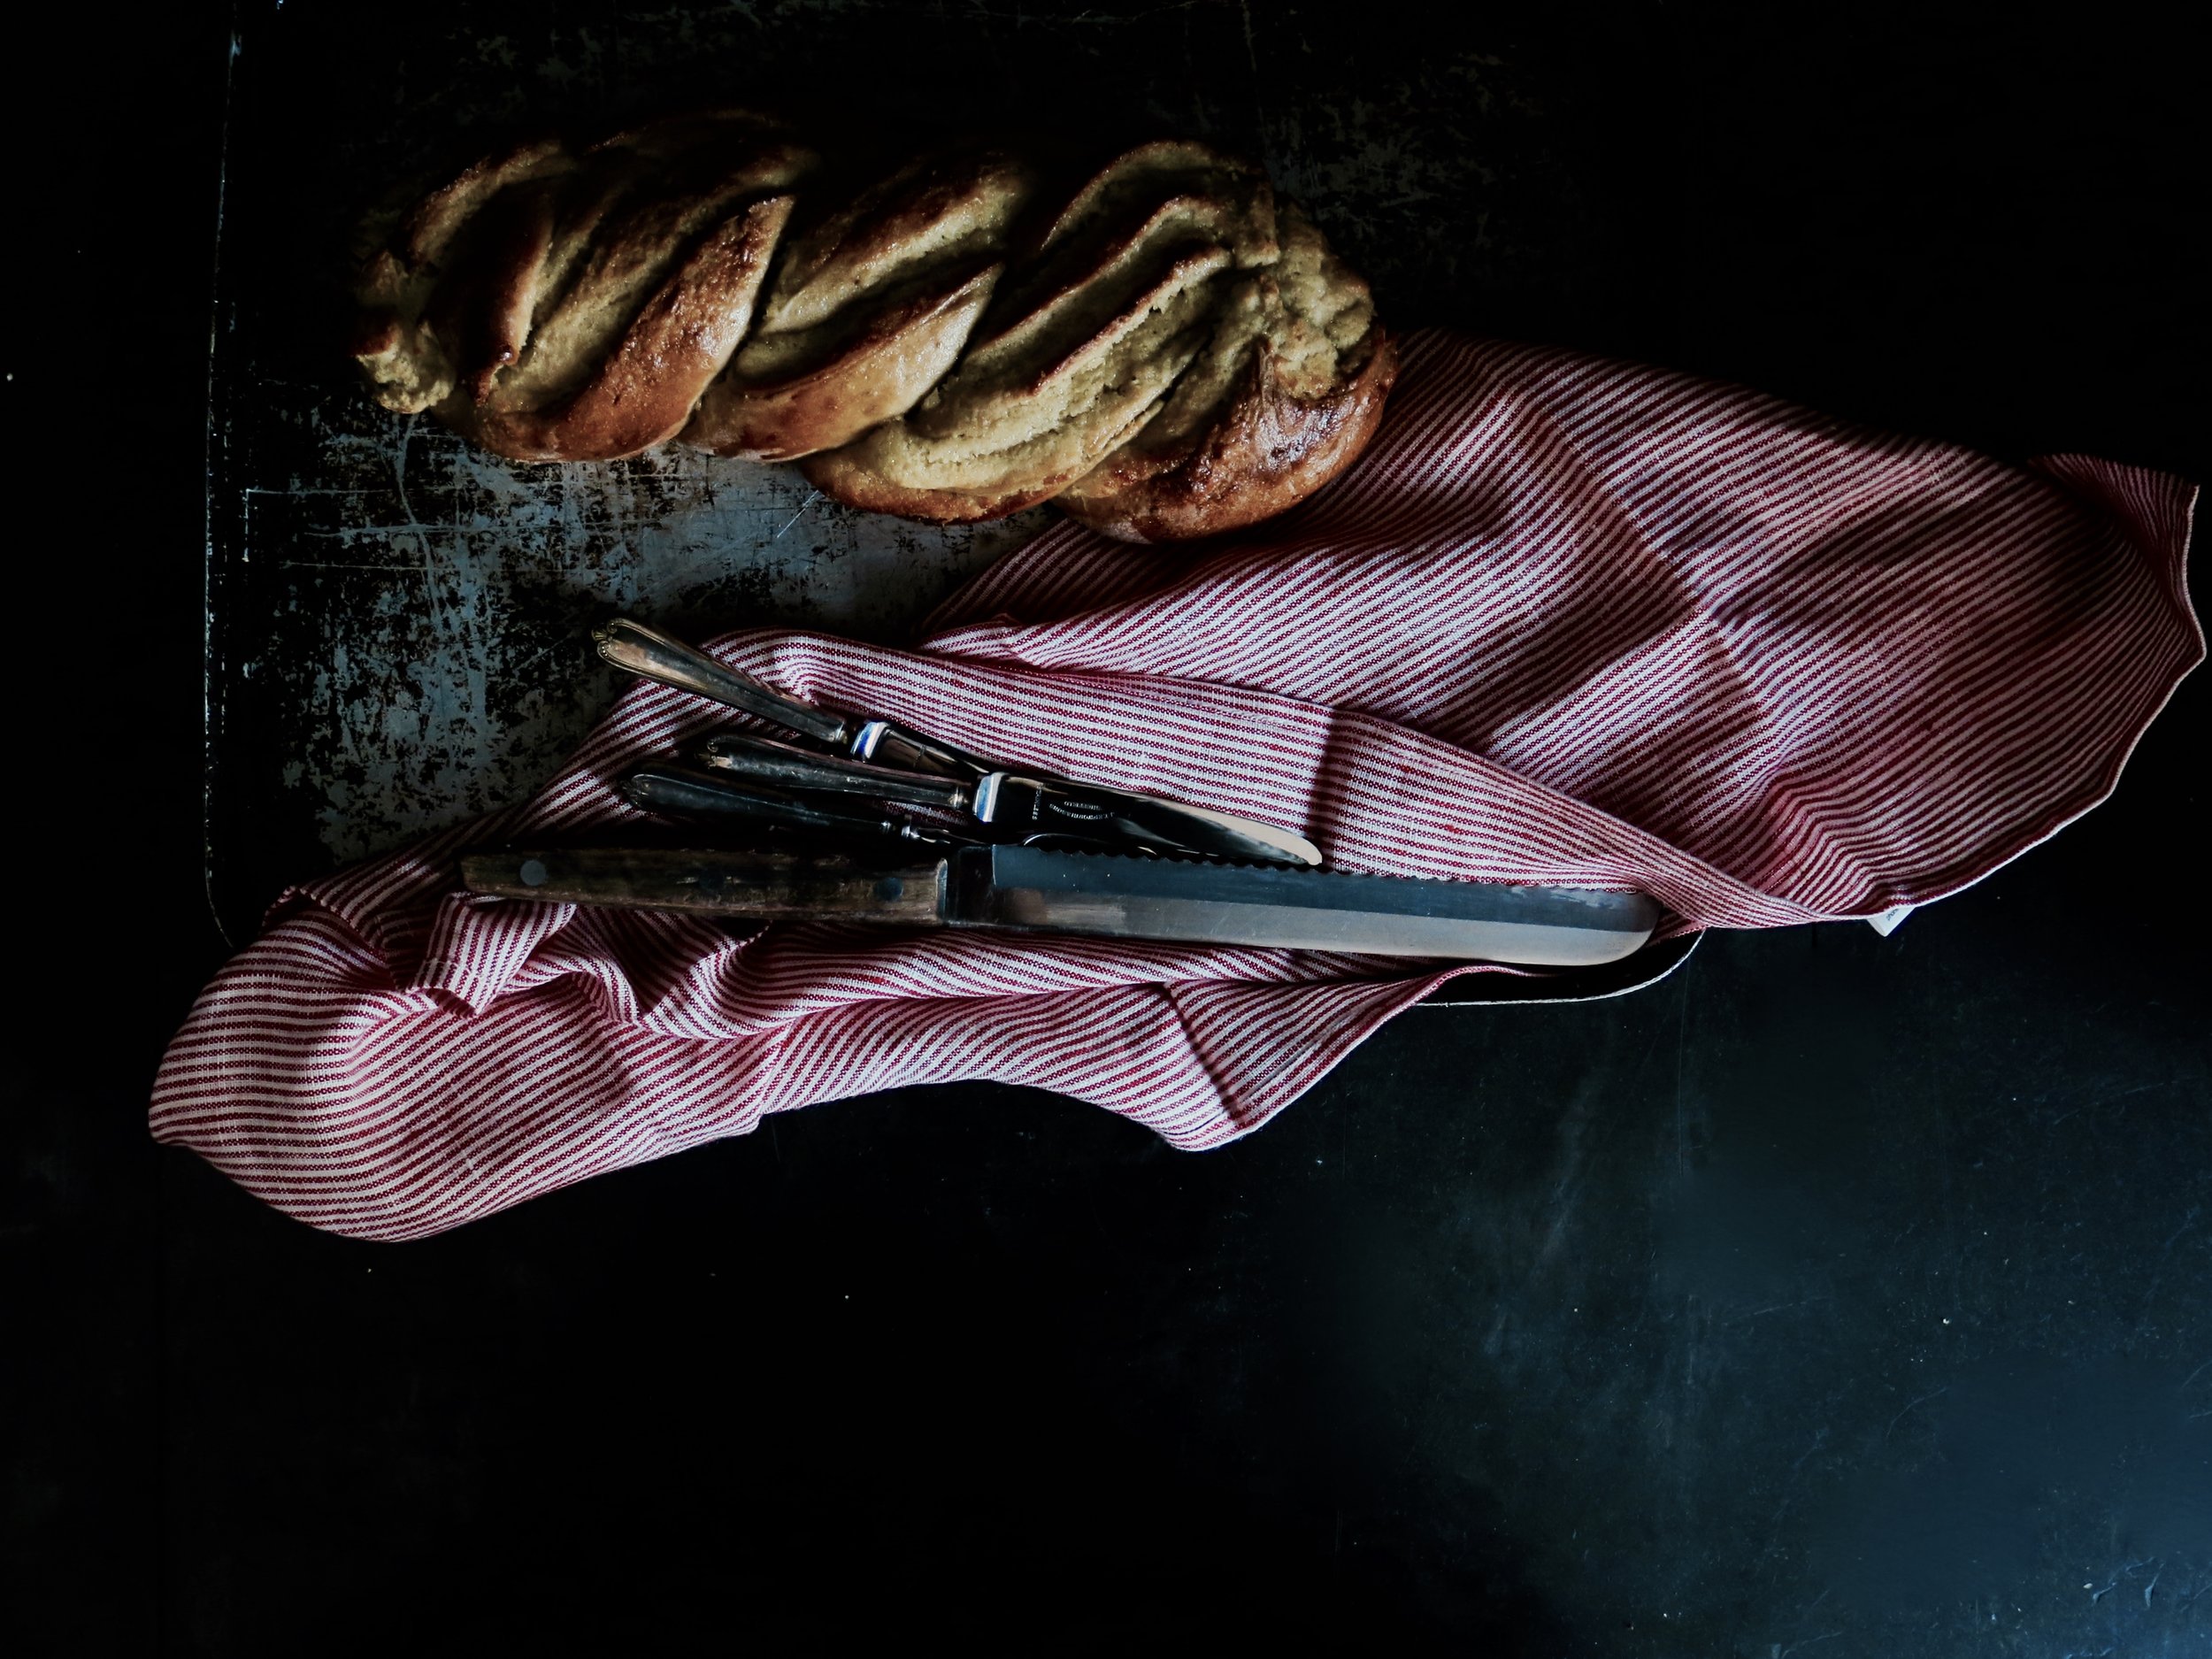
Norwegian Frangipane-Laced Pulla Bread

Comment

Norwegian Frangipane-Laced Pulla Bread

fullsizeoutput_2b67.jpeg

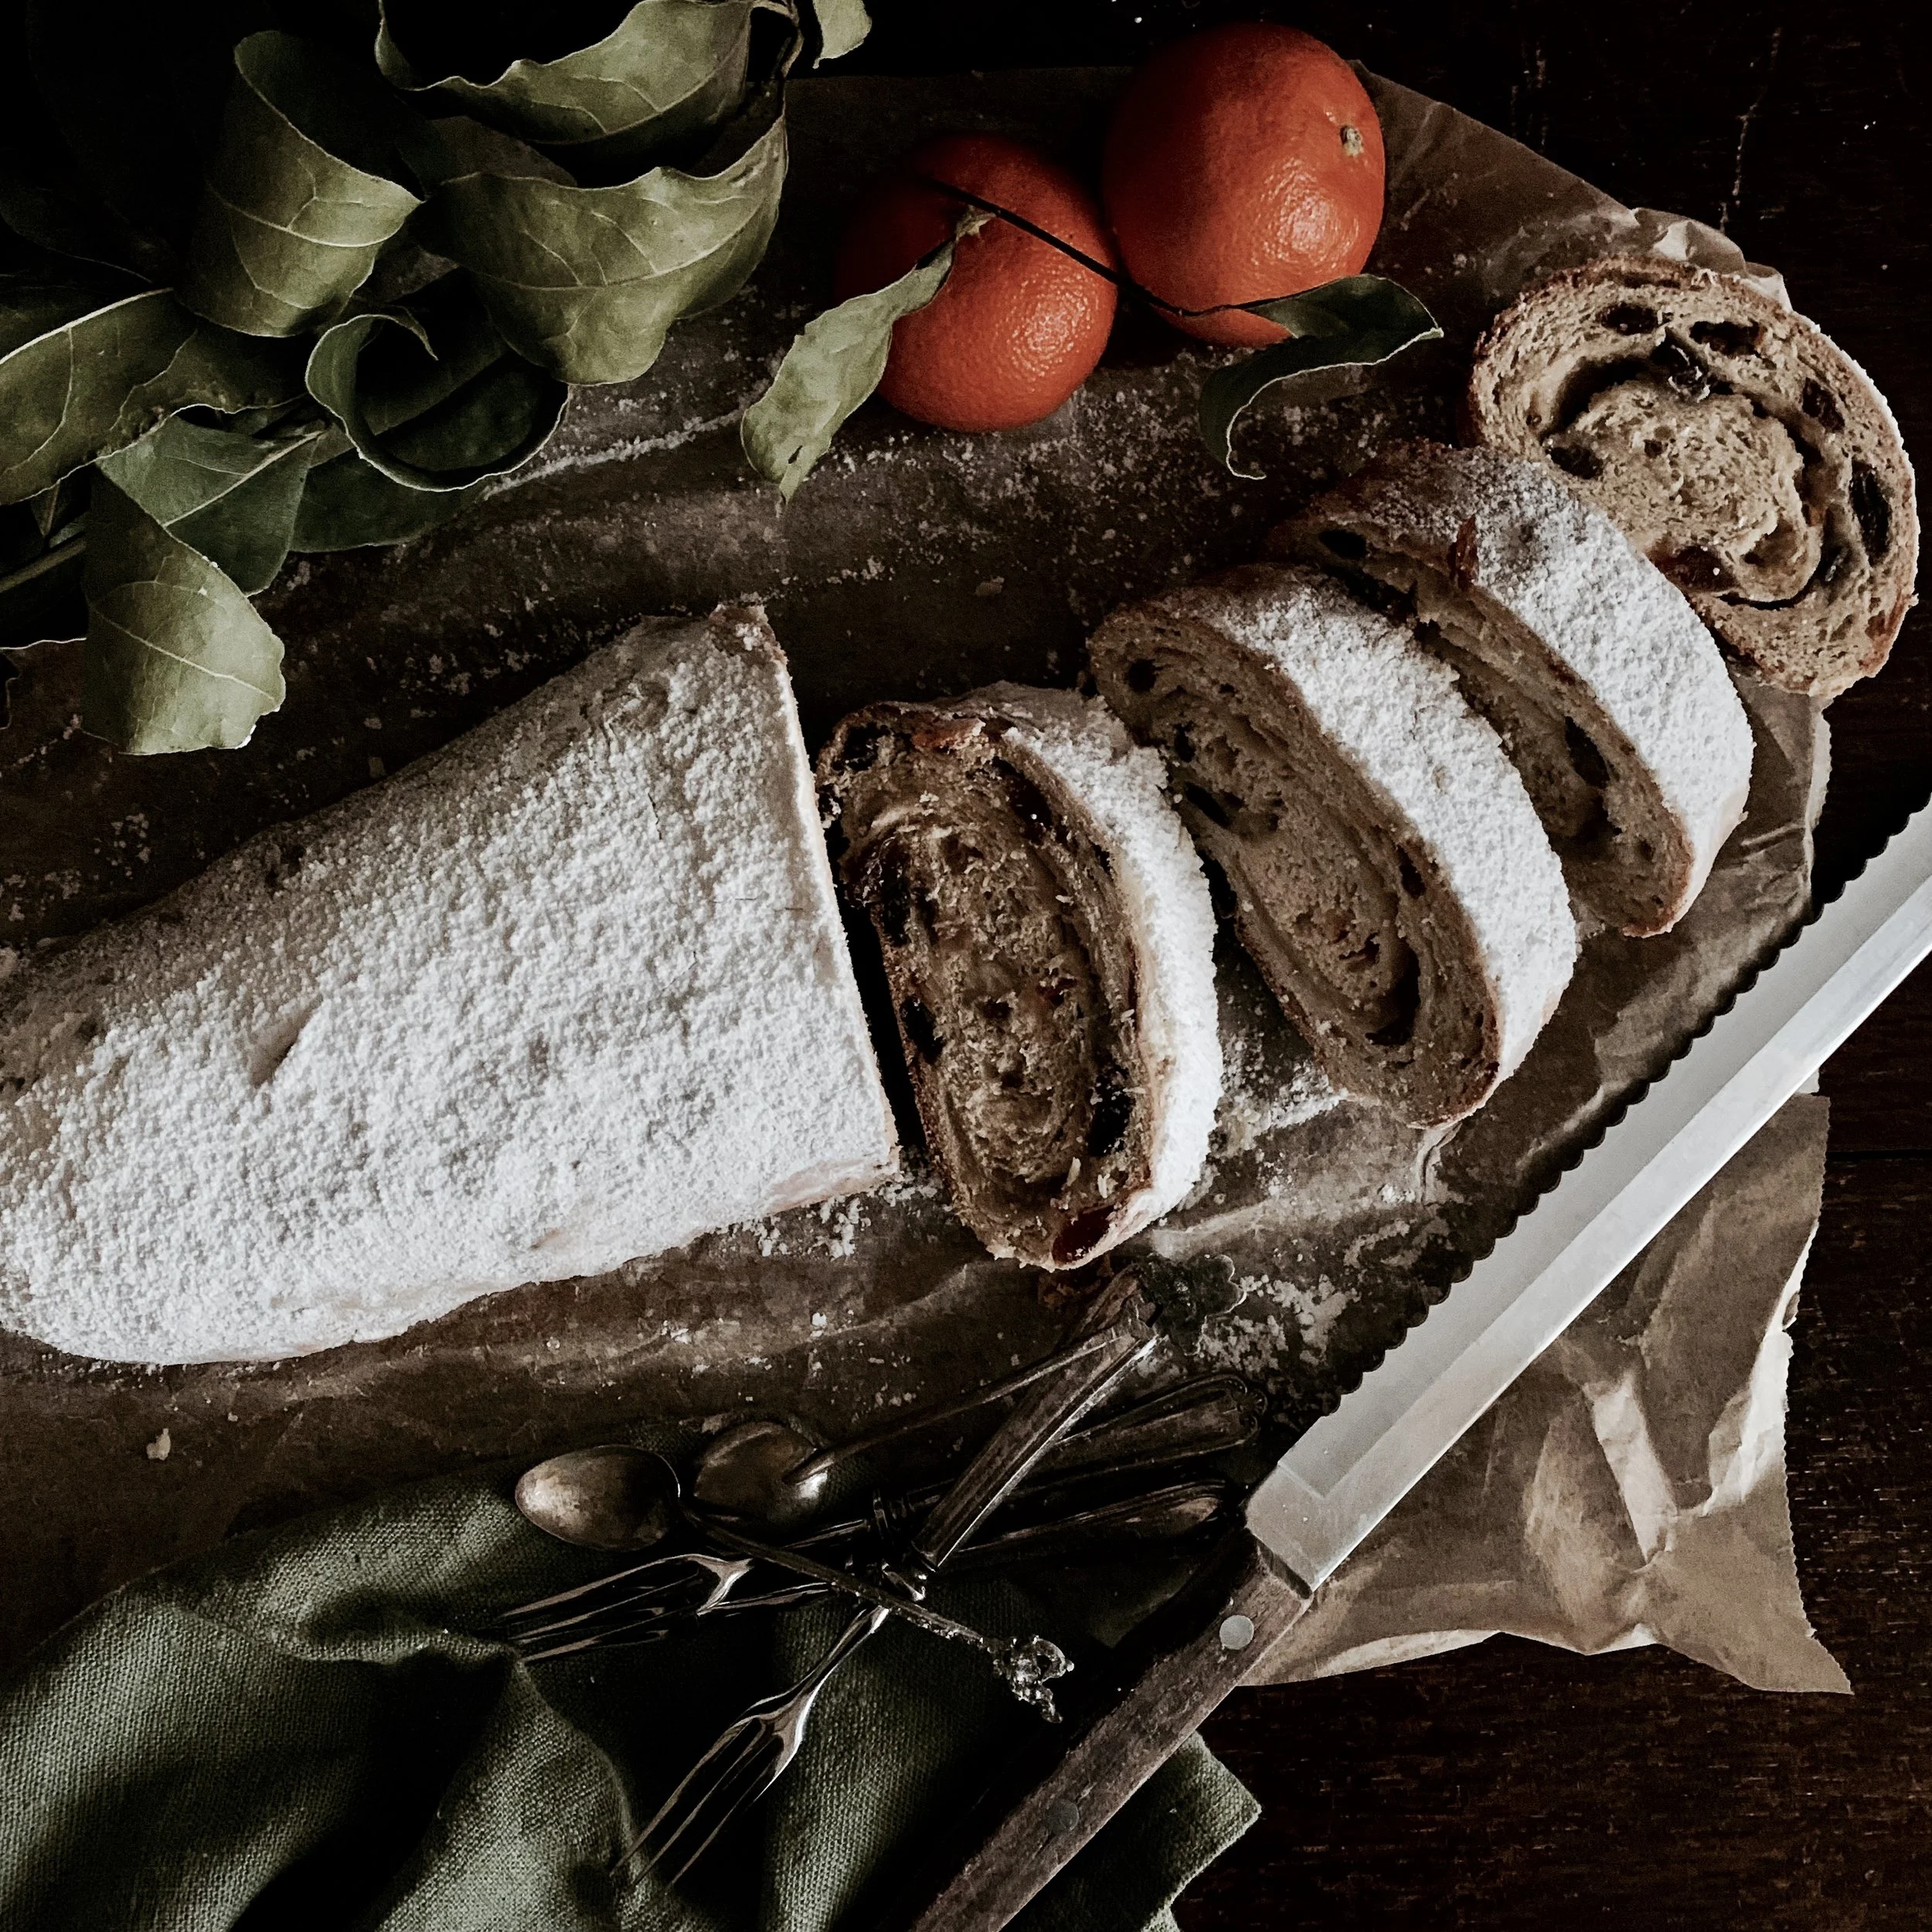
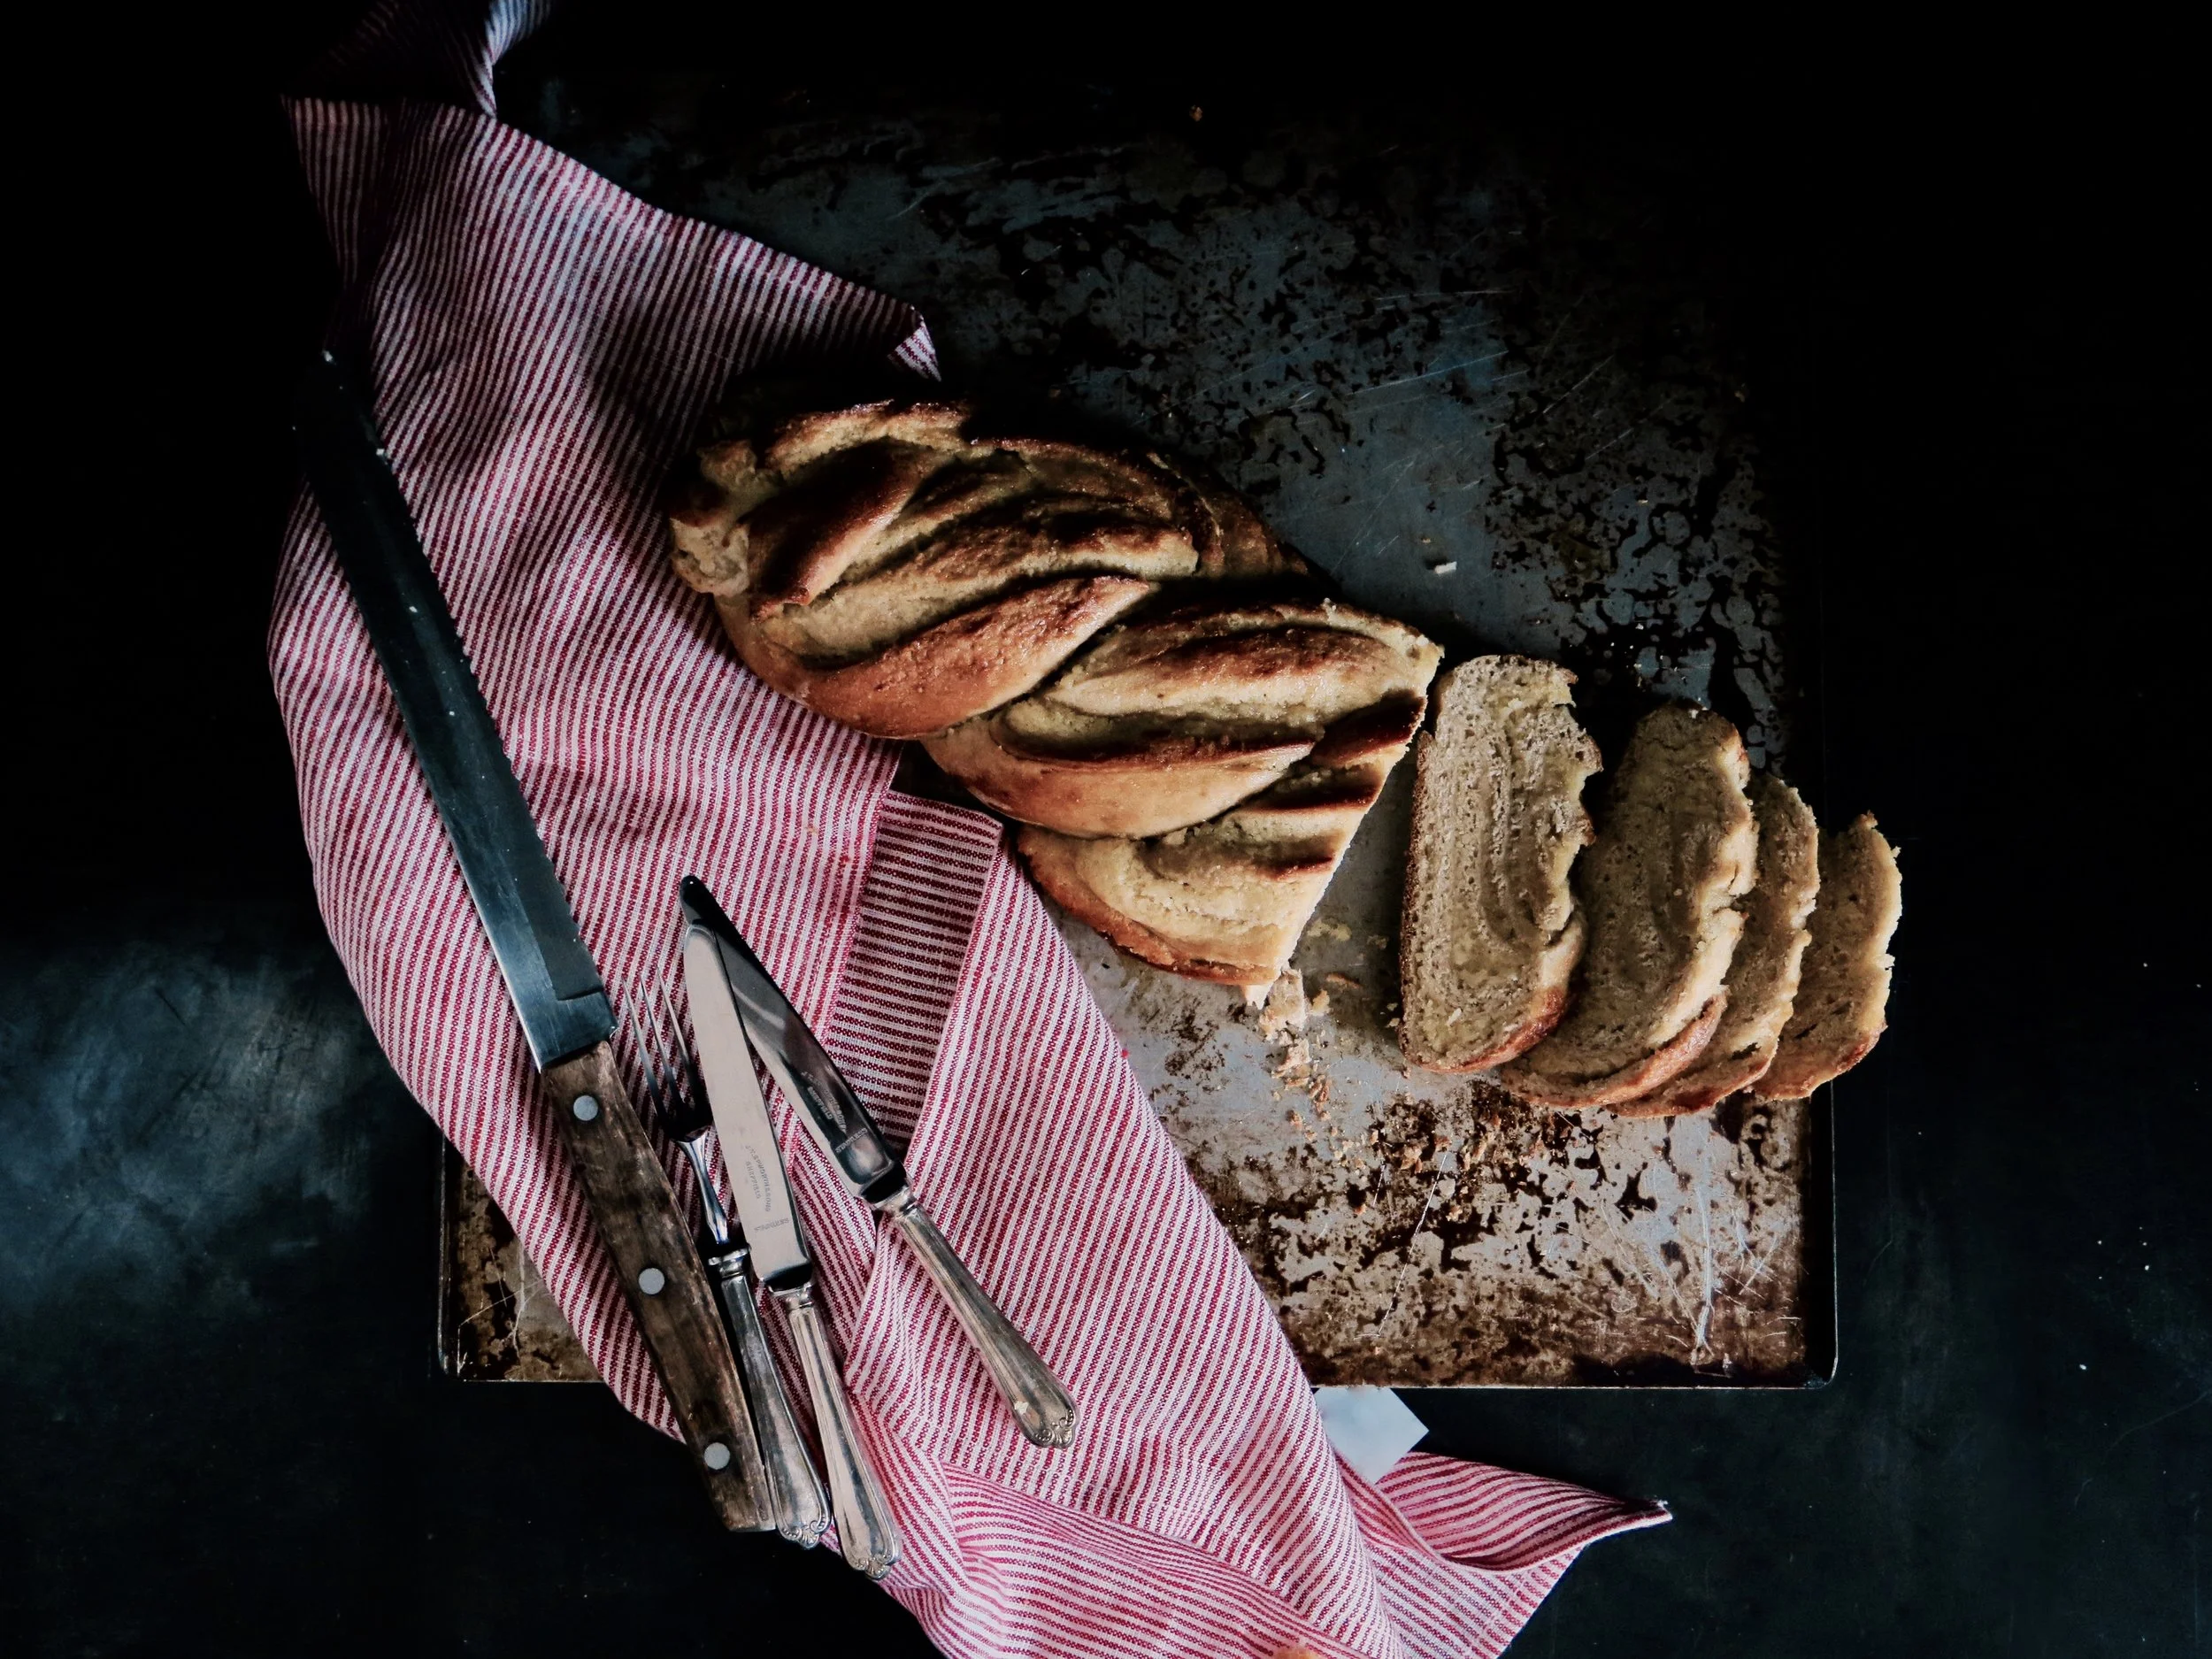
This bread is the love child of a brioche and stollen. The dough is soft, buttery and ridiculously moreish. And the filling is like that marzipan core of stollen except less overpoweringly almondy, lighter and less tooth-achingly sweet (which means you can have more of it, of course). One of my many intolerances is not gluten, nuts or dairy but overpromising. If the title promises a filling, I want that filling, and I want it in abundance. If it says caramel, I want luscious rivers of it; if it’s olives on a pizza, I want at least one for every 2cm squared (NB I am disappointed by this every time - unless I make it myself). And, if it is a frangipane bread, I demand every mouthful to be molten with frangipane.

fullsizeoutput_18ba.jpeg
fullsizeoutput_18a6.jpeg

So, in response, this bread will not fail to meet expectations: not only a show stopper in appearance, it is also ambrosial. I had to make this several times in order to photograph it before it was inhaled by surrounding friends/family.

fullsizeoutput_2b6e.jpeg

If you want to have plain bread, just leave out the frangipane and follow the instructions below. Similarly, if you’re feeling experimental add another filling in place of the frangipanes - think Nutella, marmalade, fruit conserve…

fullsizeoutput_2ba3.jpeg
fullsizeoutput_18b2.jpeg
fullsizeoutput_18aa.jpeg
fullsizeoutput_1894.jpeg
fullsizeoutput_18ad.jpeg


Ingredients (makes 2 loaves)


For the bread 

30g fresh yeast (or 15g dry yeast)

100g caster sugar

250ml lukewarm milk (normal or any non-dairy alternative)

2 large eggs, beaten

1 tsp salt

700g white spelt flour (or plain wheat) + more for kneading

100g unsalted butter, at room temperature


For the frangipane

180g caster sugar

150g unsalted butter, at room temperature

4 eggs

½ tsp salt

250g ground almonds

1 ½ tsp almond extract


2 large baking sheets lined with baking parchment


Method

1)   In the bowl of an electric mixer (or large mixing bowl), cream together fresh yeast and caster sugar until the sugar begins to dissolve and turns the yeast liquid. If using dry yeast, add it into the milk first and allow to sit for five minutes before continuing with step 2.

2)   Pour in lukewarm milk, 3/4 of the beaten eggs (i.e. 1 ½ eggs, keeping the other half aside to paint the bread) and salt, and whisk together. Whisk in 100g grams of the flour to begin to incorporate air.

3)   Add the remaining flour into the mixture and mix together. Once combined, either using a mixer fitted with the dough hook, or on a heavily floured surface knead the dough for about 5 minutes until it is smooth and bounces back when pressed with your thumb. Temperature and humidity can affect the dough texture so you may need to add a touch more flour if it is truly unworkable, though try to keep it to a minimum as too much will make the bread tough and the dough difficult to roll out. I find that using the dough hook initially until combined and then kneading by hand for the last stretch particularly effective. 

4)   Place in a large oiled bowl in a warm spot and cover with a cloth or clingfilm to allow to rise until doubled in size (about 45 minutes to an hour).

5)   At this point, if you wish to make the bread without the frangipane, proceed to step 7a

6)    To make the frangipane, beat together the sugar and butter until light and fluffy. You can do this by hand or in a mixer fitted with the paddle attachment. Beat in the eggs (don’t worry if it looks slightly curdled at this point), then stir in salt, ground almonds and almond extract. It should be a smooth almondy paste. 

7)   Once the dough has risen, punch back down, turn it onto a heavily floured surface 

a.    For bread without filling: divide dough into two (to make two loaves). Shape as desired, but if you favour a plaited loaf, as I do, taking one of the dough halves, divide it into three or four pieces (depending on whether you prefer a three- way or four-way plait.) Roll each piece into a long, even strand of about 3cm in diameter. Then pinch the ends together and plait as normal. When you reach the end of the plait, pinch the strands together and tuck under. Repeat for the second loaf, place on a baking tray and cover. Leave to rise for about half an hour. 

b.    For bread laced with frangipane: place the dough on a large, flat, heavily floured surface and roll it to a rectangle of about 60 x 30cm and about ¾ cm thick. Tip the frangipane mixture into the centre of the dough, and spread it out evenly with a spatula right up to the edges. Then, from the long side, roll the dough to make a long tight coil. Finish with the seal at the base of the roll. Then slice the roll into two (in order to make two loaves). Take one long roll and holding the knife directly above the roll, with the blade parallel to the length of the roll, bisect it running the knife through the centre along the its length. Once split, with the open halves separate, pinch them at the top and then cross one over the other repeatedly in a kind of two string plait. Pinch at the end and tuck it under then place on baking tray. Repeat with the other half. 

8)   Cover both breads with a cloth, and allow to rise in a warm place for 45 minutes. Preheat the oven to 200 °C.

9)   With the remaining beaten egg, brush the tops of the breads. Place the breads in the oven to bake for 10 minutes. Then reduce the oven temperature to 180 °C and allow to bake for a further 10-15 minutes. Ovens can be temperamental, so check every 5-10 minutes to ensure that the bread doesn’t burn. If it looks like it is beginning to catch, cover with aluminium foil and continue to bake. Remove from the oven when the outside is a deep golden colour. Place on a cooling rack and allow to reach room temperature, then devour. Best eaten on day of baking, but the bread can be frozen in a sealed air tight container for up to 3 months.

fullsizeoutput_1891.jpeg
fullsizeoutput_2bac.jpeg

HUNGRY FOR MORE?

Comment

Touring the US with Mediaeval Baebes

Comment

Touring the US with Mediaeval Baebes

IMG_6348.JPG

I’ve just returned to UK reality after touring the east coast of America with my band, Mediaeval Baebes.

In fact, it was definitely more of a crash landing, and I’m feeling overwhelmed by a concoction of delight and disorientation. 

I’ve had two weeks of hilarity and salacious tales: from White Russian parties in Maryland to rooftop partying with firemen in NYC, from hazy, mead-imbued late-night encounters with ex-jailbirds to flouncing around in cemeteries for photoshoots. I’ve met more people and fans of the Baebes’ music (and it has been an honour) in the last week than in the last year, from women with heaving bosoms in skull-coated corsets to a South Dakotan ranger who discovered a dinosaur on his territory, from cage fighters Instagram influencers to wiccans. 

IMG_7518.JPG

Those who are involved in the music industry will know that the intense peaks of performing are accompanied by elongated troughs of waiting around before and after sound checks, not to mention the driving from venue to venue, one state to the next.

But even the stretches of time were filled: from learning how to do the electric slide (an achievement for someone who can perform a semblance of a dance only to hip hop music), playing airplane with other band members (the childhood favourite of lifting someone into the air with your feet), to hours of ‘I Spy With My Third Eye’. 

fullsizeoutput_2a6f.jpeg

We were gifted things from the delicious to the ludicrous (though none of the following necessarily fit into the aforementioned categories):

hand sown leather wallets, chocolates, cases of homemade mead, hand-crafted wooden lanterns inlaid with silver, pumpkin bog wine (yes, that’s its official name) and goblets straight out of Game of Thrones. I’ve also signed an interesting range of specimens including various body parts, guitars and recorders, Gandalf-style staffs and animal-bone drinking horns. 

IMG_7774.JPG
IMG_7910.JPG

I’ve witnessed the way in which music makes people dance and cry, and I’ve heard accounts of how some have walked down the aisle, given birth, and woken from comas to our music.

I’ve had ecstatic highs of my own (performing to over a thousand people in the middle of forest glades, and exhausted hysterical laughter set off by the merest glimmer of a joke) and extreme lows, where the adrenalin temporarily stopped, energy levels buckled and desolation took hold.

IMG_6483.JPG

Being on the road for two weeks has also meant that I have been lurching between feast and famine.

The restaurant selection in NYC is almost infinite. The highlights this time round included the following:

The Pool, one of NYC’s finest fish restaurants. While I am not a huge seafood eater and am largely vegetarian, the branzino was the best I have ever eaten – delicate and tender without need for any fancy sauces or dressings. The room is elegant and slightly imposing and the service impeccable (apart from the moment when I collided with a waiter en route to the bathroom and he succeeded in pouring champagne directly down my chest). 

Barrio Chino: my favourite Lower East Side Mexican haunt. It used to be a hidden secret, without website and only noticeable in passing if you were in the know. It has now become a bit more open about its existence, but the quality has not diminished. Go for the extensive range of margaritas (from chili to berry to tamarind – the list goes on). The tacos are also delicious, but the show stoppers are the enchiladas – suffused with flavour and fresh herbs and oozing with molten queso – this is the only place I will eat them. The ambience is also electric. I went on a Tuesday evening and it was packed and totally abuzz.

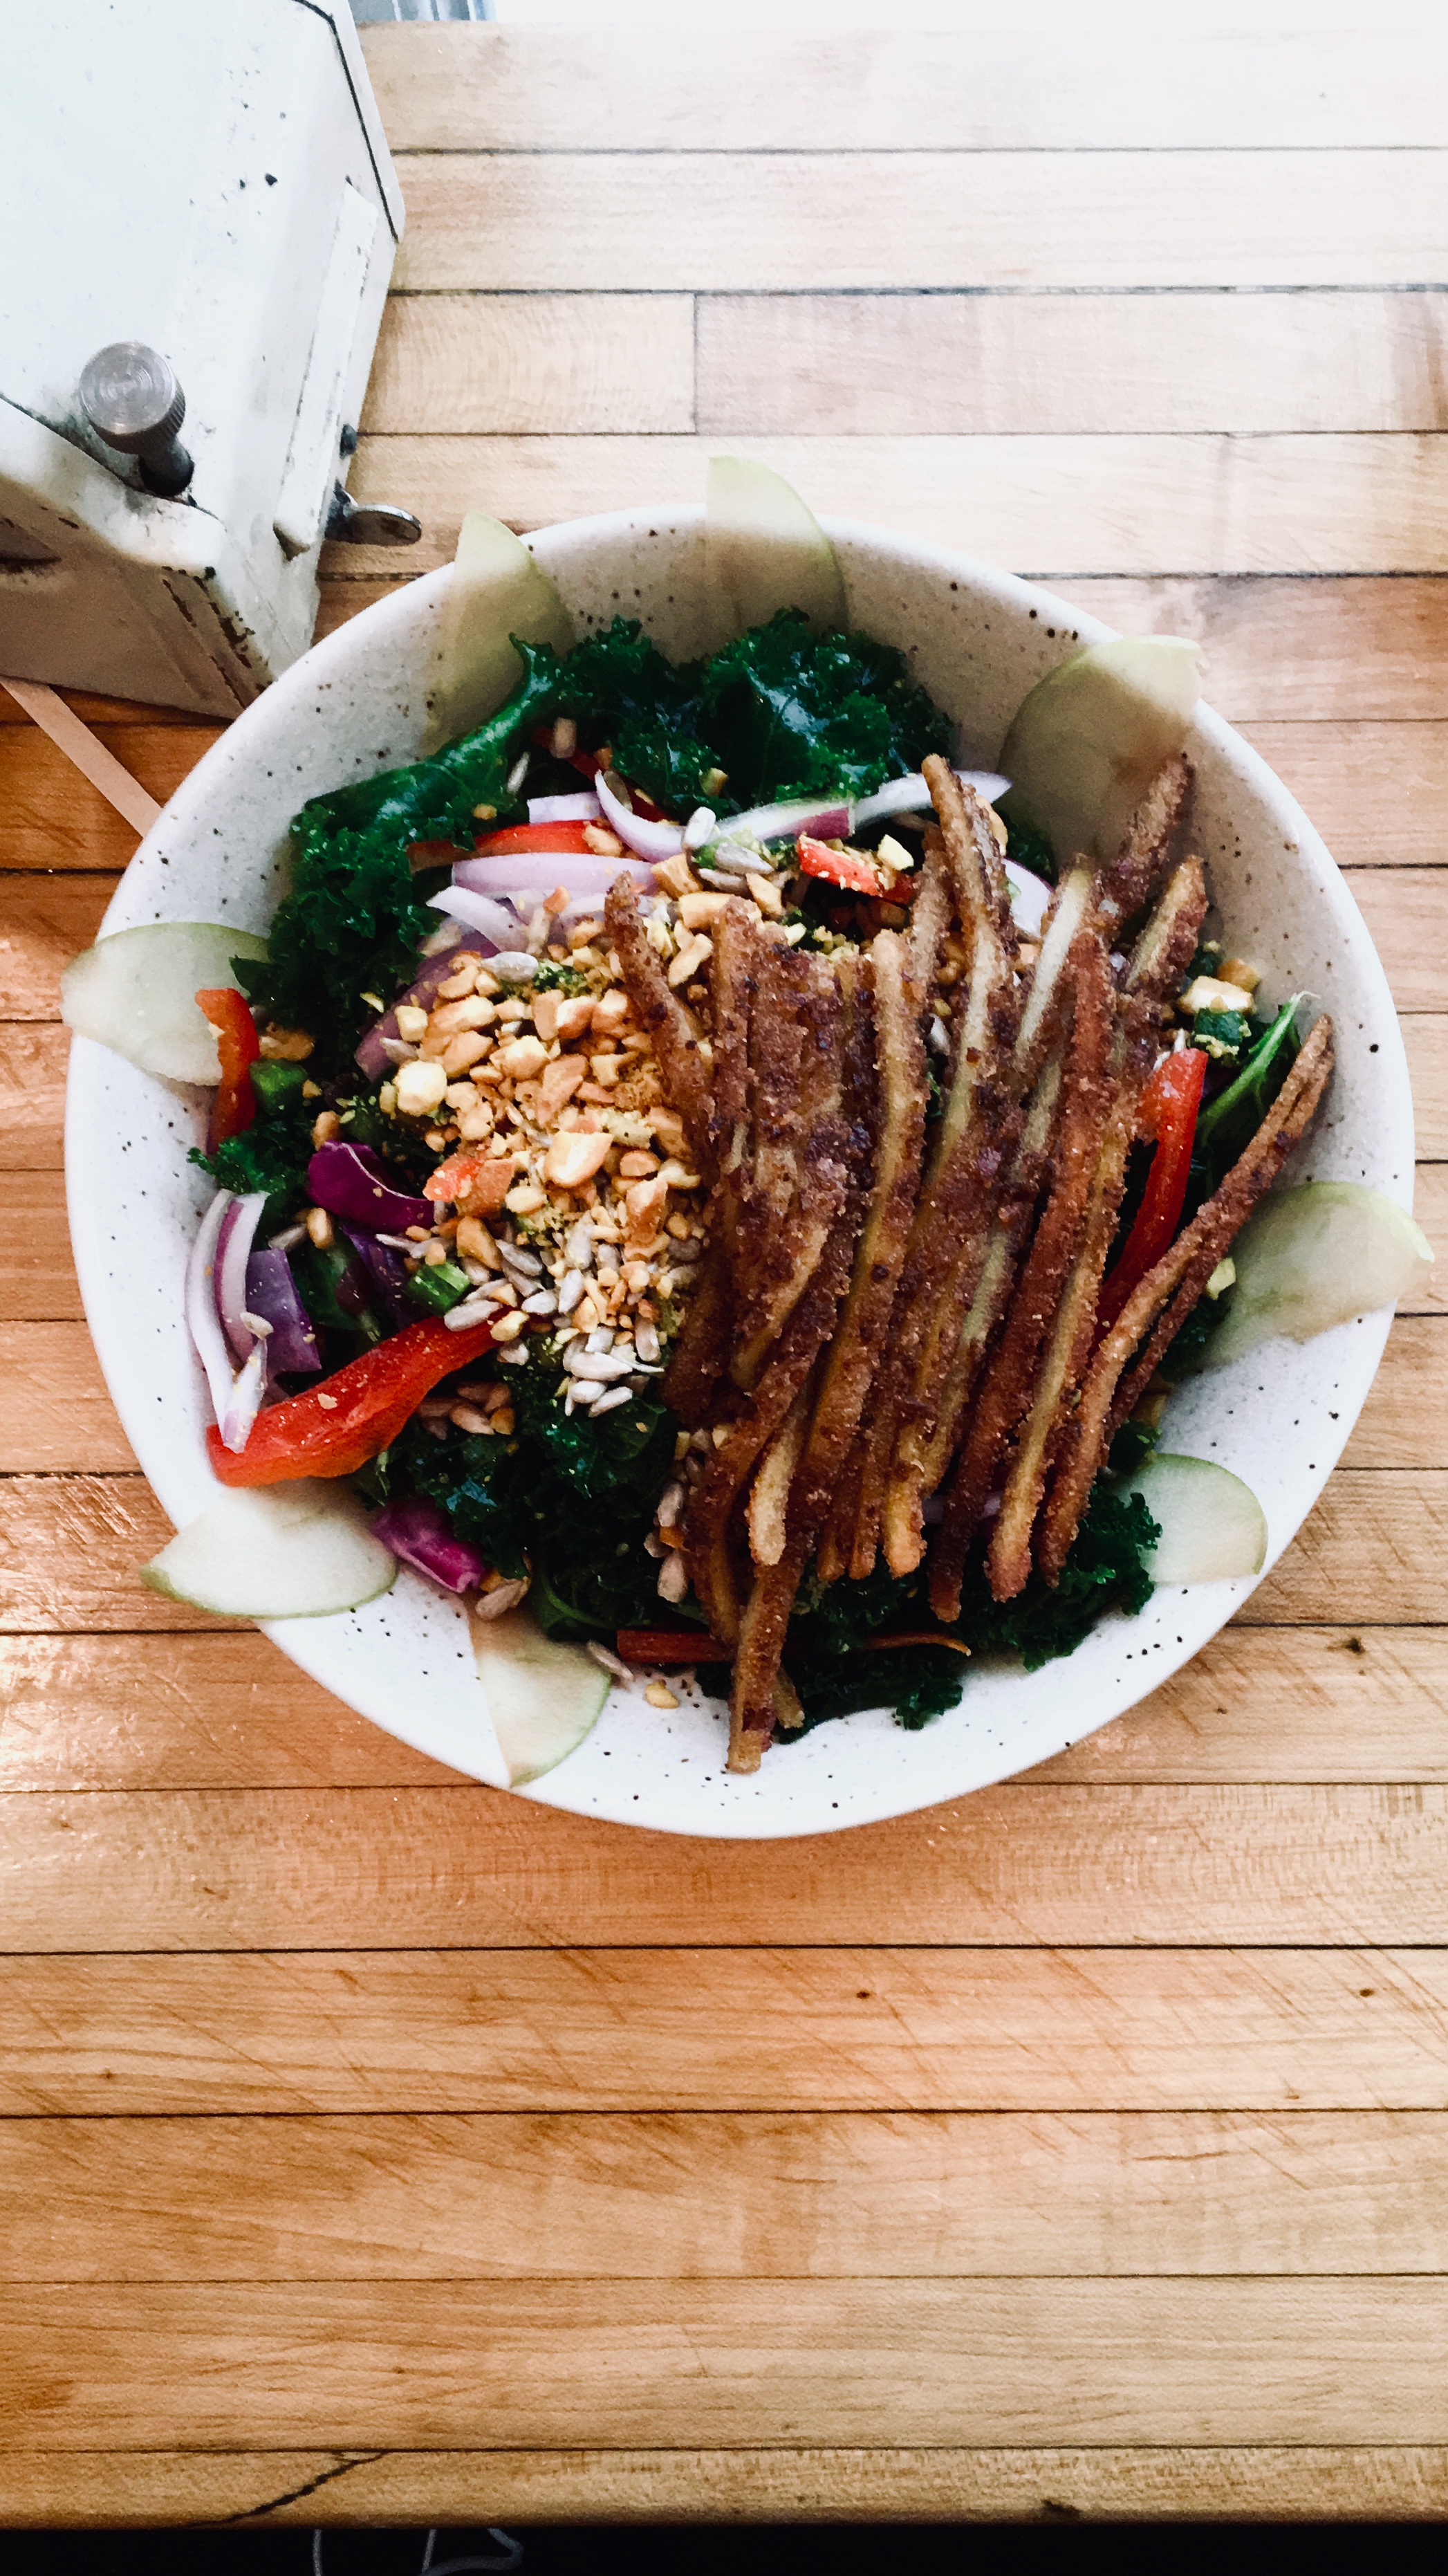
The Butcher’s Daughter– I got caught in the tail end of Hurricane Florence and had to battle through headache-inducing heavy rain to get here. It was worth it. This vegetarian NYC and LA hotshot has a sublime selection of fresh and wholesome, zingy, protein-rich salads. I had the self-professed” Best Kale Salad” and added some veggie chicken into the kale, red cabbage, green apple, jalapeno, red onion, mint, turmeric and cashew mix.

Dean & Deluca– In some ways I am sad that their plans to open a branch in London fell through and that they have settled for selling a minor selection of products at Selfridges. In other ways I am not, because if they had opened here I would probably have moved in and would now be rolling around due to gorging upon their selection of salads and endless array of artisanal snacks. Every time I walked past the crisp white exterior in NYC, I felt its magnetism drawing me in. Mostly I managed to restrict myself to buying a selection of salads. All are excellent, but the highlights were the General Tso cauliflower – battered, deep-fried and coated in a moreish, sticky sweet, umami sauce - and the sriracha-soaked tofu. The soups there are as good as many you would enjoy in a high-end restaurant. 

IMG_7531.jpg

Conversely, I’ve experienced pit stop, intra-state, highway grub, with the choice between early-onset obesity via deep fried foods, diabetes through the sugar-laden, inevitably chocolate-peanut butter coated candies, or heart attack via the sodium-laden snacks (I opted for the latter). 

The most radical of trends that emerged was the “substance on a stick” that prevailed as a dining option in the Maryland Renaissance Festival. The good folk of the festival clearly thought they were on to a good thing with this particular serving contrivance and didn’t feel the need for variation. Options included the following (see pictures for evidence):  white chocolate-coated key lime pie on a stick, dark chocolate-immersed cheesecake on a stick, sausage on a stick, chocolate-covered peanut butter pie on a stick, and macaroni cheese on a stick. The lattermost culinary innovation was my favourite - a praiseworthy feat of science, concocted to adhere strictly to the theme. Even the choice meat option, turkey leg, was by its very nature “on a stick” – the Neanderthal look of gnawing the dull red flesh from the bone worked well with those who were dressed in animal horns and fur (of which there were many).

fullsizeoutput_2a72.jpeg

And so I am back in reality – or what I can piece together:

it may only have been two weeks away but it feels weird to have to pronounce the “t” in water again (rather than a “d”) to make my request understood, to ask directions for the “loo”, not restroom, to not be in a tour bus laughing hysterically with eight other wickedly funny band (coven) members, to not feeling the daily adrenaline rush of performing and experiencing post-gig tequila-fueled highs, to not dancing to old school hip hop tunes in hotel rooms until 3am, and to reverting to cutlery after becoming accustomed to sticks. 

fullsizeoutput_2493.jpeg

Maryland Renaissance Festival

NYC

HUNGRY FOR MORE?

Comment

Virtuous Vegan Date & Peanut Butter Cookies

Comment

Virtuous Vegan Date & Peanut Butter Cookies

fullsizeoutput_d51.jpeg

If I told you that a vegan, refined sugar-free, protein-rich, wheat-free, ancient-grain (and if you so desire, gluten-free) cookie existed, you’d think it was the stuff of myth and legend or, alternatively, something so disgusting that it couldn’t be deemed edible.

Well, it does exist.

fullsizeoutput_d69.jpeg
fullsizeoutput_d50.jpeg

After an overindulgent stay in NYC, I made these for my birthday. They aren’t overpoweringly sweet, and they aren’t going to be equivalent to the 500 calories a pop thick, fudgy cookies you see in bakeries. However, they are delicious in their own right, soft and just sweet enough. Plus, being vaguely healthy automatically entitles one to devour 5x the quantity. In fact, for a snack to be officially deemed a source of protein, it needs to contain 6g protein. Well, 3 of these cookies contain just that.

fullsizeoutput_d54.jpeg
fullsizeoutput_d77.jpeg

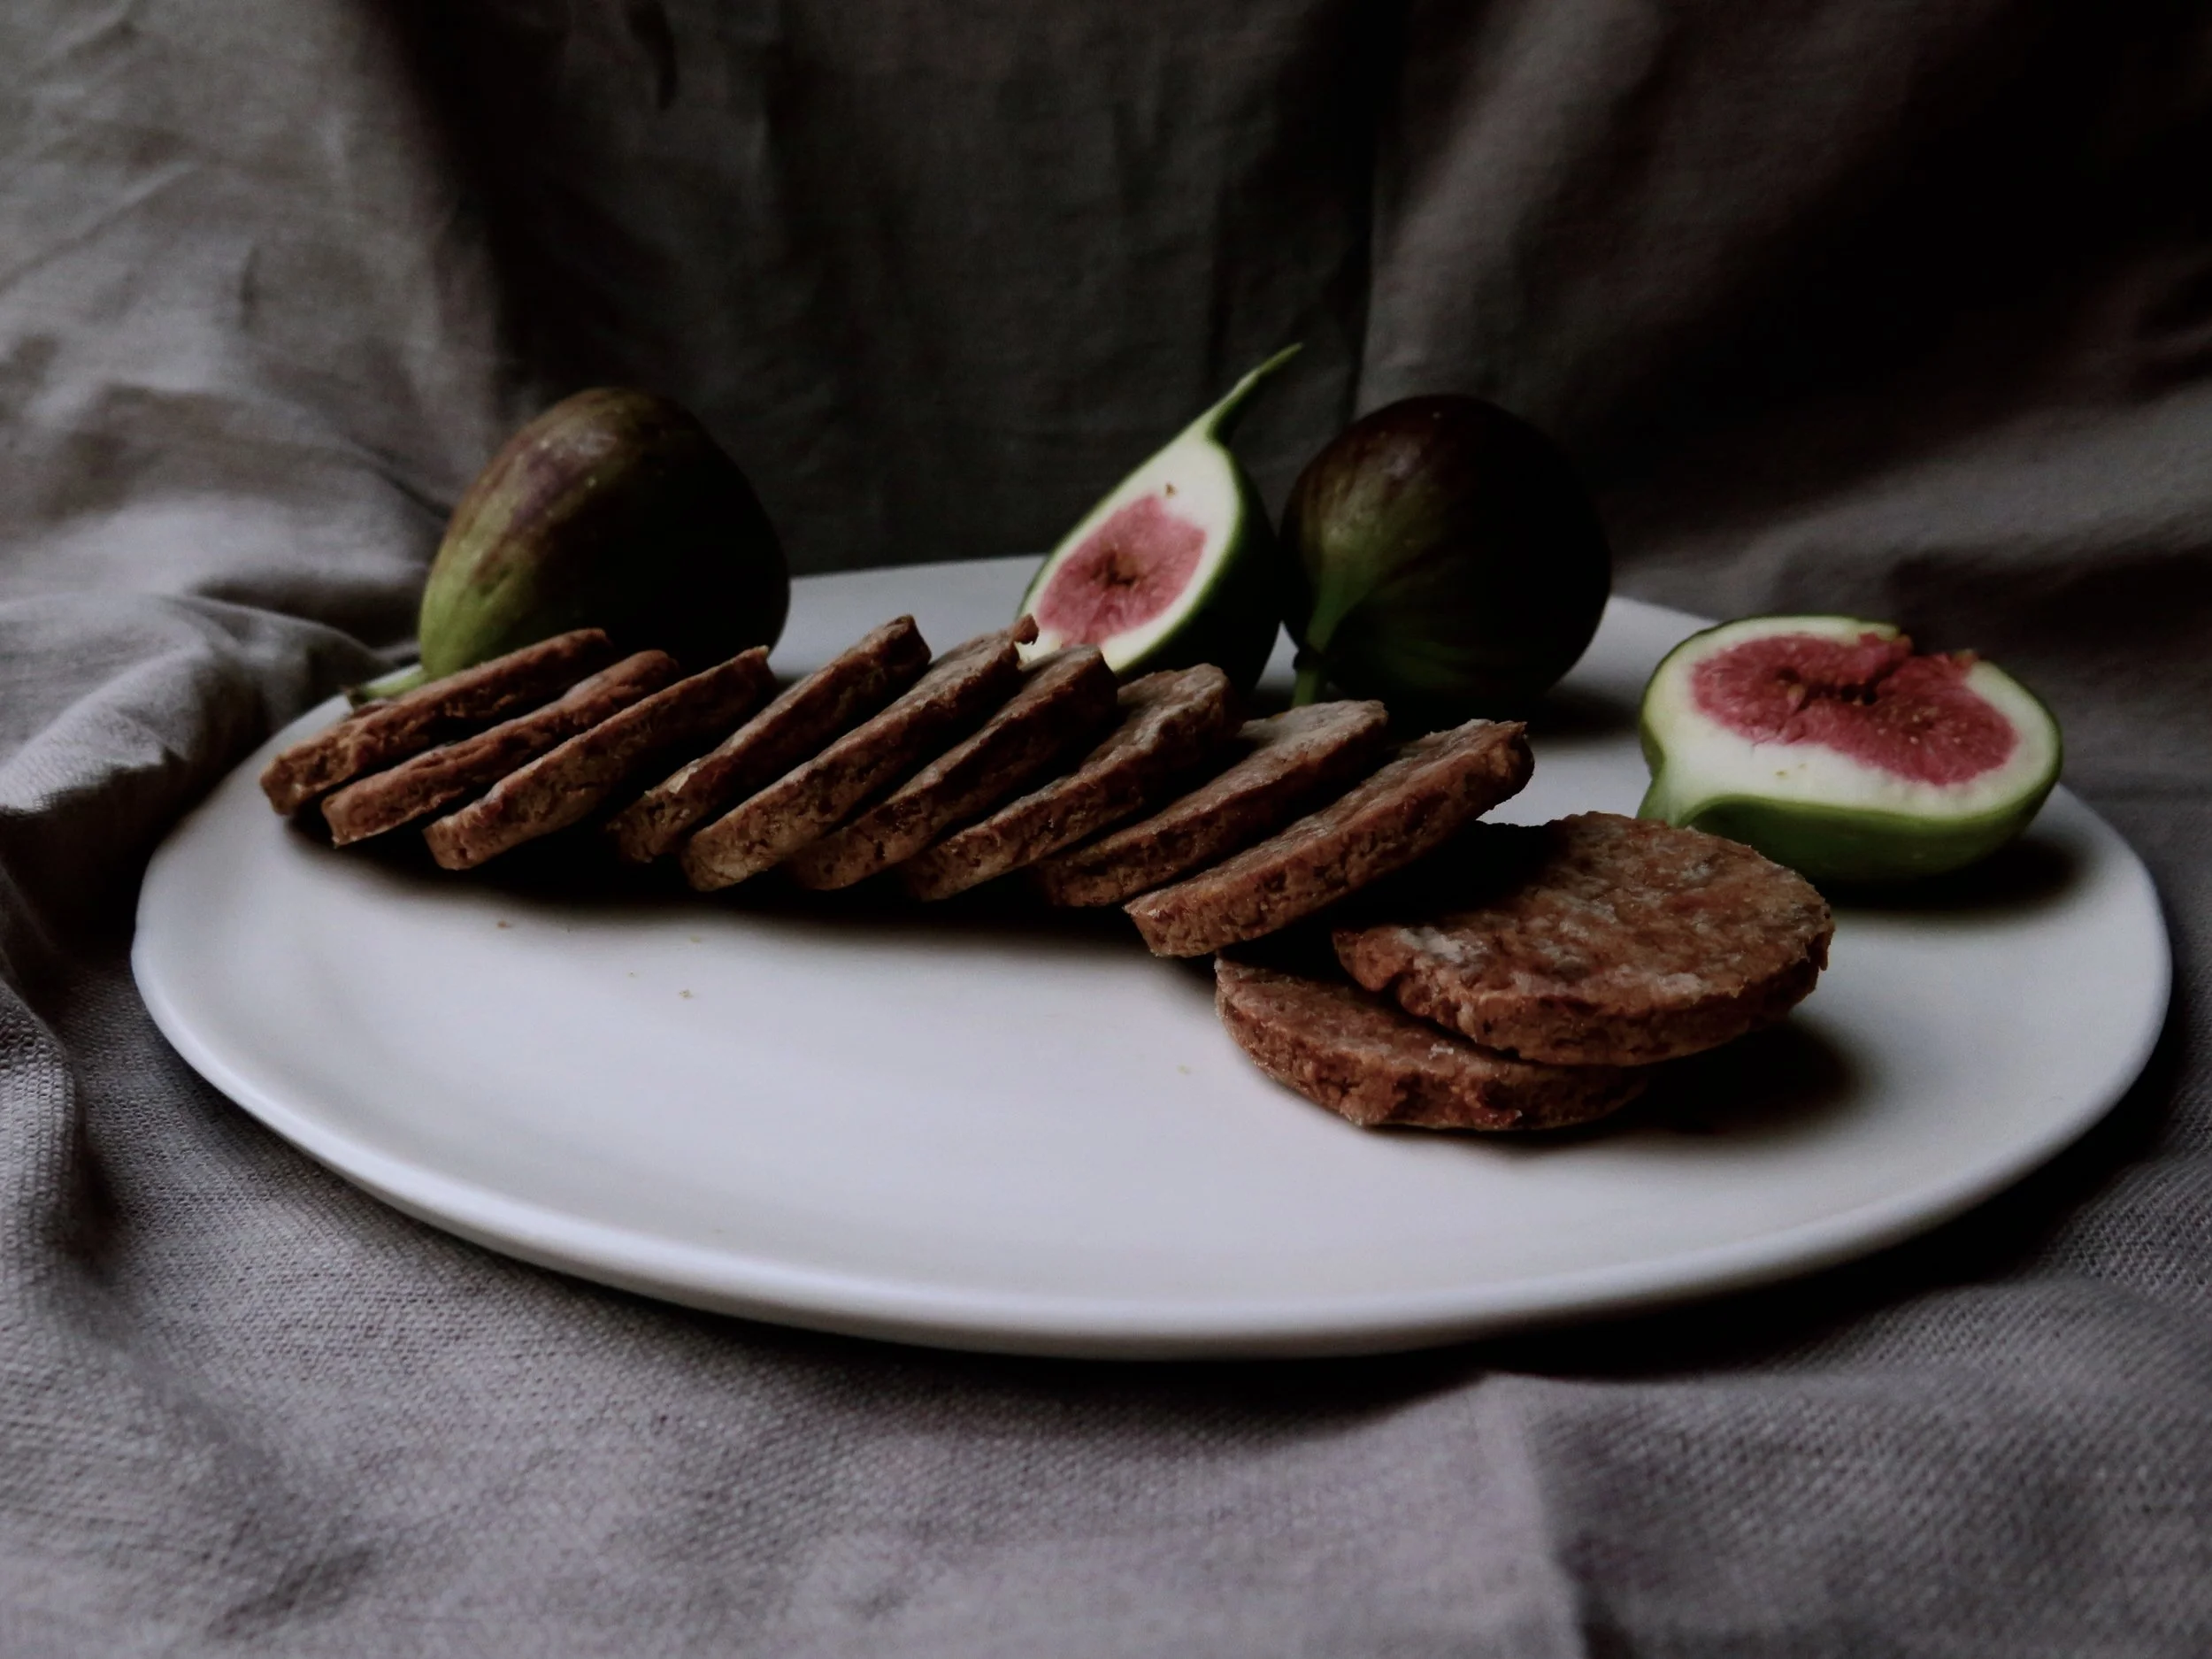
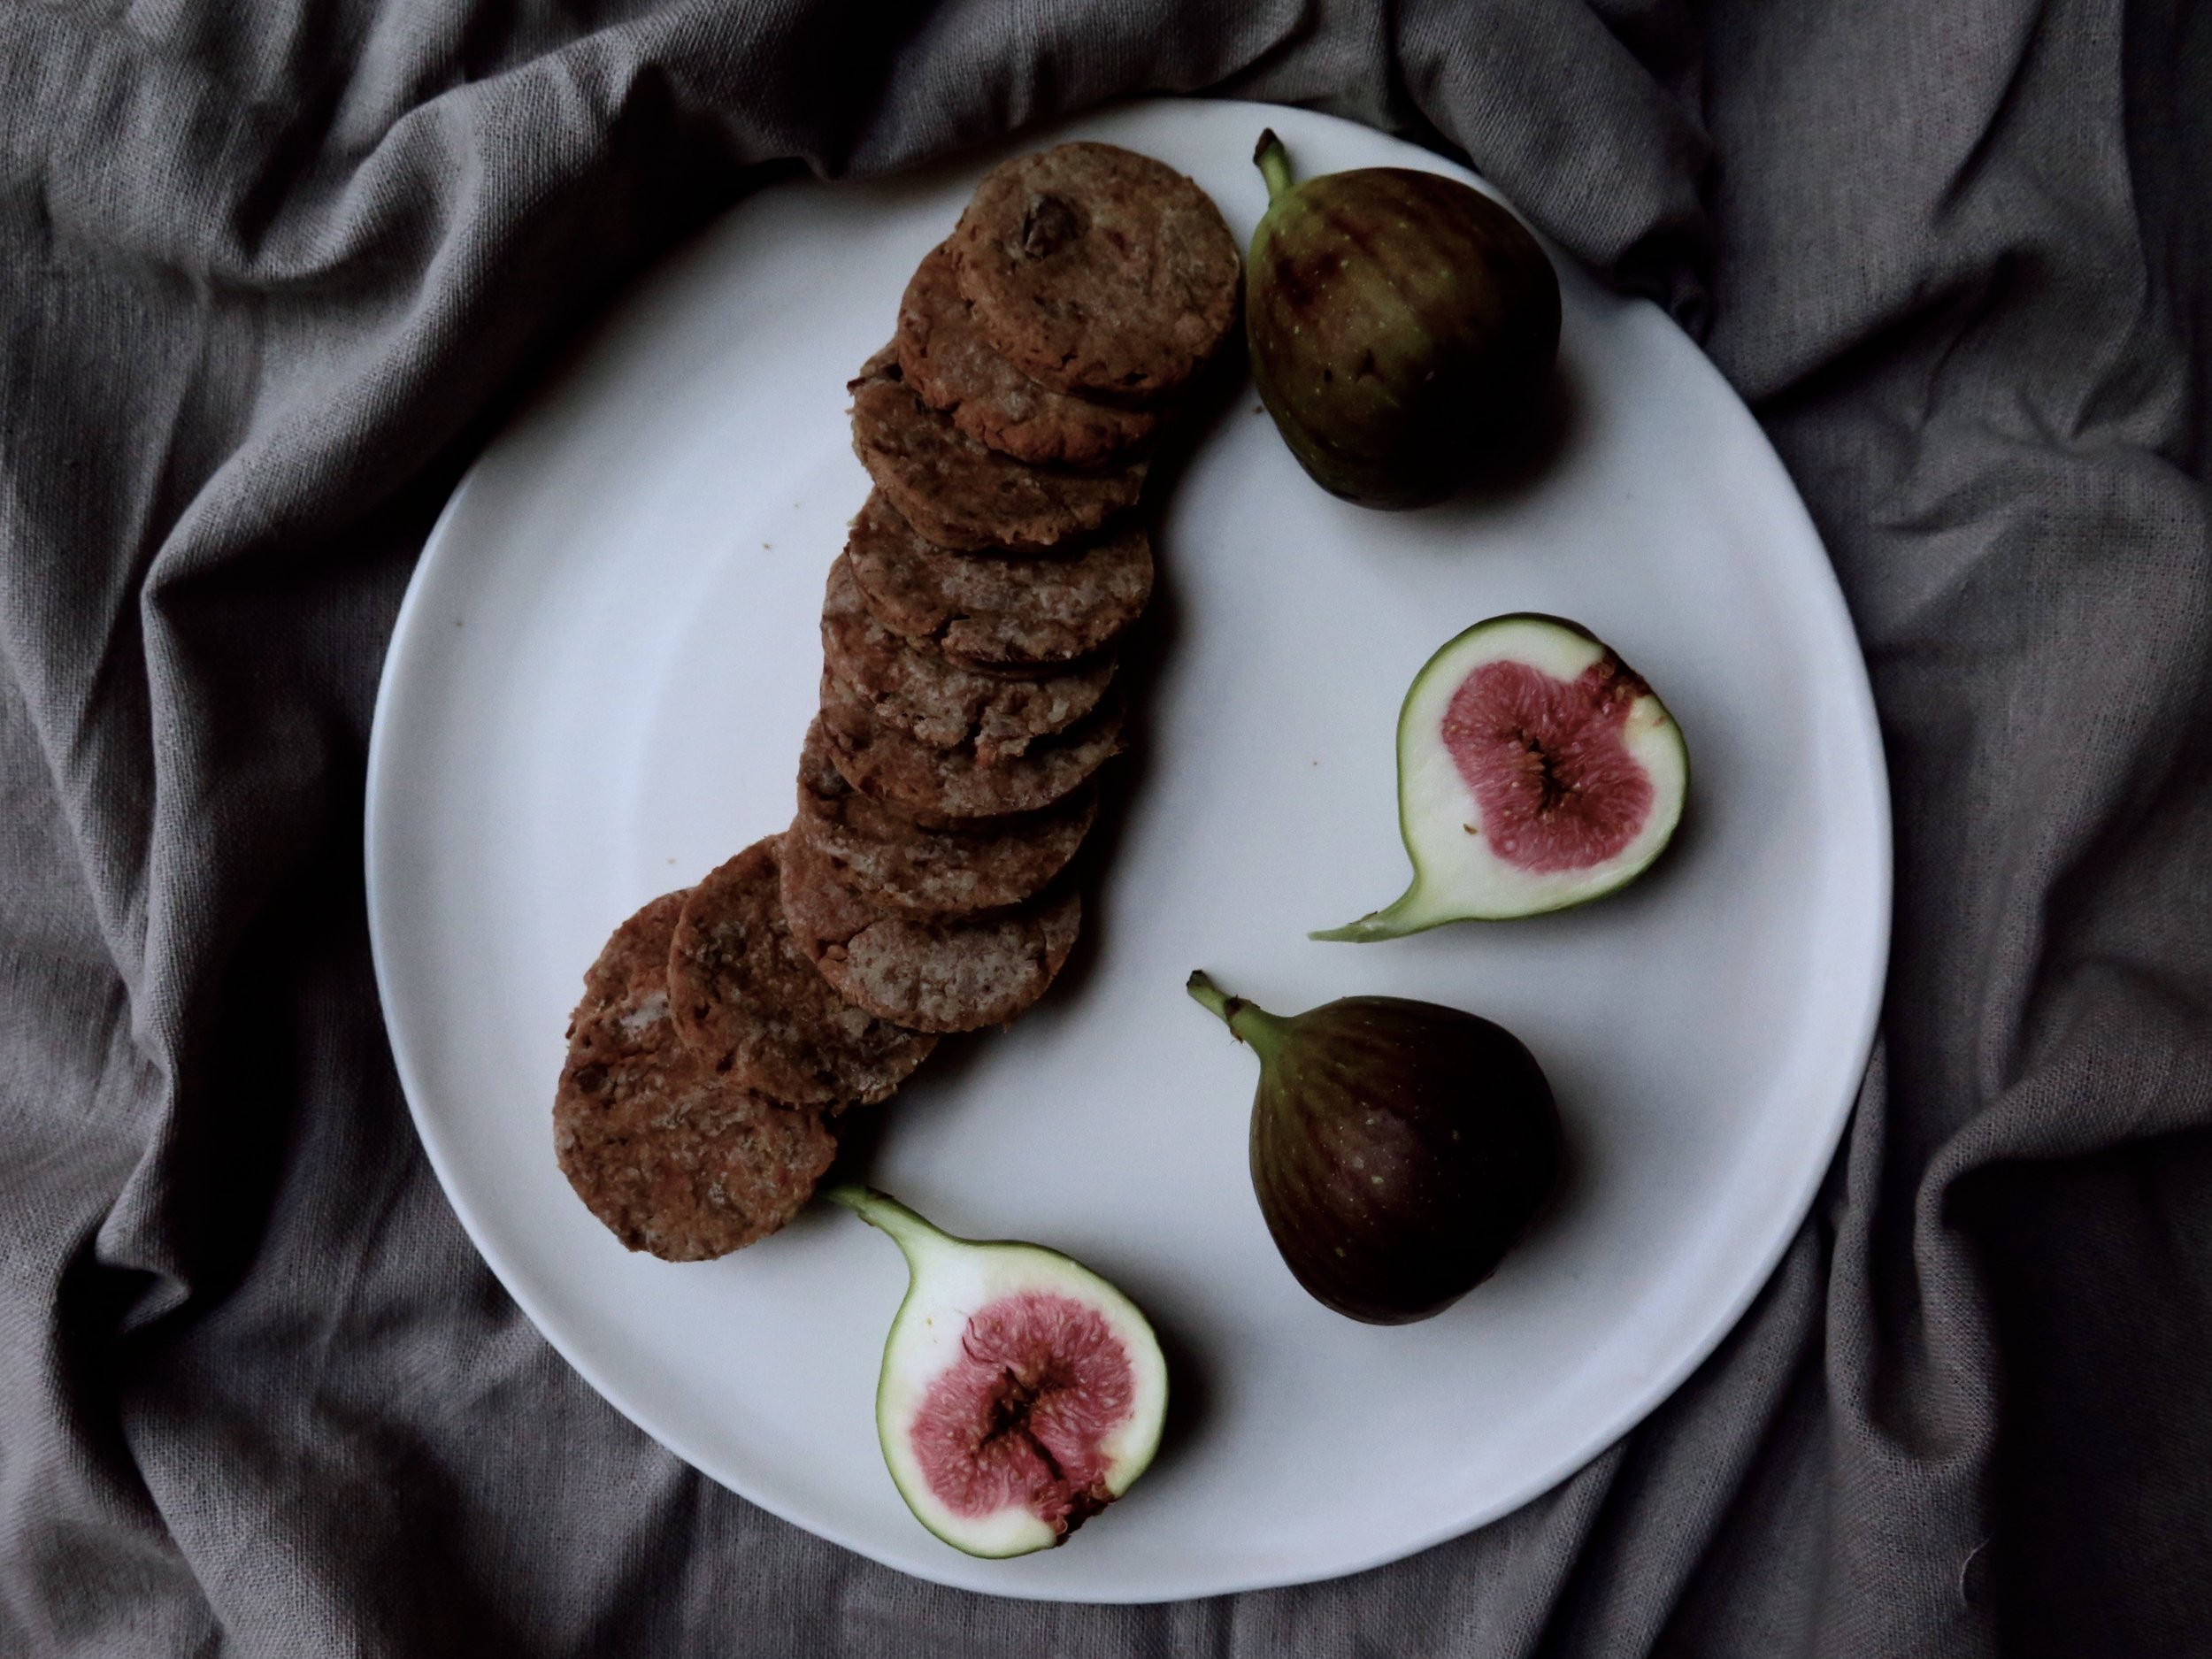
They are extremely quick to conjure up and would be good for that weak-point, late afternoon slump when you crave something sweet, and delicious, too, paired with a (vegan) ice cream for dessert, or even with a wedge of stilton and a dollop of pear compote if you’re going down the non-vegan route. If you want a slightly more savoury option, substitute the dates with figs as in the photos.

fullsizeoutput_d58.jpeg
fullsizeoutput_d7a.jpeg
fullsizeoutput_d82.jpeg

Ingredients (makes 20 medium cookies)

160g pitted medjool dates, roughly chopped (about 10) (if you want a more savoury cookie, substitute dates with figs, as per the photos)

4 tbsp orange juice

4 tbsp water

1 tsp vanilla

½ tsp finely grated orange zest

80g smooth peanut butter

200g spelt flour (or gluten free flour)

½ tsp mixed spice

¼ tsp salt

baking tray lined with baking parchment

4-5cm round cookie cutter


Method

1)    Pre-heat oven to 180°C

2)    Place the chopped dates, orange juice, water, vanilla extract and orange zest in a small pan over a medium/high heat and allow to come to a boil. Stir continuously for about 4/5 minutes until all the liquid has evaporated and the dates have turned into a thick, sticky pulp.

3)    Place the date mixture together with the peanut butter in a blender and pulse until smooth. Pour in the spelt flour, mixed spice, and salt and pulse until it comes together to form a slightly sticky dough.

4)    Lightly flour a board and roll out the dough to a 0.5cm thickness. Stamp out cookies with the cutter and place on the baking tray. Bake in the oven for 7-10 minutes until firm and slightly golden. Allow to cool, then devour.

fullsizeoutput_d6f.jpeg
fullsizeoutput_d89.jpeg

HUNGRY FOR MORE?

Comment

Roasted Strawberry & Vanilla Cake

Comment

Roasted Strawberry & Vanilla Cake

...& 14 Thoughts from the Kitchen Sink

From the moronic to the morbid, here’s an insight into what happens when I bake and let my mind wander:

fullsizeoutput_13fd.jpeg

-      Drowning in a vat of sticky bread dough would probably be the worst way to die.

-      When you sieve icing sugar and it puffs into the air in clouds, how many calories are there in one mouthful of air?

-      Why do so many obscure meats taste like chicken and not beef?

fullsizeoutput_13f8.jpeg

-      What is the significance of sometimes craving baby food - especially rusks, and pureed apple and banana?

-      Why do we delude ourselves that avocado on toast has been ‘smashed’?  I’ve never seen anyone smash an avocado.  I suppose ‘smeared’ doesn’t have the same ring to it.

-      If I could subsist on one food for the rest of my life it would most likely be oats.

fullsizeoutput_1332.jpeg

-      Nandos’ ‘hot’ sauce is anachronistic.  It was created about 20 years ago and people’s (i.e.my brother’s and my) tolerance for heat has gone up.  They should downgrade it to ‘medium’.

-      What was the exact moment when someone decided to put sugar, milk, butter and flour together to make the very first cake?

-      How do you know nigella seeds are nigella seeds and not mouse droppings?

fullsizeoutput_13b8.jpeg

-      If 2017 was the year of slime porn, why can’t 2018 be the year of dough porn? 

-      Earlier this year some pig farmers tried to halt the use of pig terminology as connotative of greed.  Imagine if other farmers were to do the same: we couldn’t exclaim something was cheesy, or call people ugly cows, or ask people with whom we’re angry if they want beef, or complain that bland people are vanilla, or exclaim that someone is mutton dressed up as lamb, or taunt cowards as being chicken…

fullsizeoutput_13e4.jpeg

-      How many times in my life has a waiter spat in my food on purpose?

-      Why do I have six jars of preserved lemons in my cupboard when I only use a small shaving of one once a year?

-      The smell of freshly baked bread should be a perfume.

fullsizeoutput_139a.jpeg
fullsizeoutput_1369.jpeg

That’s enough musing for one day.

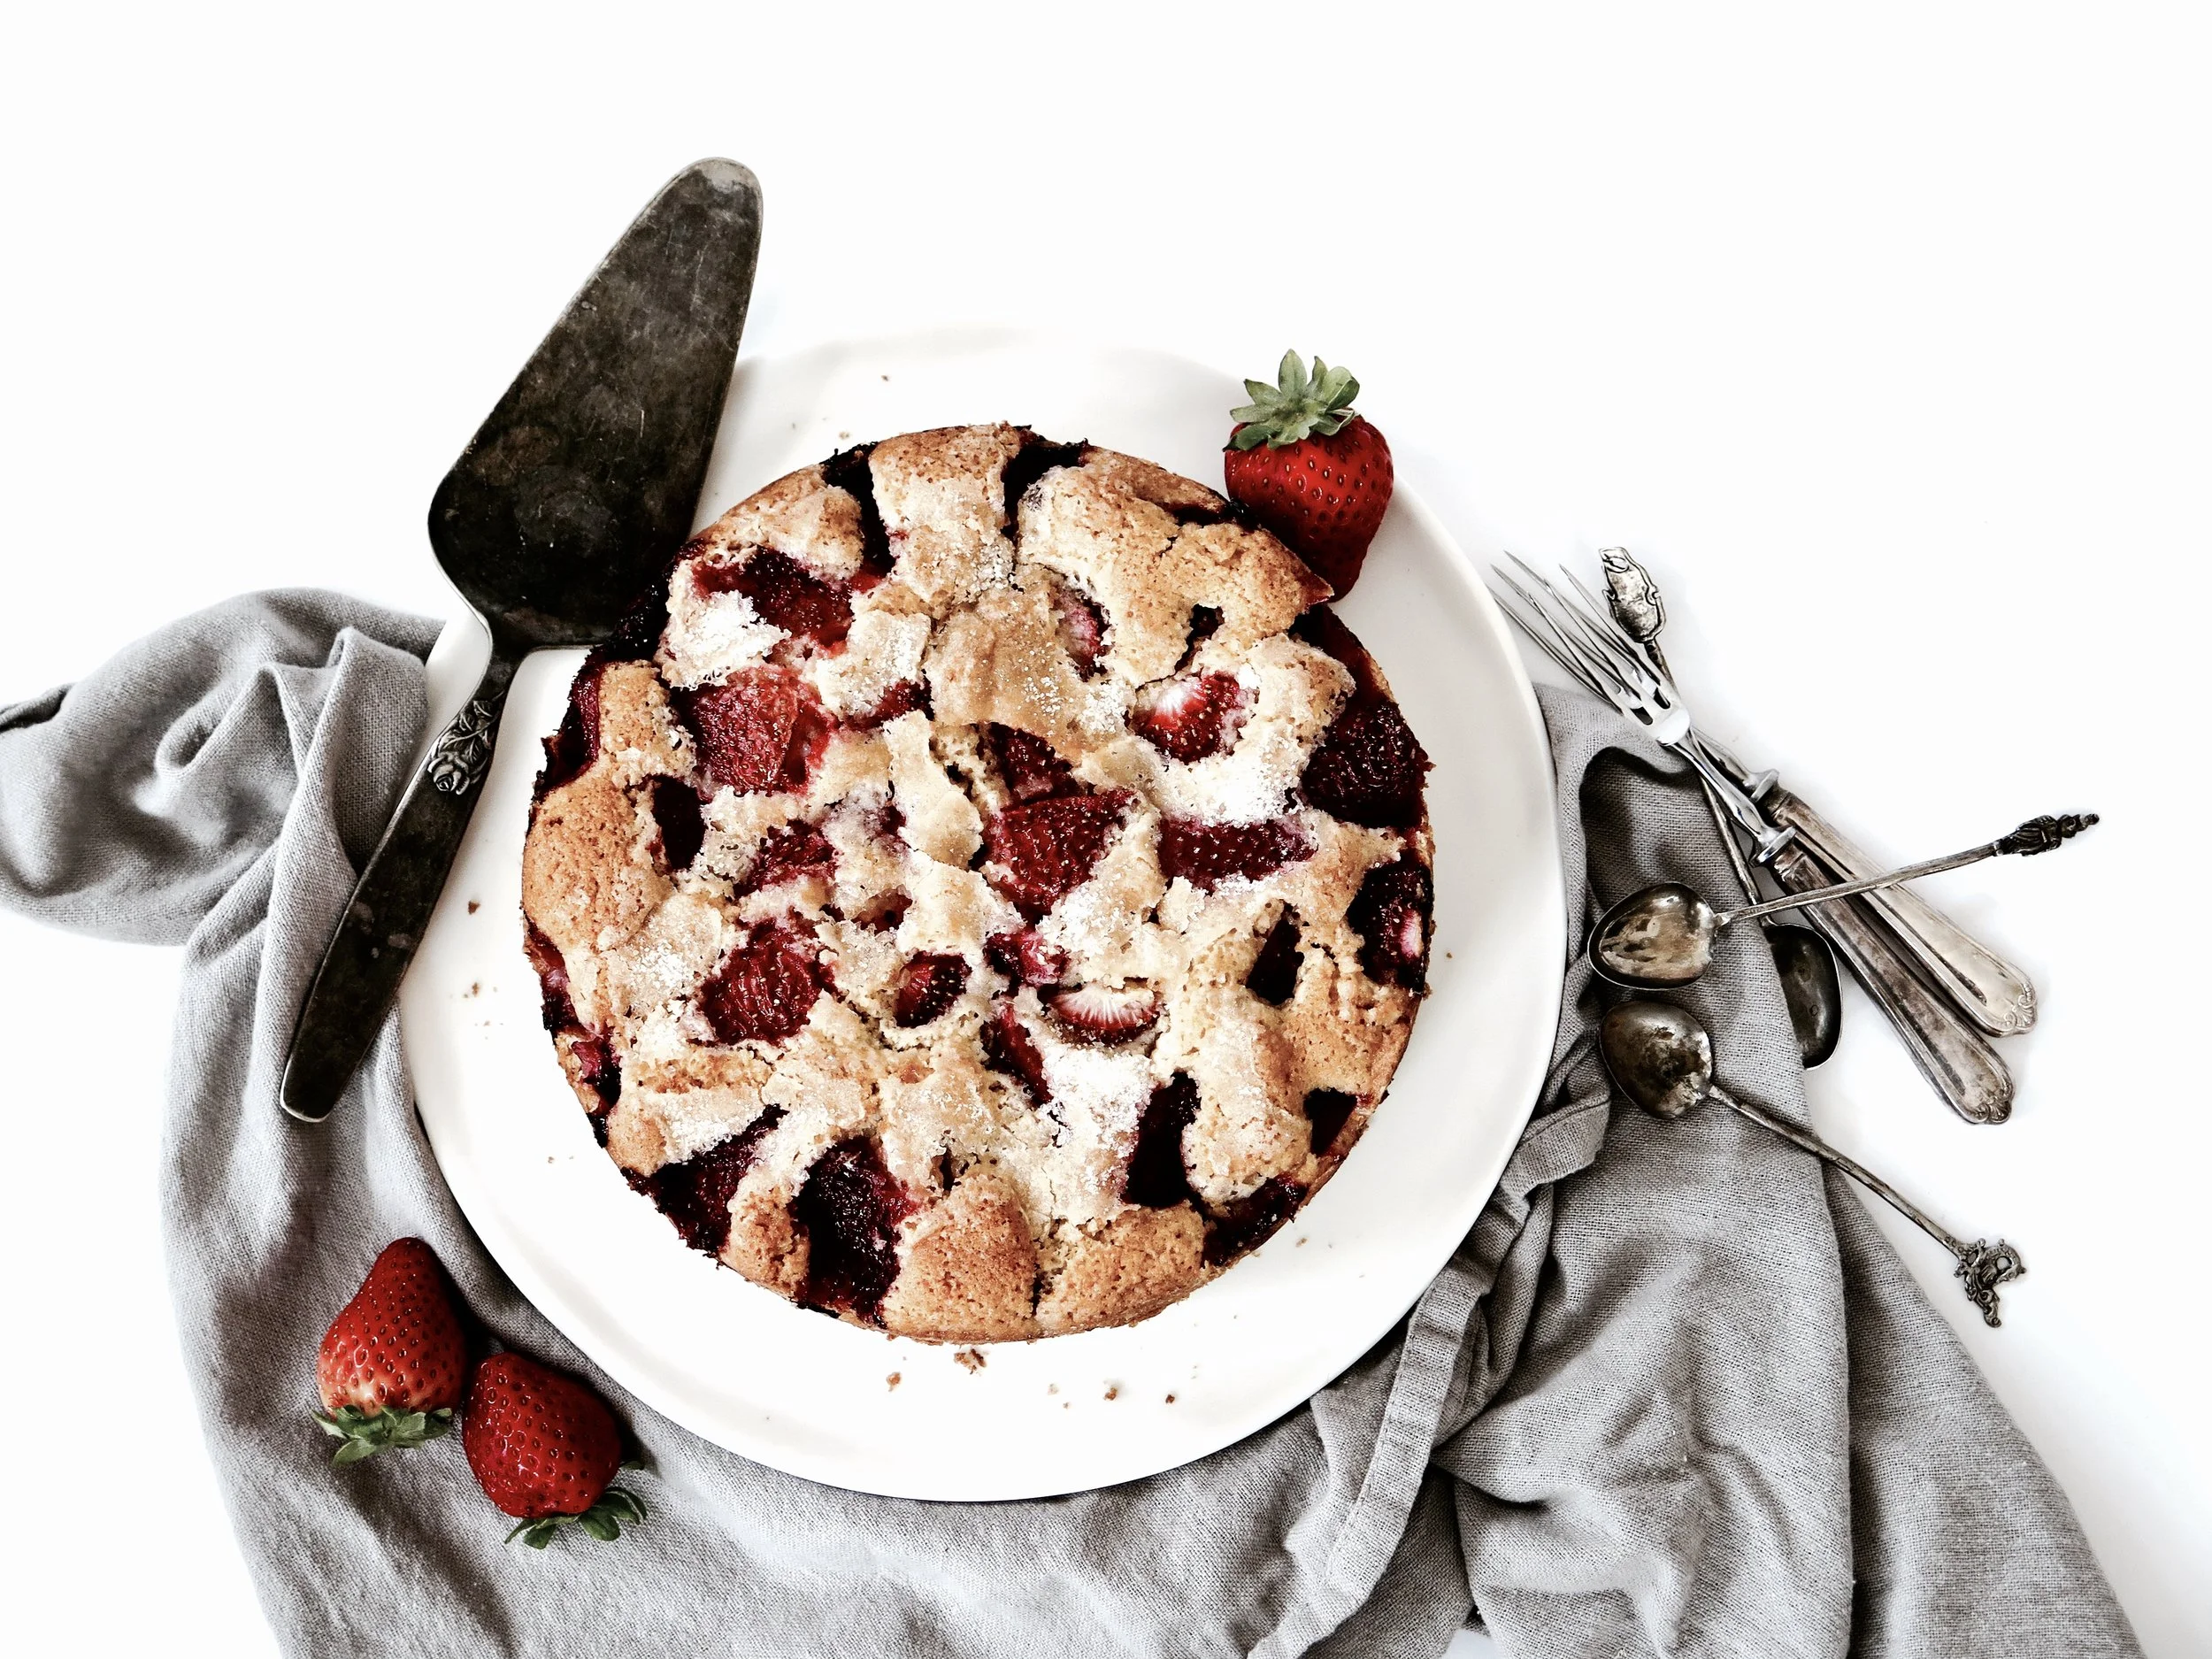
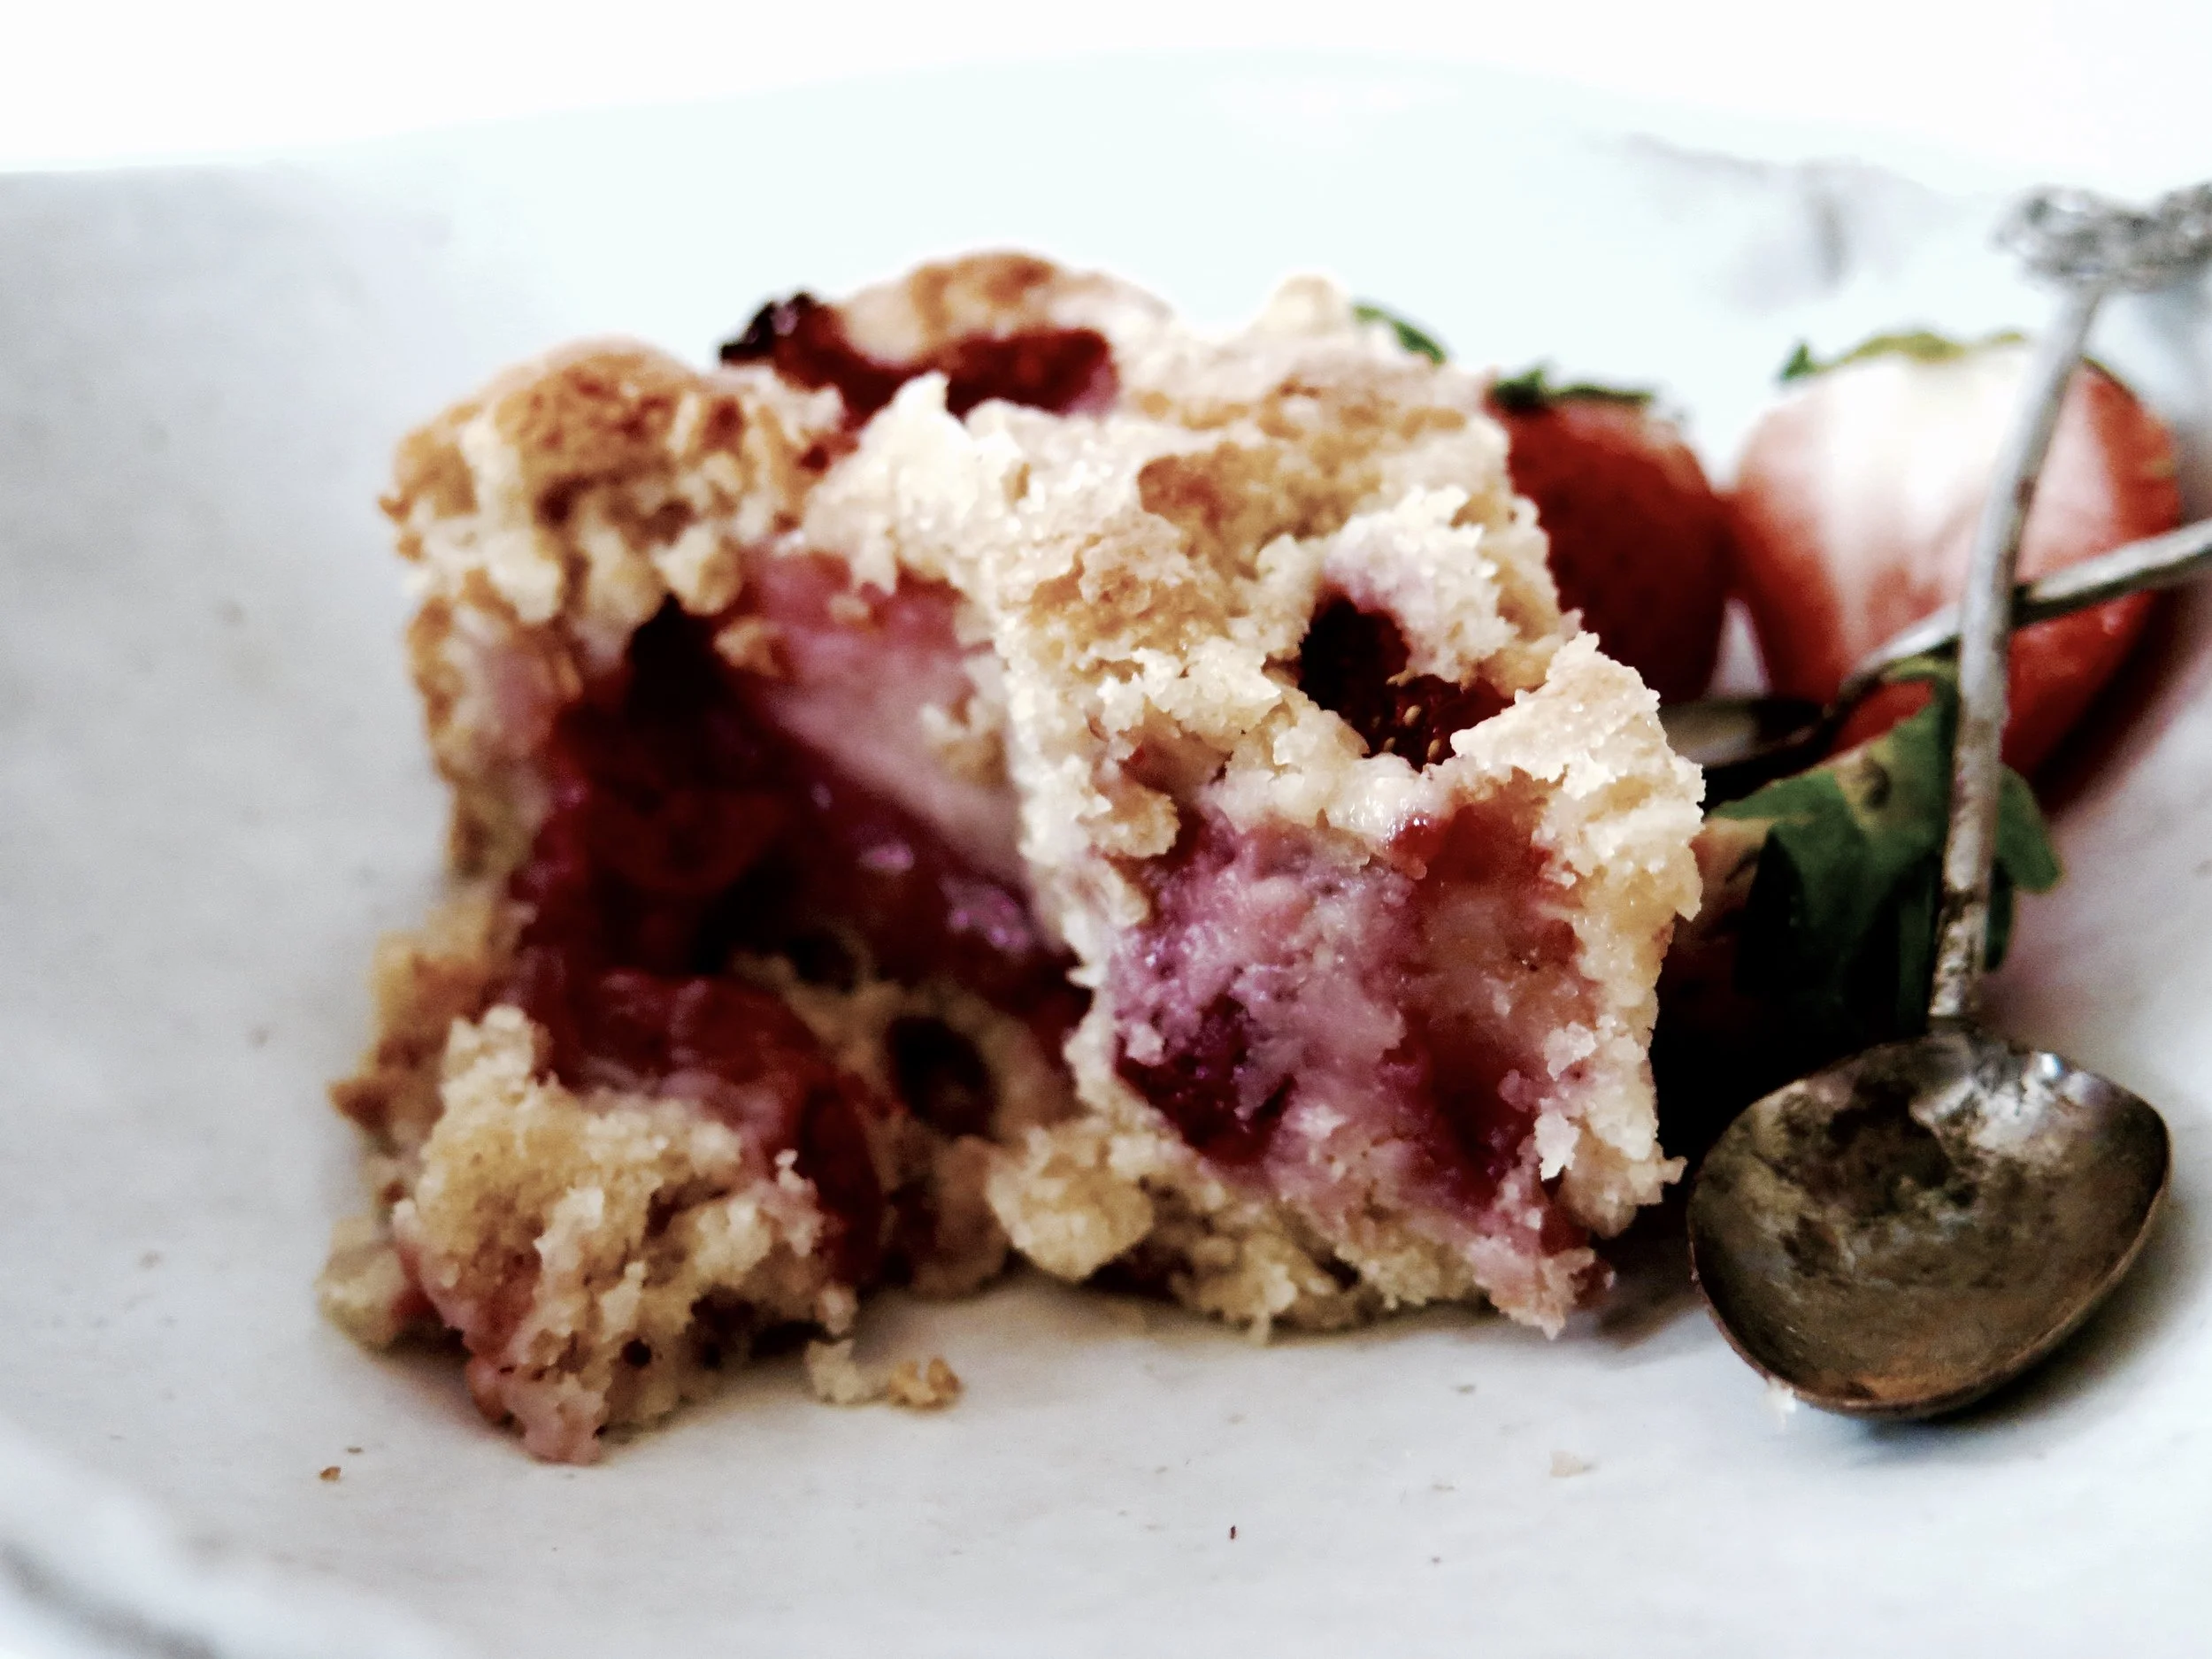
Here’s the recipe for an exceedingly luscious cake. It is succulent, and filled with roasted strawberries so that there is at least one deliquescing in every bite. The berries on the surface turn almost jam-like in the oven.  Absurdly quick and easy to make, it is totally moreish. 

NB. This cake can be made gluten-free by substituting the flour for gluten free. 

Luscious Strawberry cake  

Serves 6-8 (depending on level of greed)

Ingredients

85g unsalted butter, at room temperature

160g caster sugar + 2 tbsp for the topping

1 large egg

120ml milk

1 tsp vanilla extract

190g white spelt flour (or gluten-free equivalent)

1 1/2 tsp baking powder

1/2 tsp salt

400g strawberries, after having been hulled and halved

20cm diameter round springform cake tin, either totally lined with baking parchment (if you’re feeling lazy and you don’t mind crinkly cake sides), or thoroughly greased with butter and the base lined with a circle of baking parchment


Method

1)   Preheat the oven to 180°C. 

2)   Either by hand or in a stand mixer fitted with the paddle, beat the butter and sugar together until soft, light and fluffy (which should take about three minutes).  Then pour in the egg, milk and vanilla extract and beat to combine. It may look slightly curdled but that is not a problem.

3)   Into the wet ingredients sieve the flour, baking powder and salt. Gently fold the dry ingredients through until the batter is smooth and fully combined.  Pour into the prepared cake tin.

4)   Arrange the strawberries cut side down in the batter. You make need to overlap some or push some down to fit them all in. Sprinkle the 2 tbsp of caster sugar over the top and place in the oven. 

5)   Bake for 45-55 minutes (depending on oven), checking after 30 minutes. You may need to cover the top with aluminium foil if the surface looks at risk of becoming too dark. When ready, the top should be a deep gold and a cake tester should come out batterless (moisture from the strawberries will prevent it from coming out totally clean).

6)   Allow to cool on a wire rack and devour on the day, or within two days, of baking.

(Adapted from Smitten Kitchen)

fullsizeoutput_13c9.jpeg

HUNGRY FOR MORE?

Comment

Spring Pea, Spinach & Mint Soup

Comment

Spring Pea, Spinach & Mint Soup

fullsizeoutput_11ee.jpeg

Nowadays we have the fired-up drama, programmes that are lurid, sweary, and sweaty: Iron Chef, Hell’s Kitchen, the straw-haired, backward-sunglass wearing entity that is Guy Fieri. I still find myself sucked into the carefully contrived vortex of dramatics, where someone burns their hand off or the climax is a grotesquely-sized burger oozing with cellulite-whispering cheese.

fullsizeoutput_1203.jpeg
fullsizeoutput_120c.jpeg

But I have an enduring appreciation for the most simple of concepts that were the foundation for many of today’s cooking programmes: green peppers, red tomato; Ainsley Harriet, metre long streams of oil with one arm tucked behind his back; clotted nests of finely spun sugar; dishes named with achingly tenuous puns. Sometimes I long for those days of Ready Steady Cook in its original format. Particularly captivating was the down to earth “quickie bag” challenge: a handful of seasonal ingredients, an on-the-spot declaration of the dish to be conjured up, followed by a frenzied 10 minutes to make good on the promise. 

fullsizeoutput_11ff.jpeg

It was raw, unedited, unscripted and exposed – a rare combination these days. And that challenge which has now mutated into the MasterChef mystery box challenge is one that I try to set myself every time the contents of the fridge begin to look pitiful. One man’s debris can be another’s feast. All it requires is a little creativity and imagination (unless your fridge stocks only alcohol, like that of several people I know…).

fullsizeoutput_1207.jpeg
fullsizeoutput_11f7.jpeg

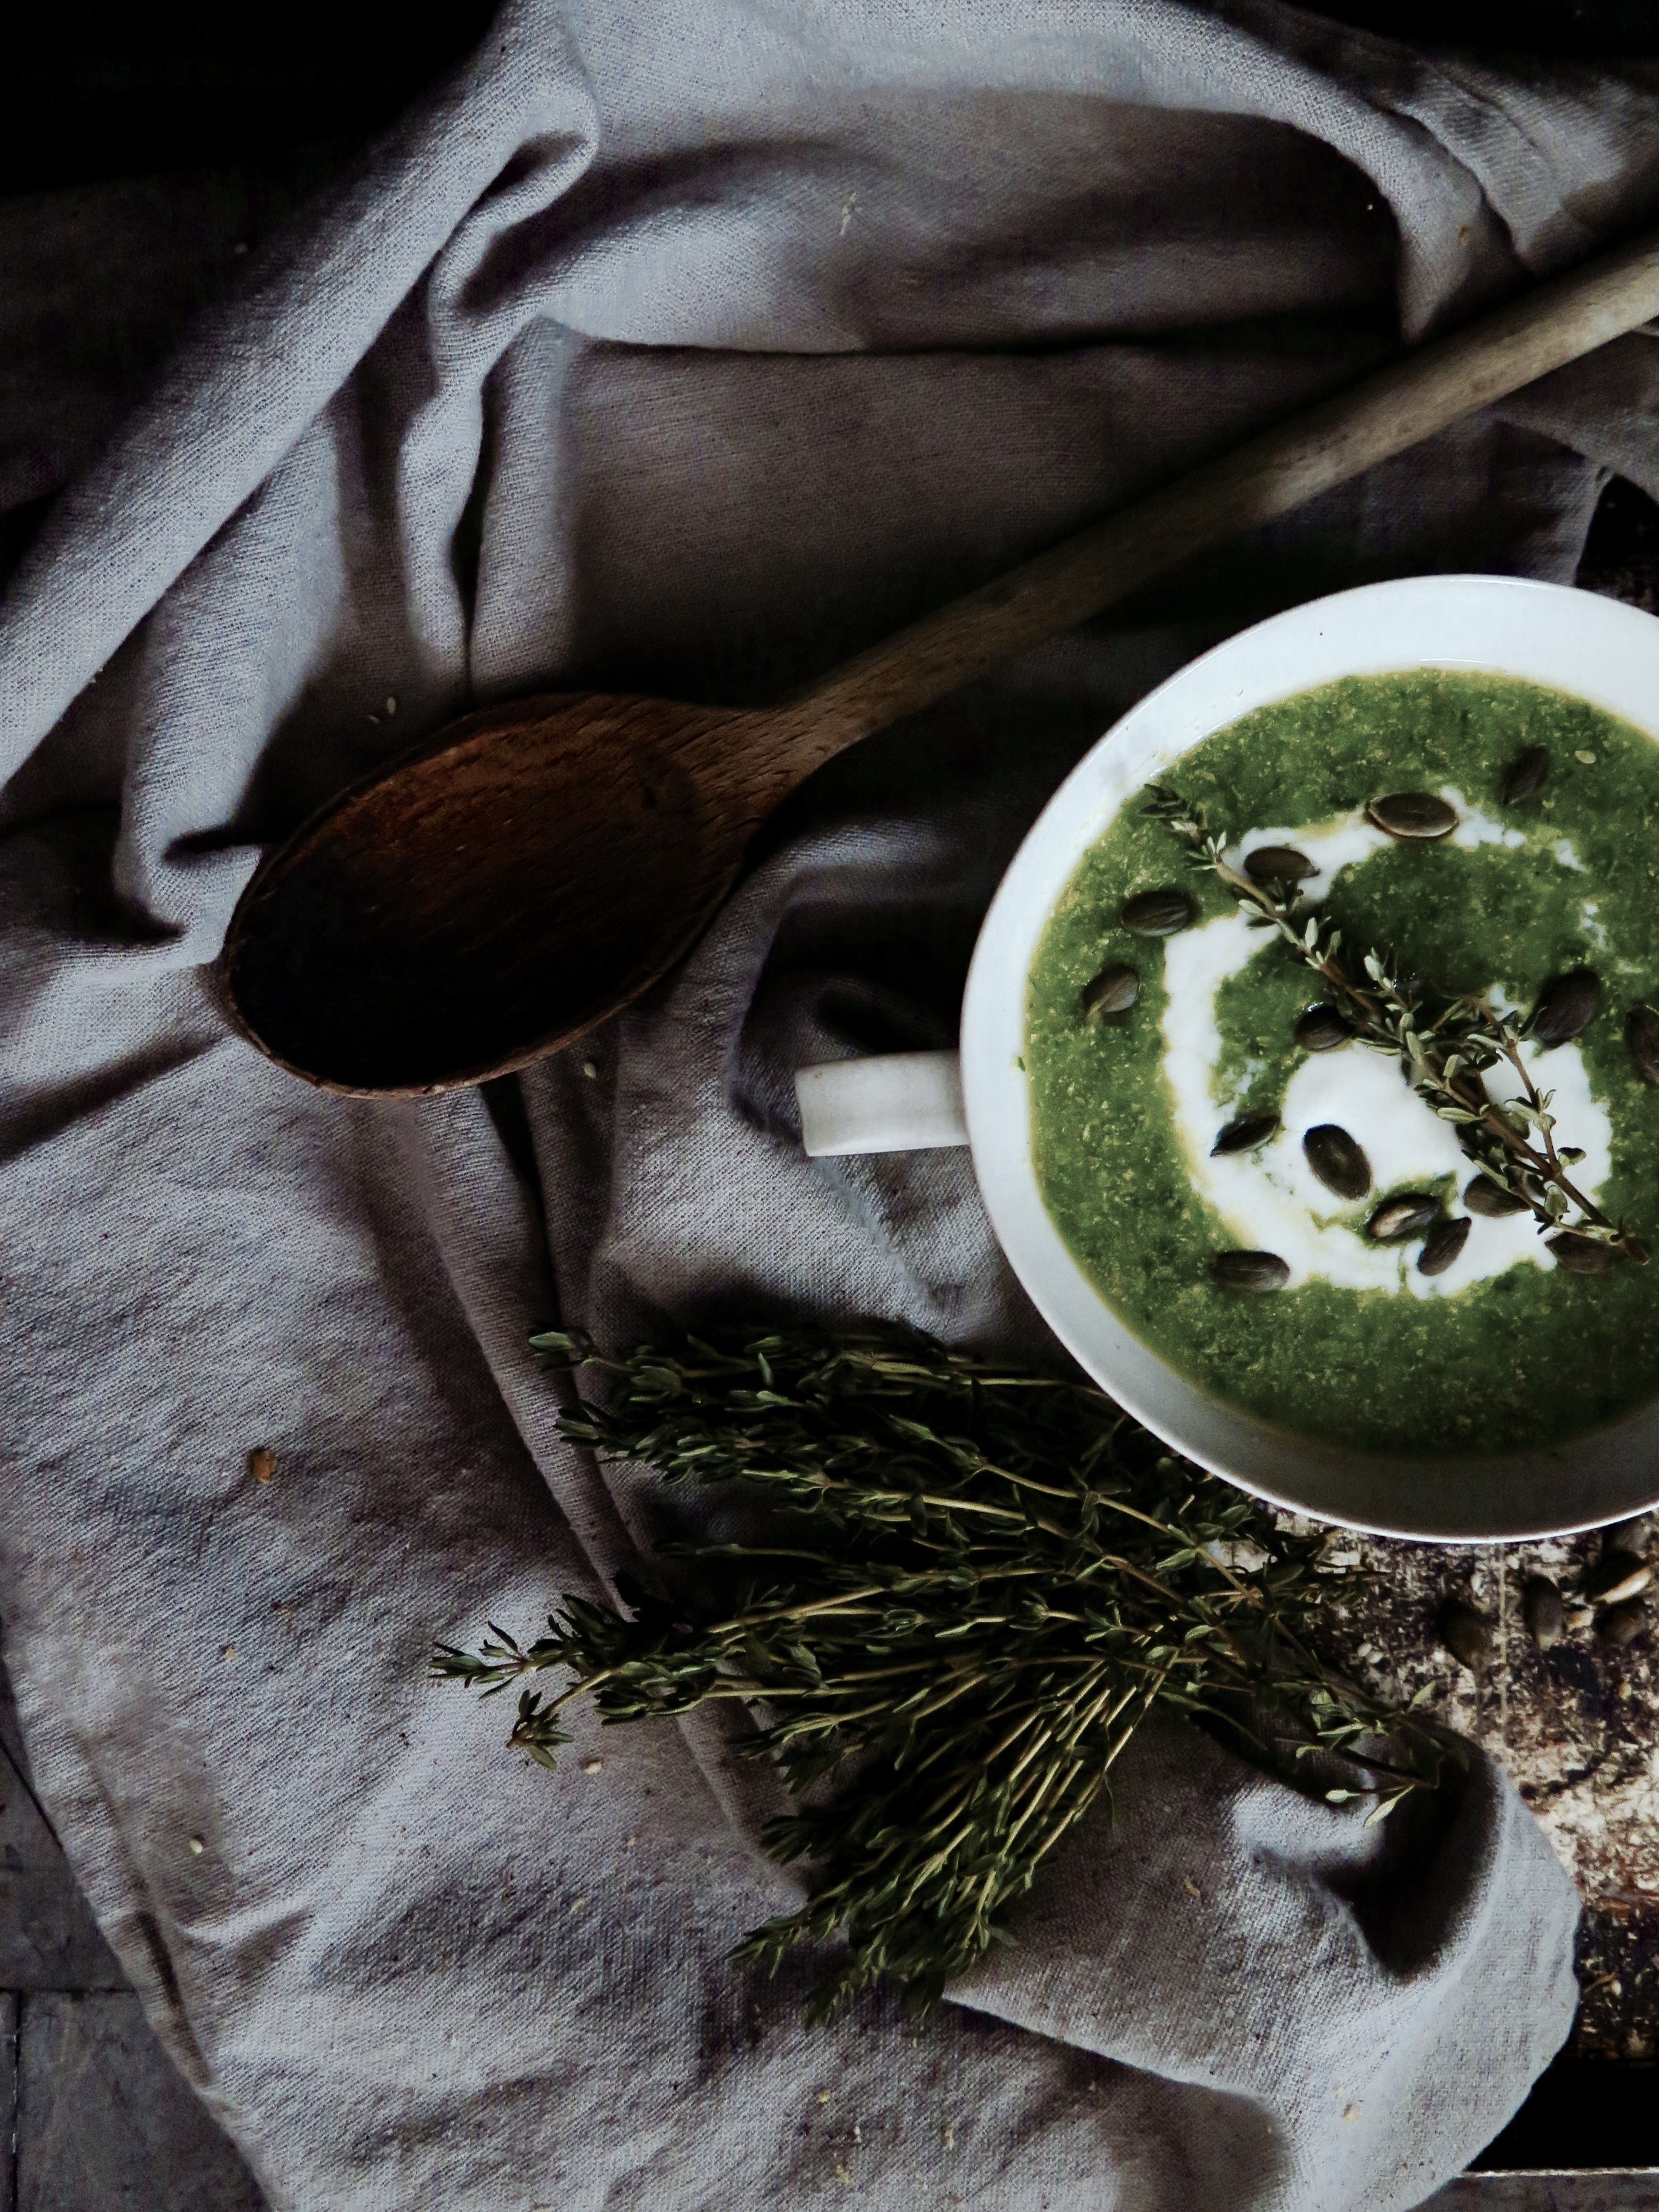
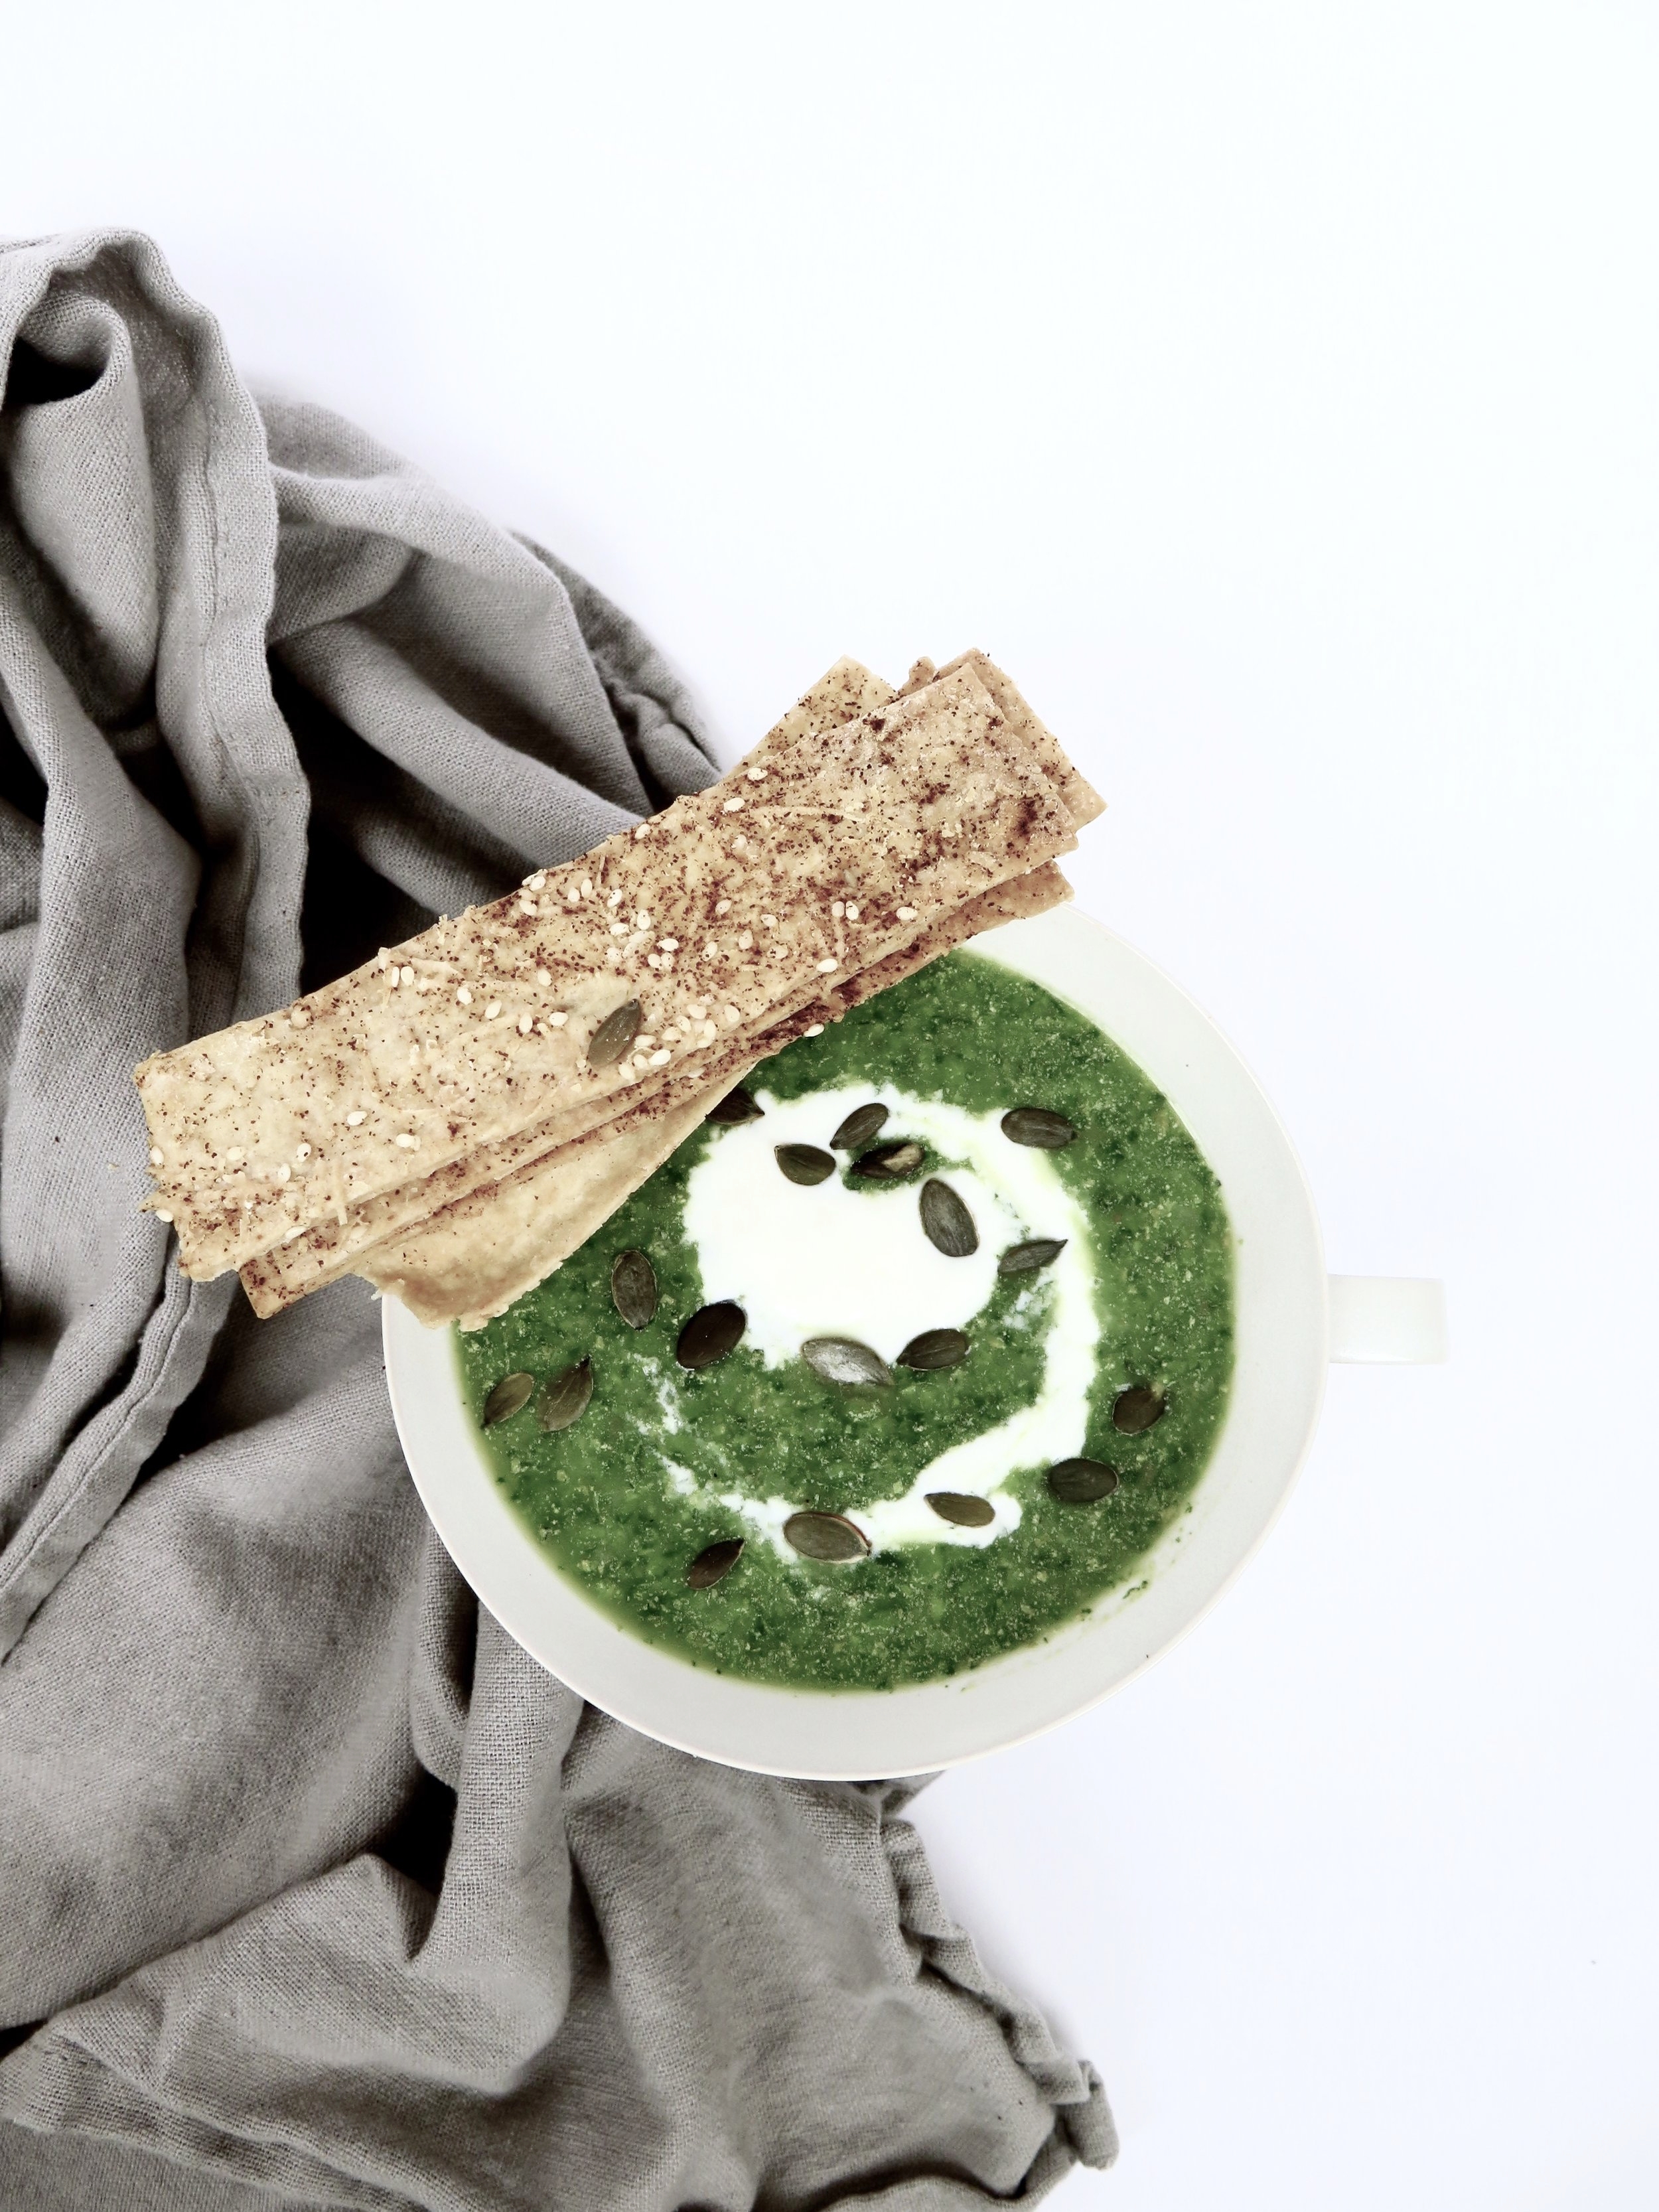
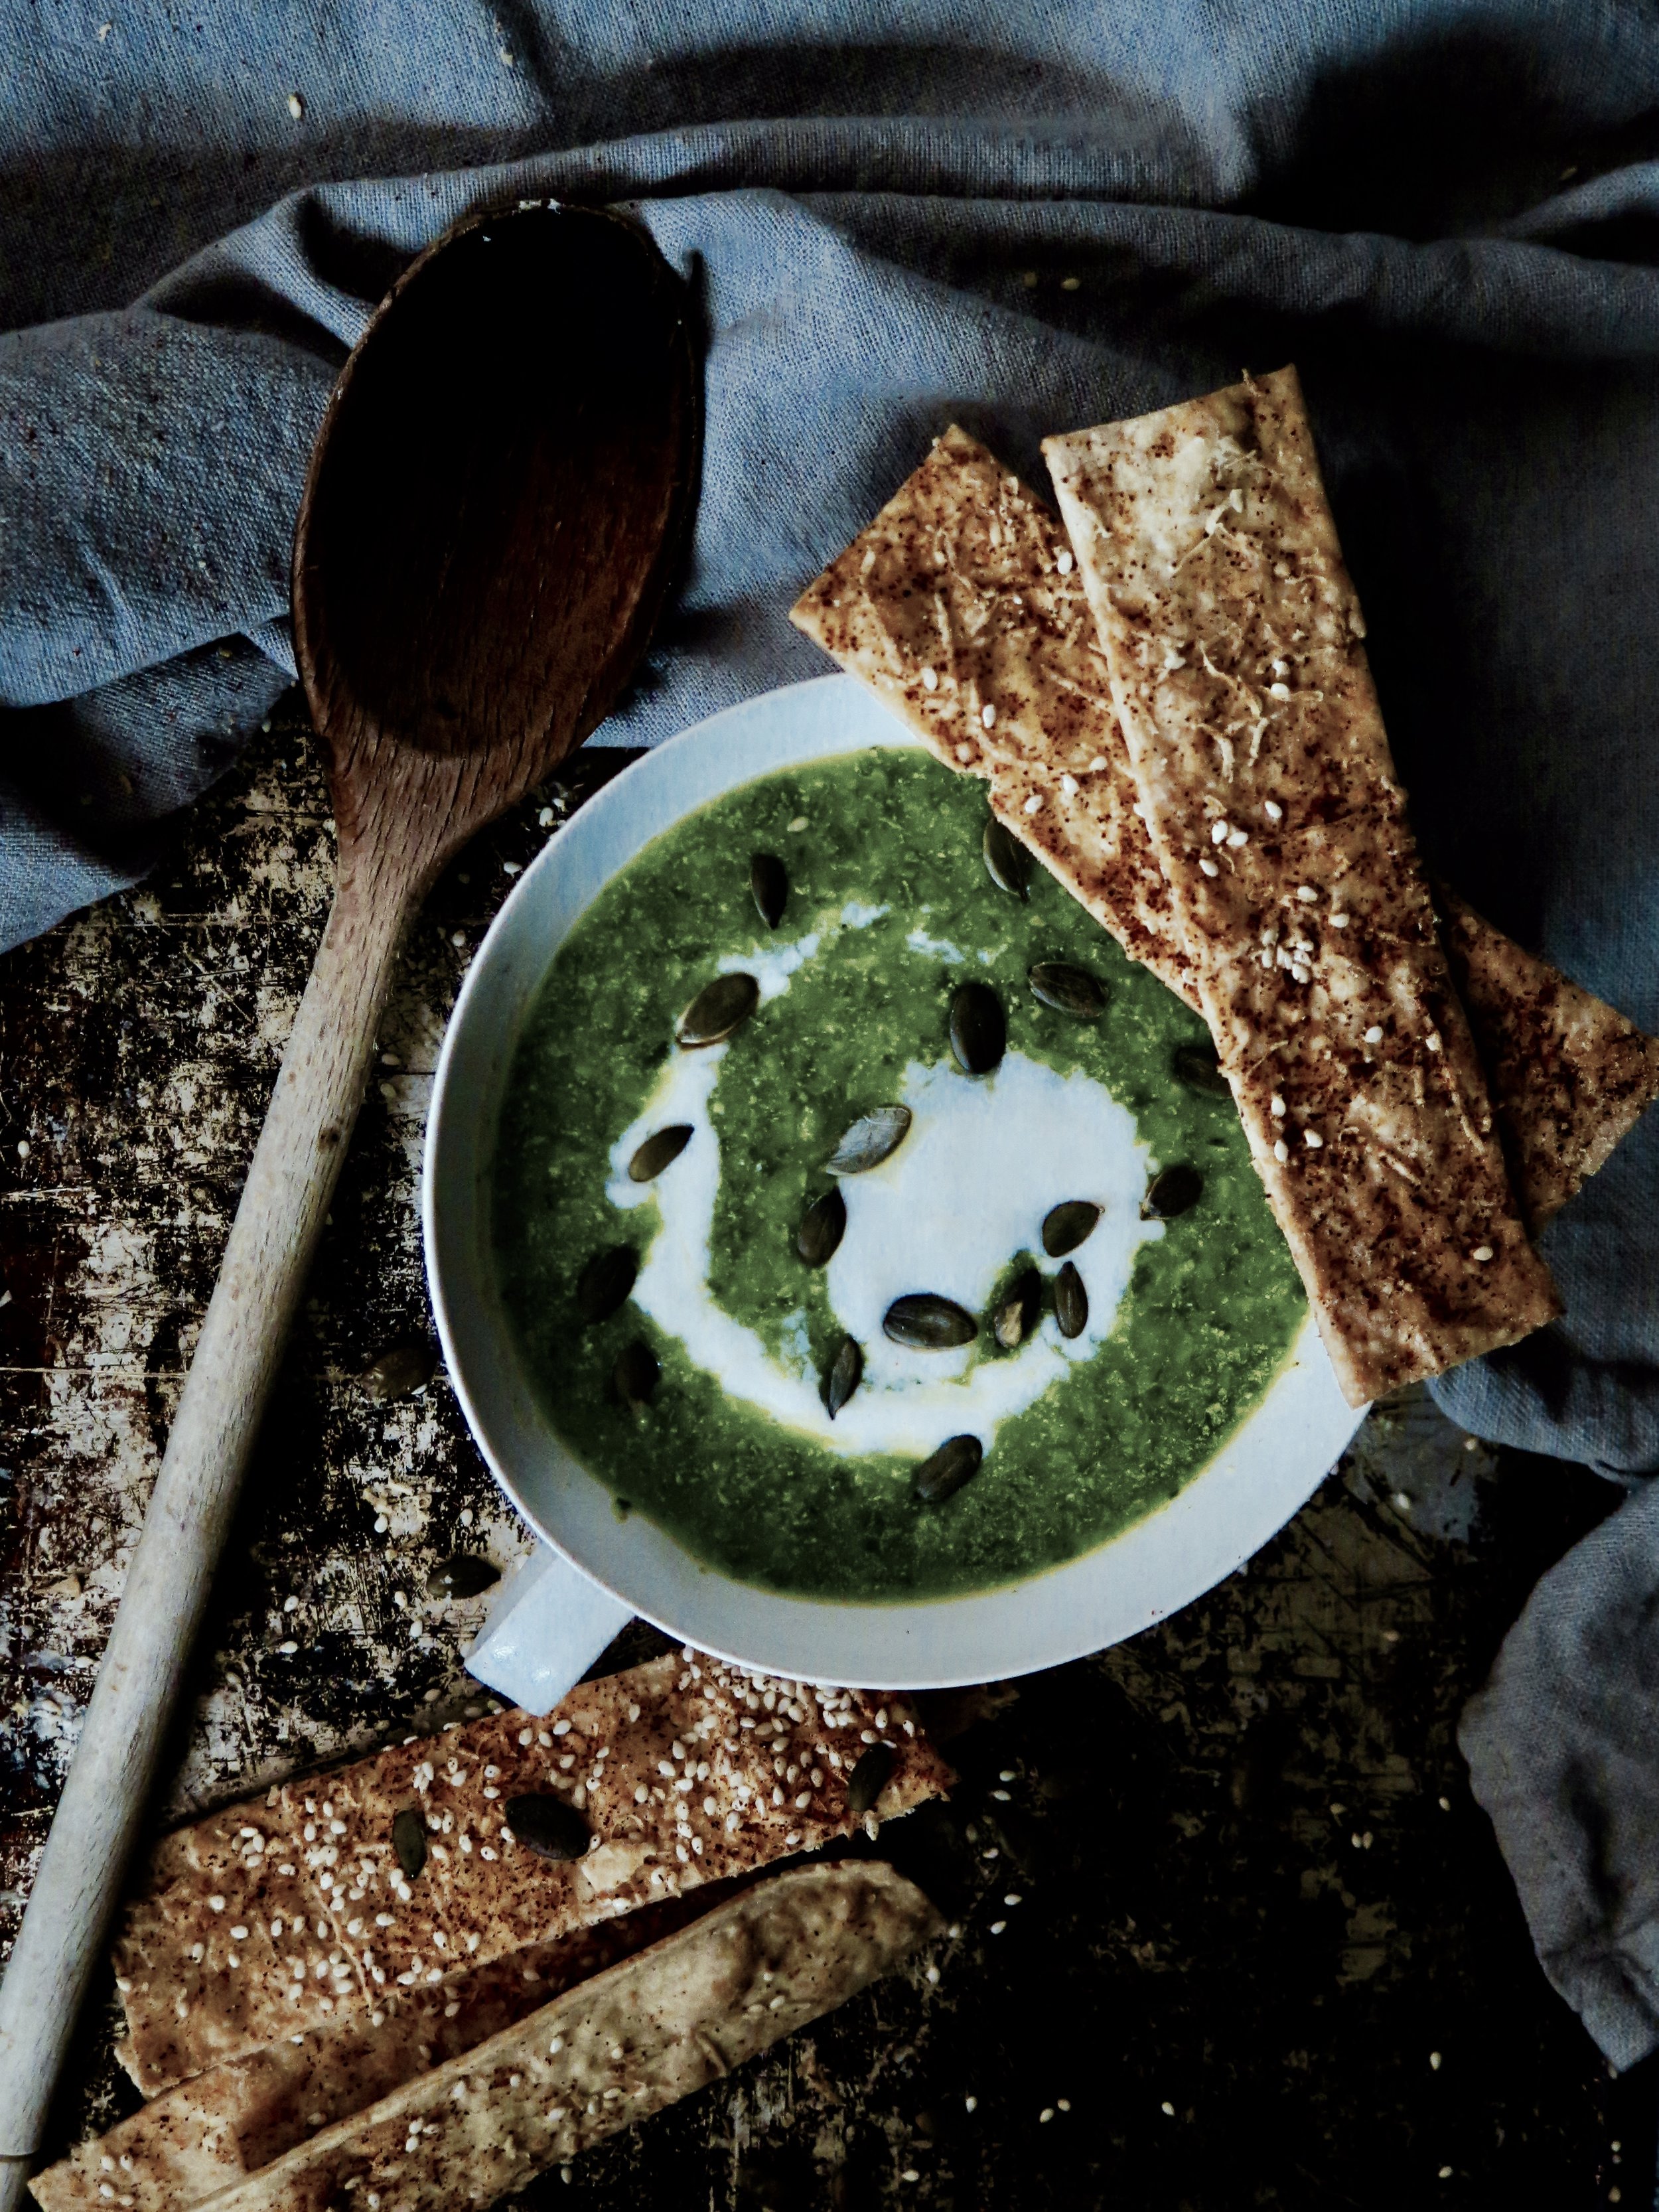
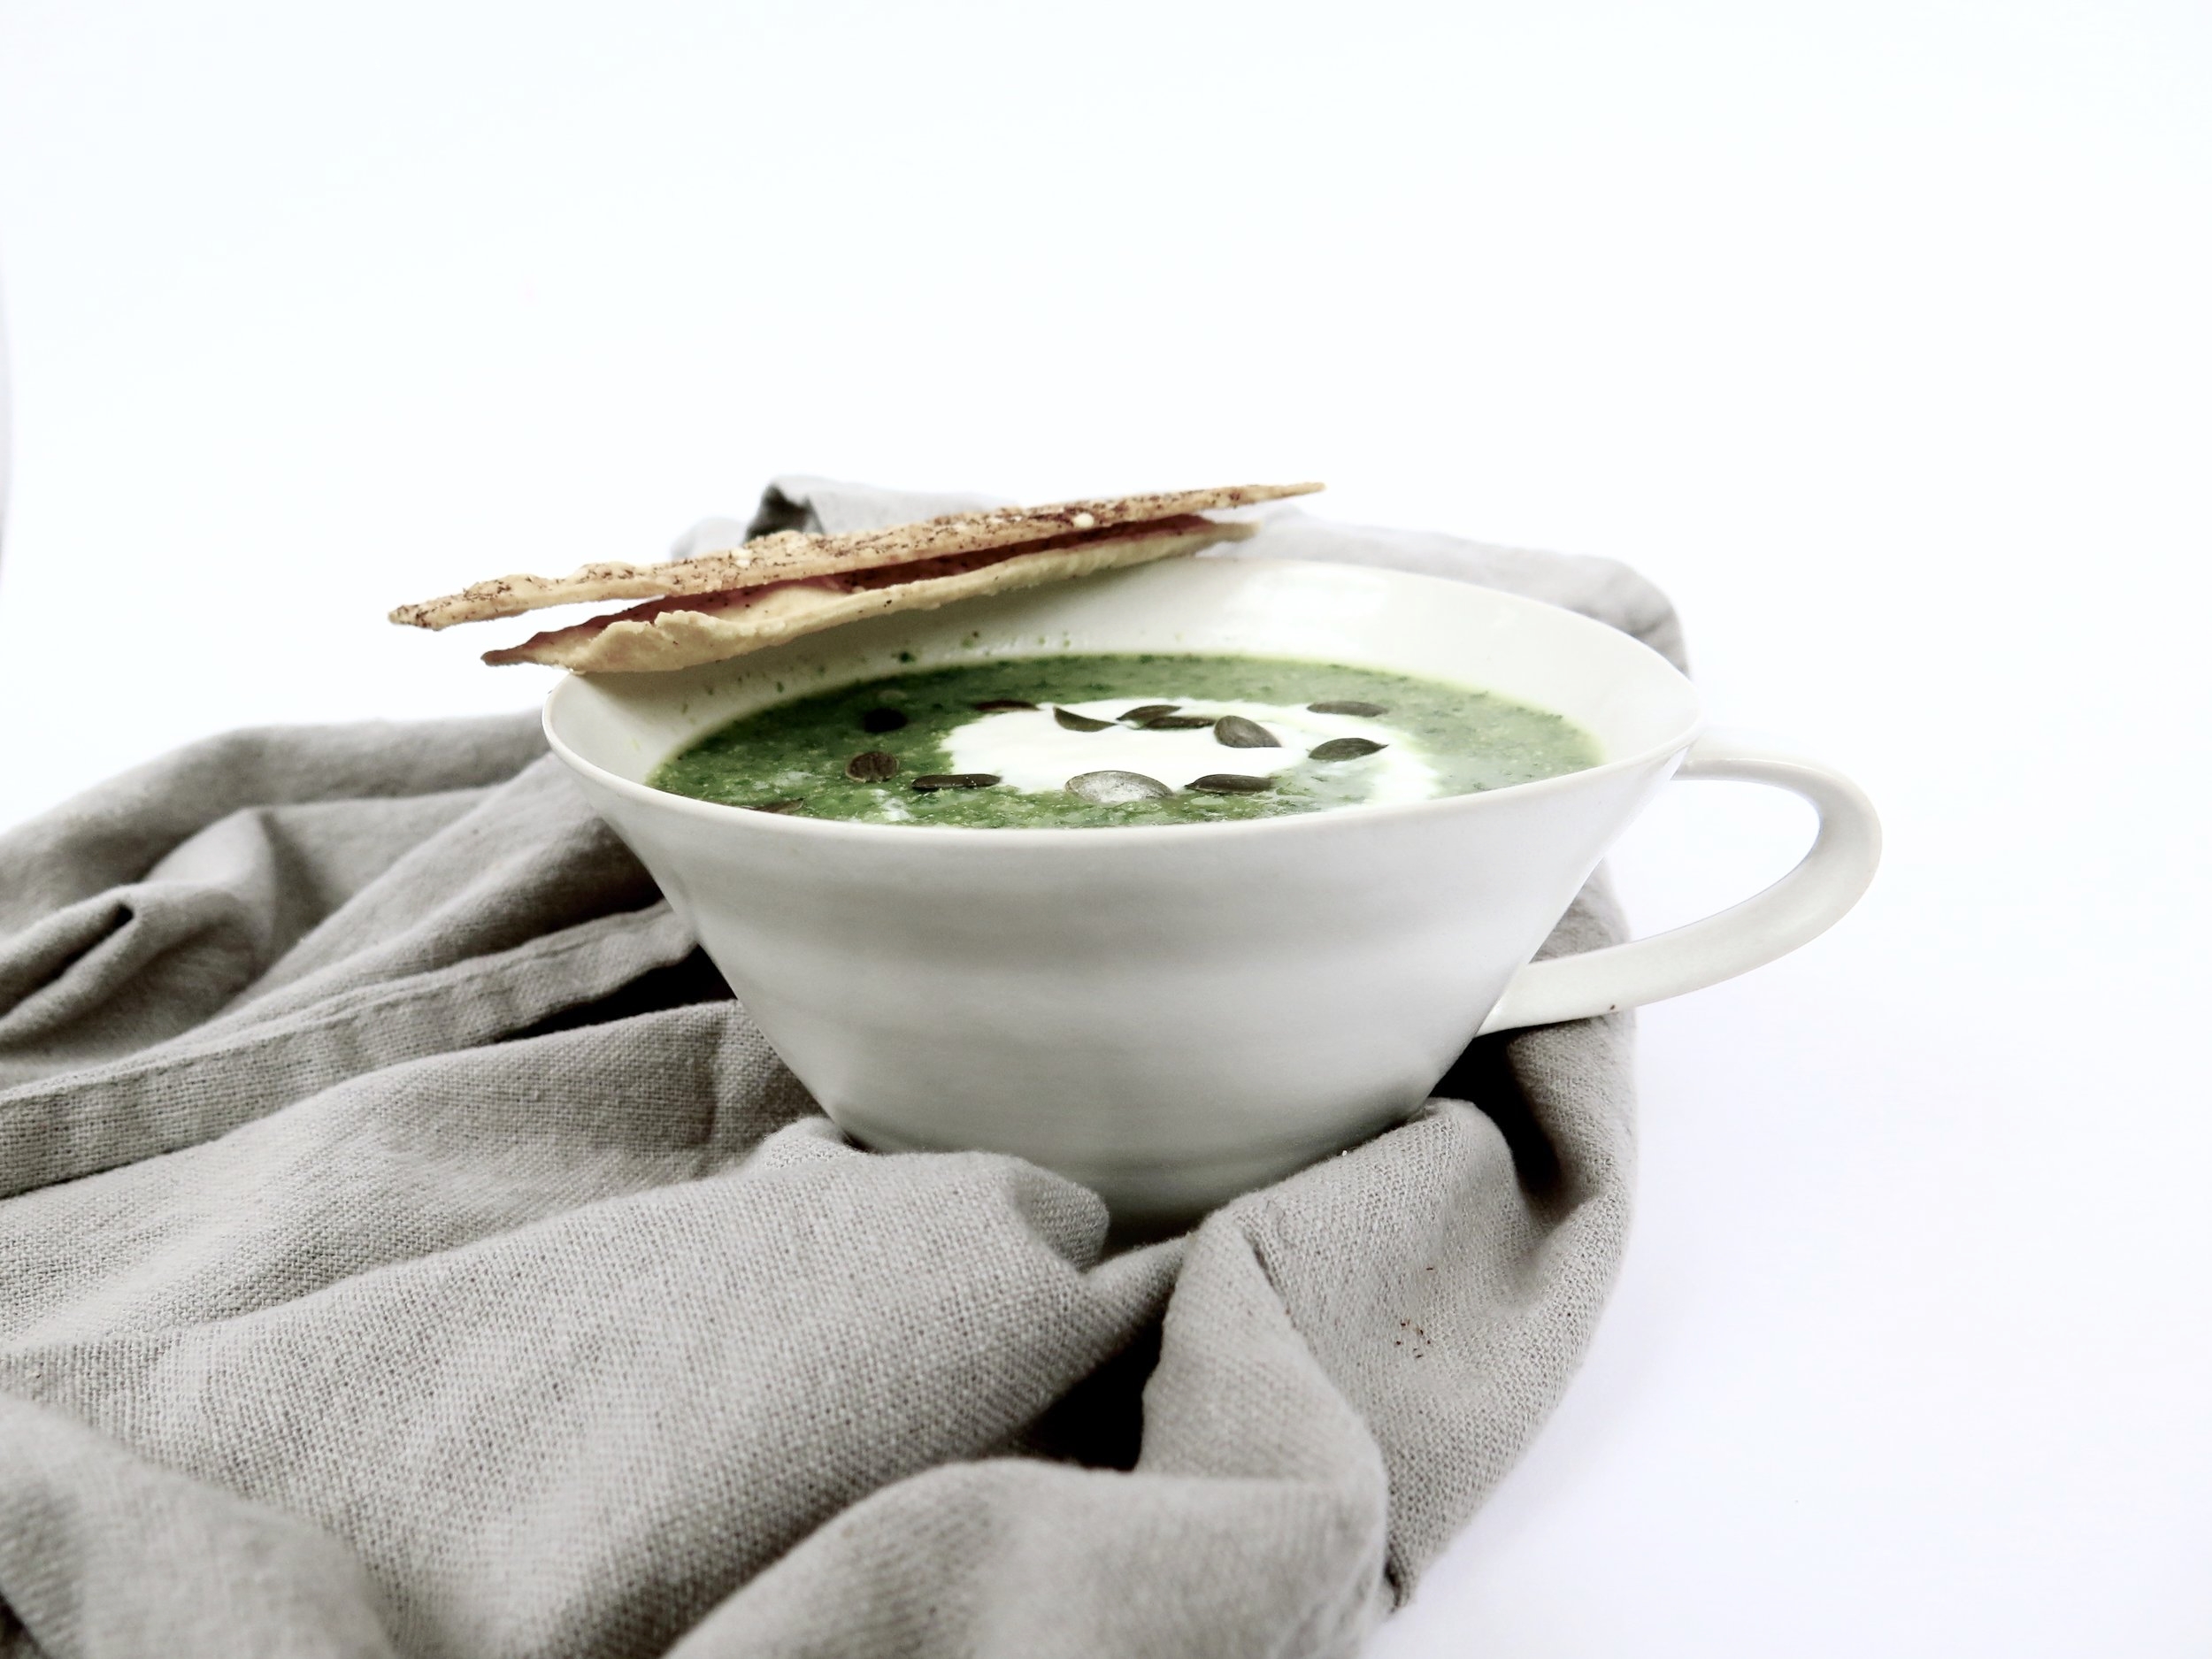
This soup is so simple that it could almost have been formulated from one of these challenges. The ingredients are few, but their freshness and the way they are only lightly cooked, enhances the flavours. In the UK, we have been starved of spring, but this soup will help compensate in its exuberant and zingy viridity.

Although they are to be enjoyed alongside the soup, the Parmesan spelt crackers featured in the photos are by no means a sideshow, and I shall follow up with the recipe for them. They are frighteningly addictive – I unwittingly crunched through half a batch in one hour.

NB: this can be made vegan by substituting olive oil for butter.


fullsizeoutput_11f8.jpeg

Ingredients (serves 4)

50g butter (substitute with 3 tablespoons olive oil if making vegan)

1 large potato, scrubbed but not peeled, and diced

3 cloves garlic

4 sticks celery, roughly chopped

30g sugar

Large sprig fresh thyme

100ml white wine

1 litre vegetable stock.  (I use Marigold, which is also available as vegan recipe)

500g frozen peas

20g fresh mint, leaves stripped from stalks

100g fresh baby spinach leaves, washed

½ tsp salt

¼ tsp ground black pepper

Method

1. Melt butter over medium heat, or gently heat the olive oil

2. Add potato, garlic, celery, sugar, thyme and pinch salt and pepper, and sweat together for about 10 minutes or until the potato is soft, stirring from time to time

3. Add the wine, and cook until the liquid has reduced by roughly one third

4. Add the stock, and bring the mixture to the boil. Keep boiling for 4 minutes

5. Remove the thyme, add the mint leaves, spinach and peas to the boiling mixture, and remove the pot from the heat immediately

6. Blitz in the liquidizer. Adjust the seasoning, and serve warm. 

fullsizeoutput_120d.jpeg

HUNGRY FOR MORE?

Comment

Sticky Date & Amaretti Crumble Bars

Comment

Sticky Date & Amaretti Crumble Bars

fullsizeoutput_db1.jpeg

A trip to Toronto when I was seven years’ old is anchored for me by one thing: not the CN tower, or Niagara Falls or my cousin’s wedding, but a visit to the farmers’ market, and in particular, a potentially life-changing stall.  A tall, russet-cheeked man was in command, his floured apron stretched taught over his protuberant belly. 

fullsizeoutput_db5.jpeg

And on his table lay not the garish, sprinkle- speckled swirls that would have drawn a normal child. Instead, tray after tray of rubbly slabs of oat and date crumble bars were arrayed. 

The date layer of the bars was jaw-clenchingly sticky, and thick – not like the mean, shop-bought equivalent. The oaty outer layers were both crunchy and then soft, golden and not overly sweet, allowing the natural date sweetness to shine through. 

fullsizeoutput_dc8.jpeg

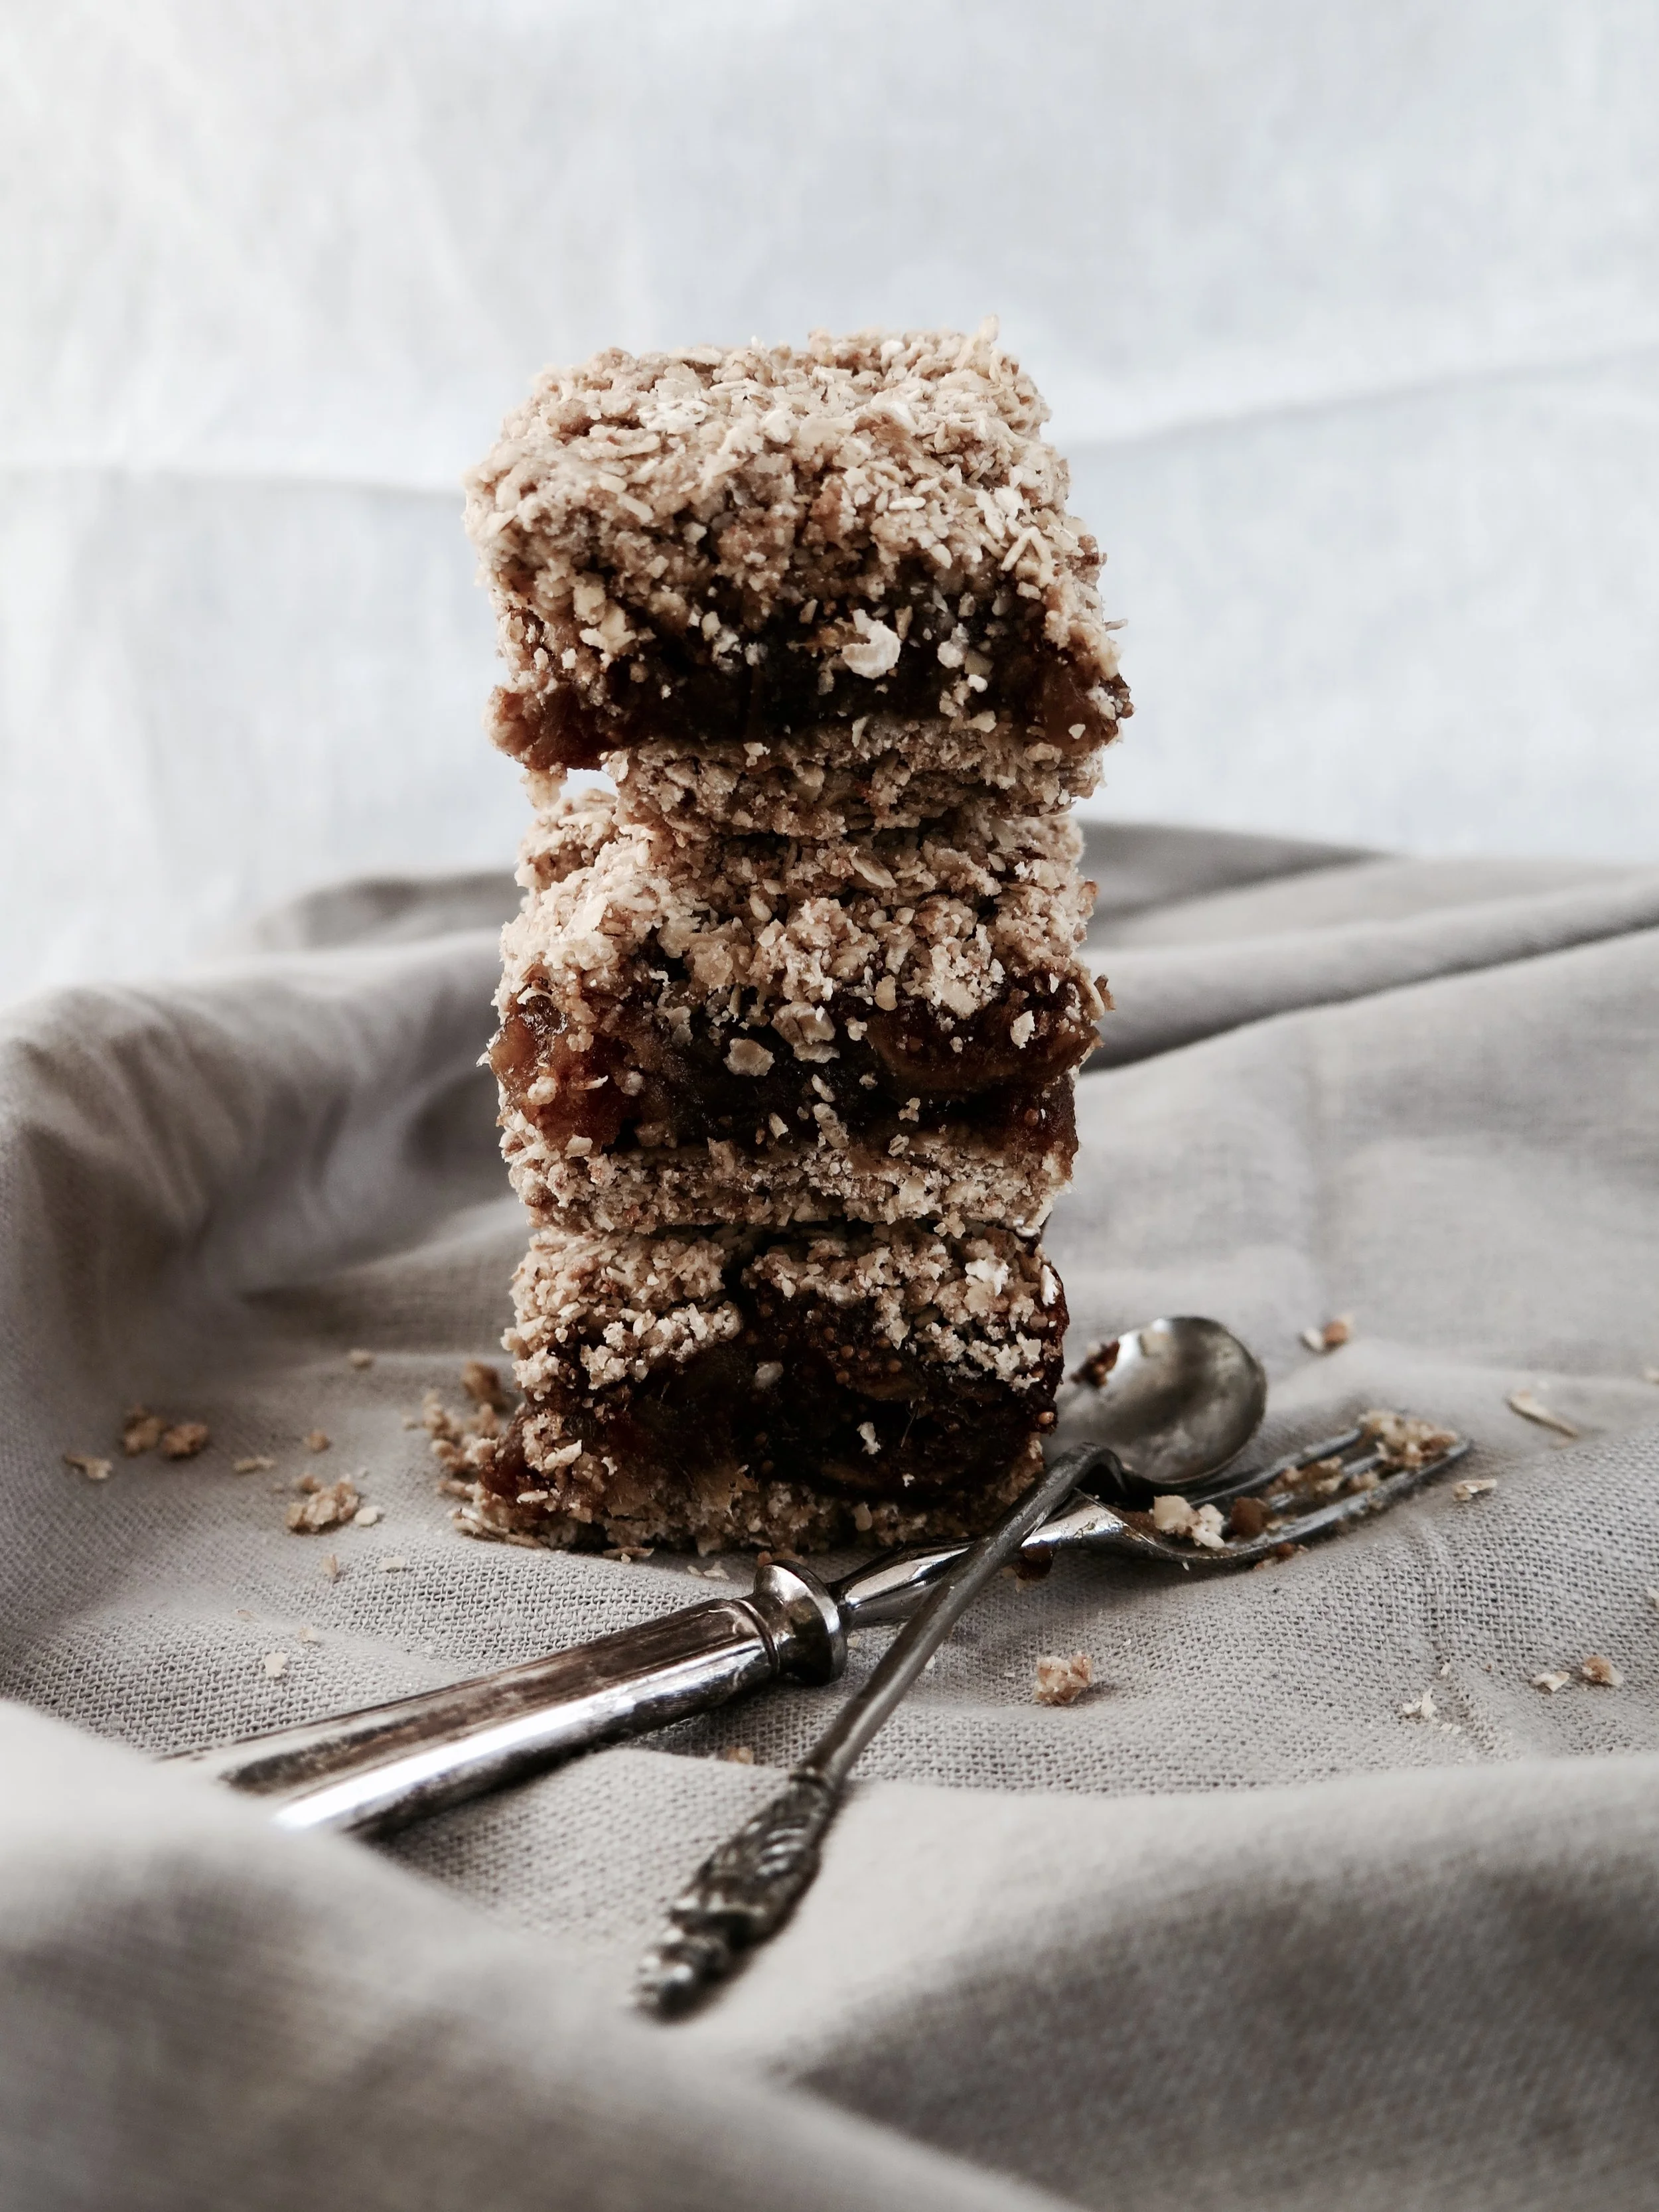
. For the last seventeen years I’ve been raiding bakeries and markets, seeking to relive the experience, but the date and oat crumble bars always disappoint – too saccharine, too solid, too floury. In between raids, I’ve been working on my own: these are the closest I have come to Toronto’s best kept secret. I added the crushed amaretti to give them a little twist. Feel free to leave the sugar out of the crumble if your palate is adjusted to the less-sweet. 

It’s incredibly hard to resist them when they emerge from the oven golden and crisp, but I think they taste even better when they have cooled and the flavours are more distinct (or maybe try them both ways, just to be sure…).

NB. They can be made gluten-free by substituting gluten-free flour for spelt. 

fullsizeoutput_1223.jpeg

Ingredients

Date filling

400g medjool dates, pitted & roughly chopped (about 20)

3 tbsp fresh orange juice

120ml water

2 tsp vanilla extract

½ tsp mixed spice

½ tsp finely grated orange zest


Crumble

250g oats

120g butter

100g wholemeal spelt flour

50g dry amaretti biscuits

40g light brown muscovado sugar

¼ tsp mixed spice

½ tsp vanilla extract

¼ tsp salt

A square 20cm baking tin (or tin of equivalent area), lined with baking parchment, with sides and base fully covered.

Method 

1)    Preheat oven to 180°C

2)    Place all ingredients for the date filling in a pot and place on a medium heat. Stir as the mixture begins to simmer. After about 5 minutes, when the dates have broken down into more of a paste and all the water has evaporated, remove from the heat and set aside.

3)    Pour all the crumble ingredients into a blender and pulse until the mixture still has some texture  and is slightly coarser than sand.

4)    Pour 2/3 of the crumble mixture into the base of the tin, and, with your fingers or the back of a spoon, press the mixture down evenly across the base of the tin until firm and compact. Pour the date filling over and spread evenly across the base. Then pour over the remaining crumble mixture and press down until even and as compact as possible.

5)    Place in oven to bake for 15-20 minutes until golden and firm to the touch.

6)    Slice and allow to cool before devouring. Keeps well in an air tight container in fridge for up to 5 days, or in freezer for 2 months (also tastes delicious when frozen).

fullsizeoutput_1229.jpeg

HUNGRY FOR MORE?

Comment

Mini Feta & Cheddar Spelt Scones

Comment

Mini Feta & Cheddar Spelt Scones

fullsizeoutput_9c0.jpeg

I feel immense joy when I see canapés floating along the horizon of a wine-soaked room. Salty, crunchy, flavour-filled bites to pop into your mouth and stave off hunger. But in reality, the canapés path is far more obstacle- laden. Here are a few of the typical scenarios that I have endured, or have watched others enduring:

fullsizeoutput_9cf.jpeg
  • The hidden two- biter: where you hesitate over whether to put the whole thing in your mouth, decide to go for it and then have to find a way to swivel the thing around inside your cheeks until it becomes vaguely chewable, all while trying to hold down a conversation
fullsizeoutput_9c4.jpeg

  • The crumbler – this one disintegrates before it even reaches your mouth. This doesn’t necessarily result in interrupted conversation, but ends up being problematic when you shake hands with someone and end up leaving a stick, flaky deposit in their palm
fullsizeoutput_9bb.jpeg

  • The burner – you were warned about the heat but went for it anyway. If you were alone you would probably spit it out, but in the interests of politeness and retaining friends, you endure a scorched oesophagus 
fullsizeoutput_9ed.jpeg

  • The stringer – this is reserved for molten- cheese filled croquetas.  Delicious, yes, but they leave the unsuspecting devourer s with frills around their lips reminiscent of Futurama’s Zoiburg.
fullsizeoutput_9b6.jpeg

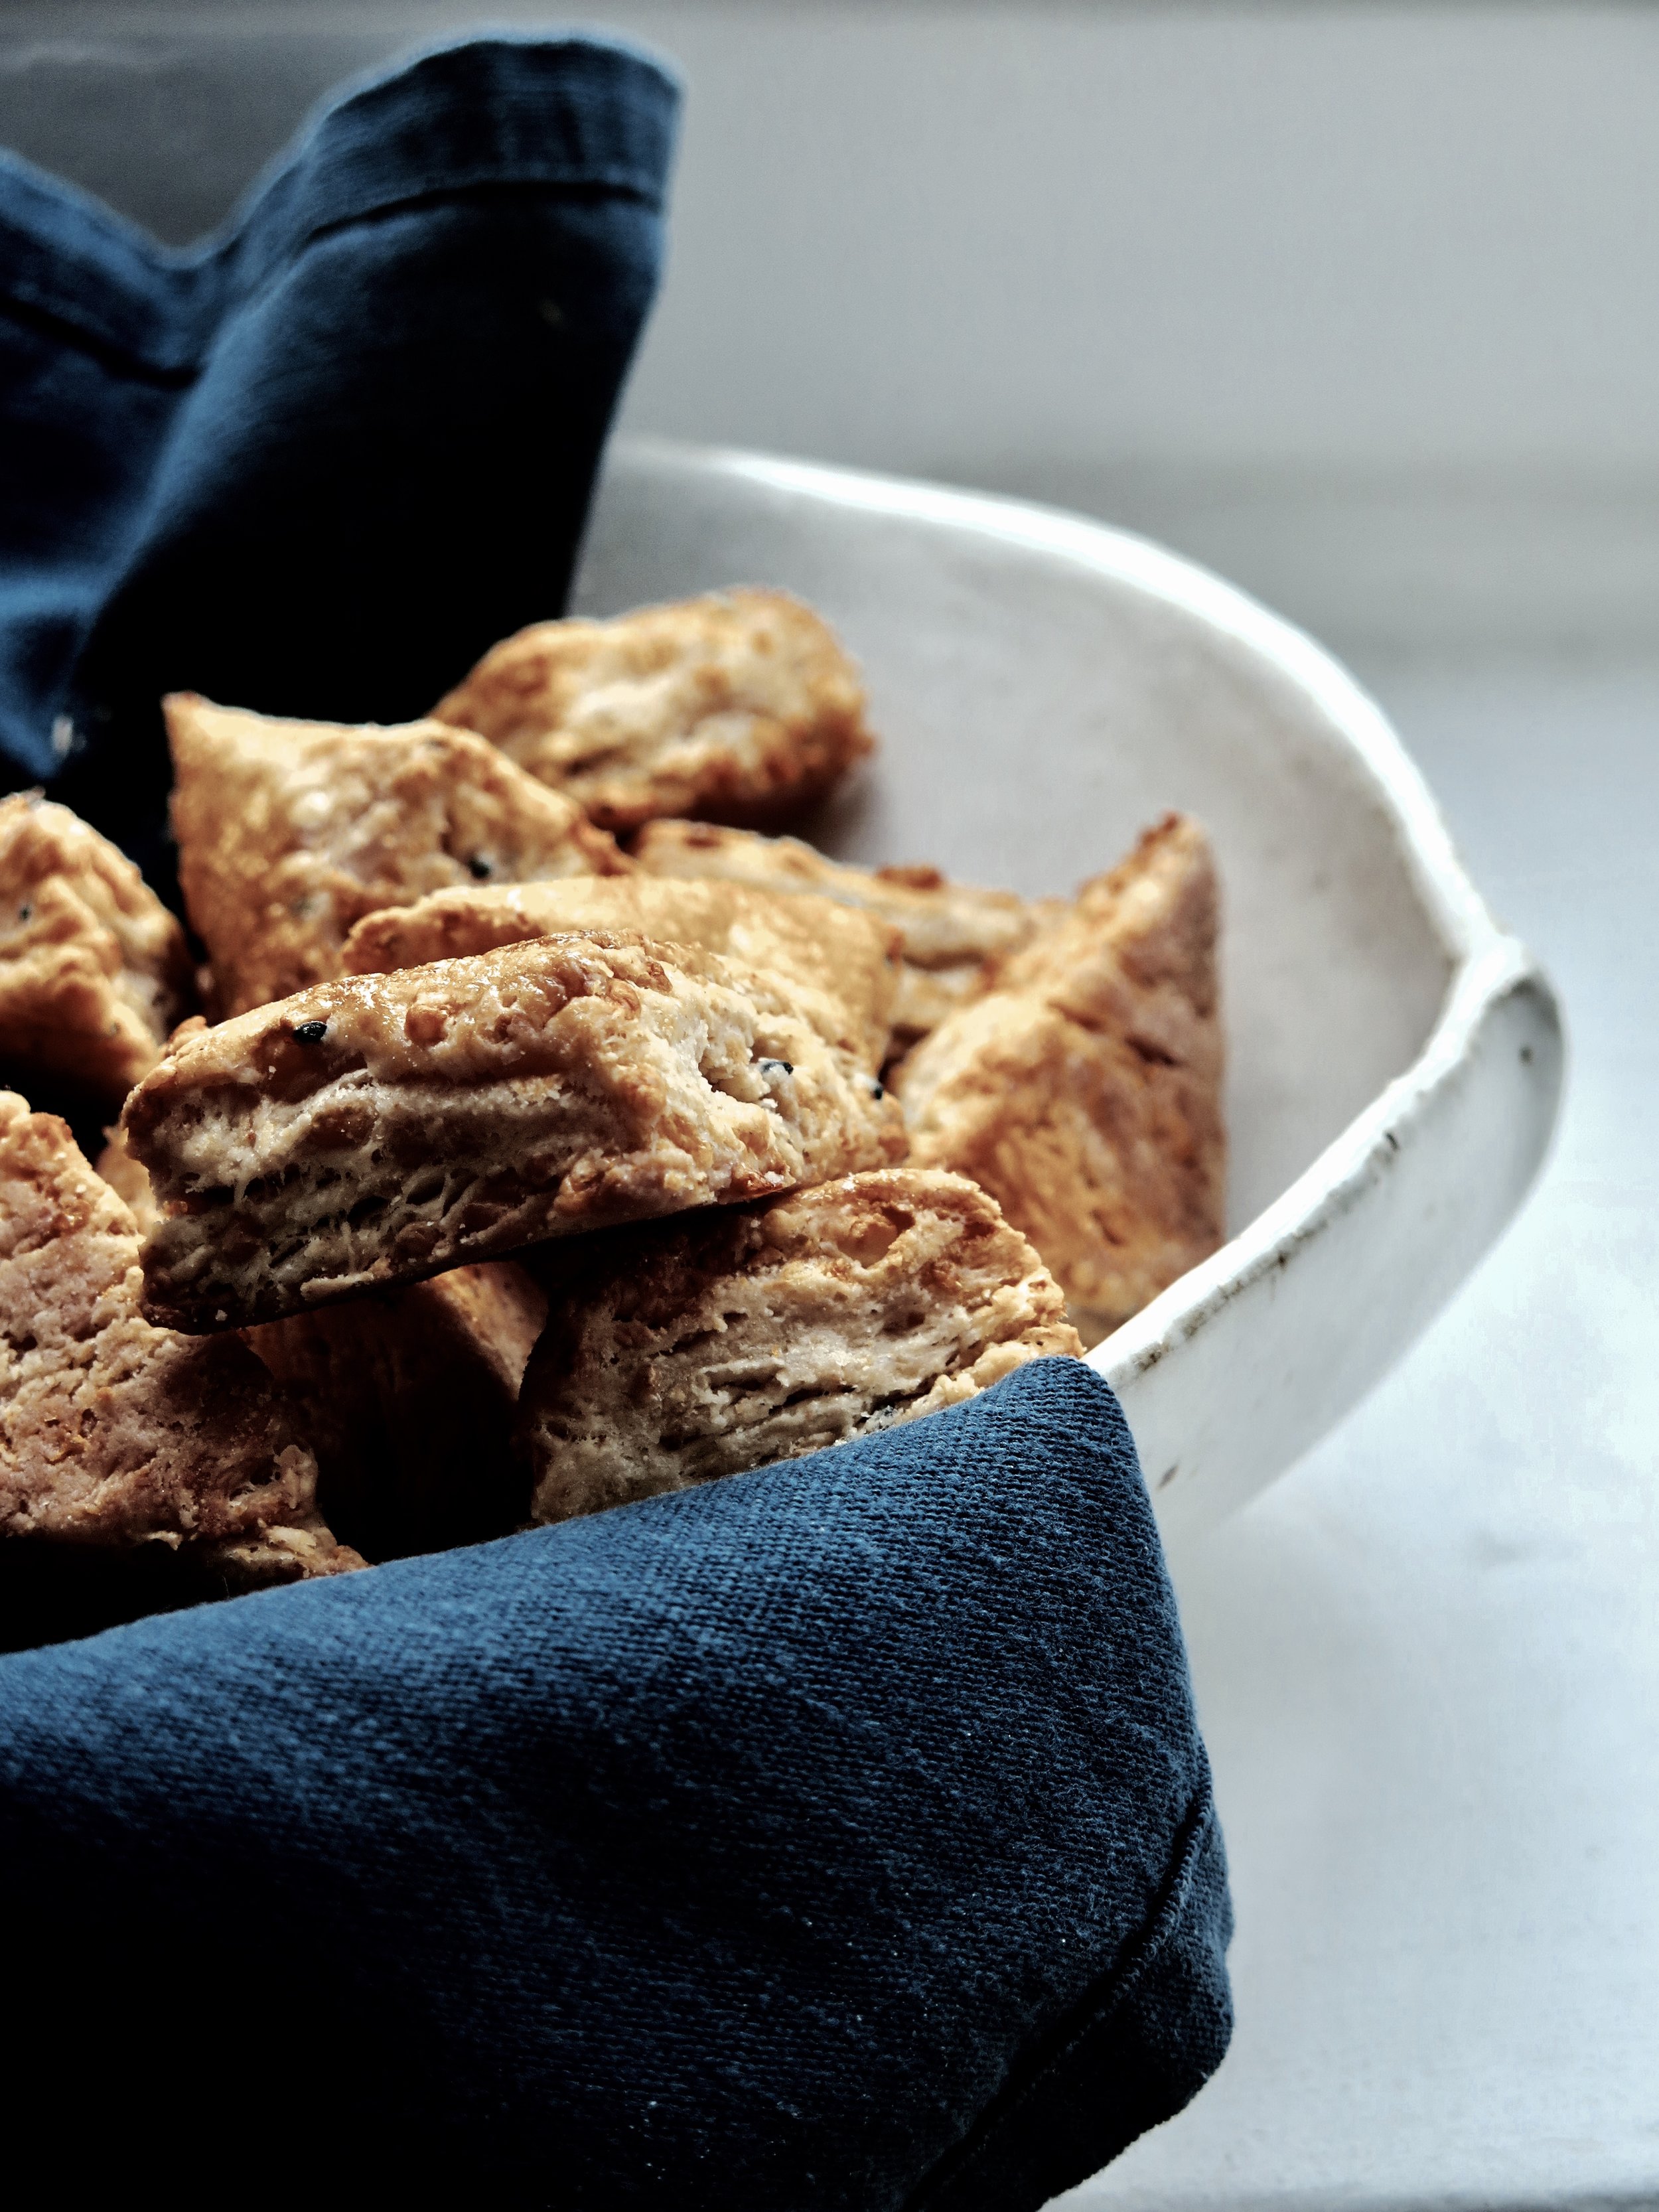
The following will help you steer clear of the above pitfalls: small, savoury and succulent, these are the perfect canapés.  Indeed, they are suitable for consumption at any time. They are crisp on the outside and soft and light inside, flecked with molted feta and cheddar, and with a hint of the more exotic nigella seeds. This recipe makes 18 but I would urge you to double it as they are so addictive.  They are also ridiculously easy and quick to conjure up.

NB. these can be made gluten-free by simply substituting spelt flour with gluten-free)

Mini Feta & Cheddar Spelt Scones (makes 18)


Ingredients

100g sour cream

2 tbsp milk

80g mature cheddar cheese, grated

80g feta, roughly diced into 0.5cm cubes

50g unsalted butter, cold and roughly diced into ¾ cm cubes

200g white spelt flour (can substitute with plain flour or gluten-free)

¼ tsp baking powder

¼ tsp salt

½ tsp nigella seeds

[optional: ½ tsp cayenne pepper]

1 egg, beaten, to glaze

1 large baking tray lined with greaseproof paper


Method

1)    Preheat oven to 200°C. In a large bowl by hand, or in a food mixer fitted with a paddle, briefly mix together the sour cream, milk, cheddar, feta and butter. Pour in the flour, baking powder, salt and nigella seeds (and cayenne if using), and mix until just combined into a dough. You may need to knead the dough by hand very slightly for it to come together.

2)    Place dough onto a floured surface, pat into a square and roll it out to roughly 2.5cm thickness. Slice the dough into nine squares, like a noughts and crosses board, and then slice the squares diagonally to form 18 triangles.

3)    Arrange the triangles on the baking tray, leaving at least 3cm between them. Brush them lightly with the beaten egg and place in the oven to bake for 15-20 minutes until golden on the outside. They are best devoured immediately or on the day of baking. 

Adapted from Honey & Co's "Food From the Middle East" recipe for Bouikos


fullsizeoutput_9b8.jpeg

HUNGRY FOR MORE?

Comment

Pear & Speculoos Caramelised Cookie Magic Cake

Comment

Pear & Speculoos Caramelised Cookie Magic Cake

IMG_0123.jpg

Maybe they think that all the gluttony and swollen stomachs affect our ability to digest information, that all the turkey/mince/fruit/chocolate/stuffing becomes blinding and we are no longer able to read paragraphs of text.  Instead, we have to have things numbered so as to reassure us that whatever we are reading won’t detract too long from the Christmas stasis.  

IMG_9965.jpg

Every newspaper or magazine clearly has some greedy journalist on its team who takes it upon him or herself to rate every mince pie out there to save us all the hard work. Then the subjective lists are compiled and played back to us year after year, despite the foods remaining the same, in the identical, consumable, numbered format.

In response to this, and inspired by an affront to my eyes when opening the newspaper magazine this weekend, I thought I would do a light review of the food adverts themselves:

IMG_0052.jpg

WAITROSE

Apparently, it’s for fruit lovers: congealed, glistening and with blood/jam trickling through its rivulets. But what is it? Depends how you like your desserts, but I’ll pass.

1/5

IMG_0079.jpg

SAINSBURY’S

I know Christmas is supposedly about family and coming together, but the picture of “grandma” with a prawn coming out of her head doesn’t conjure up any feelings of warmth for me 

1/5

IMG_0100.jpg
IMG_0113.jpg
IMG_0133.jpg

BOURSIN

I’ve caught members of my family spooning Boursin directly into their mouths. I was cynical at first about their Christmas rebrand with the addition of the “merry” epithet. But somehow, heady with garlicky creaminess, it has caught on in my household – we are now asking each other whether we’d like some “Merry Boursin” on our toast.

4/5

IMG_0045.jpg


LIDL

Lidl has gone down the particularly salivating route in showing us the turkeys pre-slaughter. They are relaxing free range by a bale of hay with the sun shining to stained glass effect through the translucent wattles. Delicious.

0/5

IMG_0147.jpg

Anyway, with all this Christmas “magic” abounding (and as a remedy for all this gaudiness), we might as well move on to an actual “magic” cake. Making a cake is magical enough, but there is a childlike joy when you put a homogeneous mix into the oven and it emerges, burnished, in perfectly ordered layers. This particular magic cake is like a perfectly formed French entremet, but without the effort.  All it requires is eggs to be separated and whisked and somehow it all falls into place. When making the speculoos topping, I would advise making a bit extra to allow some innocent “sampling” during the process (it’s ambrosial).

IMG_0099.jpg


Ingredients


Speculoos layer

300g Speculoos cookies + 100g for decoration

220ml unsweetened condensed milk

¼ tsp salt


Cake

3 eggs, separated

75g caster sugar

90g unsalted butter

50g plain flour

¼ tsp salt

300ml milk

4 small pears, peeled, cored and diced into 1cm cubes


21cm square cake tin (or round tin with similar area) fully lined with baking parchment.  It doesn’t matter if the tin is marginally larger or smaller


Method

1)    Preheat the oven to 150°C

2)    Put all the ingredients for the speculoos layer into a blender and blitz until smooth, and set aside.

3)    Melt the butter and set aside to cool. In a bowl (if doing by hand) or electric mixer beat the sugar with the egg yolks until thick and pale. Pour in the butter and 150g of the Speculoos layer and gently combine. Then sieve in the flour and salt and fold to combine. Pour in the milk and combine.

4)    In the bone-dry bowl of an electric mixer or by hand, whisk the egg whites vigorously until they thicken and hold their shape in stiff peaks. Very gently fold them into the batter, taking care to preserve the aeration.

5)    Scatter the diced pear evenly on the bottom of the cake tin, then gently pour the batter on top. Smooth the surface with a knife and place in the oven to cake for 35 minutes. The cake will still be soft when you remove it from the oven but this is how it is meant to be. Put it onto a rack to cool to room temperature, then place in the fridge for an hour to set.

6)    To serve, lift the cake out of the tin on the serving plate using the baking parchment and remove baking parchment. I choose to slice off the cake edges in order to better expose the layers. Spread the remaining speculoos layer on top and over it crumble the decorative speculoos cookies.

IMG_0001.jpg

Recipe adapted from "Magic Cakes" by Christelle Huet-Gomez

Comment

Triple Layer Chocolate, Coffee, Vanilla Cake

Comment

Triple Layer Chocolate, Coffee, Vanilla Cake

fullsizeoutput_848.jpeg
fullsizeoutput_809.jpeg

It’s on an almost daily basis that I find my thoughts converging on that scene in Matilda:  Bruce vs the chocolate cake – moist, dense, dark, and yes, revolting. It’s a tempting challenge, and only on a handful of occasions in my life have I come close to those chocolatey depths (or heights, depending on your perspective). 

fullsizeoutput_819.jpeg

The first time was at my 9th birthday party which took place in the civilized private room of a pottery painting shop, surrounded by friends from my all-girls school, all politely detailing their teacups with flowers, and hearts, and stars. The birthday cake arrived, tall and majestic, lavishly enrobed in sumptuous swathes of soft chocolate buttercream.

All I can say in mitigation of what was to come was that at least I waited until my slice was placed in a bowl. But then the urge became overpowering, and it was with unbridled joy that I plunged my face into my bowl and into the luscious embrace of the cake.

fullsizeoutput_886.jpeg
fullsizeoutput_832.jpeg

But my Bruce experiences don’t end there. I waited a further nine years until I was at university, when a five pence coin thrown into a neighbour’s dessert meant that it had to be devoured without cutlery. This was a curse to many, but an opportunity I wholeheartedly seized. Why waste time on cutlery when you can cut to the chase, pig-in-trough style, with an audience?  

fullsizeoutput_831.jpeg

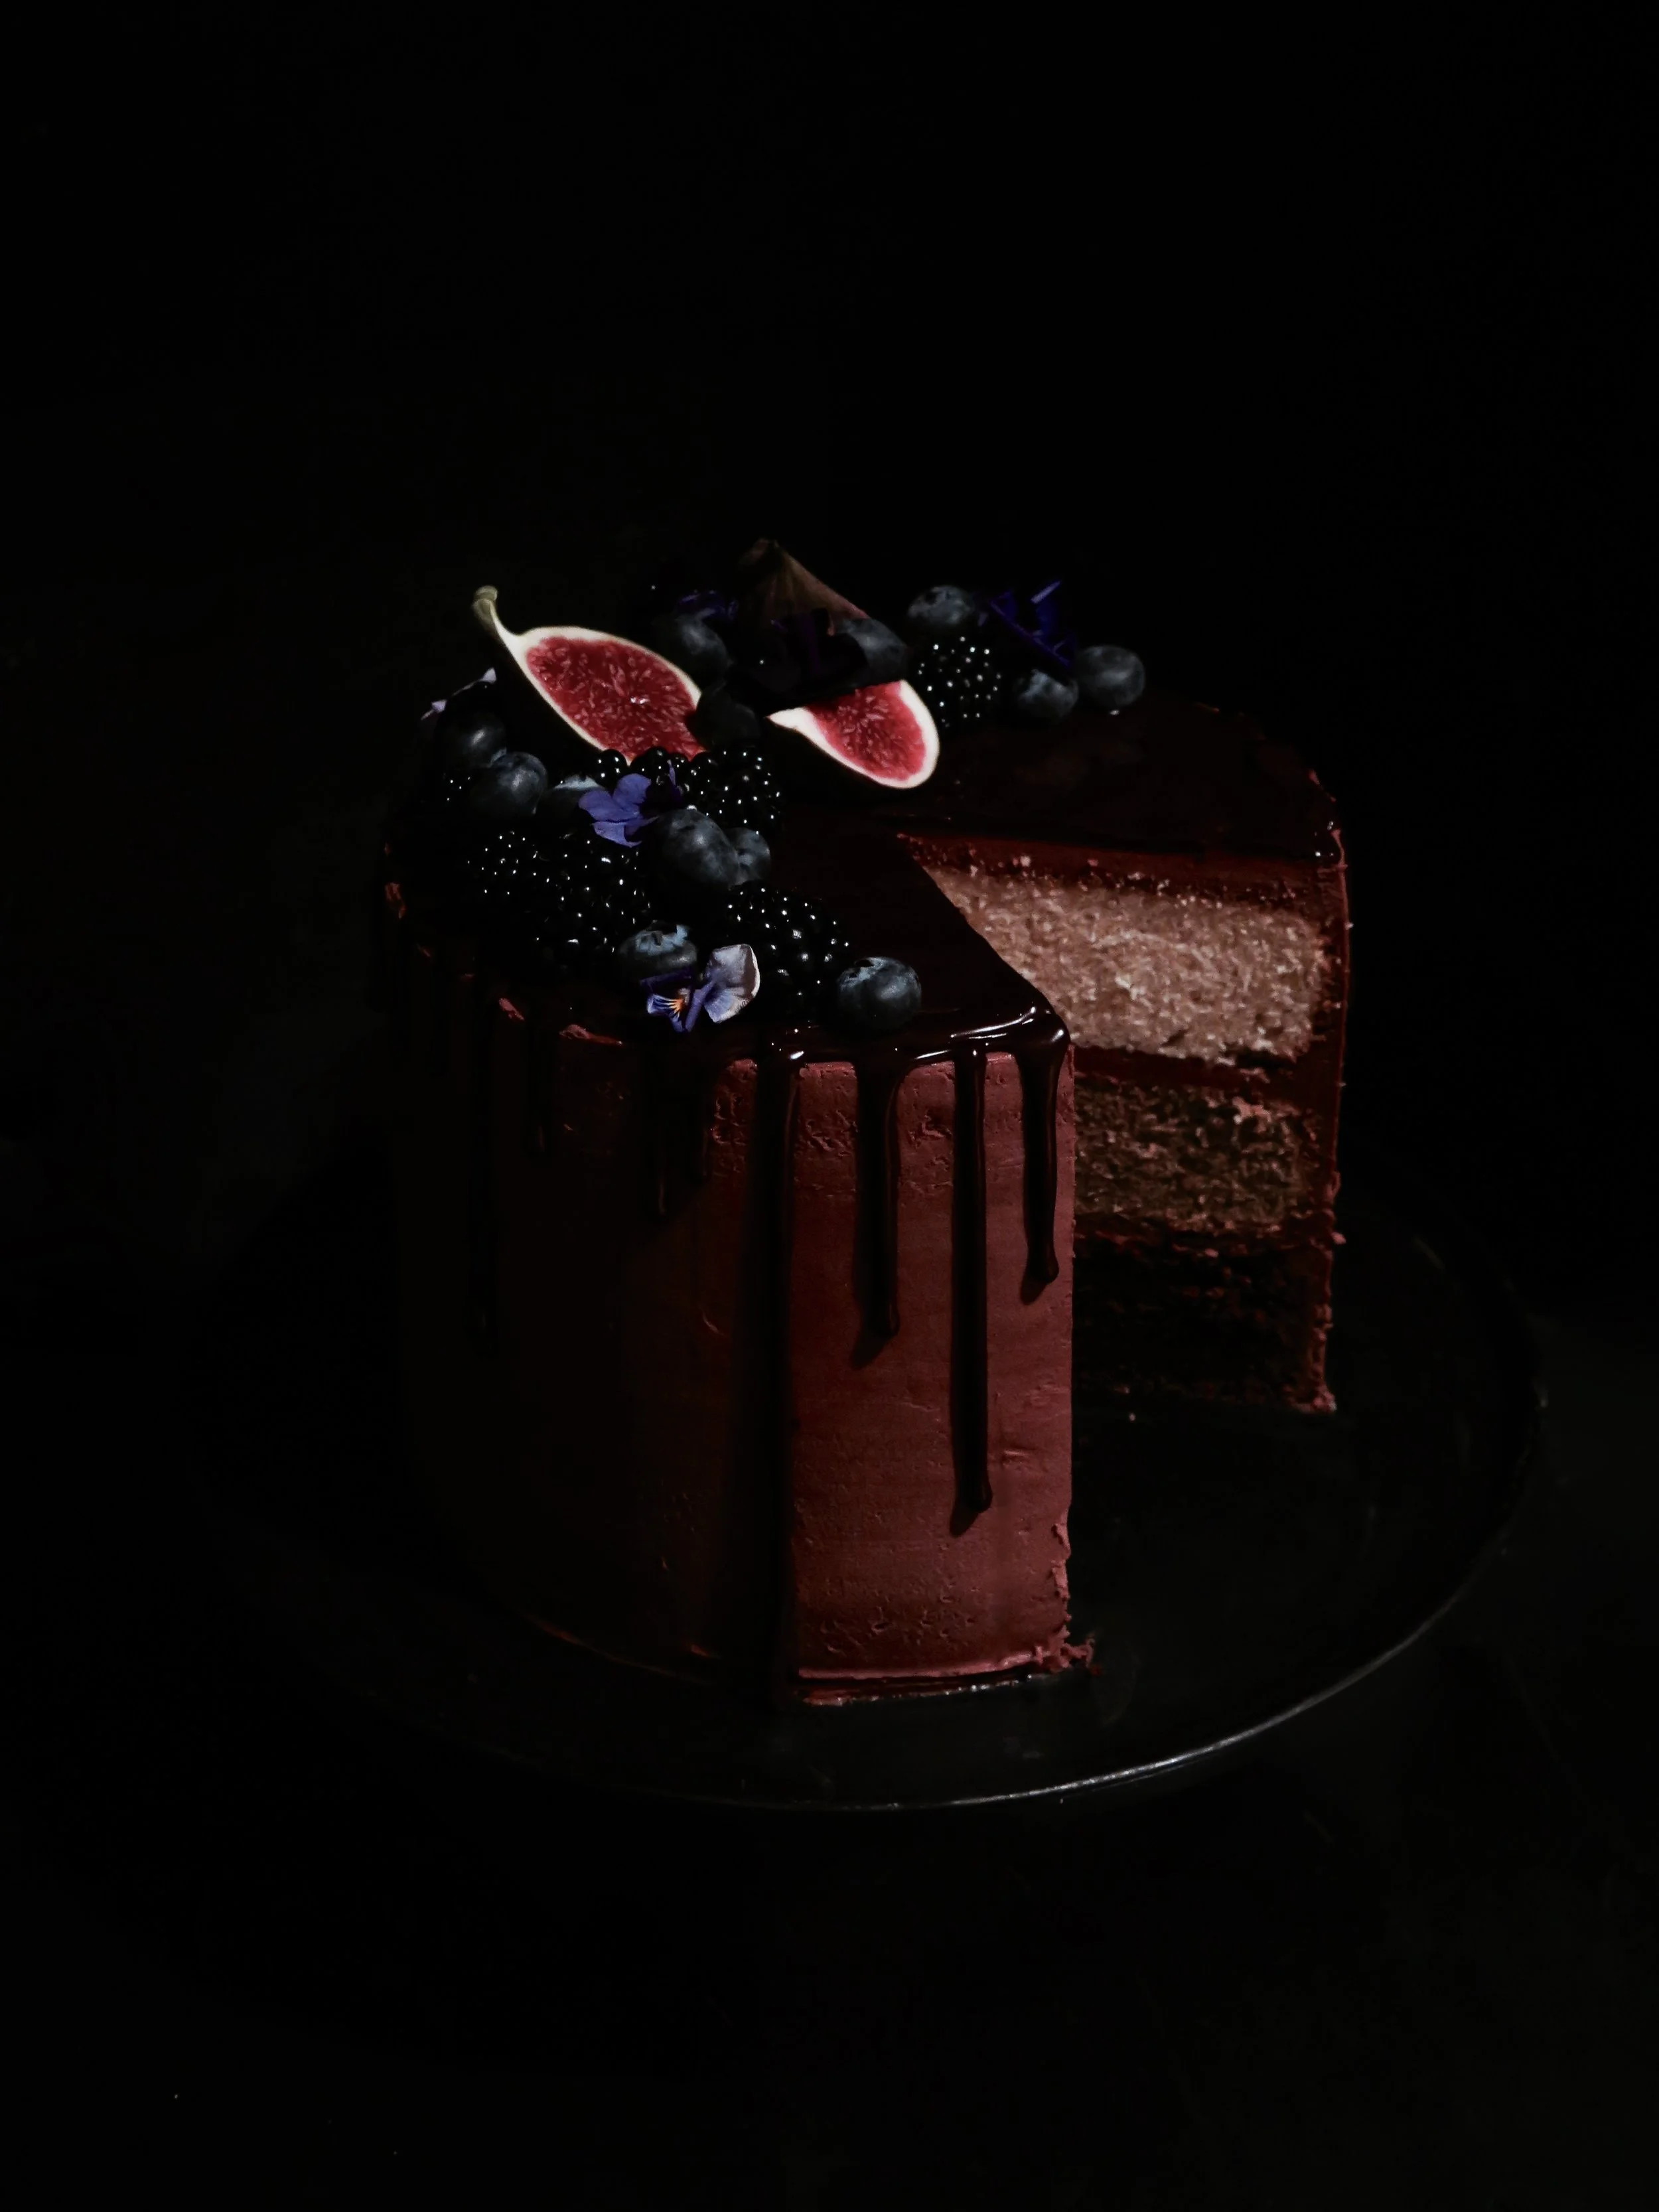
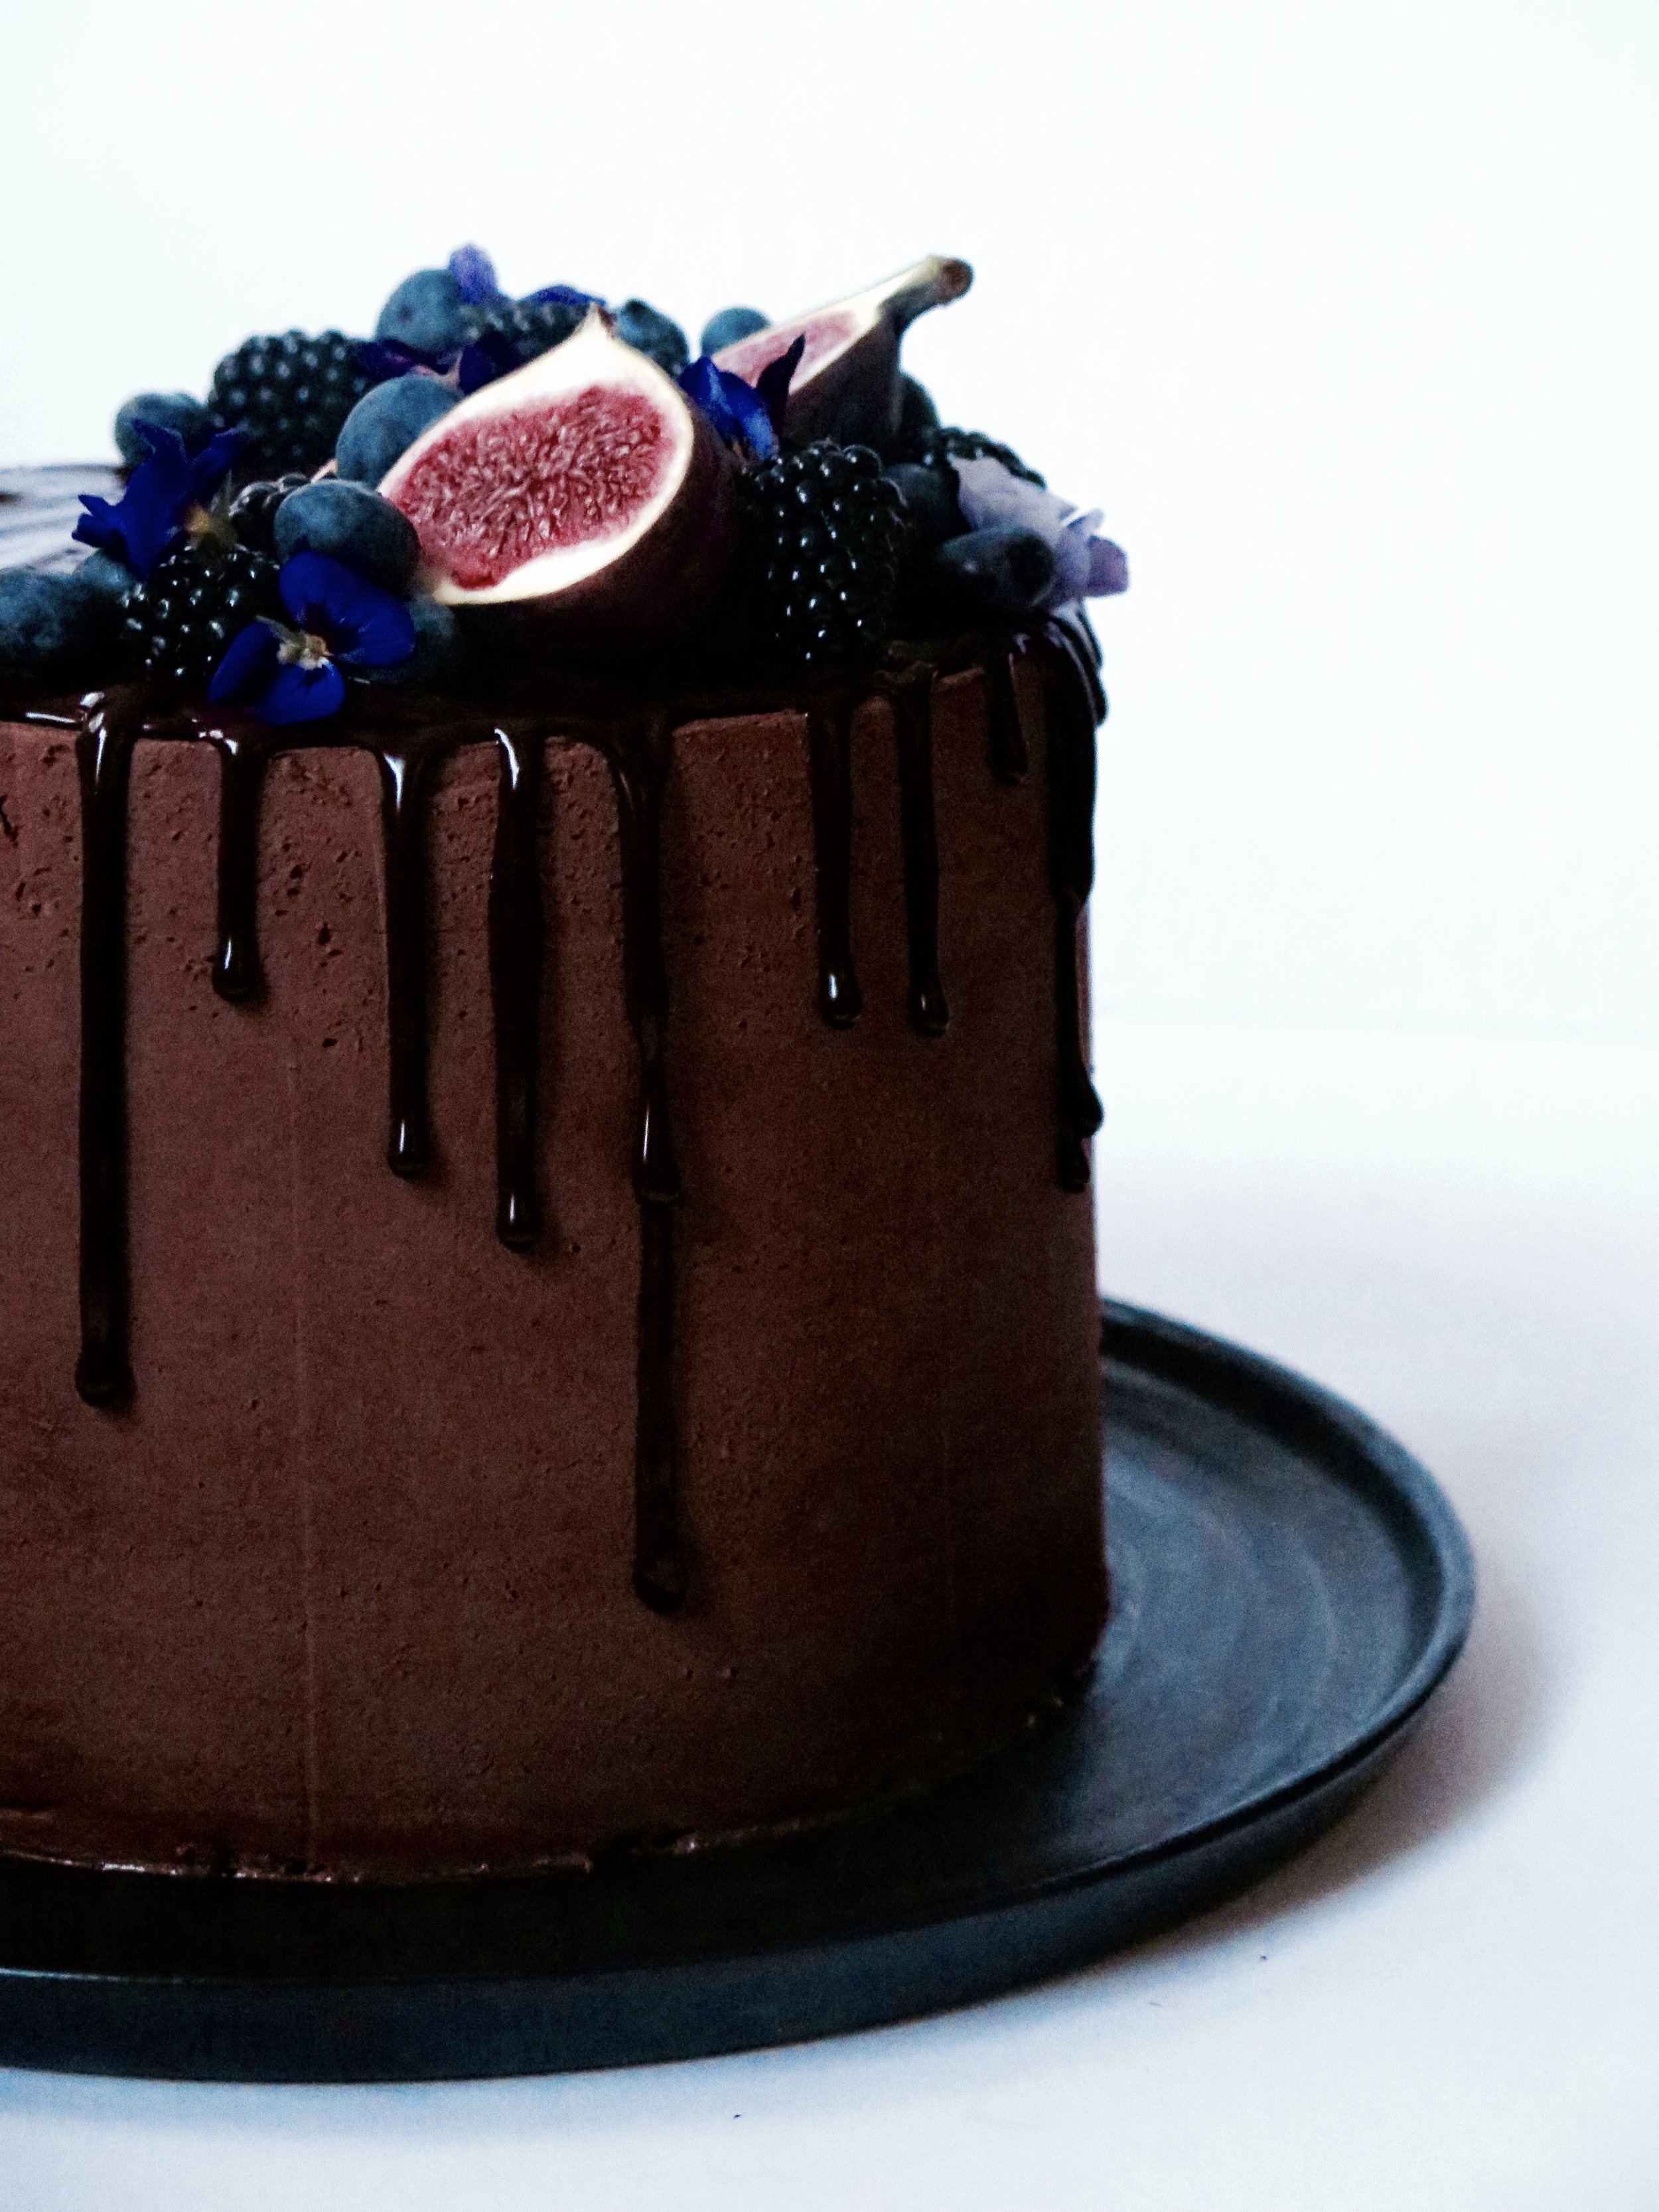
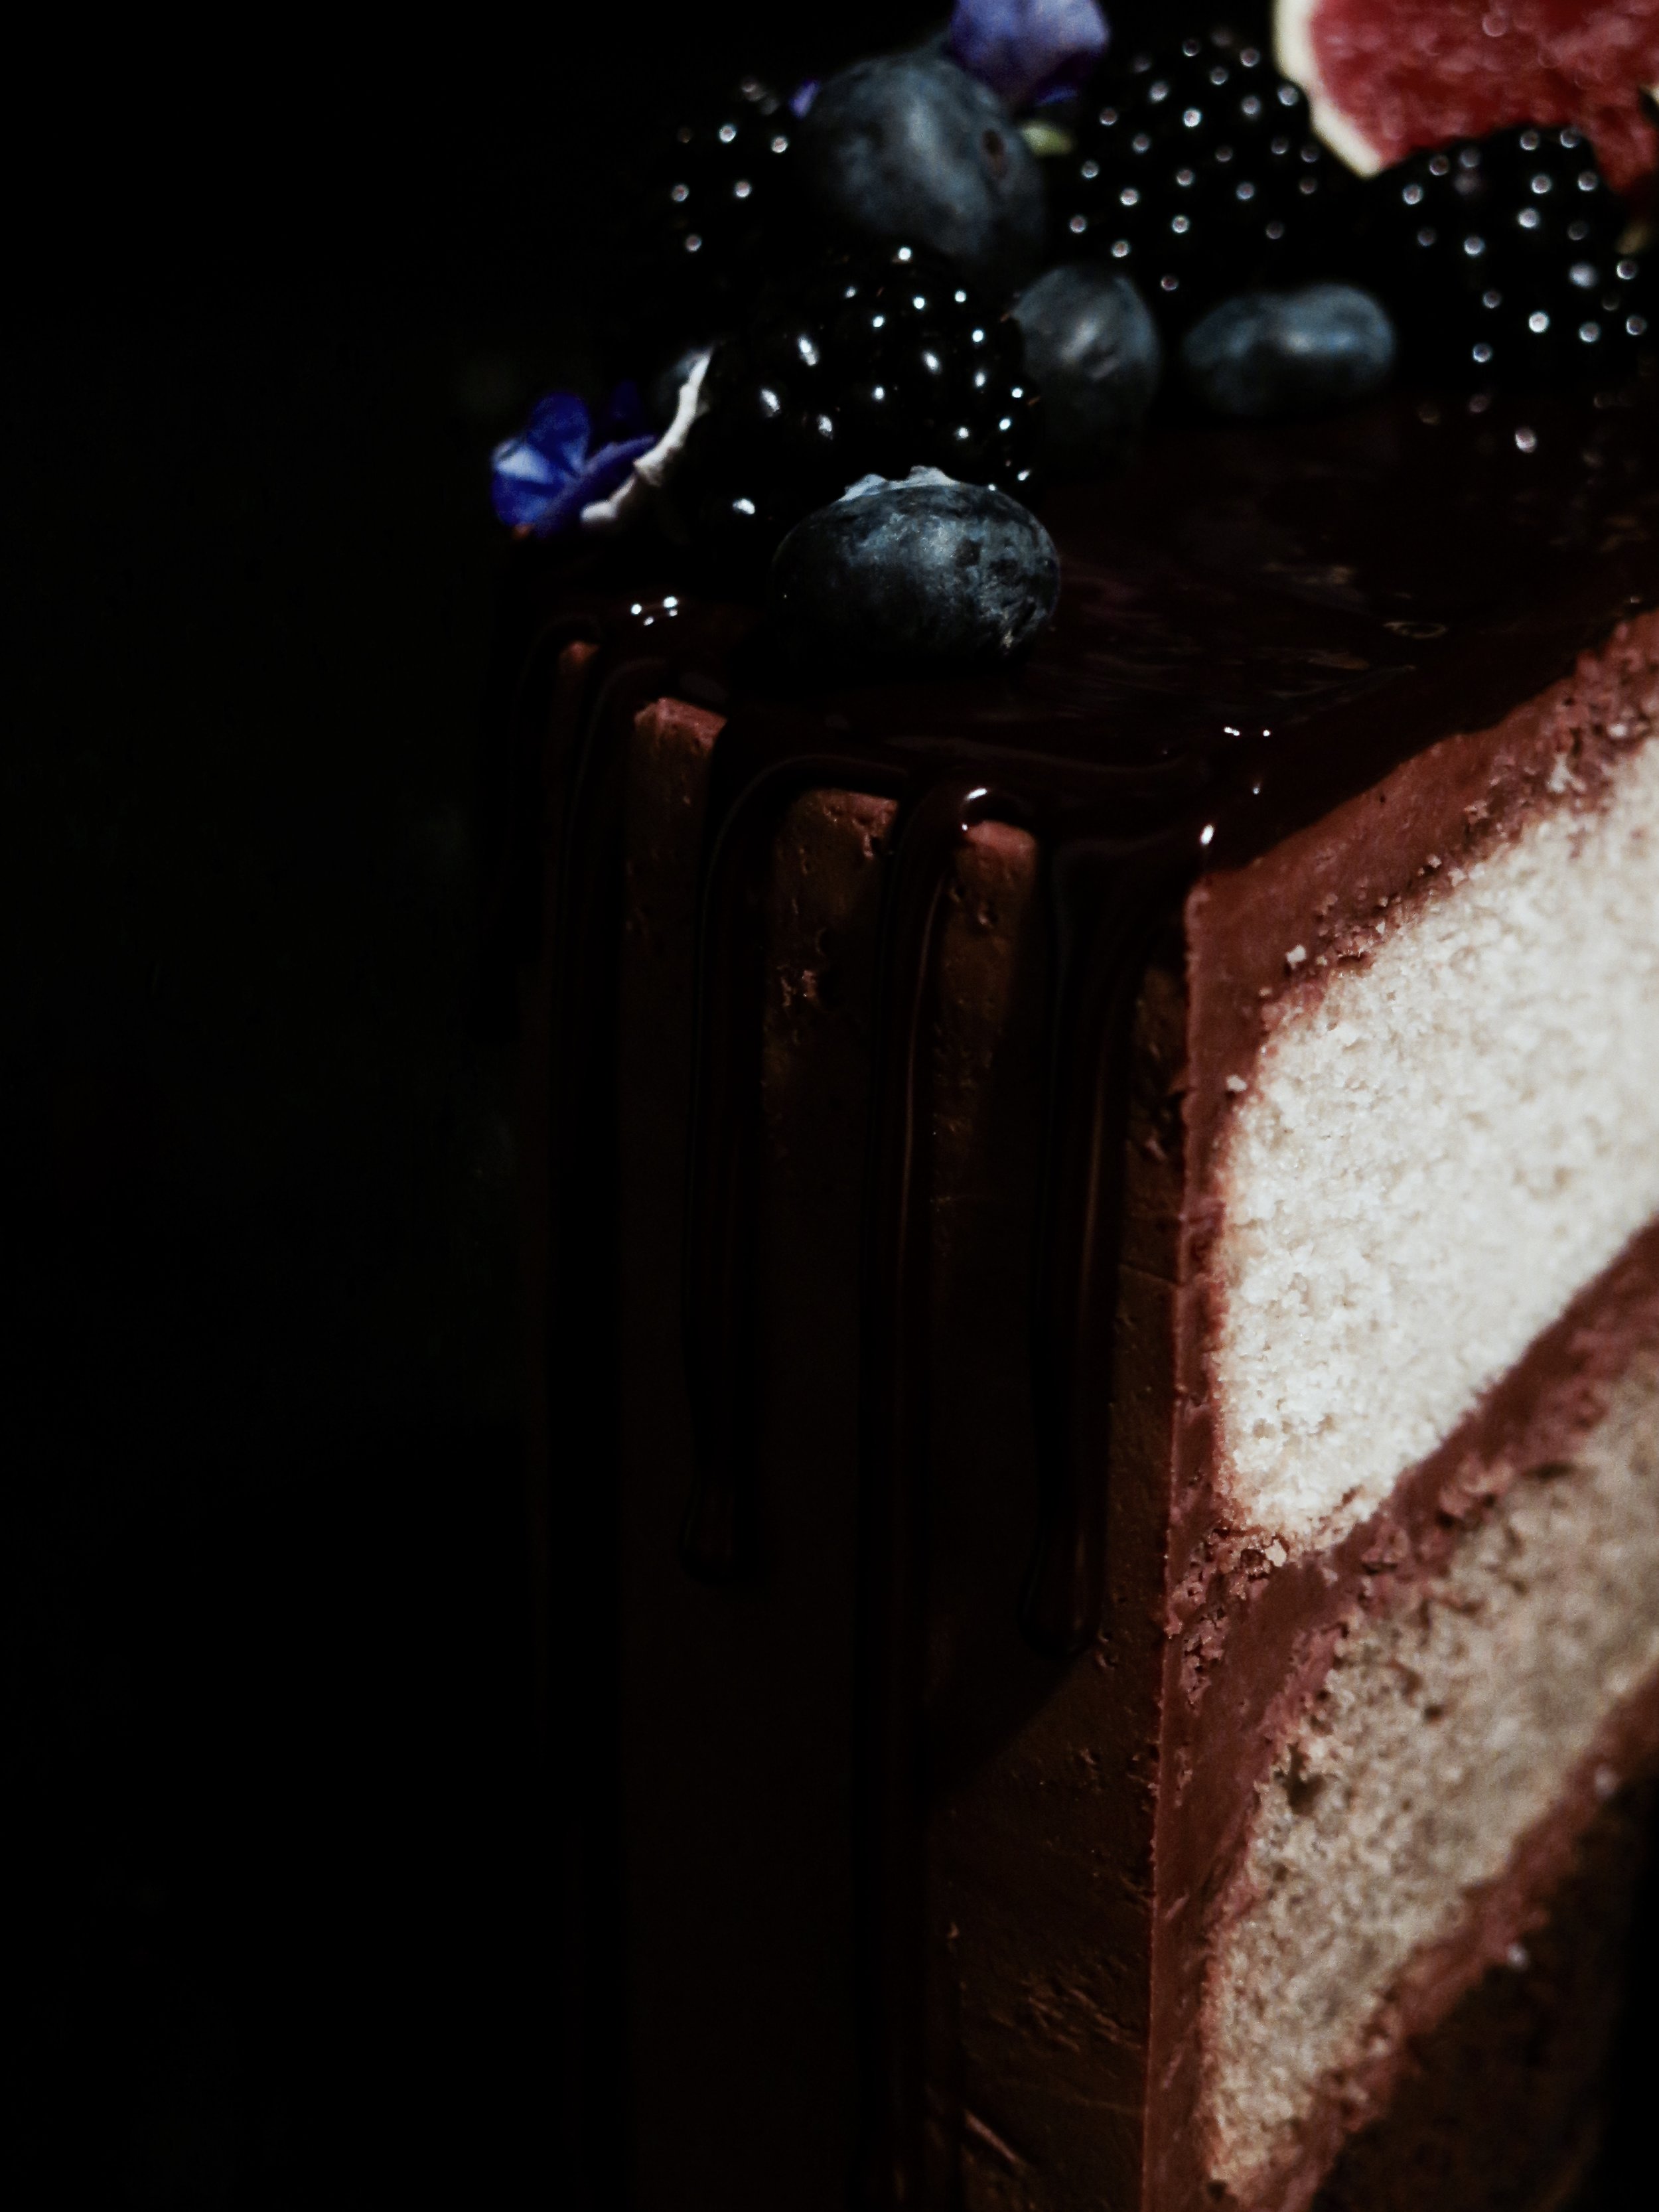
The desire was mostly satisfied then but I still dream up opportunities to replicate it. I imagine this cake would be peak territory for such caveman antics: a base layer of moist and rich chocolate cake (ticks the Bruce box), a golden middle tier of coffee cake, and a fluffy vanilla sponge top tier. The buttercream is deeply chocolatey with a pinch of salt to counteract the sweetness, and the cake is topped with a mirror ganache drip glaze (easier to do than you may think). Nigella famously writes in her recipe: “Feeds twelve, or one with a broken heart”. This feeds twenty, or one with an overpowering Man vs Food, Matilda’s Bruce desire.

fullsizeoutput_87c.jpeg
fullsizeoutput_859.jpeg

Although this cake has multiple elements and steps it is not difficult to carry out.

  •  If you wish to have all three layers identical, then just triple the quantity of one cake.
  • Feel free to experiment with buttercreams as well (for example, vanilla, coffee, or caramel). 
  • Additionally, I use dark fruits to decorate the cake, but you can keep it plain, or venture down more chocolatey routes. It is also delicious kept simple, without the mirror chocolate ganache.
  • This is effectively three cakes in one so you can just make one of the cakes, and make a third of the icing in which to cloak it.
  • The chocolate cake recipe makes slightly more than necessary, hence the muffin cups into which the excess mixture is poured – a bonus in my book…

Ingredients

The vanilla and coffee cakes:

450g unsalted butter, at room temperature
450g caster sugar
2 tsp vanilla extract
4 tbsp milk
8 large eggs, at room temperature
450g self-raising flour, sieved
½ tsp salt
1 tbsp espresso powder, dissolved in 1 tsp boiling water

The chocolate cake:

400g plain flour
250g caster sugar
100g light muscovado sugar
50 high quality cocoa powder
2 tsp baking powder
1 tsp bicarbonate of soda
½ tsp salt
3 large eggs, at room temperature
140g soured cream
1 tbsp vanilla extract
175g unsalted butter, melted
125g corn or vegetable oil
300ml cold water

Salted cocolate buttercream:

250g high quality 70% dark chocolate
375g unsalted butter, at room temperature
680g icing sugar, sieved
½ tsp salt
4 tsp vanilla extract


Mirror chocolate ganache:

100g double cream
100g high quality 70% dark chocolate

Equipment:

3 (or 2 if you wash one up in between making vanilla/coffee and chocolate cakes) x 20cm diameter round cake tins, buttered, with the base lined with a circle of baking parchment
1 muffin tin with 5 muffin cases
piping bag fitted with a 2-3mm round nozzle


Method

The vanilla cake and the coffee cake:

1)    Preheat fan oven to 180C. In a large bowl with a spoon, or in a mixer fitted with the paddle, beat together butter and sugar for about 3 minutes until the mixture turns fluffy, soft and almost white. Beat in the vanilla and milk.  
2)    Then beat in one egg at a time alternating each egg with a tablespoon of flour. Don’t panic if it looks slightly curdled, as this is normal. Add in the rest of the flour and salt and, by hand, gently fold them into the mixture.
3)    Pour half the mixture into one of the lined baking tins – this is the vanilla cake. For the coffee cake, add in the dissolved espresso powder into the remaining mixture and fold in gently. Pour into the second baking tin and place both in the oven to bake for 30-40 minutes until golden on top and a skewer comes out clean. After 30 minutes, you may need to cover them with tinfoil to prevent the surface from burning. 
4)    Once cooked, remove from oven and place on a rack to cool.

The chocolate cake:

1)    Preheat fan oven to 180C. Into a large bowl, sieve all the dry ingredients and mix through. In a separate medium sized bowl, whisk together the eggs, soured cream and vanilla. 
2)    In a third, large bowl, either by hand or in a mixer fitted with the paddle, beat together oil, butter and water until combined. Into this bowl, pour the dry ingredients and fold gently to combine. Then pour in the egg, cream, vanilla mixture and fold gently together until smooth and just combined.
3)    Pour off 300g of the mixture into a separate bowl and divide equally between 5 muffin cases. Pour the rest of the mixture into the prepared cake tin. Place muffins and large cake in the oven. Bake the muffins for 20 minutes, and the large cake for 40-50 minutes until a skewer comes out clean. Check the large cake after 30 minutes, as you make need to cover it with tinfoil to prevent the surface from burning. Once cooked through, remove from the oven and place on a baking rack to cool.

The salted chocolate buttercream:

1)    Melt the chocolate in a bowl sitting on top of a pan of boiling water (don’t let the water touch the base of the bowl containing chocolate). Set the melted chocolate aside to cool slightly.
2)    In a mixer fitted with a paddle, or in a large bowl with a spoon, beat together the icing sugar and butter until combined. Pour in the melted chocolate, salt and vanilla, and beat once more until combined. 

The chocolate mirror ganache:

1)    Make this only once the cake is iced. Heat the double cream in a small pan over a medium heat until it just begins to bubble. Remove from heat immediately and stir in the chocolate until it has melted and both combine into a glossy ganache.

Assembly:

1)    The cakes should be of equal depth, so line the three cakes alongside each other and, with a long-serrated knife, slice the domes off each to make them even. I then place the cakes in the freezer for 10 minutes as it makes them easier to ice. 
2)    Place the chocolate cake on the stand on which you wish to serve the cake. This will be the bottom most layer. Place about a fifth of the icing mixture on top and spread it carefully with a spatula. Place the coffee cake directly on top and repeat, finally placing the vanilla layer on top. 
3)    At this point, if you are impatient, you can continue to ice the rest of the cake with the remaining buttercream, and proceed directly to stage 4.  If, however, you want to ice the cake perfectly, it is advisable to do a crumb layer. This involves placing another fifth of the buttercream on the top of the cake and using a spatula to spread it evenly in as thin layer as possible around the cake, coating and filling any irregularities or gaps so that the sides and top are totally smooth and flat. Once this is done, place the cake in the fridge for a further 30 minutes until the icing is slightly hard to the touch. Remove from the fridge, and place the remaining icing onto the top of the cake and use a spatula to spread it off the top and around the sides. I dip the spatula in hot water to help achieve a smooth result. Place the cake back in the fridge while making the ganache.
4)    Spoon a third of the ganache into the piping bag. Begin by drawing a line round the edge of the cake surface as a border. Then to make a drip, hold the piping bag very still with the nozzle pointing directly down, and put consistent pressure on the bag to allow the drop to fall from the edge down the side of the cake. Stop when the drip is nearly at the length you want. Continue along the edge of the cake making drips of different lengths. Once this is done, pour the remaining ganache onto the top of the cake and spread with a spatula to cover the surface. 
5)    Top with dark fruits or any decoration of choice, and serve. 

All cake recipes are adapted from Nigella Lawson’s Chocolate Fudge Cake and Victoria Sponge Cake recipes

fullsizeoutput_879.jpeg
fullsizeoutput_876.jpeg

HUNGRY FOR MORE?

Comment